'A man is richly fulfilled, if his daytime labour produces wealth, and his bedtime effort produces babies.'
African Proverbs
Molding and Casting
Like the last two assignments, this assignment will also be done as a building block to my Final Project. We were tasked to conduct two assignments: Group assignment, and an individual assignment. These are listed in this page.
Group Assignment
Review the safety data sheets for each of your molding and casting materials, then make and compare test casts with each of them
For the mold, I used polystyrene. Which according to the data sheet available on this Website, has High impact polystyrene from styrene butadiene with very good mechanical properties and highly resistant to cold. Our quality polystyrene sheets are characterized by high heat resistance and good stress cracking resistance.

For the data sheet of the silicon used for this project, I was unable to find any data sheet online from the manufacturer. However, from the product description found on the Amazon.de it shows that the silicon gel is perfect for the formation of molded objects. The molten silicon is expected to solidify after 60 minutes of its application.

You can view the Group Assignment on this Link.
Individual Assignment
This week's individual assignment entails: to design, build and connect wired or wireless node(s) with network or bus addresses.
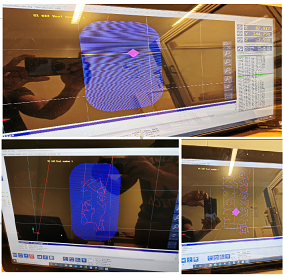
Mold Design
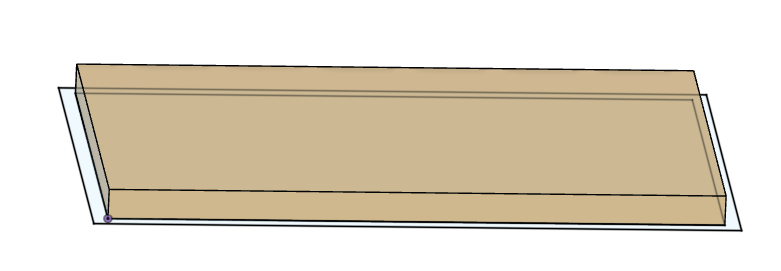
For this assignment, I decided to make a bar soap. First, I designed the mold in Fusion 360. This is depicted in the pictures below.

After this, I extruded the mold.
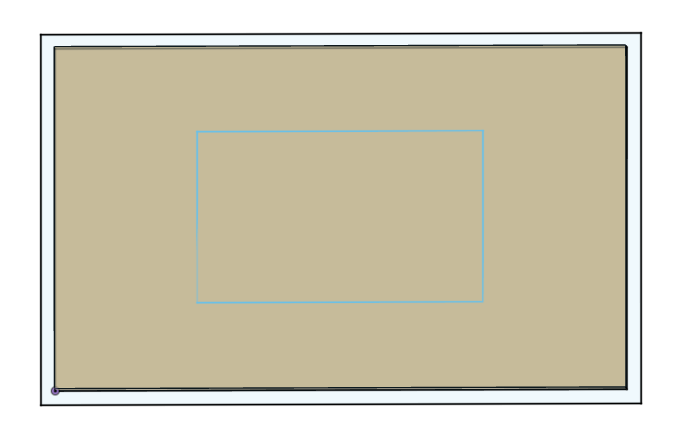
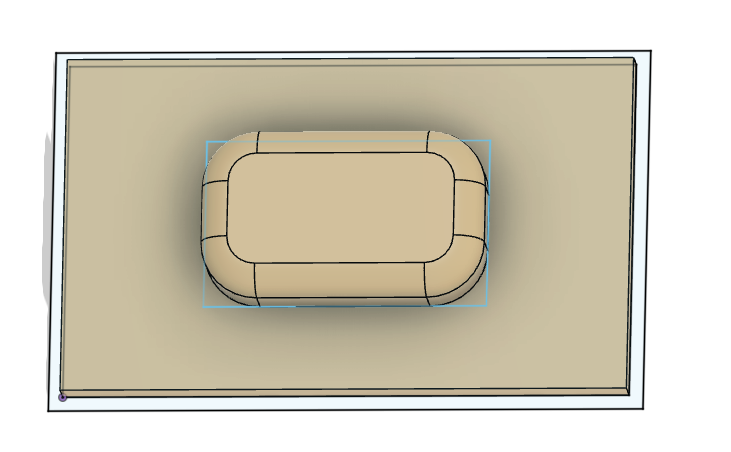
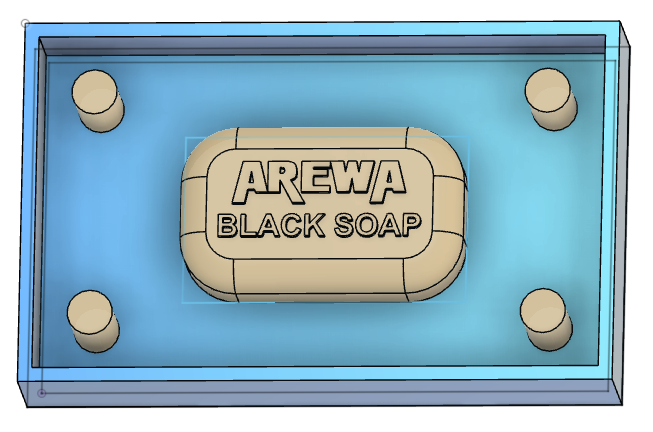
After this, I created the sketch for the mold of the bar soap. After which I extruded it, and included the fillet to the suitable shape.
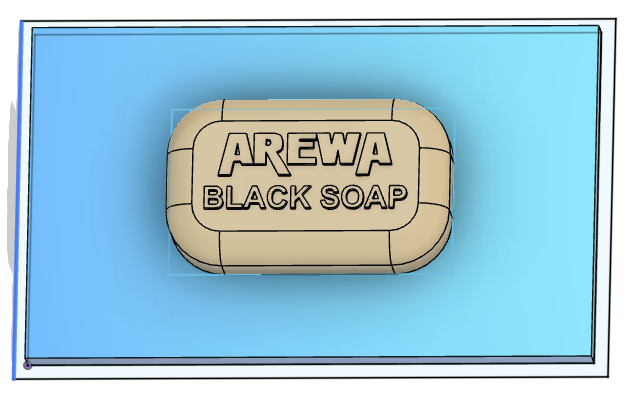
After this, I inserted the a text to represent the name of the product.
Then, I extruded the frameborder of the mold, and I also inserted some pegs to serve as a placeholder for the mold.
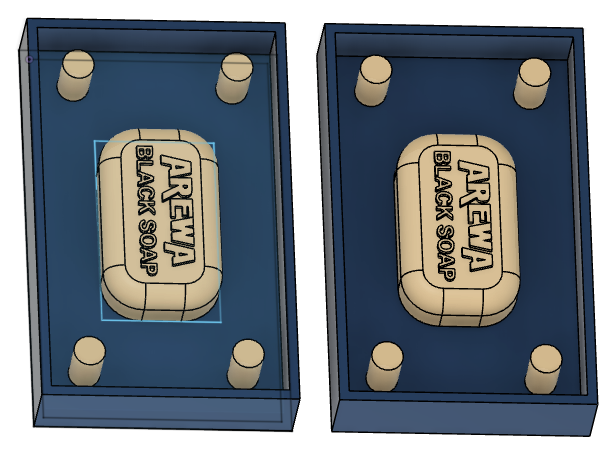
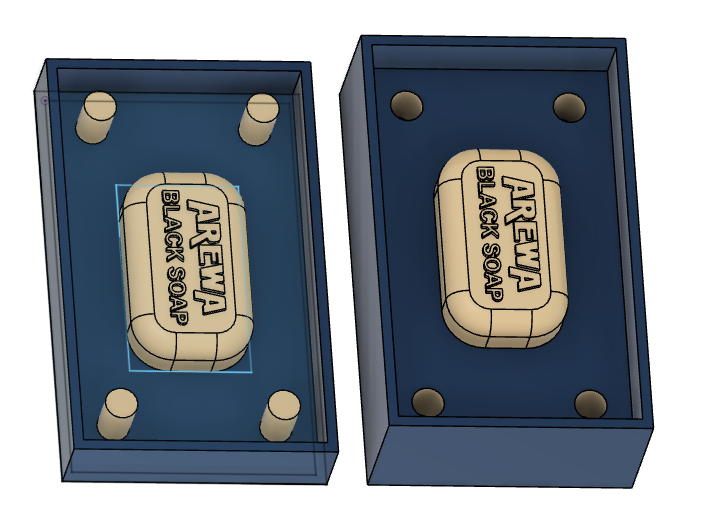
After this, I copied the first mold to serve as the mold for the second part, and made some minor adjustments, such as pulling in the pegs, and increasing the height of the second mold.
After all this, I will proceed to making a quick simulation to see how the mold will be machined.
You can download the Mold HERE, or go to the download section of this page.
Milling Process
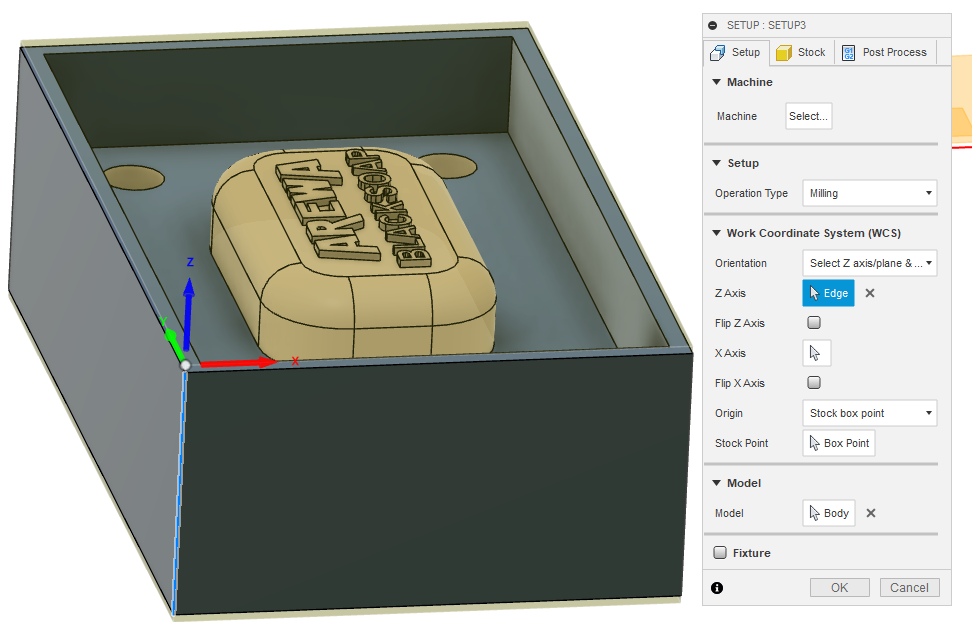
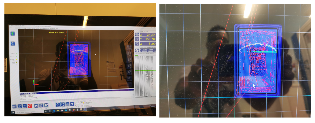
To commence the milling process, one first need to go to the 'Manufacture' tab of Fusion 360 to generate the toolpath.

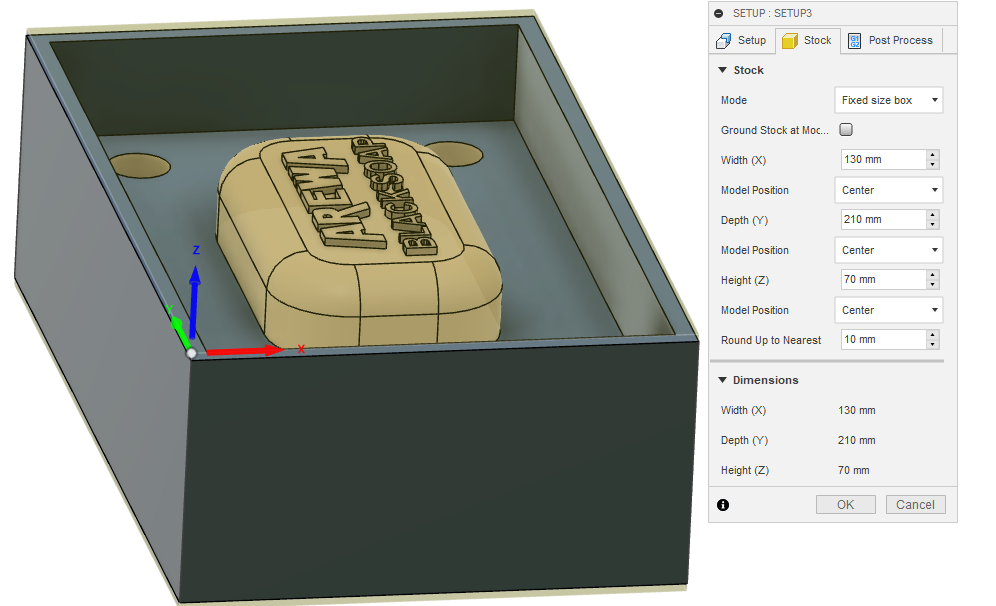
After this, you define a new setup, which defines the stock and orientation of the design. So you must note the dimension of your stock, and input this information on Fusion360.
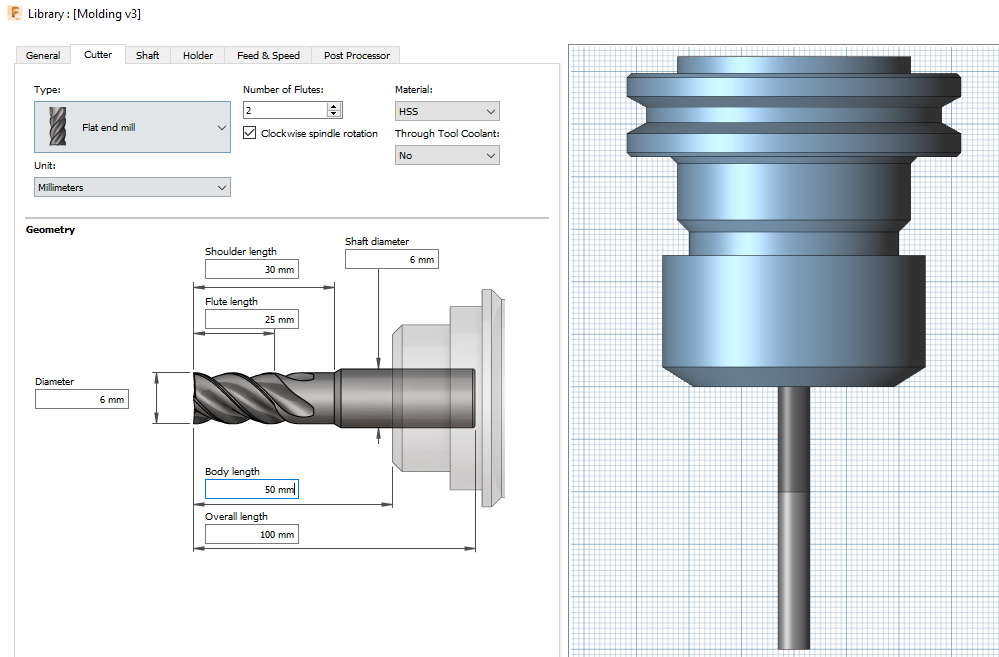
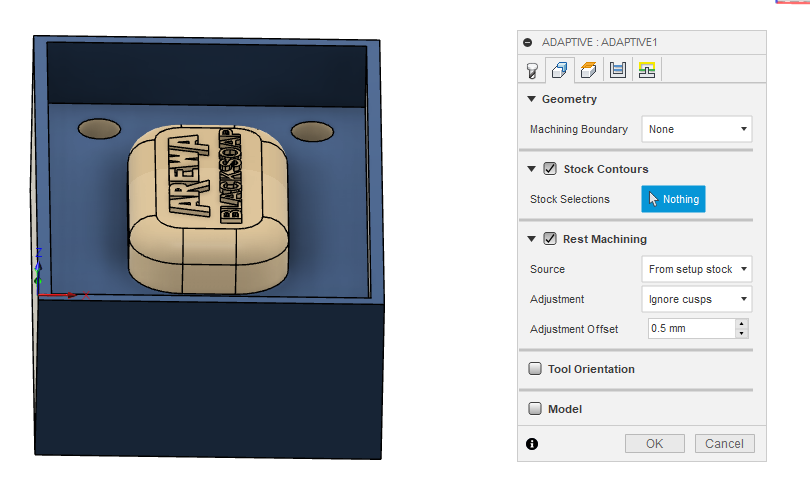
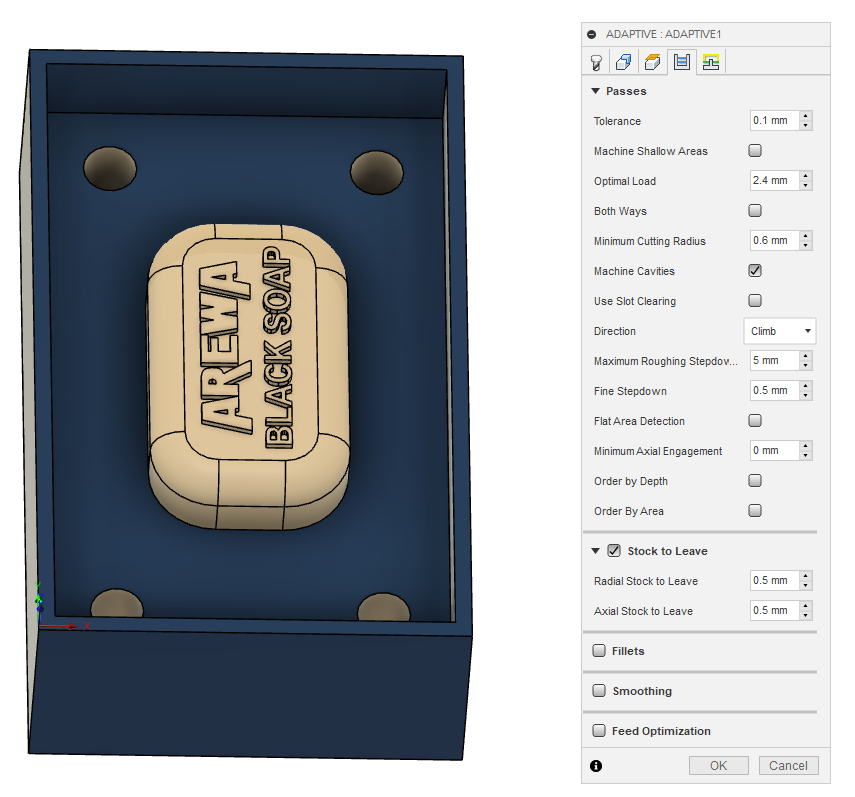
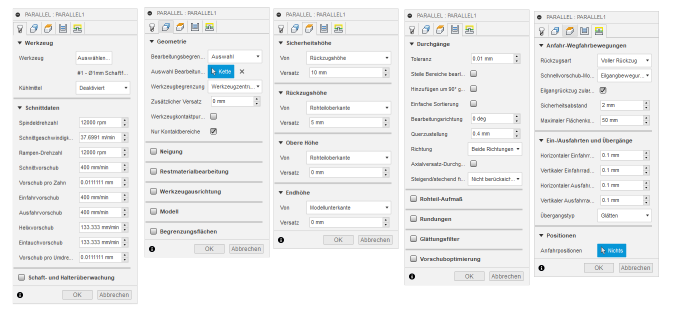
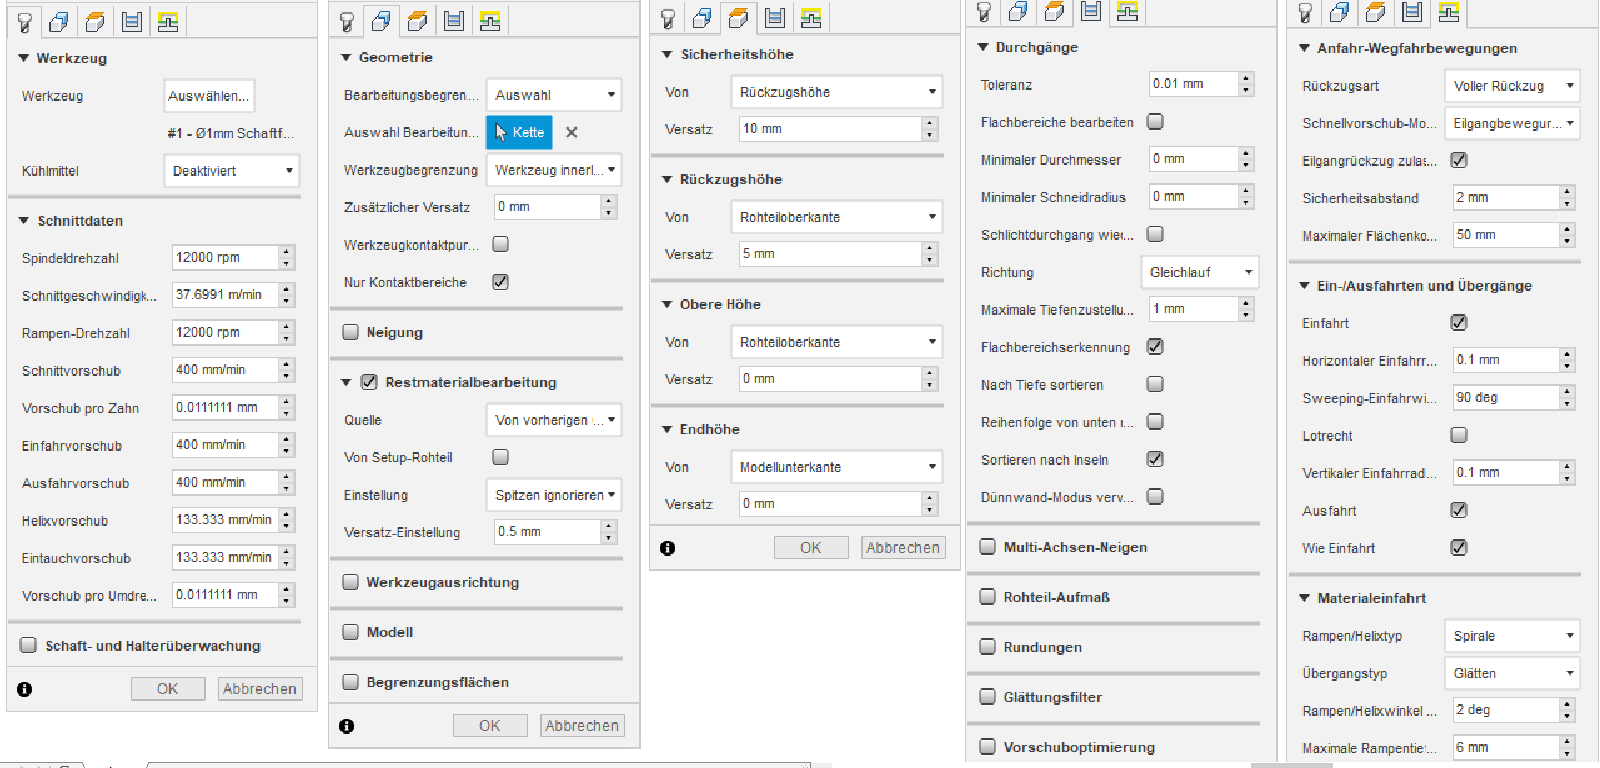
After this, you select the method you would like to use for doing the rough cut. In this instance I chose 'Adaptive Clearing' for the roughing. Then 'Parallel' to smoothen it with an end mill of 1mm, and lastly I used 'Contour' with the same parameter as the parallel to also define the text better.
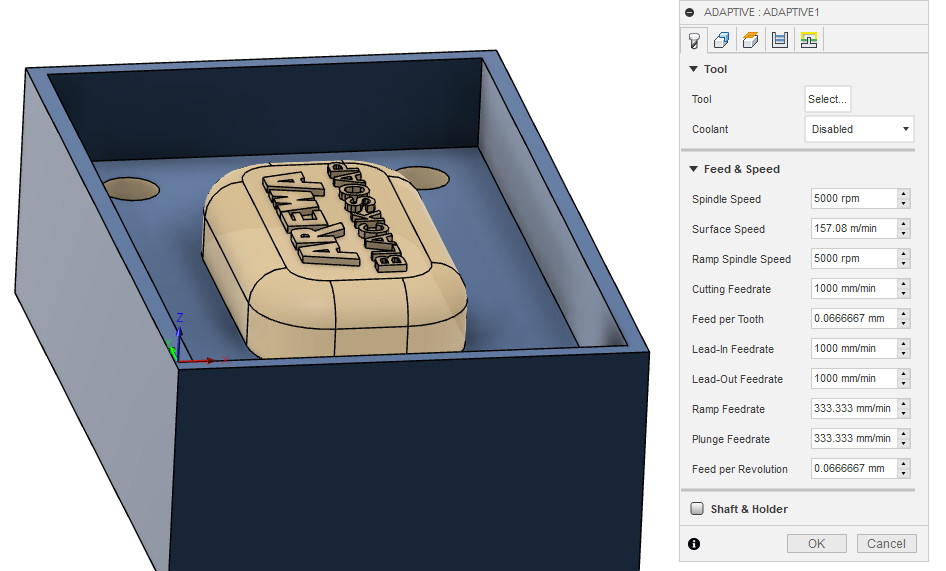
Then you set up the parameters of the machine, such as the type and size of the endmill you will be using.
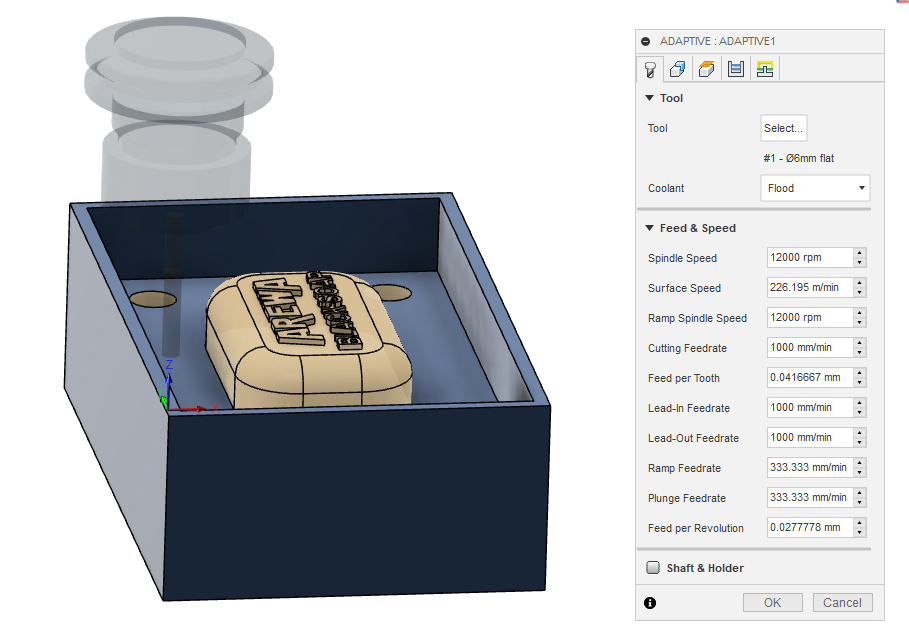
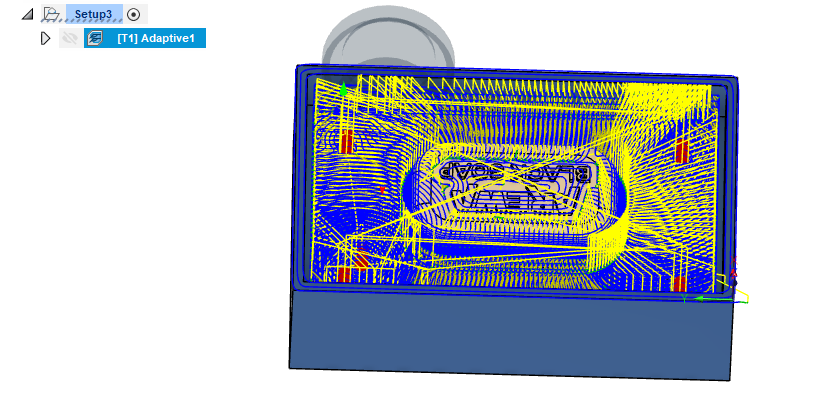
Once your setup is done, Fusion 360 will show you what to expect when machining the mold.
Simulate the milling process
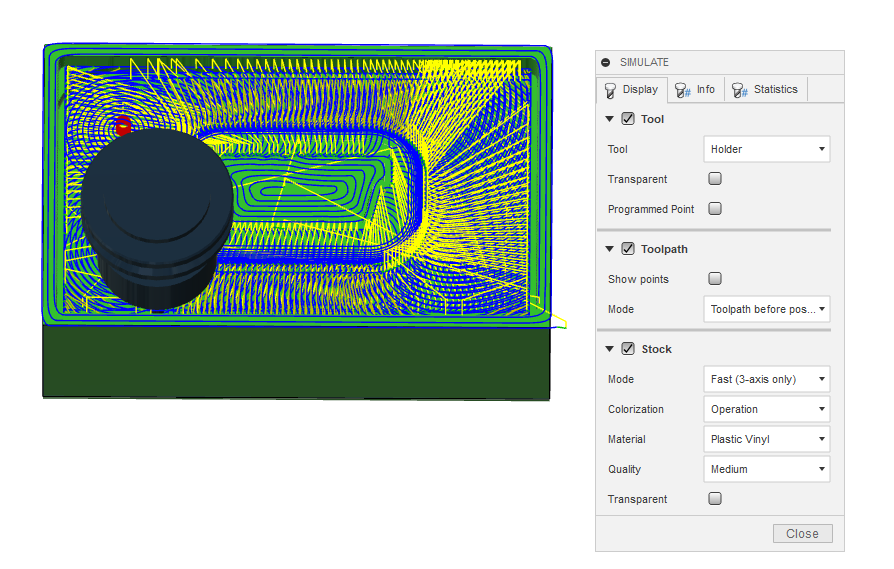
The picture of the other method are below.
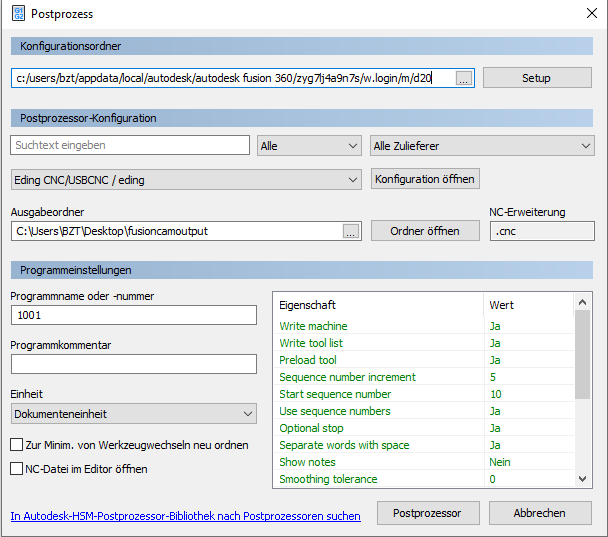
Then I exported the design through the post processor in order to generate the G-Code.
Milling Process
Call me a chicken all you want, but using a milling machine is as hard as walking a thread. However, with the help of my Fab Instructor and my colleague at the lab, we managed to make it work. Below, I will document the milling process.
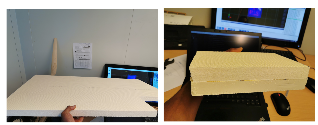
To make the mold, I am using this building insulation Polystyrene. The thickness of the material is 30mm, so I cut out the dimension needed, and glued them together to form the ideal height for the design.
Another thing I did was to smoothen the surface of the stock that will be glued to the bed of the machine.

After this, I began the milling job
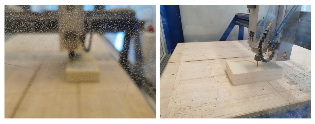
My first attempt to mill the mold went so well, as far as the rough goes. However, when it came to smoothening the mold (that is, setting the coordinate to the exact position used for the roughing), I made a good mistake. So I tagged yesterday's attempt as a TEST RUN. Below are some pictures of the final fehler yesterday. You live to fight another day!
New Day, New Luck
So I left the task yesterday, and resumed very early the following day. I must confess that I am now kinda falling inlove with milling. It was a hard-earned love, which I presume would last till Ewigekeit. Work resumed on the second, hopefully the real attempt. Everything shows a good sign so far.
To solve the problem I had before giving up the previous day, what I did was to take a reference of the exact coordinate of the machine before milling. To do that, I simply took a picture of the coordinate before zero-ing them. Nothing beats the old technique! However, upon the launching of the job. I realised that I forgot to set the coordinate to 0.
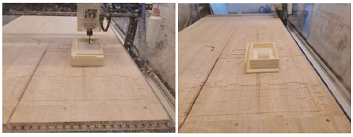
At the end of the day, I discovered that the machine is smarter than I thought. Which means I only have to zero on Z, and the machine would do the rest. In addition, I also experimented by not zeroi-ing on any of the coordinates. This also works out just fine for me. However, during one of my wild goose chase. I mistakenly damaged the mold on the tip. But I have definitely gone too far to remake it now. SO what I will do is to manually patch the mistake, which is not very grave anyways.
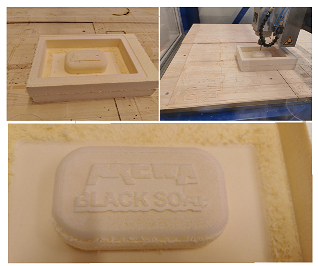
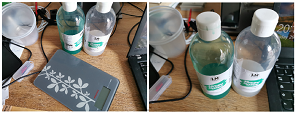
Making the Silicon Mold
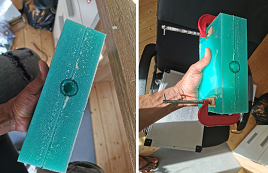
I purchased the 1kg Abform Silikon from amazon. This happens to be the cheapest product on amazon as the time I was searching. Whilst making the cast I realised I should have bought at least 2kg because I used 70% of the silicon to make just one mold. So I definitely have to purchase some more.
As indicated by the manufacturer, the mixture is a ratio of 1:1. So as an obedient user, I followed there instructions. Which I later poured into the mold from the heighest point of the design. That is from the letters. This was based on Prof Neil's suggestion during lectures.
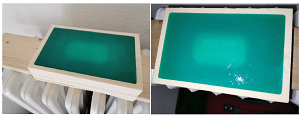
After setting the silicon aside to cure for sometimes, I frequently checked the curing rate of the silicon. The manufacturer suggested that it might take between 62 minutes to 12 hours. I discovered that after 45 minutes, the silicon had started to solidify. So I left it for 7 hours, I am not in the mood to lose some hard-earned cash.
Whilst trying to remove the cast from the mold, I damaged the mold a little bit. I simply used hobby glue to fix one of the problems. SO I think I should be able to get one or two more casts out of the mold before it gives up on me.
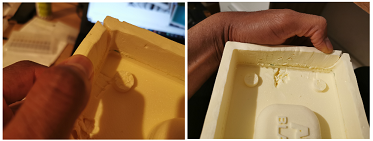
So after all this process, I realized I forgot to create an in-let in the mold. So what I did was to cut out a space in the mold so as to allow me pour the content into it.
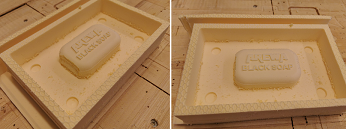
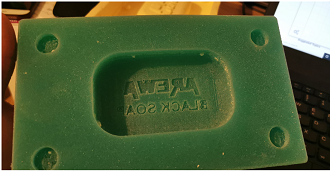
Making the Soap
I purchased some Lye (Sodium hydroxide) for the other part of this assignment. The Sodium hydroxide will help in solidifying the other components used for the soap making. If you want to learn how to make some DIY soaps, there are tonnes of videos on YouTube. You can check out the video below.
After making some unsuccessful experiments with the African Black soap, and due to the amount of tasks I still have to execute. I gave up on making the African black soap, and decided to make just a soap so as to conclude this assignment instead. In addition, I also consulted this Website to learn how to make soap using lye.
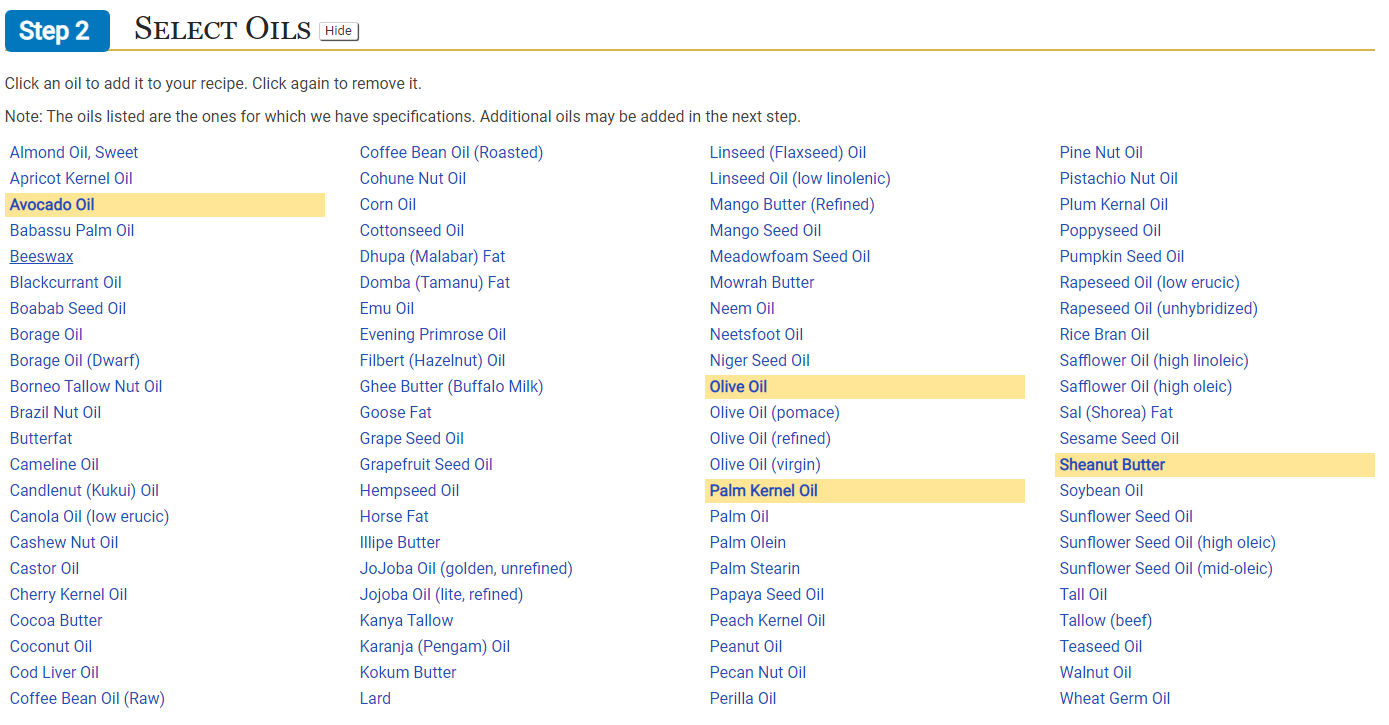
To mix the soap I consulted Soap Guild's website. I entered all the condiments I want to use as depicted in the pictures below. After which I got the right amount of lye I should use for the soap making.
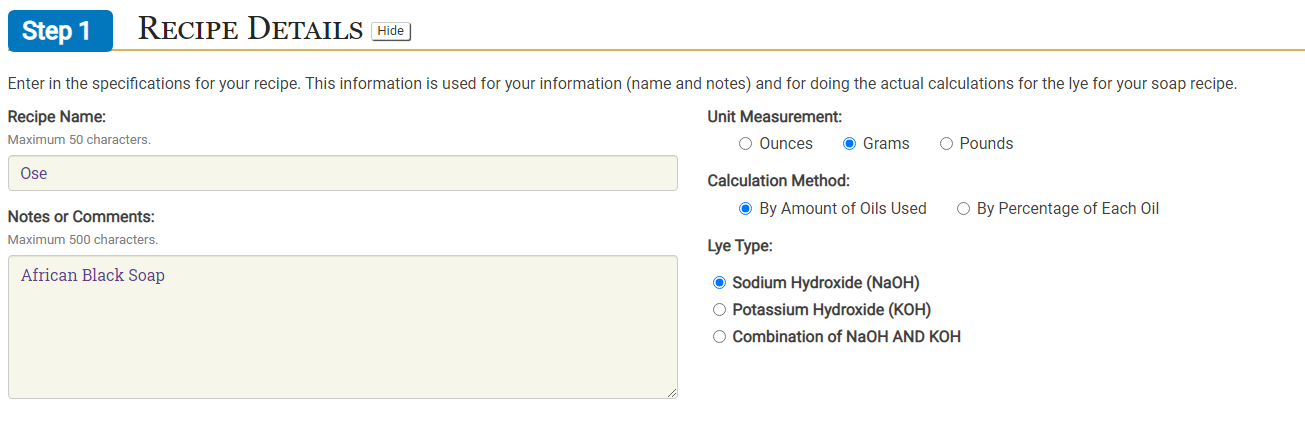
Then I selected the ingredients I want to use for the soap such as Shea Butter, Avocado Oil, Palm kernel oil, and Olive oil
Then I selected the amount of the oil
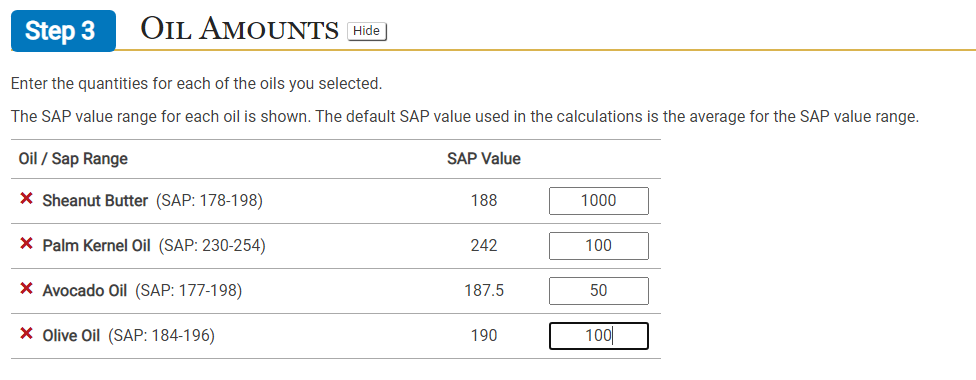
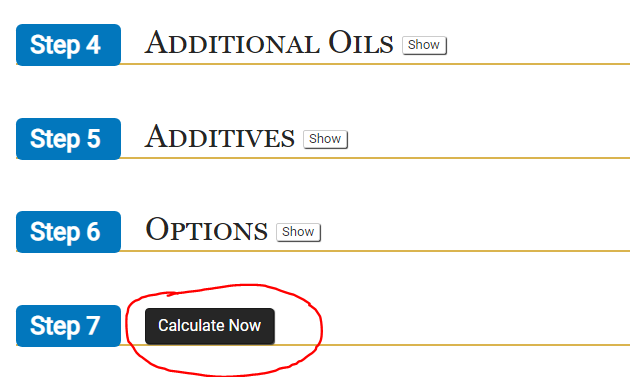
After this, I simply clicked 'calculate'
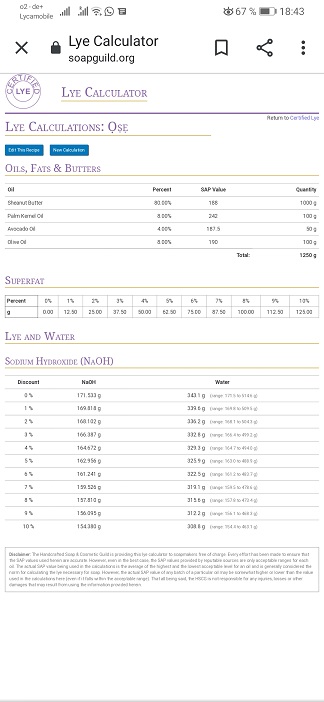
This gave me the right amount of lye to be mixed with the oil to make my soap. This is p´depicted in the picture below.
Below, you will find the picture of the final product.
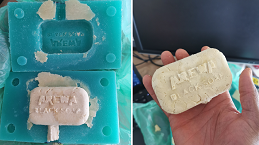
Well, the soap did not come out as perfect as I wanted because I got the mixing temperature mixed up. Howeve, I hope this suffices to prove that 'Was man kann, das kann man!'
You can download the files HERE.
You can follow the progress of the Final project HERE.