Blender Day 1
I am following the tutorials of Blender Guru.
I have followed video 1, 2, 3 and 4 today.
Video 1 : Basics
The things and shortcuts I learned from video 1 are :
- G to grab
- S to scale
- R to rotate
- the middle button of the mouse to snap to an axis or X,Y,Z to perform the action following an axis.
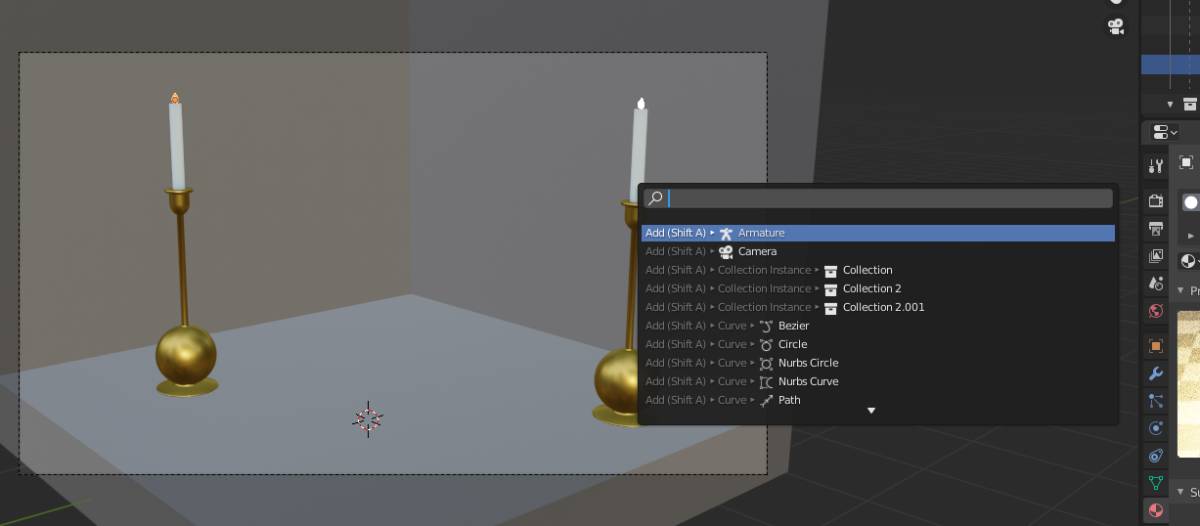
- F3 to get access to the search bar
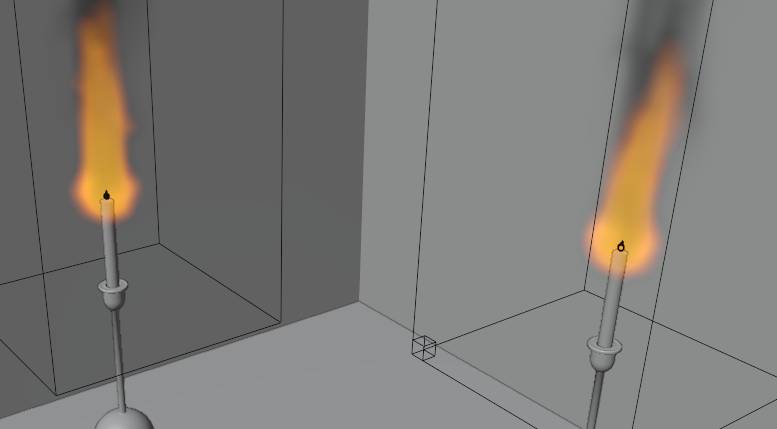
- The quick smoke tool to create smoke and fire (found using the search bar [F3])
Here are some pictures:
 |
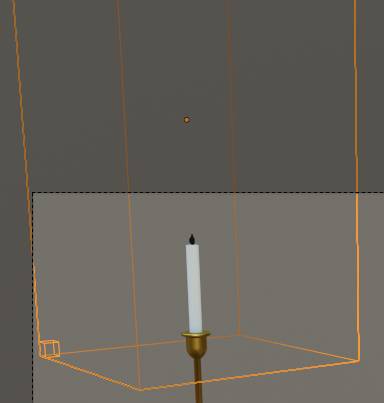 |
|---|---|
 |
 |
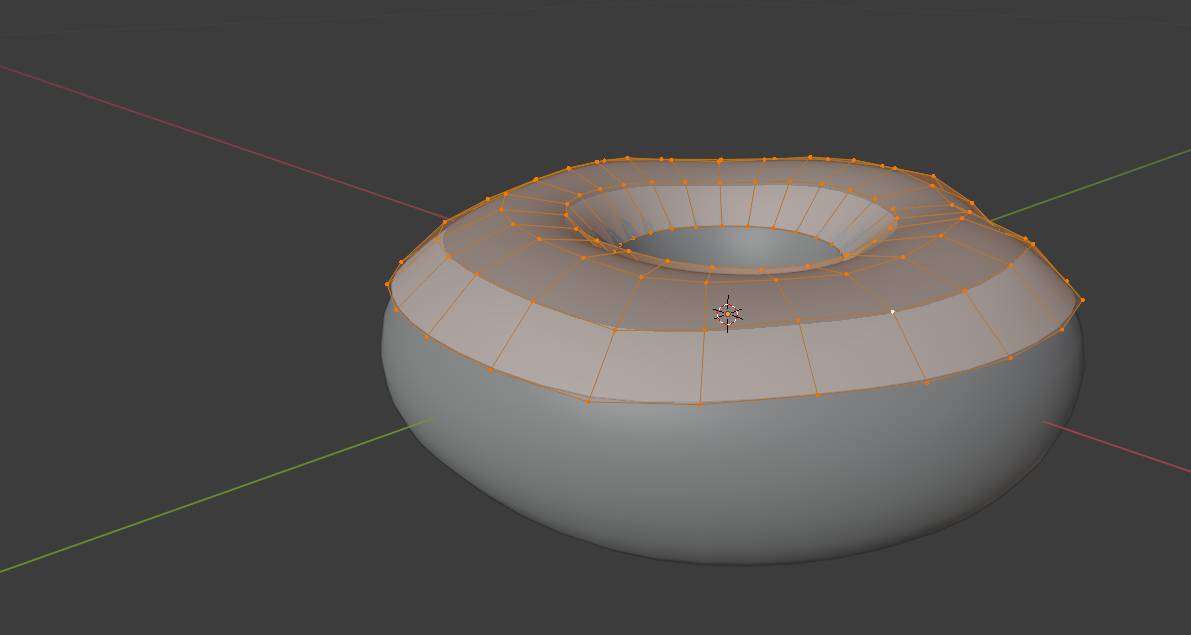
Video 2 : Making a lumpy donut : Edit mode and modifiers
The shortcuts I learned from video 1 are :
- Shift + A to access the “Add” menu
We added a torus and changed its properties directly. You can change the properties of the object you add only directly after adding it, by clicking the “Add Torus” button in the lower left corner. If you do anything else after adding the shape, this menu disappears and you cannot get access to it anymore, so do it directly after adding it.
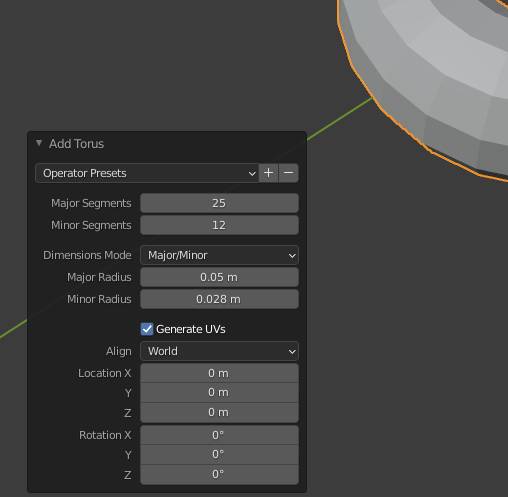
We wanted squares for the facets because it will facilitate the manipulation later.
Then we went in edit mode to change the perfection of the torus into a donut, to make it real. To do that we used proportional editing. With it you can move the points and change the influence on the other points using the roll on the mouse.
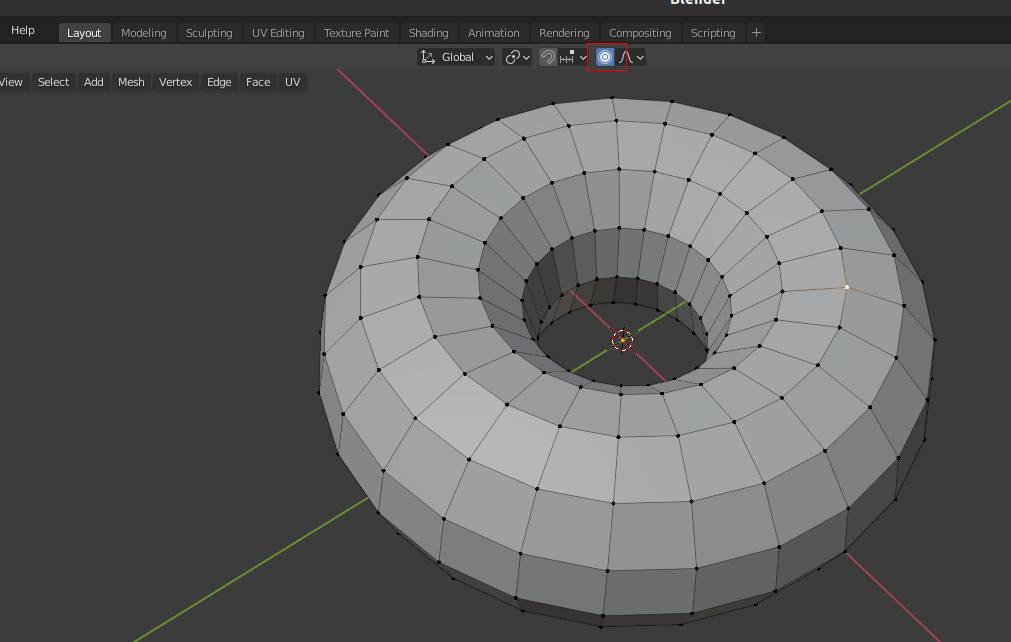
We want to make it imperfect so here we go.
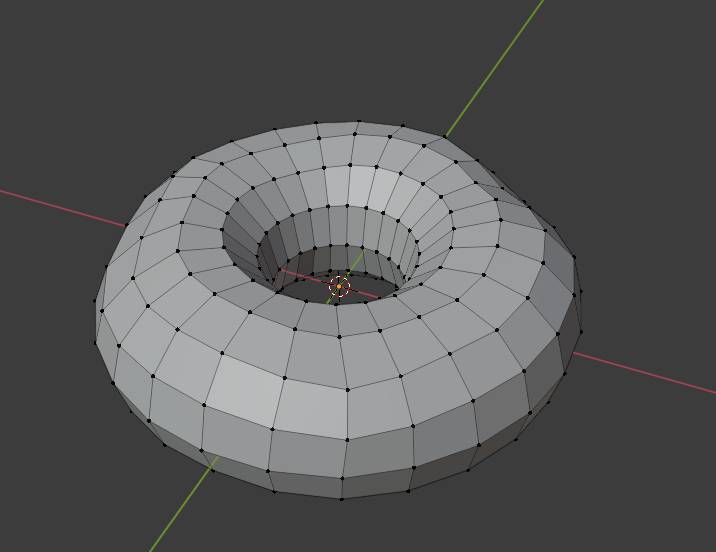
To make it look smooth, in object mode, we can right click and go for “Shade Smooth”.
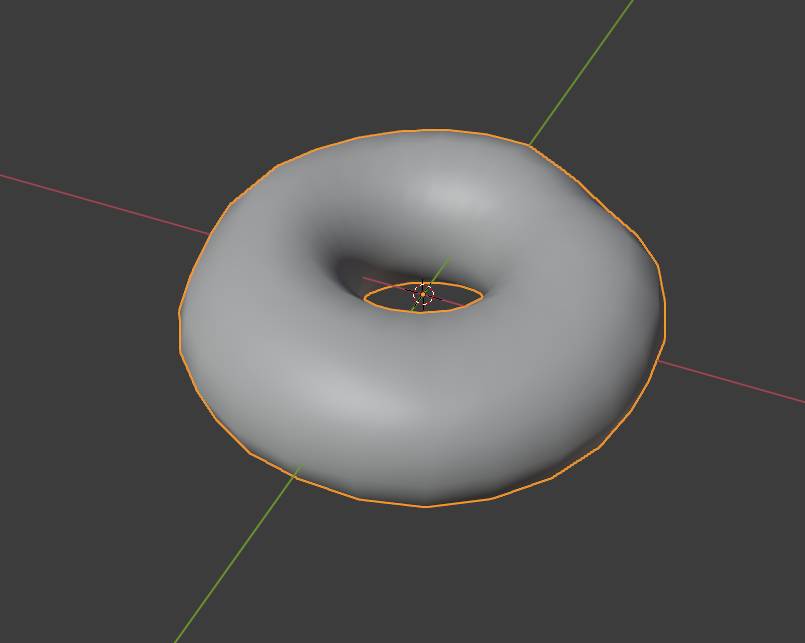
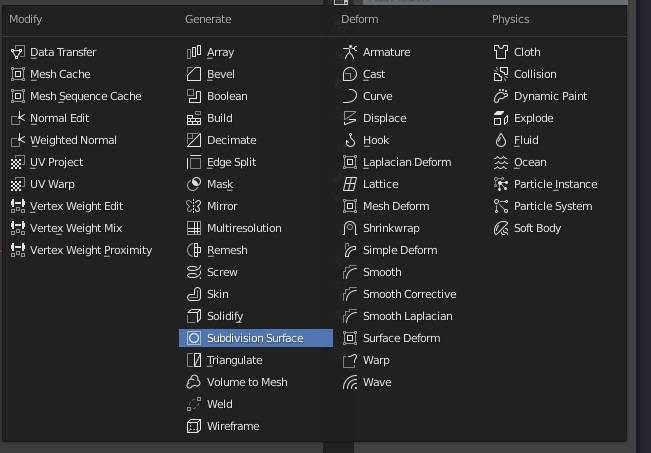
That does not make it flat, you don’t really improve the resolution, for that we need modifiers.
Video 3 : Making the icing
We want to select the top half of our donut.
First to get a specific view, you have : * the coordinate system in the top right, * the tilde button, below the “Esc” key
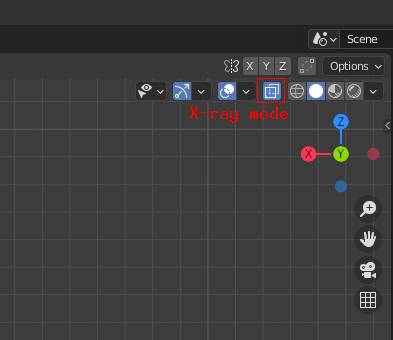
The next problem is that we don’t select the through the surface, for that we need the X-ray mode. The shortcut for that is Alt+Z.
Then we want to duplicate the top part with Shift + D. Again, using escape or right click we can cancel all movements after the duplication to keep it in place.
Then we separate it using “P” and “selection” and we get a new object.
By the way to select contiguous vertices, I can use Ctrl+L to select them and avoid mistakes.
Then we adjust the view parameters using N to access properties or the little arrow next to it.
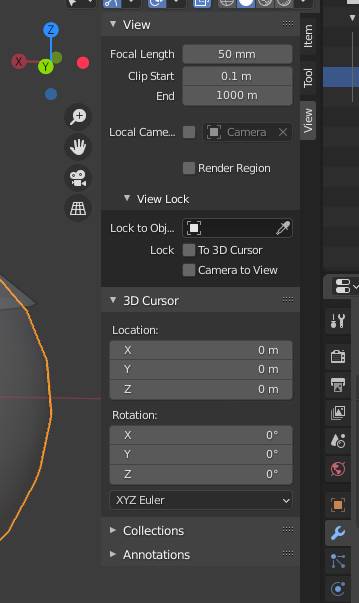
We can modify the “Clip Start” to modify what is cut when we zoom in.
To add thickness to the icing we use another modifier, “Solidify”.
Then we adjust the offset to make solidify from the top side rather than bottom side and we adjust the thickness to something reasonable like 2 mm.
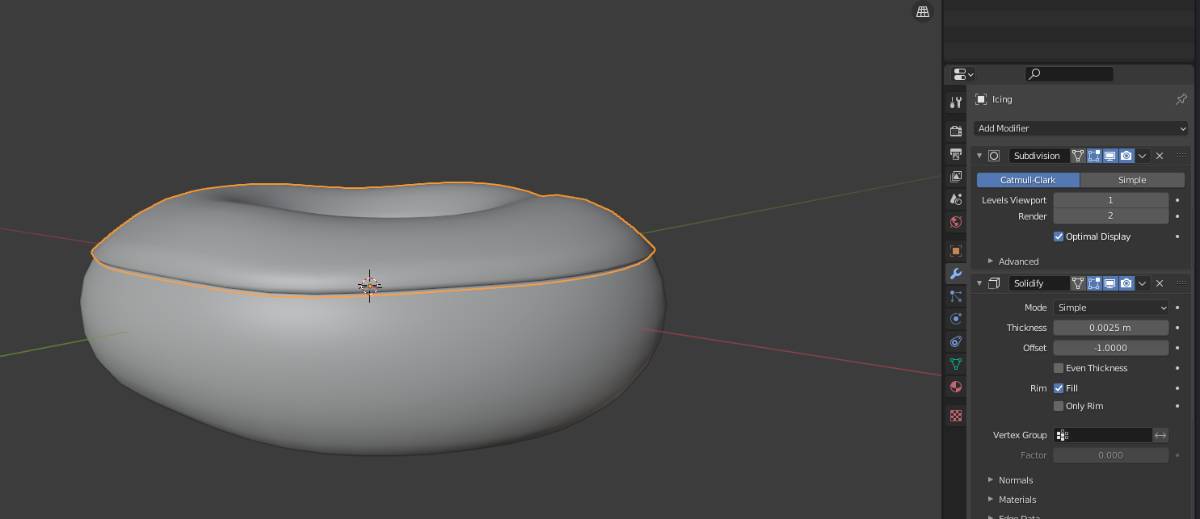
To remove the edge of the side of the icing, we swap the order of the modifiers. Solidifying first and then smoothing it.
So “Solidify” and then “Subdivision”
Video 4 : A drippy icing
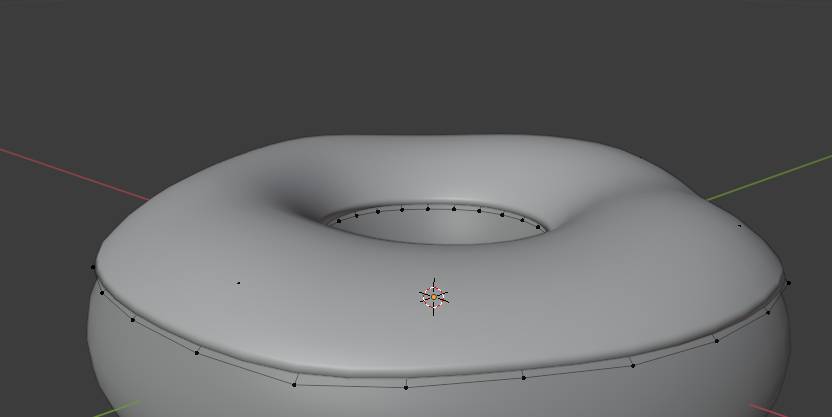
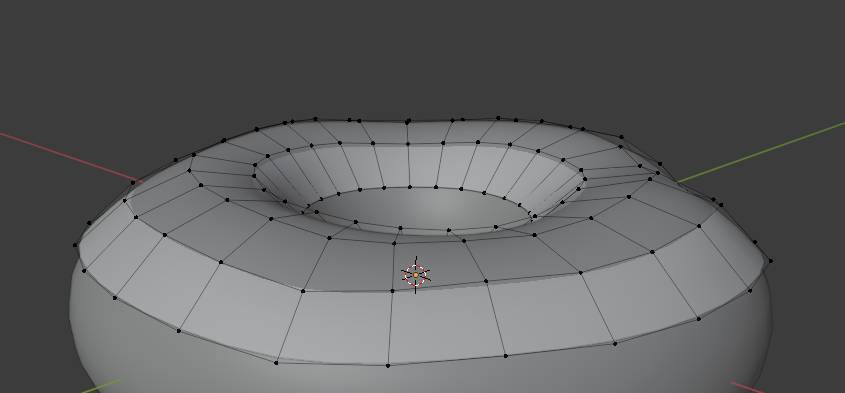
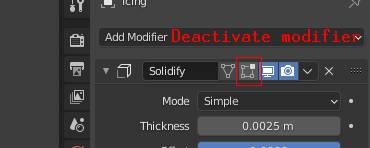
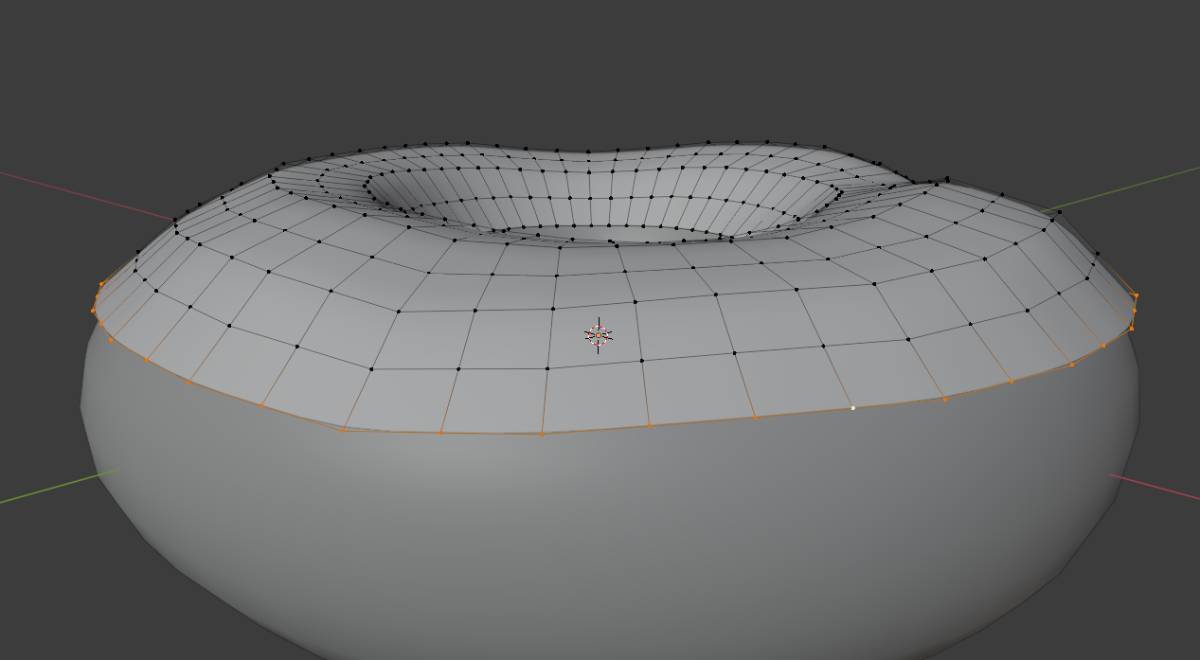
We can’t see properly the mesh of the icing in edit mode anymore so we want to deactivate the modifier by clicking the little square.
 |
 |
|---|---|
| No visible mesh | Mesh visible in edit mode |
Shortcuts: * in edit mode : * A : Select all * Alt + A : Deselect all * Select the full edge using Alt + left-click * Inverting the selection using Ctrl + I * Hiding and de-hiding with H and Alt+H respectively
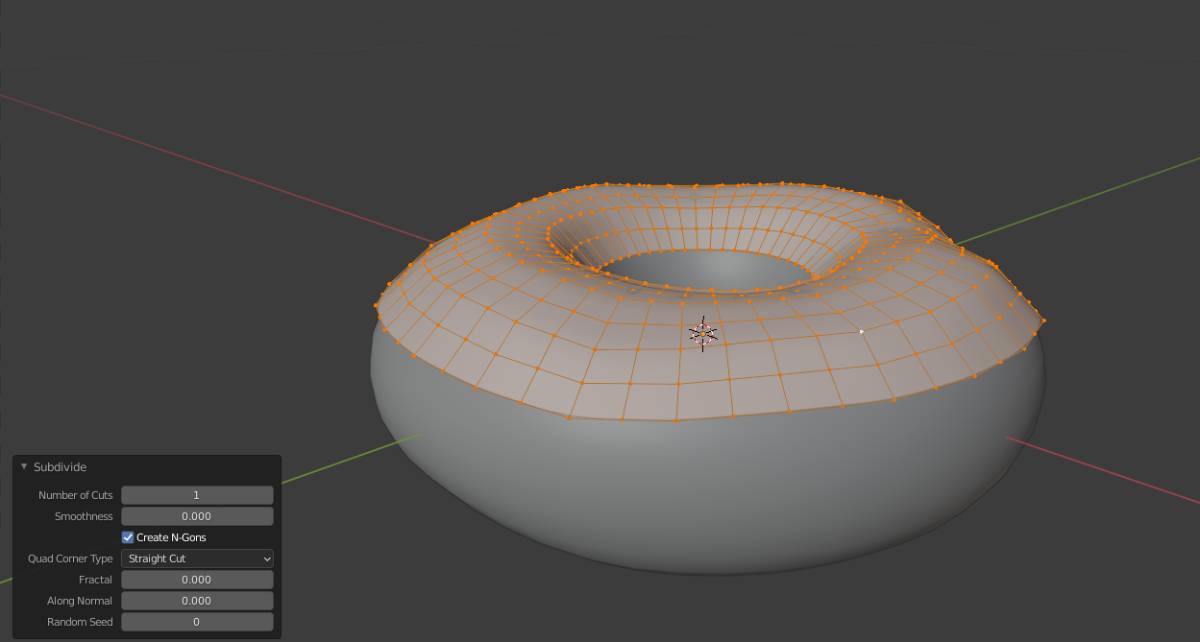
We want to add details so we select the mesh with A and right-clich Subdivide.
 |
 |
|---|---|
| Before Subdivide | After Subdivide |
Now a lot of manipulation and shortcuts: 1. Select the full edge using Alt + left-click 2. Inverting the selection using Ctrl + I 3. Hiding and de-hiding with H and Alt+H respectively
 |
Select Edge (Alt+ left-click) |
|---|---|
 |
Invert selection (Ctrl+I) |
 |
Hide selection (H) / Show (Alt+H) |
To move the edge while staying on the donut surface we want to activate the “Snap during transform” by clicking the little magnet.
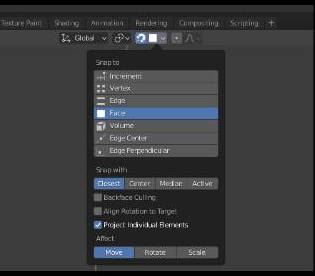
Then we can select the option we prefer, snapping to faces here, and because we are still in proportional editing, we select project individual elements to apply it to all vertices.
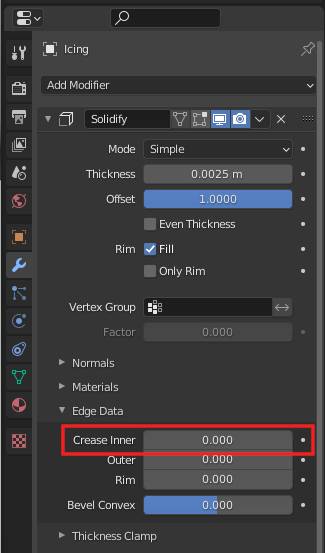
Finally, we want the icing to go touch the donut so we can adjust the crease in the solidify menu.
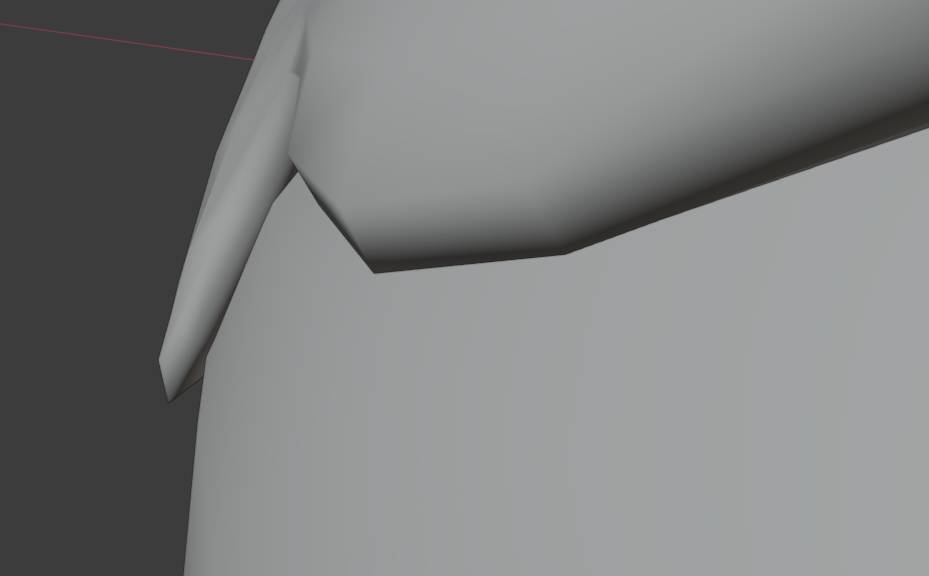 |
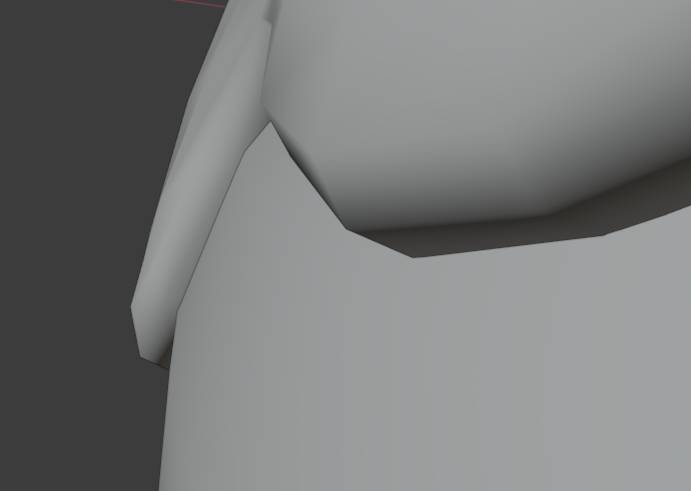 |
|---|---|
| No Crease | With Crease |