12. Molding and Casting
Assignment definition
Group assignment
- Review the safety data sheets for each of your molding and casting materials,
- then make and compare test casts with each of them
Individual assignment
- Design a mold around the stock and tooling that you’ll be using,
- mill it (rough cut + (at least) three-axis finish cut),
- and use it to cast parts
Group Assignment
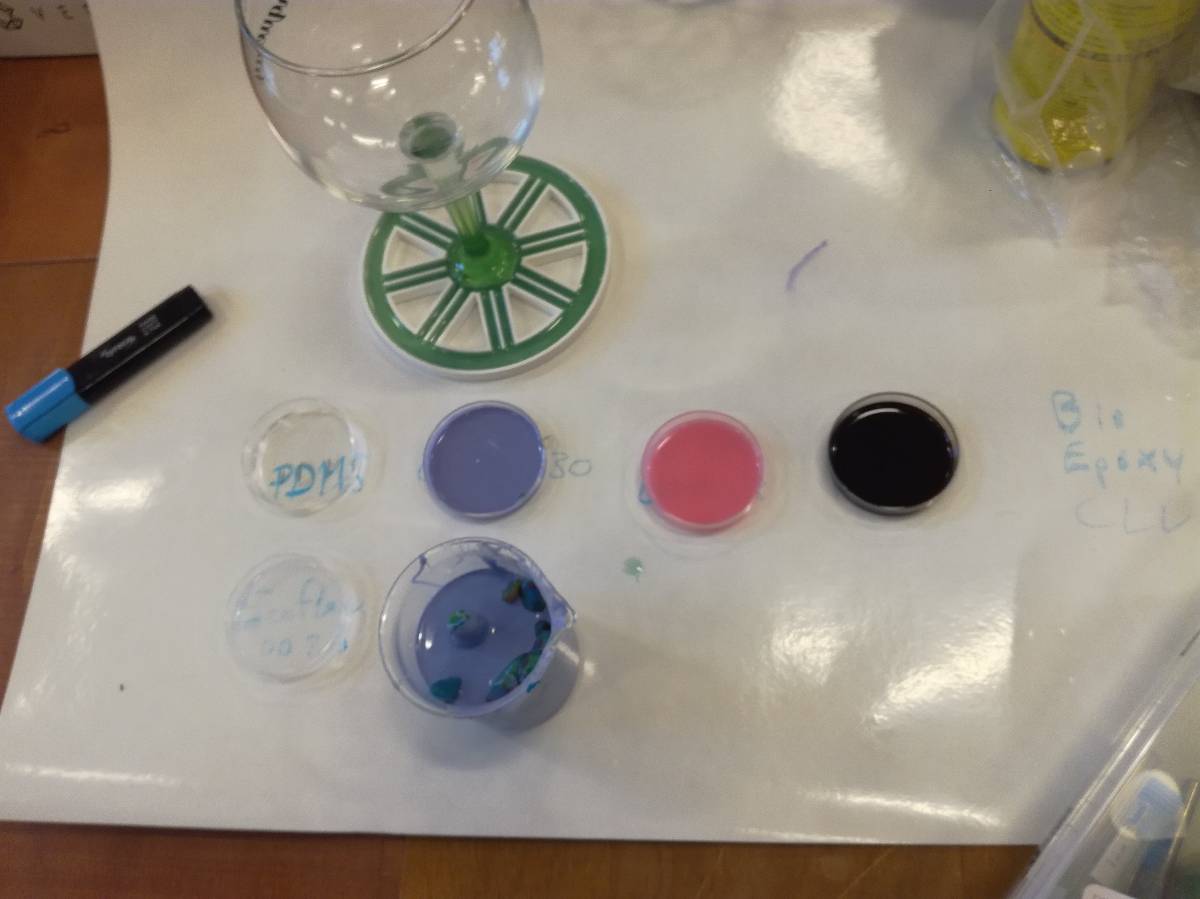
As part of the group assignment, we started by reviewing the different products that we had at the lab and their datasheets.
We have different silicones, polyurethane and epoxy.
After that, we tested the process by casting these different materials in petri dishes.
We documented it on the group assignment page.
Individual Assignment
Drawing a snail
At first, I had the project to make these snails and their shells.
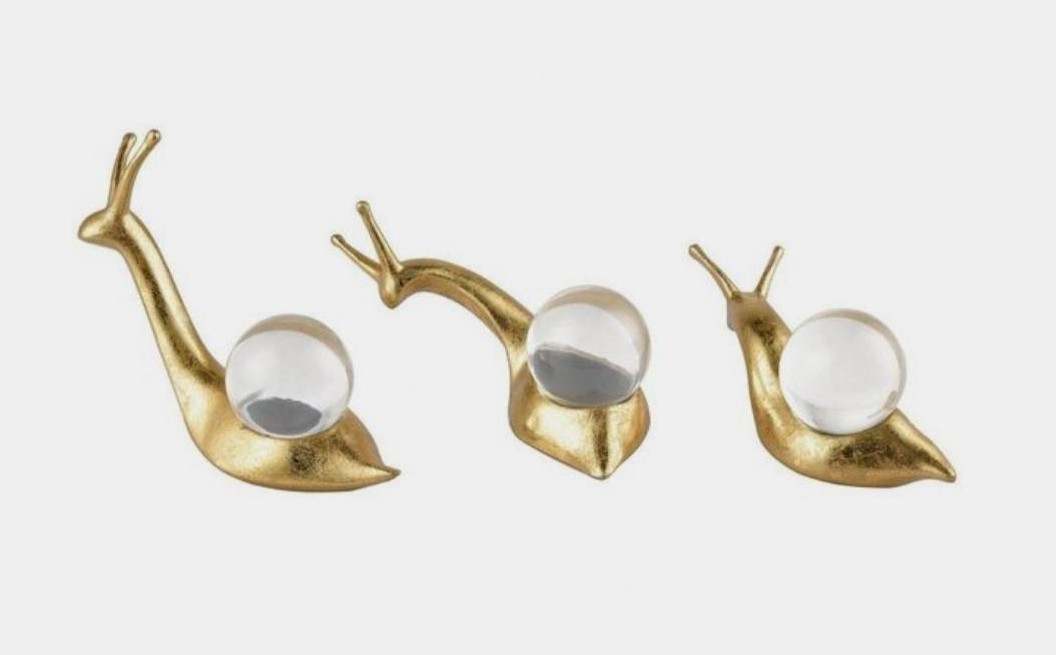
So I started with a model found online and made it into a nice looking snail in Blender.
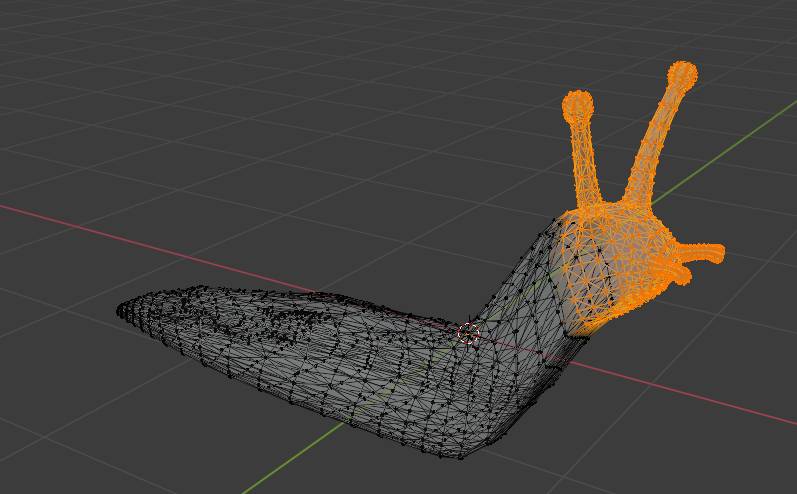

I was quite happy to see that I am now much more comfortable to do simple stuff in Blender and not as frustrated as before

After drawing it, I realized I had misplanned this because it would be very hard to make a mold of it and cast it.
So I switched to a simpler project.
Making a half egg
Machining
I switched to a simple half egg. The initial plan was to make a shell of an egg in chocolate but we did not have any foodsafe silicone so I make a half egg in epoxy.
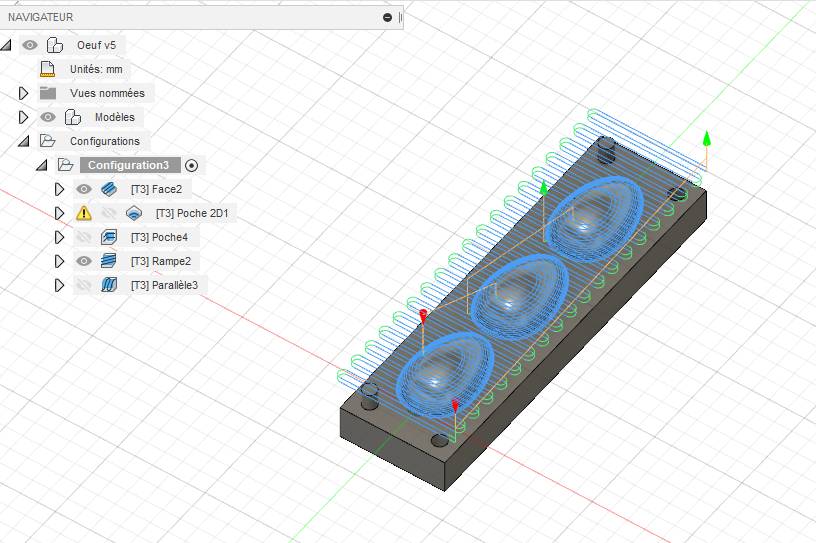
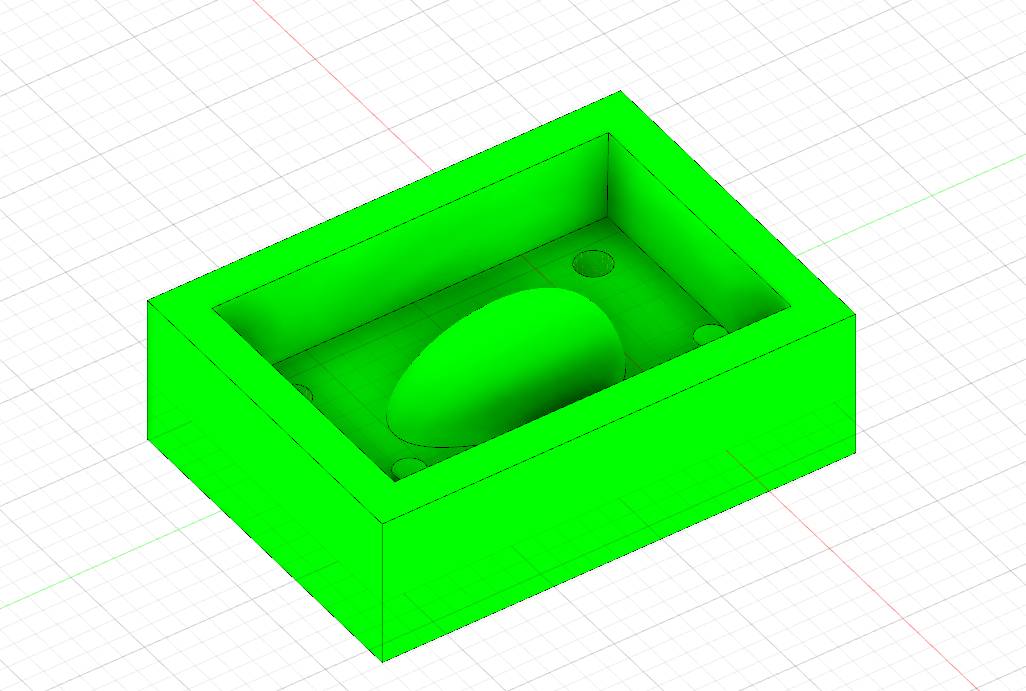
I quickly drew it in Fusion360 and made a positive out of it.
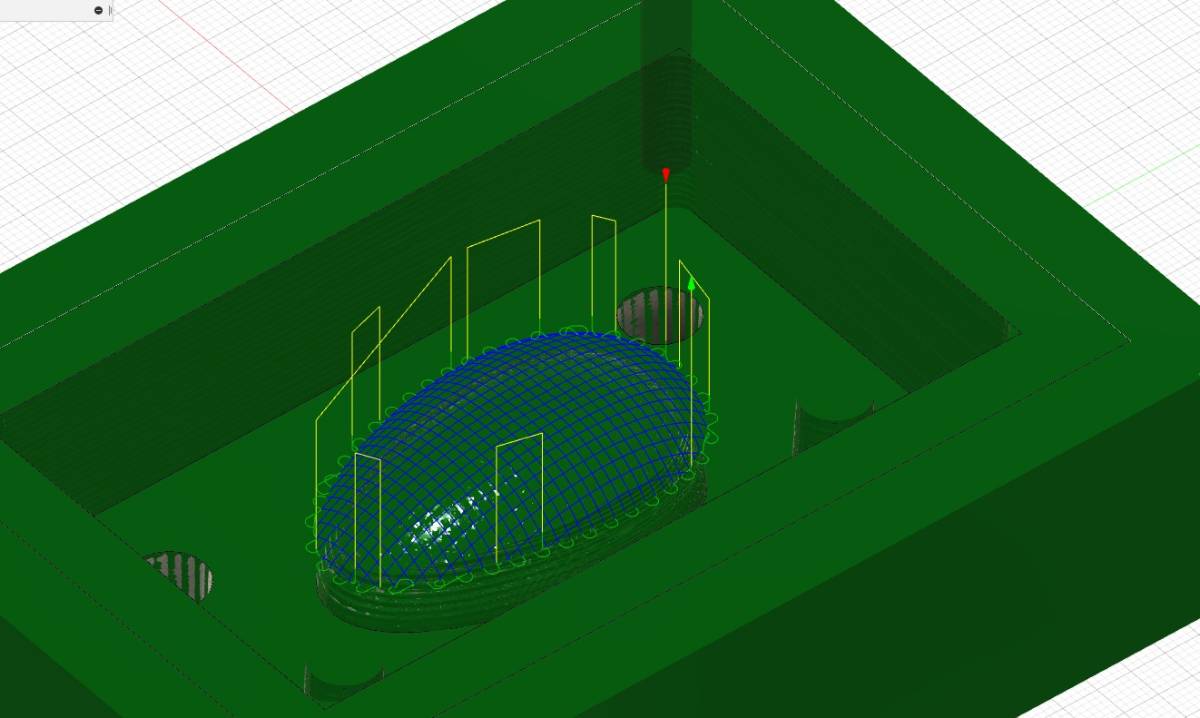
Then I went to the fabrication tab of Fusion360.
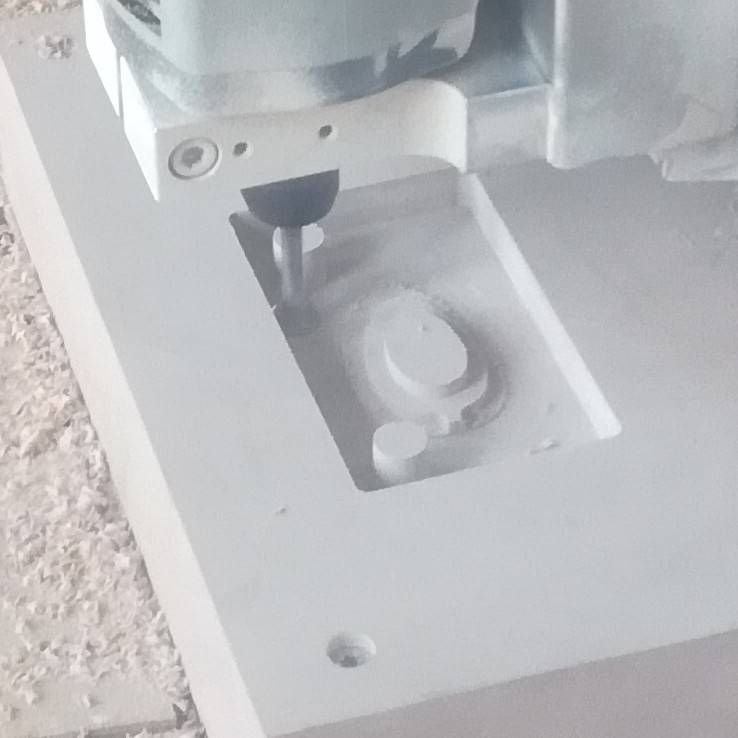
I moved on to fixing the stock in our CNC.
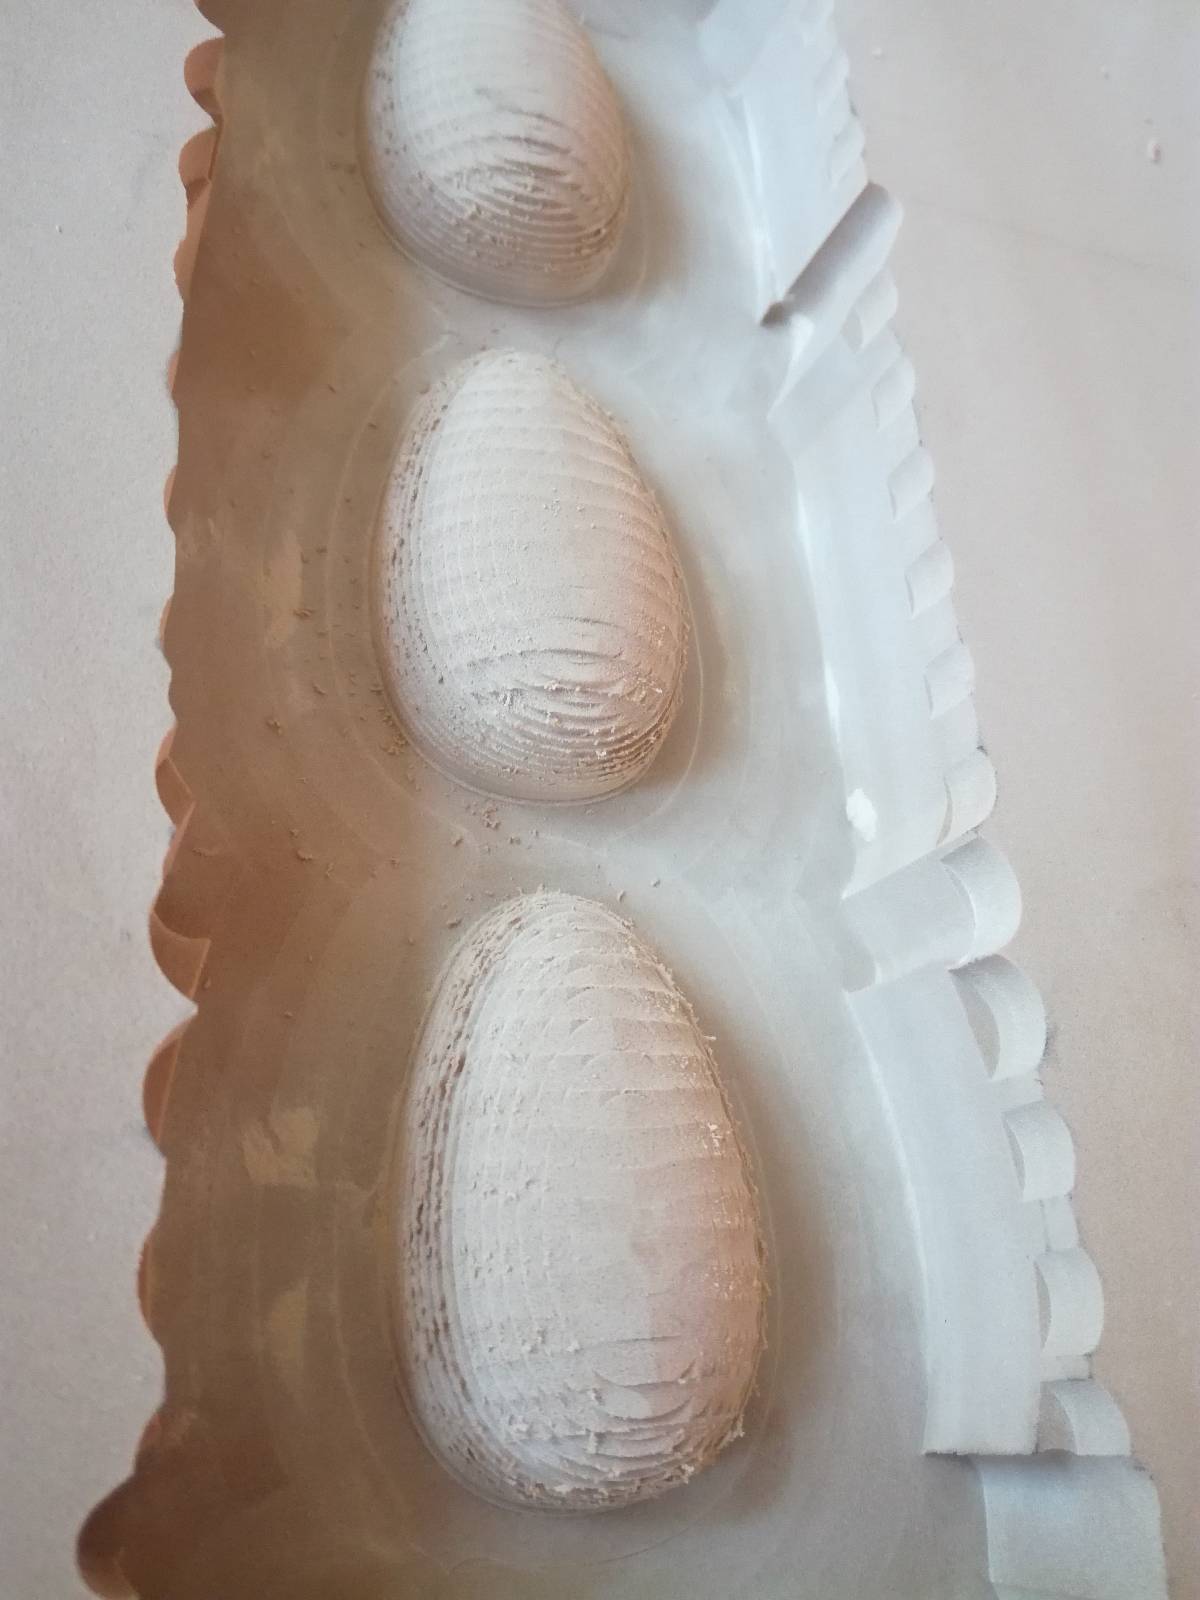
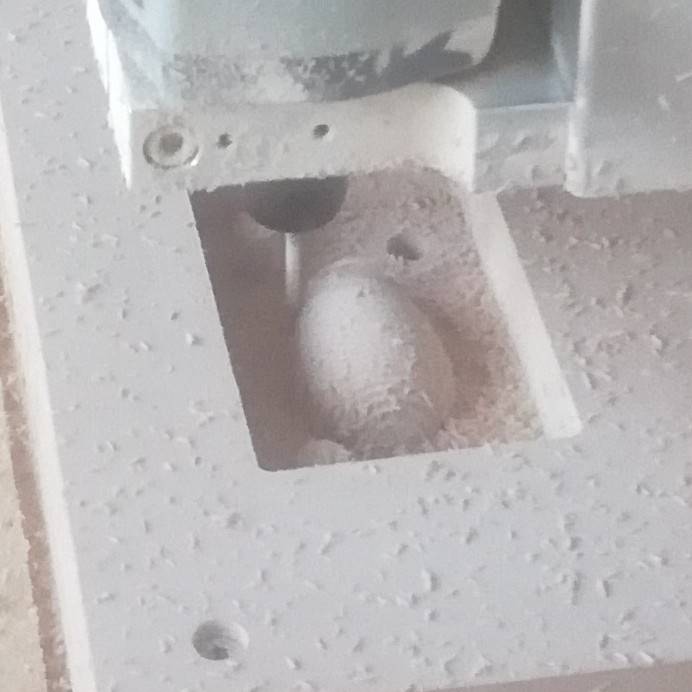
The first passes made the mold but it was still quite rough so I decided to add some parallels to it. Fortunately, I had kept the reference and could simply launch a new gcode job on the CNC.
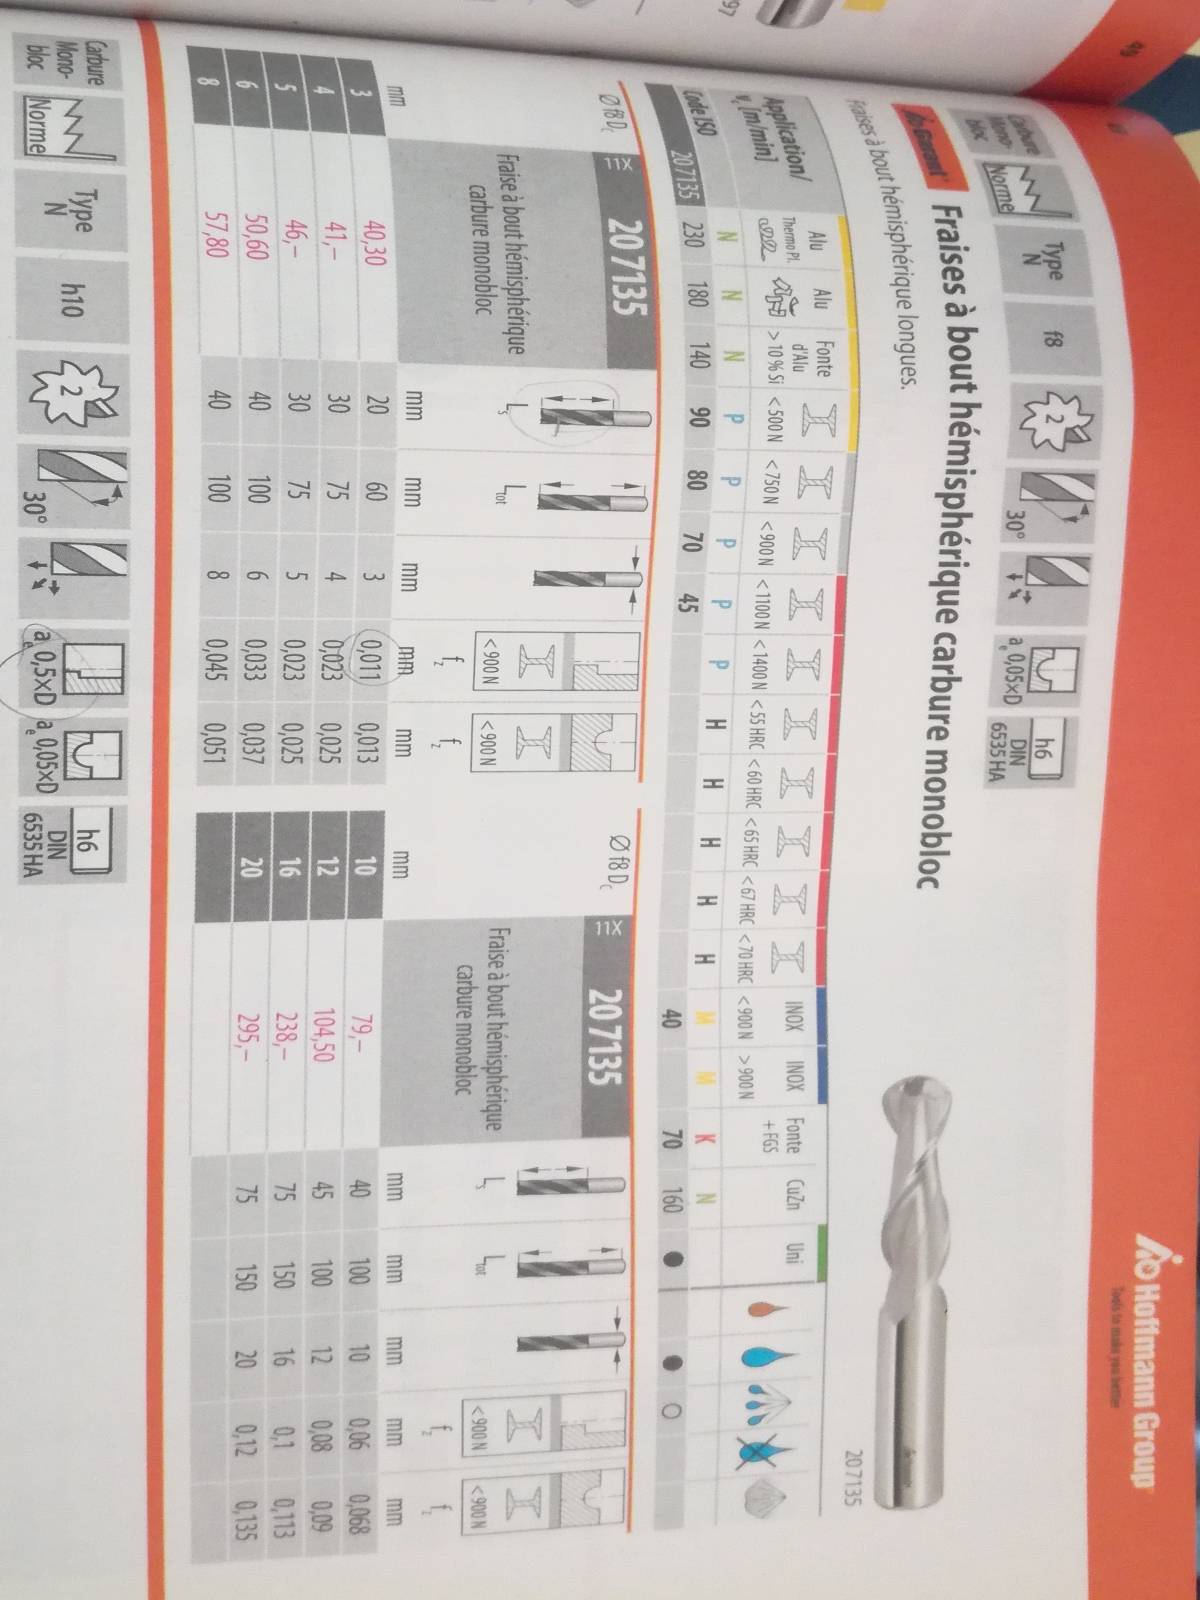
For that second job, I used a smaller milling bit.
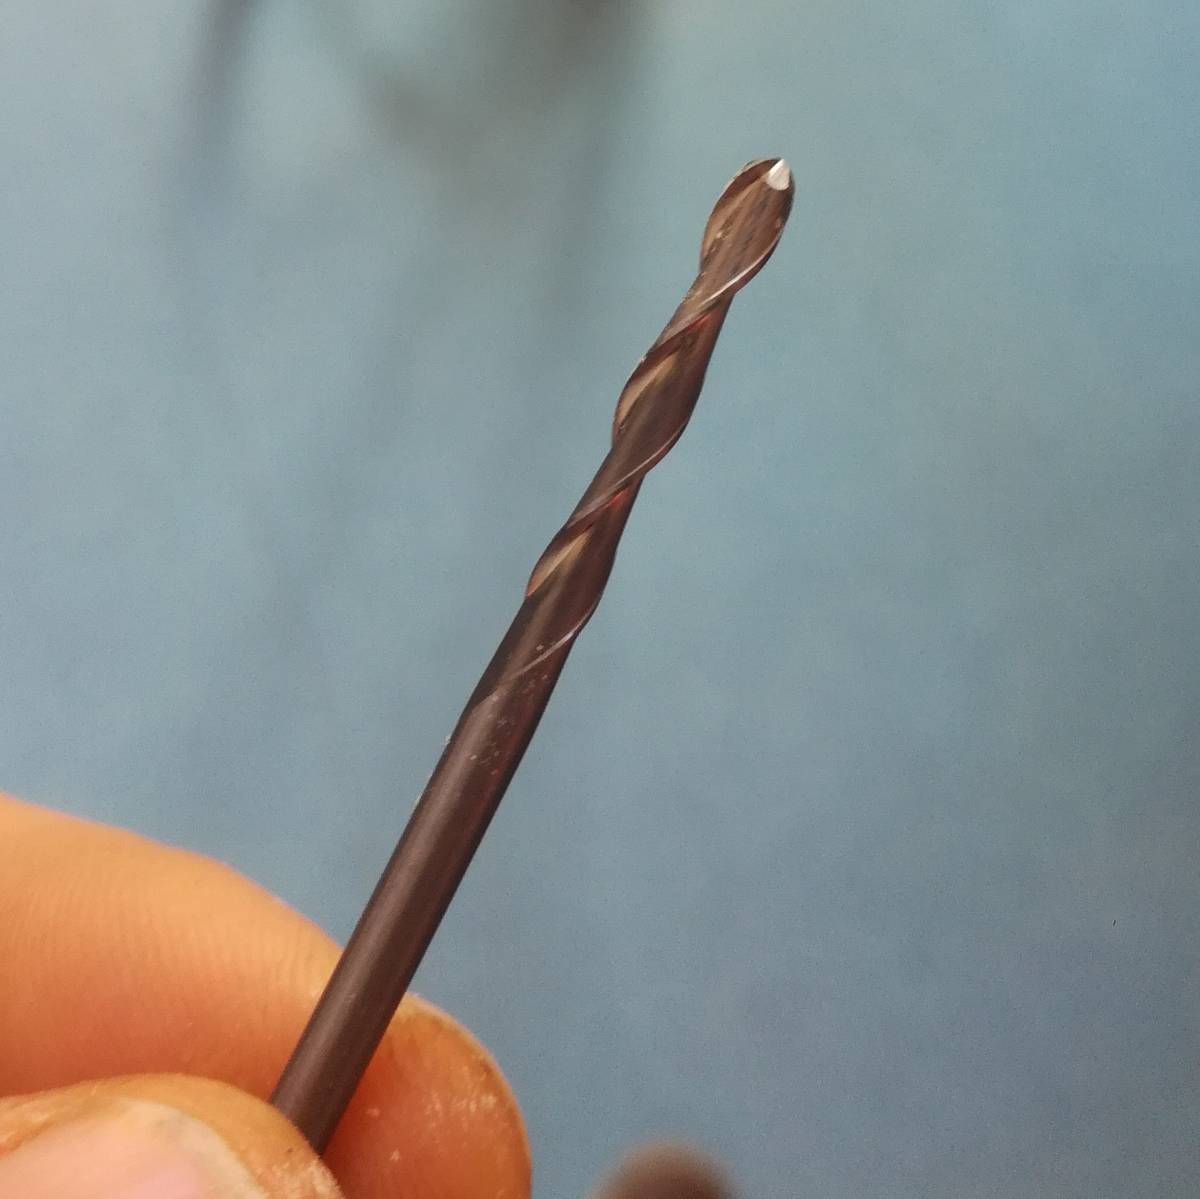
I added the new bit and its characteristics to my tool library in Fusion360.
The second version was much better but still rough so I sanded it by hand.
Molding
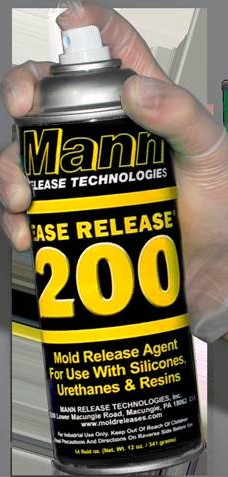
I chose to mold it in silicone to later be able to cast it in epoxy and get it out of the mold easily.
I started by checking the instructions for use of the Oomoo-30 and checking the safety datasheet and suiting up.

Then I degazed the silicone in our vacuum pump chamber. The pressure was very low and was not easily readable as it was very close to the zero mark on the barometer of the vacuum bell.
I made a lot of bubbles and I watched it to avoid it overflowing by degazing it in multiple steps.
One thing we noticed is that if the pressure gets really low the bubbles keep coming, potentially because with such a low pressure, the silicone gets evaporated, so we managed the pressure to remove the big bubbles but not abusing it.
Anyway, I knew I would have difficulty getting the mold out because the design was a bit rushed so I had planned room to cut the part of the mold away without destroying it. It was then quite easy.
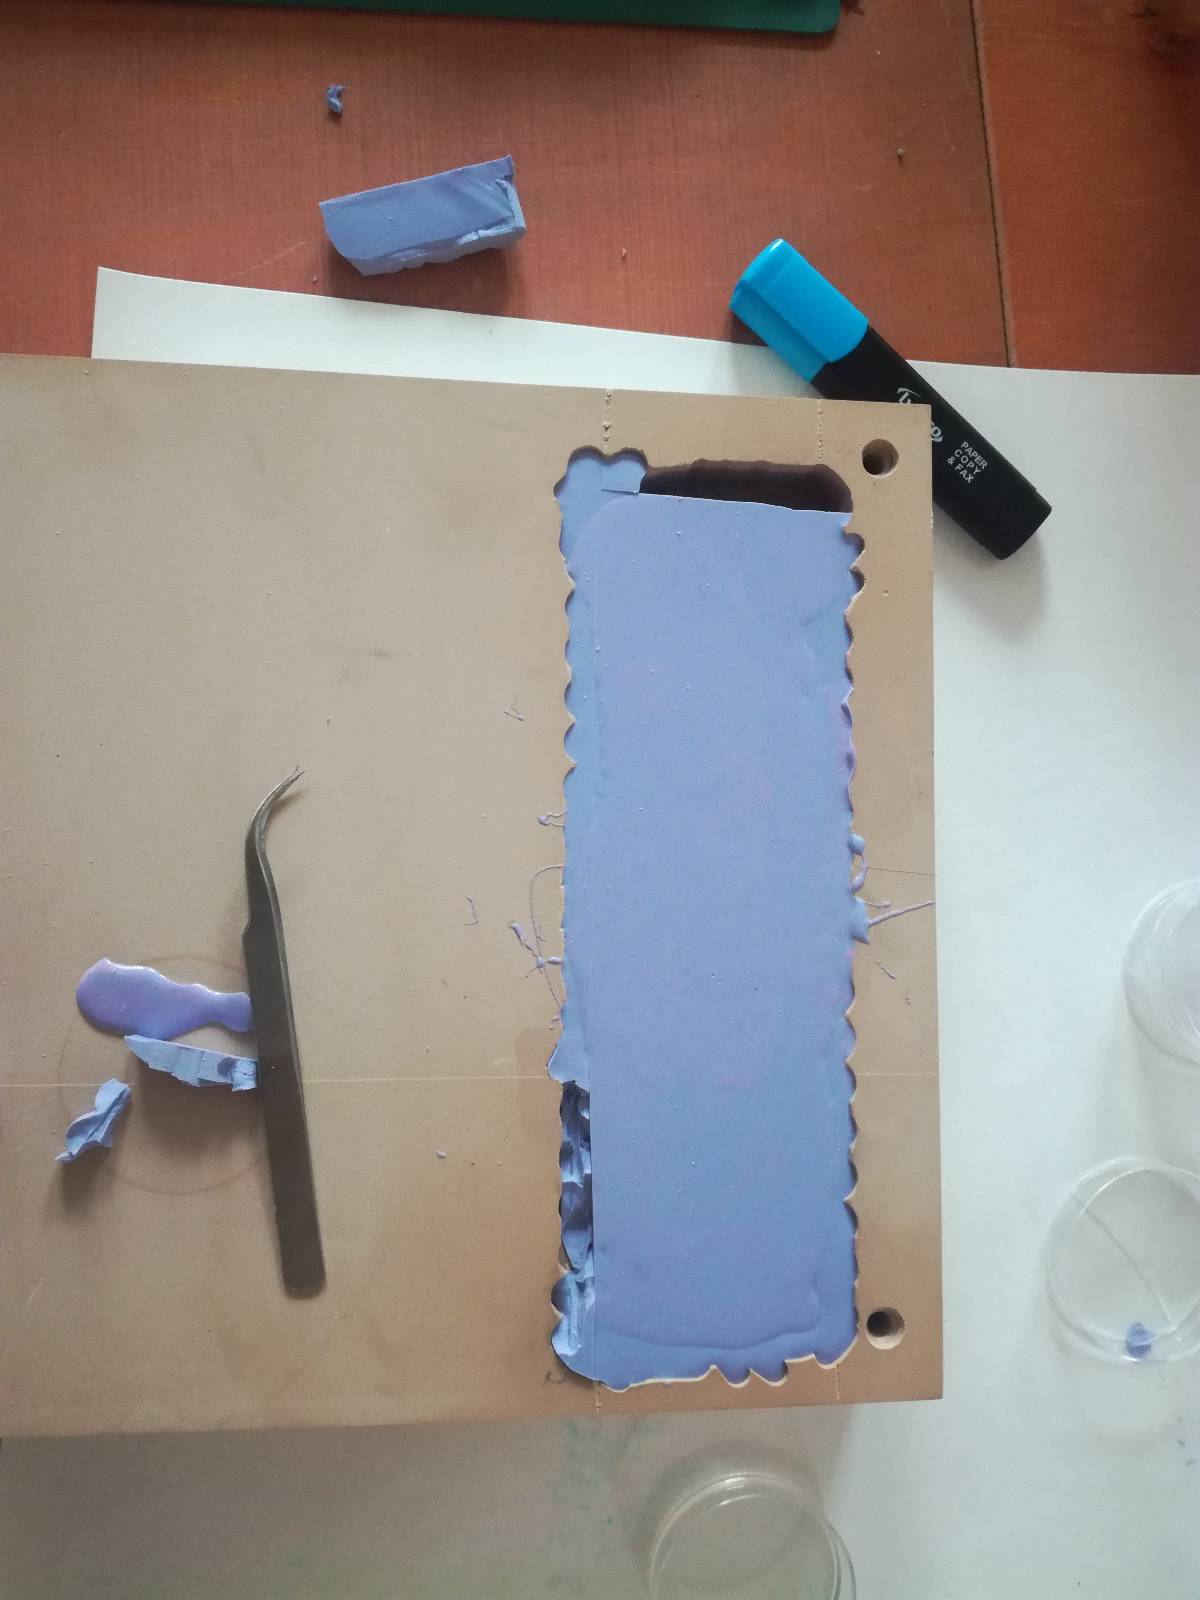
Casting
I casted my models in SuperSap CLV bio-epoxy that I coloured with the colorant at hand. It was not ideal because the colorant was for silicone but it worked nonetheless.
To prepare the epoxy, I followed the instructions in the datasheet as described in the group assignment. We were not given any datasheets and barely any instructions by our instructors so we had to work on our own. By checking the different distributors websites or on this one, we figured out how to do it and confirmed the pot life etc.
We found good general instructions and info on epoxy casting here.
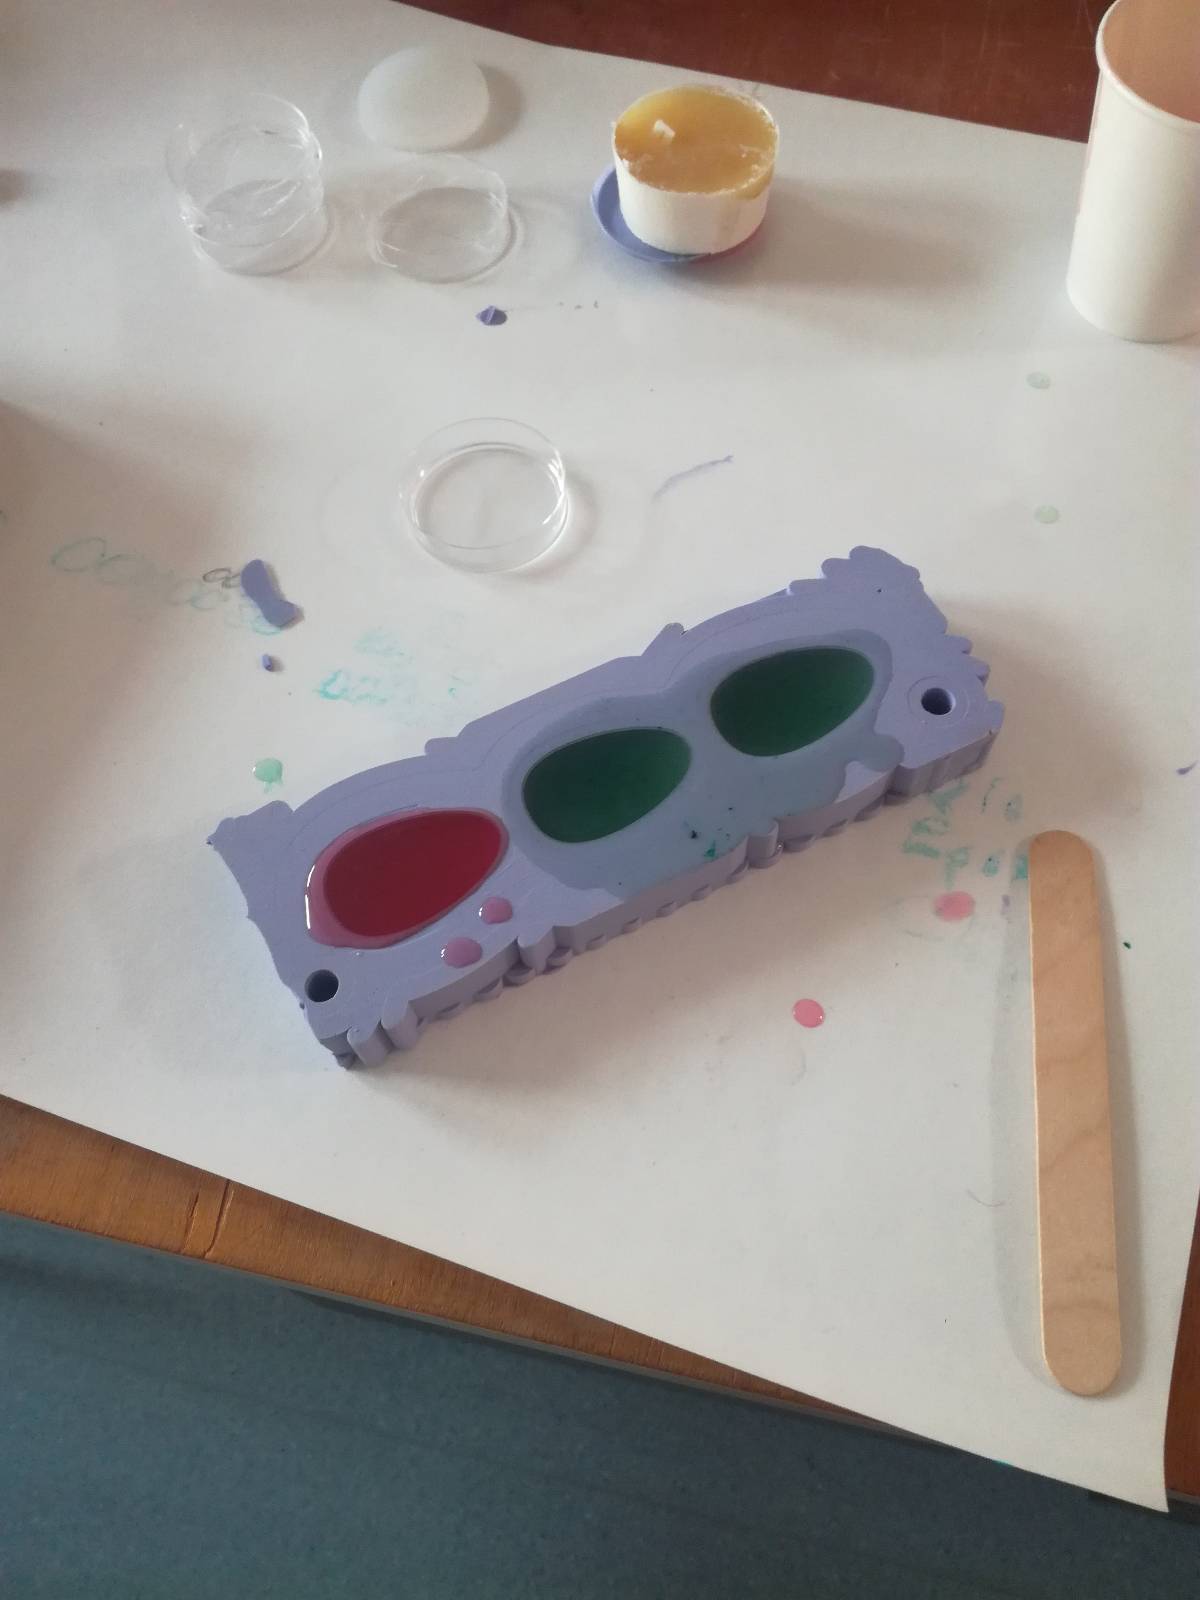
I mixed the epoxy with the hardener, then gently mixed using a wood stick horizontally to avoid creating bubbles, and put it in the vacuum bell. I had enough time as the pot life was more then 10 minutes and my mold was fairly small.
The second thing was that the epoxy was actually very old and the containers starting to fail but it worked out well in the end.
I mixed the expoxy and degazed it but when I poured it I made some new bubbles so I degazed the mold once more.

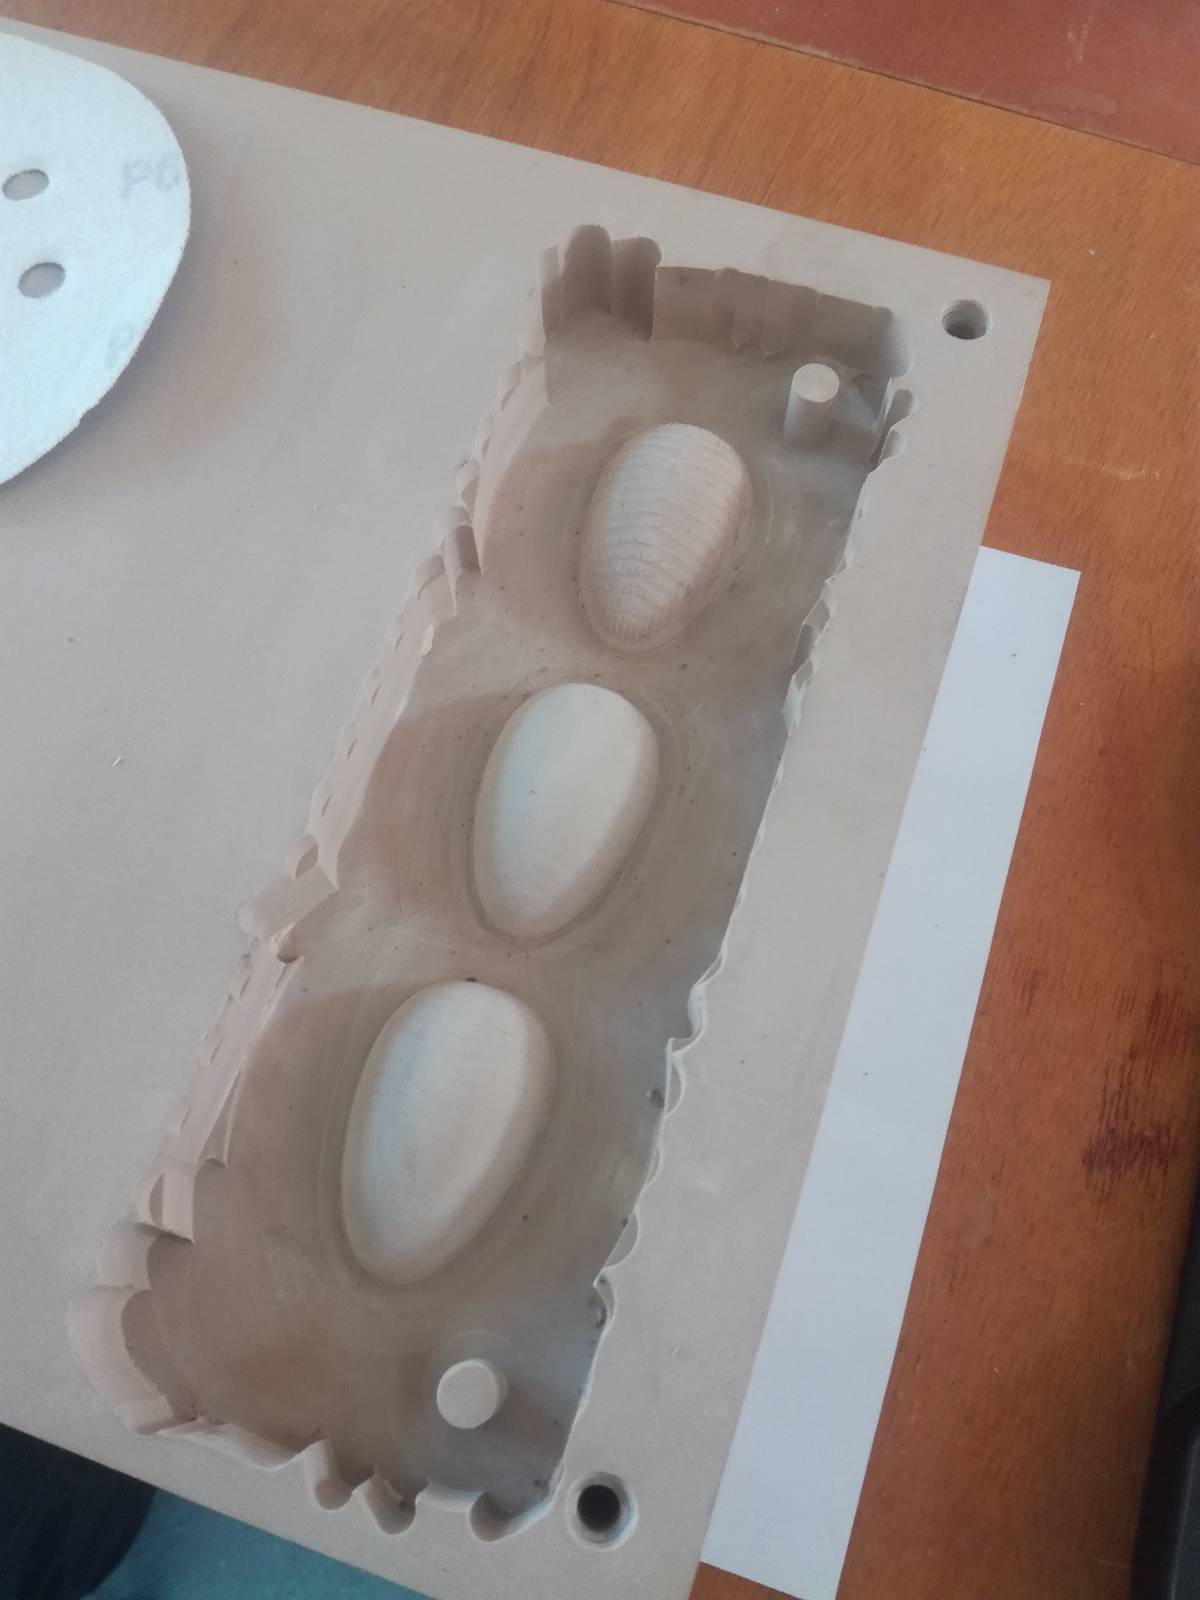
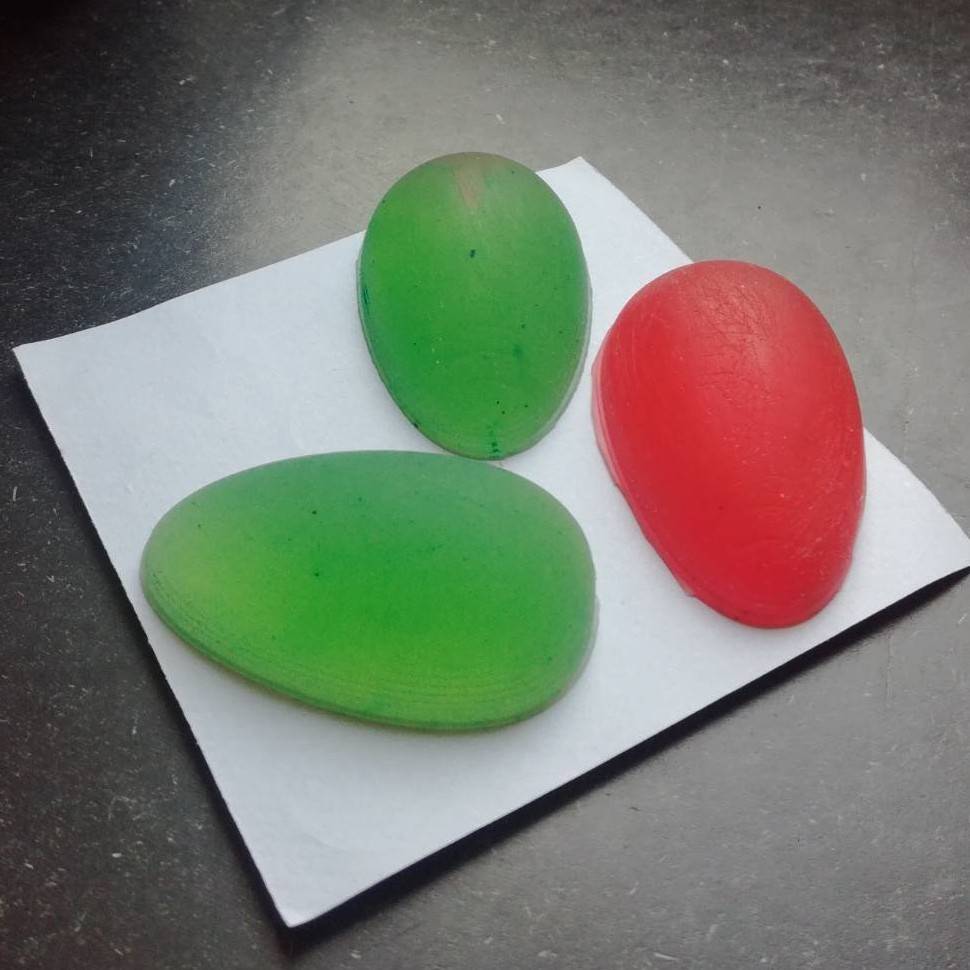
Once that was done, I came back the next morning and found my half eggs beautiful !
Starting over to make it properly
I had rushed the first mold and what I did not say above is that it took a very long time to machine. On top of that, the borders were not clean and I had to cut away part of my mold to get it out easily. Also I had mismanaged some toolpath options in my first try and the tool was “removing” material multiple times at the same spot which was making even slower.
So I started from scratch and redesigned the mold, doing it by the book this time.
I analyzed the accessibility of the mold to get it even better.
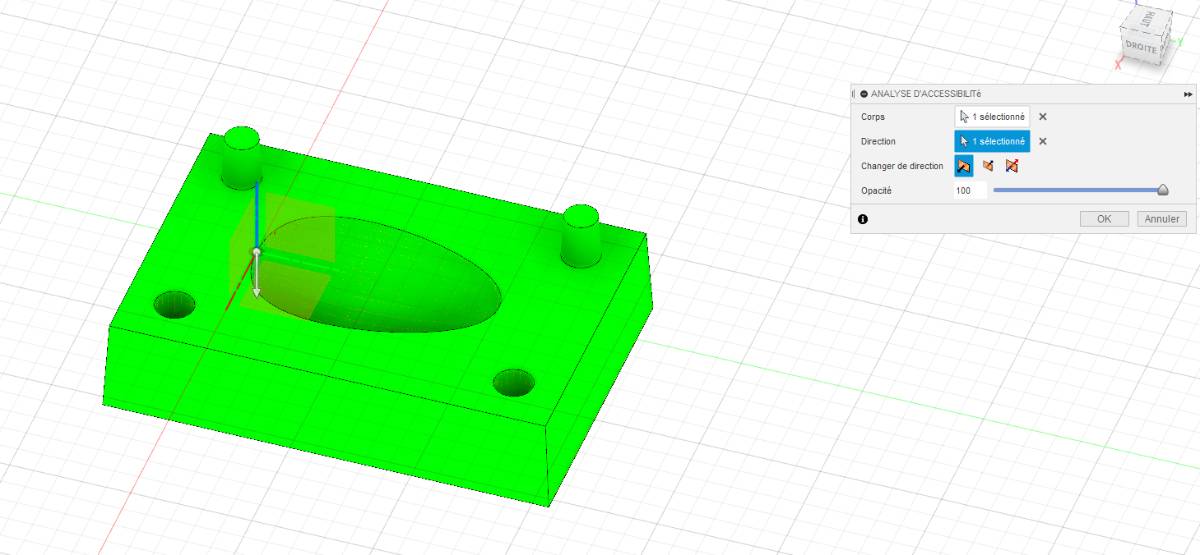
I investigated the CAM errors and realized that for the parallels to work down to the bottom, I had to select the option for the tool to be limited by the exterior of the selected border. Thank you Christophe !

Once that was done, I discussed with Christophe about the speed limitations and optimized the speed for our stock material to get it to a shorter time. I went down from 2h to 35minutes.
We were machining polyurethane foam that seems similar to this one and is relatively expensive.
I molded it yesterday so I don’t have the results yet.
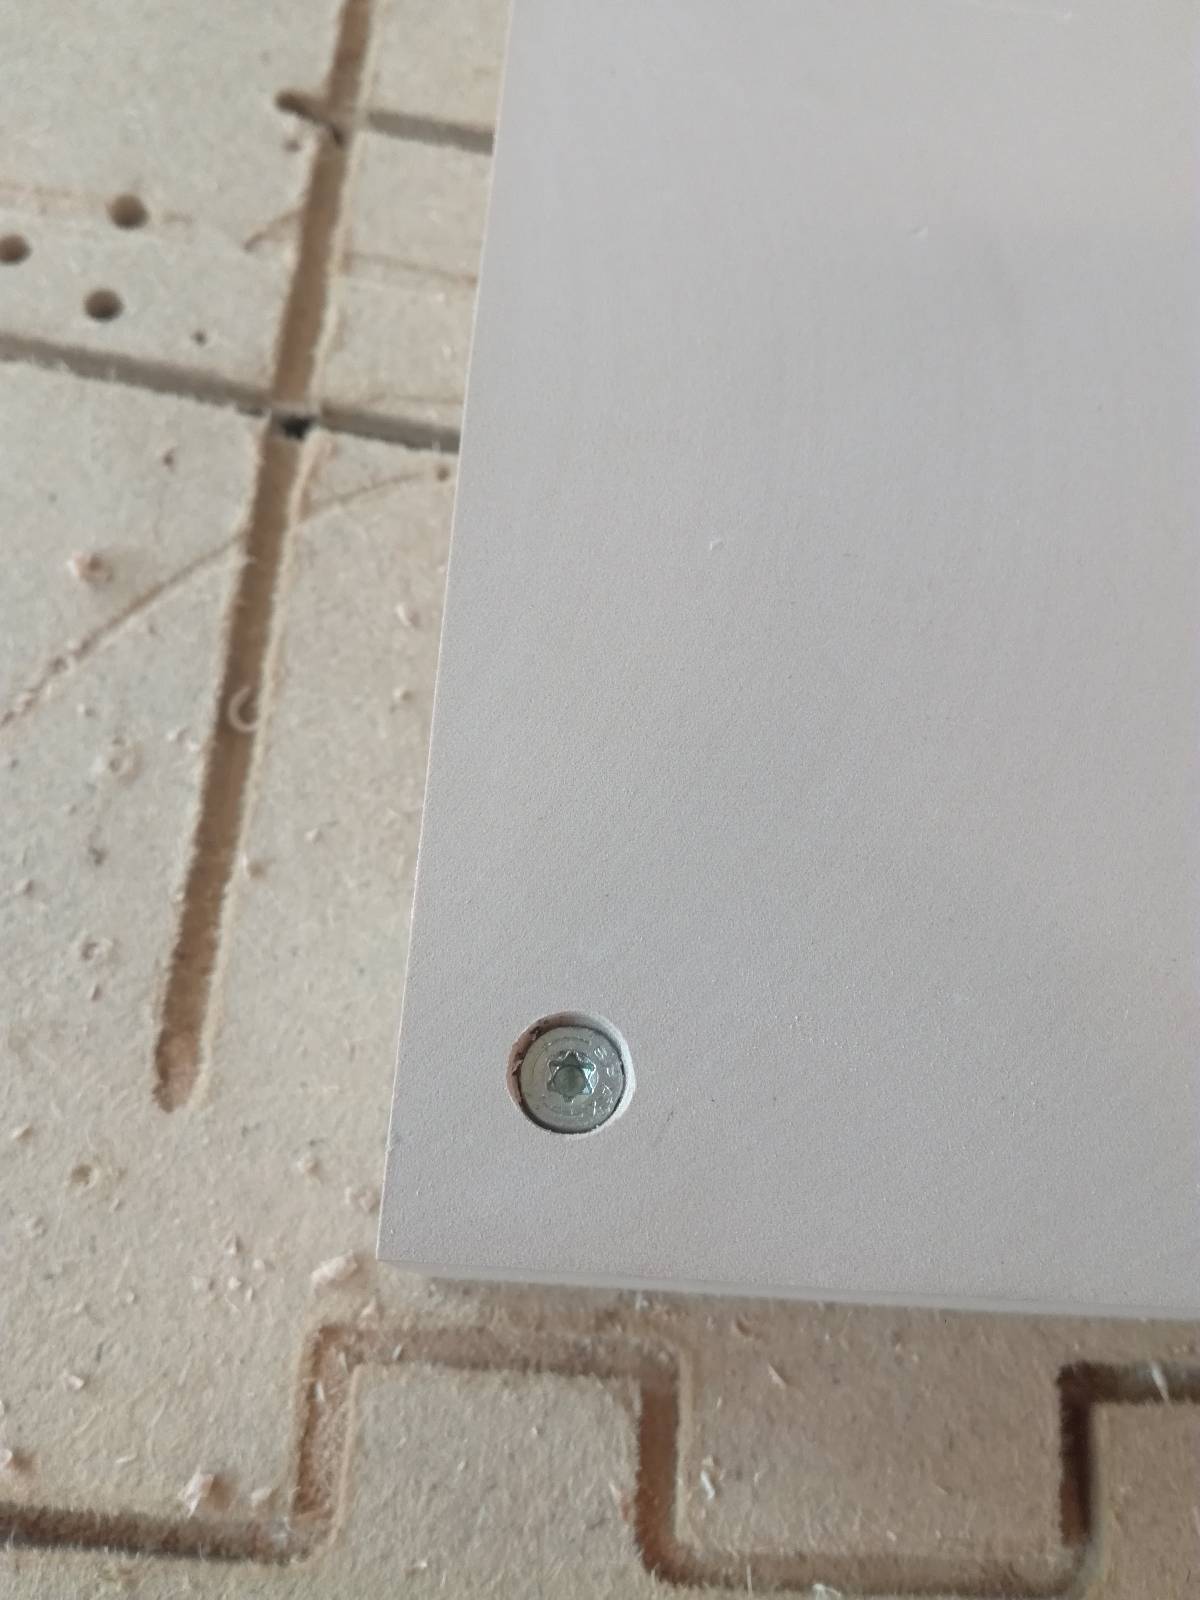
I just had one issue is that the milling bit was too short to get the contour of the mold to get it out of the big block but it worked nevertheless !
Files:
- The Blender Snail is a rather big file and I actually did not produce it so I won’t upload it here but ask me if you want to make it !
- The Fusion360 final model of the egg
- The STL file for the egg mold
- The Gcode of the egg mold for our CNC (postprocessed using kinetic nc)