4. Computer controlled cutting
This week’s assignment is centered around getting hands-on experience with the laser cutter, as well as the vinyl cutter.
Group assignment
In our group assignment, we characterized the laser cutter’s properties. In particular, we deteremined a kerf of about 0.172mm, and additional offset of 0.1mm for snug fit.
Laser cutting: construction kit
For my construction kit, I wanted to explore 2 basic concepts: press-fit joints (with chamfer), and bending wood.
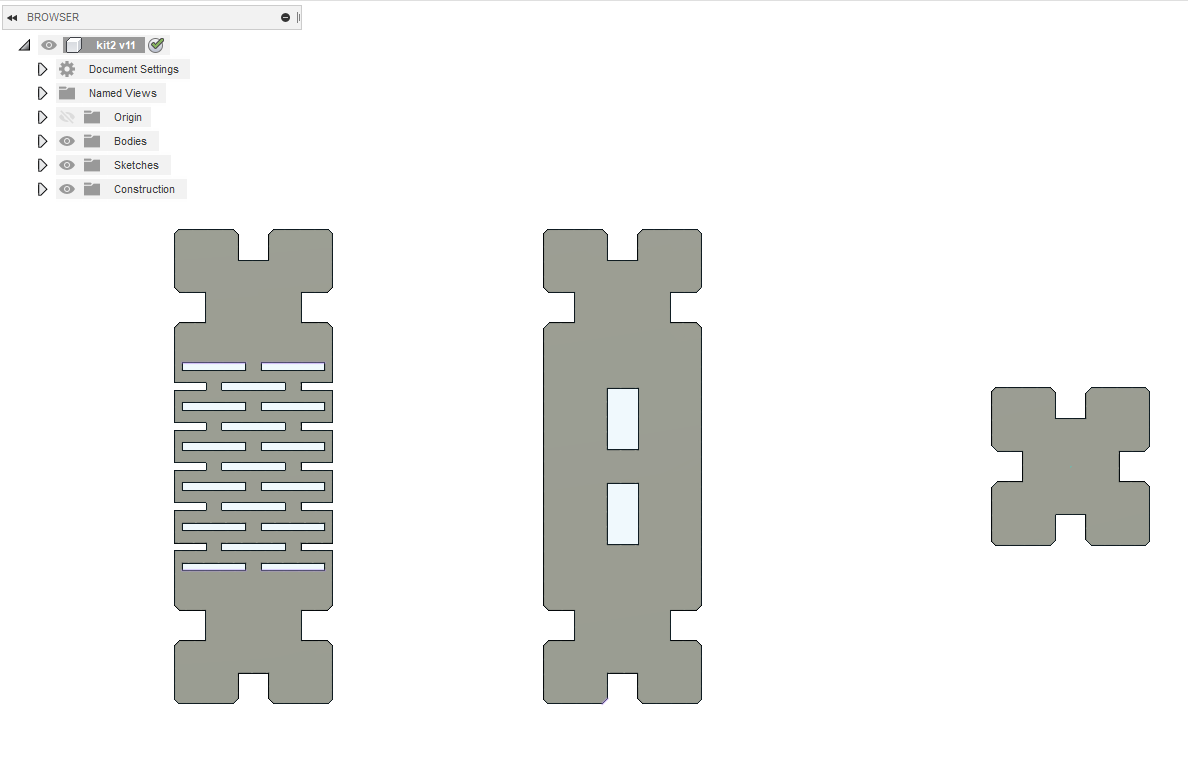
I start by drawing a simple rectangle with press-fit joints in Fusion 360:
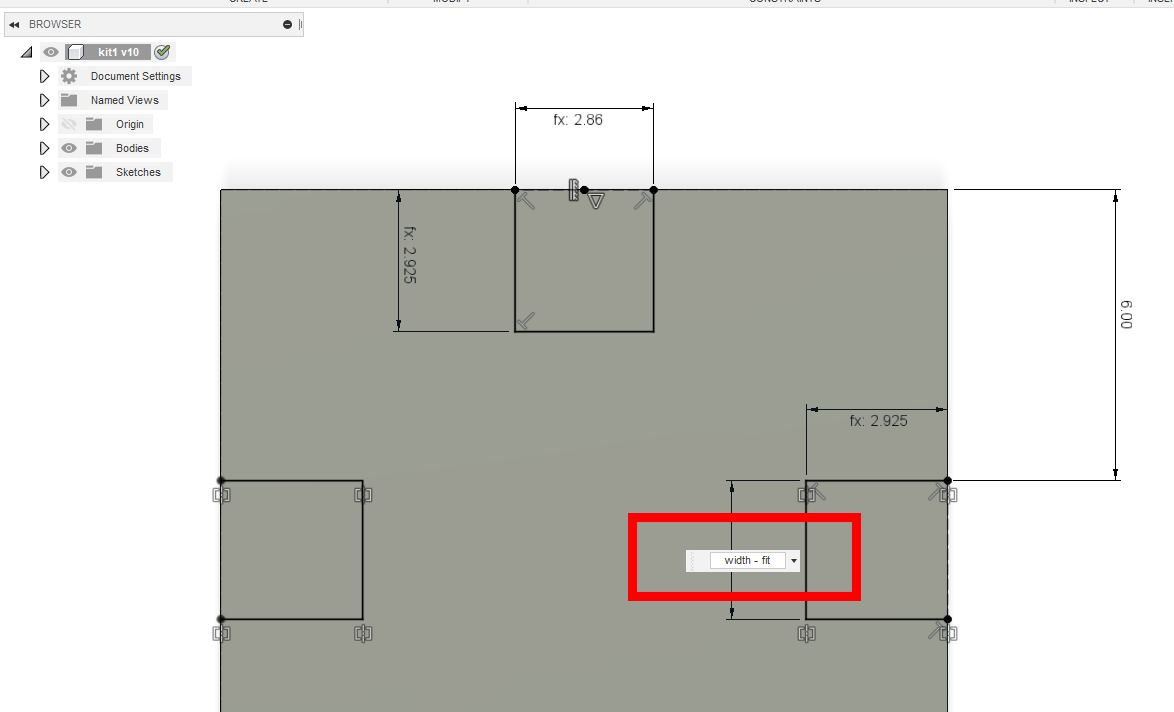
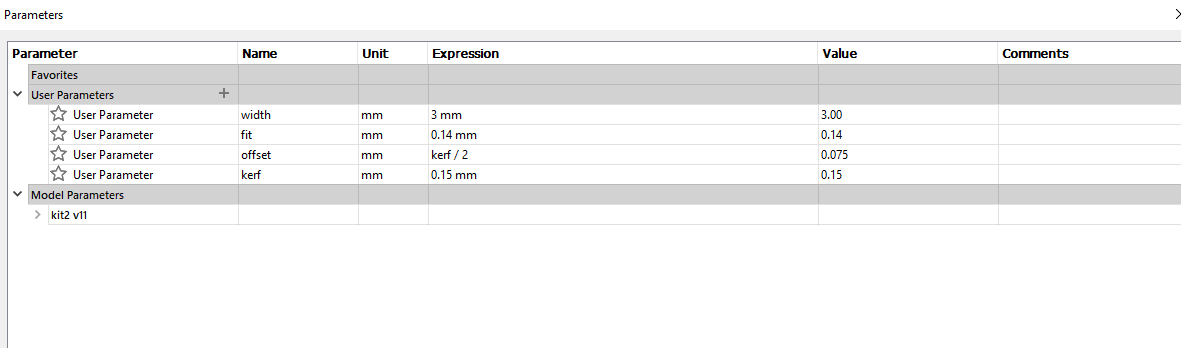
The width of the wood and the kerf are parametric. Additionnally, I define a parameter specific to joint clearance and call it fit.
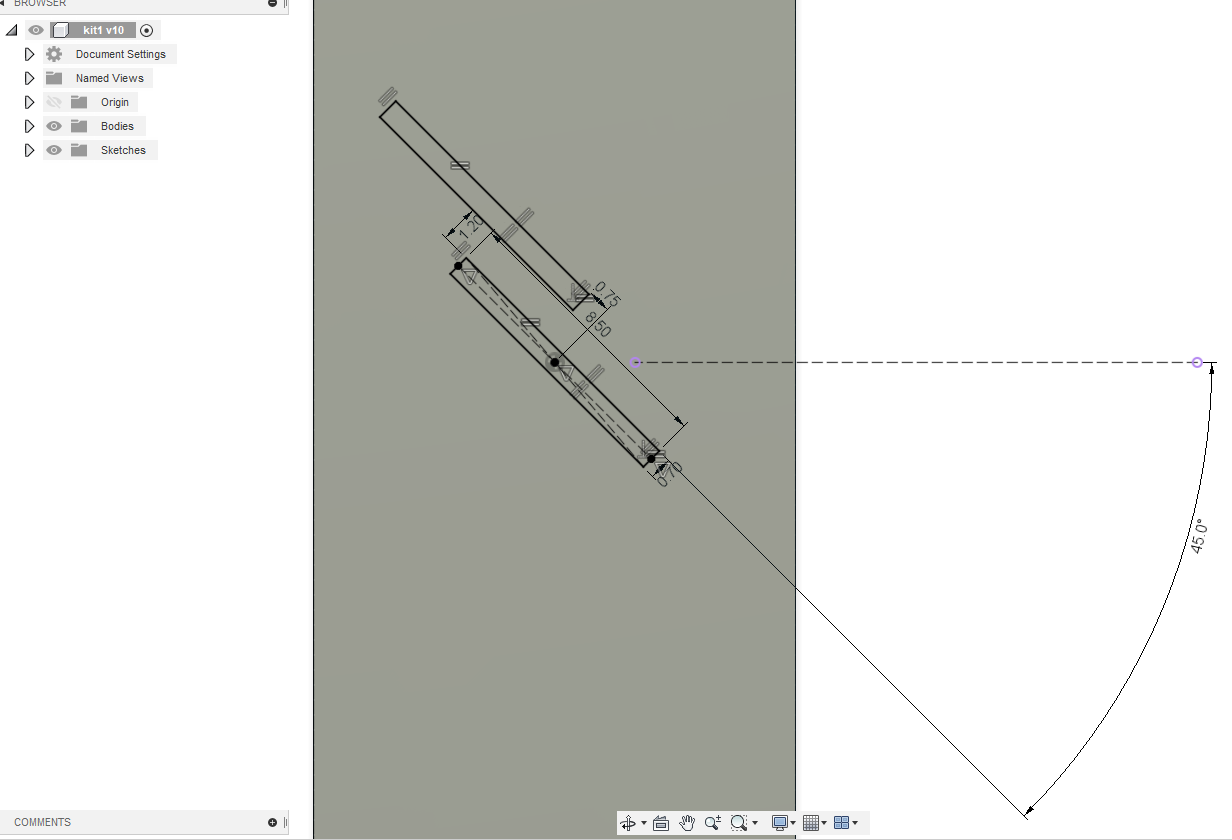
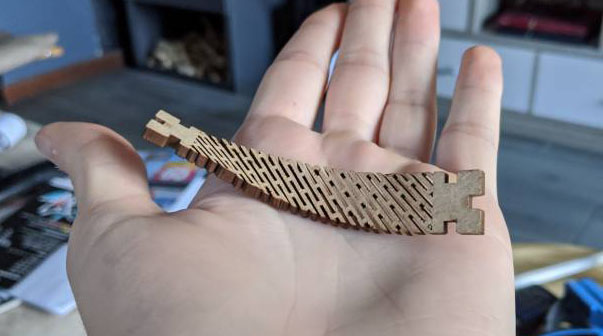
The next step is to carve slots in the wood to make it more bendy. For this specific piece, I want a 45° bend, so I design the slots in that direction.
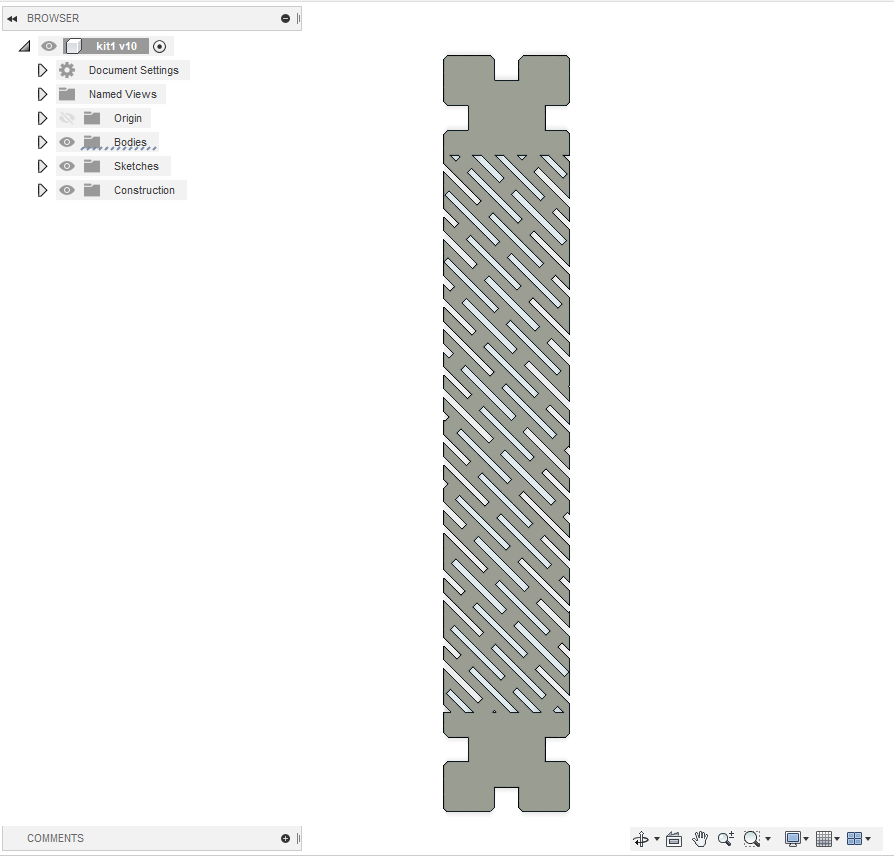
After creating a 2D array of slots, I obtain my final design:
I also designed some extra parts with/without bends:
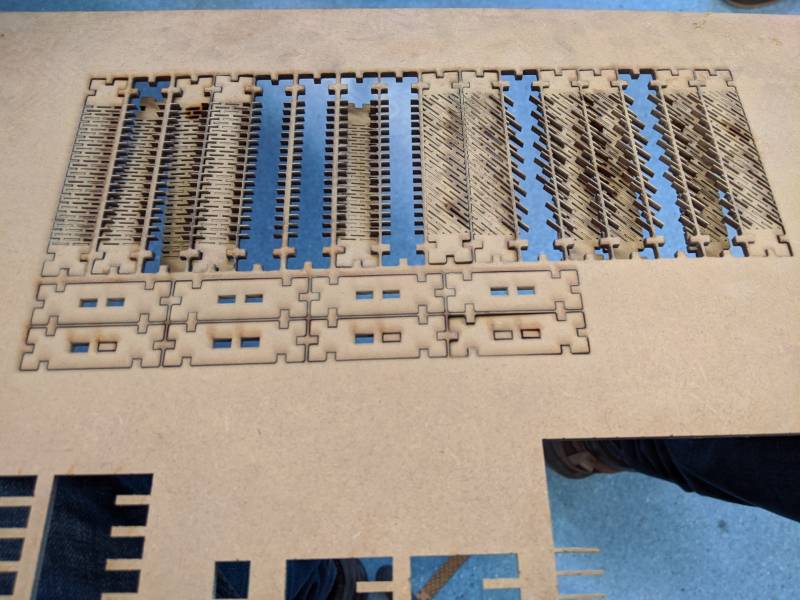
My final kit is exported as .svg file and imported into the Lasersaur driver software.

The cutting process happened smoothly in an MDF sheet of 3mm with the following settings:
- Speed: 1200 mm/s
- Power: 75W
However, I soon realised I would have to clean the parts to remove the excess material in the slots, as they did not all fall when cutting. This was easily done with a brush.
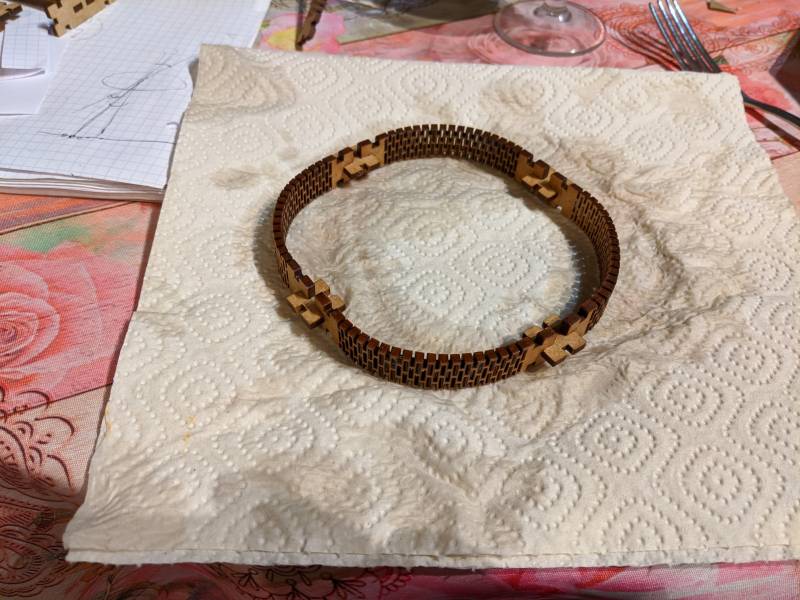
Using my kit, I first tried to assemble a DNA-like structure, which bends the 45° parts at their almost maximal capacity.
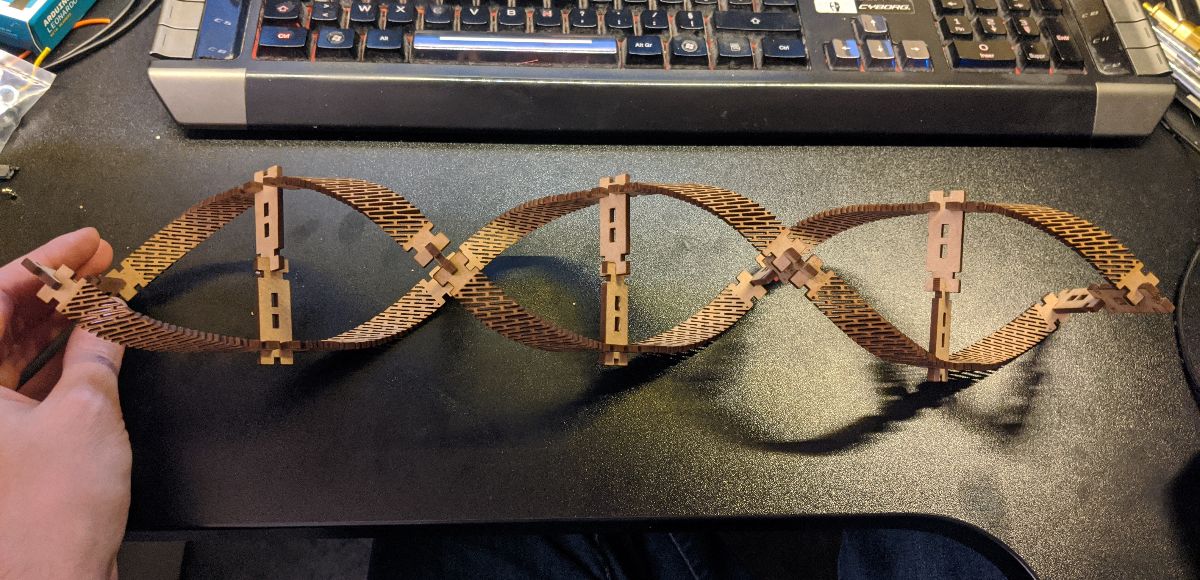
This kit can be used to build various characters or shapes where bending is needed.
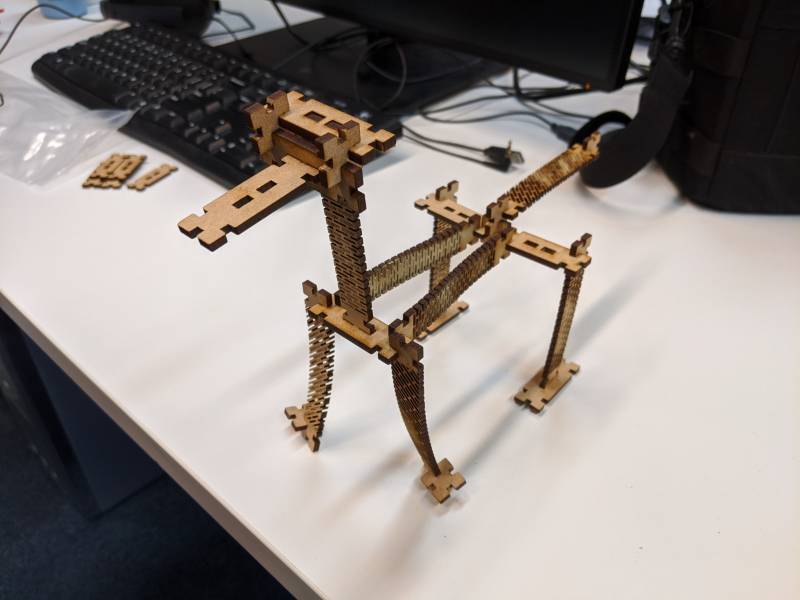
When playing with the kit, I noticed some of the parts were very brittle. Additionally, the dust from the laser cutting process was still present on the sides. In the case of MDF, this dust is sticky and produces a strong smell.
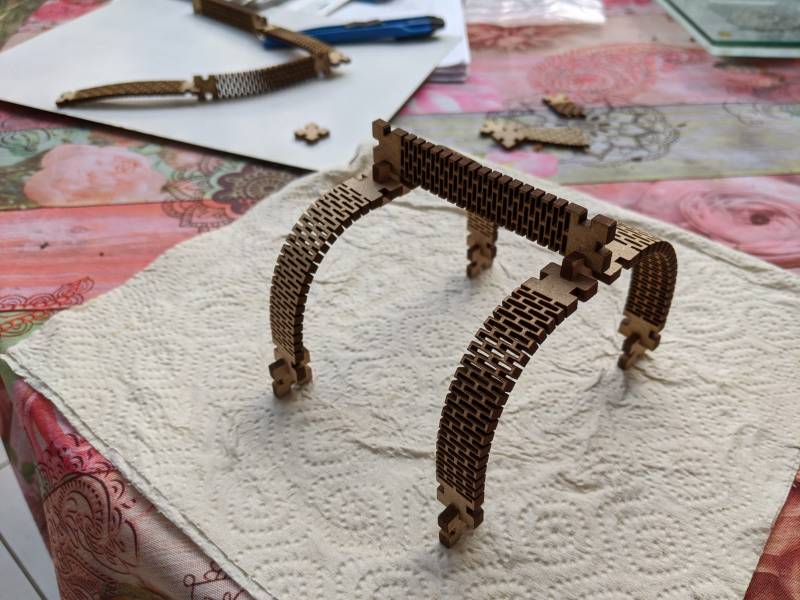
To try to solve this, I decided to clean the parts using water and soap. An interesting side-effect is that wet wood is more flexible. I was curious to see if I could get it to dry in a bent state.
As expected, after drying, the parts are clean and retain their bend. This allows the kit to be used in more creative ways, where the bendy parts do not need to be put under contraints.
Vinyl cutting
To quickly try out the vinyl cutting process, I wanted to include another hobby of mine: baking. I was watching this lovely tutorial the other day:
Then I had an idea: I can improve the looks of the Oreo cake a lot by spraying powdered sugar on top, through a custom-made stencil.
I found the following vector file online:

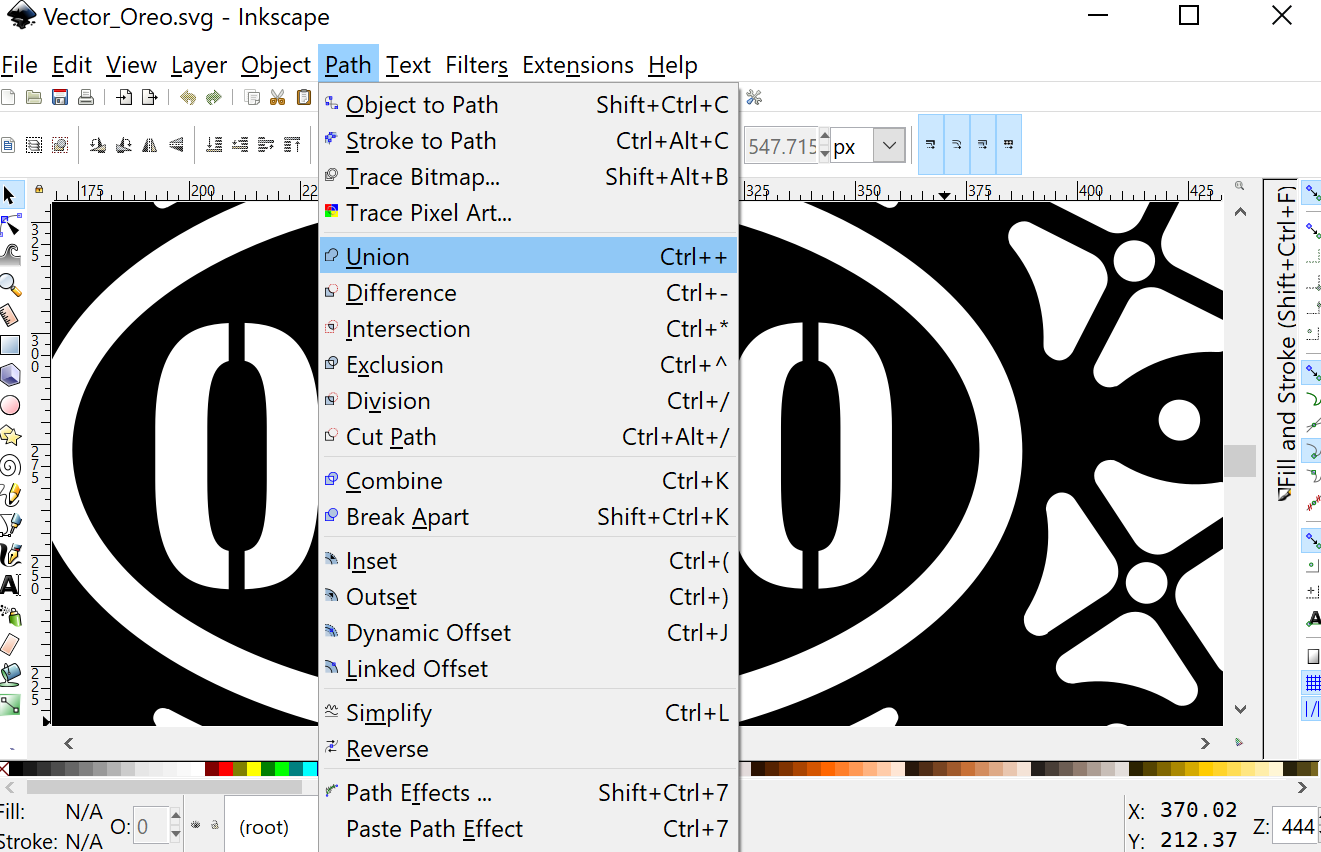
The letters cannot be used as a stencil because of the separate parts. I modified the file in Inkscape to improve it a bit and bring it to the real-life size I want in the end.
I start by adding a circle around everything and use the Path->Difference operator to get a negative stencil. I also add rectangles to join the letters and combine them with the Path->Union tool:
Here is the final result, with a size of about 15x15cm:

Our lab is equipped with a Silhouette Cameo 3 vinyl cutter:

Because I want to cut the stencil in very thin paper, I have to use a cutting mat with adhesive.
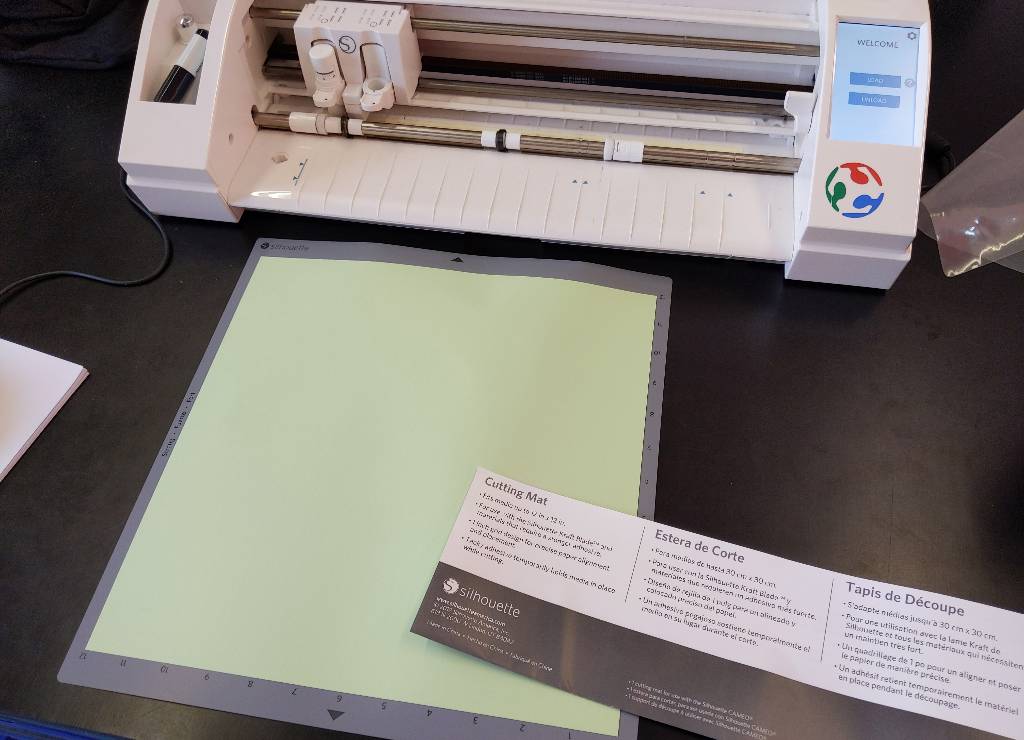
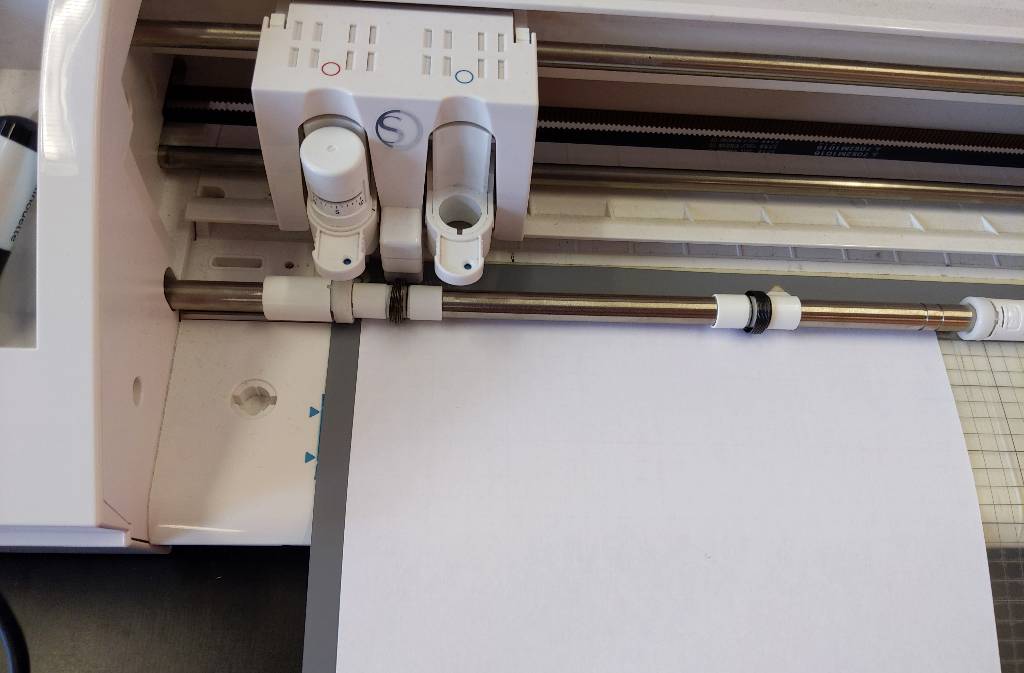
The mat is loaded by pressing the “LOAD” button on the machine. It then goes to the origin of the sheet.
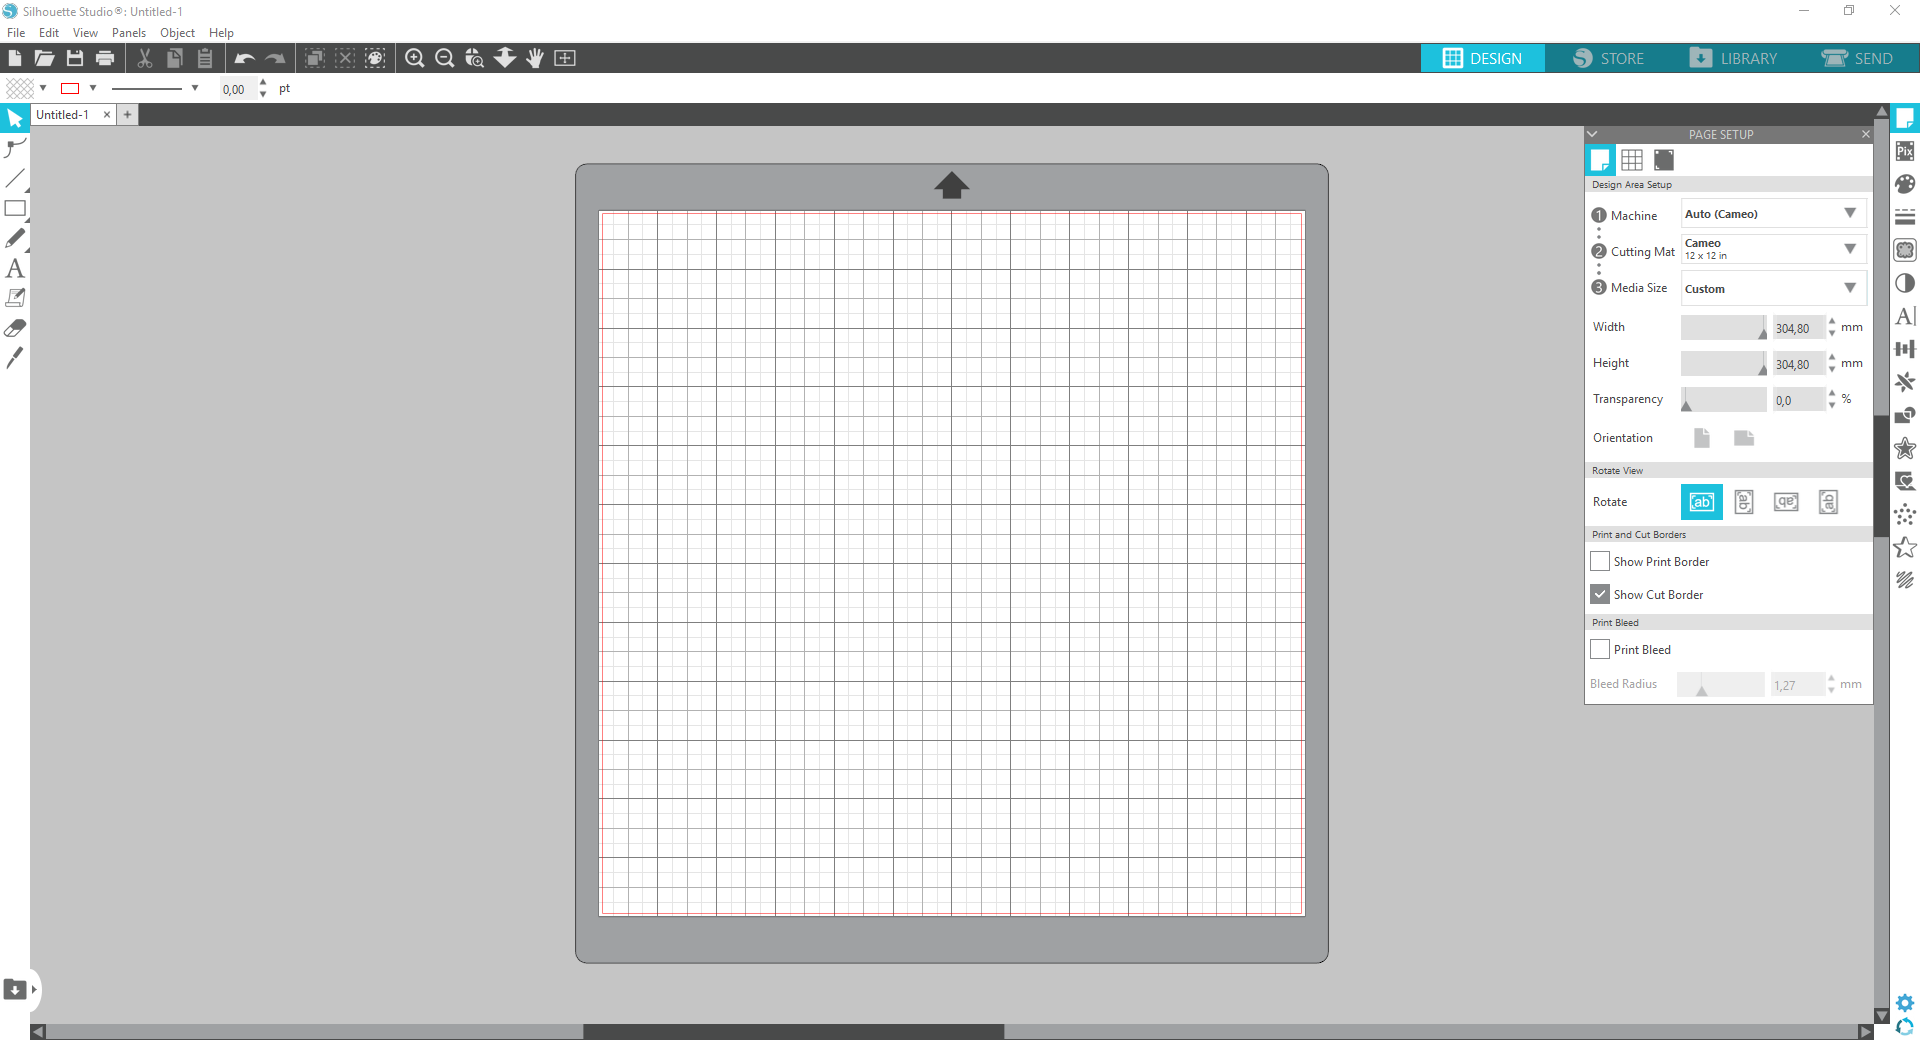
In the Cameo 3 software, I select the correct support type: the 12x12 inches cutting mat.
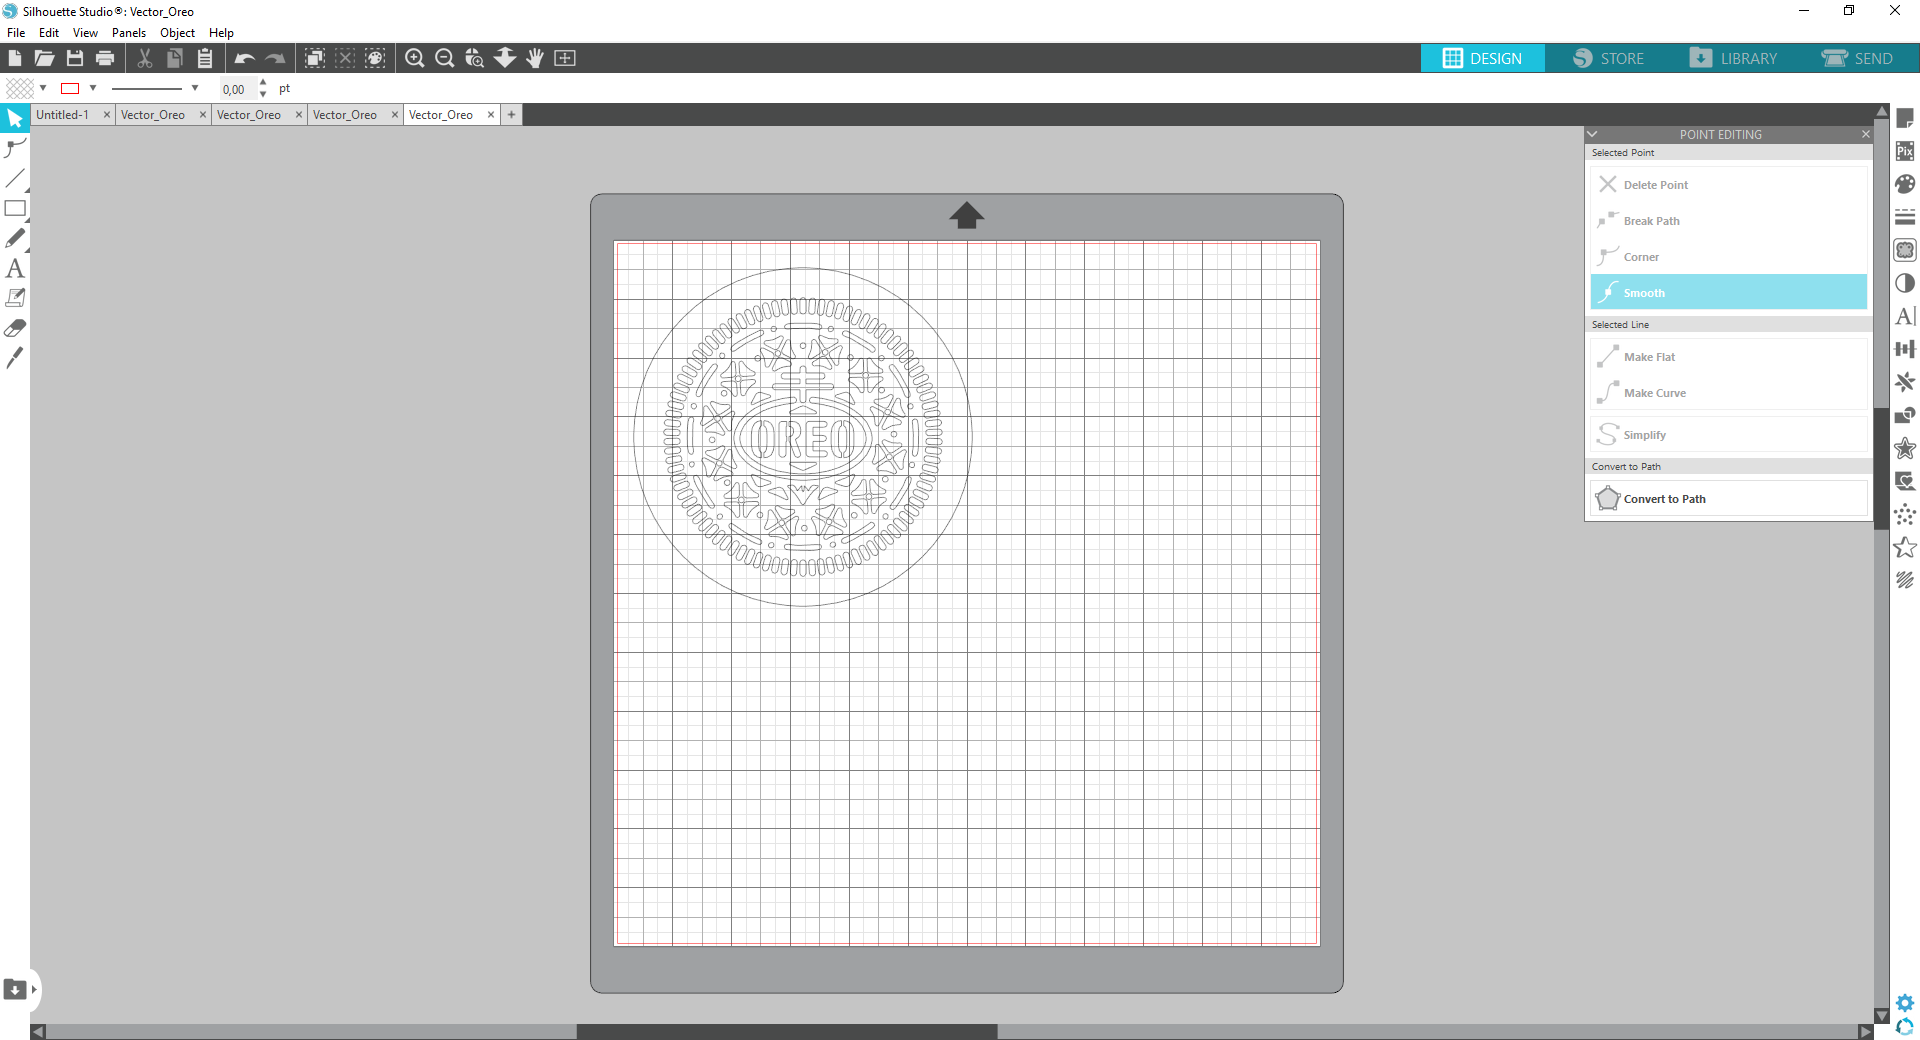
I place the design in the top left corner. Note that I had to convert the file do a .dxf format first.
I then move onto the “SEND” tab to set the correct cutting settings. I added a small rectangle to test the settings first.
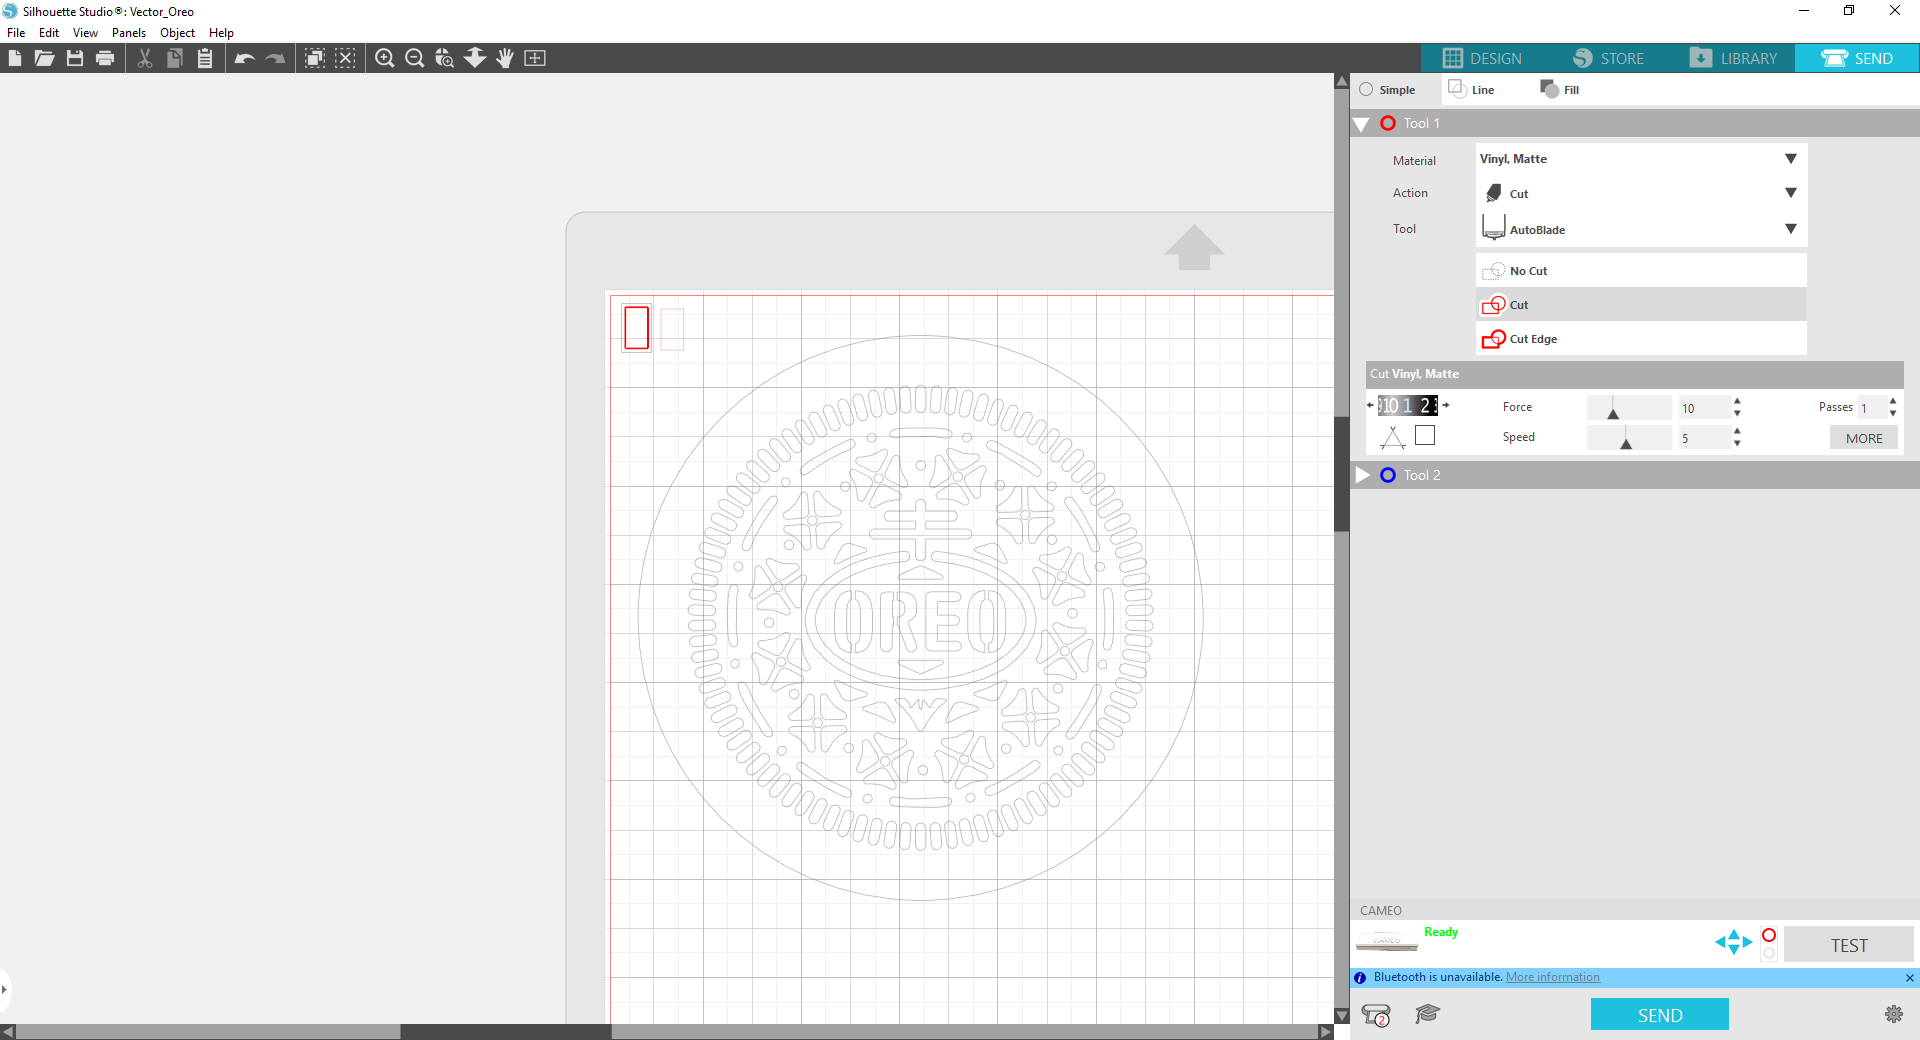
For my initial test, I use regular A4 paper, with the following settings:
- Depth: 3
- Force: 10
- Speed: 5
Cutting was OK. I think the force or depth setting was too high, because there was a mark left on the cutting mat.

For my final test, I use baking parchment paper, which is a lot thinner. I use the following settings:
- Depth: 2
- Force: 7
- Speed: 4
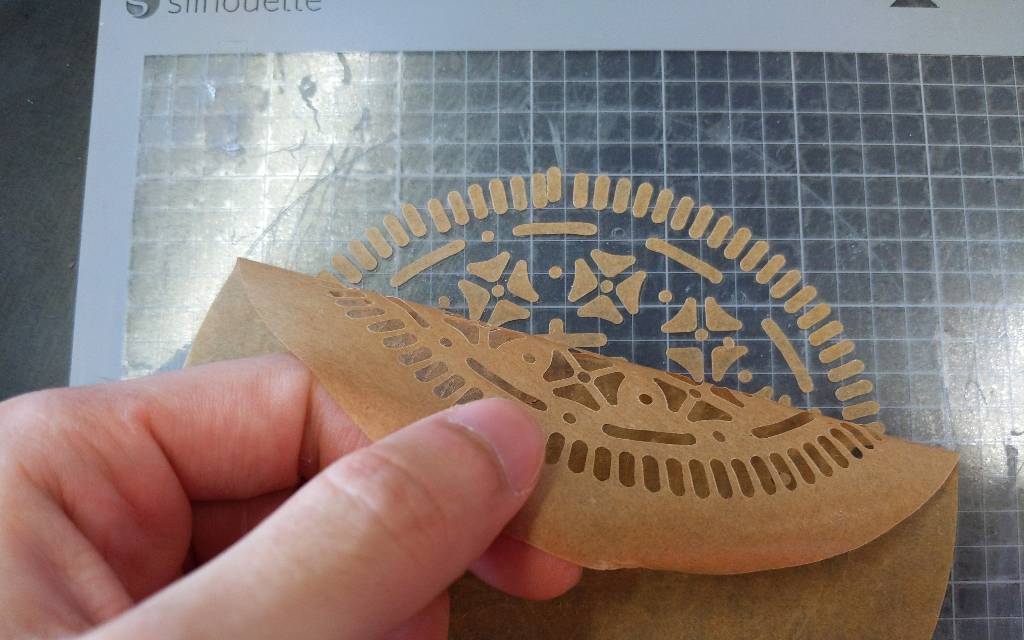
After cutting, I peel off the main stencil, and then cleanup the cutting mat by carefully removing each remaining bits.
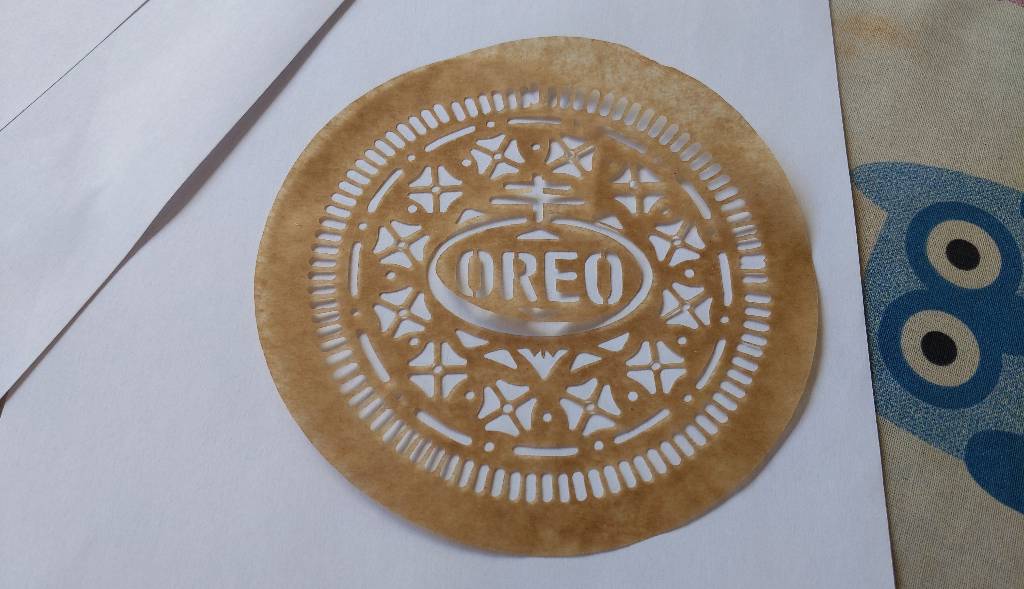
The stencil is successful, and food safe thanks to the material.
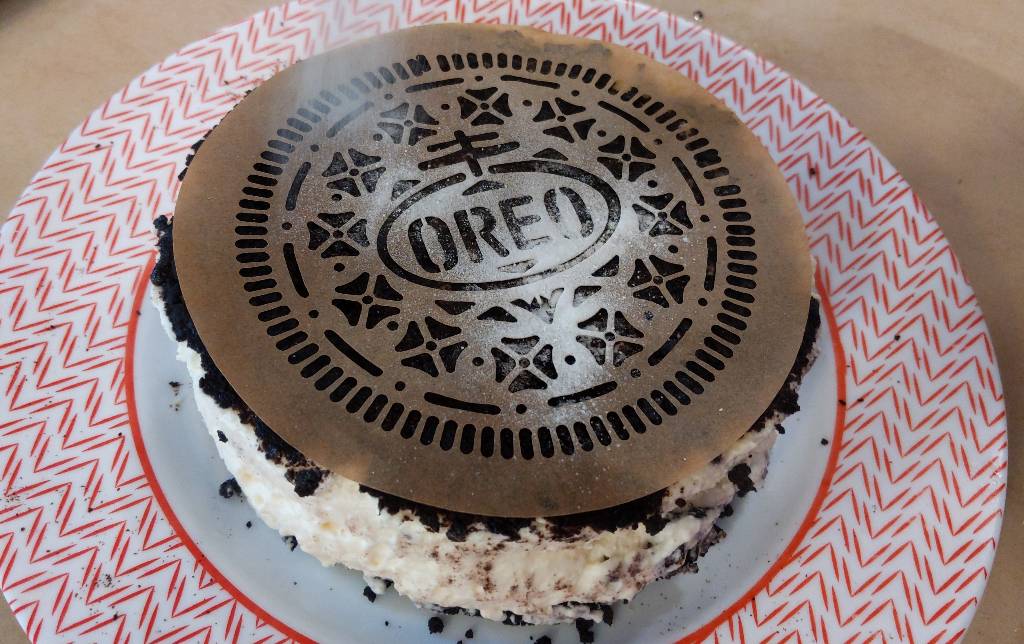
After baking the delicious cake, I setup the stencil on top. I was lucky that the cake was a bit sticky to help lay it down perfectly.
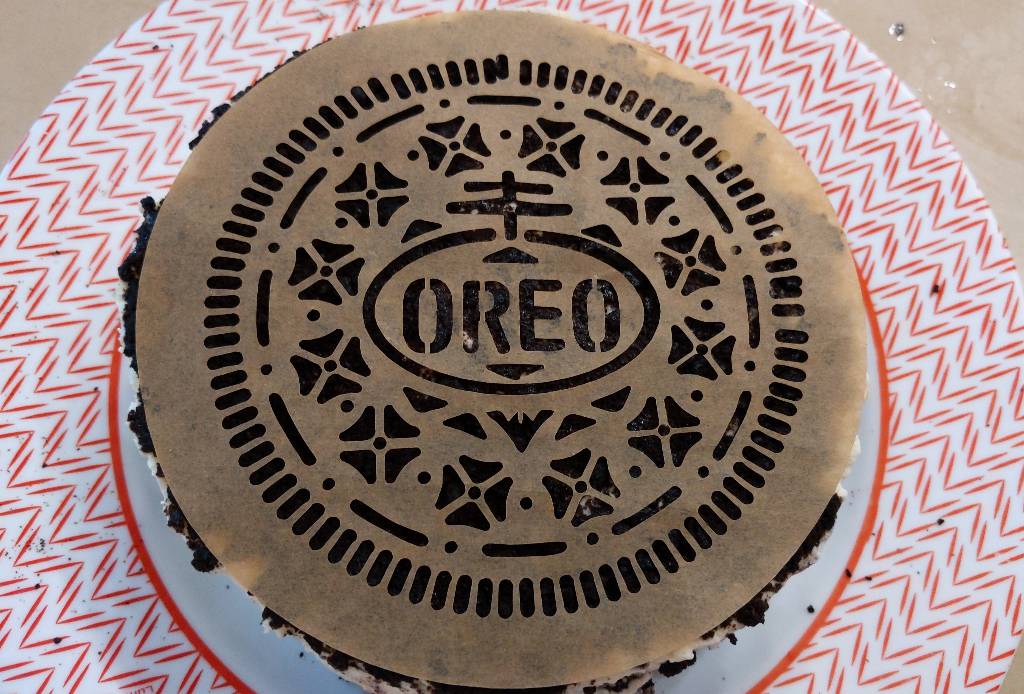
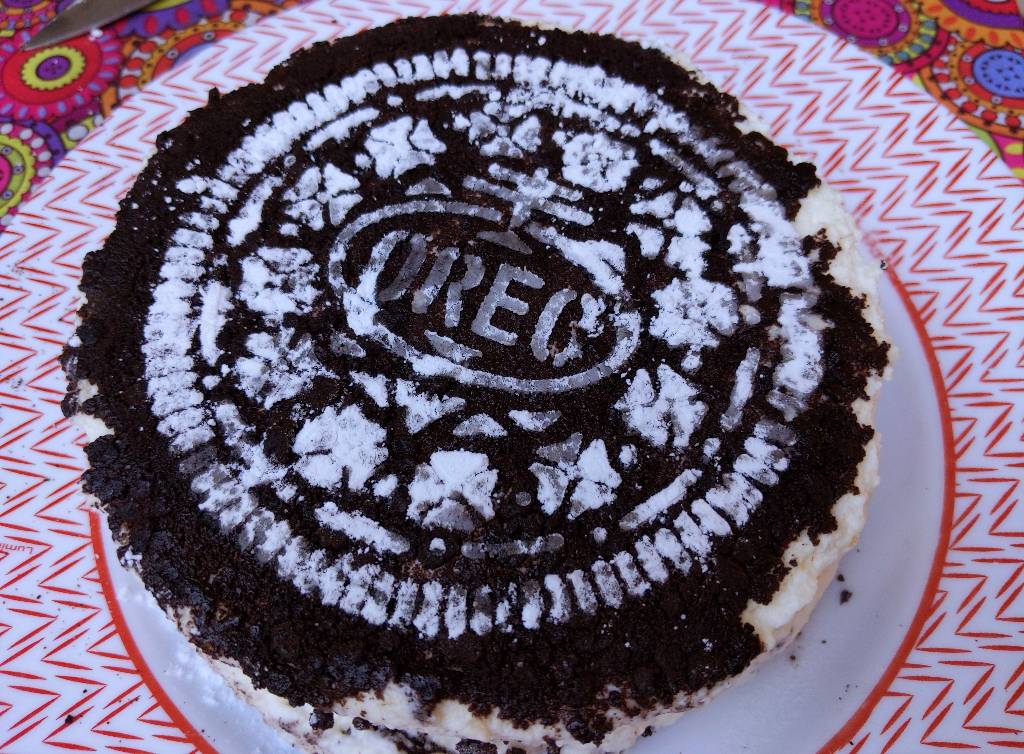
Sparying the powdered sugar was a lot more difficult than I expected. During this step, I had some sugar passing underneath the stencil. This makes the result a bit less sharp.
The result was not perfect, but super tasty. I saved the stencil for later use, so I will try to improve my sugaring skills next time!
Downloads
Here are the Fusion 360 archives of my designs for the kit:
Here is the .svg file of the Oreo cake design: