16. Molding and Casting
This week’s objective is to design and produce a mold for casting, then try out some casting materials. The mold should not be 3D printed, as a CNC machine can reach a much higher level of detail with the right settings.
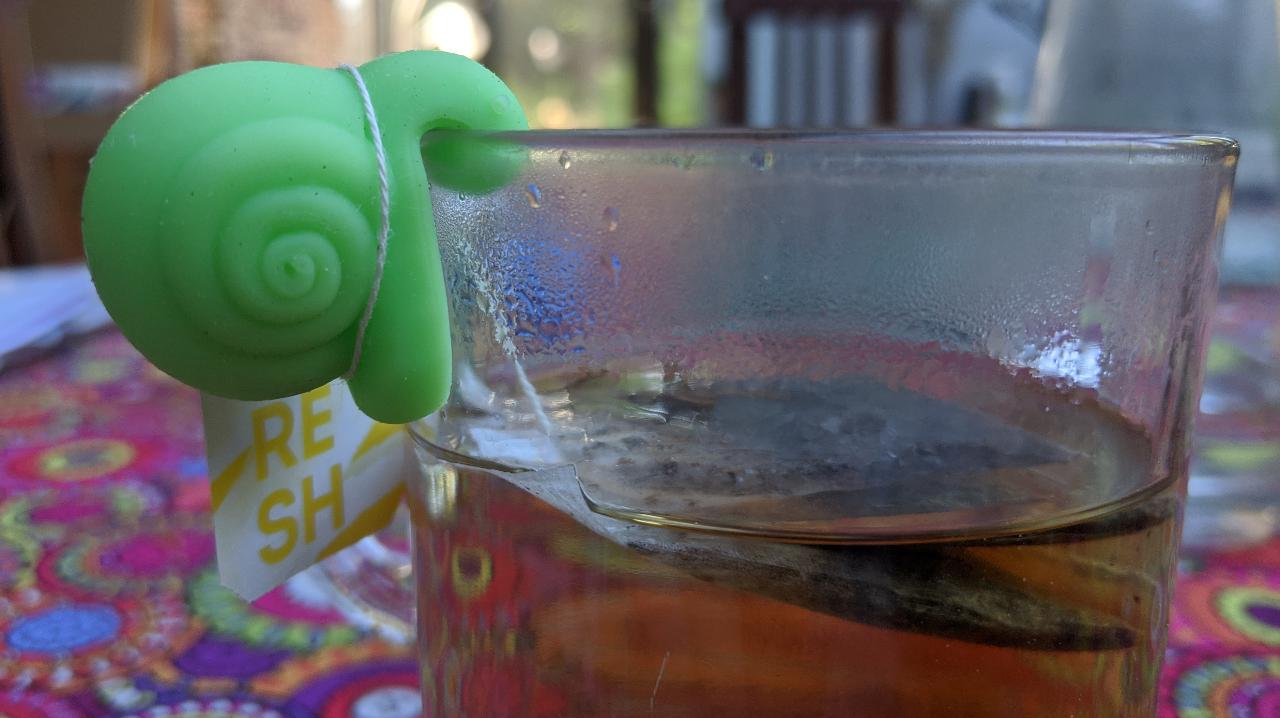
When looking for an idea, I stumbled upon this Pinterest post of a little snail that you can attach on the side of your tea cup to hold the tea bag’s string. Being a huge fan of tea, I loved to idea and decided to create my own version.
My goal is to cast a silicon snail, using a two-part wax mold machined on my home CNC.
In the group assignemnt, we looked at the different types of casting material available in our lab.
2-step process
As my final casing is soft silicone, I can directly cast it in a wax mold. For an example of 2-step casting with silicone and resin, please see the second part of this page.
Design
CAD softwares such as Fusion 360 are not well suited when trying to draw organic shapes. I picked blender for the whole modeling, knowing that I could import the resulting 3D object later on.
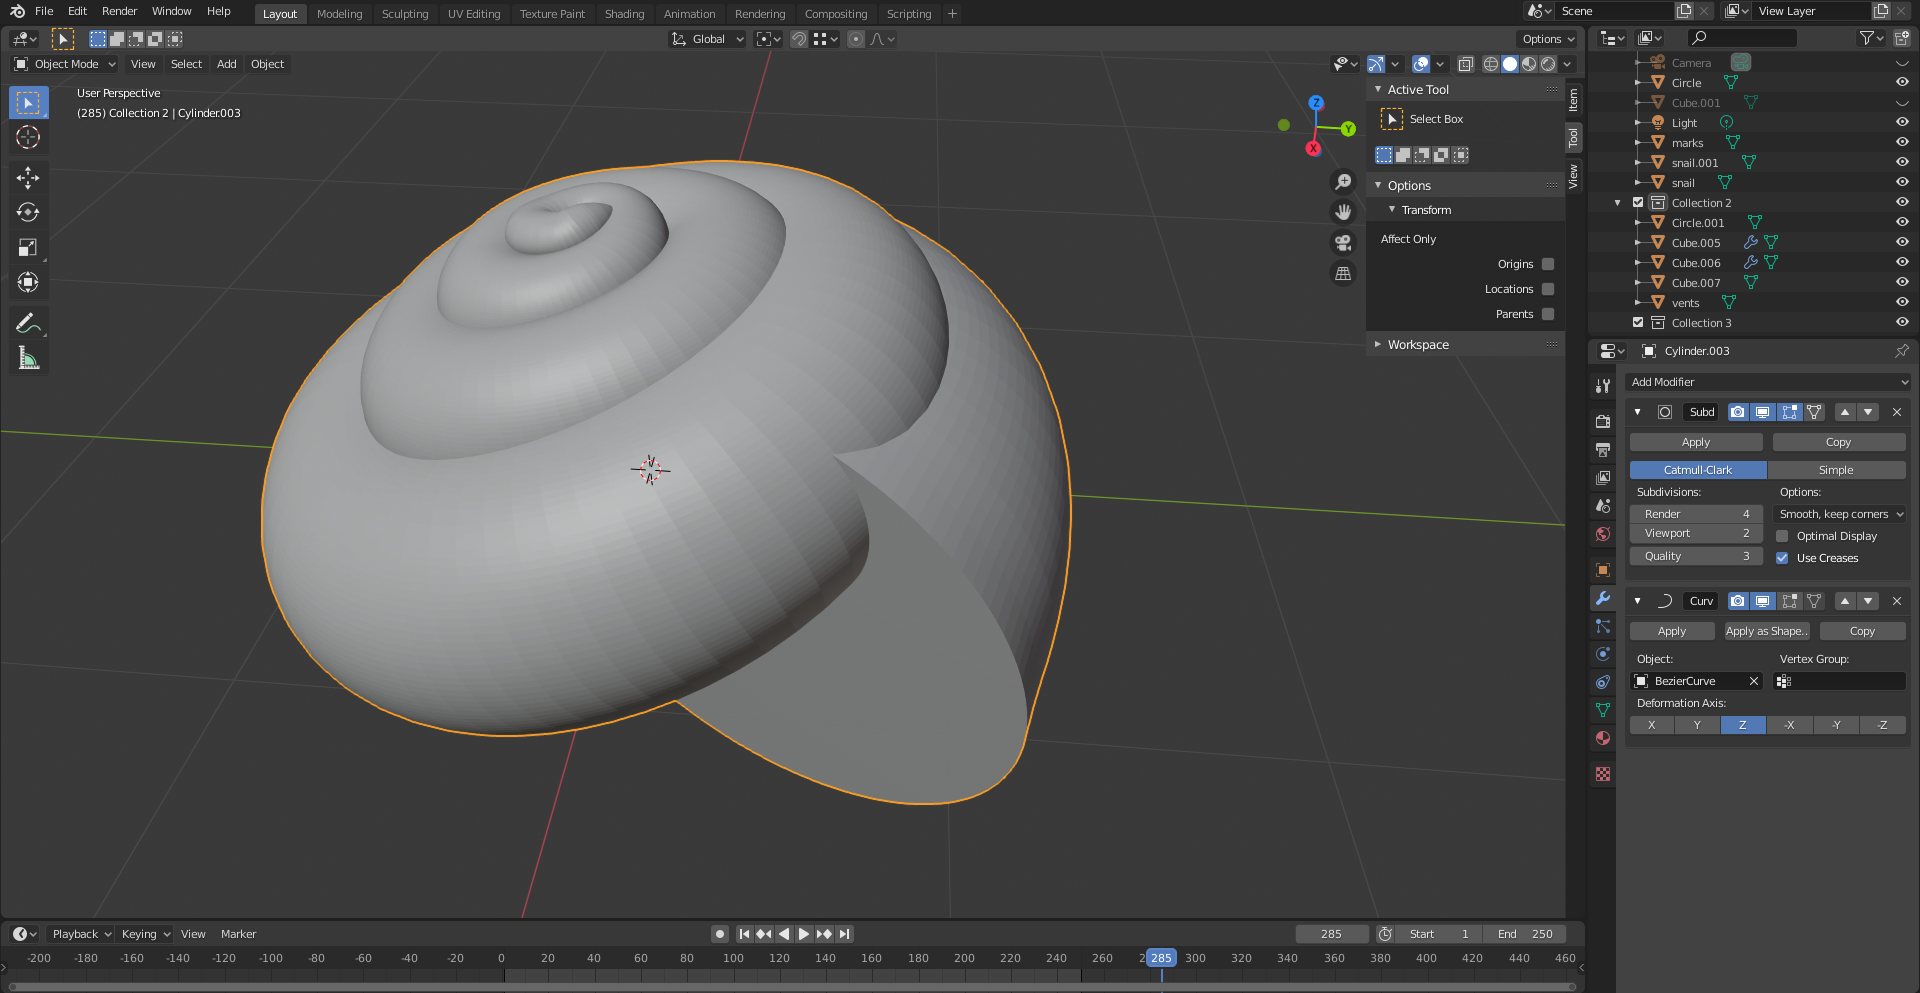
I start with a simple shell made with a Bezier curve serving as a guide for a mesh using the Curve modifier.
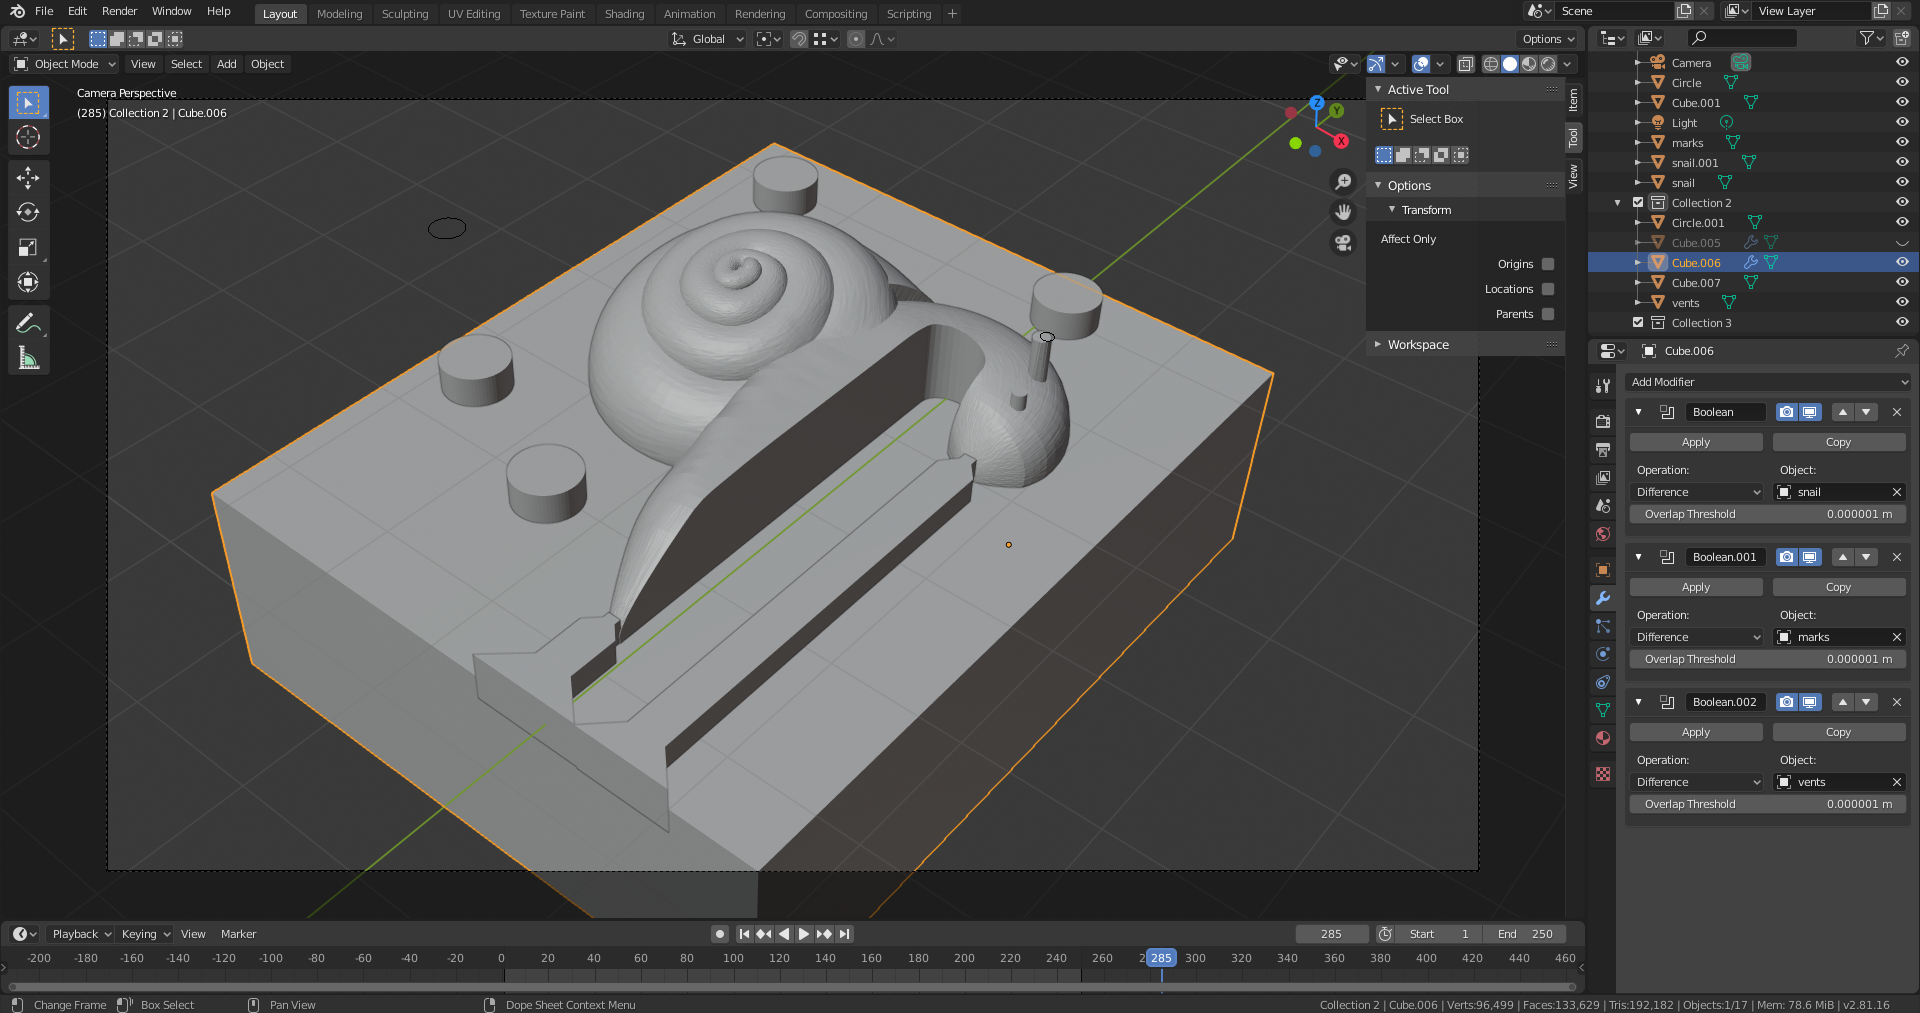
I then add a body and some eyes. Notice how the body has the shape of the side of a cup. When slicing the object in two, I have to make such that all angles can be achieved by the CNC. Because of this limitation, the eyes are mostly straight.

I include two vents for pouring the silicon and evacuating air. I also add registration pins. The tricky thing is to combine them additively for one half of the mold, and subtractively for the other half.
The resulting .stl file is imported in Fusion 360 for the CNC toolpath design.
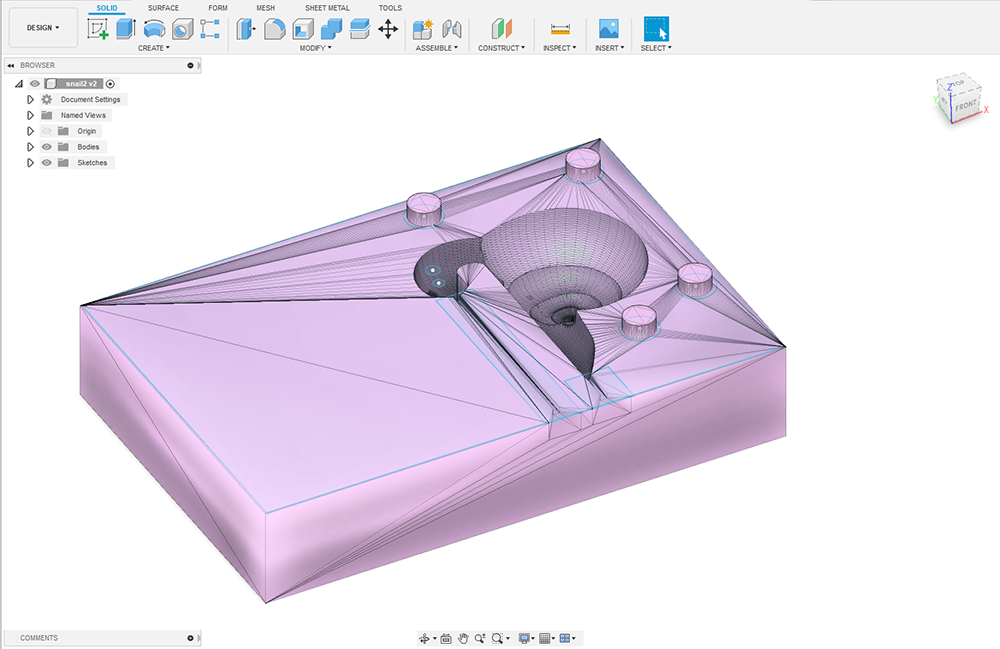
I plan to use a 3mm flat end mill for the rough stage, then a 1mm end mill for the details.
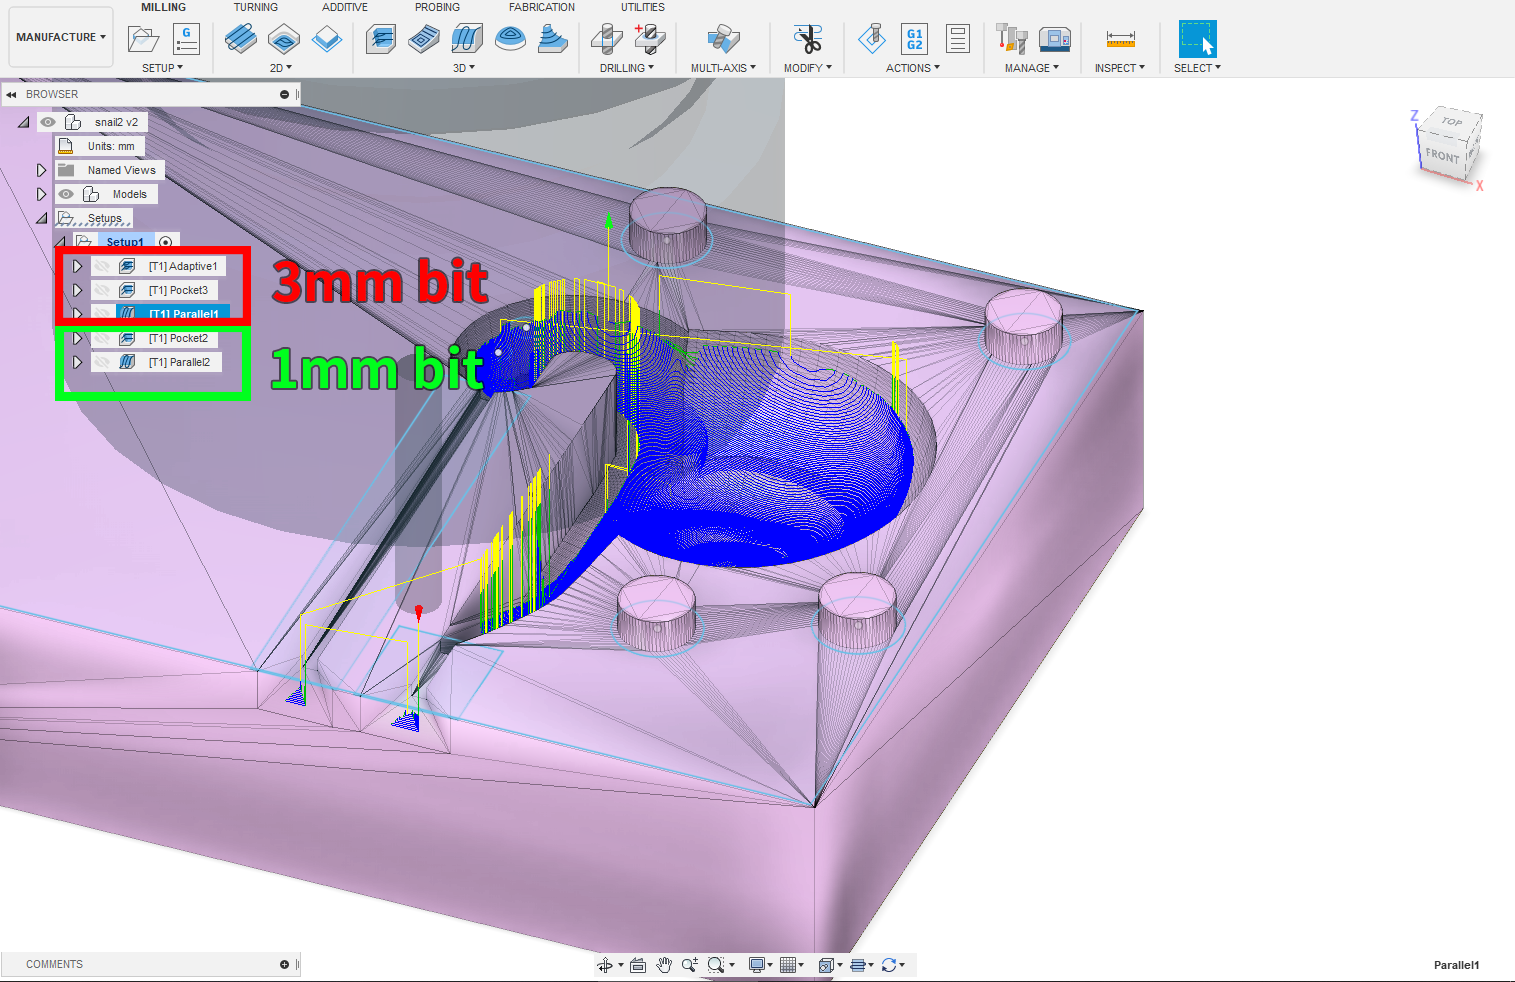
I use a roughing step-down of 0.5mm for the 3mm bit and 0.35 for the 1mm bit. The other settings are:
- spindle speed: 9000 rpm.
- cutting feedrate: 900 mm/min.
Mold machining
For this assignment, I wanted to try out my home CNC, which is a very common 3018 desktop CNC. I improved it slightly by adding endstop switches, as mine was not equipped with any.
I start by gluing my machinable wax to the plate with a hot glue gun, and mill a flat surface.
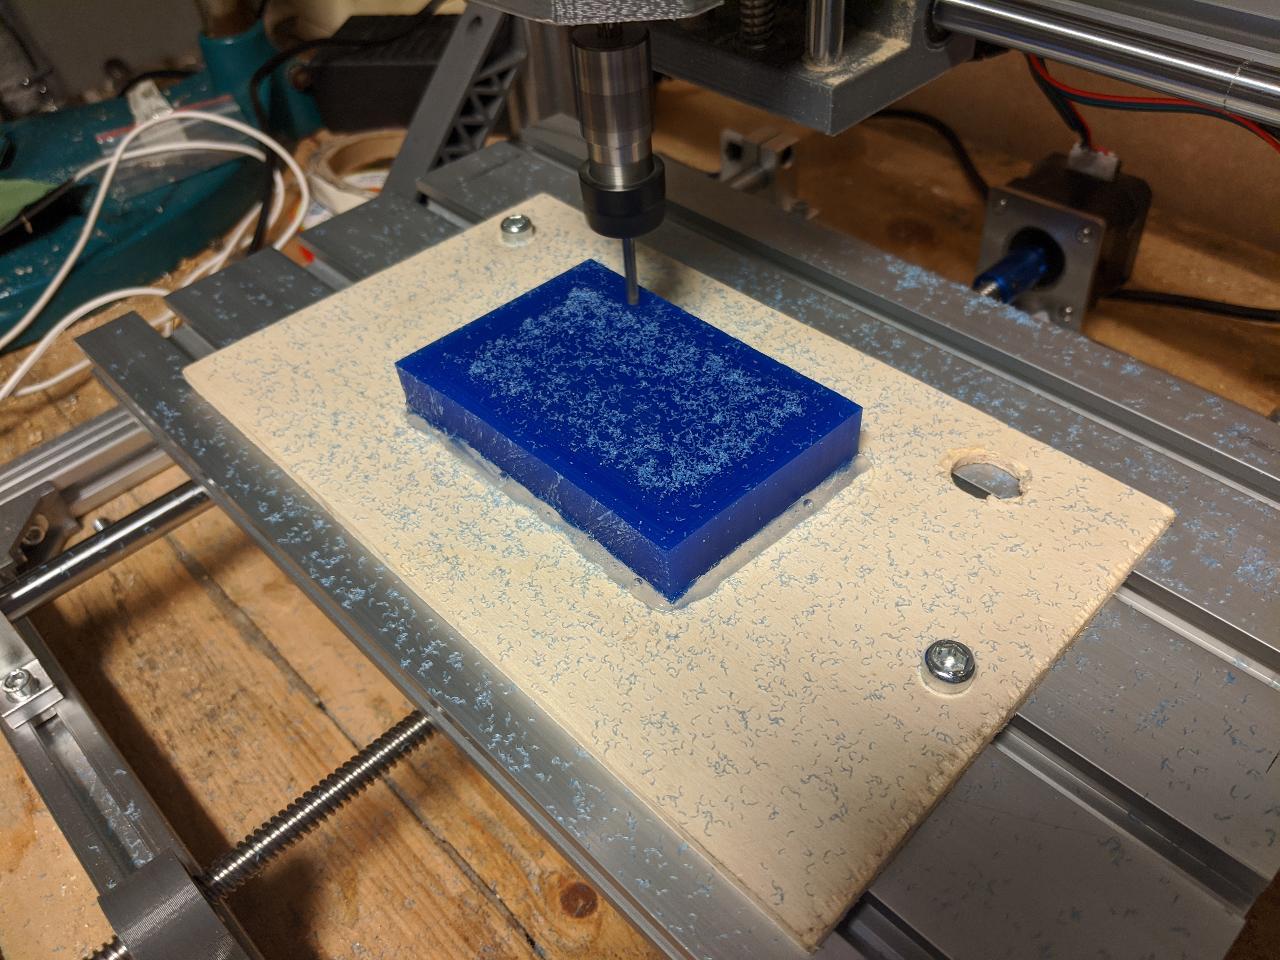
After setting the flat surface to the new z=0, I launch the first mold carving with my 3mm bit.
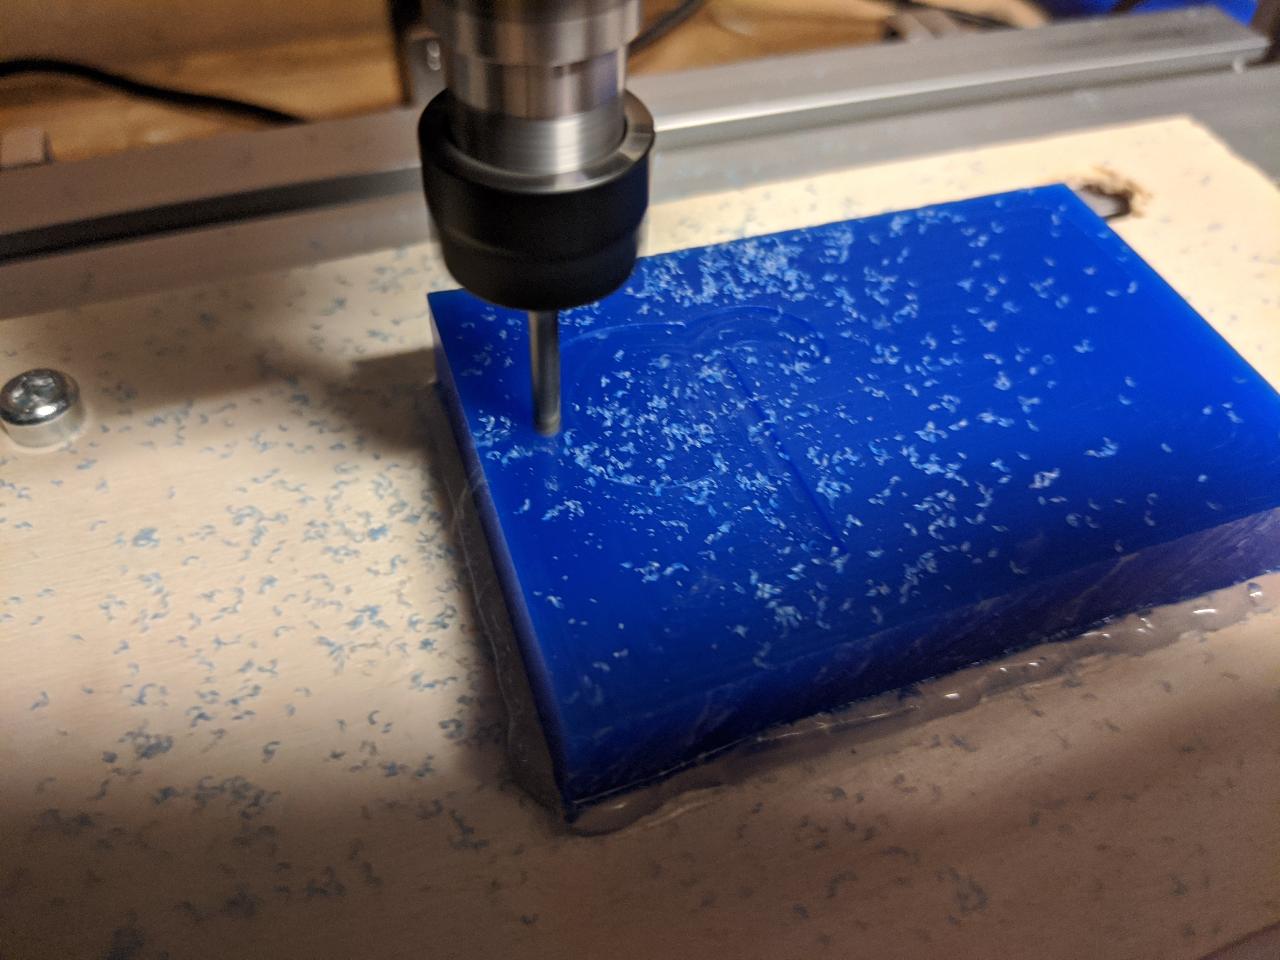
The detail is already good, as I already included a finishing step. However, some areas could simply not be reached with the 3mm bit, so I switch to my 1mm flat end mill to get the final finish.

For the other half, a lot more material must be carved to make sure the registration pins come out properly.
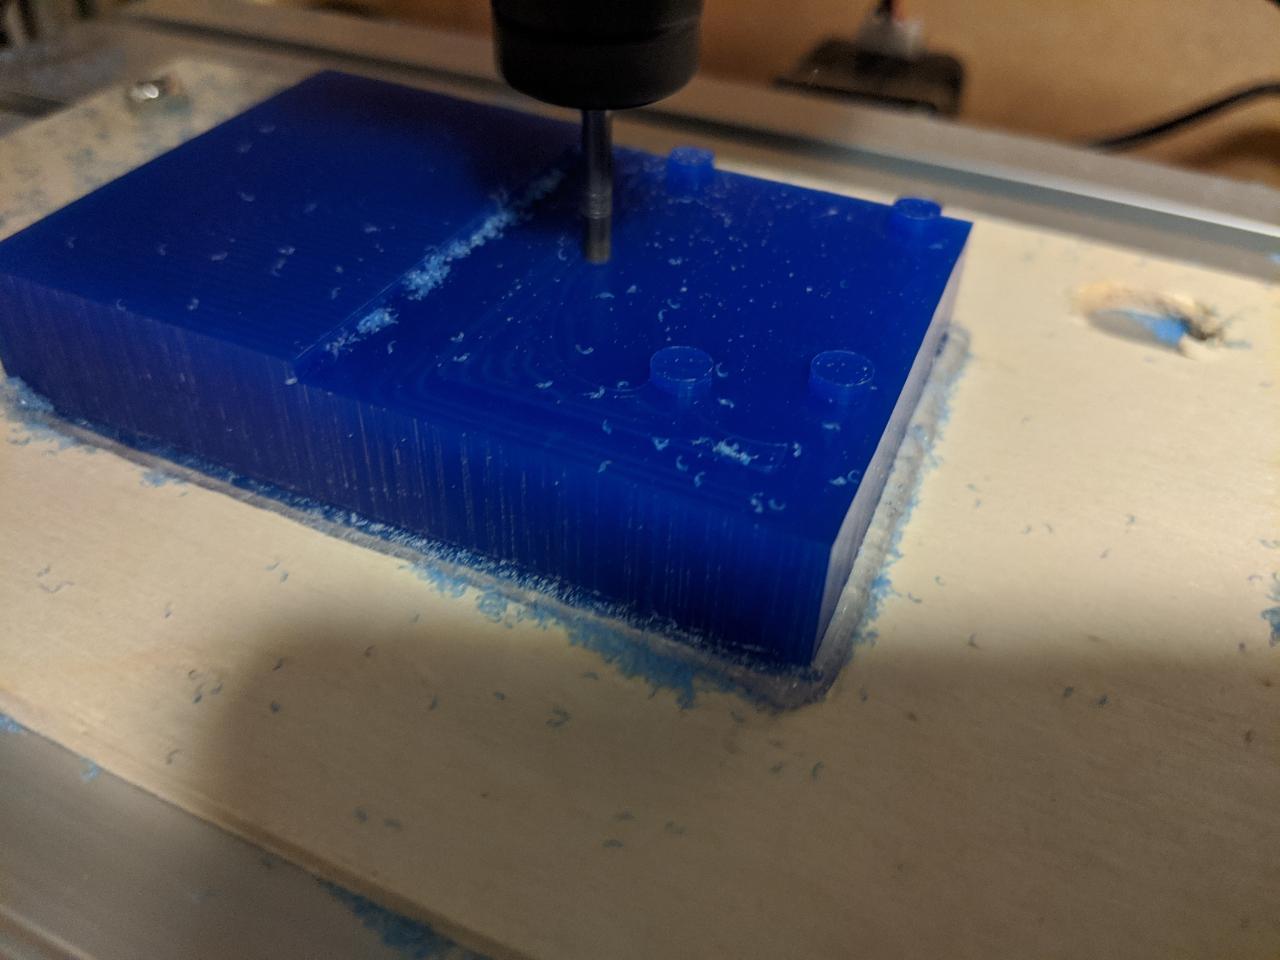
A quick test fit confirms that the milling was successful, and the vents are visible on the side.

I remove the wax from the CNC by cutting away the glue.
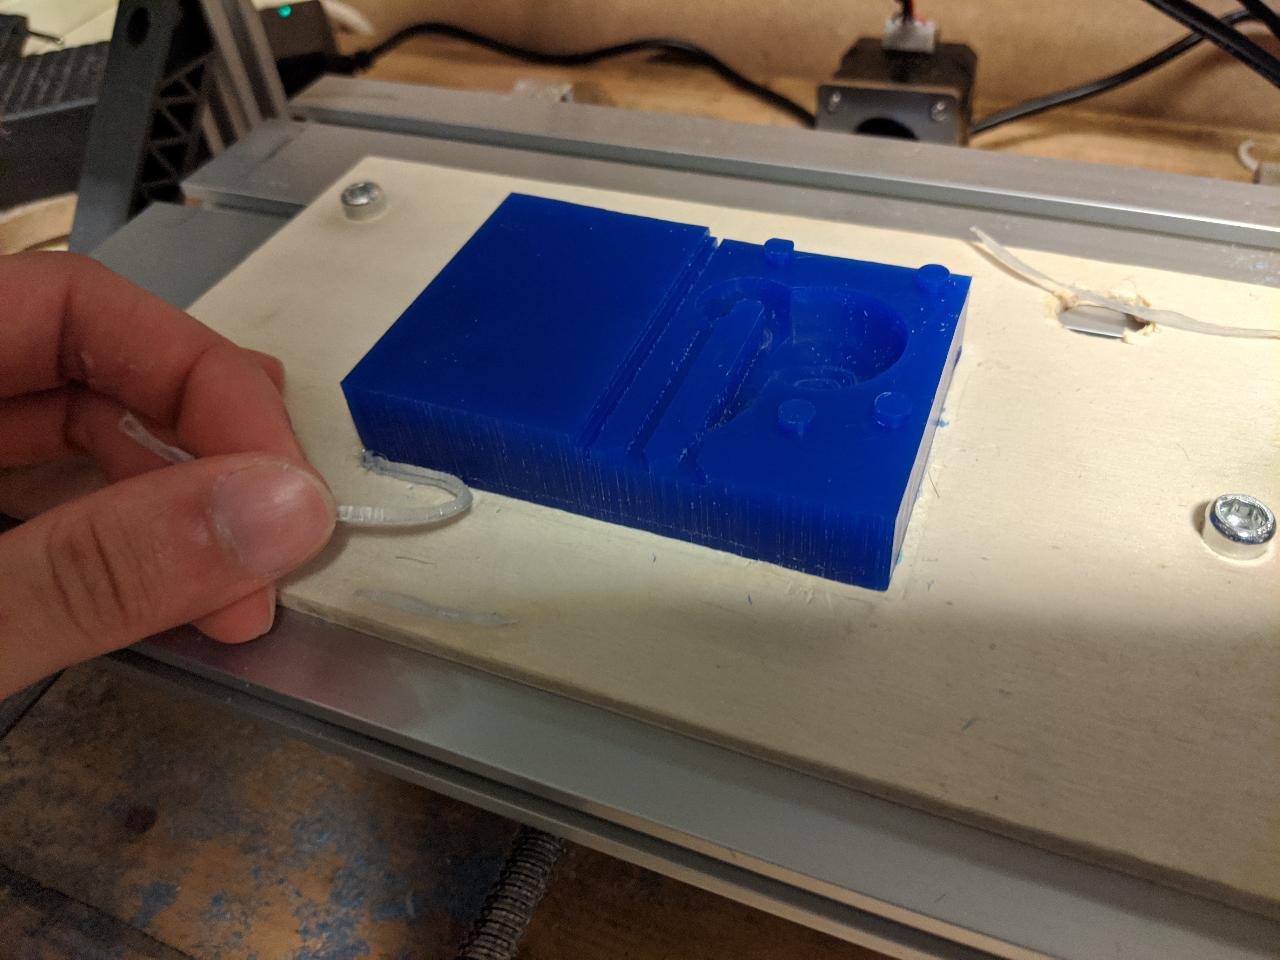
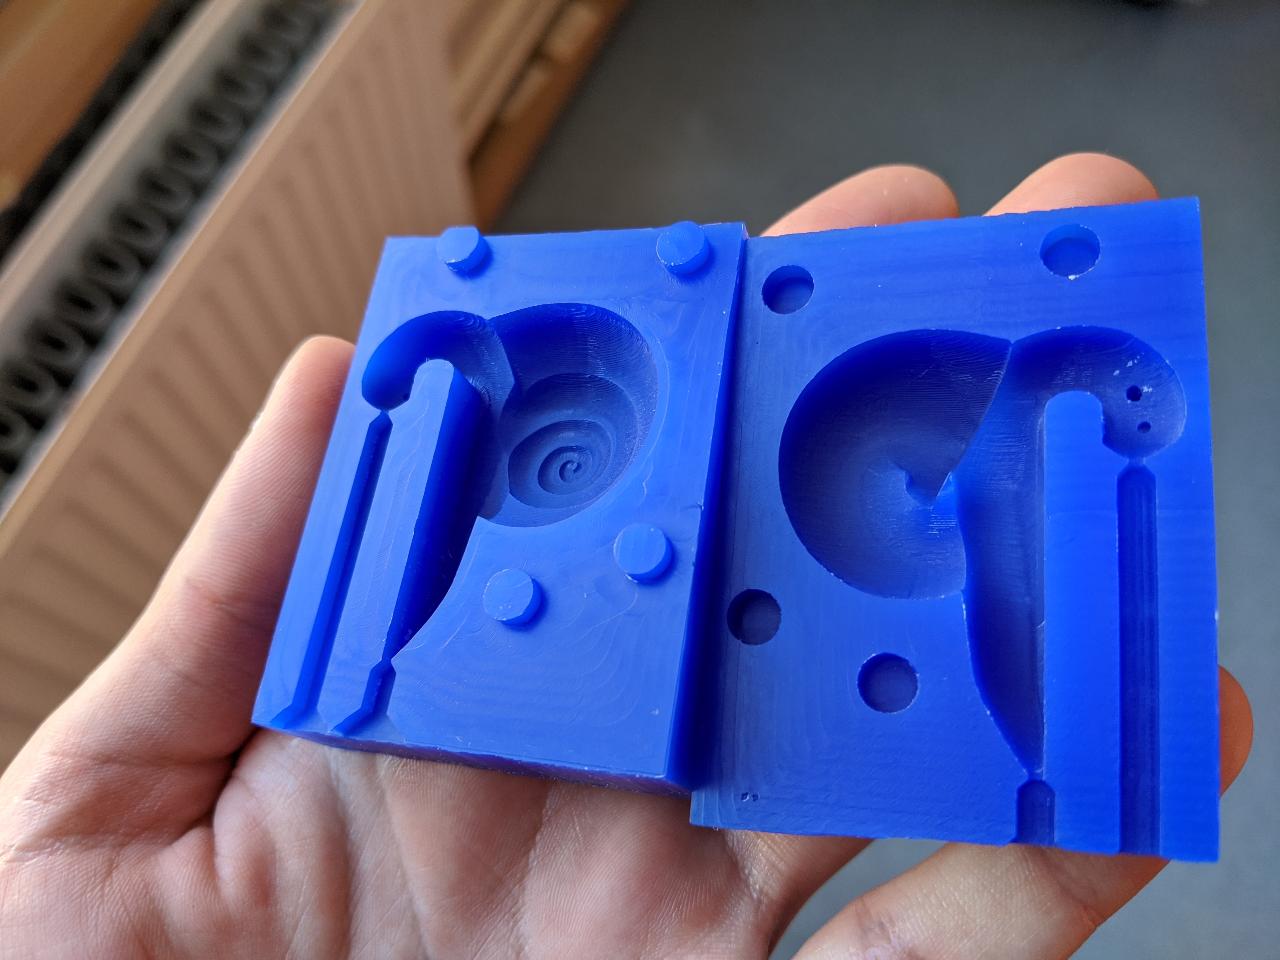
The mold is now complete! Notice small features are present, like the eyes of the snail. This is thanks to the finishing wit hthe 1mm bit.
Casting 1: thick silicone
For my first cast, I use a rather thick silicone, the Dragon skin 10:
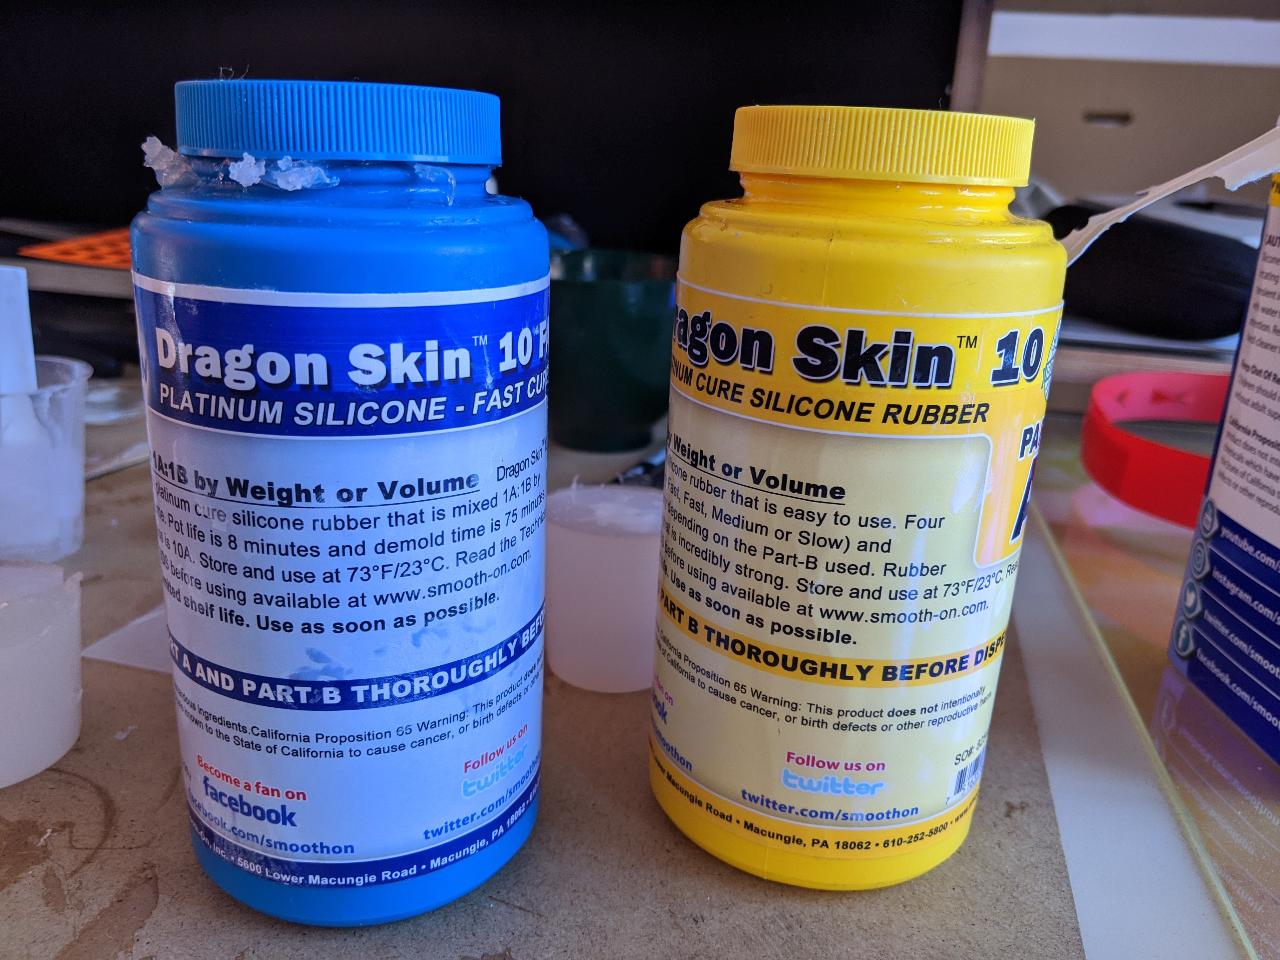
The information is as follows:
- Pot life: 15 mins.
- Cure time: 75 mins.
- Mixing ratio: 1:1.
This is not a hazardous material, but using gloves is still very much required as it can get sticky. There is no toxic fume being produced, but it is still a good idea to work in a ventilated area.
I pour the two components in a small mixing cup and stir for 2 minutes.
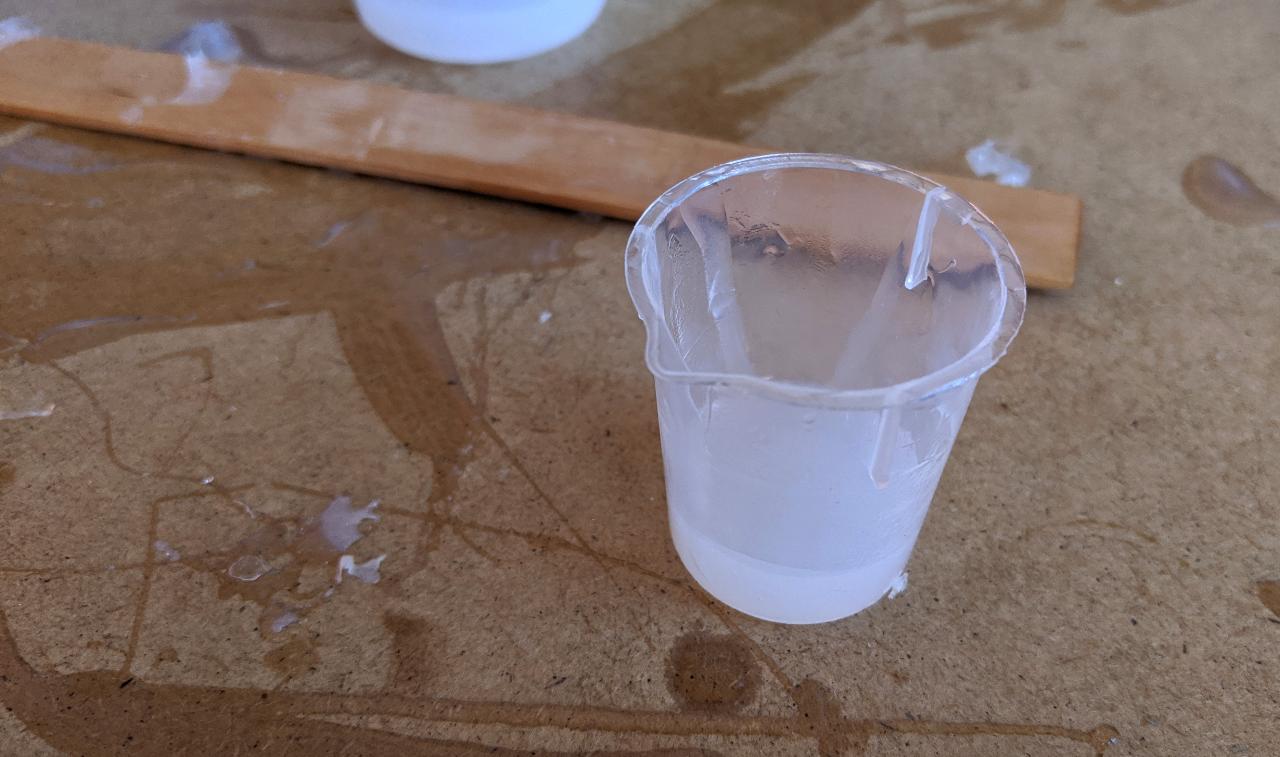
I tried using the vents, but this silicone was simply too thick, so I had to open the mold in two, and pour it directly. The main result was a proper mess once closing the mold, as the extra material came out from all sides.

I was anxious that the mold would not open again, due to being so sticky now. However, the silicone became less sticky once cured, and opening the mold was not difficult using a small blade from the side. As I took no precaution regarding bubble, the result was full of trapped air. Moreover, there is a skin on the separation line, due to the excess material when closing the mold.
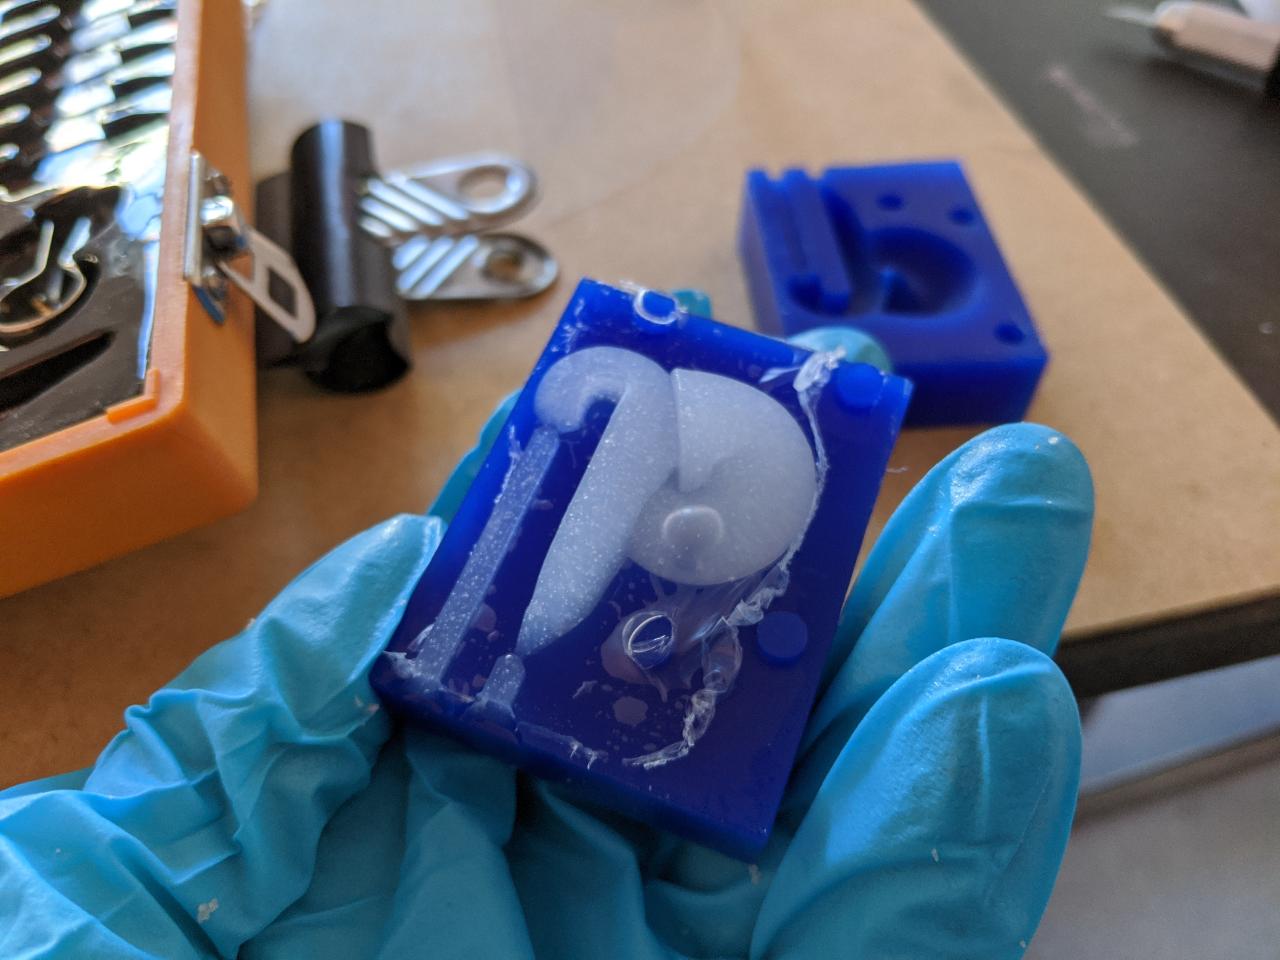
One larger air bubble is visible on the right. Overall, this is not a great success in terms of details, but at least it showed that the alignment of the mold was good.
Casting 2: polyurethane
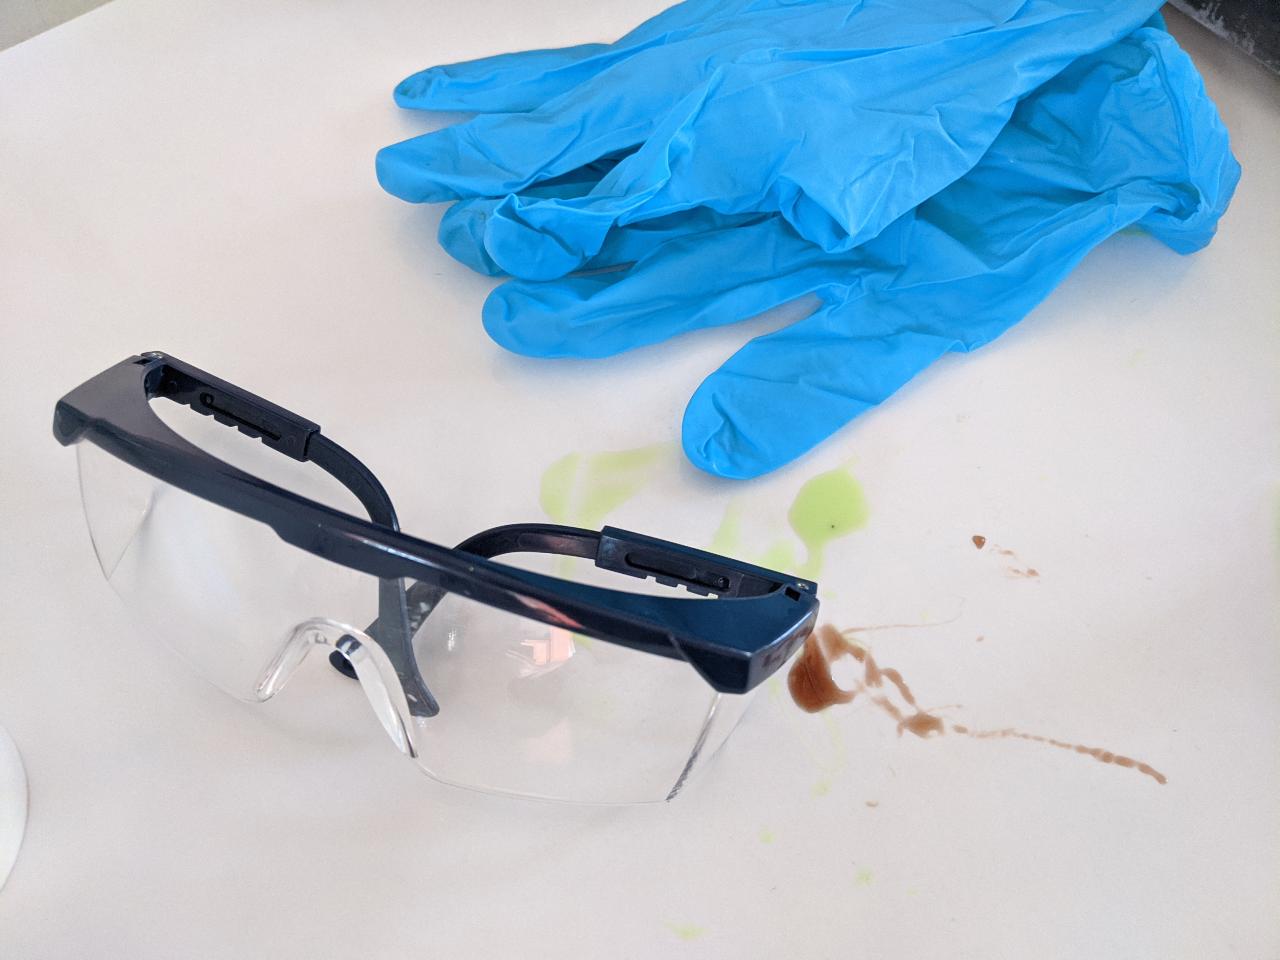
Next, I tried some polyurethane compound. This is a more hazardous substance, so protective equipment is mandatory.
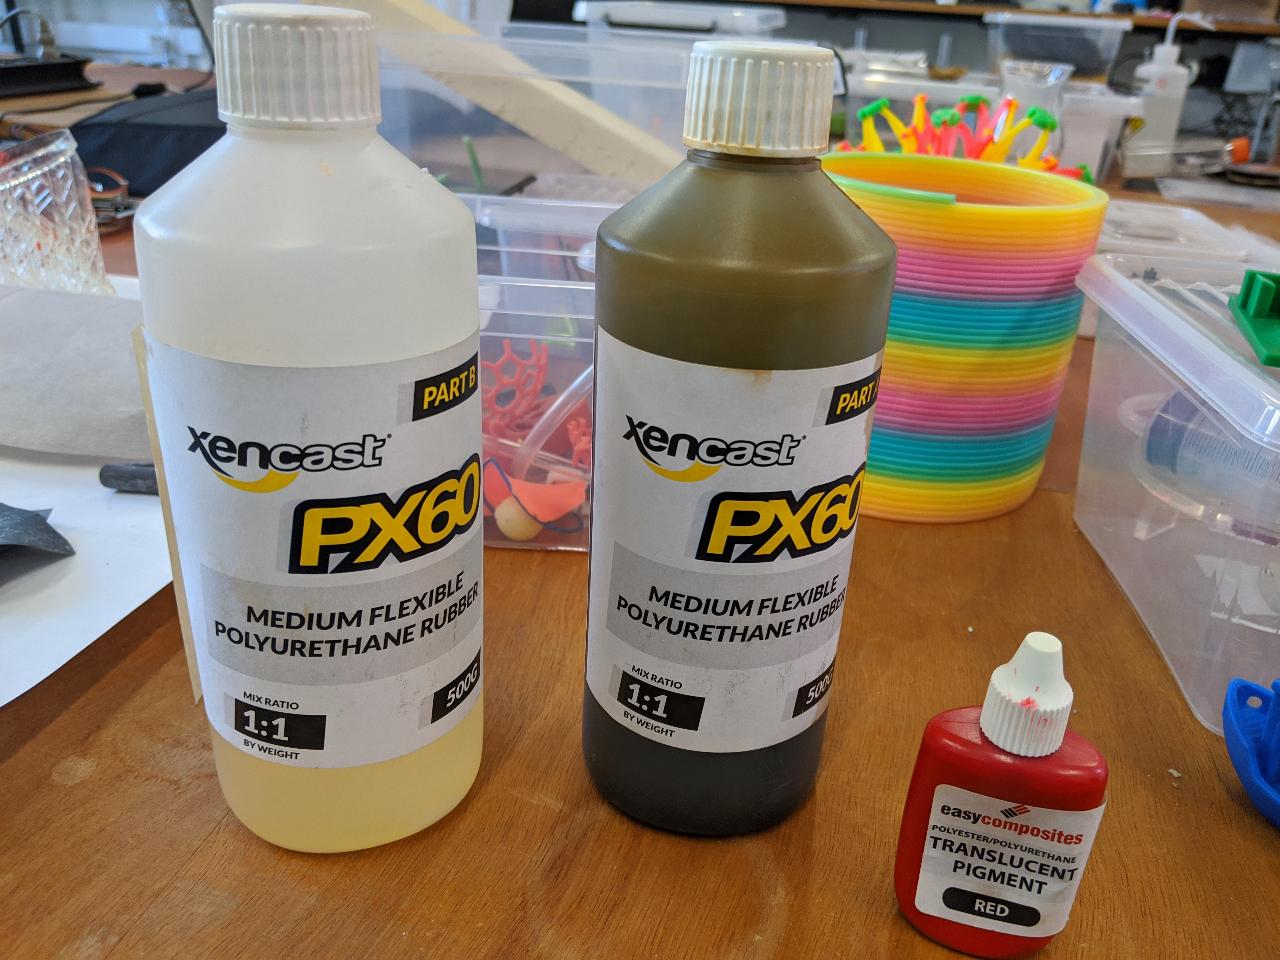
I use PX60 from xencast:
The information is as follows:
- Pot life: 10 mins.
- Curing time: 1-2 hours for demolding, another 7 days for full cure.
- mixing ratio: 1:1.
I also added some red pigment, but this is barely visible due to the dark tone of the polyurethane.
Right after mixing the two parts, a vacuum chamber is used to eliminate trapped air.
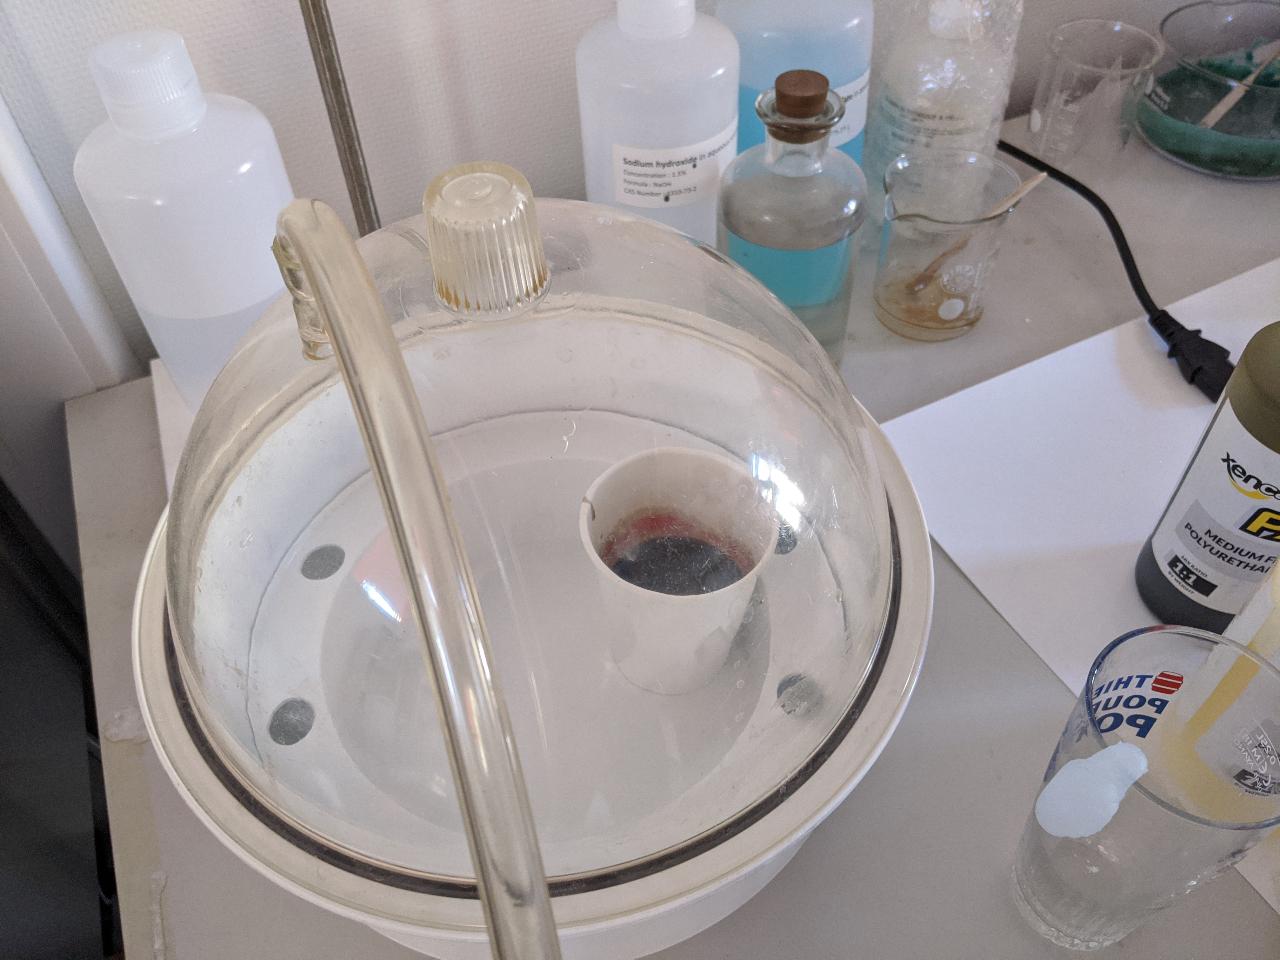
After injecting the material into the mold, I decided to put it back in the vacuum chamber.
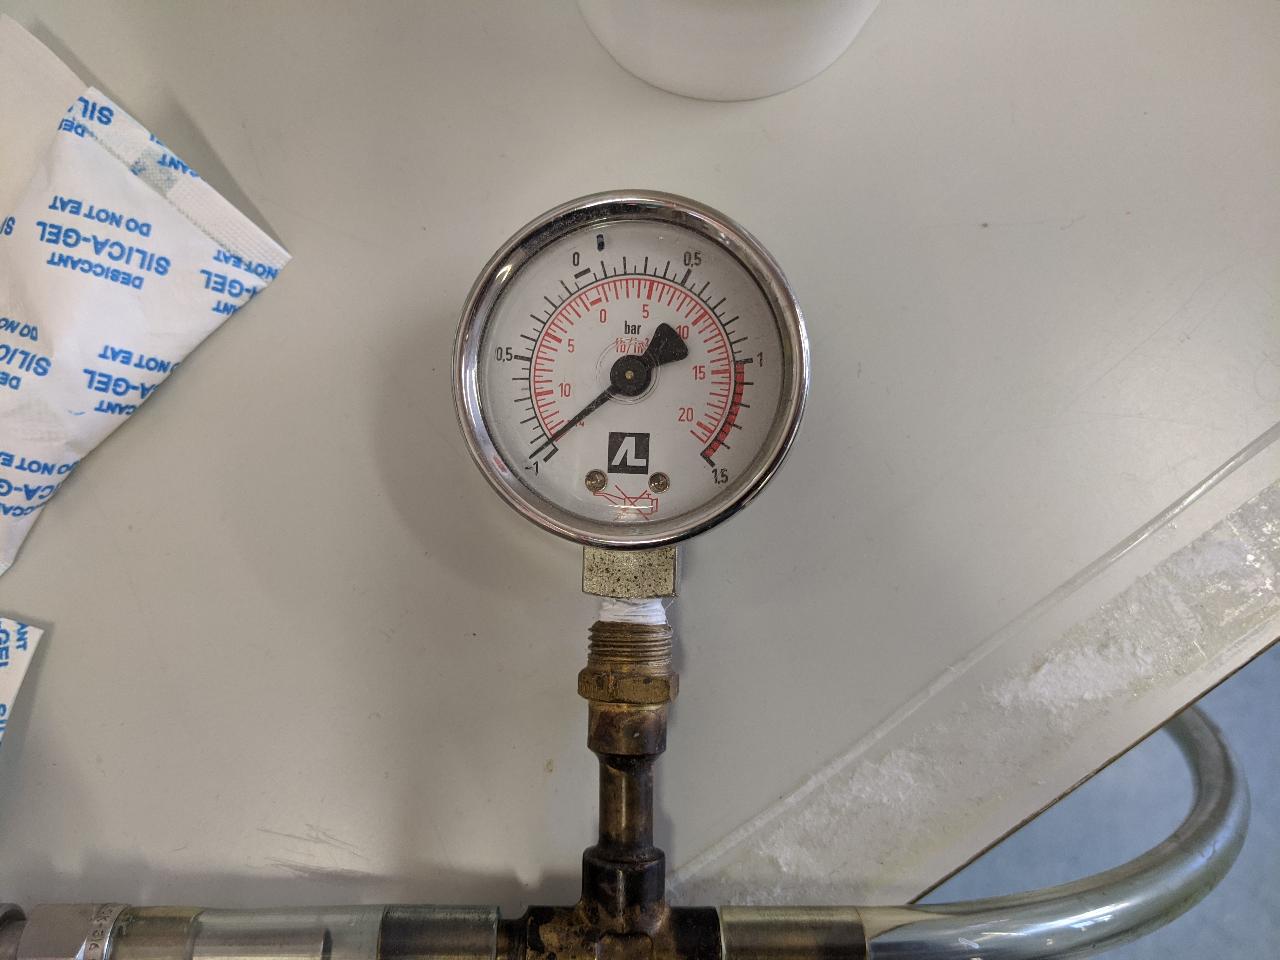
The pressure is about 0.1 bar. However, the vacuum pump was too slow, and I forgot to take the pot life into account. When the full 10 minutes where reached, there was still a vacuum in the chamber, meaning the gas bubbles where fully inflated.
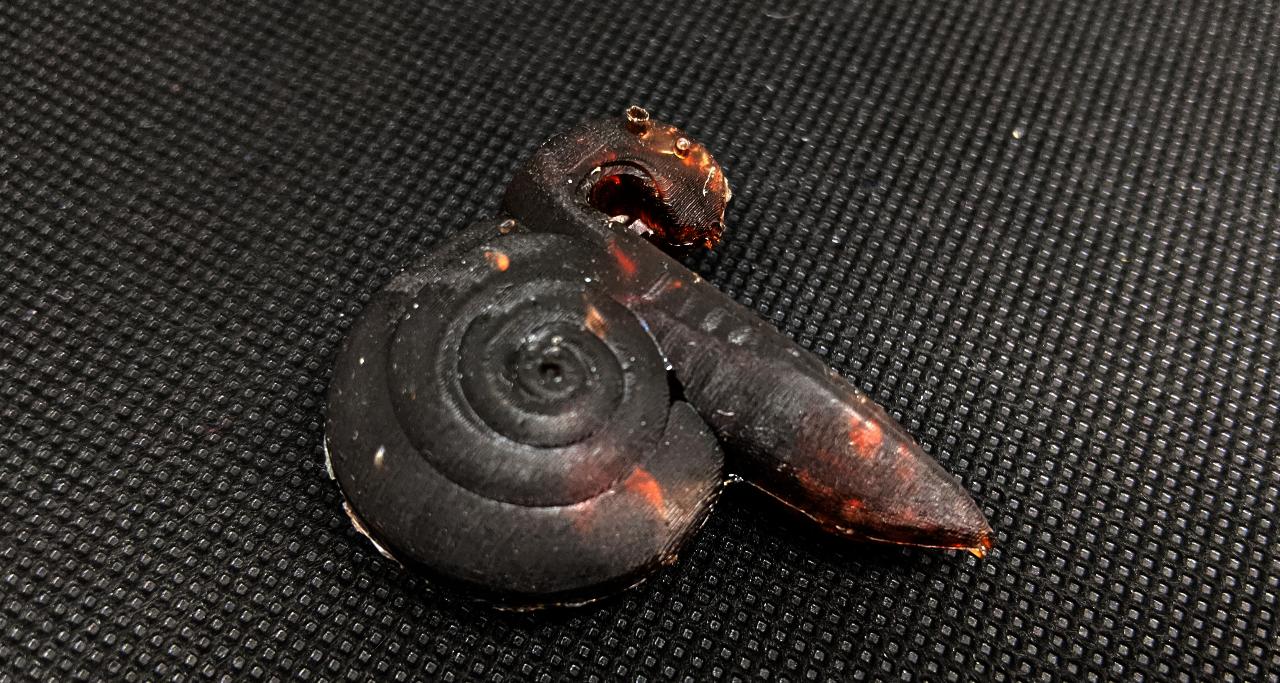
As the material was now curing, it was too late for these bubbles to retract again and I was stuck with rather large bubbles in the finished product. However, the vacuum helped capture some more details, and we can now see the eyes of the snail.
Casting 3: thin silicone
For my last try, I wanted to use silicone again, but with two changes:
- I want an opaque, colored silicone.
- It should be very liquid when pouring, but hard once cured.
I found the perfect material for this in my lab, the elite double 32. This is normally used to produce molds, but in this case the finished product will be silicone. It’s also food-safe, which is a good thing.
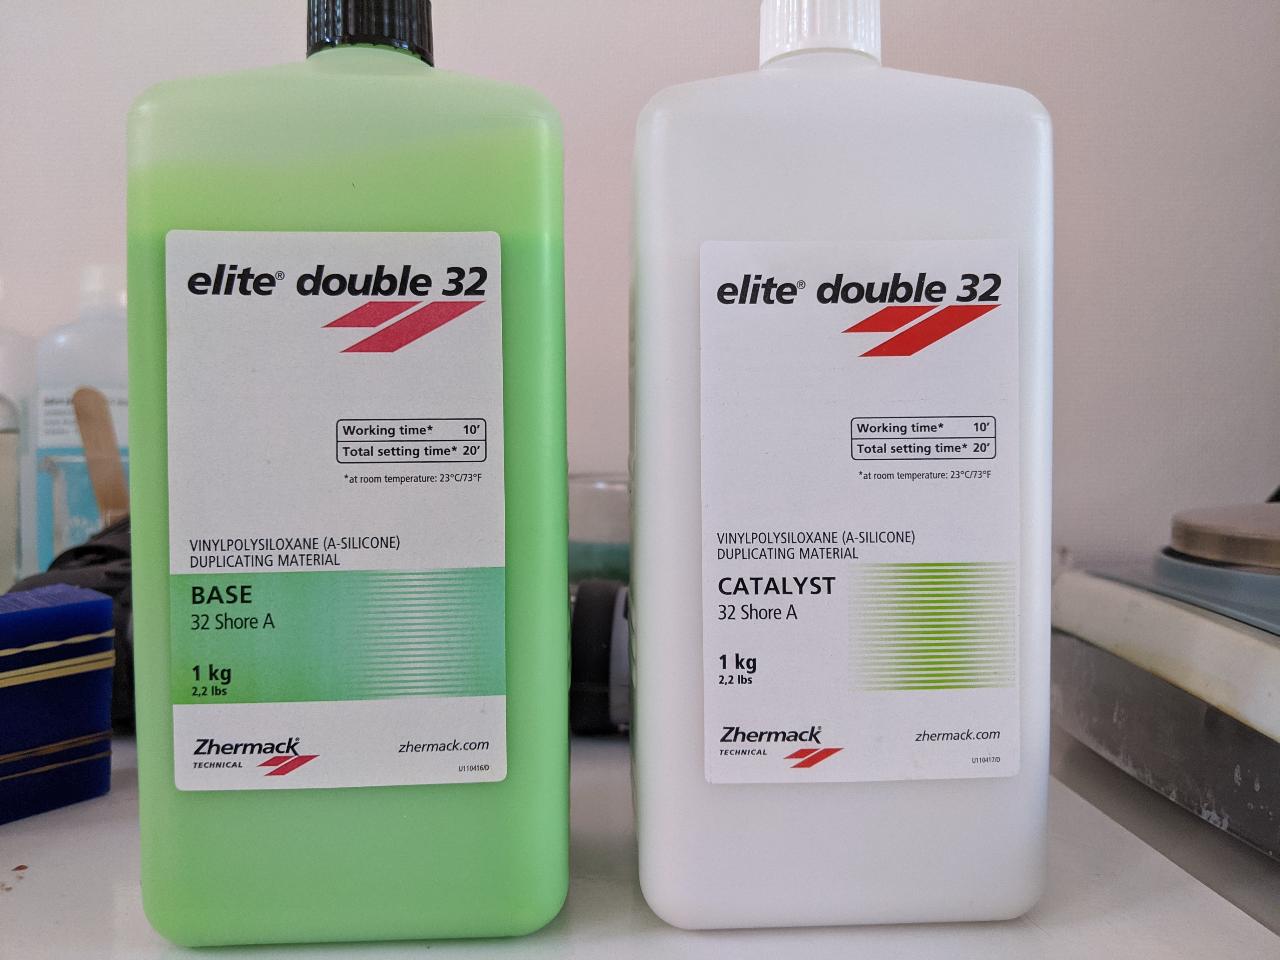
The technical specs are:
- pot life: 10 mins.
- curing time: 20 mins.
- mixing ratio: 1:1.
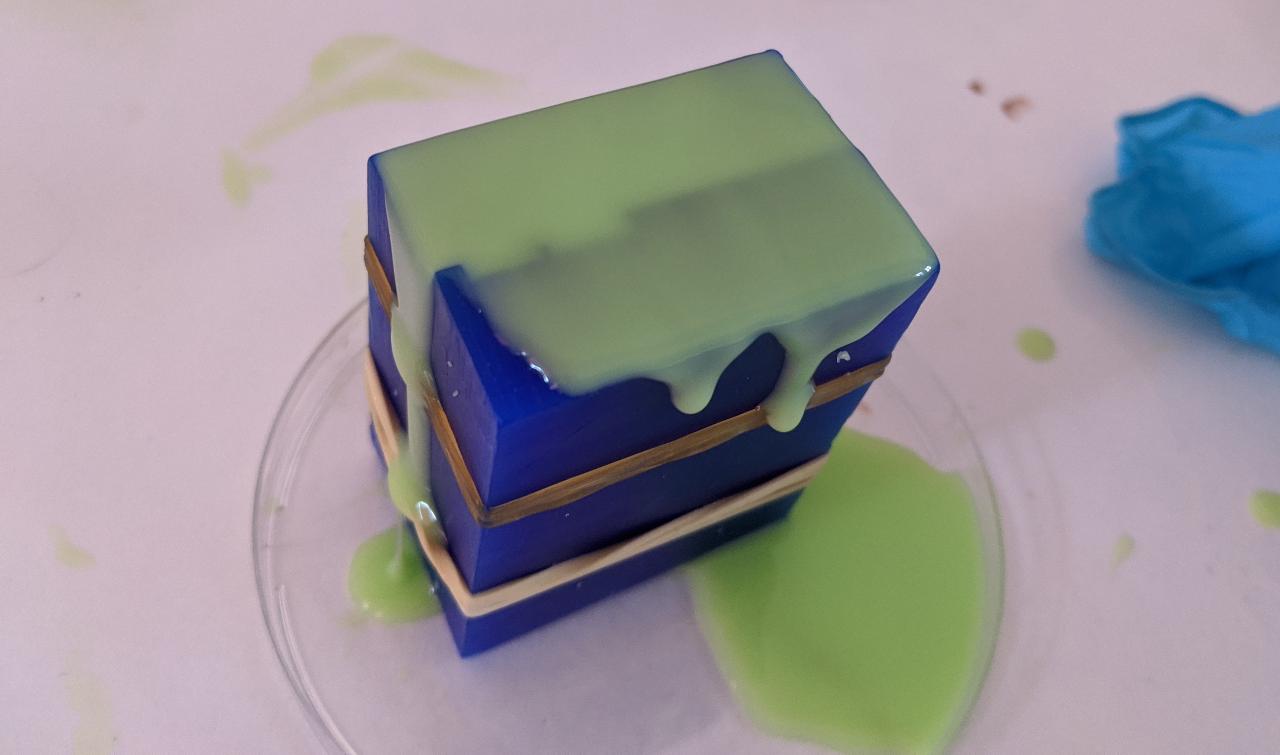
After mixing the two parts, I put it in the vacuum chamber to eliminate the bubbles. I then use a syringe to inject it into my mold. I have to be quick, as a 10 minutes port life is shorted than it sounds.
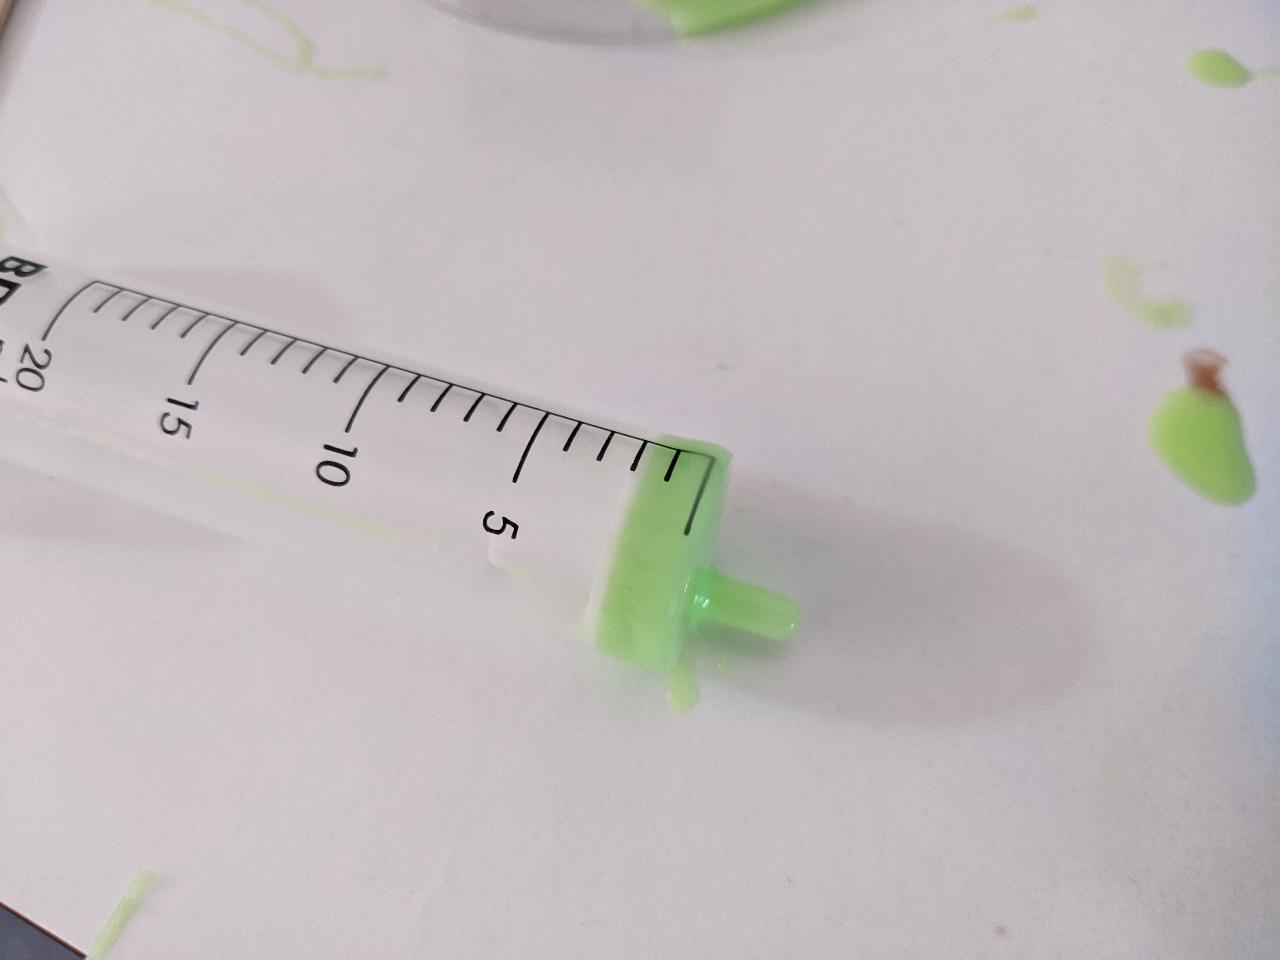
The injected mold is a bit messy now, but I wanted to make sure enough material was present.
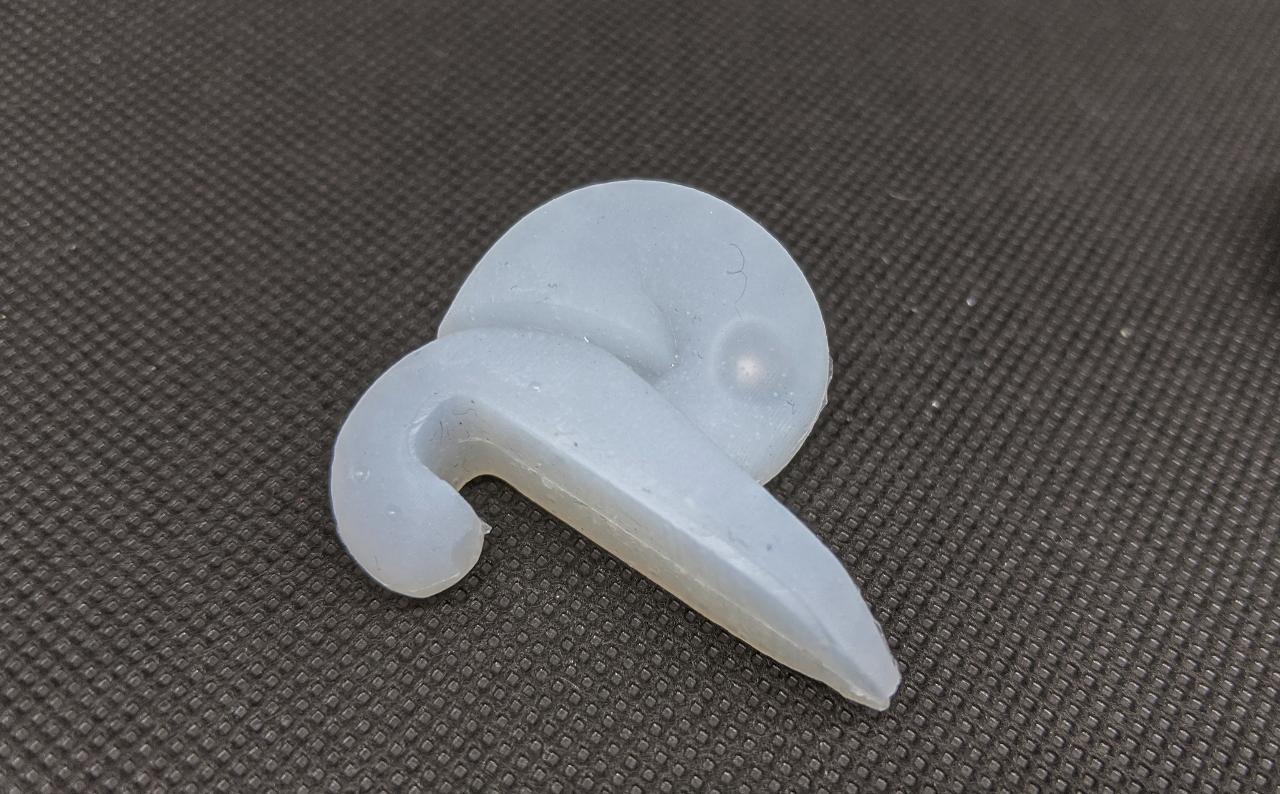
When I opened the mold, I was very satisfied with the level of detail. However, there is still one last trapped air bubble in the tail. I think this happened during injection, and the vent was to thin for the bubble to easily espace the mold.
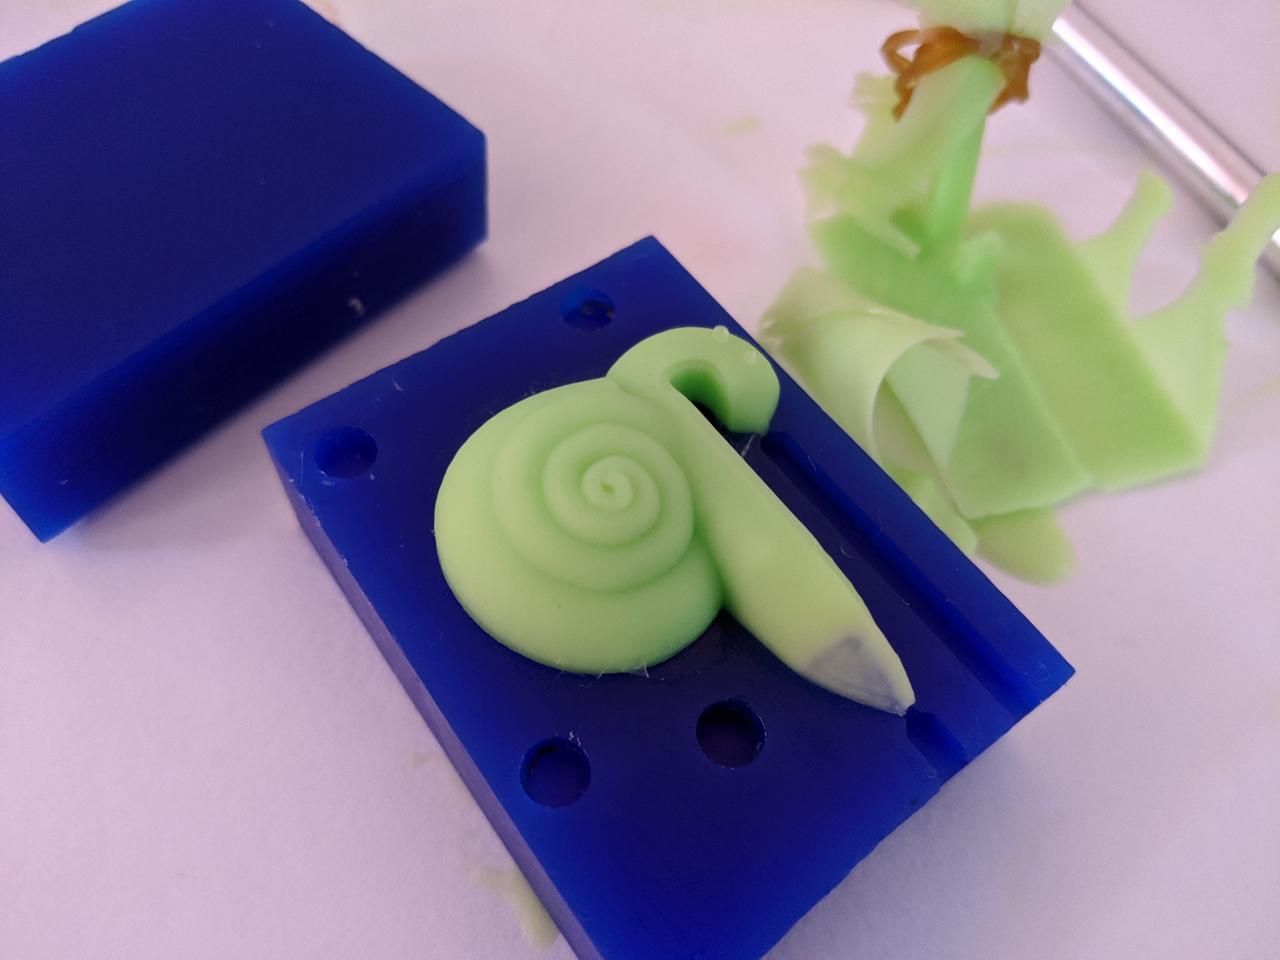
I use a dremel to apply some surgical operations to the tail.
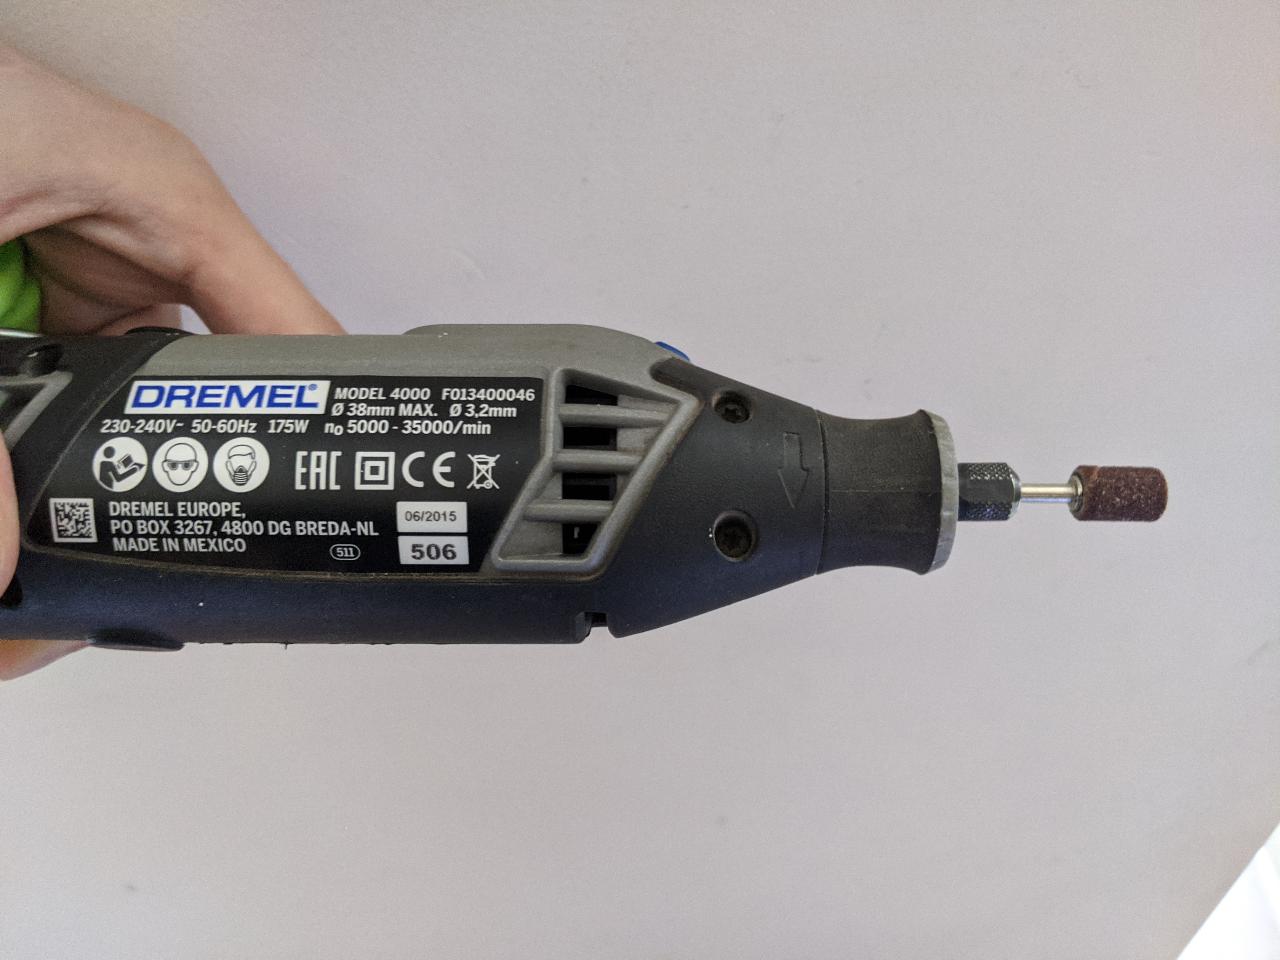
With part of its tail removed, the snail has a clean finish. Notice the mold separation line is almost invisible.

When looking very carefully, you can see the 0.1mm scan lines of the CNC machining.

Time to make some tea to try out the idea! The snail weighs about 10 grams but is surprisingly stable thanks to the silicone being sticky and bendy.
3-step process
The fabacademy assignment requires students to make a 2-step casting, in which the machined wax part is a positive, then turned into a negative silicone mold. I went back and designed a positive mold to illustrate this method. This was more fun than I expected, because the silicone mold can be duplicated and is more durable than the wax.
Design
One of my favorite artists has always been M.C. Escher. His optical illusions are fascinating at first, and he fully mastered the tesselation method. This is a type of shape that can be tiled indefinitely, covering a plane of arbitrary size. I found the following page presenting a 3D printed version of Escher’s lizards. Here is the original drawing:

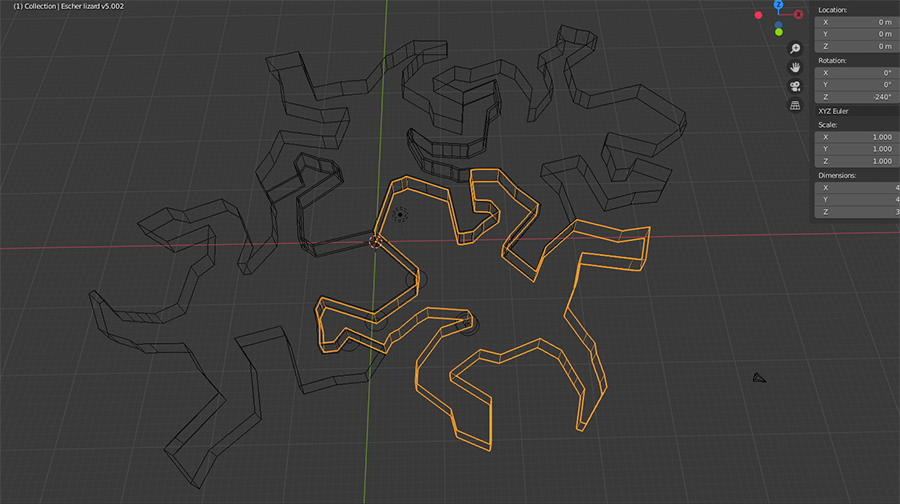
I downloaded the .stl and started drawing my lizard in Blender following the pattern. To check that it is indeed a tileable shape, I place several lizard in contact at a 120° angle. They all share the same mesh, so any change on one lizard is copied to the others. This way, I ensured to leave around 0.1mm of space between them, otherwise it might be too tight for a fit.

The lizard are flat for now, and some corners are too tight for even a 0.8mm mill. I decide to continue this work in Fusion 360.
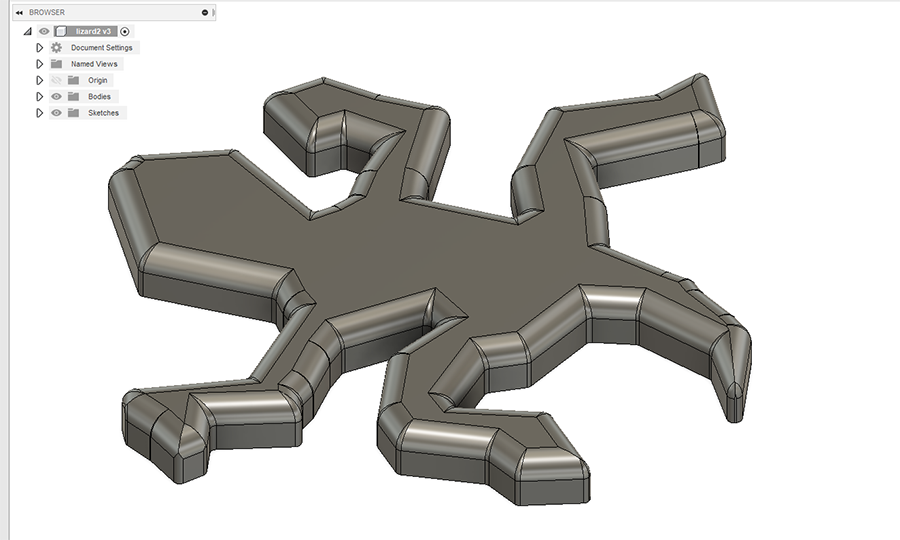
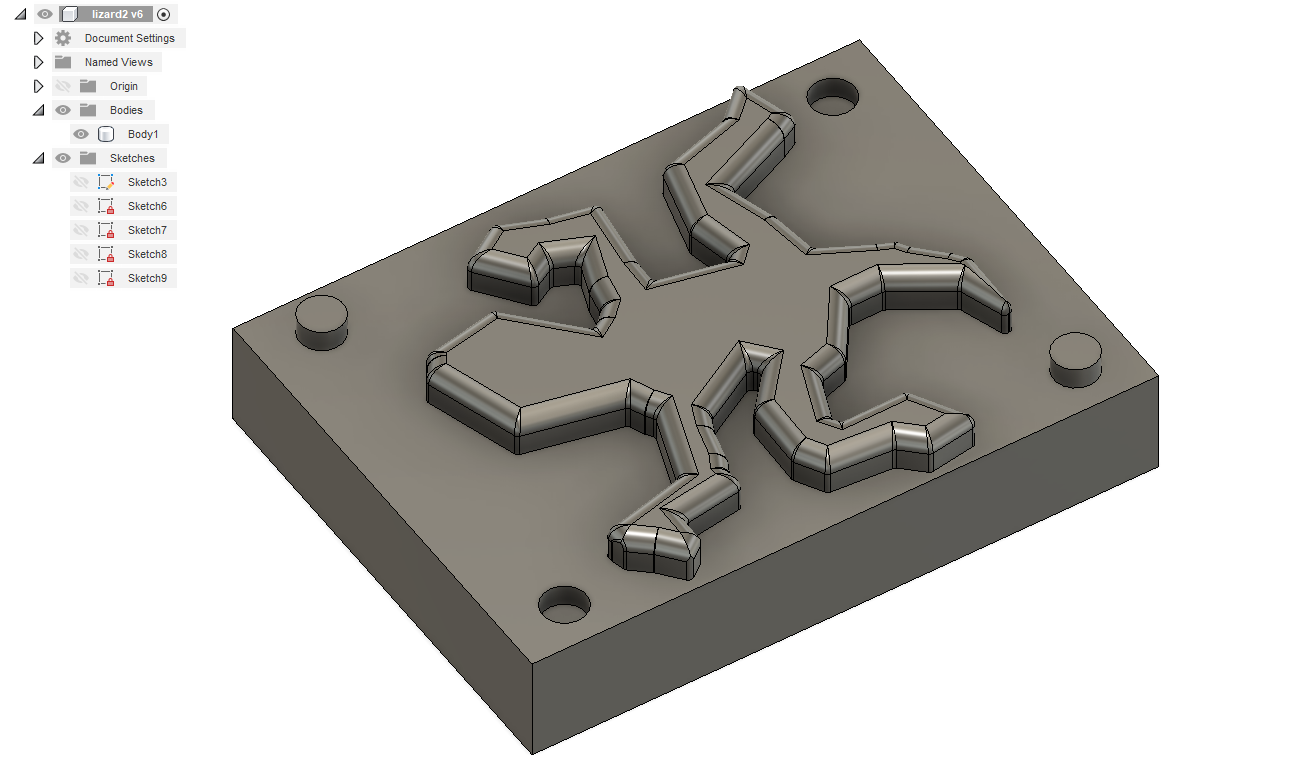
I produced the following .svg using the Freestyle SVG Exporter module:

The .svg is imported into Fusion 360 and extruded. At this stage, I add a bevel on tight corners to help the mill reaching those spots. It’s important to bevel the convex and concave corners by about the same value, this ensures the shape can still fit afterwards. I also beveled the top face to give it a smooth look.
I add a stock and some registration pins in case I change my mind later and decide to upgrade it to a 2-part mold.
The milling operations start with a pocket with a 3mm flat end mill with 0.1mm or radial stock to leave:
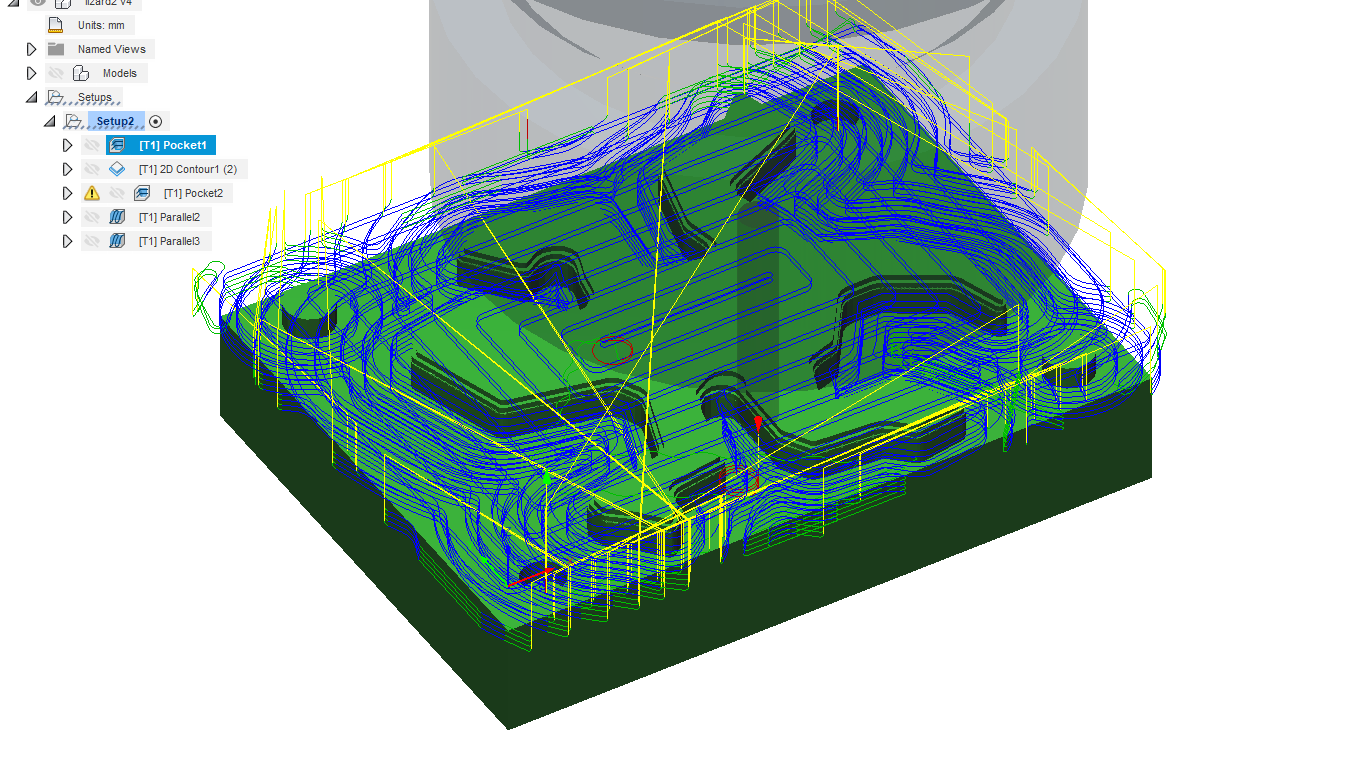
Then, a pocket with 1/32” = 0.8mm mill with the rest machining option enabled. This ensures any material already removed by the previous operations is ignored, making this operation a lot faster.

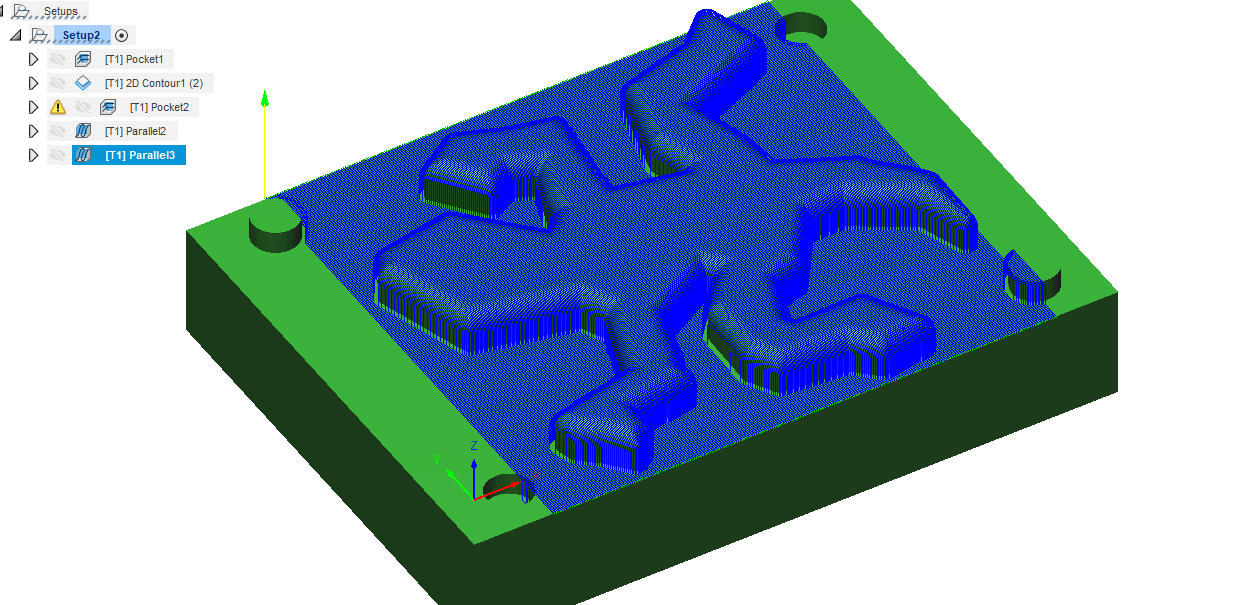
Finally, two finishing parallel operations with a 0.1mm stepover and the 0.8mm mill. The two operations are identical except for their orientation, with a 90° difference to reveal more tiny details.
Mold machining
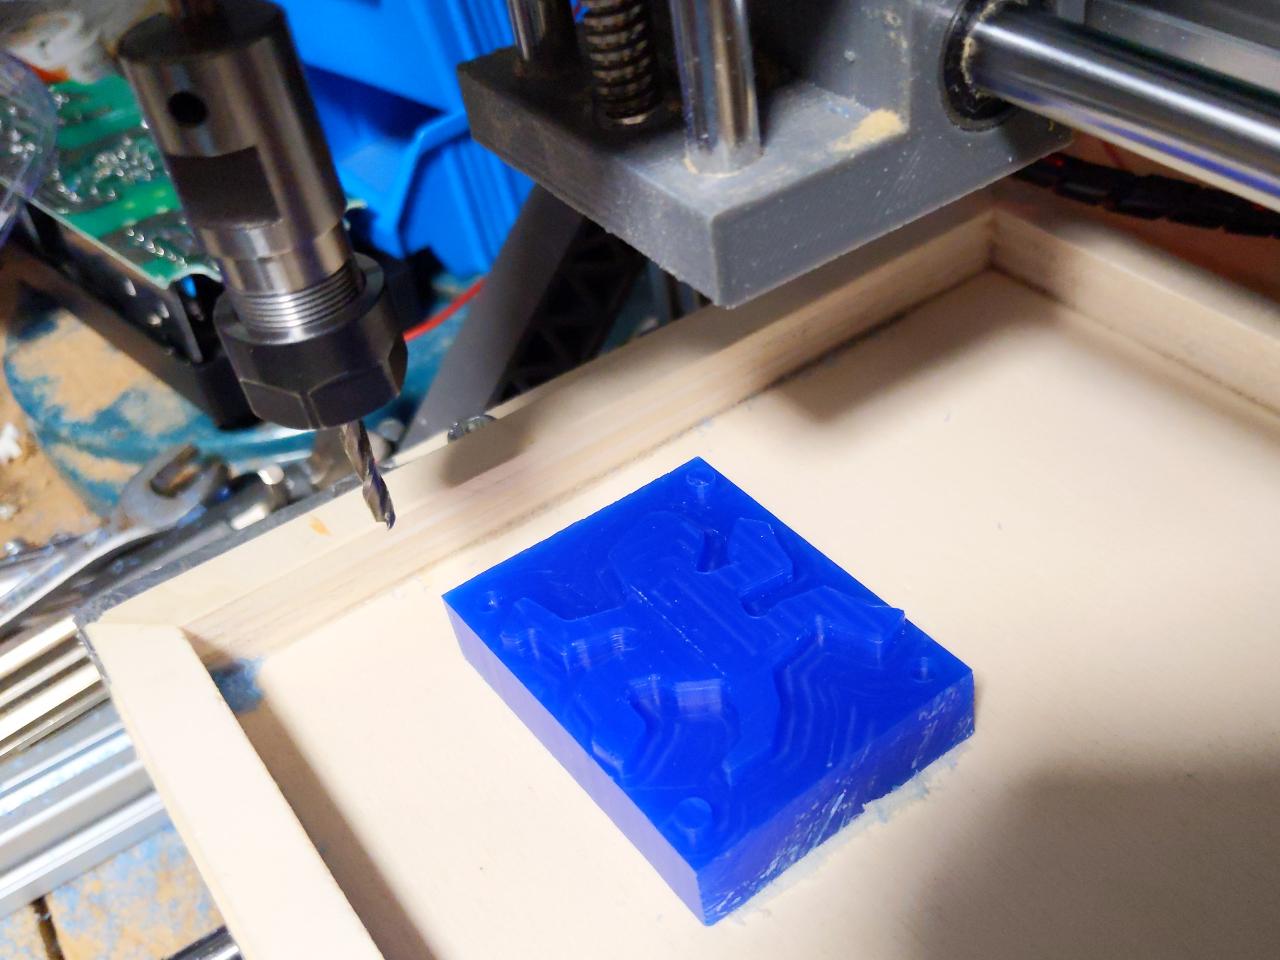
I place the machinable wax on my 3018 desktop CNC, with the 3mm mill for the first step. The result is a flat lizard with the rough shape visible.
The 0.8mm tool had just the right length to reach every part of the mill. Thanks to Fusion 360’s collision prediction, the conical section of the mill was taken into account.

After the finishing steps, the beveled edges are more visible.

The wax is ready to be used as a positive for the silicone mold. If you watch closely, you can see that the top and bottom areas were not reached by the finishing step to save some time.
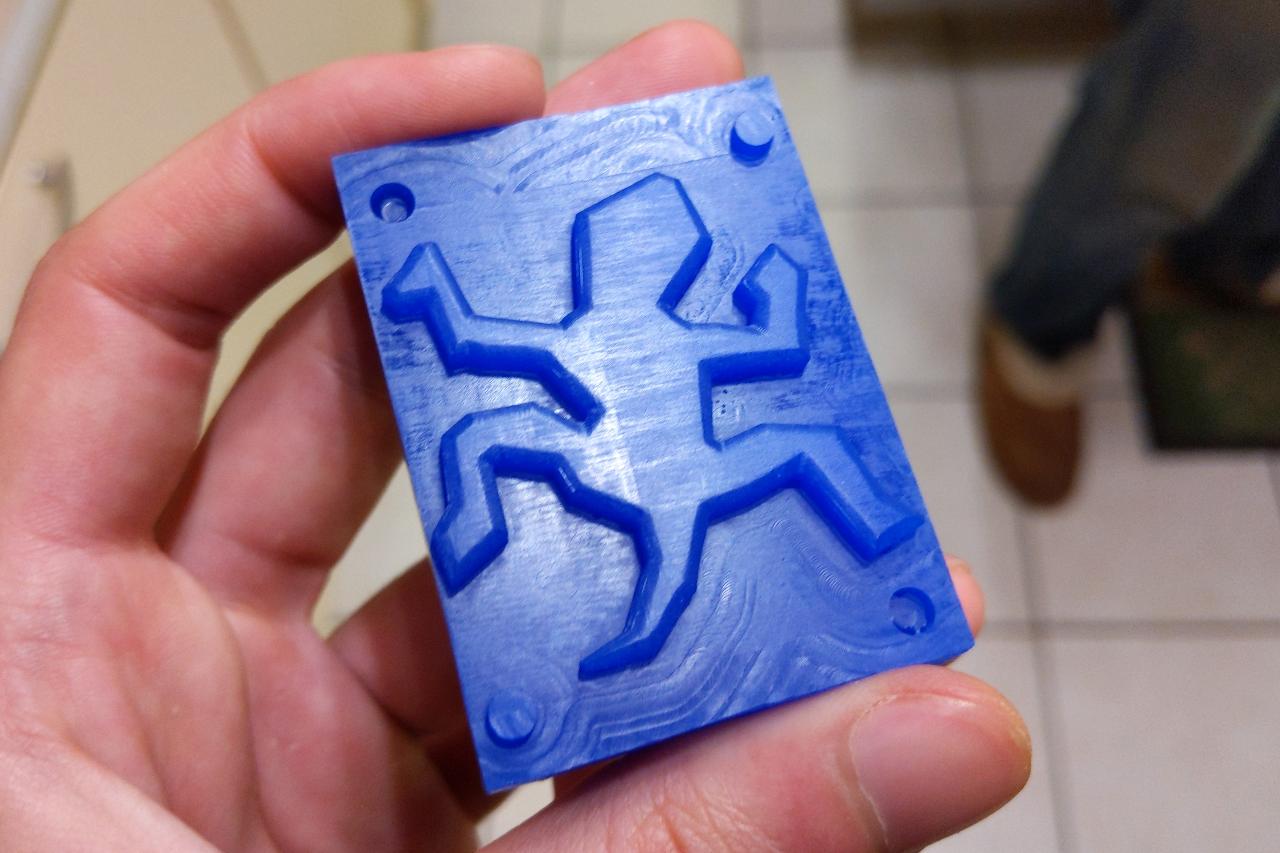
Mold casting
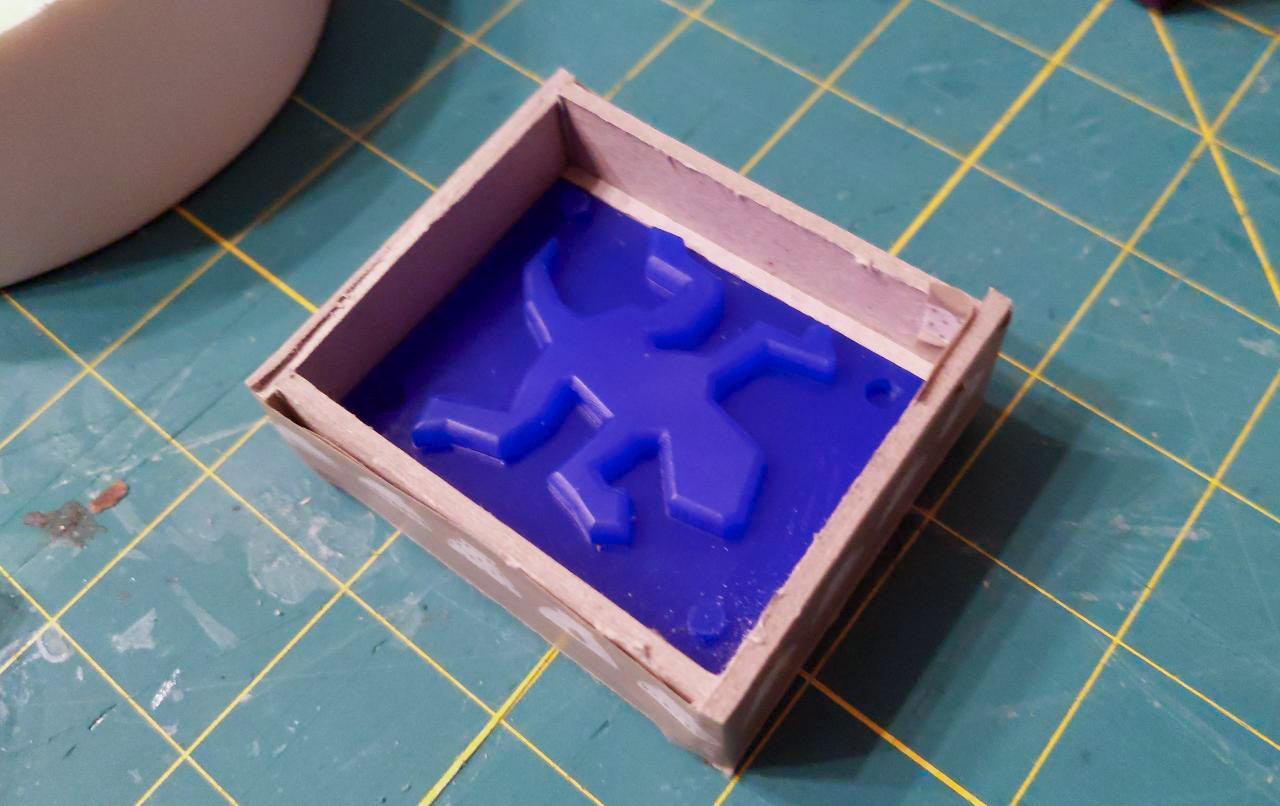
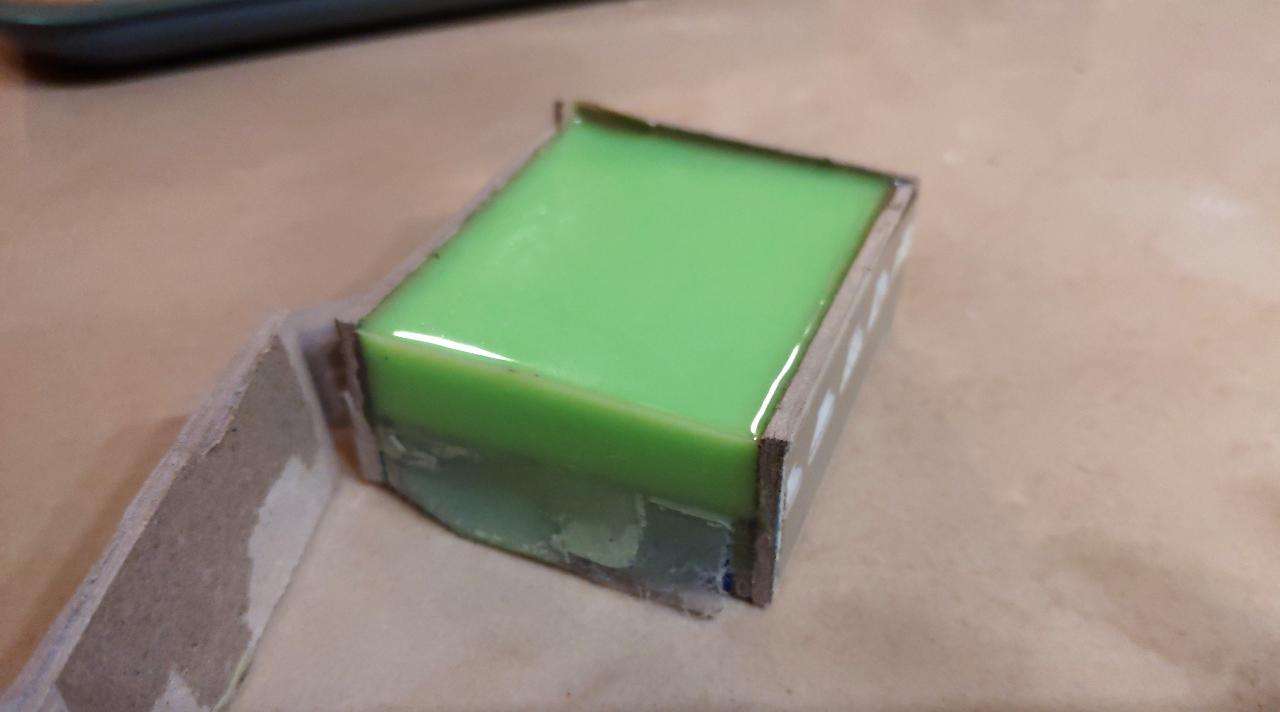
The first step is to build a small box around the wax to keep the silicone from flowing over. I cut and strap some cardboard on the sides. Notice I also extended the border next to the lizard’s legs, as I was worried it might be too thin for silicone.
I use the same silicone as mentioned earlier, the elite double 32 with a mixing ratio of 1:1 and a curing time of 20 minutes.
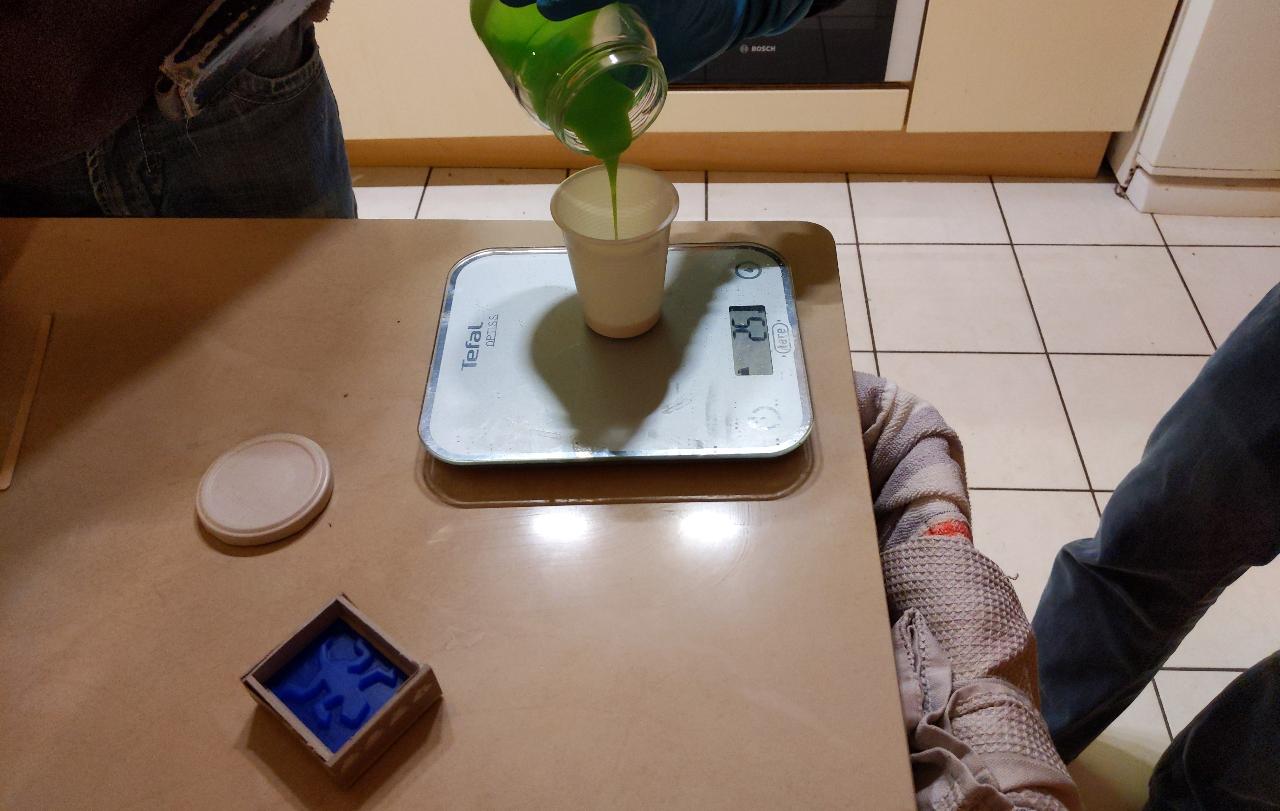
When pouring, I stard from the corners and only pour on the top when the lizard is fully submerged. This prevents bubbles from forming on the sides of the lizard.
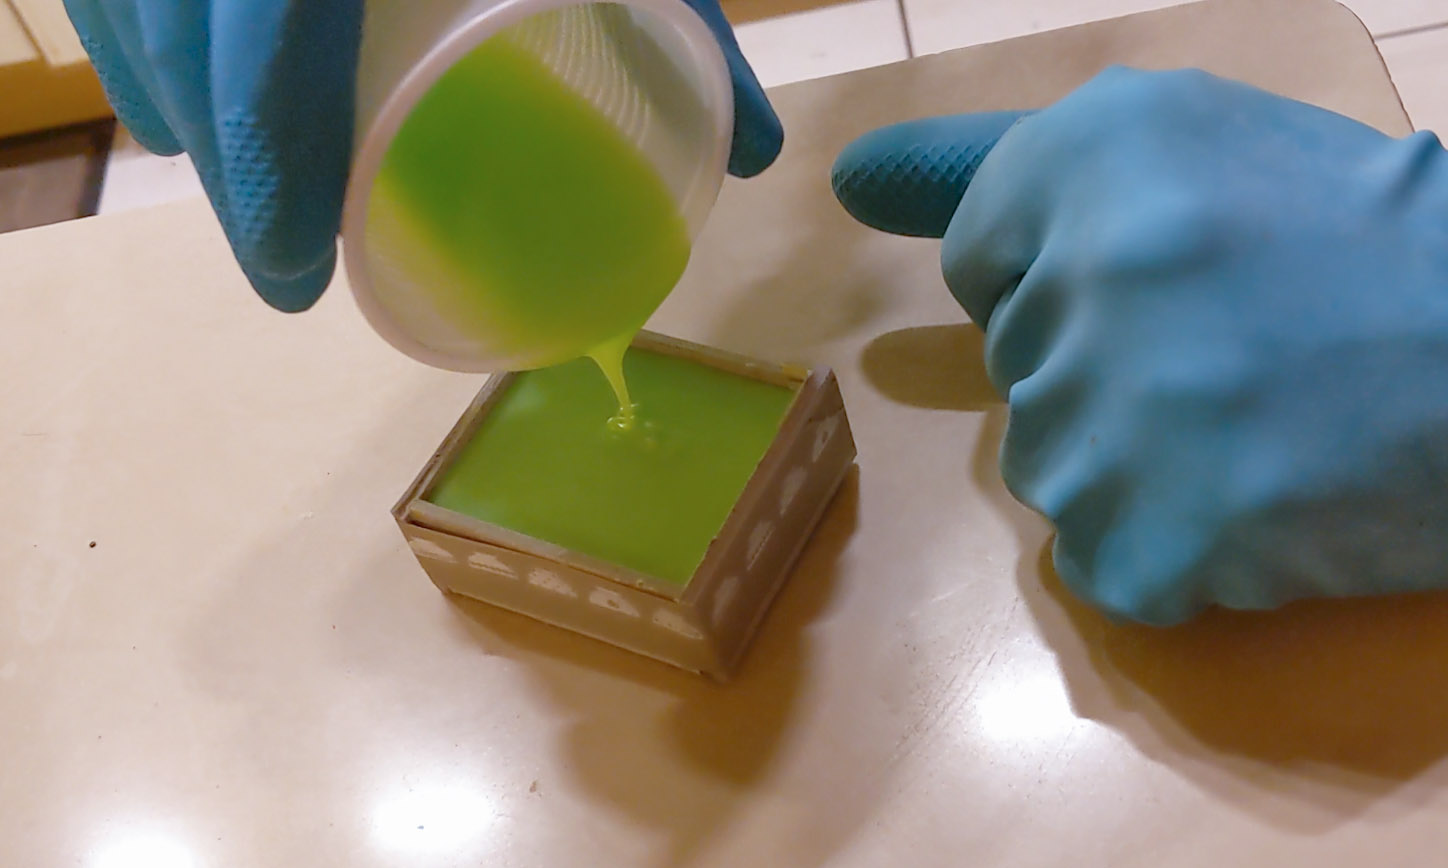
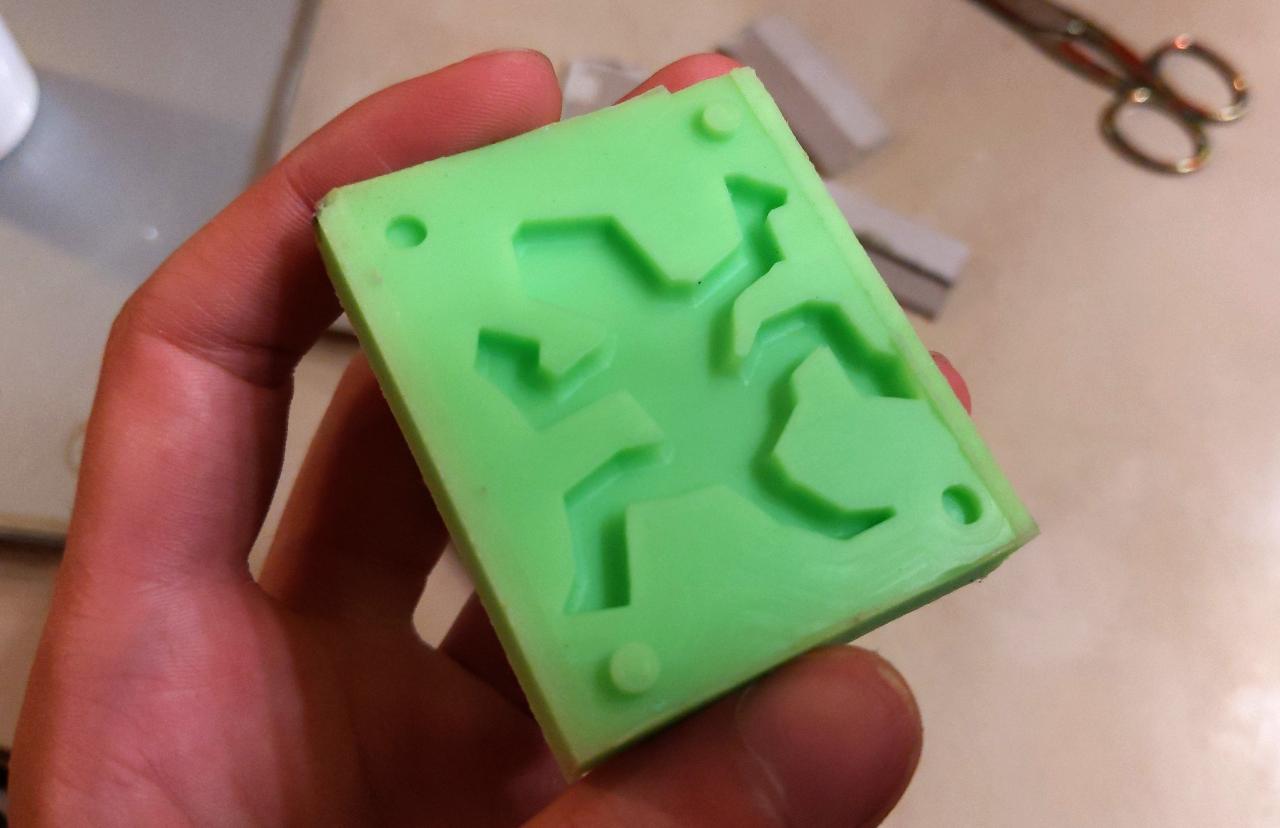
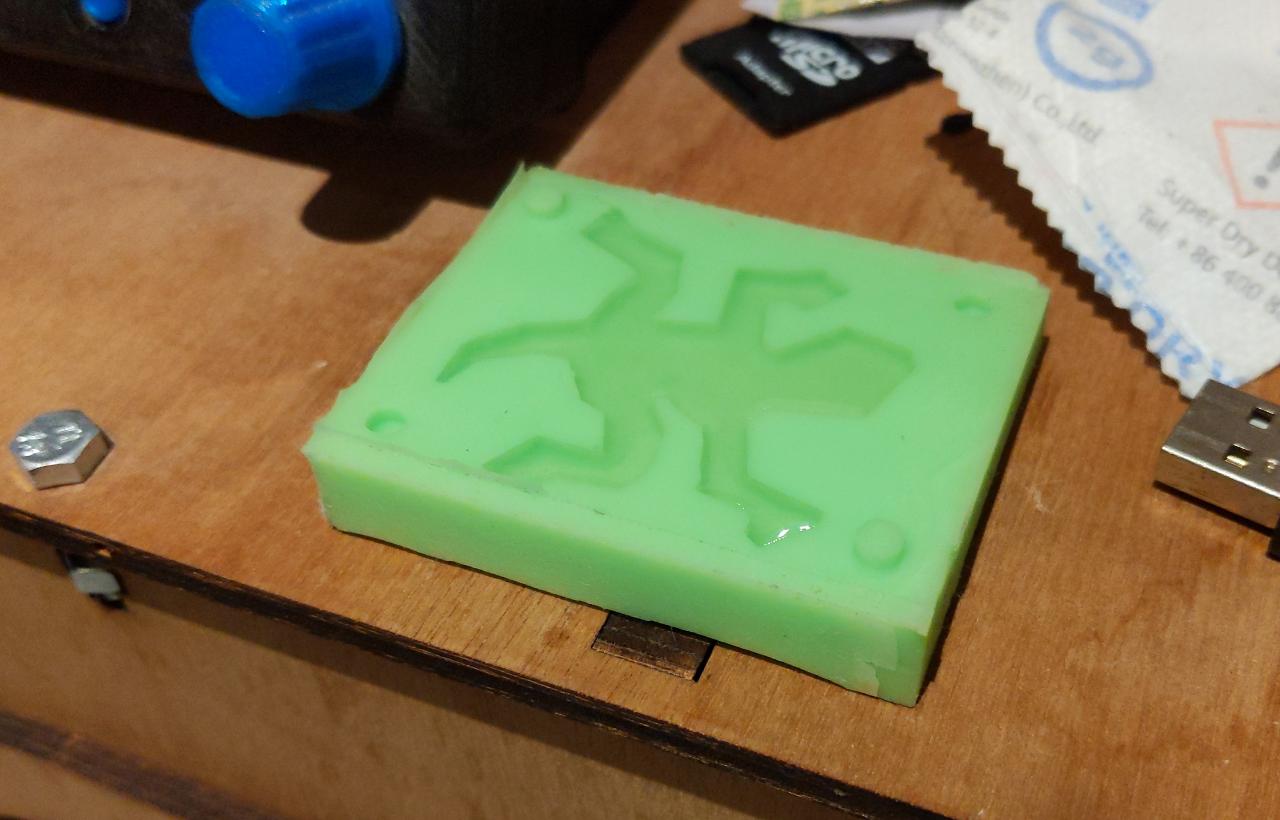
The cardboard is removed to reveal the mold. Note that a very thin line of silicone managed to infiltrate the cardboard, showing how fluid this silicone is. This extra material is only on the sides and is easily cut with scissors.
The final mold is looking good, there are no obvious bubbles. I later notice some microscopic bubbles on the corners, which I think only a vacuum chamber could have helped with.
Final casting
For the final cast, I use CLV super sap epoxy from Entropy Resins. The basic information is:
- Pot life: 30 mins.
- Cure time: around 12 hours, up to 72 hours.
- Mixing ratio: 100:40 (resin to hardener ratio).
When pouring, it is not always easy to know when to stop especially with a clear product. I use the reflections on the surface until I don’t spot any concave or convex meniscus.
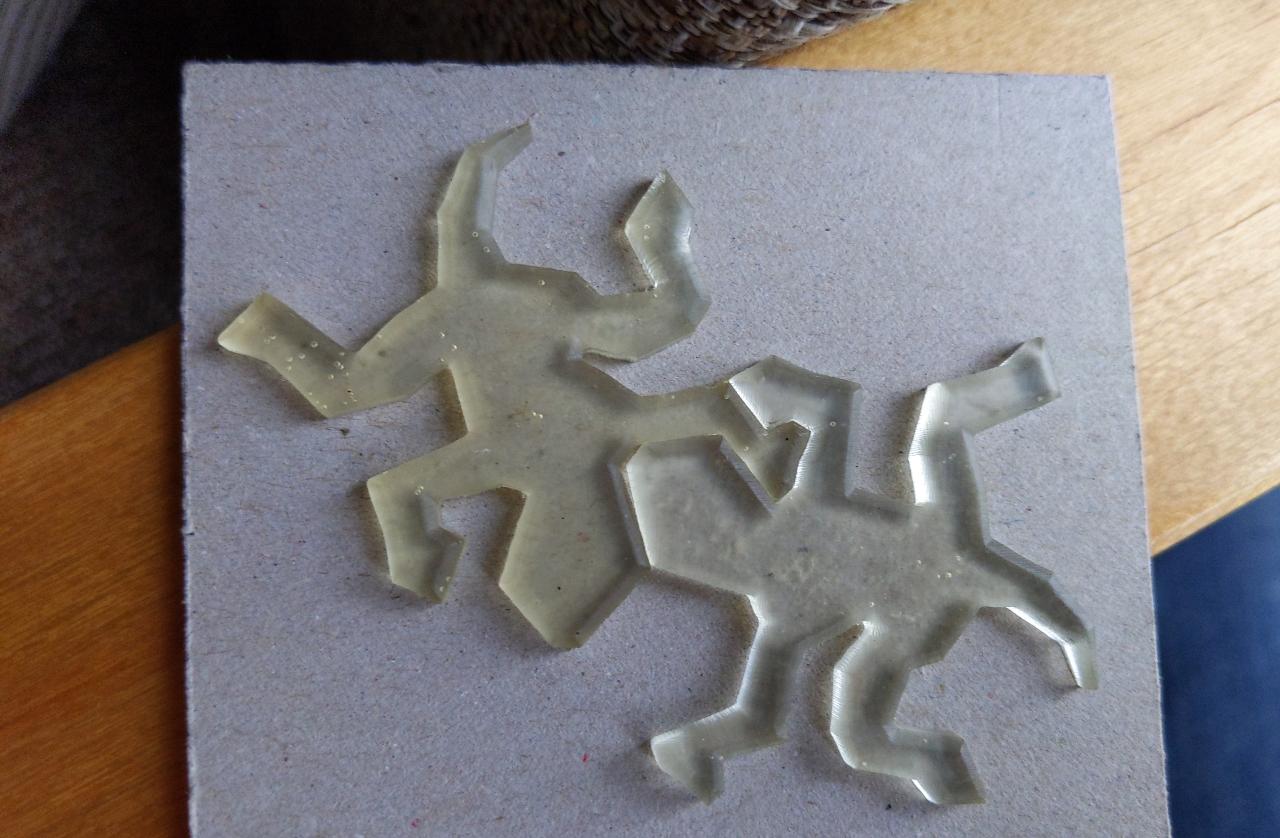
There are some bubbles in the final lizard, but overall the result is satisfying.
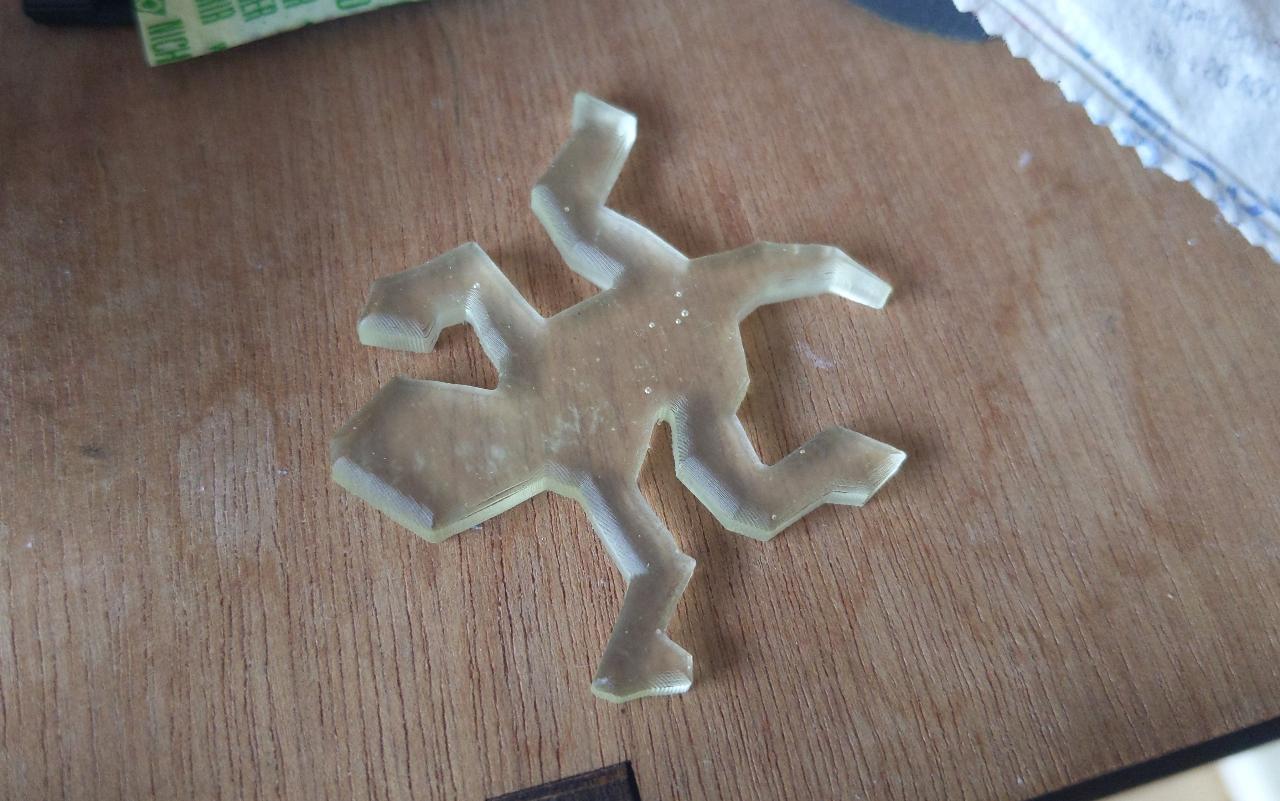
I cast a second lizard to prove that the fit works. I wish I could cast around 10 to really start tiling them, but the process is really time-consuming with resin.
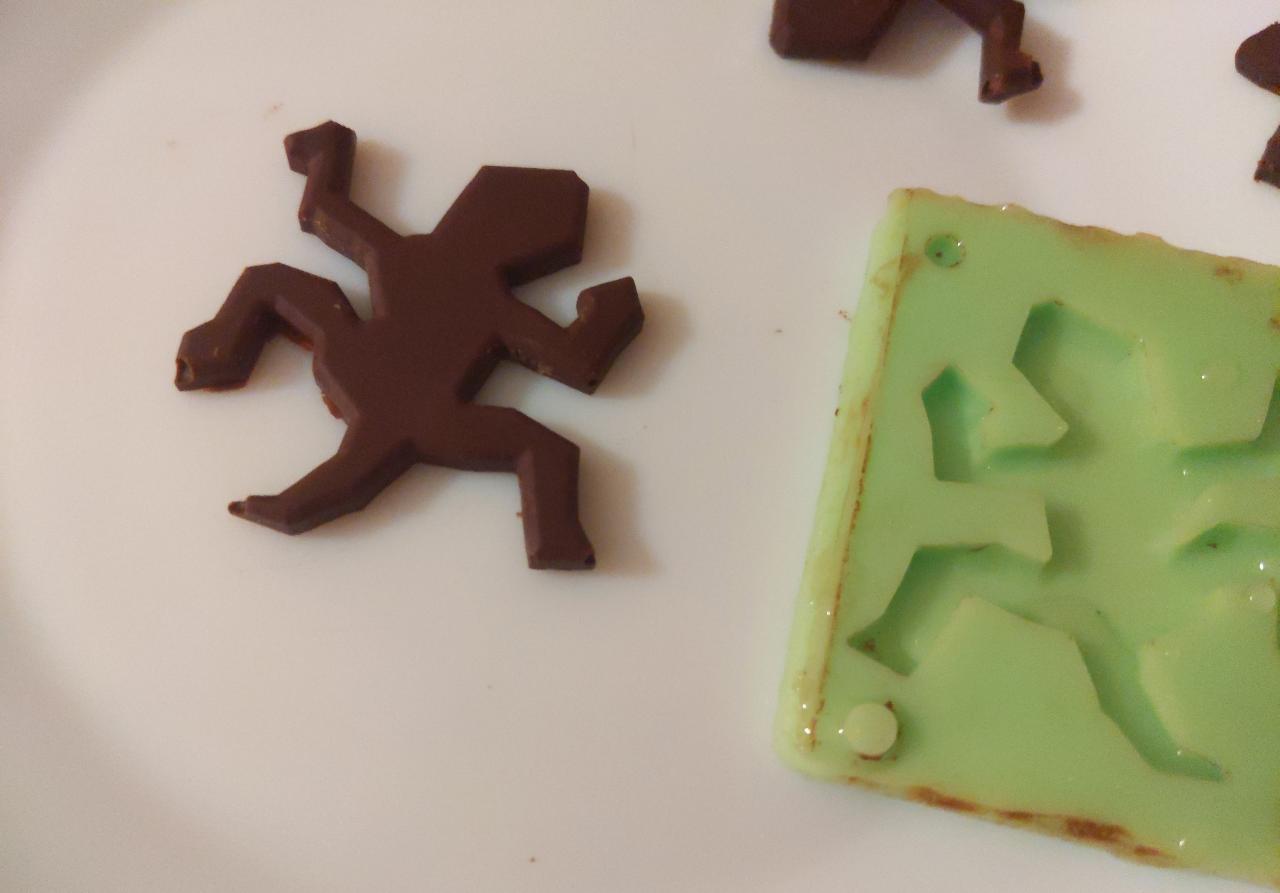
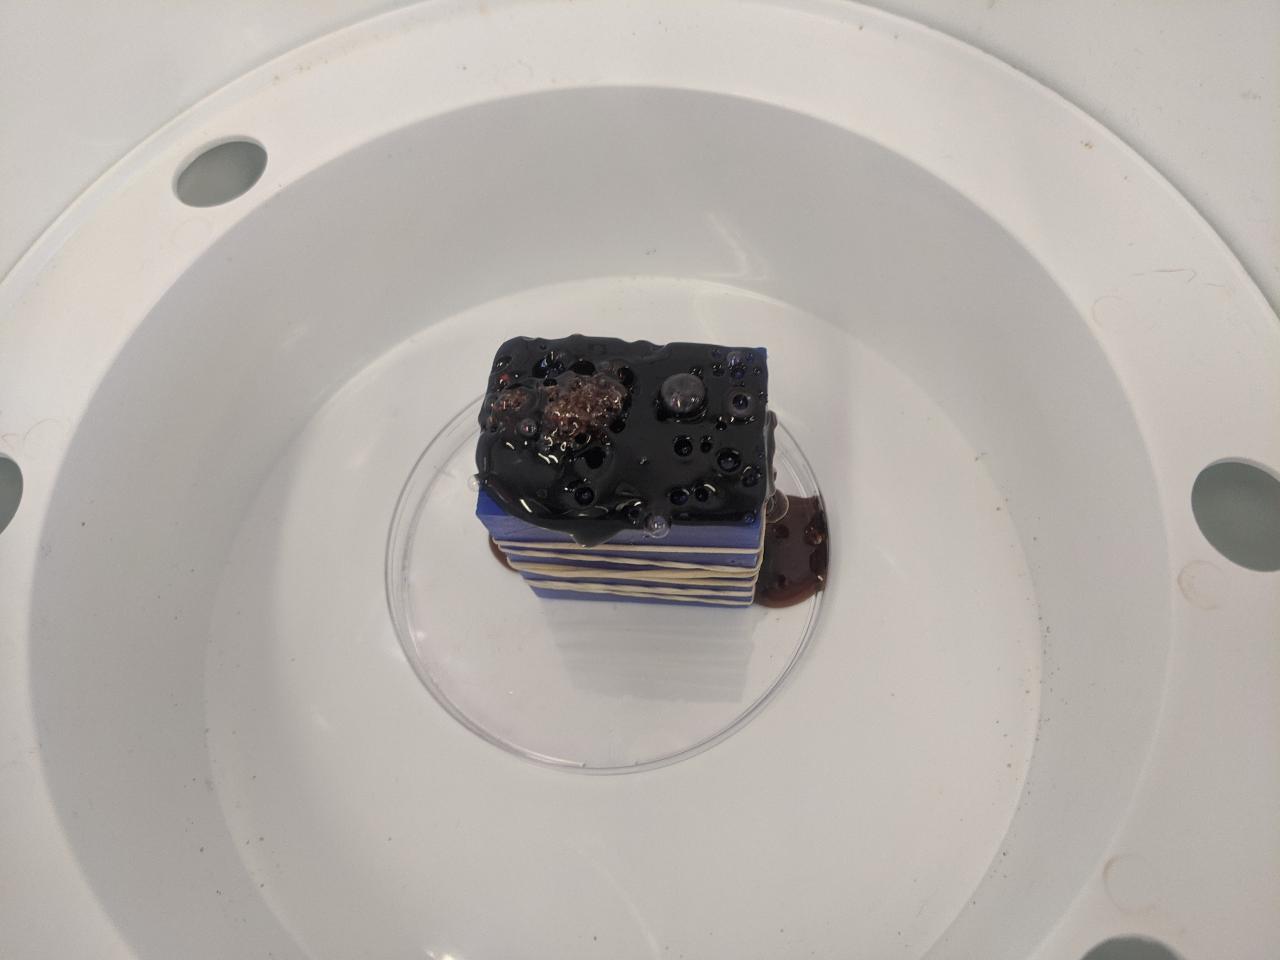
Finally, I cast another silicone mold to try casting edible materials (I don’t want to eat any resin leftover!). When casting chocolate, it is important to use dark chocolate and heat it to around 40°C; this gives a smooth and shiny look after cooling down. In this example, I used cheap 50% cocoa chocolate, so the result is not as shiny.