2D explorations
Intro
I did a brief test on the most popular drawing solutions available for Linux: Gimp and Inkscape.
I kept these explorations brief as I focused mainly on the CAD part for the final project.
Gimp
Drawing a circle
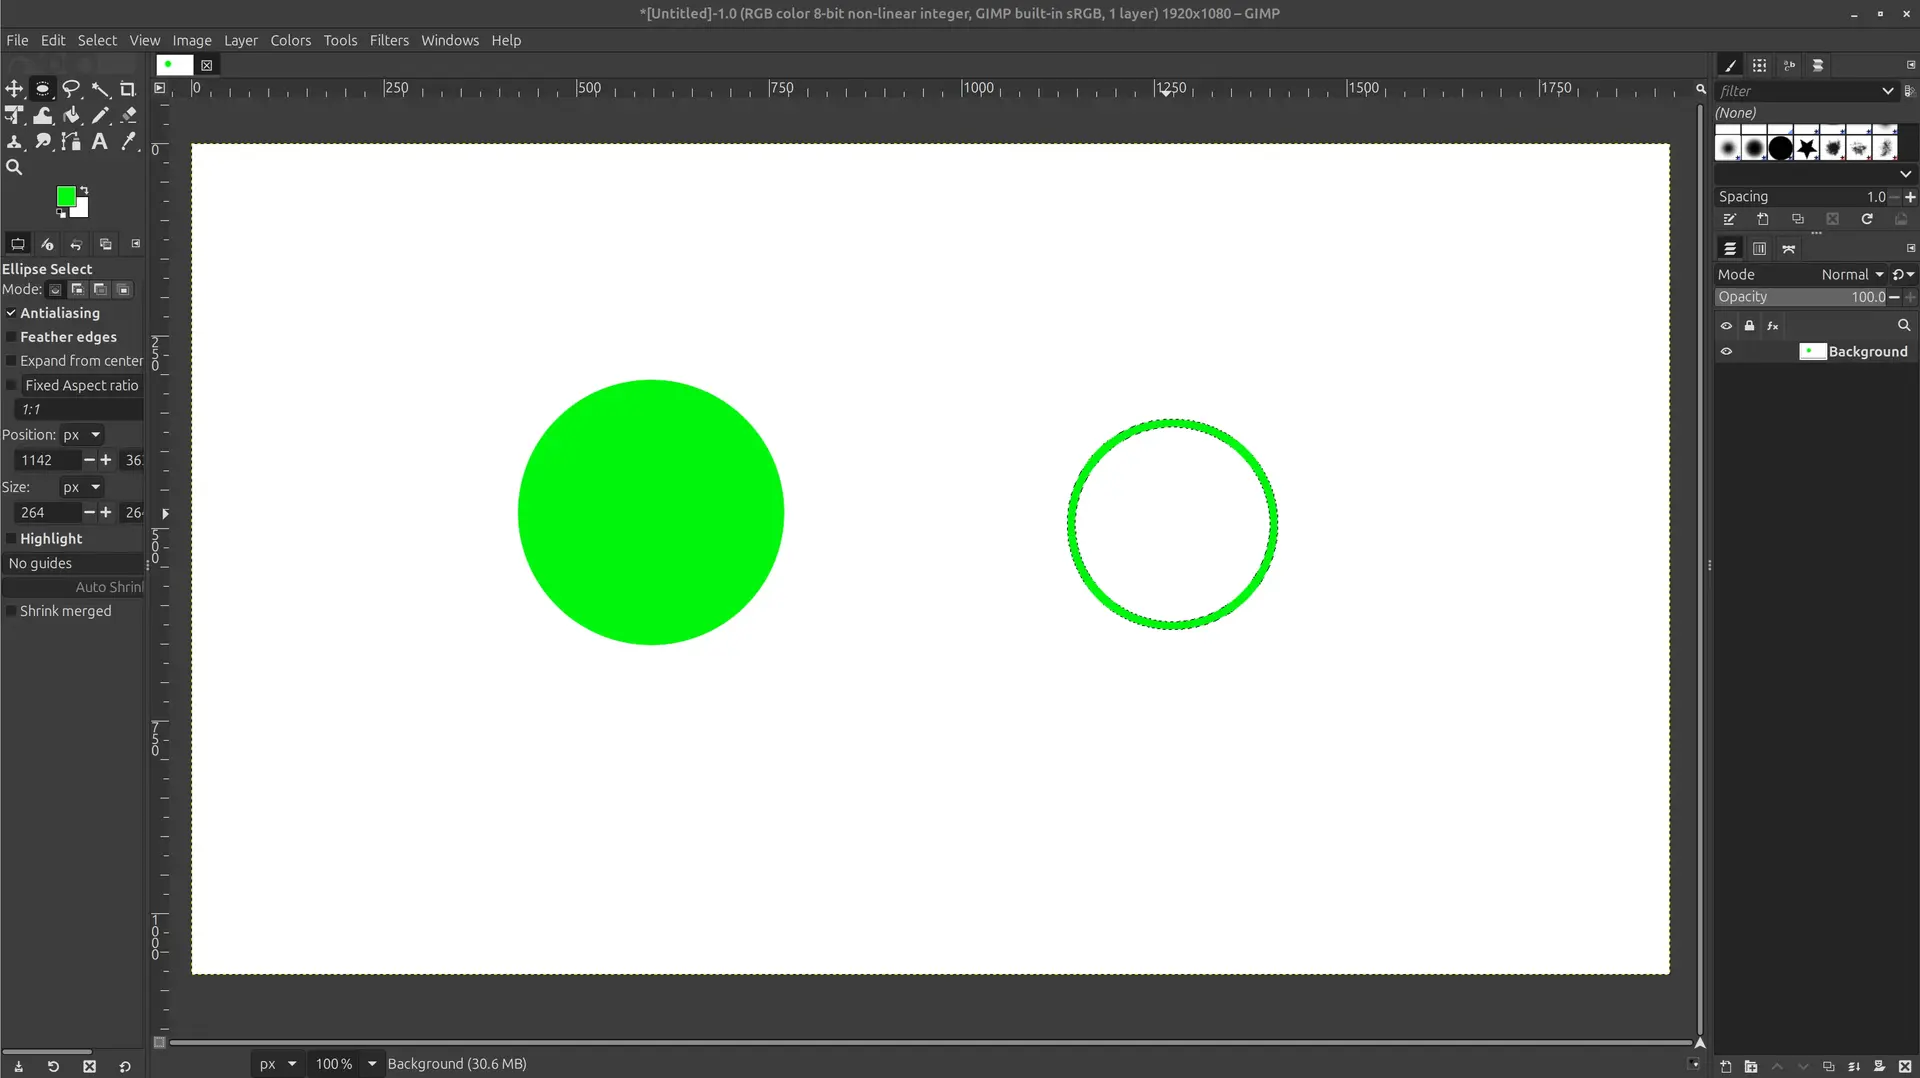
Steps for a Filled Circle:
- Select Tool: Click the Ellipse Select Tool in the toolbox (after right clicking on the rectangle select and switching to ellipse select) or press E.
- Draw Circle: Click and drag on the canvas while holding Shift. Alternatively, in Tool Options, set Fixed to Aspect Ratio 1:1 to draw circles without holding keys.
- Fill Color: Click and drag your Foreground Color from the toolbox into the selection.
- Deselect: Press Ctrl+Shift+A (or Select -> None) to finalize the shape.

Creating a Hollow Circle (Ring):
- Draw the circle selection as above.
- Go to Select > Border and enter a pixel width for the ring thickness. 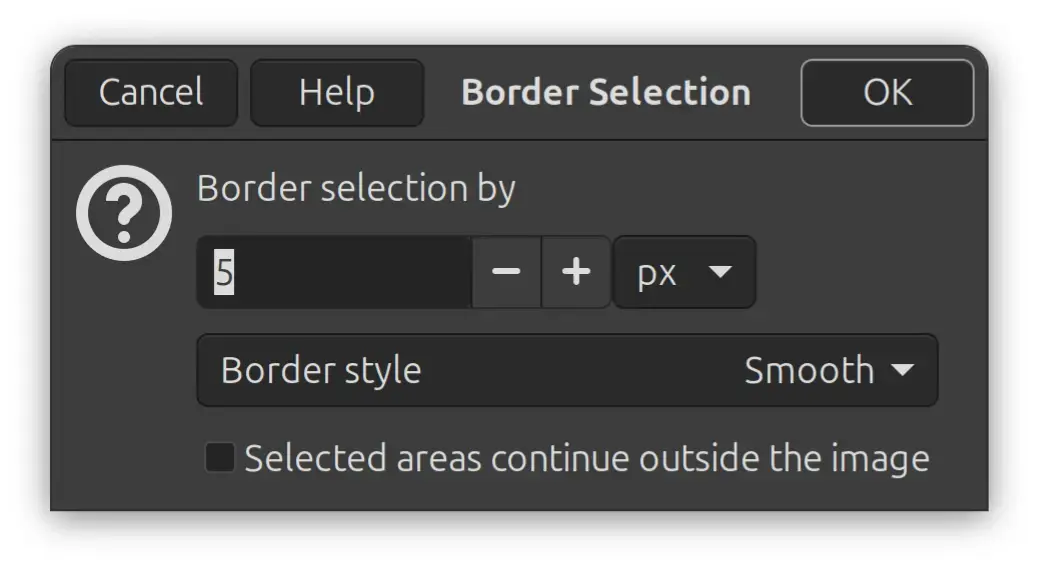
- Click and drag your foreground color into the selection to fill the border.
- Deselect to complete the hollow circle.
This was not very intuitive.
Drawing an arc
To draw an arc in GIMP, use the Gfig filter, which provides a dedicated tool for this shape. Navigate to Filters > Render > Gfig to open the dialog. In the toolbar, select Create arc, then click the preview area to set the start point, click again for a second point, and drag to place the end point, releasing the mouse to finalize the arc.
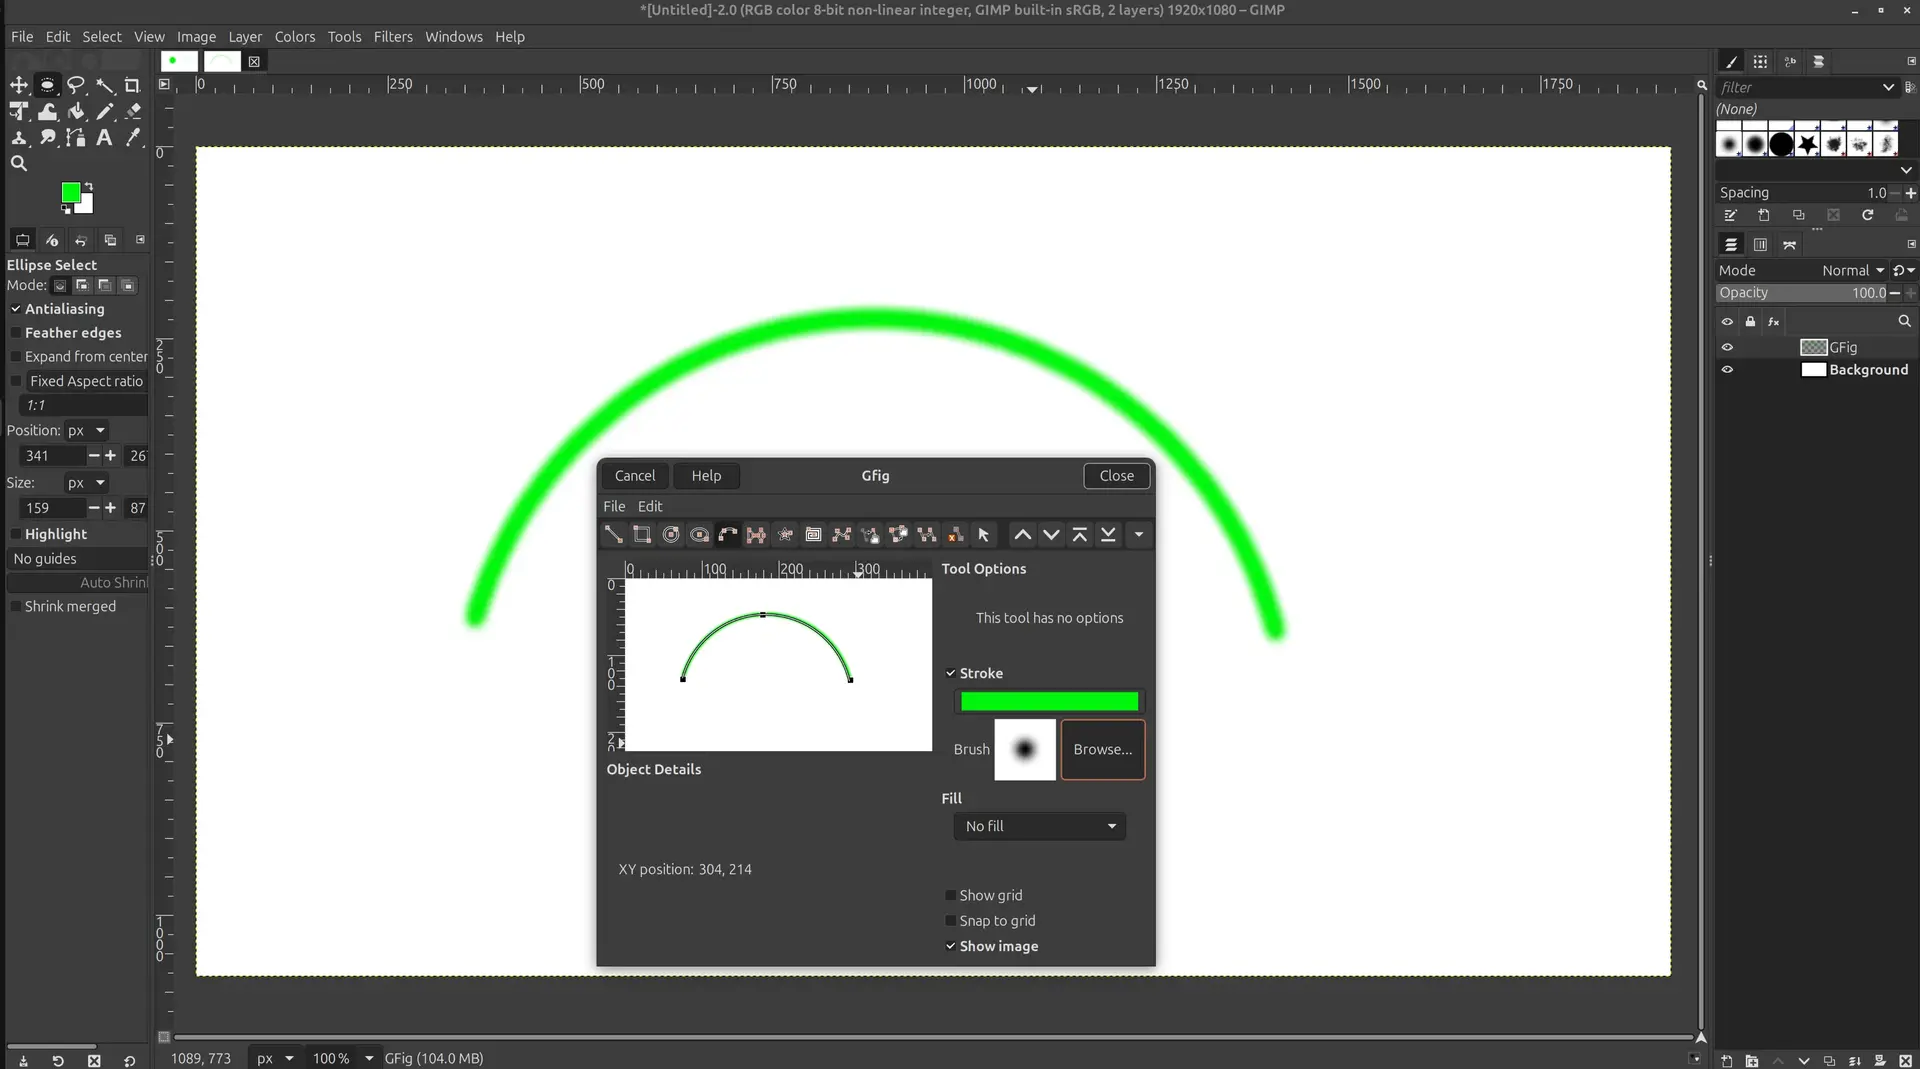
This feels quite imprecise and awkward, although enabling the Show grid and Snap to grid helps a bit
Editing
One useful thing that I use GIMP for, is to crop images.
I import the image, then pick the rectangle tool,

select around the the object I want to crop,

I right click on it, and select Image -> Crop to selection
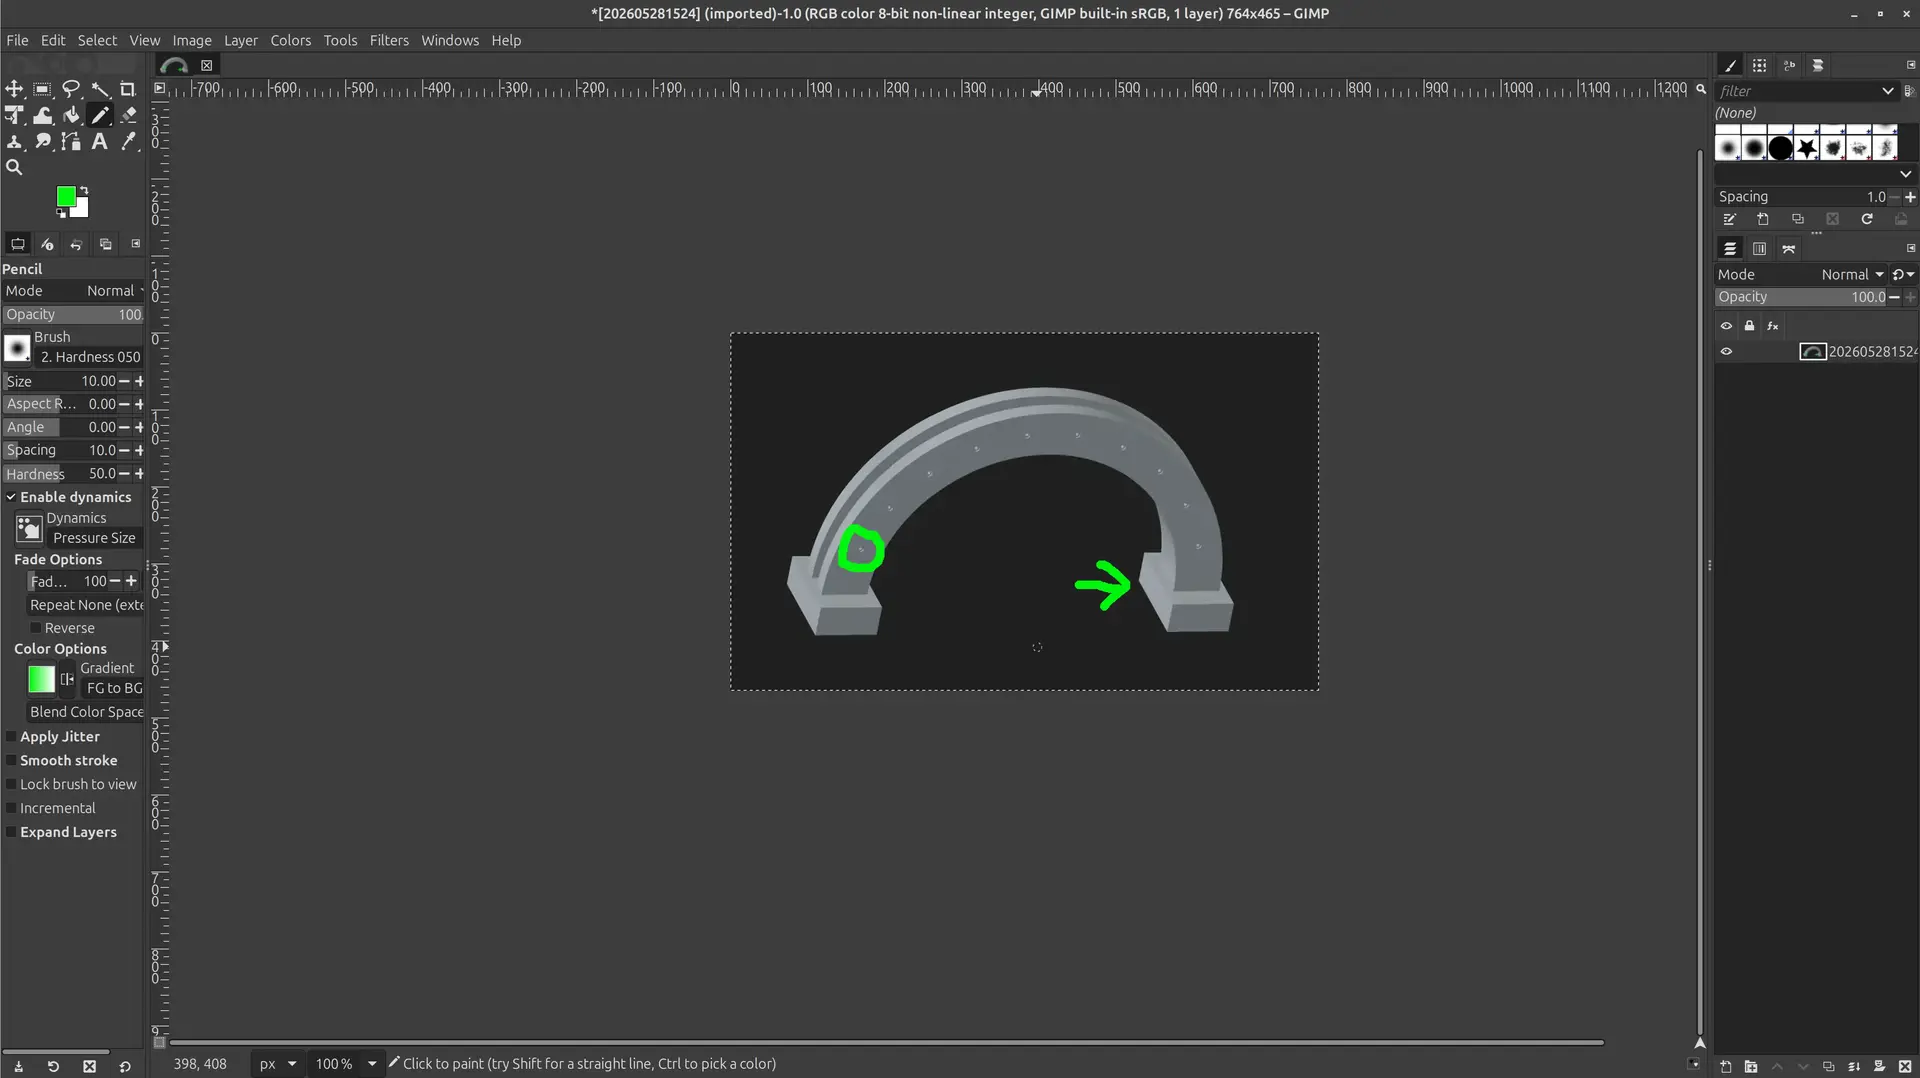
I can also use the pencil tool

and pick a distinct color to point to something that is important:
When I’m done editing, Gimp will try to save in its own native format, but I usually have no need for that, I just want the edited image with the same format and name. Thus, instead of saving, I go to File -> Overwrite myimage.webp and then exit discarding changes, because they were already committed to the original file. This way, I’m not bothered about file formats and quality parameters.
Inkscape
Drawing a circle
I click the Ellipse/arc tool

And click and drag to make a circle.
By default it will draw an ellipse, but if we hold the Ctrl key and roughly drag in a diagonal, it will snap to a circle. Plus, it’s easy to set its horizontal and vertical dimensions at the top and make it an ellipse or a circle.
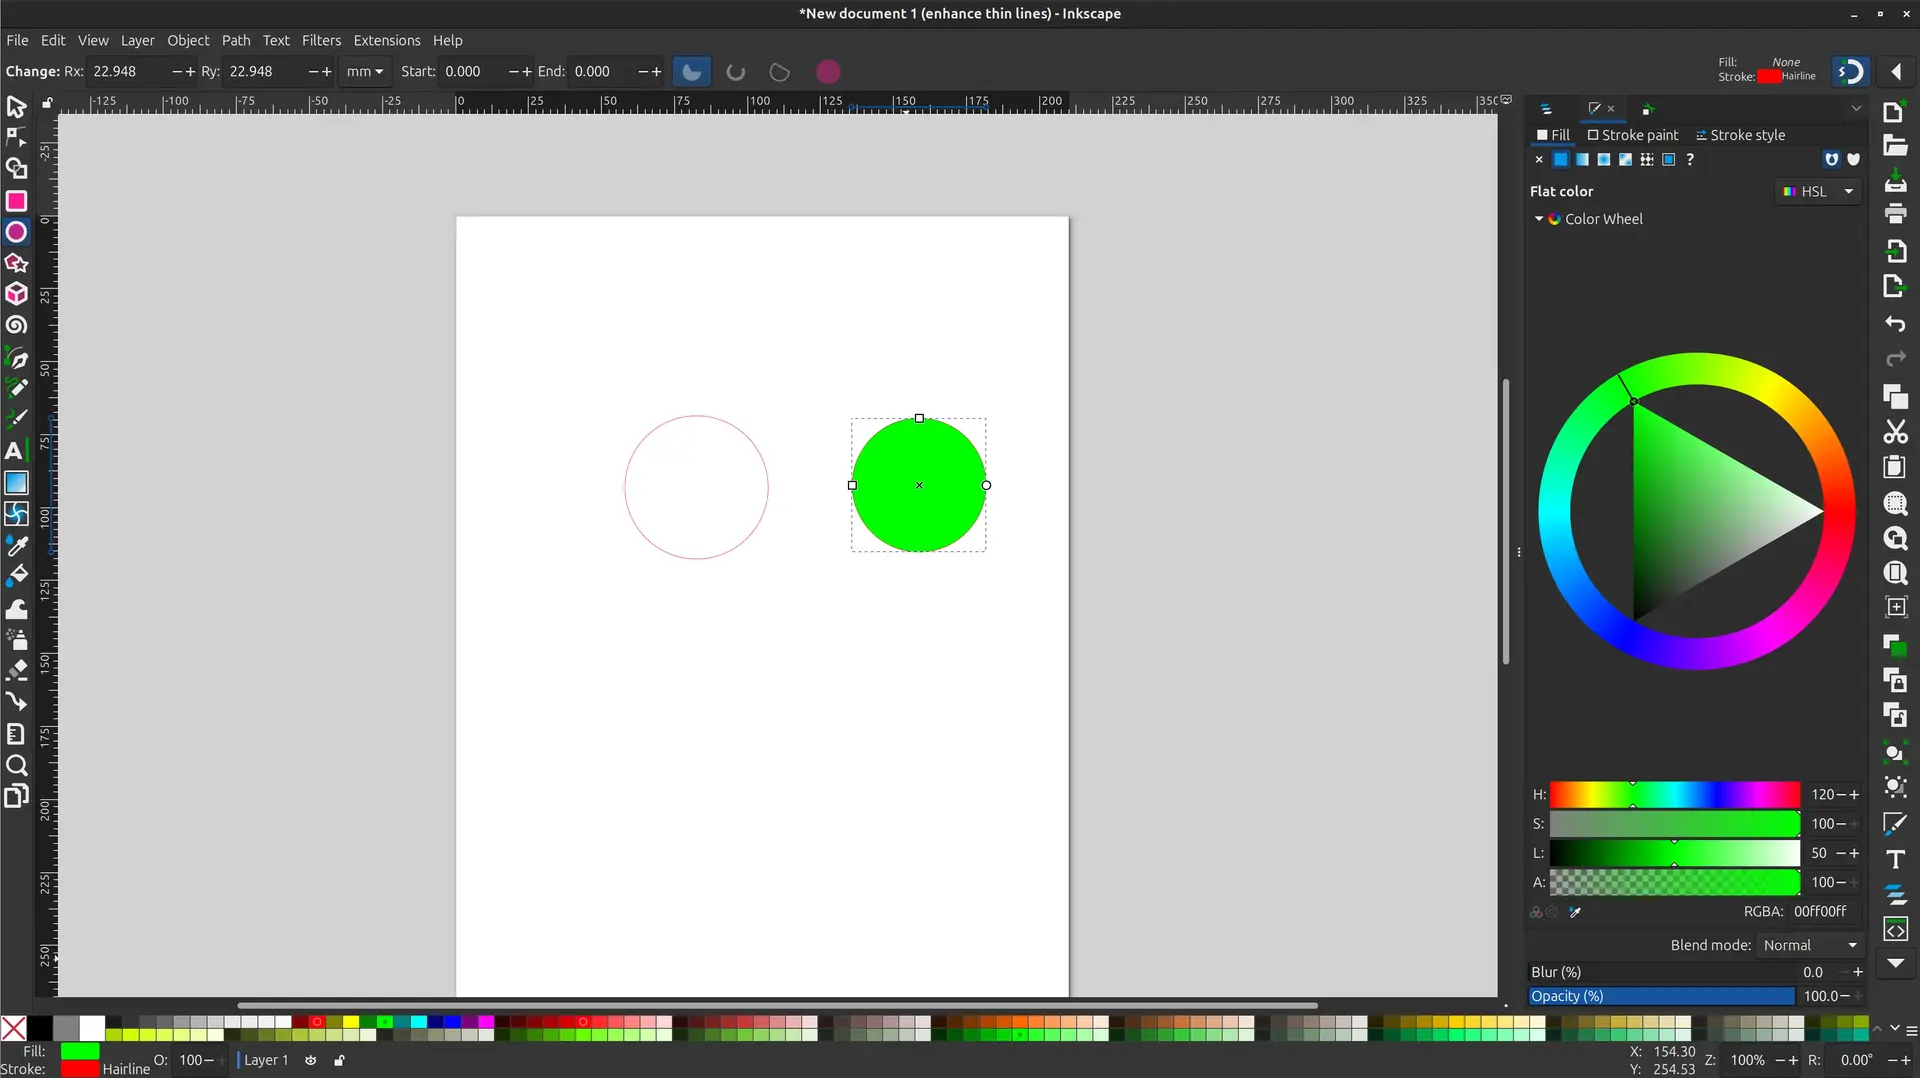
It’s also quite intuitive to set a fill color by clicking on the Fill tab, at top right.
We can pick a color in the color wheel on the right, or one of the predetermined colors on the bottom.
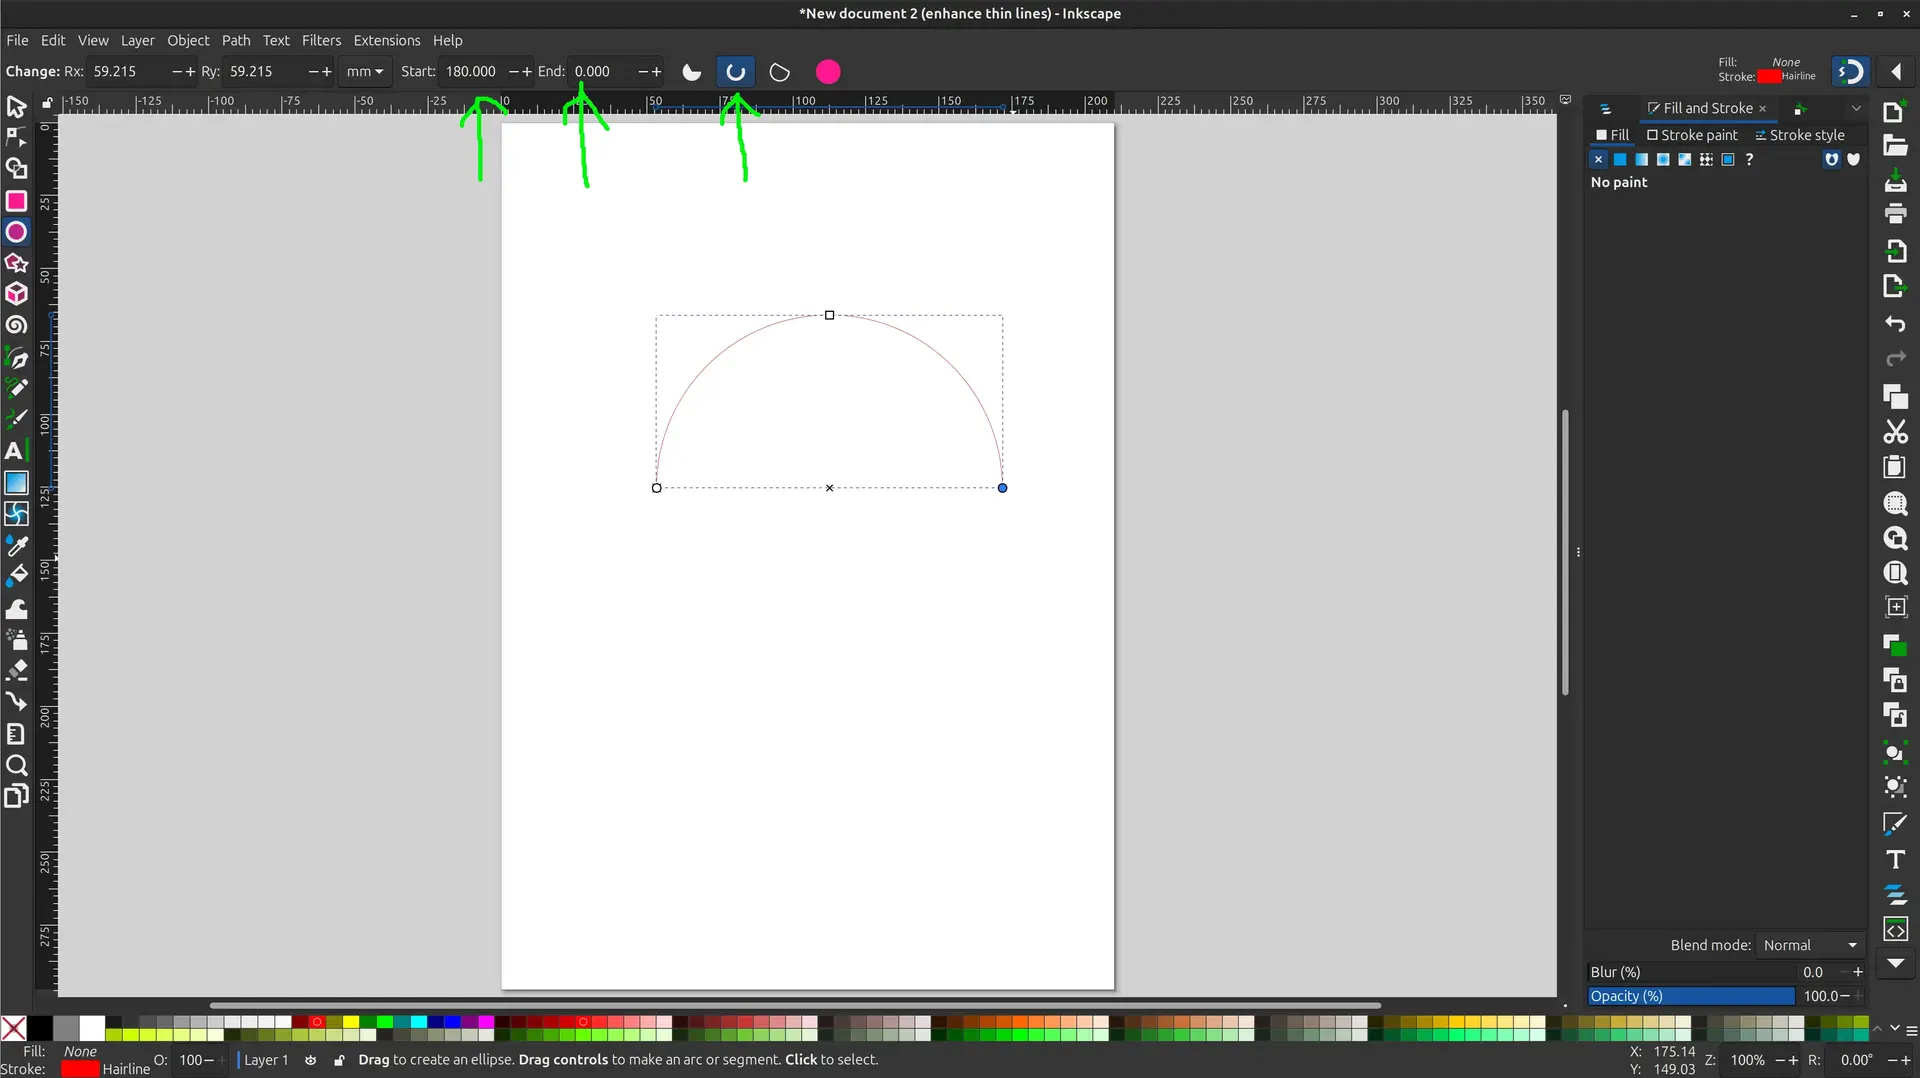
Drawing an arc
I start by drawing a circle like before, and then drag the circular handles or the right.
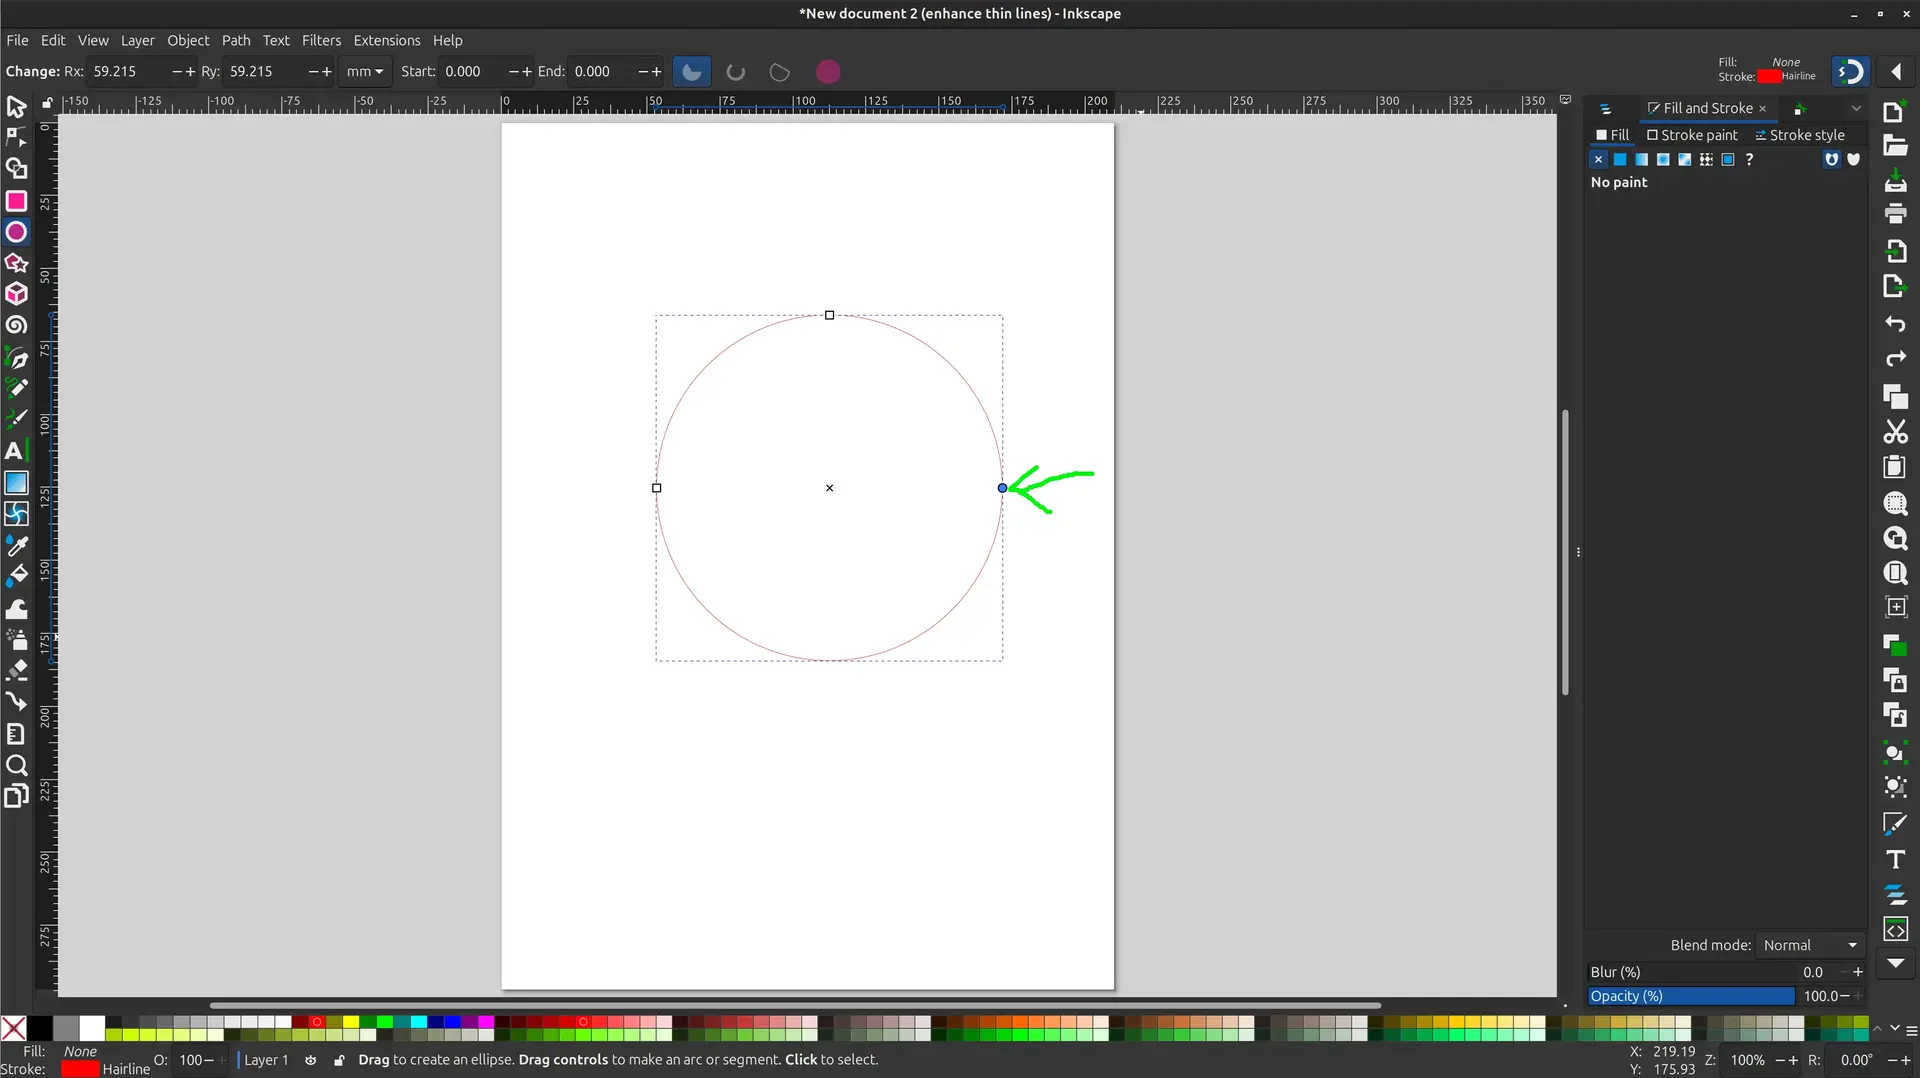
There’s 2 overlapping handles, and we just need to drag one or both to reach the desired arch.
If we press the Ctrl key while dragging, it will snap to a predetermine angle (usually 90º)
If we want to change that angle we can go to Edit -> Preferences -> Behavior -> Steps and change the value for Rotation snaps every ___ degrees
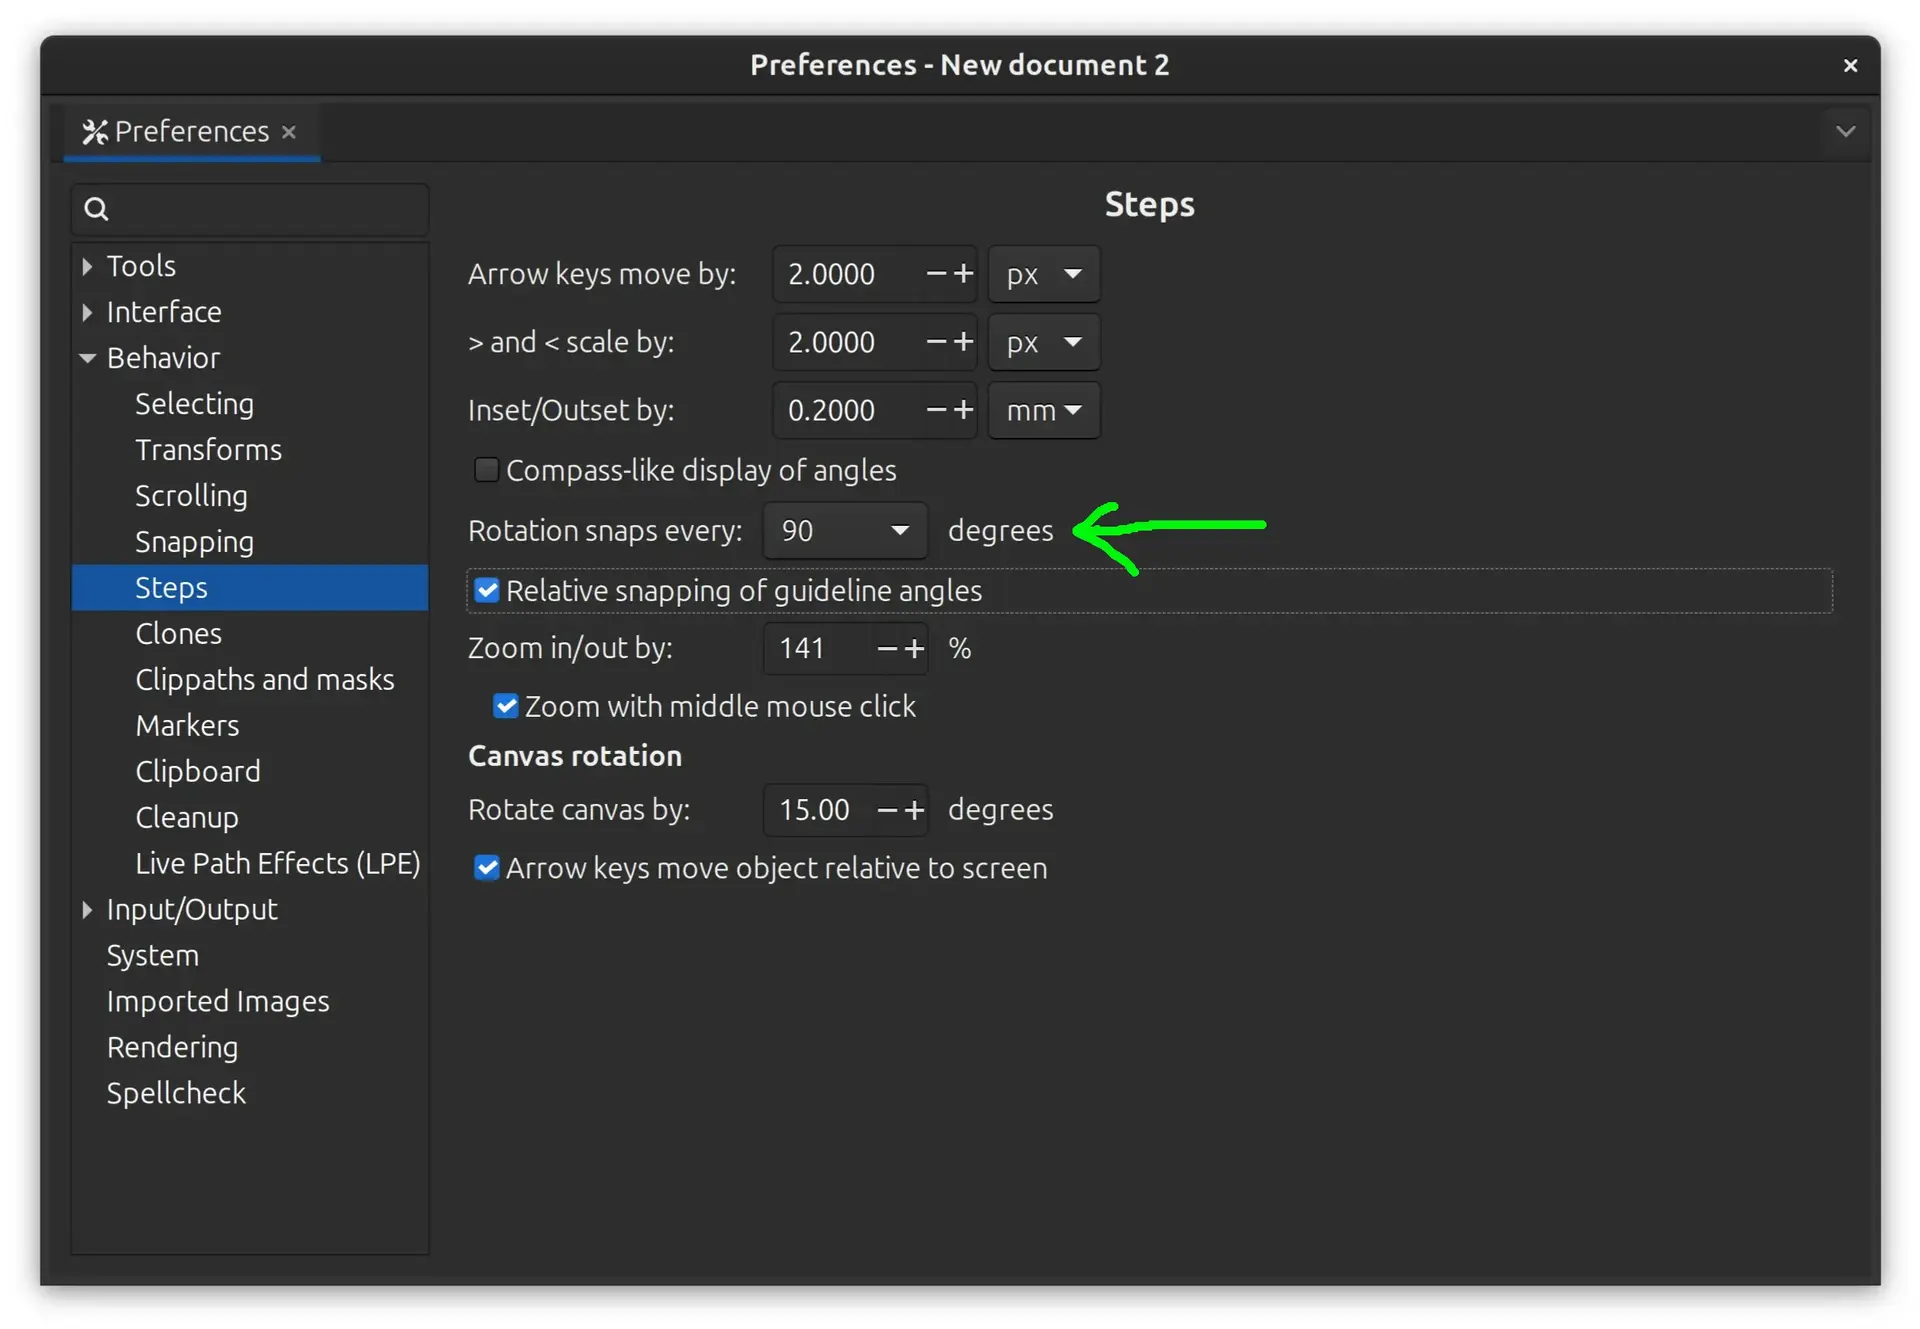
This is convenient if we want this snapping repeatable.
On the other end it’s quite easy to be precise by setting the exact angle at the top.
Conclusions
I didn’t explore much further here, as the focus of this week was to design a possible final project, for which I needed 3D capabilities.
However what I conclude is that Gimp is quite adequate to make some basic edits to raster images (jpeg/png/webp/etc) whereas Inkscape a really nice vectorial drawing program and also more intuitive.
Given that vectorial formats are also more adequate for CAM, I plan to use Inkscape for vectorial requirements and use Gimp just for cropping images and some light edits on those, but not for drawing.