Soldering
I wanted to have specific page for this, because soldering was a huge source of frustration until I got it right.
The problem was usually that I would heat the pad, and I would try to feed the joint with the solder (as good practices dictate), but it would refuse to melt, or only do so after a very long time at which point a lot of it would suddenly melt, leading to a big blob of solder.
I watched a ton of videos on YouTube to see if my technique was incorrect, but it didn’t seem so.
I tried trouble-shooting it with AI, forums and videos, and a few hints were suggested:
- solder iron is below temperature
- solder iron tip is oxidized and needs cleaning
- use a different tip
- tin the tip before soldering
- use a different solder that includes flux
- place some flux on the pads before soldering
- clean the board with alcohol before
I tried
- increasing the solder iron temperature to the max
- tinning the tip, but the solder would not stick
- using a brand new tip that my lab manager got me
- using a solder with lower temperature requirement (but less ecological) and other solders
- using flux on the pads
- cleaning the board with alcohol
I tried all of these things, but the results were inconsistent.
I got a first breakthrough, when I was debugging the issue with instructor Ricardo Marques, and placing the solder on the very tip end would not melt it, but placing it a bit above (like 5 mm) would !
I realized that the main problem was not having enough heat transfer at the very tip end, so what ended working for me, was to place the iron tip against the pad, and place the solder, not on the pad, but rather on the iron tip, but also not on the very tip end, but rather a bit above, like 3 to 5 mm above, and then when the solder melted, I just had to push it down to the pad !
This made the process a lot more predictable for me, and this how I soldered at the lab.
Given that I understood the problem was not having enough heat transfer at the very tip end, when I got home and looked at my own solder iron, I realized the problem was the same, but the cause was tip oxidation. I sanded the tip all around until it was again bright and shinny and it made a huge difference. Even though my solder iron does not have temperature control, the change was very noticeable and because the tip was not as thin as the ones in the lab, it actually was more convenient for me. The solder station also has a huge magnifying glass that I didn’t have at the lab, so I ended up using this for all the soldering hence forth.
Also applying flux with a syringe was very convenient as it allows me to dispense it with more precision.
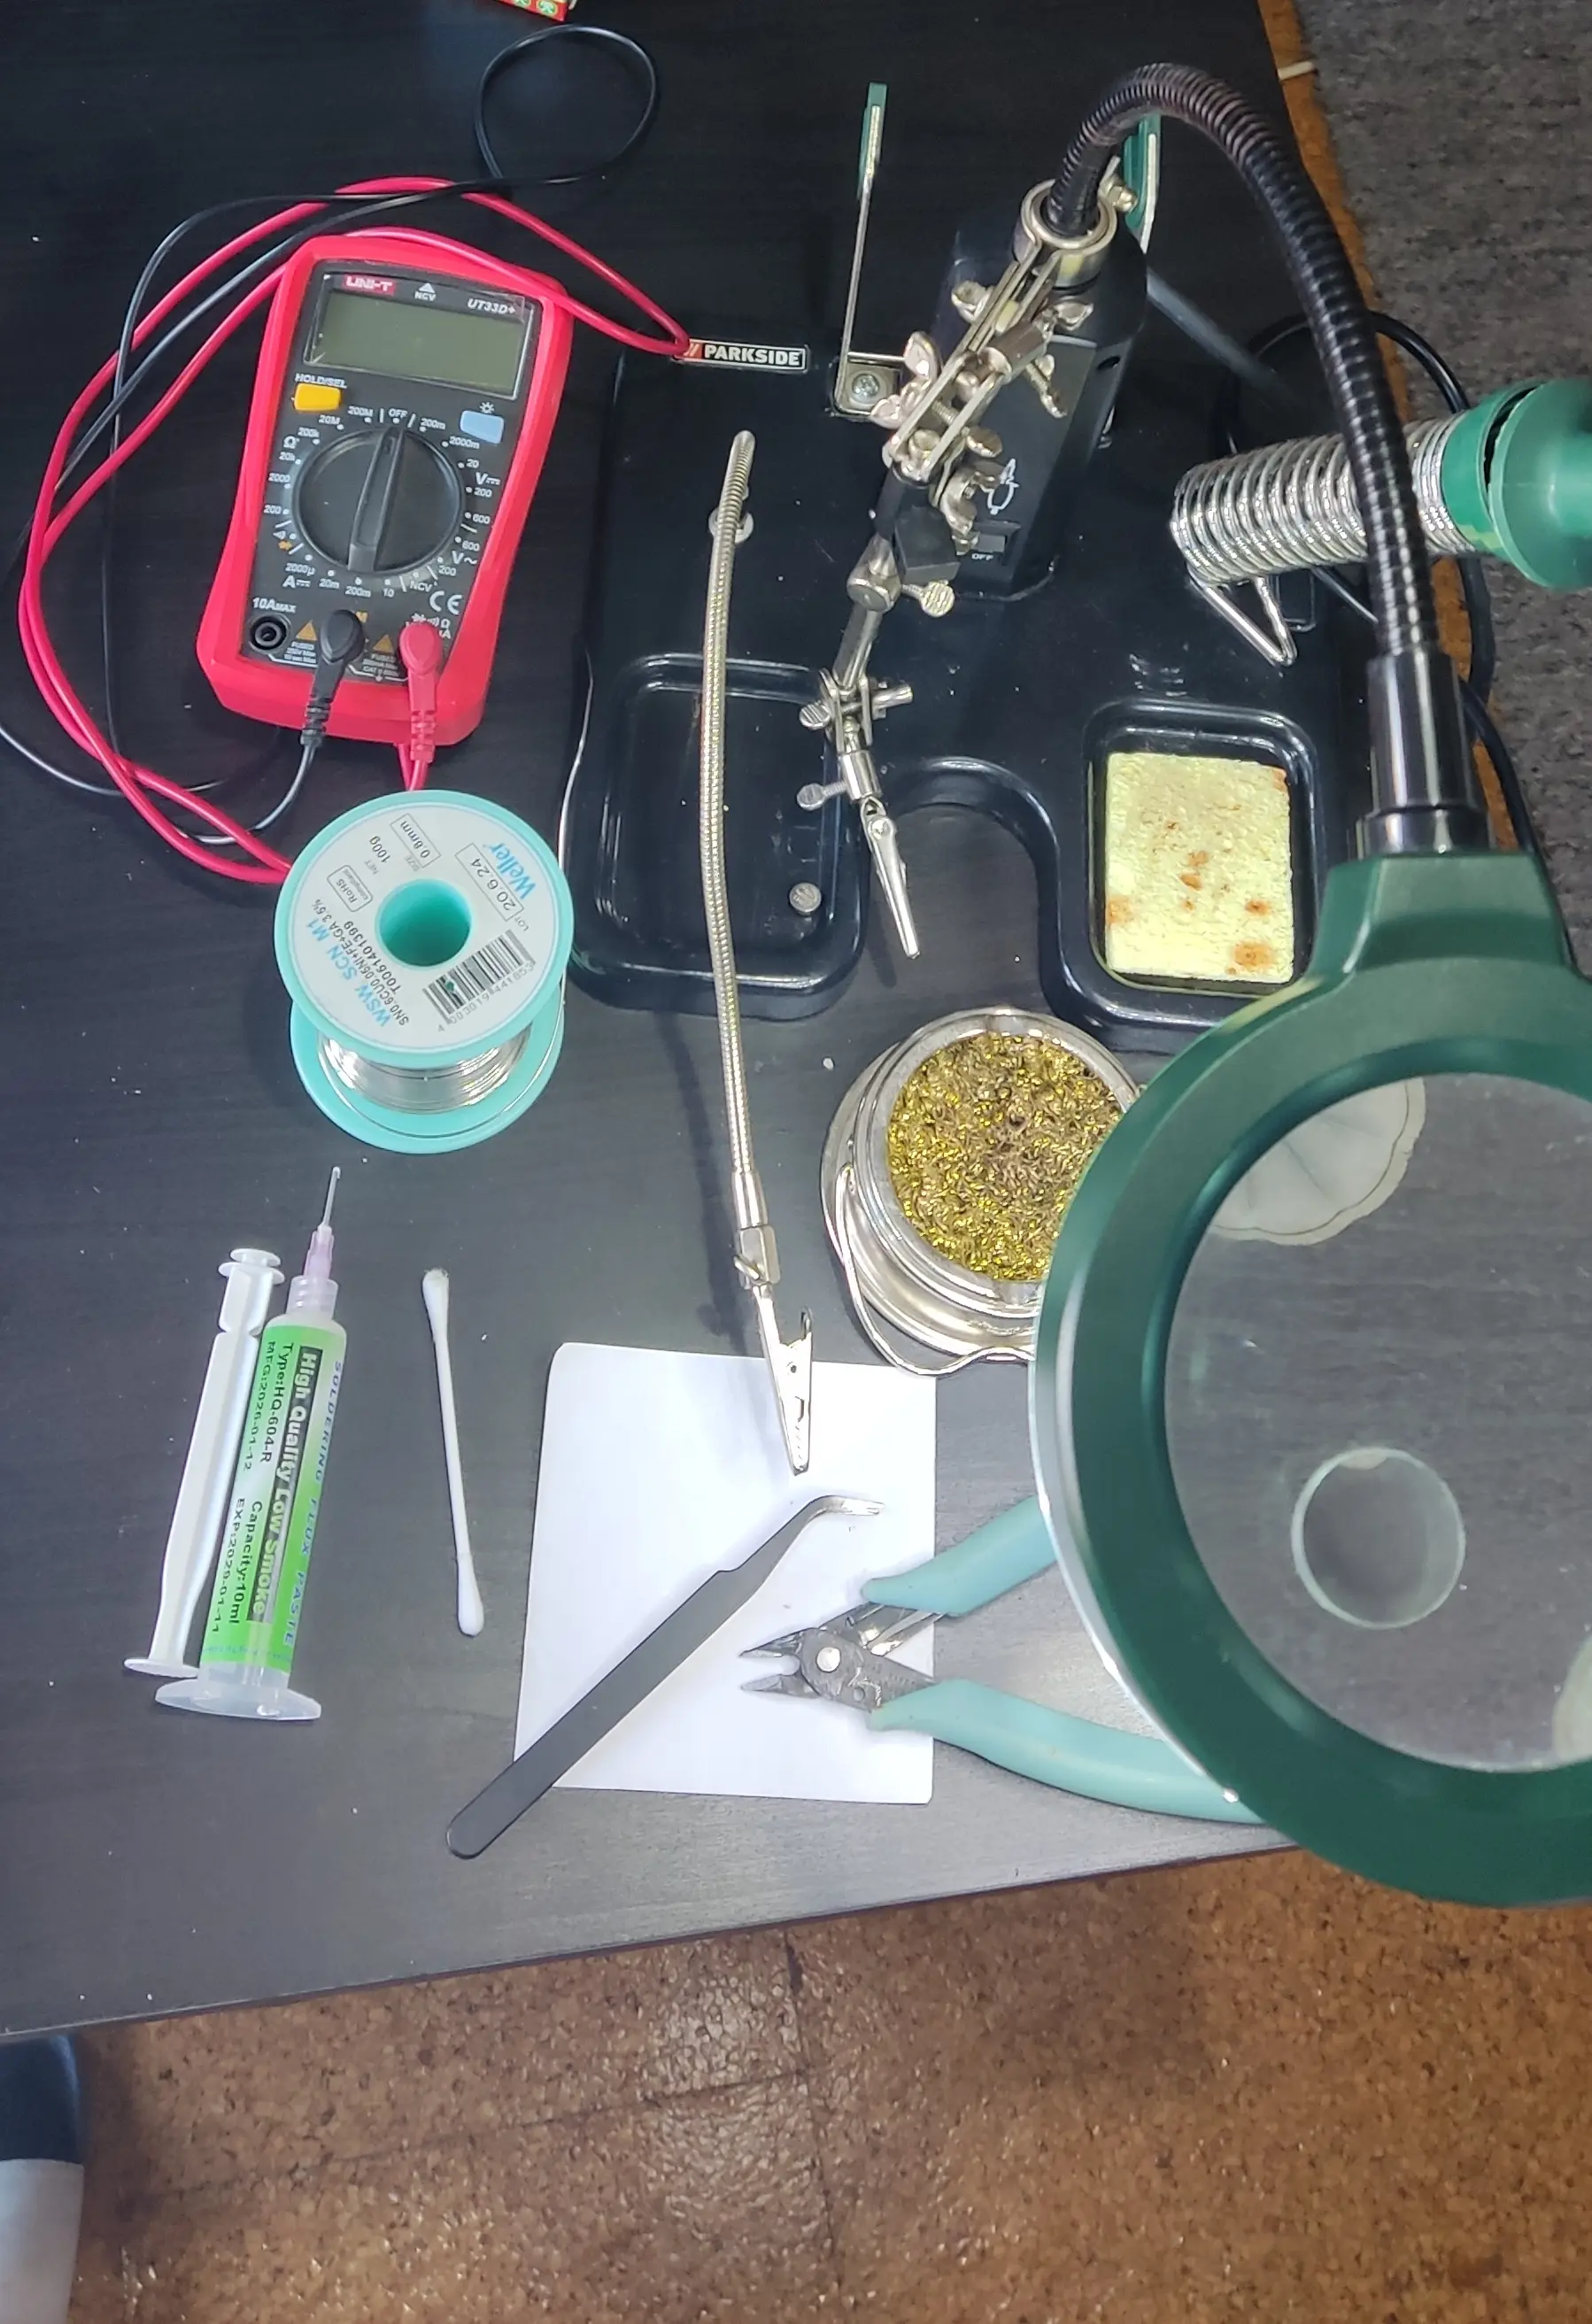
Here’s my setup:
What is flux ?
«Flux is a chemical agent used in soldering to clean metal surfaces, prevent oxidation, and promote the flow of molten solder. It works by dissolving existing oxide layers on the metal, which allows the solder to “wet” and spread evenly rather than beading up. Additionally, flux creates a protective barrier that shields the hot metal from re-oxidizing during the heating process, ensuring a strong, reliable metallurgical bond.»
This indeed, helped improve my soldering, but like I mentioned, I preferred applying it with the syringe rather than taking it out of the jar we had at the lab.
Also, as mentioned in the individual work, we also tried using reflow, mainly because I was convinced I was hopeless with normal soldering and this would magically fix it.
In reality the smaller components were already soldered at this point and using it for the through-hole pins glued to the board was not the best usage of it.
I learned the procedure, but didn’t use it further because I got better at regular soldering.
In any case, my recollection of the procedure is:
- place the paste and the components
- check the temperature requirements of the paste - it varies, but it’s usually lower than regular solder
- heat the bed gradually and not immediately to target temperature to prevent thermal shock and allow the flux to activate.
- put the target temperature and watch components being pulled into place
- if there’s some particular place that is a bit more stubborn to melt, we can use the heat gun but must be careful not to blow small components away.
- turn off the bed and don’t leave the board there longer than necessary (my colleague “cooked” one of his boards)
The heat gun is more helpful for pin pointing trouble spots, desoldering, or correcting bridges, not really for soldering individual components, as those might be blown away.
Also, solder paste, in my experience is also not the best for through-hole components. I tried using it for soldering pins to a Xiao and I fried it either because I pointed the heat gun too long or, because of it’s liquid nature, there’s a chance it formed a bridge between some pins like VCC and GND. Not sure.