- Design and produce something with a digital process (incorporating computer-aided design and manufacturing) not covered in another assignment, documenting the requirements that your assignment meets, and including everything necessary to reproduce it.
Individual Assignment:
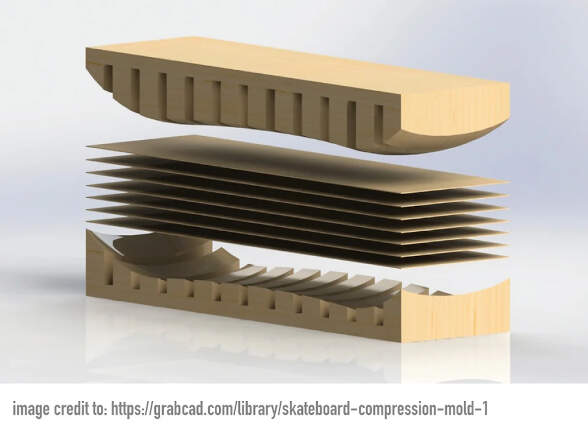
Ever since arriving at the lab here in Kamplintfort, I've been itching to learn and use all of the cool machines and tools that are available. For this week's assignment, I had a few ideas in mind. The one I really wanted to do was to make a skateboard by layering wood veneers and fiber layers, gluing them, and pressing them against a mold with the vacuum forming machine. Then, using the CNC machine to cut the board shape. However, because of the lack of time, I was not able to do this :(.
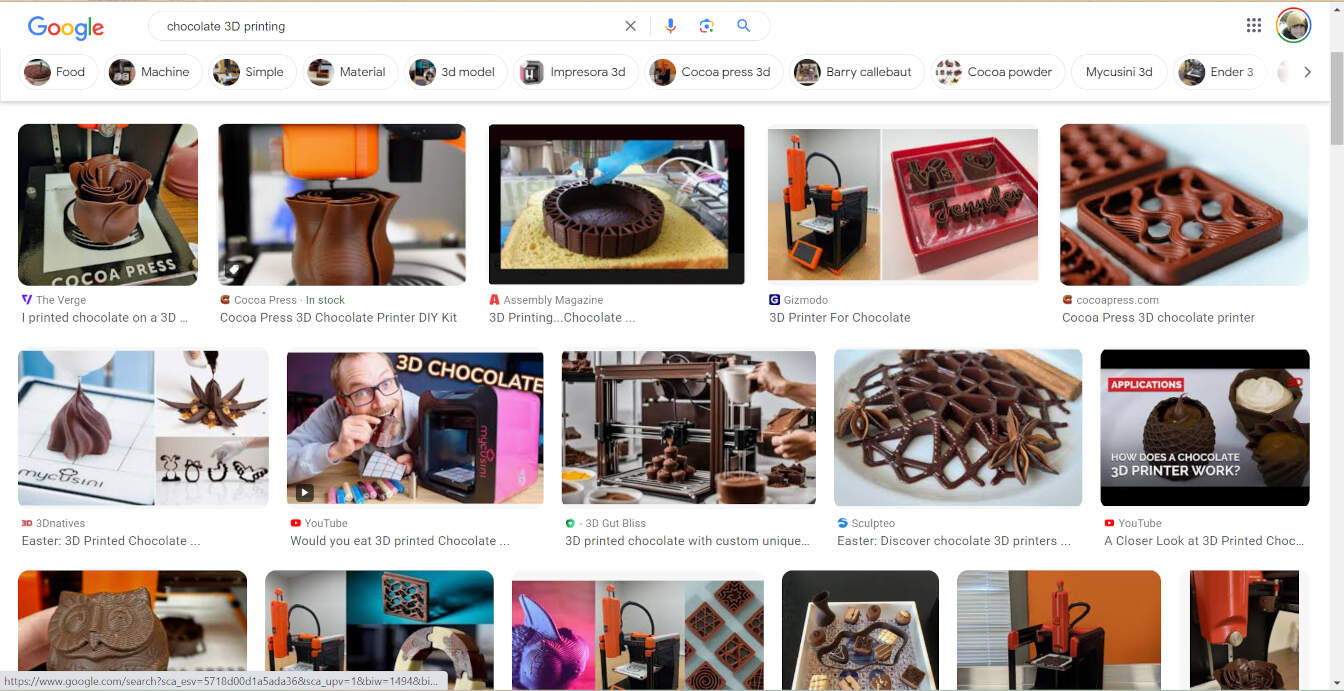
However! This wasn't the only idea I had for this week. Here at the lab, it was briefly mentioned when I arrived that there was a chocolate 3D printer! I was so excited to try it out, and in the end, I settled on doing this for this week's assignment.
Chocolate 3D Printer:
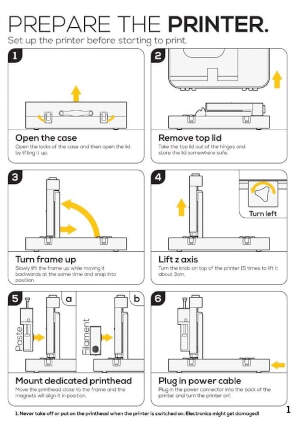
The first step for this was RESEARCH! The printer we have at the lab is the "FOCUS 3D FOOD PRINTER INCL. BYFLOW STUDIO", by Flow is a food tech company based on 3D printing food. At the lab, this printer was bought a few years ago, and it hasn't been used since maybe around 2019. I had to do a little bit of digging to find some documentation on how to use this printer, and I came across a former Fab Academy student from Kamp-Lintfort who was the last to use the printer. However, Hakan Zayin's wildcard assignment page is not very detailed, but it was a good starting point. I was also able to find some instructions for the printer, which were very helpful.
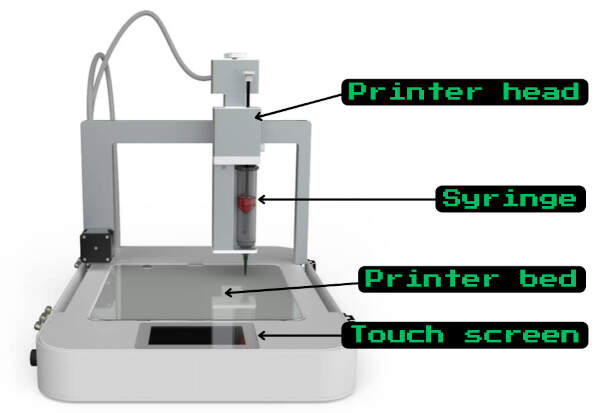
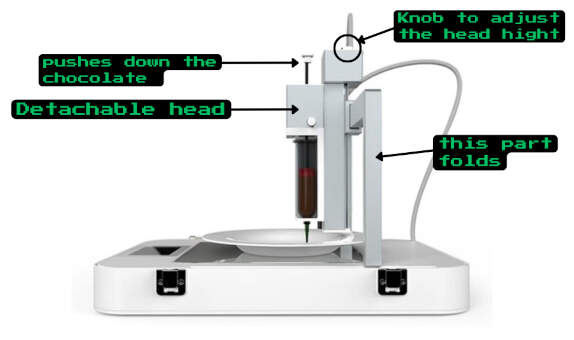
The printer has a pretty cool design. It's inside a briefcase for easy transport, which means that when it's stored, the z and y axis are folded. It also has a touch screen interface. The print head is detachable and connects with magnets and pogo pins for the actual electric connection. This facilitates the process of adding and removing the chocolate-filled syringe to the printer.
How it works:
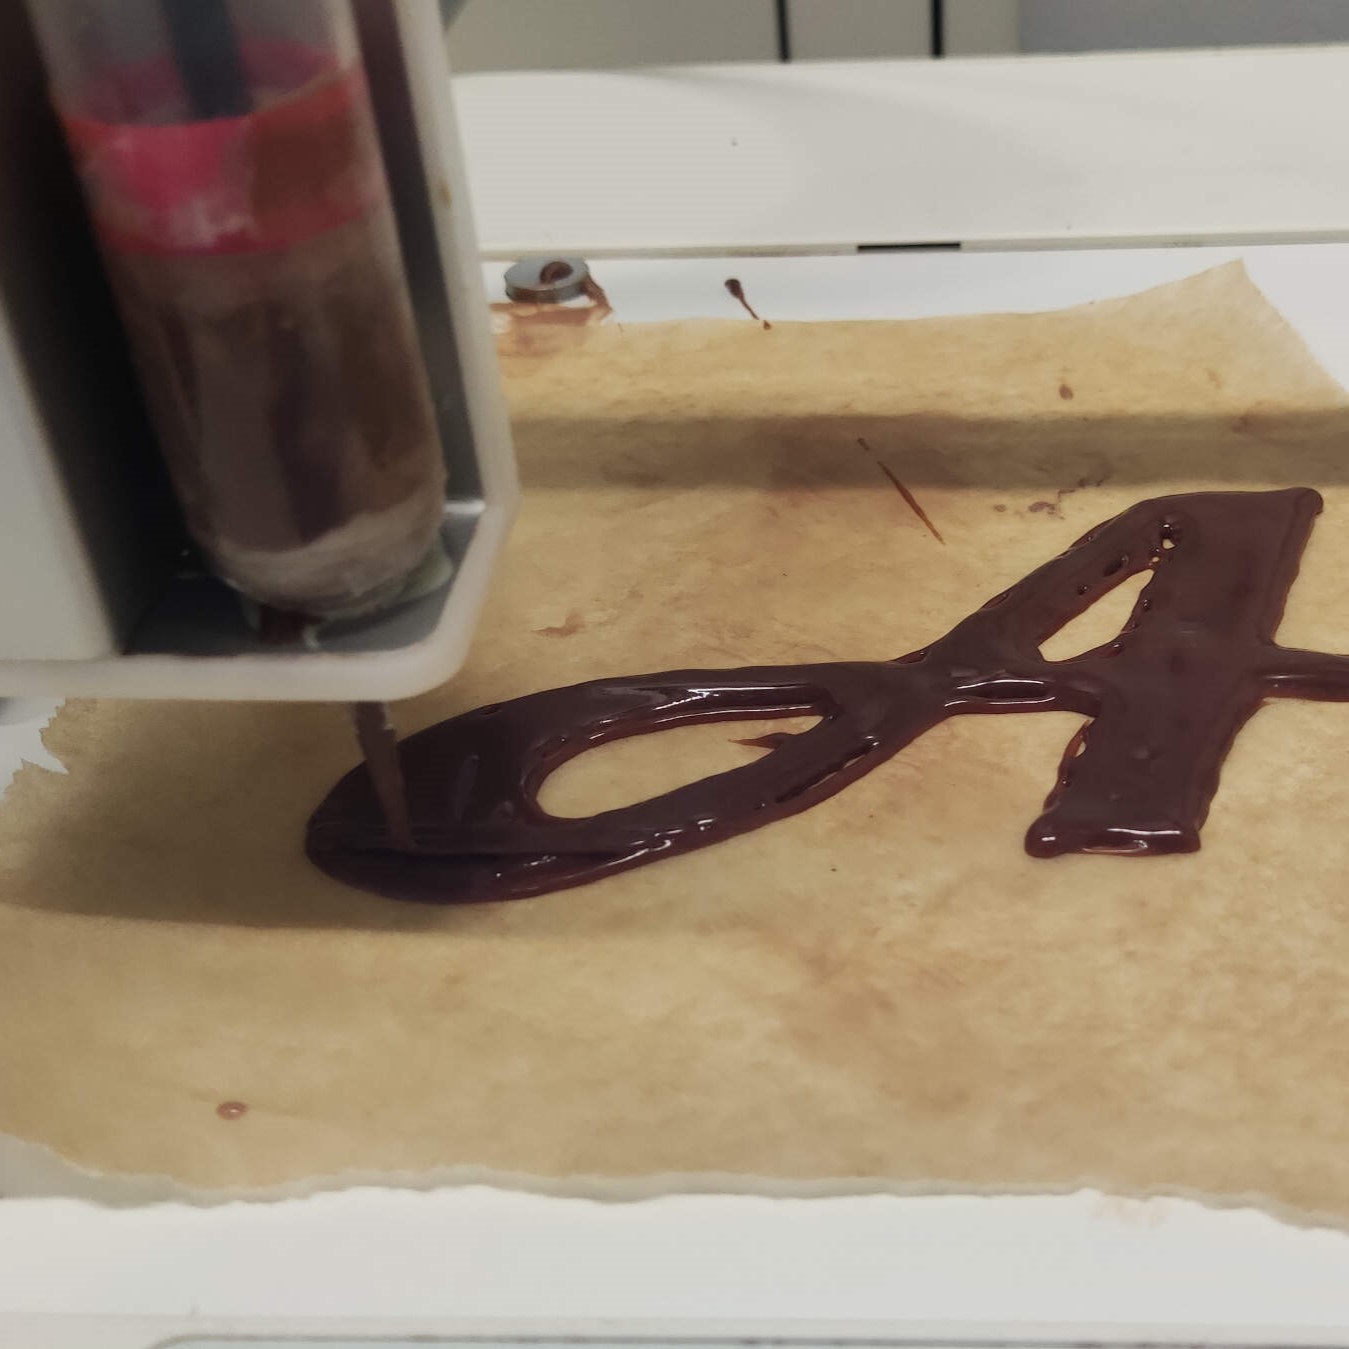
This printer works similarly to a regular 3D printer, but instead of using plastic filament, it uses chocolate. The chocolate used (I had to prepare the chocolate) has to be semi-fluid but not too runny in order to be able to be extruded. The chocolate is put into a syringe, which is then attached to the print head. With this printer, there is no heating, so time is of the essence to keep the chocolate in the syringe from solidifying.
Design:
For the design of the chocolate print, I had to take into consideration the many limitations of the is printer and what you are actually able to print with semi melted but still pretty liquid chocolate. this meant complex and 3D objects were out of the table. So i decided to just print a few extruded letters, and a flower pattern file I found on the printer already.


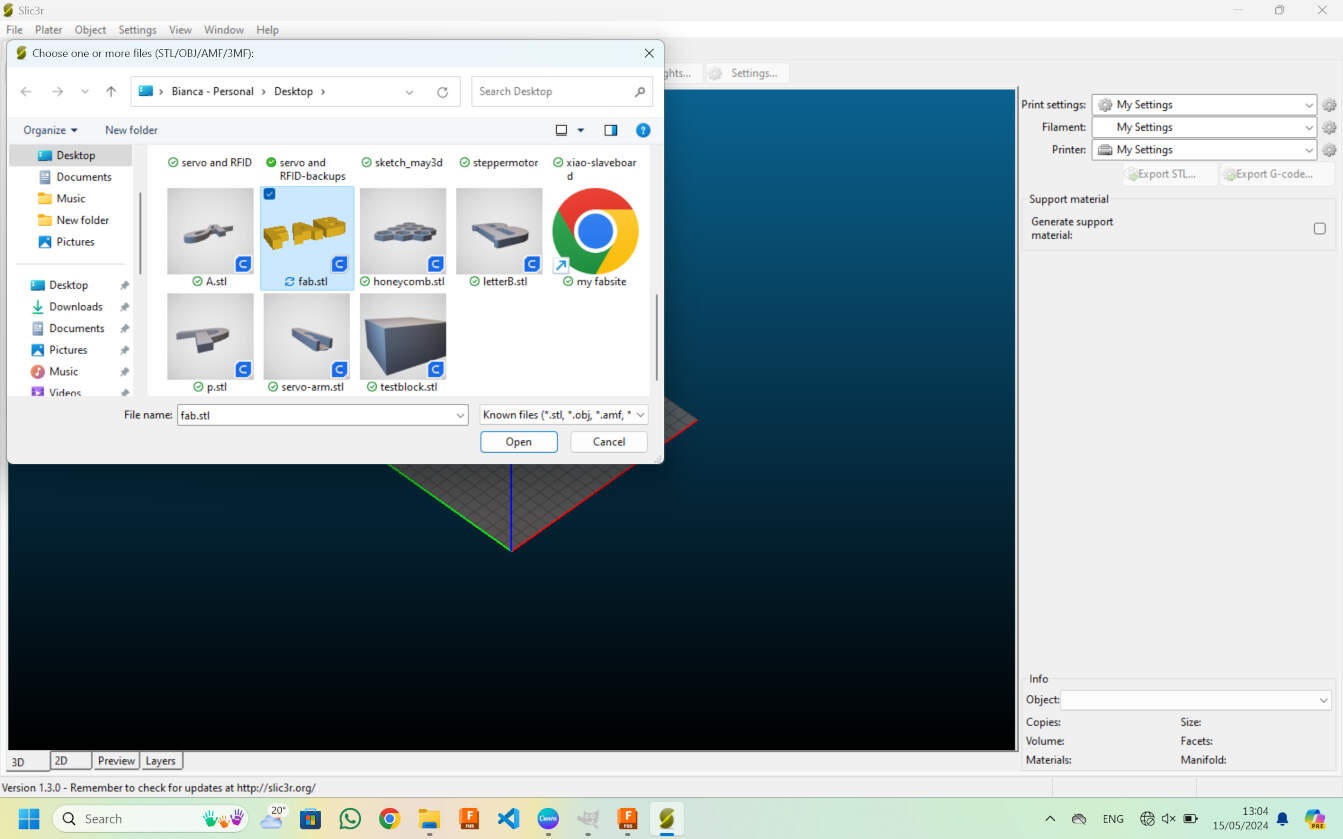
The actual design process was very simple. In Fusion 360, I started a sketch, selected the horizontal plane, and used the text tool to write the letters I wanted to print. Then, I extruded the letters to the desired thickness. Finally, I saved the file as an STL file.
Slicing:
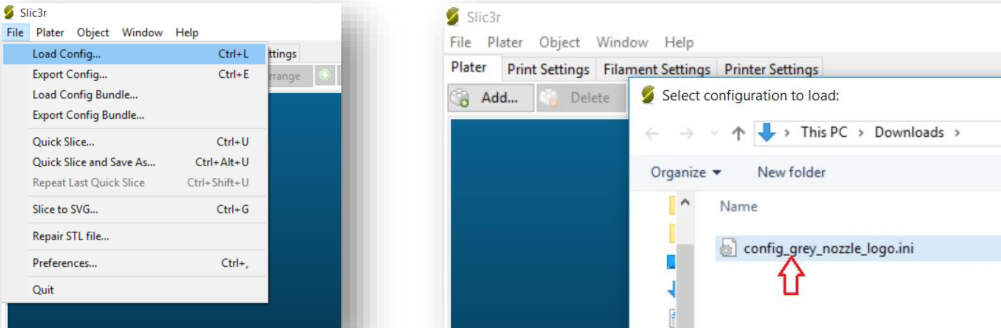
To prepare the Gcode for the printer, I had to download Slic3r. Then, I also downloaded the config file provided by the printer's manufacturer. This is important because the printer has a very specific set of parameters that need to be met in order for the print to be successful. To do this, I went to File -> Load config and then selected the downloaded file.
Next, I sliced my designs and saved the Gcode file. The printer does not actually come with a USB port, so to send the Gcode to it, I have to turn the printer on and connect to it via WiFi. The password is "withflow."
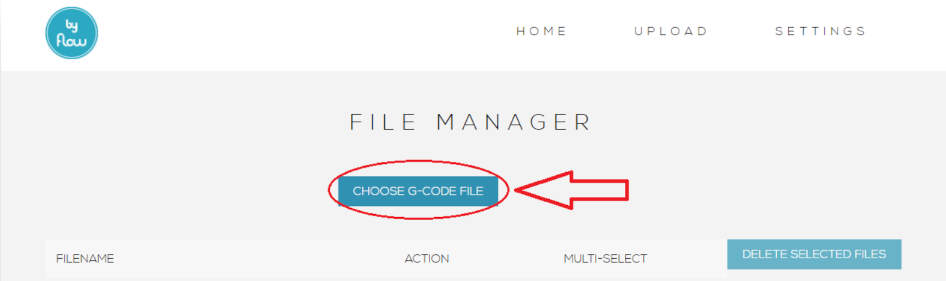
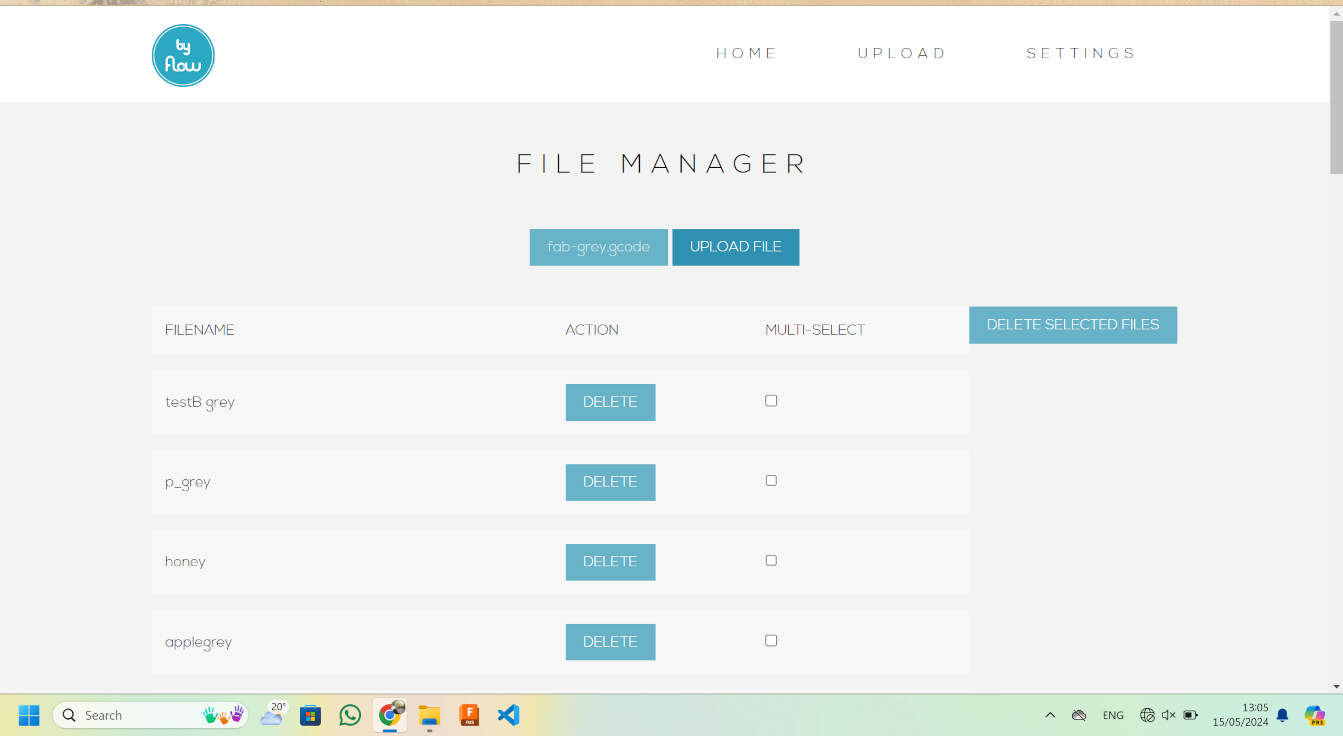
Next, in my browser, I went to this address. This will open the Focus 3D food printer's website. From there, click on "next," and you will be taken to a page where you can load the Gcode file. Click "choose Gcode file" and select the file you want to print. Then, upload it, and it should send the file to the printer.
Making the chocolate:
I had to prepare the chocolate for the printer myself. Some chocolate printer companies sell chocolate cartridges, but this is not the case for this printer. Online, I didn't really find anything on a recipe for this, so this part was really just trial and error. Before starting, I knew some key characteristics my chocolate should have: it should probably be liquid, but not too much because there is nothing stopping it from just spilling out of the syringe. I also knew that the chocolate should be tempered, so it would harden quickly after being extruded.
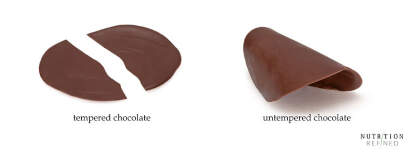
"Tempering involves the process of slowly heating and then cooling chocolate so that the fat molecules crystallize evenly, resulting in a smooth, shiny finish when the chocolate sets. When tempered properly, it should produce a 'snap' when broken, while untempered chocolate will be dull and not break cleanly." Somewhere along the line, I gave up on this. 😅
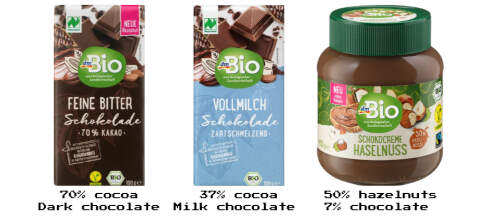
I tested 4 types of chocolates as bases:white chocolate, milk chocolate, dark chocolate, and some healthy Nutella-like chocolate. From these bases, I melted parts of them, tried mixing them, or adding milk to them to get a ganache-like consistency. I also tried cooling it a bit to get the right consistency.
Recipe:
Here is kind of a recepie I came up with, or atleast what I tried:
| Milk Chocolate | Milk | Dark Chocolate | Nutella-like Chocolate |
|---|---|---|---|
| 90% | 20% | 10% | 0% |
| 100% | 0% | 0% | 0% |
| 40% | 20% | 40% | 0% |
| 0% | 0% | 100% | 0% |
| 0% | 0% | 0% | 100% |
| 70% | 0% | 0% | 30% |
note that the percentages are not the actual percentages of the chocolate, but the percentage of the chocolate that was used in the mix. and its not exact, I just eyeballed it and this is what I think the proportions were.
Conclusions:
The Nutella-like chocolate actually extruded really well and kept its shape while being extruded. However, it would never harden, so I put it in the freezer. Even after freezing, it was still quite soft. The milk chocolate alone was too runny and didn't extrude well. However, by adding a little bit of milk and mixing well to get a liquidy ganache, it ended up extruding really well and was by far the best mix. Using 100% dark chocolate was a bit complicated. It extruded, but not very well without assistance. By adding milk to it, it extruded better, but still not as well as the milk chocolate. The mix of milk chocolate was probably one of the best. I also tried mixing the Nutella-like chocolate with some leftover mixes of the other chocolates, and when heated, the oil in the Nutella-like chocolate separated from the rest of the chocolate. As a result, when it was printed, the oil spilled over the sides and eventually hardened in the freezer.
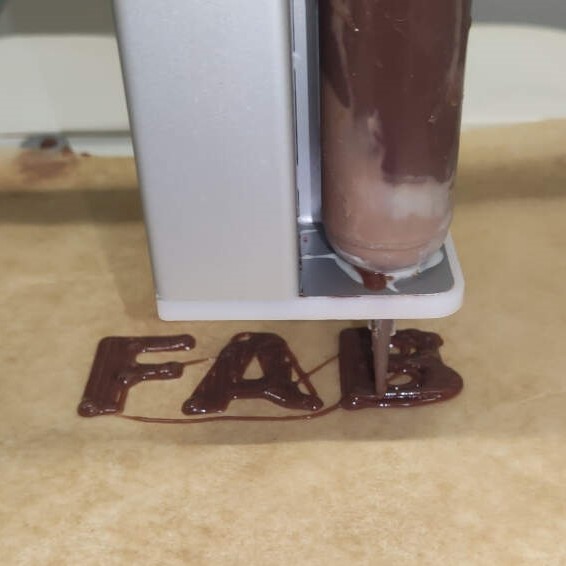
Printing:

The printer´s interface is quite simple and easy to use. I uploaded the Gcode file, and then I went to the option "movements" and then "home xyz". This is important because the printer needs to know where the print head is in relation to the bed. When Ive tried to just go ahead and print it without homing the printer just kinda prints on air, or doesnt extrude at all. after this I go back to the main menu and choose the option "prepare" then "extrude" this is good to do to remove the air trapped in the tip of the syringe.
To actually print, go to "print" and then choose the file you want to print, I´m not sure how the files are orderd because its not by date, they are all mixed, maybe its by name, who knows ;P . after clicking on the file you want to print, you have to click on print one last time and the printer will start printing.
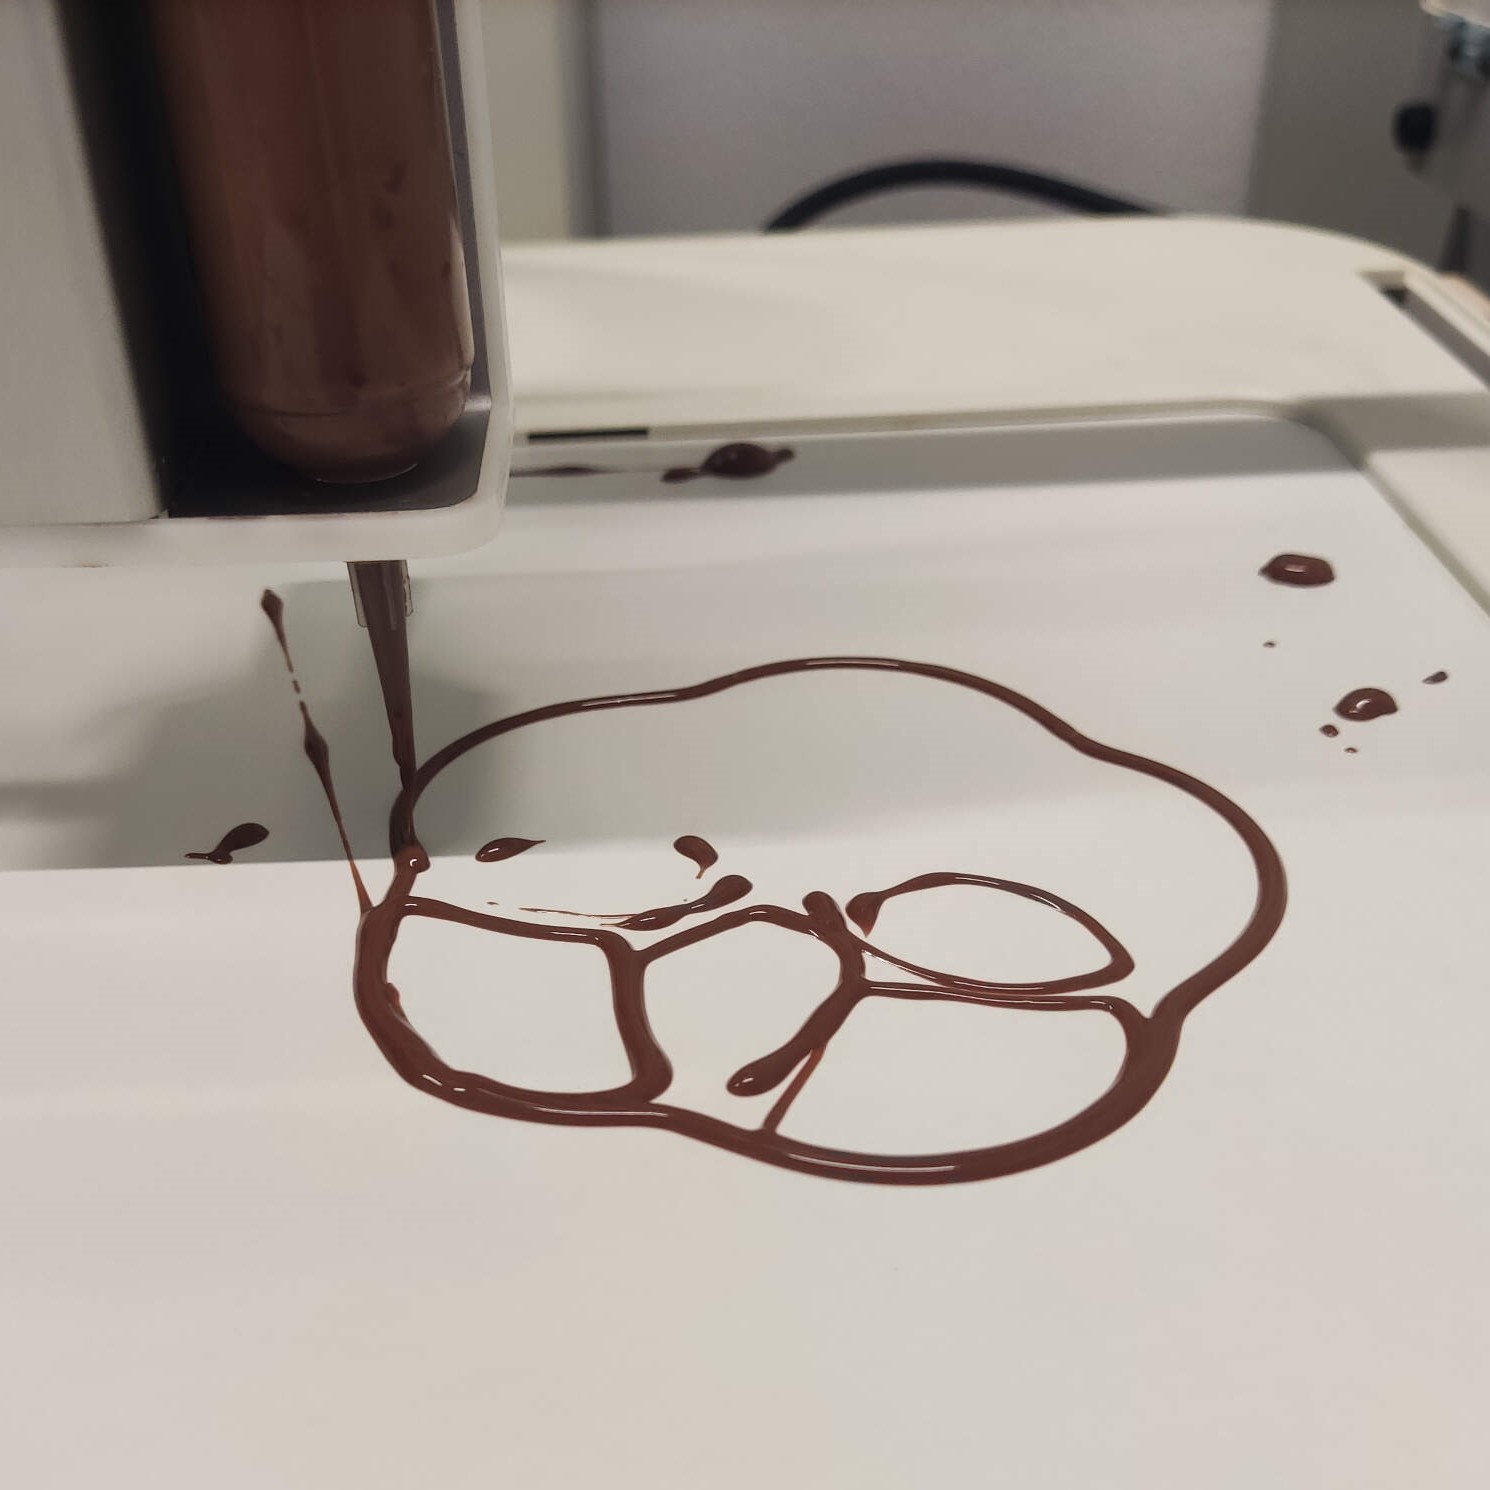
The first layer is very crucial, as it is the base for the rest of the print, if this gets too messed up the rest of the print will be a mess and its best to just stop the print and start over. Soetimes this has to do with the consistency of your chocolate. If all goes well, the print should be done in a few minutes, you can check the progress on the screen of the printer, it doesnt tell you the time just the percentage of the print that is done.
Tips and tricks
1. Clean up
Chocolate printing is a messy business, so be prepared to clean up a lot of chocolate. The design of the syringes was probably not the best; after you reach the end of the syringe, to refill or clean it, you have to remove a little red part that serves to push the chocolate out of the syringe. HOWEVER! When all of the contents are removed, there is like a small vacuum that forms, and the red part gets stuck. So no matter how hard you try to pull it out with a knife, tweezers, or whatever, it will not come out. I also tried hot water through the tip, but nothing worked. EXCEPT! If you shoot pressurized air through the tip, then it comes out with a bang of chocolate. So I usually place the syringe in a cup when I do this.
2. Printer fixes
Sometimes, the printer will not apply enough pressure to extrude the chocolate, so I kind of use a caveman approach and press a button on the side of the printer head, and with my other hand, I push gently on the syringe; this usually works. Be careful of the pressure you apply in relation to the runniness of the chocolate; if it’s too runny, it will just spill out of the tip.
Sometimes, to connect and upload files to the printer, there is a connection problem, so I just turn off the printer and turn it back on; this usually fixes the problem.
3. Chocolate
If your chocolate is too liquid, by adding just a teaspoon of milk and mixing well, you can get a ganache-like consistency that extrudes really well.
After printing, the chocolate will be very soft, so I usually place it in the freezer for a few minutes to harden it up.
Also, print on parchment paper; this will make it easier to remove the print from the bed and transport it to a freezer.
4. Design
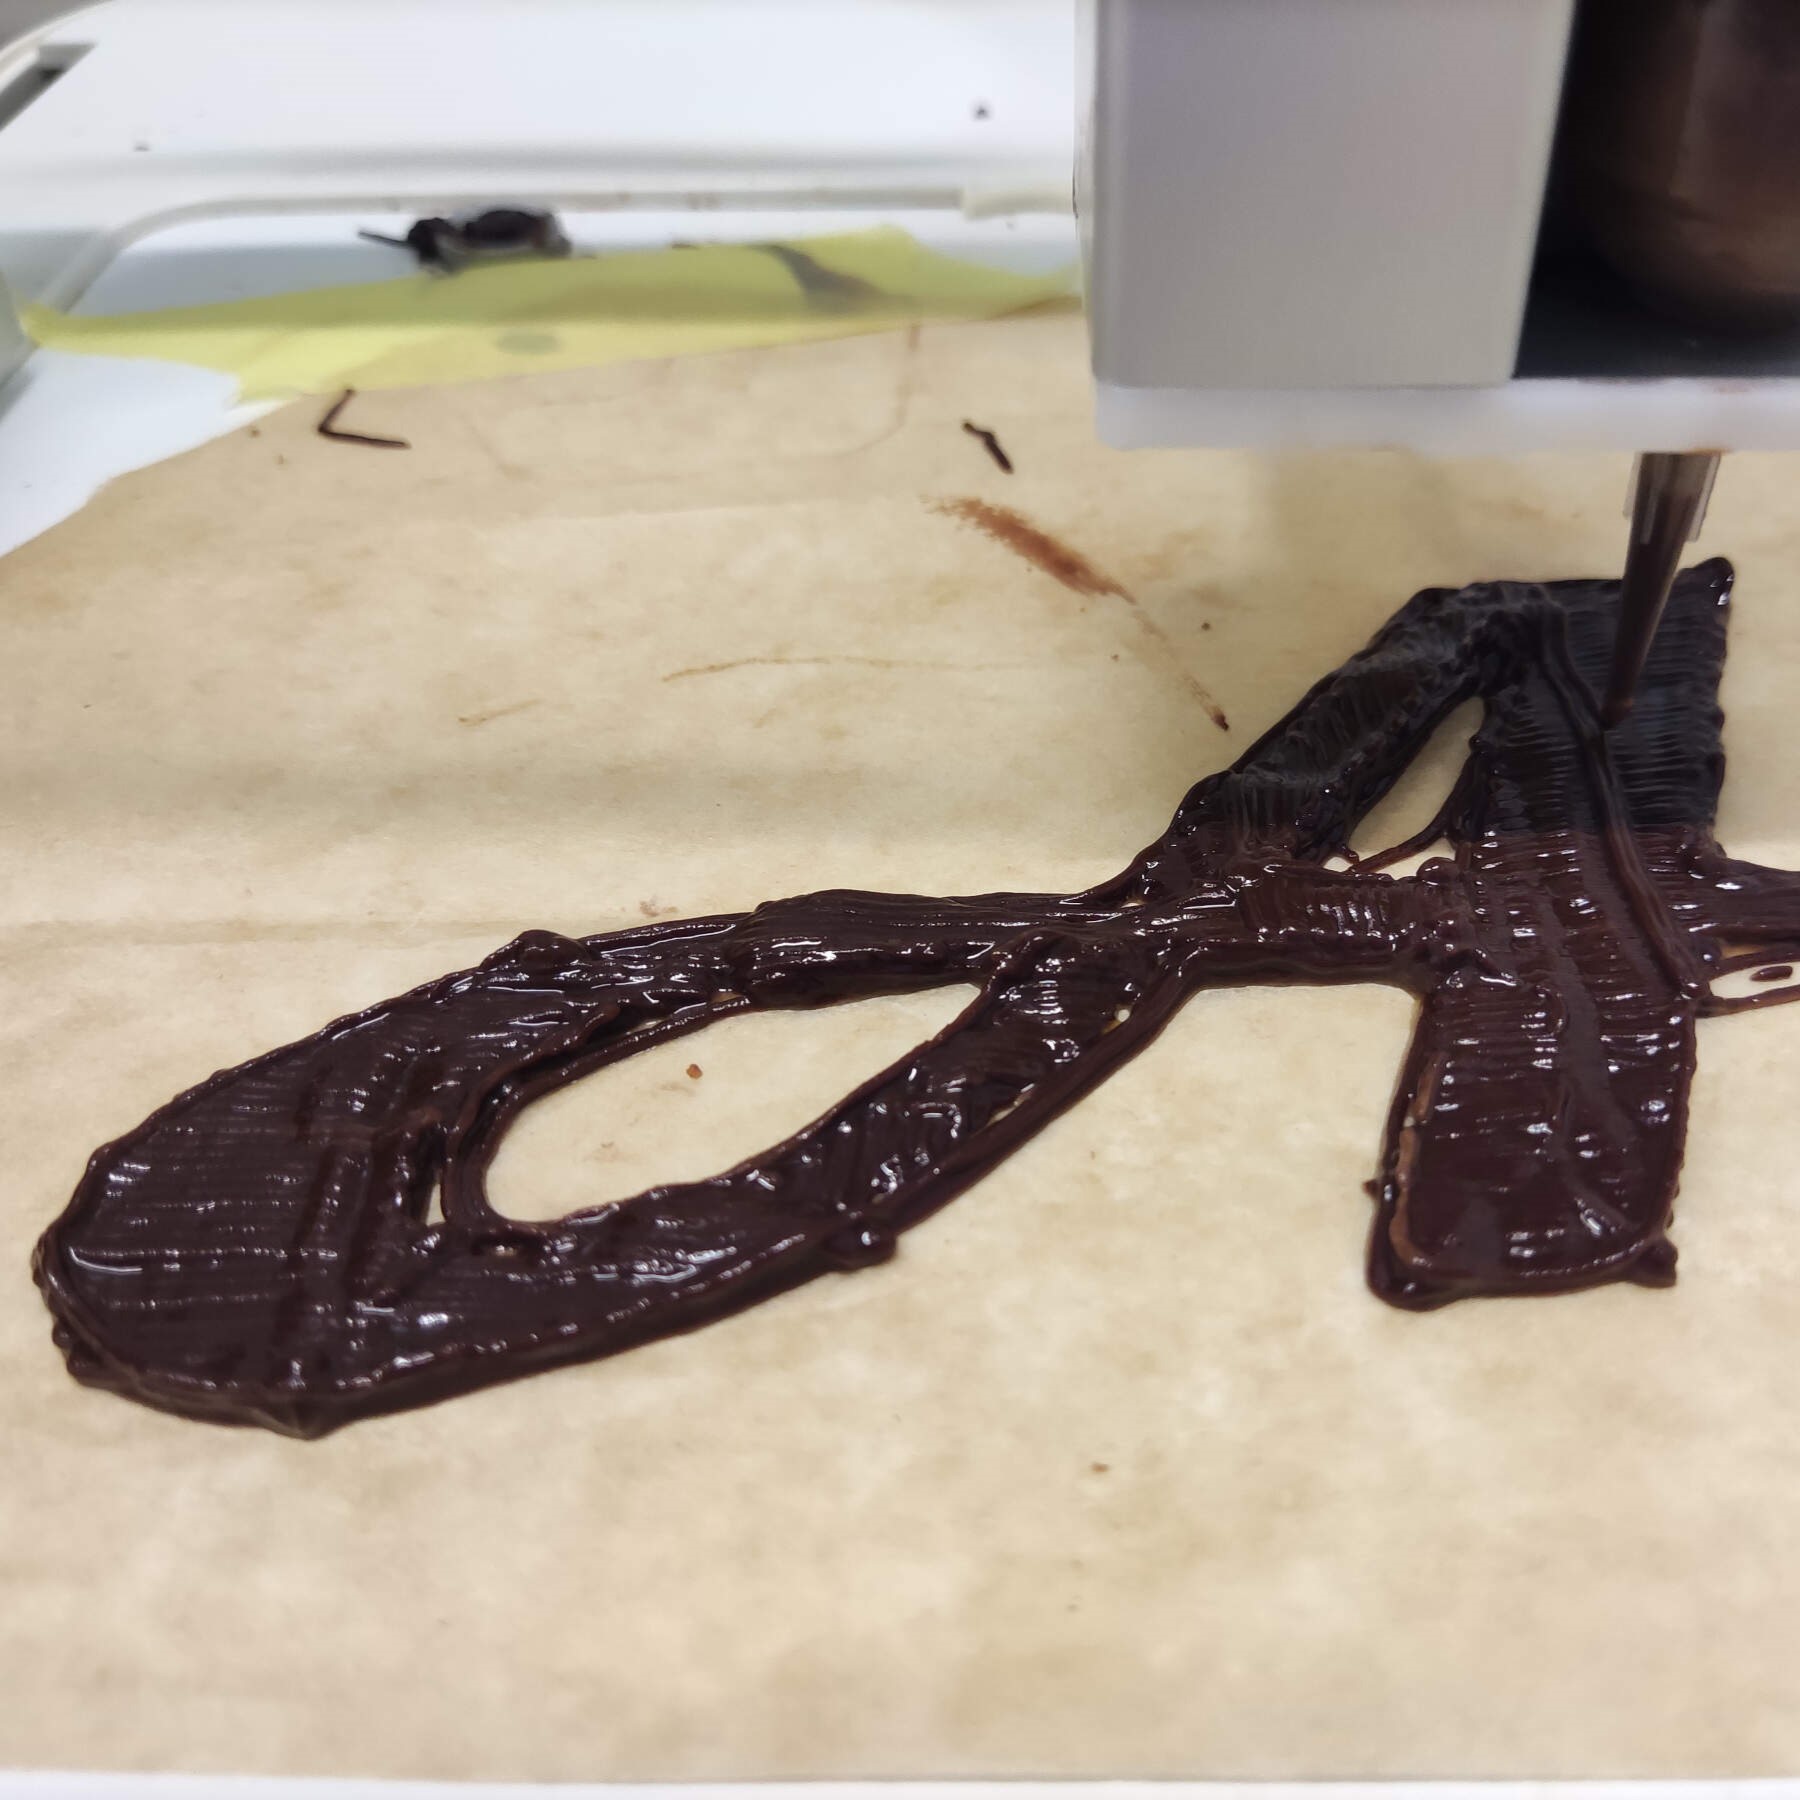
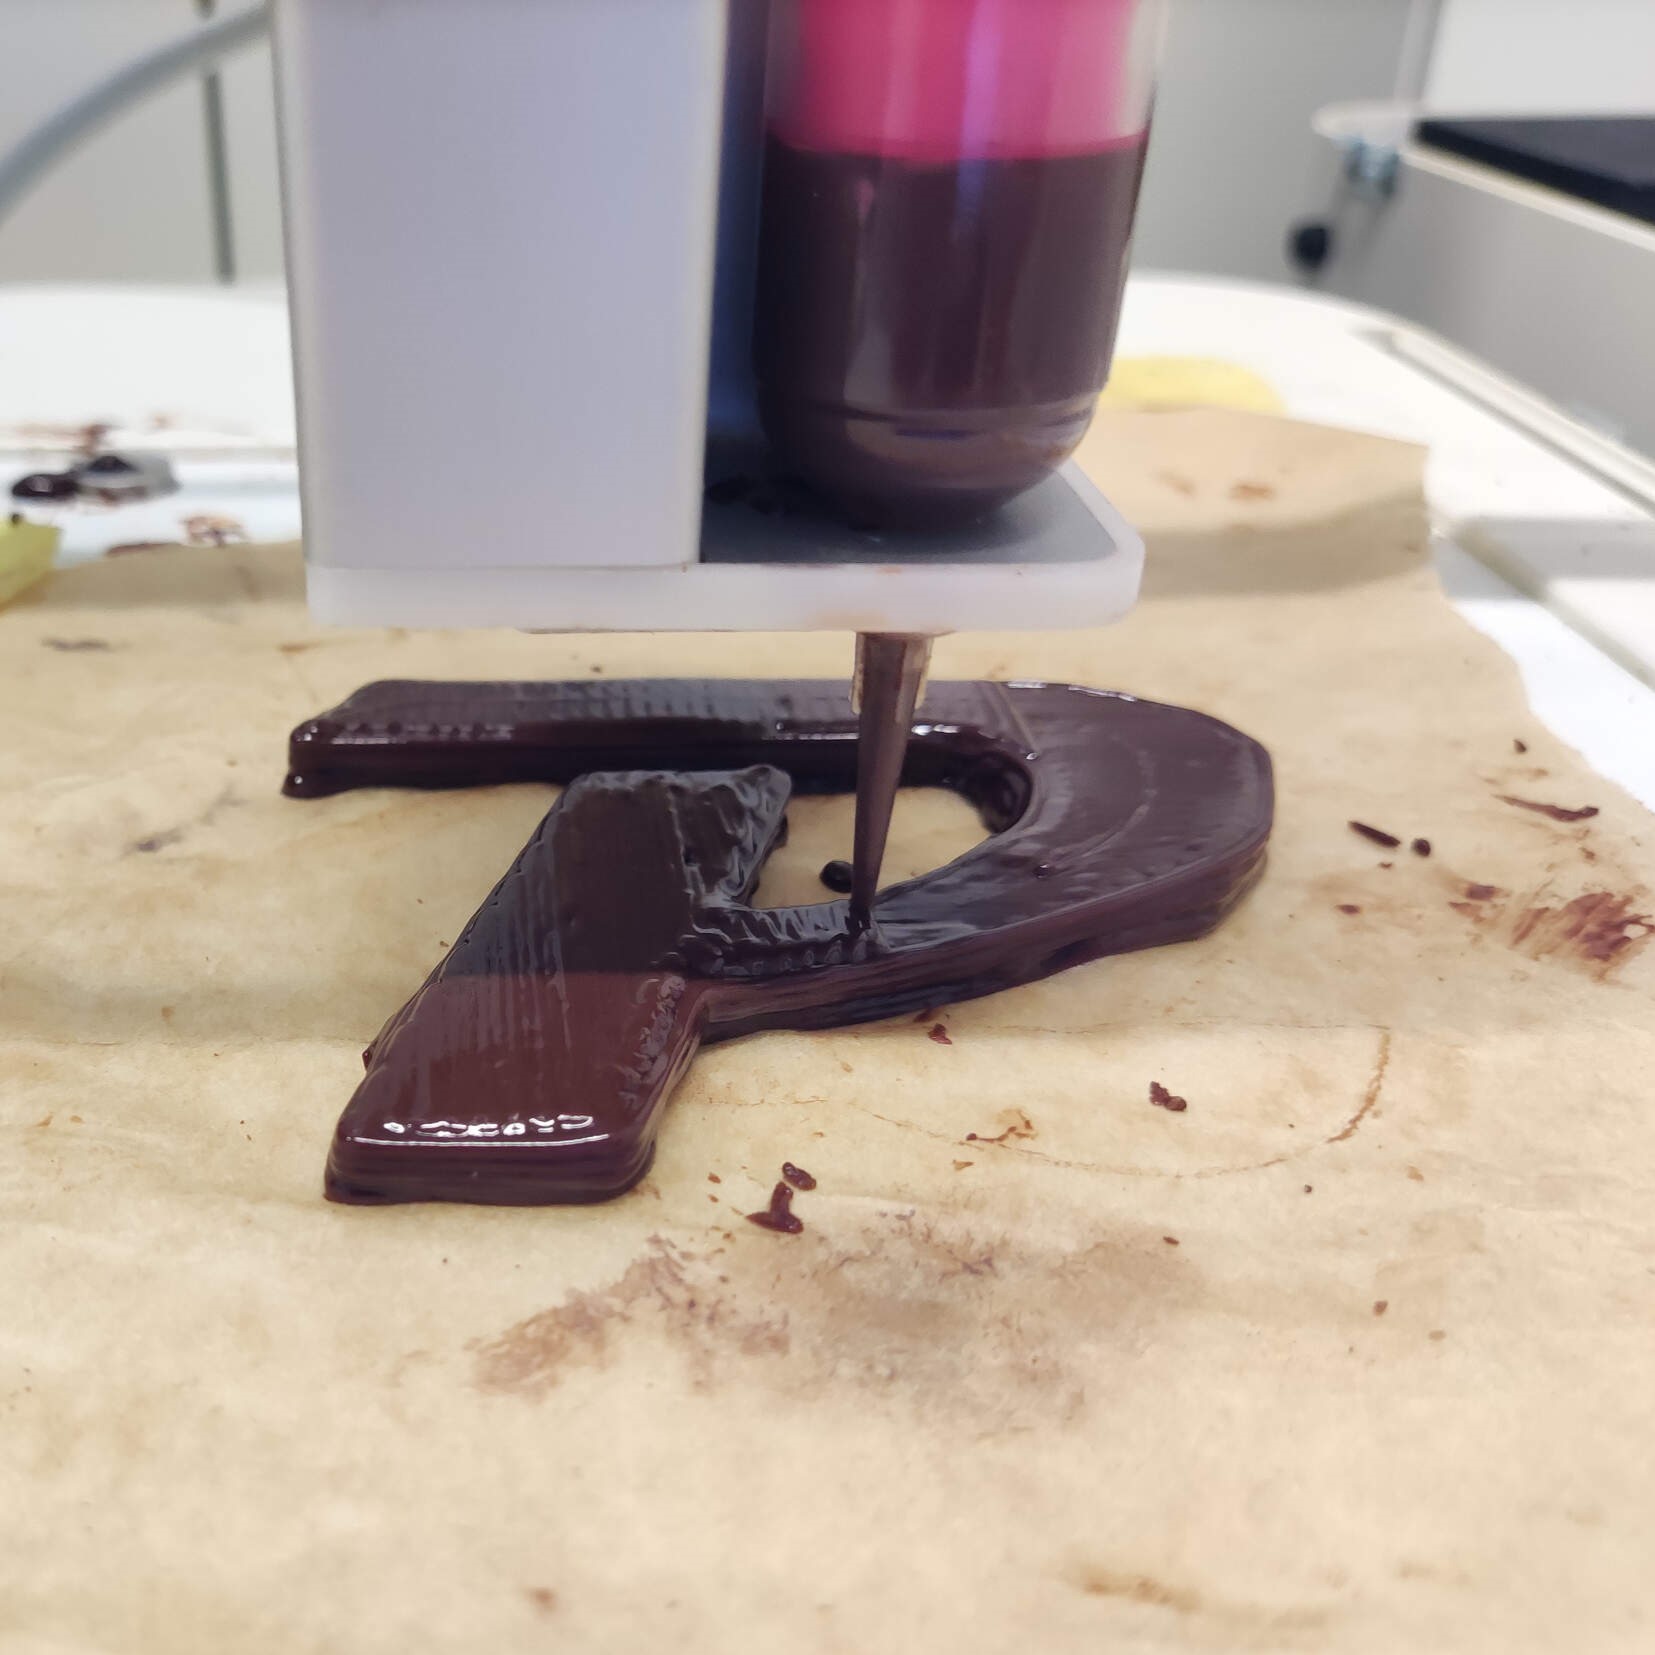
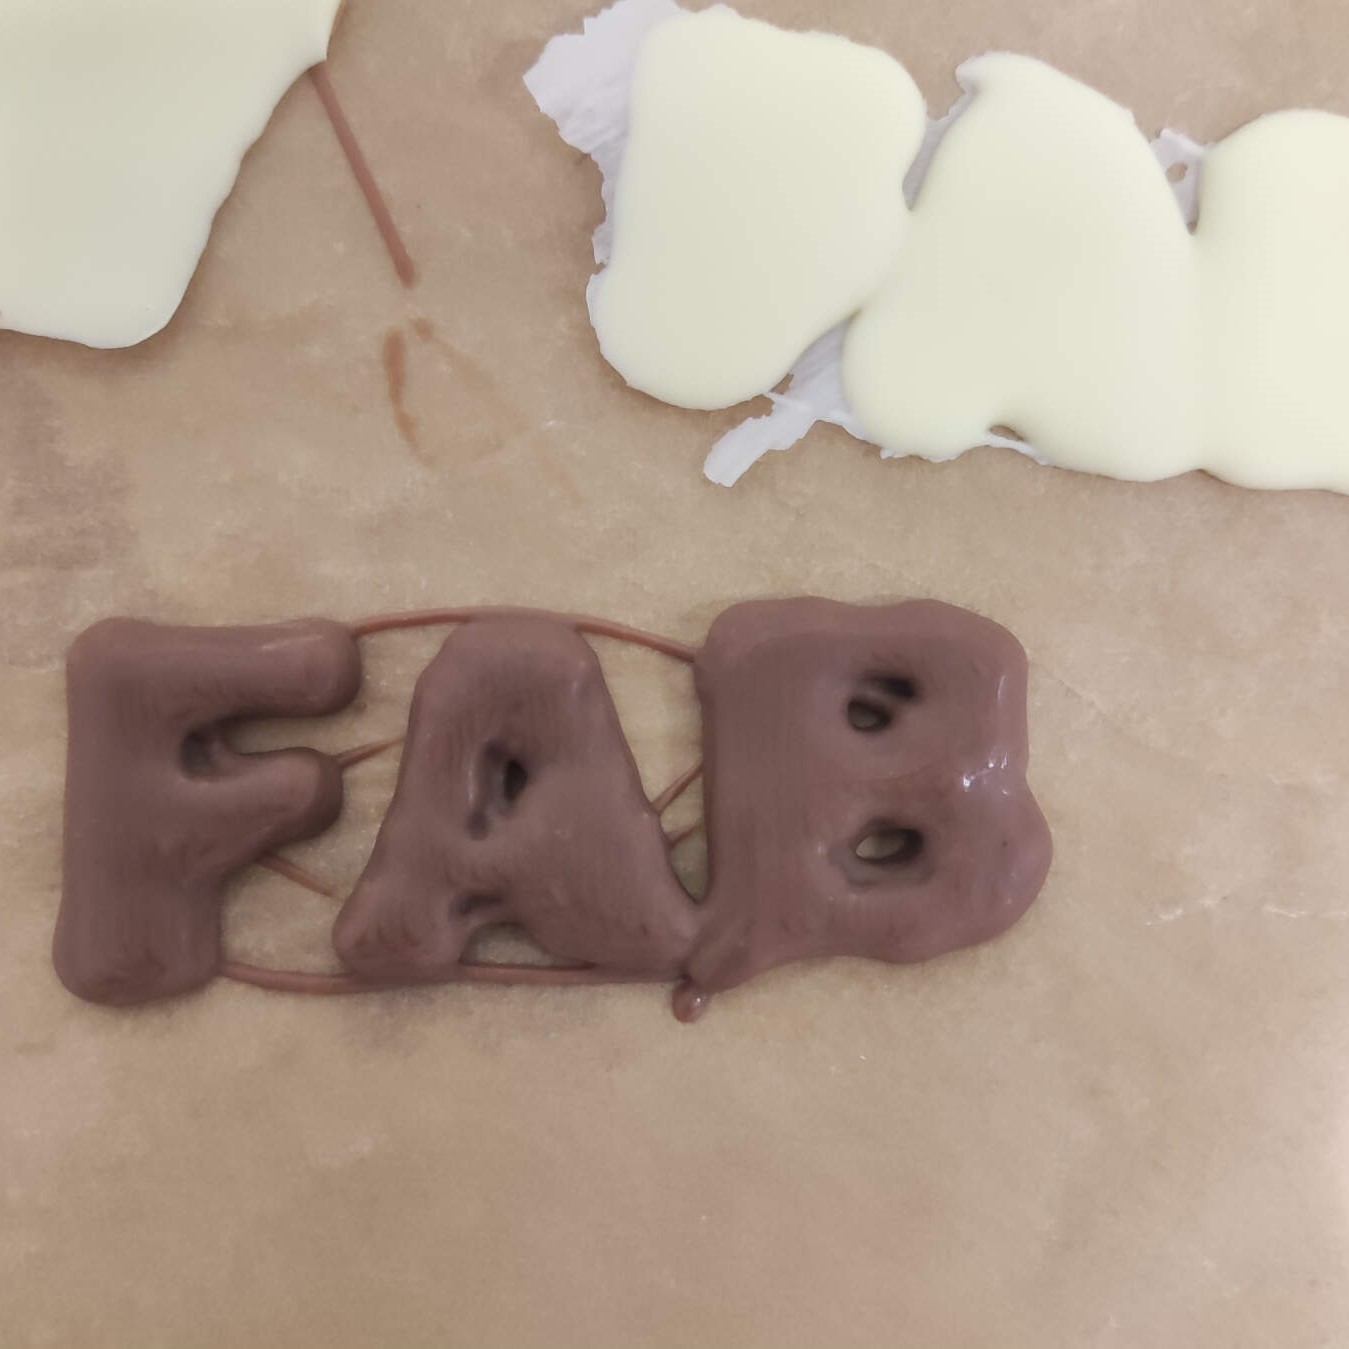
Designs with a lot of detail are not recommended, as the chocolate will not hold its shape. Also, the printer is not very precise, so the design should be simple and big. When printing the letter B, deending on the font used, the middle part will be a bit messed up. from what I observed, when the printer is printing inside curves it has a hard time, so the chocolate will just spill out of the tip and not extrude.
Results:
100% dark chocolate, I left this in the fridge for a bit so it wasnt too runny
This was one of the best results, the mix was dark chocolate, milk and milk chocolate
this is just 100% of the nuttlea chocolate, it extruded really well and you can see the layers, but the removal was complicated.
This was 100% milk chocolate, too runny so I had to stop the print, when just a teaspoon of milk to this the results were better
here I mixed everything, the oil from the nutella separated from the mix and then hardened around the chocolate
These came out really good, the mix was milk chocolate and milk

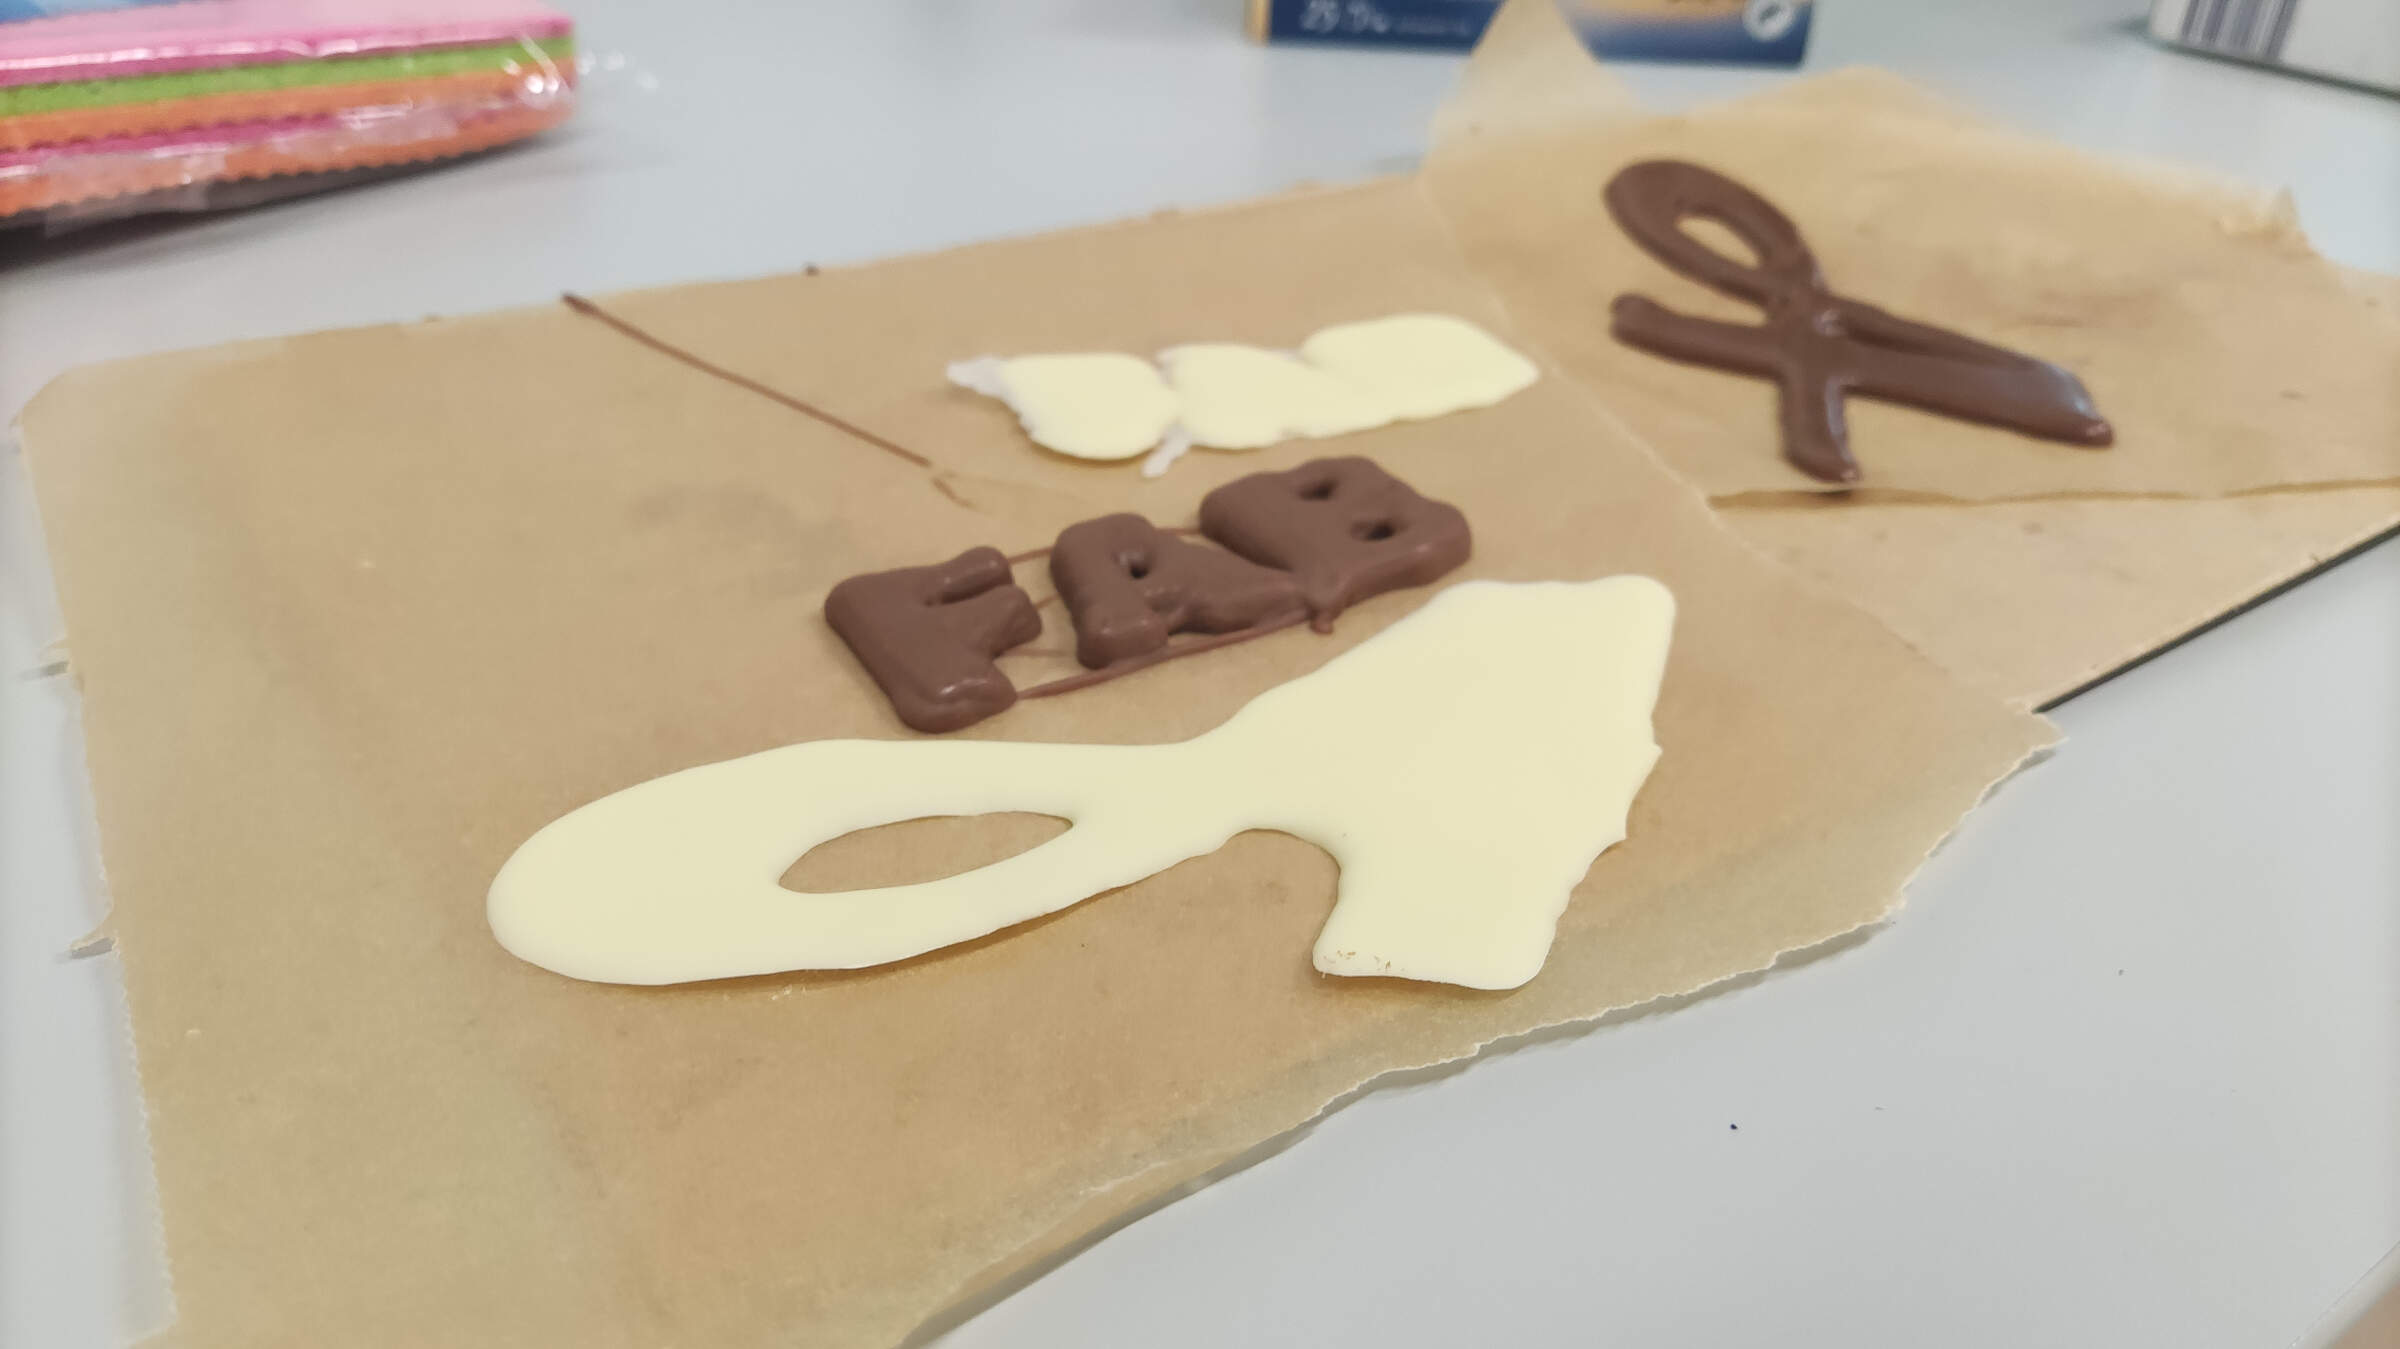
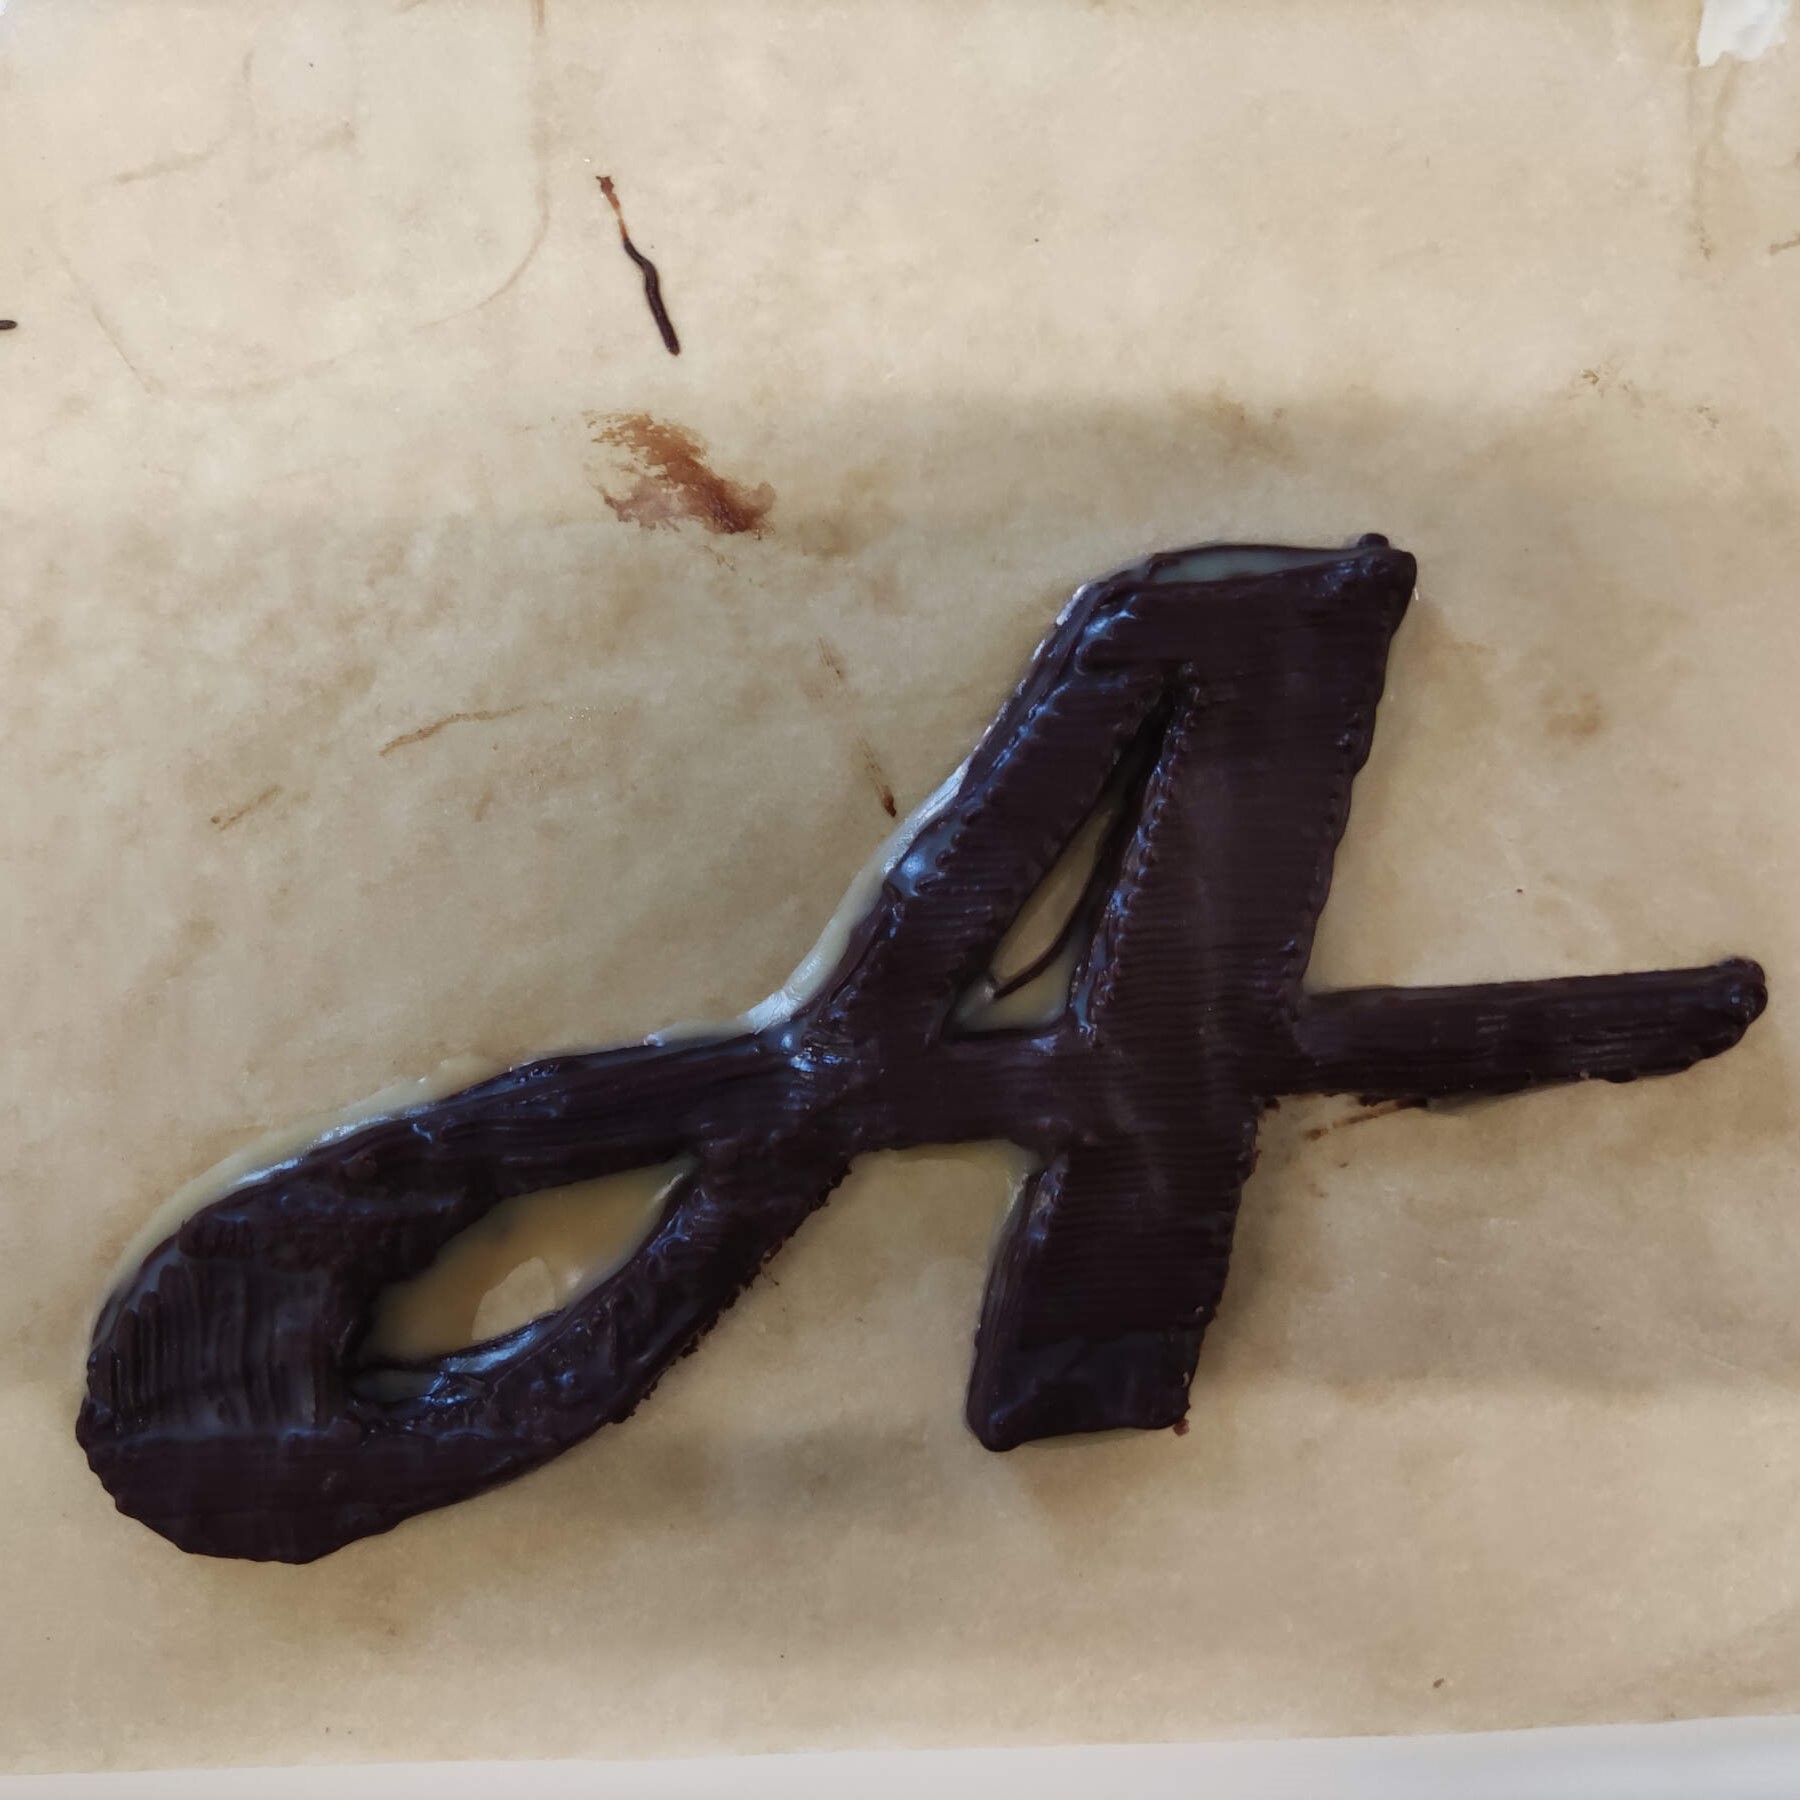
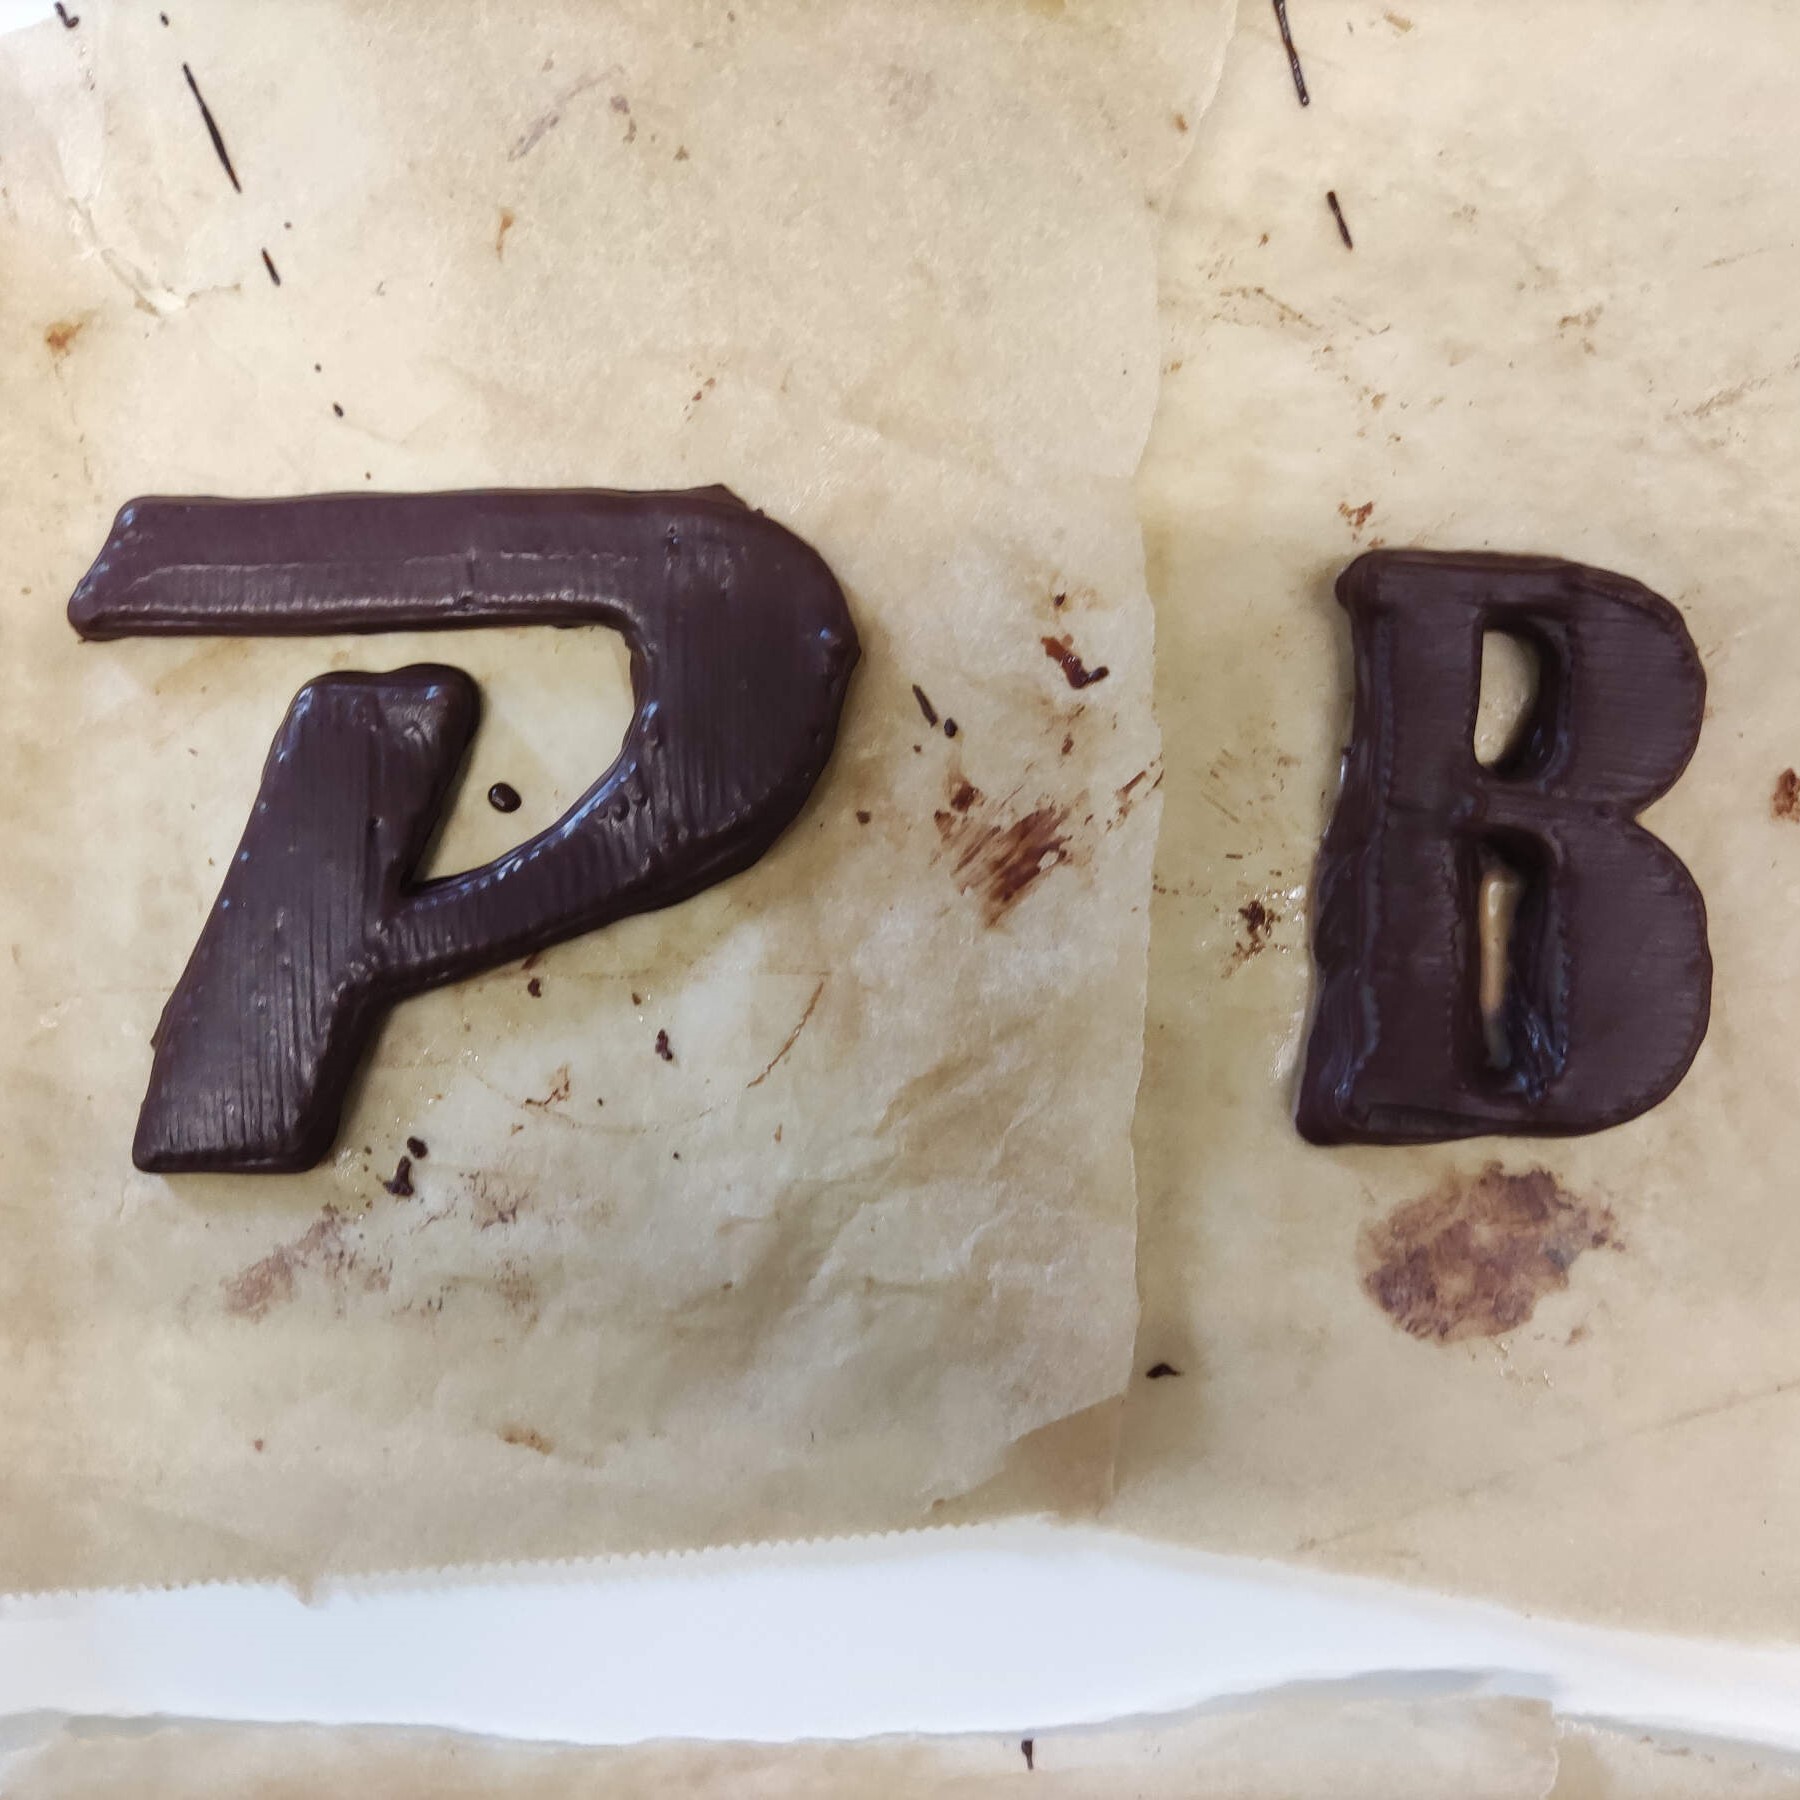
The B is dark chocolate and milk mix, and the A is nutella, the A´s shape was lost when I removed it from the print bed
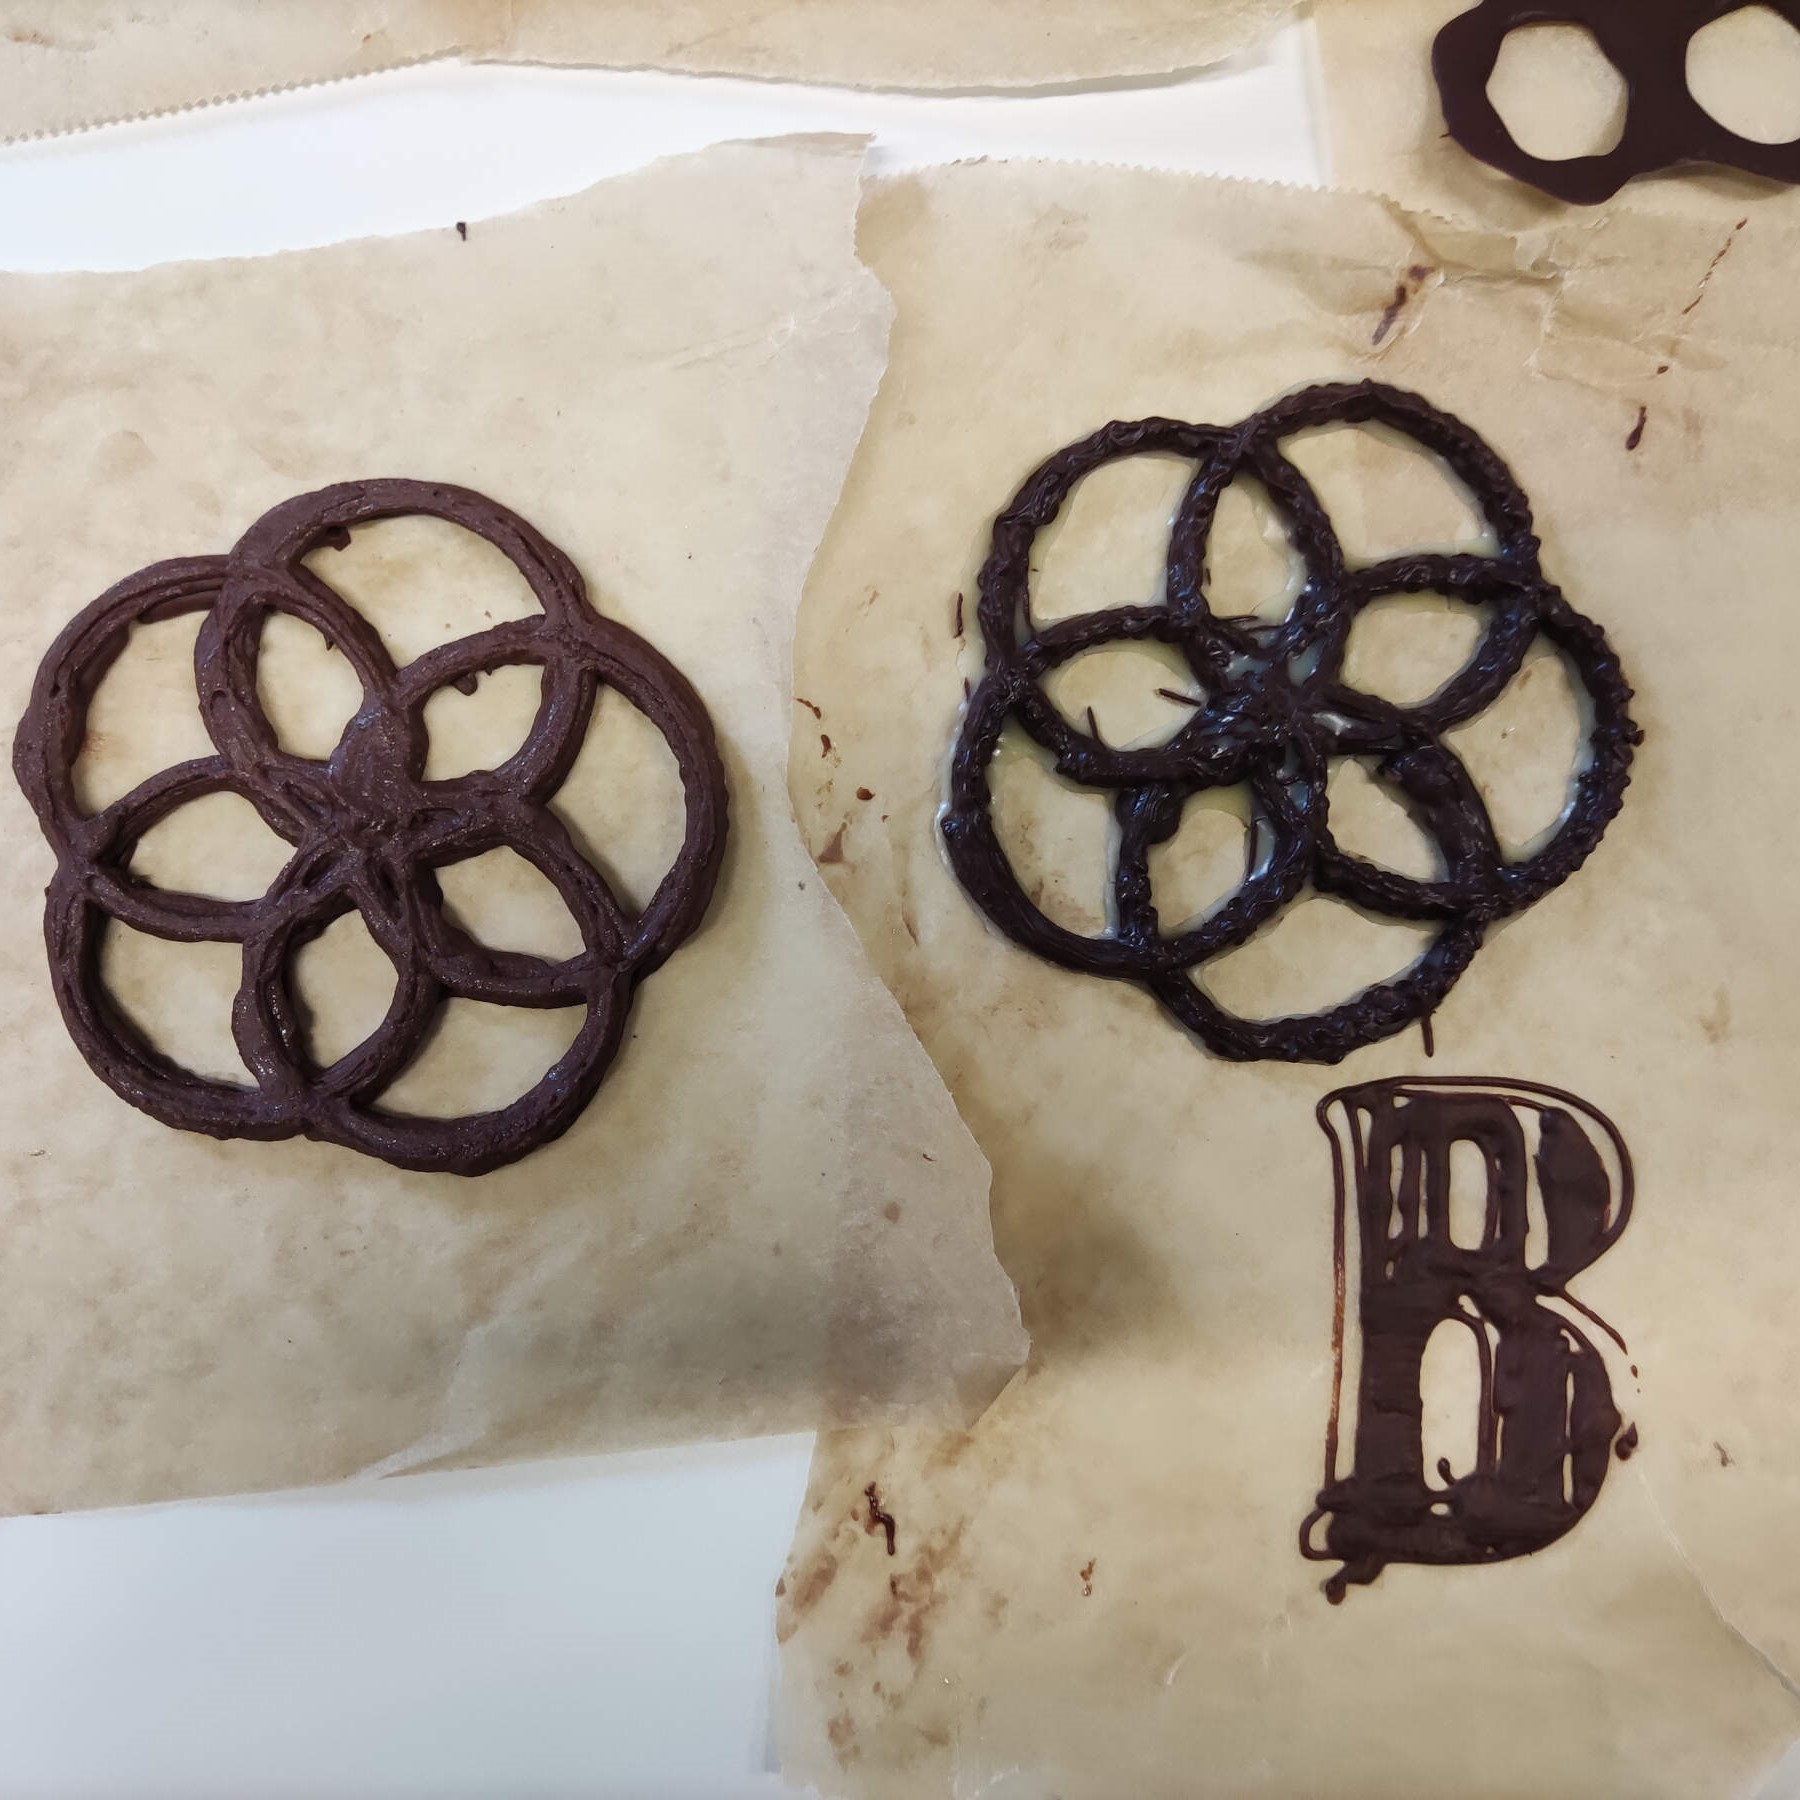
the flower to the left is the milk chocolate and milk mix, the middle one is the dark chocolate mix, the B is a milk chocolate fail

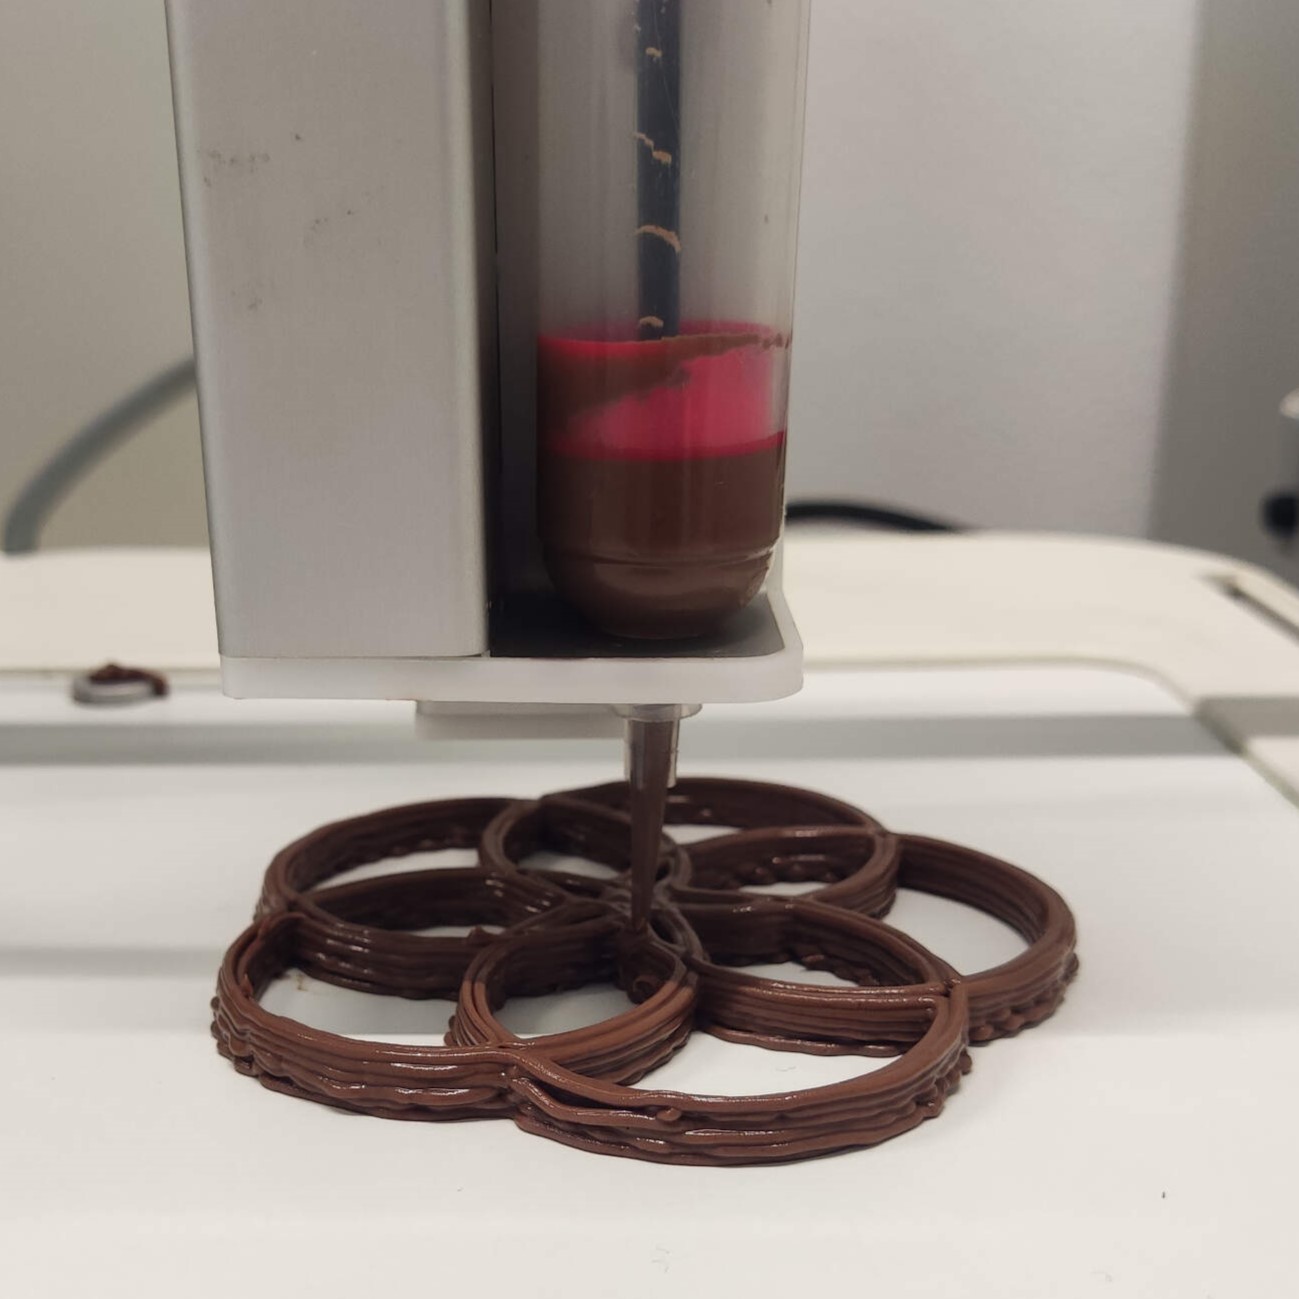
Left side honey comb was the dark chocolate mixed with milk and milk chocolate, right side was the milk chocolate mix with just a quare of dark chocolate and a teaspoon of milk/p>
This one tasted the best out of all of the mixes and held its shape quite well, the mix was mostly white chocolate, the milk chcocolate honey comb print, and teaspoon of milk
this is the result of the white chocolate mix, and at the top is just 100% white chocolate. this was the winnerr for the taste department
This A was made with the same white chocolate and normal chocolate mix except the ratio was 50/50