DESIGN AND ASSEMBLY
sketching, planning, cutting, building and redoing
siri play the bob the builder theme song

As seen in stage 1, I went through many different design ideas for almost every part of the project. What I settled on was a mix between
easily accessible and cheap parts for the feeding mechanism, and some 3D printed adaptor parts.
I'll be honest, I had a lot of fun designing everything, but especially the 3D printed parts. I learned better ways to design for 3D printing,
to save material and time, easier to be replced. Also the green color was not at all intentional, its just the PETG filament aailable at the lab, although I kinda like the pop of color it give and green happens to be my favorite color :)
Feeding mech design
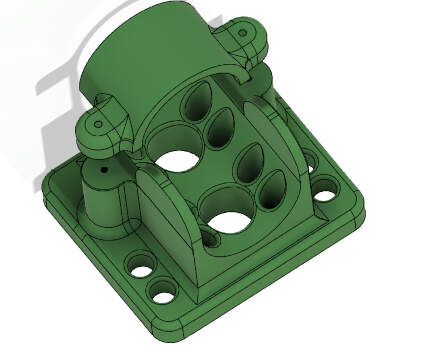
This is a photo of the clamps used in the feeding mechanism. As you can see, the many holes in the design reduced the printing time by an estimated 1 hour and also facilitate the assembly process when I have to
tighten the screws of the stepper motor that will be under everything.
Weight reduction design is something I tried to implement in my designs by adding holes in the structures. Not only have I removed material, making it more lightweight and less material-consuming,
but I have also made it stronger by adding more solid walls and less infill in certain parts of the print. Another benefit of the holes is that it makes access to the screws easier.
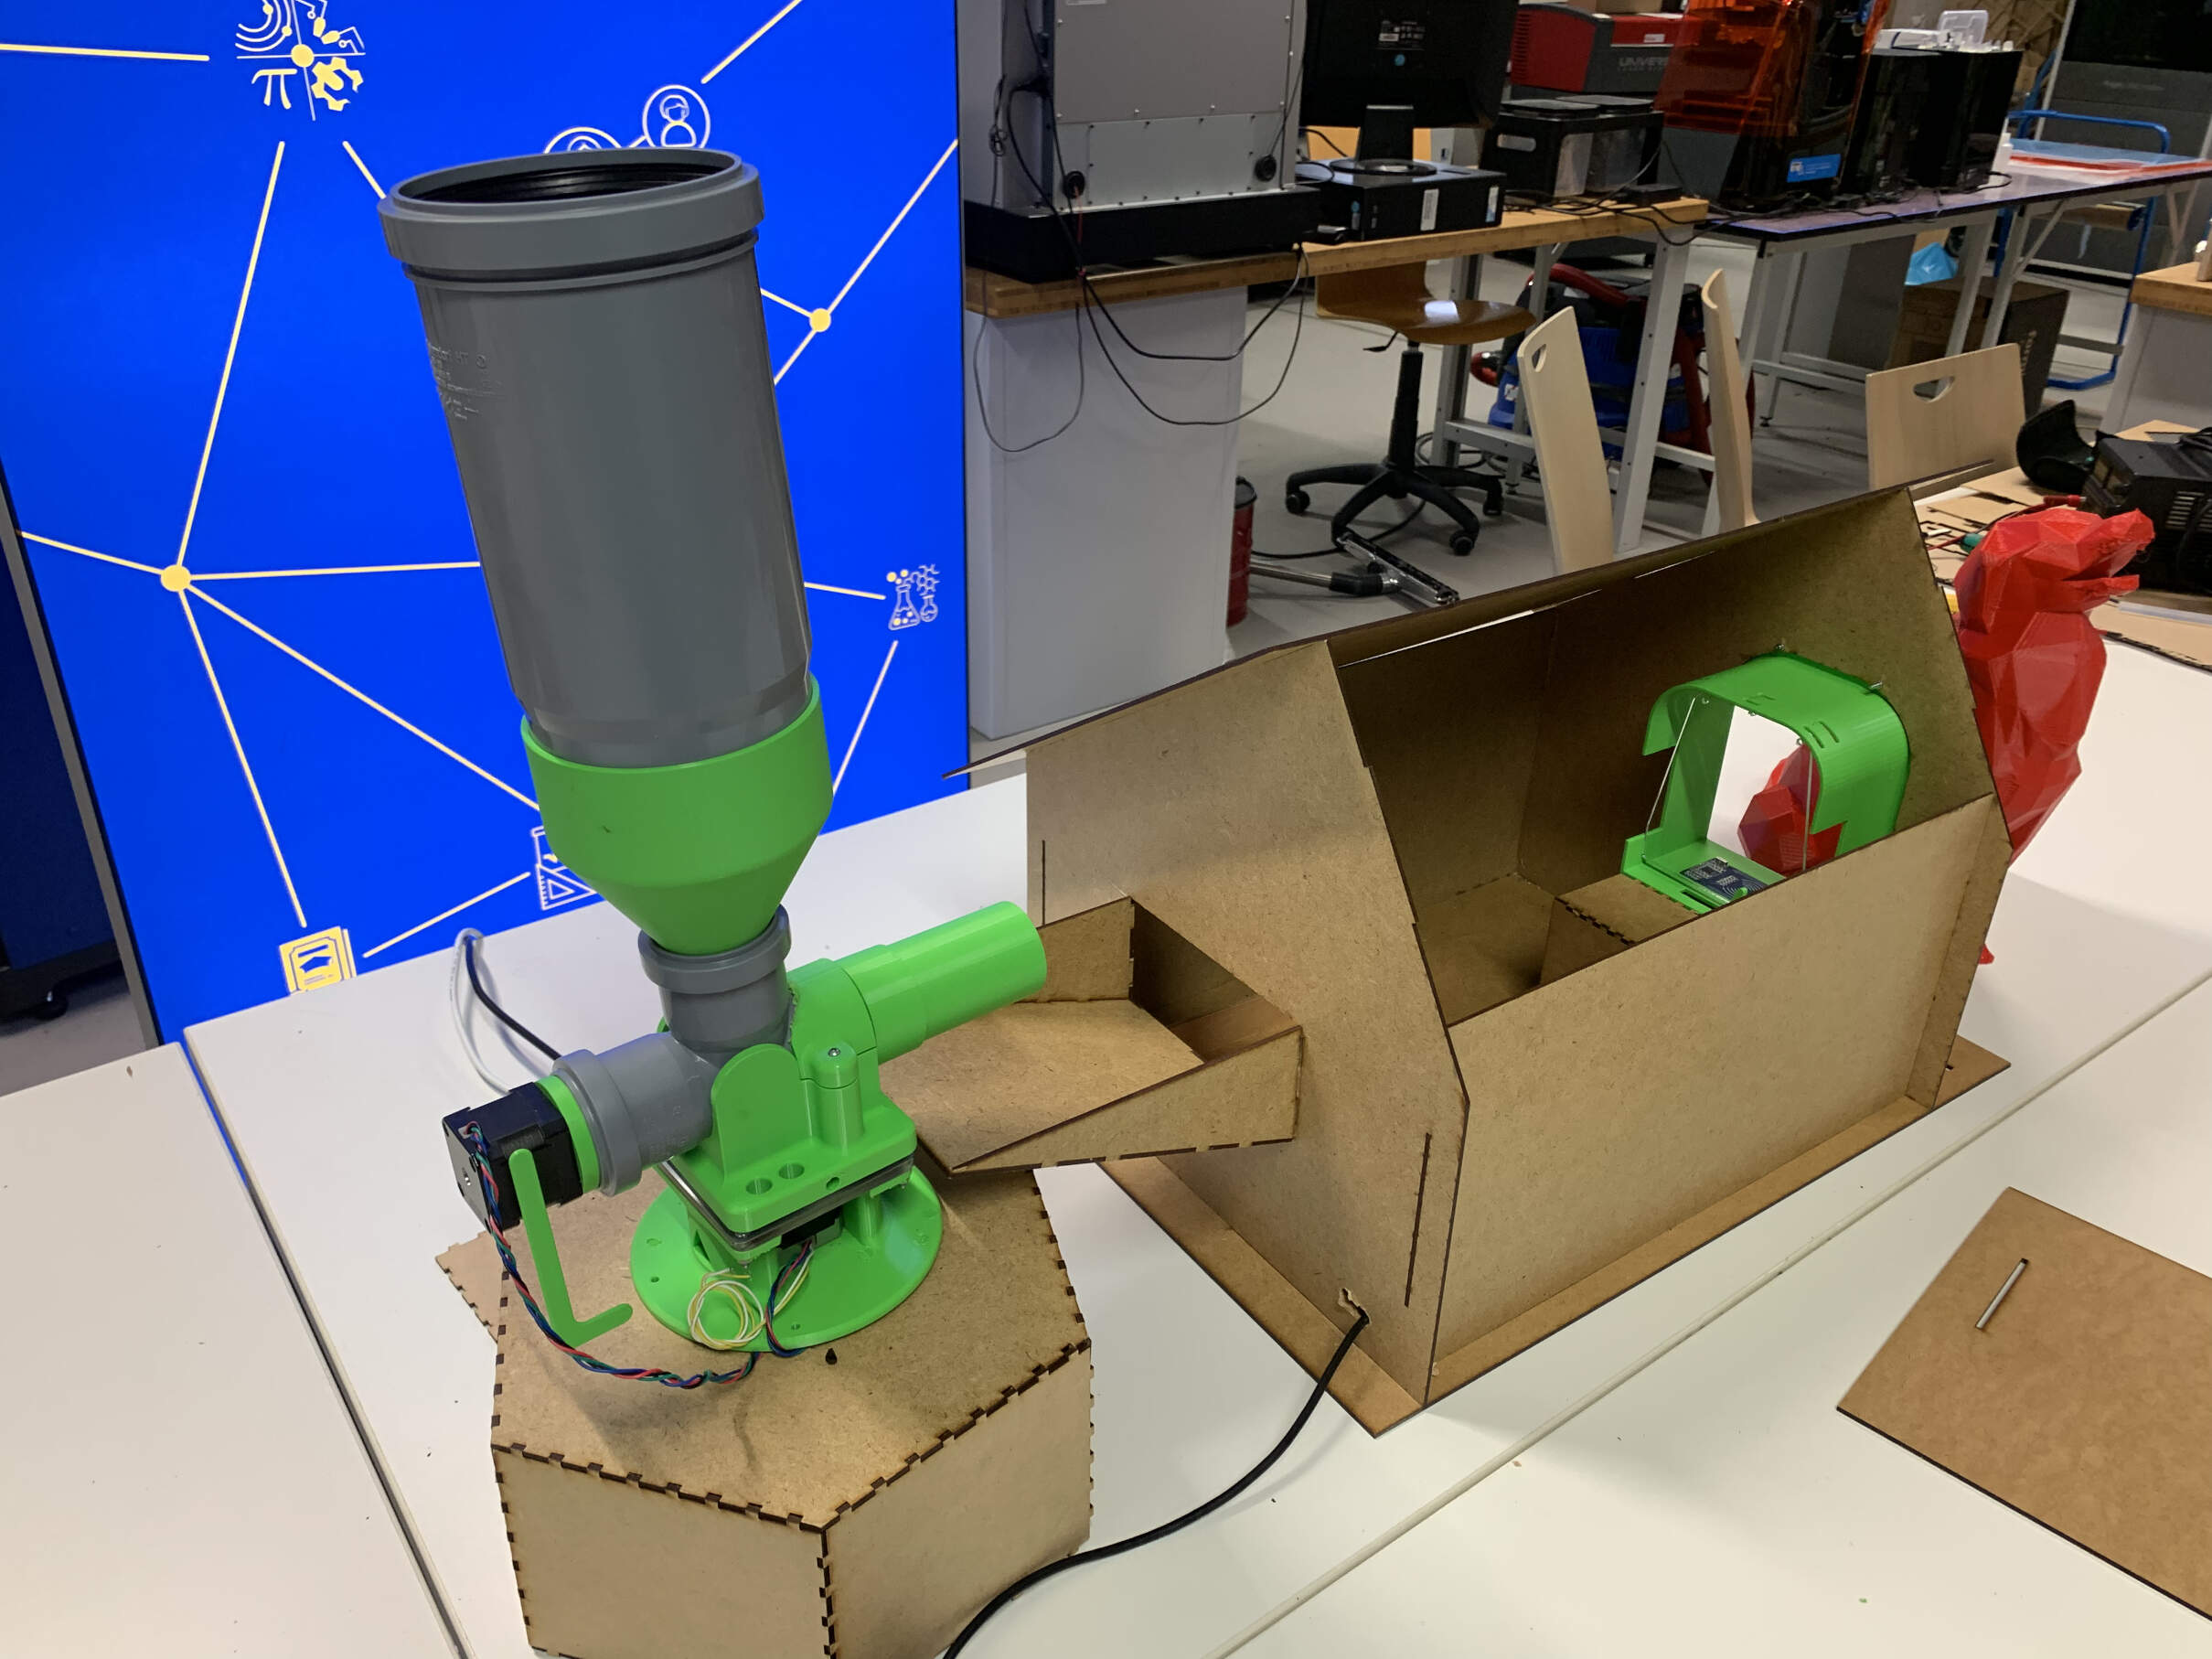
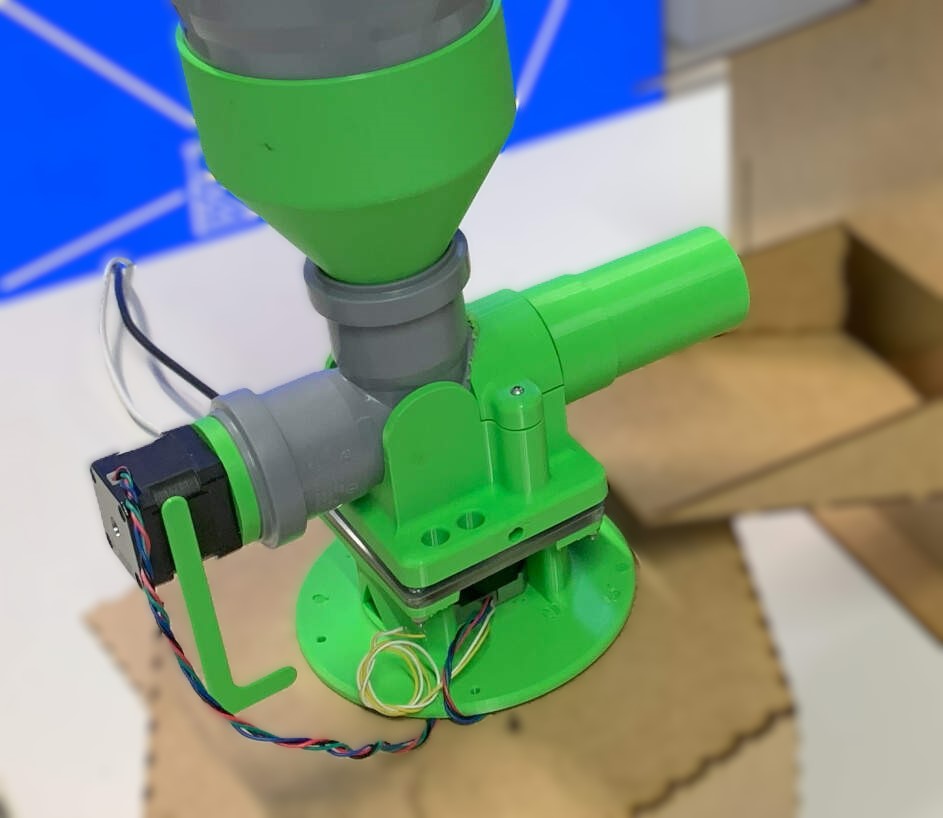
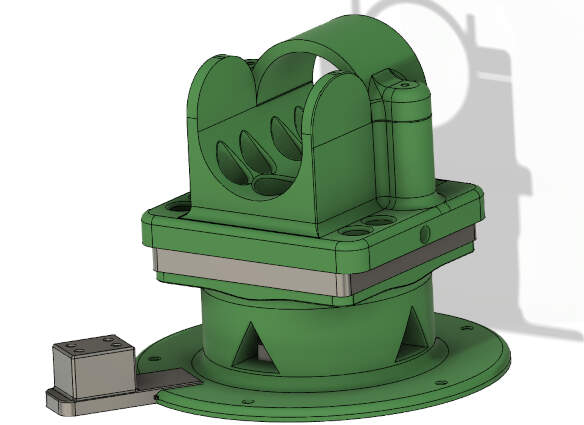
The feeding mechanism is made up of 5 3D printed parts: the Archimedes screw, the screw + bearing adaptor, the "tank" motor holder that also connects to the bottom part of the turntable bearing, the pipe clamp that is made of two parts (the bottom one holds the tube and connects to the top part of the bearing), and the other part of this clamp that, as the name suggests, clamps down the tube to prevent it from moving.

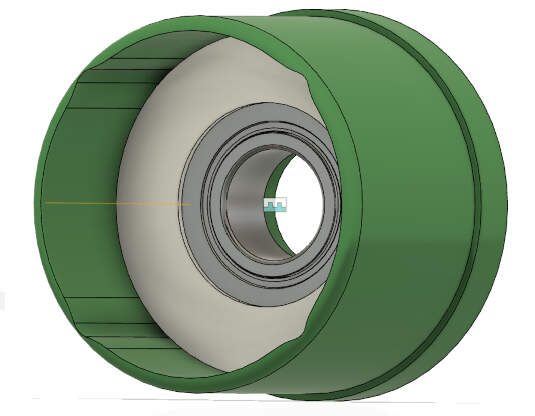
This is the design of the bottom part of the feeding mechanism. The gray part represents the bearing and the spacer. The green component is the motor mount, the stepper motor slides in and is screwed in,
then the bearing is placed on top and the bottom plate is secured with a M3 screw coming from the top, and a M3 nut at the bottom on the other side. To the side, there is a smaller gray block, this is the endstop holder.
This part attaches to the motor mount by sliding in. The endstop requires two screws, however, I added 4 screw holes, giving me the liberty of choosing which side the endstop will be facing.
This will also determine how you wire the stepper motor (if you flip the wires then it will change spinning directions).


This is the design of the top part of the feeding mechanism. It is made up of two connecting parts, the little clamp that goes over the tube and connects with a long M2 screw to the bigger part.
This bigger part holds the tube and prevents it from rotating and moving.
It is connected to the top part of the turntable with a M3 screw from the bottom.
this is how it looks like all together (minus the tube and the components that go in it). note from future me, I had to file some parts here, so that the tube would fit in the clamps I already changed the design to fix this issue, but I didnt want to re print againg sice it works either way, it just does not look as good.
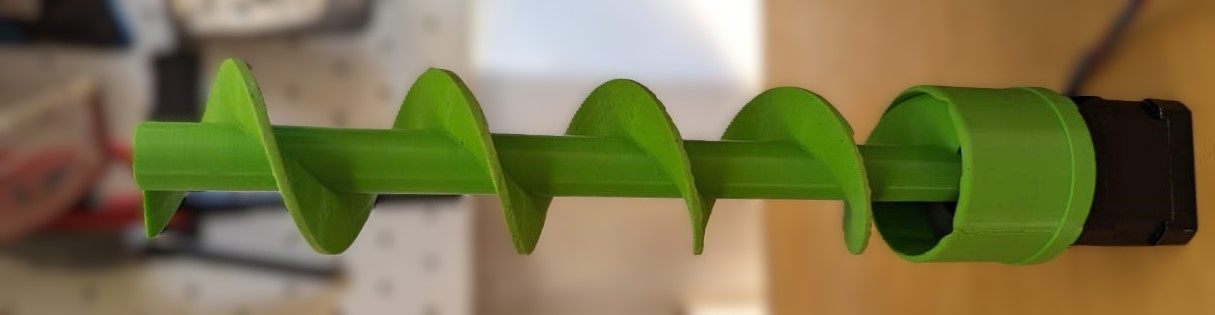

This is the design of the Archemedes screw, and the "cap" that contains a bearing that holds the screw. the screw stepper motor attcaches to this cap, and finnaly this whole thing is inseted into the tube and coses off the back preventing any food from falling out.
the oorder of assemble ot this is: the motor is screwed into the cap, the bearing and bearing adaptor go next, then the screw goes through the bearring and connects to the motor shaft, and finally this is inserted into the tube.

this is an adaptor that wors as a funnel, it connects a large tube that works as the food storage to the feeding tube and screw. this is a simple design that is just a tube with a hole in the middle, and a small tube that connects to the feeding tube.
This part may look small and not so special, but it is very important. This is the bearing adaptor that holds the bearing, which in turn holds the screw in place and takes the stress
off the motor shaft by preventing any side-to-side movement that might be caused by food getting stuck in the screw. On the sides of the cap, I added a few reliefs on the inside to make
it easier to insert and remove the adaptor.
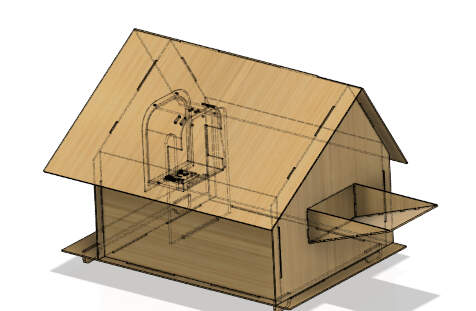
door design
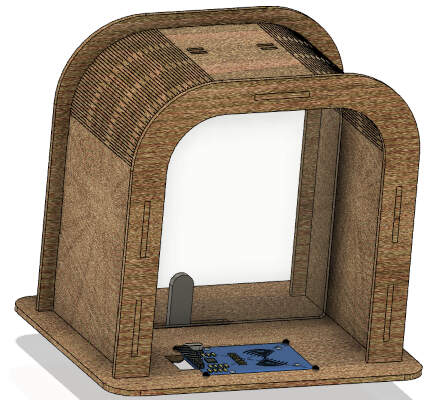
In the earlier stage, I designed a door that is laser cuttable, so that I could make it out of wood. I used the flexible wood curf technique (I think this is the name of it)
to make the "portal" have some rounded curves, and this is held in shape by two frames and a bottom part that they are press fit into.
The door flap is attached with wire or zip ties. This was great and all, but I mostly made it to learn how to design this curf technique with parameters,
and to prototype how it would look and verify the door size. However if anyone wants to re make my final project and wants to minimize the amount of 3D printed parts then this is a good option and it works perfectly.
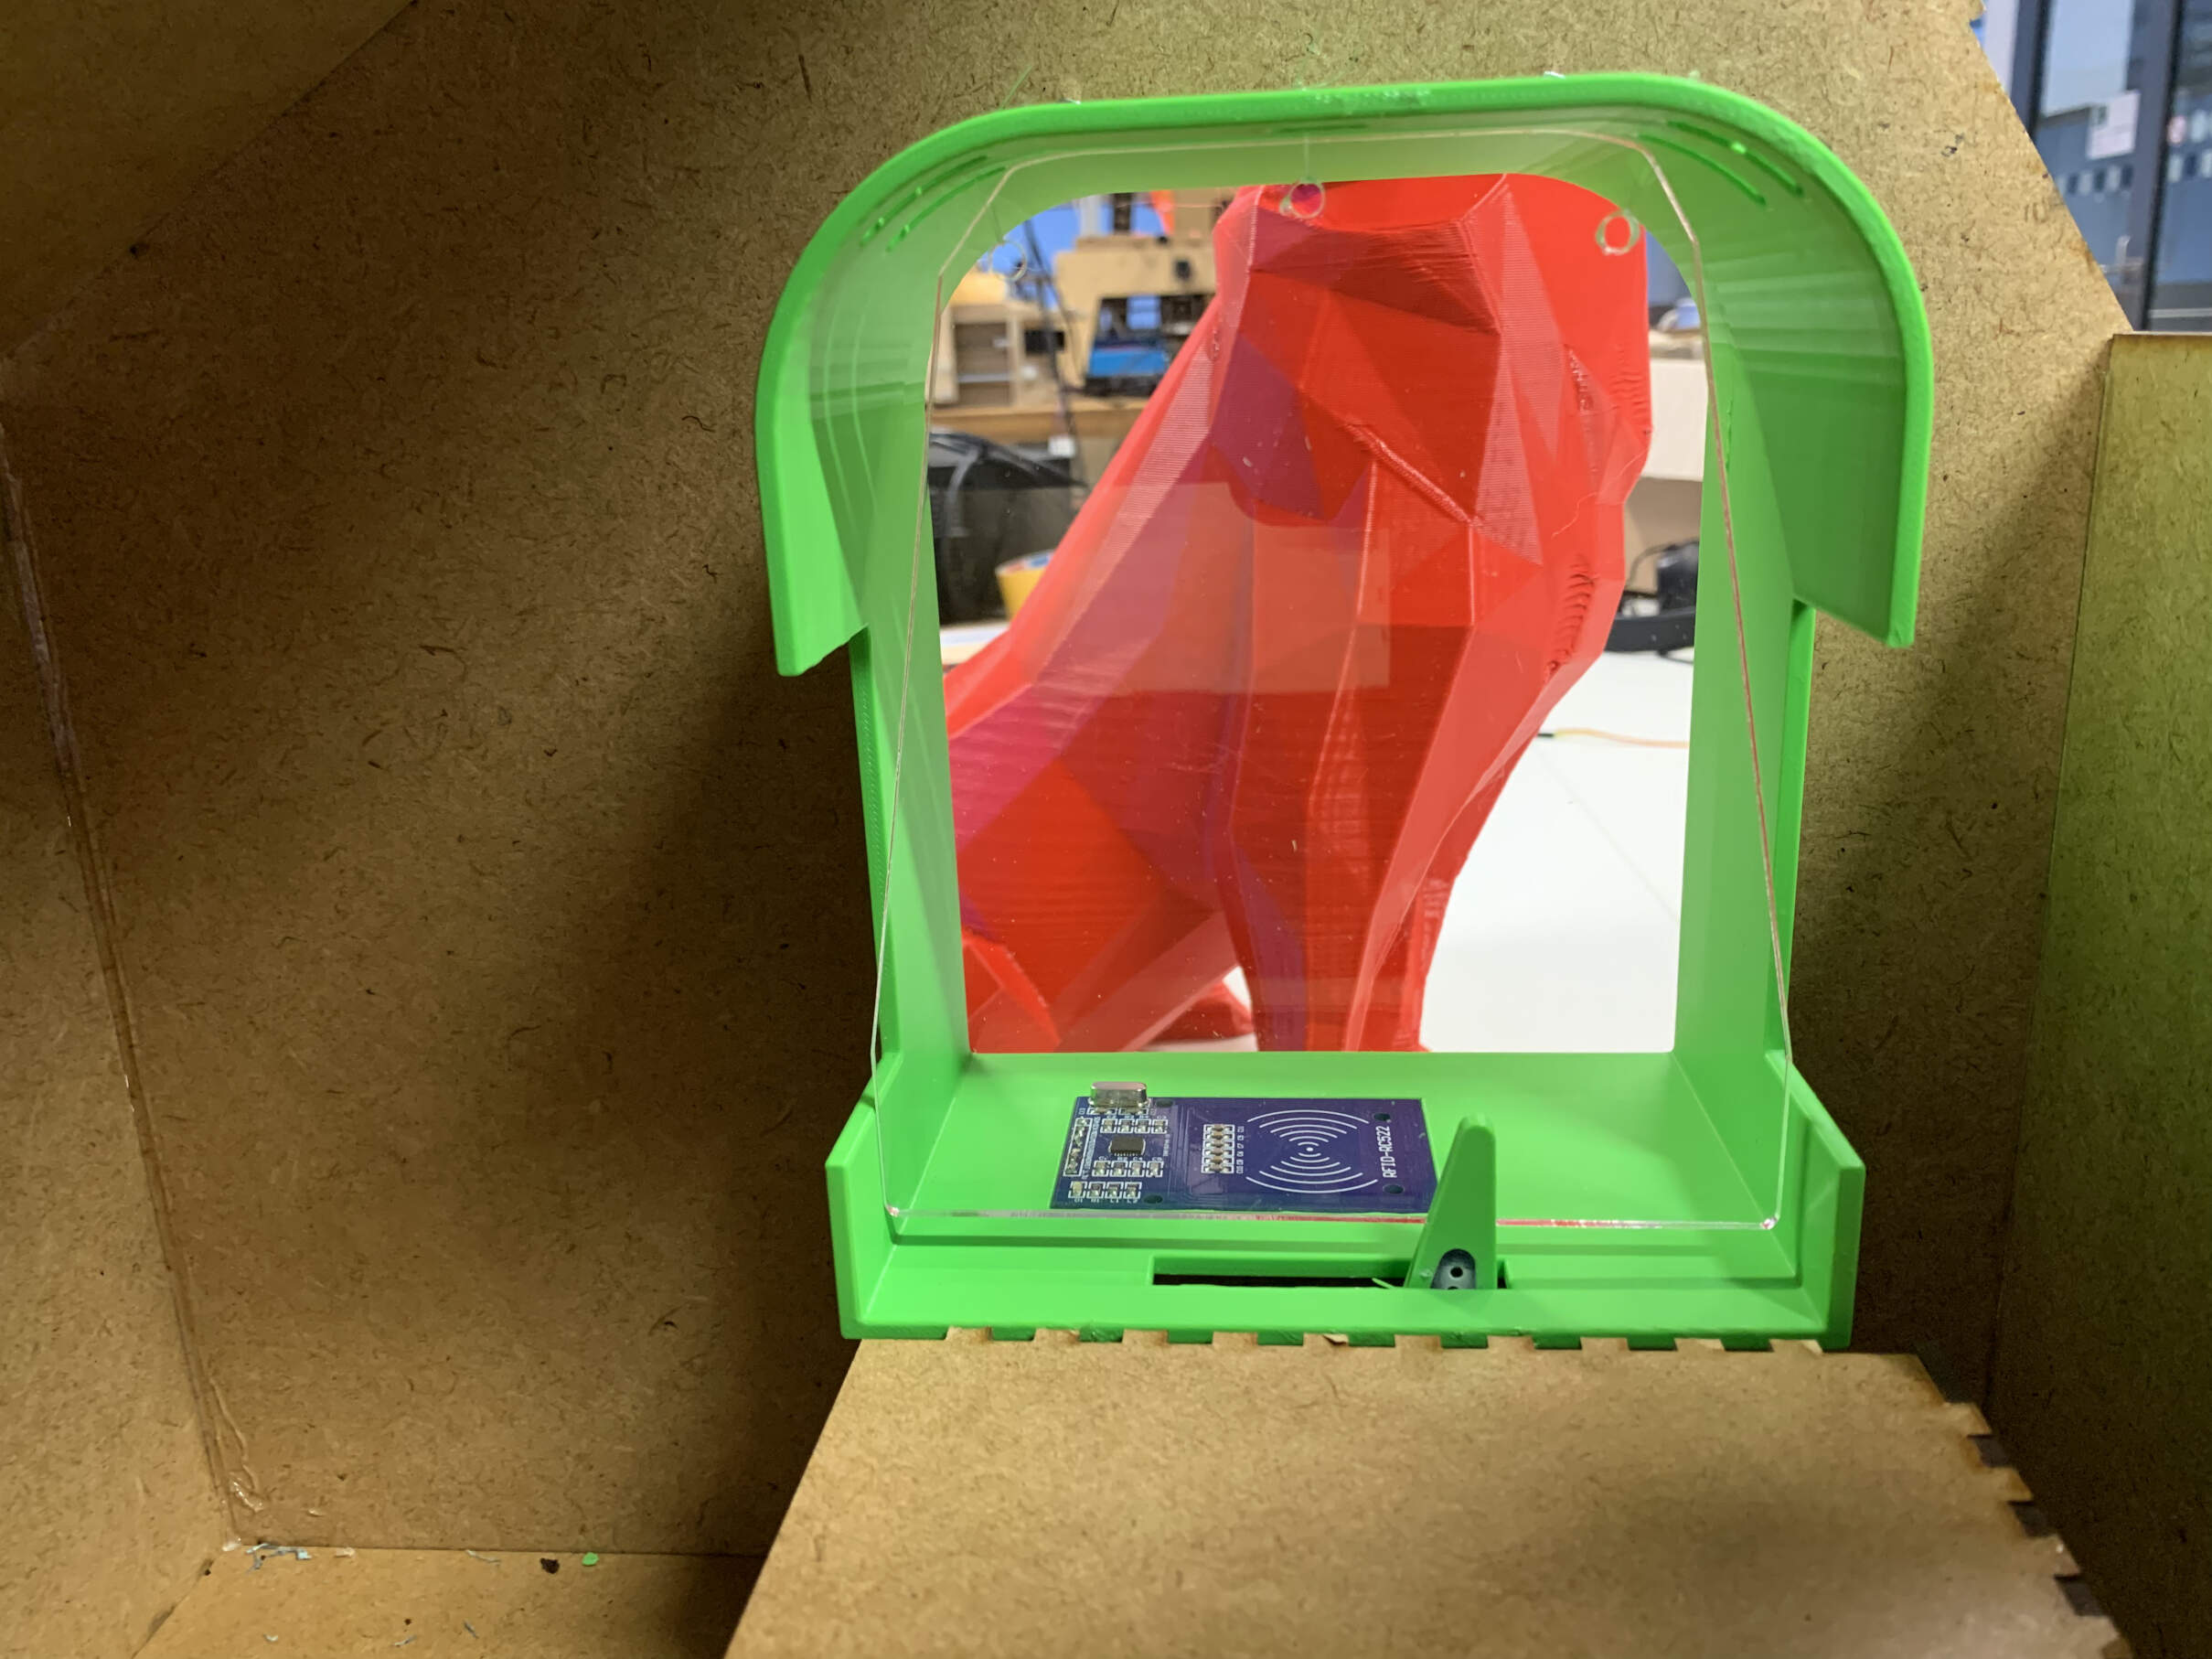


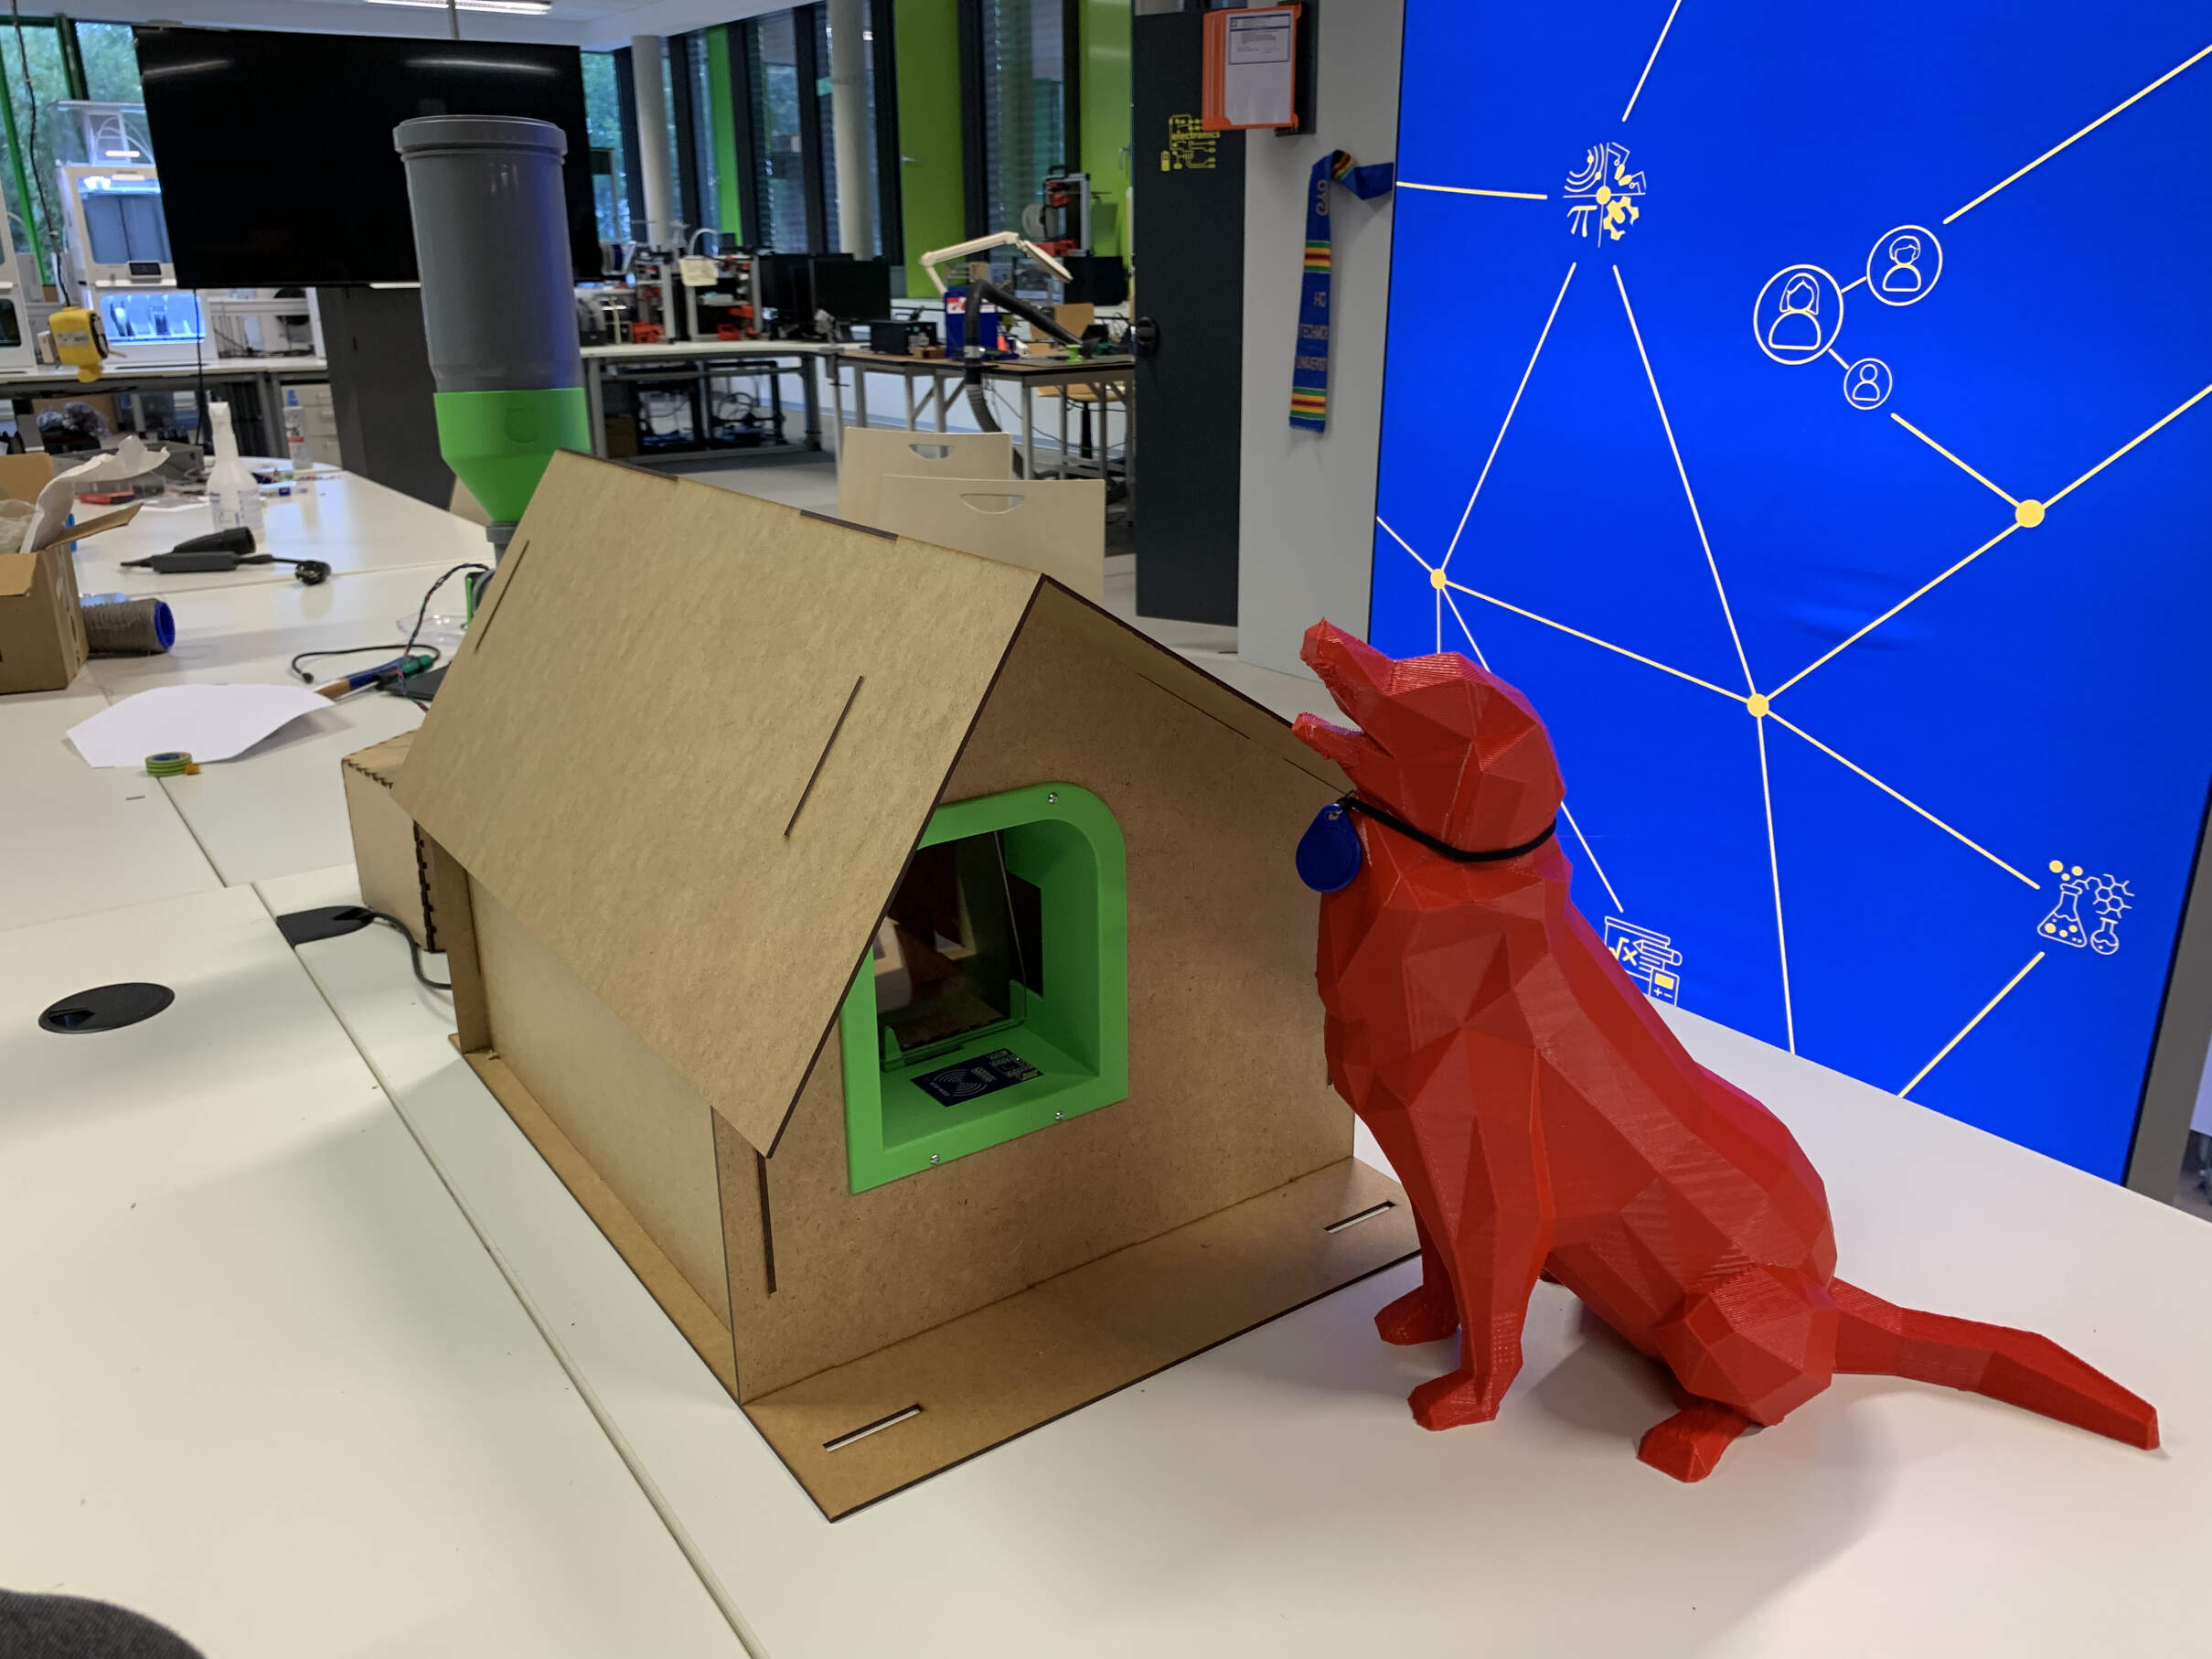
Regarding the door design, I used Pamela's design. However, I re-designed the STL file she provides in Fusion 360 to change some sizes, add some gatholes for screws, and also accommodate the component sizes I have (RFID reader and servo arm). Other than that, her design is very good, so I did not have to change anything too notable.