3D Scanning and printing
Group assignment
Here is a link to the group assignment page.
Individual Assignments:
3D printing, also known as additive manufacturing, is a process of creating three-dimensional objects layer by layer from a digital model. Unlike traditional subtractive manufacturing methods, which involve cutting away material from a solid block, 3D printing builds objects using different technologies. Some common types include Fused Deposition Modeling (FDM), Stereolithography (SLA), and Selective Laser Sintering (SLS). FDM involves extruding thermoplastic materials through a heated nozzle to form layers. SLA uses a liquid resin cured by UV light to create precise, high-resolution models. SLS employs a laser to sinter powdered materials, such as plastics, metals, or ceramics, into solid layers. The choice of material for 3D printing varies depending on the desired characteristics of the object. Plastics like PLA and ABS are popular for their affordability and versatility, while metals like titanium and aluminum are utilized for their strength and durability. Other materials such as ceramics, composites, and even food-grade substances are also used in 3D printing for a wide range of applications.
3D Scanning
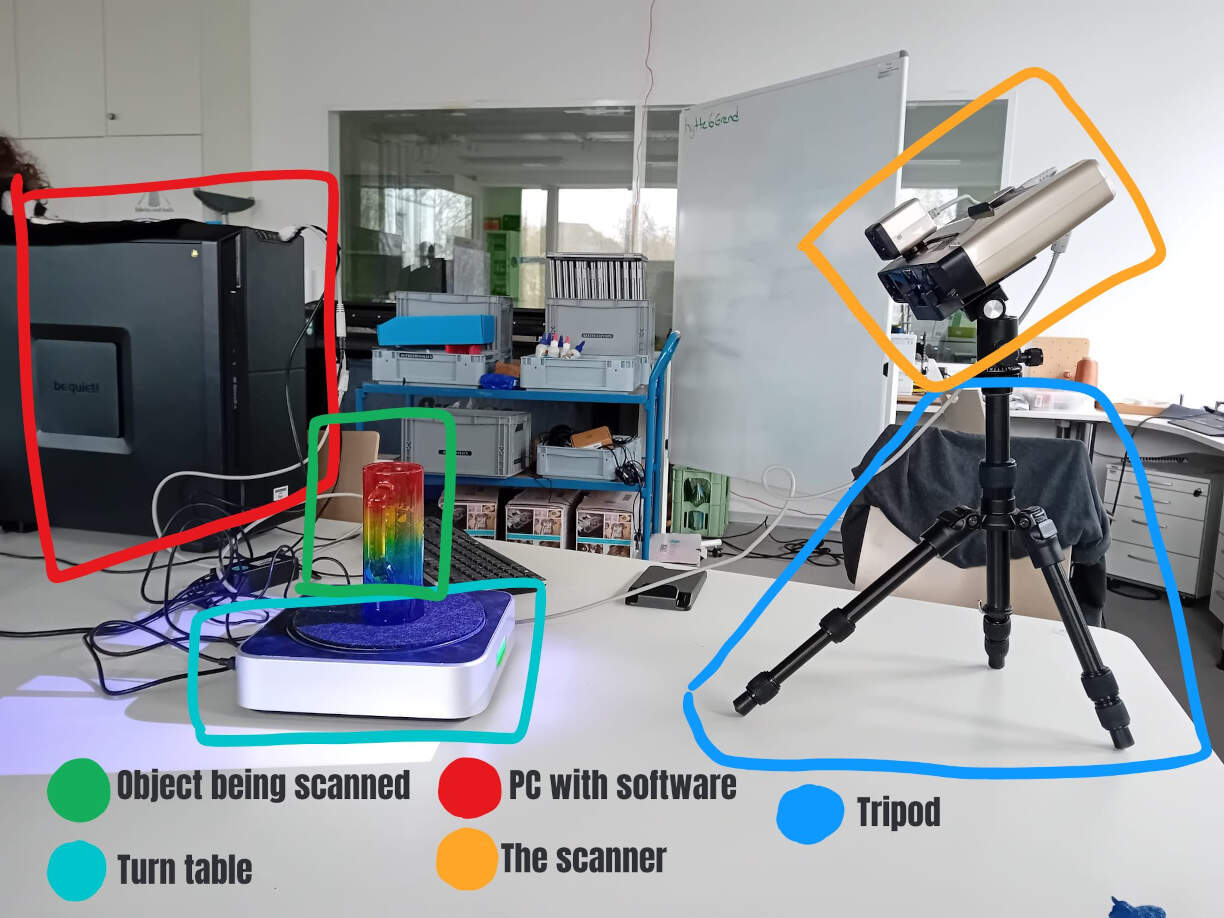
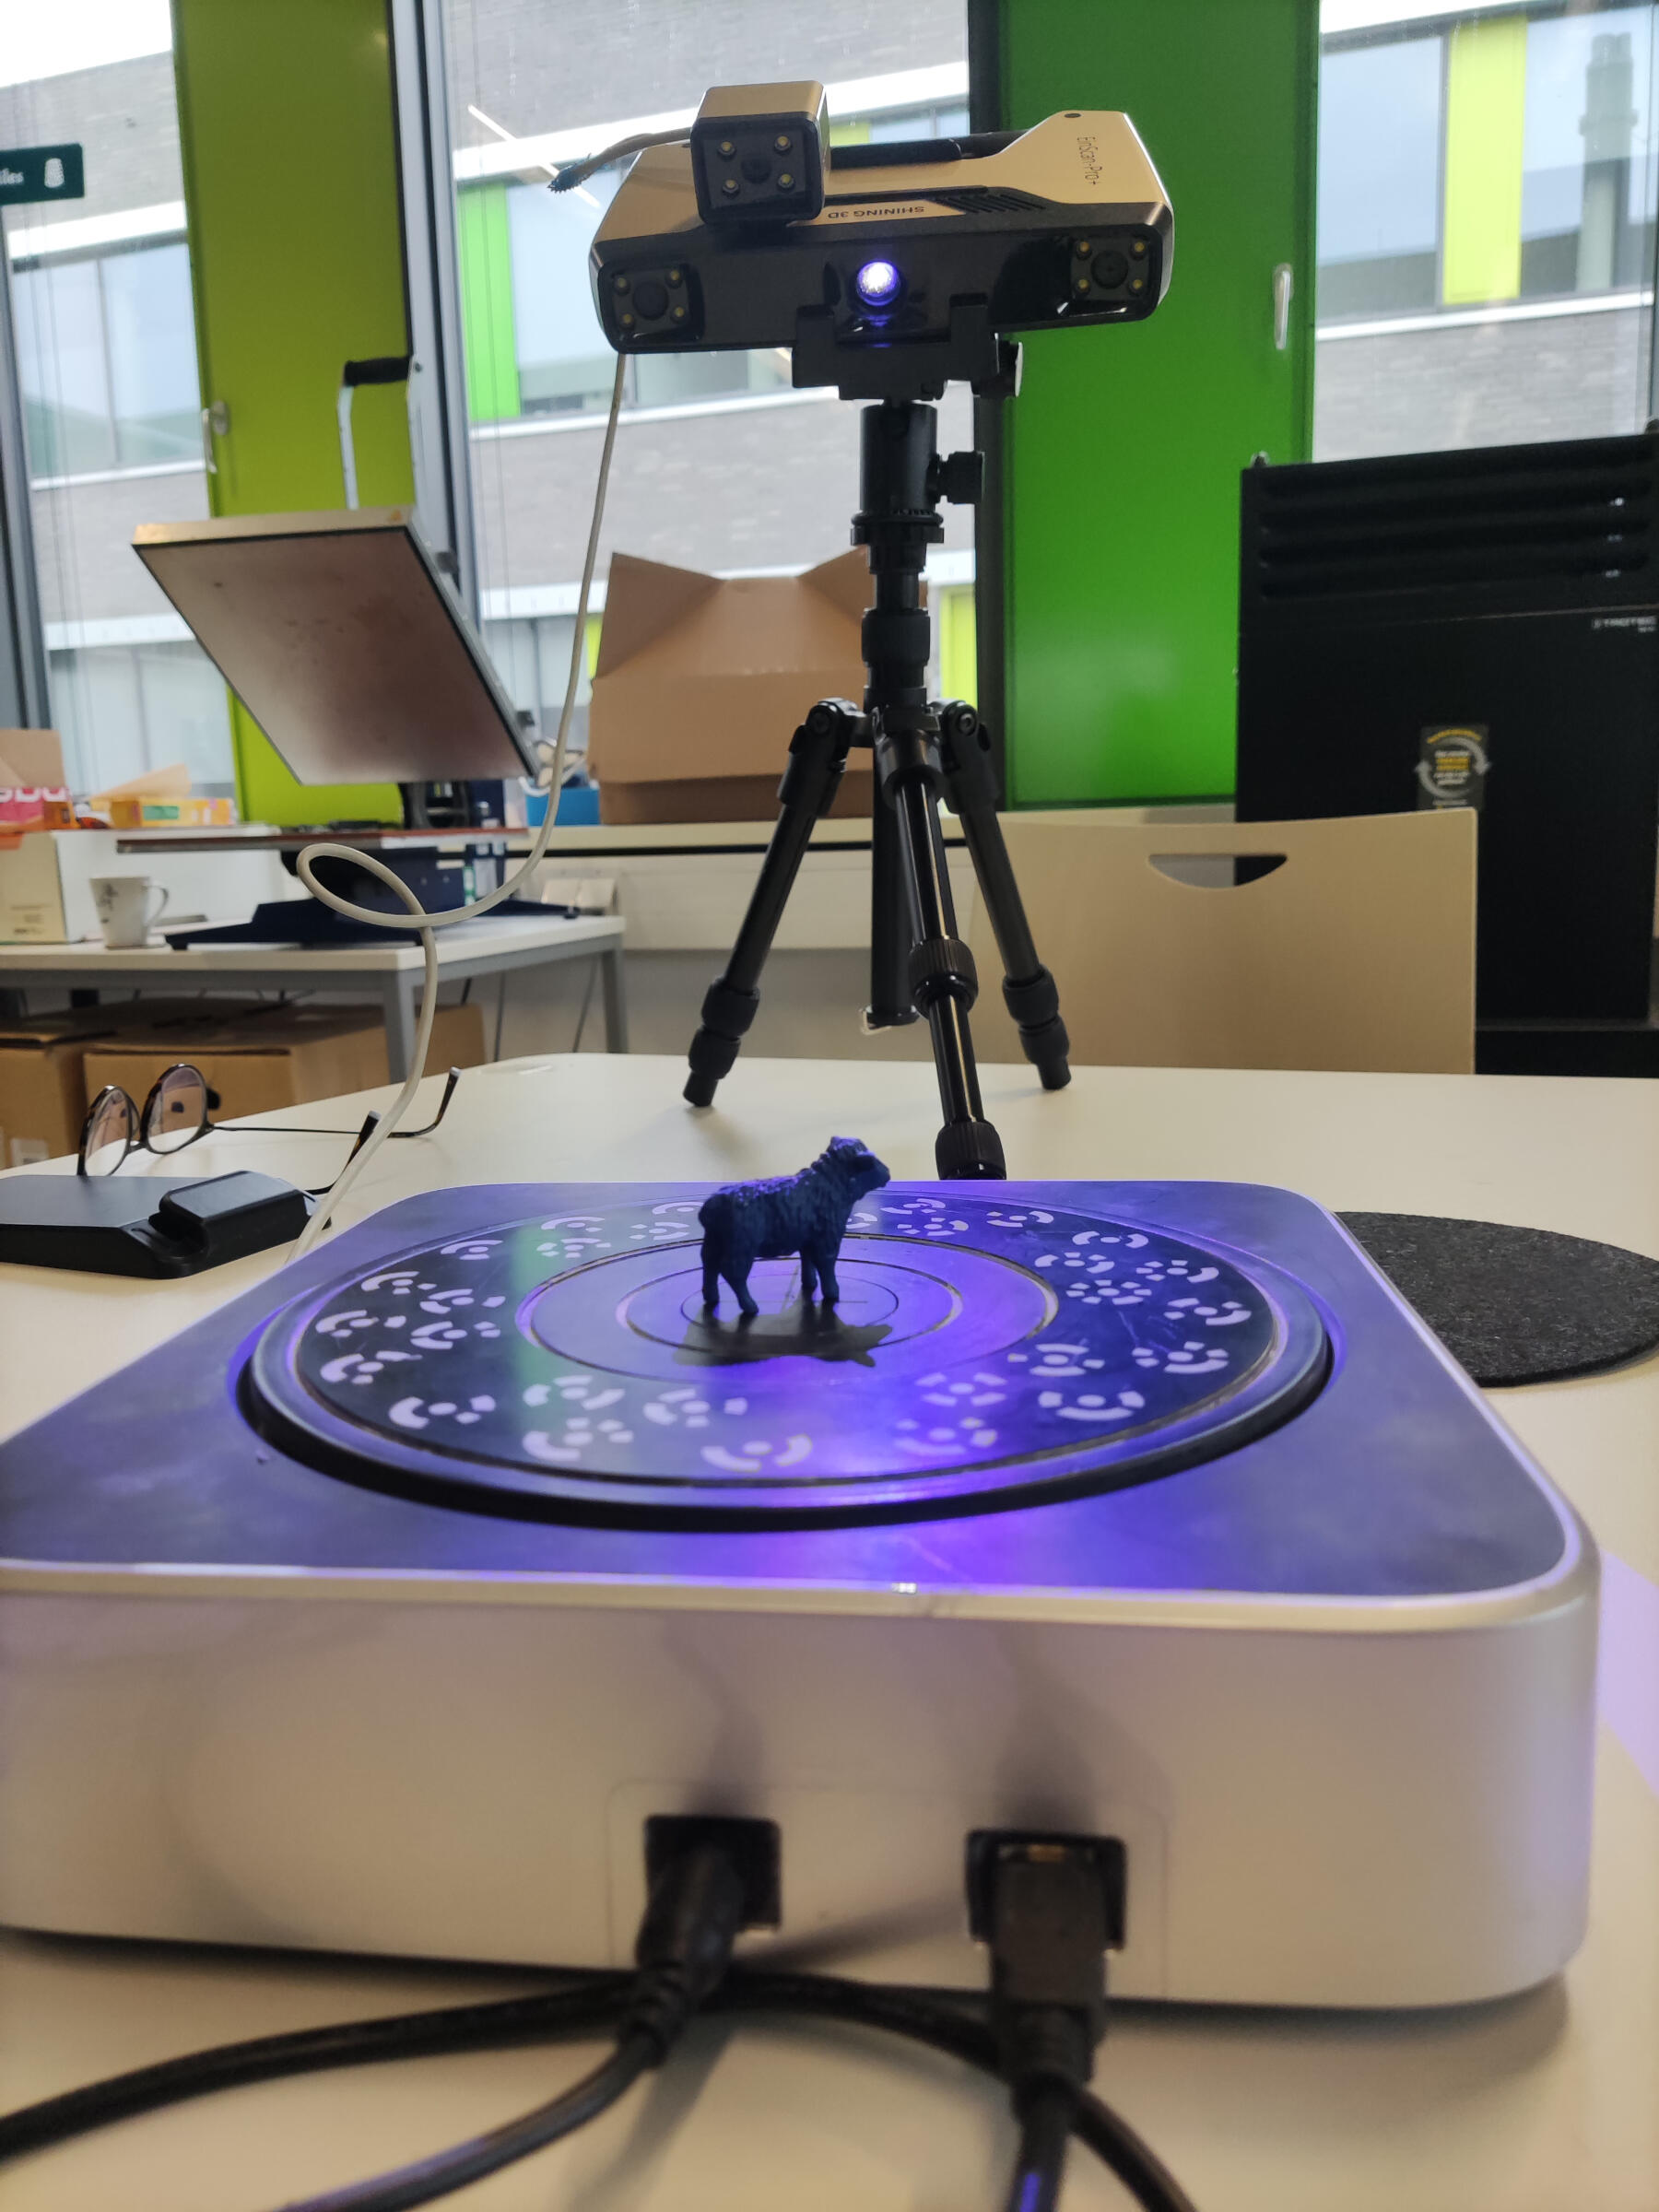
The 3D scanner we have at the lab is the EinScanPro+. To use it, we connect it to a PC with the required software. The setup process involves:
Setup
- For the first scan, we set up the tripod and the turntable.
- In the software, we selected the model of our machine, "EinScanPro+".
- next was to follow the instructions displayed on the next window to calibrate the machine.
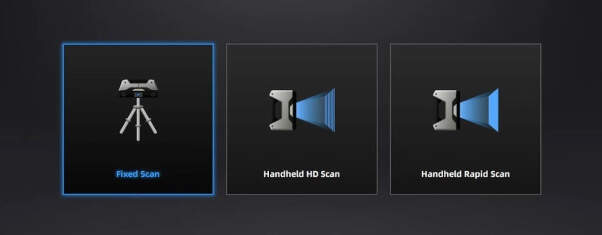
- After calibration, we choose the type of scan we want to perform, such as a "fixed scan".
- Then selected the desired texture, such as a "textured scan" whitch means the colors of the object being scanned will be captured.
- Finally, we clicked "new work" to start scanning.
Scanning
We scanned a few objects, starting with a small sheep figurine and then a person (me). For the sheep figurine, we placed it on the turntable and positioned the scanner on the tripod.
We scanned the object multiple times from different angles to capture the entire body and avoid holes in the 3D model. During this process, after each scan, we had to remove unwanted parts that were accidentally scanned, such as parts of the turntable. To do this, we used the "shift + long hold left click" function to circle the areas we wanted to remove and then deleted them. after your happy with what youve rremoved and what your left with , click "apply" to save the changes and the point clound will be added to the previous scans, this will join and align all scans together like a puzzel.
We repeated this process with more scans and repositioning the object. We also changed the settings, for example the brightness, to capture parts that weren't previously captured.

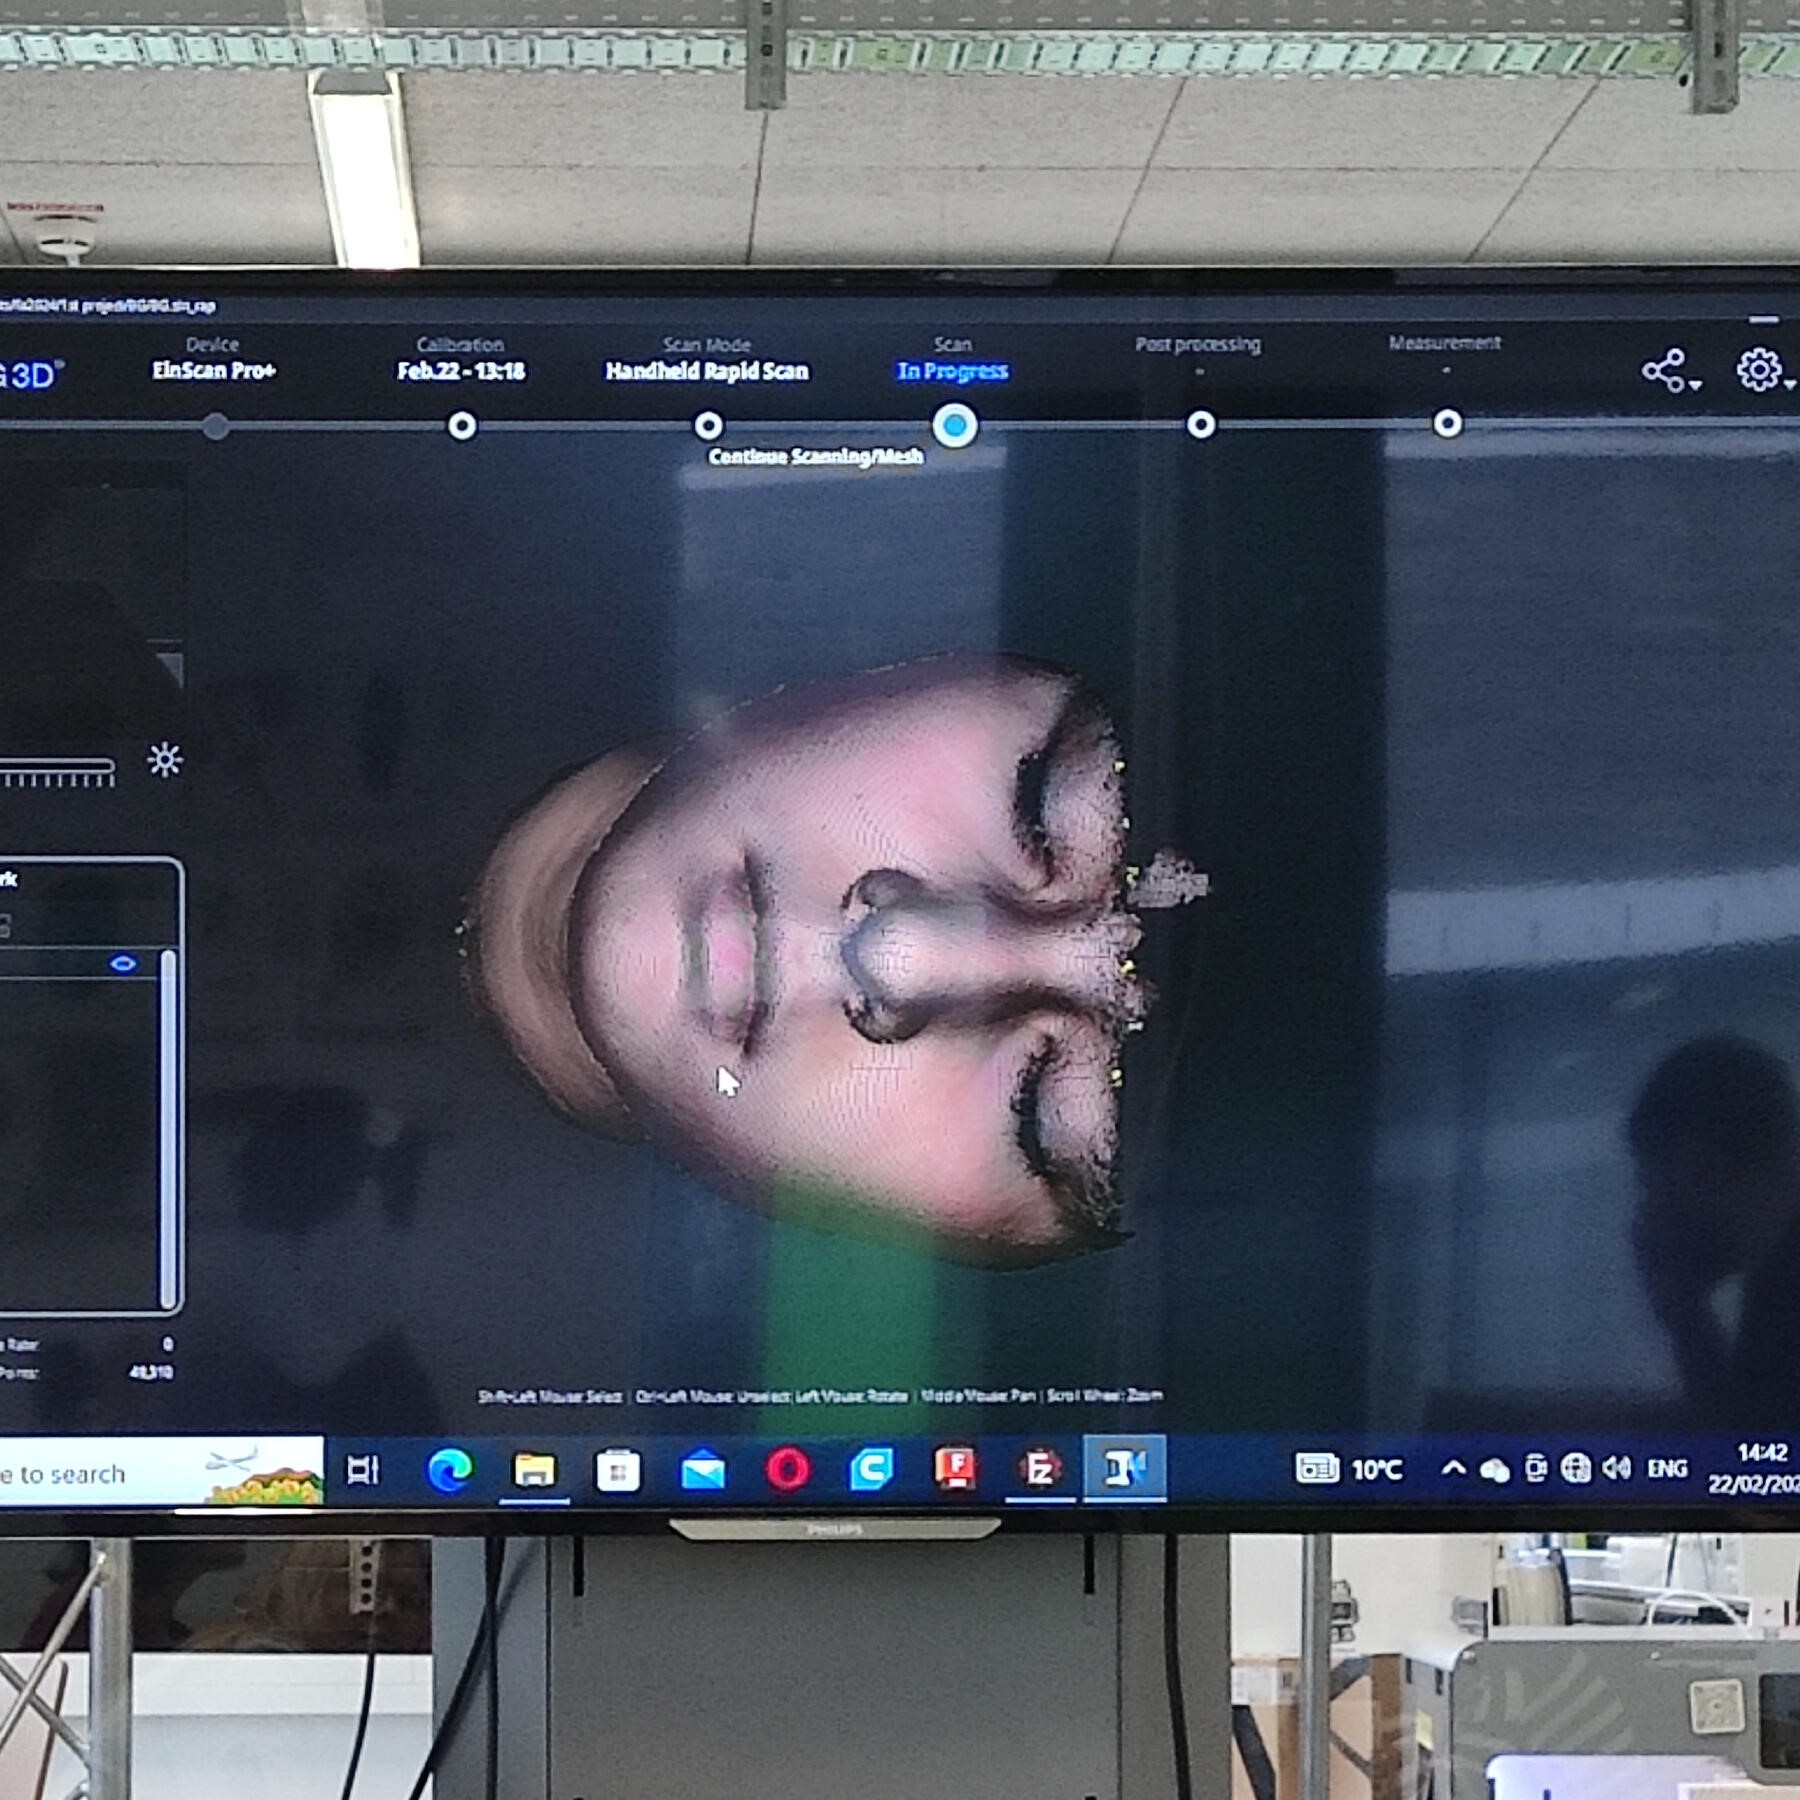
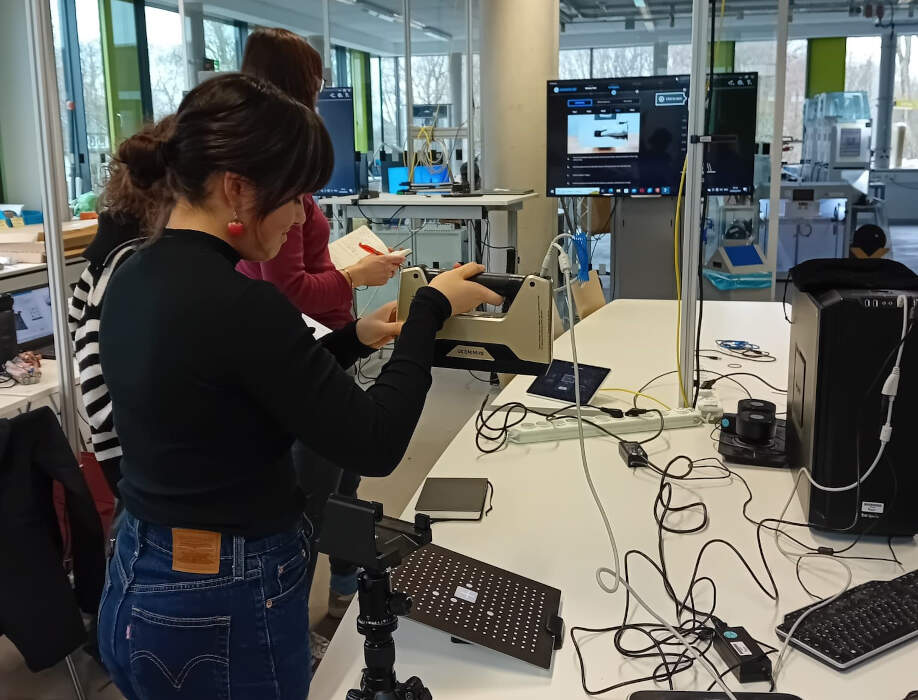
To scan myself, I sat on a chair and tried to stay as still as possible, avoiding any type of movement. I also closed my eyes. Our instructor, Ahmed, used the scanner in handheld mode and moved it around my face from all angles to scan it. The procedure in the software was the same as the previous scan.
Looks a little crazy, like a clip from a sci-fi movie
New Scanner
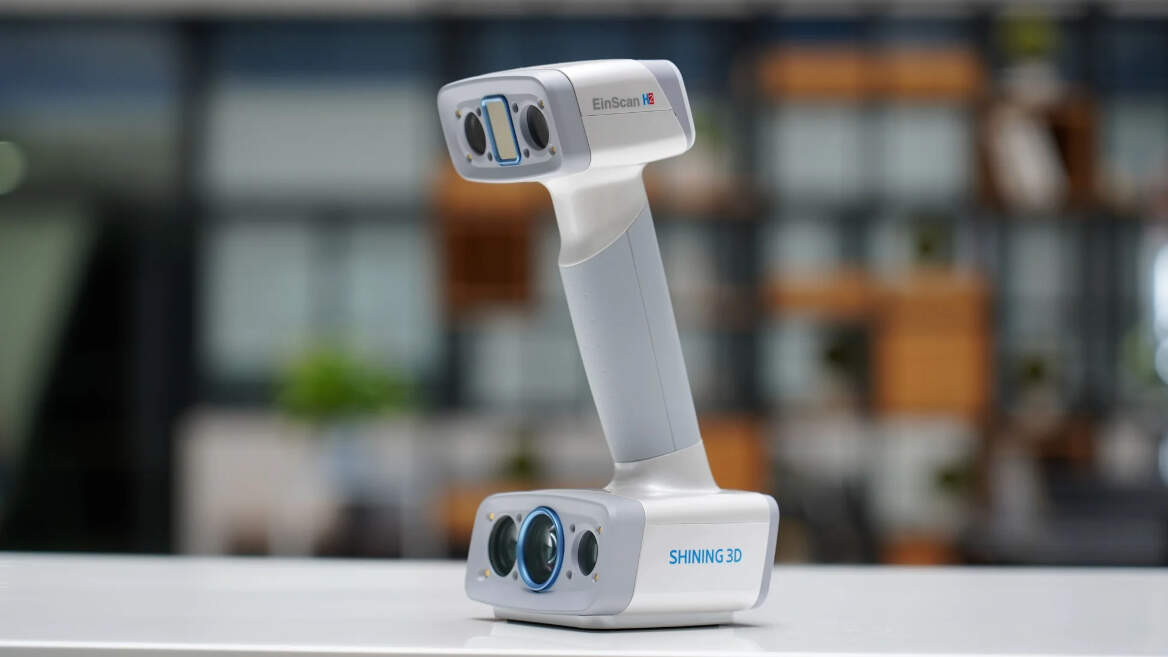
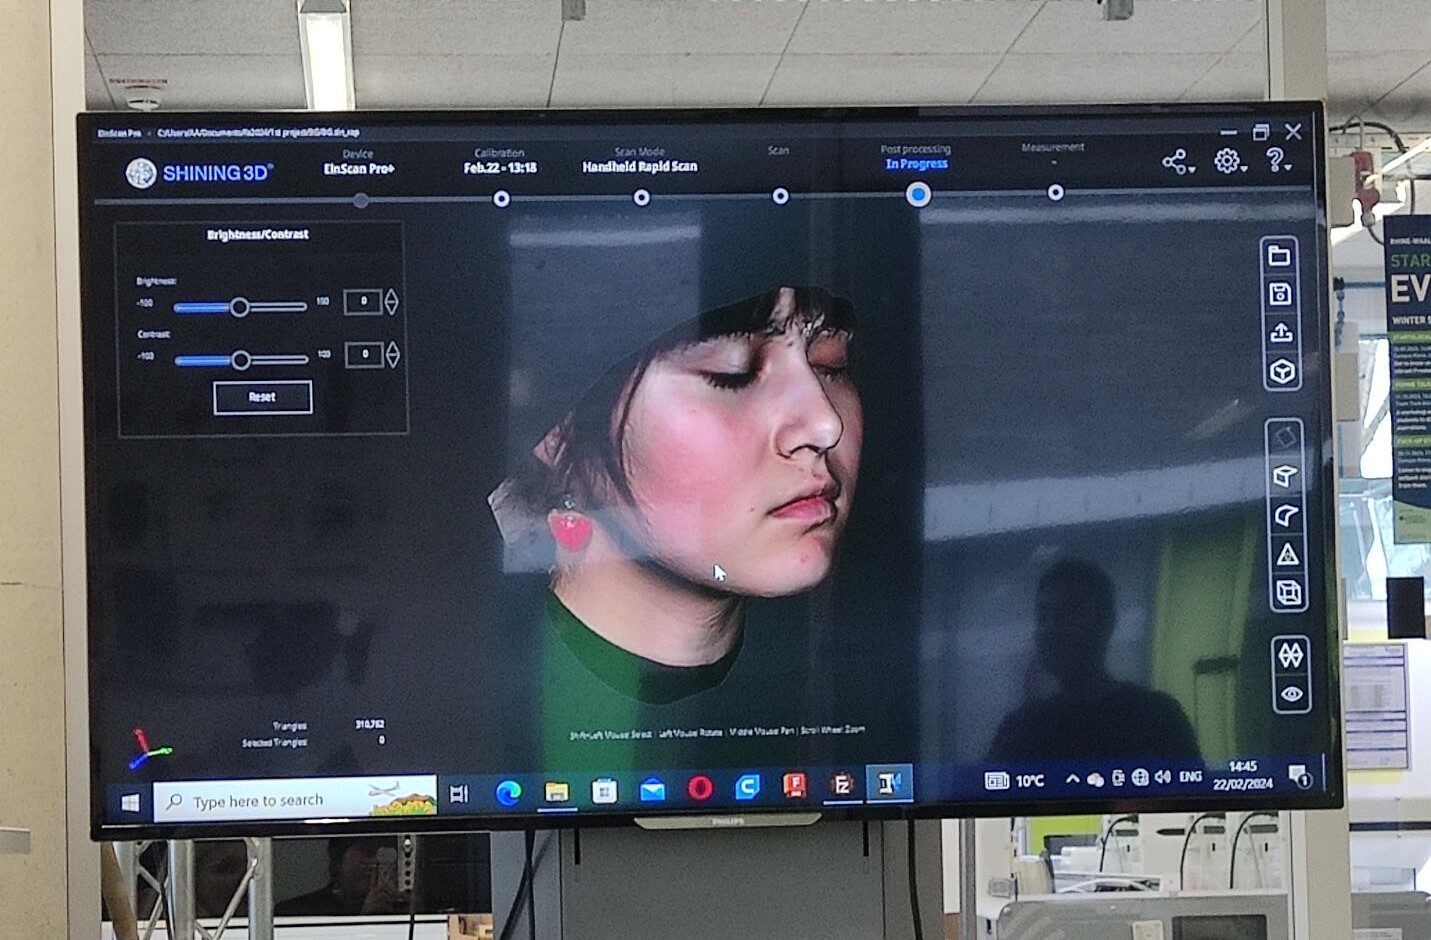
Recently, we got a new scanner at the lab! The Shining 3D EinScan H2 is the new scanner we have. This new scanner has a function to scan faces and hair better and more realistically, so we tried to scan my face again with it. Although this new scanner is from the same company as the other scanner we have at the lab, it comes with a different software (apparently every scanner has a different software specific to it). Luckily, the interface is not very different and navigating it isn't very different from the other.
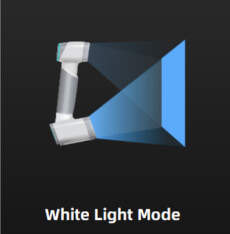
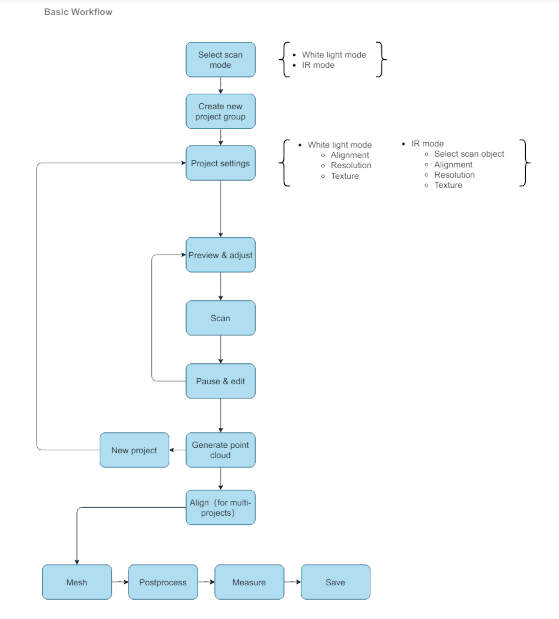
First things first, after opening the program and following the instructions for calibrating the scanner, you need to choose the "scan mode", there are two scan modes: White light mode and IR mode.
White light mode
For scanning, with higher scan data quality and accuracy, suitable for scanning nonreflective, non-black material objects.
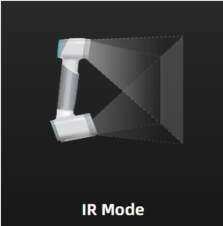
IR mode
Infrared light mode, the data quality and scan accuracy are lower than the white light mode, it is often used to scan people and black or slightly reflective materials.

In my case, since I will be scanning myself, I chose IR mode because it has an integrated portrait mode specifically designed to scan people and capture hair. To start scanning, I need to create a project group. Then, in the project settings, I choose the portrait scan option, which uses a hybrid alignment method (using two different alignments to align the scans). I choose the default resolution of 1.0mm and selected the option to capture textured data.
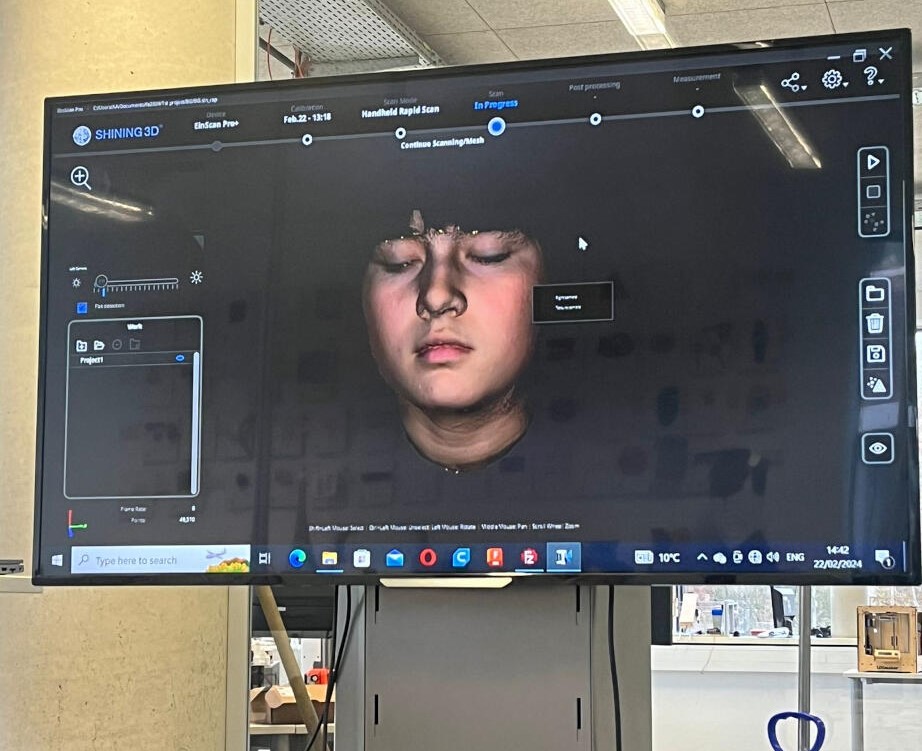
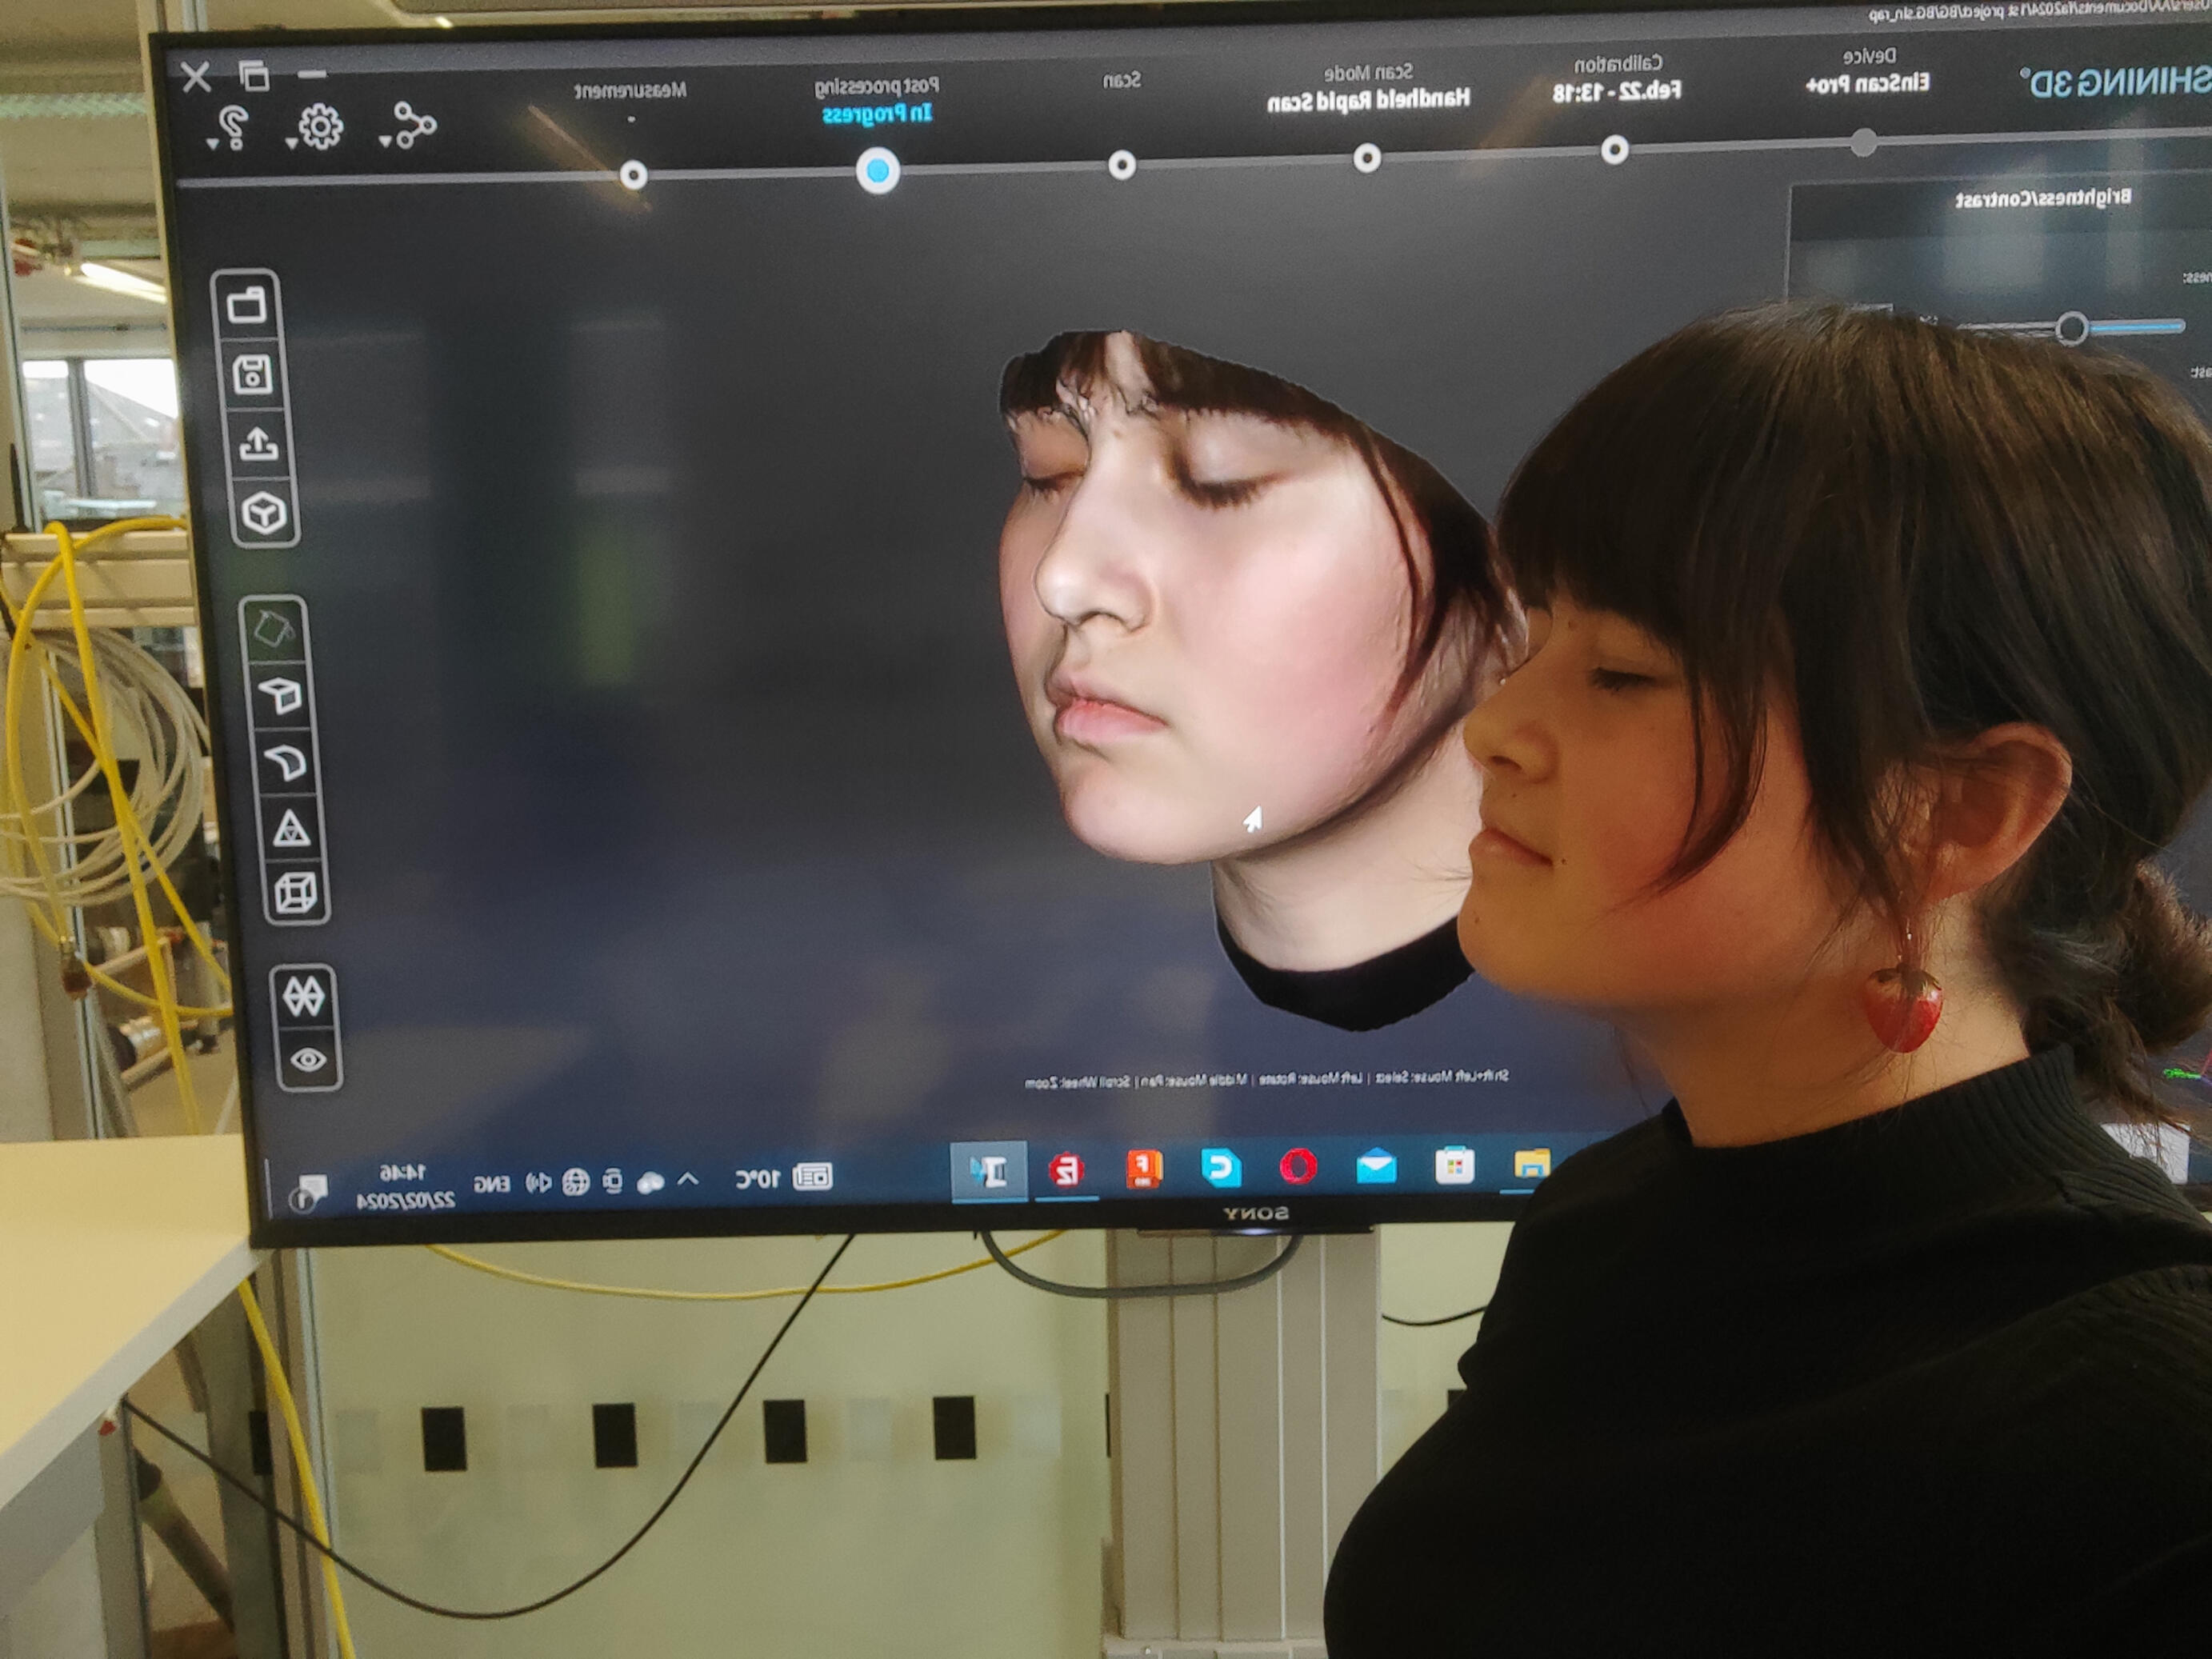
After all of the specifications and options were set up, the scanning process started. In this situation, my instructor Ahmed was operating the scanner while I tried to sit as still as possible on a chair. During the scans, I attempted to keep my eyes open by focusing on a point ahead of me. It proved a bit difficult not to blink while there were lights flashing in front of my eyes, but in the end, the details captured made it worth it. After a few test scans, we were able to achieve better outcomes by first focusing on the face and hair in one scan, and then one or two more to capture the rest of the subject—such as the back or the top of the head. Additionally, we discovered that to achieve the best alignment, you should always capture the shoulders, even when you only want a scan of the face or head. The shoulders act as an anchor for the software to align the scans properly.
After finishing the scan, you can finally blink again ;) and generate the point clouds. Then, optimize the point cloud. This process might take a while depending on the size of your project and the hardware configuration of your computer.
Lastly, you can edit the mesh and export it.
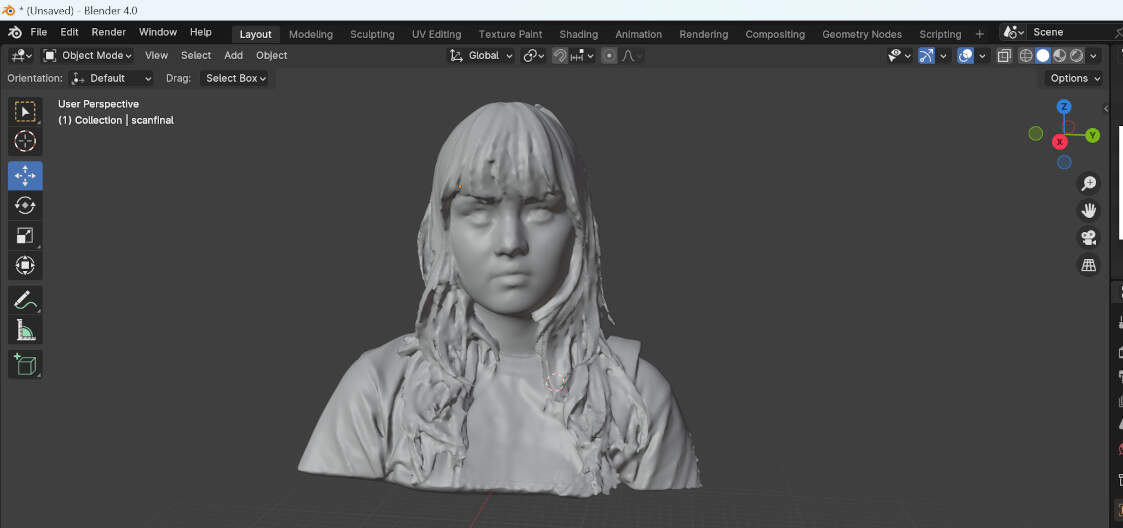
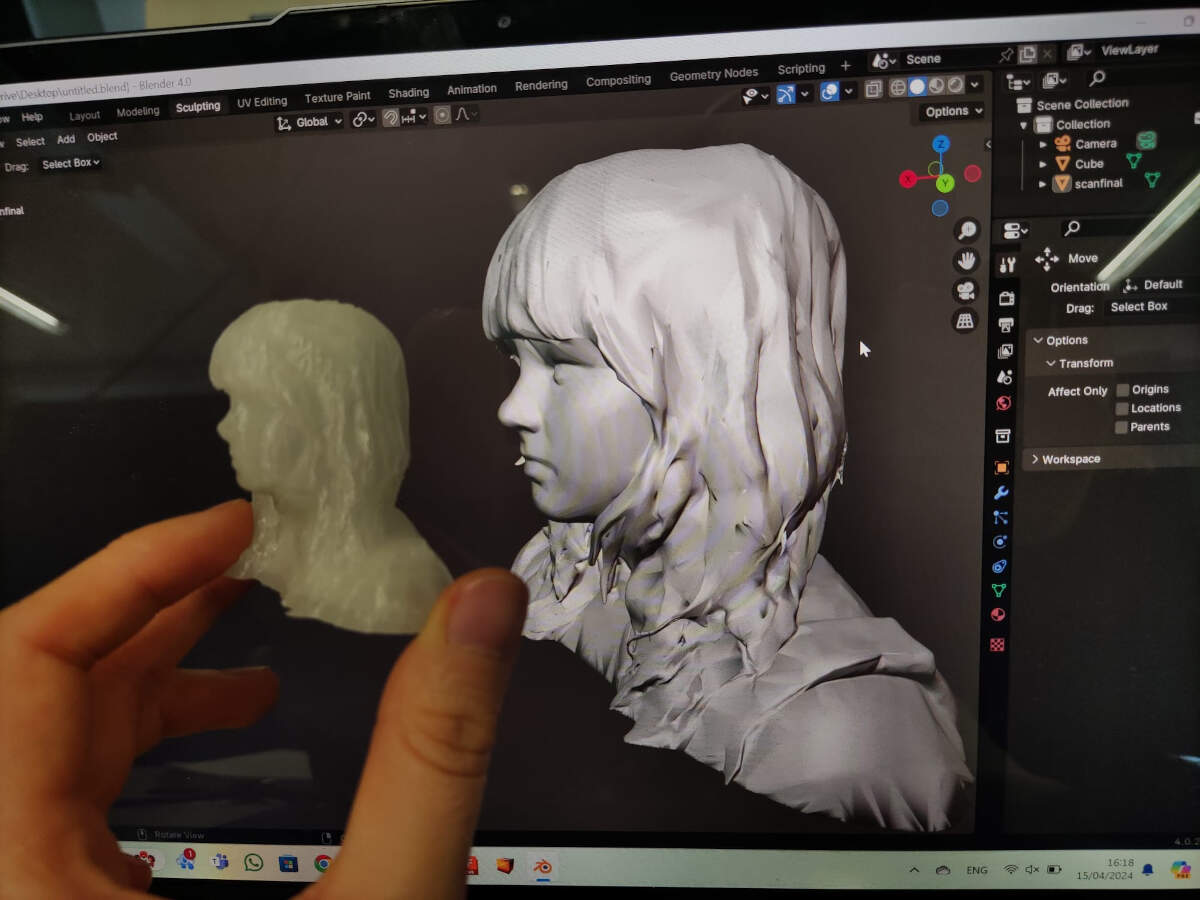
Editing the mesh in Blender
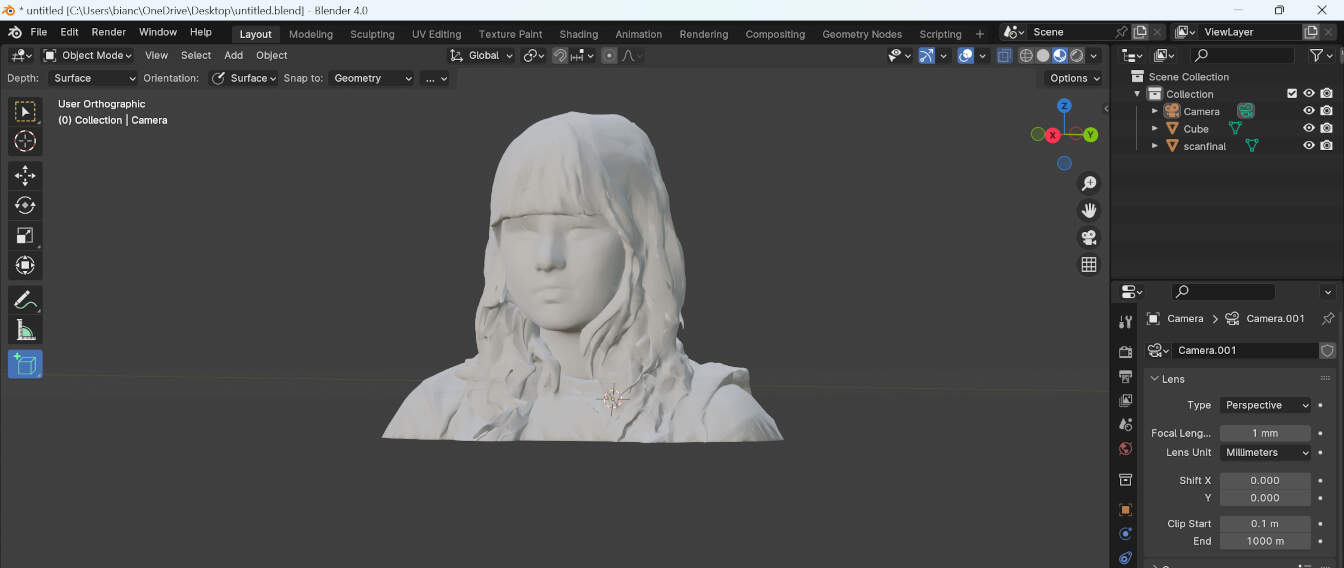
After exporting the mesh, I imported it into Blender to edit it. First, I removed the unnecessary parts of the mesh, such as the chair I was sitting on. Then, I smoothed the mesh and fixed some holes that were left in the model.
My main focus on this was fixing the hair, and for this I used the sculpting tools in Blender.
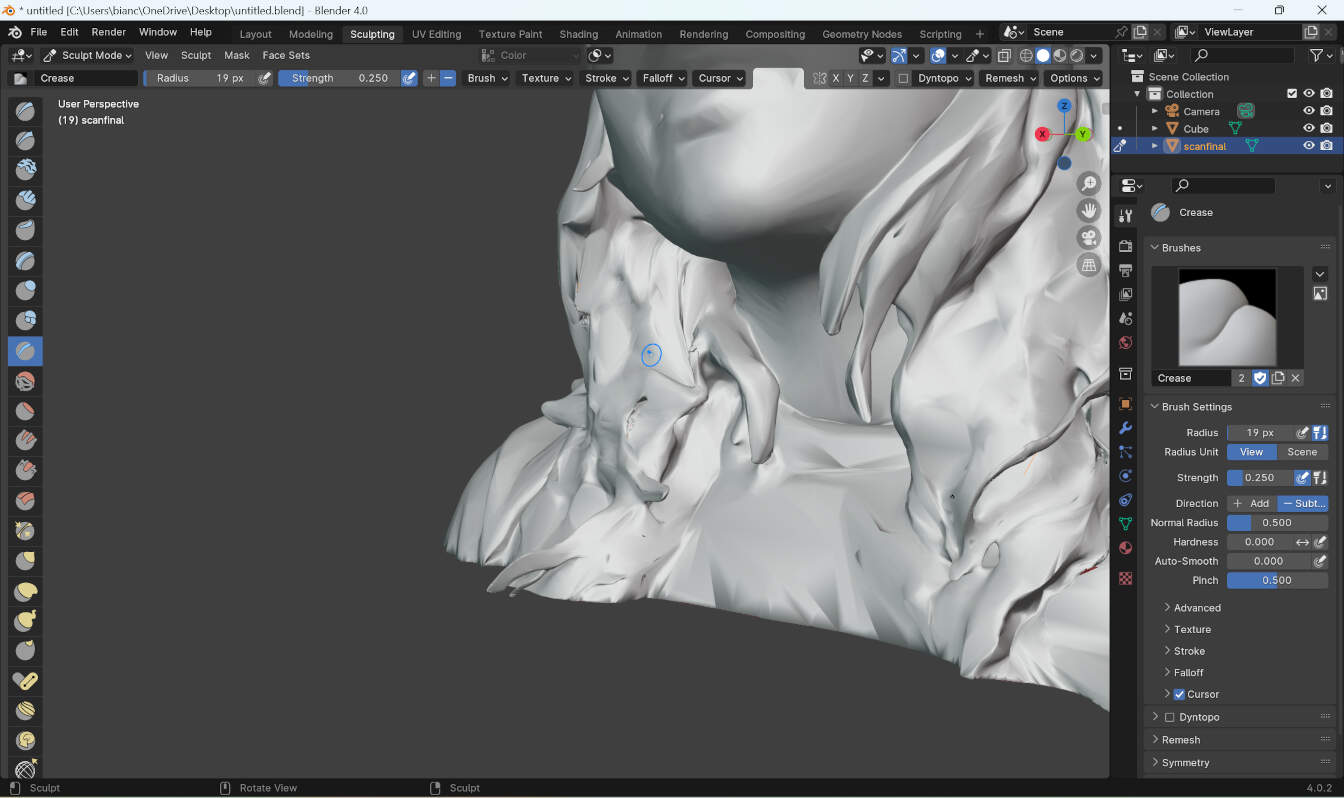

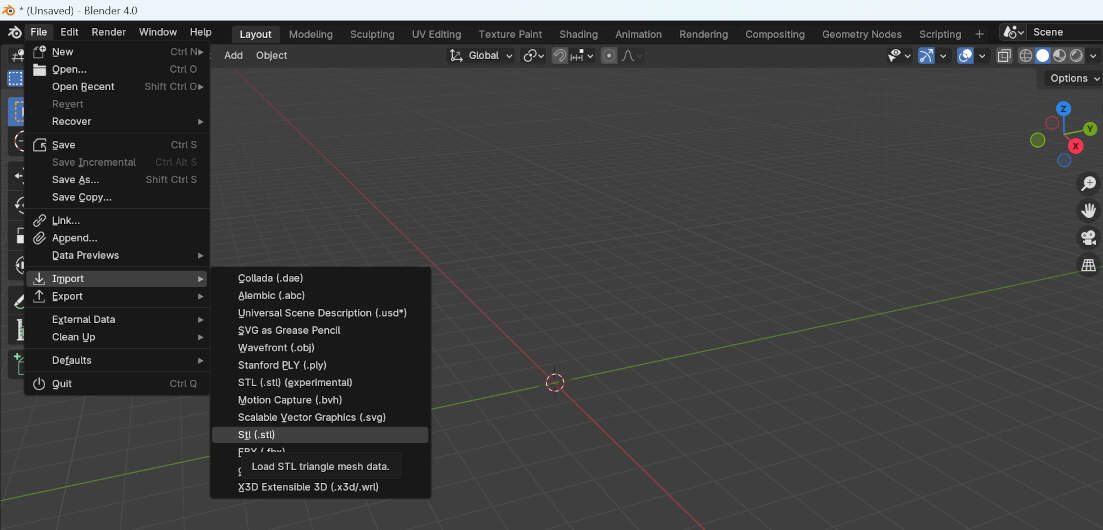
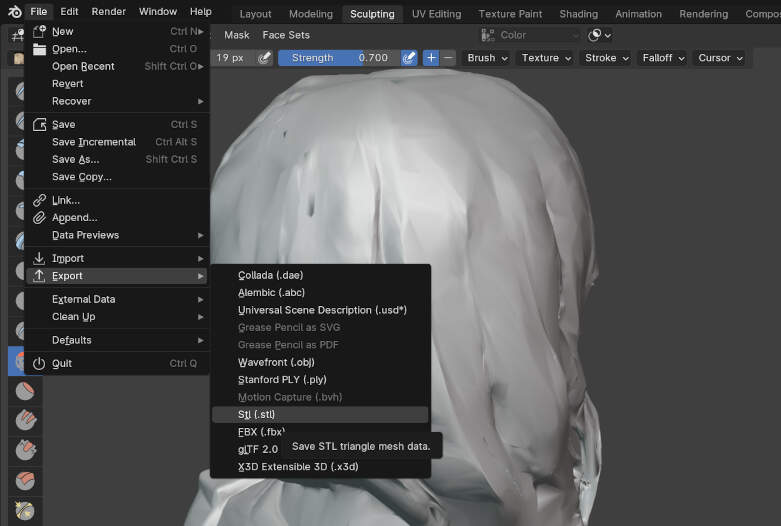
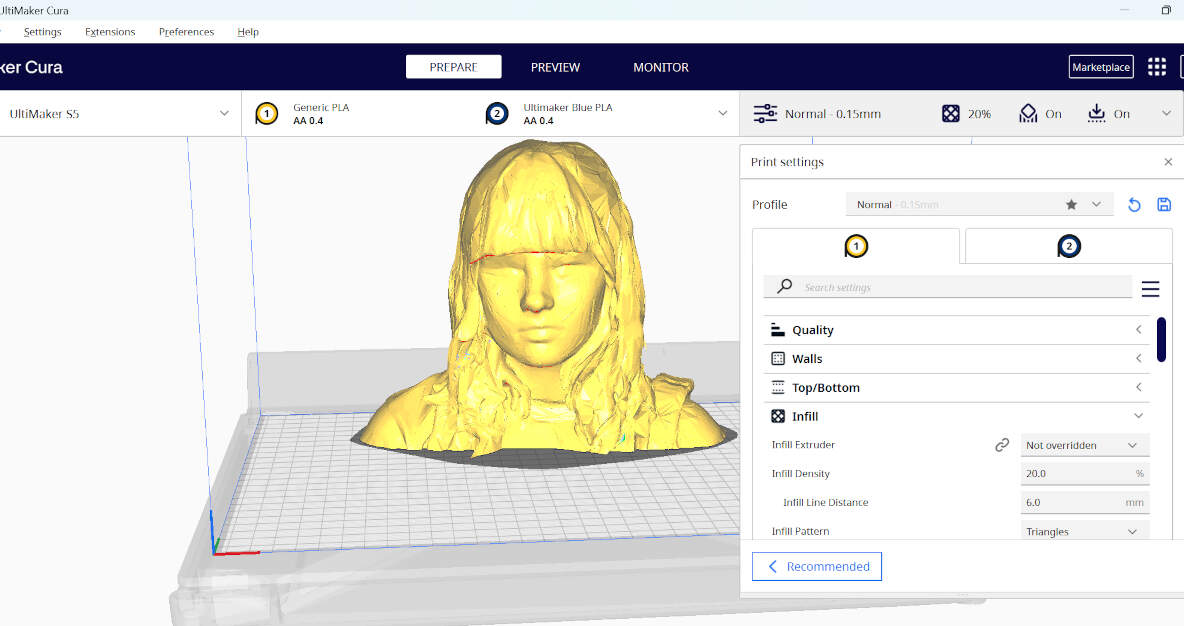
I didn't really follow any specific steps, I just played around with the tools until I was happy with the result. Once this was done, I exported the mesh as an STL file and opened it in the Cura slicer.
I used the suggested print settings, saved it to my USB stick, and sent the file to the printer to start the print. The print took around 1 hour and 45 minutes to complete.
The print came out fairly well, however when i was preparing the file for printing I forgot to add supports, so the chin of the model was a little bit deformed.
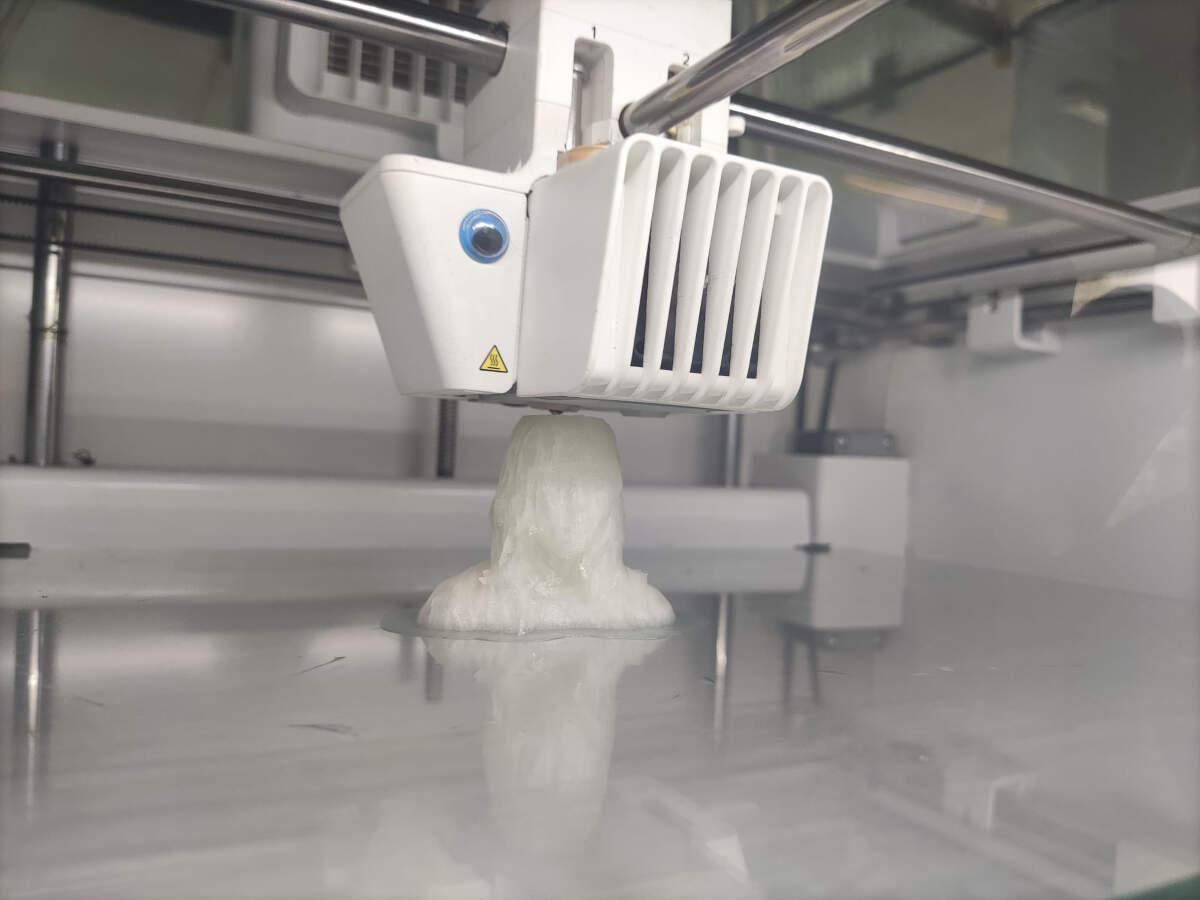
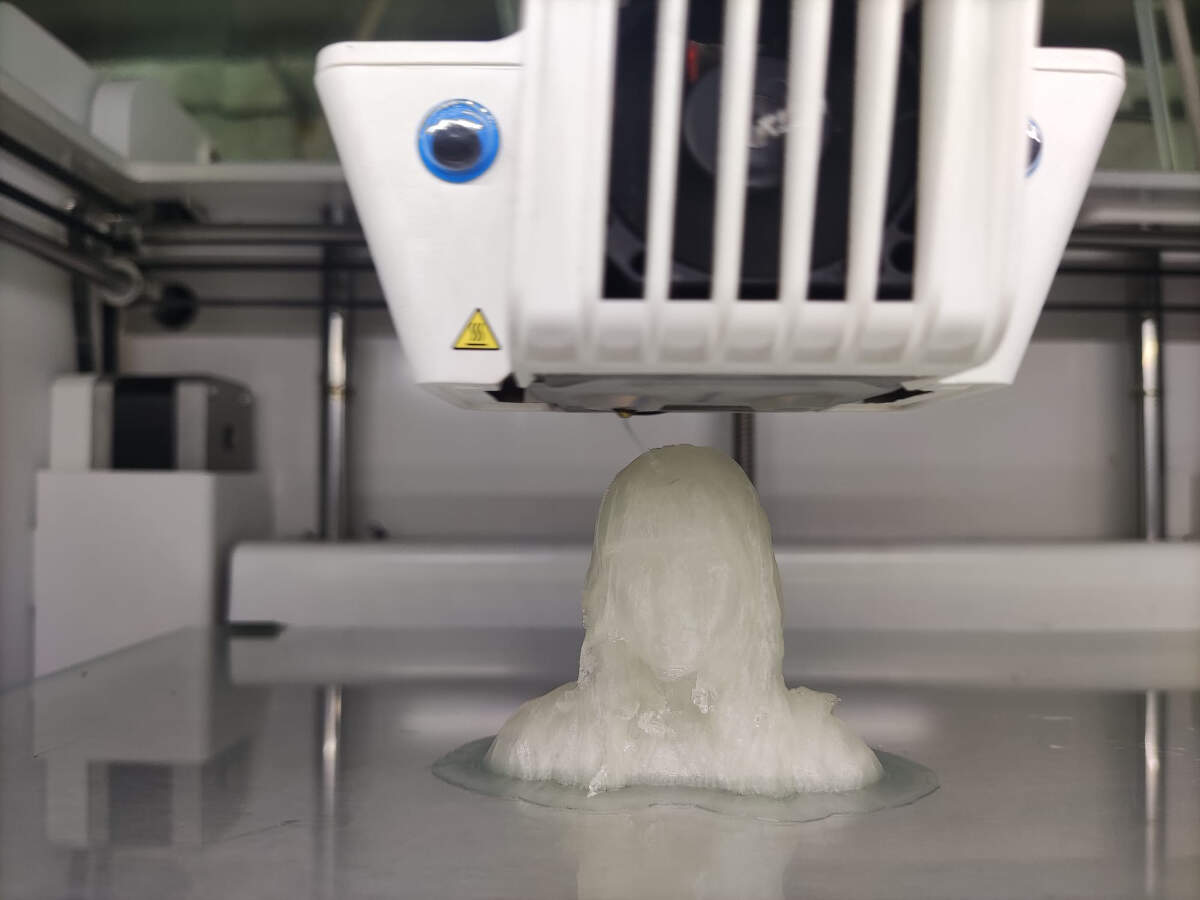
Ta da! now i have a 3d printed mini me ;p
3D Printing
3D printing is a process of creating three-dimensional objects layer by layer from a digital model, unlike traditional subtractive manufacturing methods, which involve cutting away material from a solid block. This means that you are able to create objects with complex geometries that would be impossible to make using traditional methods, making it a great tool for prototyping and creating custom parts. Depending on the printer you have, you can use different materials, such as plastics, metals, ceramics, and even food-grade substances (check my wildcard week for some chocolate printing ;P ).
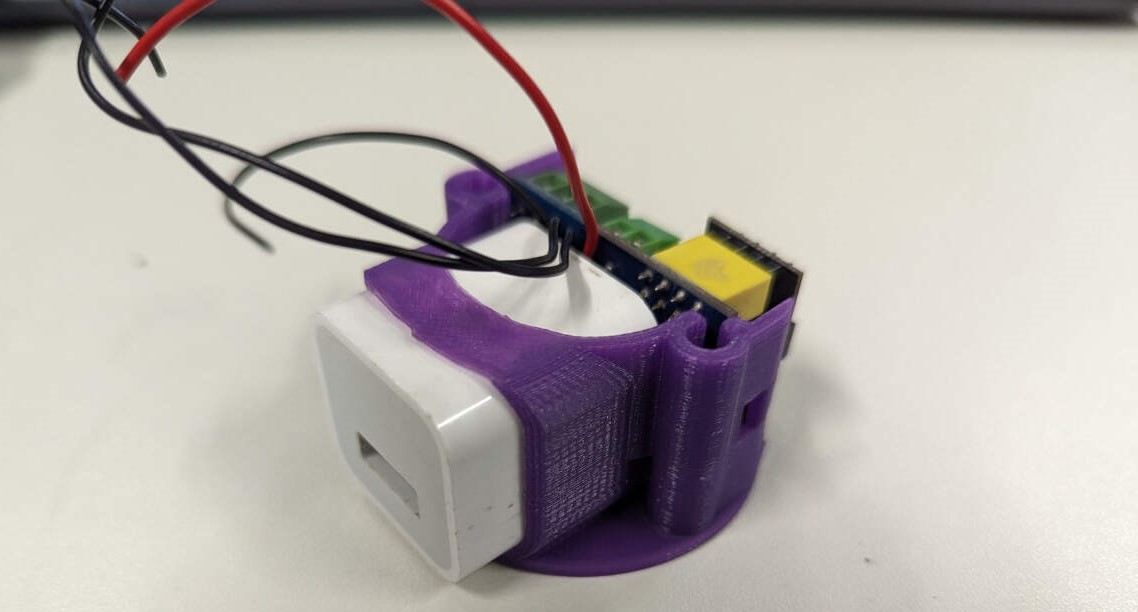
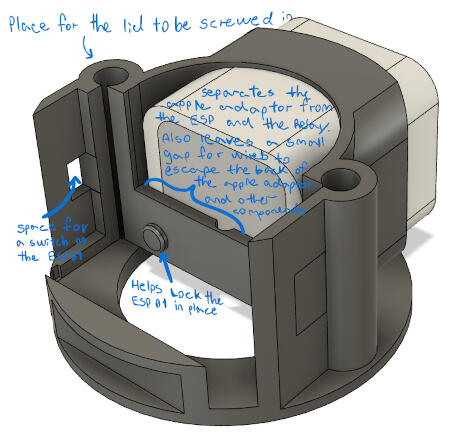
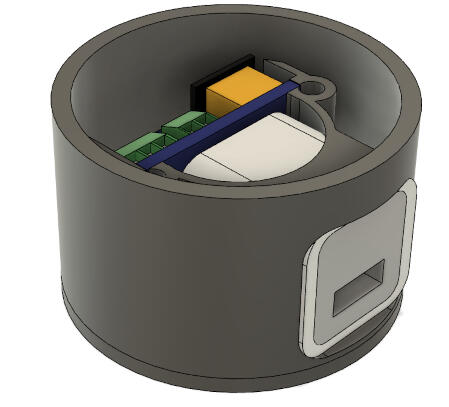
I started by creating a casing for a side project in fusion 360, where every component had its place and wouldn't be loose or glued in. the case on the inside holdes an esp01, a relay, and a retrofited/ hacked apple usb power adaptor
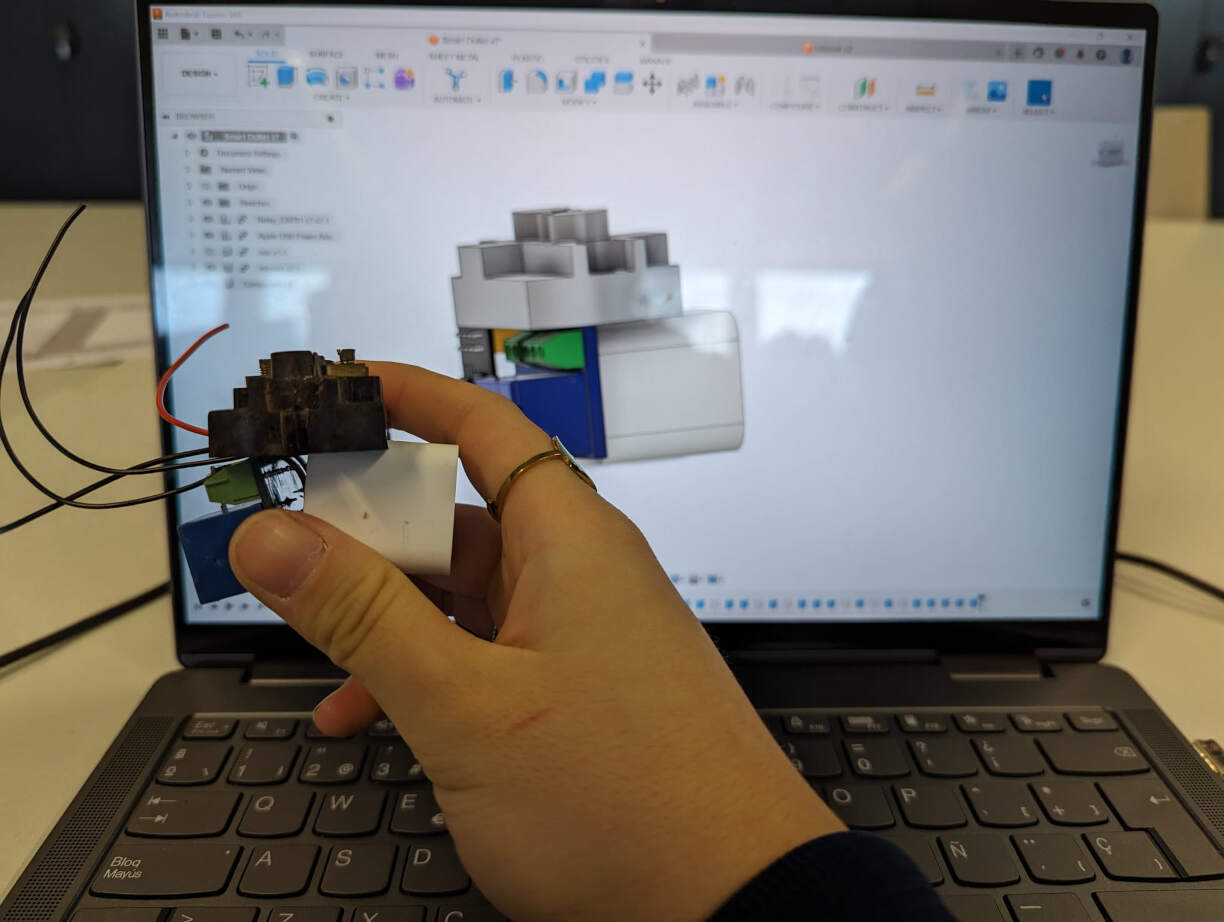
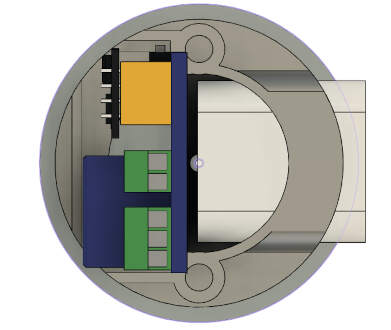
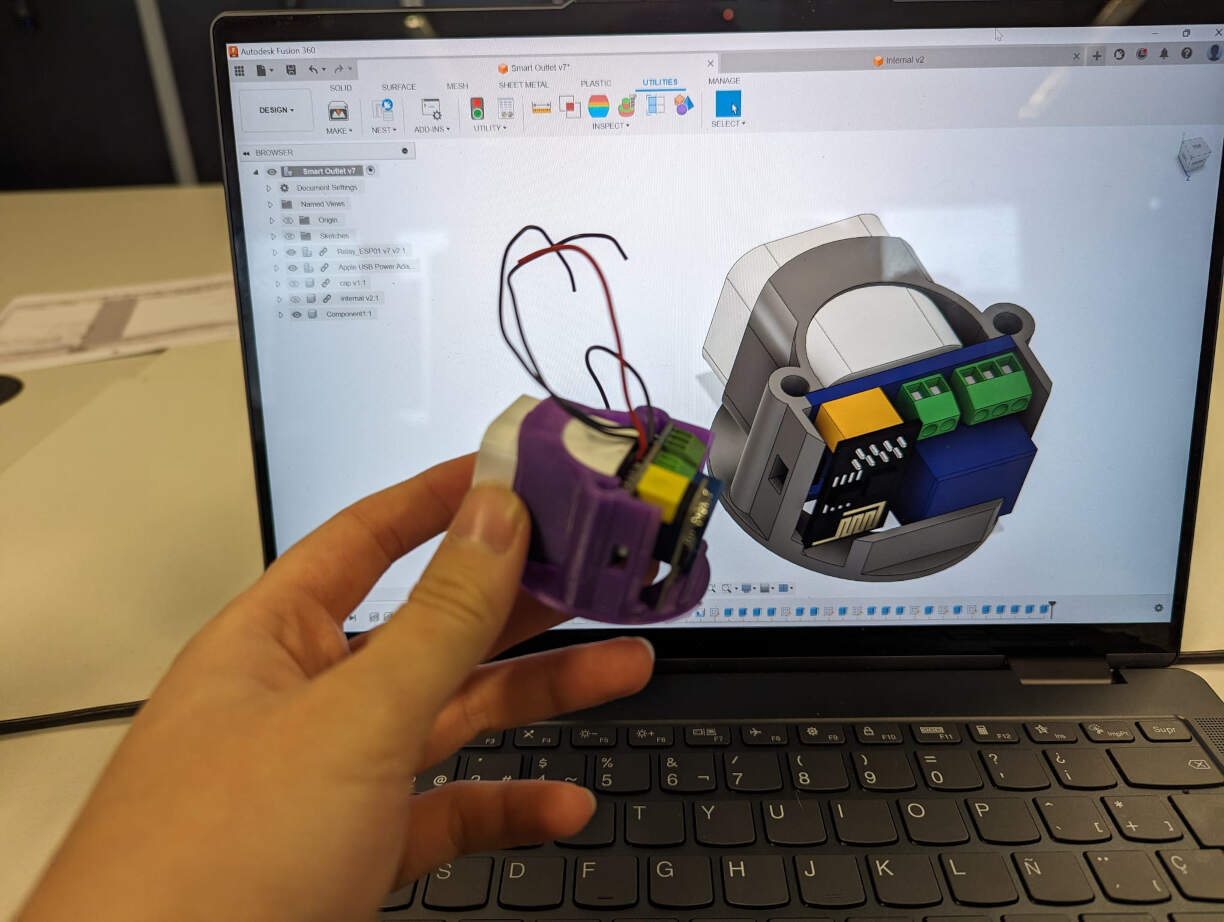
To design this case for the specific dimensions of the parts it would be housing, I found some existing 3D models of these parts and measured them. Then, I compared the measurements to the actual sizes of the parts I had. I noted some differences between the reality and the downloaded designs, so I adjusted them accordingly. These adjustments were crucial for a perfect fit when printing.
Next, I positioned the parts in the right orientation and placement and started a sketch. In this sketch, I created a cylinder and extruded it. Then, component by component, I extruded the space where they should occupy.
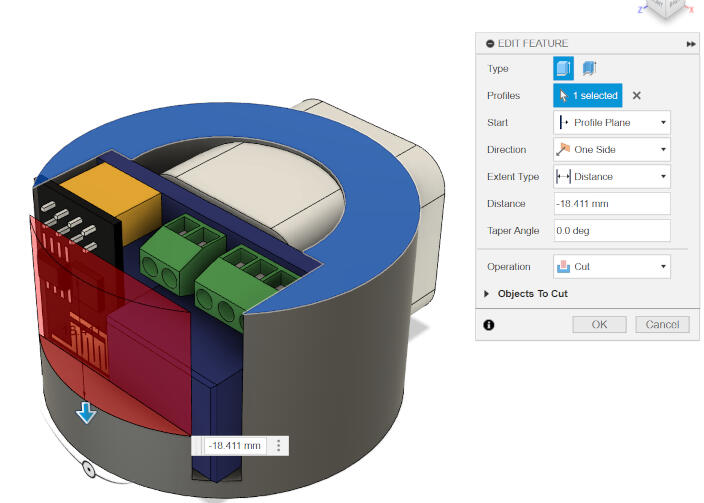
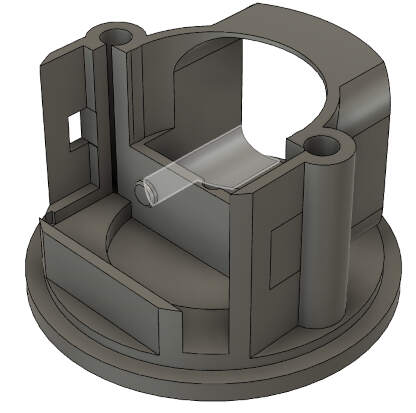
once I had the little "pockets" that held the components ready, there was another step I hade to take. at this moment there was a lot of places that were unnecessary to be printed, they didnt contribute to the stability and would only make the printing process take longer. So I removed them,by extruding downwards ("cut settings"), leaving only this walls, kid of like a shell.
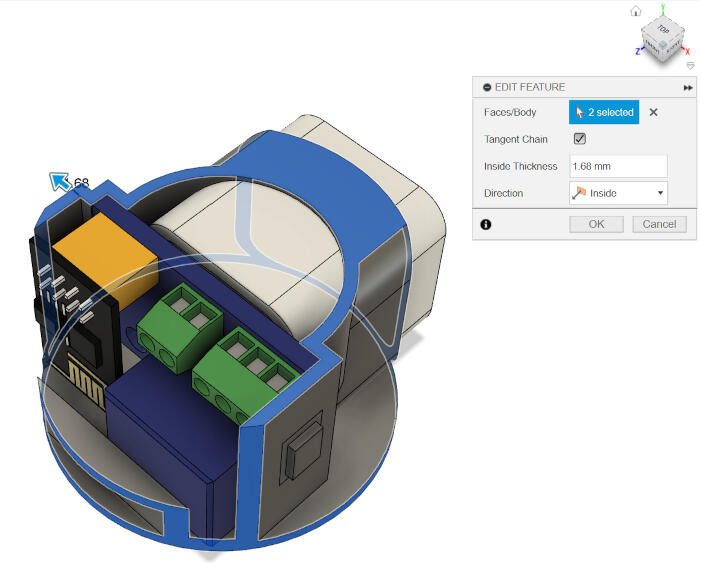
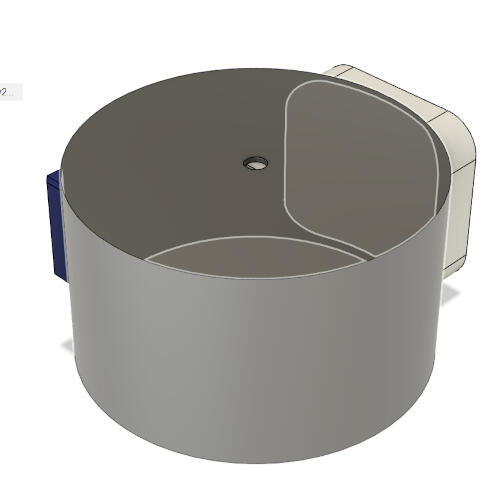
after the inside part of the design was ready, I designed the outside to protect it from damage, and connect it to the outlet cap
Slicing
here are the print settings I used for this print:
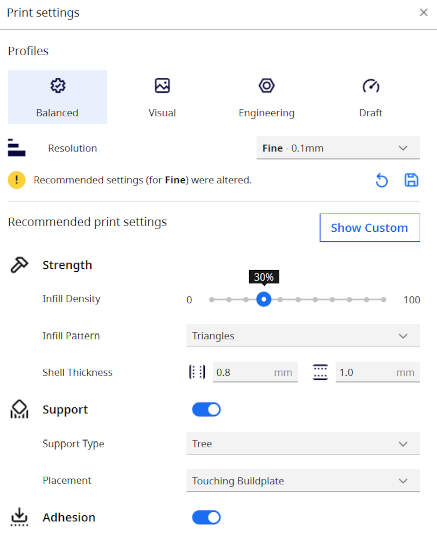
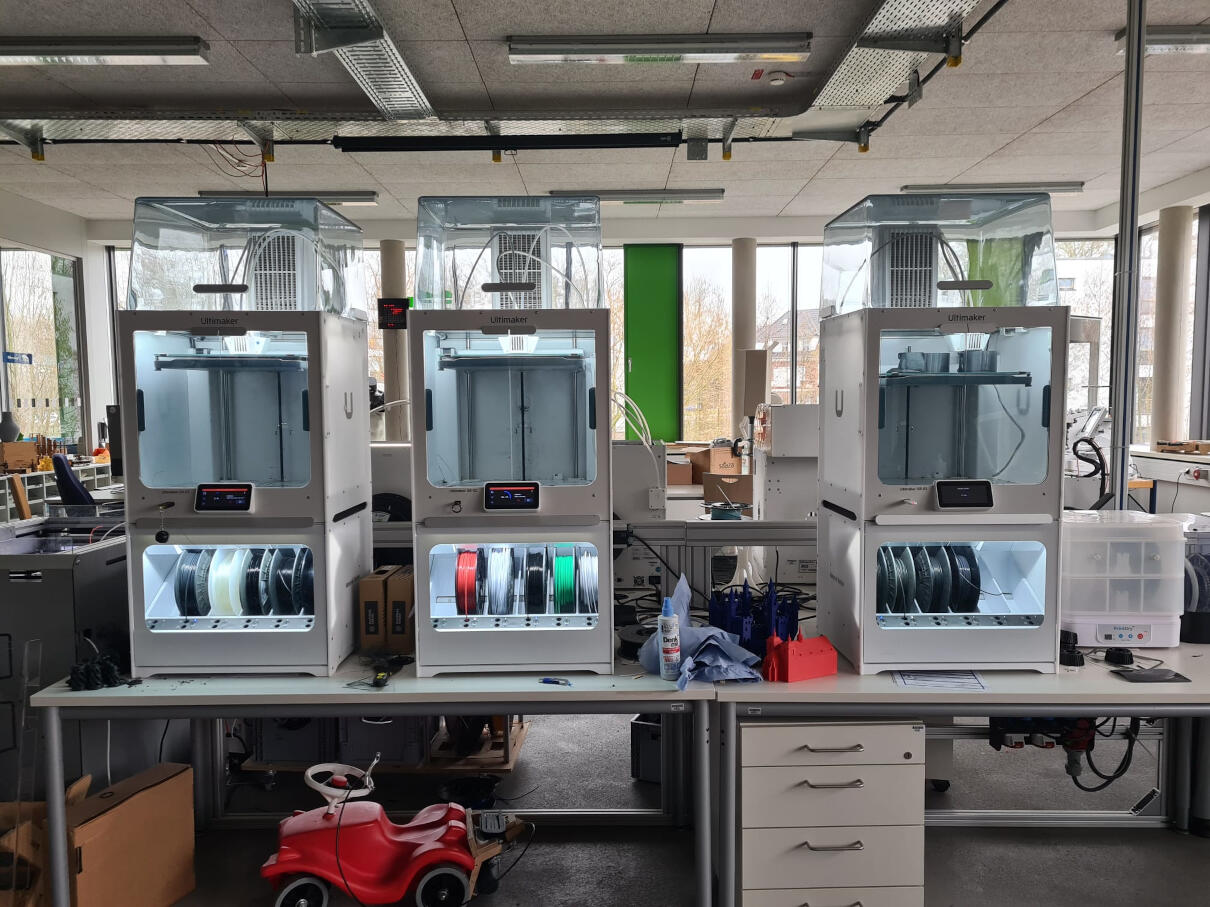
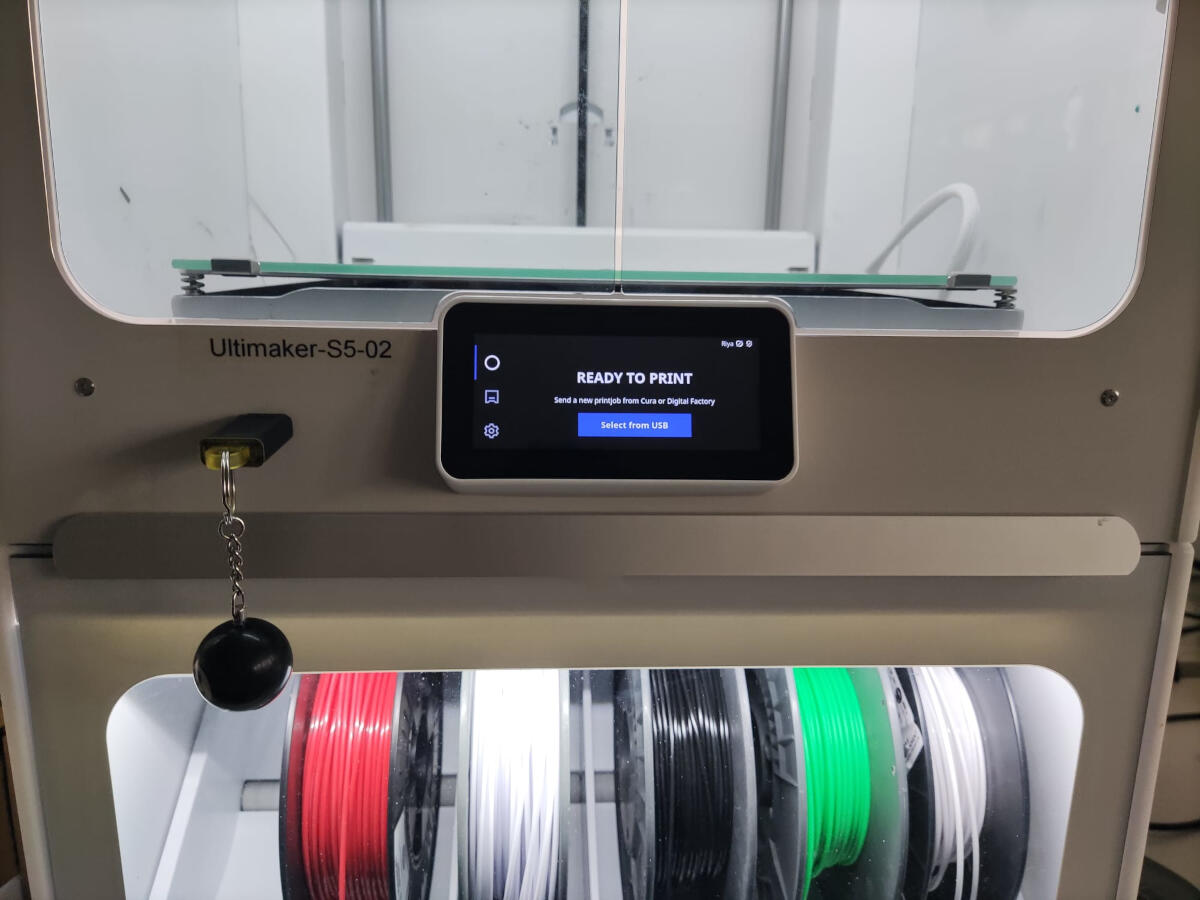
we have quite a few diferent types of printers at the lab but the one I used for this print was the Ultimaker S5. the software I used to slice the model was Ultimaker Cura.
.jpg)
.jpg)
this software is pretty user friendly and for the most part you can just use the default settings if you are not sure what to do. check the group assignment for more information on diferent slicer settings. since this print was quite simple I just used the default settings and added some tree supports for the overhang parts. the cool thing about tree supports is that they are easier to remove and leave less marks on the print.
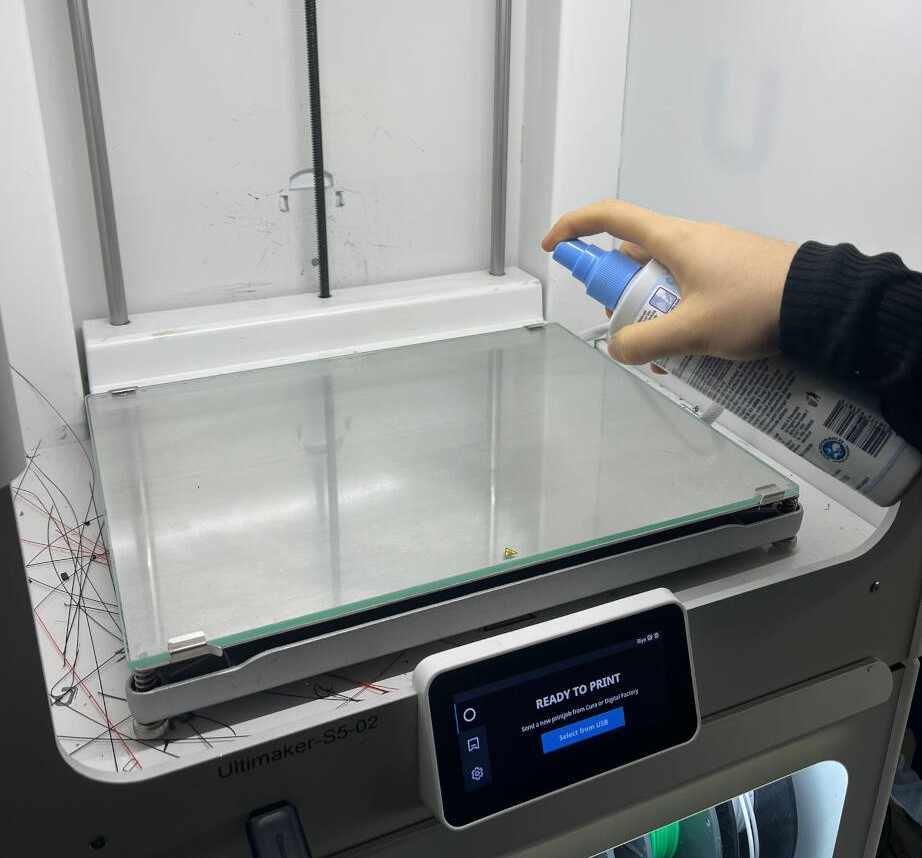
After the slicing was done, I saved the file to my USB stick and inserted it into the printer to start the print. before starting the print I cleaned the printer bed and made sure the printer was ready to go.
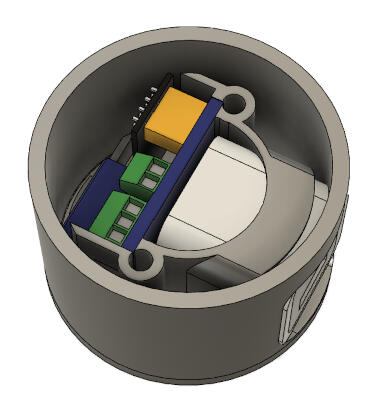
This took around 3hrs to print and the end result was pretty good! all of the components fit into their places. This part would have been impossible to make using subtractive manufacturing methods, because of its complex geometry and small details and holes.
.jpg)