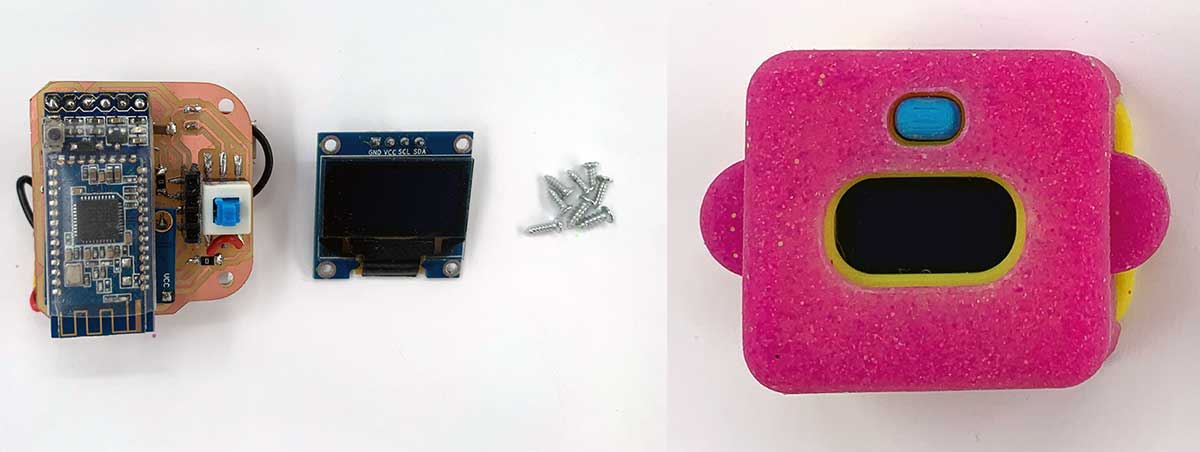
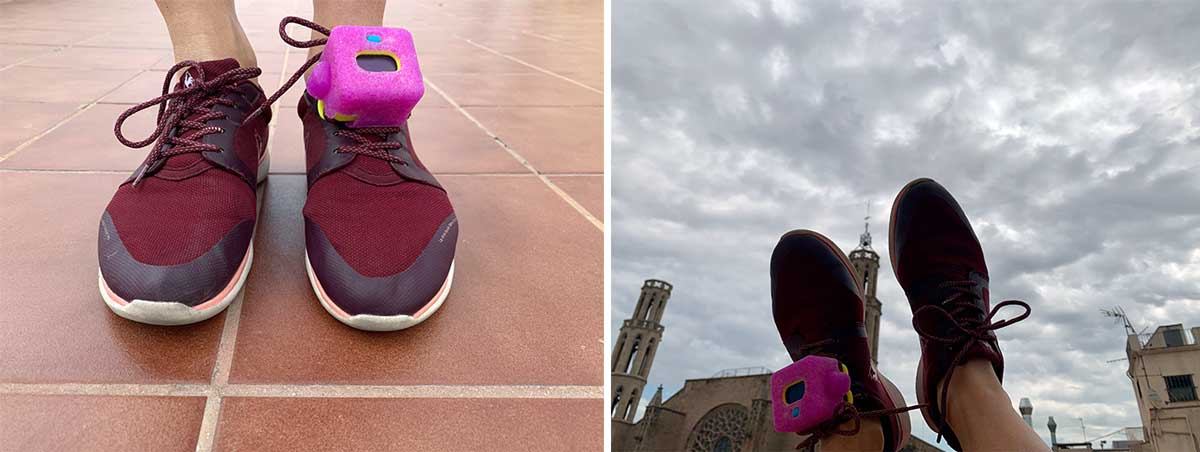
Device Assembly
The assembly of the device is straightforward:
- Attach the Screen: Secure the screen in place with four screws.
- Install the Button: Place and fix the button.
- Mount the Plate: Attach the rest of the plate with screws.
The most challenging part was positioning the battery charger outlet. An additional screw would have improved the fit and finish.
BOM
| Part/Component | Description | Technology | Quantity | Price |
|---|---|---|---|---|
| Microcontroller | Attiny3216 | STD | 1 | €0.85 |
| Cooper board | Copper 35micron | Milling | 1 | €2.34 |
| Accelerometer | MPU6050 | STD | 1 | €6.99 |
| Screen | OLED 128x64 I2C | STD | 1 | €6.99 |
| Bluetooth | HC-10 | STD | 1 | €9,99 |
| Capacitor | Kemet 1UF | STD | 1 | €0,22 |
| Pin Headers | Harwin M22 | STD | 1 | €0,16 |
| Resistors | 1K Yageo | STD | 3 | €2,91 |
| Resistors | 0 Yageo | STD | 4 | €3,48 |
| Battery | battery 3.7V | STD | 1 | €8.41 |
| Battery charger | Sparkfun | STD | 1 | €11.95 |
| LED | SMD WL-SMCW SMDMono | STD | 1 | €0,15 |
| Switch | 6-pin on/off 8x8mm | STD | 1 | €0,30 |
| Internal case | PLA | 3D printed | 2 | ~€4 |
| External case | Silicon + glitter | Molding and casting | 1 | €25.41 |
| Ext. case mold | Wax | Molding and casting | 1 | €18.73 |
| Ext. case mold | PLA | 3D printed | 1 | ~€4 |
| PCB screws | M1.64x3.75mm | STD | 2 | €0.20 |
| Oled screws | M1.4x3.3mm | STD | 4 | €0.40 |
| Case screws | M2x6mm | STD | 2 | €0.20 |
Total Cost: €107.68
During the assembly process, I conducted several tests. I decided that all components should fit precisely, and I adjusted the button design to be wider for a greater tolerance margin.
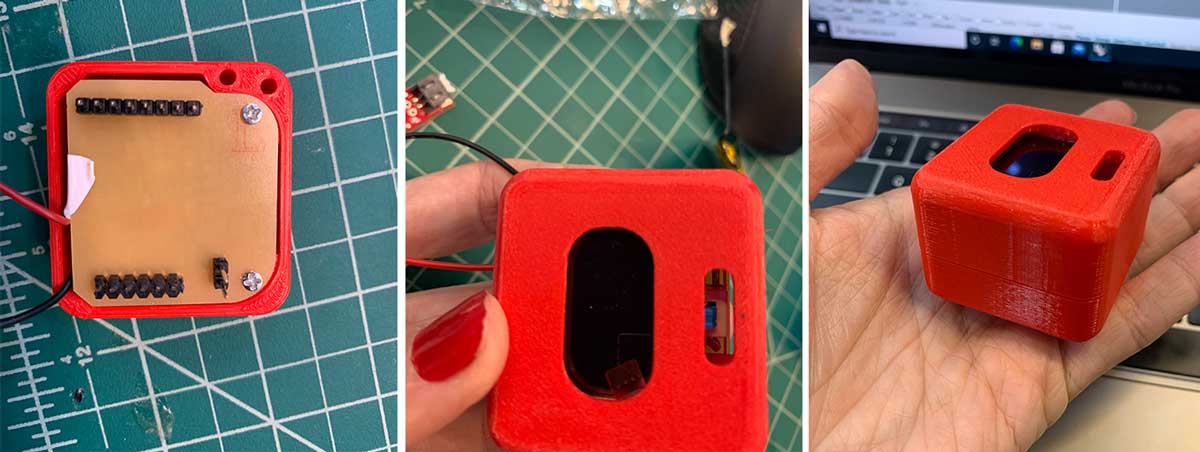
While this is a prototype, it is quite solid. It ended up being a bit larger than anticipated due to the use of several standard modules. However, I believe it can be miniaturized, as it does not contain any particularly complex components and its parts are designed for low energy consumption.
Last update: September 16, 2024