Case Fabrication Process
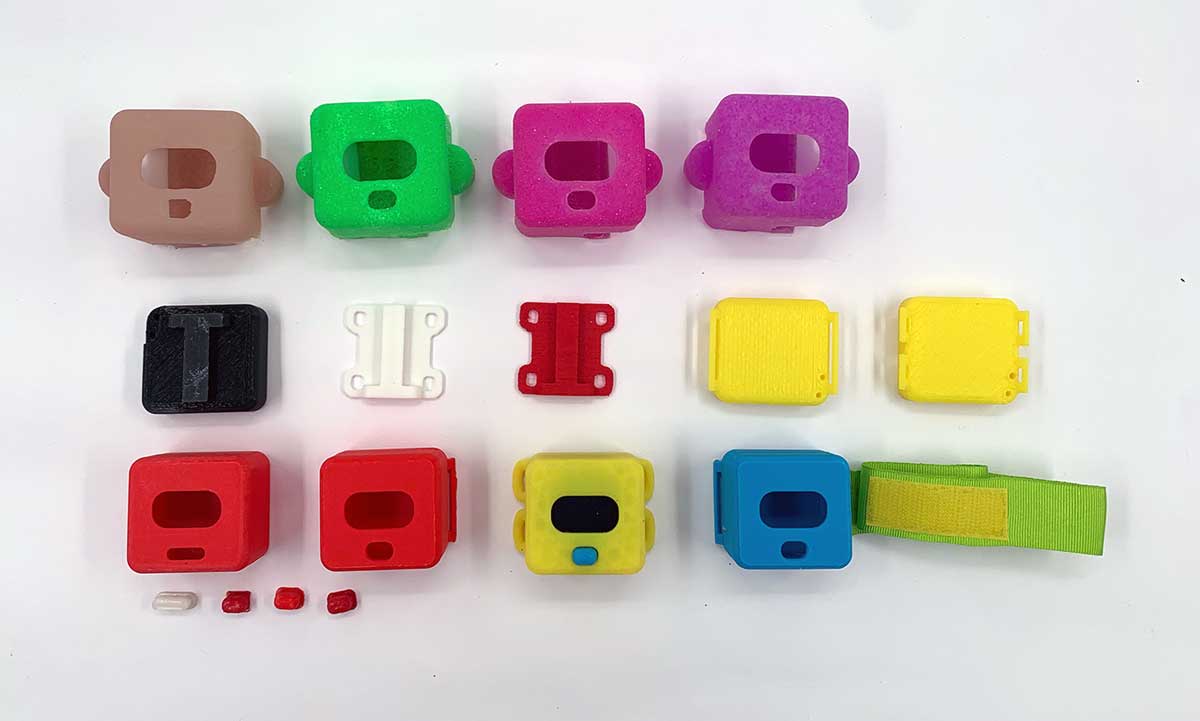
The case design was created in Rhino and 3D printed using PLA. It consists of two parts that are connected by plastic inserts and screws. The top piece includes a designated area for the OLED screen, which is secured with self-tapping screws. It also has a hole for the button and bas-reliefs for the PCB, which is attached to this piece.
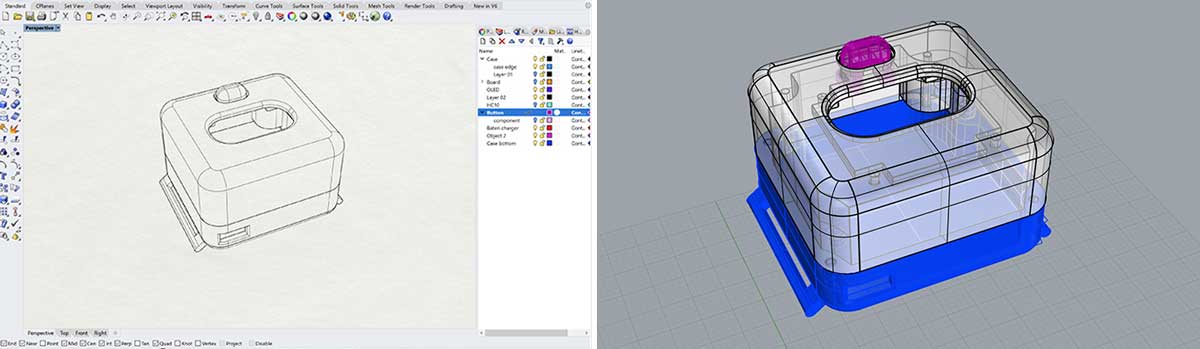
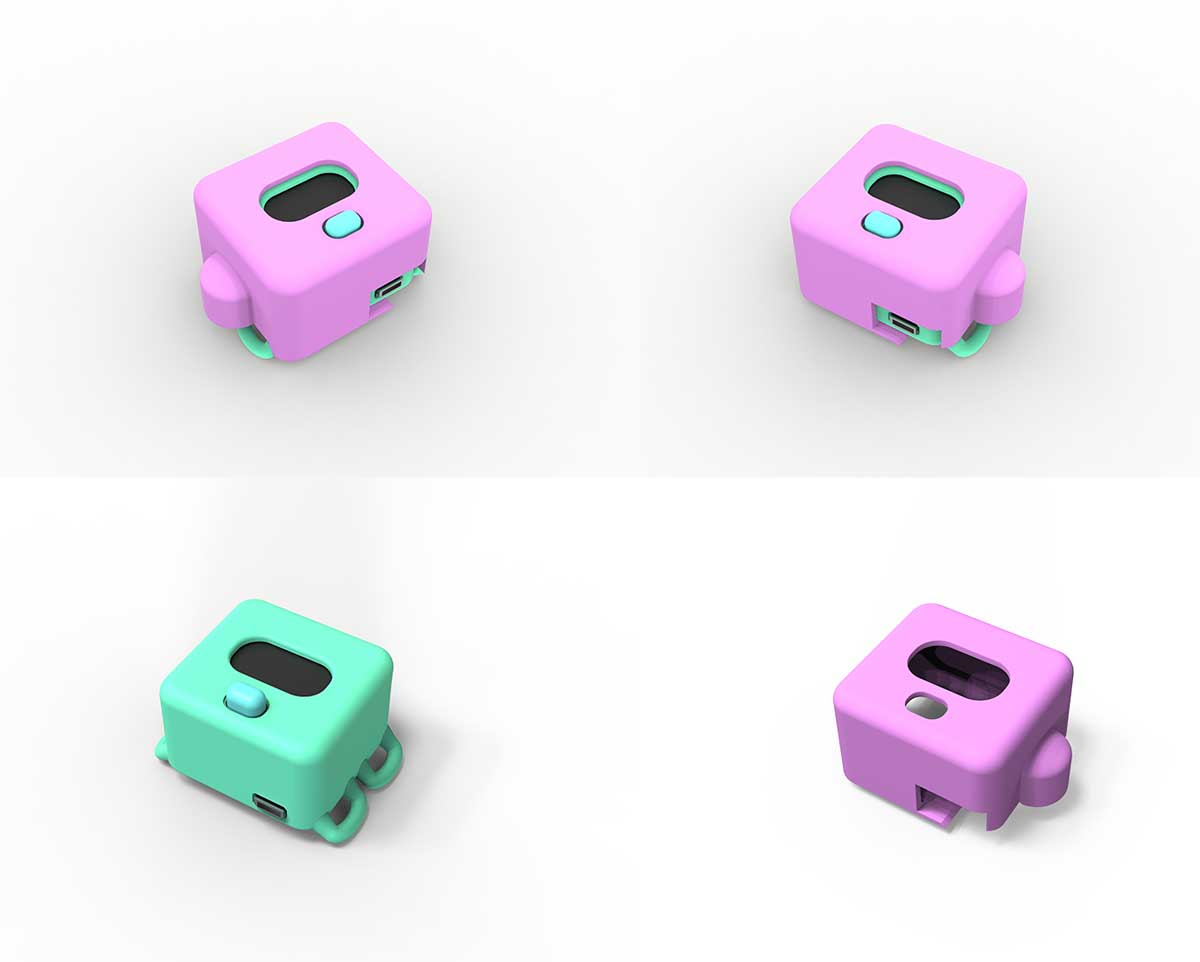
The renders used for the final presentation were based on the same design but with adjusted fillets.
3D Printing
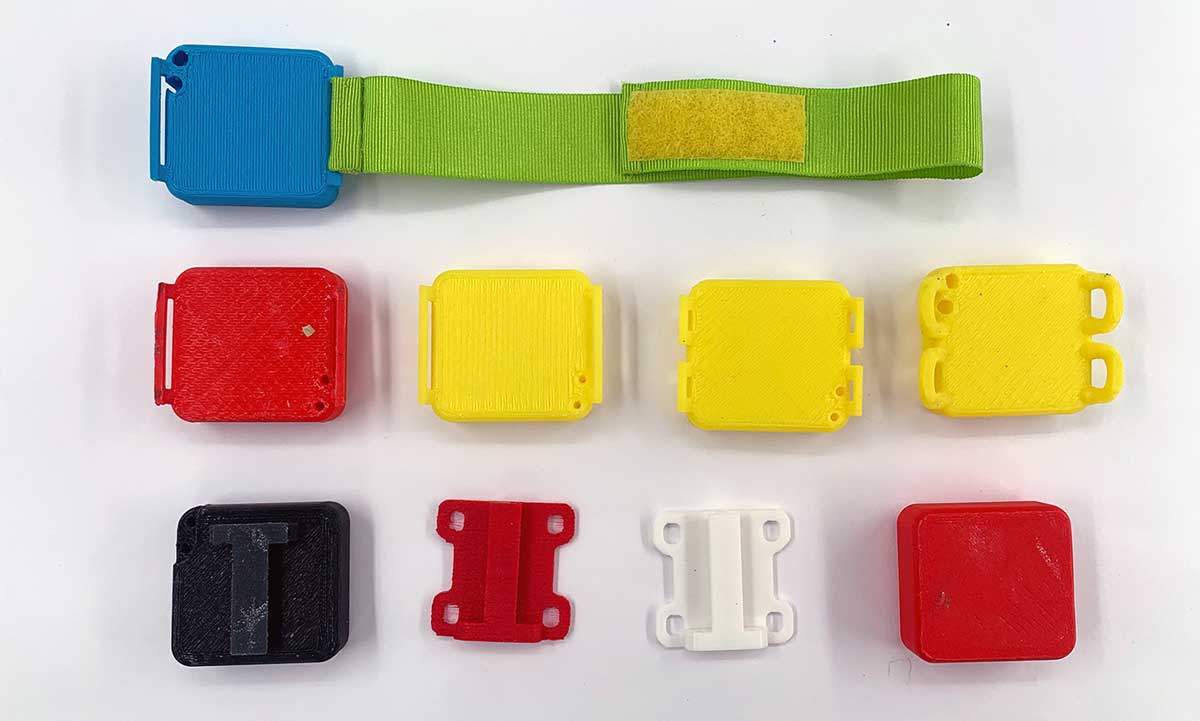
I conducted several tests on the bottom piece to determine the best way to attach the device to the shoe. Initially, I considered using a rail and neodymium magnets for easy attachment and removal. However, this approach proved to be complex, so I simplified the design by incorporating holes for the shoe laces, which became the winning option. I also tested attaching the device with a lace and velcro around the ankle.
Find the final files here:
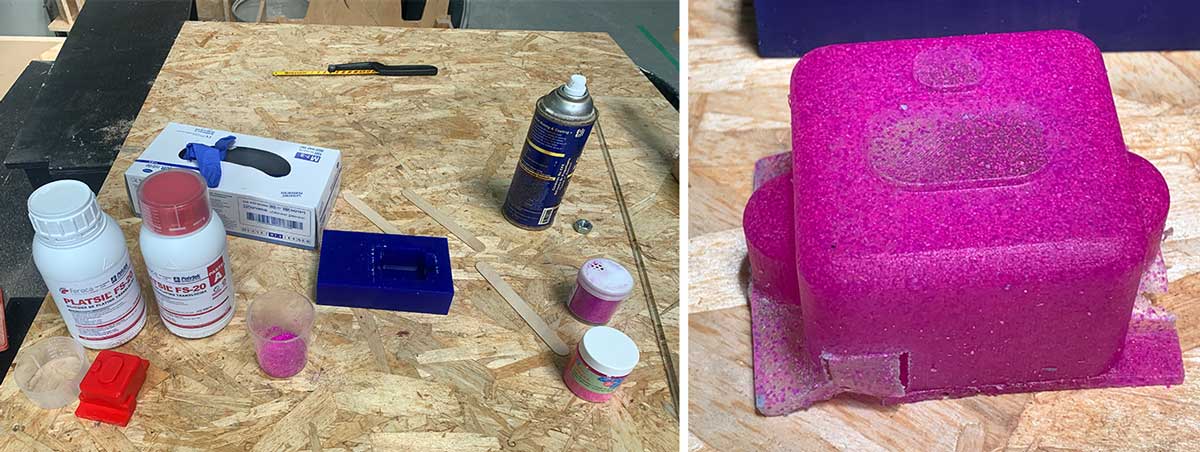
Molding and Casting
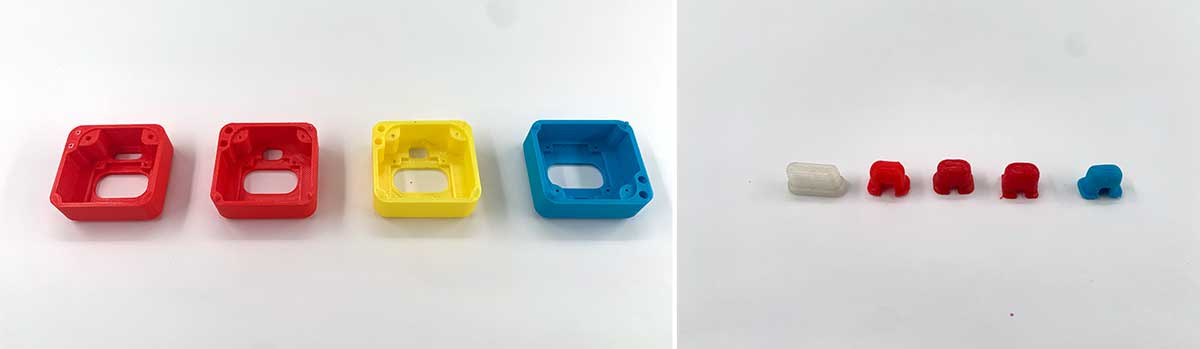
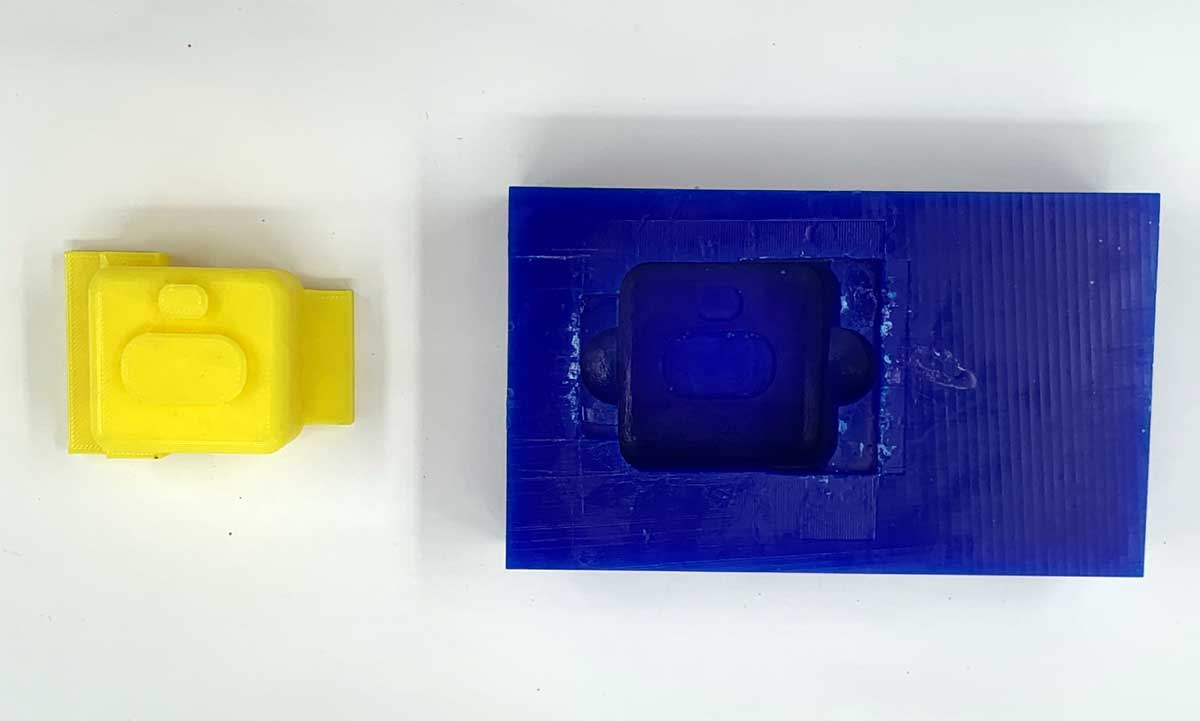
I opted to simplify the mold design from a two-piece wax mold to a one-piece wax mold with a 3D printed inner piece. This approach allowed for faster mold creation and more time for testing and experimenting with glitter.

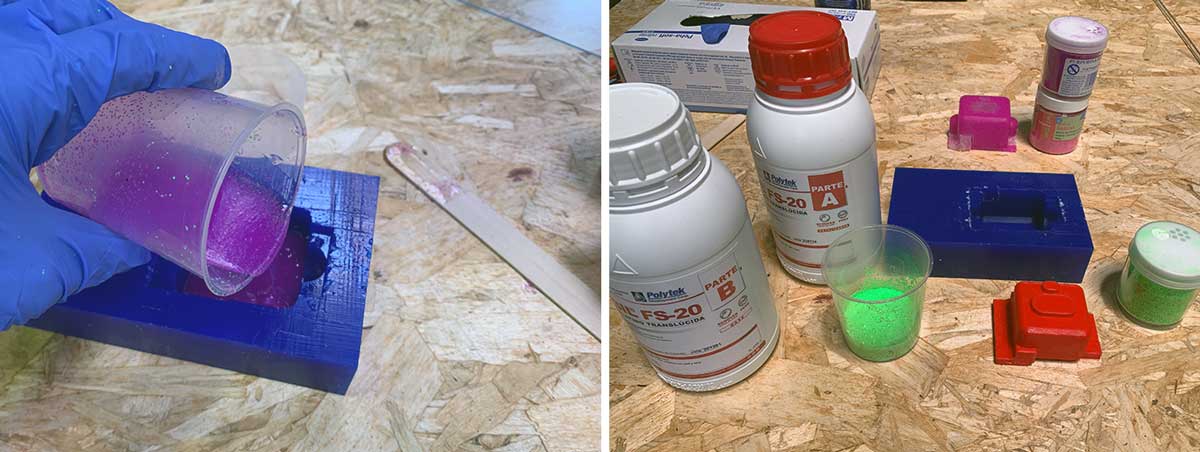
The mold was created following the processes outlined in the Molding and Casting week. Key considerations included ensuring proper demolding and accounting for tolerances.
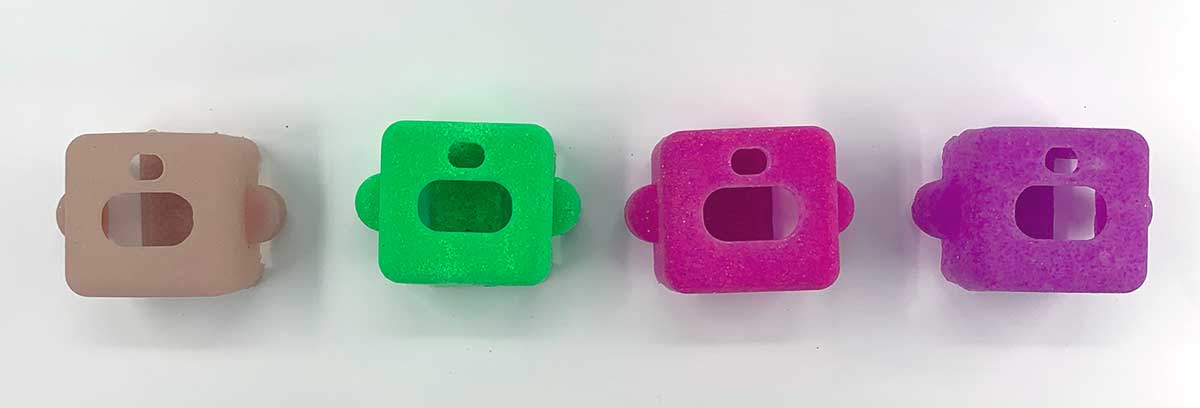
I used quick-drying silicone, which has an 8-minute working time and a 25-minute curing time. My initial attempts with non-silicone colorants extended the cure time and reduced working time. I experimented with different amounts and types of glitter:
- 20% Glitter: Resulted in a slightly stiffer silicone, but still flexible enough to unmold. The color was homogeneous, eliminating the need for additional colorants.
- 50% Glitter: Made the silicone very hard and brittle, making demolding difficult.
- 10% Glitter: Provided an ideal balance of flexibility and texture, with a slightly transparent appearance that complemented the 3D printed case color.