6. 3D Scanning and Printing
Week Assignment
- Test the design rules for your printer(s) (group).
- Document my work and explain the limits of your printer(s) (in a group or individually).
- Design and 3D print an object (small, few cm³, limited by printer time) that could not be easily made subtractively.
- 3D scan an object, prepare it for printing, and optionally print it (individually).
Characterize the 3D Printers and Test the Design Rules
The lab provided two types of printers for us to test: SLA (Stereolithography Apparatus) and FDM (Fused Deposition Modeling). Our group split up to test different printers and then share our results.
Printing Technology: FDM (Fused Deposition Modeling)
Test: RepRap 1 Using Filaflex - Thermoplastic Polyurethane (TPU)
I downloaded Cura and selected the machine for the test. After importing the test file, I realized that the parameters for TPU (Filaflex) were missing. I then moved to the 3D printing area and used the computer there.
We all used the same file to ensure that any issues were related to the printer rather than the file.
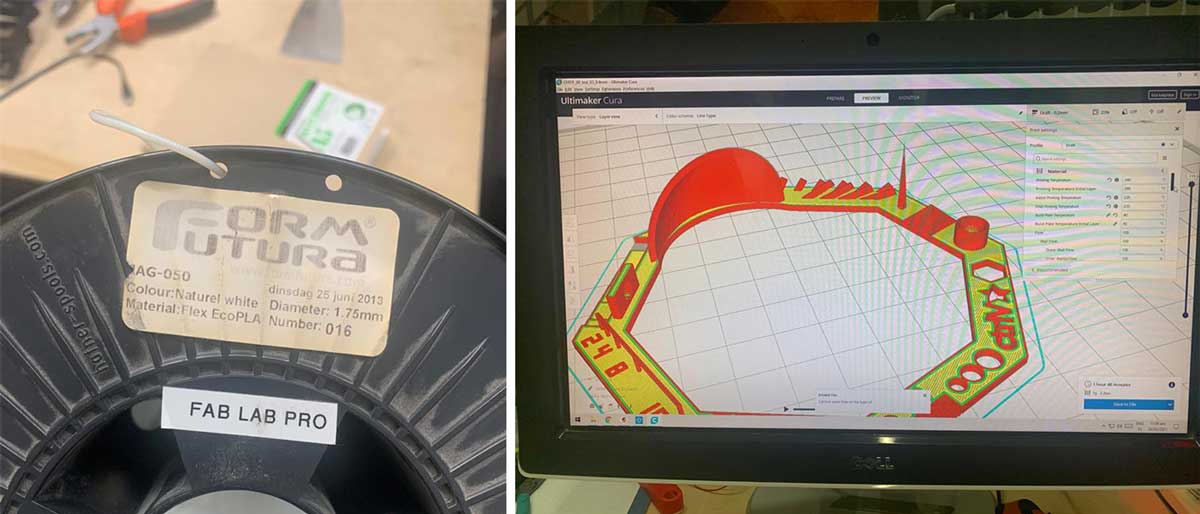
The parameters I used for TPU on the RepRap 1 were:
- Printing temperature: 240°C
- Initial layer temperature: 240°C
- Final printing temperature: 235°C
- Build plate temperature: 40°C
- Flow: 100%
The estimated printing time was 1 hour 48 minutes with a draft of 0.2mm and 25% infill.
For TPU, the recommended speed is between 15 mm/s and 25 mm/s to ensure high-quality prints.
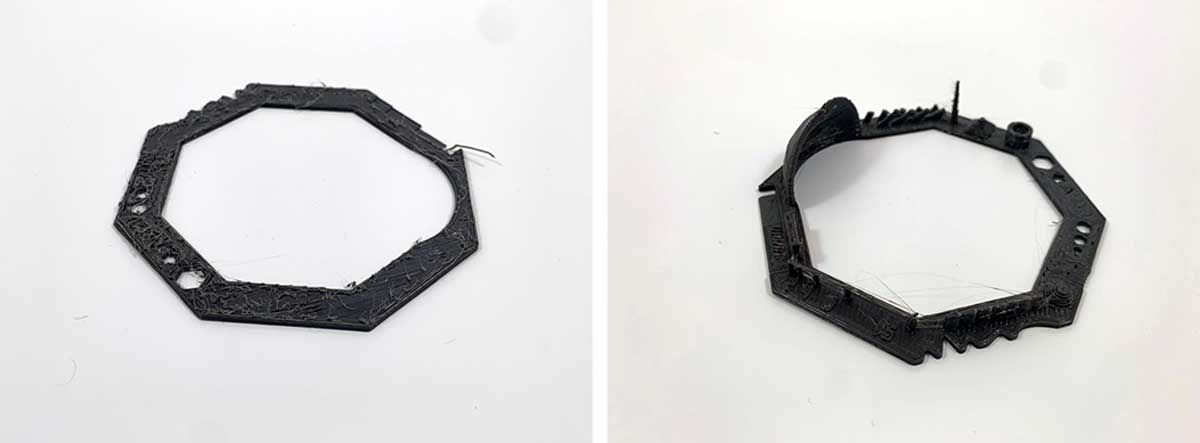
Issue
Half an hour into printing, the piece started detaching from the sides. We stopped the print, removed the part, cleaned the bed, applied fixing spray, and started over.
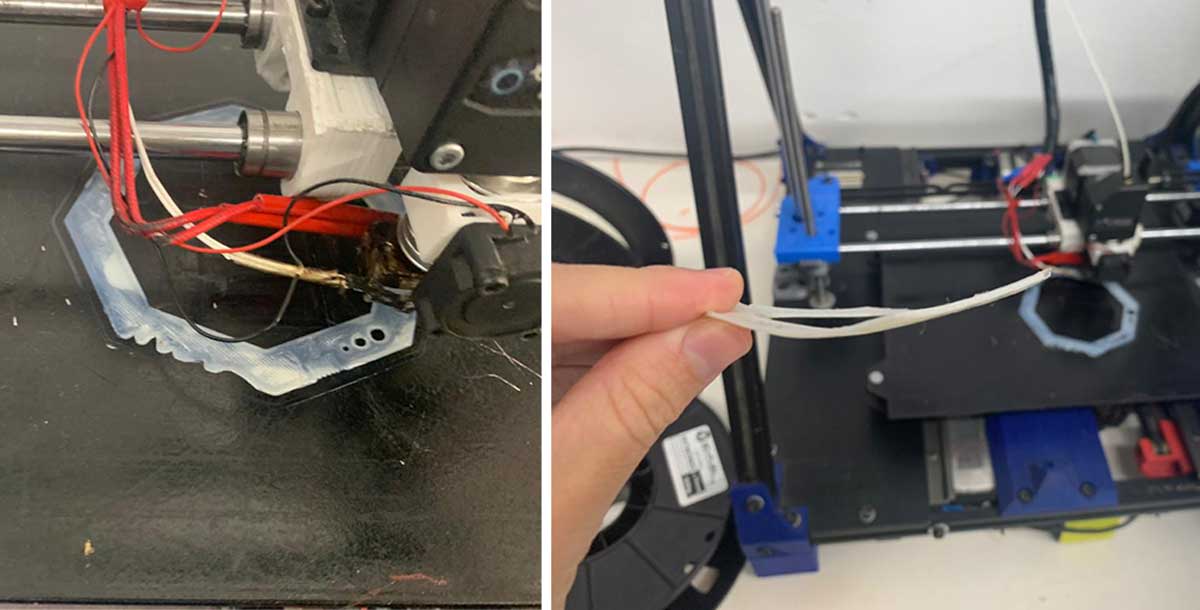
We adjusted the temperature and retraction settings to:
- Retraction: 2mm
- Temperature: 230°C
Changing the Filament
Steps to change the filament on the RepRap 1:
- Heat the nozzle.
- Unscrew and open the small filament gate.
- Push the old filament in place until it extrudes, then pull it out.
- Cut the tip of the new filament at a 45º angle.
- Push the tip between the gears until the nozzle starts extruding the new material.
- Close the small filament gate, ensuring not to overtighten the screw.
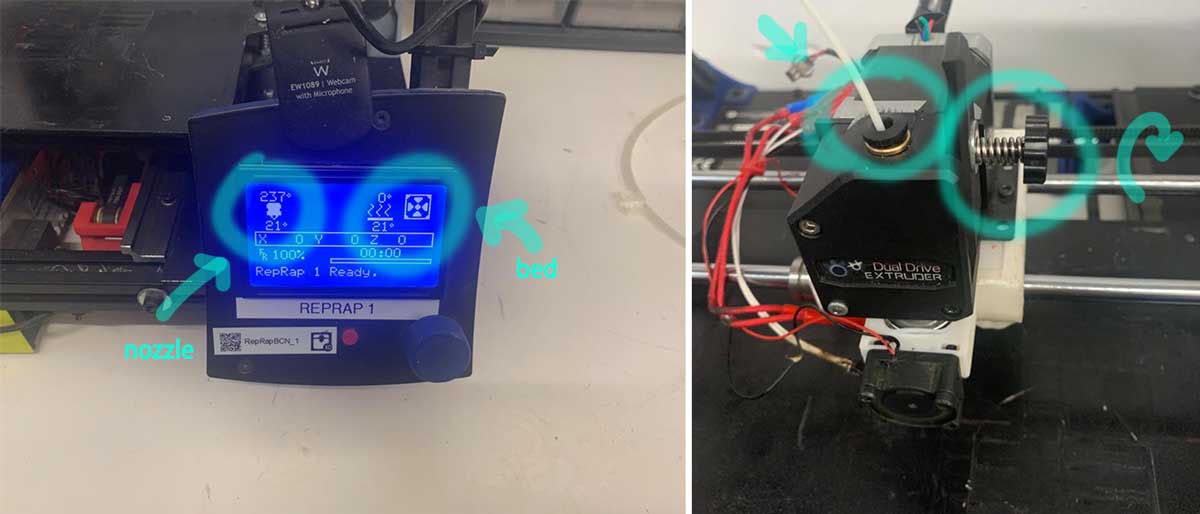
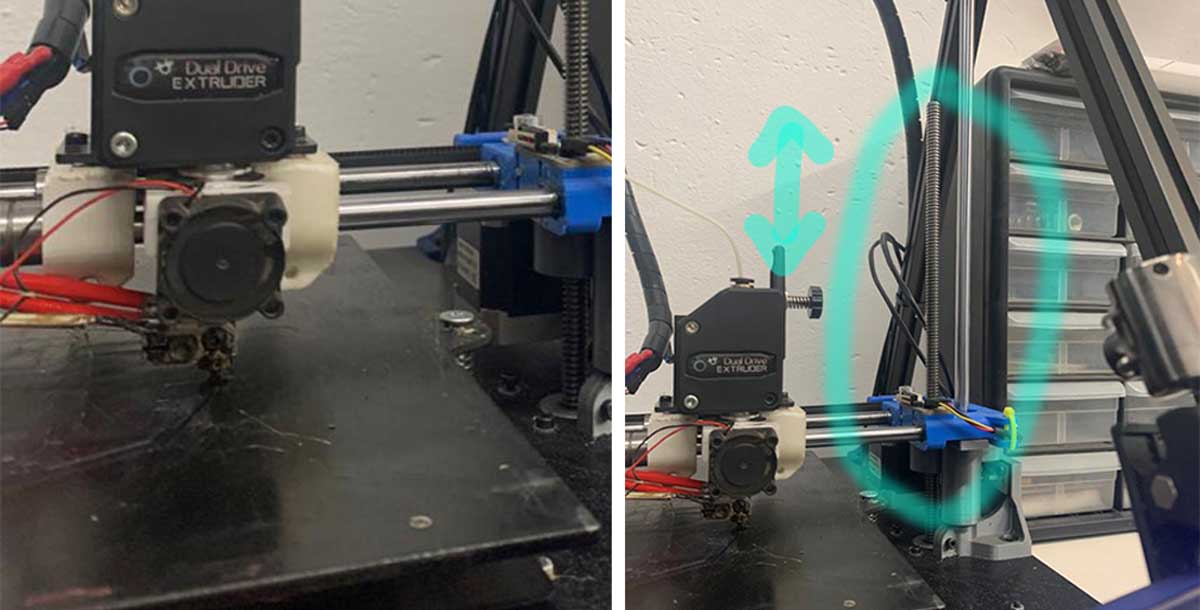
Adjusting the Bed
We observed that the nozzle was touching the bed on one side, so we adjusted the side bar to level the nozzle.
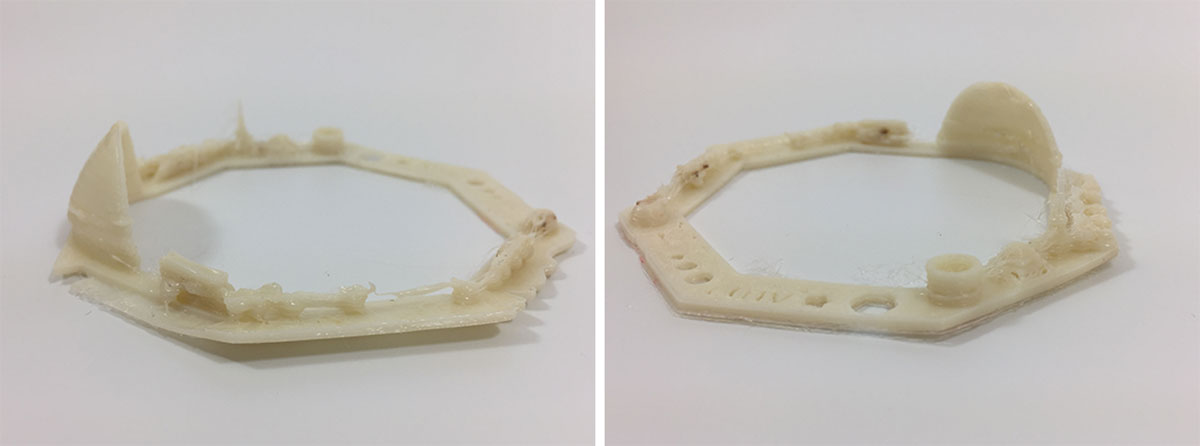
Conclusion
TPU is highly flexible but does not offer a smooth surface finish. It tends to easily detach from the bed, which can disrupt the print mid-process. Additionally, its printing speed is significantly slower compared to PLA.
Test: RepRap Using PLA
- Filament: PLA
- Nozzle diameter: 0.6mm
- Cooling fan: No
- Bed temperature: 40°C
- Filament temperature: 250°C
Test: Prusa Using PLA
- Filament: PLA
- Nozzle diameter: 0.4mm
- Cooling fan: Yes
- Bed temperature: 60°C
- Filament temperature: 215°C
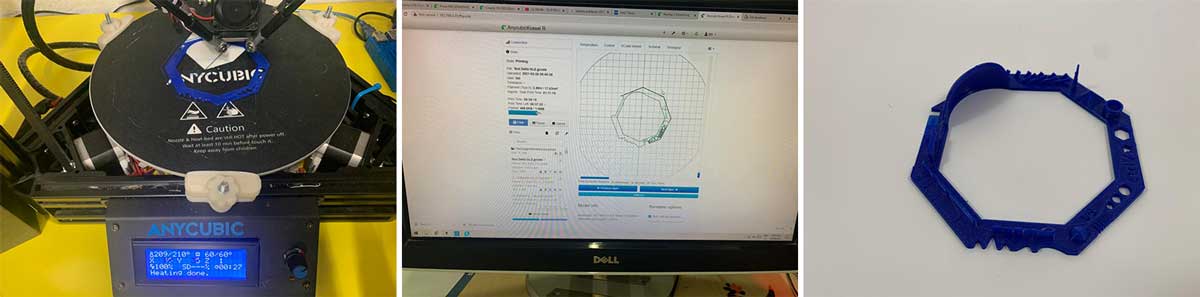
Test: Anycubic Using PLA
- Filament: PLA
- Nozzle diameter: 0.4mm
- Cooling fan: Yes
- Bed temperature: 40°C
- Filament temperature: 215°C
Printing Technology: LCD-Based SLA 3D Printer (Resin)
Testing Anycubic Photon S
Detailed specifications:
- Light-source: UV integrated light (wavelength 405nm)
- XY DPI: 47um (2560*1440)
- Y-axis resolution: 1.25um
- Layer resolution: 25 ~ 100um
- Printing speed: 20mm/h
- Rated power: 50W
- Printer size: 230mm x 200mm x 400mm
- Printing volume: 115mm x 65mm x 165mm (4.52” x 2.56” x 6.1”)
- Printing material: 405nm photosensitive resin
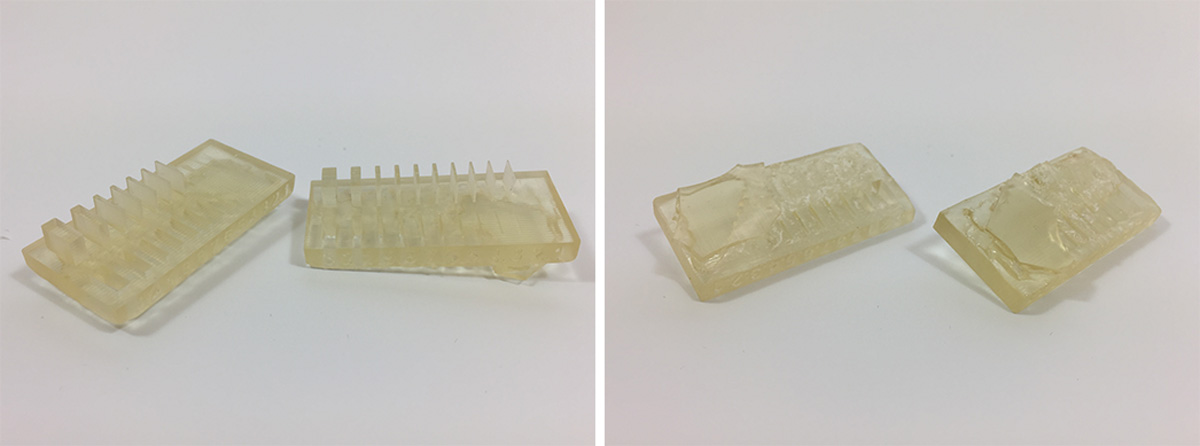
Differences Between SLA and FDM
FDM prints objects by depositing material (thermoplastics) layer by layer. The plastic filament is fed through a hot extruder, melting it so it can be precisely placed by the print head. The melted filament is deposited in layers to build the object.
SLA also builds objects layer by layer but uses a curable photopolymer resin. This resin is hardened by applying focused light or UV light (curing). SLA printers typically build models from top to bottom, with the build platform lifting the model out of the resin bath.
| Technology | Materials Tested | Printers Tested | Dimension Accuracy | Surface Finish | Supports Required | Post-Processing Process |
|---|---|---|---|---|---|---|
| FDM | SLA, PLA | Prusa, RepRap, Anycubic | ± 0.08 - 0.2mm | Lower quality | Depending on angles | Not always required |
| SLA | Resins | Photon | ± 0.01 - 0.1mm | Smoother surface | Always required | Always required |
- Materials and Colors
- FDM printers use filaments like PLA, PETG, ABS, nylon, PVA, TPU, and various PLA blends. The color palette for filaments is extensive. Common filament diameters are 1.75mm or 2.85mm.
- SLA printers use a more limited range of resin materials and colors. For non-industrial machines, color options are limited. Formlabs offers a color kit for creating custom-colored resin.
Precision and Surface Finish
-
FDM (Fused Deposition Modeling)
- Resolution: The resolution of FDM printers is influenced by the nozzle size and the precision of the extruder movements (X/Y axis). The bonding force between layers is generally lower compared to SLA printing. Additionally, the surface finish is less smooth, especially with faster printing speeds.
-
SLA (Stereolithography Apparatus)
- Resolution: SLA printers produce higher resolution objects and offer better accuracy than FDM printers. Resolution is mainly determined by the optical spot size, which is smaller than the nozzle of FDM printers. Less force is applied to the model during printing, resulting in a much smoother surface finish. SLA prints can capture details that FDM printers cannot.
Costs
-
FDM Consumables
- Items: Nozzles and filament rolls.
- Cost: Filament rolls are generally cheaper than resin. The cost depends on the material used.
-
SLA Consumables
- Items: Resin and resin tank.
- Cost: Resin tanks need replacement after 2-3 liters of resin have been used, as their precision decreases. Some SLA printers use proprietary materials, making standardization less common compared to FDM. It is also recommended to replace the build platform periodically.
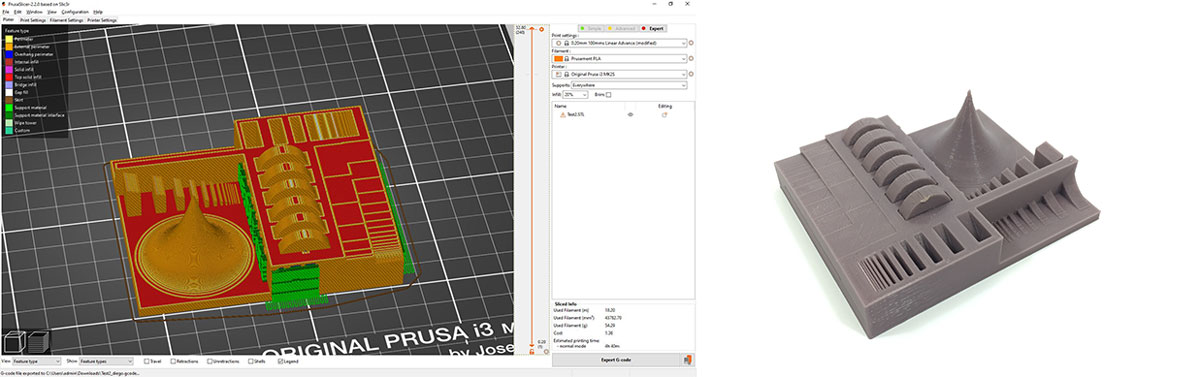
Design and 3D Print an Object That Could Not Be Easily Made Subtractively
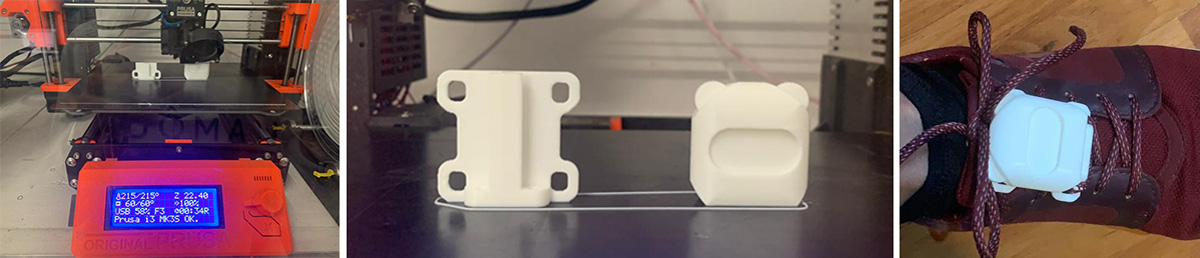
For my final project, I designed a two-piece object with a rail. I used Rhino, as it is the 3D modeling tool I am most comfortable with. The bottom piece has holes for passing shoe laces, a rail, and spaces for mini neodymium magnets for testing.
Modeling Process:
- Initial Setup: Measured my shoe and created an initial box with these dimensions.
- Modeling: In the top view, I drew the base in 2D and extruded it approximately 2mm. In the side view, I drew the rail profile and extruded it. I used a boolean operation to combine these volumes. In the other side view, I drew the top of the rail with spaces for the magnets.
- Tolerance: Applied an initial tolerance of 0.2mm for the top piece. Instead of extruding volumes, I used a base volume to which I applied boolean operations to subtract parts and add features.
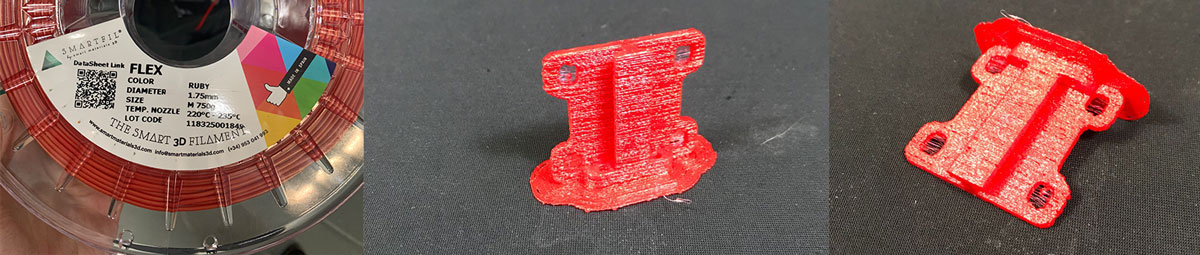
On my first attempt, I printed a piece with a rail using TPU. However, I struggled with the balance between temperature and retraction, resulting in a poor surface finish. I learned that adding support for 3D printing with Filaflex is highly problematic.
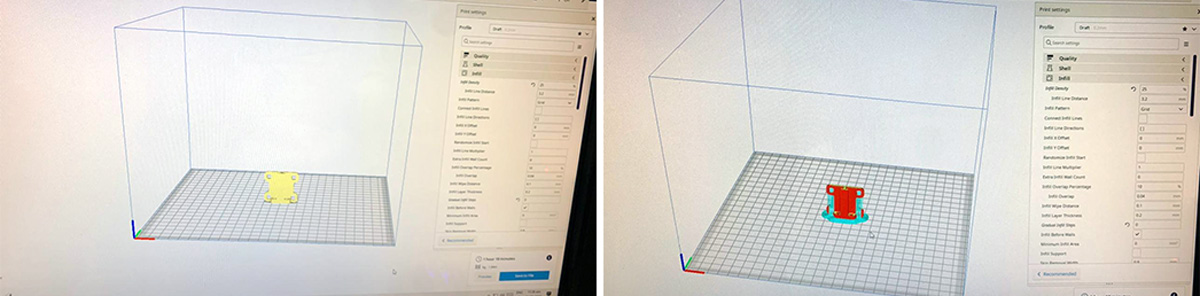
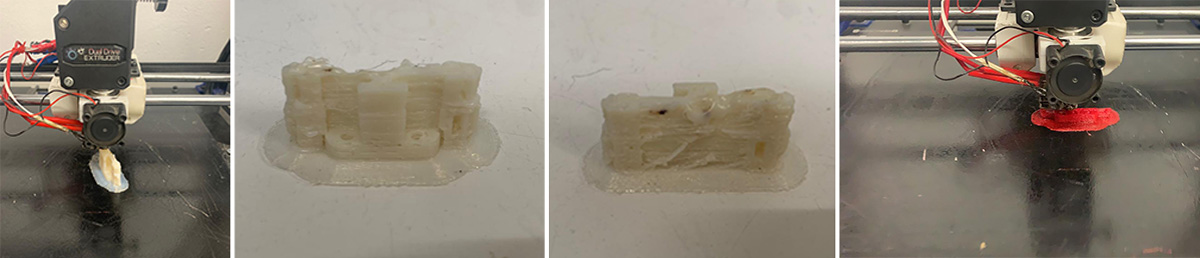
I eventually printed both pieces on the Prusa printer. I learned that adjusting the angles of both the holes and the sides would have improved the design, although the small size of the piece minimized the impact on the surface finish.
Parameters Used:
- Infill: 15%
- Layer height: 0.2mm
- First layer height: 0.2mm
- Perimeters: 2
- No support
This object cannot be easily made subtractively because it requires a 5-axis milling machine. The rail and the magnet slots add complexity, making subtractive manufacturing impractical. Additionally, using Filaflex would require developing a mold for silicone casting.
Find all the files here:
3D Scan an Object, Prepare It for Printing
During class, we learned how to 3D scan using the Kinect. I was the subject of the scan. We used a basic rotating platform, and while I stood still, someone rotated the platform while the Kinect scanned me.

I tried photogrammetry but encountered issues getting past 1% download. Despite lowering the resolution and photo count, the process stalled until it finally completed. The result was far from usable.
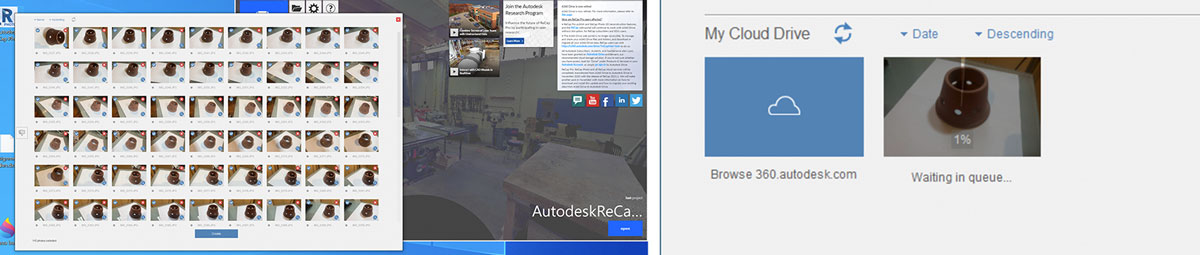
I then used the Capture app. The main difficulty was capturing images with the front camera, which is useful for faces but not for objects.
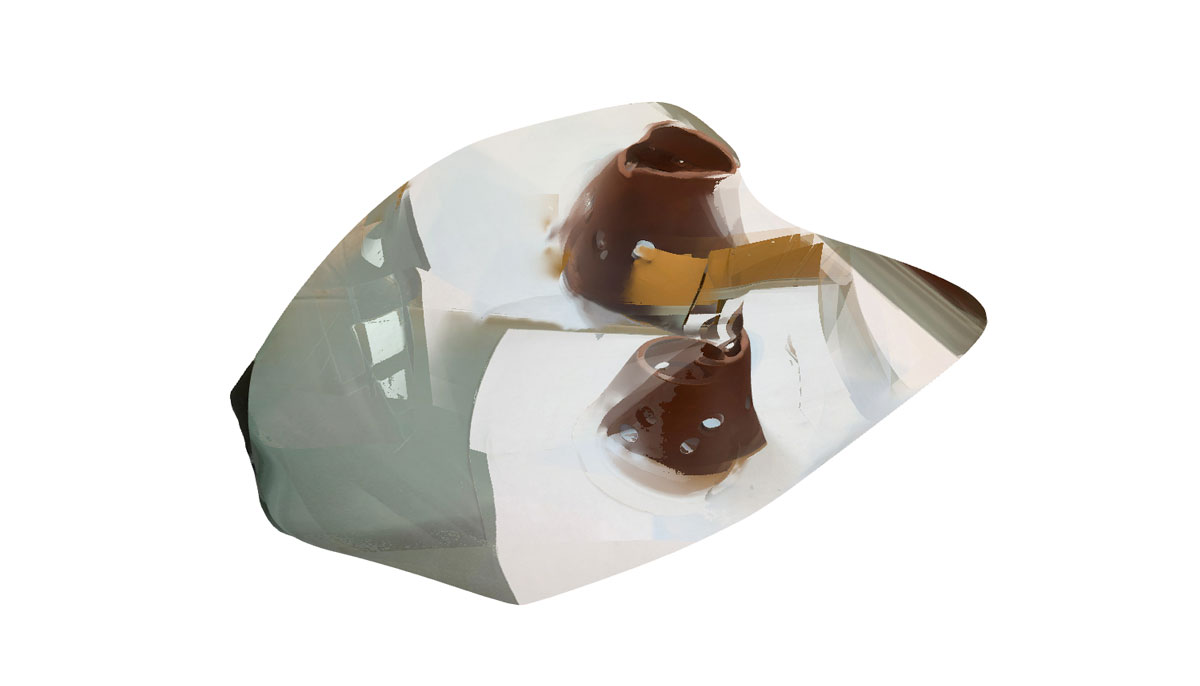
Although the resulting image was poor, I attempted to fix it in Blender. Exported to .stl and imported into Blender, the result resembled a cloud of dots rather than a mesh. Cleaning it up proved challenging.


Find all the files here: