2. Project Management
Week Assignment
- Complete a Git tutorial and develop my personal FabAcademy website.
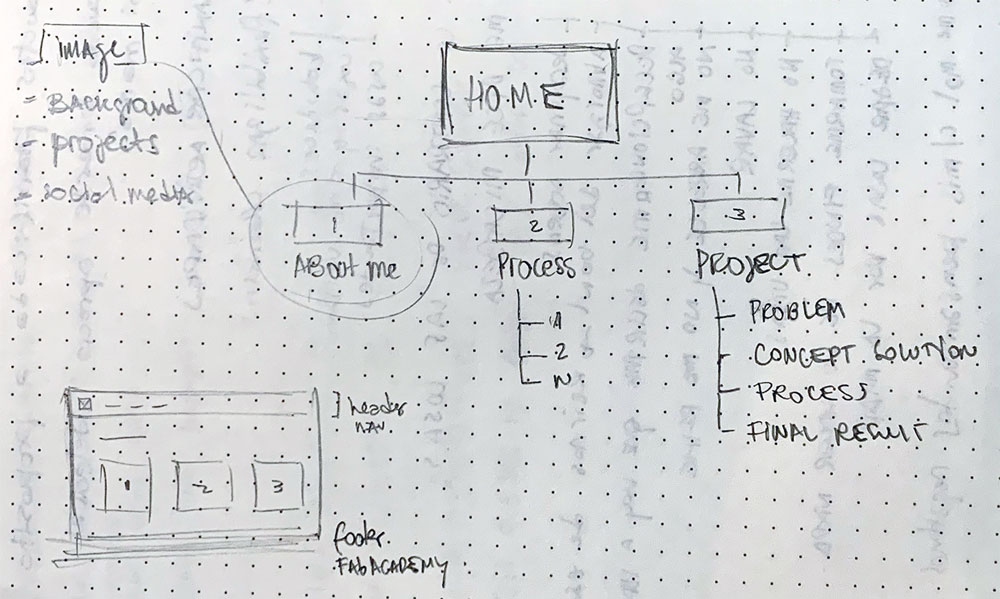
First Week Overview
During my flight from Buenos Aires to Barcelona, I began planning the structure of my website. However, upon cloning the repository and discovering it was built with MkDocs, I faced a choice: either build everything from scratch or style the existing page.
I opted for styling the existing setup, believing it would be quicker and allow me more time to focus on my project concept. However, the process proved more complex than anticipated. 😓
How to Find My Existing SSH Key
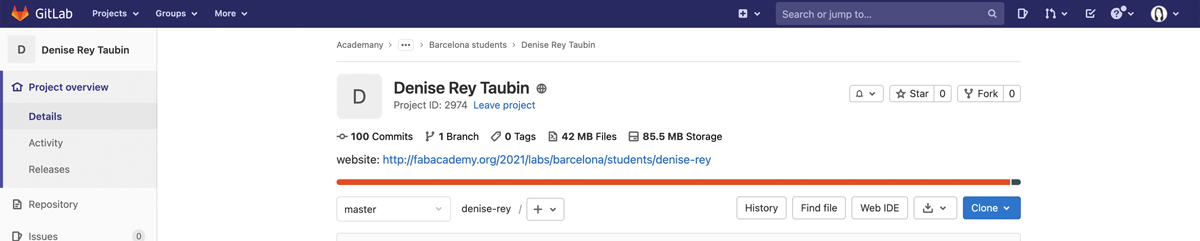
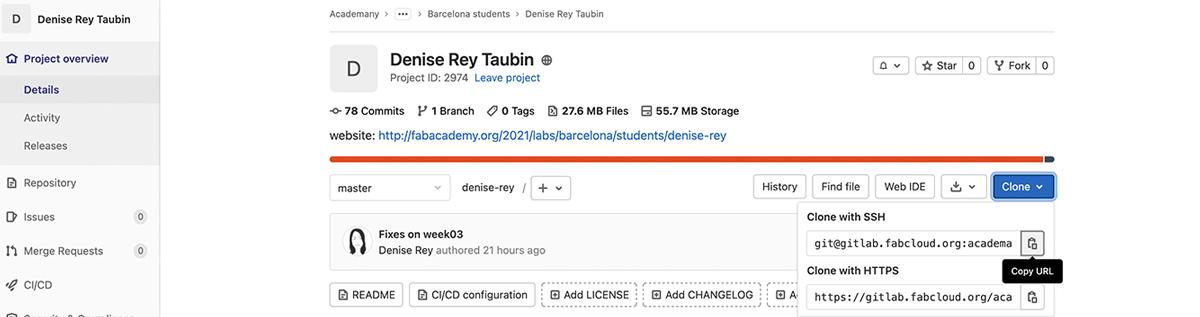
The initial task was to access GitLab and locate my website’s repository.
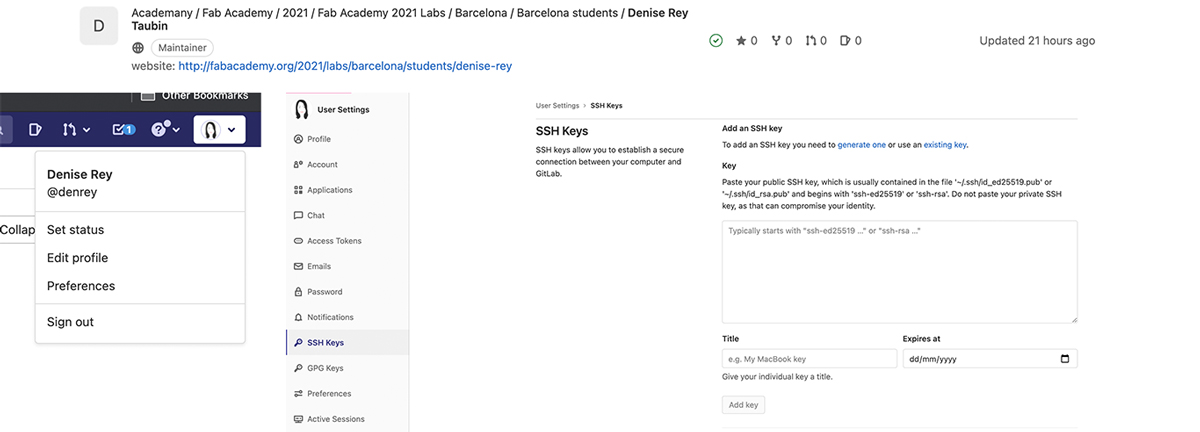
Next, I navigated to User Settings by clicking on my avatar and selecting preferences. Then, I chose SSH Keys from the left panel.
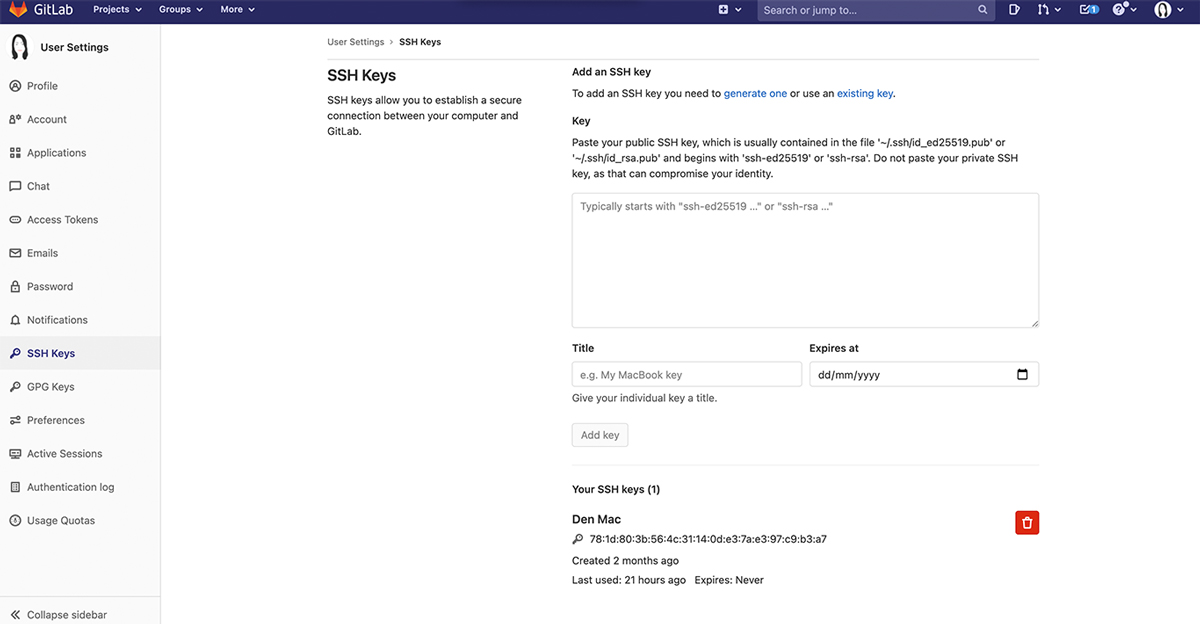
I followed the instructions in the SSH Keys section:
Paste your public SSH key, typically found in the file ‘~/.ssh/id_ed25519.pub’ or ‘~/.ssh/id_rsa.pub’, which begins with ‘ssh-ed25519’ or ‘ssh-rsa’. Avoid pasting your private SSH key to ensure your security.
Since I already had an SSH Key, I needed to locate it. I accessed my Home directory, made hidden files visible by pressing command+shift+., and found the file named id_rsa.pub. I opened it with a text editor and pasted the key into the SSH section in GitLab.
I then clicked ADD KEY. With my SSH key added, I could clone the GitLab repository to modify the site.
To clone the repository, I went back to the Project Overview section, clicked the CLONE button, and copied the URL from the CLONE with SSH option.
I opened the terminal and ran:
```bash git clone git@gitlab.fabcloud.org:academany/fabacademy/2021/labs/barcelona/students/denise-rey.git