write an application that interfaces a user with an input and/or output device that you made
Again, the question is what kind of application makes sense in connection with a robot system? An app on your mobile phone with which you can control a robot would be pretty cool. Since I am currently studying react native I will

React Native is an open-source mobile application framework created by Facebook. So it is possible to create an app which runs on Android and ios.s
What demands do I have on my app? First of all, you should be able to control a robot with it. The best way is to start with something simple like letting a LED light up when I flip a switch. After that it would be cool if I could also control a moving robot. And if I already develop an app, I can integrate more things into it, for example the assembly instructions of a robot.
After the successful installation of all components. I open the commandline and navigate to the place where I want to create my app and start my app with:
react-native init Morph3Dbot
To test the app you can simply connect your mobile phone or start a virtual mobile phone via Android studio. To start the app on an Android device you have to use:
react-native run-android
So I started and worked my way into React Native. In the source code below you can see an example of a Hello World. First of all I import all necessary parts for my app. In the next step I create a function in which I wrote my first text. For this I create a view in which I set my text. When it appears in the middle of the screen I set the style to init.
    import React from 'react';
    import {StyleSheet, View, , Text } from 'react-native';

    function HelloWorldApp() {
      return (
        <View
          style={{
            flex: 1,
            justifyContent: "center",
            alignItems: "center"
          }}>
          <Text>Hello, world!</Text >
          </View >
      )
    }
    export default HelloWorldApp;
To make the app more beautiful you can set styles. Like background color, text size and so on.
      export const globaleStyles = StyleSheet.create({
        container: {
          flex: 1,
          backgroundColor: '#efedf7',
        },
      }
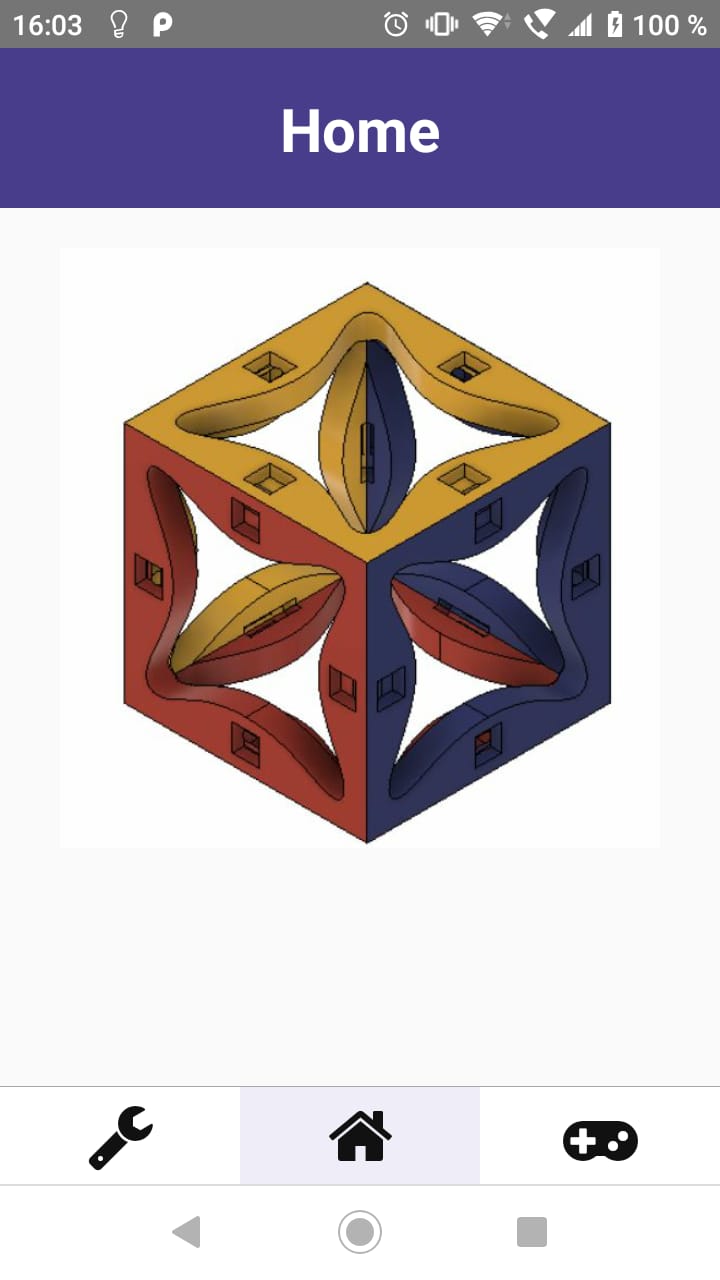
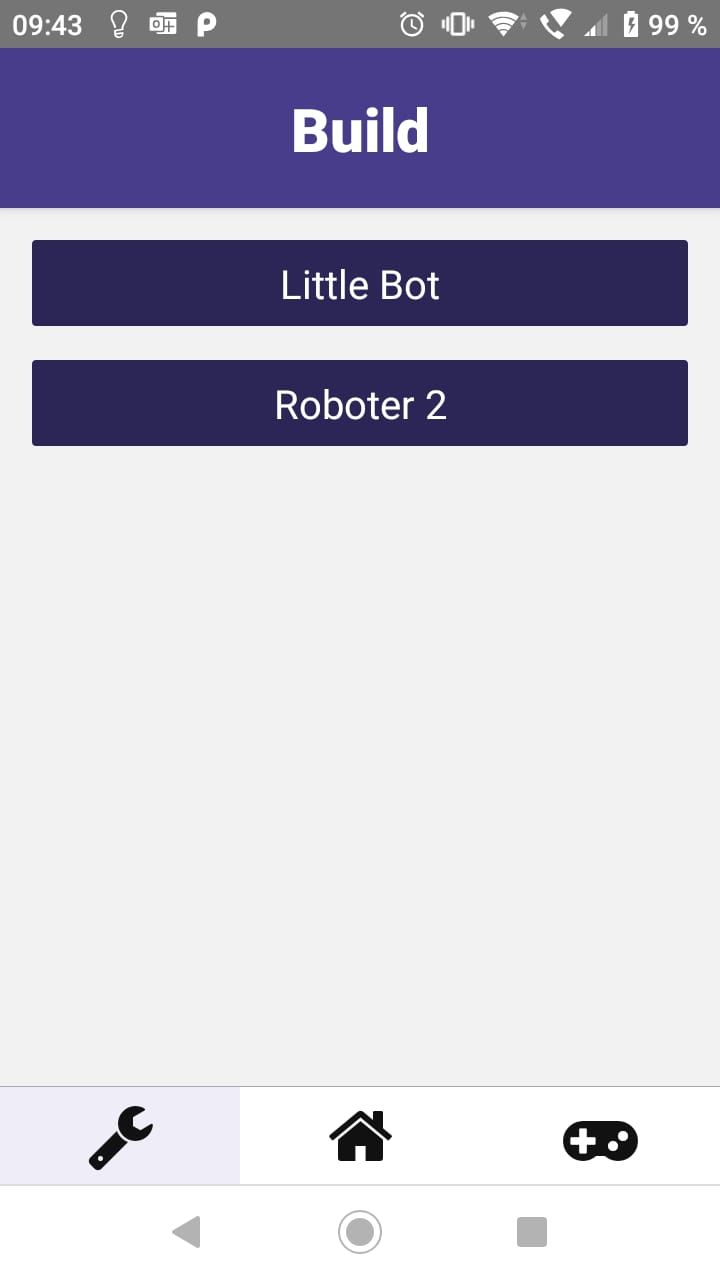
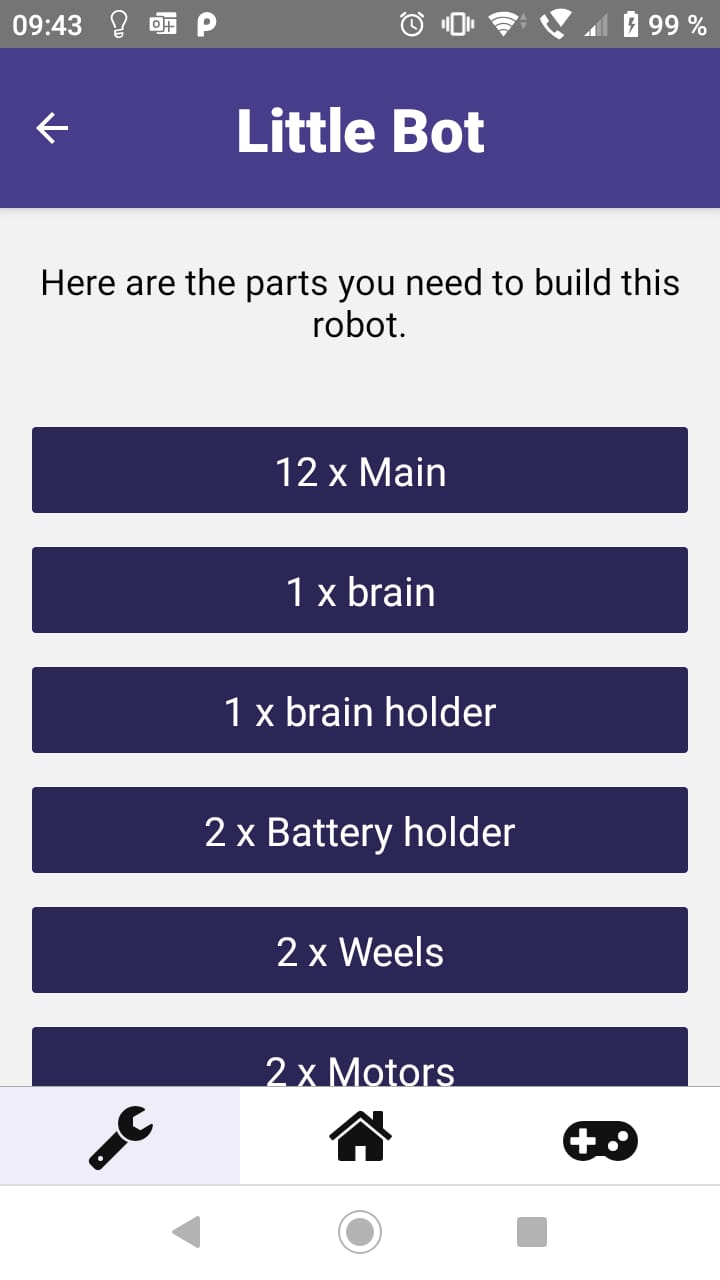
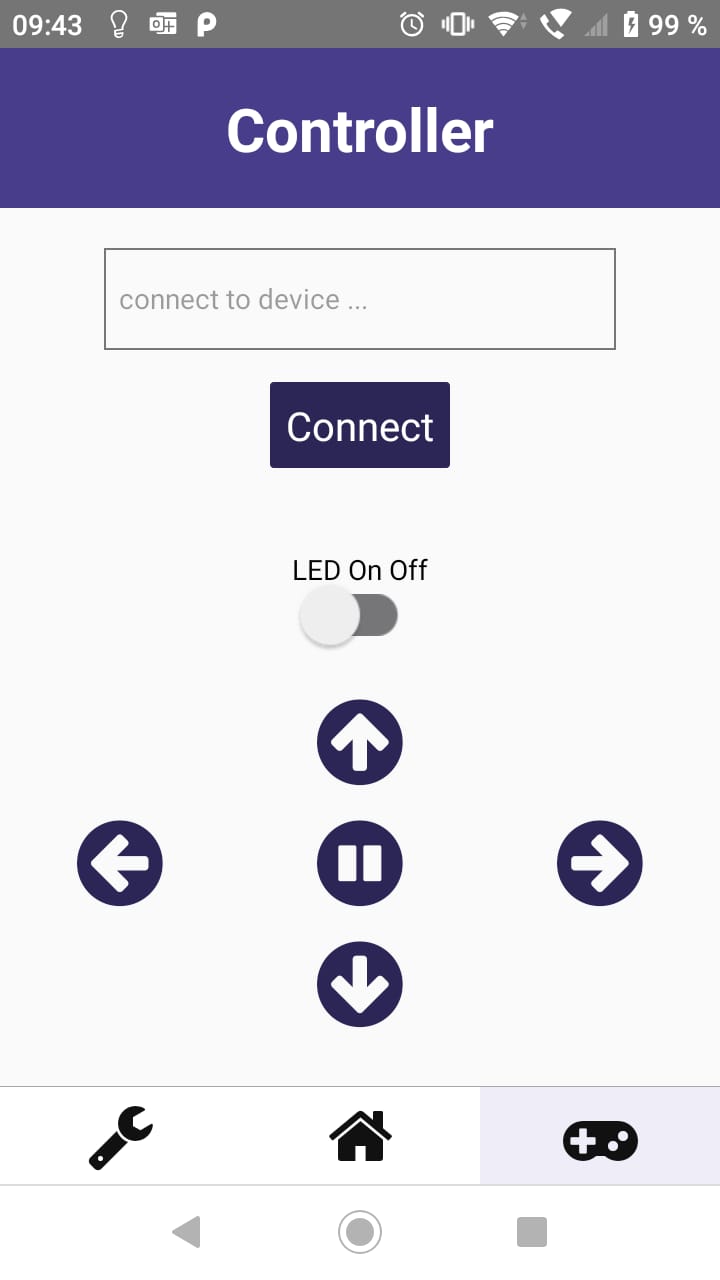
In the pictures below you can see my latest app. This app is built in a way that there is a tab view with the home page, build page and control page. Below the build page there is a plug view with instructions for building the robots. On the control page you have to connect to a microcontroller via bluetooth to control a robot. This does not work at the moment because I have problems with the existing bluethooth module and I can't connect it with my mobile phone.
Since I unfortunately still do not have a working Bluetooth adapter. I have decided to find an alternative for this assignment. I thought it would be cool if I could control the colors of the LEDs in my LED ring. So I wrote a little application using a programming language called Processing which communicates with the Arduino via the serial interface.
Processing is an object-oriented, strongly typed programming language with a corresponding integrated development environment. The programming language is specialized in the application areas graphics, simulation and animation. Processing is developed in an open source project initiated at the Massachusetts Institute of Technology
The app should interact with one of my previously created LED-matrix. The user should be able to give each LED an indiviual color and send it to the arduino via serial communication.
After following the installation wizard, a new project can be created.
Processing feels like a wild mix between Java and arduino / C. At the beginning of the program, classes and global variables are set. The setup() method is exectued first, when the program is launched. Firstly, the screen size is set. Since I created the application on my desktop computer and mainly tested it there, the resolution orientates itself at a smartphone screen. Since I have to redraw some screen elements sometimes, most scree nelements are available in the printscreen() method. Aferwards, the serial connection is established.
      class Button{...}
      class Slider{...}
      Serial myPort;
      Button myButton;
      Button expansion;
      Slider sliderRed;
      Slider sliderGreen;
      Slider sliderBlue;
      int selection;
      int[] data = new int[49];
      String newdata = new String();
      String portName;

      void setup() {
        size(360,640);
        printscreen();
        portName = Serial.list()[1];
        myPort = new Serial(this, portName, 9600);

      }
The slider for adjusting the RGB-colors consist of classes which save the values by checking on their current position on the screen. After adjusting a color, the color can be assigned to an LED by simply clicking on it. The values will be stored in an array to be send to the LED-Matrix.
      public void move(int starting){
       currentValue = mouseX;

       fill(235);
       stroke(235);
       rect(getxStart() + 1, getyStart() + 1, getWidth() - 1, getHeight() - 1);

       stroke(0);
       rect(getxStart(), getyStart() ,getWidth() ,getHeight());

       if(starting == 0){
         fill(255);
         stroke(0);
         rect(getCurrentValue(),getyStart() + 2,8,8);
       }
       if(mouseX-55 >= 0){
         currentValue = mouseX-55;
       }else {
         currentValue = 0;
       }
     }
Buttons can be simulated by displaying a rectangle on the screen and checking if it was clicked by the mouse on its specific coordinates. The send-button in this example, sends an array of all colors set, to the serial port.
      if(mouseX >= 150 && mouseX <= 190){
        if(mouseY >= 460 && mouseY <= 480){
          data[0] = -300;
          fill(sliderRed.getCurrentValue(), sliderGreen.getCurrentValue(), sliderBlue.getCurrentValue());
          rect(150, 460,40,20);
          textSize(13);
          fill(255);
          text("send", 154,475);

          for(int i = 0; i < 48; i++){
            myPort.write(data[i]);
            print(data[i] + " ");
          }
          println();
        }
      }
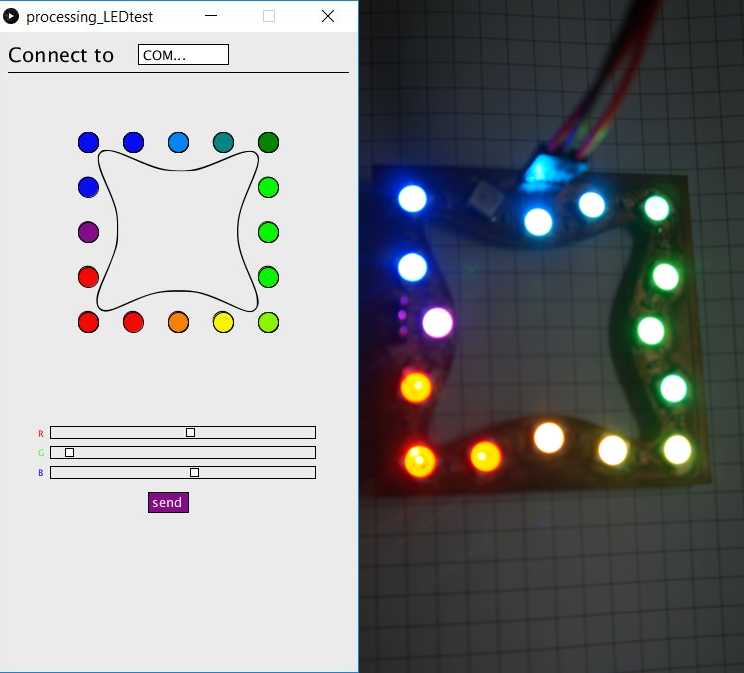
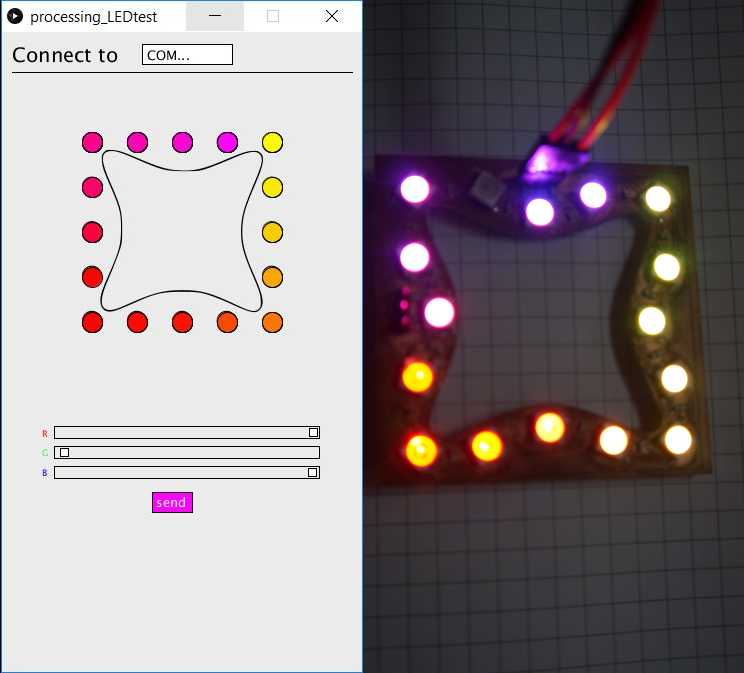
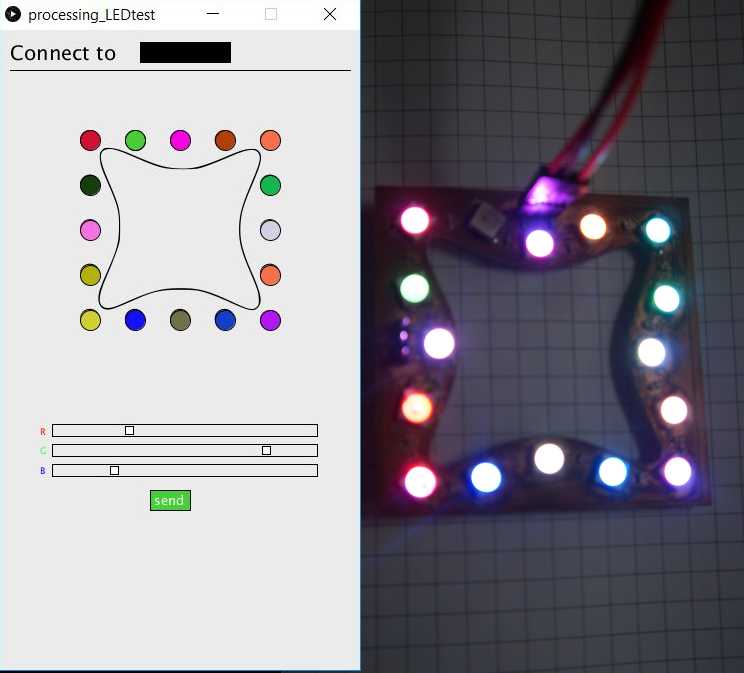
Here you can see a few examples of how this works.
The colors are all displayed mostly correct, but that's
because of for these LEDs, the data arrive correctly, whereas the last LED is probably broken.
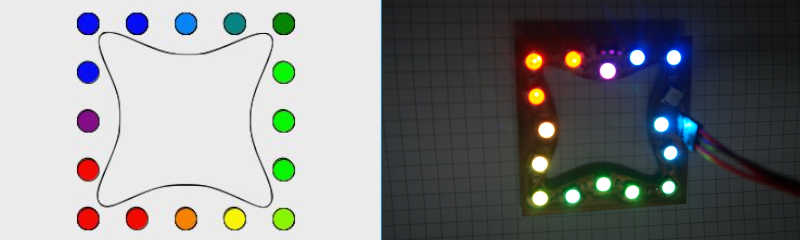
Reading datat from the PCB
I have extended my program to be able to read from my micro controller.
I connected my unput board with the 4 IR sensors and my LED ring with my main board. The sensors now read the
distance to an object and indicate this
distance on the LED ring.
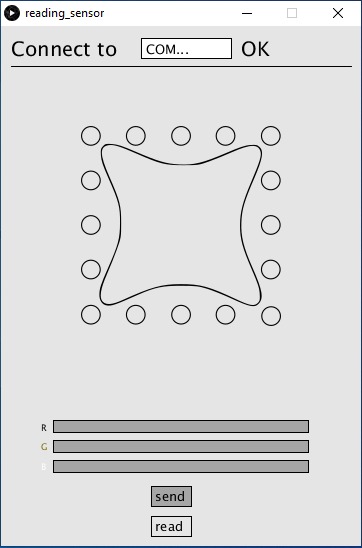
In my processing app I just added a butt when you press this button and it reads the current state of the LEDs.
In the video you can see how it works. It does not yet work as well as I imagine it will. The reason is that some
LED's don't work properly and the color is not displayed correctly.
compare as many tool options as possible
compare as many tool options as possible
Within the framework of the fabacademy I have now worked with various tools
to create a frontend. In the table below you can see some details.
More information about the individual programs can be found here above on the page and in Week01.
| Name | What is it? | Languag | degree of difficulty | tools to make it beautiful | connection to divice |
|---|---|---|---|---|---|
| Bootstrap | framework | HTML | easy to use | many | dont work |
| React Native | framework | JavaScript | easy to learn after a little time | many | I thik it coudld work but I dont find a way |
| Processing | software sketchbook | - | easy to use | less | rely easy via serial conection |
Morph3Dbot App
Processing
Processing v2