
Design and produce something with a digital fabrication process (incorporating computer-aided design and manufacturing) not covered in another assignment, documenting the requirements that your assignment meets, and including everything necessary to reproduce it.
I'm really looking forward to Wildcatweek.
Now I have to decide what I want to do.
Since I can decide badly I will try two things.
I would like to build individual boxes for my electronic parts.
I will first create the form and then deep-draw it.
The second thing I would like to try is to cast a gripper out of silicone which is controllable by air pressure.
I would like to create boxes in which exactly my circuit boards, electronics components and the necessary tools
to assemble pure fit.
These are to be installed later in my box for the robot system. For this purpose they should be in the form of
mines again.
This shape is not very suitable for a wooden box so I would like to thermoform them. Another advantage is that I
can use transparent material so that you can see directly from the outside what is inside the box.
First of all I have to make the moulds to be able to thermoform them.
For this I would have different possibilities.
I create a 3D print and draw it deep - that would be impractical in many ways. First of all I could print the form
directly. And if you want to thermoform a 3D print you have to make sure that you print it with as much infill as
possible otherwise it will deform.
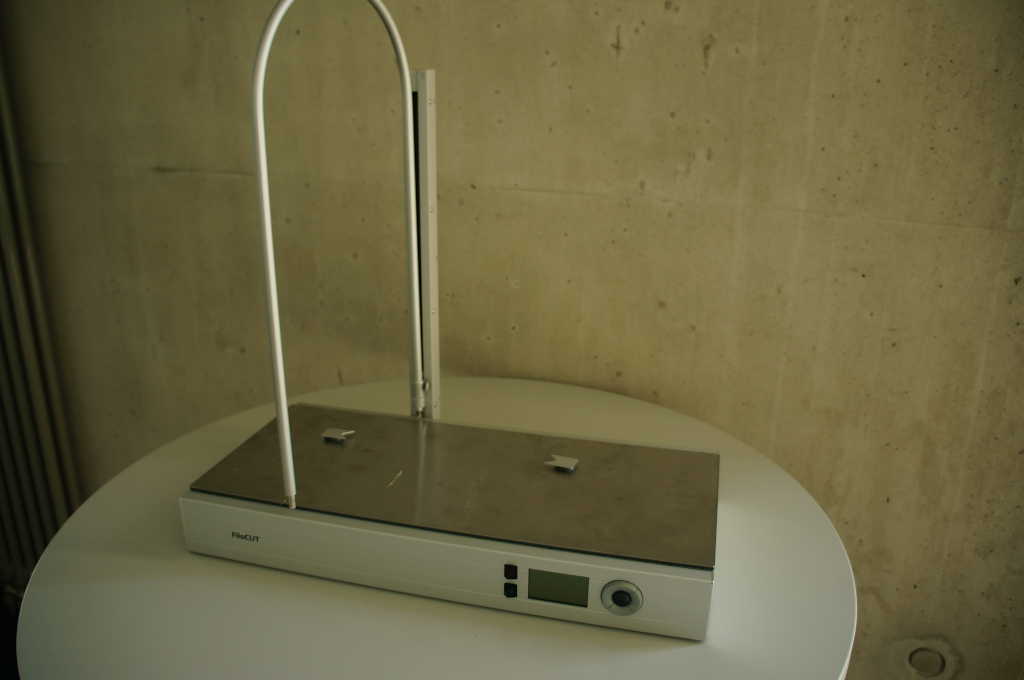
Filocut is a machine that can cut 2D polystyrene foam with a heatable cutting wire. It is possible to load vertig created dfx files or to create them in the software itself.
| workspace | 400 x 300 x 200 mm |
|---|---|
| speed | 25 mm/s |
| resolution | 0,02 mm |
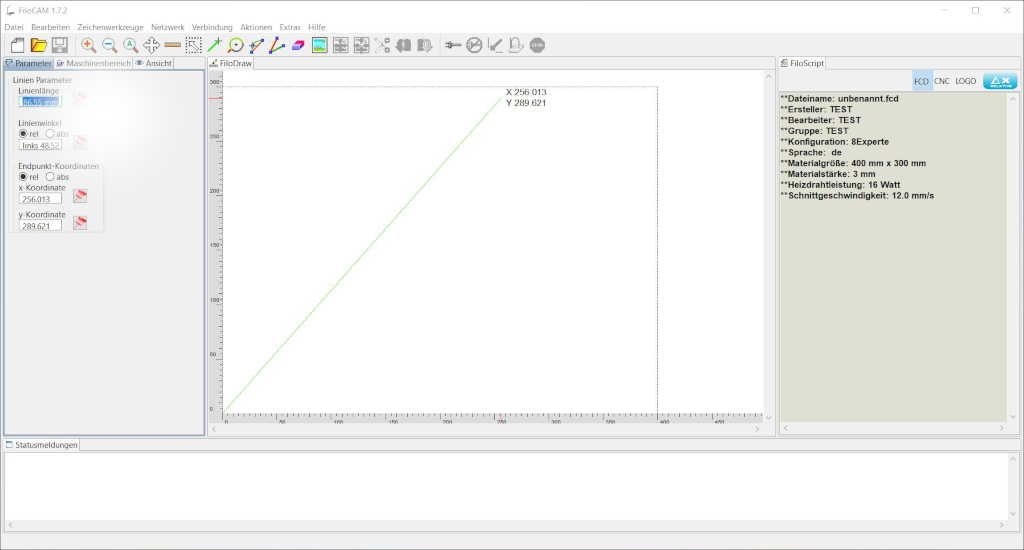
The machine is supplied with a software which can be installed via the supplied CD.
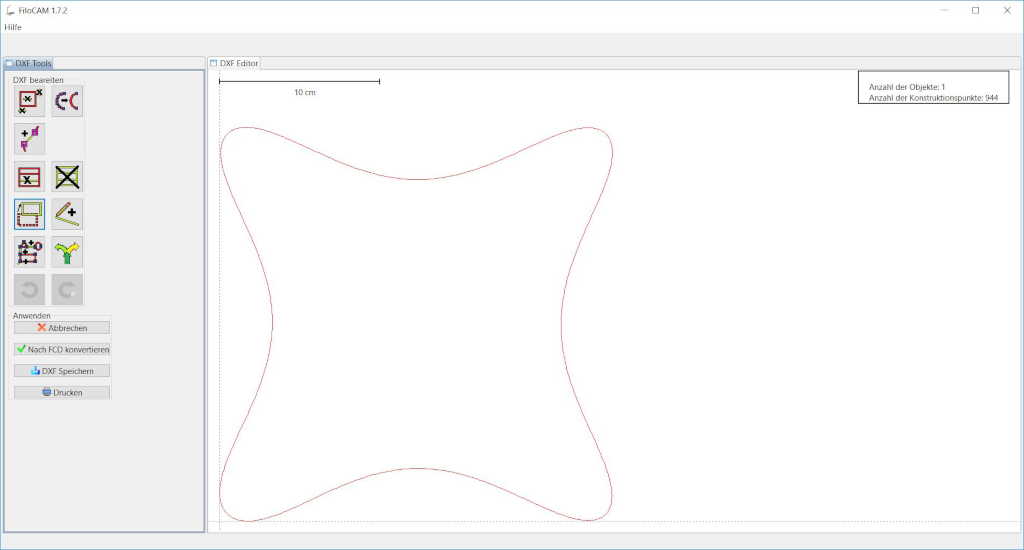
Because I have already drawn my form in Fusion 360 I only have to export it there as a DXF file. This can be improvised in the Filcut software. If you do that a new window opens.
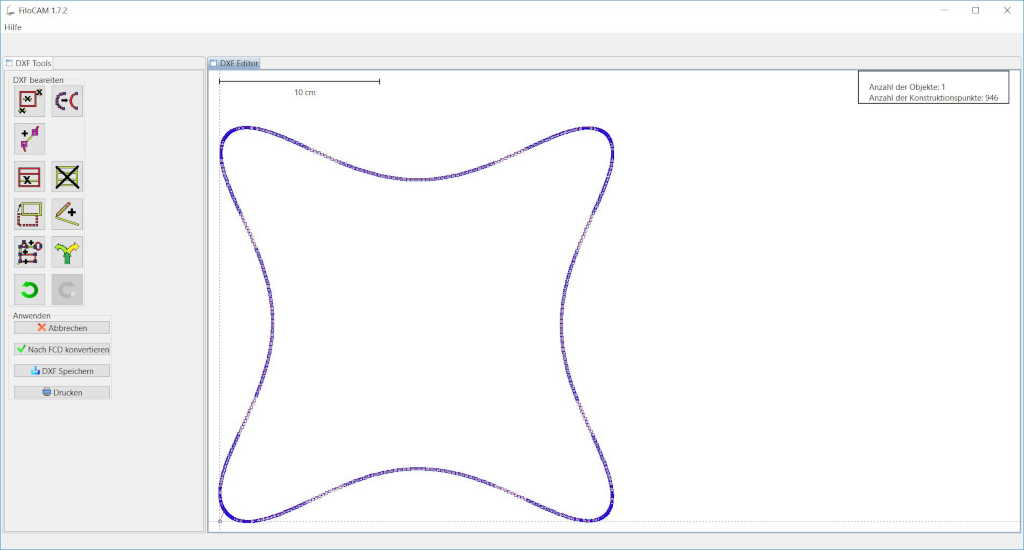
Since we are working with a wire, the first thing I have to do is to create a driveway so that the dragt comes to my shape. To do this I would be in the left menu bar the 2 button from below and connect the origin with a point on my line.
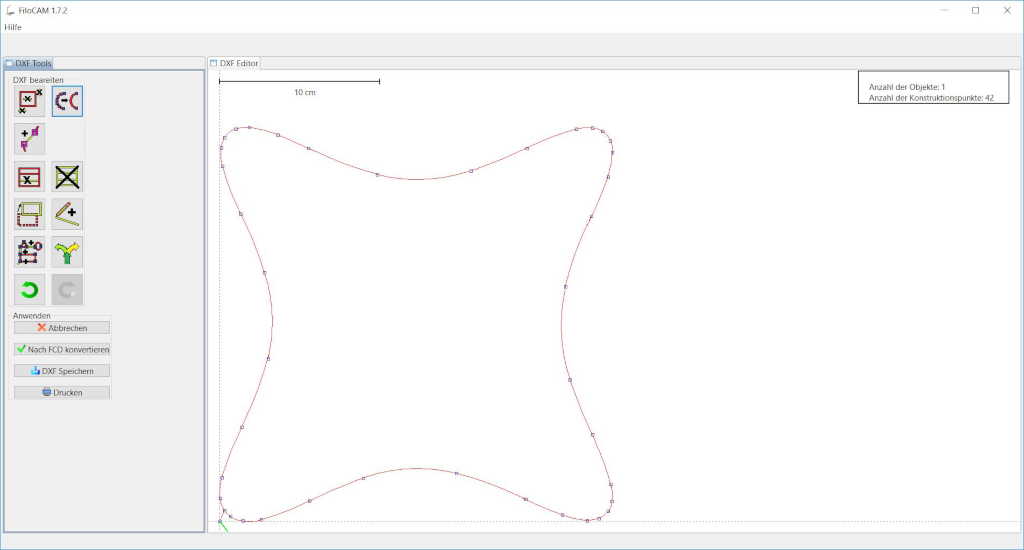
The file contains a lot of way points so many are not necessary so I reduce them in the next step. To do this I click on the top simbol in the 2 menu bar. Then I can adjust the accuracy and I have a kind of way with less points.
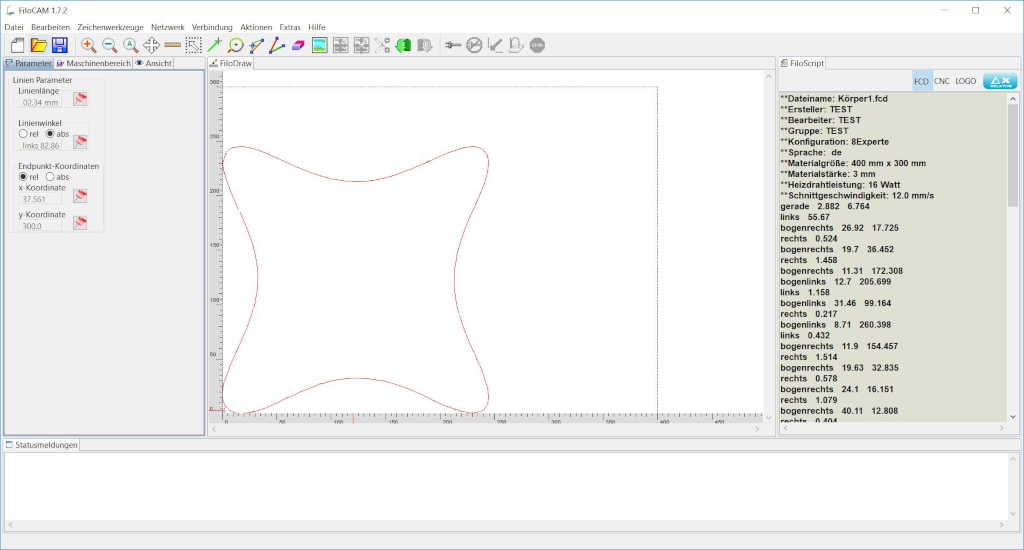
That's it with default settings and we can get back to normal by clicking on the convert button. Then i connect the machines via usb-cable and can send the data over. After i have clamped the desired material.
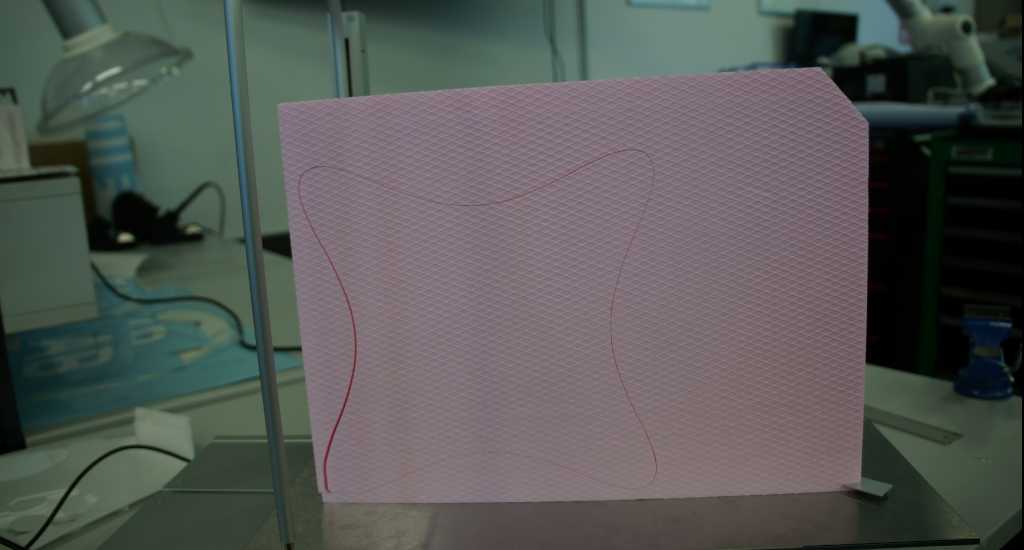
After 10 seconds I have finished my mould and can remove it carefully.
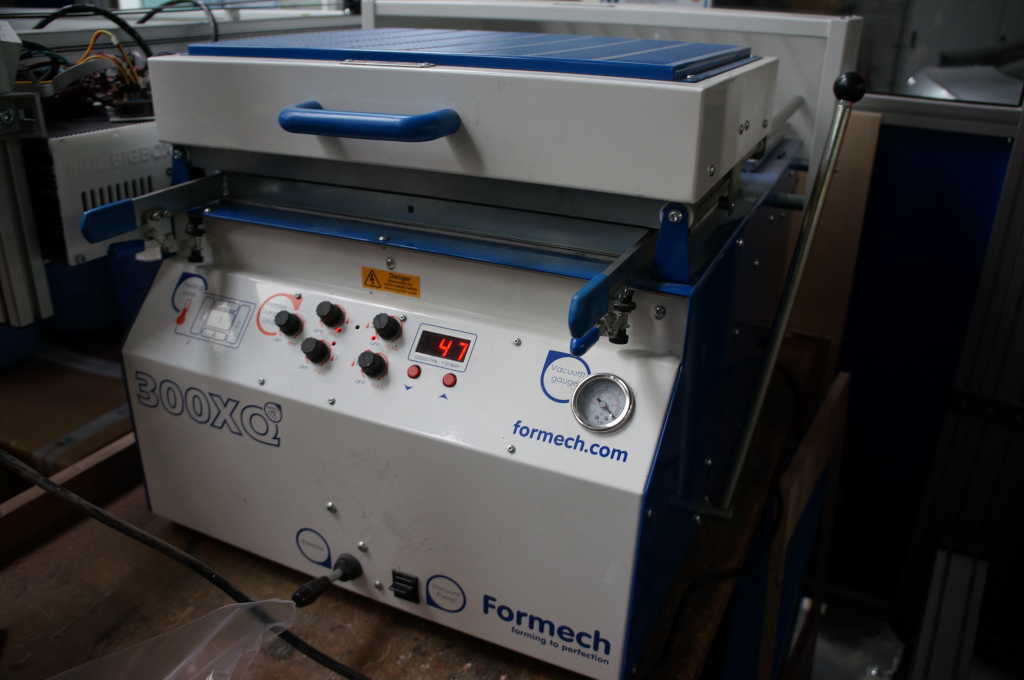
This is a vacuum thermoforming machine.
| workspace | 430mm x 280mm 160mm |
|---|
Now that I have created the form out of stüropor he has to prepare it a little bit because the material will be heated during the deepening and so the styropor would melt.
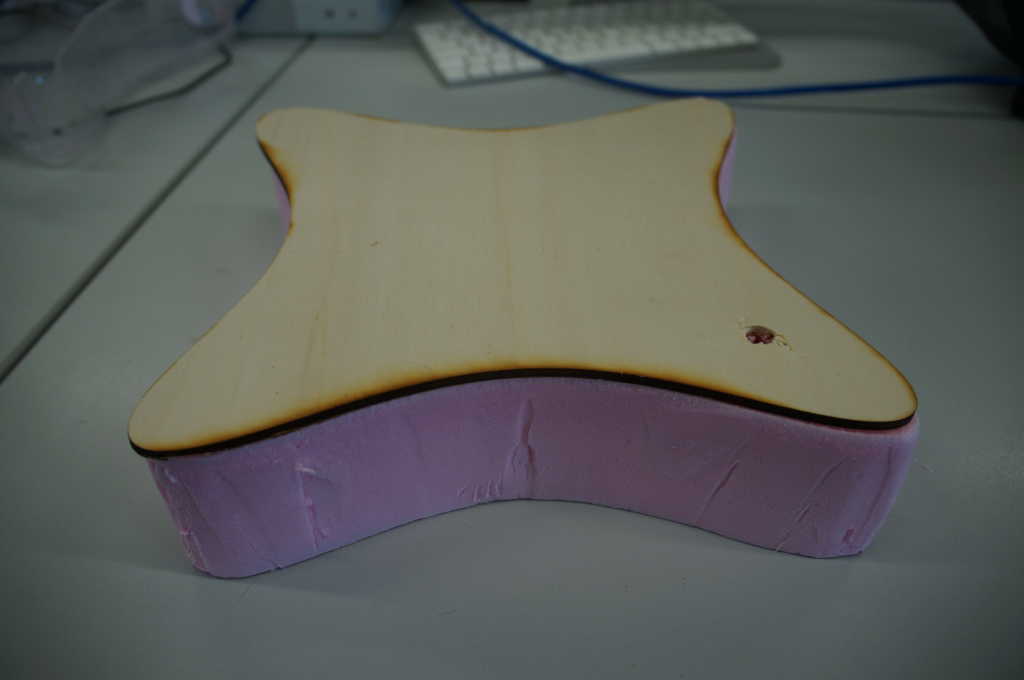
First i made a plate of thin wood with the laiser cutter. So that the Styrpopor on top doesn't melt.
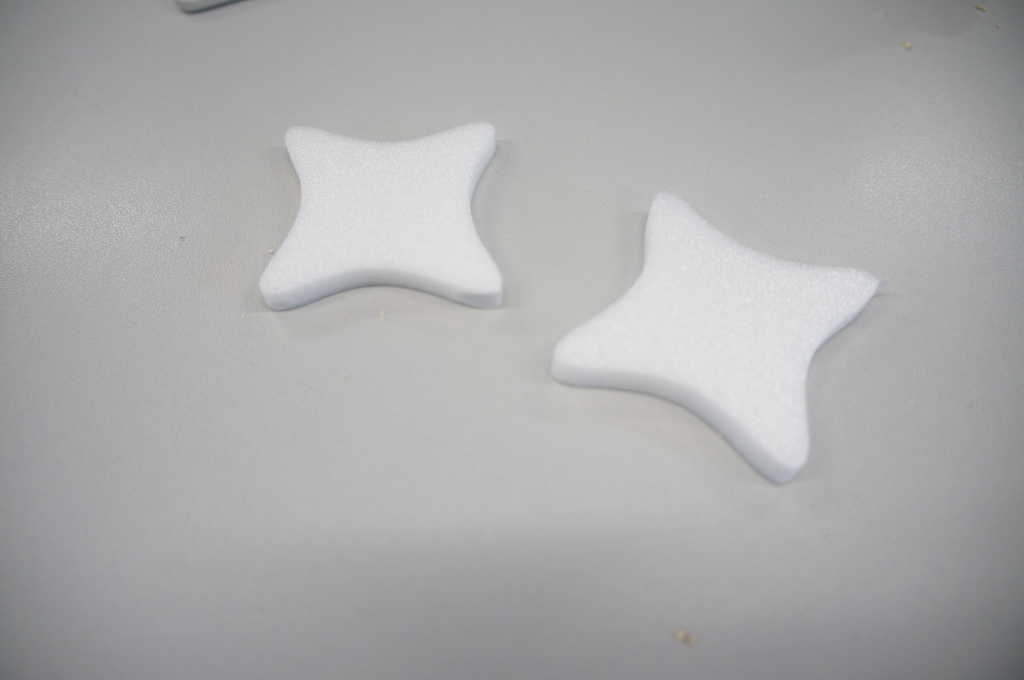
Then I cut some small styropper pieces with the Filocut to fit the shape of my boards. For this I used the filo cut again, so I could cut 8 pieces at the same time.
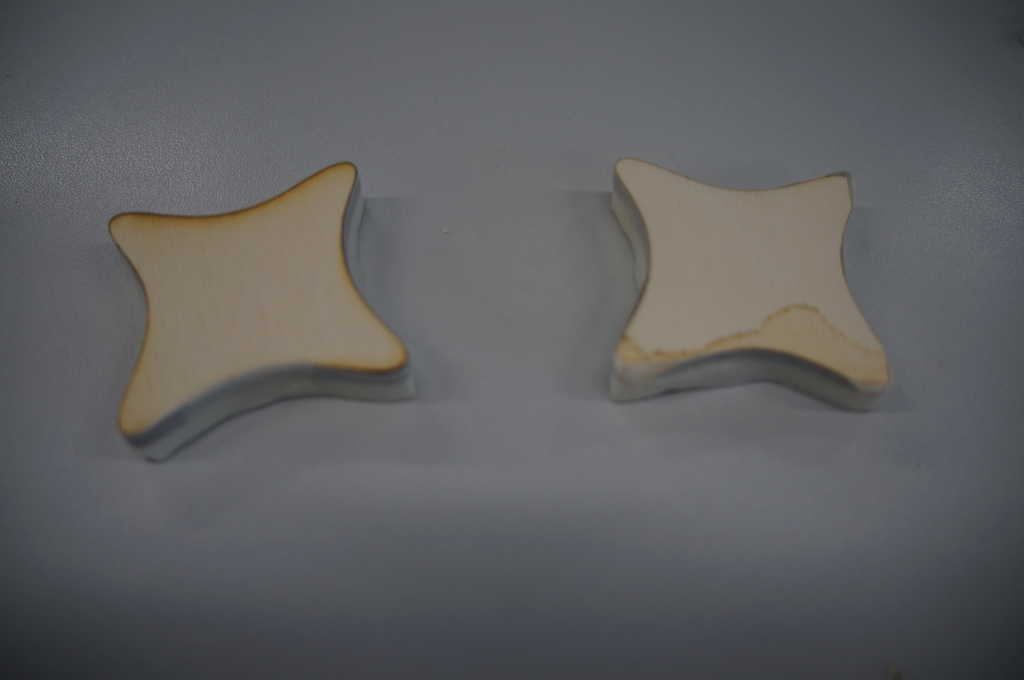
In addition I have also removed small wooden plates which again serve as protection. I fixed this with tabe to the styrofoam plates.
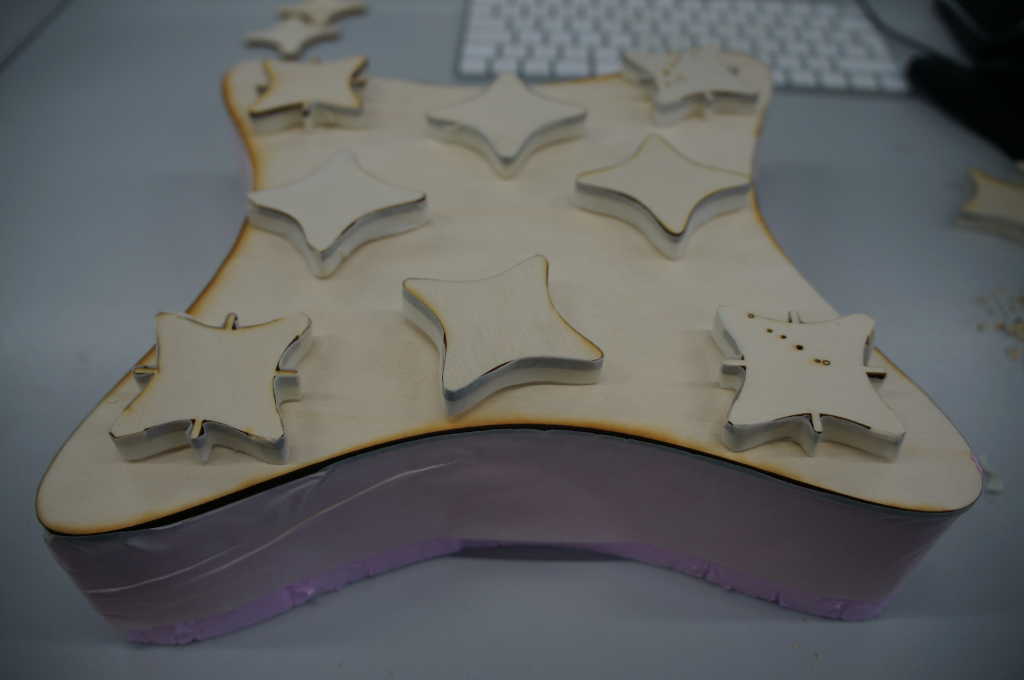
Now I put my boards on the form and place them in the way I want them to be deepened.
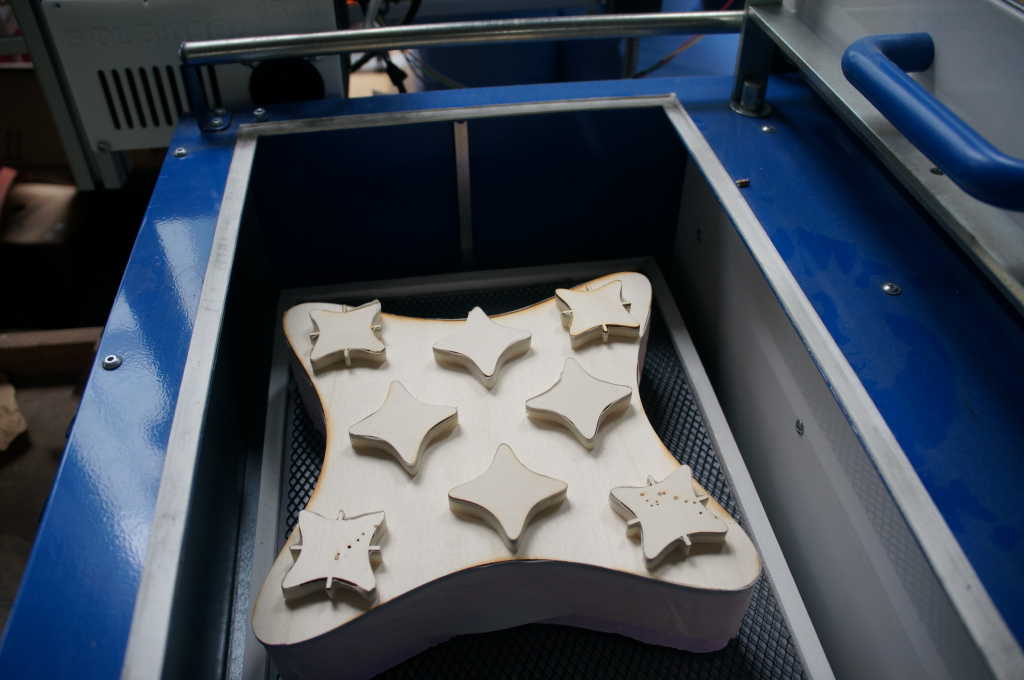
Then I can place it in the mine.
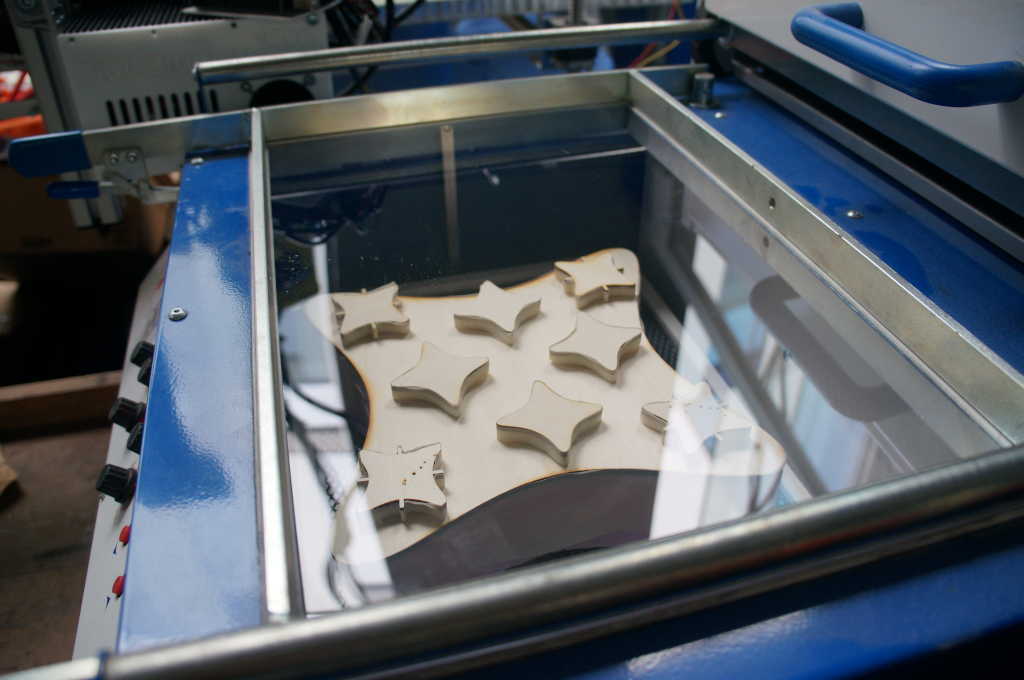
Then I clamp the material from whom my form is to be made. I use thick material so that you can see the boards later.

On the machine you can set different things. On the one hand the temperature I have set to the highest
level.
Then I can also set which area of the press should be heated up like startk in my case all equally
strong.
Now I heat the material on the whole surface for 120 seconds. Ready it is as soon as it slowly
bends.
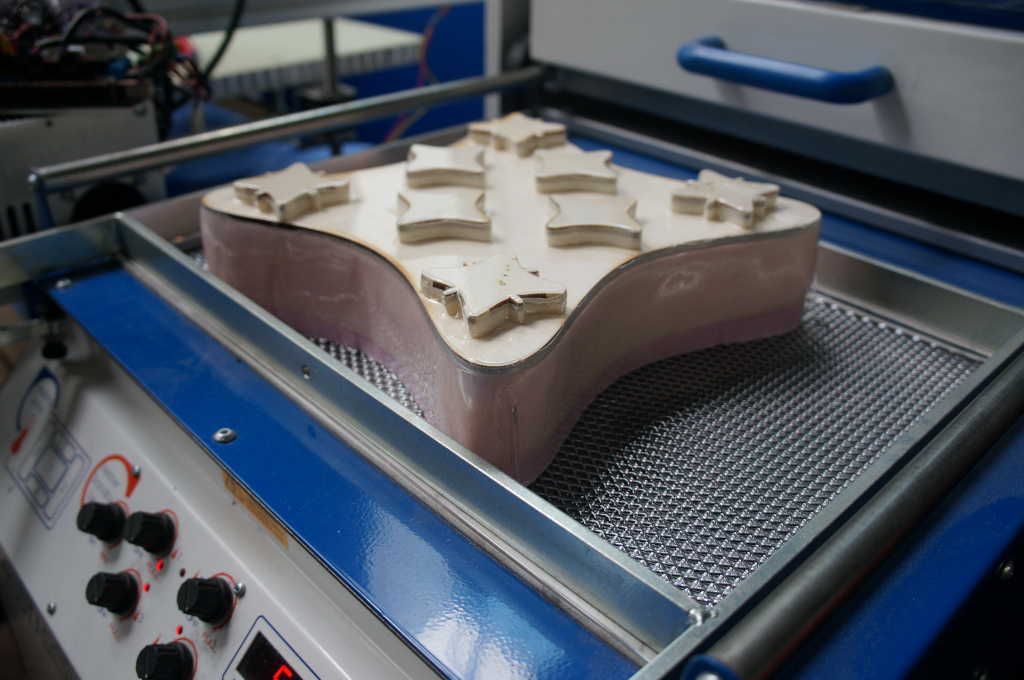
As soon as the material is ready, I push the heating-blcok to the back, pull the mould deep and activate the vacuum.
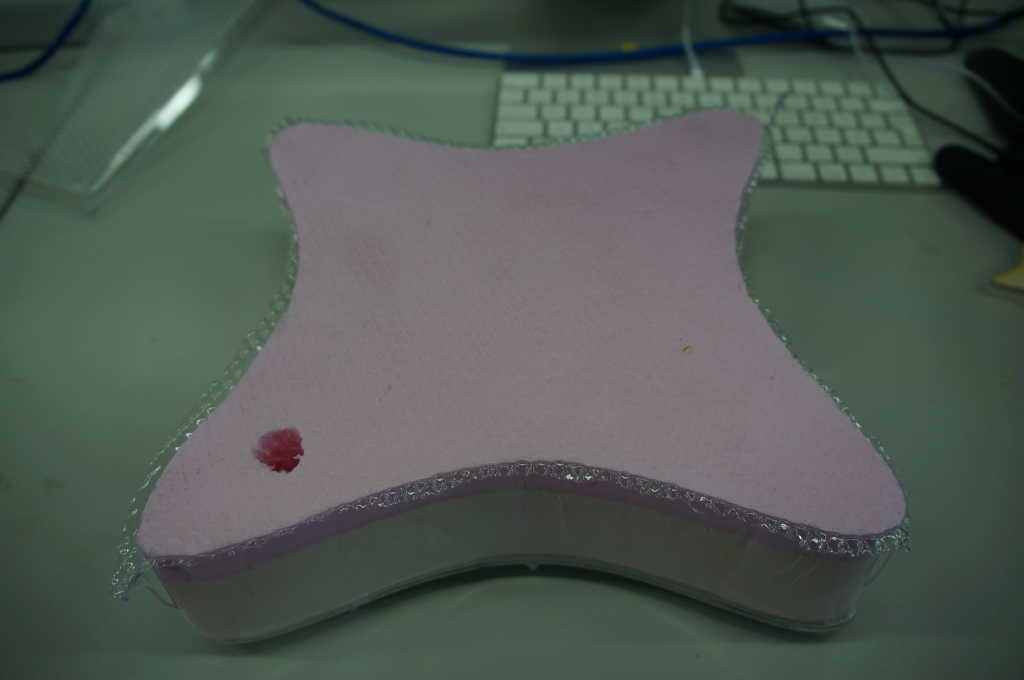
Ready is the form now I just have to get my template out again without destroying it. This turned out to be somewhat difficult because the form was very tight. So I used a cordless screwdriver to make a hole in the template so that air could get into the mould.
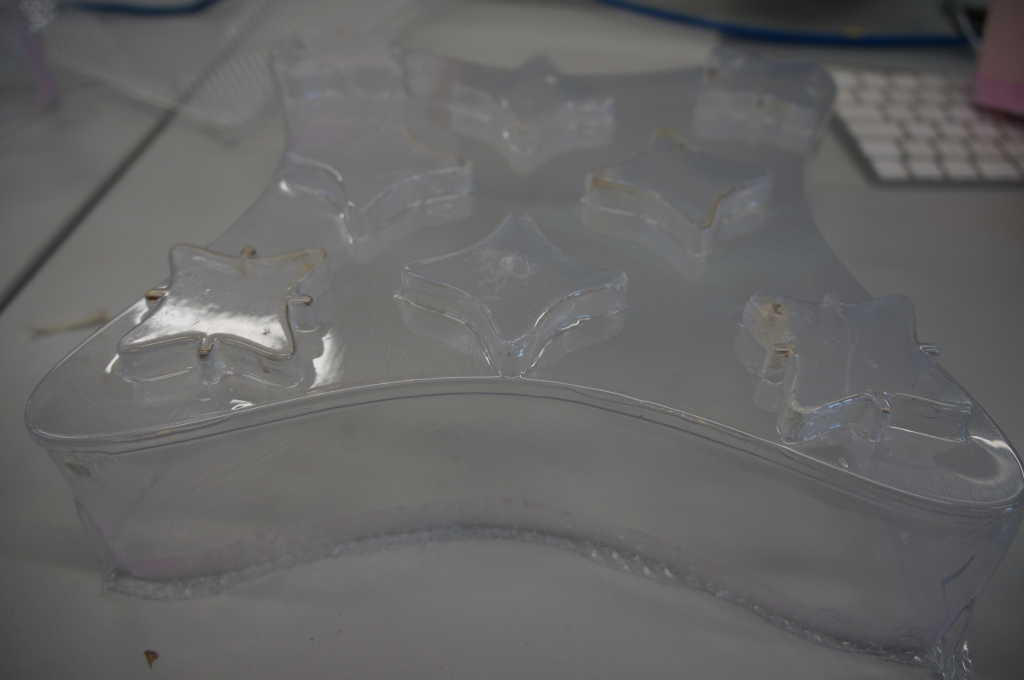
So the business was the big form went out in one piece the small forms suffered from it.
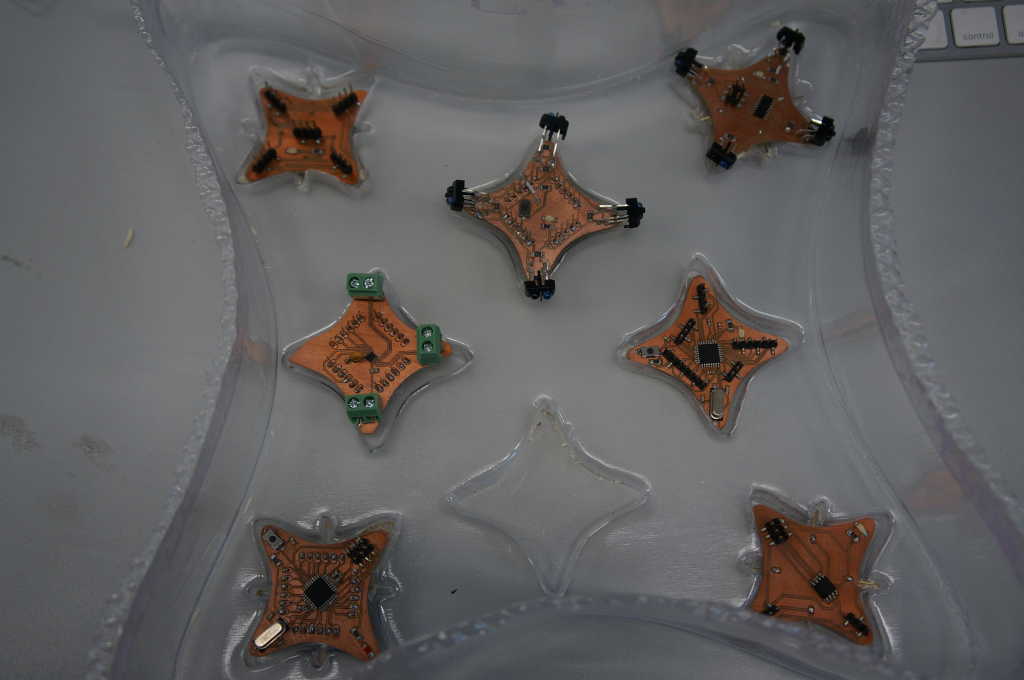
The circuit boards fit in perfectly.
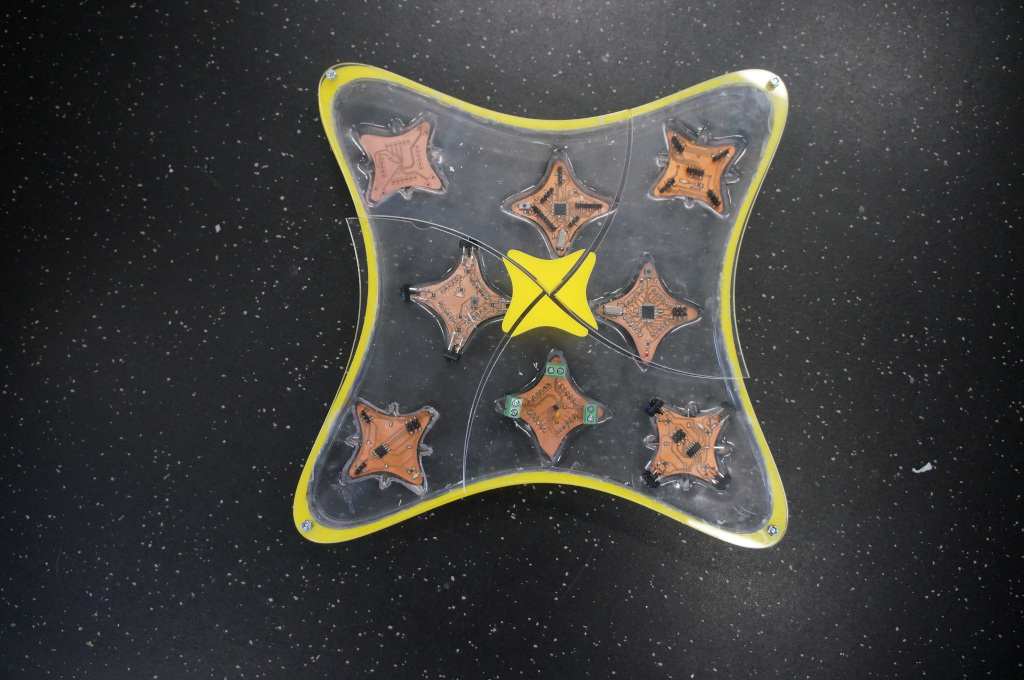
Because my boards would fall out now I made another cover with the laiser cutter.
I would like to create a gripper for my robot system, which can be put into one of the dice. I started with the 3D disein that was easy.
So I used different silicone. But with that I had some problems because we had the wrong one in the lab so I could have formed face masks with it but it didn't get hard enough. But now I found the right one and started with my first tests.
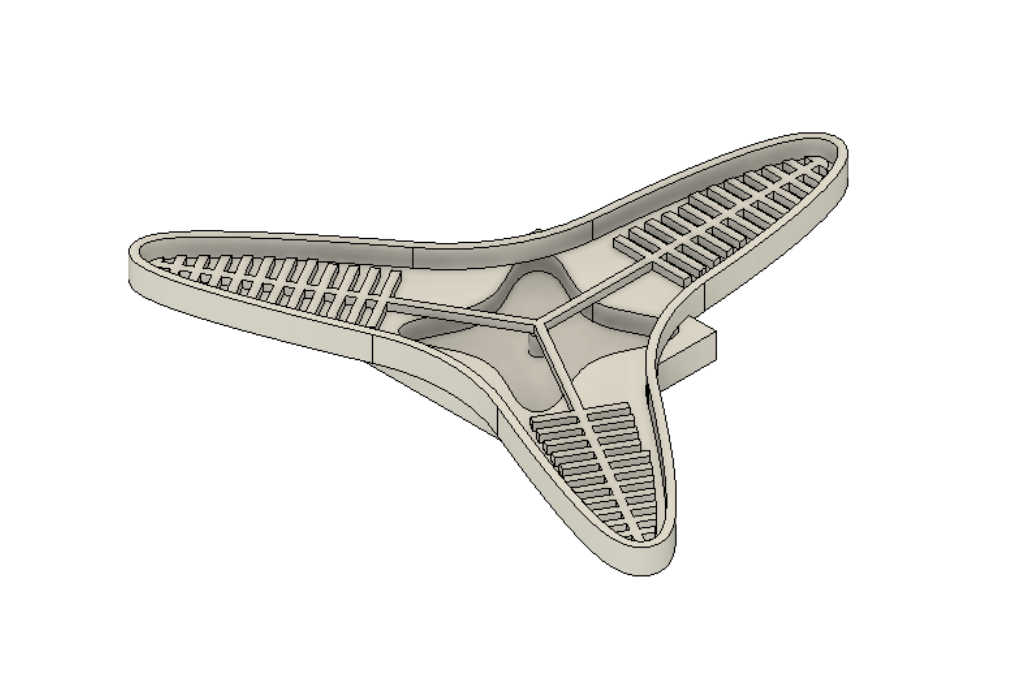
I designed the form for my model in Fusion 360. I created one of the arms and arranged it 3 times around the center point. This was very challenging and it crashed 3 times.
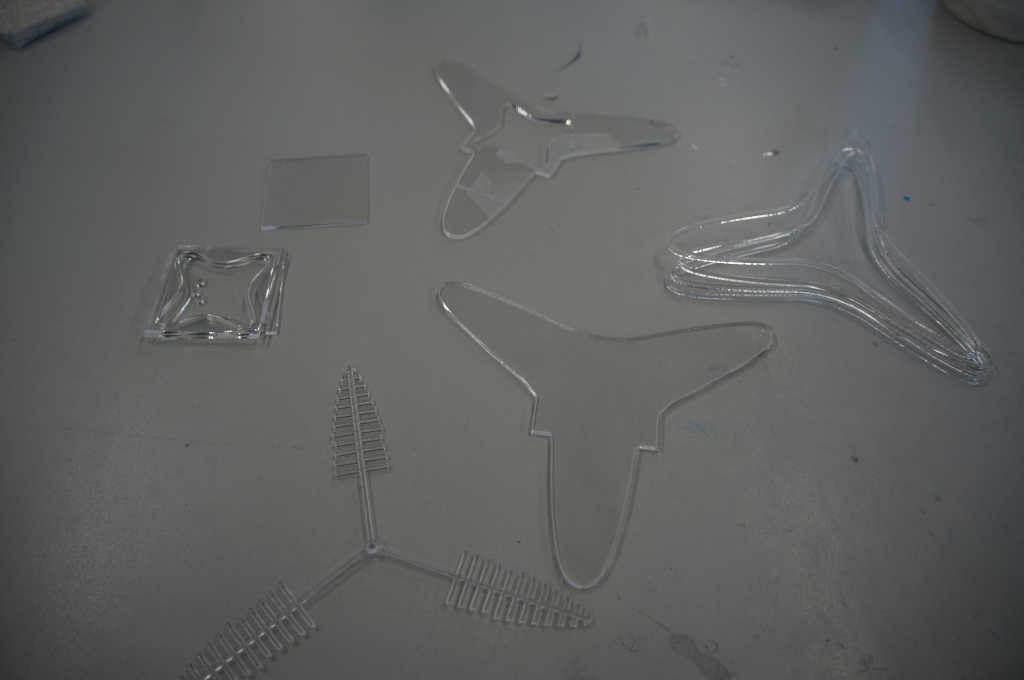
Then I cut my model into layers and cut it out of acrylic with the Laser cutter.
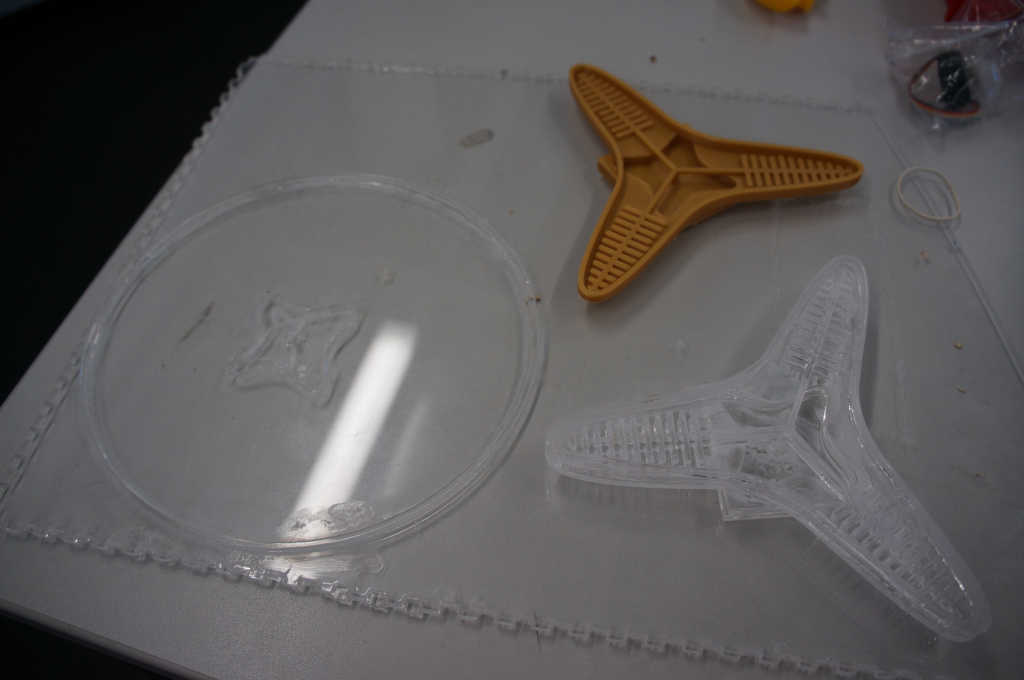
Then I glued my form with acyl-glue to collect. Another form I printed.
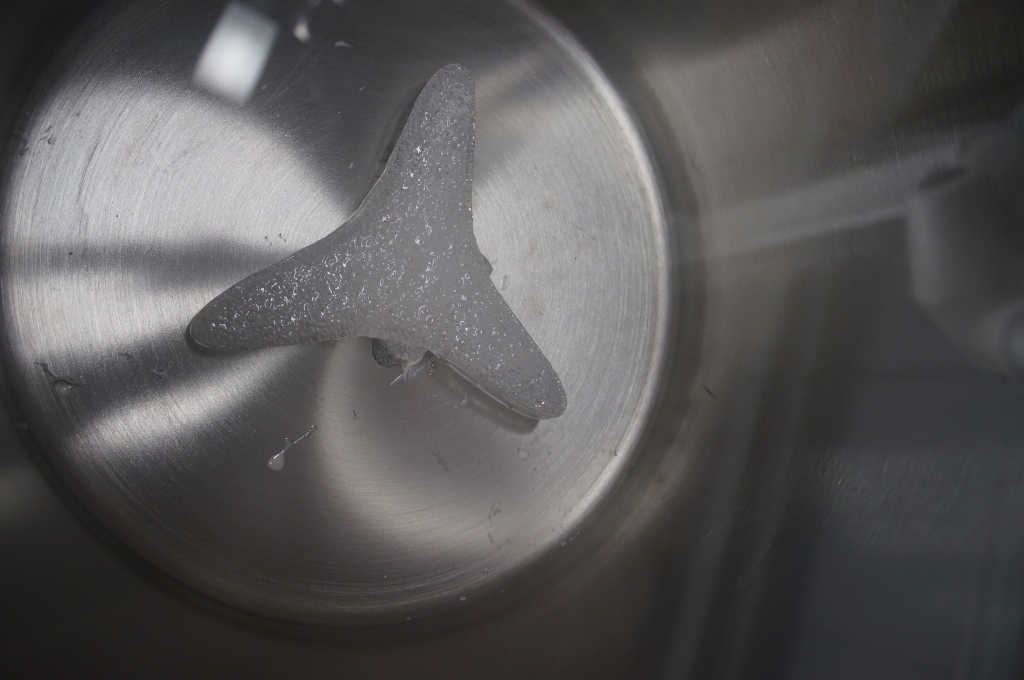
To remove all air bubbles I have vacuumized the silicone.
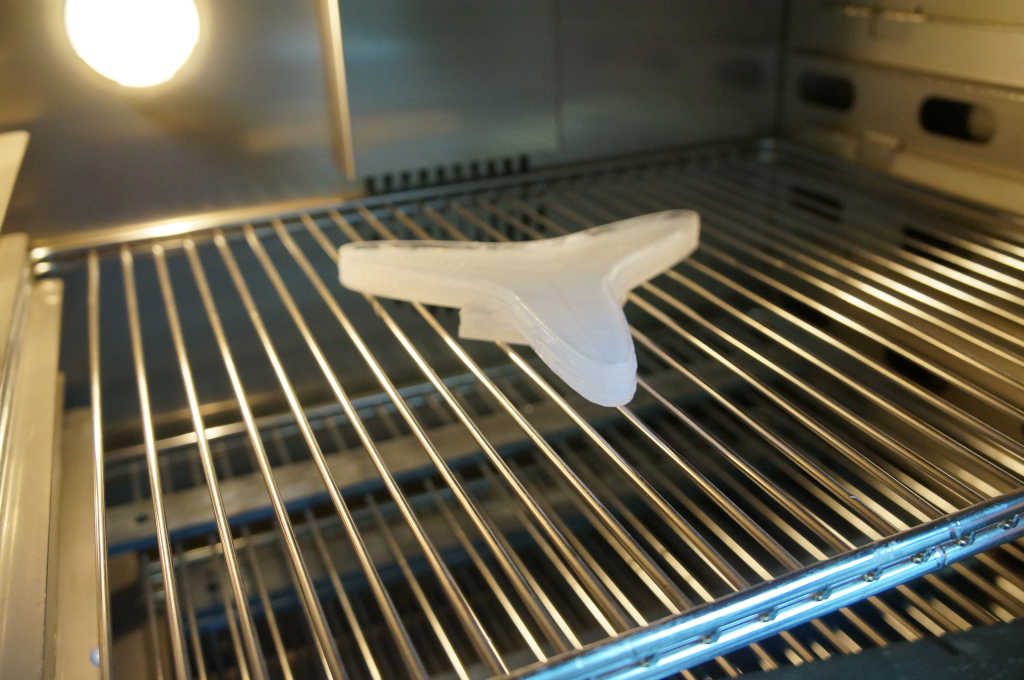
Afterwards I let it cure in the air. To get better results I put it in the oven at 100°C for 2 hours and then at 80°C for one hour.
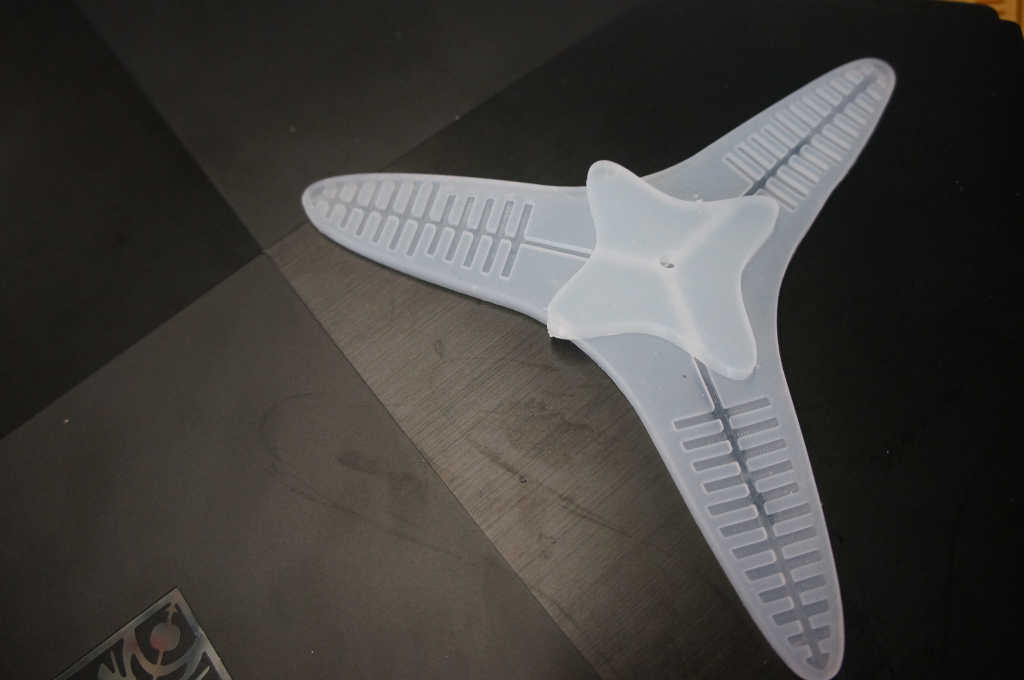
The first part already looks very good. It is also much more flexible than the previous attempts.
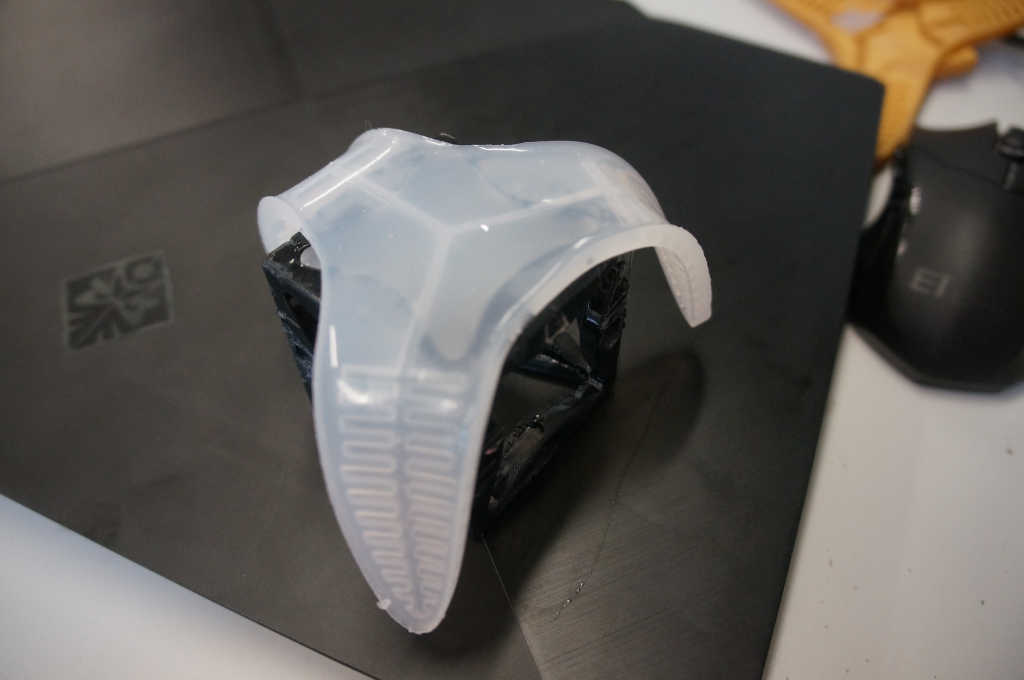
The shape fits perfect in the main block
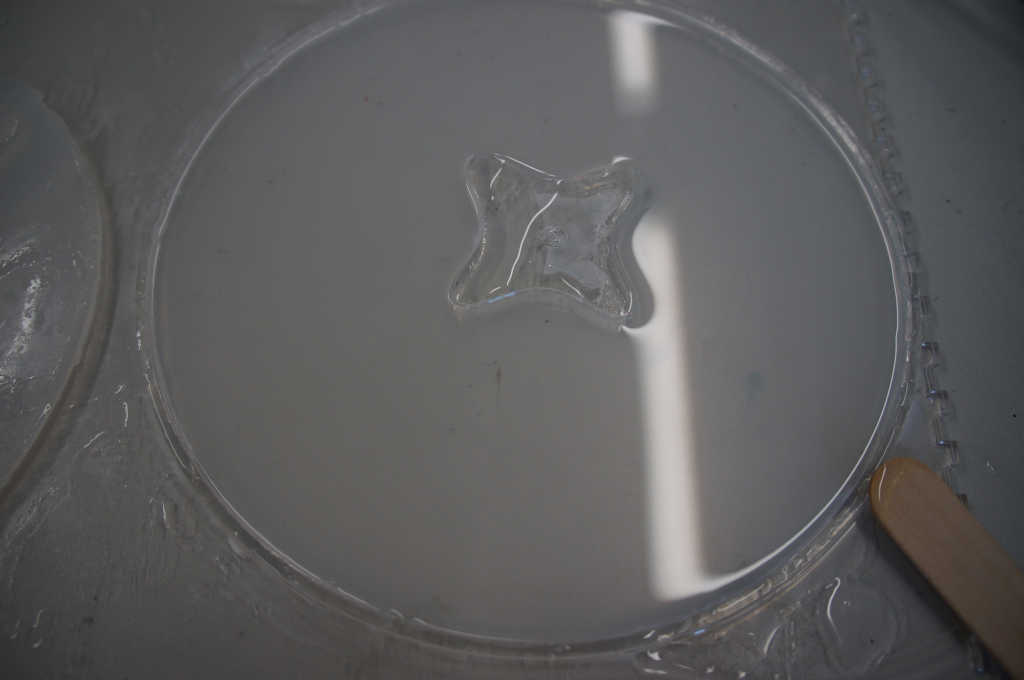
At the same time I have already prepared the second part.
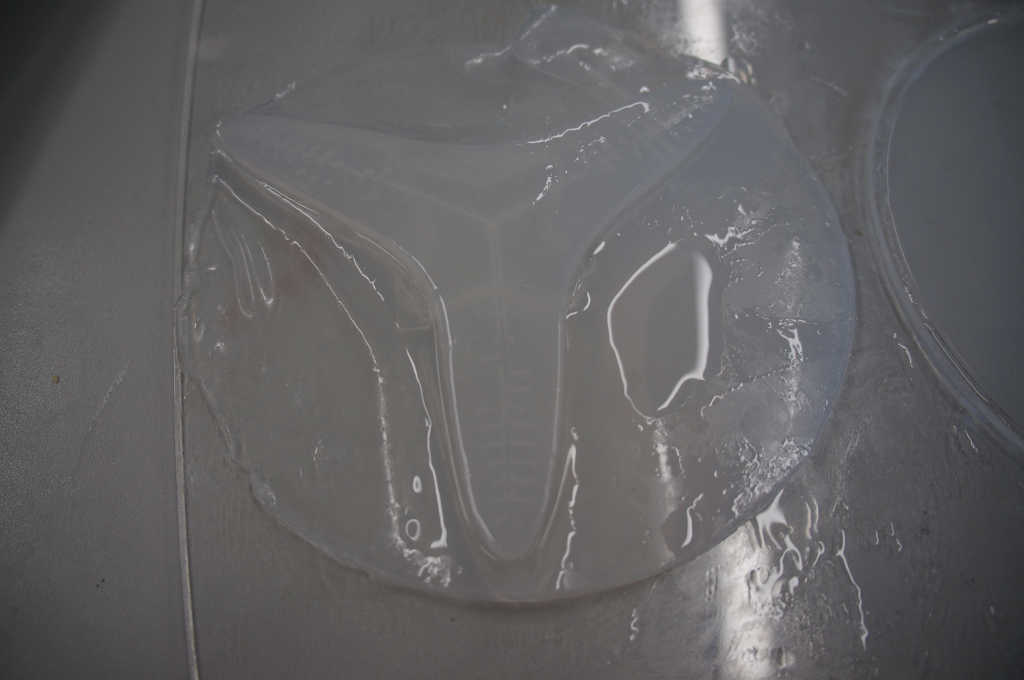
Then I tried to put the two parts together. That put me in front of one or the other. Because the form was not as easy to put together as I thought.
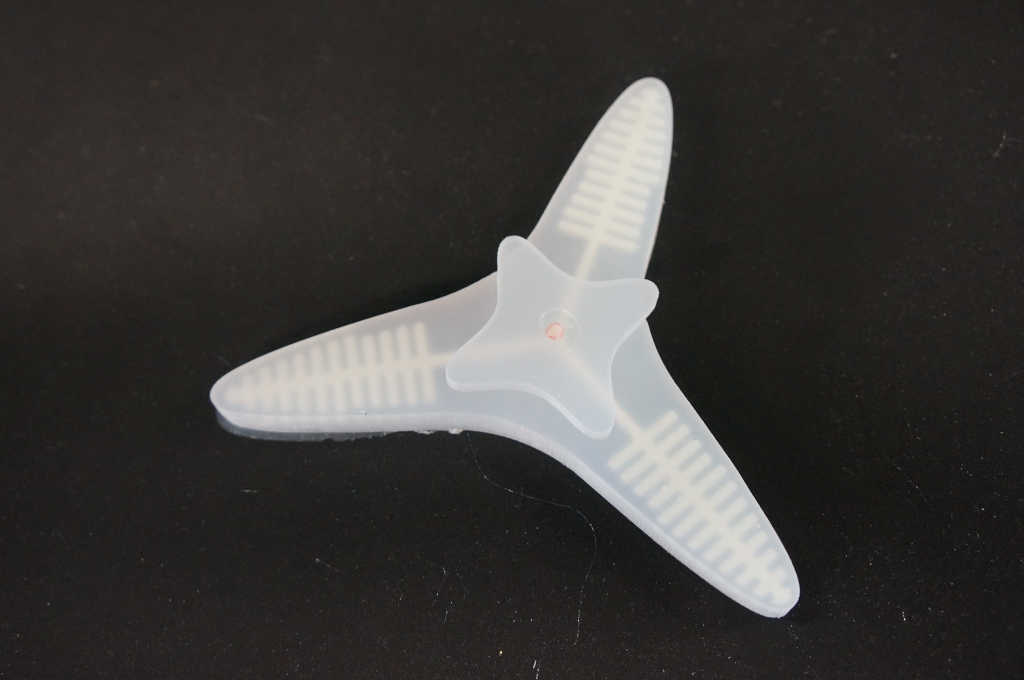
After I was not successful in gluing together several times I thought about how I could do it differently. It occurred to me that we also have water soluble filament, so I printed the rib with water soluble filament and the form in a cast.
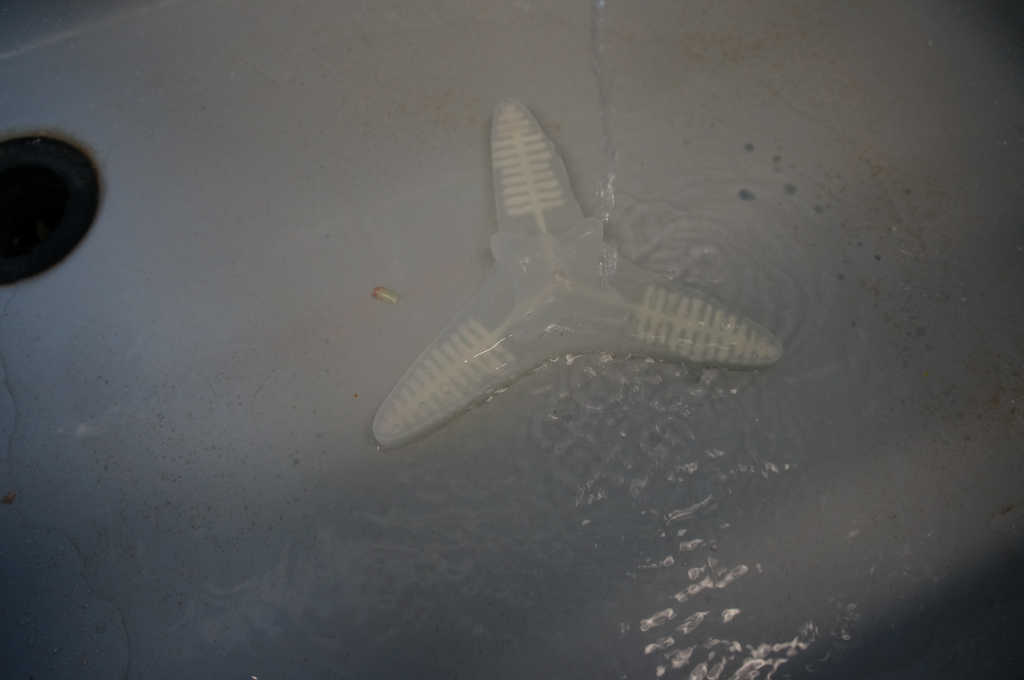
Now I was faced with the challenge of how to get water into the mould. I proceeded piece by piece. I let water run in. Waited until it dissolved and let new water flow in again until everything was gone.
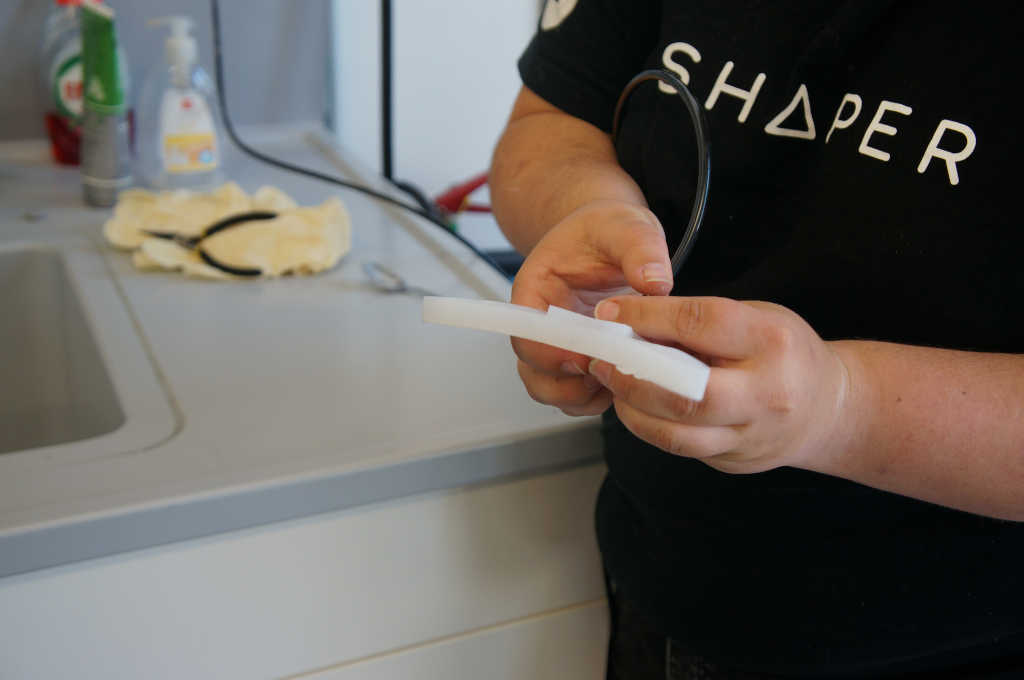
Now I have a finished mould.
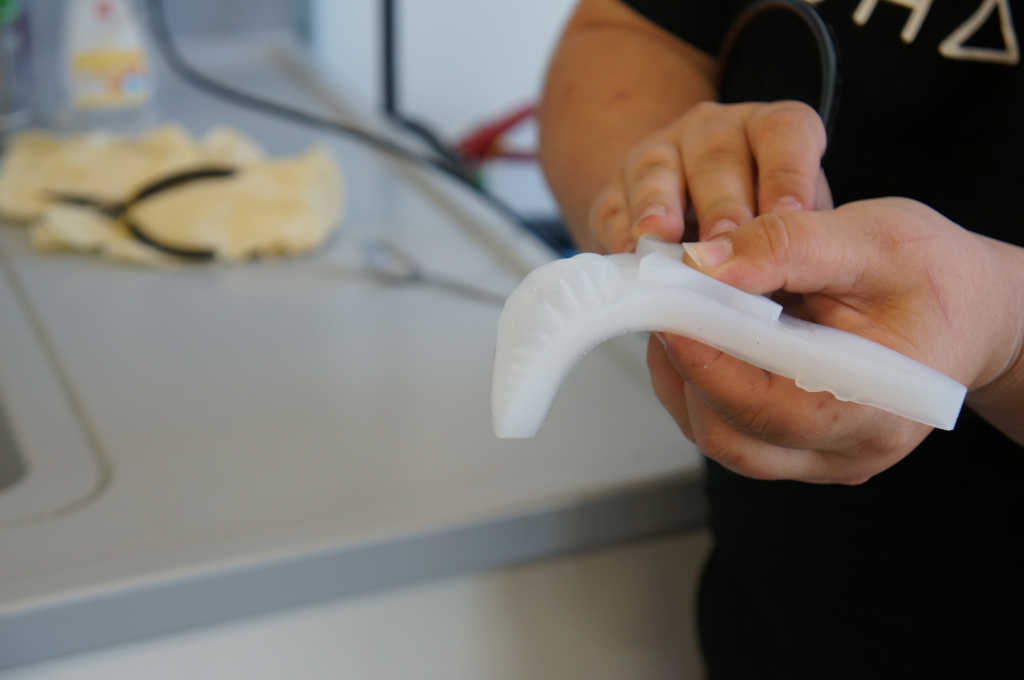
The form can still be optimized if. But the week is unfortunately over. When I have some time I will take a closer look at it.