Assignment 13: Molding and Casting
This assignment covers my learning experience in Molding and Casting, including the fundamental concepts of both processes and the materials commonly involved. I described how I used SolidWorks to create the 3D model and employed Modela Player 4 to generate the toolpaths. I successfully machined the mold using the SRM-20 milling machine and proceeded with the molding and casting steps to produce both the mold and the final casted piece. Additionally, I included reflections on the key takeaways and the difficulties I faced during the process.
This week was a significant milestone for me because I have always wanted to develop apps but never had the opportunity or direction to start. Through this assignment, I began exploring different platforms and programming languages to create project-specific applications. I started working with MIT App Inventor to control an LED and an AC light. Additionally, I used Processing to create a graphical user interface (GUI) with five buttons to control an RGB LED via serial communication. These experiences helped me understand how to interface hardware with software in a meaningful and functional way. Although I encountered some challenges, especially in getting the serial communication to work correctly, I was eventually able to implement the RGB control as intended. This week boosted my confidence in app development and real-world interfacing.
Highlight Moments of the Week


Basics of Molding and Casting :
Casting :
Casting is a manufacturing process in which a liquid material is usually poured into a mold, which contains a hollow cavity of the desired shape, and then allowed to solidify. The solidified part is also known as a casting, which is ejected or broken out of the mold to complete the process. Casting materials are usually metals or various time setting materials that cure after mixing two or more components together; examples are epoxy, concrete, plaster and clay. Casting is most often used for making complex shapes that would be otherwise difficult or uneconomical to make by other methods. Heavy equipment like machine tool beds, ships' propellers, etc. can be cast easily in the required size, rather than fabricating by joining several small pieces.[1] Casting is a 7,000-year-old process. The oldest surviving casting is a copper frog from 3200 BC.
Molding (process) :
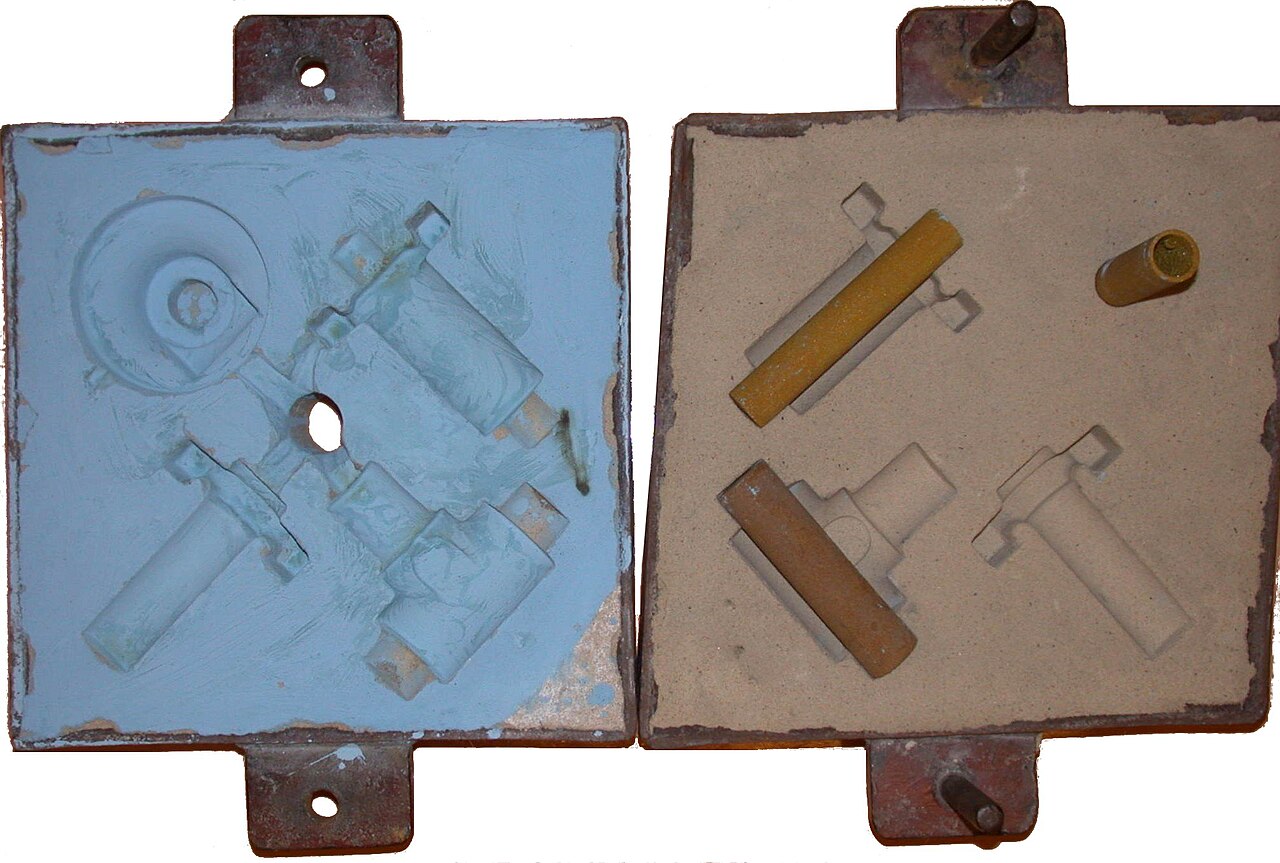
A mold or mould is a hollowed-out block that is filled with a liquid or pliable material such as plastic, glass, metal, or ceramic raw material.[2] The liquid hardens or sets inside the mold, adopting its shape. A mold is a counterpart to a cast. The very common bi-valve molding process uses two molds, one for each half of the object.
Articulated molds have multiple pieces that come together to form the complete mold, and then disassemble to release the finished casting; they are expensive, but necessary when the casting shape has complex overhangs.
References: Reference1,Reference2
Types of Molding :
1. Compression Molding
2. Injection Molding
3. Blow Molding
4. Rotational Molding (Rotomolding)
5. Vacuum Forming / Thermoforming
6. Silicone Rubber Molding
7. Compression (Two-part) Molding
Injection Molding :
Injection moulding (U.S. spelling: injection molding) is a manufacturing process for producing parts by injecting molten material into a mould, or mold. Injection moulding can be performed with a host of materials mainly including metals (for which the process is called die-casting), glasses, elastomers, confections, and most commonly thermoplastic and thermosetting polymers
Click here to read more.
Silicone Rubber Molding :
Liquid silicone rubber is a high purity platinum cured silicone with low compression set, good stability and ability to resist extreme temperatures of heat and cold ideally suitable for production of parts, where high quality is required.[1][independent source needed] Due to the thermosetting nature of the material, liquid silicone injection molding requires special treatment, such as intensive distributive mixing, while maintaining the material at a low temperature before it is pushed into the heated cavity and vulcanized.
Chemically, silicone rubber is a family of thermoset elastomers that have a backbone of alternating silicon and oxygen atoms and methyl or vinyl side groups. Silicone rubbers constitute about 30% of the silicone family, making them the largest group of that family. Silicone rubbers maintain their mechanical properties over a wide range of temperatures and the presence of methyl-groups in silicone rubbers makes these materials extremely hydrophobic, making them suitable for electrical surface insulations.
Click here to read more.
Types of Casting :
1. Sand Casting
2. Die Casting
3. Investment Casting (Lost Wax Casting)
4. Plaster Casting
5. Resin Casting
6. Centrifugal Casting
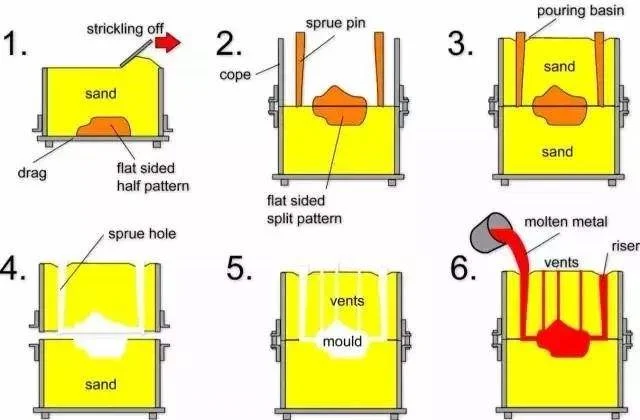
Sand Casting :
Sand casting, also known as sand molded casting, is a metal casting process characterized by using sand—known as casting sand—as the mold material. The term "sand casting" can also refer to an object produced via the sand casting process. Sand castings are produced in specialized factories called foundries. In 2003, over 60% of all metal castings were produced via sand casting.
Click here to read more.
Resin Casting :
Resin casting is a method of plastic casting where a mold is filled with a liquid synthetic resin, which then hardens. It is primarily used for small-scale production like industrial prototypes and dentistry. It can be done by amateur hobbyists with little initial investment, and is used in the production of collectible toys, models and figures, as well as small-scale jewellery production.
The synthetic resin for such processes is a monomer for making a plastic thermosetting polymer. During the setting process, the liquid monomer polymerizes into the polymer, thereby hardening into a solid.
Click here to read more.
Materials used :
During my casting and molding week, I used materials like Flexwax and silicone rubber to create flexible and detailed molds. For casting, I used resin to produce accurate and solid replicas of my original designs.
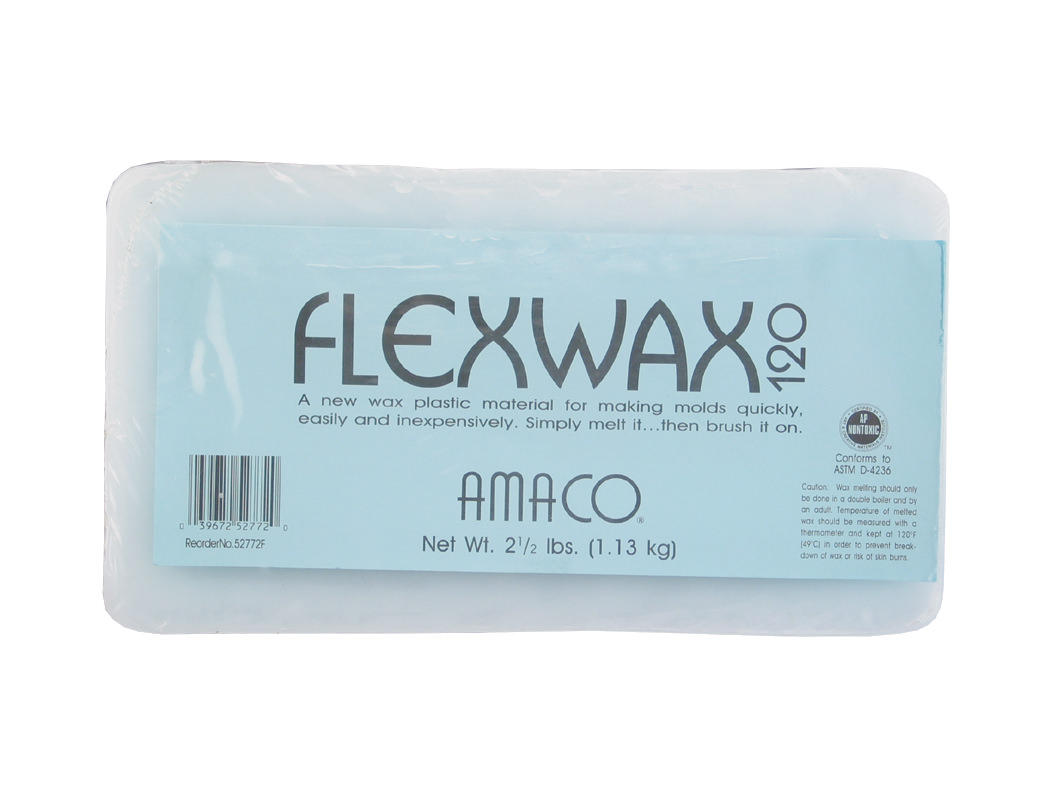
1. Flexwax :
Waxes are a diverse class of organic compounds that are lipophilic, malleable solids near ambient temperatures. They include higher alkanes and lipids, typically with melting points above about 40 °C (104 °F), melting to give low viscosity liquids. Waxes are insoluble in water but soluble in nonpolar organic solvents such as hexane, benzene and chloroform. Natural waxes of different types are produced by plants and animals and occur in petroleum.
Click here to read more.
References: Reference
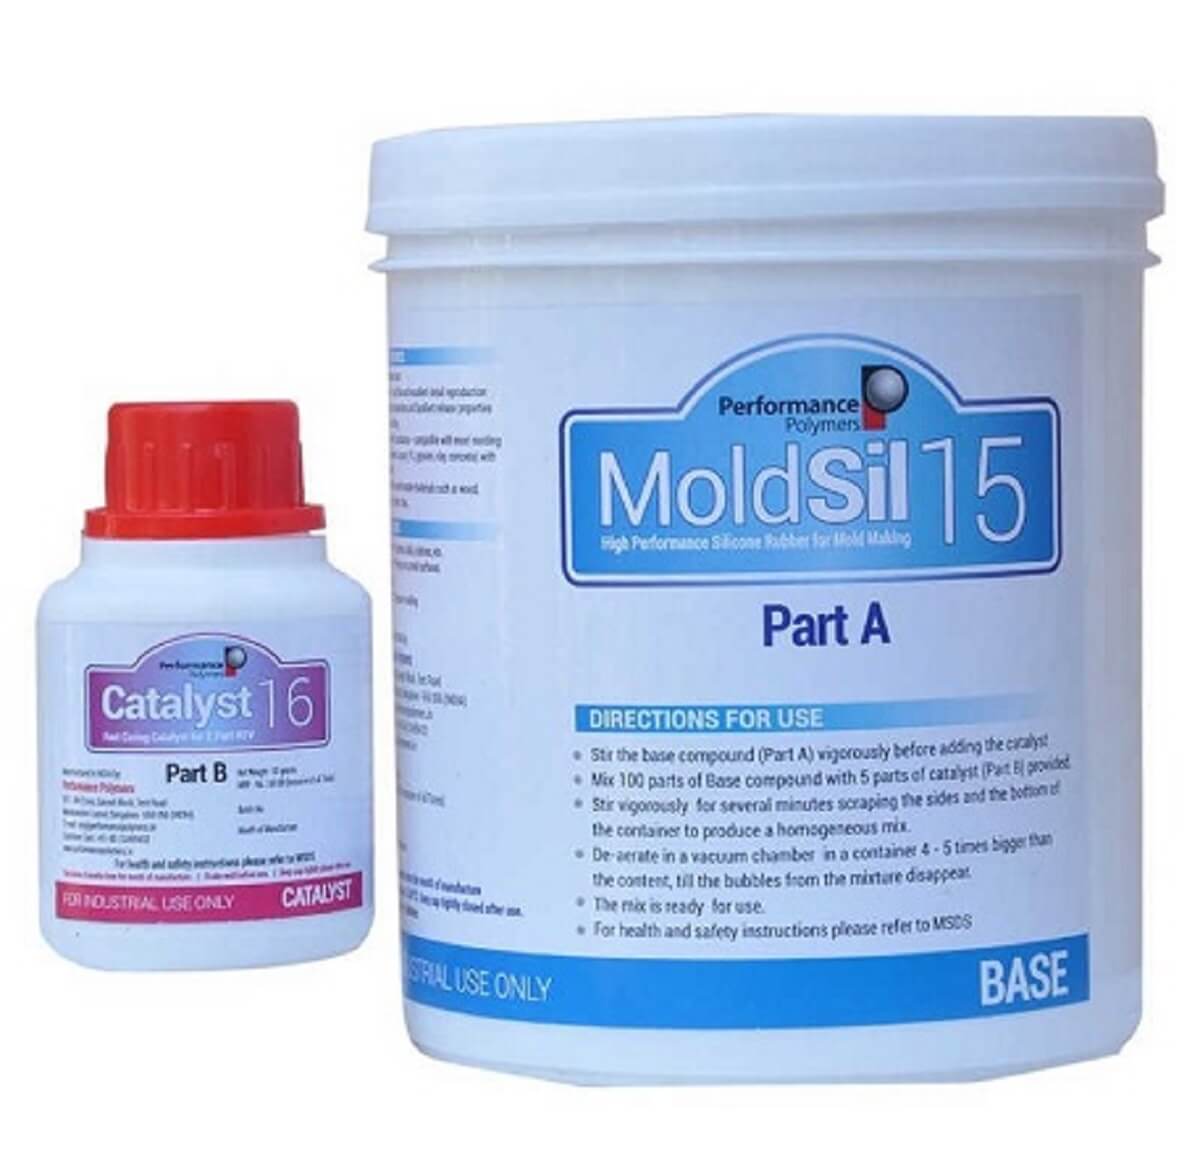
2.Silicone rubber :
Silicone rubber is an elastomer composed of silicone—itself a polymer—containing silicon together with carbon, hydrogen, and oxygen. Silicone rubbers are widely used in industry, and there are multiple formulations. Silicone rubbers are often one- or two-part polymers, and may contain fillers to improve properties or reduce cost. Silicone rubber is generally non-reactive, stable, and resistant to extreme environments and temperatures from −55 to 300 °C (−70 to 570 °F) while still maintaining its useful properties. Due to these properties and its ease of manufacturing and shaping, silicone rubber can be found in a wide variety of products, including voltage line insulators; automotive applications; cooking, baking, and food storage products; apparel such as undergarments, sportswear, and footwear; electronics; medical devices and implants; and in home repair and hardware, in products such as silicone sealants.
Click here to read more.
References: Reference
3.Epoxy Resiner :
Epoxy is the family of basic components or cured end products of epoxy resins. Epoxy resins, also known as polyepoxides, are a class of reactive prepolymers and polymers which contain epoxide groups. The epoxide functional group is also collectively called epoxy.[1] The IUPAC name for an epoxide group is an oxirane.
Click here to read more.
References: Reference
Group Assignment
Objective of the Group Assignment :
- review the safety data sheets for each of your molding and casting materials,
- then make and compare test casts with each of them
- compare mold making processes
Individual Assignment
Objective of the Individual Assignment:
- design a mold around the process you'll be using,
- produce it with a smooth surface finish that
- does not show the production process toolpath,
- and use it to cast parts
Below, I am explaining step by step how I started my individual assignment and how I completed the molding process. I began by designing the mold in SolidWorks, ensuring it fit the casting requirements. Then, I created the mold using silicone and completed the casting with resin to produce the final object.
Designing Mold Using SolidWorks :
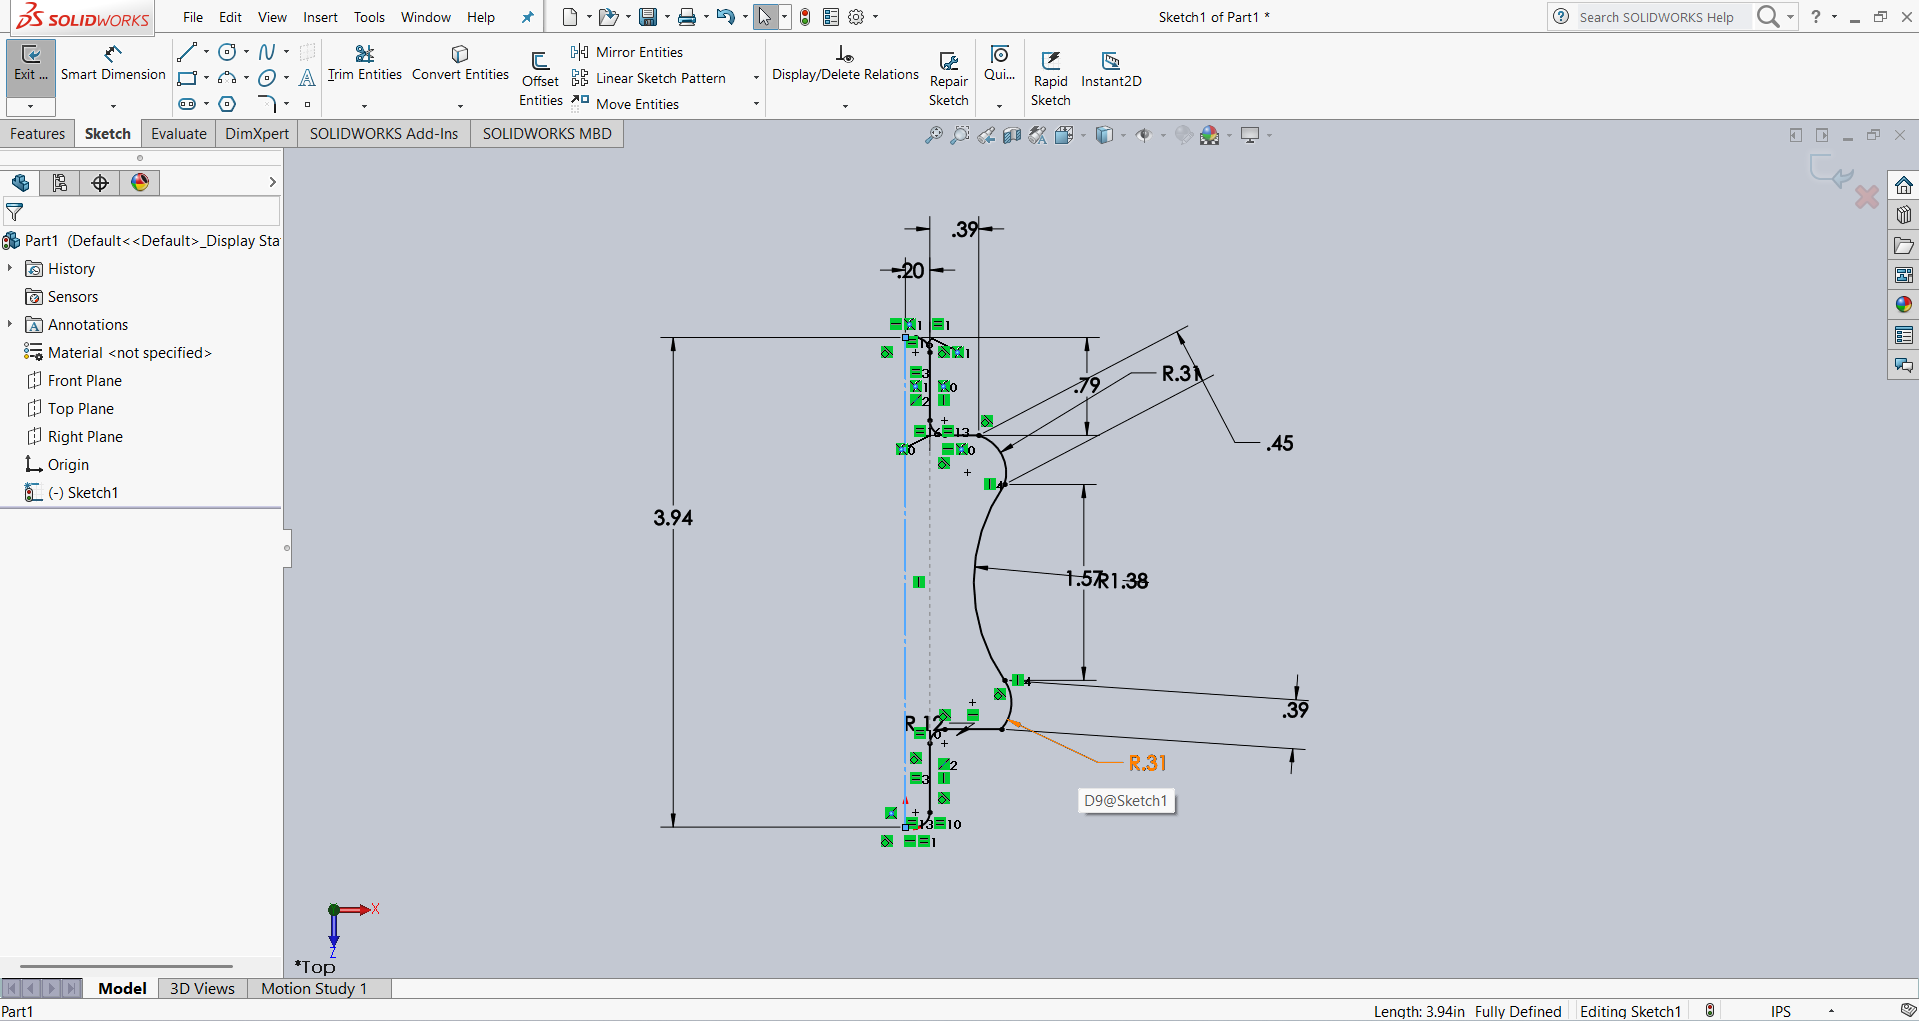
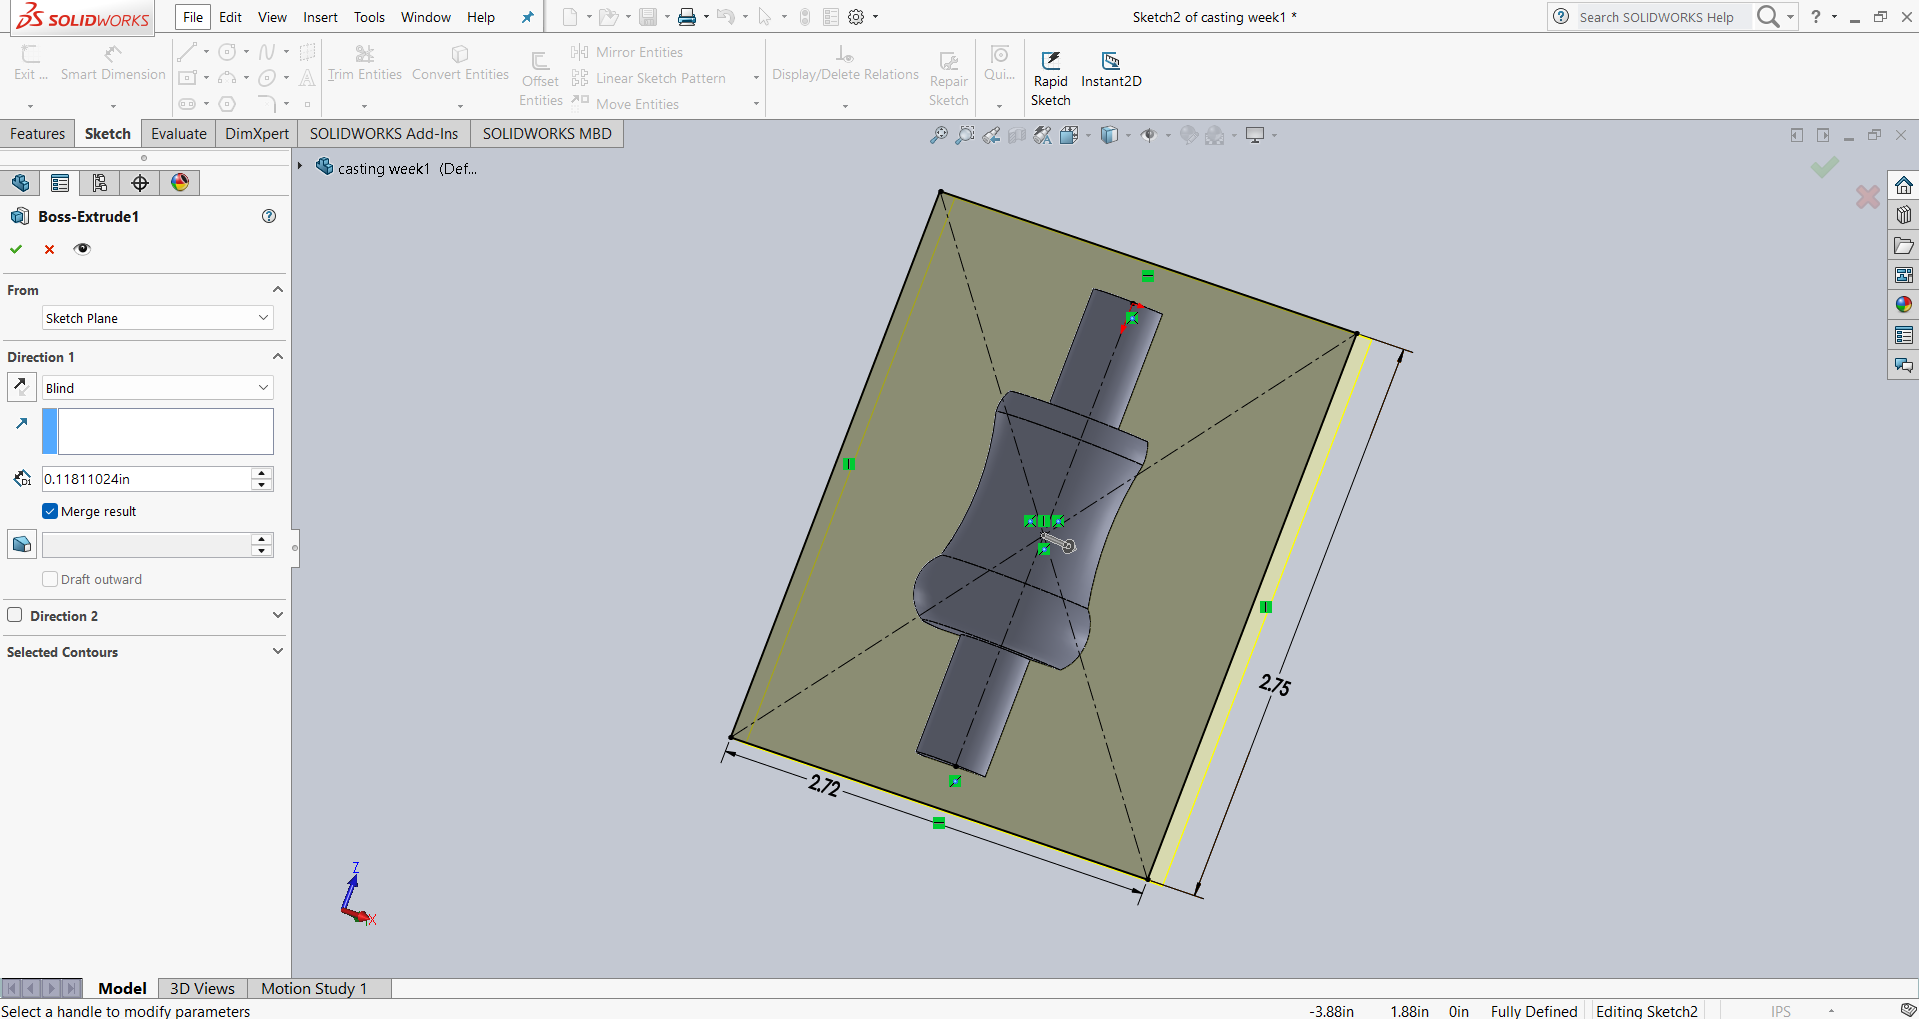
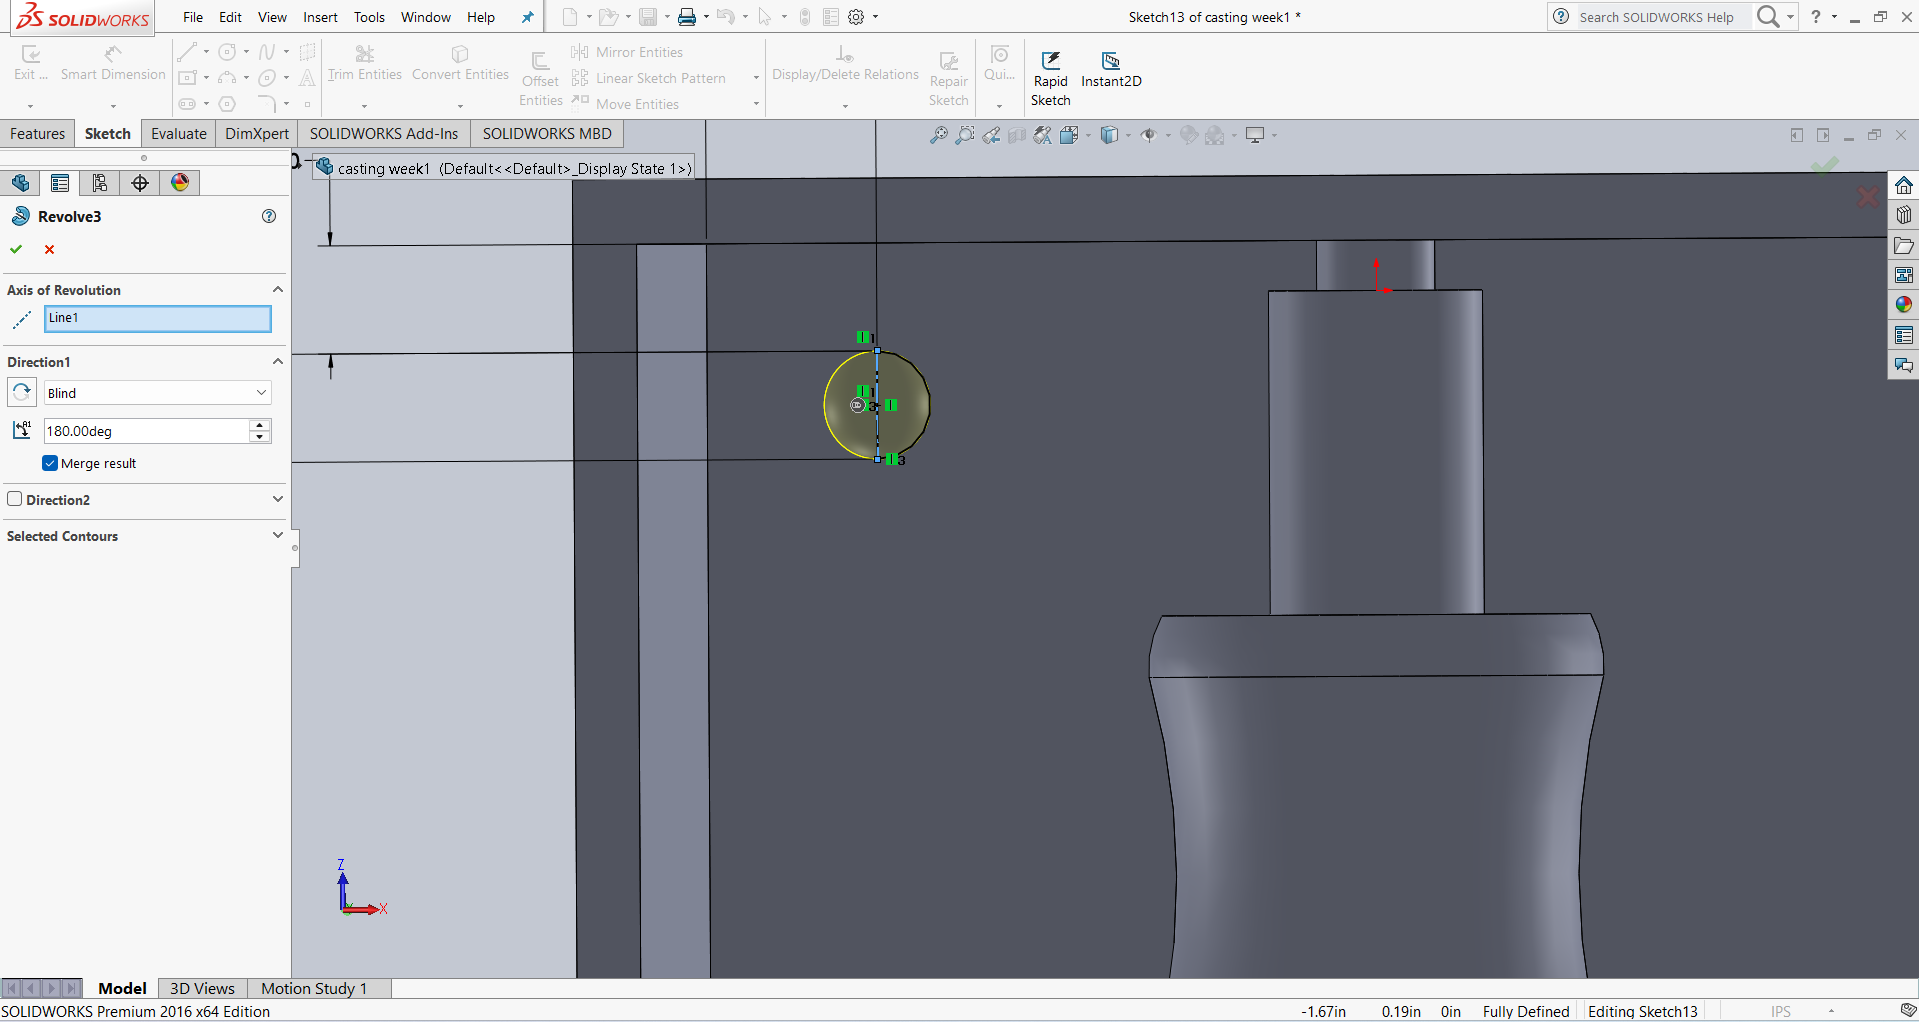
Step 1: First, I decided to design a roller-type mold. I started by drawing a sketch based on my requirements and then used the Revolve feature up to 180 degrees. This gave me one half of the mold design, which I then cropped and adjusted as needed.
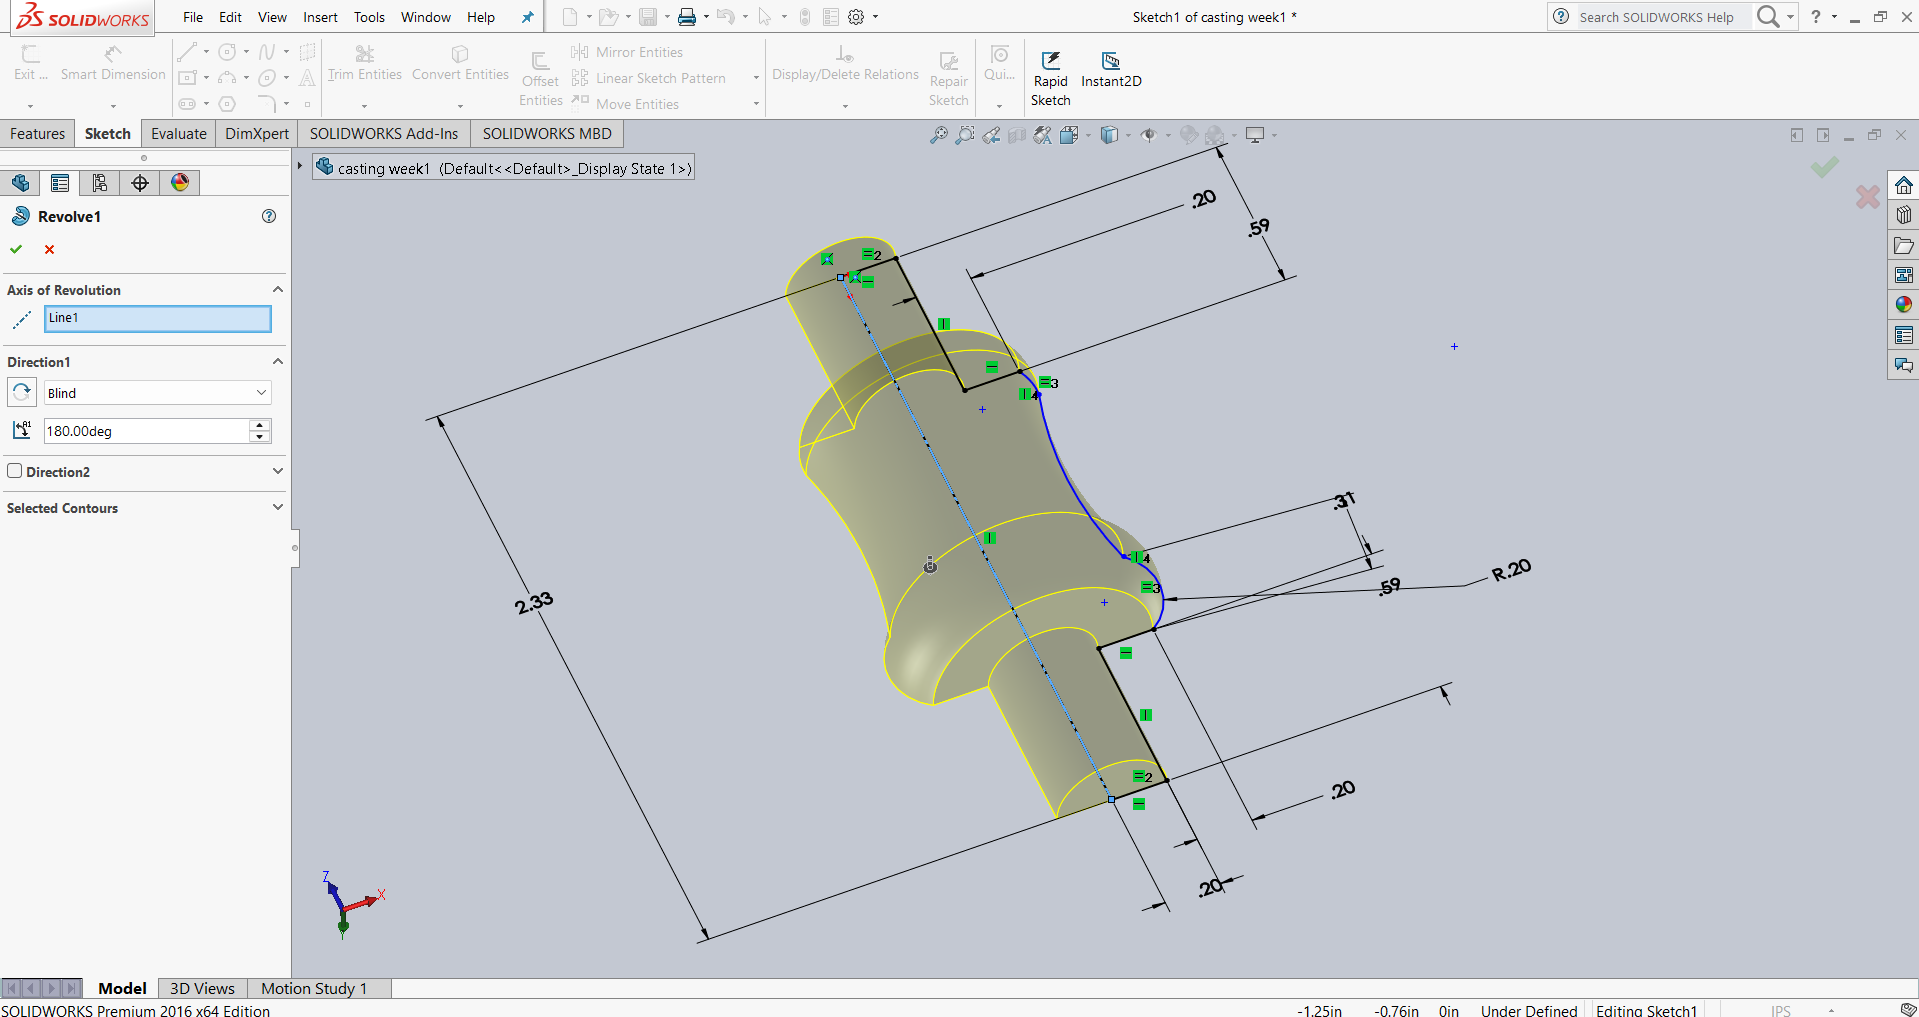
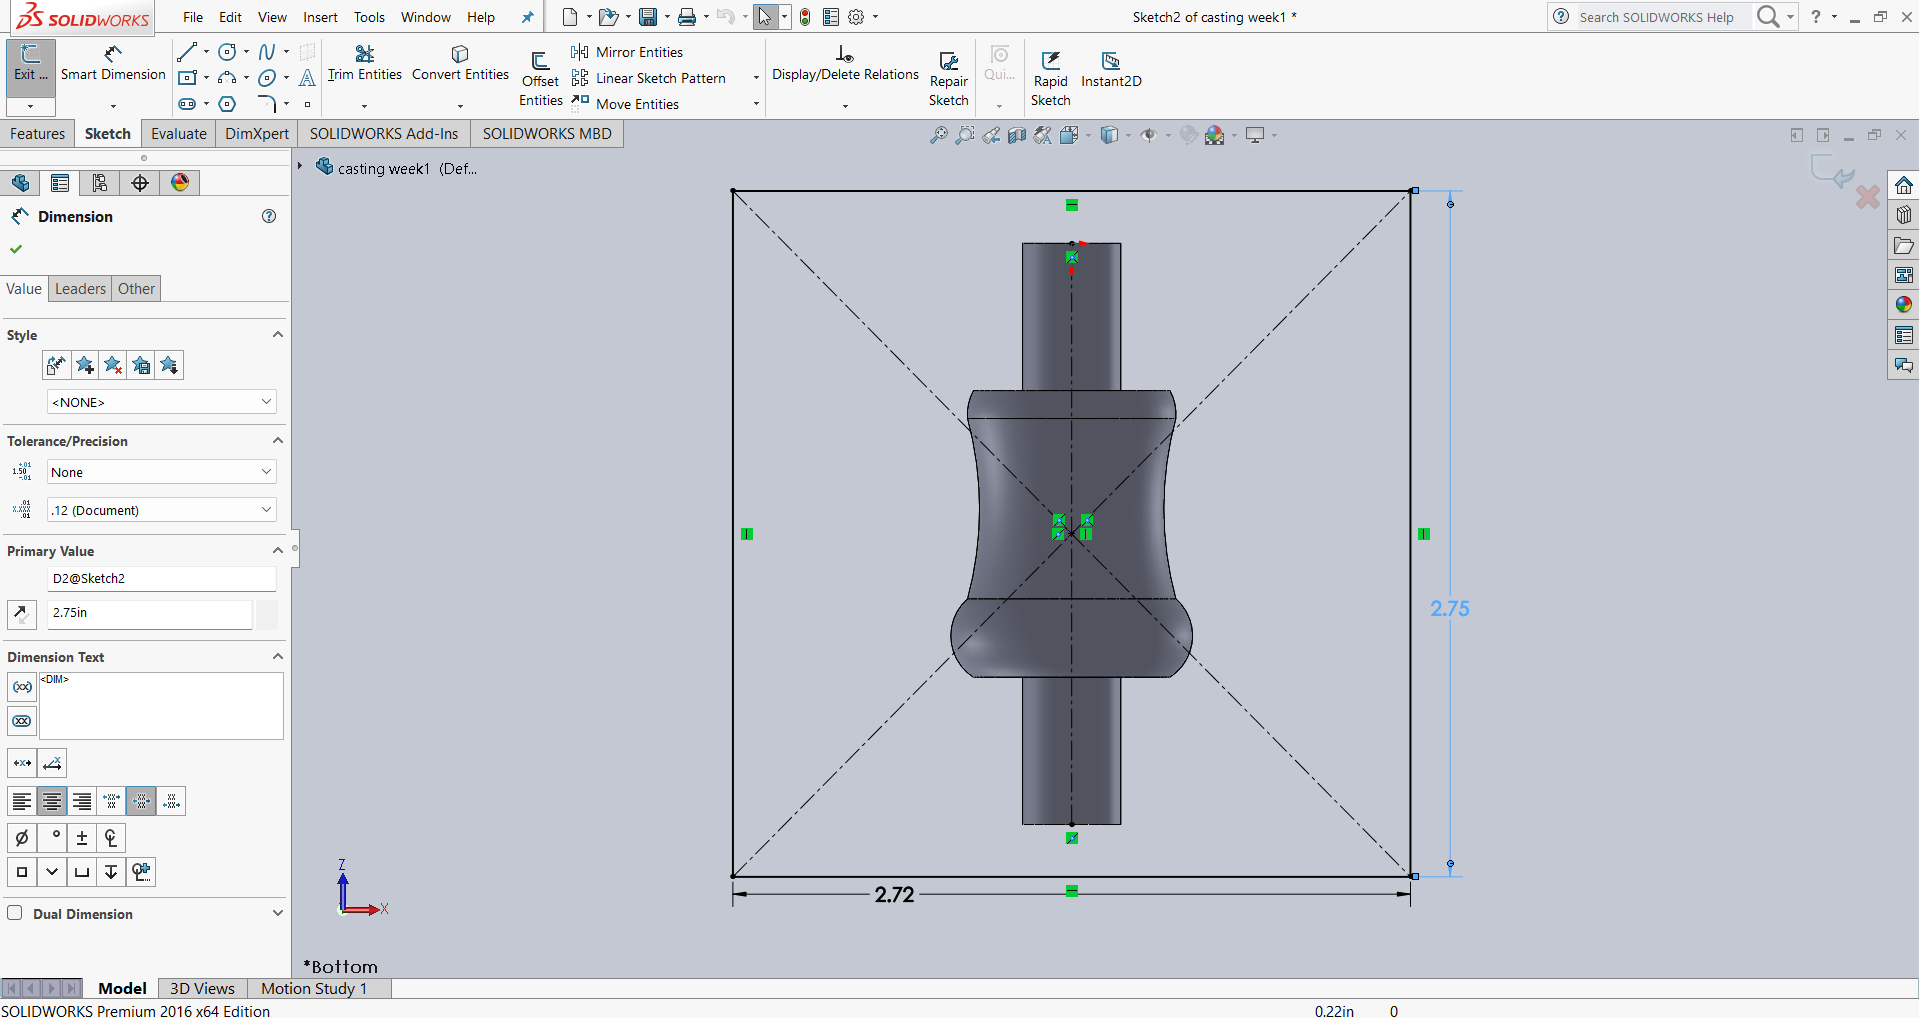
Step 2: After that, for the base purpose, I created a rectangular base and extruded it up to 3 mm, which was sufficient for the design. Then I continued with the further modeling process.
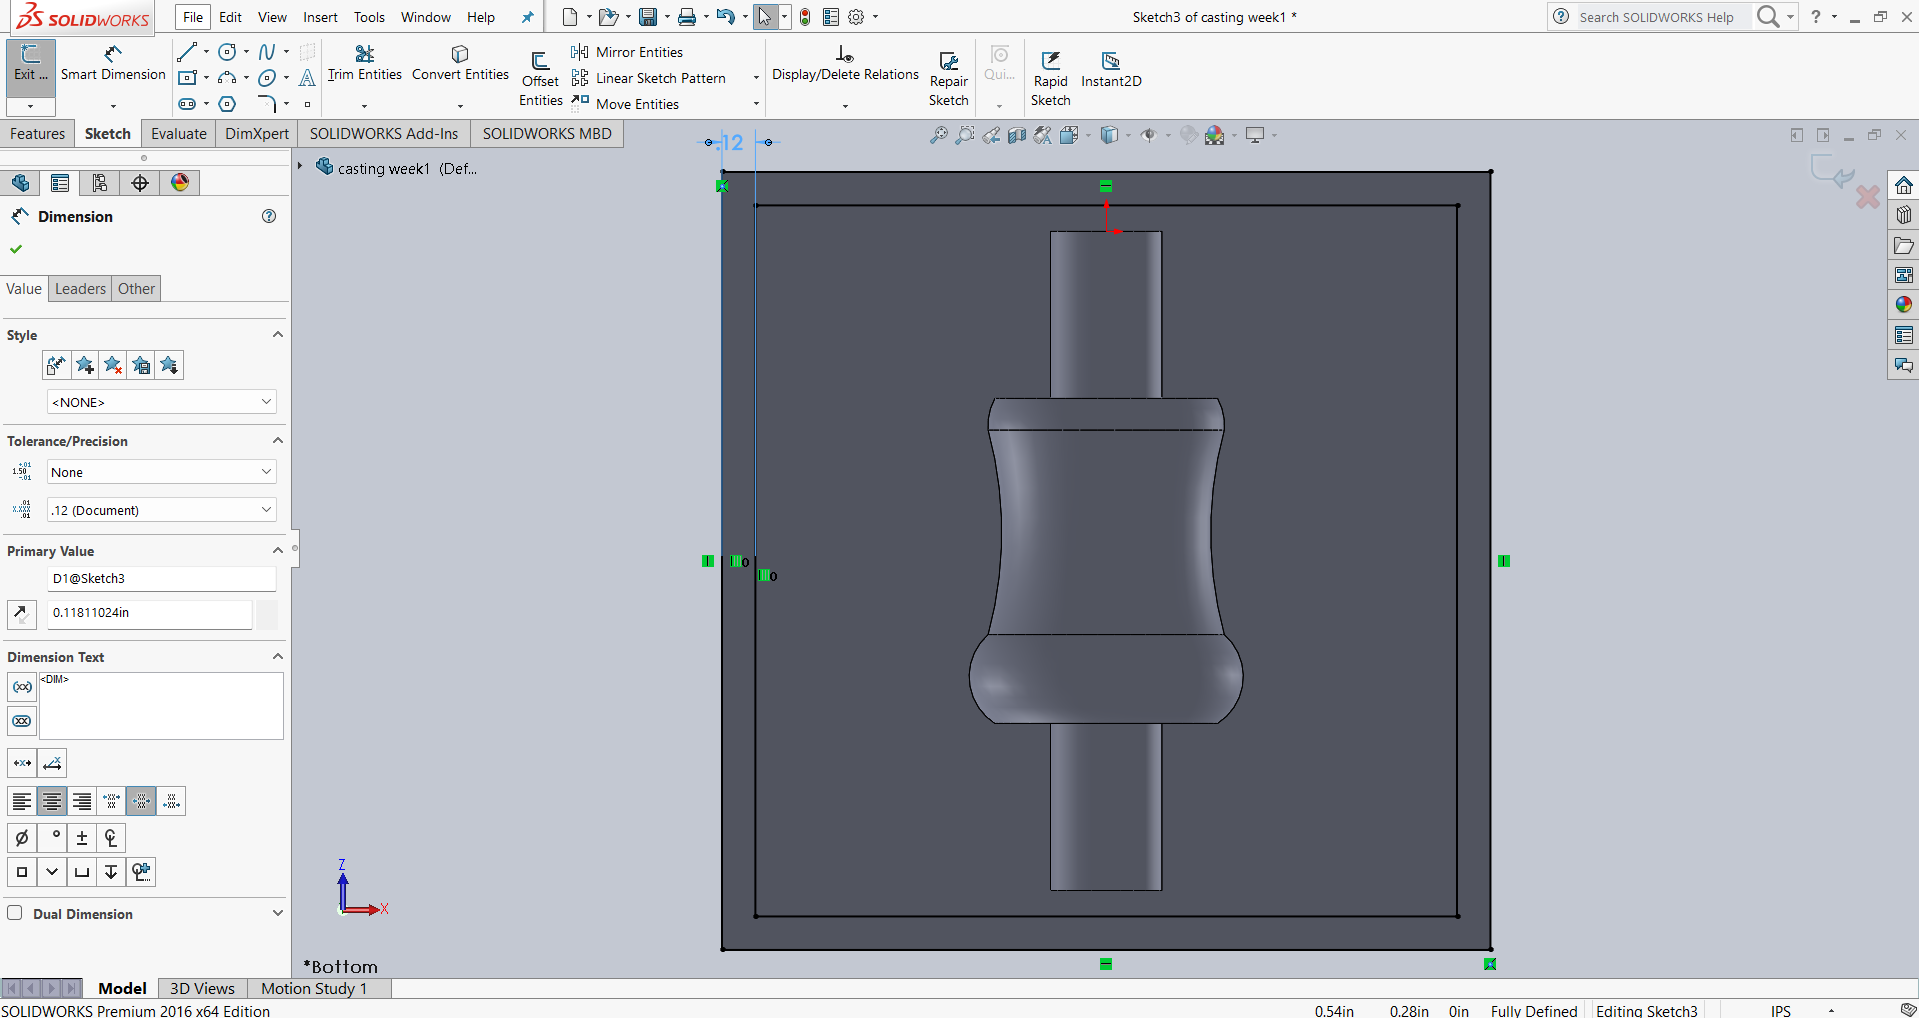
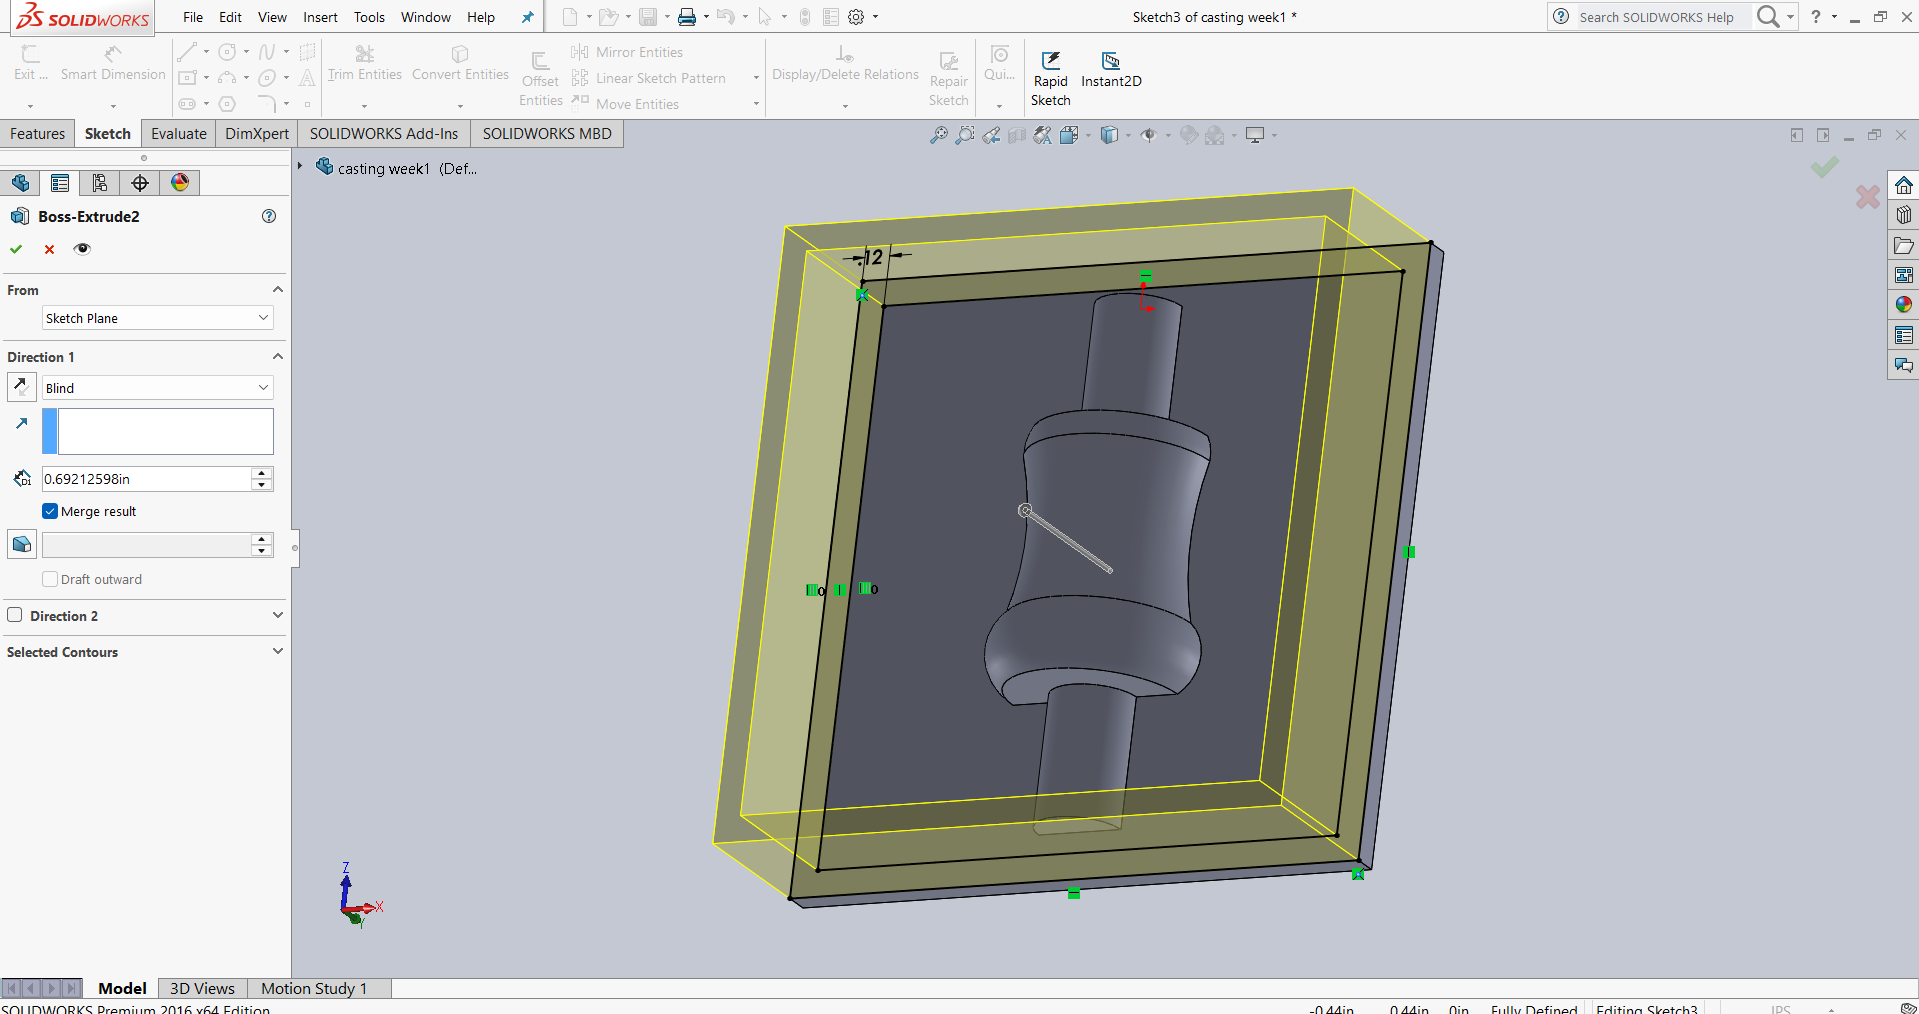
Step 3: Next, to create the mold walls, I drew another rectangle on the base plate and applied a 3 mm offset. This created 3 mm thick walls around the mold, which I then extruded. The results of this step are shown below.
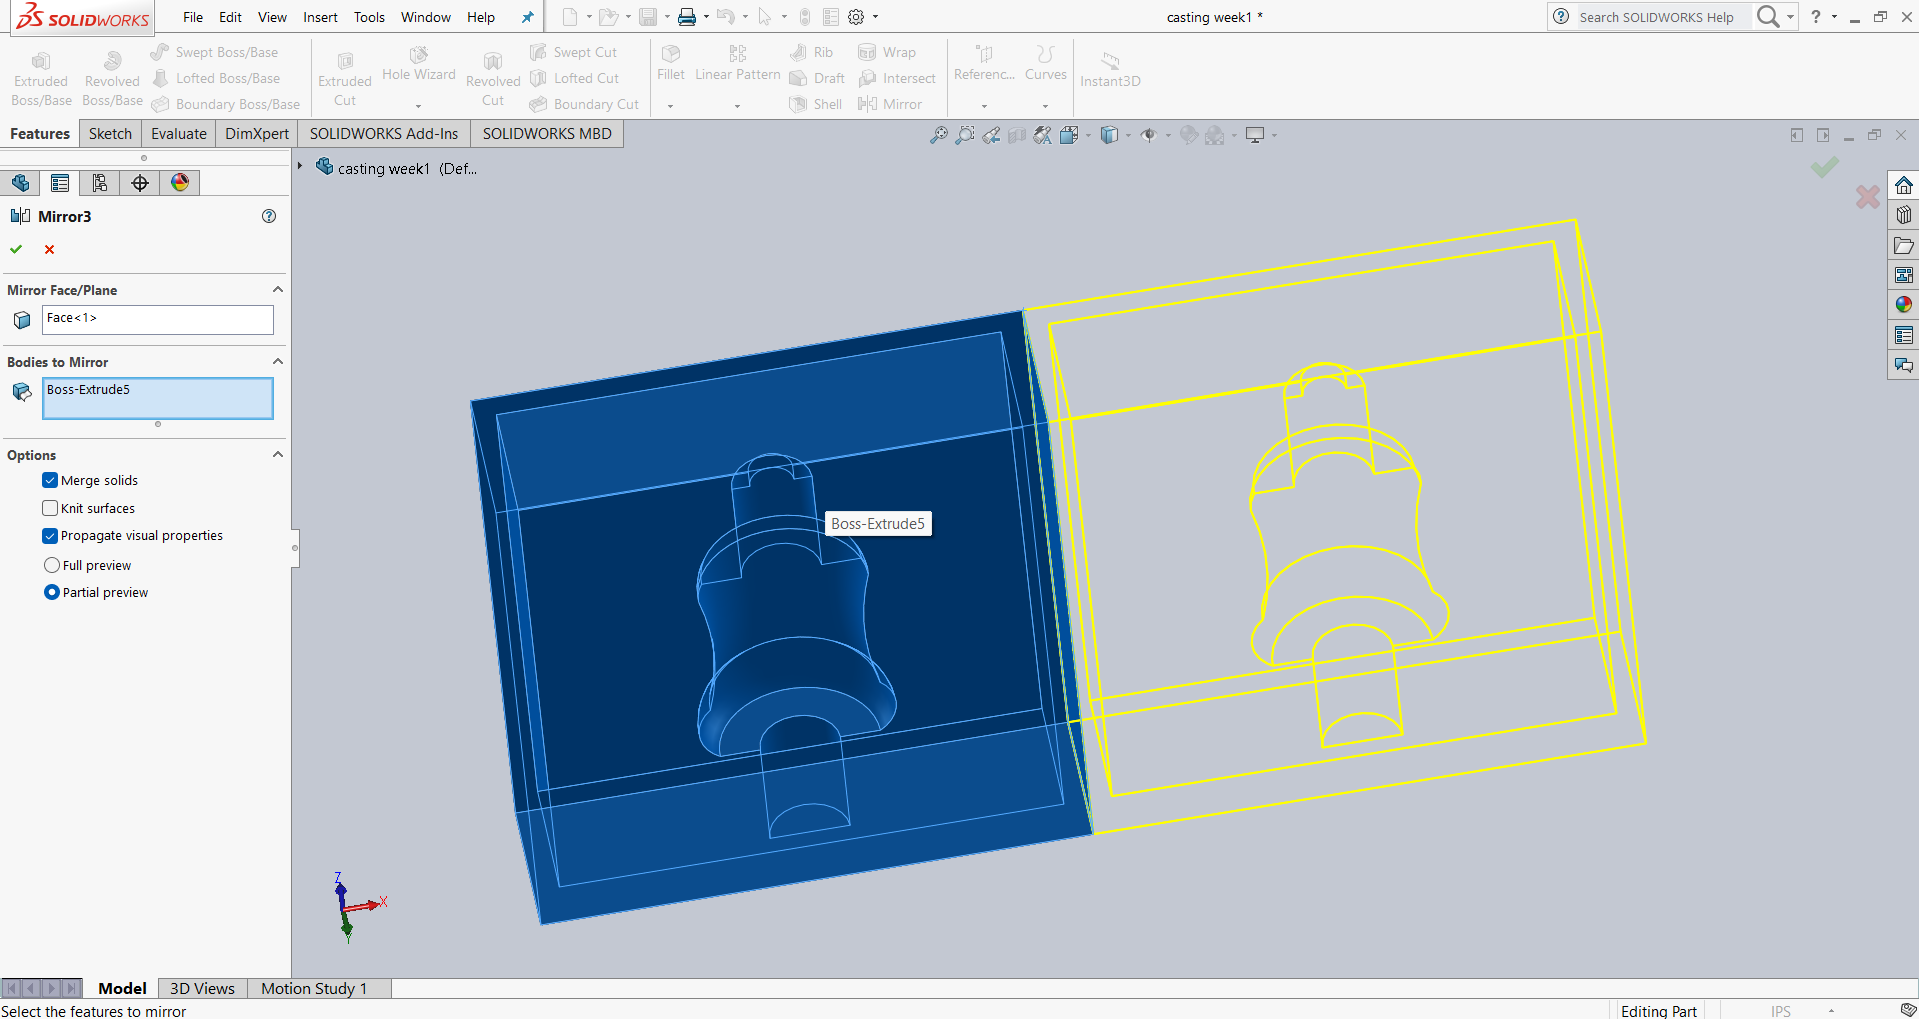
Step 4: To allow the casting liquid to flow properly, I added some extruded features in the design as pouring channels. Then, I mirrored all the parts to prepare the cope and drag sections of the mold. The results of this step are shown below.
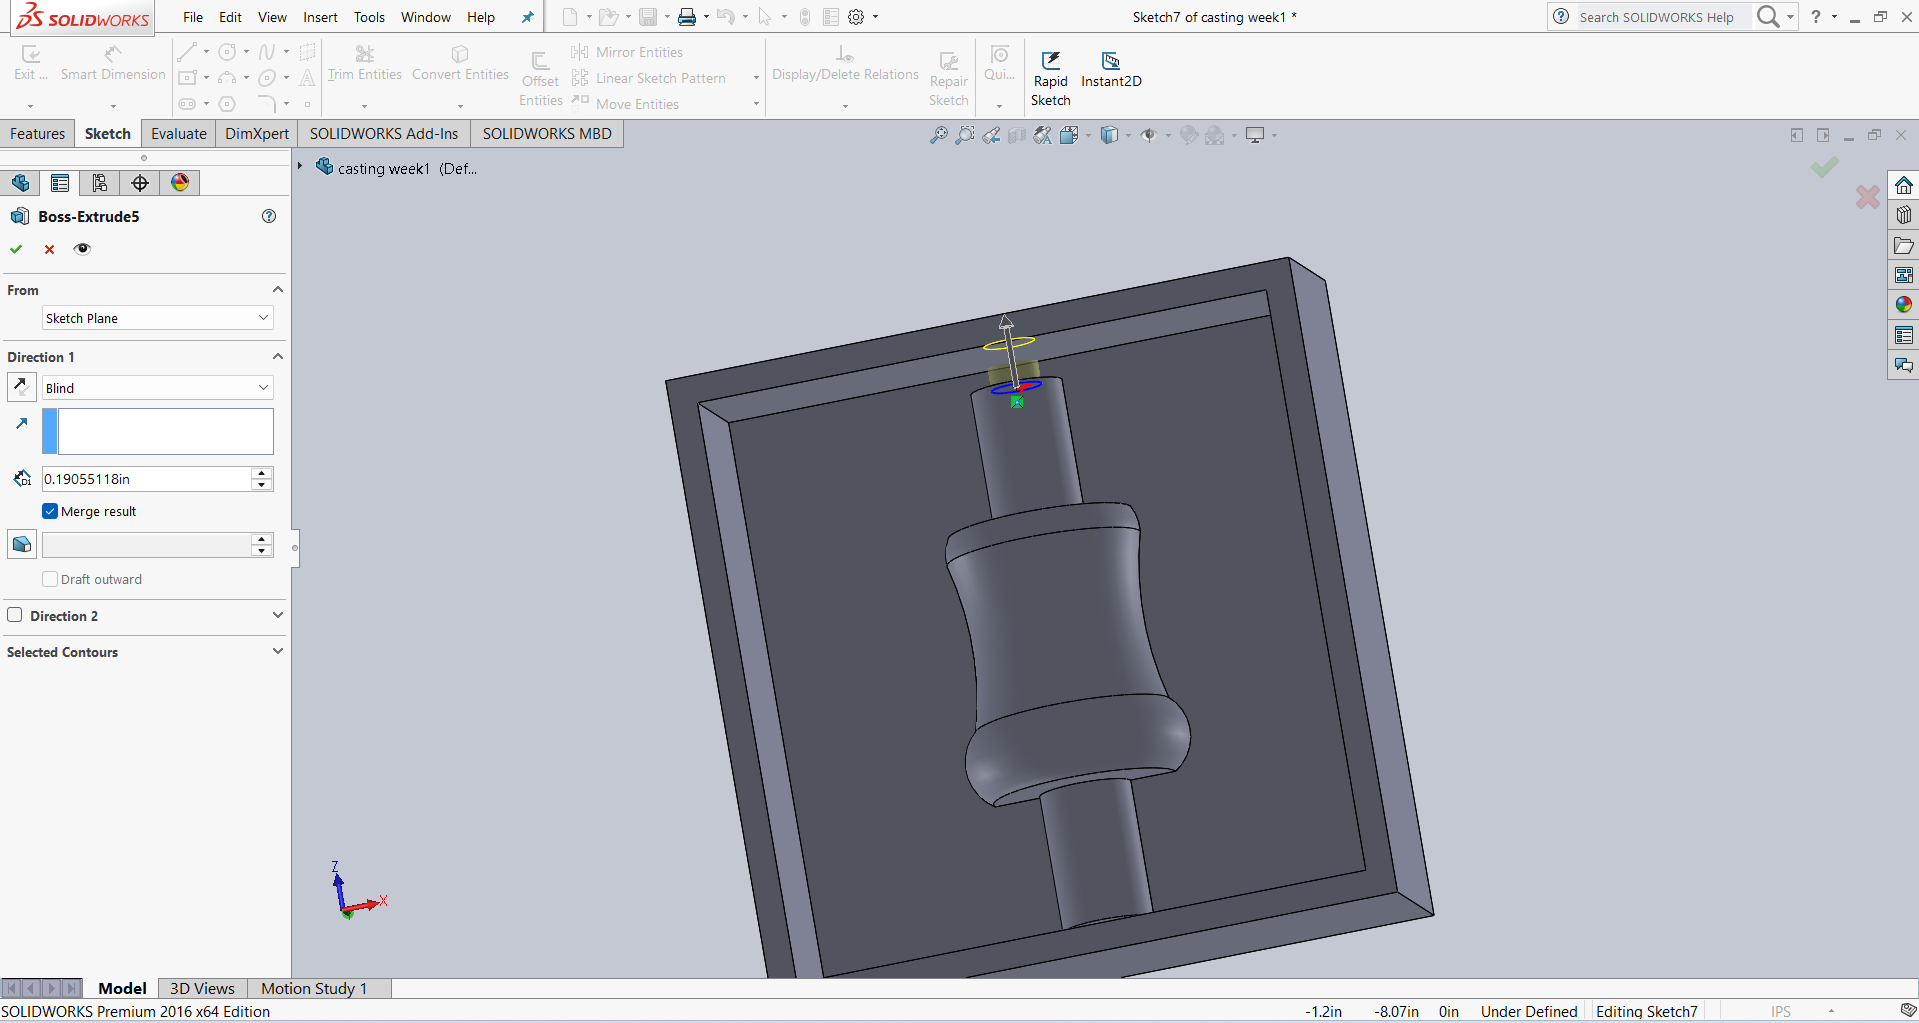
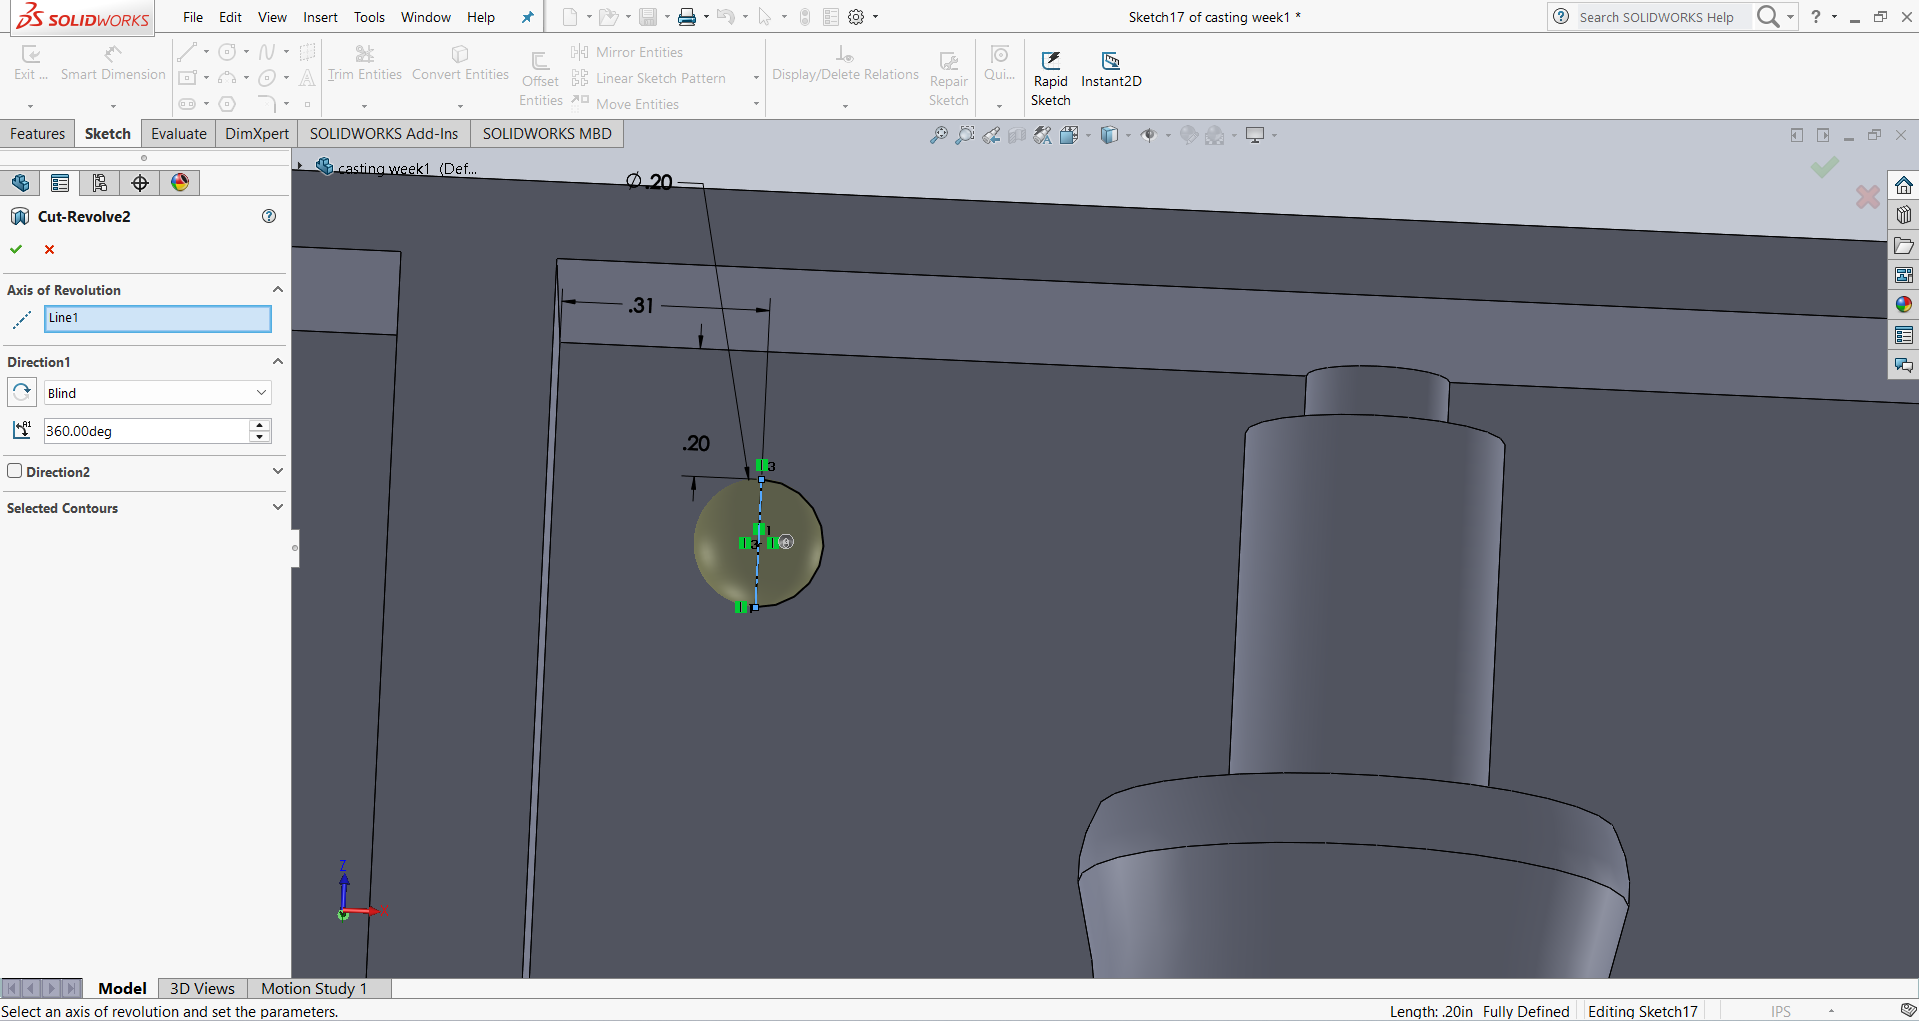
Step 5: After that, I created alignment holes for the male and female parts to ensure they fit together properly.
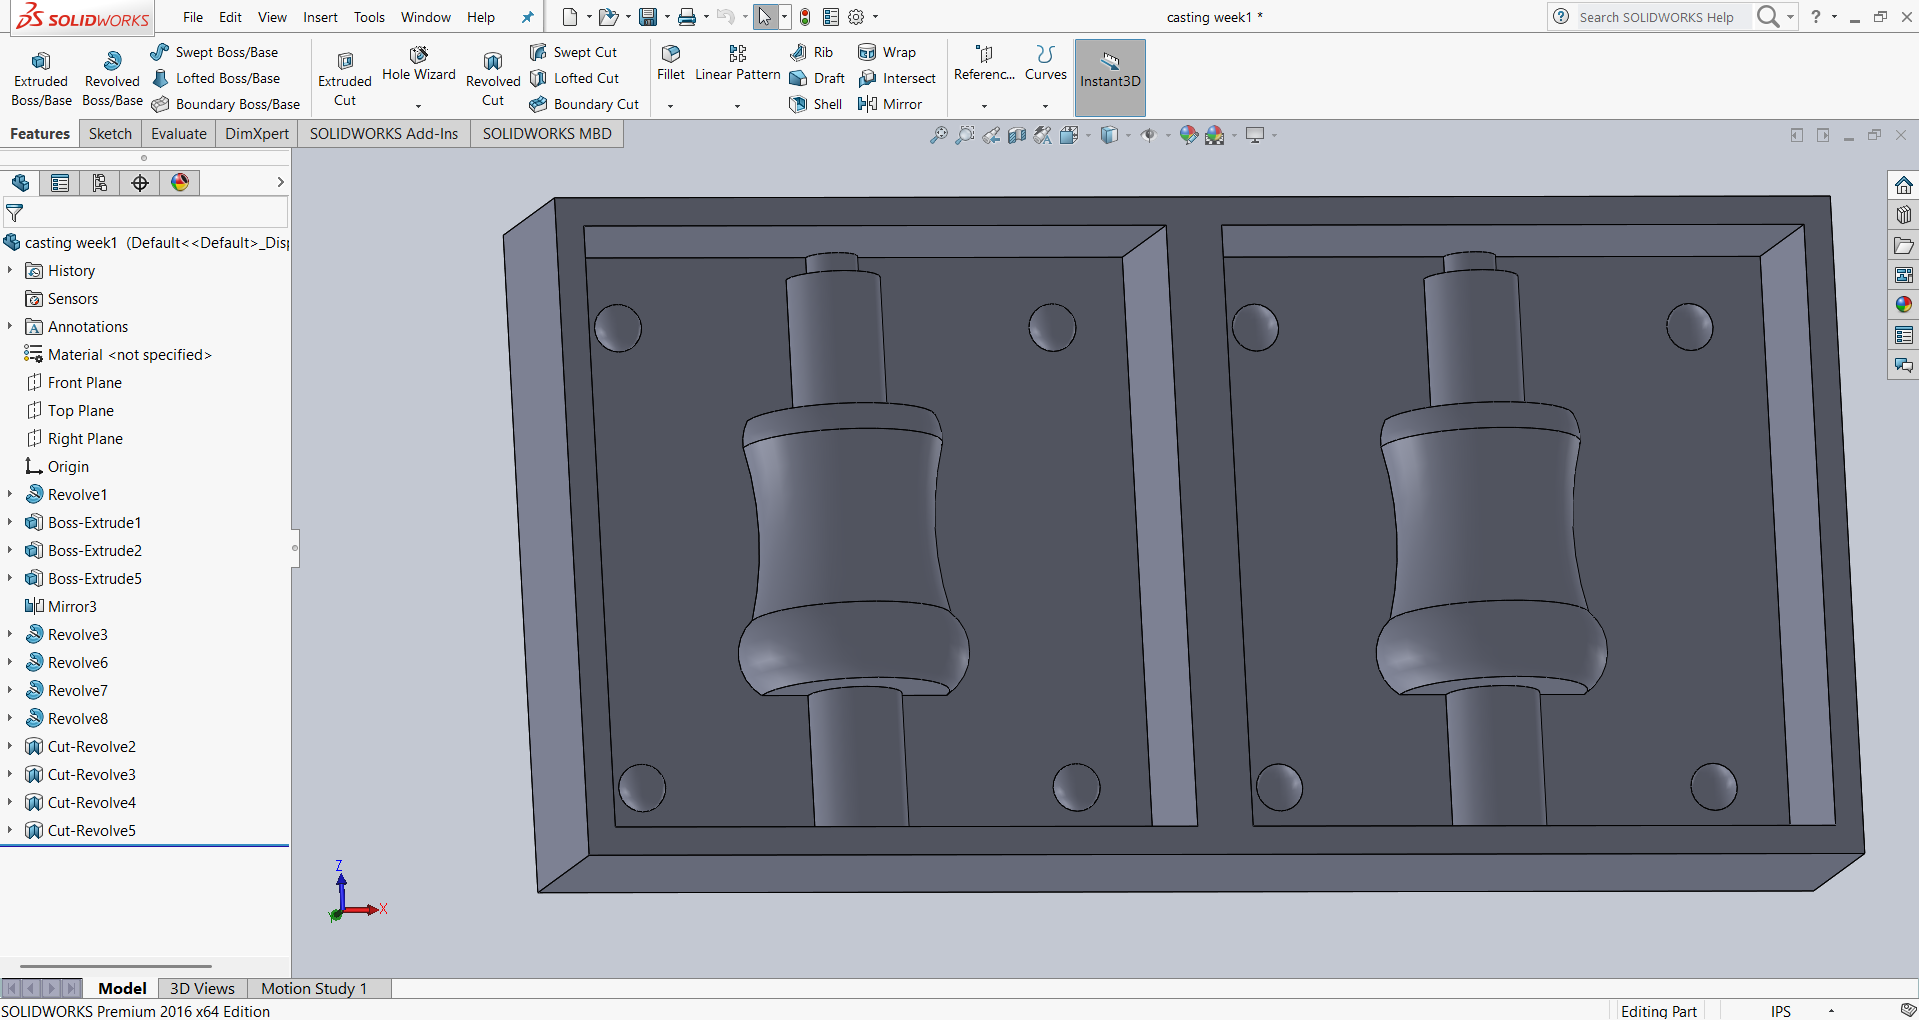
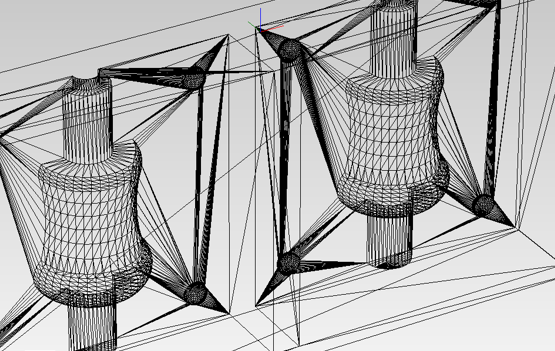
Final Design: Below, I am showing the final design I created for this week’s assignment.
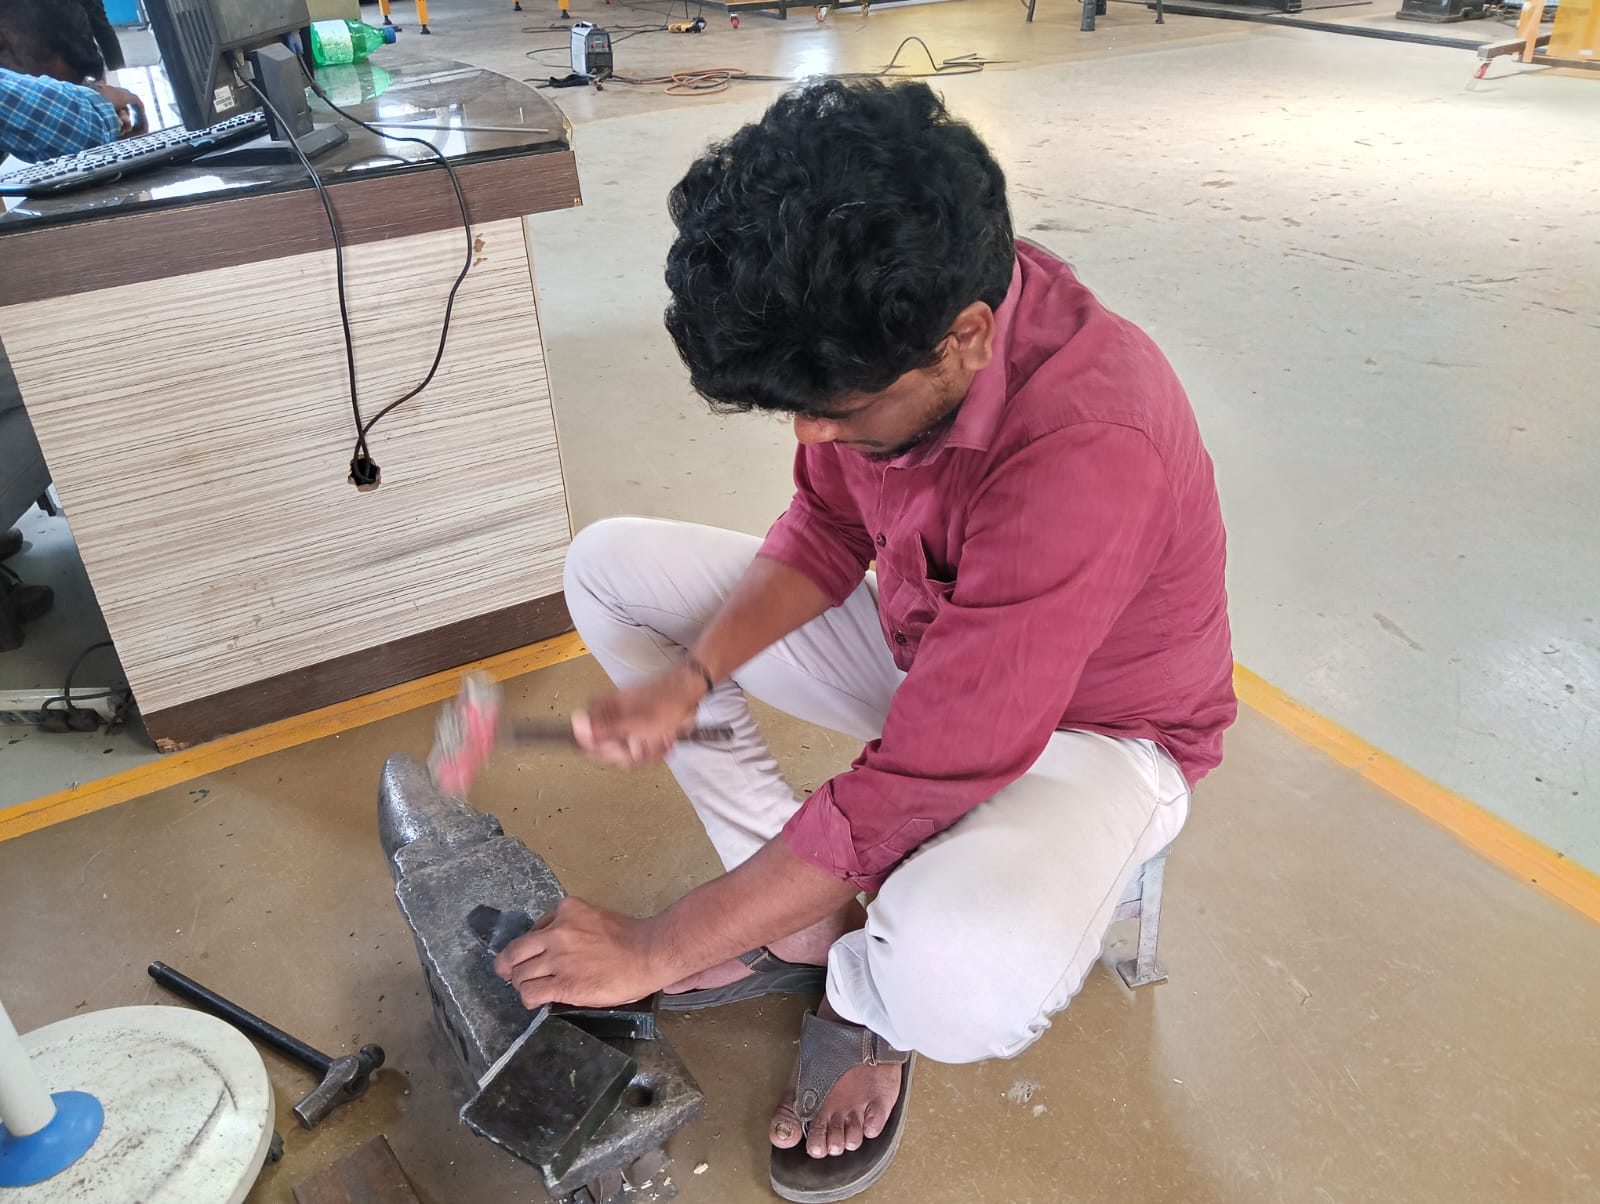
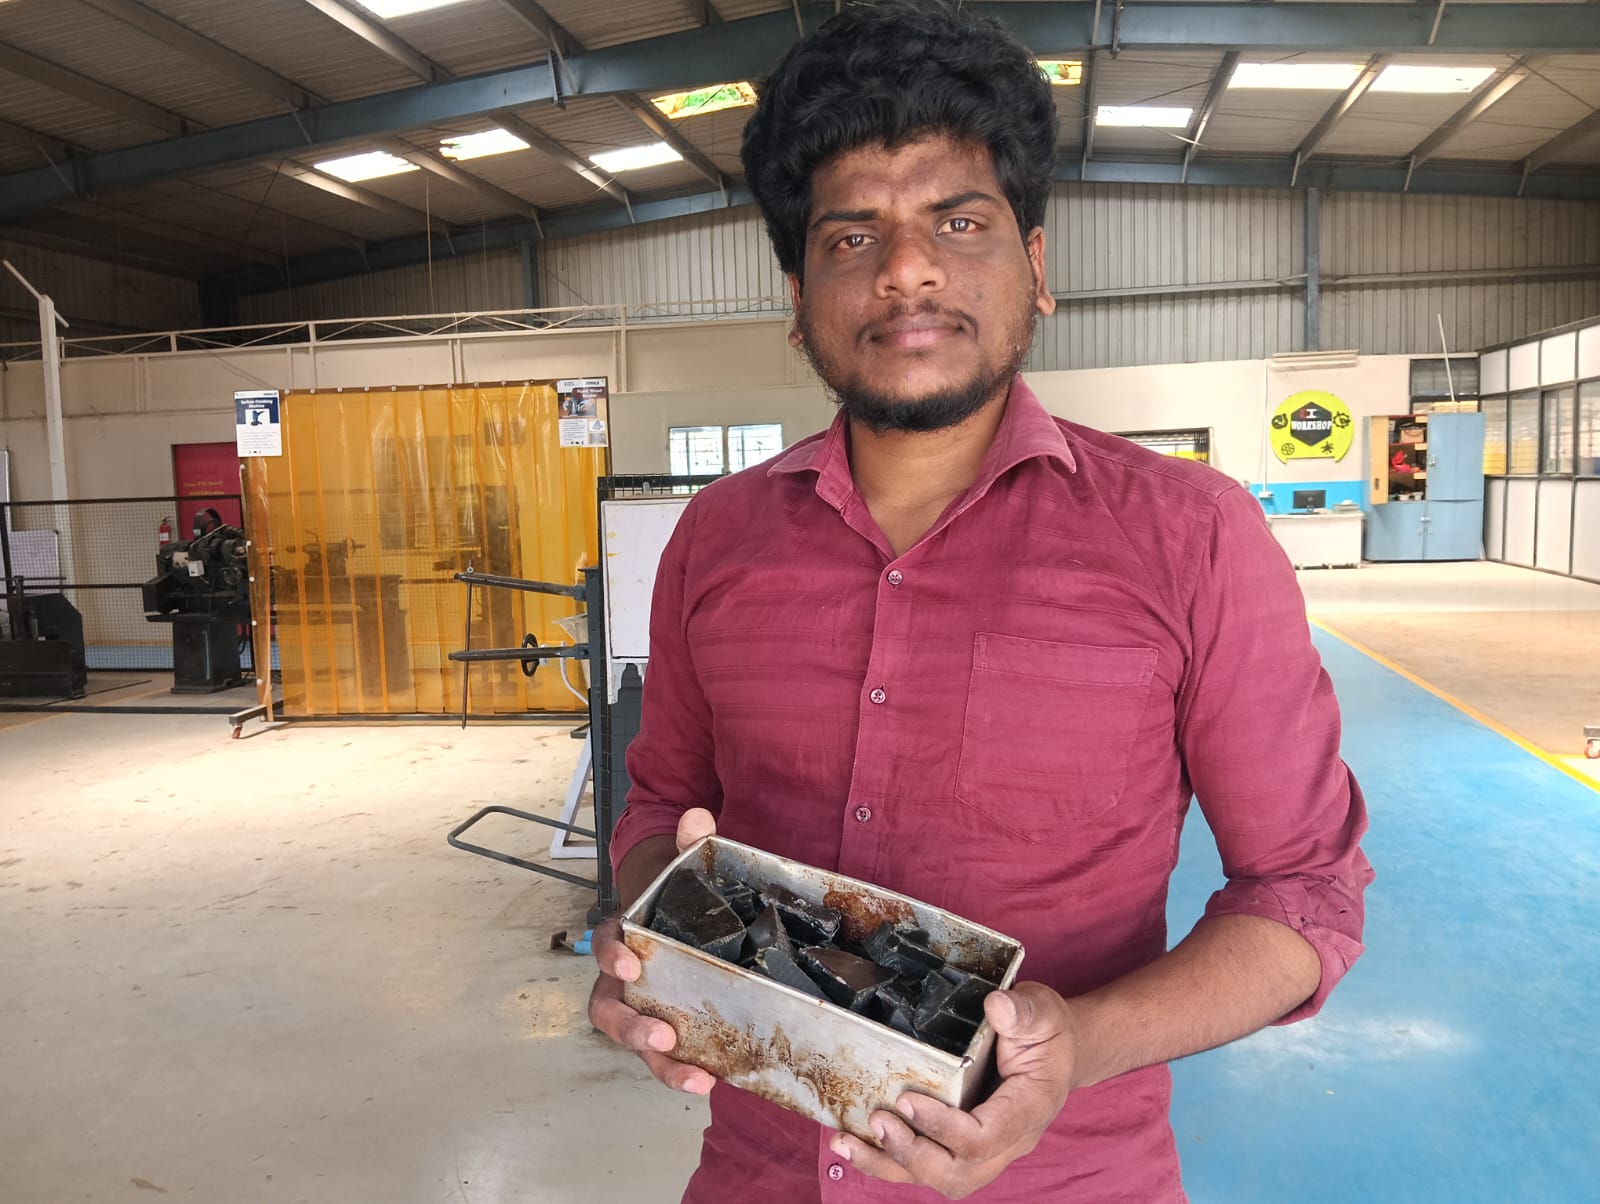
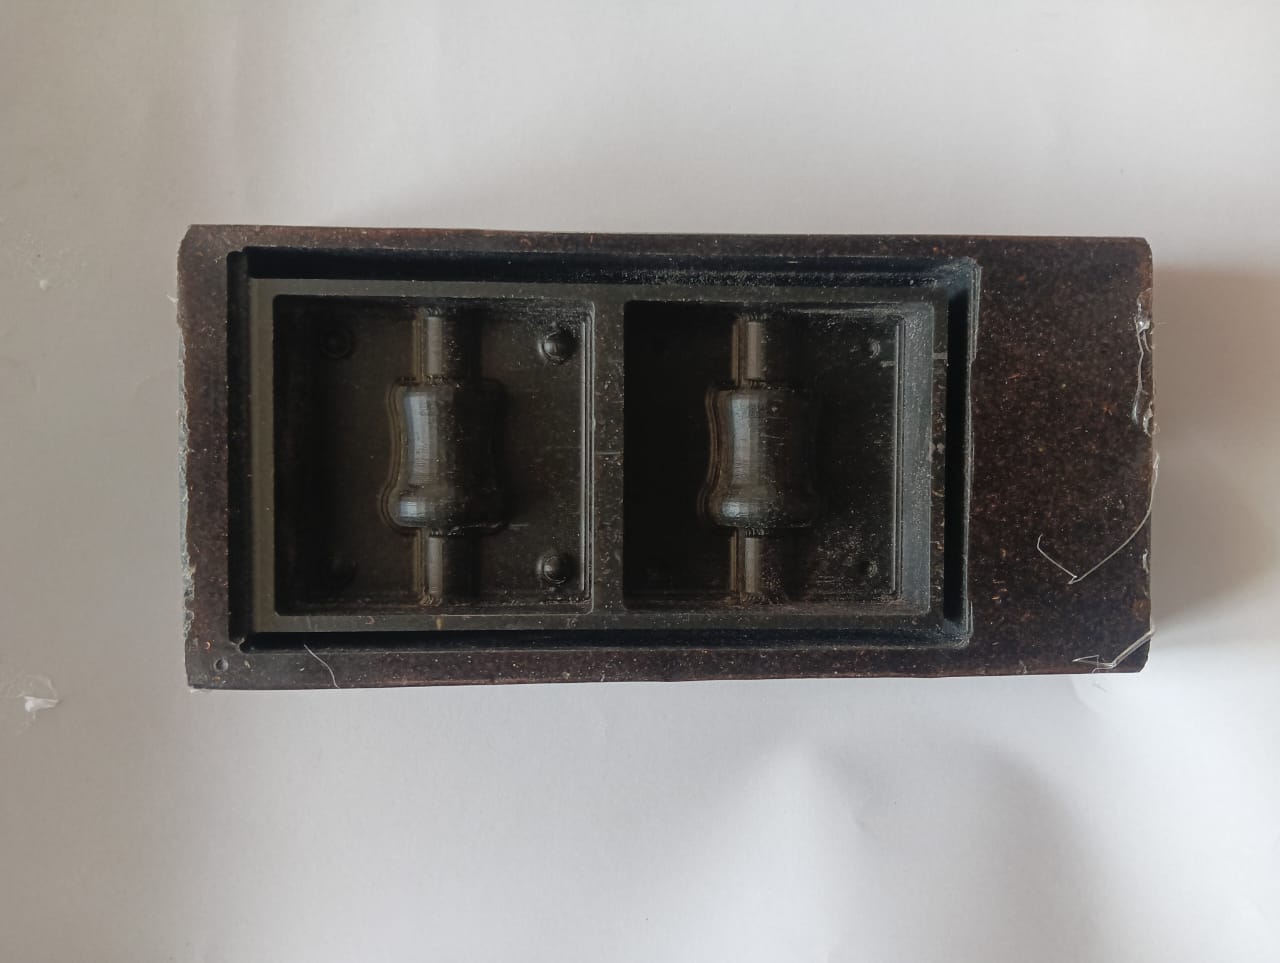
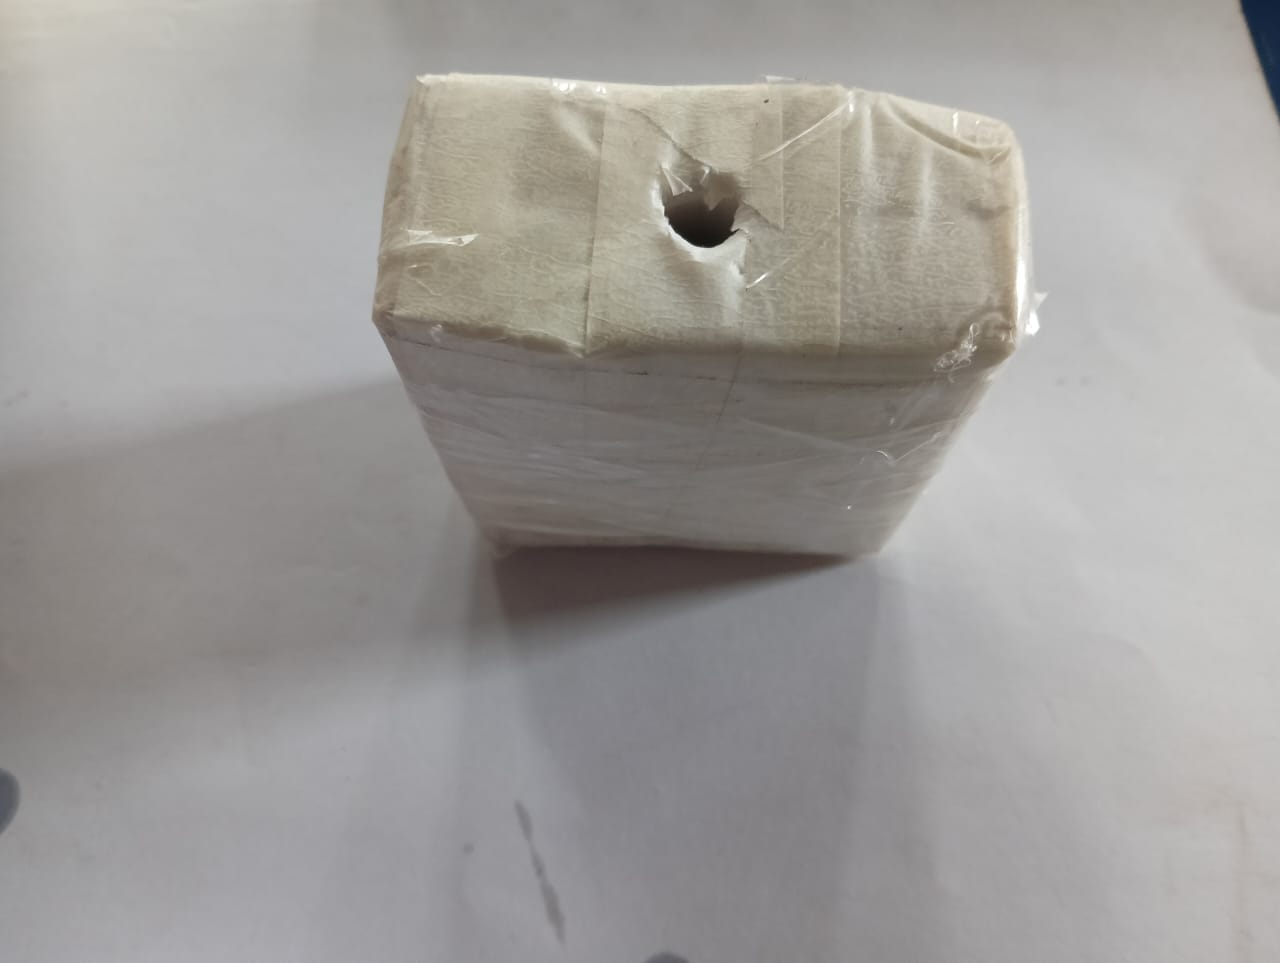
After completing my design, I started by breaking down the previous Flexwax model into small pieces to make it easier to melt.
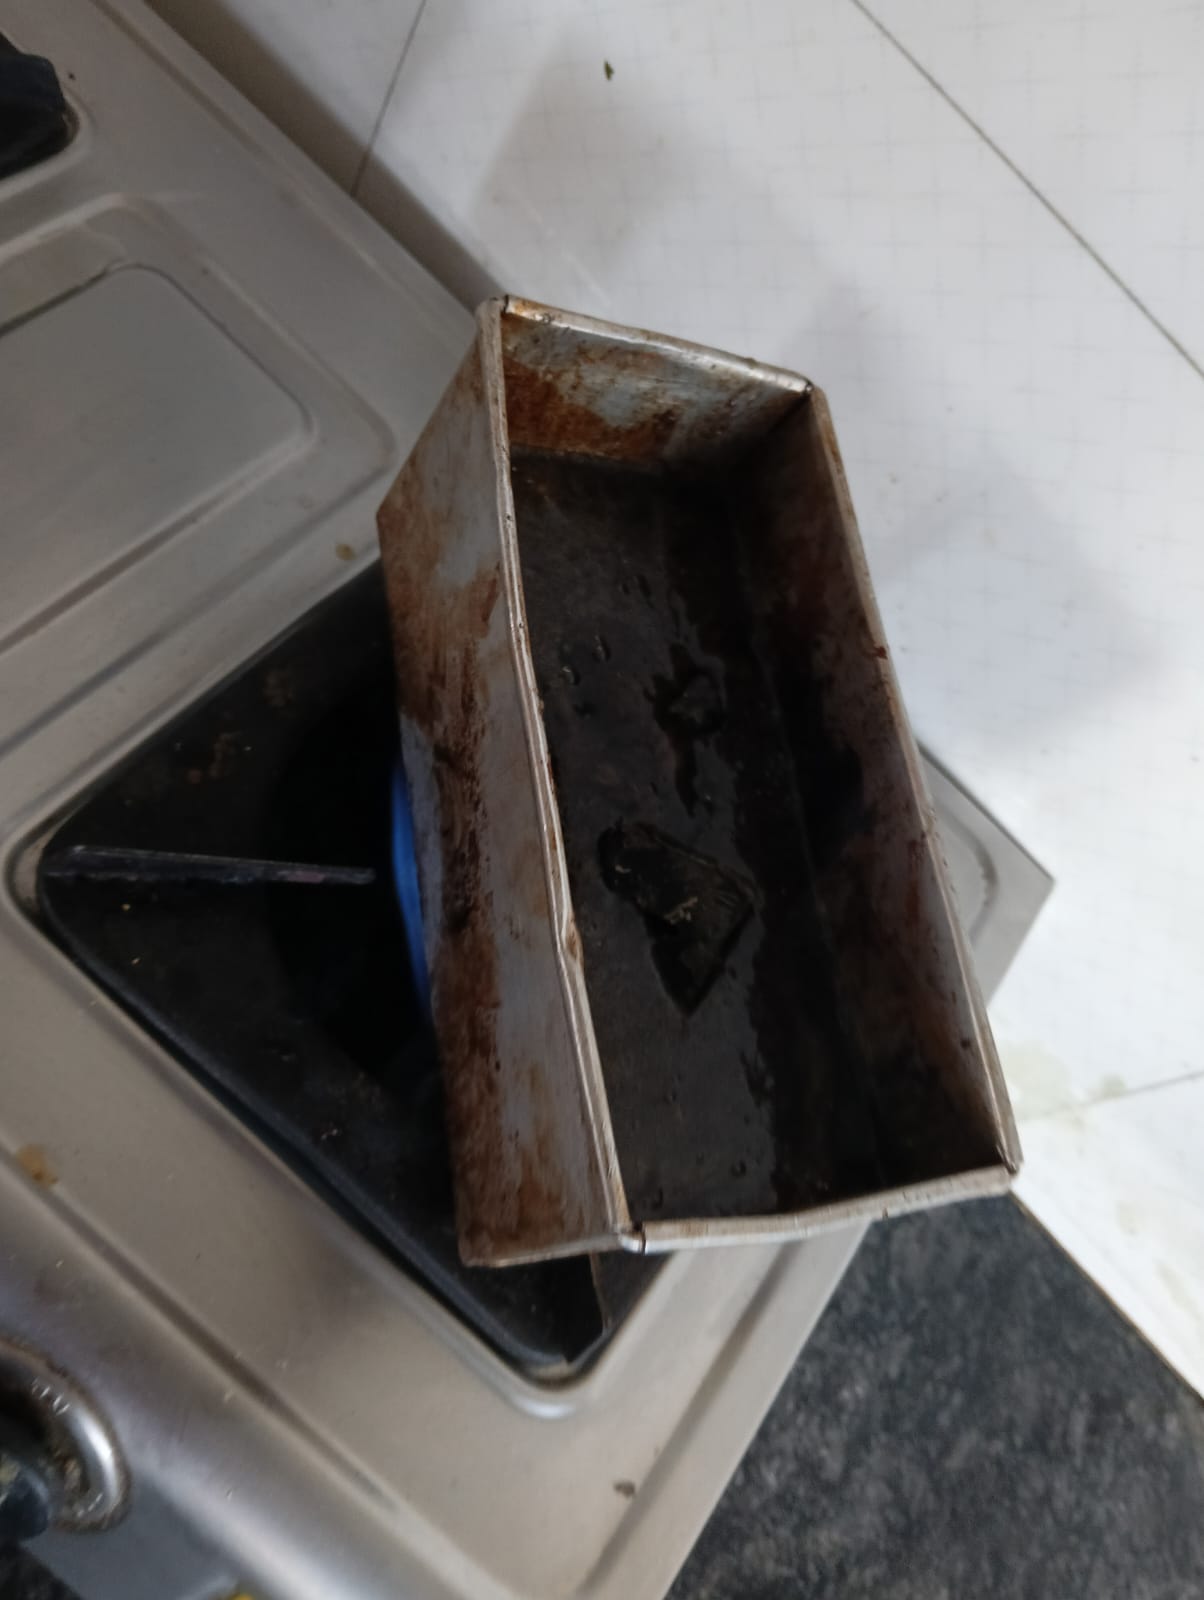
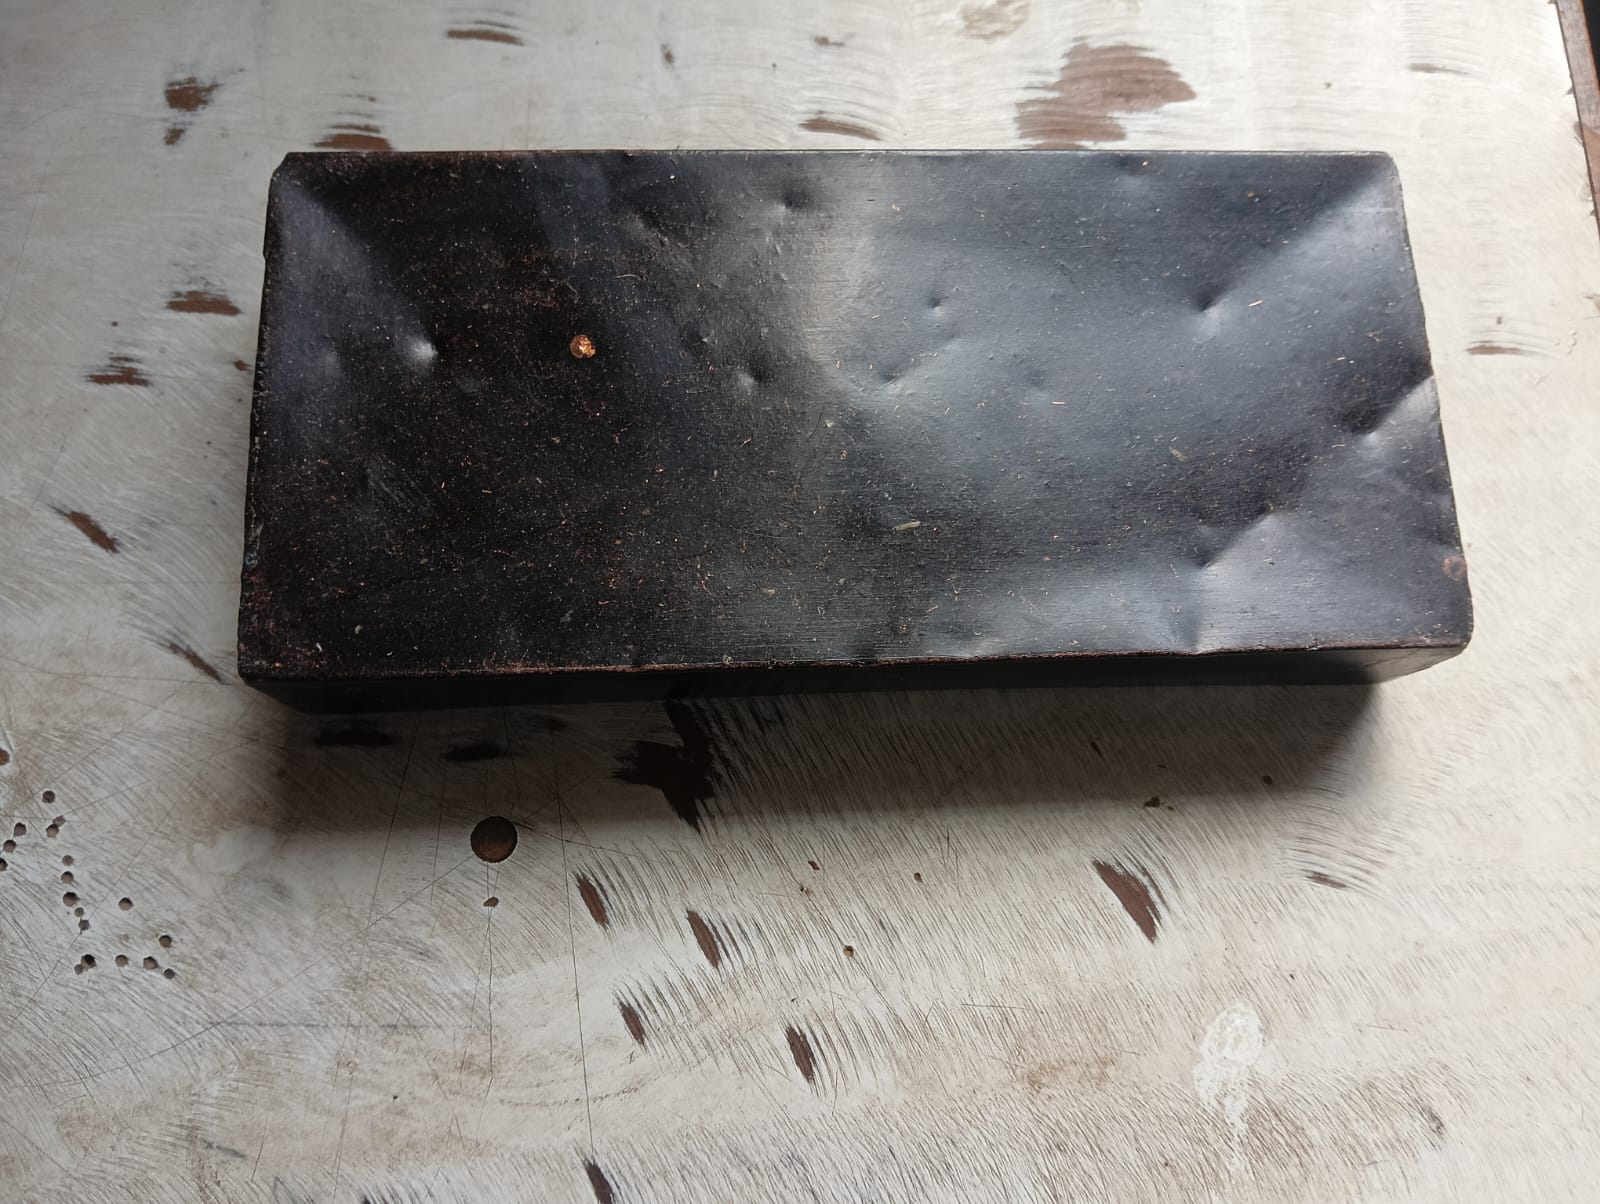
I began melting the Flexwax to pour it into the mold and create a solid object based on my design, preparing it for the milling process.
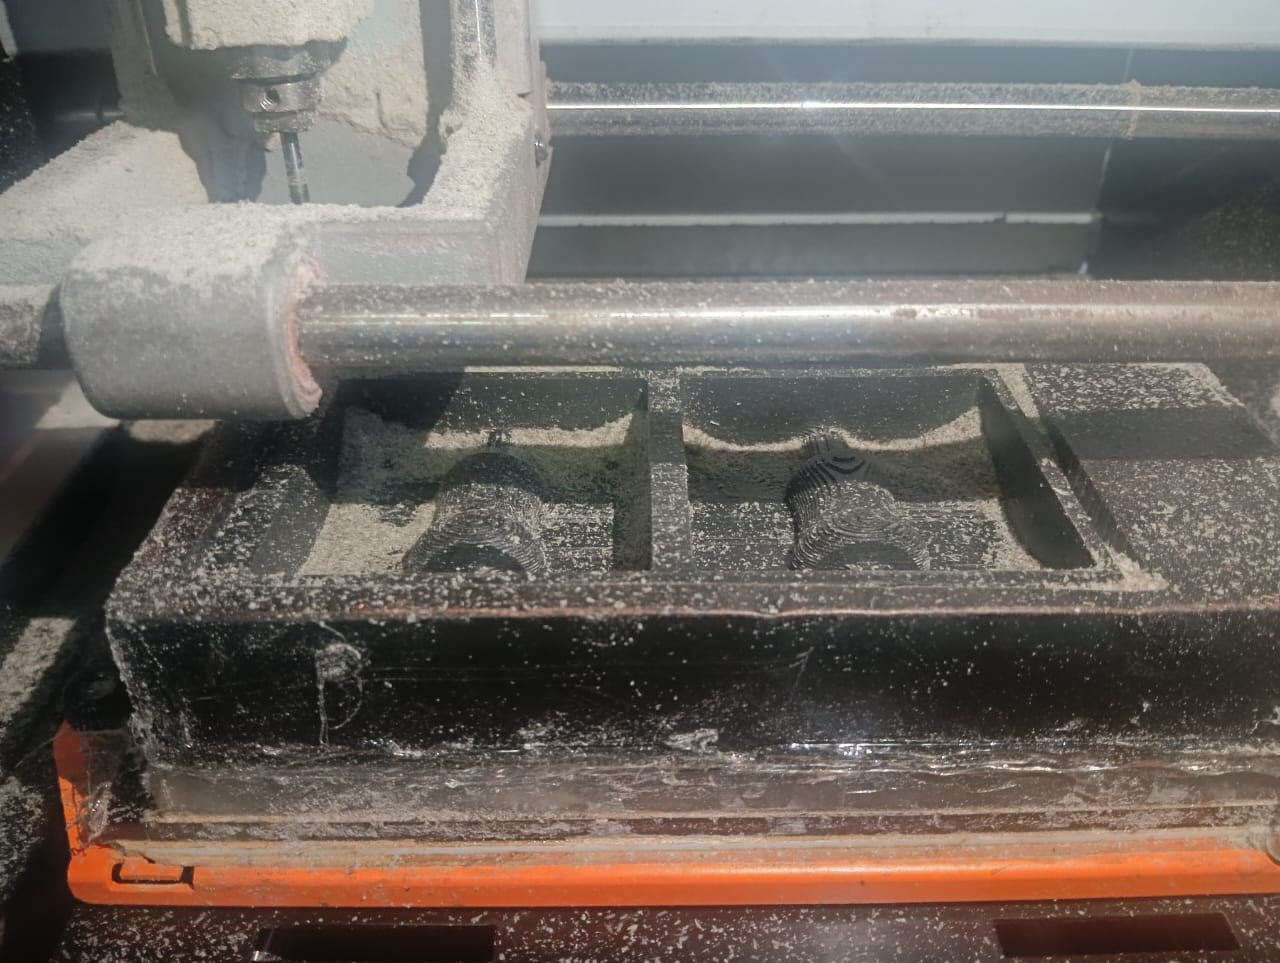
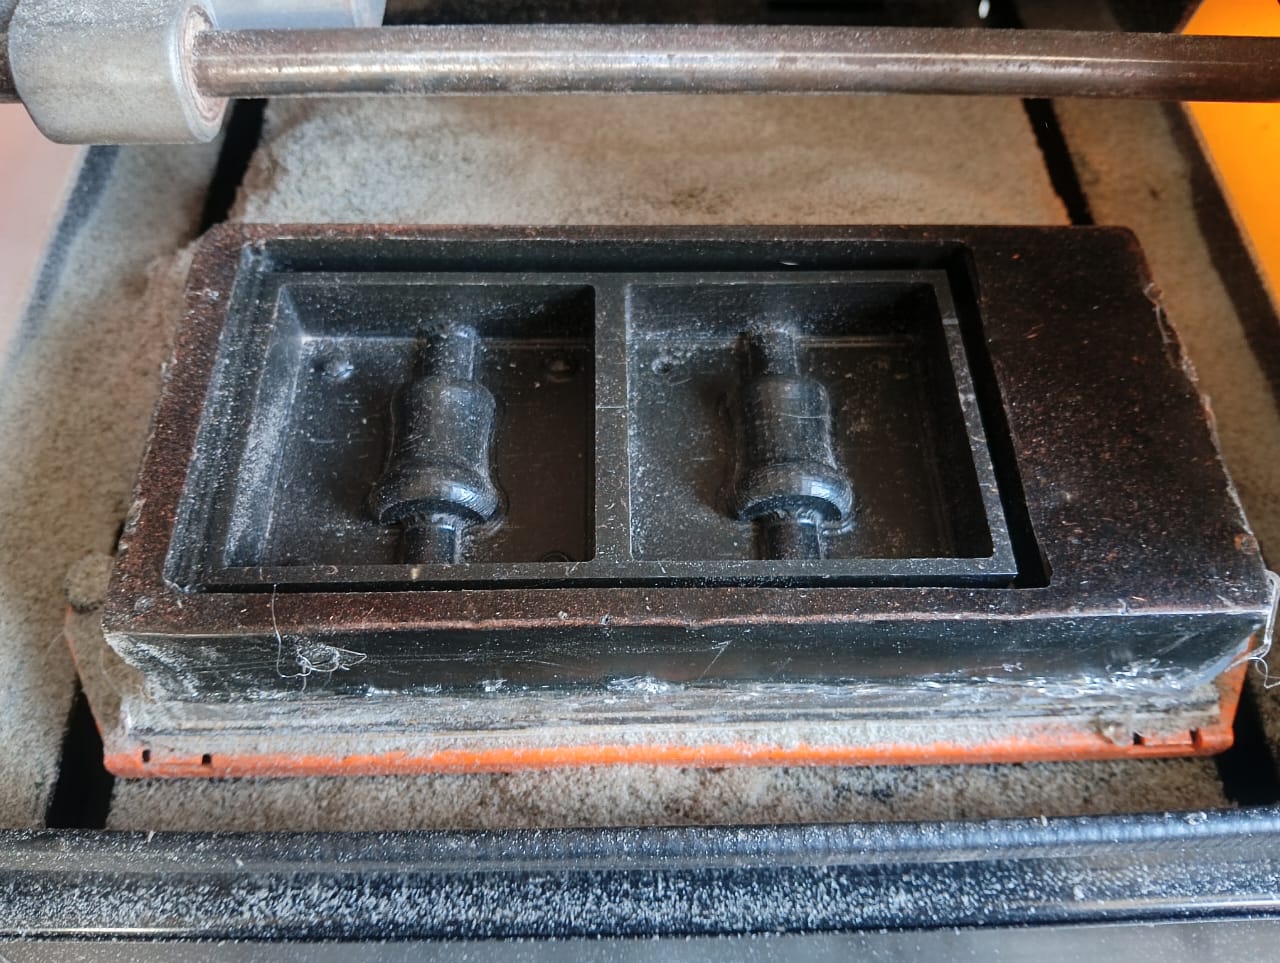
After that, I started milling my design using the SRM-20 milling machine. I secured the solid wax block to the SRM-20 base using double-sided tape and reinforced it with hot glue to ensure it stayed stable during the milling process.
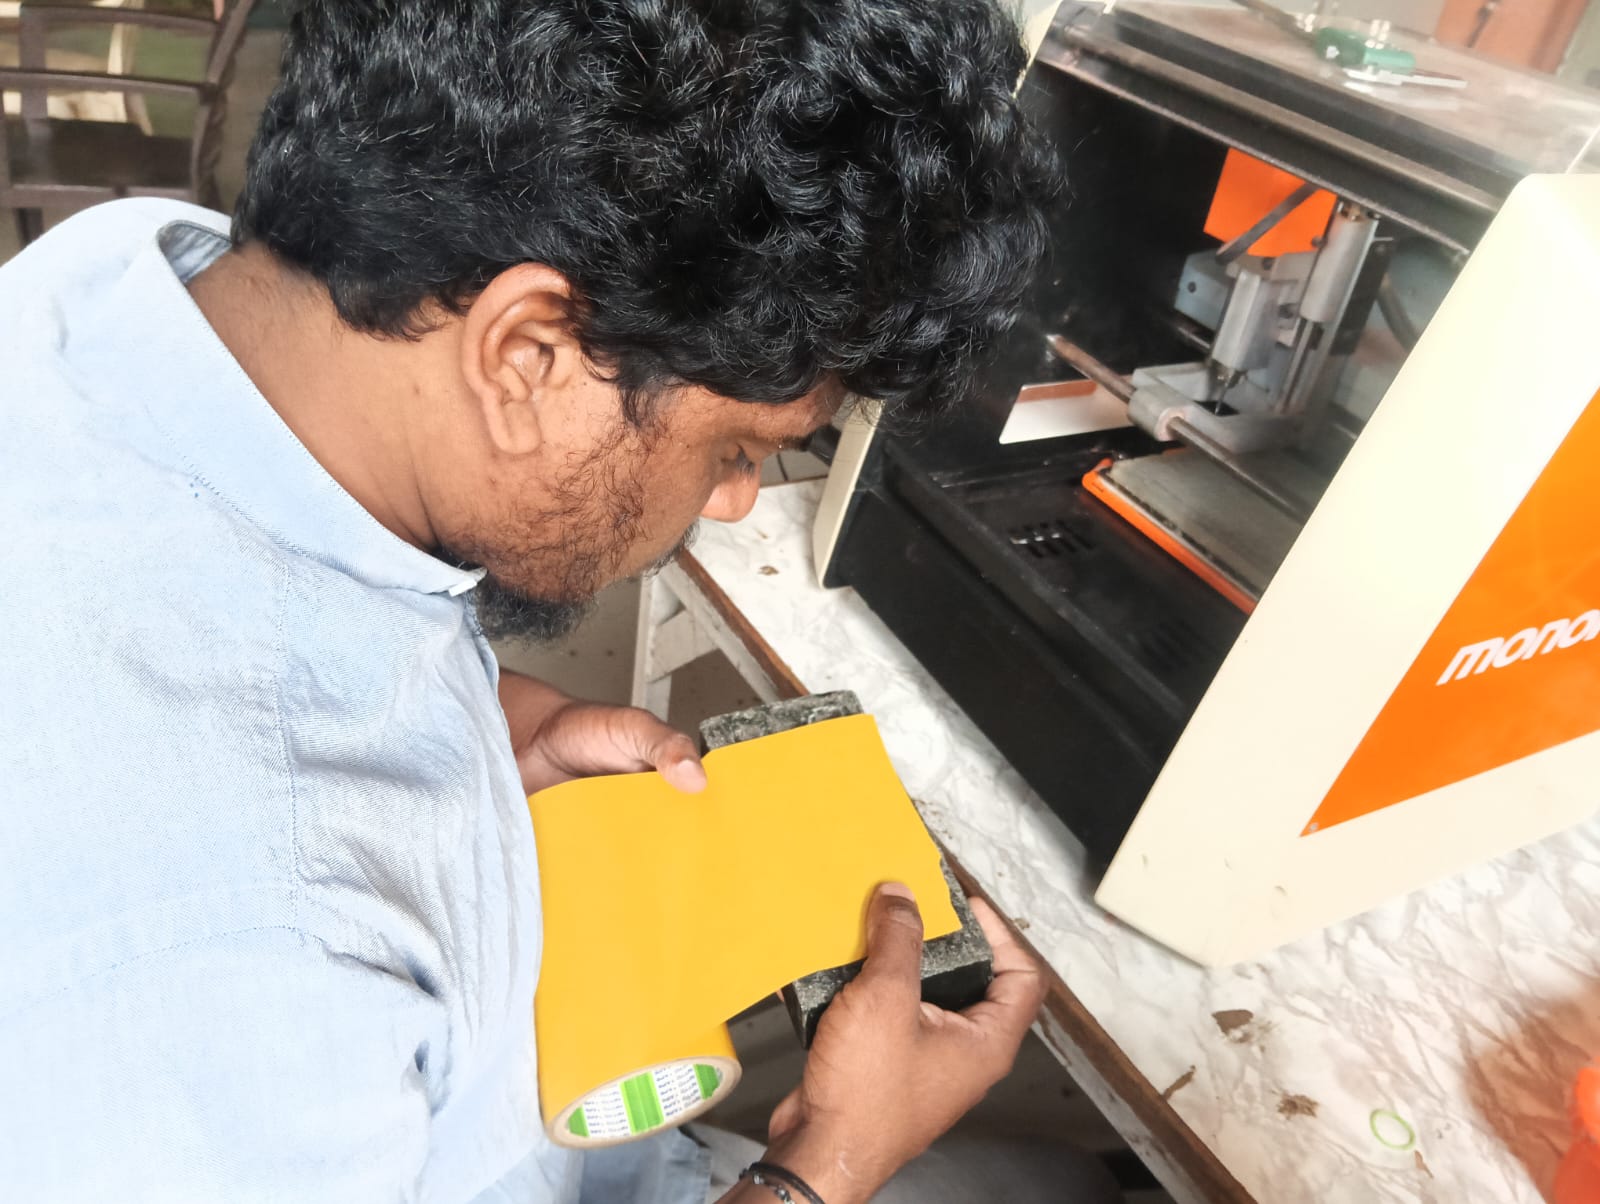
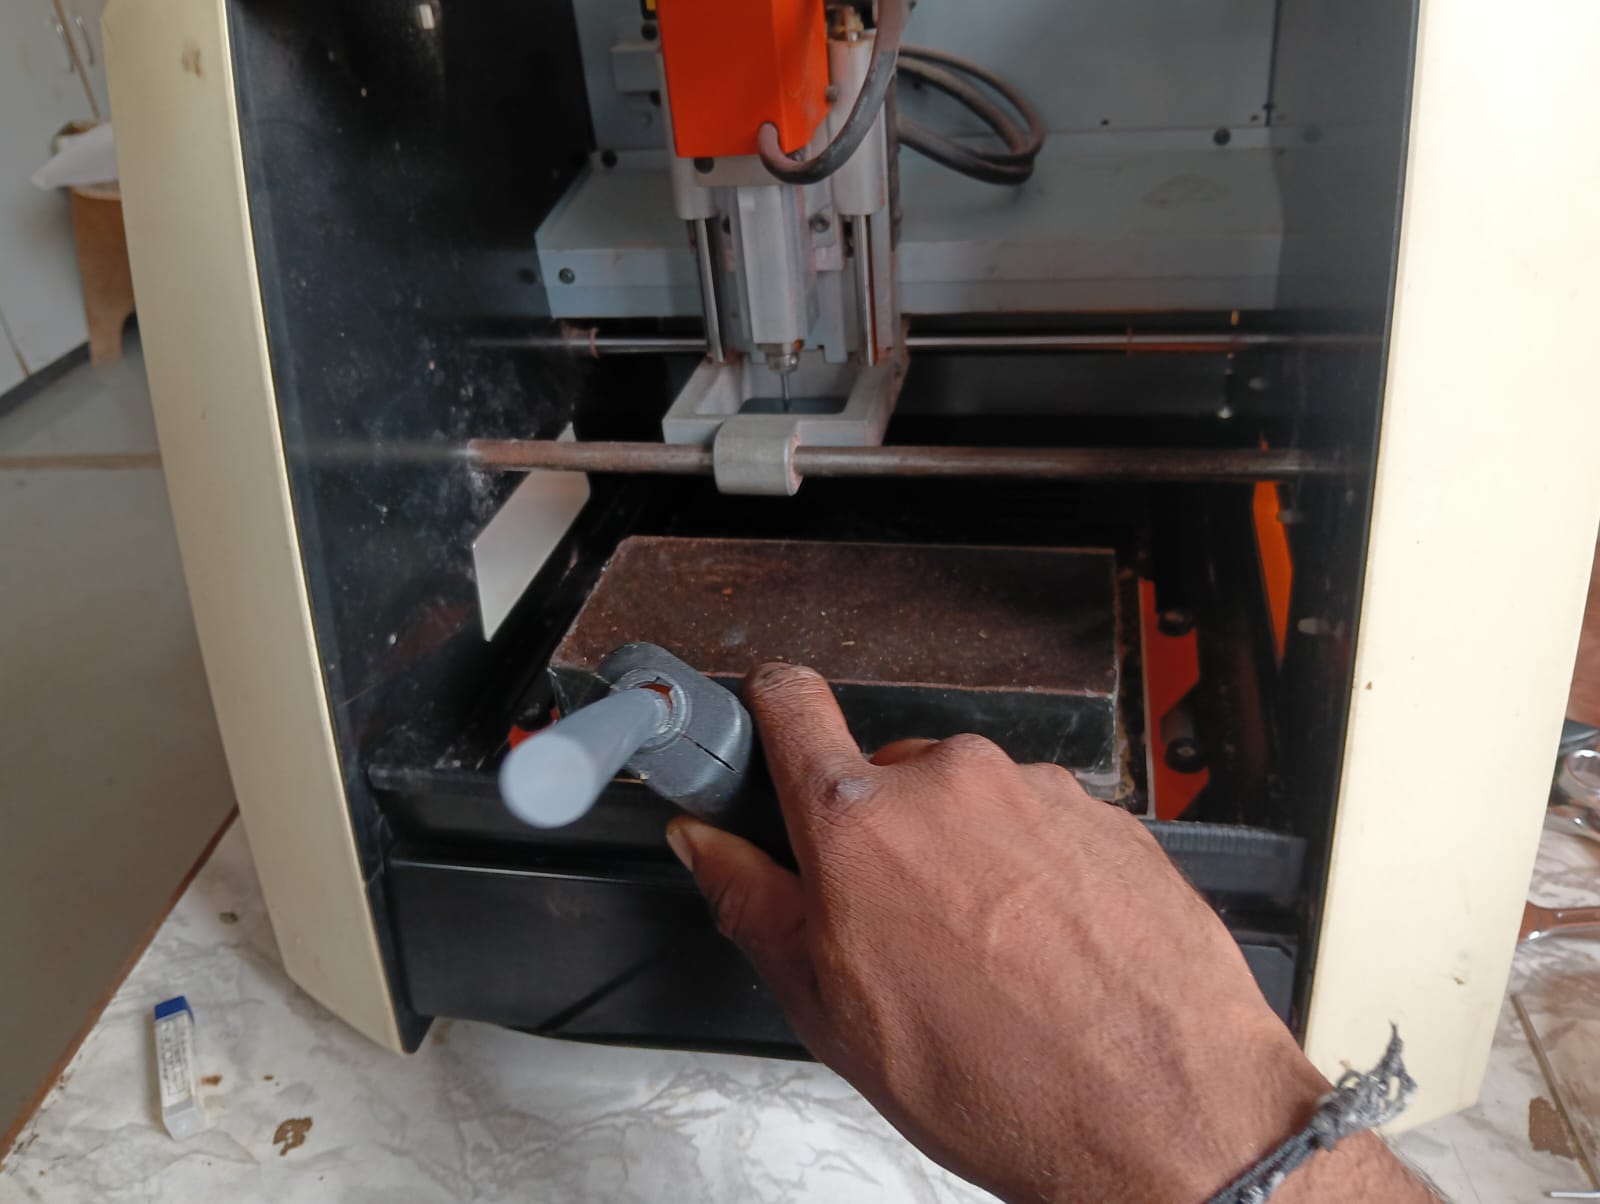
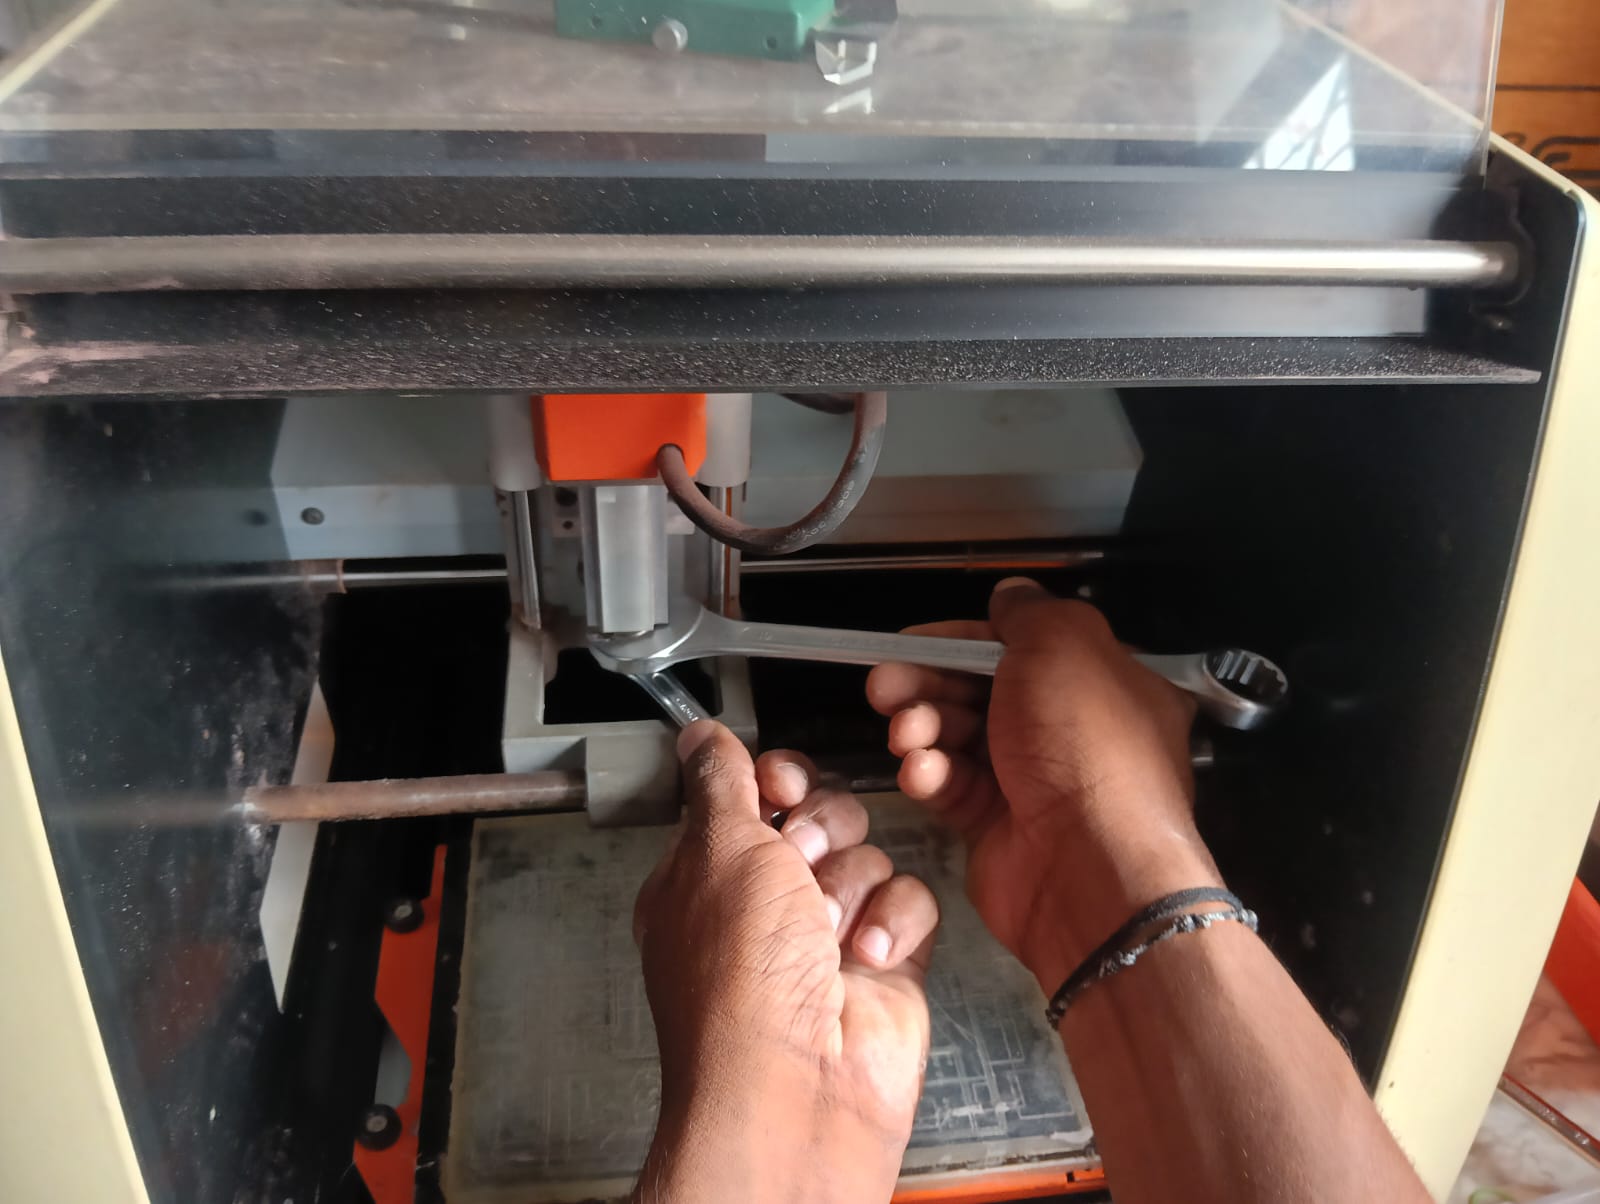
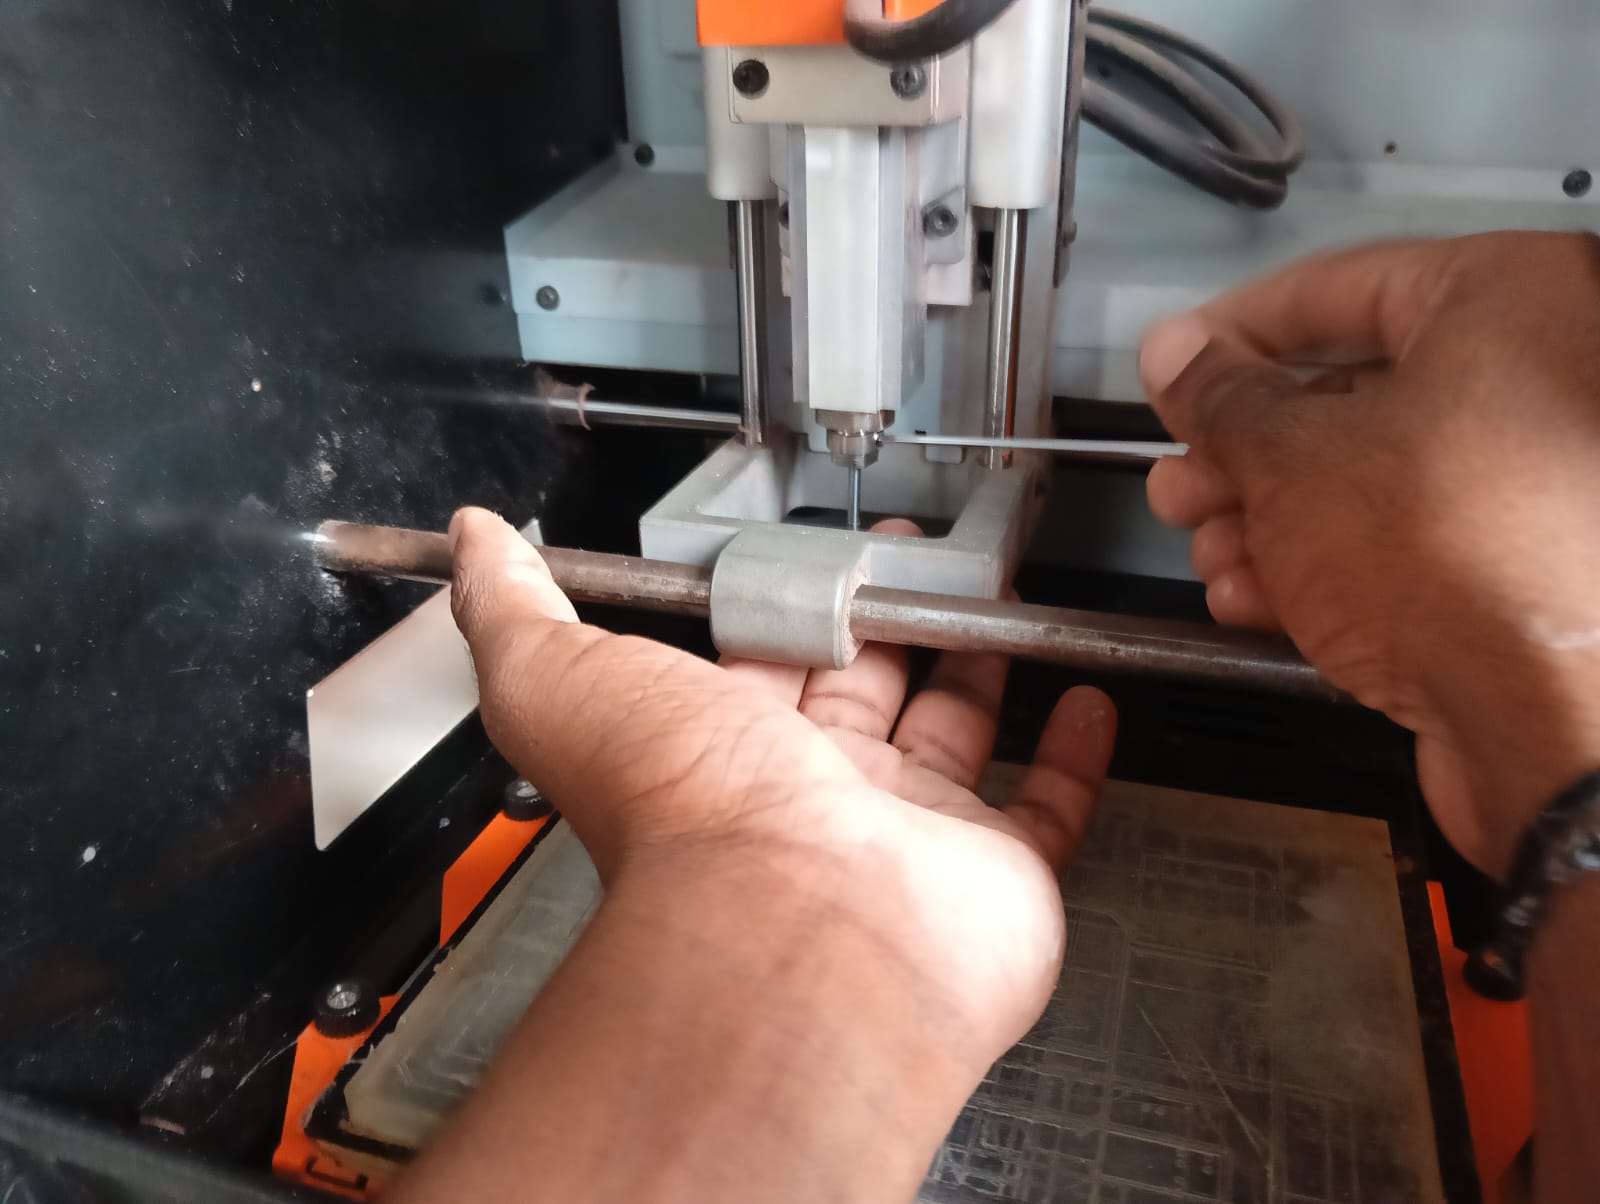
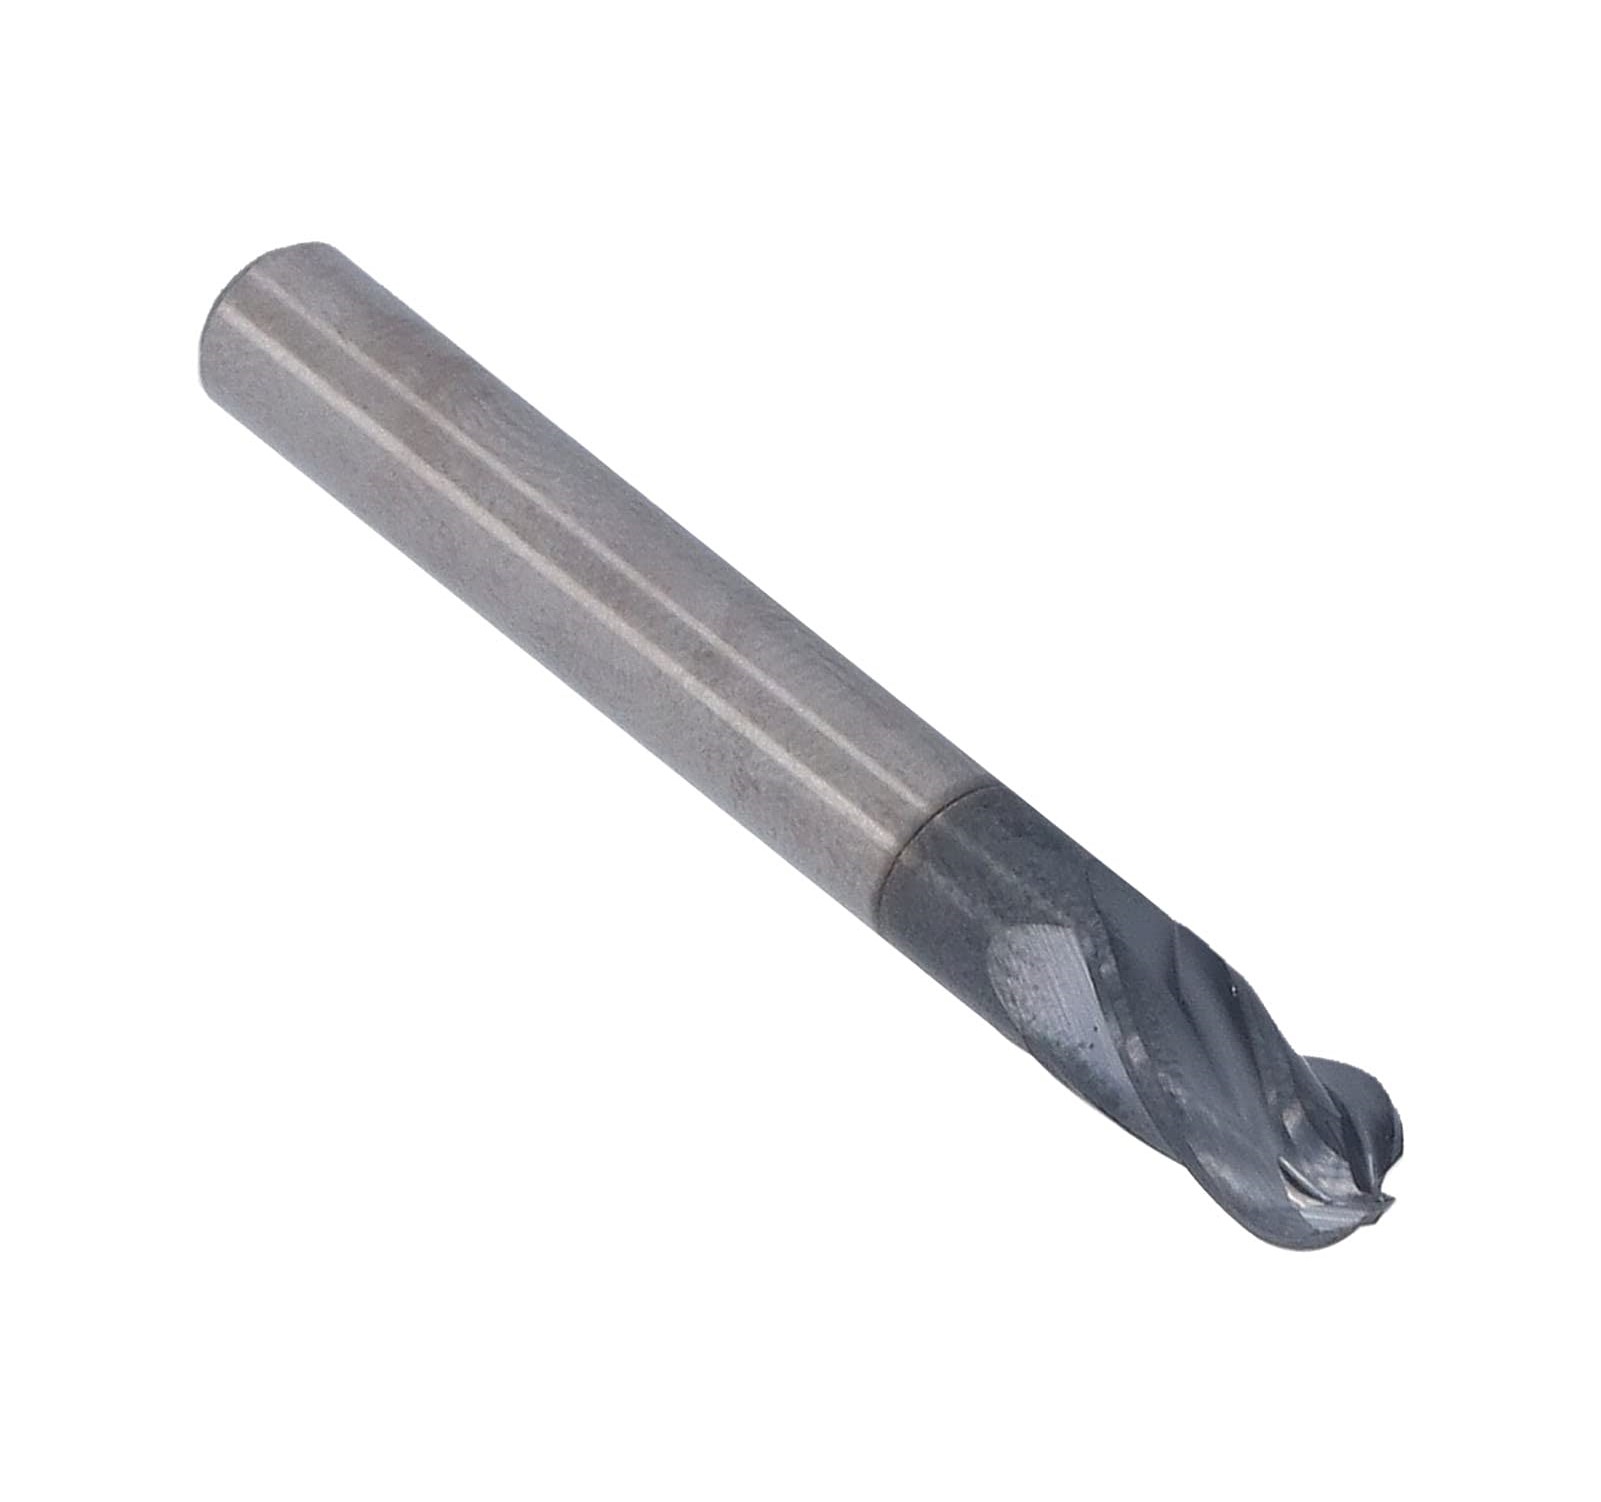
Before fixing the wax block on the bed, I changed the milling bit of the machine. After that, I continued with the further milling process.
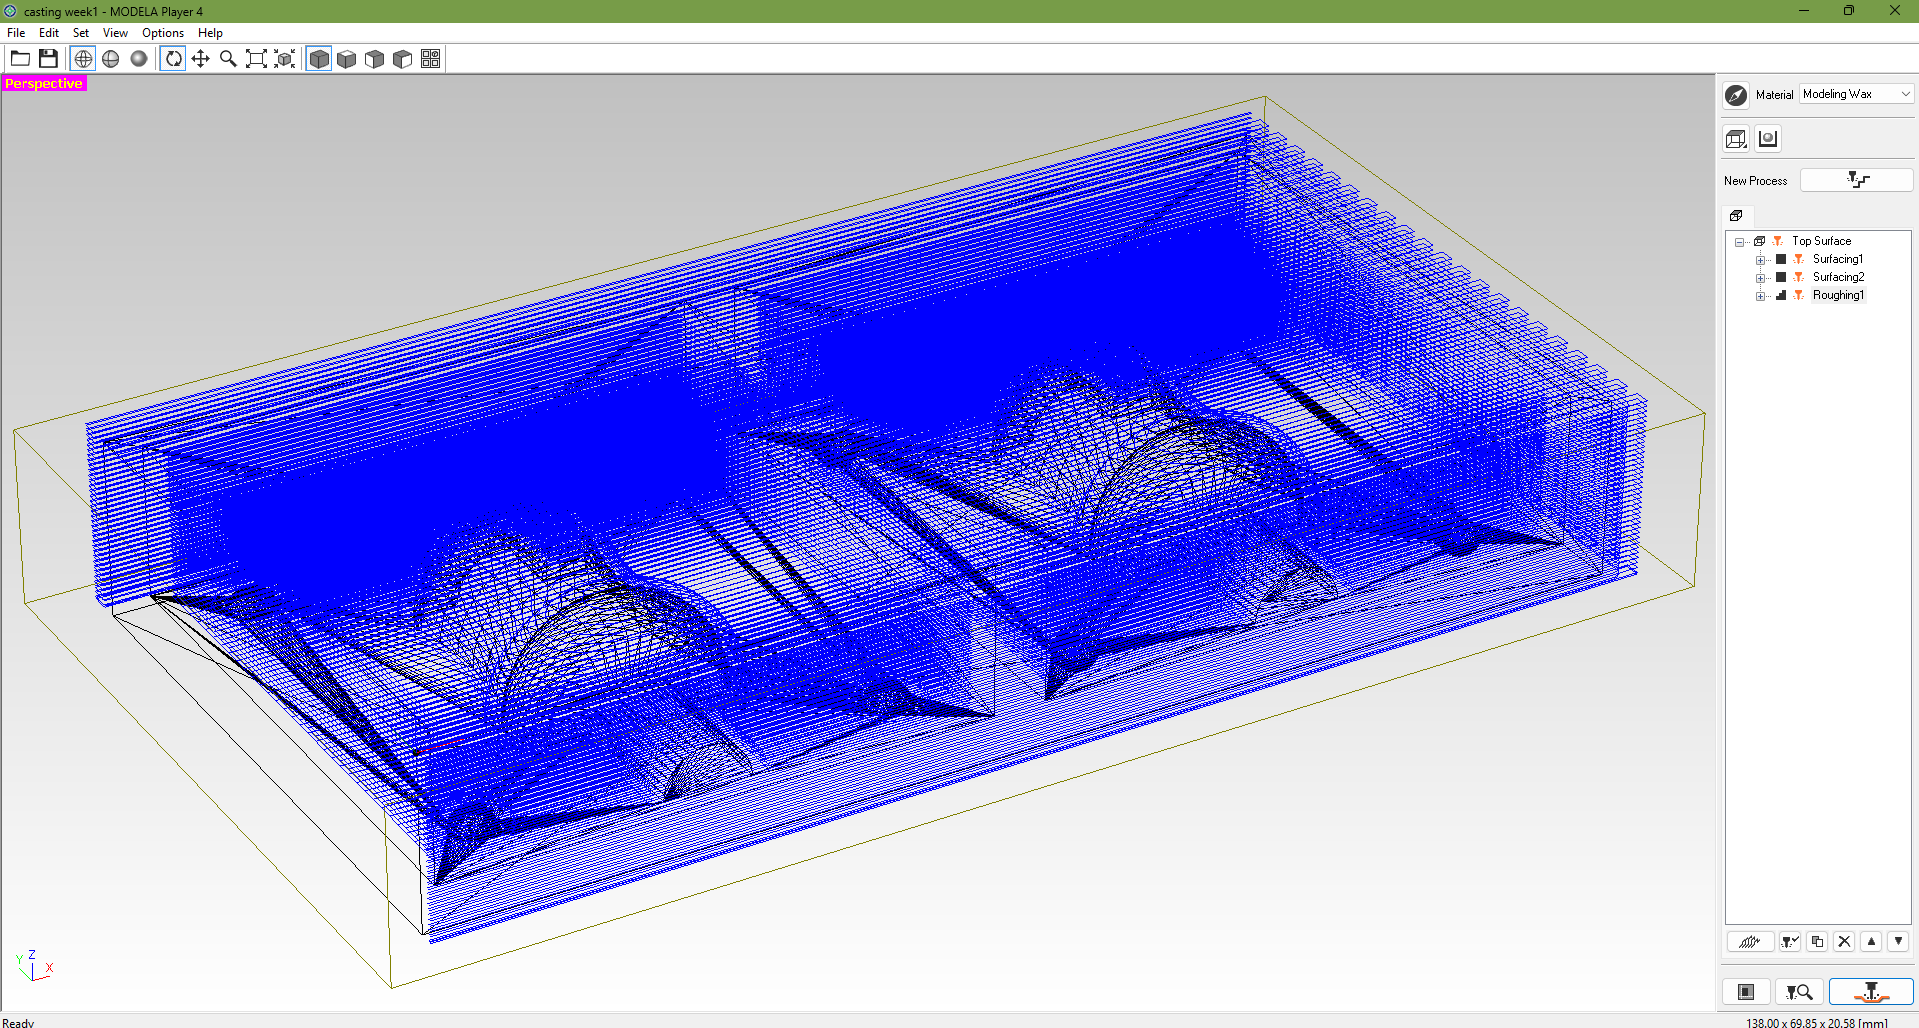
ToolPath generate for surface all process:
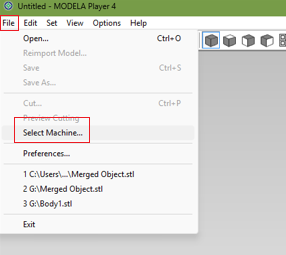
Open Modela Player 4

Go to File and click on Select Machine
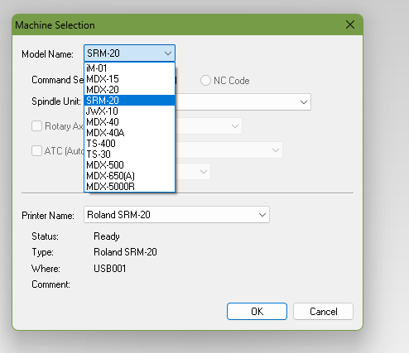
Select the machine
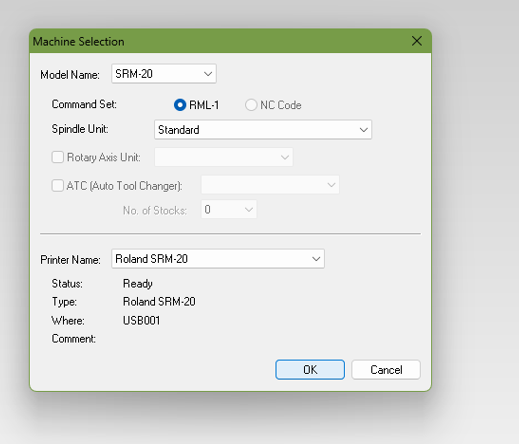
Machine selected
Go to File and click on Open

Choose the file and open it

File is loaded and G-code file is shown
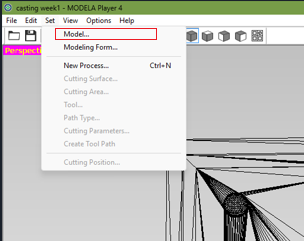
Go to Set and click on Model
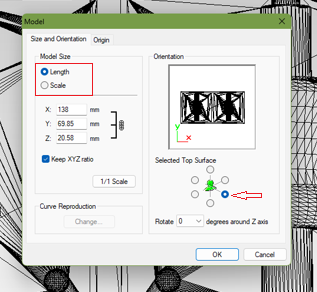
Use Scale to set XYZ according to suitable size
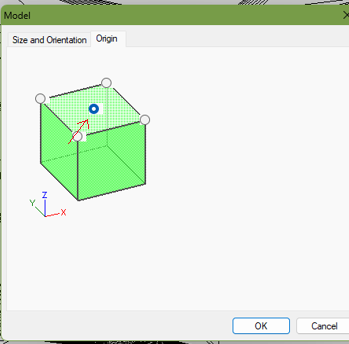
Click on Origin and set it
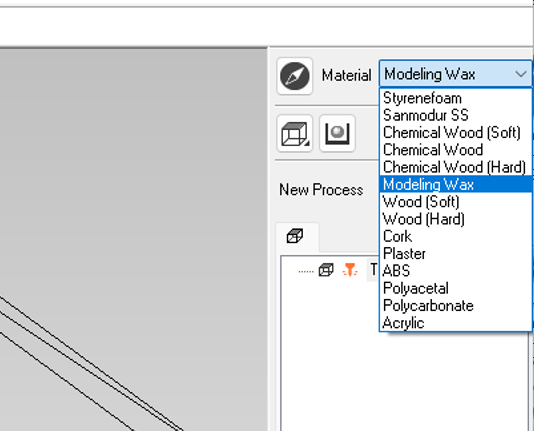
Click on Material and set the material used
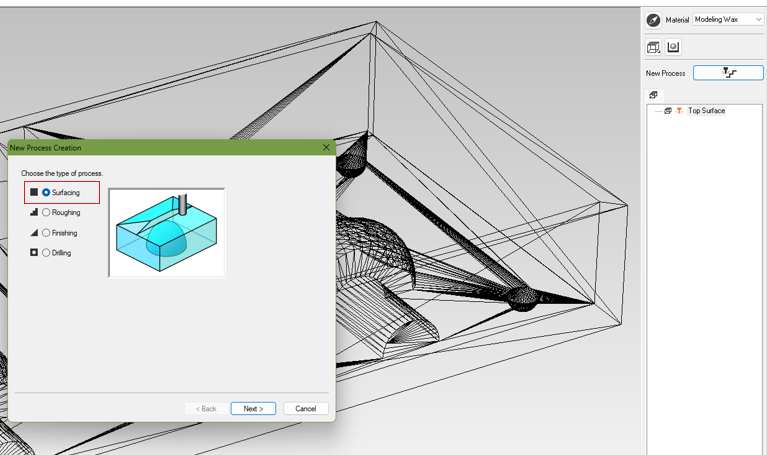
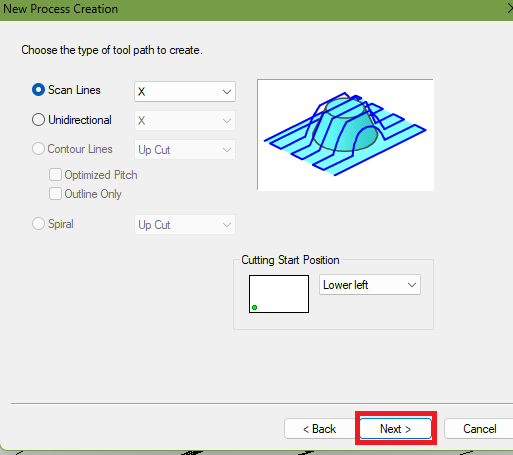
Click on "New Process", select "Surfacing" and click "Next"
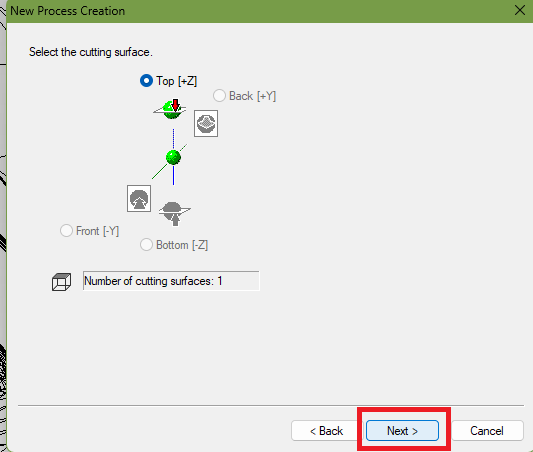
Click Next
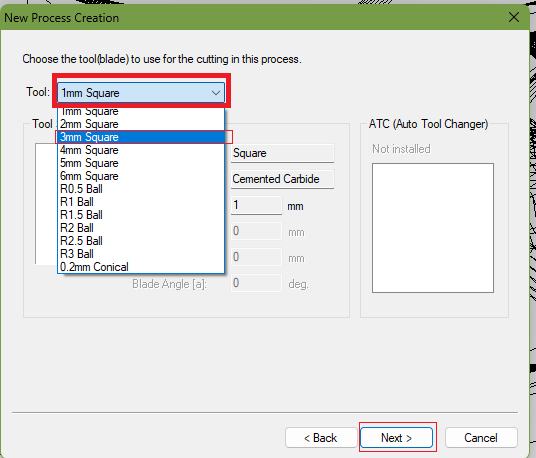
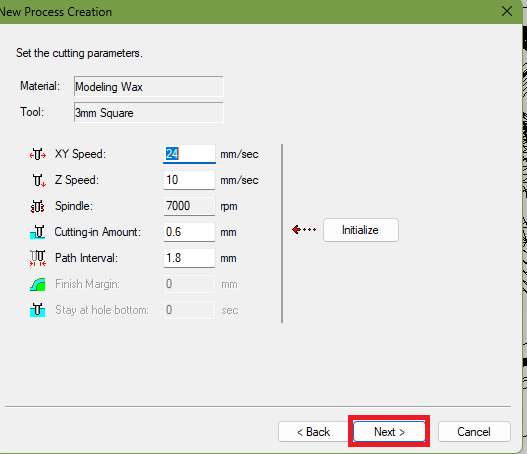
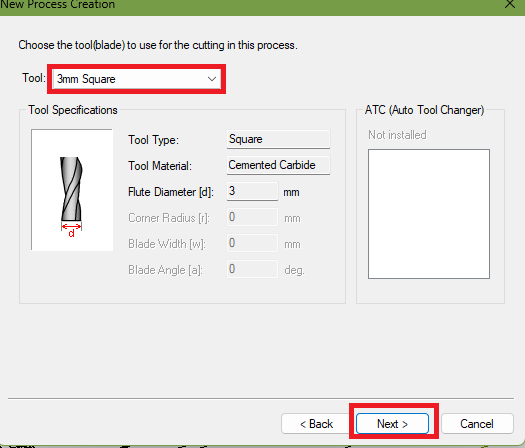
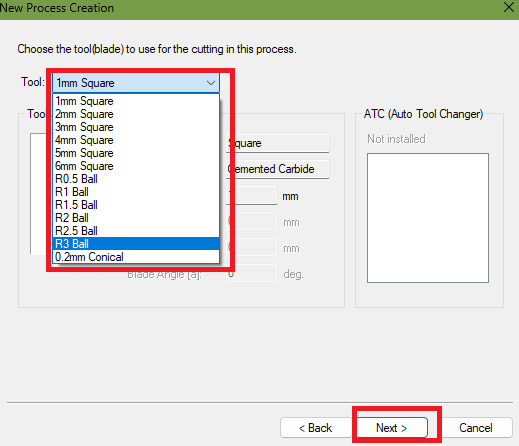
Click on Tool, select 3mm square bit, and click Next
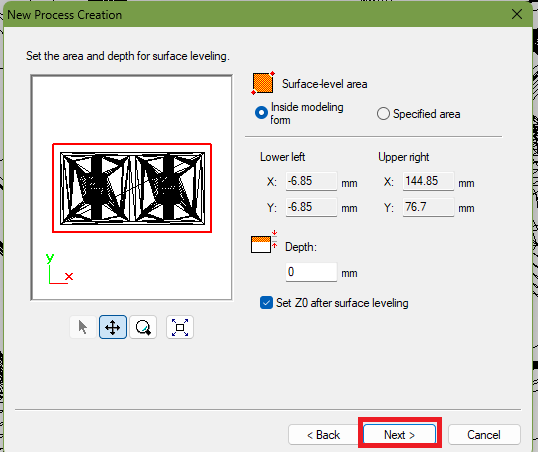
Click on Specified Area, crop unnecessary part, and click Next
Click Next
Click Next
Click Next

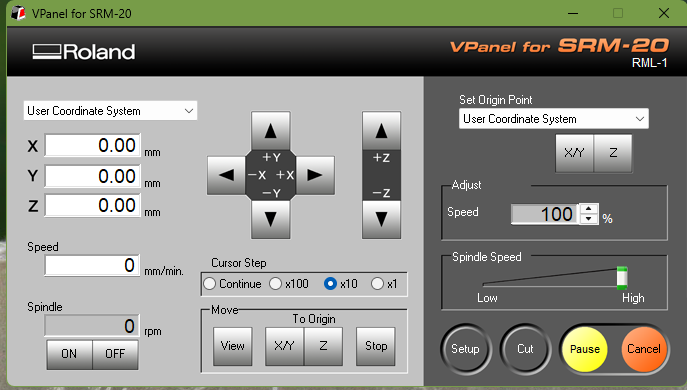
Set machine in starting position
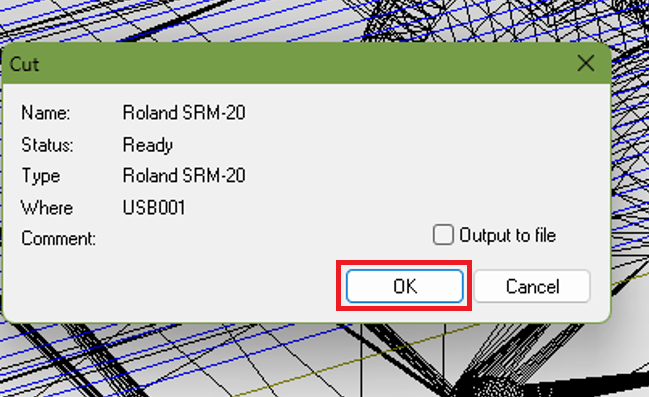
Click on Cutting Position Setup and then OK
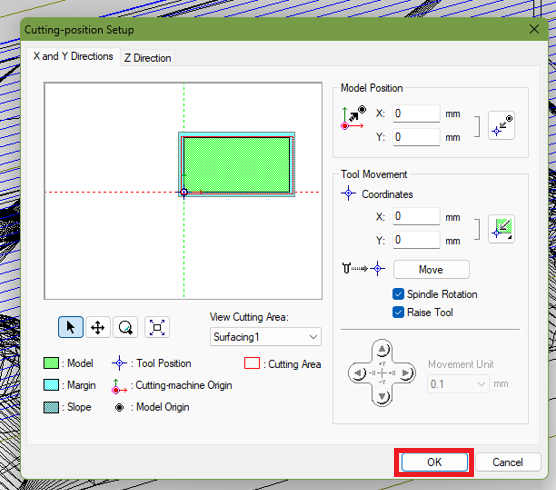
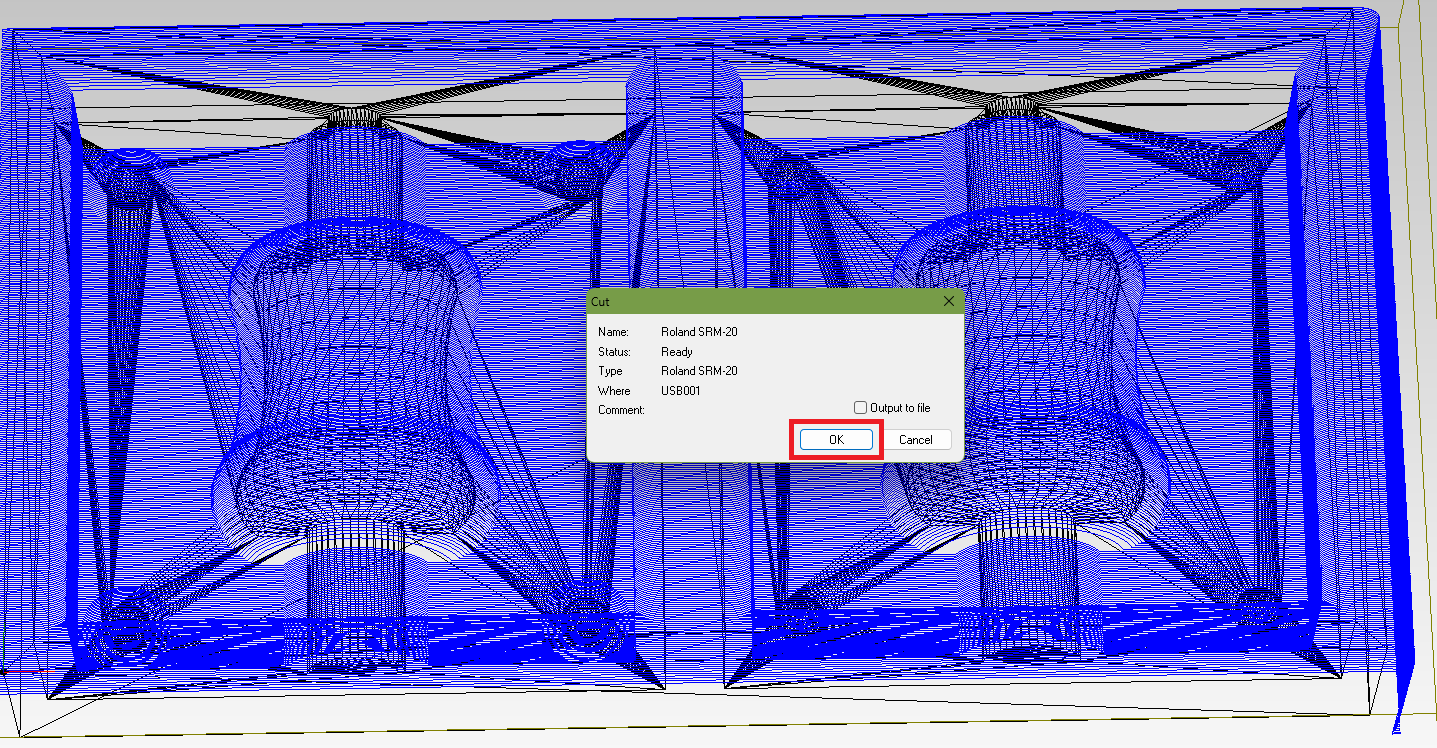
Click OK
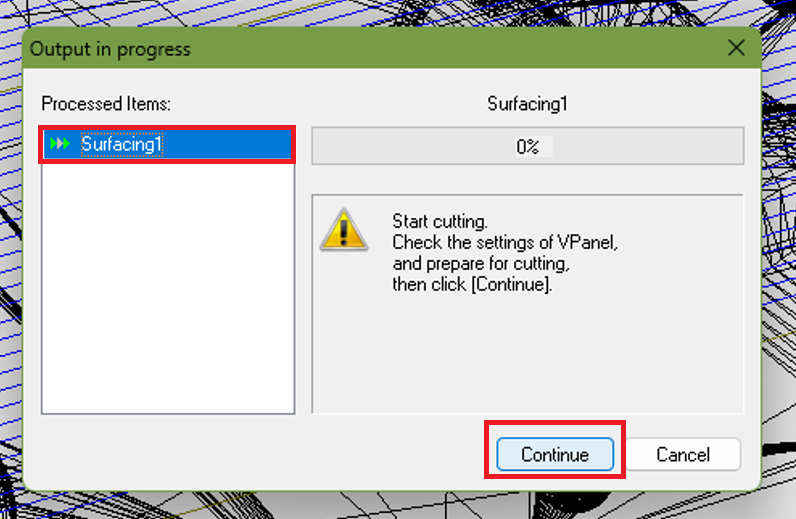
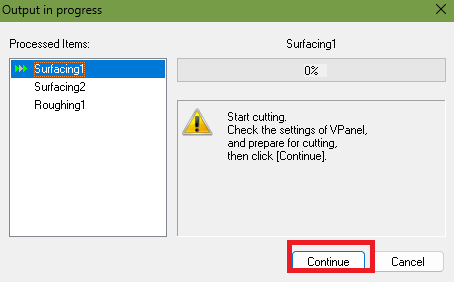
Click Continue
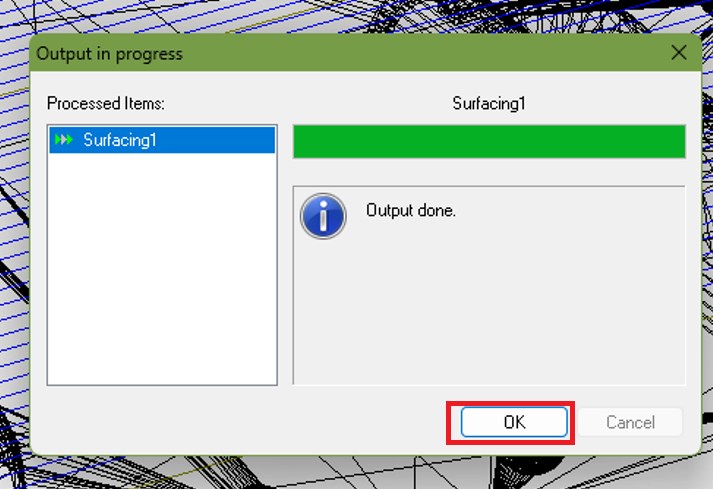
Click OK, then the milling machine will start designing
ToolPath generate for roughing process :
Although this process resembles the surfacing process, it includes several differences, which are illustrated in the images below.

After completing the roughing process, the design appears as shown below.
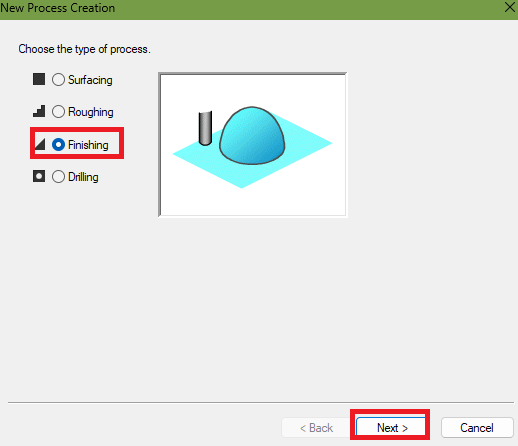
Toolpath Generation for Finishing Process :
This process is similar to the surfacing process, with a few modifications as shown in the images below.

References: Reference
After completing the roughing and surfacing processes, the mould is ready for preparation.
Modeling wex casting process using rasin :
After completing the wax modeling and routing process, I used mold silicone to prepare a durable and detailed permanent mold for casting. This silicone mold captures fine details and can be reused for multiple resin castings.
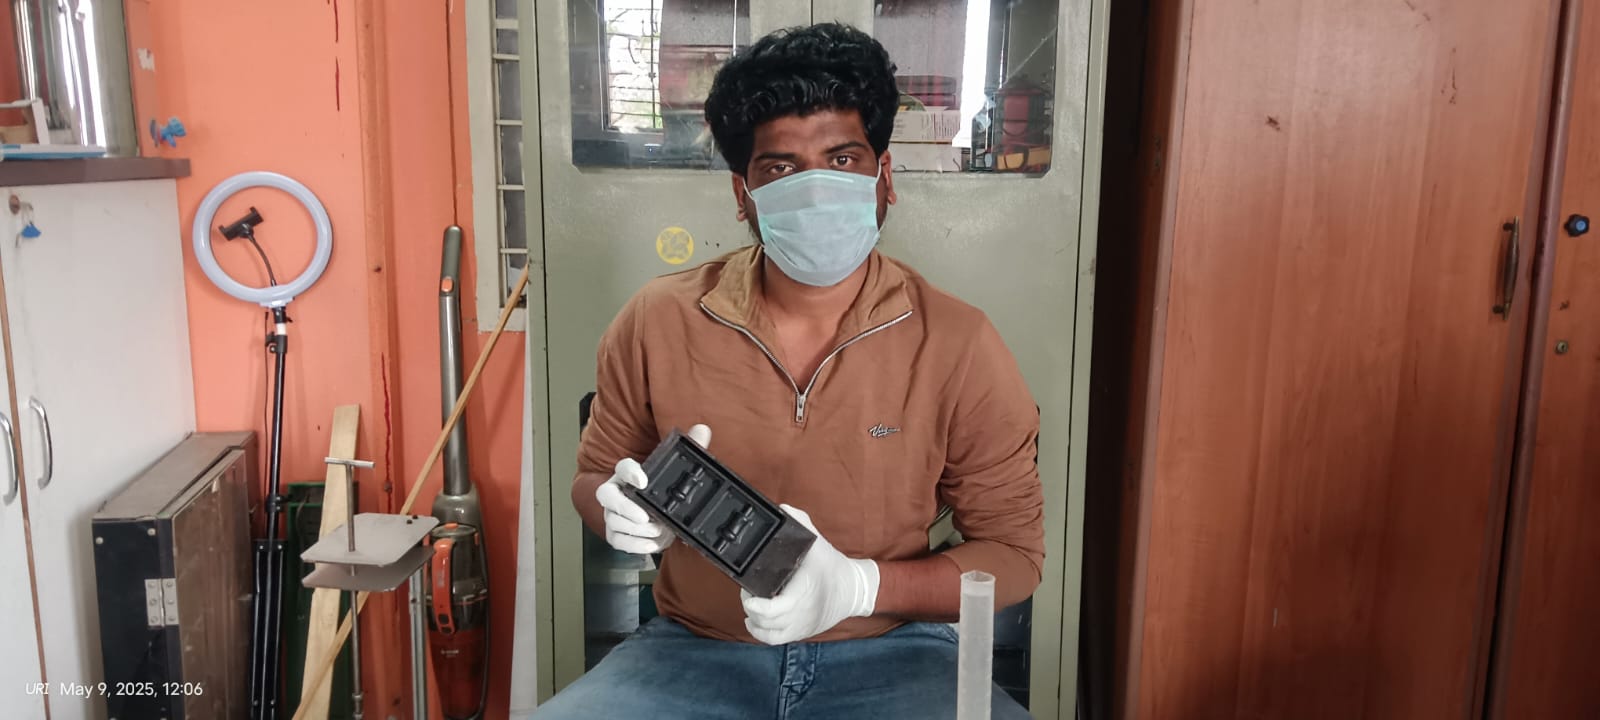
Step 1: First, I collected all the materials required for silicone molding, such as mold silicone, water, and mixing tools. Before starting the work, I took safety precautions by wearing gloves and a face mask to ensure safe handling of the materials.
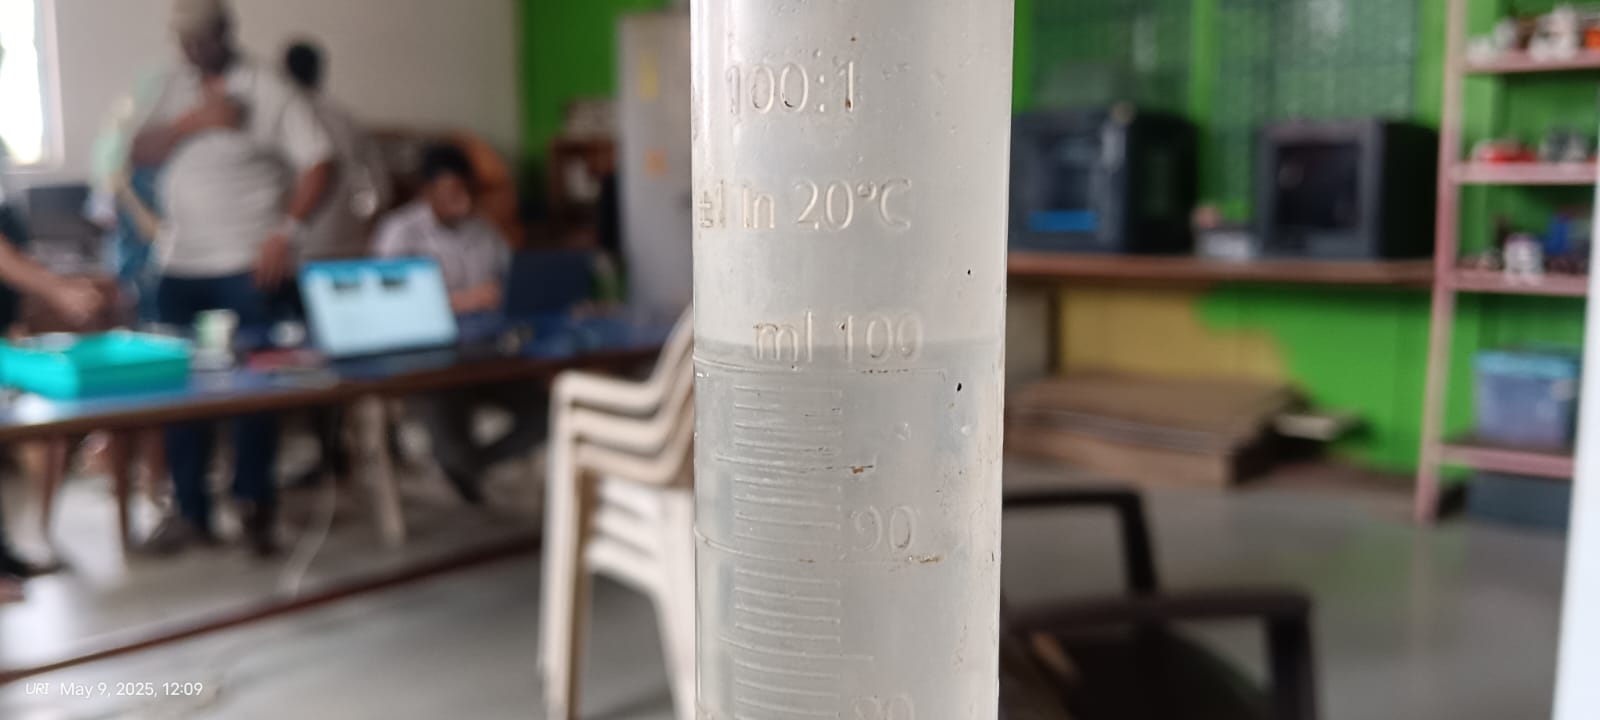
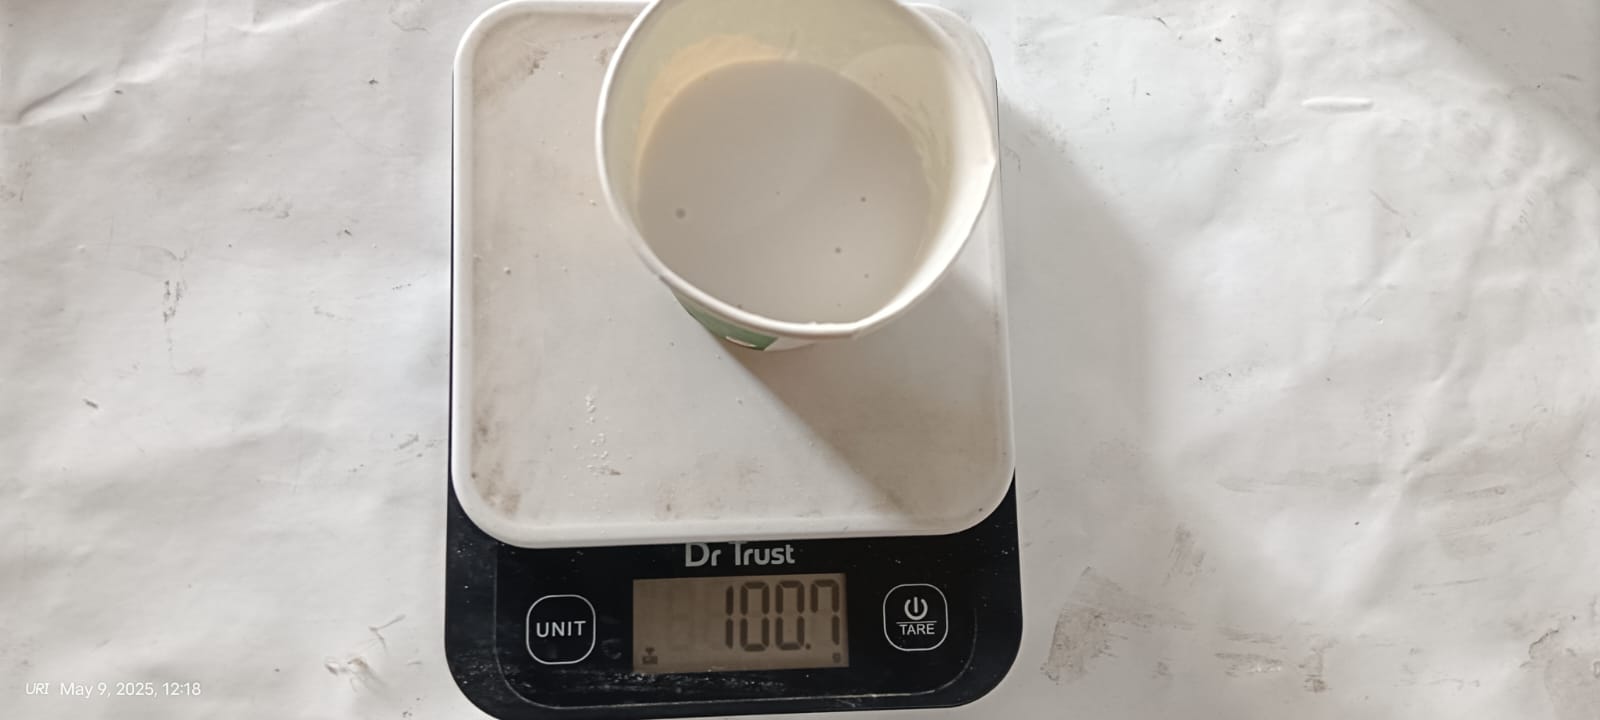
Step 2: I measured the water first to estimate how much mold silicone would be required for molding. In my case, the mold cavity took 100 ml of water, which helped me determine the exact amount of silicone needed.
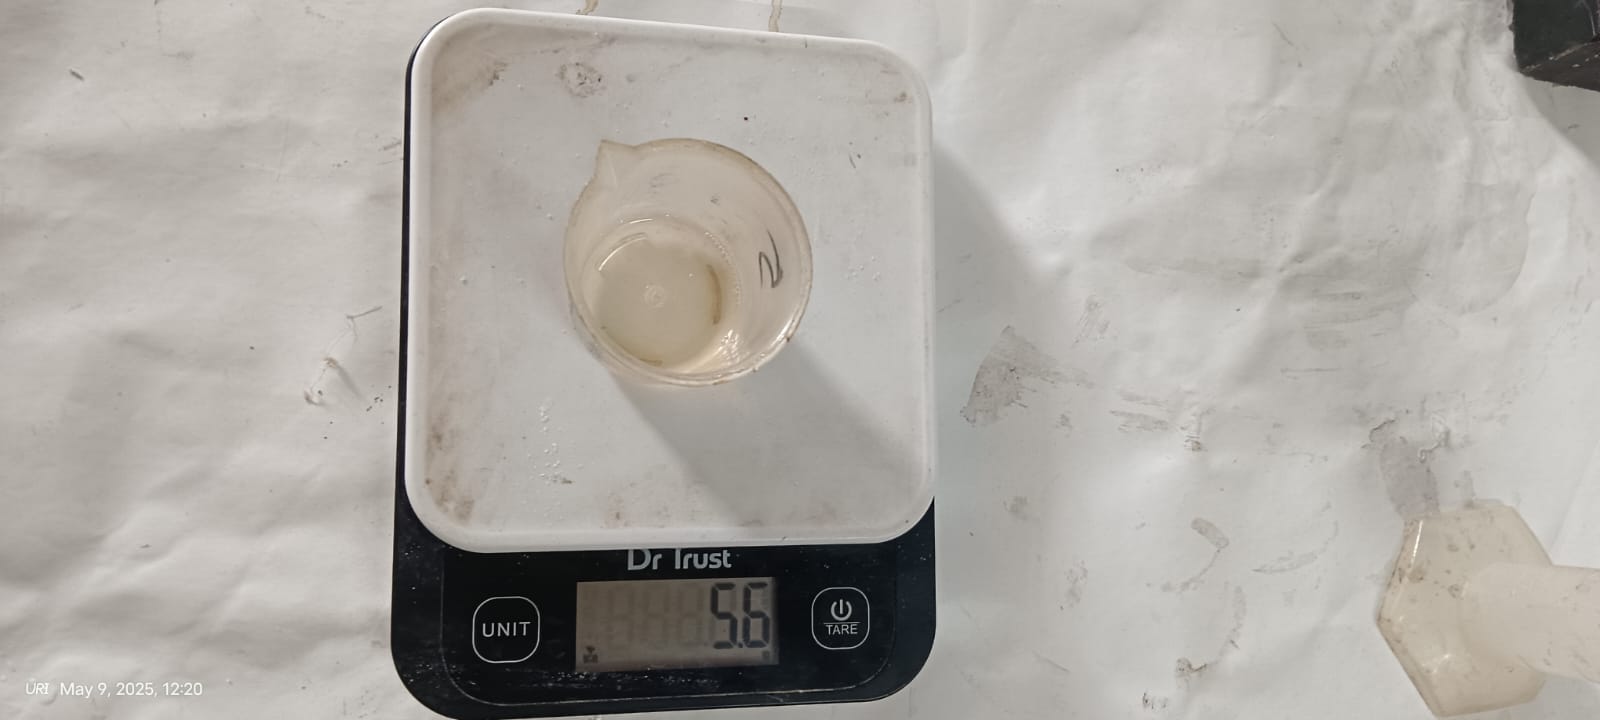
Step 3: After measuring the water, I calculated the required amount of mold silicone. Based on the 100 ml measurement, I took 100 grams of Part-A and 5 grams of Part-B, following the correct mixing ratio of 100:5 as specified for the silicone material.
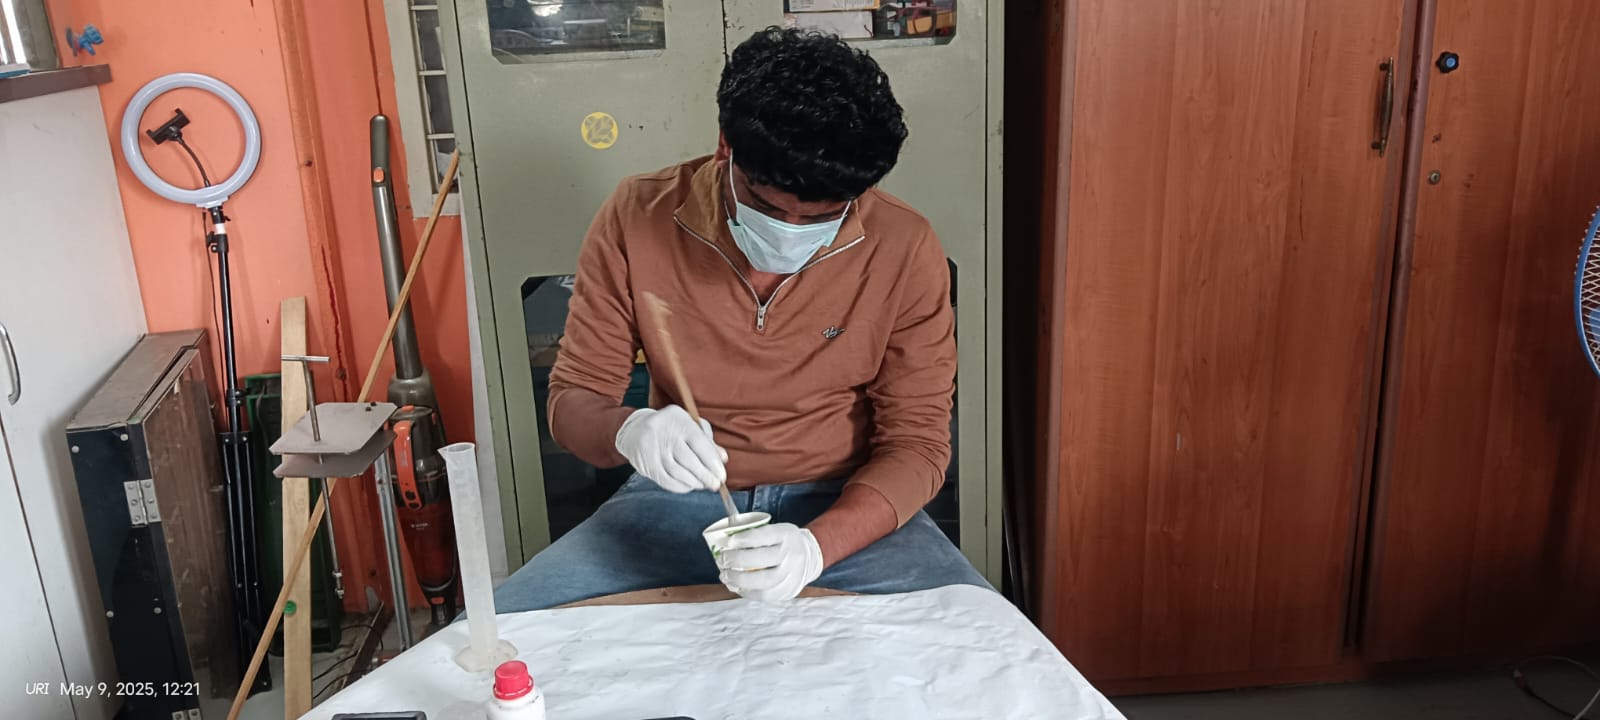
Step 4: I carefully measured and maintained the correct mixing ratio of Part-A and Part-B. Then, I thoroughly mixed both components for more than 5 minutes to ensure a uniform blend.
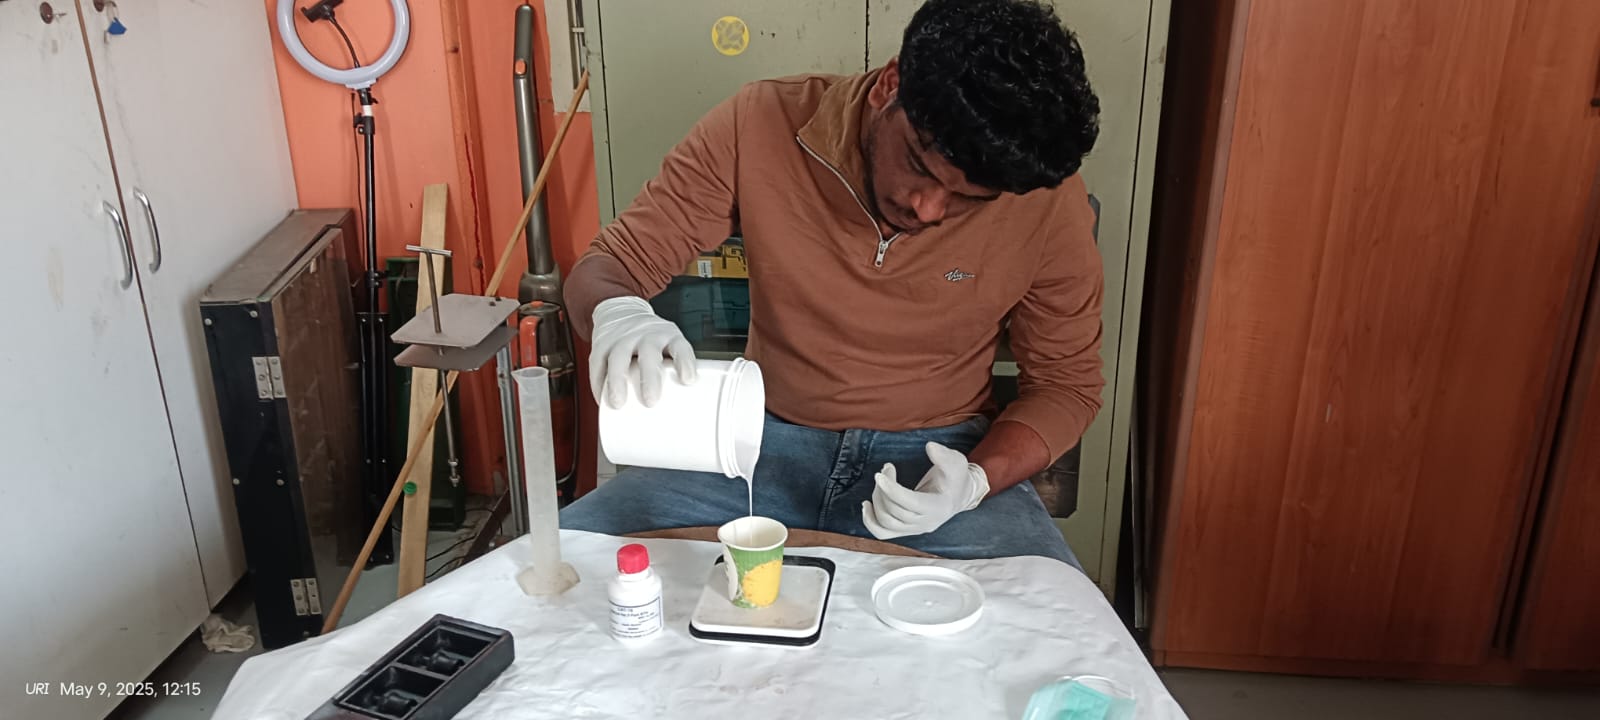
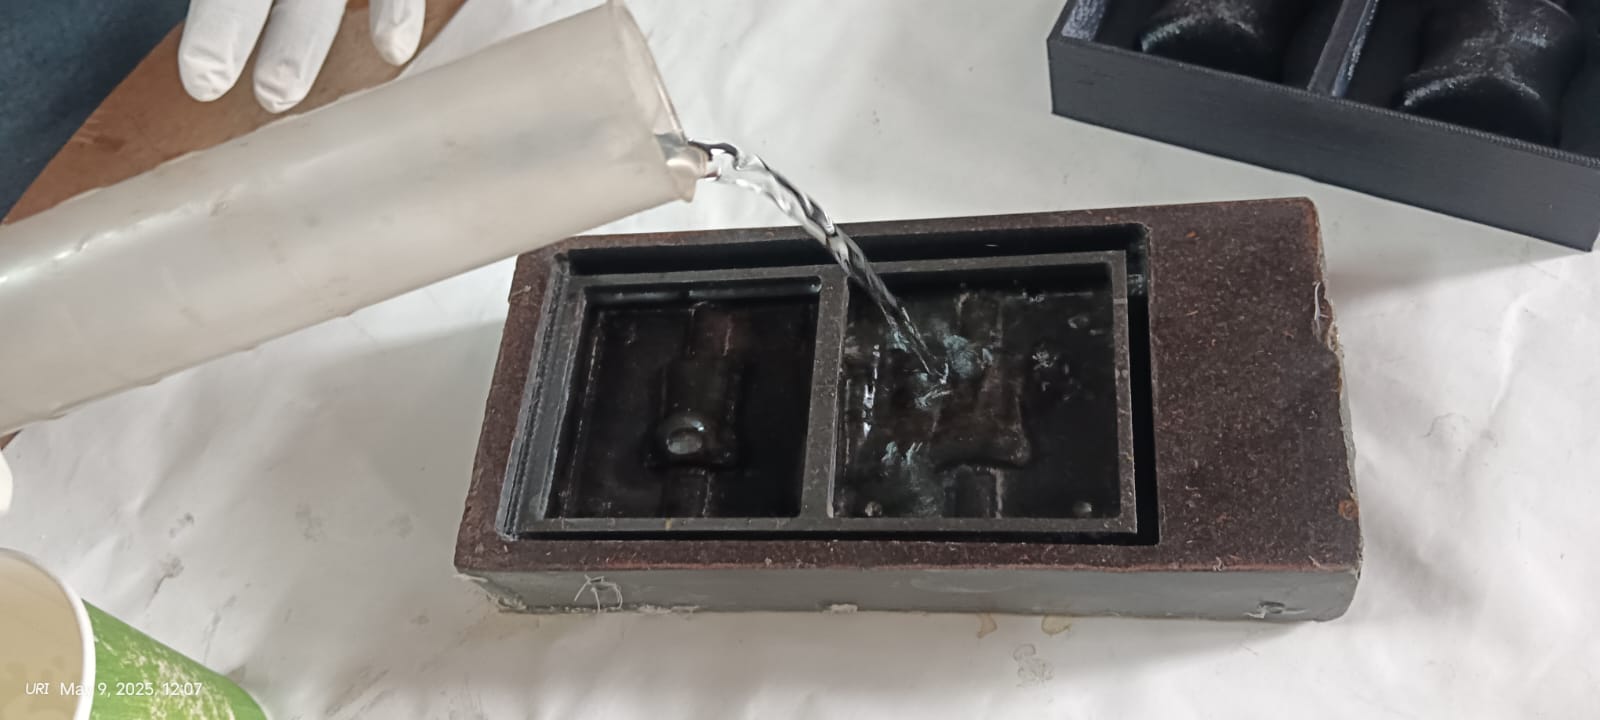
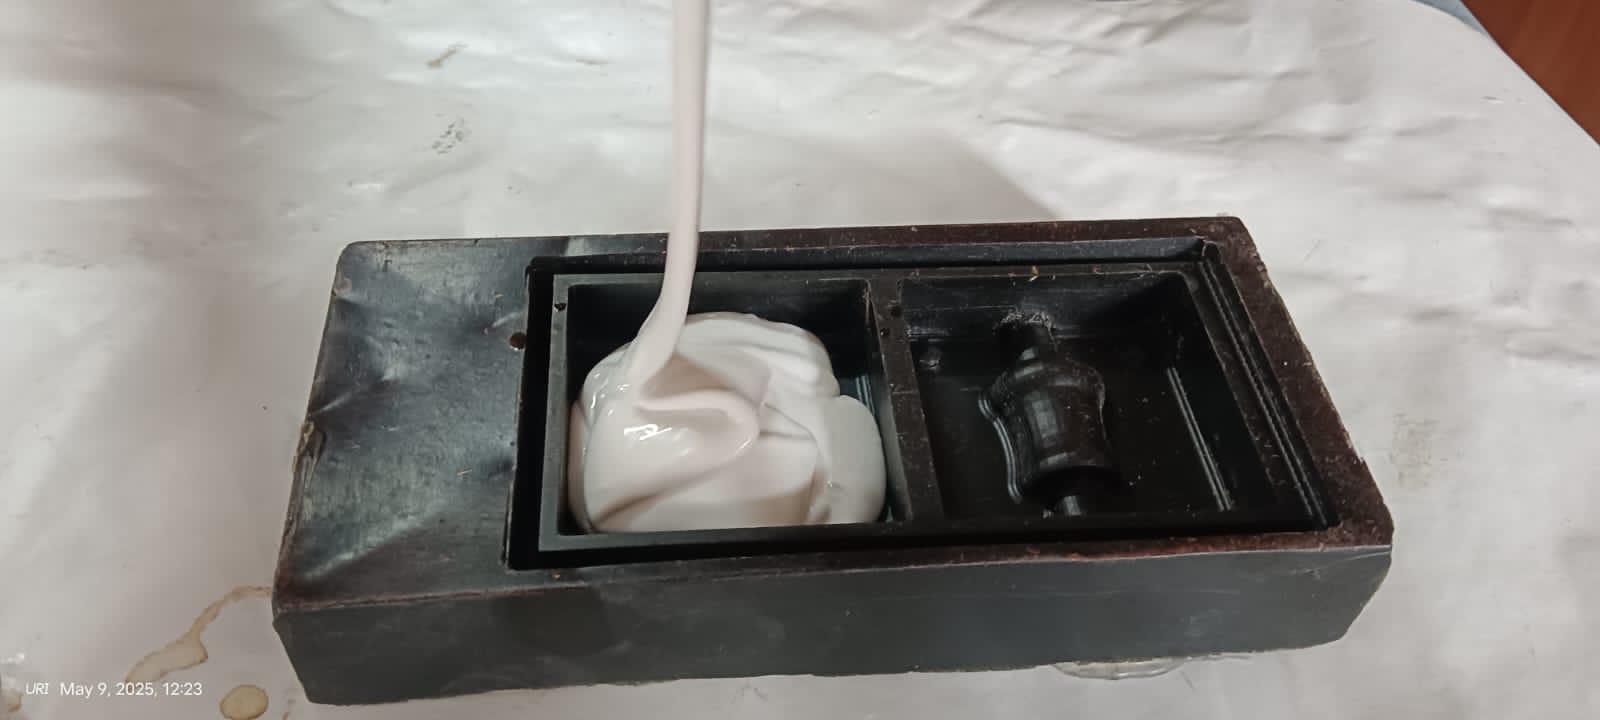
Step 5: After mixing, I carefully poured the silicone into the wax mold, ensuring there were no air bubbles or gaps. Then, I allowed it to cure undisturbed for 24 hours to get the final mold.
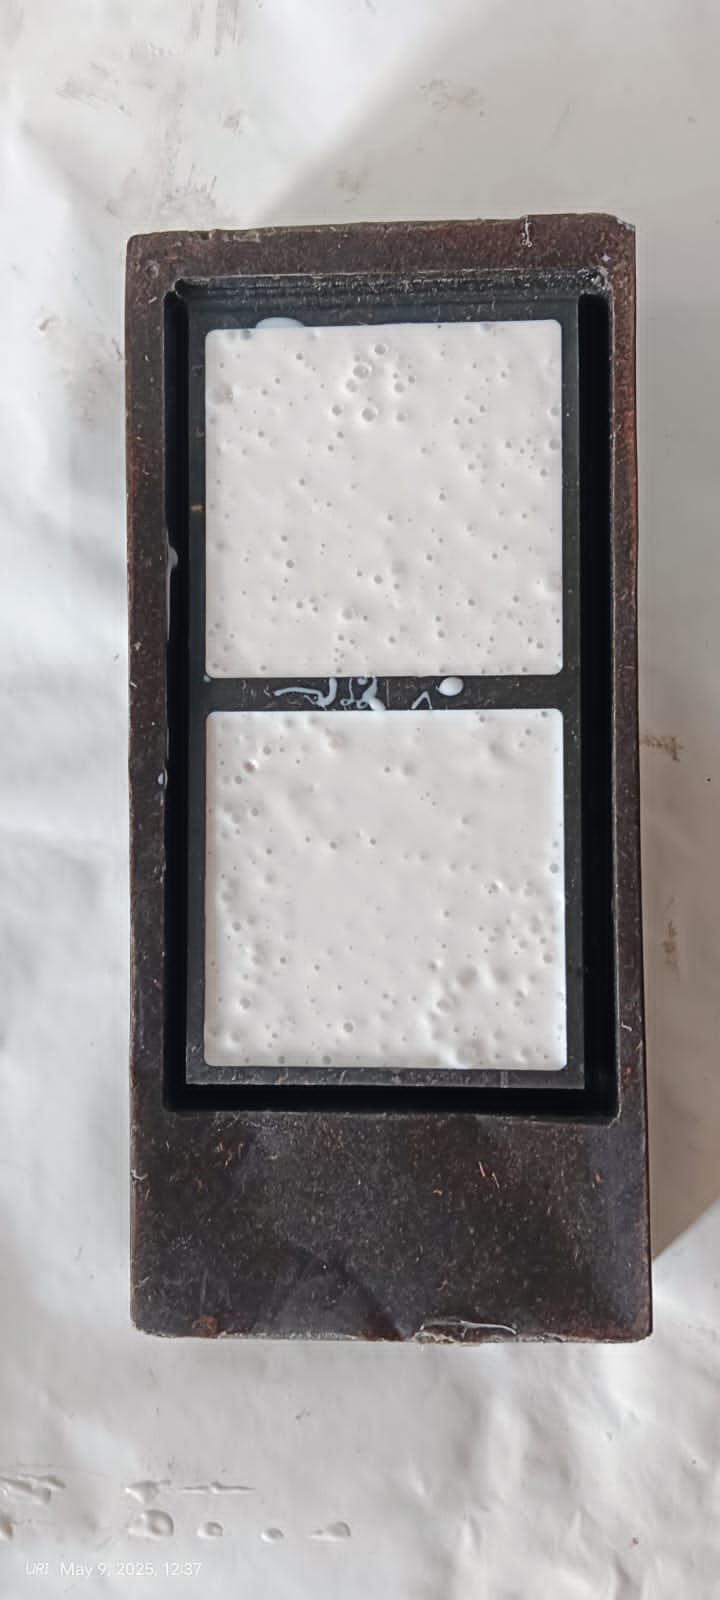
After 24 hours, the silicone mold was fully cured and successfully captured all the fine details of the wax model. The result was a smooth, flexible, and reusable mold ready for casting.
casting process using rasin :
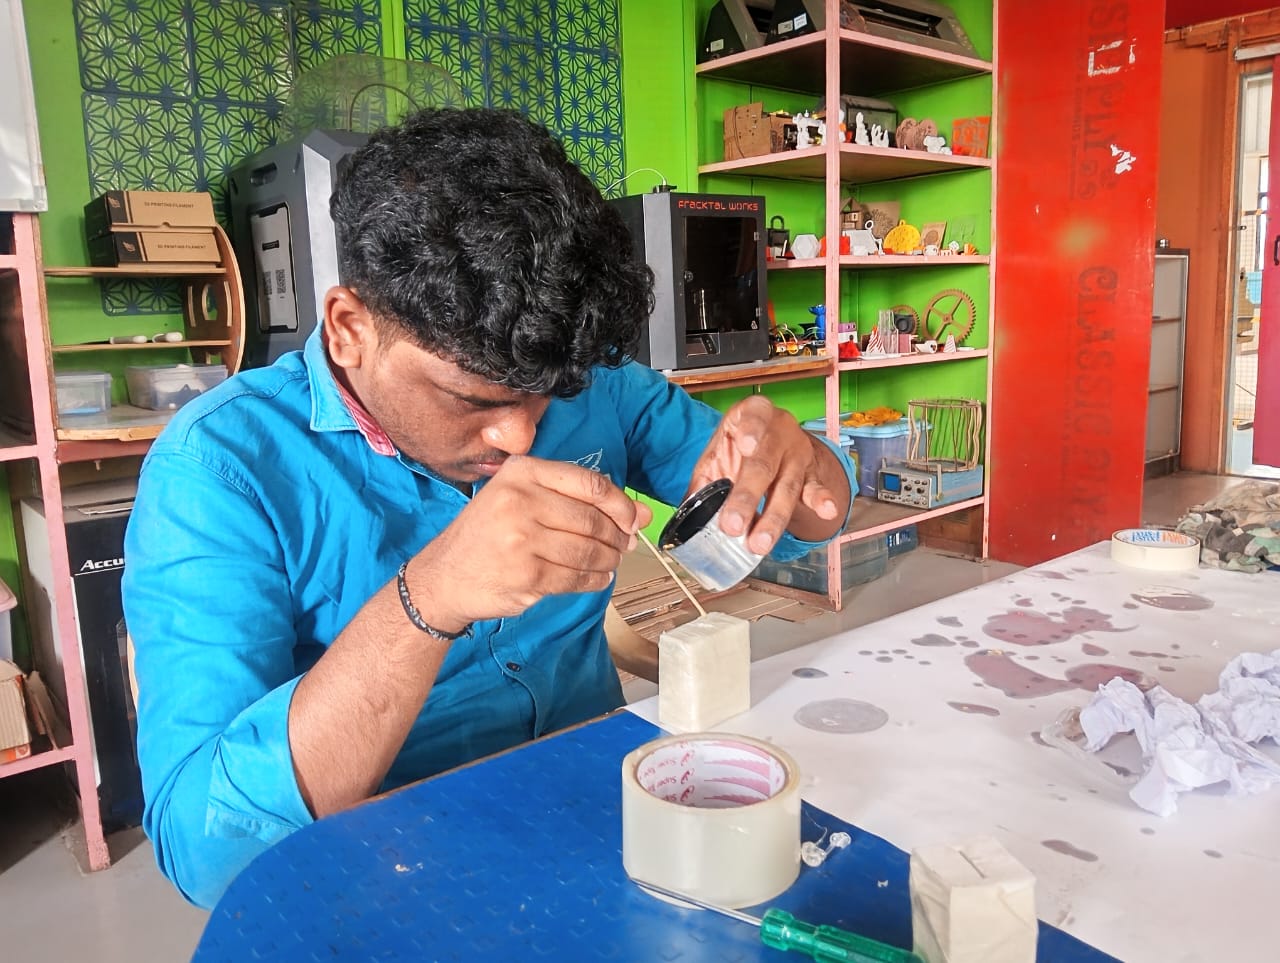
After that, I attached both the cope and drag parts of the mold together carefully. I used hot glue, paper tape, and transparent tape to seal the edges securely. This ensured that the resin would not leak out during the casting process.

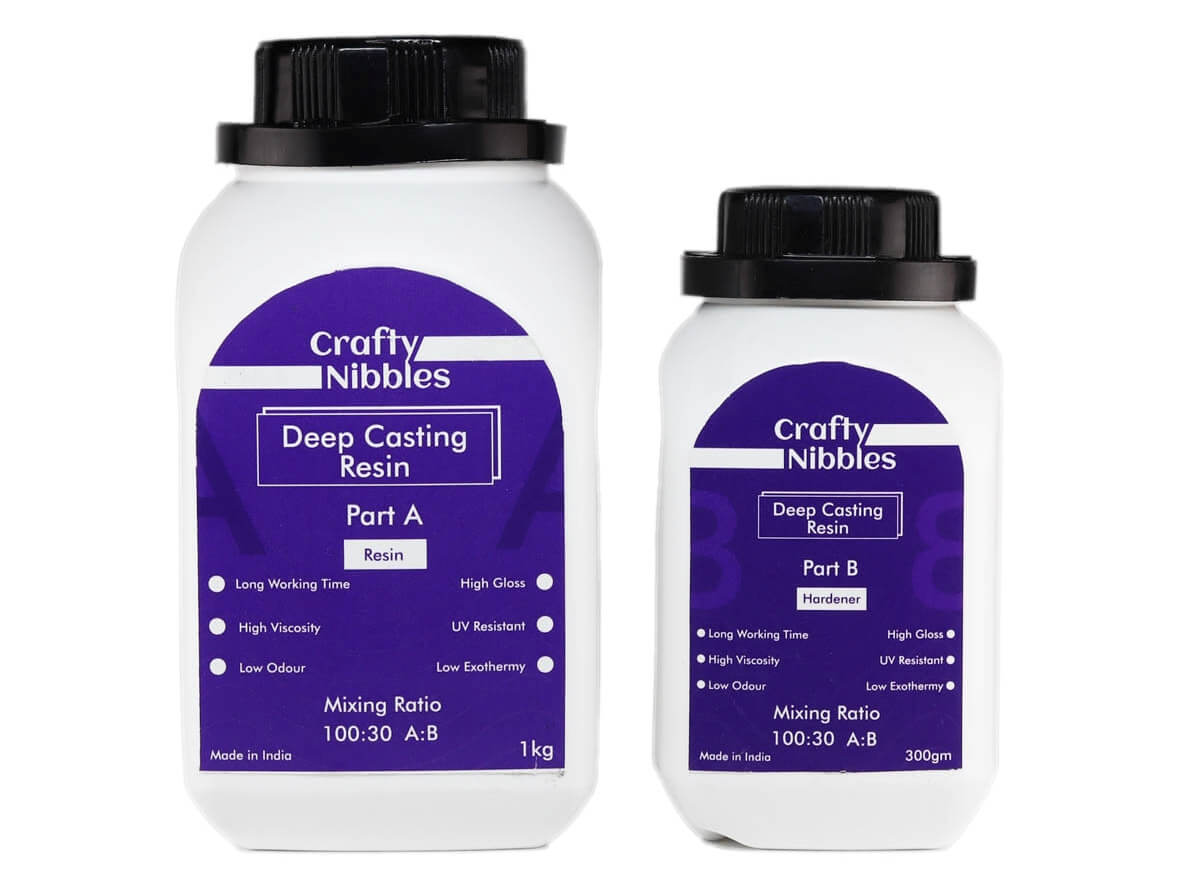
Then, I mixed the resin in a 100:30 ratio—in my case, I took 40 grams of Part-A and 13 grams of Part-B. After mixing both parts thoroughly for more than 8 minutes, the resin started to harden gradually. The results can be seen in the image below.
After that, I carefully poured the mixed resin into the mold. Before pouring, I added some fluorescent colors to enhance the appearance and make it look more attractive.
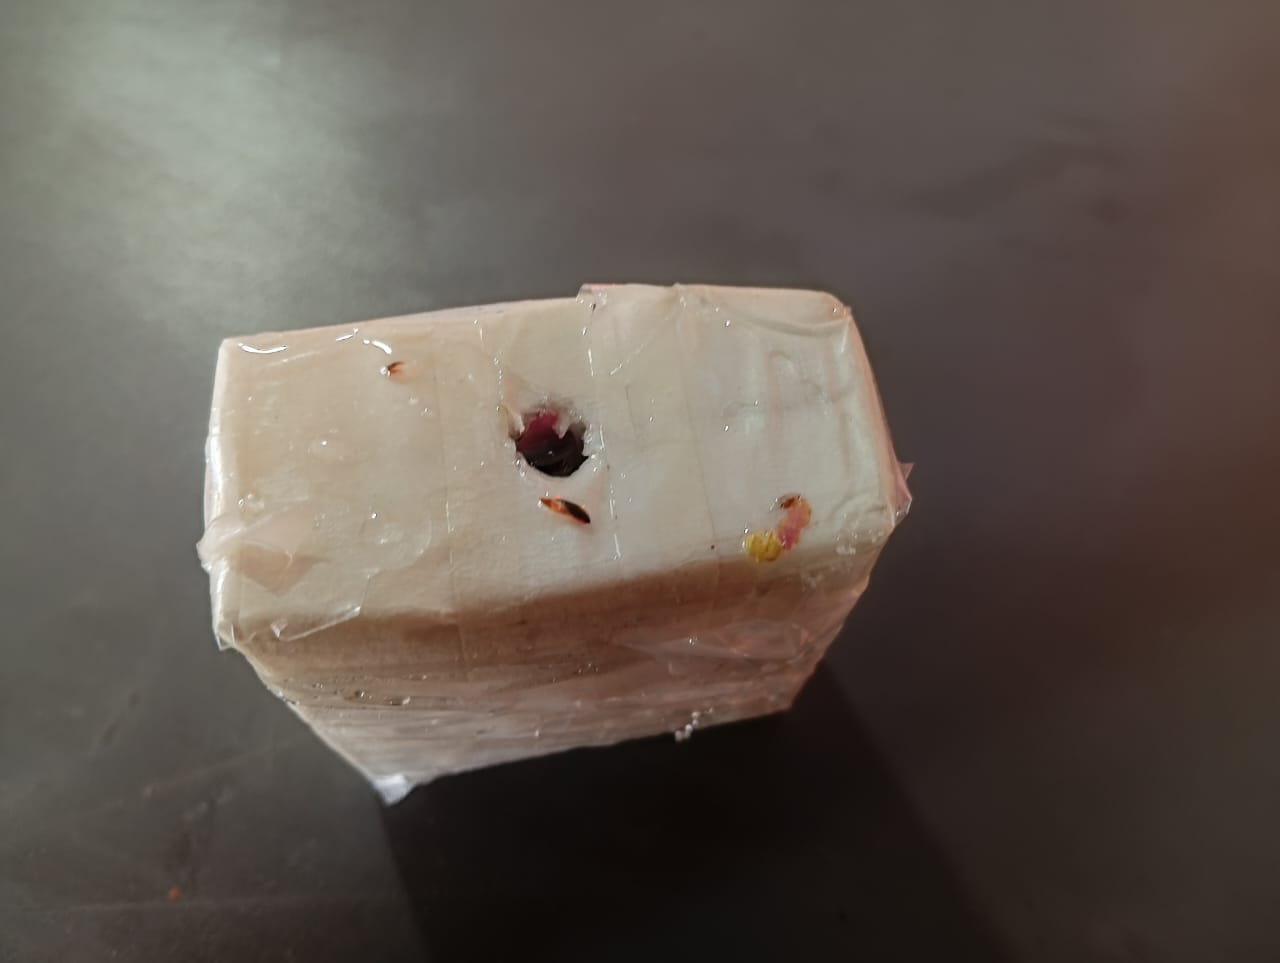
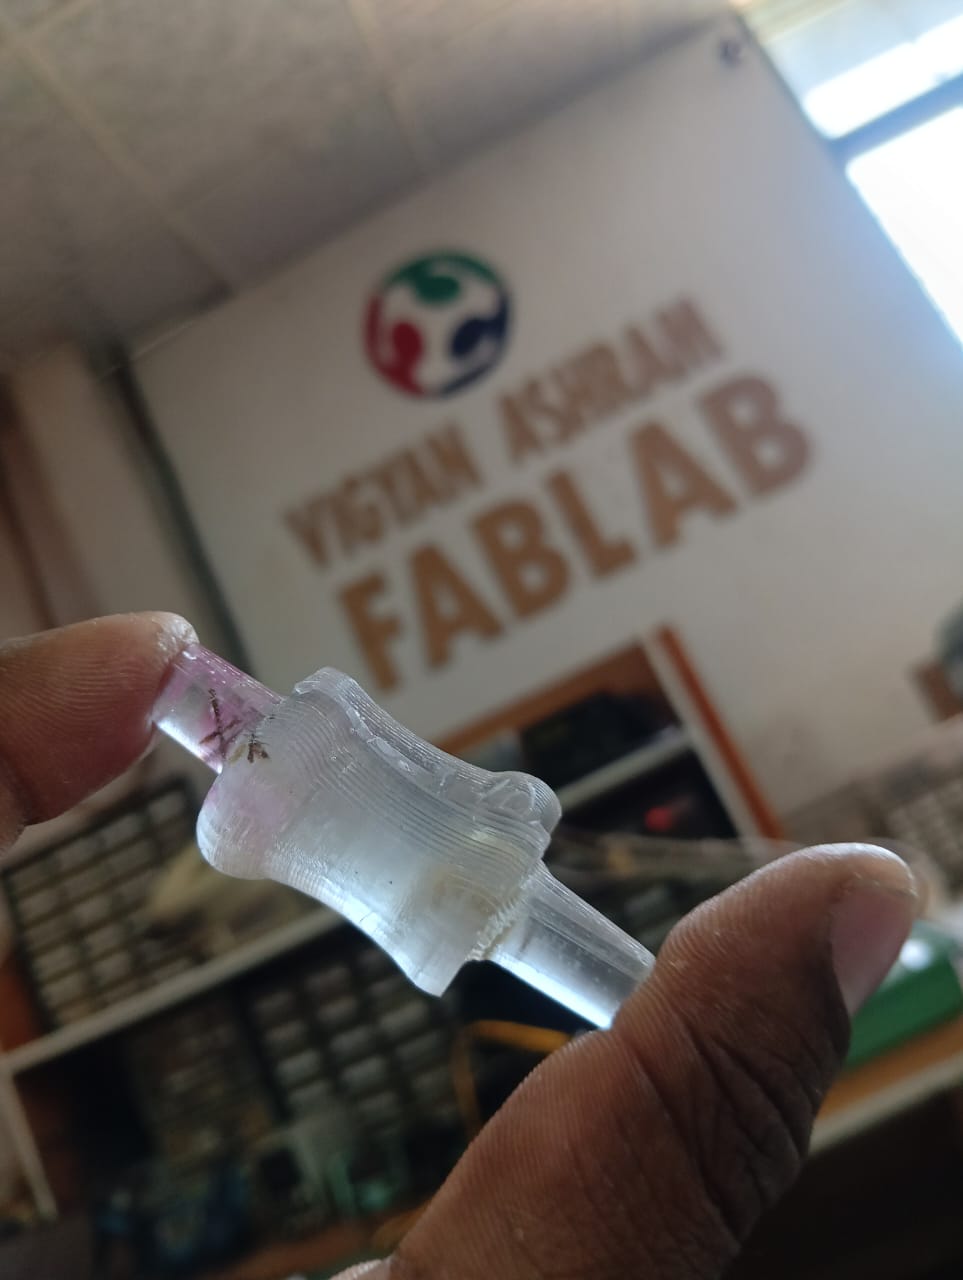
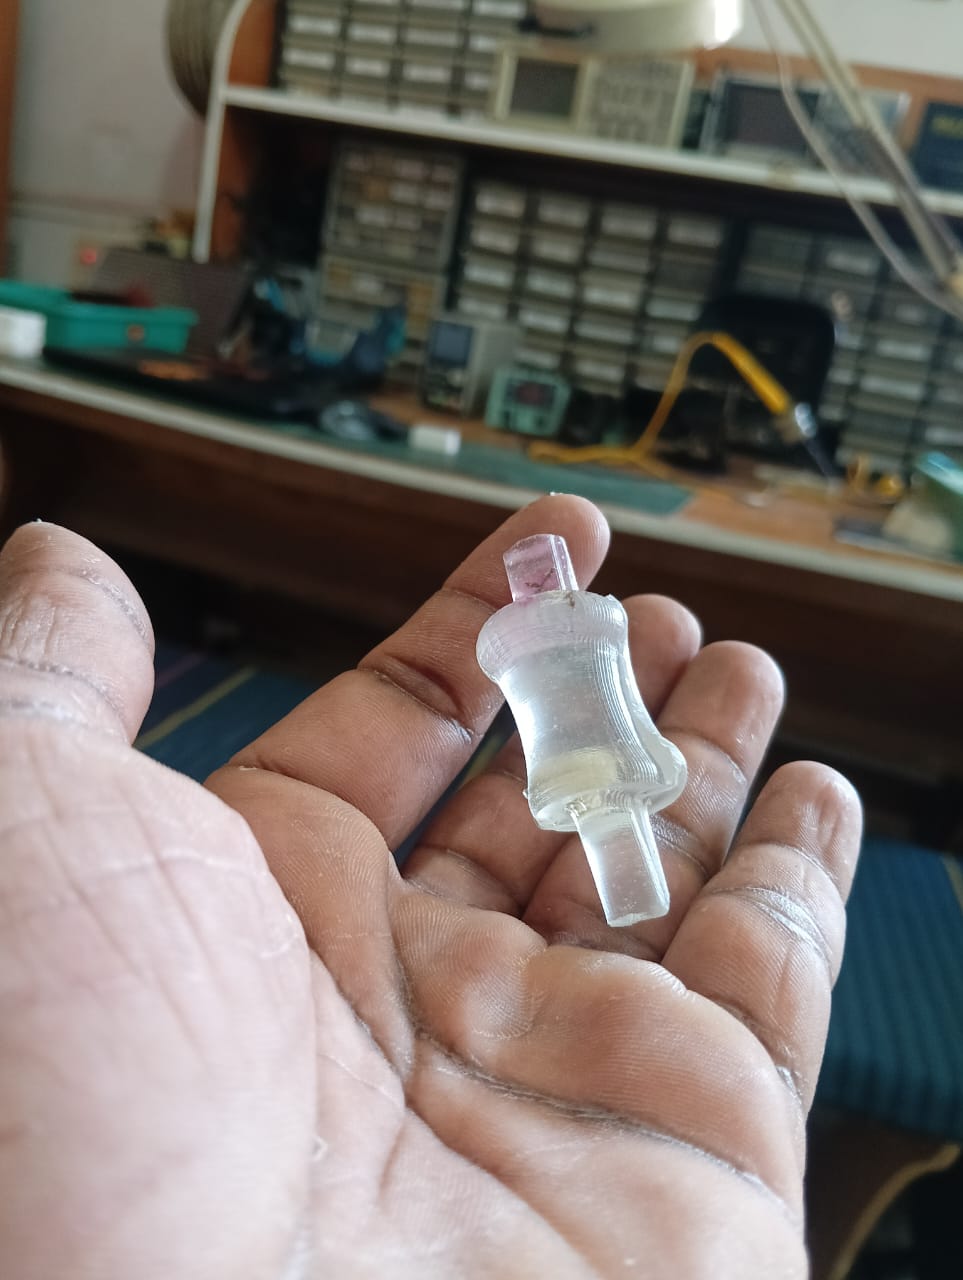
Then, I waited for 24 hours to allow the resin to fully cure. After that, I removed all the transparent and paper tapes, opened the mold, and found the casting piece inside—my roller was ready.
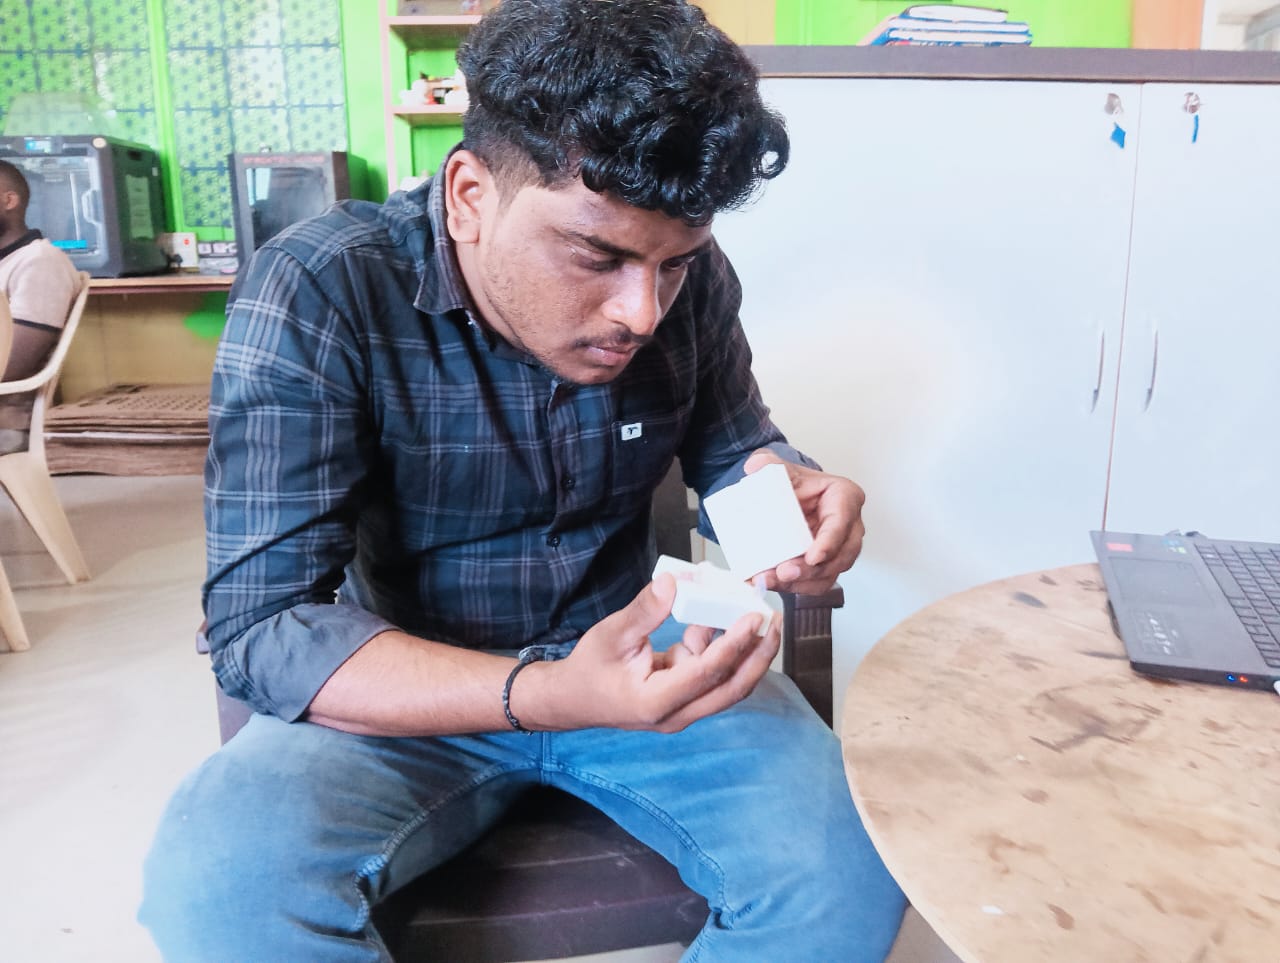
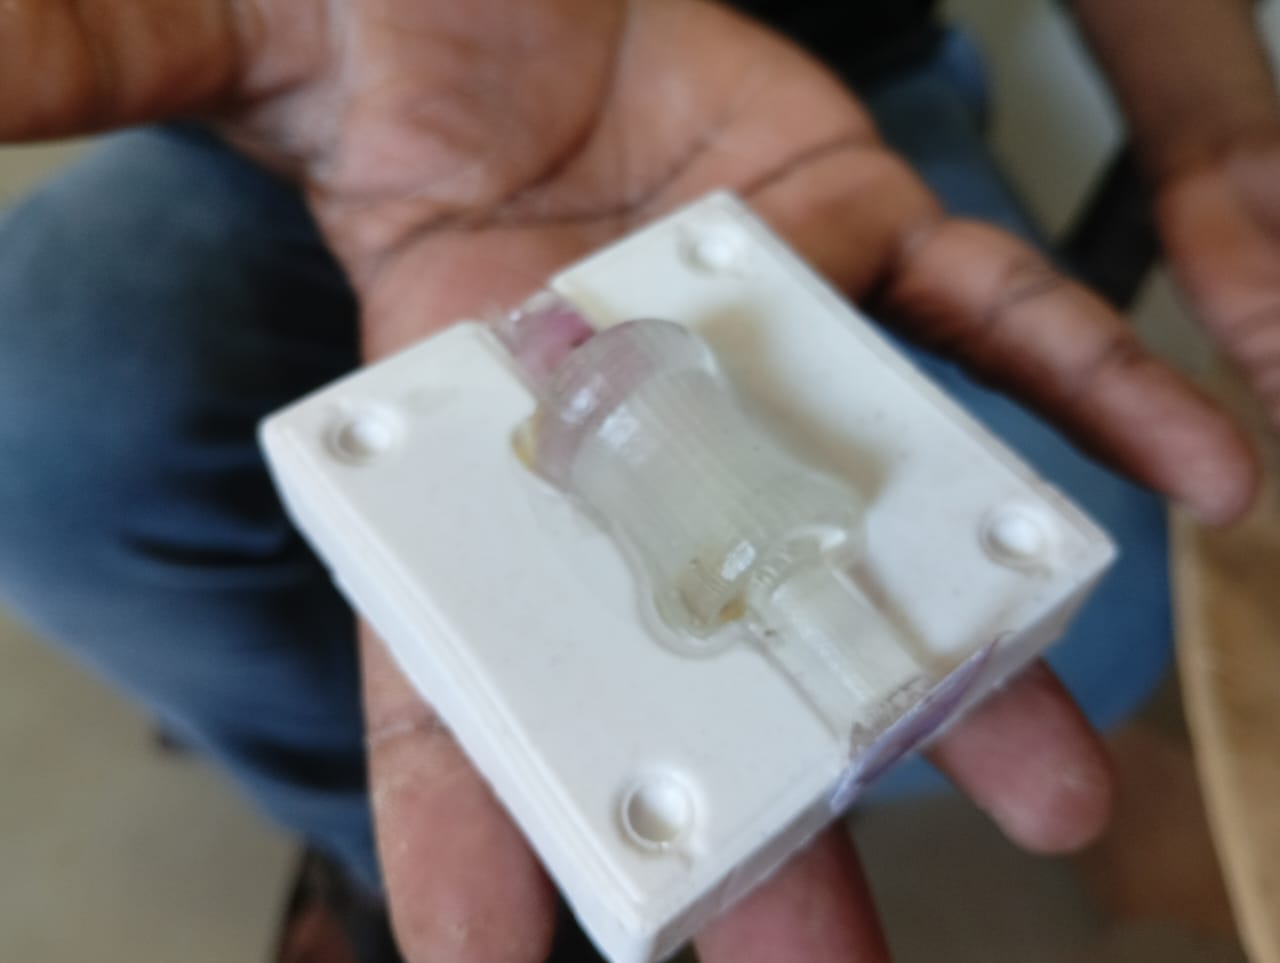
My final casting design is shown in the image below. It turned out well, capturing the shape and details as expected.
Positive Outcomes:
This assignment helped me learn completely new skills and techniques related to wax modeling, silicone molding, and resin casting. I gained a clear understanding of how to create molds, measure and mix materials accurately, and carry out the casting process step by step. Working with different materials like mold silicone and resin was a valuable hands-on experience that deepened my practical knowledge. I also learned the importance of safety precautions and precision in such processes. Overall, I really enjoyed this week a lot and felt excited to explore and create something on my own.
Challenges Encountered:
This week, I did not face many major challenges, but there were a few small issues during the process. Initially, when I poured the resin into the mold without properly sealing it with tape, the resin started leaking out. Also, the hot glue I had used to seal the mold parts came off automatically. I realized the importance of securing the mold firmly, so I reattached it using paper tape and transparent tape, which solved the issue. While it wasn’t a big challenge, it was an important learning experience that improved the final result.