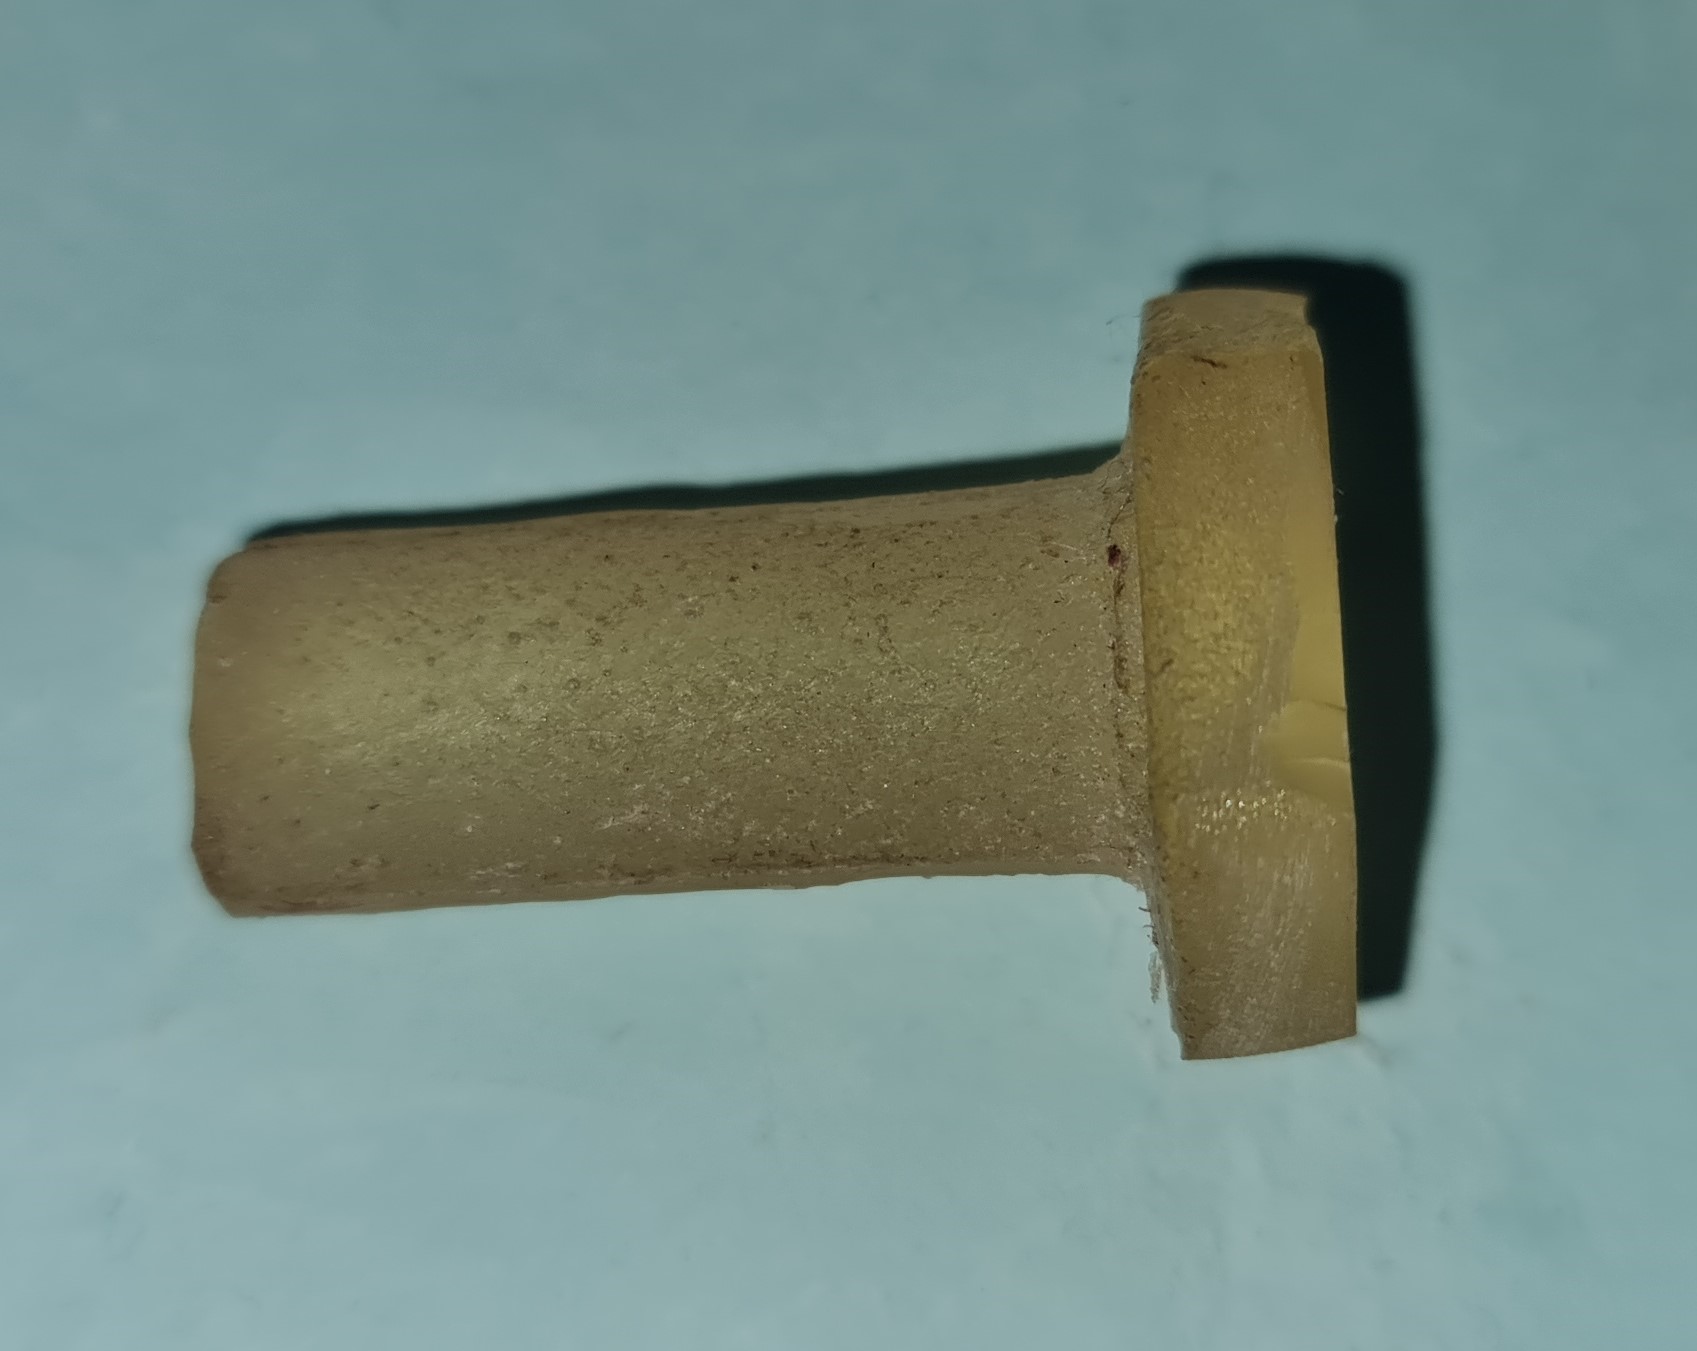
Hero Shot of the Assignment

About This Week
This week, we focused on learning about molding and casting. The assignment was divided into two parts - a group assignment and an individual assignment.
In the group assignment, we researched the materials used in molding and casting, and explored data sheets to understand the properties and applications of these materials. We learned how different materials are selected for casting and how they contribute to the design process.
For the individual assignment, we designed and created a mold, followed by the casting process. This allowed us to produce the final design mold. During this process, we gained hands-on experience in how a mold is designed initially, and then printed using a milling machine. Additionally, we learned how to generate the toolpath for the design, which is essential for precise and accurate production.
Objctive of the Group Assignment
review the safety data sheets for each of your molding and casting materials
then make and compare test casts with each of them compare mold making processes
What is molding casting
Molding and casting is a manufacturing process used to replicate or create objects by shaping materials in a mold.
To begin, we first need to design the product that we want to reproduce. Once the design is ready, it must be properly prepared and set up for molding. This design is then used to create a physical mold using machines such as a CNC milling machine, 3D printer, or other fabrication tools.
Once the mold is accurately made, we proceed to the casting stage, where the mold is filled with a suitable material such as Moldsil (silicone rubber), resin, plastic, metal, or other casting substances, depending on the final product requirements.
After pouring the casting material into the mold, it is left to cure (harden). The curing time typically ranges from 6 to 24 hours, depending on the type of material used. Each casting material has its own unique setting or drying time.
This entire sequence—from designing the object, making the mold, filling it with material, to curing—is known as the molding and casting process.
Type of Casting Materials
Plastic
Epoxy Resins
Metals
Plaster
Rubber Silicone
Wax
Polyurethane Resin
Safety Equipment for Molding and Casting Operations
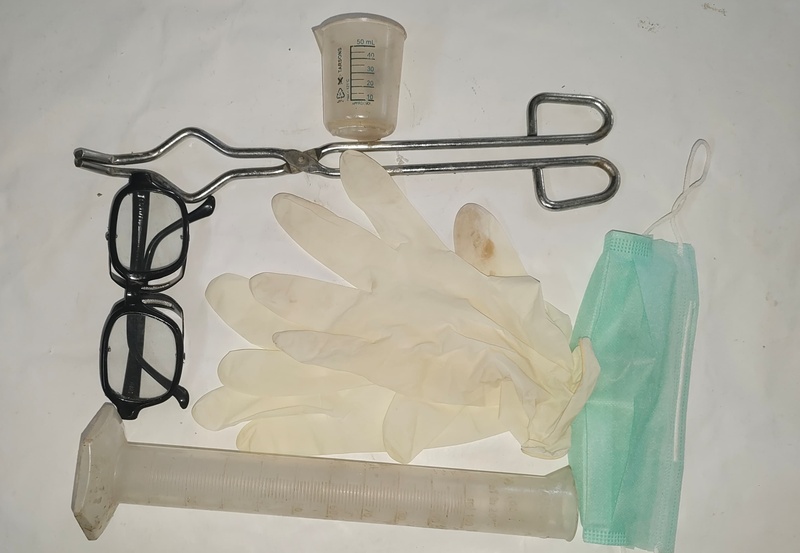 |
| Safety Goggles
Rubber Gloves
Face Mask
Measuring Cylinder
Measuring Cup
Tongs |
Epoxy Resin
Product details :
Brand - Haksons Resin
Product Name - Epoxy Resin Kit
Two-Part Epoxy System
Components: Part A (Resin) + Part B (Hardener)
Color: Clear / Slightly Yellow
Hardness: Approx. 80D (after curing)
Curing Time: 12 to 24 Hours
Mix Ratio: 1:1 by weight or volume (e.g., 100g Resin + 100g Hardener)
Packaging: Varies – commonly 1Kg (500g Part A + 500g Part B)
Form: Liquid
Applications: Art, Jewelry, DIY crafts, Casting, Coating, Tabletop finishing
Purity: 99%
Grade Standard: Industrial Grade
Key Features:
Crystal clear finish after curing
High gloss and durable surface
Self-leveling properties
Excellent adhesion to various substrates
UV resistant (varies by formulation)
Suitable for high-detail casting and coating applications
User Instructions
Safety Precautions-Use gloves, ensure ventilation, avoid contact with eyes and prolonged skin contact
Preparation-1 Ensure the working area is clean, dry, and dust-free.
2. Use a mold release agent or Vaseline to coat molds if necessary
Mixing-Mix 1. equal parts of Part A (Resin) and Part B (Hardener) by weight or volume.
2. Stir slowly and thoroughly for 1 to 2 minutes to avoid bubbles.
Pouring- 1. Slowly pour the mixture into the mold or surface from one side.
2. Avoid pouring too quickly to reduce air bubble formation.
Curing - 1. Let the cast or coated piece sit undisturbed for 12–24 hours.
2. Allow full cure in a dust-free, temperature-controlled area.
Removing - 1.Carefully demold after curing using soft tools.
2. Keep in a cool, dry place away from sunlight and moisture
Download data sheet here
Moldsil 15 PLUS
Product details :
Brand - Moldsil
Product Name - MoldSil 15 Plus - Silicone Rubber
Catalyst Type- Condensation-curing
Component Set- Part A (Silicone Base) + Part B (Catalyst)
Color - White
Hardness - 15A
Curring Time - 6 to 24 hours
Mix Retio - 100 grm (Part A) and 5 grm (Part B) by weight
Packgeing - 20 Kg (Part A) + 1 Kg (Part B)
Set Contains- Catalyst and Liquid Silicone Rubber
Grade Standard- Industrial Grade
Form -Liquid
Applications-Mold making for resins, wax, concrete, soap.
Purity-99%
Key Features:
Ideal for casting resins, wax, soap, concrete, etc.
Long mold life with proper use
Easy to mix and pour
flexibility and elasticity
Suitable for high-detail reproduction
Compatible with various casting materials.
User Instructions
Safety Precautions-Use gloves, ensure ventilation, avoid contact with eyes and prolonged skin contact
Preparation-Start the mold casting process in a clean and dust-free area. Apply a thin layer of Vaseline (petroleum jelly) on the mold surface to make it easier to remove later.
Mixing-Measure Part A (Base) and Part B (Catalyst) according to how much silicone is needed to fill the mold. Mix both parts thoroughly for 2 to 3 minutes until the mixture is smooth and uniform.
Pouring-After mixing, slowly pour the silicone into the mold. Make sure to pour gently from one side to avoid forming air bubbles.
Curing -Leave the filled mold to cure undisturbed. It will fully set in about 6 to 24 hours, depending on temperature and material thickness.
Removing - Once cured, carefully remove the silicone mold using a soft or dull tool like a plastic knife—avoid sharp edges that may damage the mold. Store the finished mold in a cool, dry place, and keep it away from direct sunlight to maintain its quality.
Download data sheet here
Ecoflex Rubber
Product details :
Brand - Smooth-On
Product Name - Ecoflex Rubber
Catalyst Type- Platinum-Cure Silicone Rubber
Component Set- Part A + Part B
Color -Translucent / Flesh tone
Hardness - 00-10 to 00-50 depending on the variant
Curring Time - 2 to 4 Hours
Mix Retio - 1:1 by weight or volume
Packgeing - Commonly available in 1 lb, 2 lb, and larger kits
Grade Standard- Medical and Industrial Grade
Form - Liquid
Applications- Prosthetic, special FX, soft molds, wearable props, and cushioning pads
Purity-99%
Key Features:
Extremely soft and flexible silicone rubber
Skin-safe (certified for medical applications in some variants)
Excellent elongation and tear strength
High detail reproduction
Compatible with silicone pigments
Fast curing and easy to use
Long-lasting with proper care
User Instructions
Safety Precautions-1.Always use in a clean, dry, and dust-free environment
2. Use gloves and safety glasses during mixing and pouring
3. Ensure good ventilation
Preparation- 1.Prepare the mold or casting surface by applying mold release if necessary.
2. Make sure all tools and containers are clean and dry
Mixing- 1.Mix equal parts of Part A and Part B by weight or volume
2. Stir thoroughly for at least 2–3 minutes until the mixture is uniform
Pouring- 1.Pour the mixed silicone slowly into the mold to avoid air bubbles.
2. Pour from one corner and allow it to flow naturally.
Curing -1. Let the silicone cure undisturbed for 2 to 4 hours.
2. Cure time may vary depending on room temperature and material thickness.
Removing - 1.Carefully demold using soft tools to avoid tearing
2.Store unused components in tightly sealed containers in a cool, dry place.
3.Keep away from direct sunlight and moisture.
Download data sheet here
Comparison of Milling Wax Molds, Wooden Molds, and 3D Printed Molds
 |
 |
 |
| Milling Wax Molds |
Wooden Molds |
3D Printed Molds |
 |
 |
 |
| Milling Wax Molds |
Wooden Molds |
3D Printed Molds |
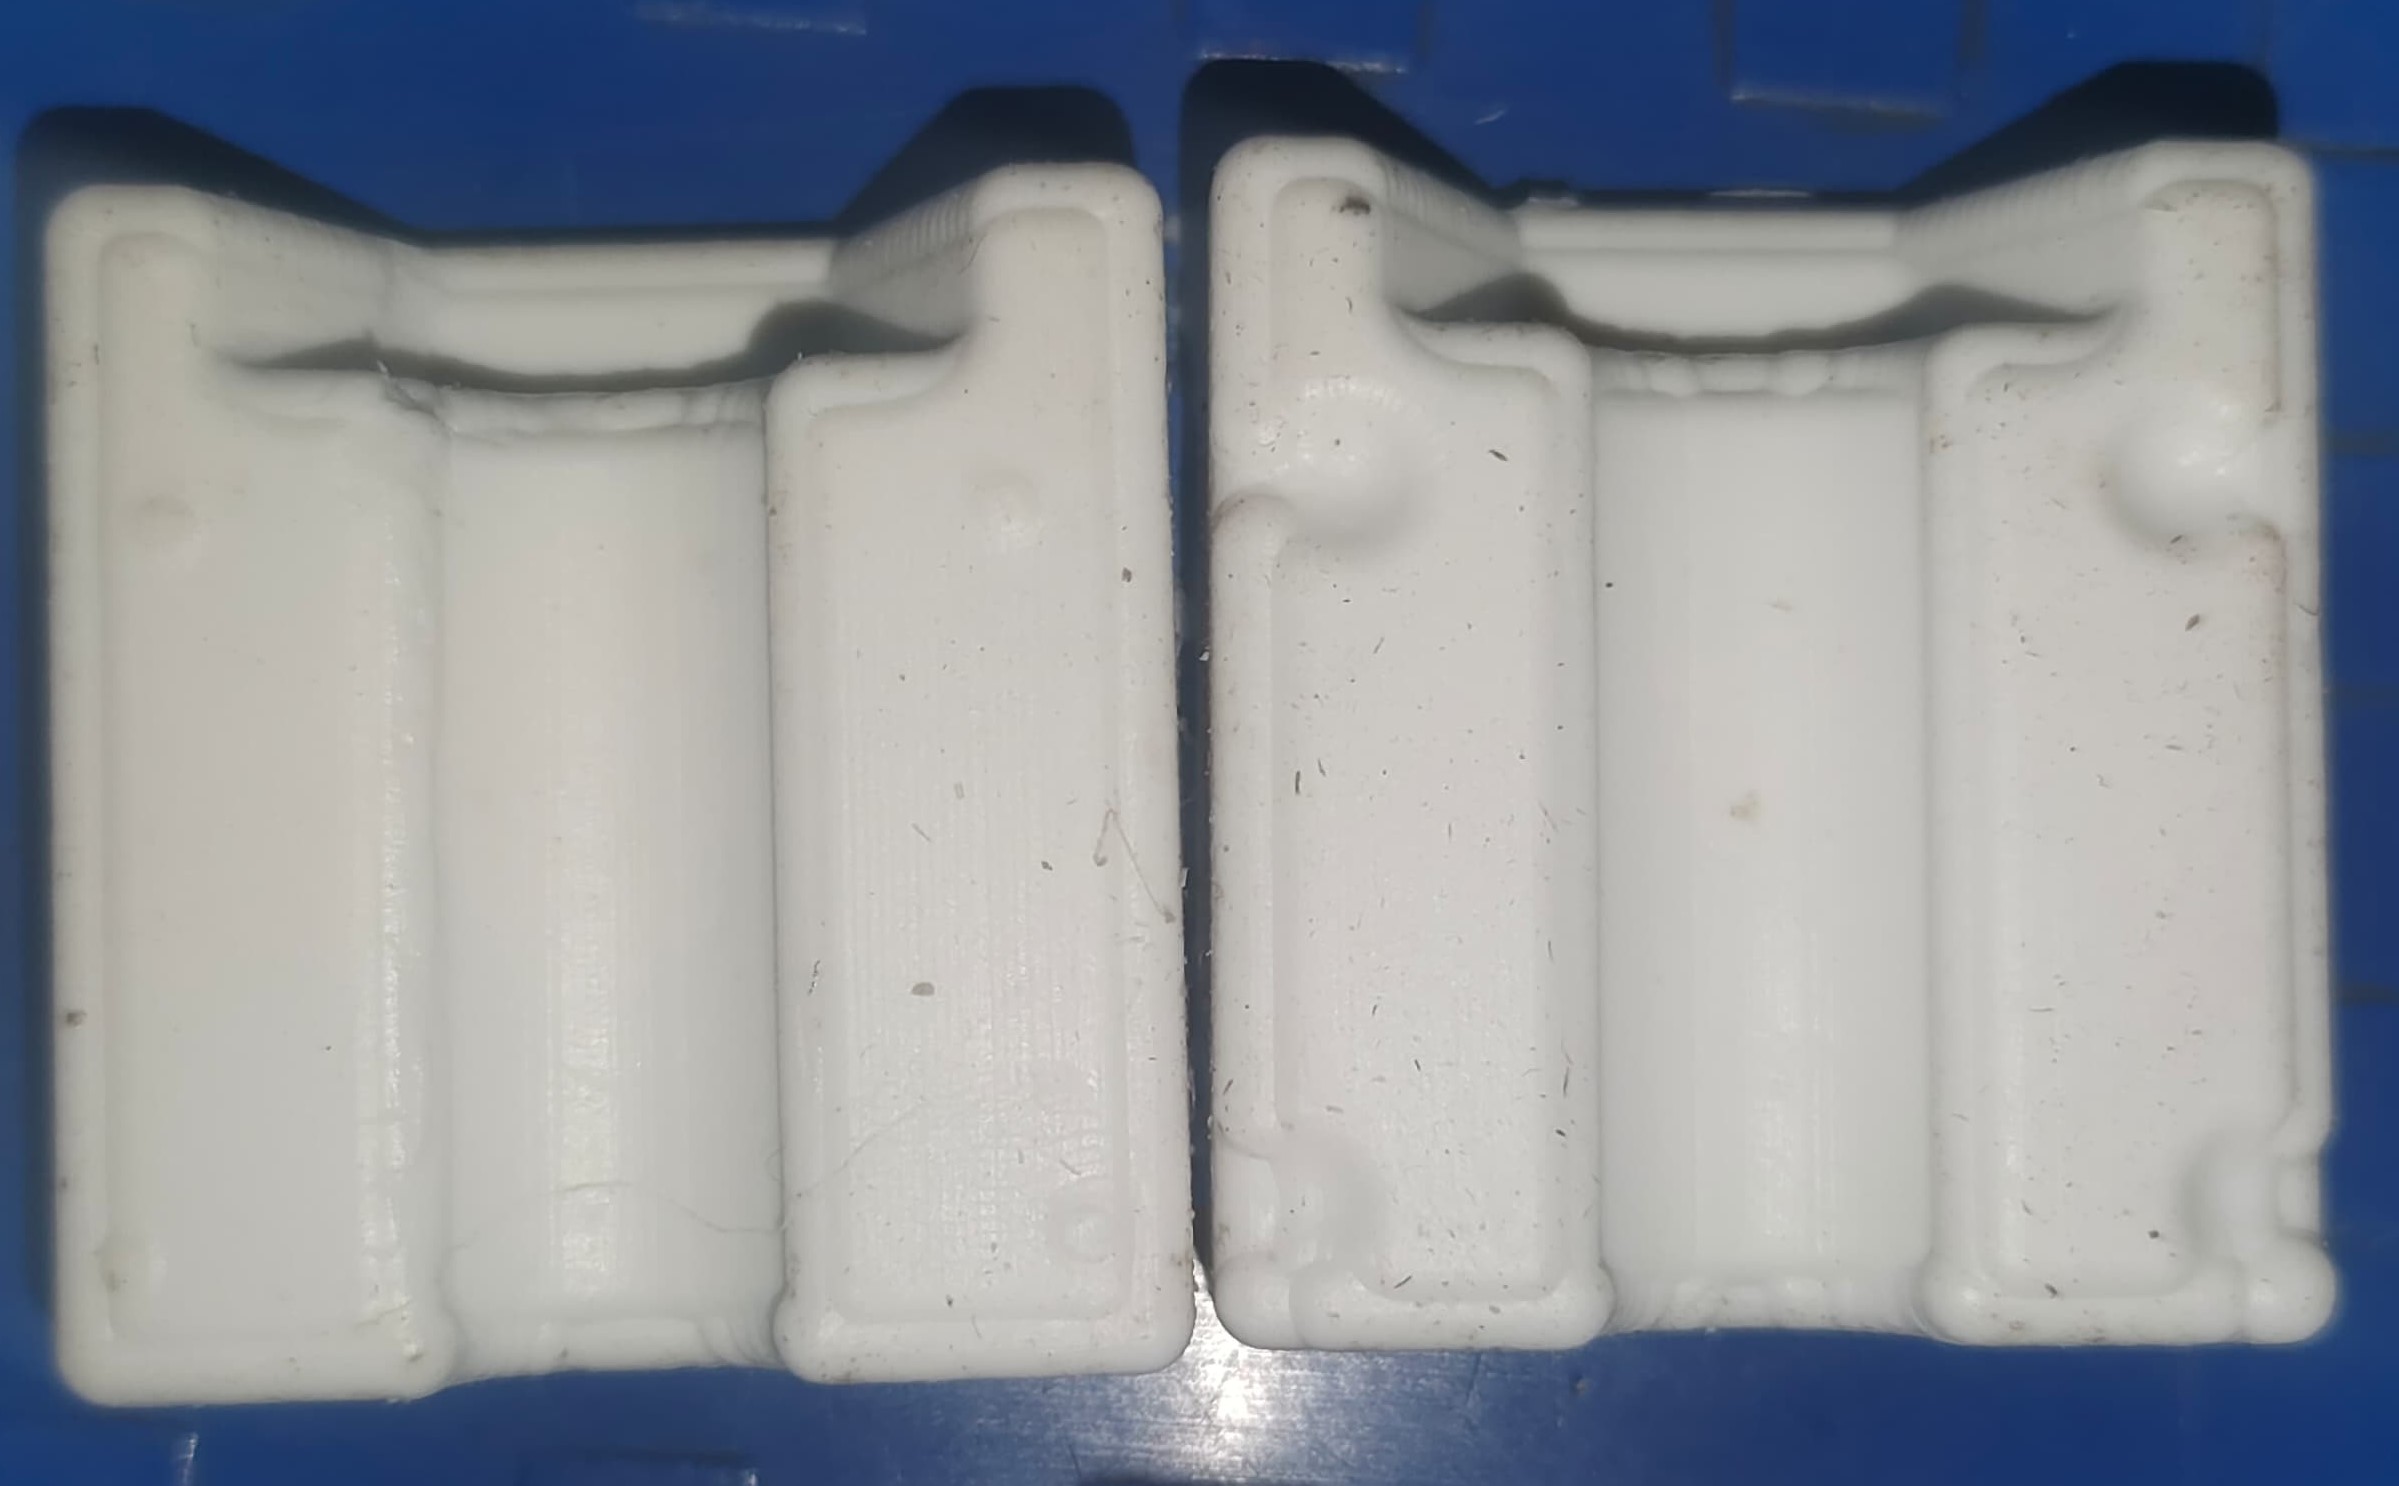
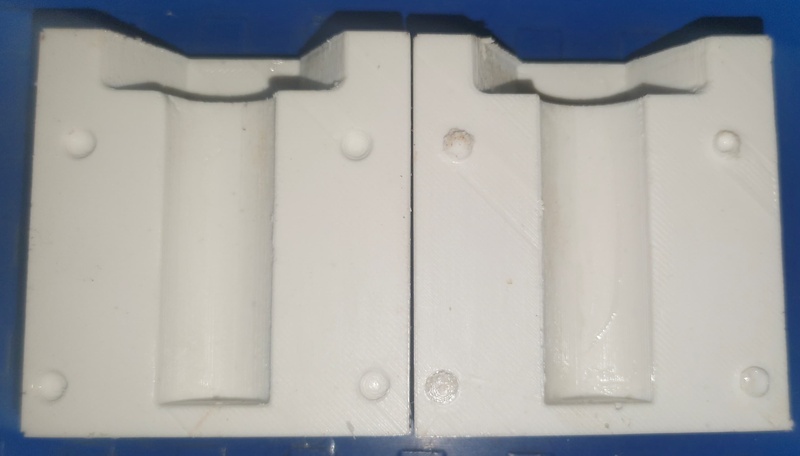
Design Parameters
3D printed Mold
Height -20mm
Length -65mm
Width -65mm
Wood printed Mold
Height - 18mm
Length -45mm
Width - 40mm
Wax printed Mold
Height - 15mm
Length - 40mm
Width - 35mm
CONCLUSION
In this group assignment, we explored various materials used in the molding and casting process. We began by studying Epoxy Resin, followed by MoldSil (Silicone Rubber), and later Ecoflex Rubber. Our goal was to understand their individual properties, mixing ratios, and applications in mold-making.
We learned how to calculate the required volume of material based on the mold's size and how to properly mix the two-part systems (Part A and Part B) to achieve optimal results. For each material, we examined the Material Safety Data Sheets (MSDS) to understand their composition, curing time, and safety precautions.
Additionally, we practiced the correct procedure for pouring the mixed liquid into molds and identified best practices to avoid air bubbles and ensure proper curing. This activity provided us with hands-on experience and deepened our understanding of how different casting materials behave and how to use them effectively in practical design
Declaration: Original content created by me, professionally structured with the assistance of ChatGPT.


