Assignment #2 Computer-Aided Design
This week I worked on 2d and 3d modeling, and also learned how to compress them.
This week’s assignment
- Model (raster, vector, 2D, 3D, render, animate, simulate, ...) a possible final project
- Compress your images and videos
- Post a description with your design files on your class page
2D and 3D Modeling - what did I do this week
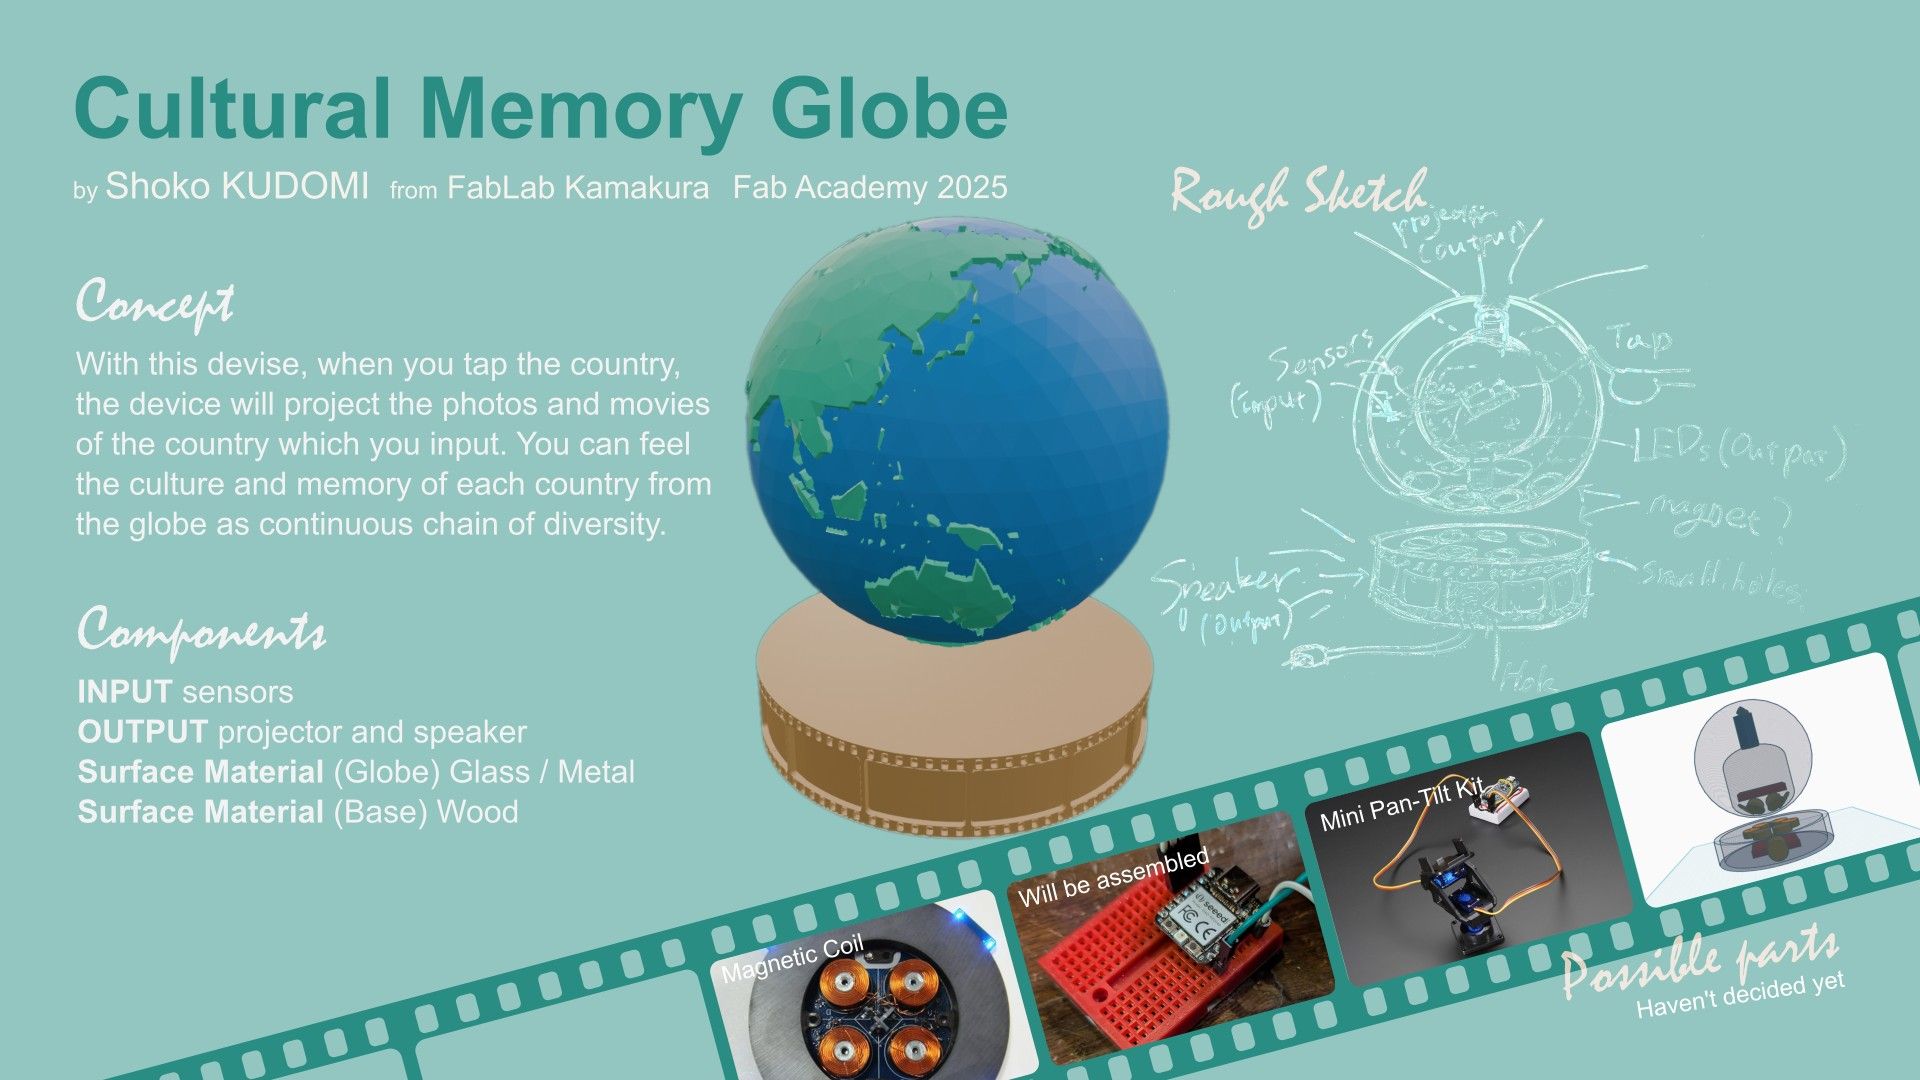
This week, I tried to make 3D model of my final project, “Cultural Memory Globe”, and also made slide image for describe it with 2D. I used the software below:
Modeling
- Tinker Cad : Think and design internal structure of the devise
- Blender: Modeling for "Globe" part, Rendering, Animation
- Fusion: Modeling for "Base" part
- Inkscape: Create pattern image for Base part
Slide
I made it as follows:
*press the list and jump to the details
Modeling
- Think and design overall structure of the devise with Tinker Cad
- Modeling for "Globe" part with Blender
- Prepare pattern image for Base part
- Modeling for "Base" part with Fusion
- Combine Globe and Base in Blender
- Tried Animation
Slide
Finally, the output will be described.
*For using each software, (for me especially Blender and Fusion),
Instructors gave us many tutorials.
Below is the details of each steps with screenshots:
3D - Modeling
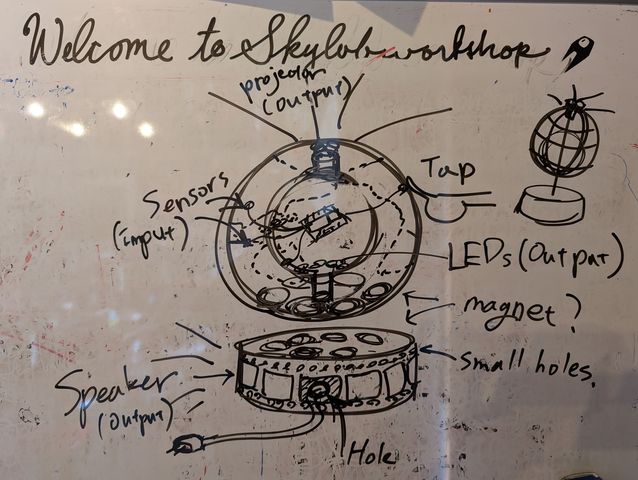
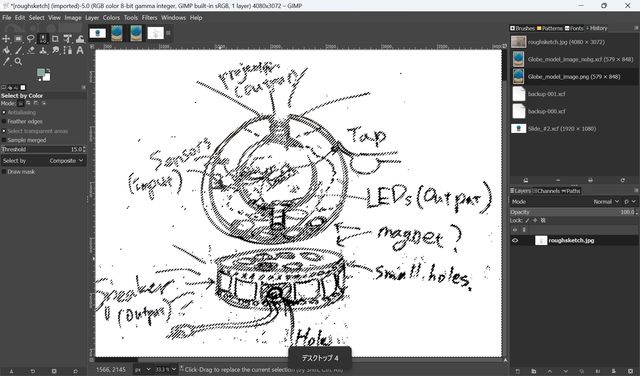
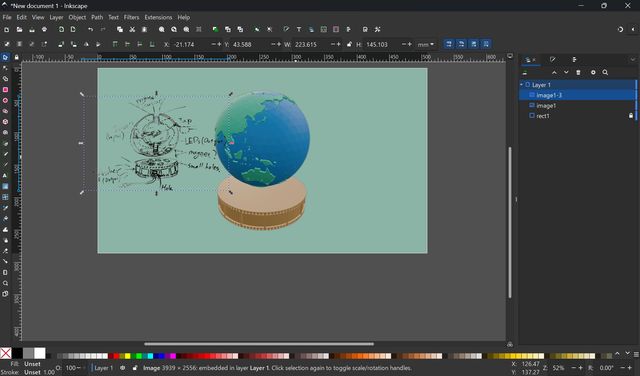
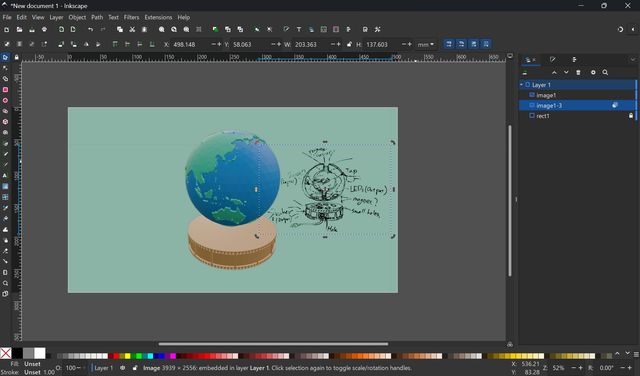
First, I mage a rough sketch for modeling.
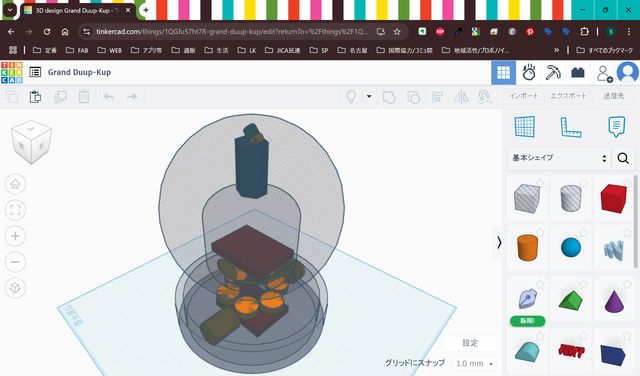
1. Think and design overall structure of the devise with Tinker Cad
Since I had some
experience with Tinker cad, I tried first modeling with Tinker Cad, to grab
the image of the size of the objects.
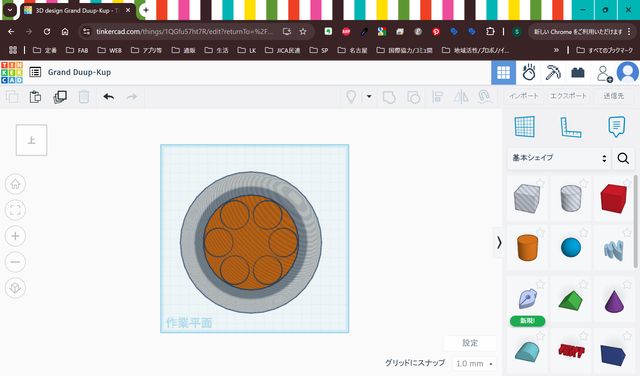
First I checked the scale of the
magnet and make it on the screen

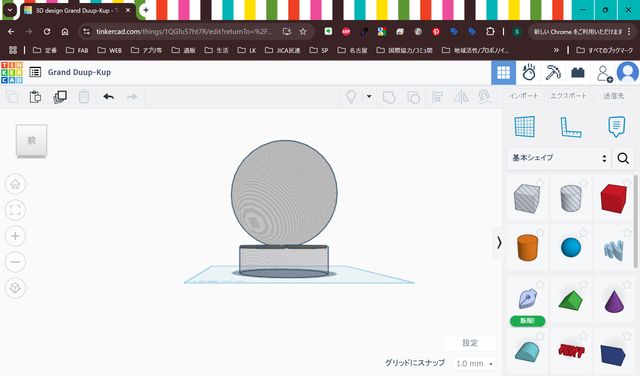
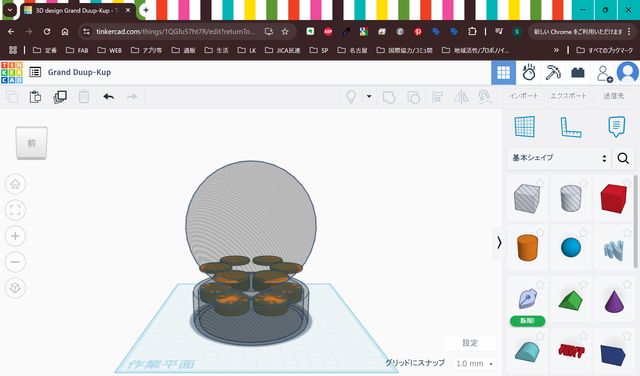
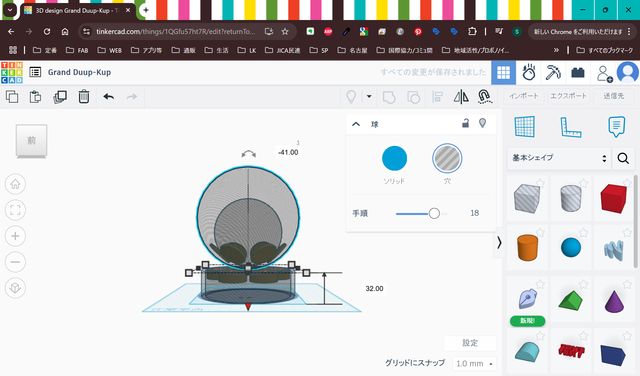
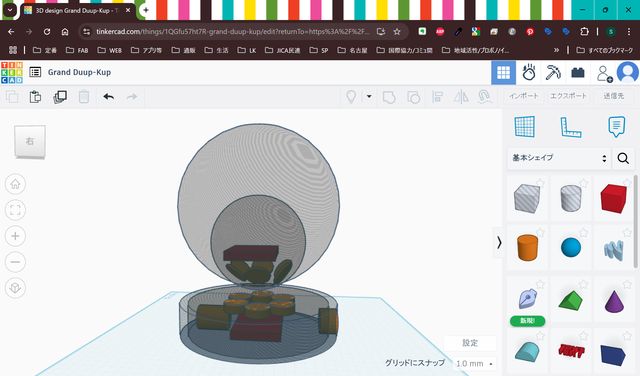
First I made the base for the globe.
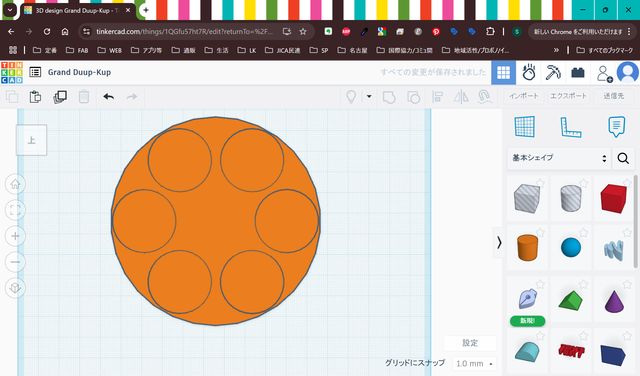
Then I add the globe fit to the base.
I made it as a hole so that I can check inside.
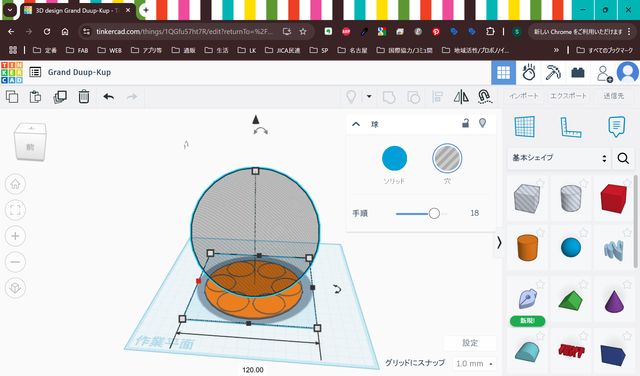
Then put them center
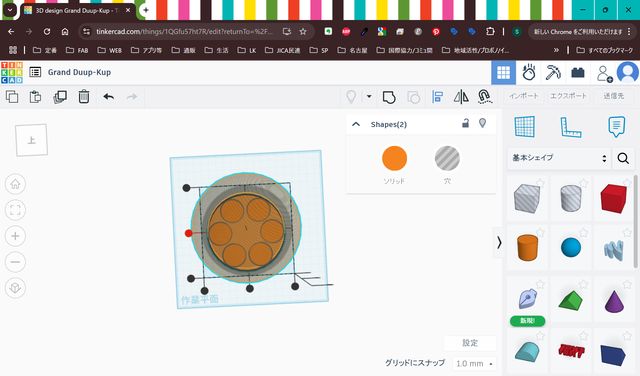
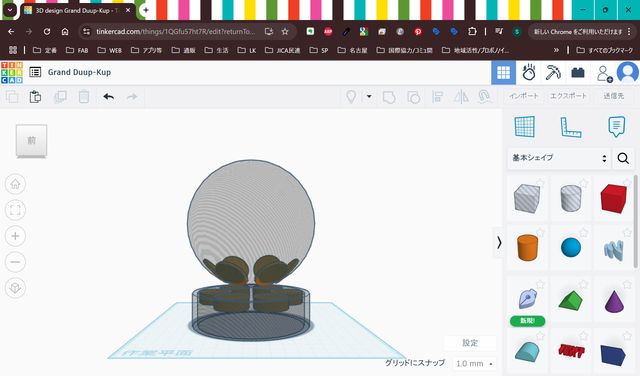
Adjusted
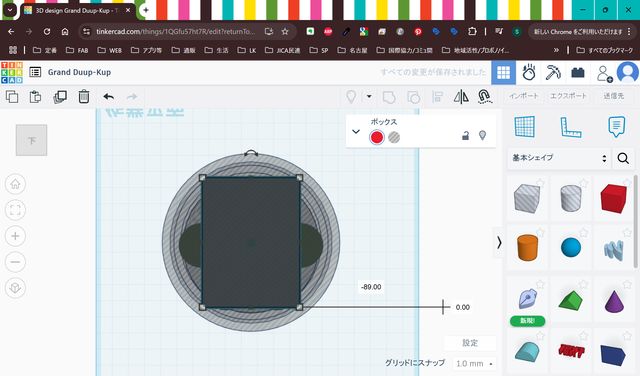
Make the base thikcker.
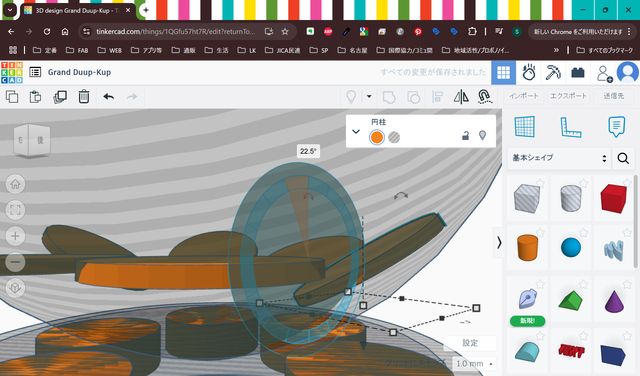
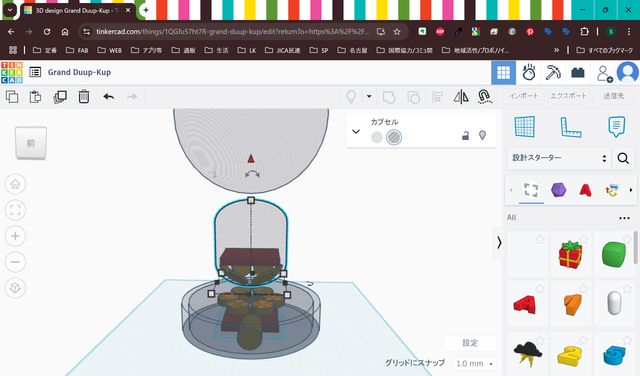
Double the magnet
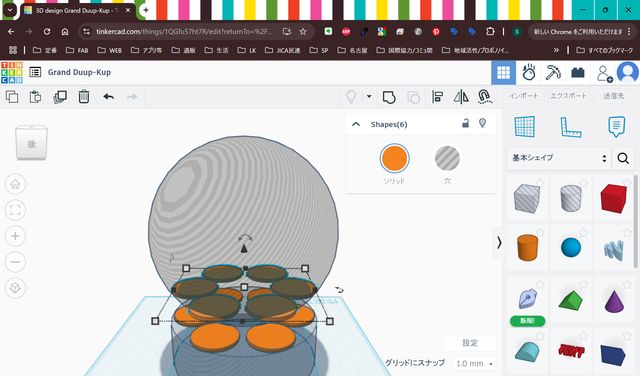
Make outside

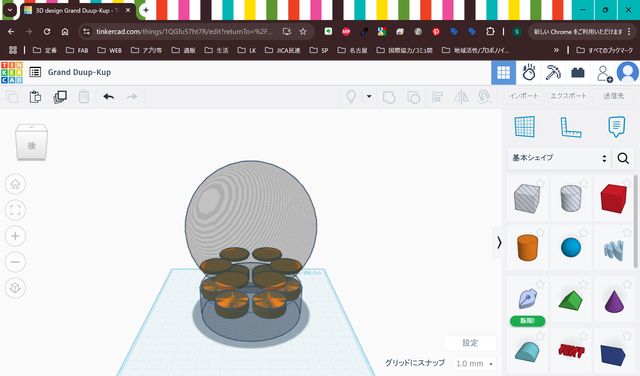
Adjusted the angle of magnets

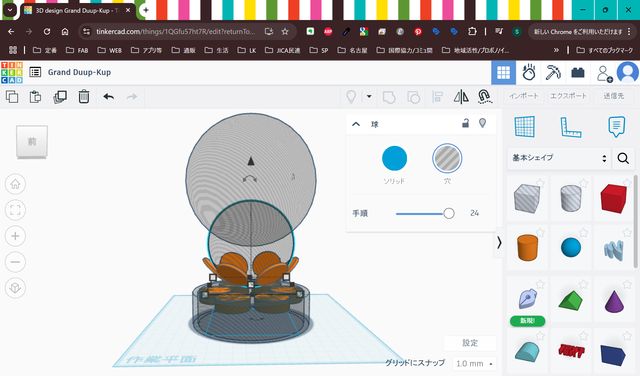
I put another globe inside the big globe. This is for covering machines. I may put magnet outside of this small globe. Outside globe disturbing, so I put it a bit higiher.
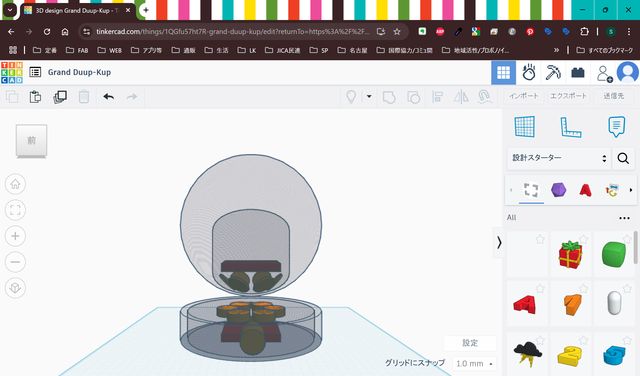
I made an object designated a microcomputer, and noticed this device scale is too small.
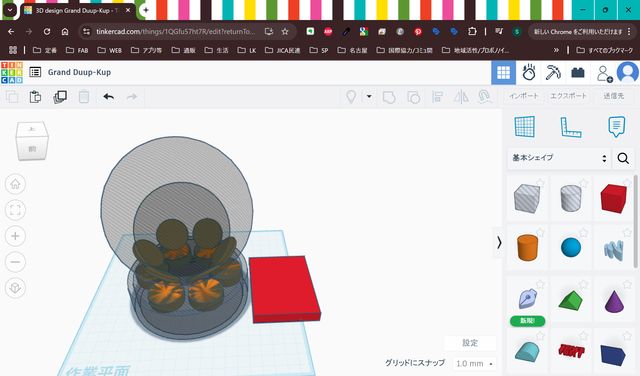
So I tried to make
everything bigger.
Double the microcomputer
and make the small globe bigger
Add speaker and hole for energy
Changed the shape for middle parts
Added an object resembles a projector
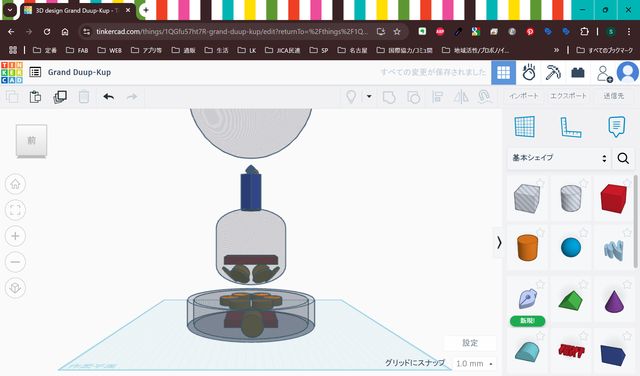
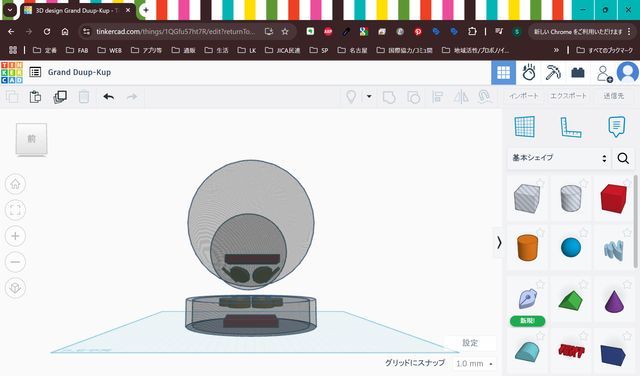
This is my rough image of final project
I made some parts transparent to see inside.
Export it as stl file.

The saved file is here.
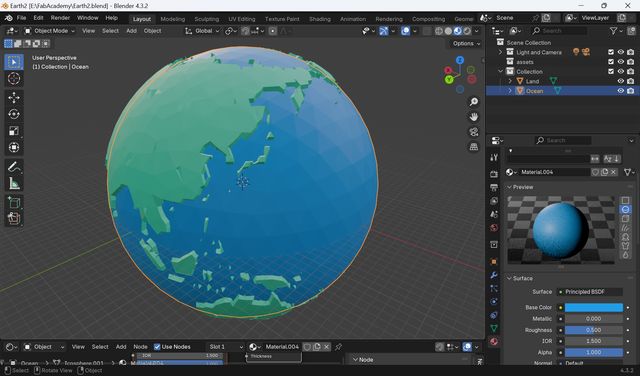
2.Modeling for "Globe" part with Blender
This time, I followed the
tutorial below:
3D Low Poly Cartoon
Earth in Blender | Blender Tutorial
Use the map from here
① Solar
Textures
Make UV sphere

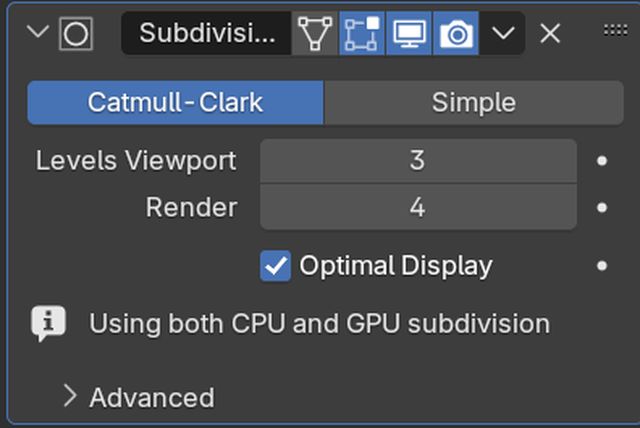
Add Subdivision Surface, and change radius
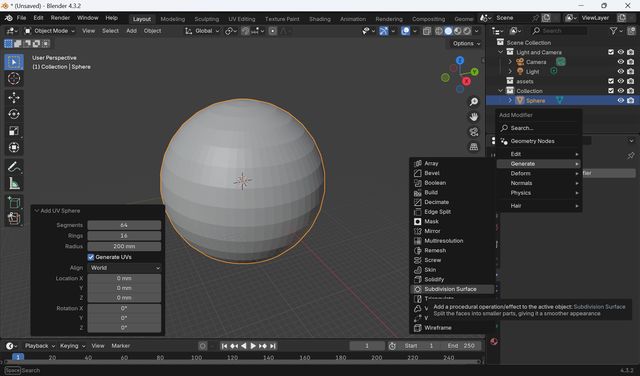
Adjust Levels Viewpoint
Add Displace
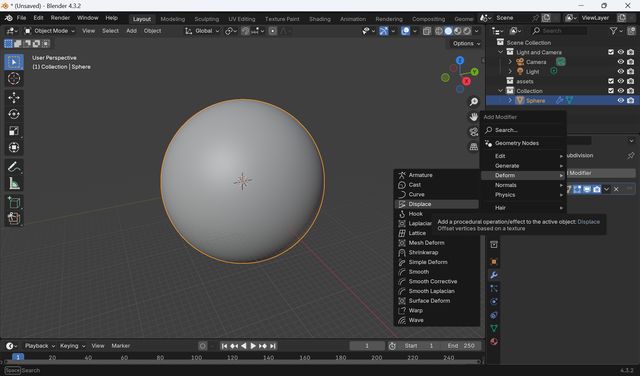
Set the coordinates to UV
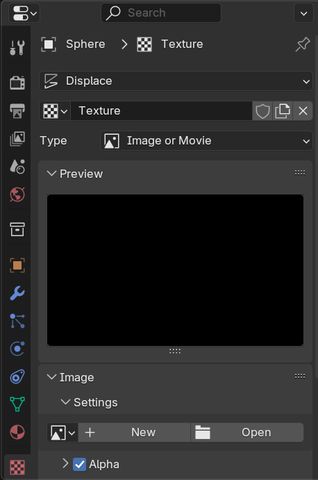
*I changed the format of the image with Inkscape
Change strength form Modifiers panel
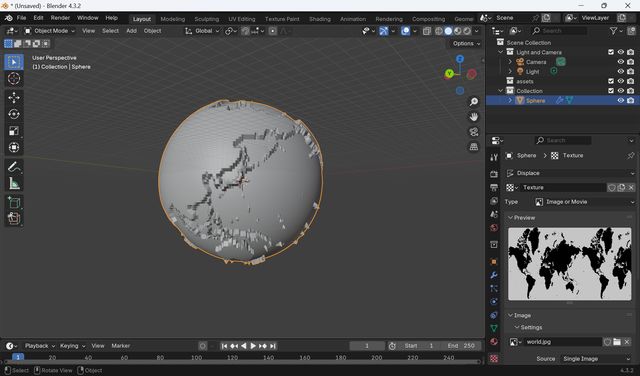
Adjusted “Maximum Y” parameter to adjust northern continent down

Add decimate Modifier
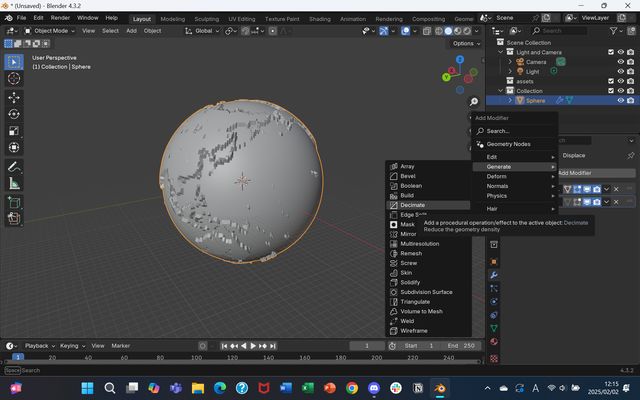
Adjust Collapse and made a low-poli earth
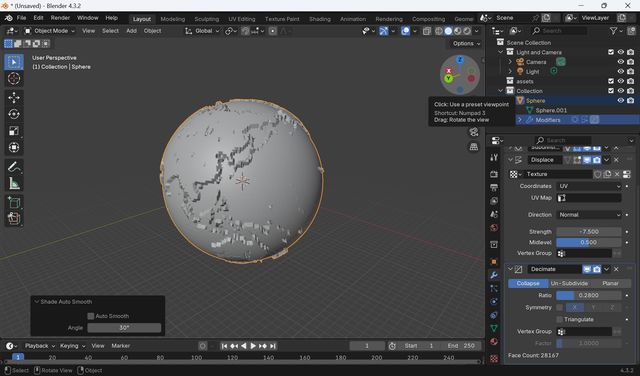
(Adjusted some more collapse)
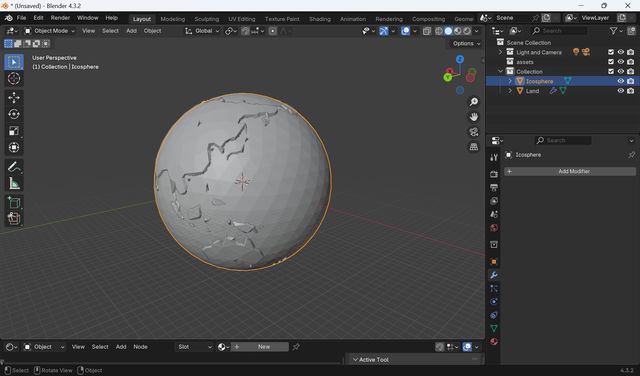
Add Icosphere to make ocean part
make subdivision 3
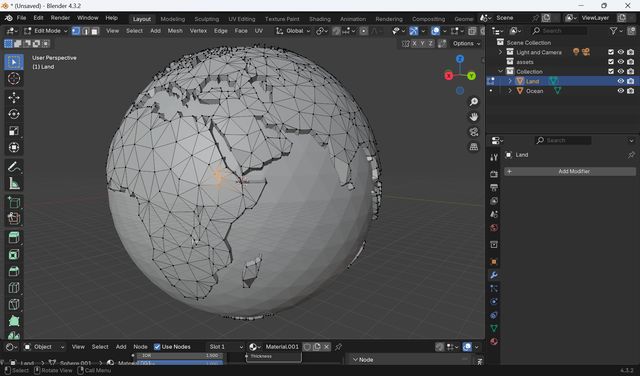
Control + A and apply modifier on “Land” part.
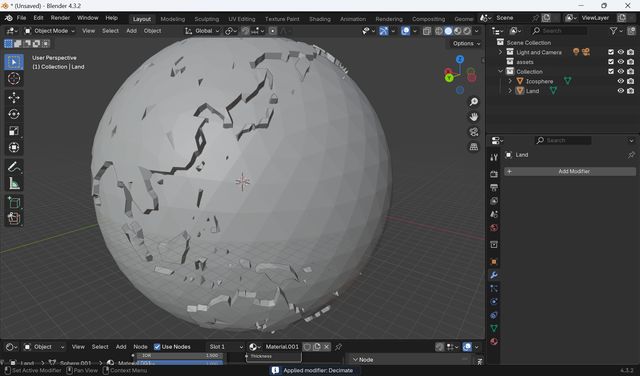
Confirm it is applied in Edit mode.
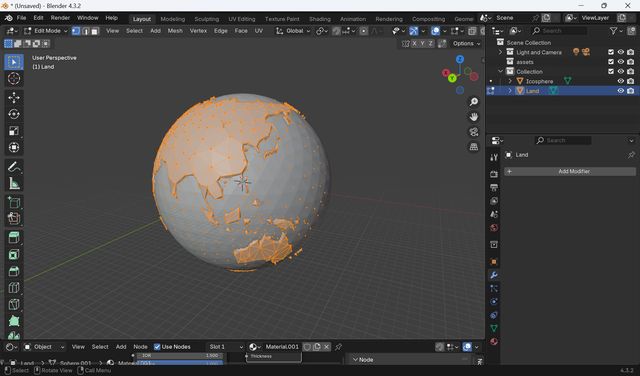
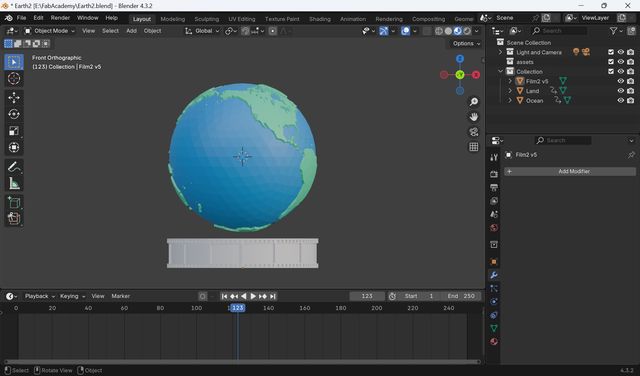
Change the Ocean
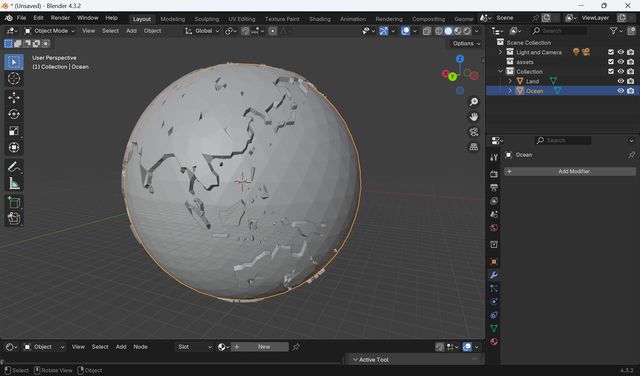
Modify Holes. Choose some vertecs
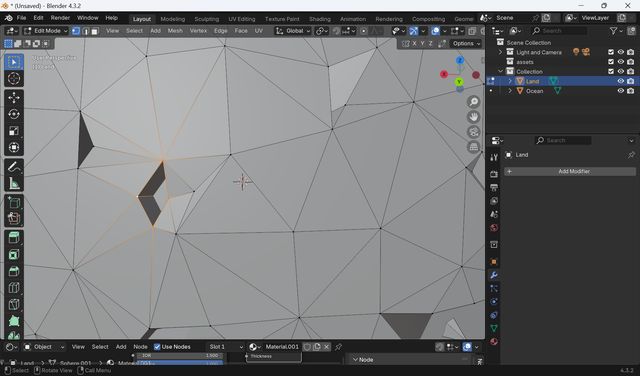
and press F

Deleted Holes
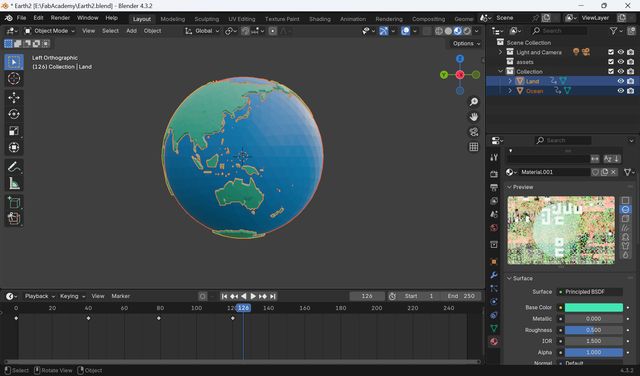
Change Color from Material menu.
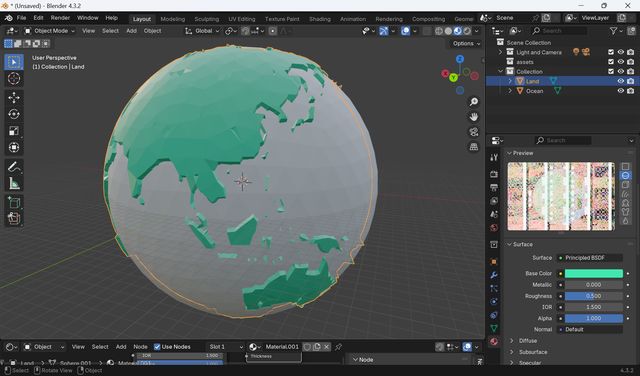
Change color for the ocean part
Save File.

Delete Background

Add keyframe
Tried Animation
The way I compressed the video is descried in Compress image / Video page.
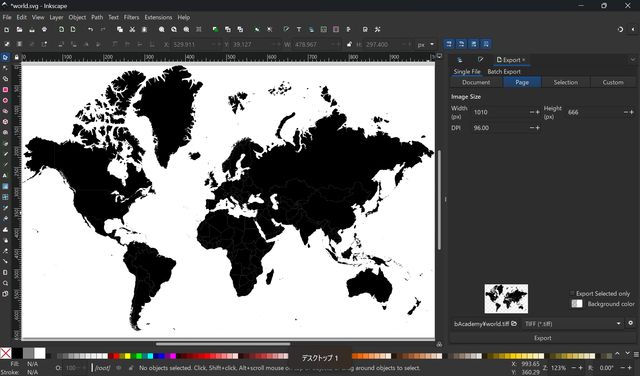
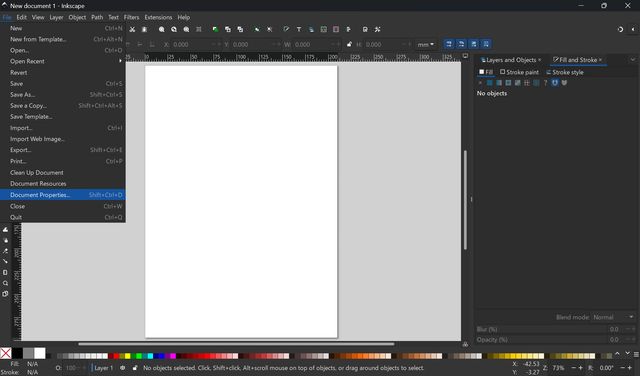
3.Prepare pattern image for Base part
I used Inkscape to make
pattern for the base part.
First, open the Inkscape
and change the page size suitable for the part.
Since I have some
experience with 2d design, I won’t write too much detail.
First, I made
the of the
pattern.

Then, open new file, for
make it as pattern.
Modify the size of the
page fit the surface I want to apply the pattern.
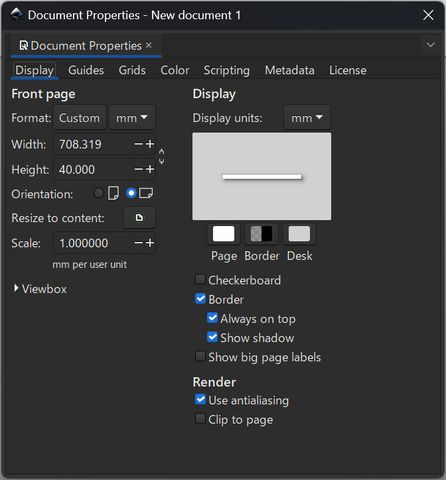
As I scaled, I have to
make the file width : 304.1595, height : 40.
Put the base image for the
pattern at x:0,y:0,and make the height H:40.

Repeat several times and make it as a pattern.

Saves as svg file.
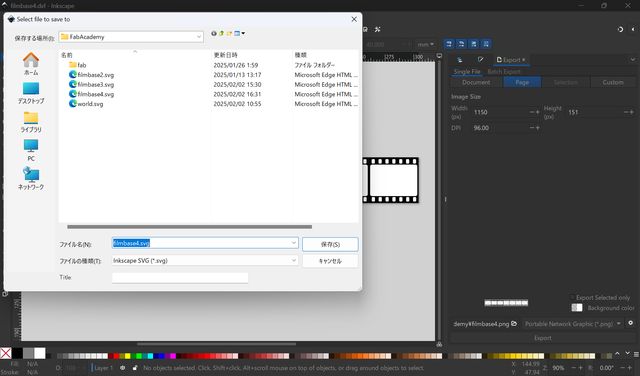
4.Modeling for "Base" part with Fusion
I tried the way to make
the parts with the Tutorial below:
https://note.com/yuki_8762/n/n0967219b8f77
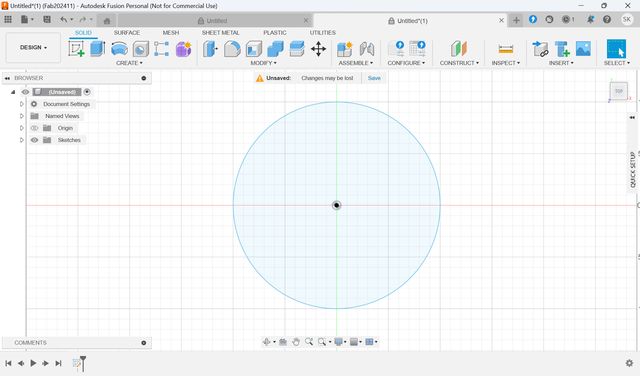
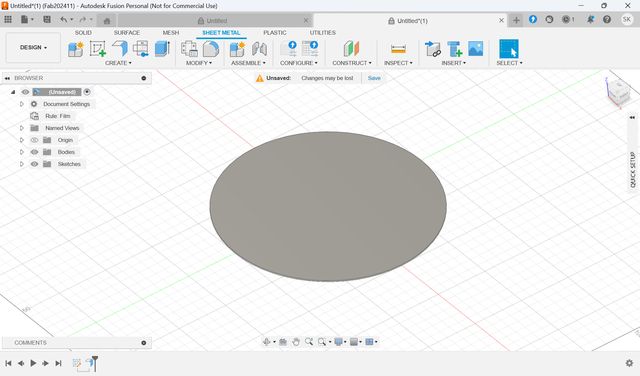
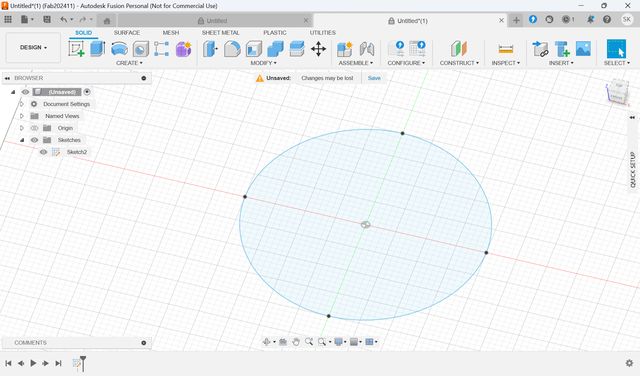
Create Sketch and draw the circle with diameter 200.
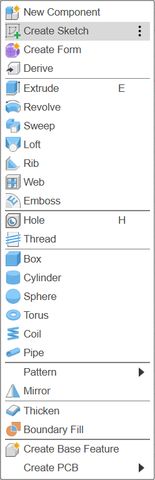
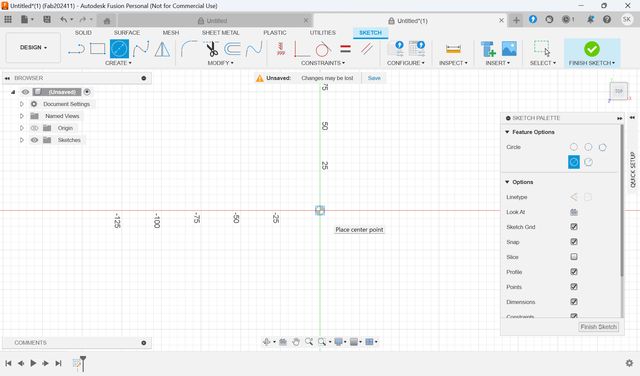
Finish Sketch
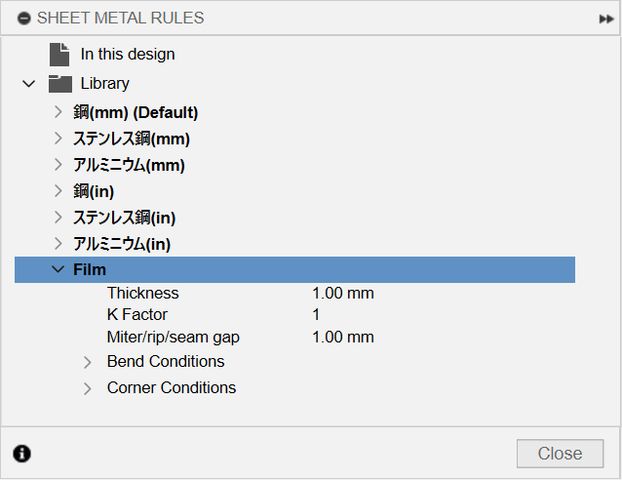
Add sheet metal rules
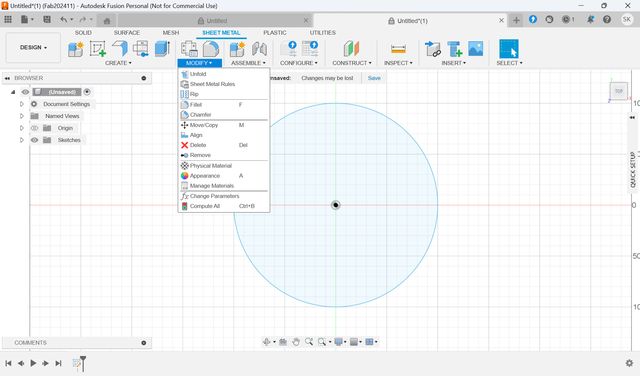
Create sheet new metal rule
Choose sheet metal > flange
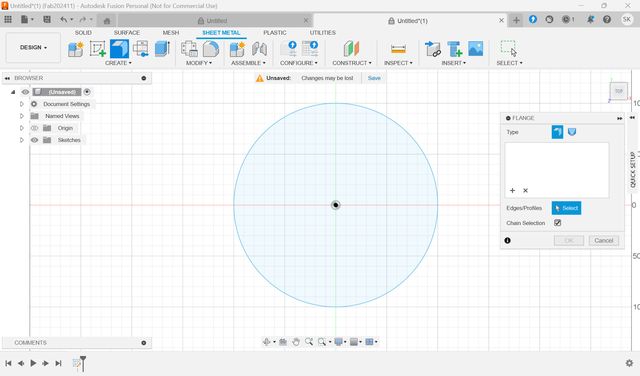
Something went wrong.
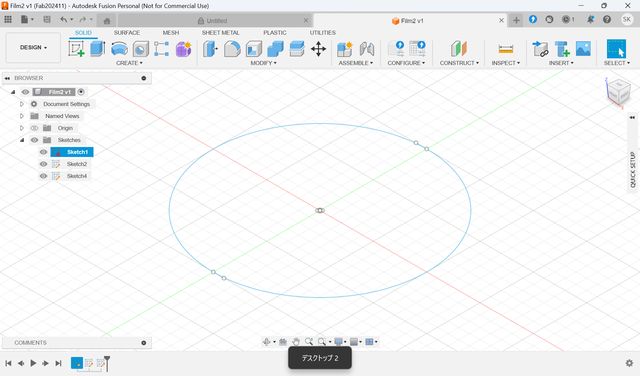
Re-create the sketch : make circle with line
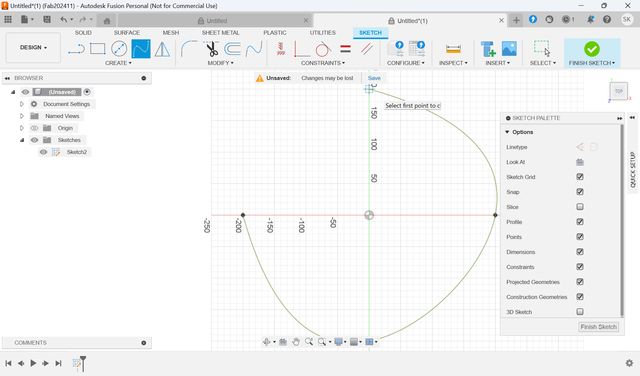
Made circle
Something went wrong

Retried to create line
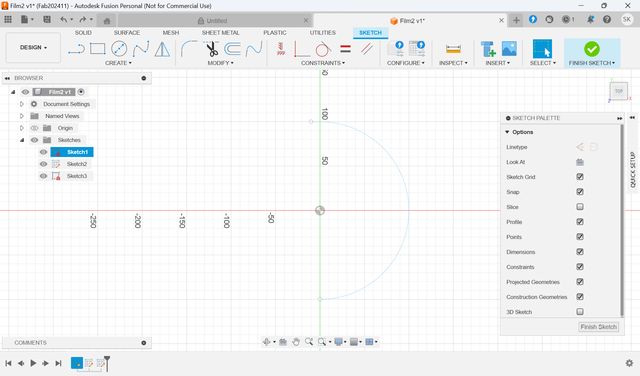
Finish Sketch
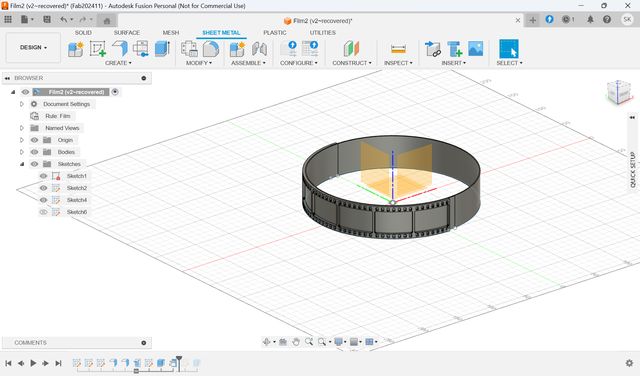
Create > Flange > Sheetmetal

Made it both side

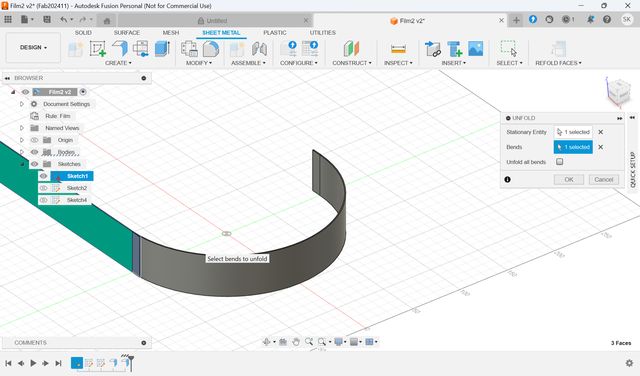
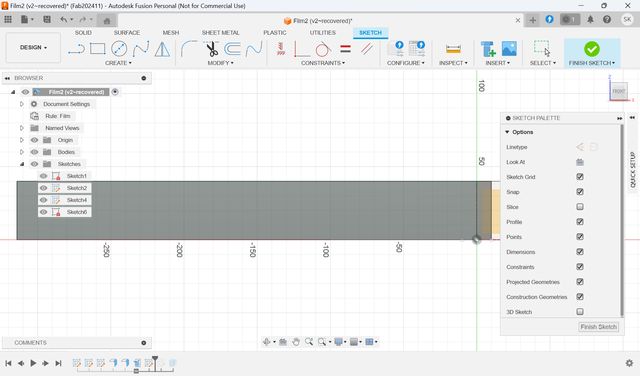
Unfold
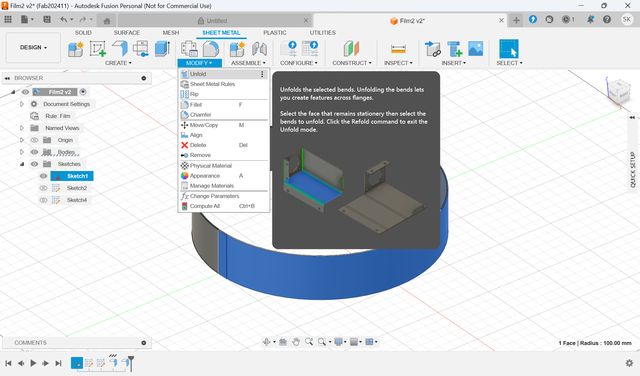
Unfold the face
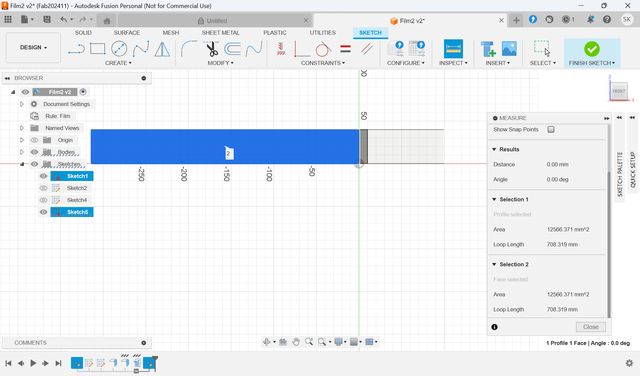
Create sketch on the surface
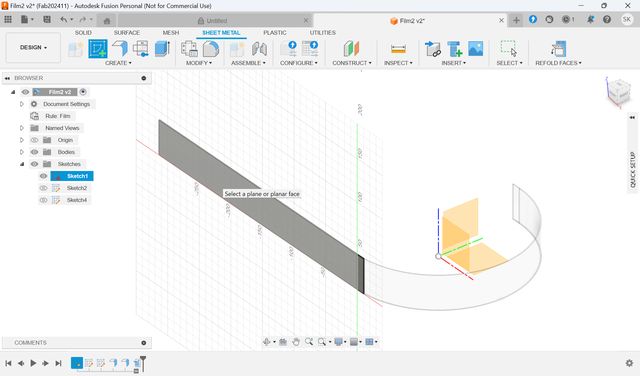
Check the size of the
surface. It is: 708.319/2-(40+10)=304.1595mm
I prepare the image with
304.1595 as a pattern.
I prepare the data of
pattern on Inkscape. It will be described later section.
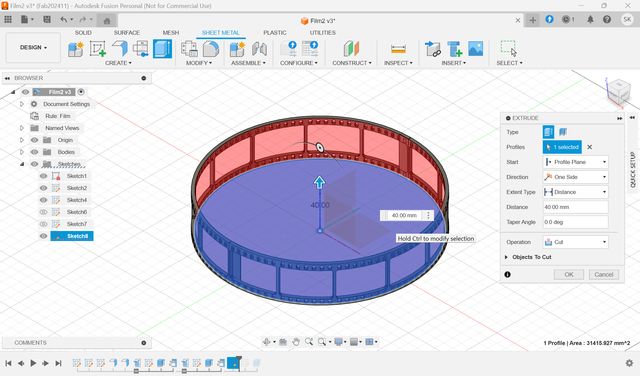
Create sketch on the surface, and insert the file on there,
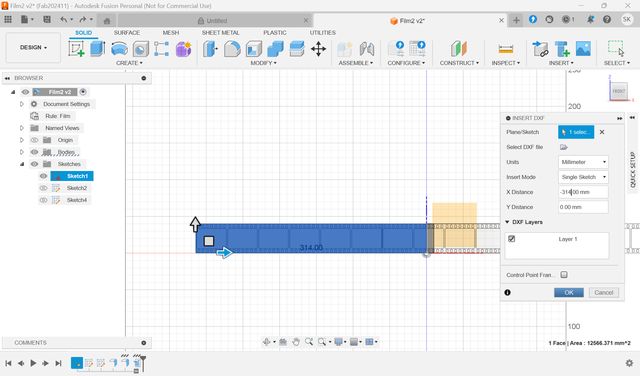
and, exclude the surface with the pattern.
However, could not fold.
I modified the svg
file-size.
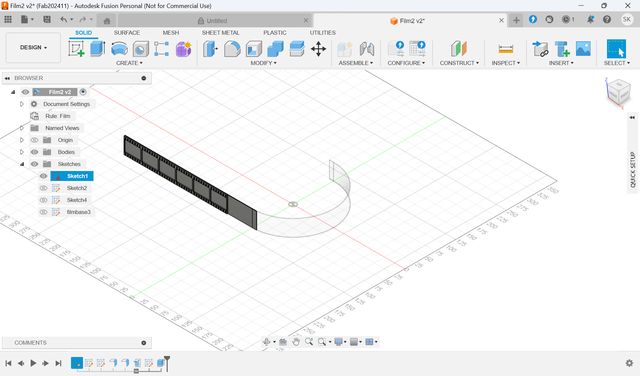
create sketch on the
surface
Exclude it

Fold it
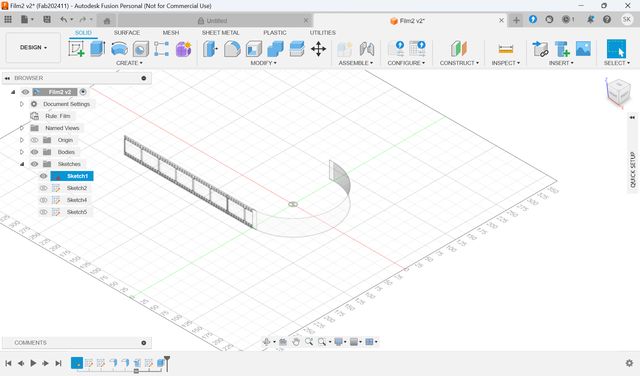
Same way on the opposite side.
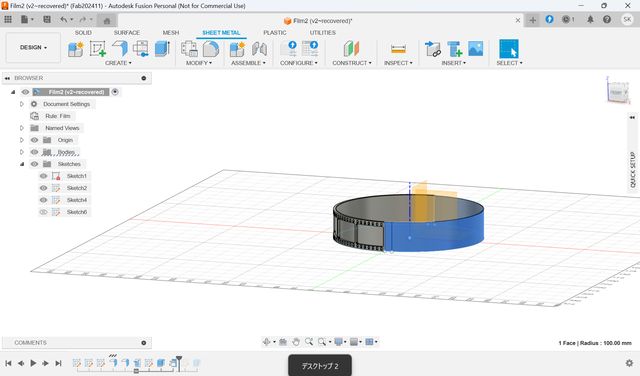
Seems good.
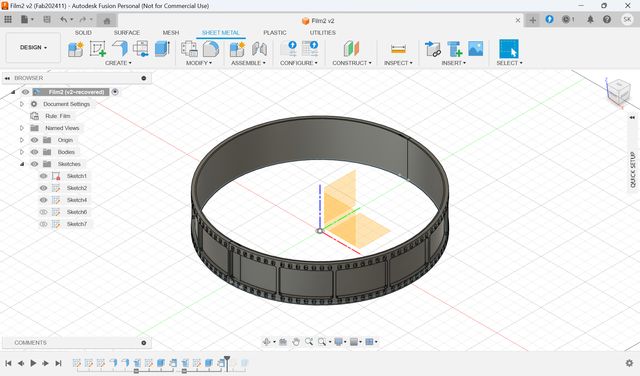
Finally, Made flat part with drawing circle and exclude it.

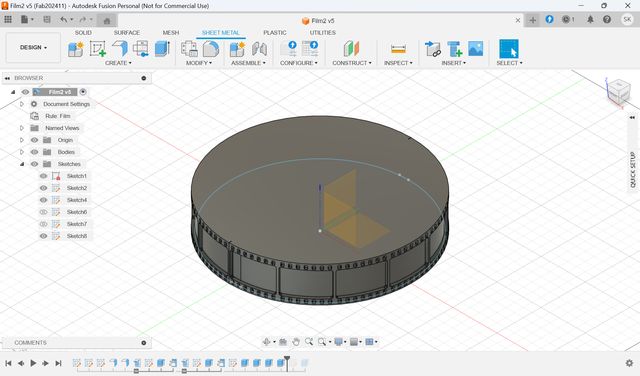
Save as stl.
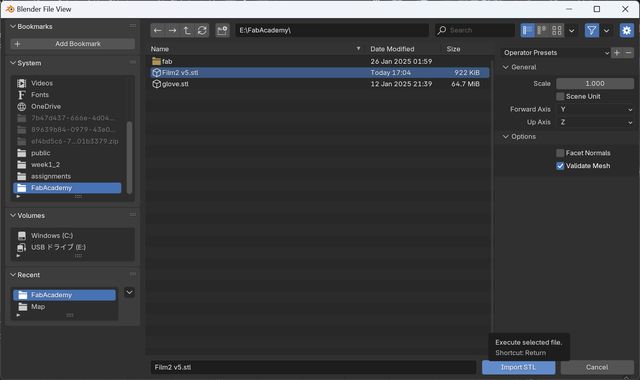
5.Combine Globe and Base in Blender
Read the "Base" part stl file created in Fusion in Blender.
PressG + Z and put it below the earth.
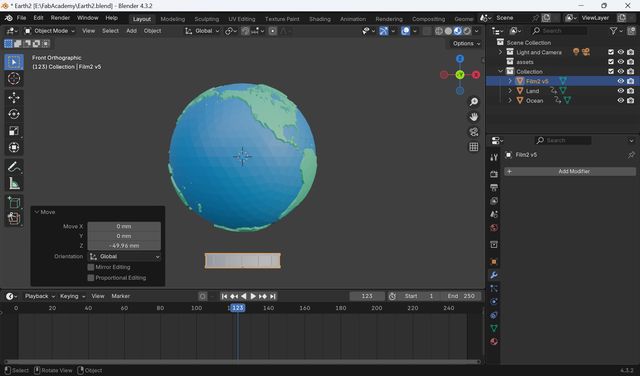
Scale it
Change color
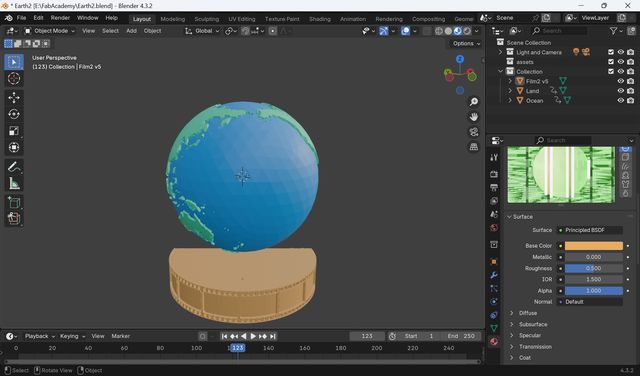
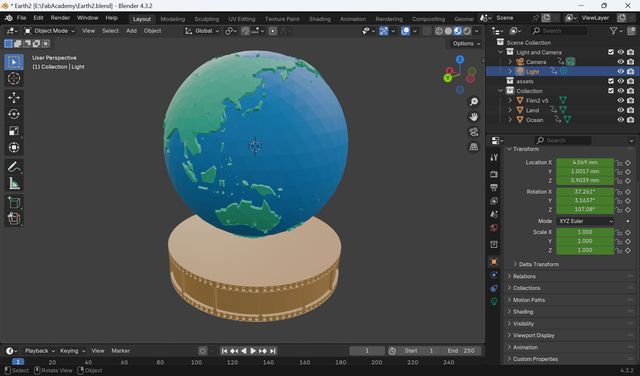
Adjust light
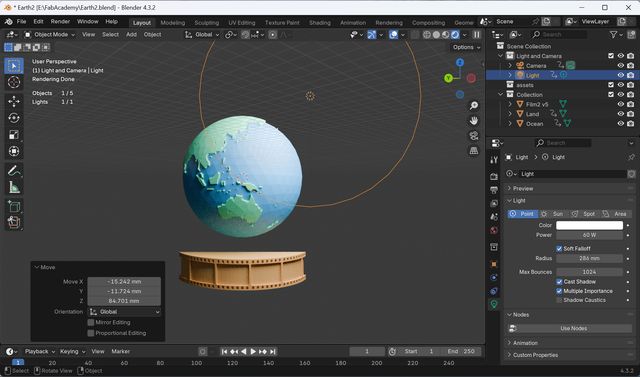
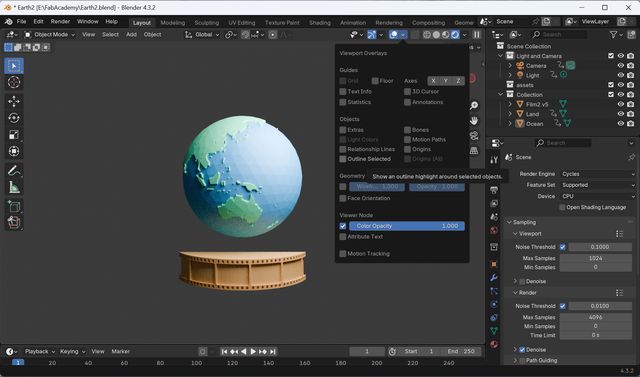
Delete Overlays and make the screen clean.
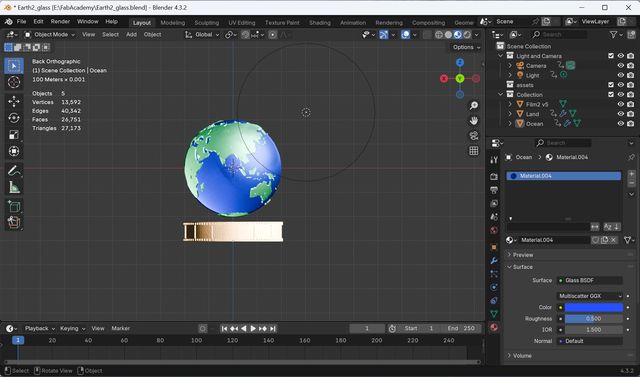
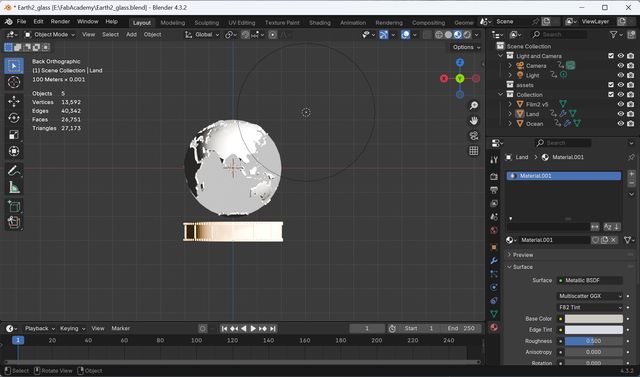
I tried change the material 1 glass 2 metal
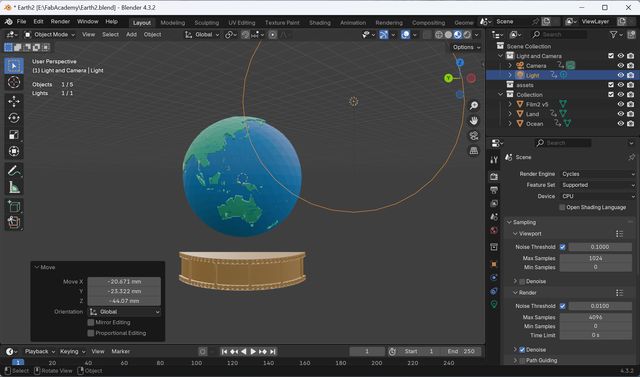
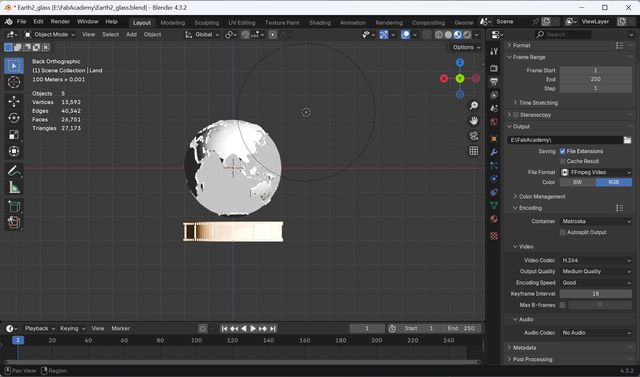
6.Tried Animation
Try to render animation.
Rico-san helps me a lot to make this animation.
- Set Clip end point as 5000 mm to show whole model
- Reduce roughness of glass
- Add background wall to make it looks better. (add rectangle)
- Change the light to area light. (Shift+A and search “area light”)
- Change brightness of the light
- Scale the light up. Select light and press S +100 and more
- Change Render Engine “Cycles” and Device “GPU Compute” from Render menu.
- Set Scale as 1.000: Press Ctrl + A and select “Alt Transforms”
- Set Frame Range from output menu. Set the frame end time.
- Add keyframes. First, make the “Timeline” window visible.
- Choose object you want to animate, and press I to add keyframe.
- Since I want to rotate the globe, go to endpoint of the keyframe and press I again.
- Go to middle point of the keyframe. Then, rotate the globe 180° : press r + z + 180. Press I to add keyframe.
- Go View> Align View > Align Active Camera to View
- Go to Render menu and set for Sampling. Max Samples 32(View point and Render)
- Go to Output menu. Choose save folder and set File Format as FFmpeg Video (If you chose image format you can output Images)
2D Design - Make a Slide
First, prepare the image
of modeling.
I was tried to render image, but it went wrong, and try
to make the image from screenshot, and tried to make a slide of Final
Project.
Since I had some experience with Photoshop and Illustrator, I tried GIMP and
Inkscape.
Below is the way I did it.
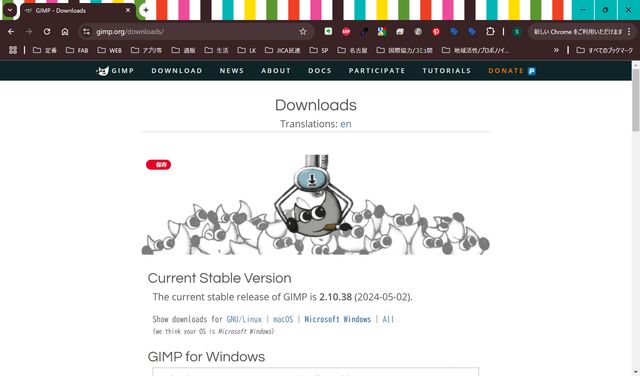
1.Prepare image materials with Gimp
Download Gimp
Open Screenshot of the modeling.
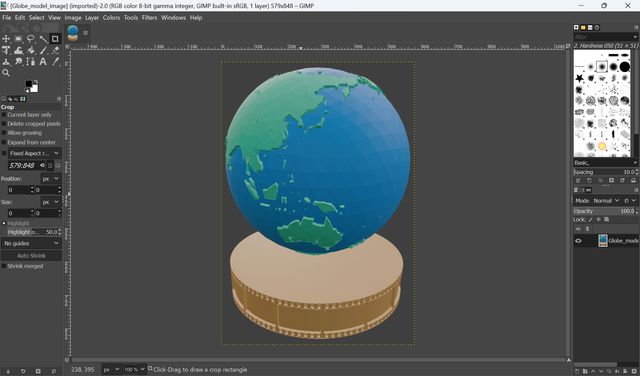
Click background and press Further from “Select” menu.
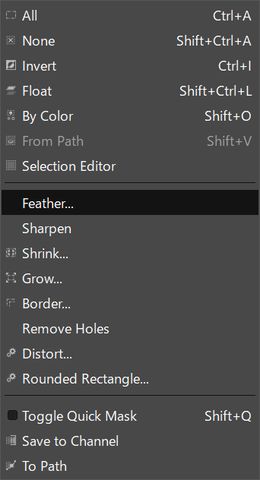
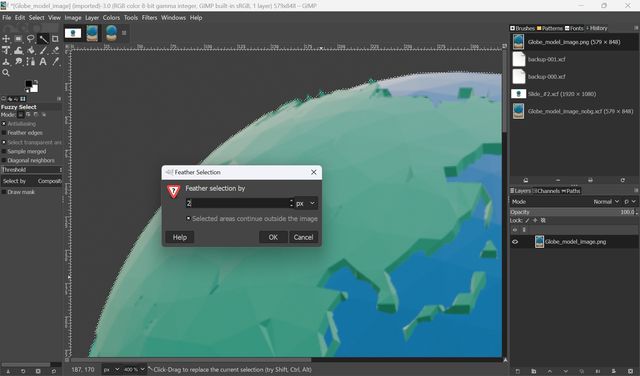
The edge is now blurs, and it makes the border of the image smoother.
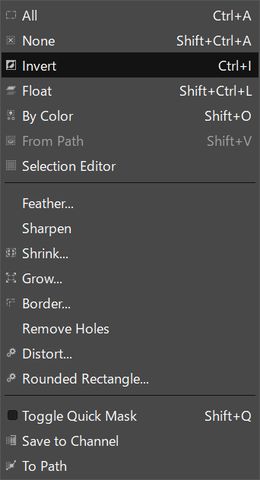
Delete background.
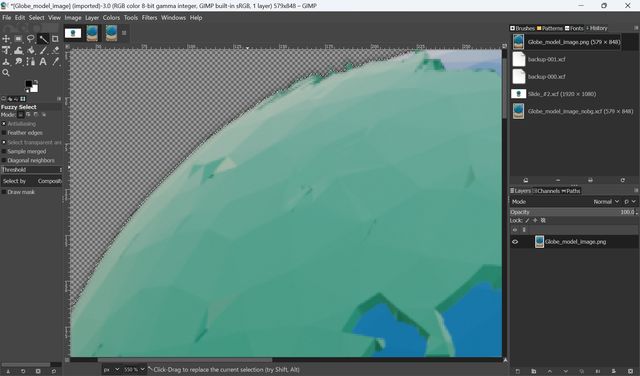
Then, “Invert” the selection area from Select menu.
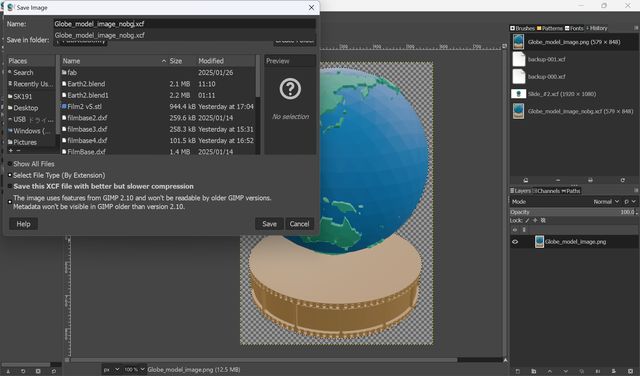
Save it
Next, I want to add rough
sketch of the modeling image.
Open the file with GIMP.
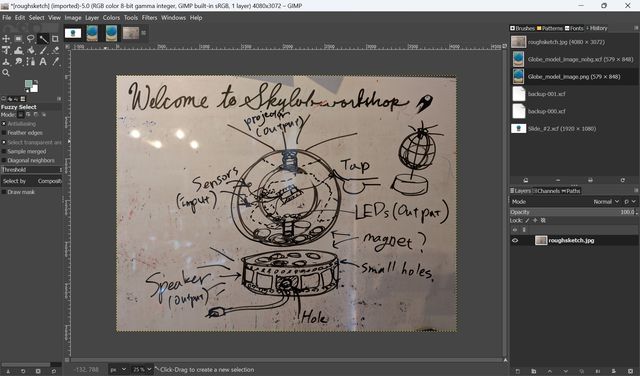
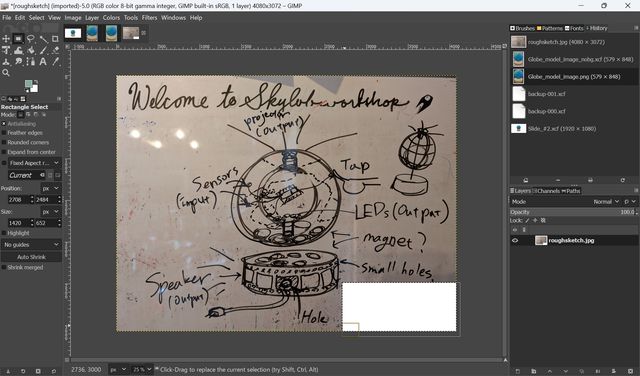
First, I delete some
unnecessary and black parts
Roughly select them with
rectangle selection tool and press delete
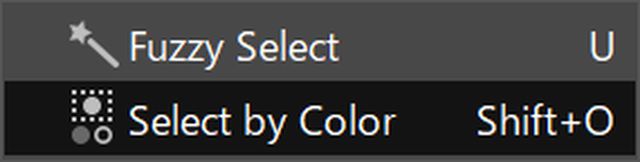
Then, select “select by color” tool and select somewhere black. Press shift and select wll need parts from sketch.
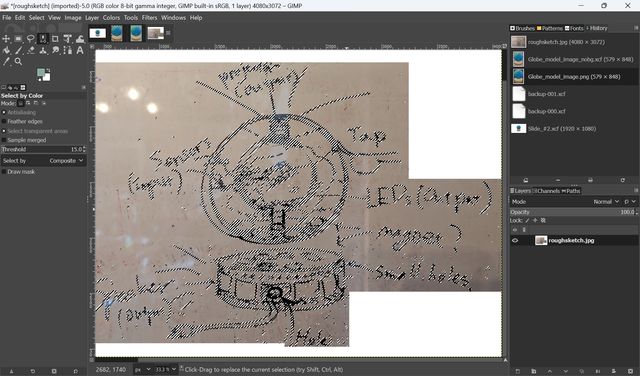
Invert selection area and delete background
Escape selection and
delete small unnecessary parts
It seems better now.
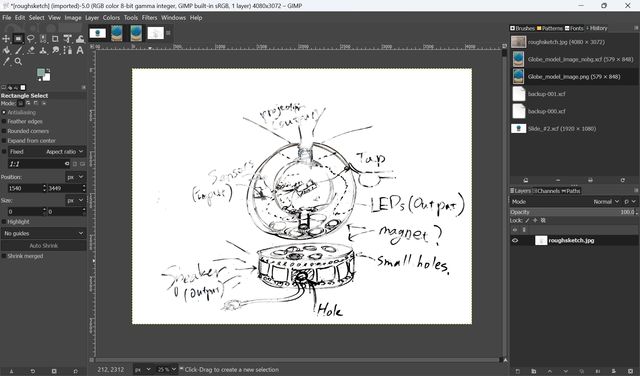
Save it as an image.
2.Put the images and create slide design with Inkscape
Make new image with Inkscape as a background.
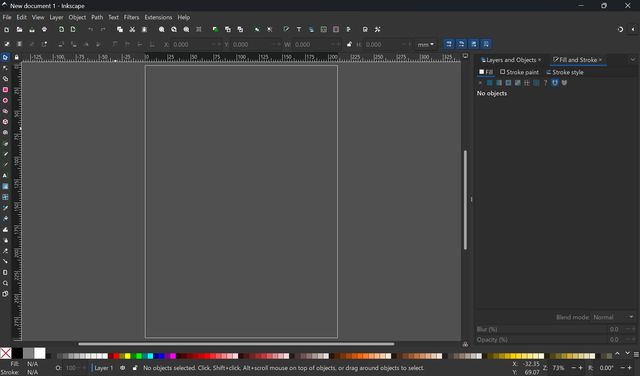
Change canvas size from file menu > Document Properties.

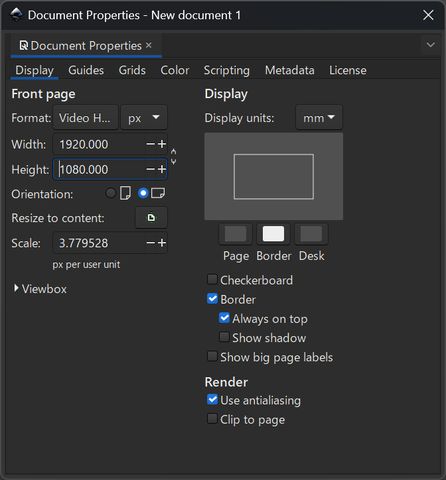
The canvas size changed.
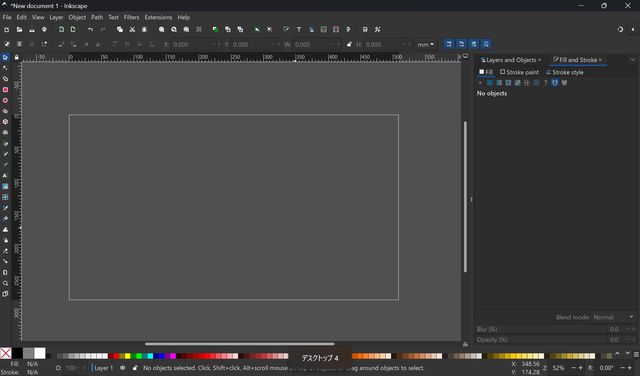
Then, make new rectangle
from Rectangle tool, and make the size same as teh canvas size, started from
x:y=0:0.
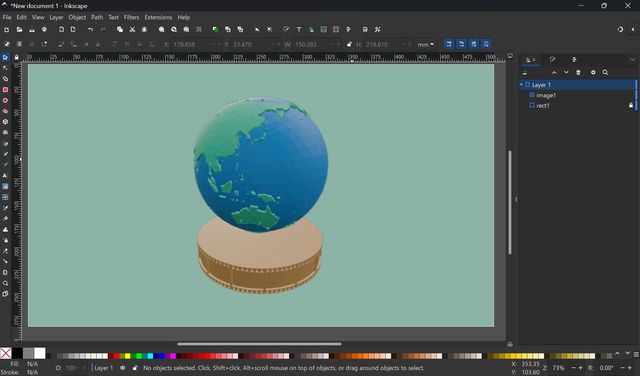
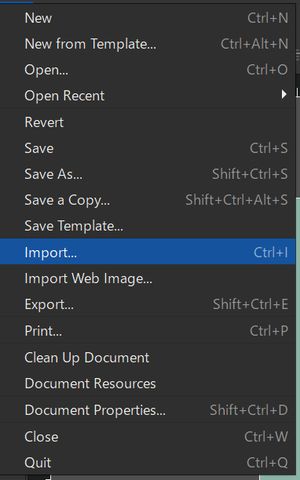
Then, bring the Modeling
image form GIMP.
Since I “Inverted” the
selection area, so now the modeling image is selected on GIMP, so just
“copy” on the GIMP and Paste to the Inkscape.
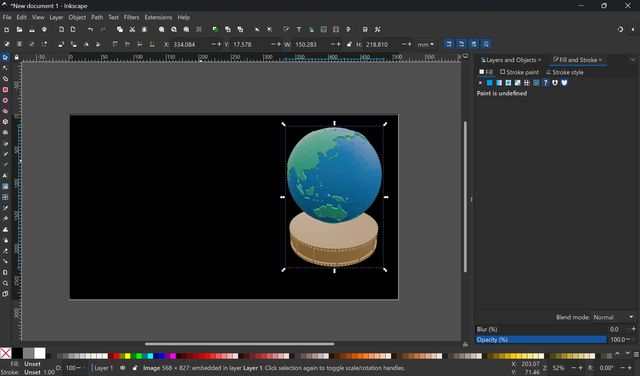
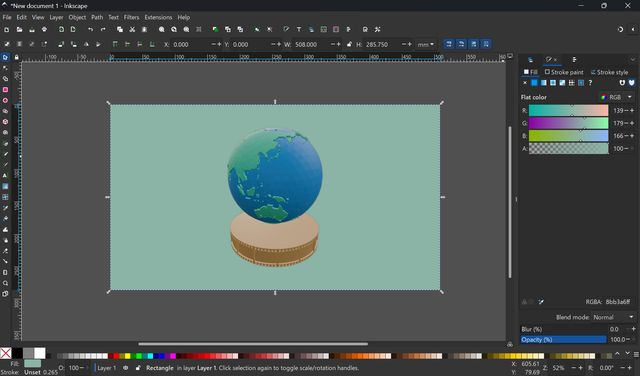
Aligned the image and adjusted start point as 0.
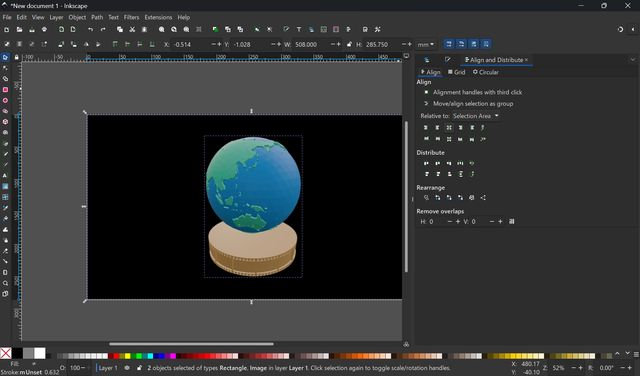
Since I wanted to use the background color similar to the globe, I used “Pick color” tool.
Select background rectangle, and from Fill and stroke menu, I chose the “Pick color” tool
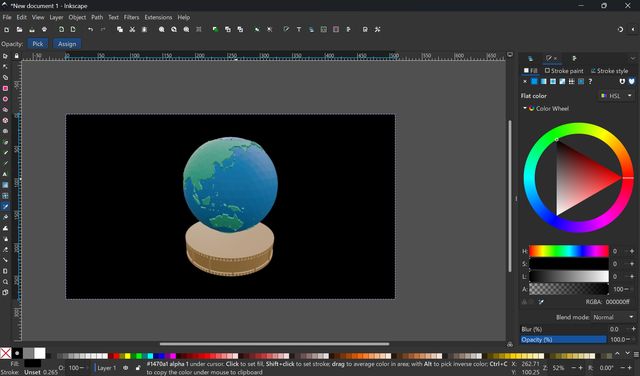
Background color changed.
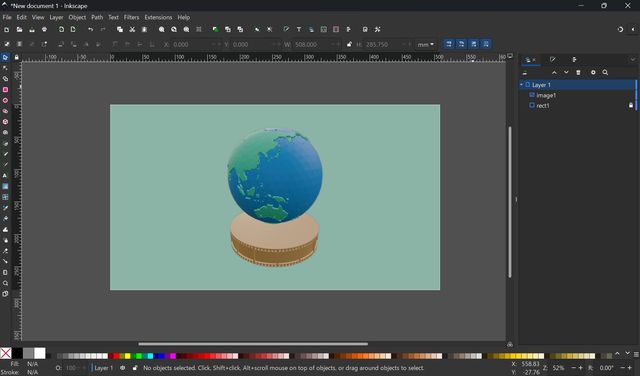
Then, rock the Layer. It makes easy to change other materials.
Press key mark of the ‘rect’ layer form the Layer menu
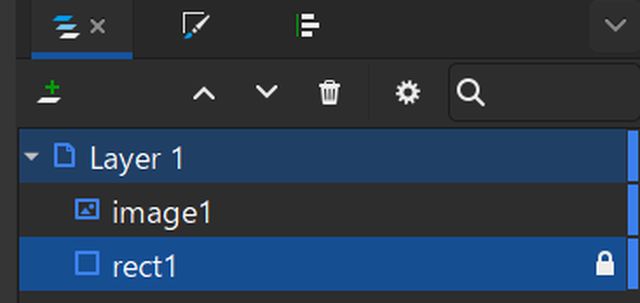
Layer rocked.
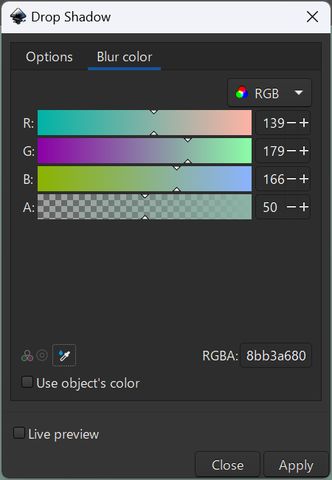
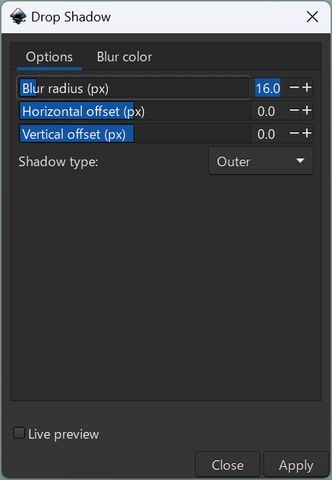
Add a shadow to hide black
shadows around the object.
Select object and go to
shadow menu.

Make the shadow color similar to the background color, but darker.
The dark line looks a bit better now
In Inkscape, Import the rough sketch image created in GIMP. It was too big, so shrink it with press ctrl.

Change the blend mode to fit the background.

Change the angle
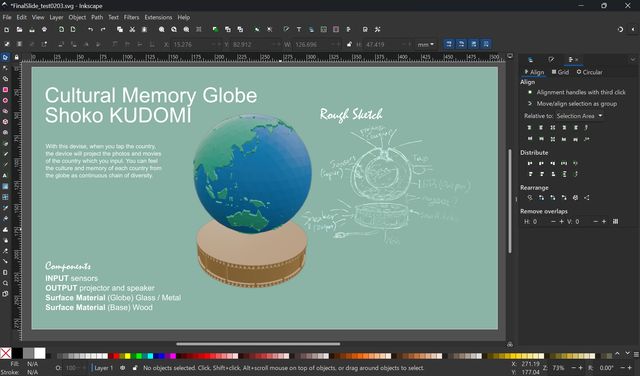
Insert some texts.
I tried insert the text into the box.

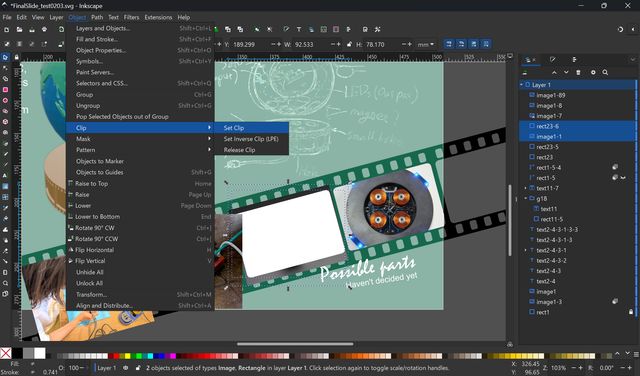
Although there are still
plenty space to search parts, I put some image of possible parts from below,
just for some information:
Magnetic
Levitation Suspension Coil
https://www.adafruit.com/product/1967
Tried clipping also.
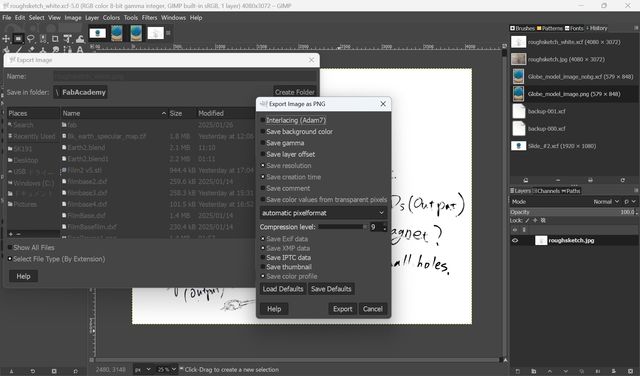
Export the image as jpeg
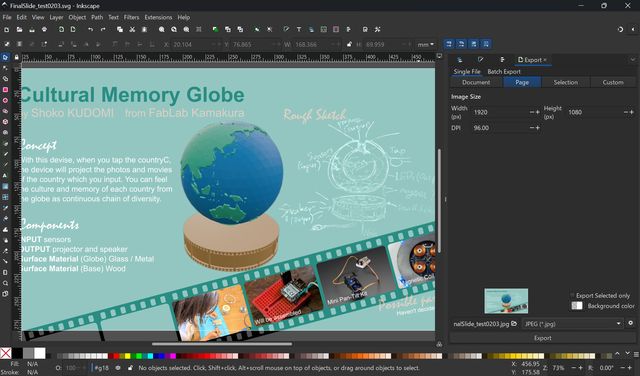
Saved Slide Image
The saved image is as shown.
The way I compressed the image is descried in Compress image / Video page.
Outcomes
- Data for 3D modeling
- Data for 2D image
It was my almost first time to create 3D model properly. So, it was really tough to do it alone, but after we have got tutorial, and understand the basics, it was really fun time. As for Blender, it seems there are still so many things I can try, so I would like to try it more.