Assignment #2 Computer-Aided Design
This week I worked on 2d and 3d modeling, and also learned how to compress them.
Compress image / Video
To compress videos and images, I used the software below:
details as follows:Video Compression
I took a movie of trial
animation, so I will test the compression with this video.
First, I delete the sound with photo app on my smartphone.
Then, I send the data to my laptop via Bluetooth.
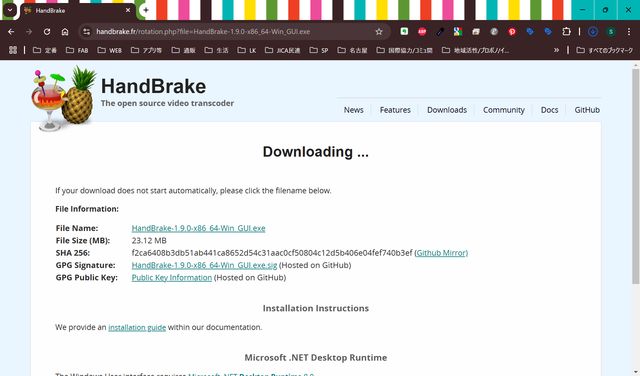
Downloaded HandBreak from here: HandBrake
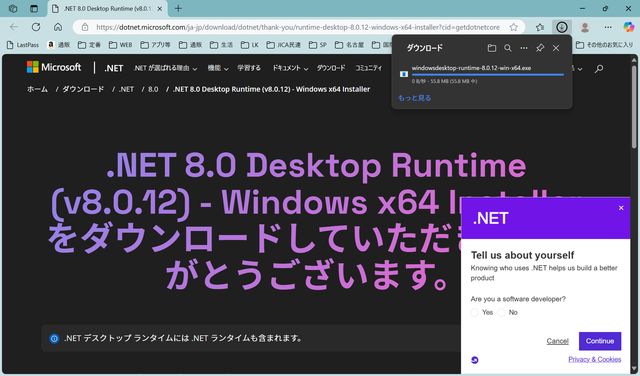
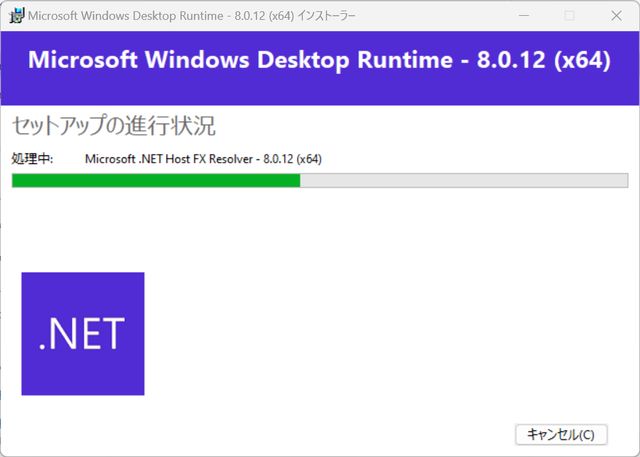
Download .NET 8.0 Desktop Runtime since it is required.
Open HandBrake, and open file from ‘File’ icon.
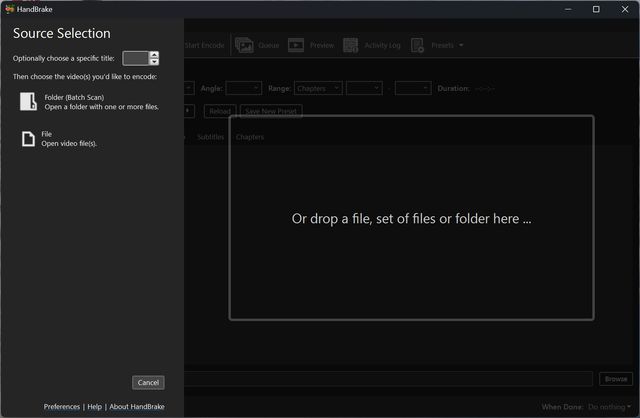
The file opened.
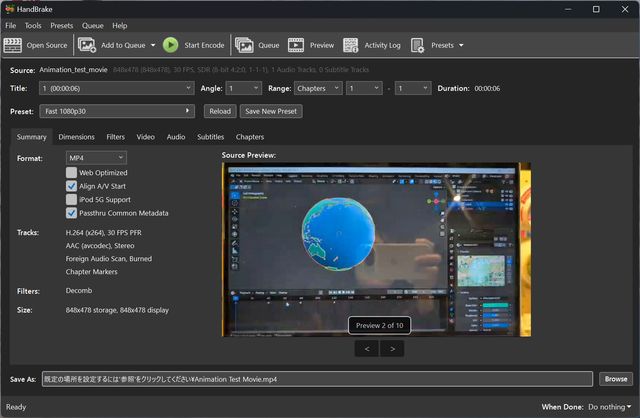
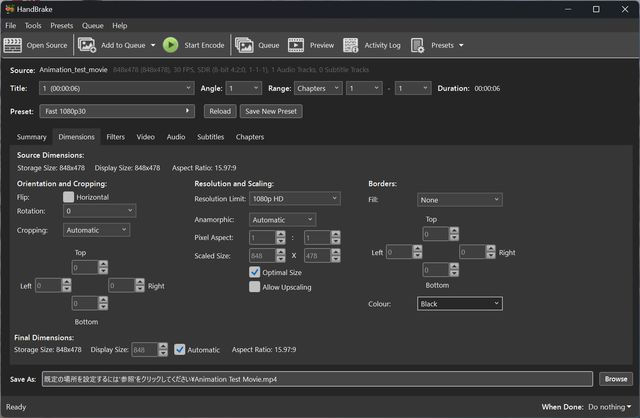
Change ‘Dimensions’
Settings.
Default is as shown:
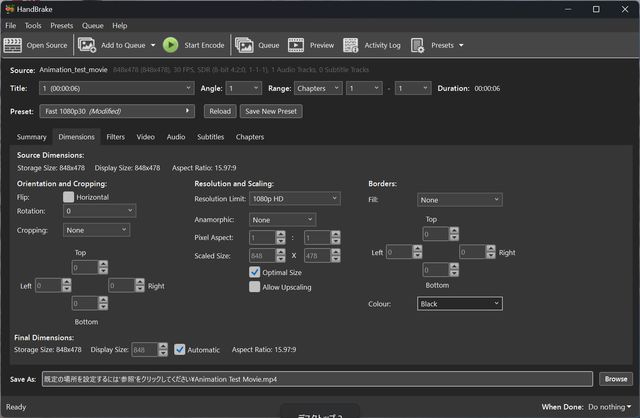
changed as below:
Cropping: None, Anamorphic: None.
Change Video tab setting. (Change to Constant Framerate)
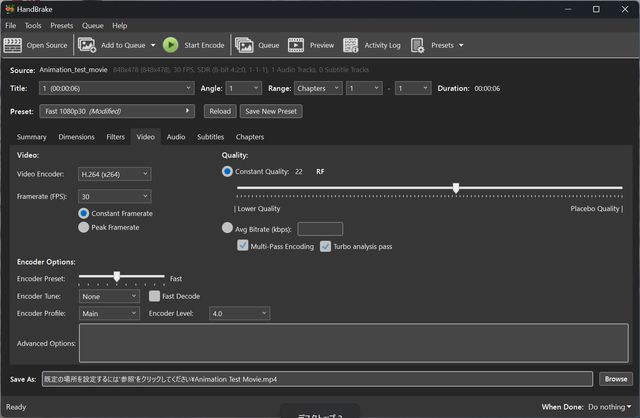
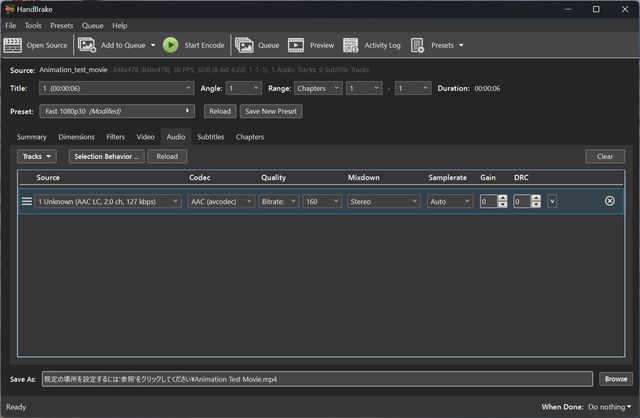
Delete Audio(Press x of the source)
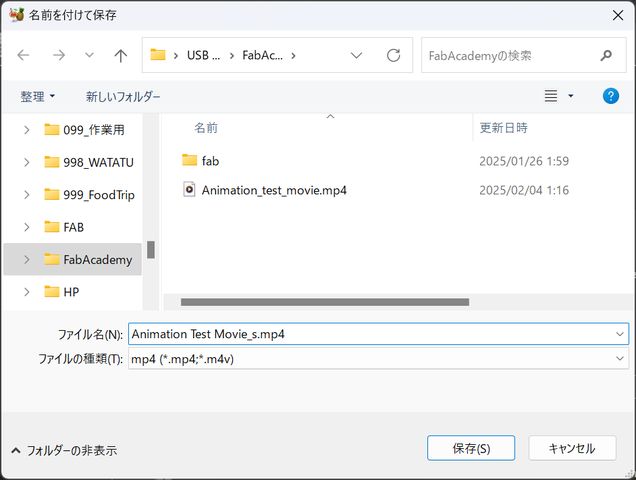
Choose save folder.
Press "Start Encode" with green circle button

Successfully compressed the movie (16,932KB to 3,458KB)

Compressed Movie
The compressed movie is as
follows:
Animation_Test_Movie_s.mp4
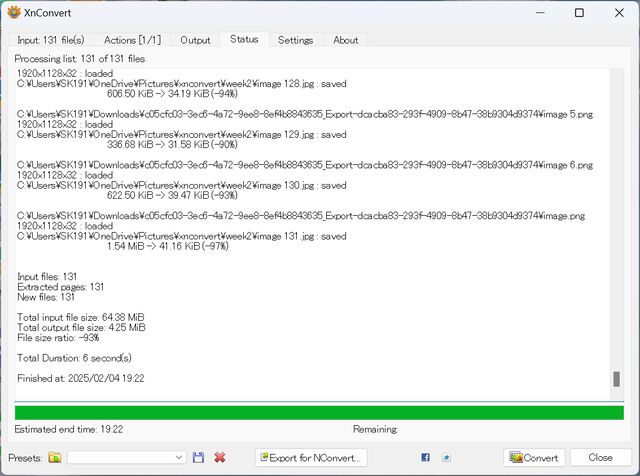
Image Compression
I used XnConvert since the
software is Rico-san’s recommendation.
This time, I tried to
compress the image which exported from Notion as html file.
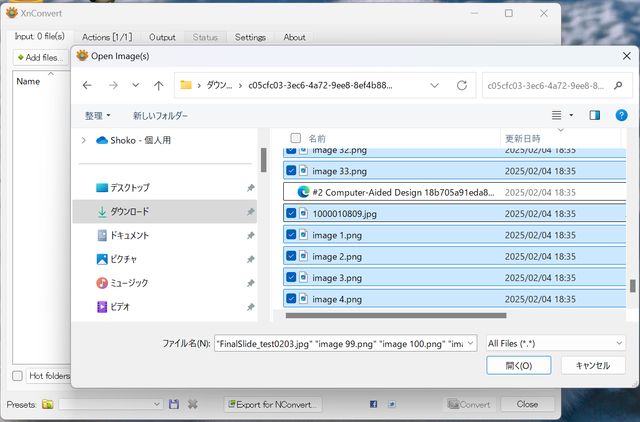
First, open XnConvert.
Then, press “Add files”
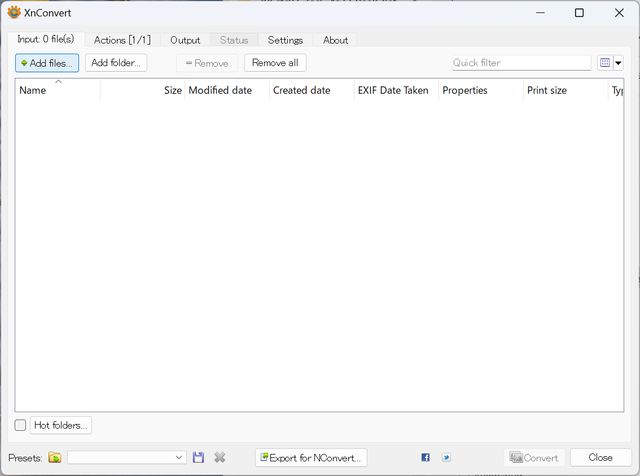
Choose images from exported folder despite html file.
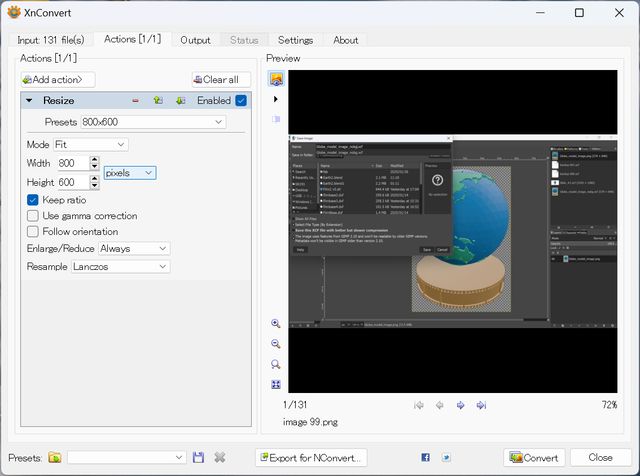
Go to Actions tub, and
choose the size you want to.
I set as Presets 800x600.
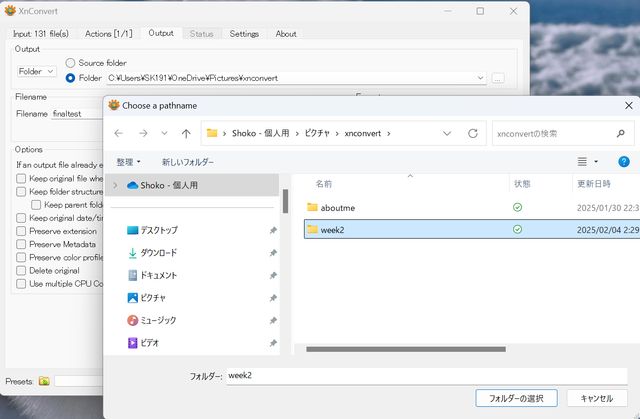
Go to “output” tub, and
choose folder you want to put compressed images.
This time, I made a folder
for week 2 assignment, and select the folder.
I wanted to use the html
file which notion created, and so that I don’t want to change the image
name, so I left blank the Filename.
For the format, set jpeg
as recommended in the class.
Then, press “convert” form
right bottom.
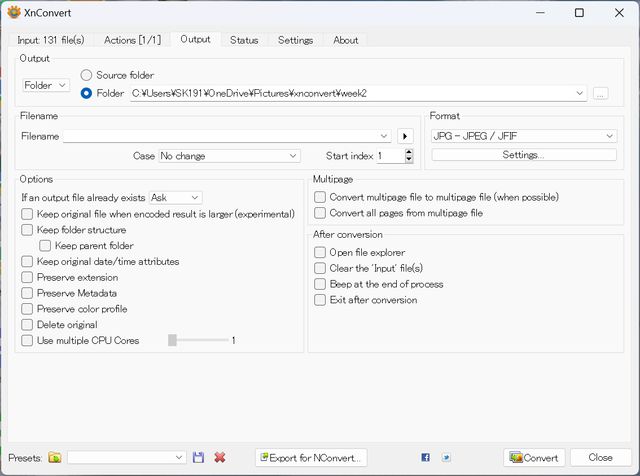
Image compressed.