#12 Mechanical design, Machine design
This week we made onigiri machine and learn how to make a machine.
Assignment
Group assignment
- Design a machine that includes mechanism + actuation + automation + application
- Build the mechanical parts and operate it manually
- Document the group project
- Actuate and automate your machine
- Document the group project
Individual assignment
- Document your individual contribution
Outcomes
What did I do this week
The group assignment page - week12
For Onigiri press machine,I did...
- Built the whole model on a card board
- Printed and tested the iris mechanism
- Modeled the conclusion of the discussion in TinkerCad
- Studied and tested the mechanism of the press down part (main task)
- Made video and slide image
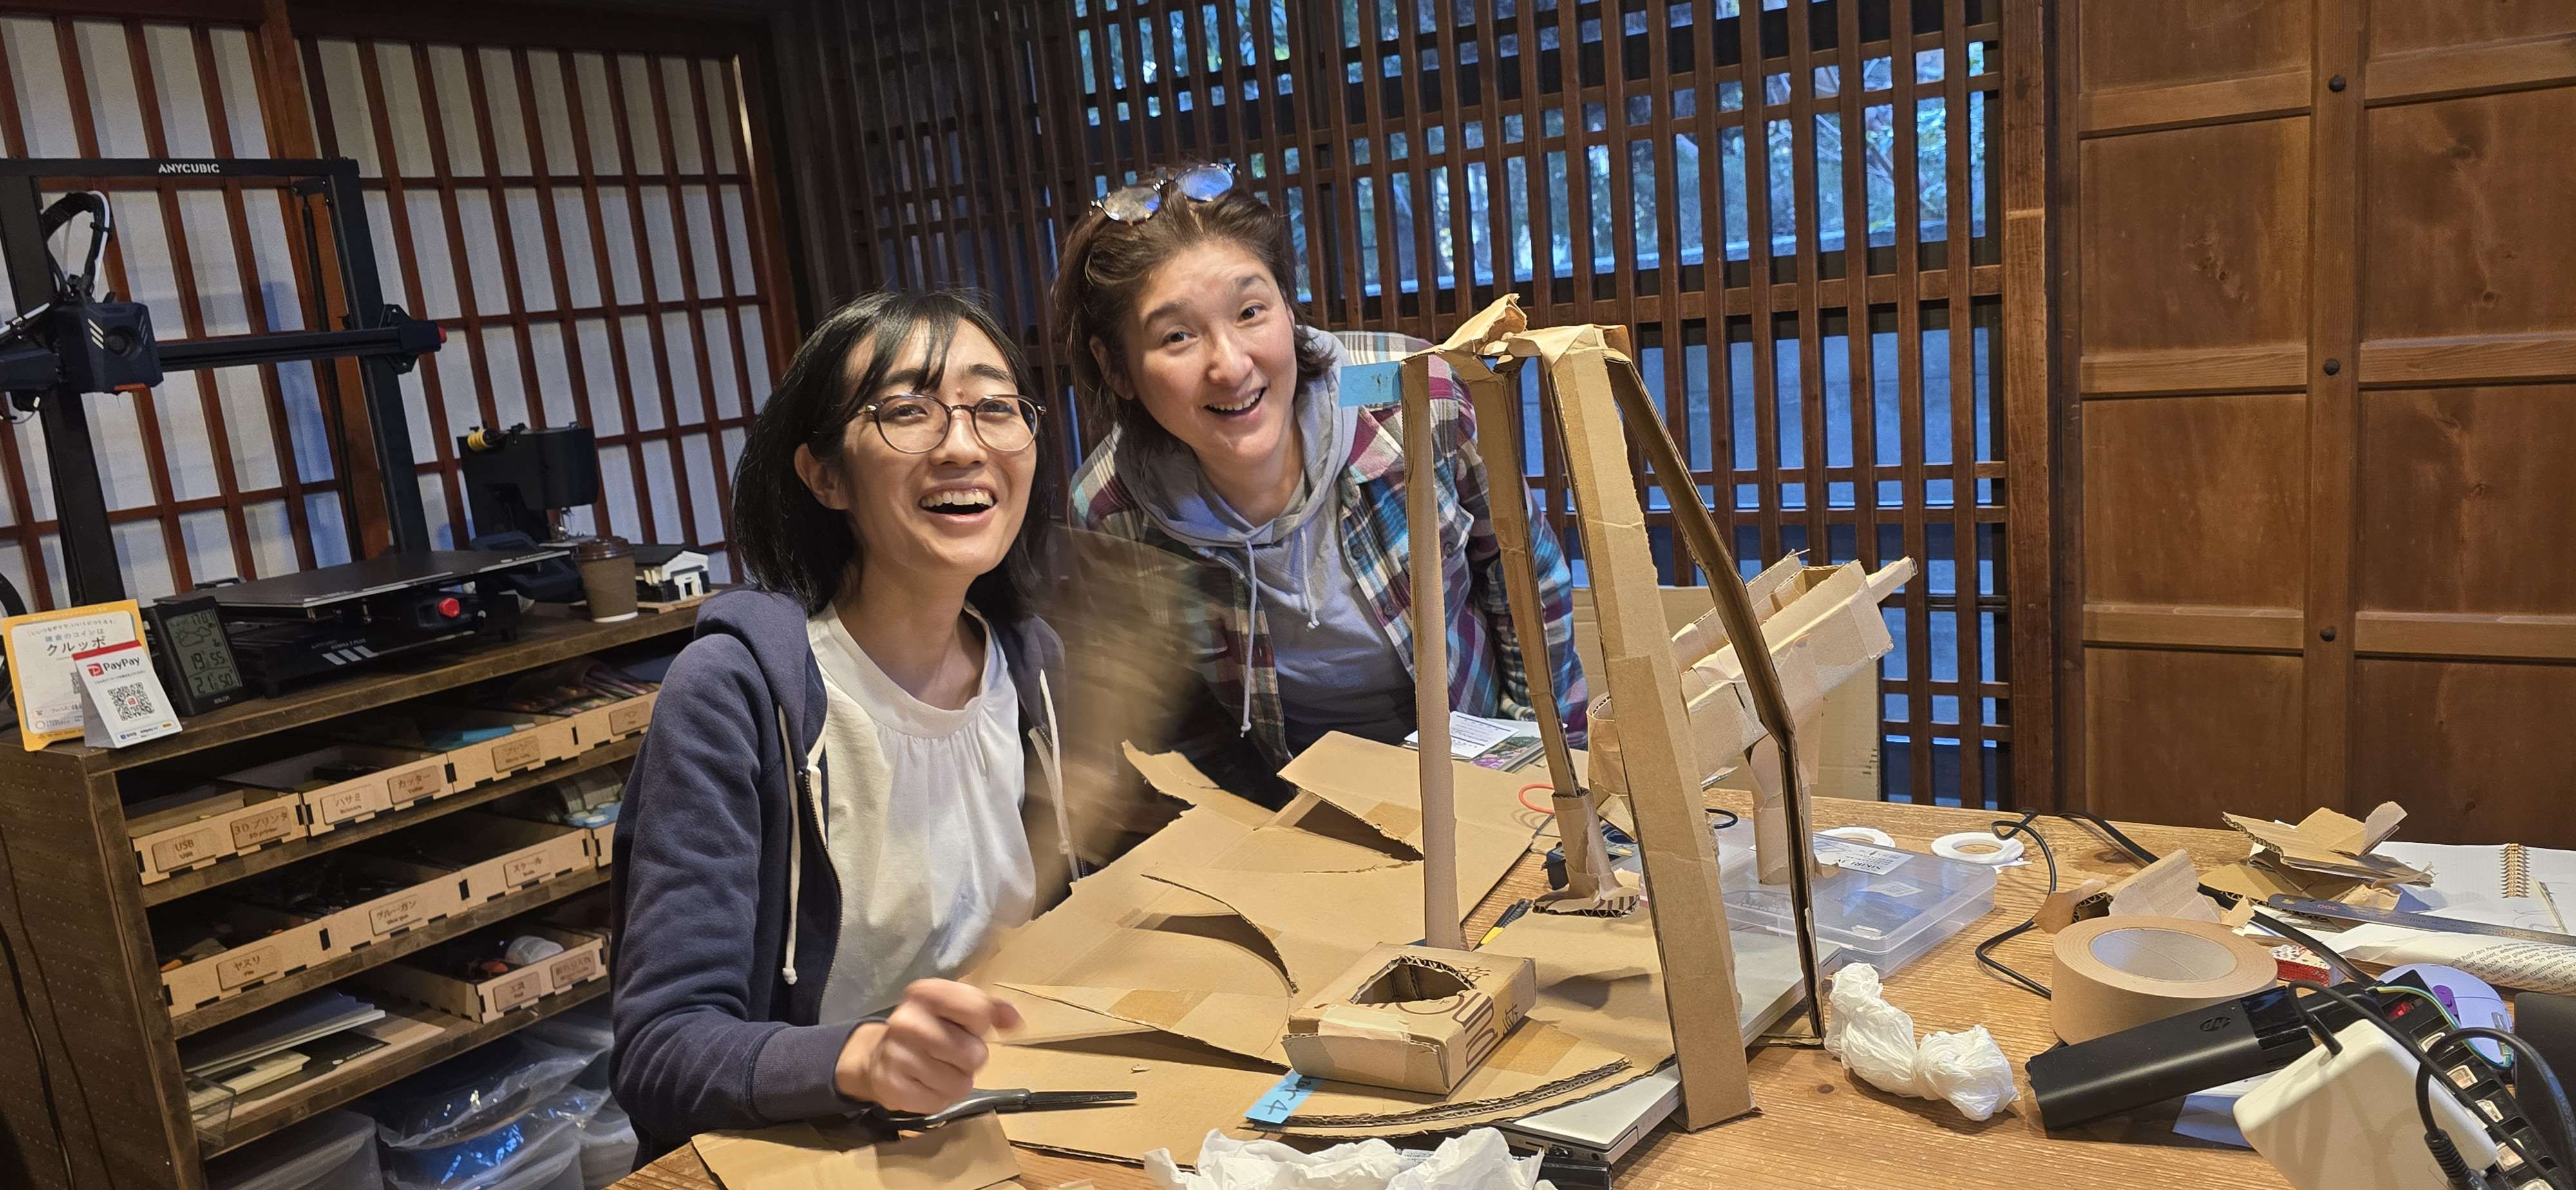
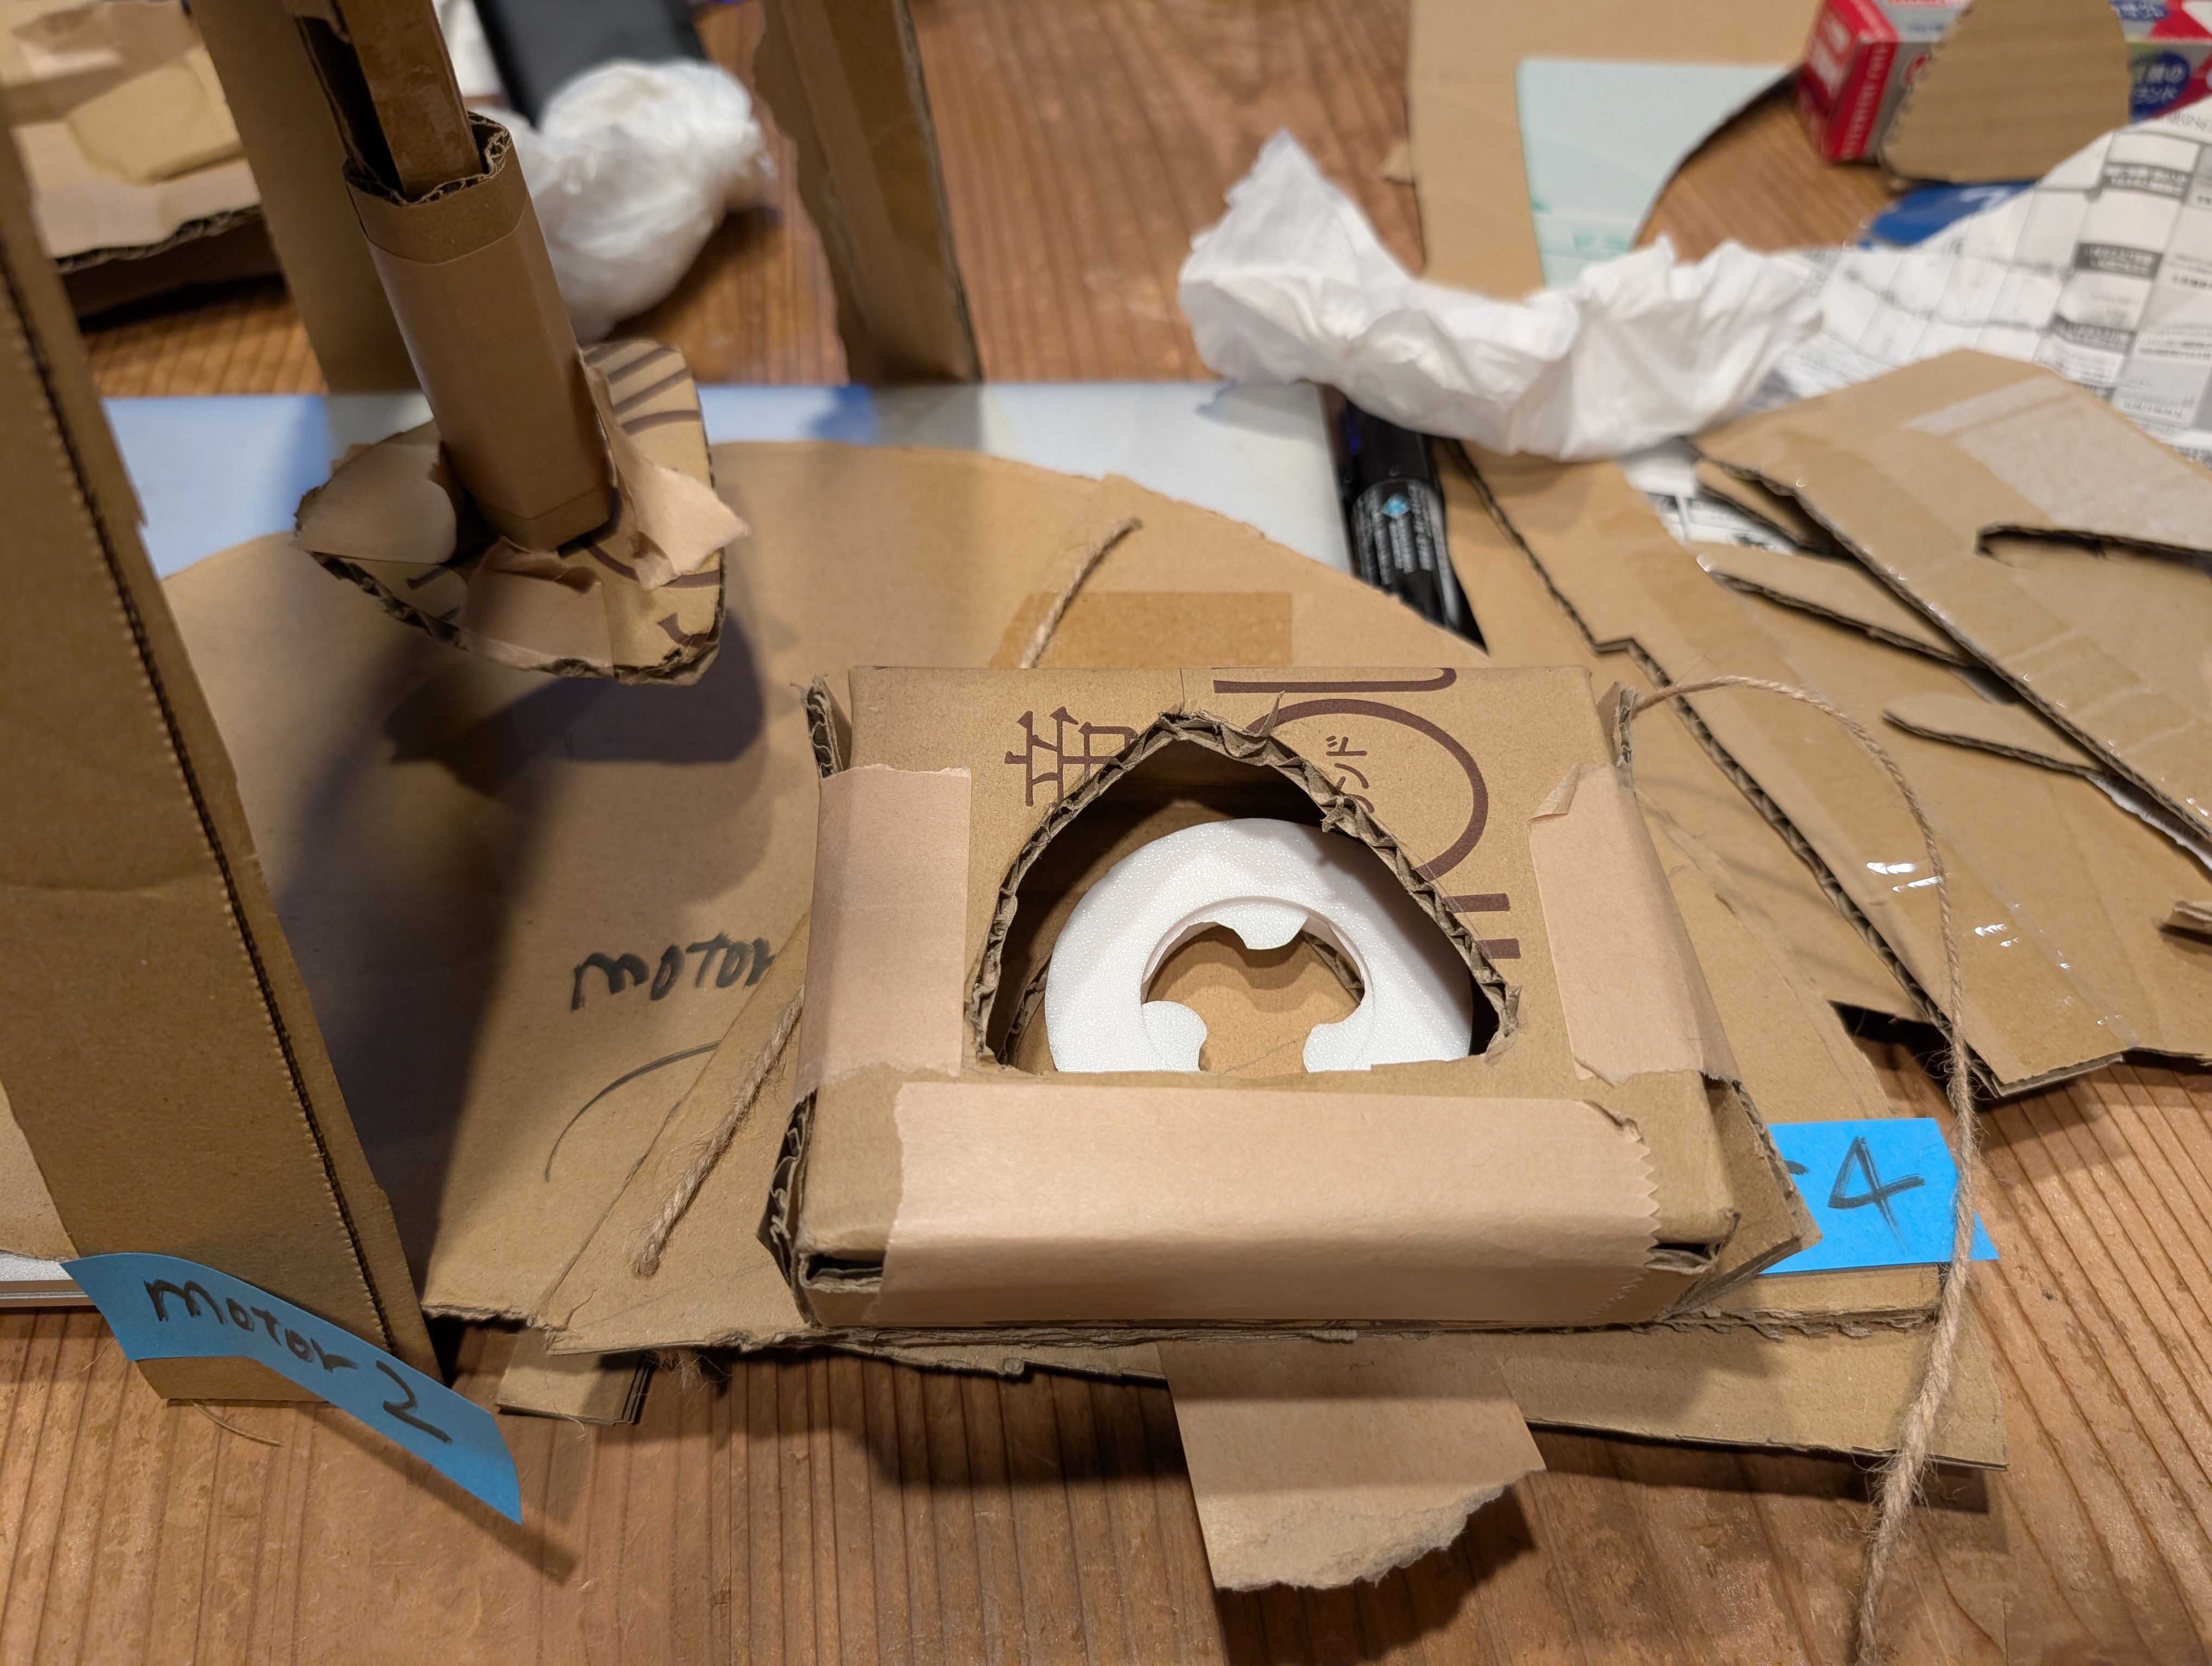
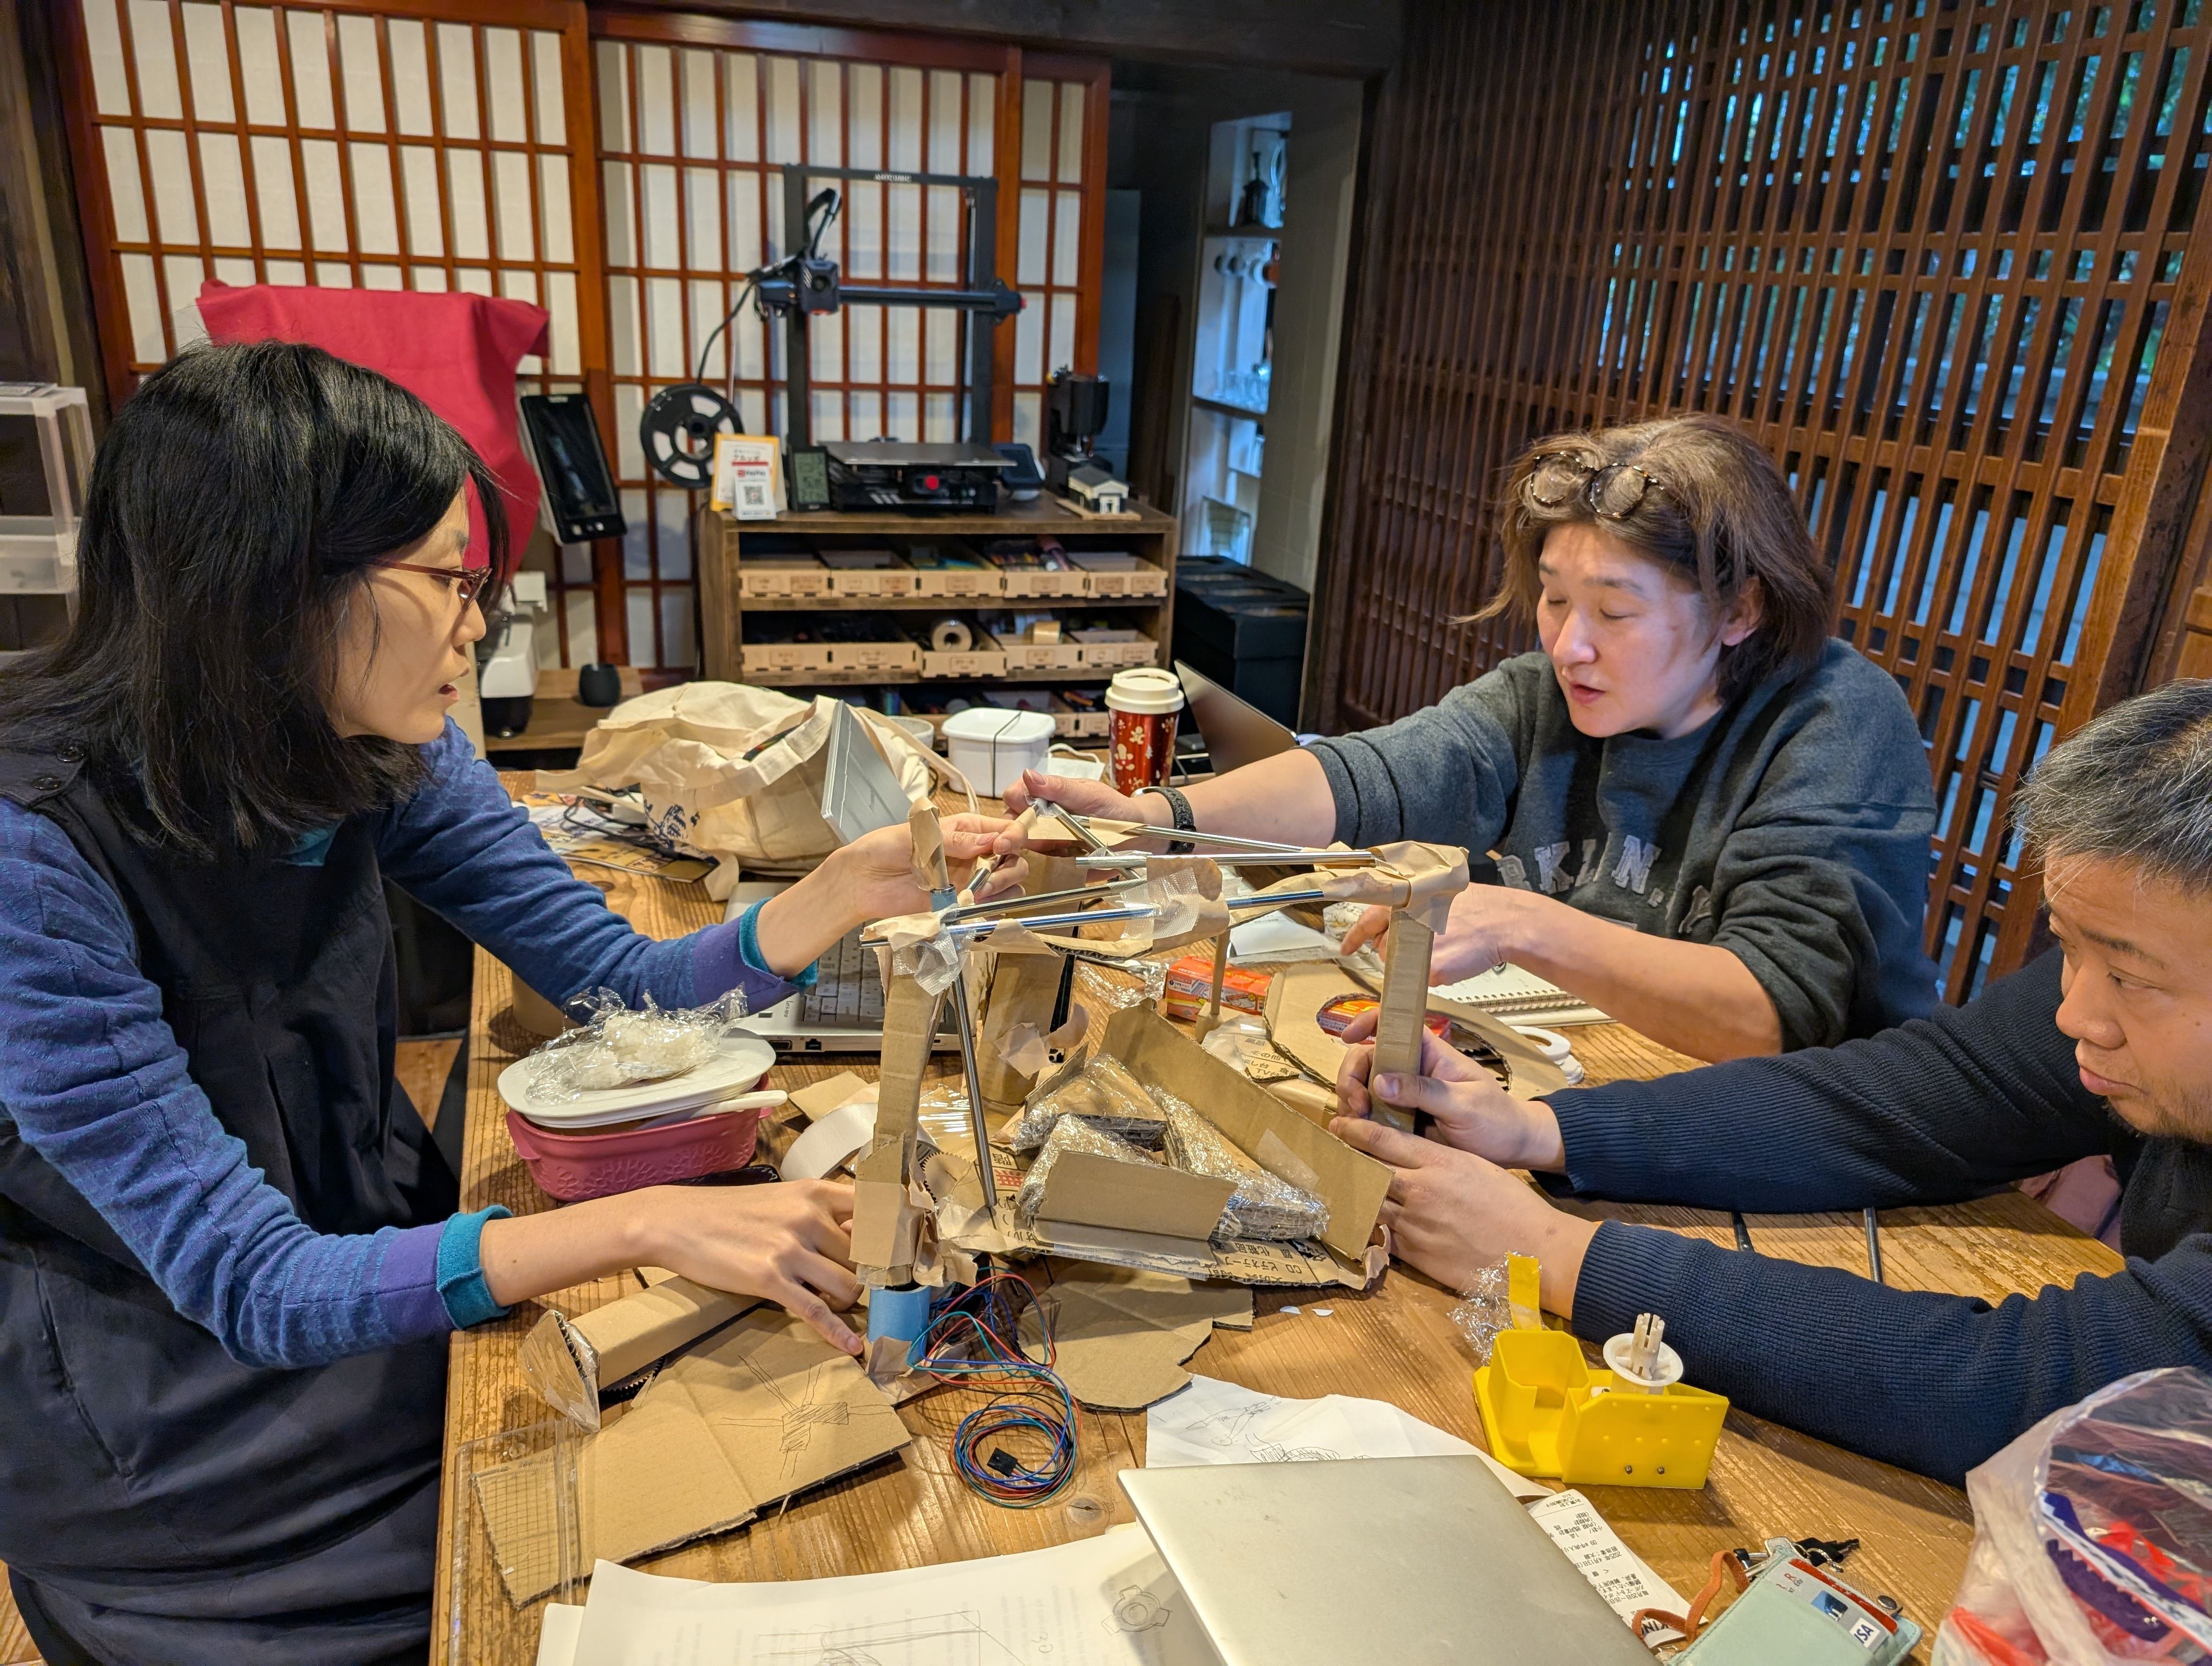
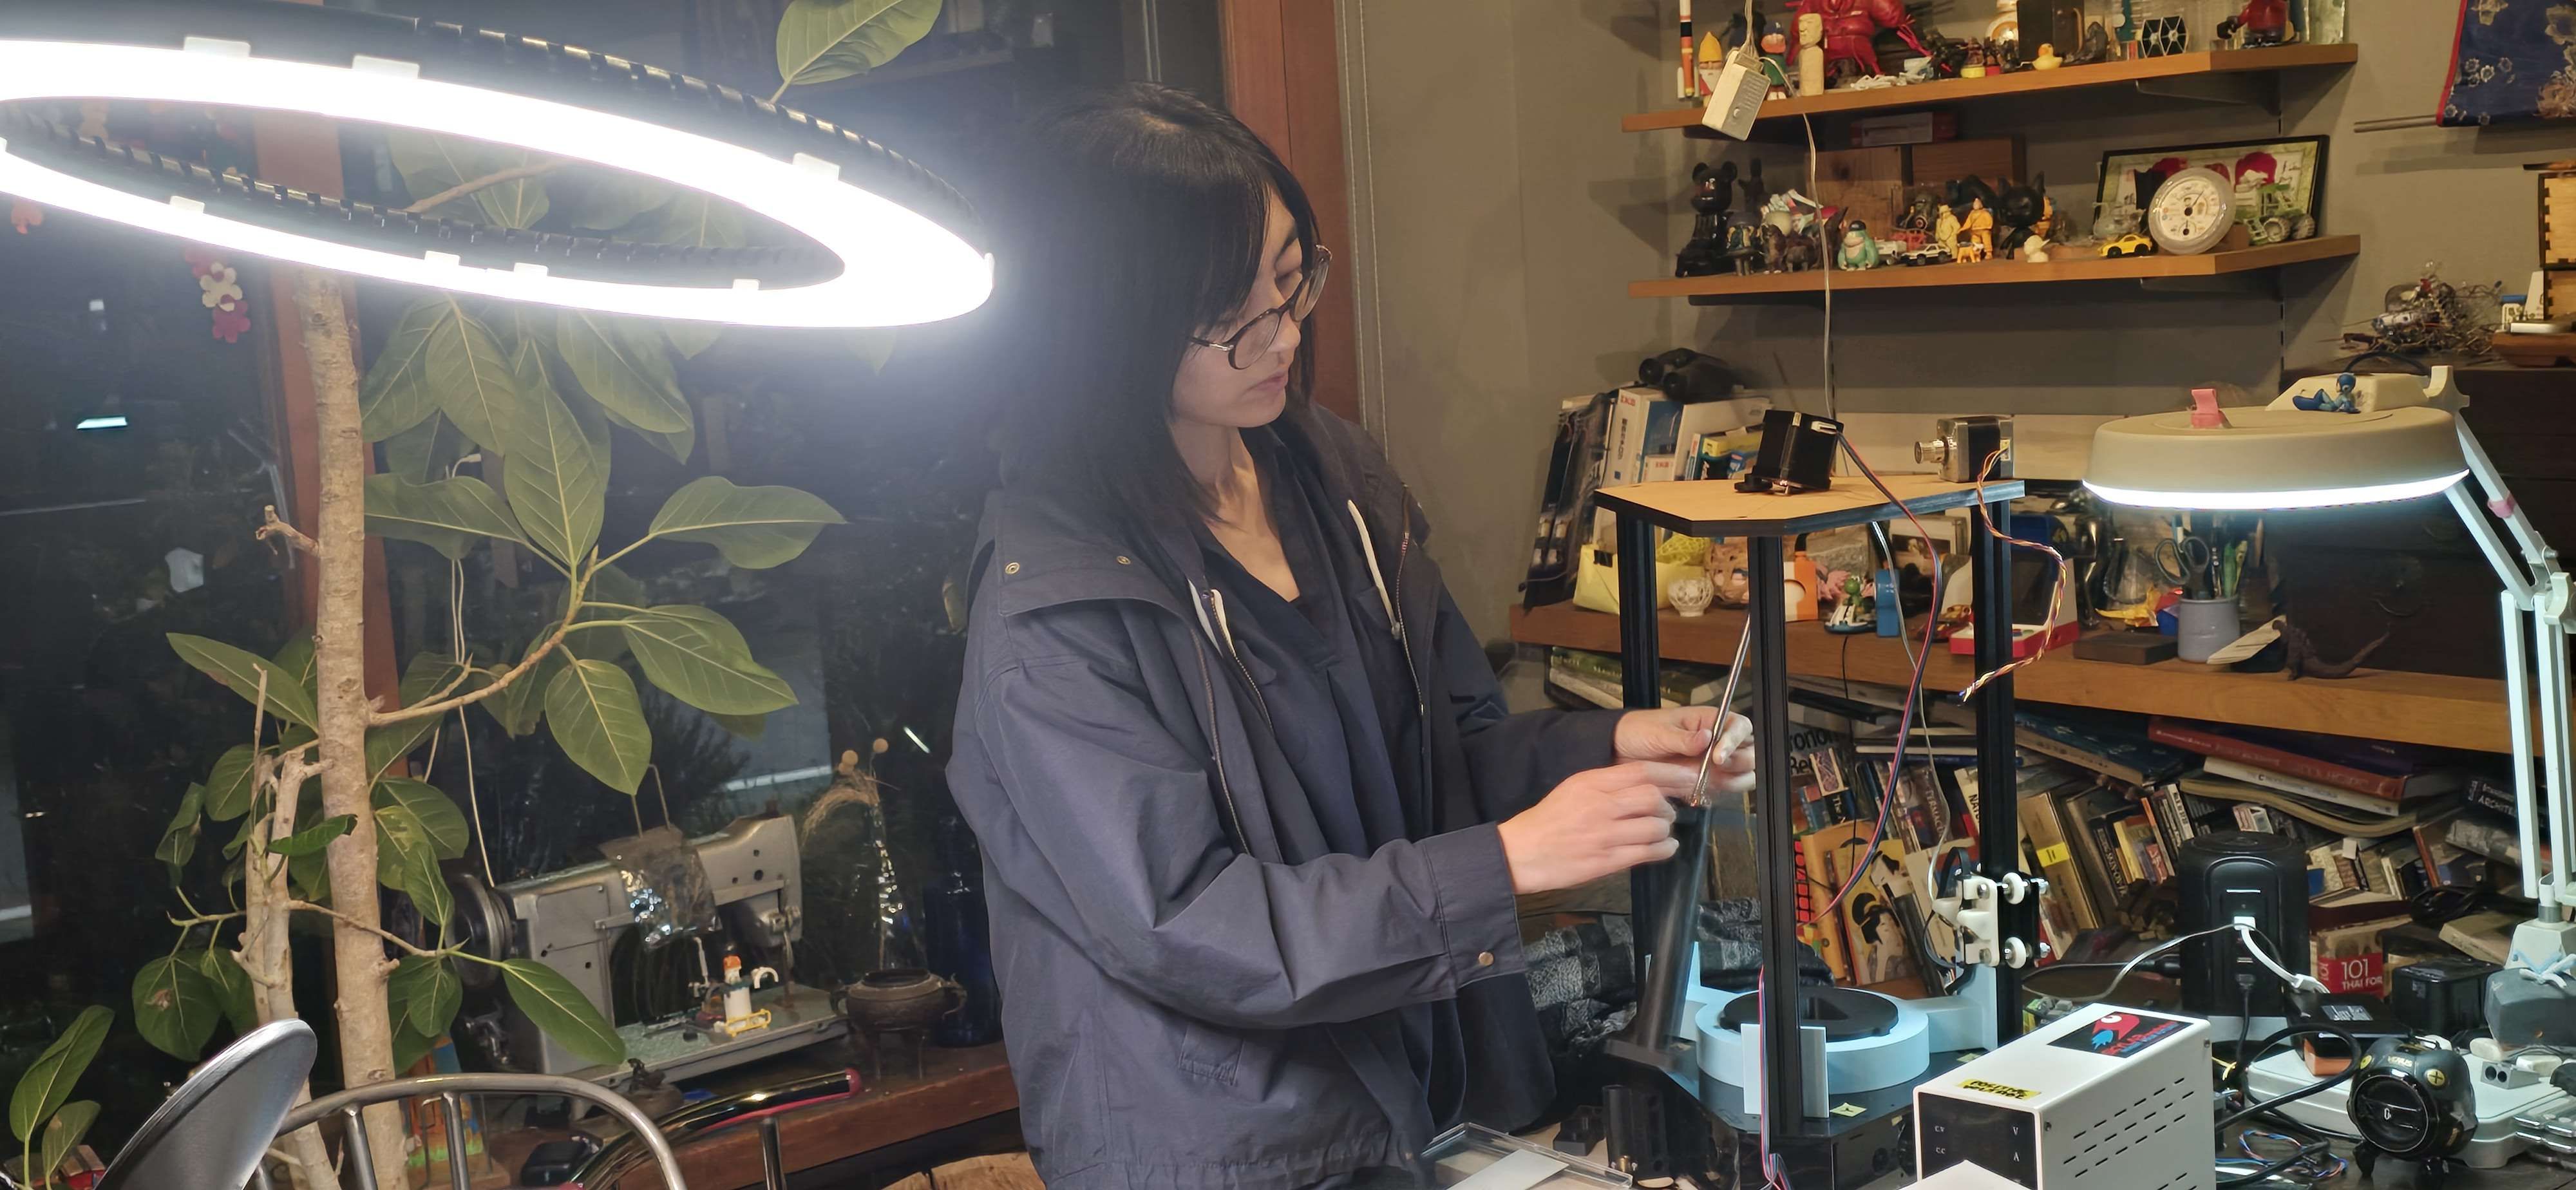
Building the entire model on a card board (With Maki-san)
As we all discussed, there was a discrepancy in that Maki-san and I wanted to automate the entire process, while Midori-san insisted on reproducing the feel of the hand made onigiri. Although we agreed that the first step was to give shape to the onigiri, we could not come to a consensus on how to proceed, so I decided to start by working with our hands. In order to confirm our understanding of the whole process, we first assembled an ideal form (automation of the entire process) with Maki-san using cardboard. We had a good prospect of making this mechanism work by combining existing materials.
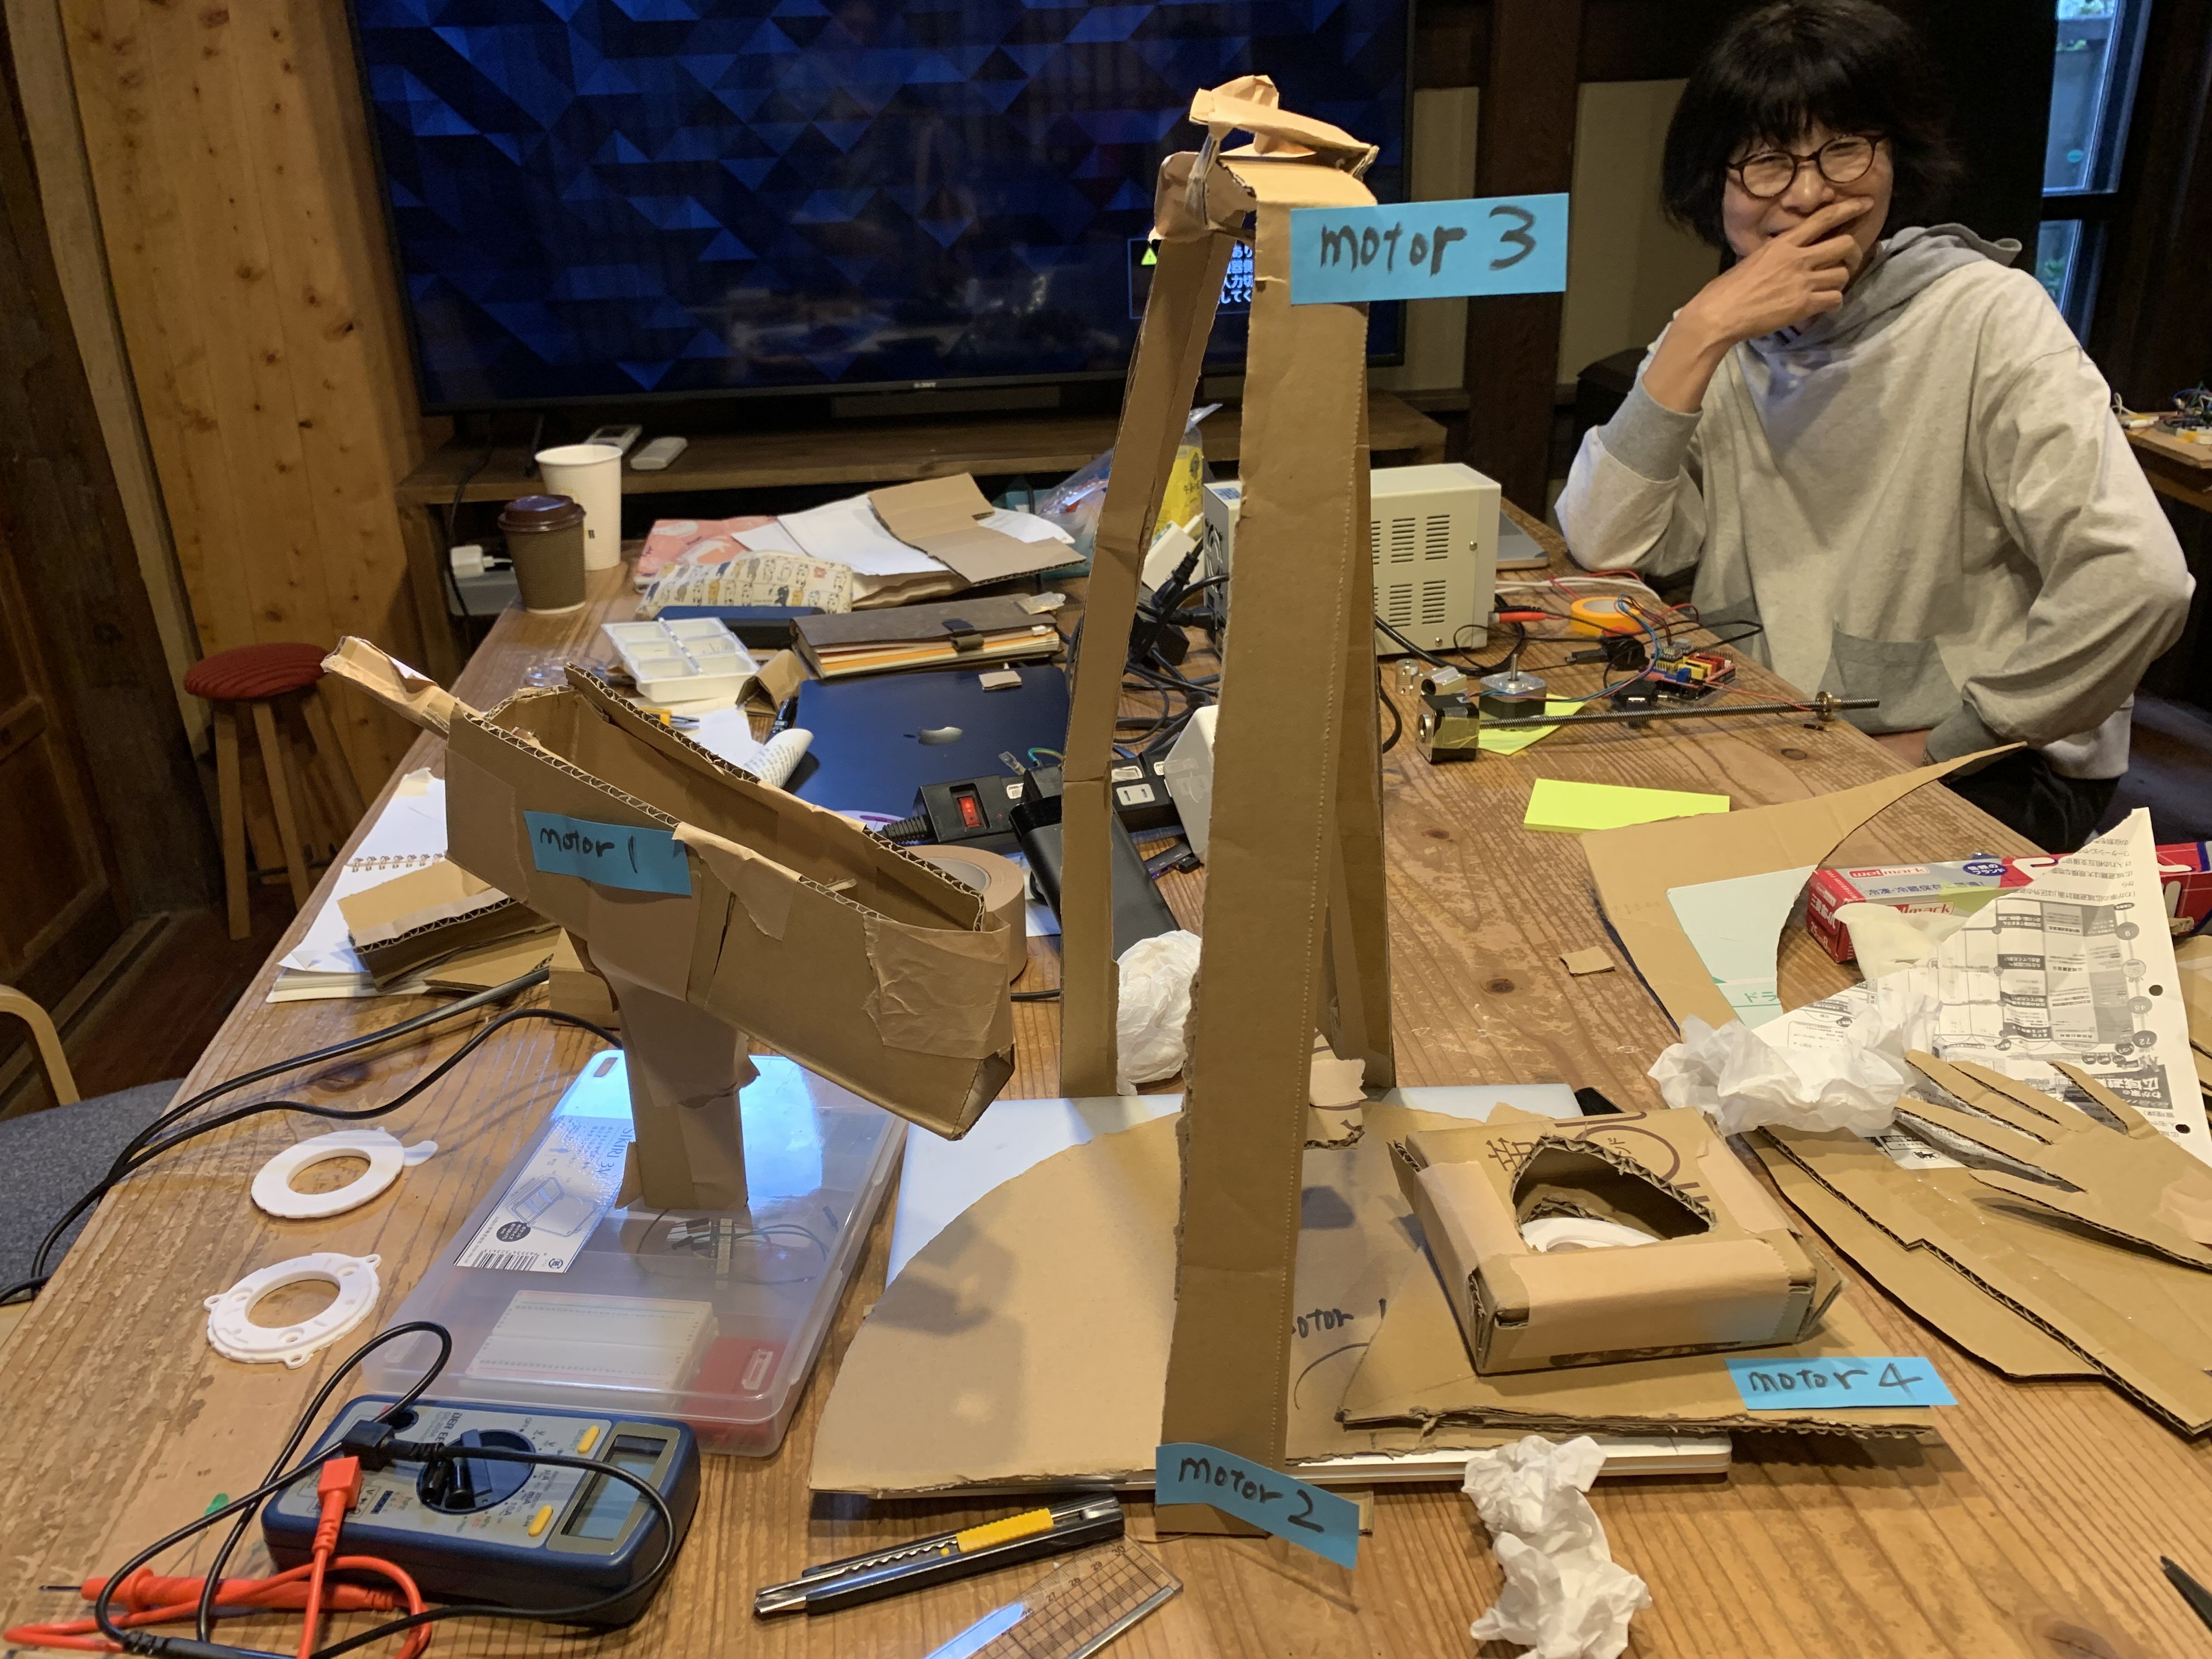
However, after a re-discussion among all 3 members, we came to the conclusion that we should first focus on mechanizing only the "forming of onigiri," and all the members discussed the mechanism again.
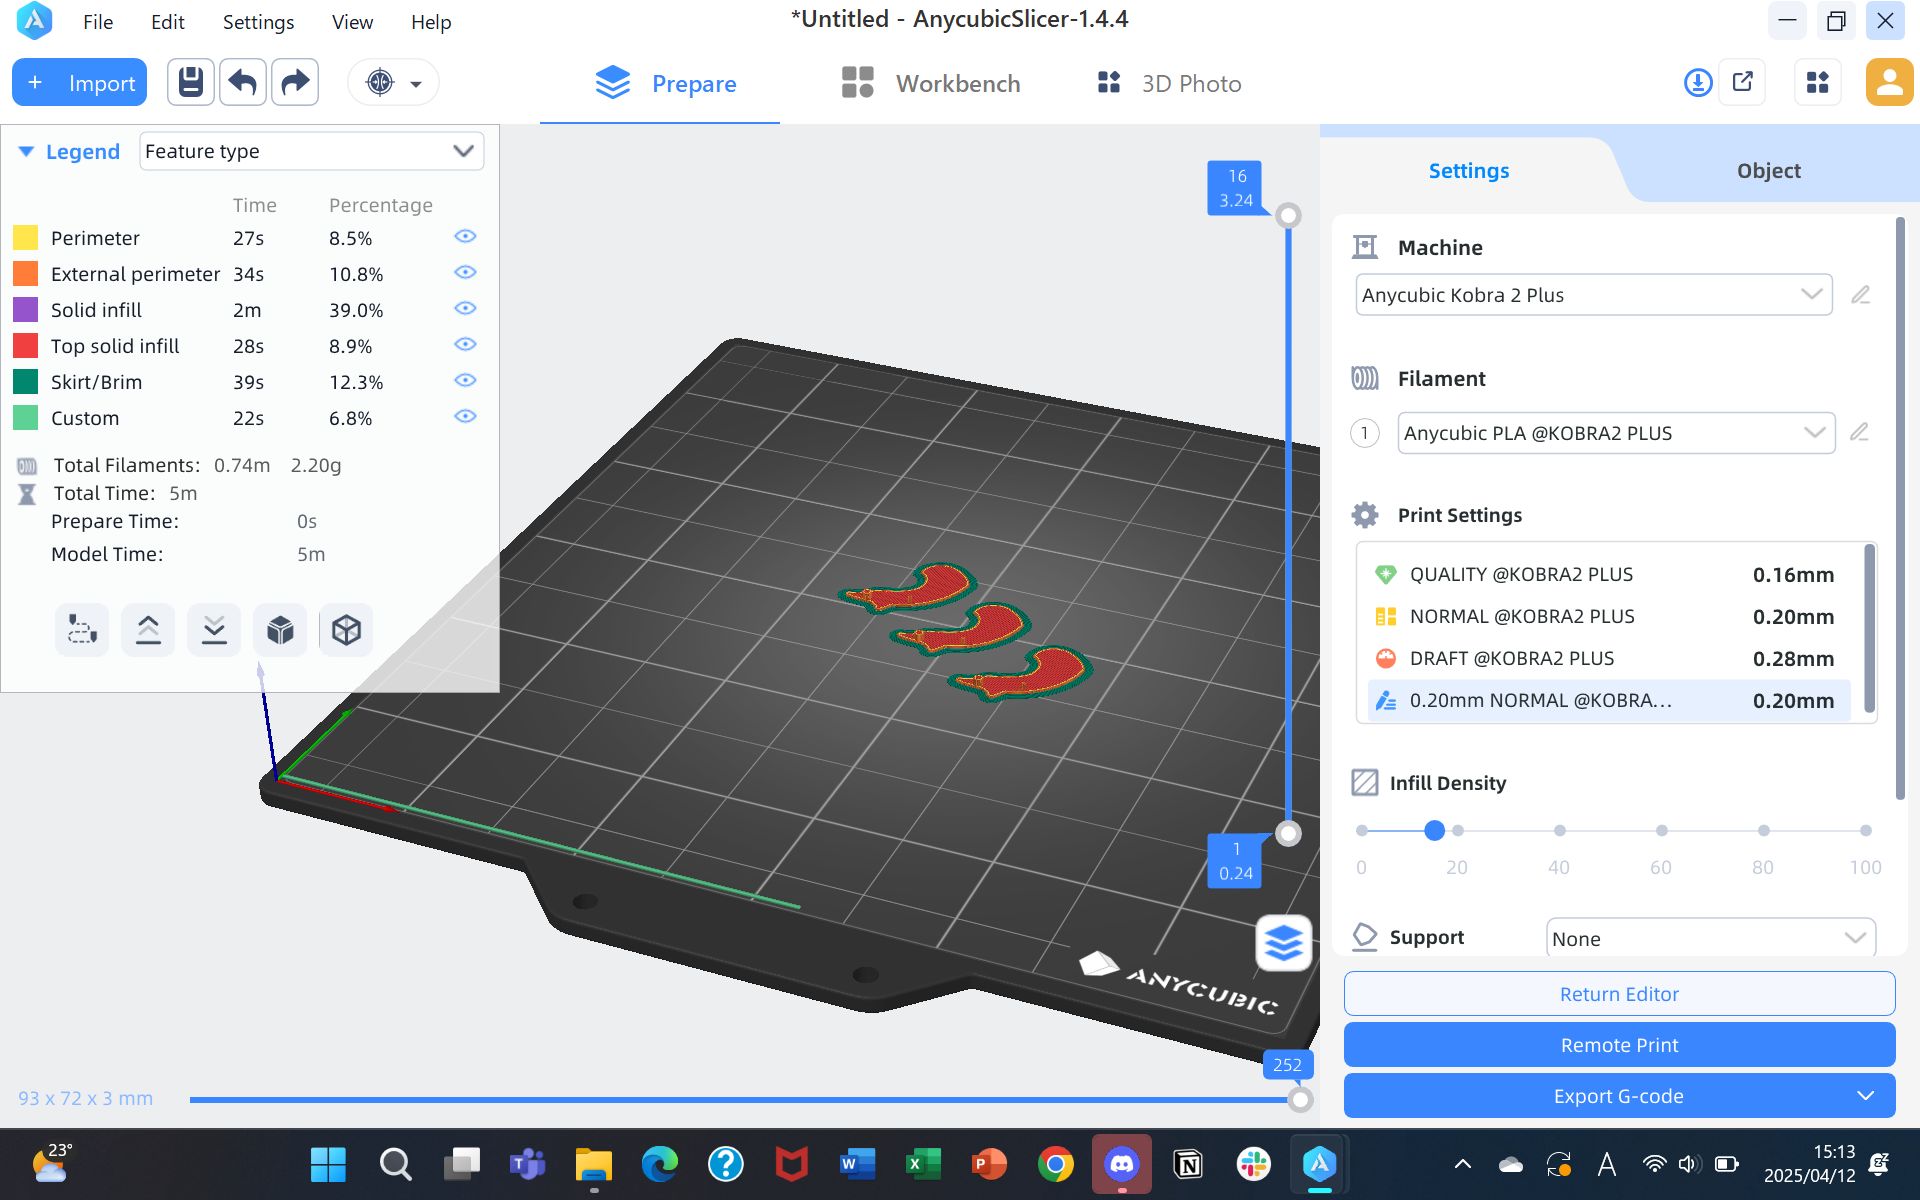
Printing and testing the iris mechanism
There were various ideas for the onigiri mold, such as whether it should be just a mold or pressed from the side.
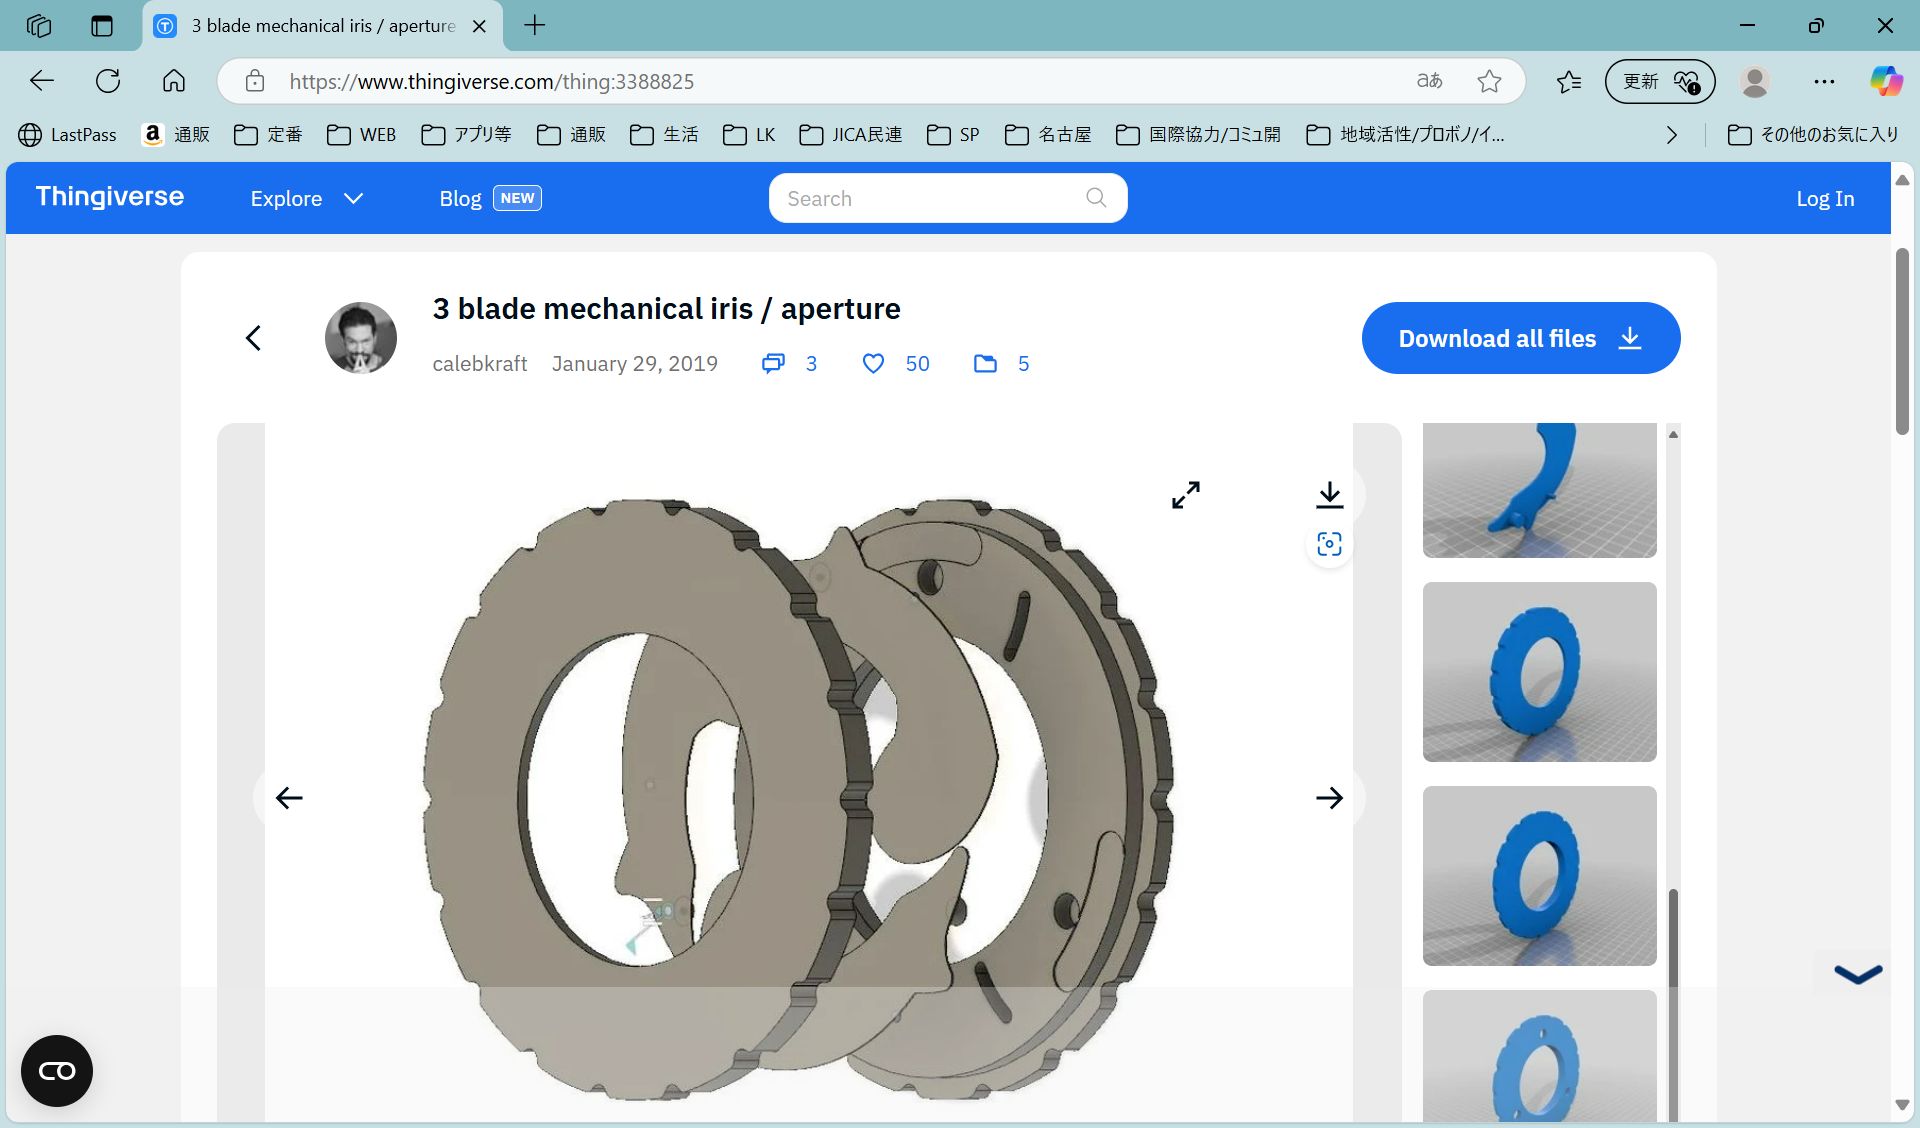
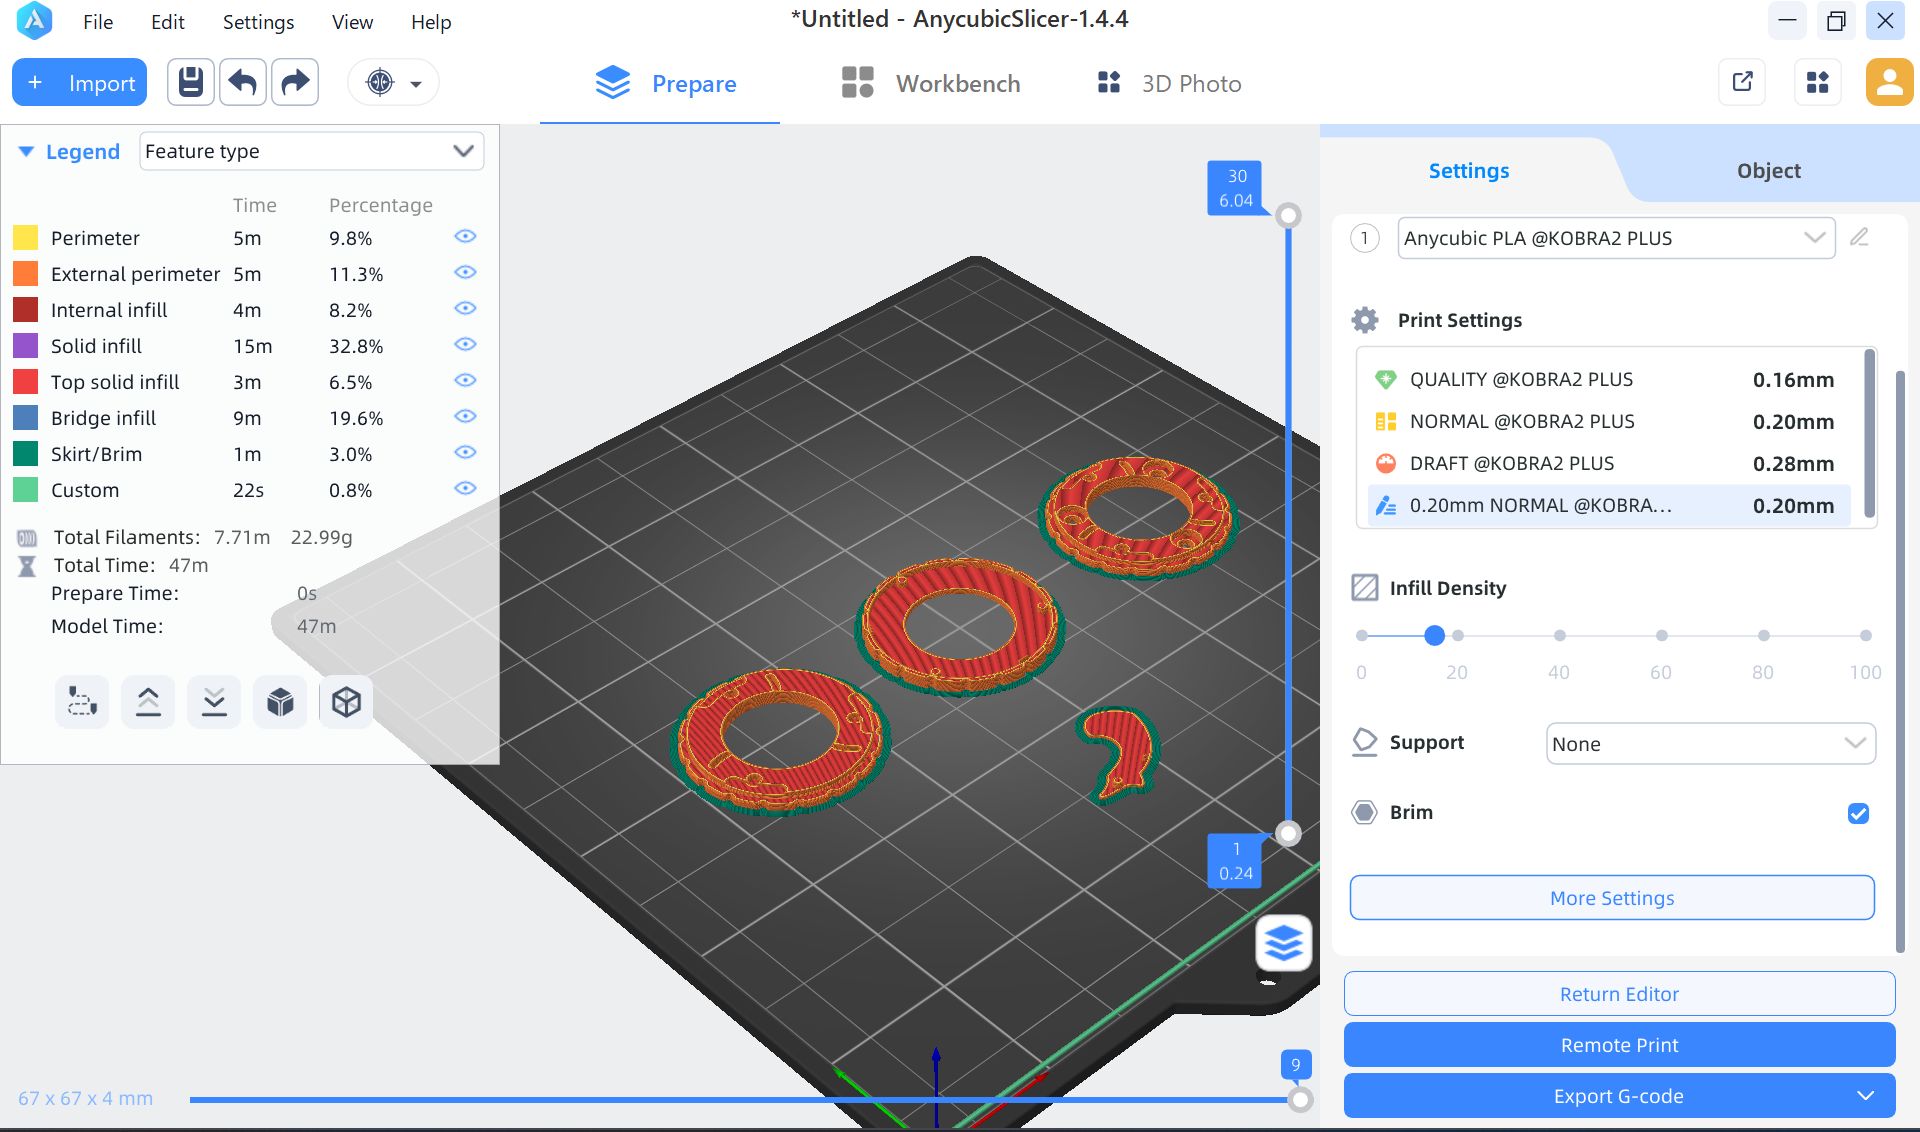
One idea was to use the iris mechanism. First, to understand the mechanism, I printed the following test parts. 3 blade mechanical iris / aperture by calebkraft - Thingiverse
Based on this printed model, I suggested cutting the blade part into a triangular shape, but Midori-san would like to make it being able to adjust the size of the Onigiri and we decided that she would be in charge of this mechanical part.
Modeled the conclusion of the discussion in TinkerCad
All the members discussed the mechanism using actual parts, but some parts were missing, so I made a simple model in TinkerCad to identify the mechanism and necessary parts that needed to be created.
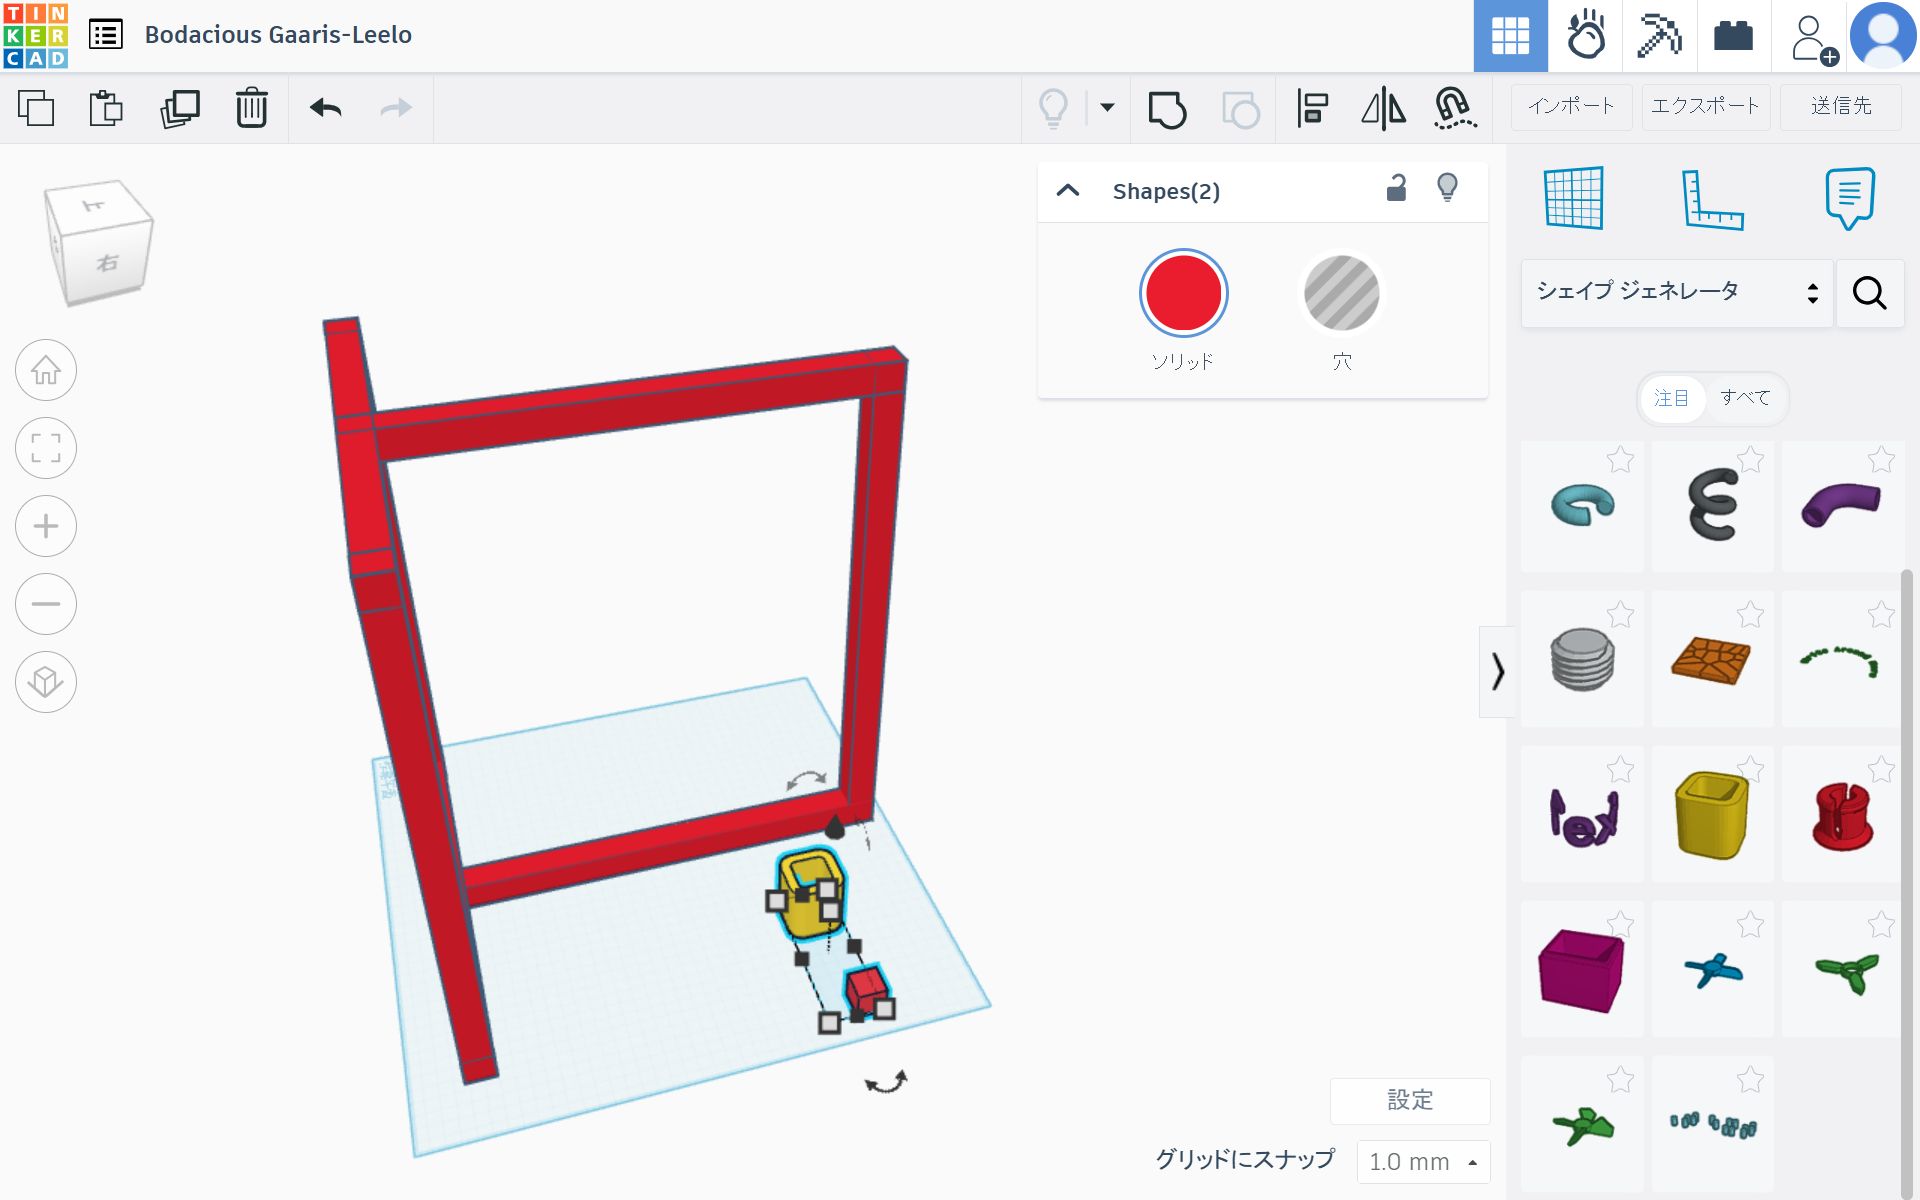
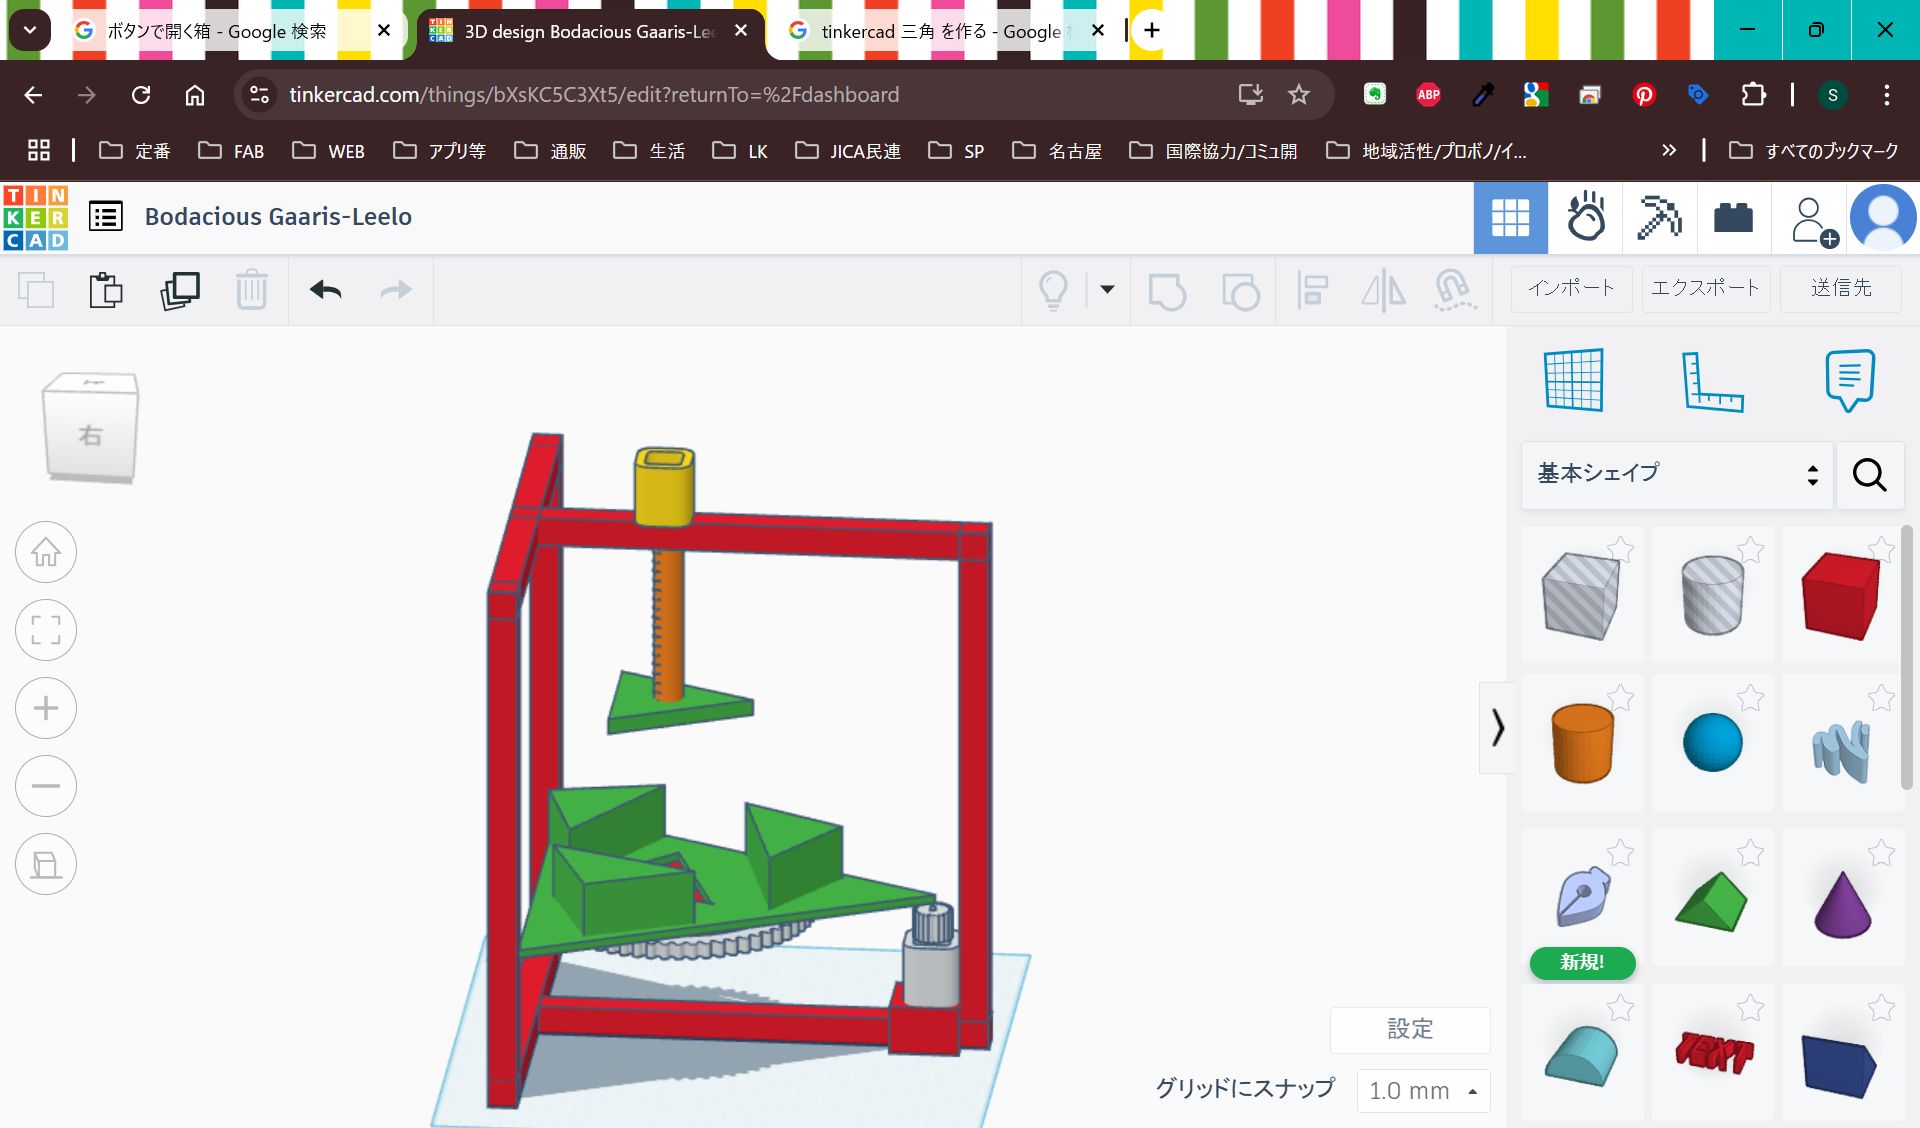
After that, we divided up the work based on this model. Riko-san recommended that we divide the work by the mechanism to be moved. I decided to be in charge of the parts to be pressed from the top.

Studied and tested the mechanism of the press down part (main task)
Since I was in charge of the press part, I studied + tested the mechanism of the press part.
- Examination of the mechanism of the press itself
- Creation of parts
- Incorporation into the overall mechanism
- Automation by coding
- Put rice in and test
Examination of the mechanism of the press itself
As for the mechanism of the press itself, I thought that it needed to be pressed firmly from the top middle, so I thought that a form of vertical pressing using a stepper motor would be better.
First, we examined how it could be made with certain materials.
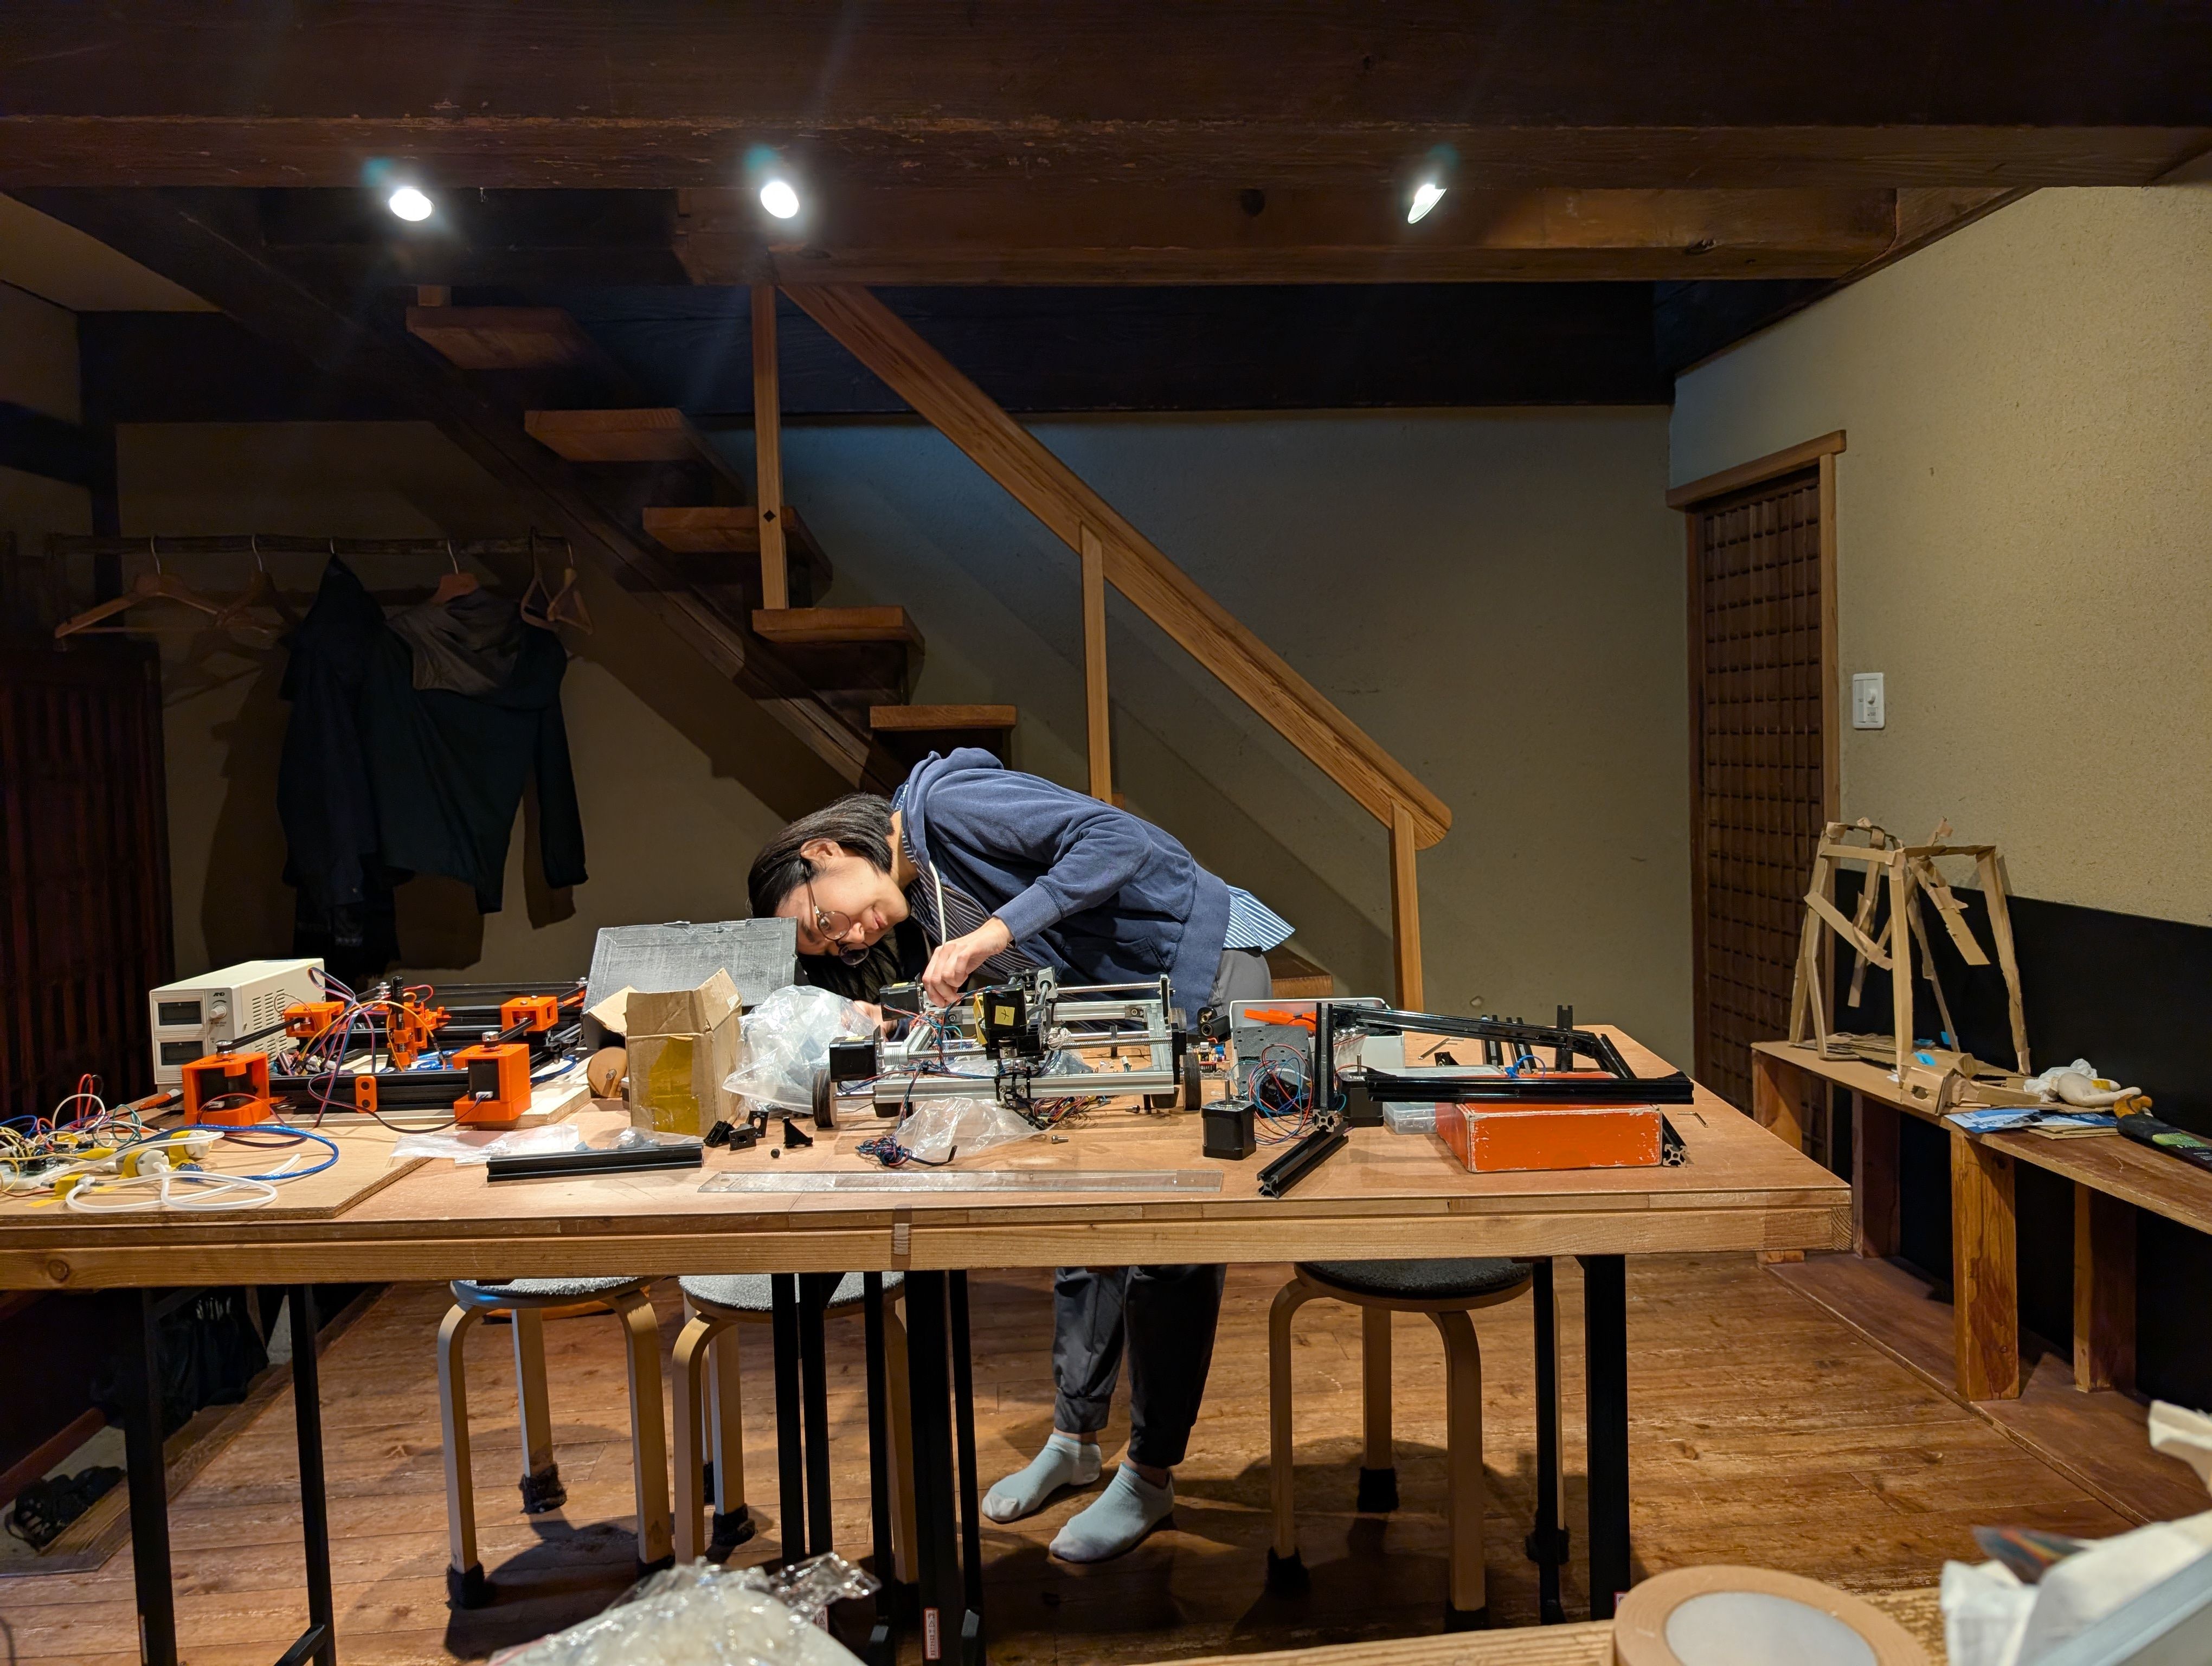
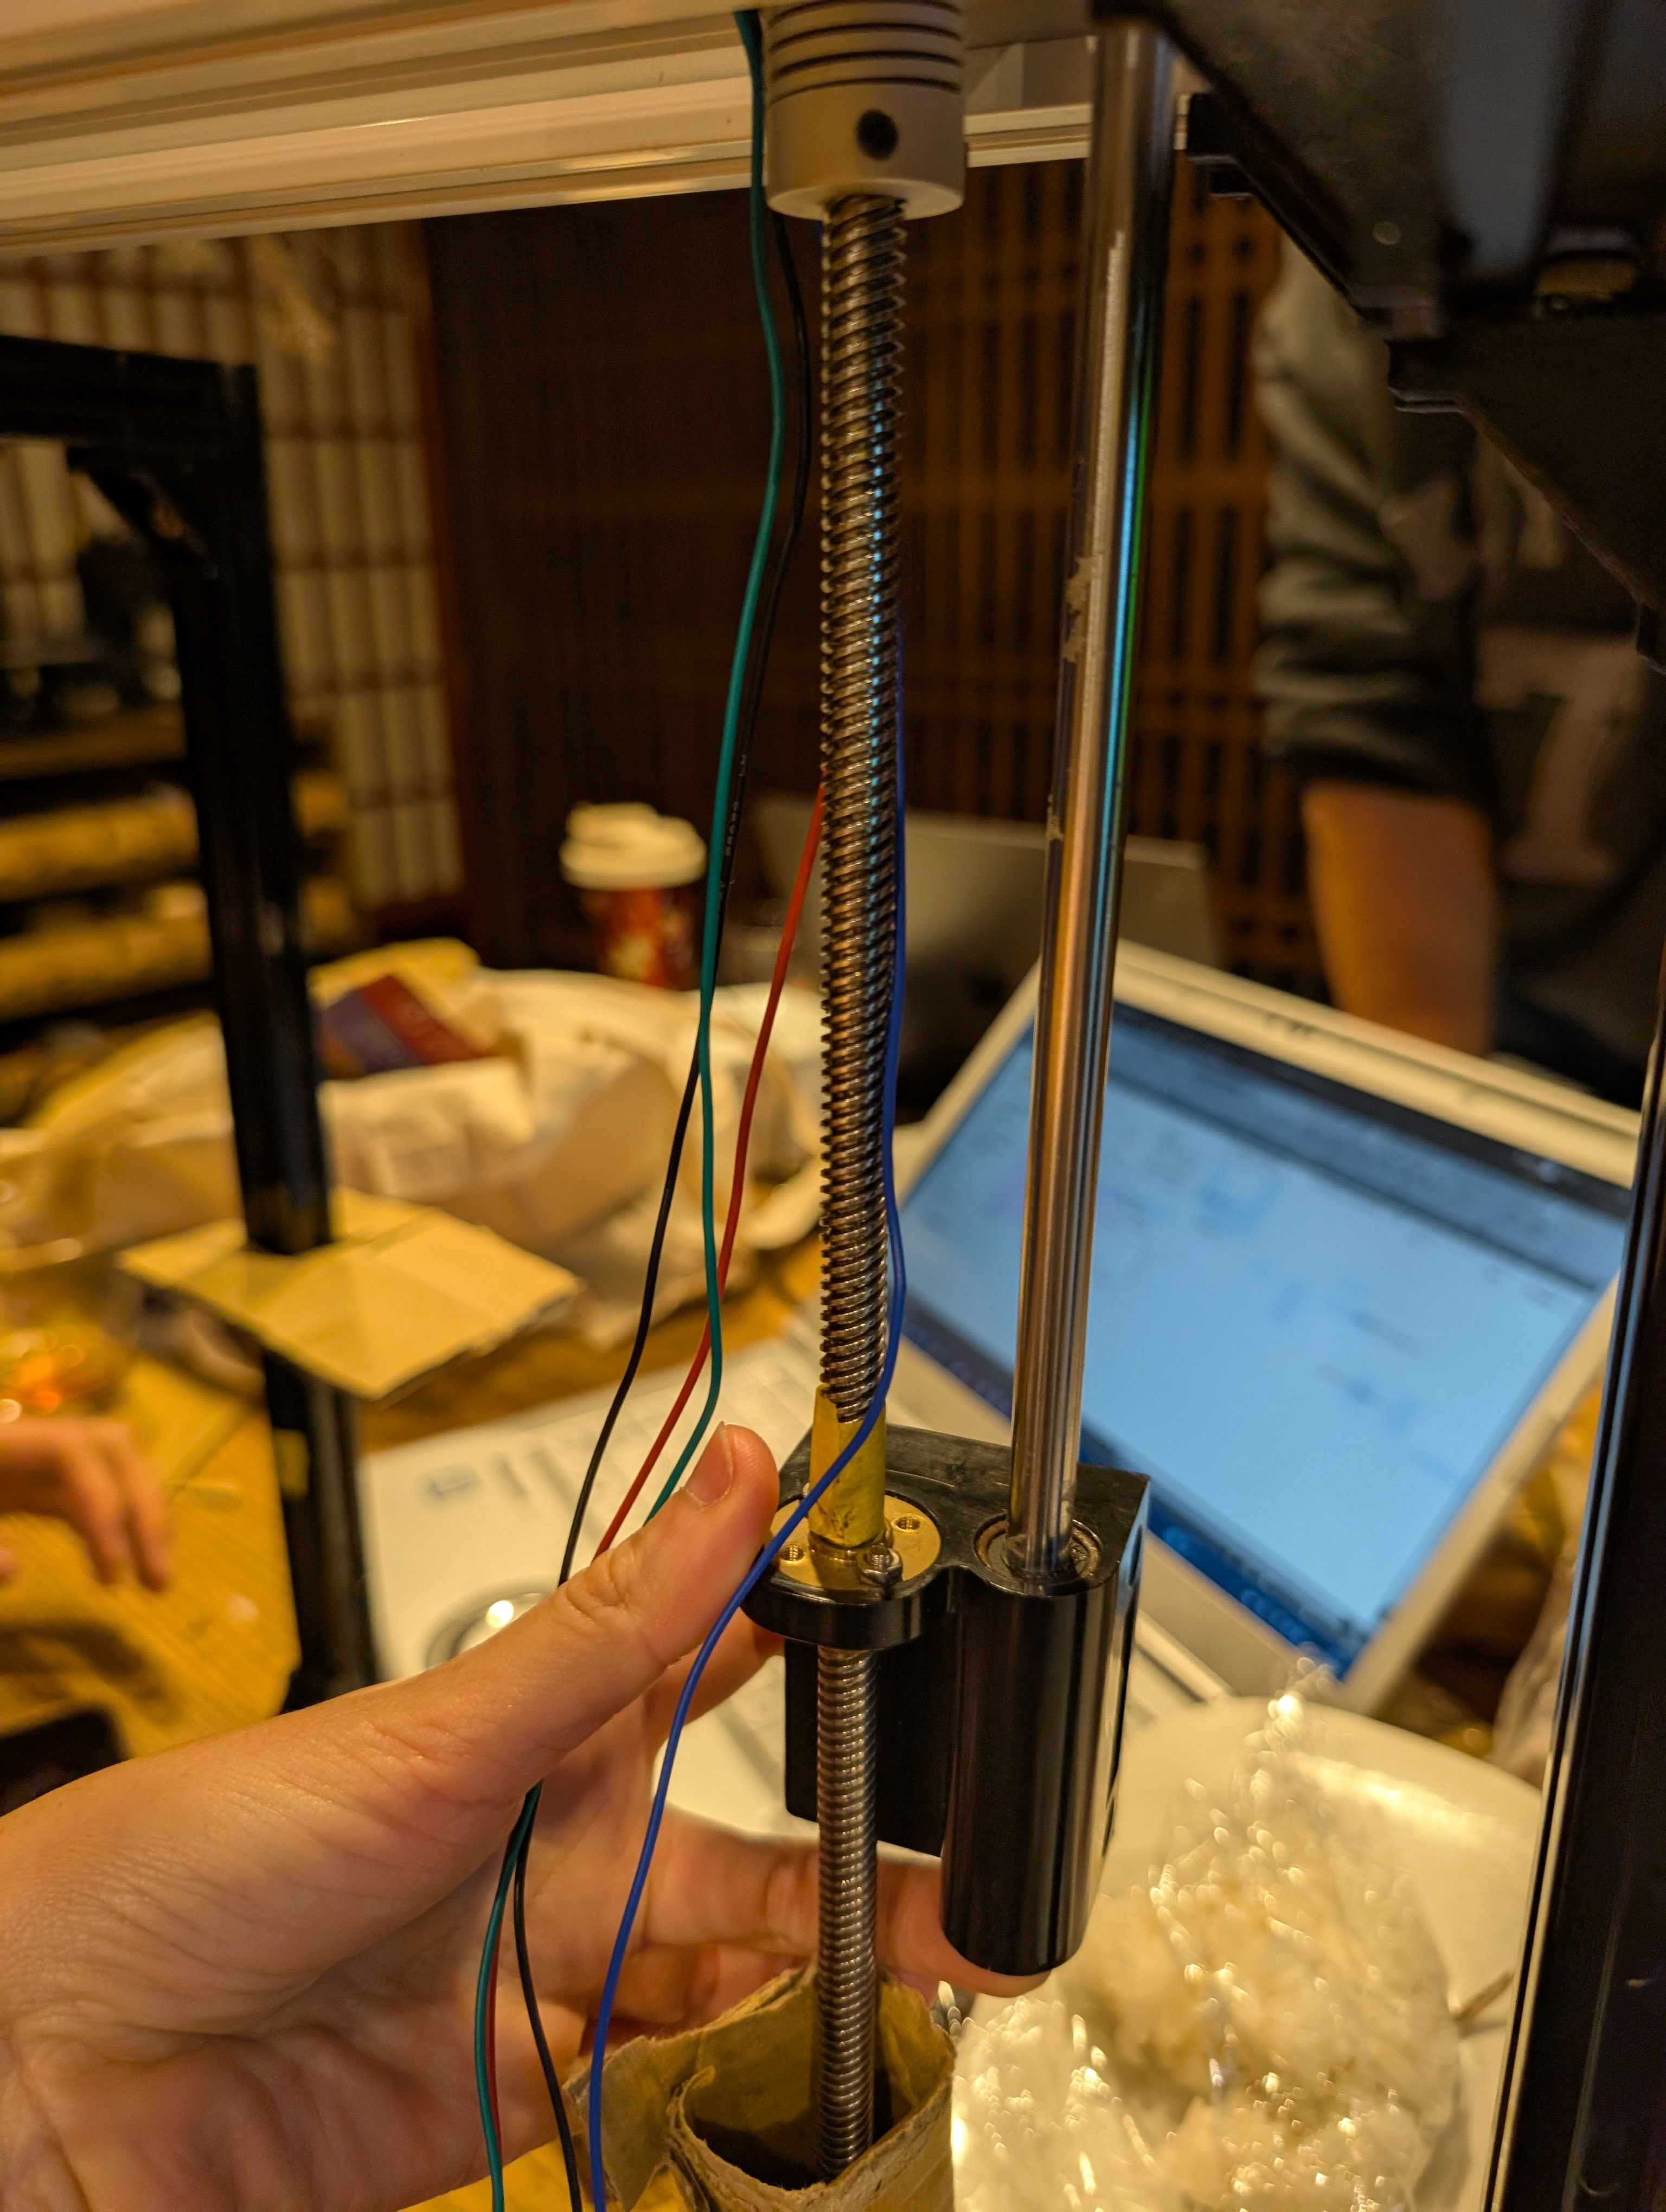
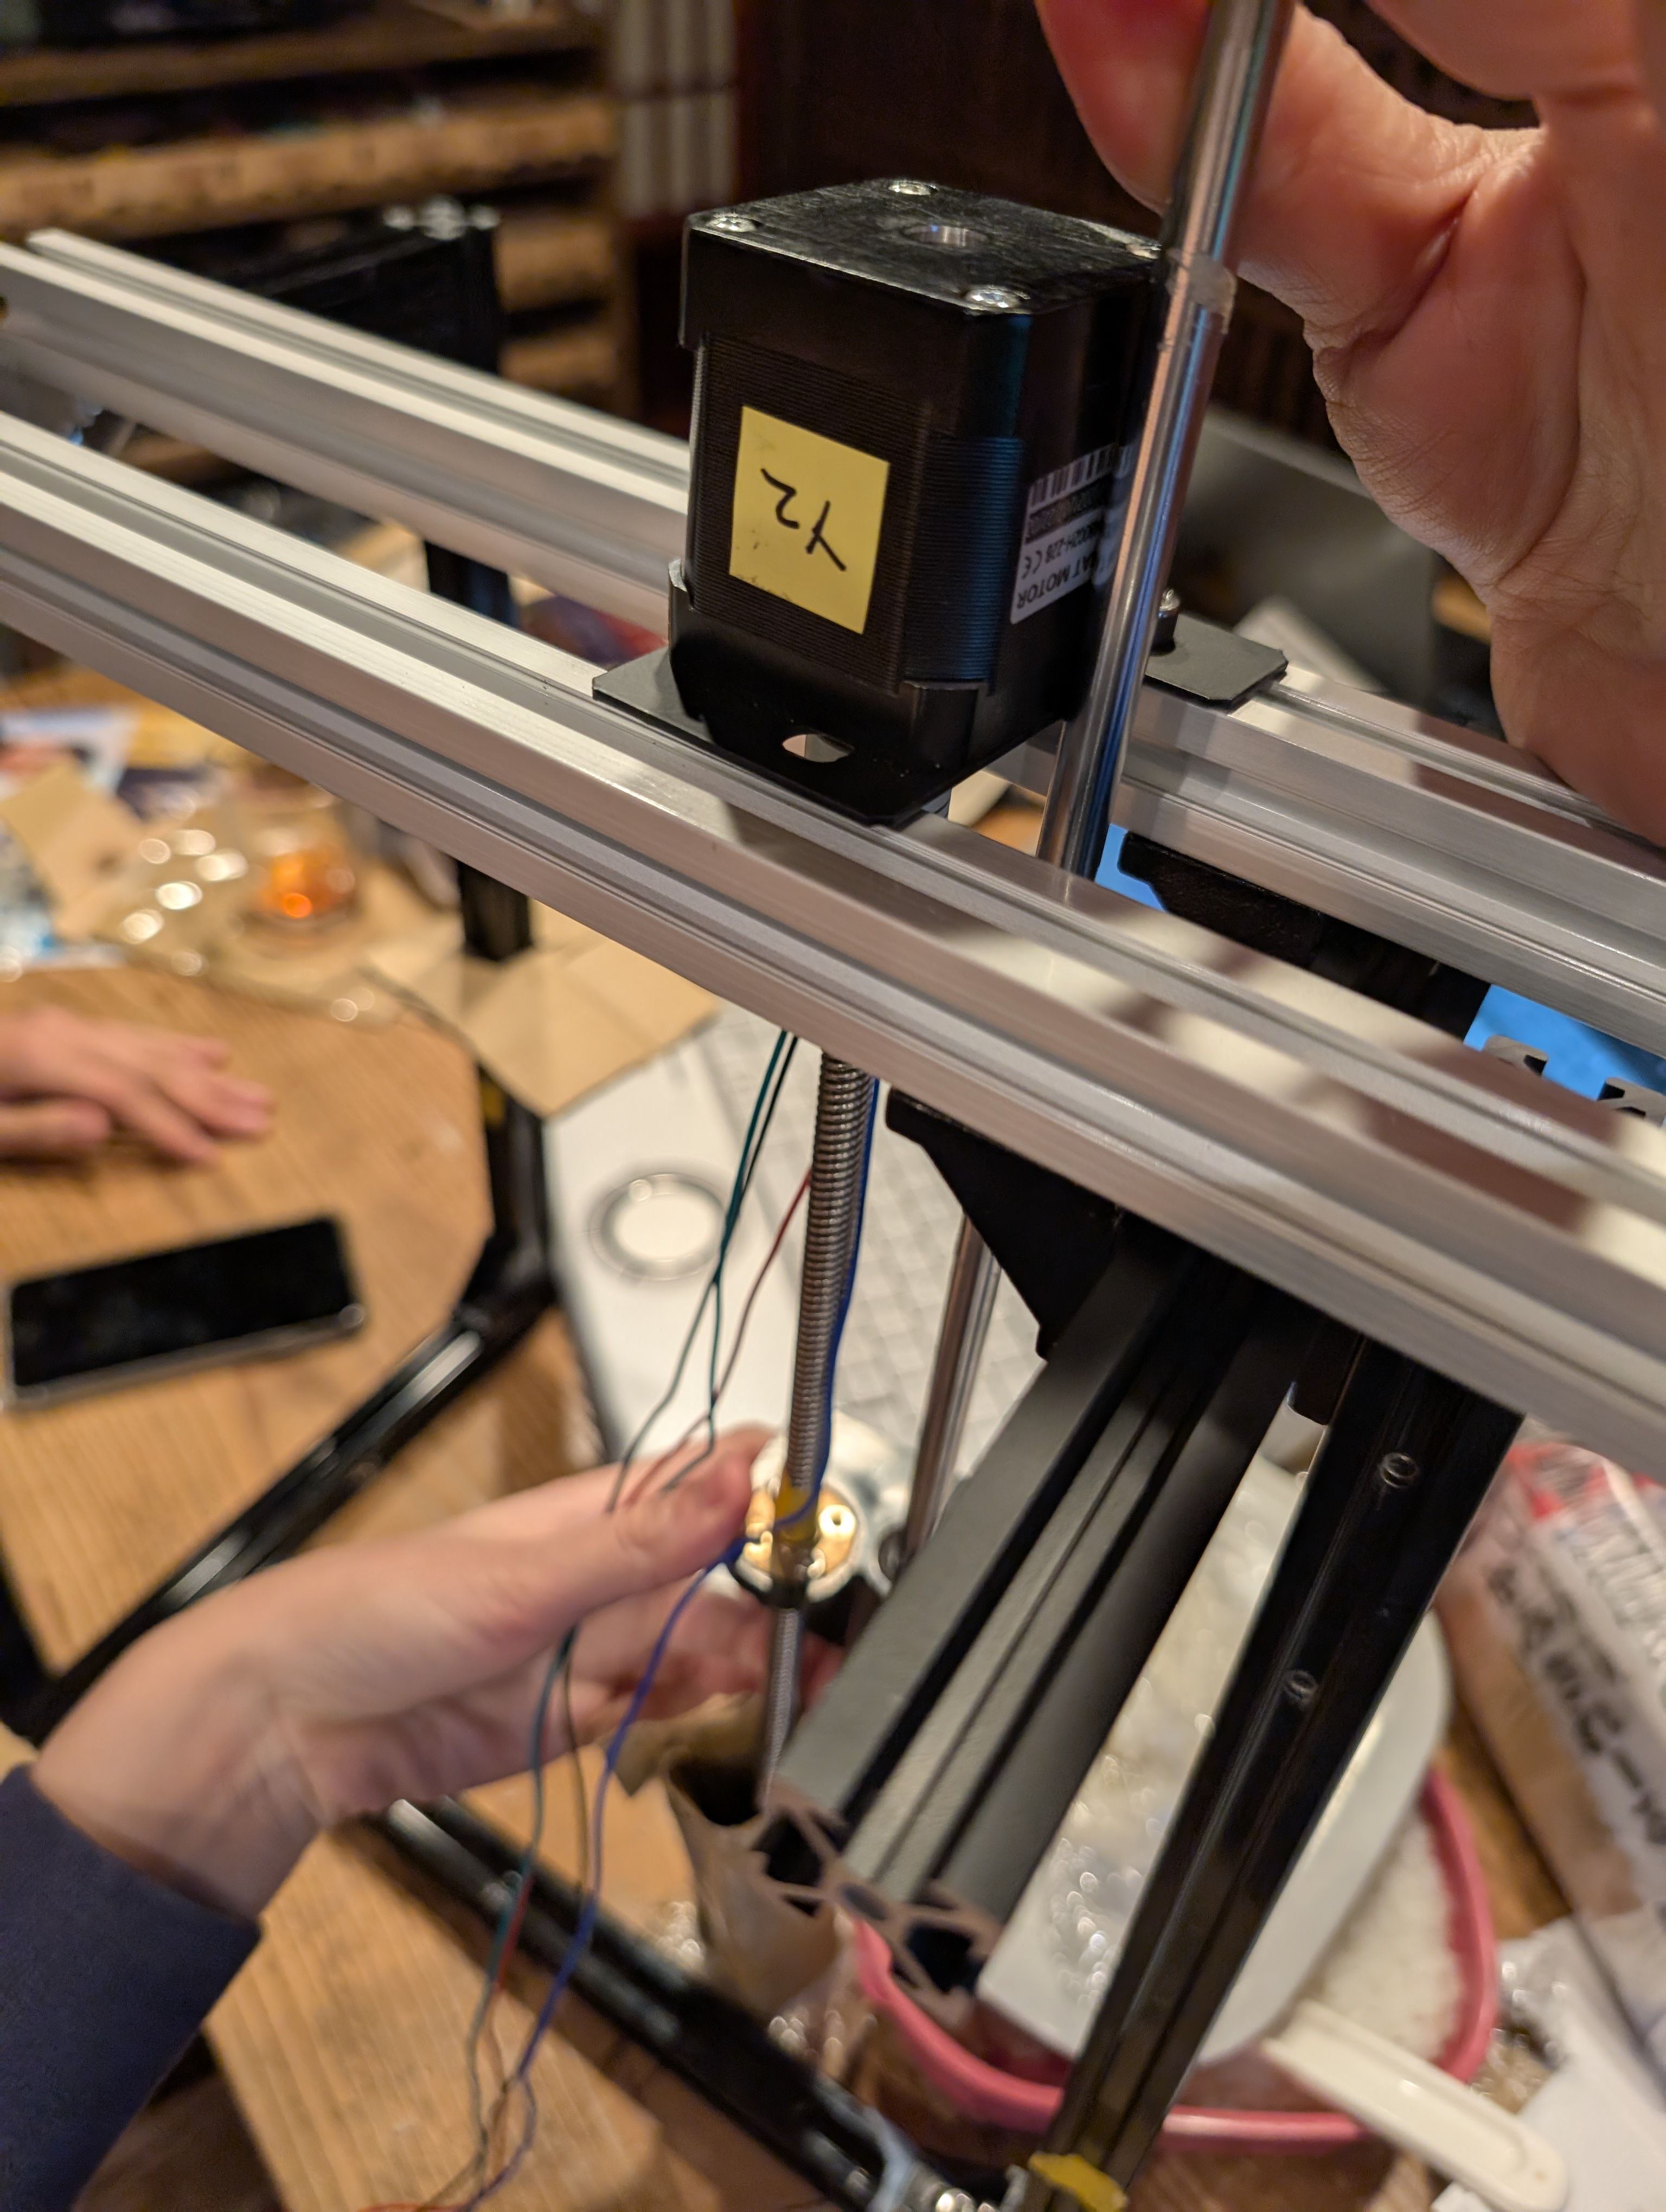
Prototyping with cardboard
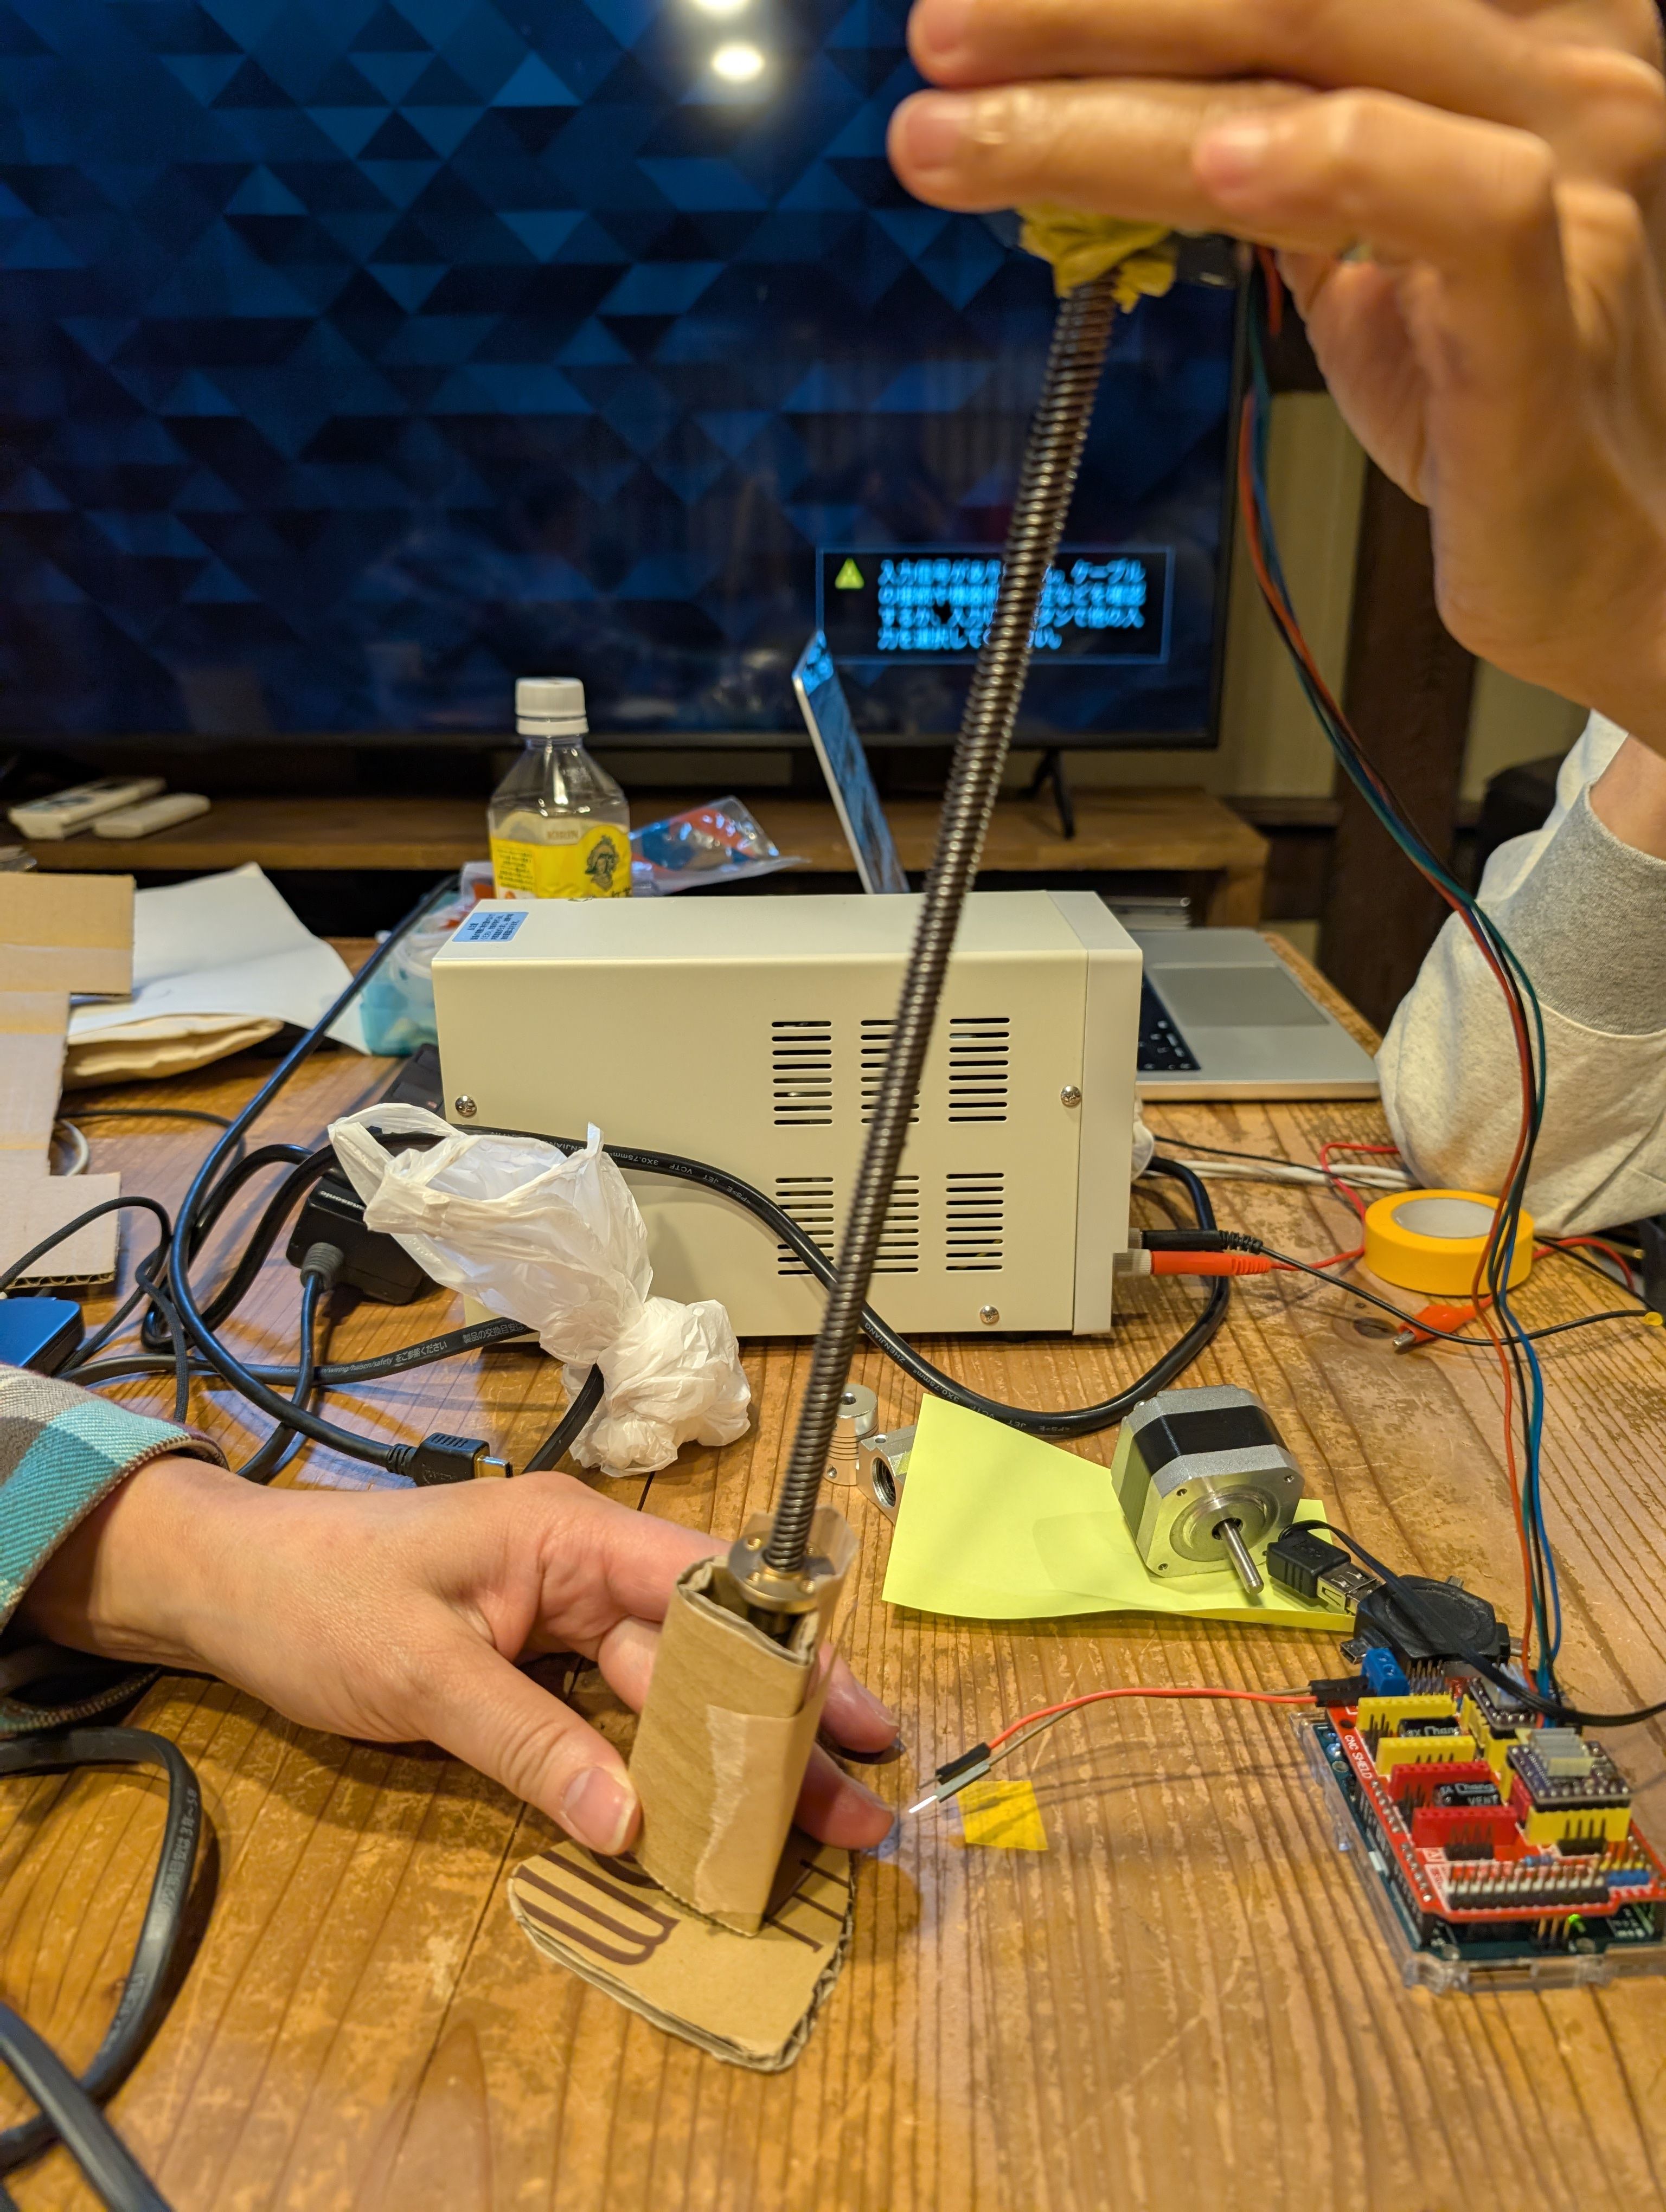
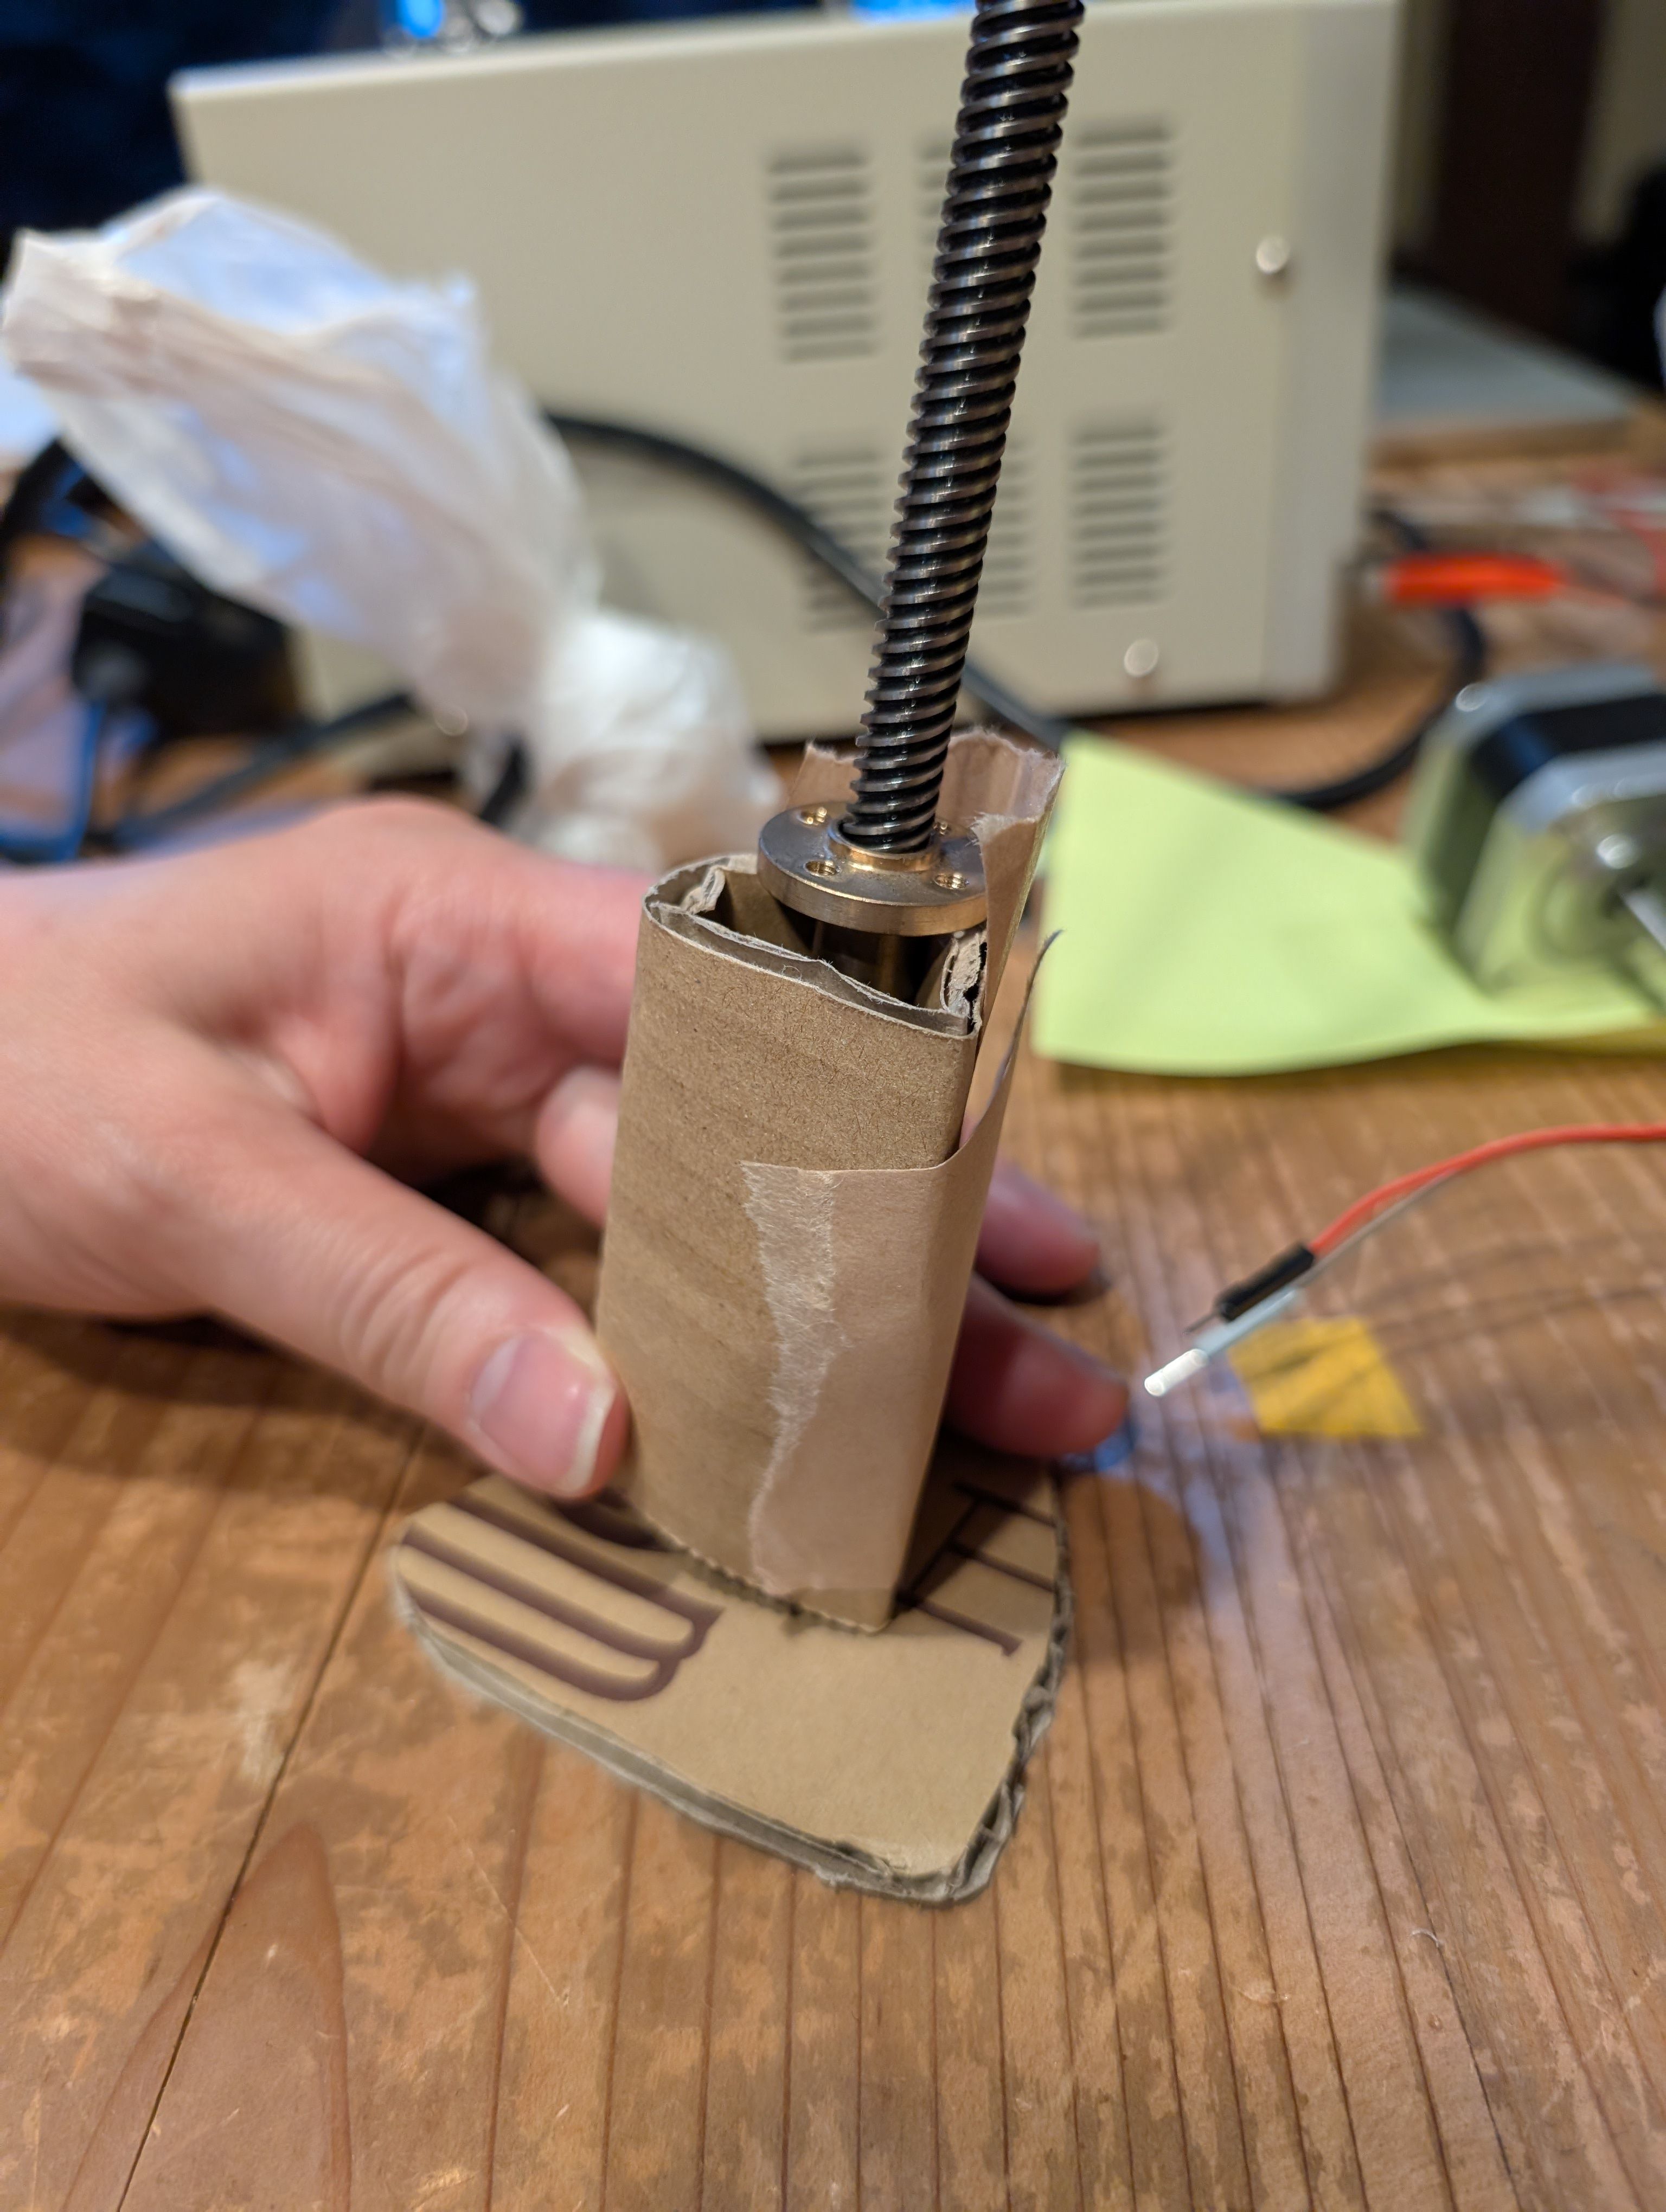
Testing by taking apart the machine and moving it down using a motor
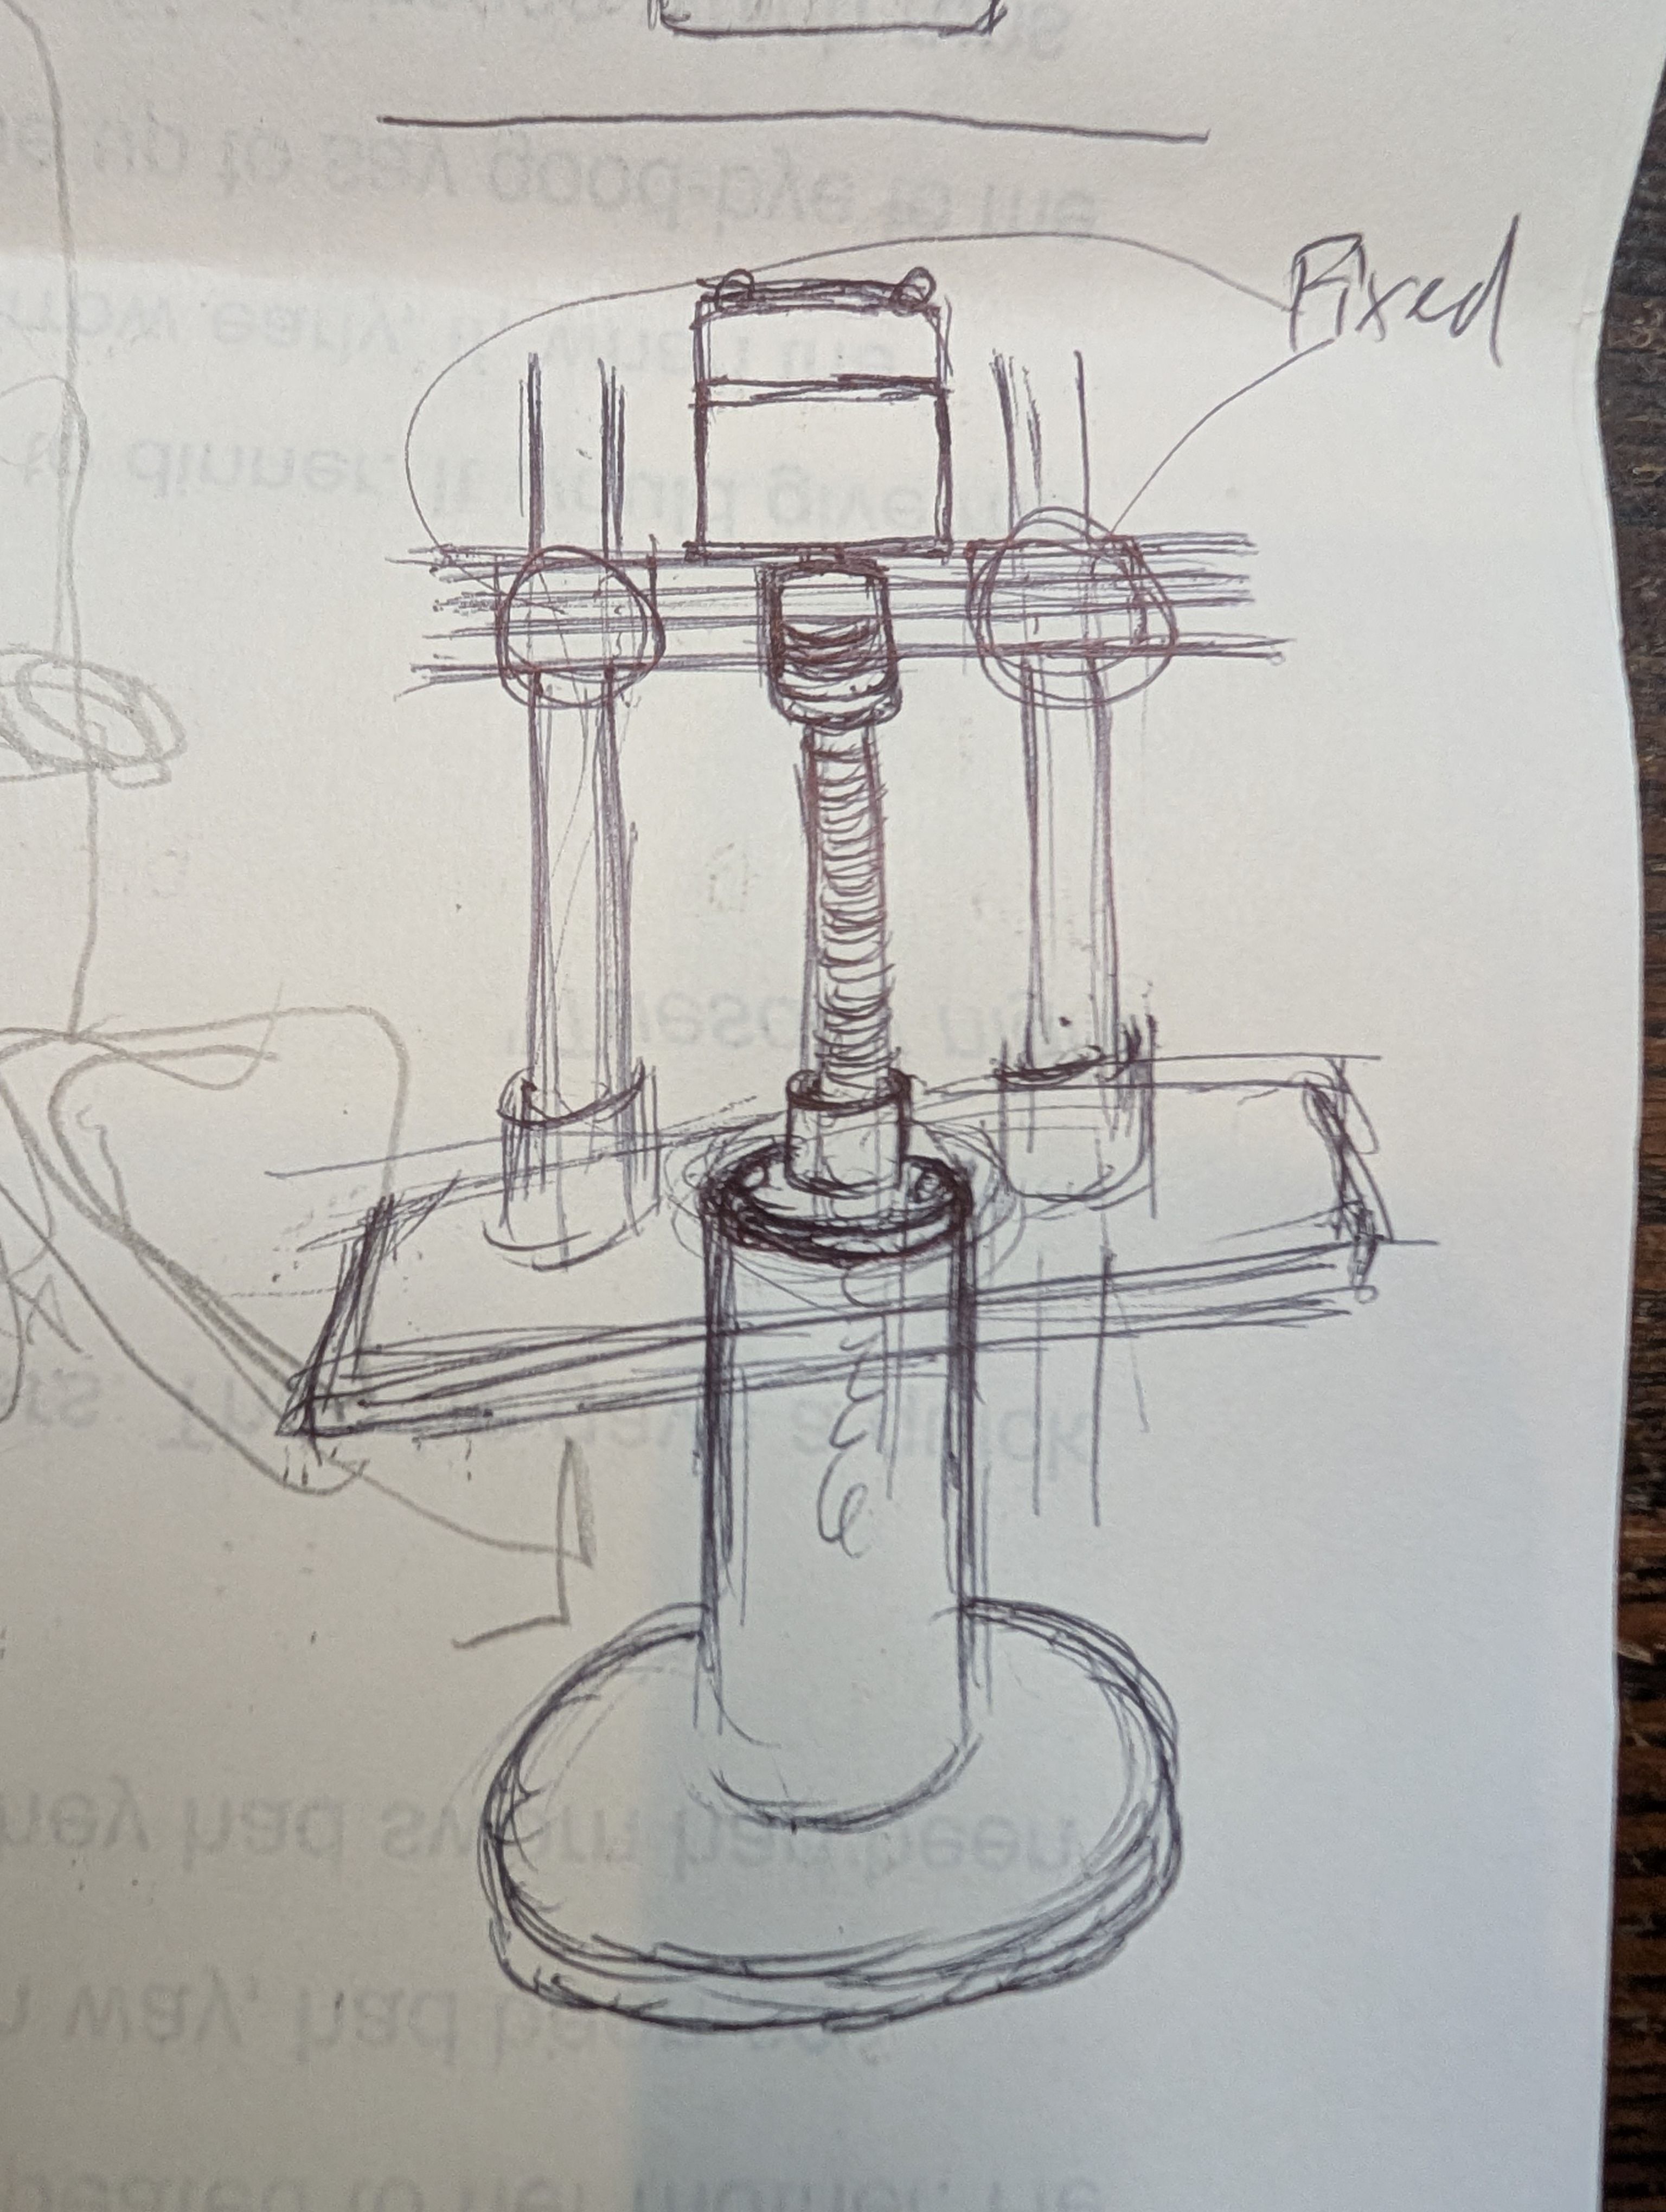
Creating parts
Based on the above considerations, I drew sketches for creating parts. Here is the first sketch.
Modeling - Fusion
In designing the parts, I referred to the document by Tsuchiya-san.
https://yskt0810.github.io/bha2022/project/fab-hack-microscope/
Motor part
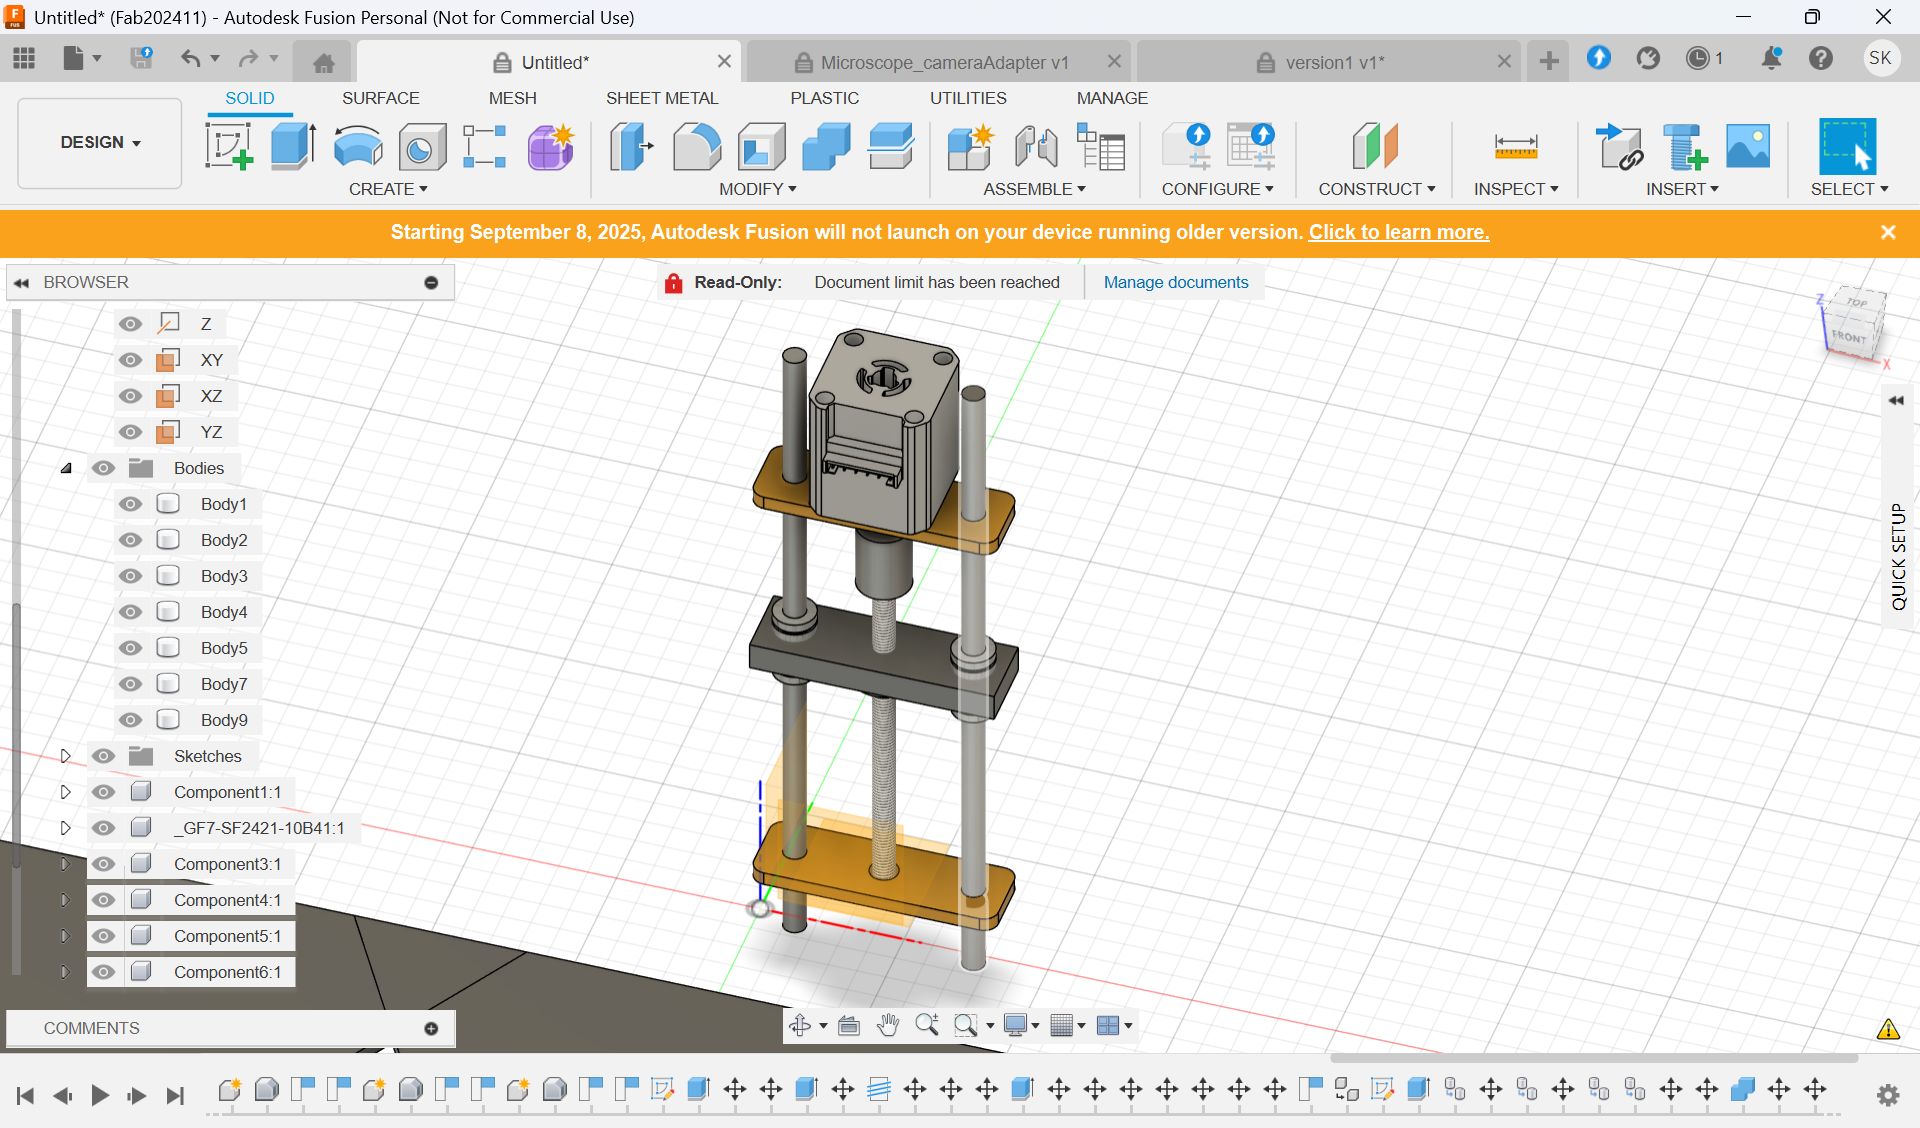
Holes for attaching connecting parts
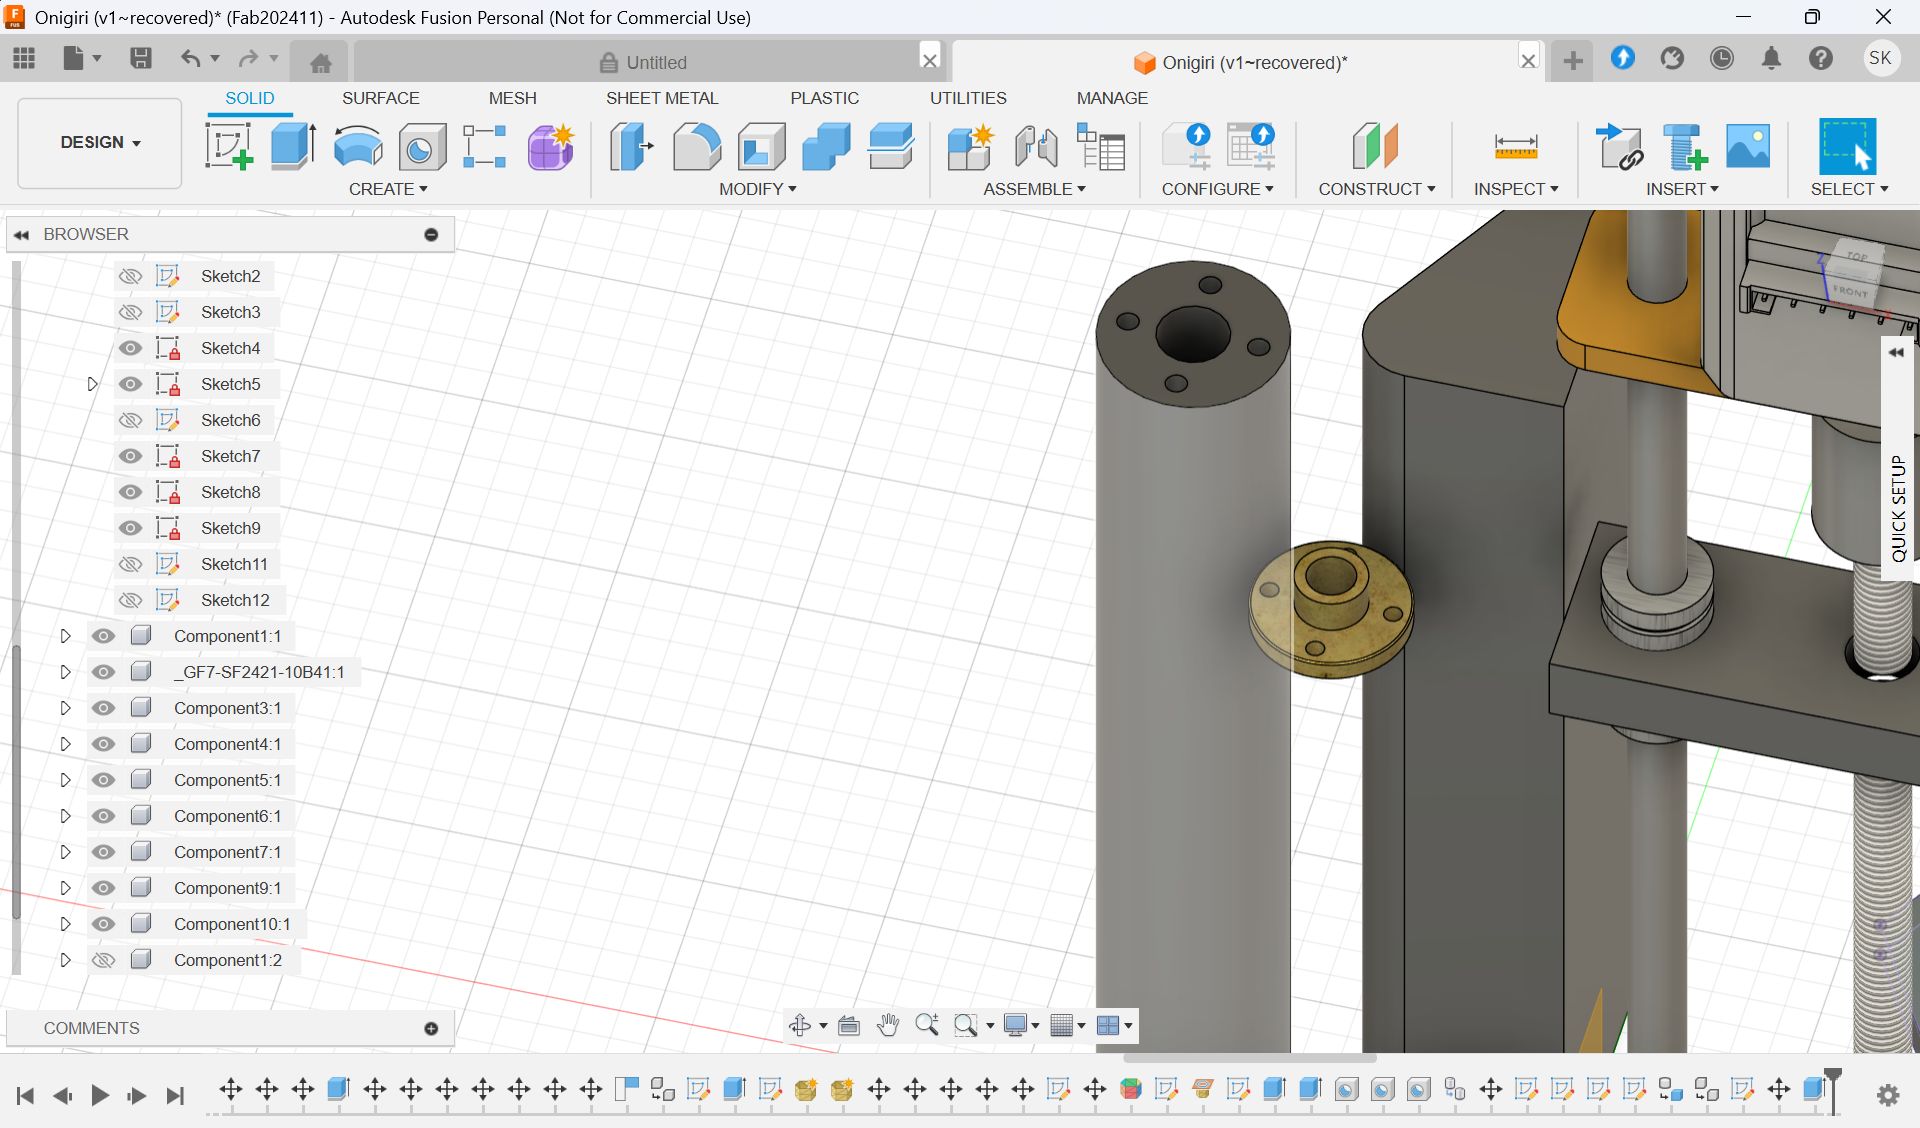
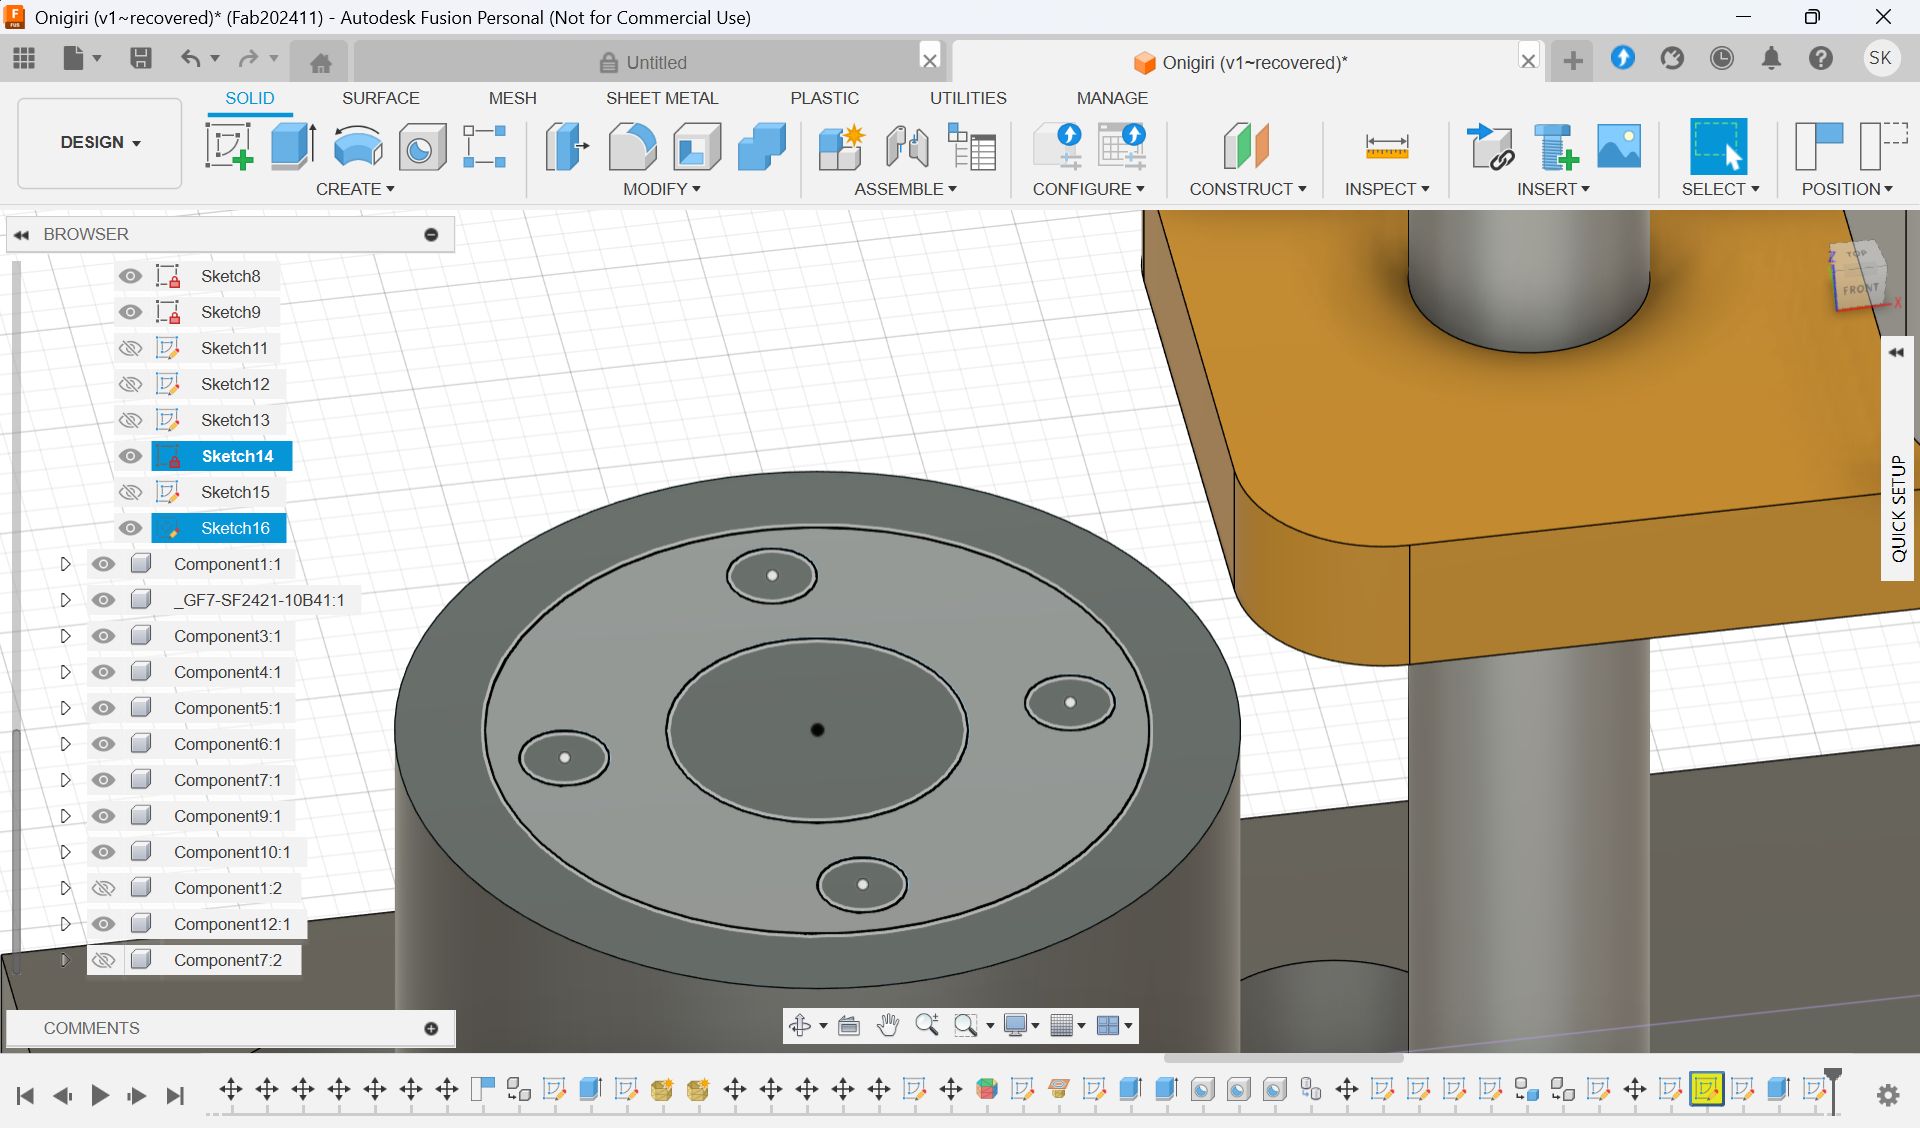
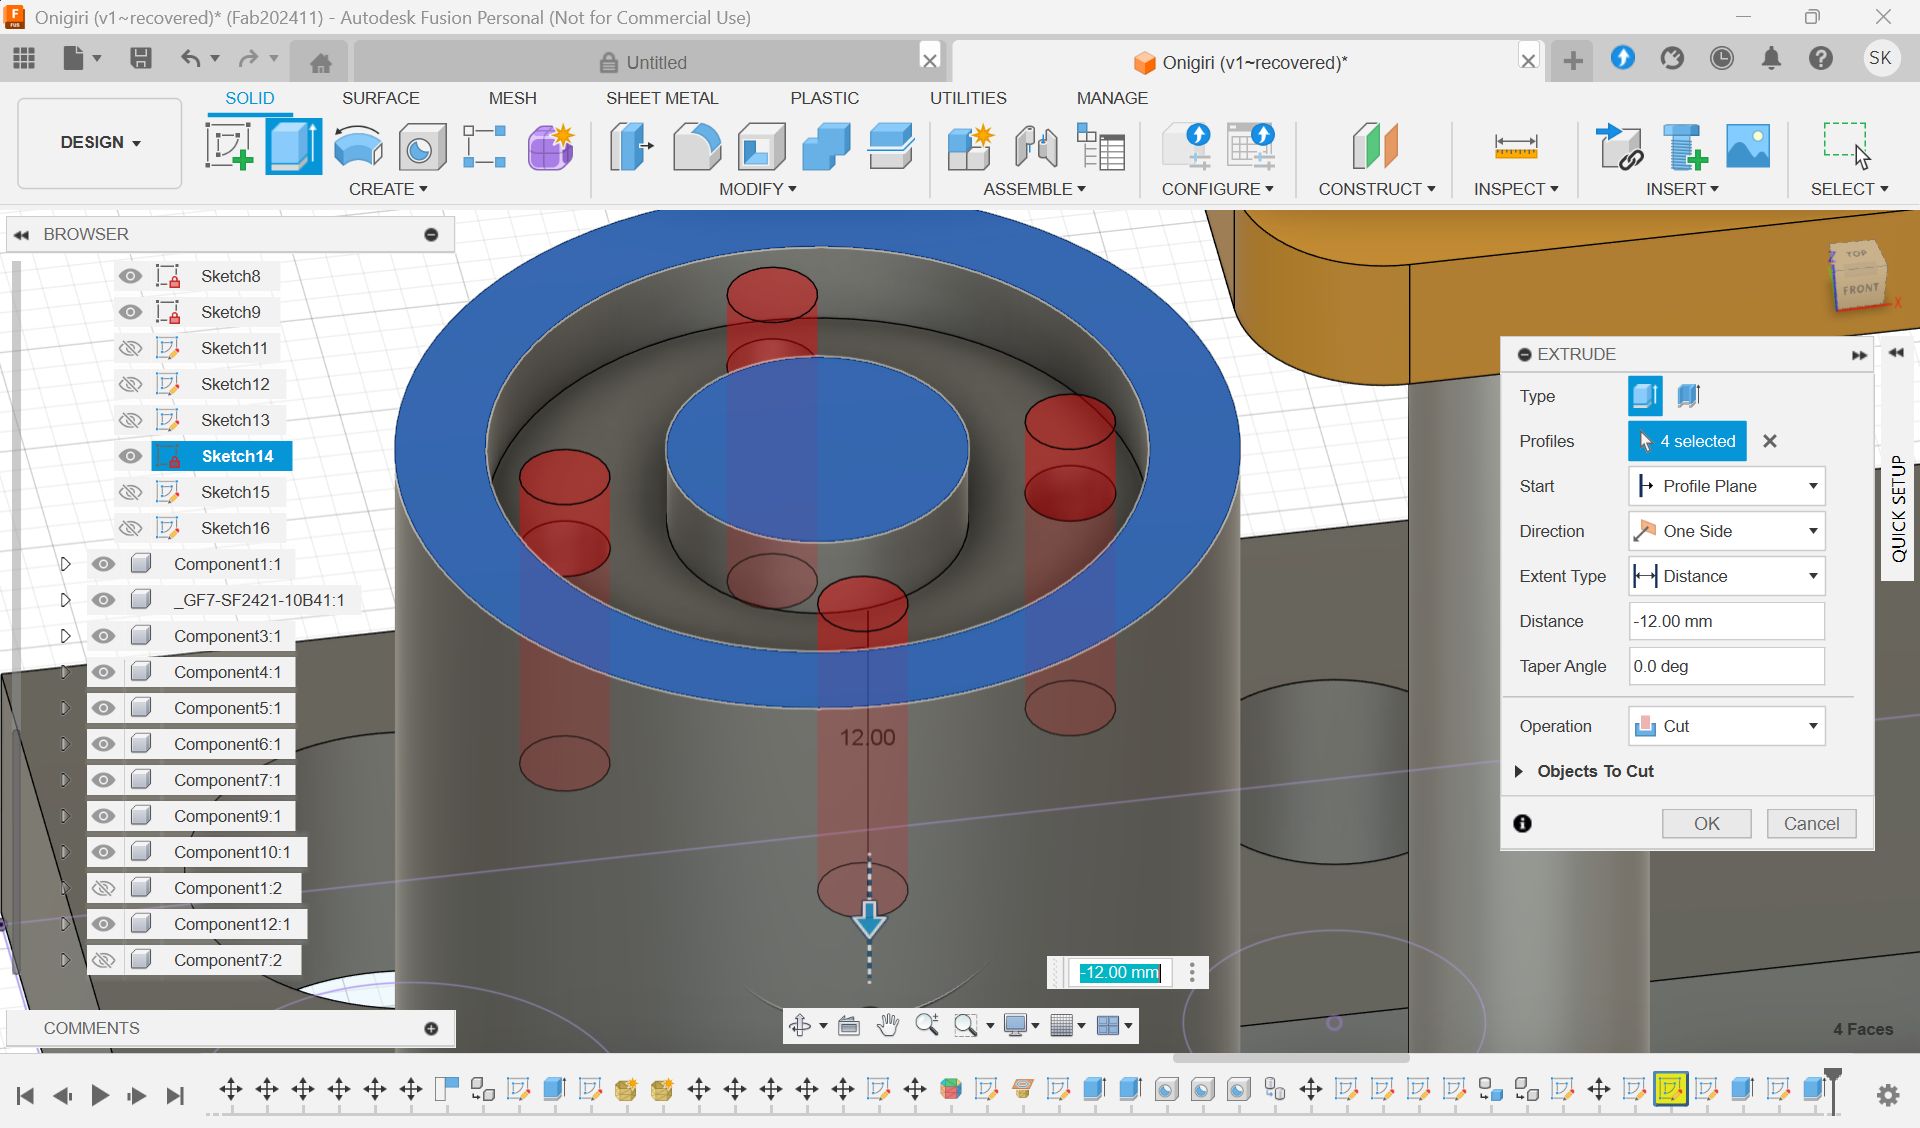
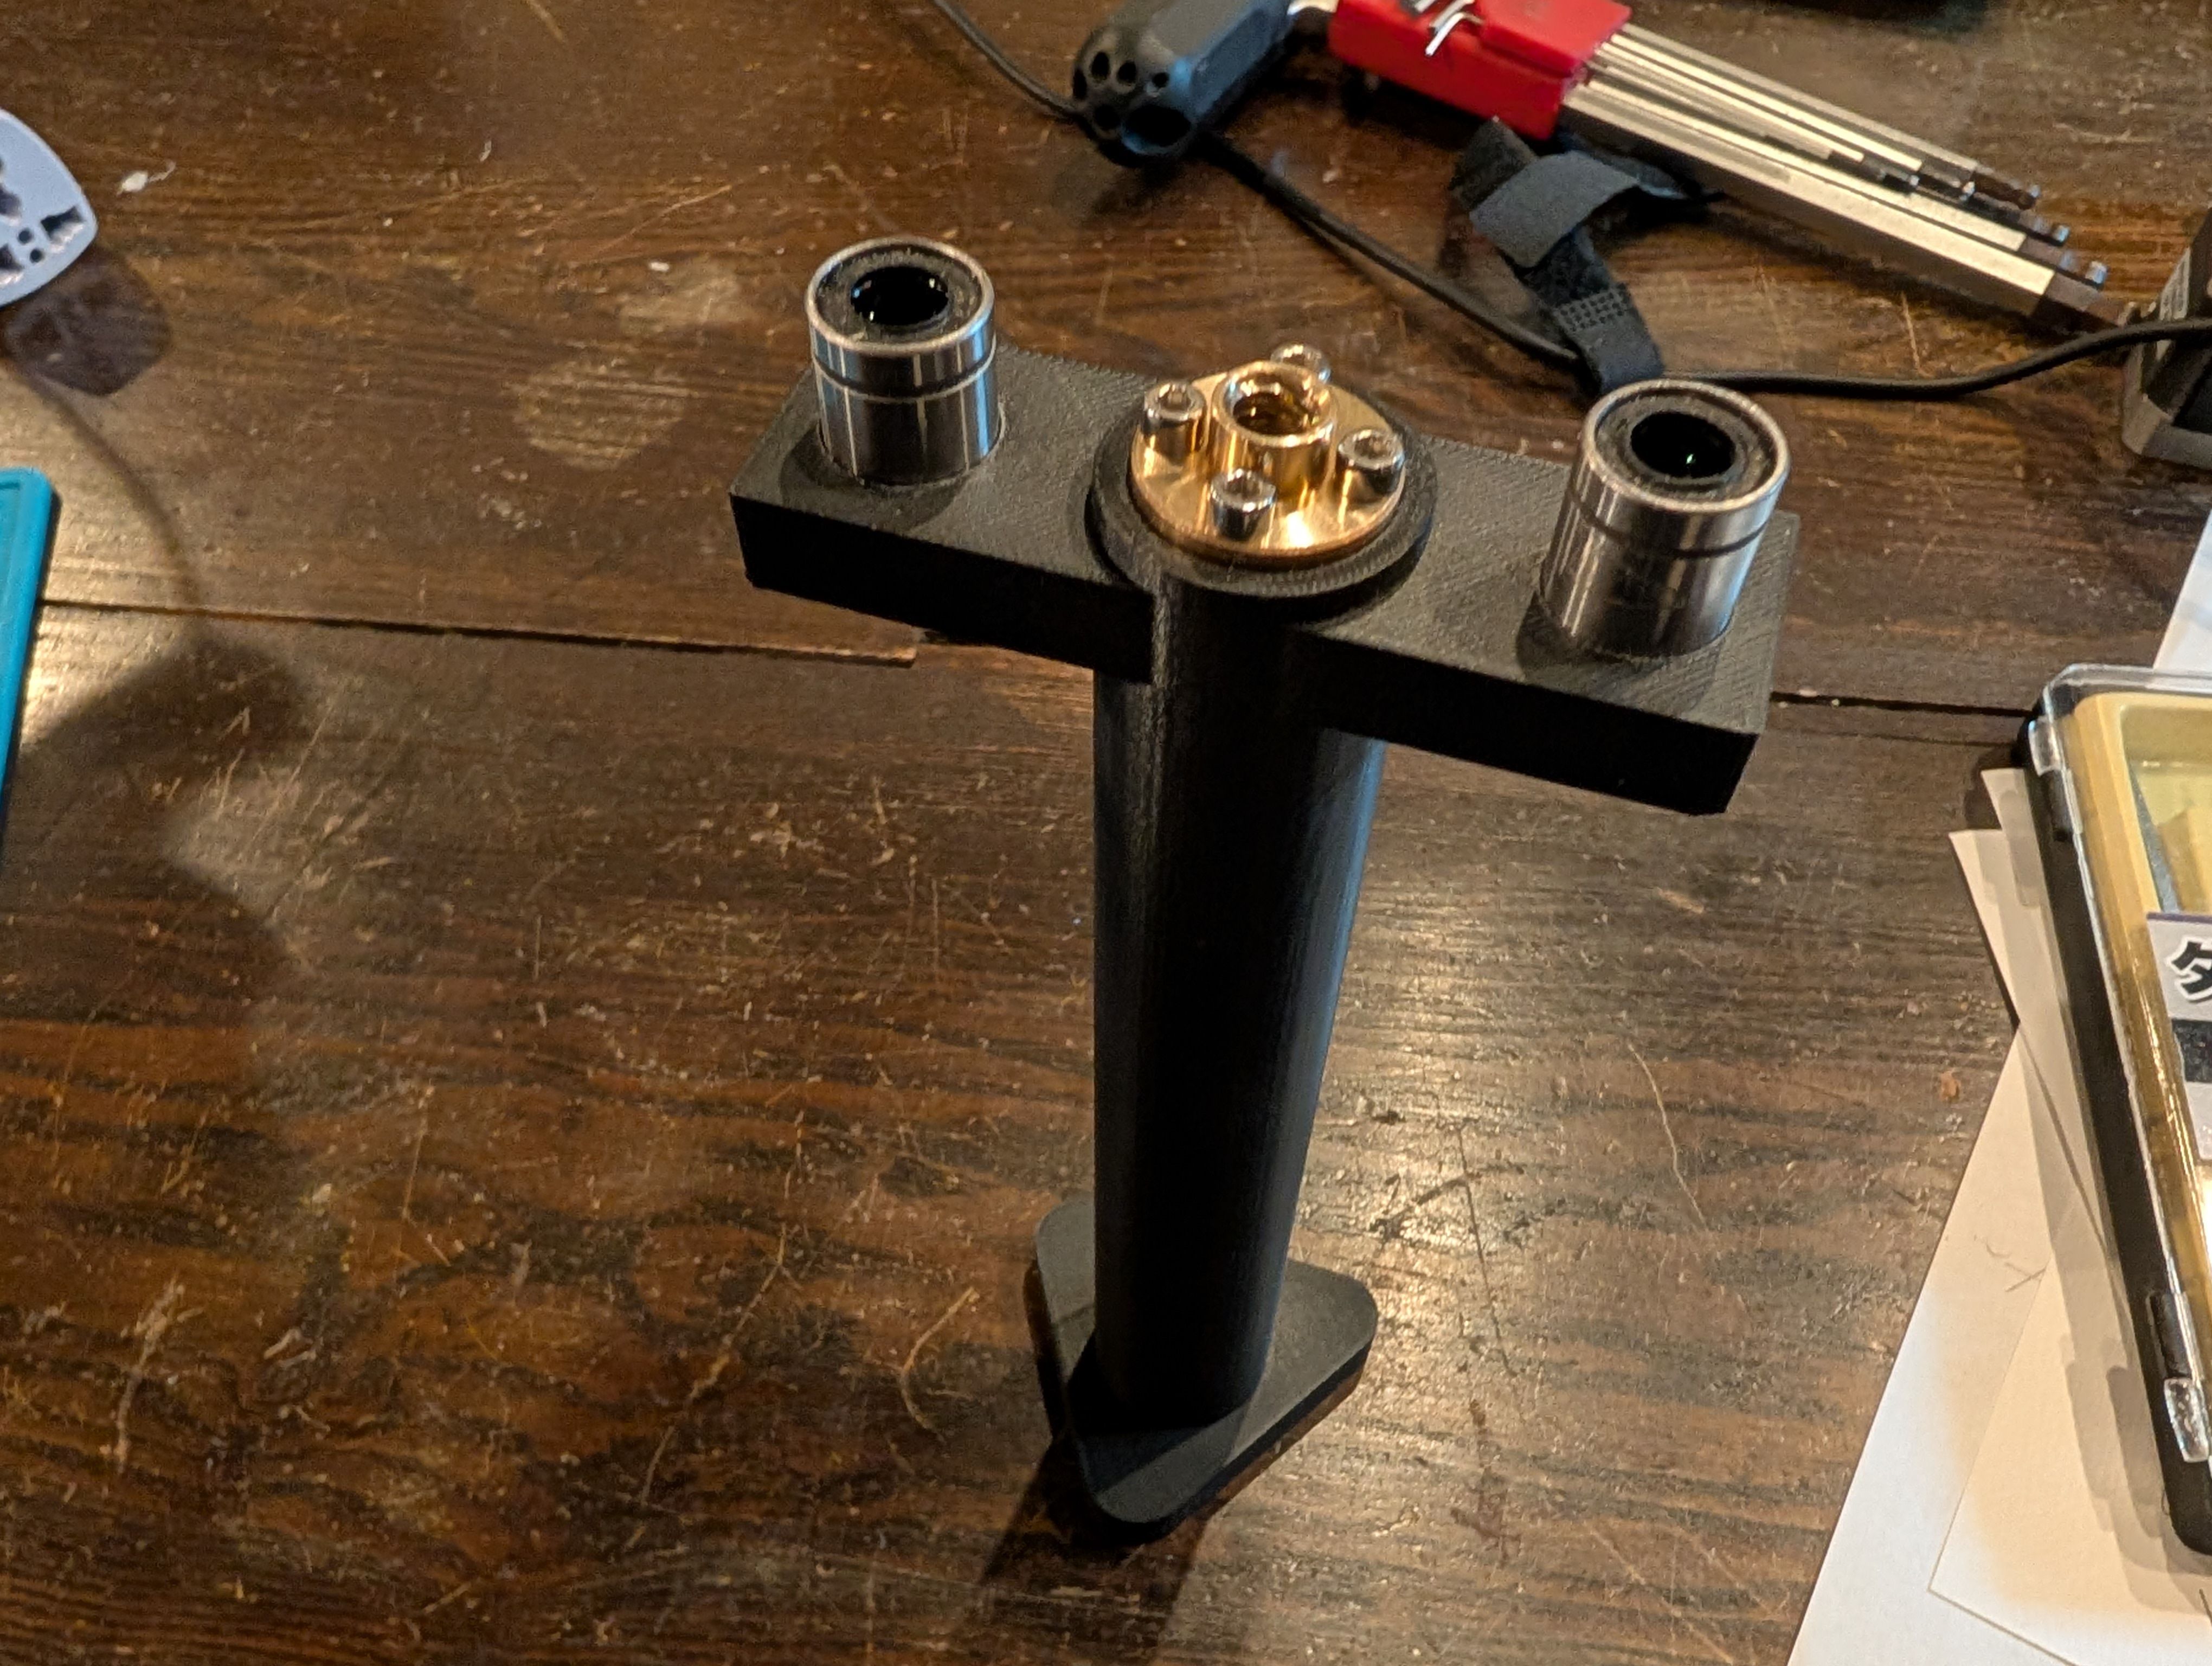
Press part
Connecting part with fixing pole
Examination of how to support the pole for fixing the motor
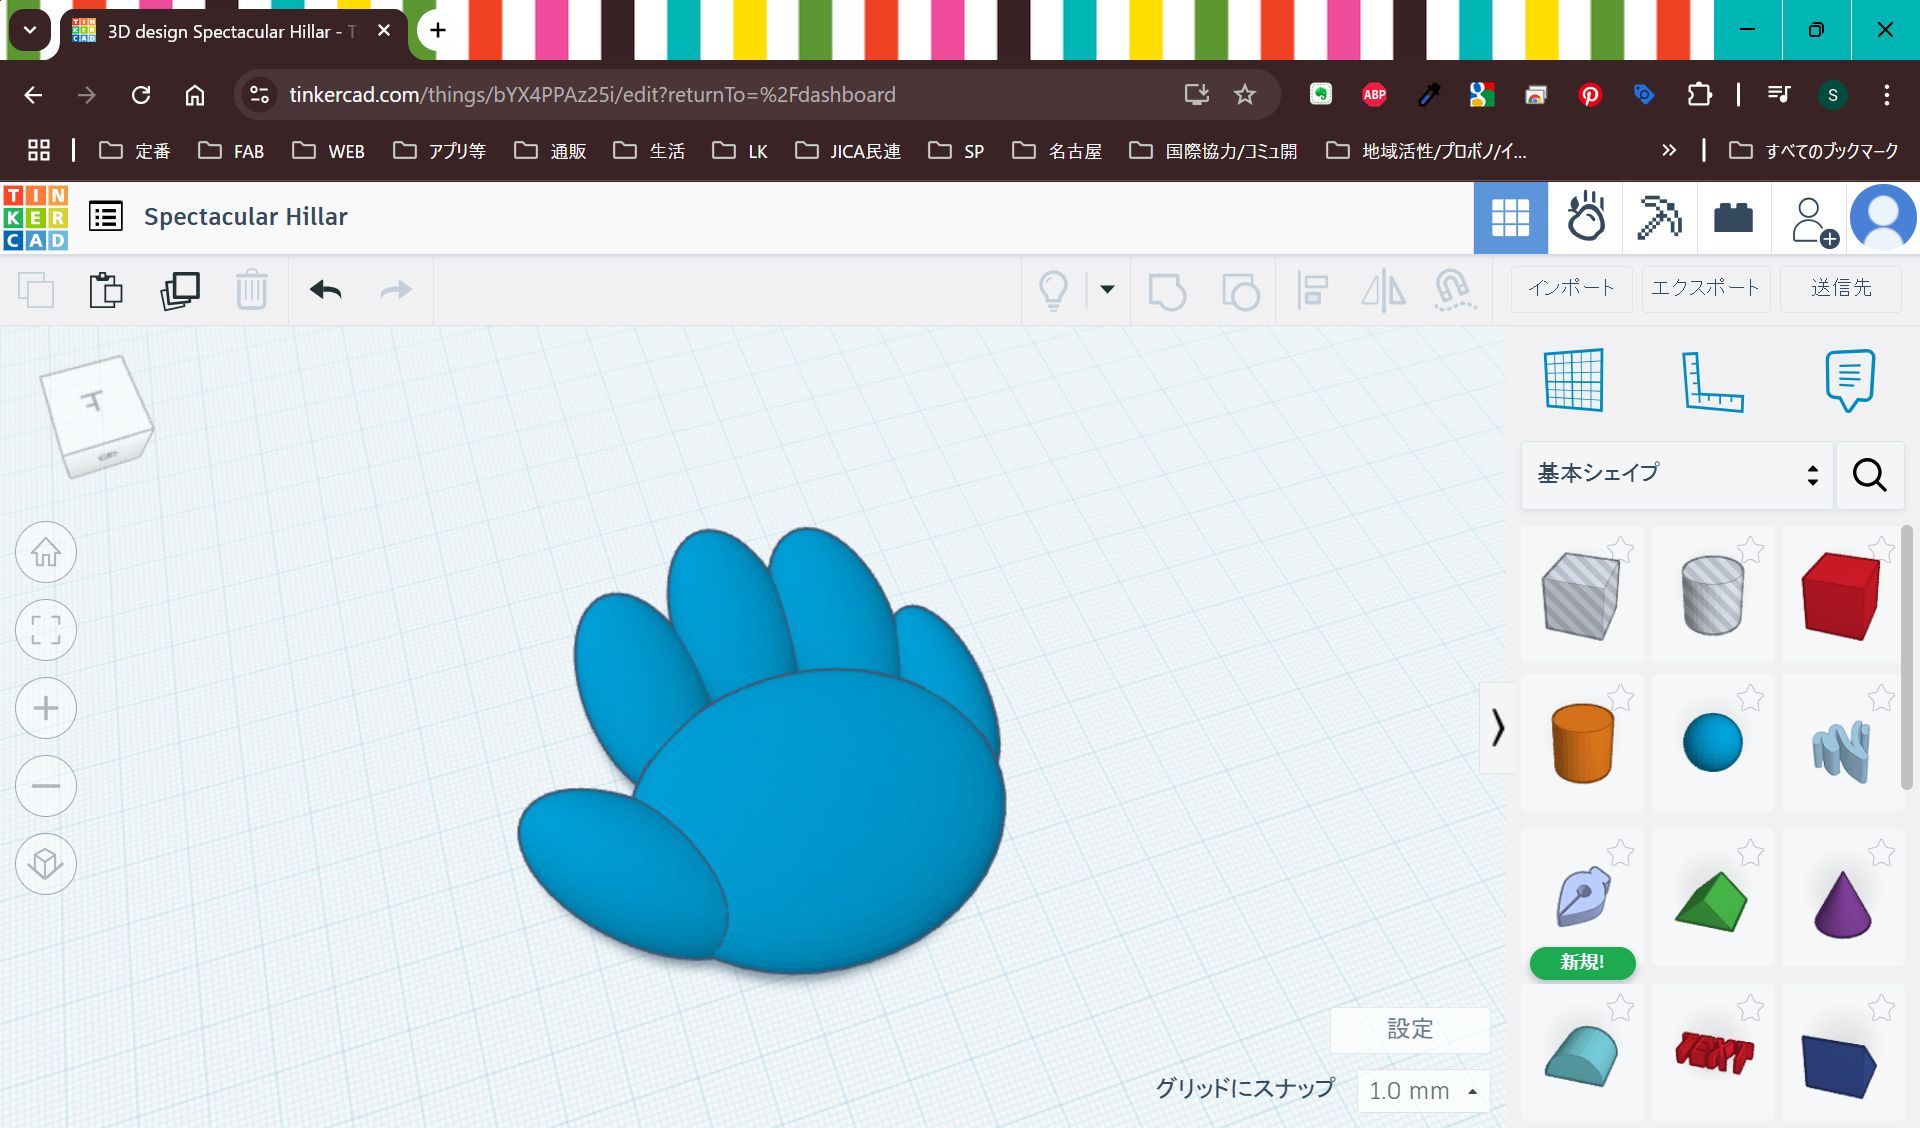
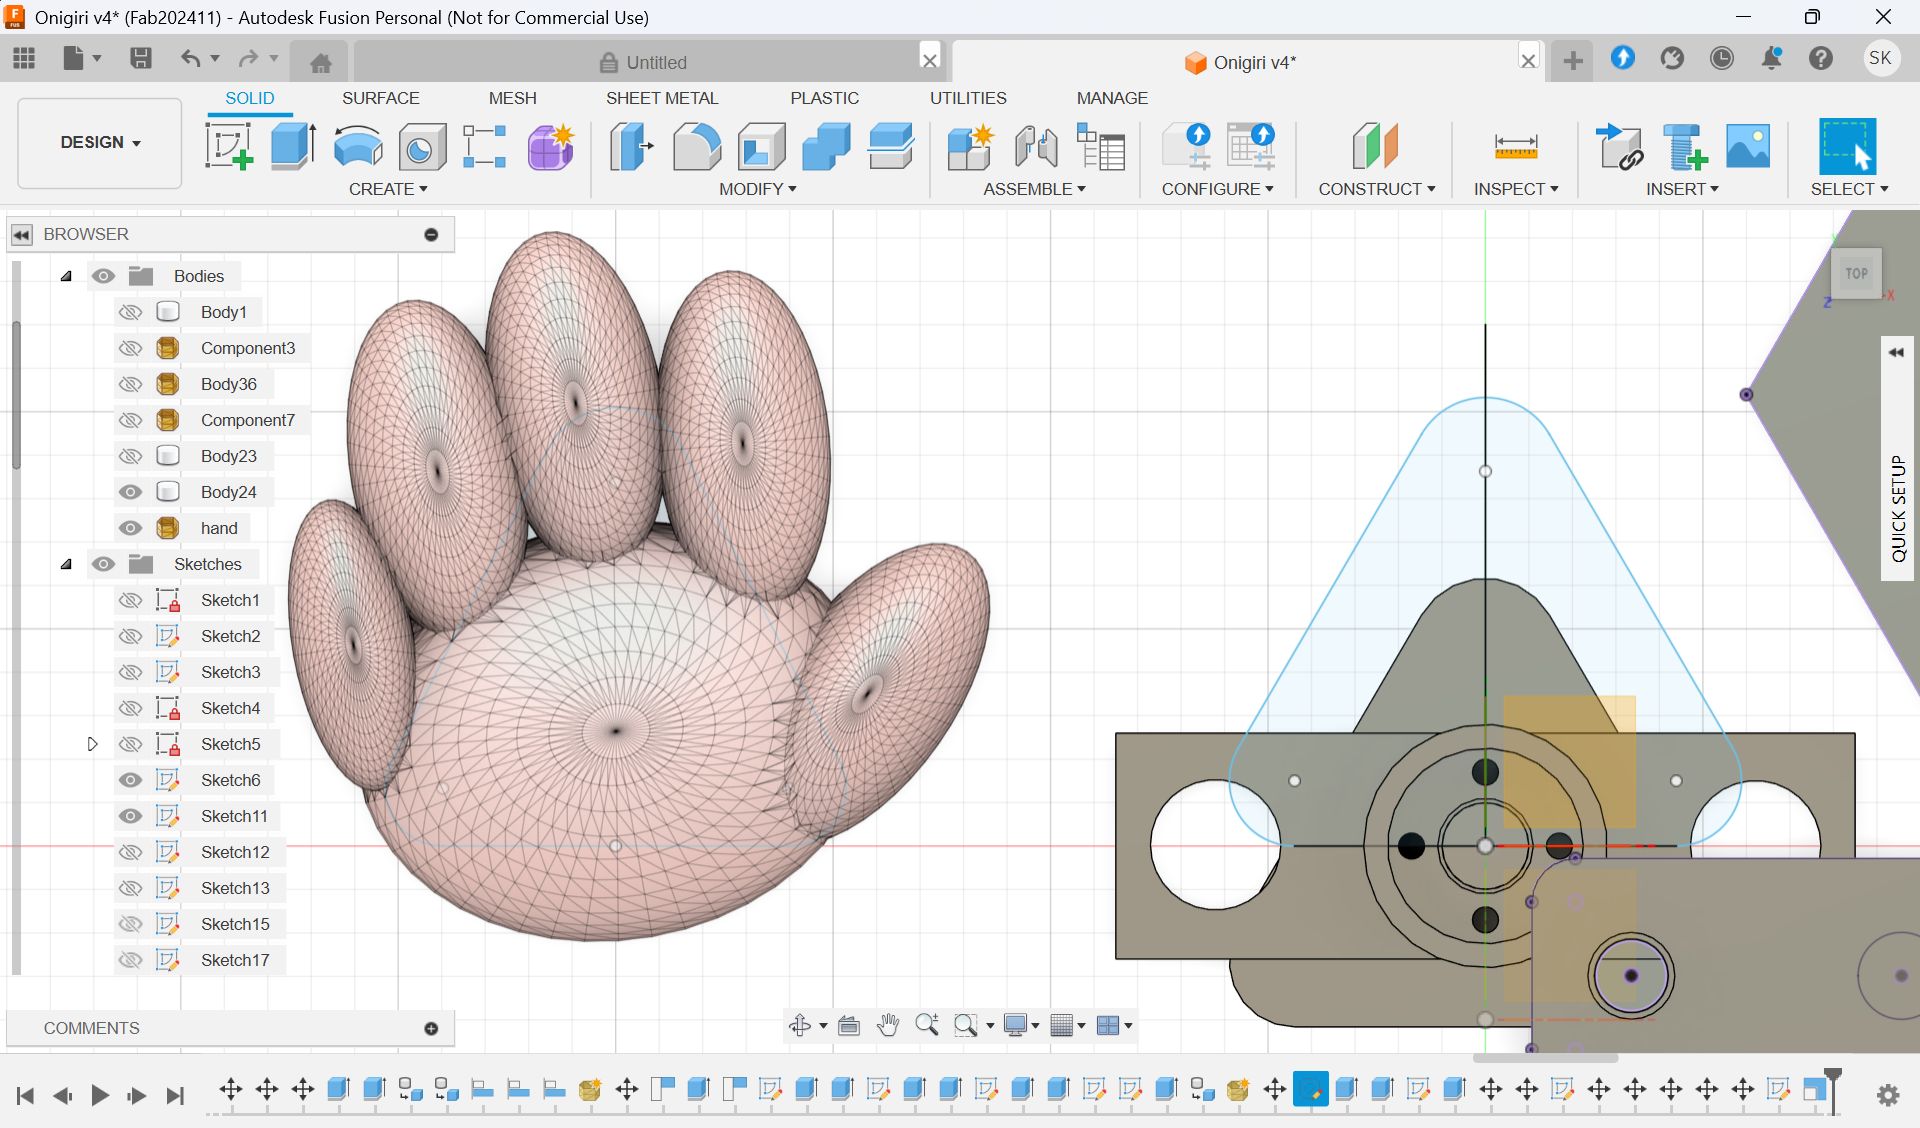
Press part (optional)
We had an idea to press by hand as an option, so I made it easily with TinkerCad.
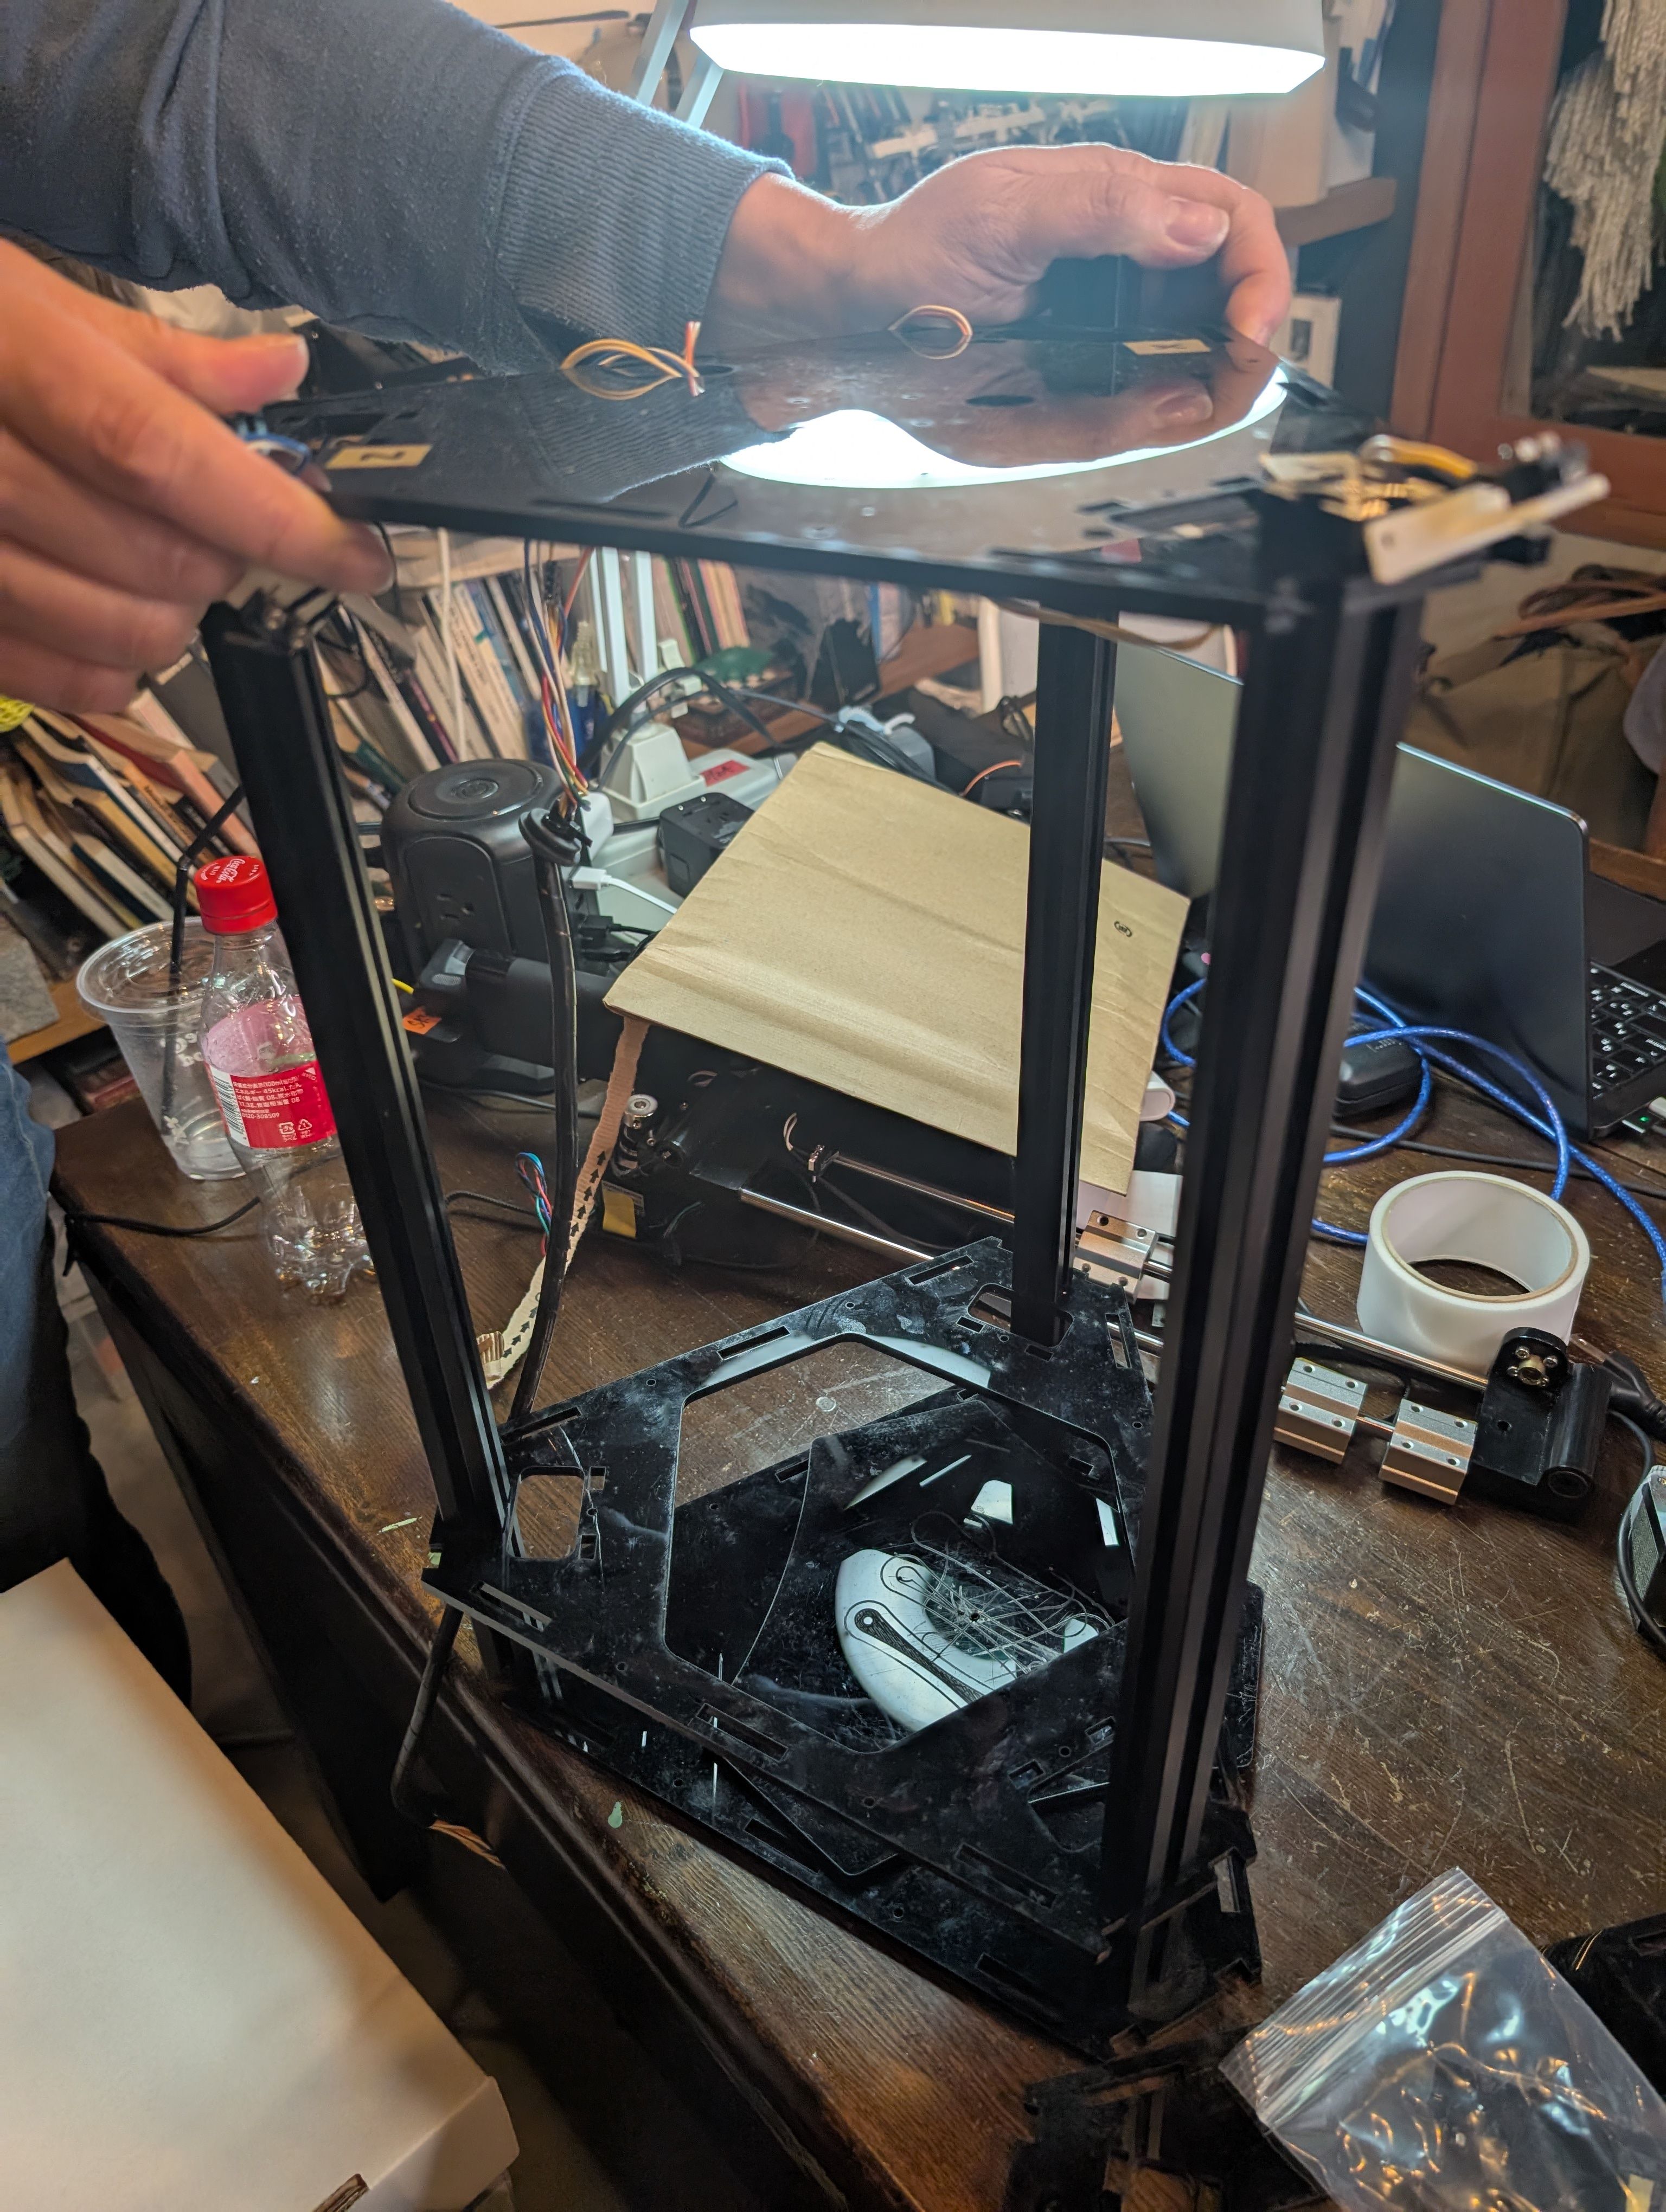
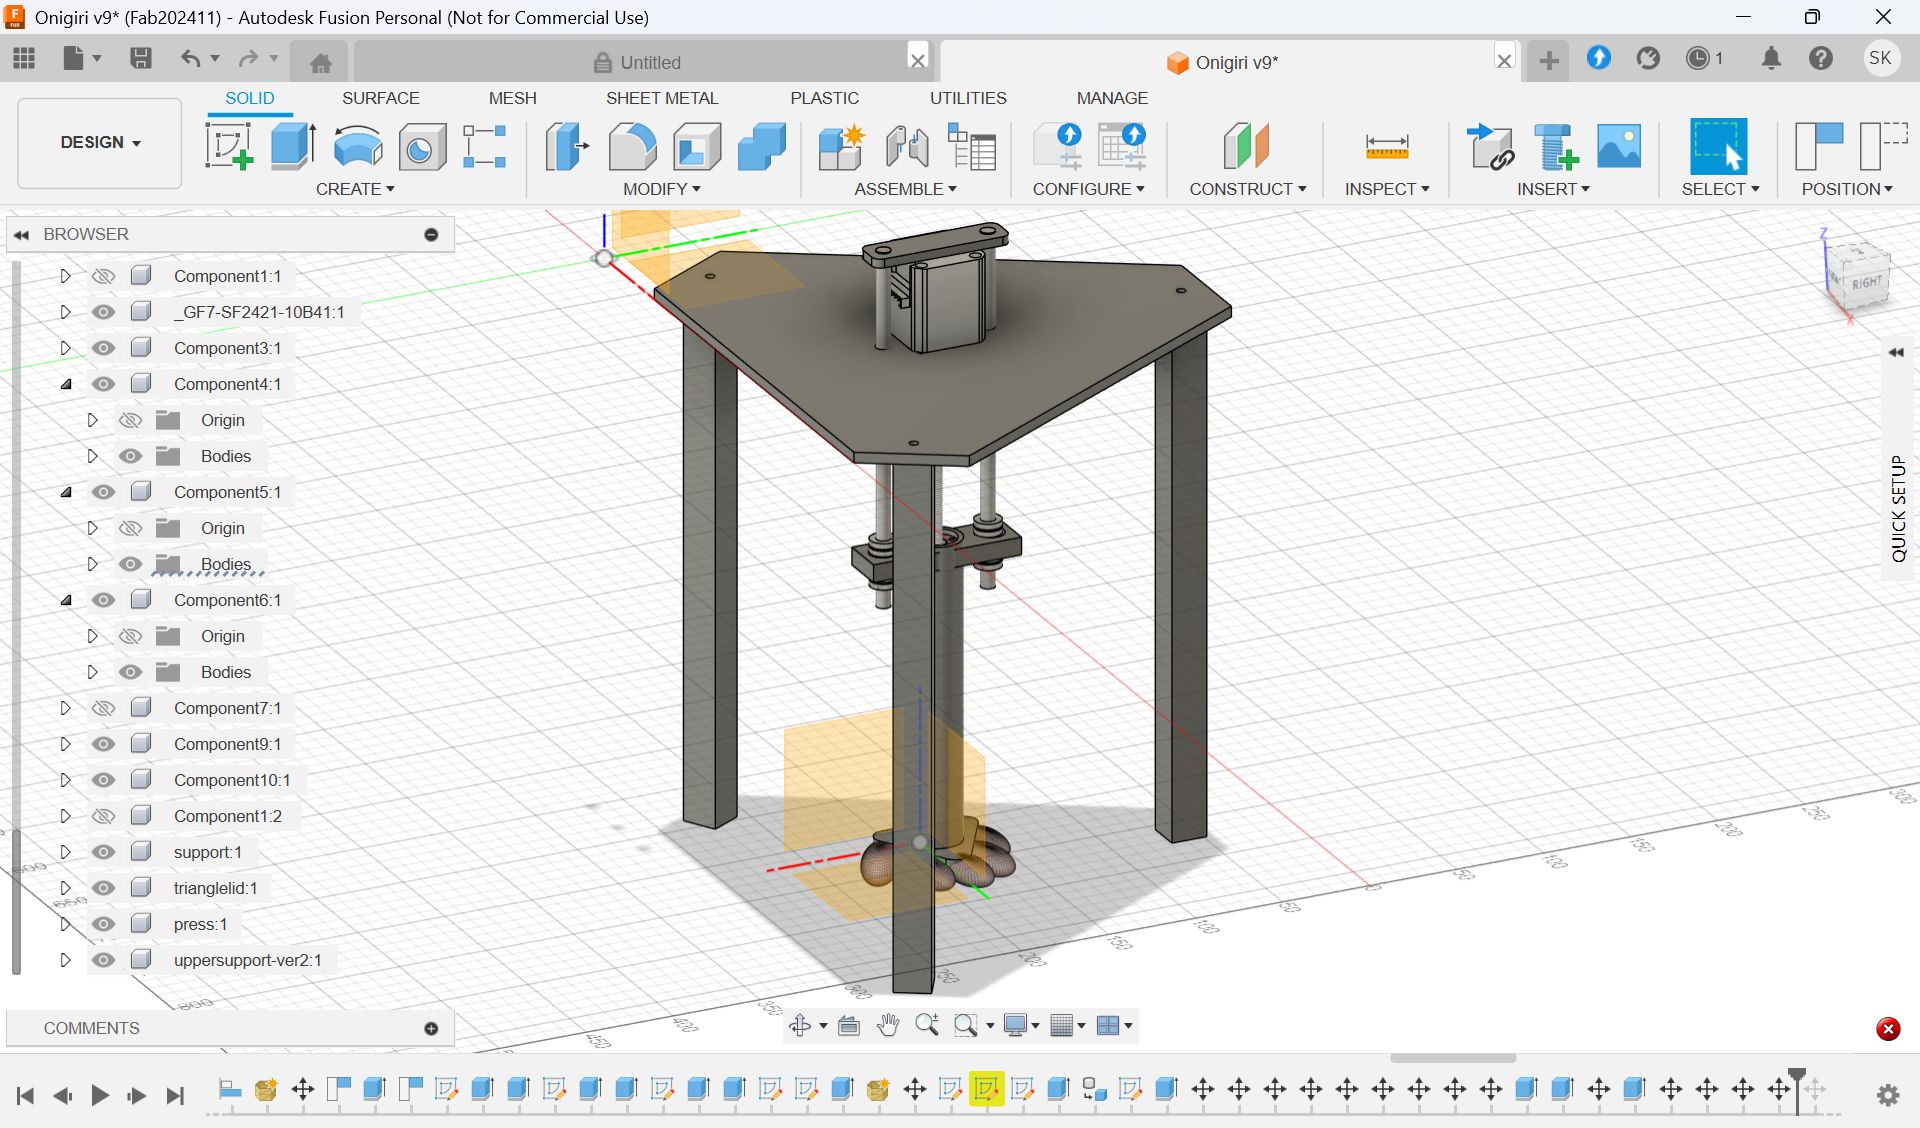
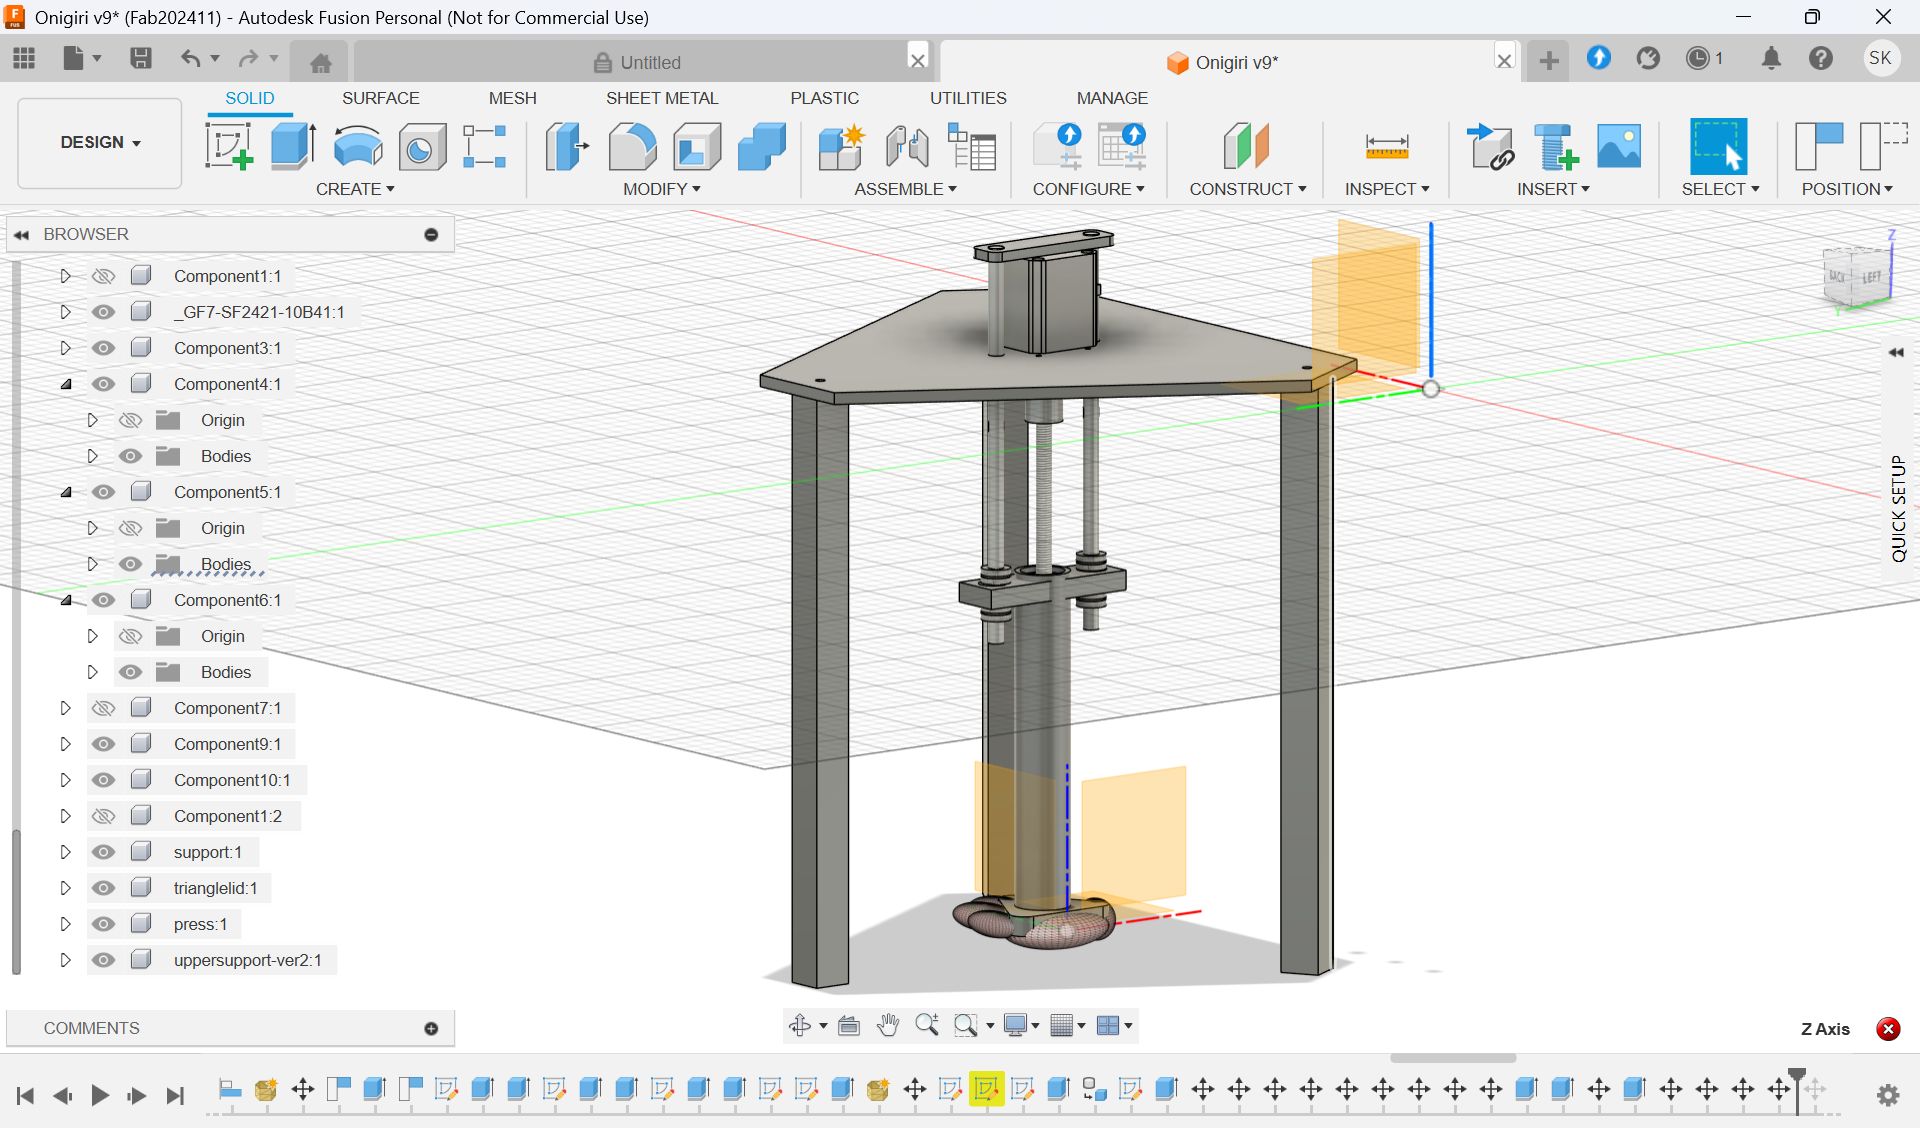
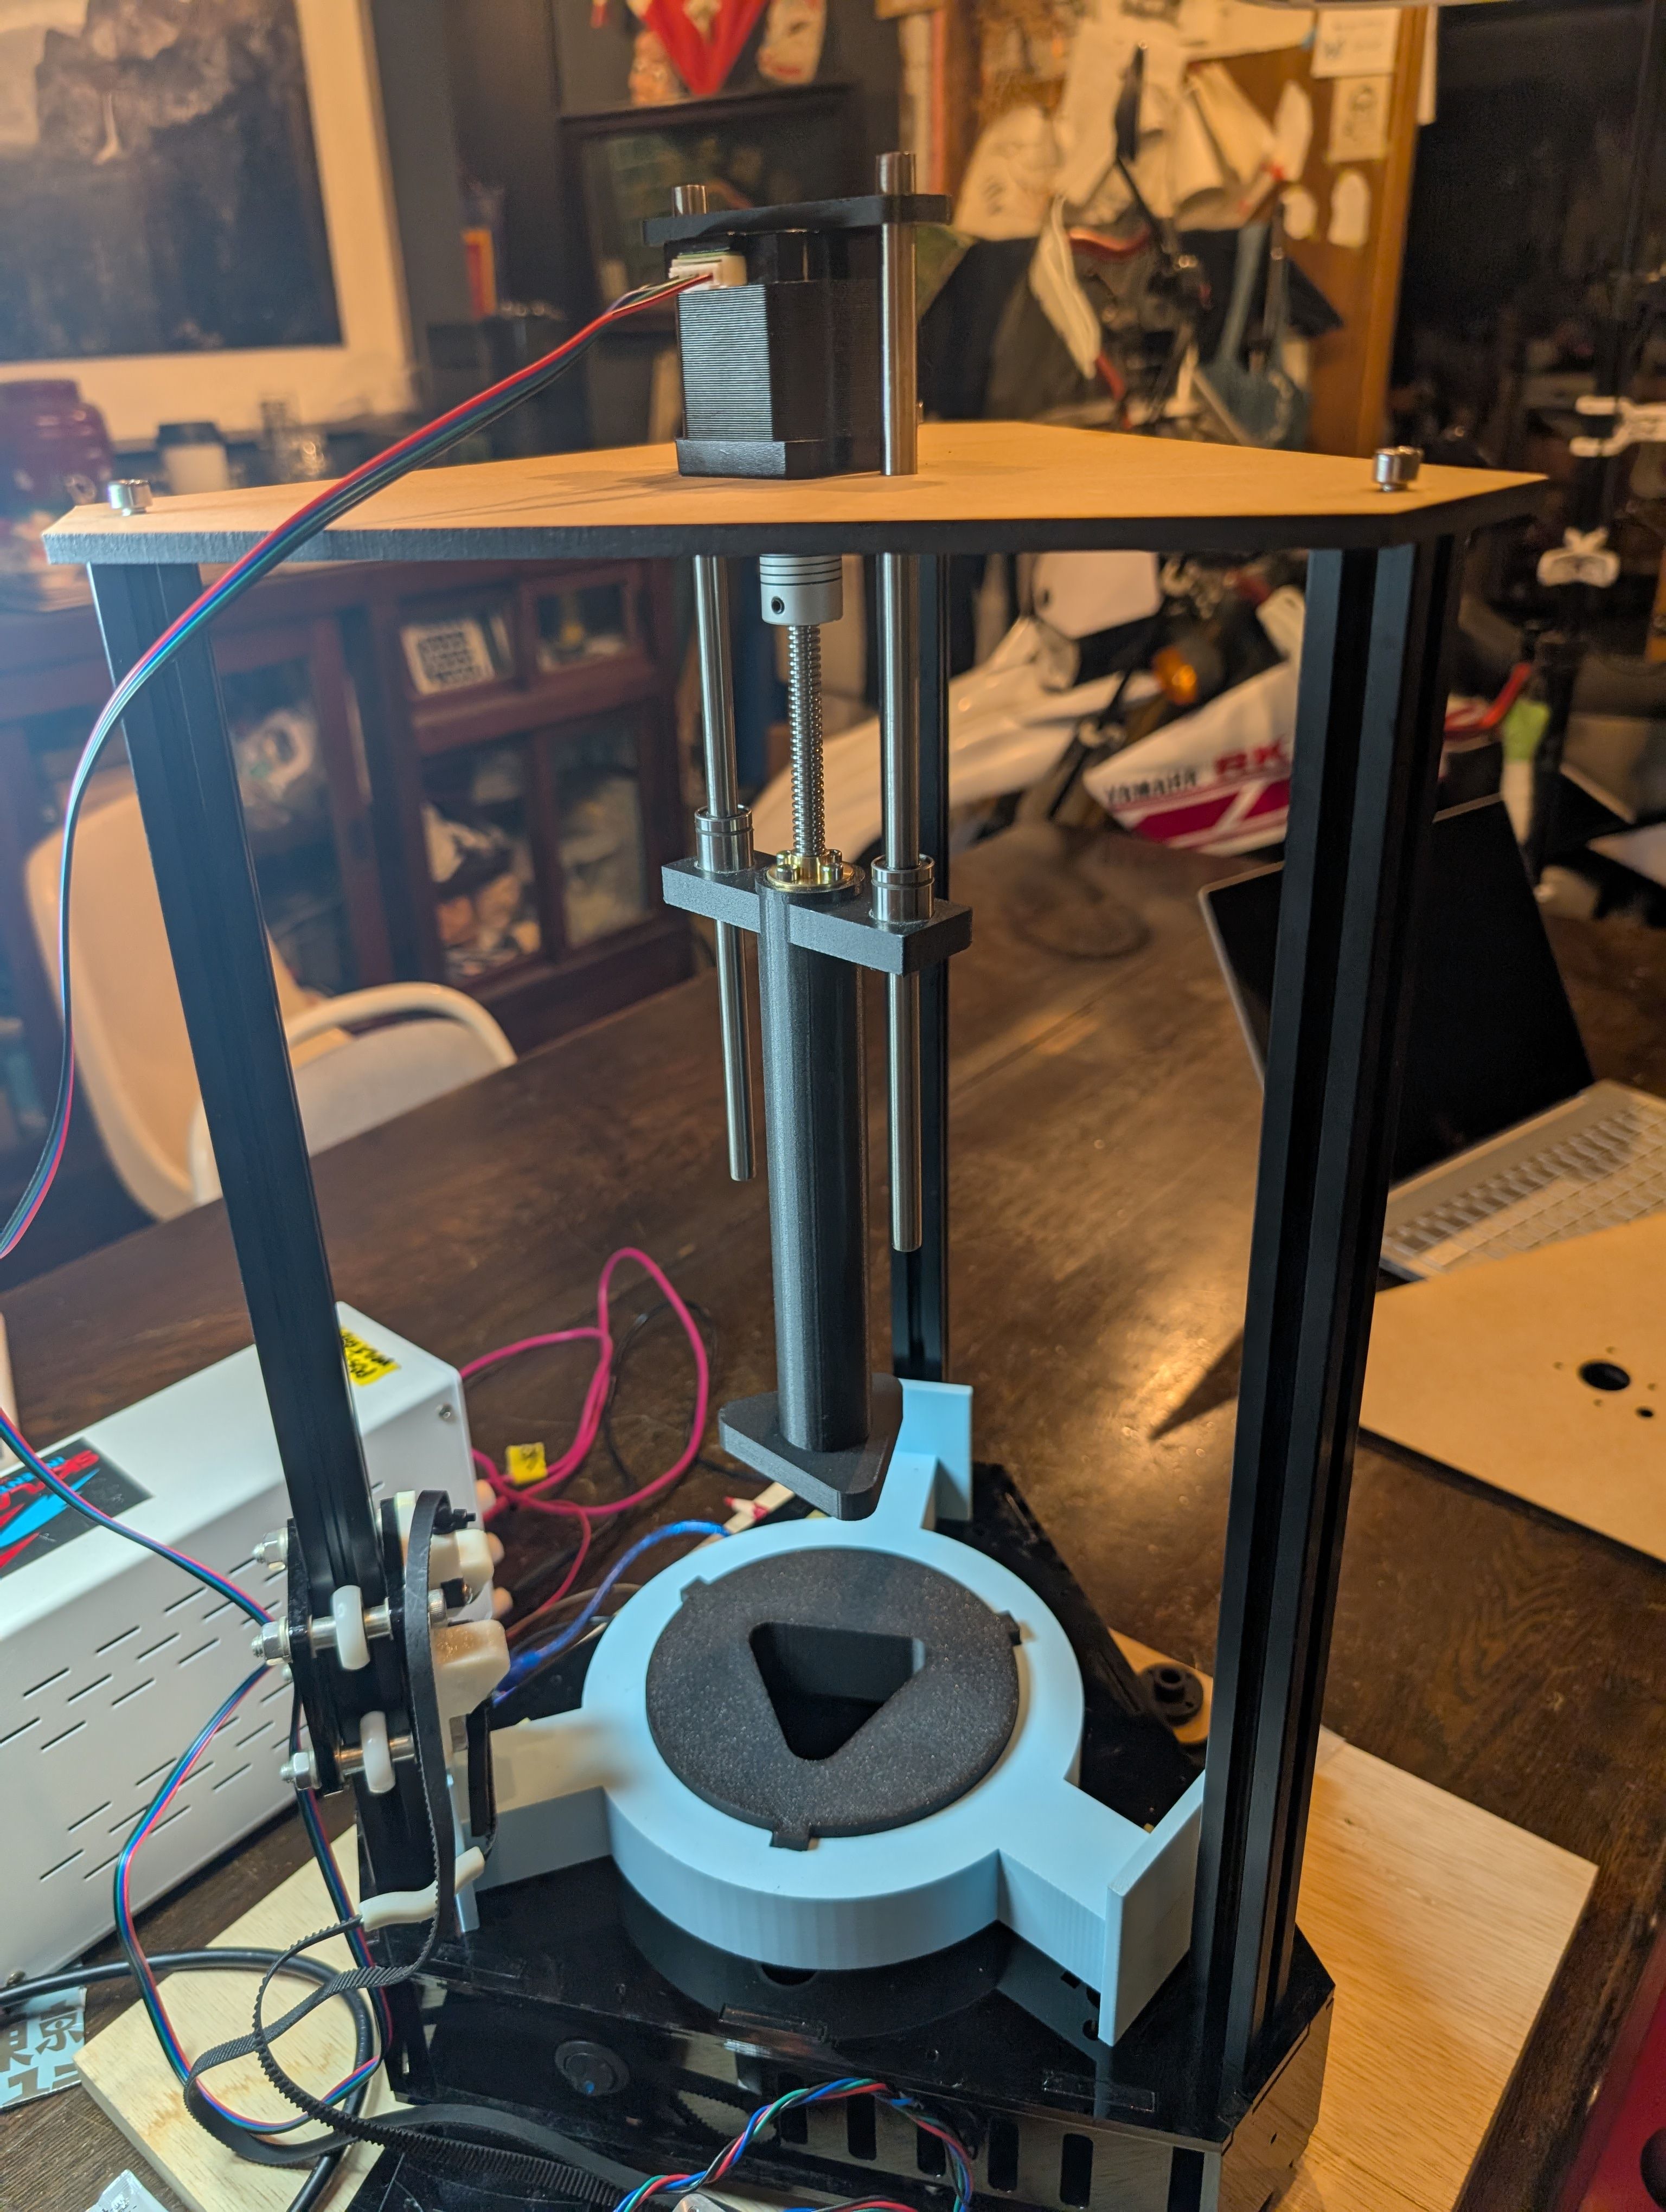
Incorporation into the overall mechanism
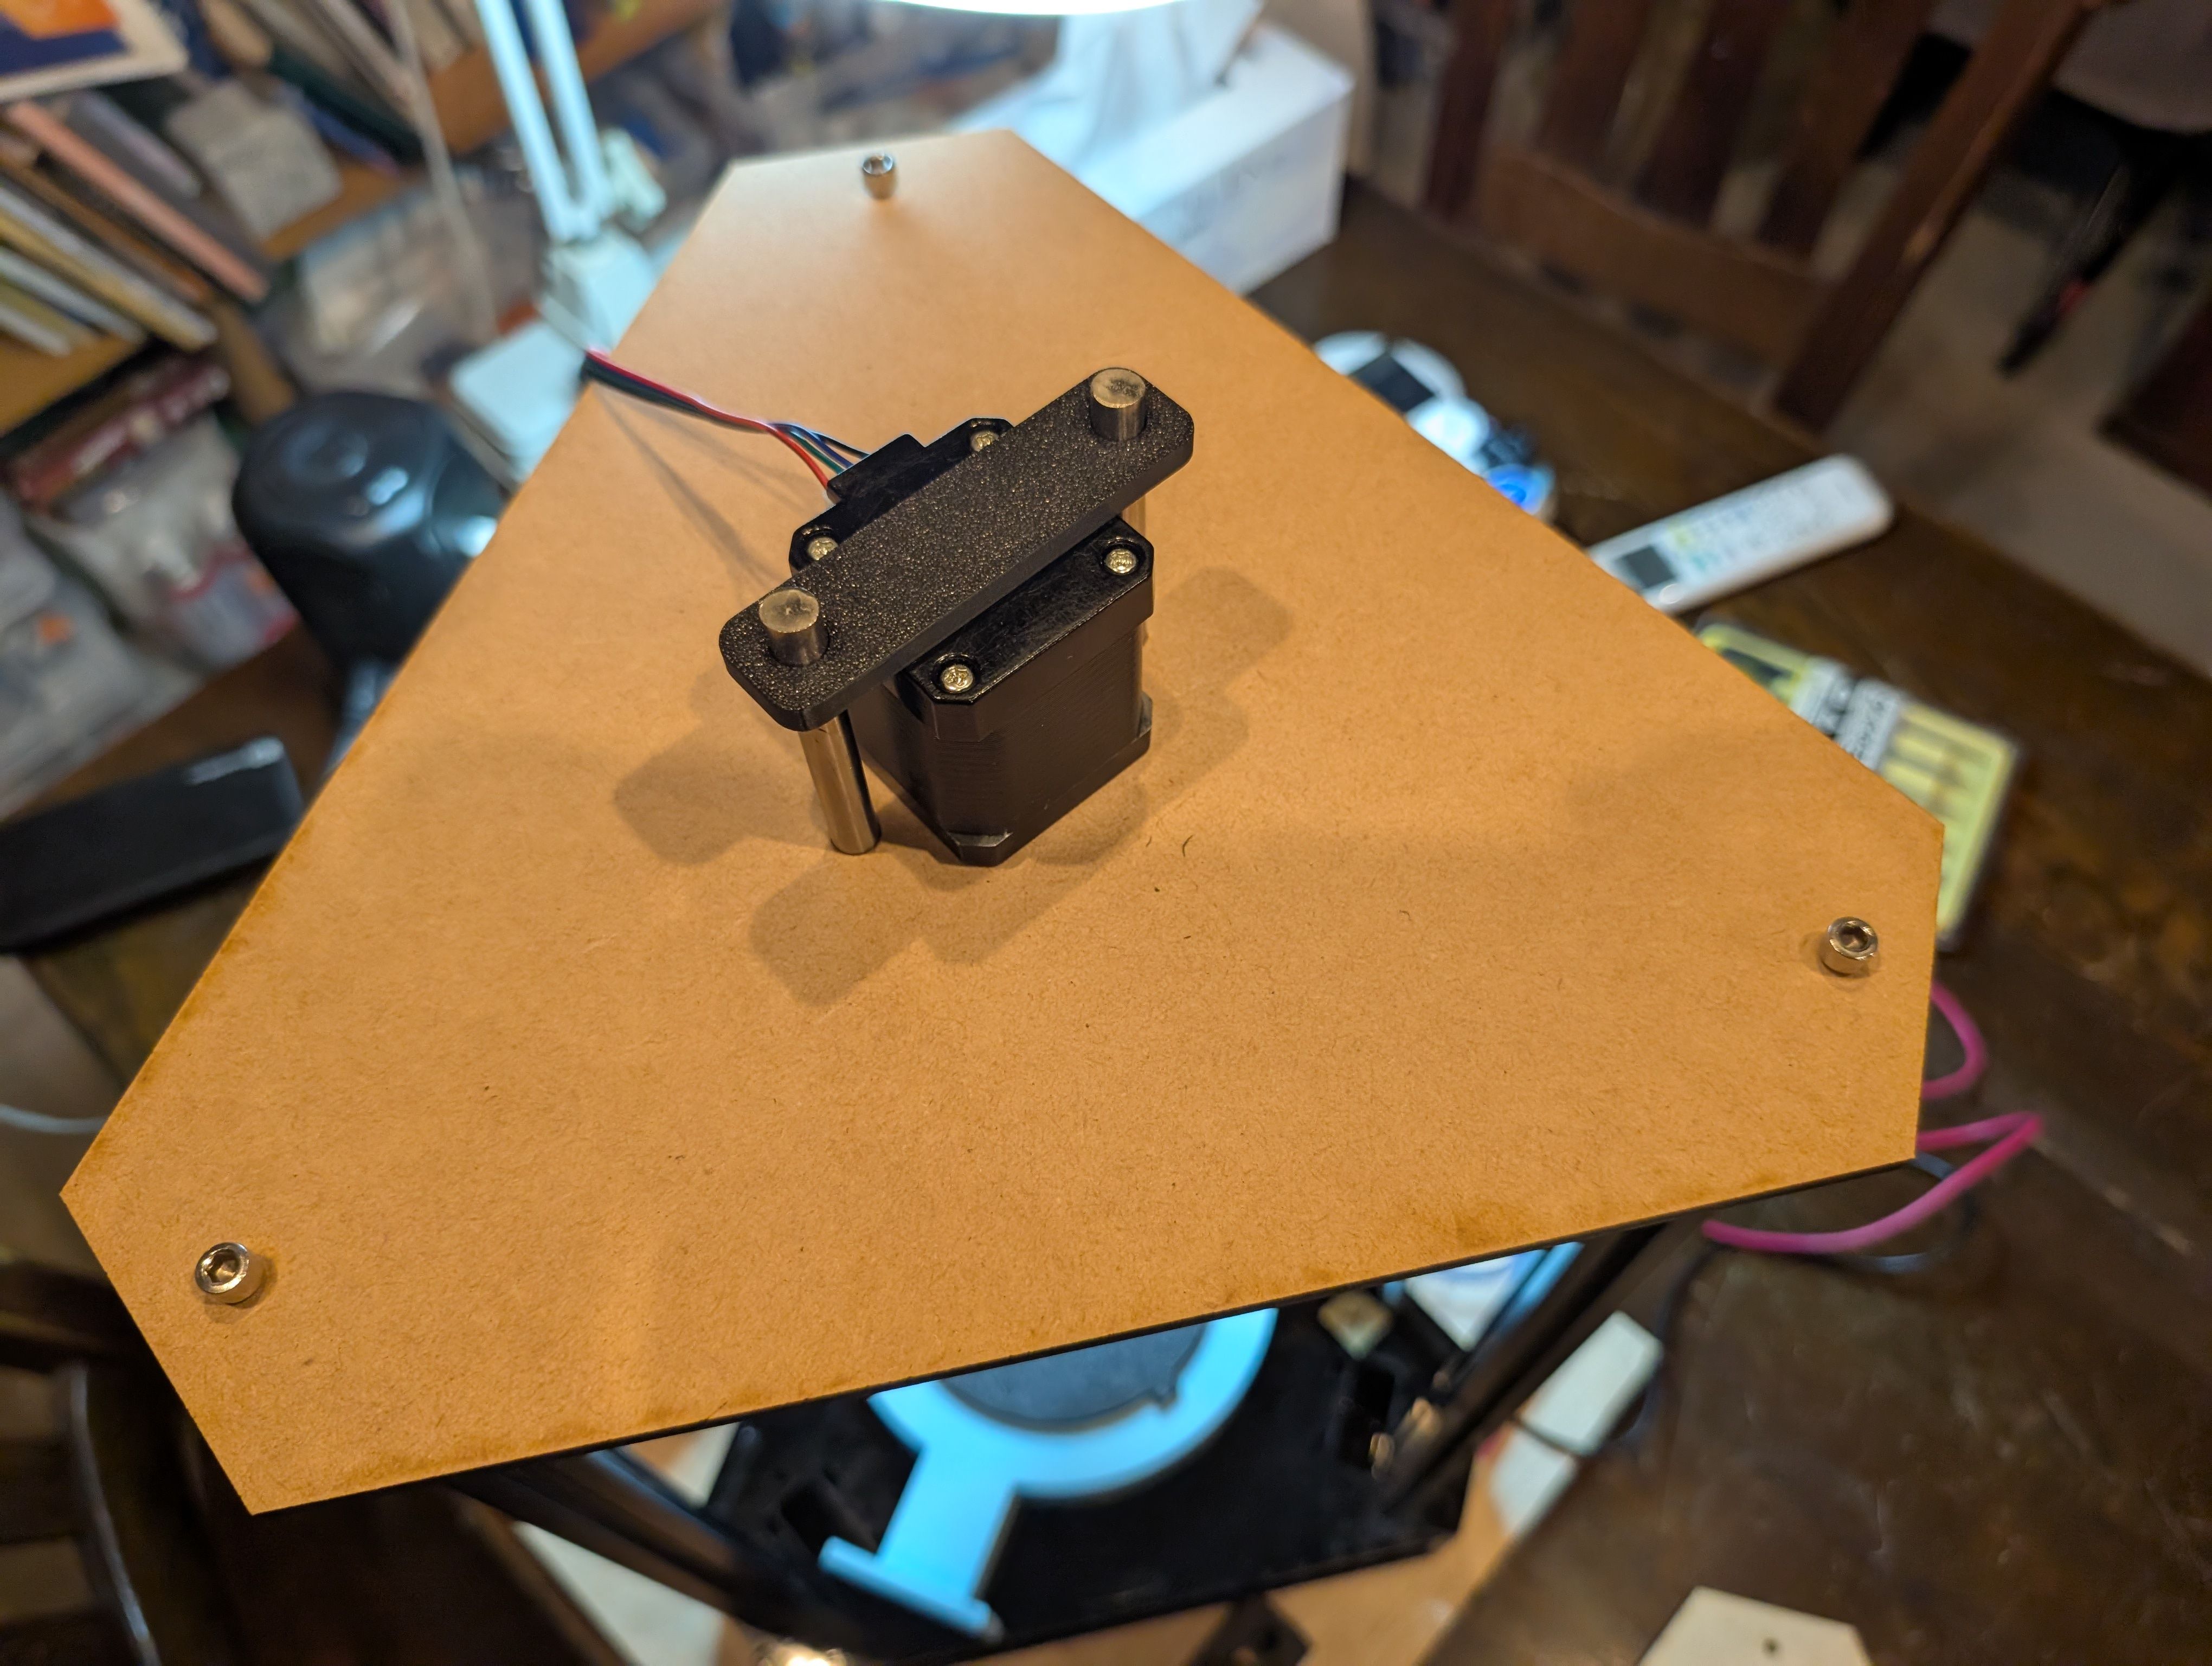
During the work, it was discovered that there was a delta kit in the lab. Since Midori-san want to make the machine triangle shape, and at that case, in order to apply force evenly to the rice ball, I recommended to create the machine using this kit, which facilitates the installation of a motor in the center to press from the exactly center of the machine.
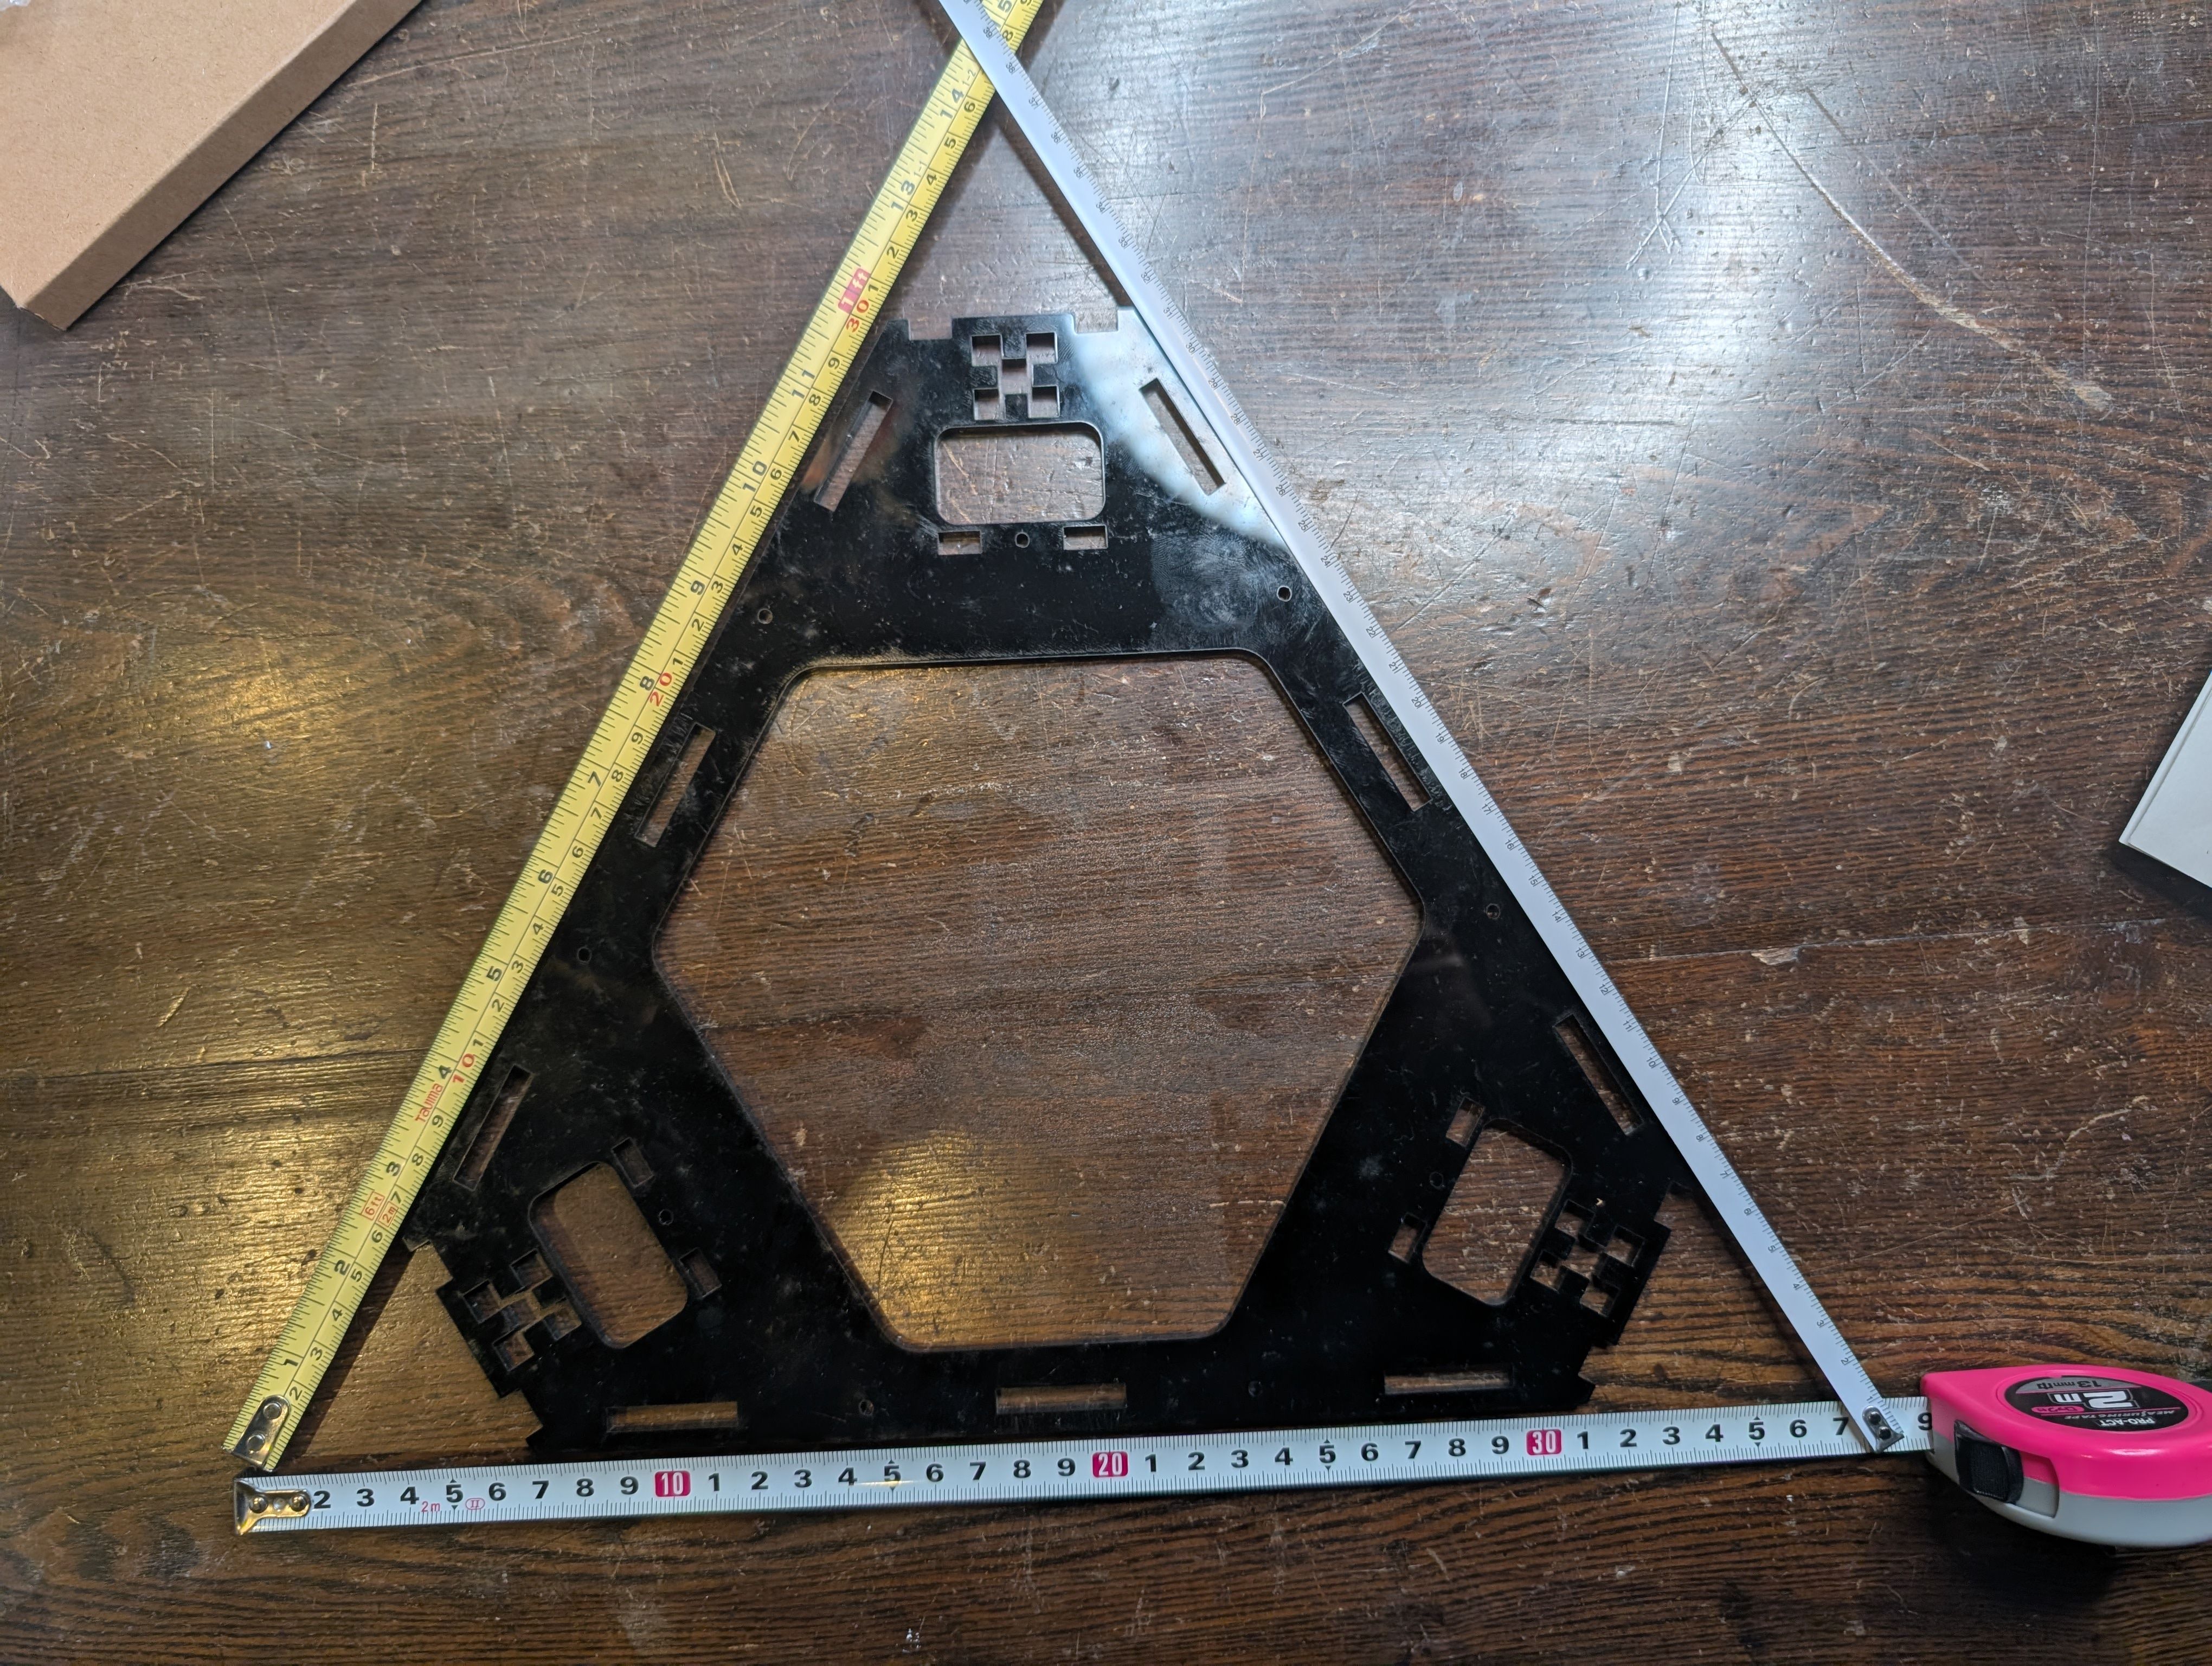
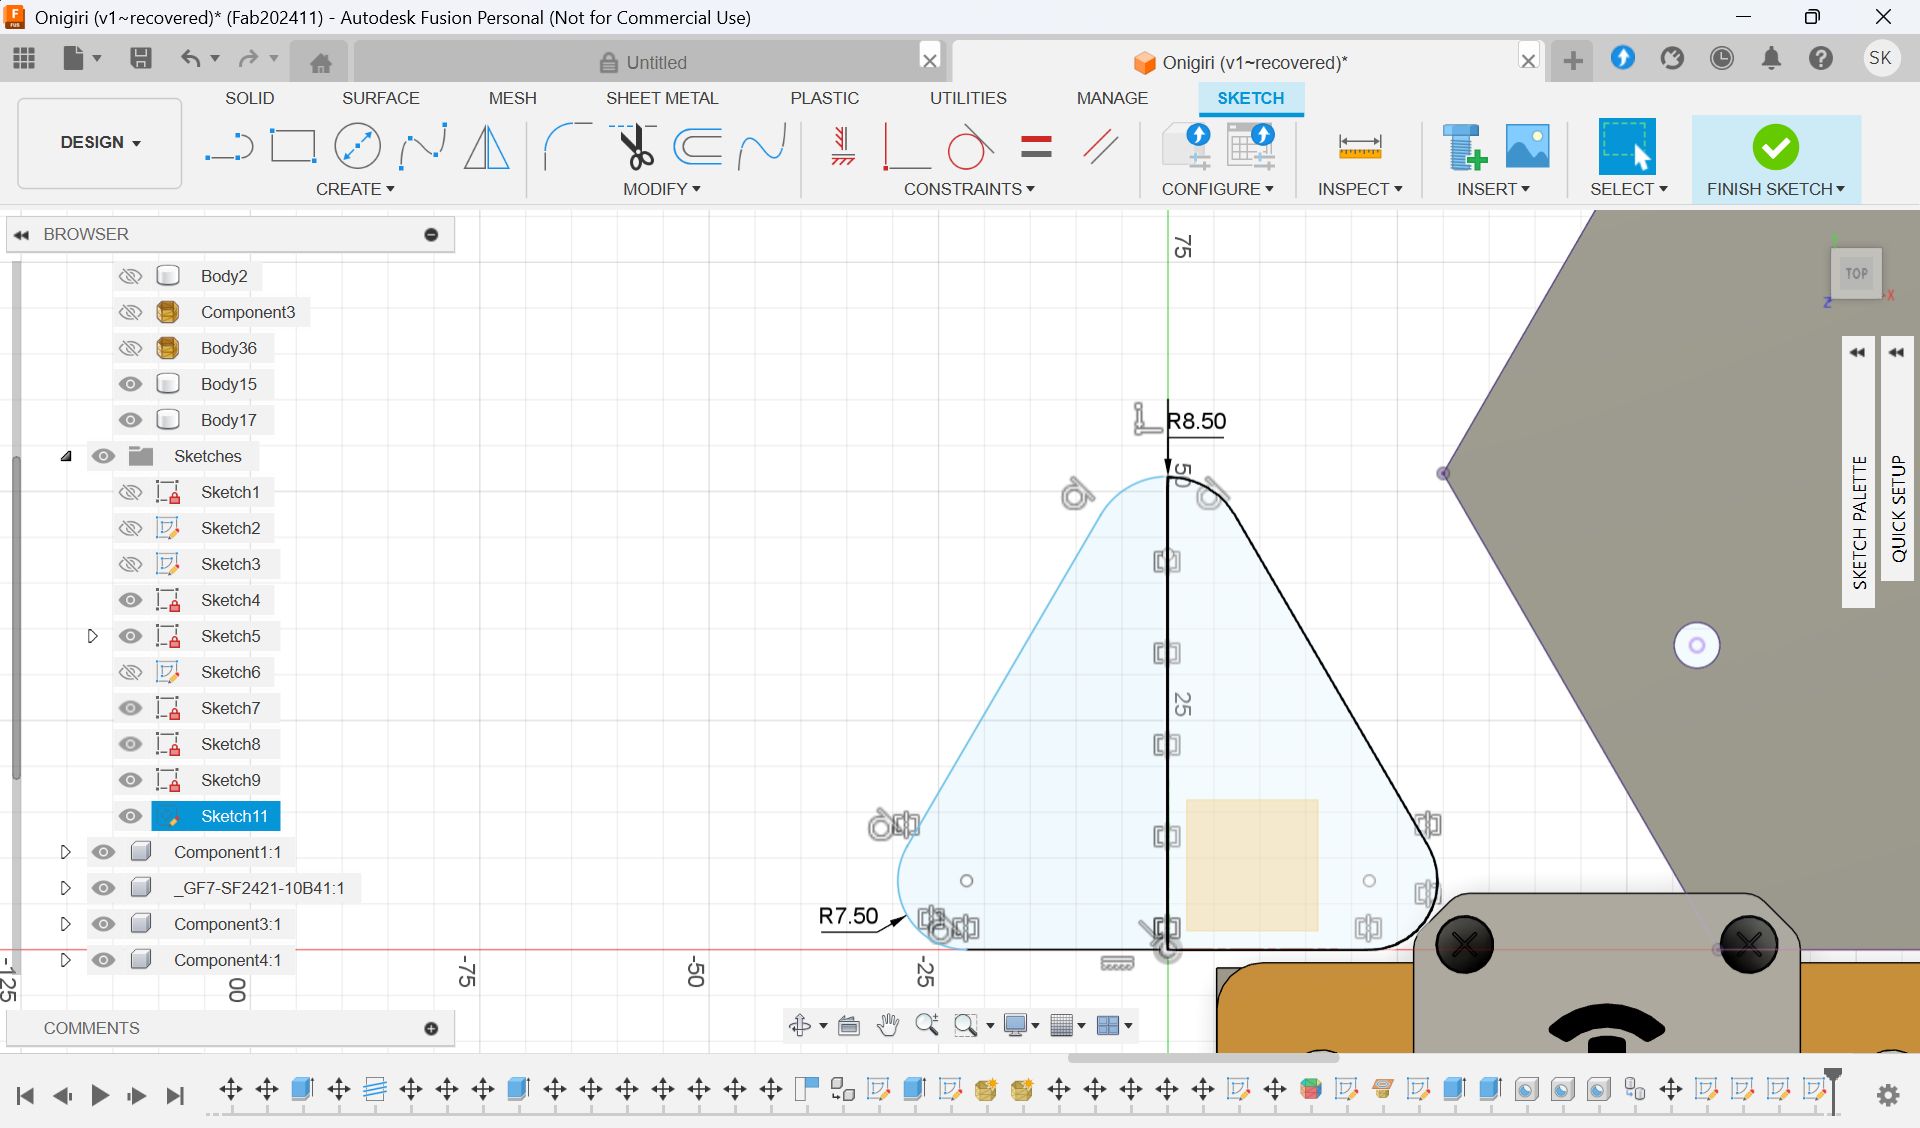
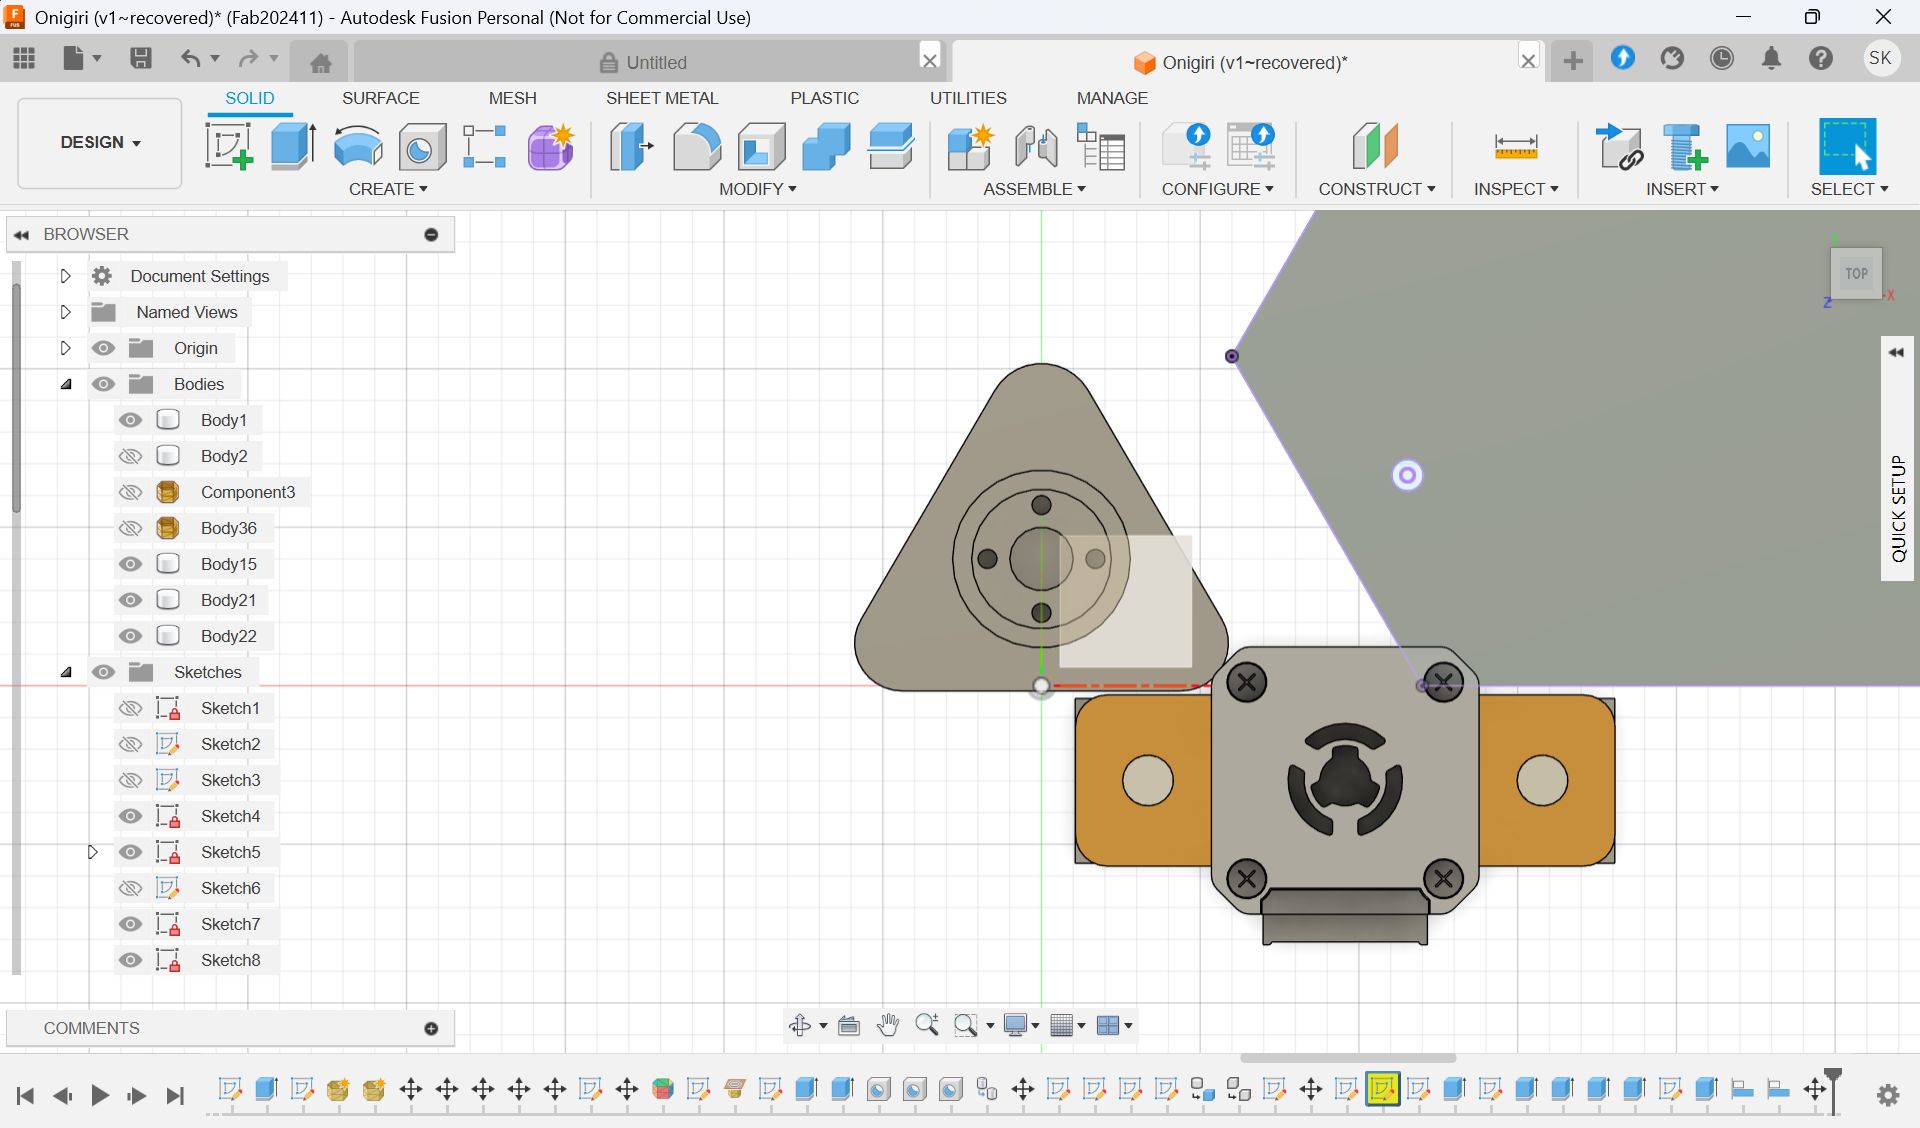
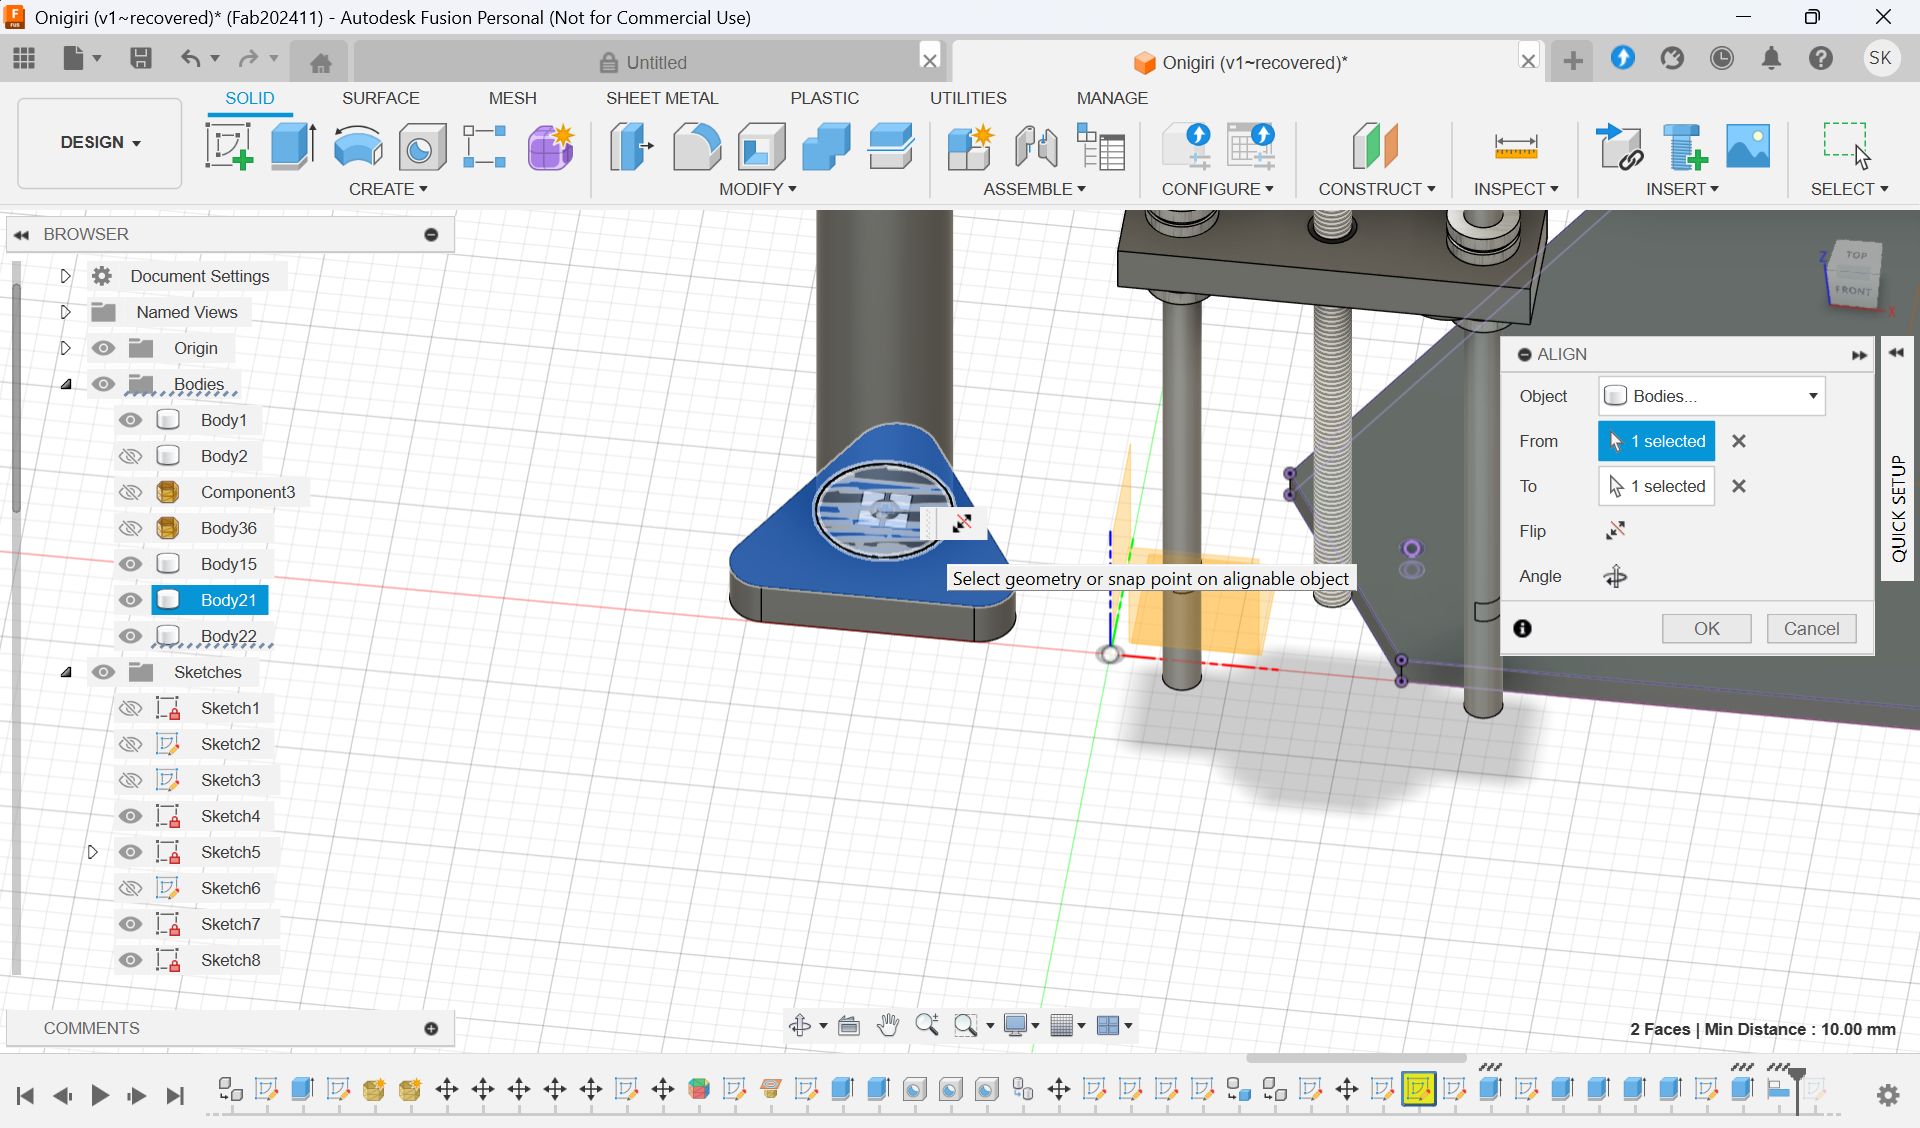
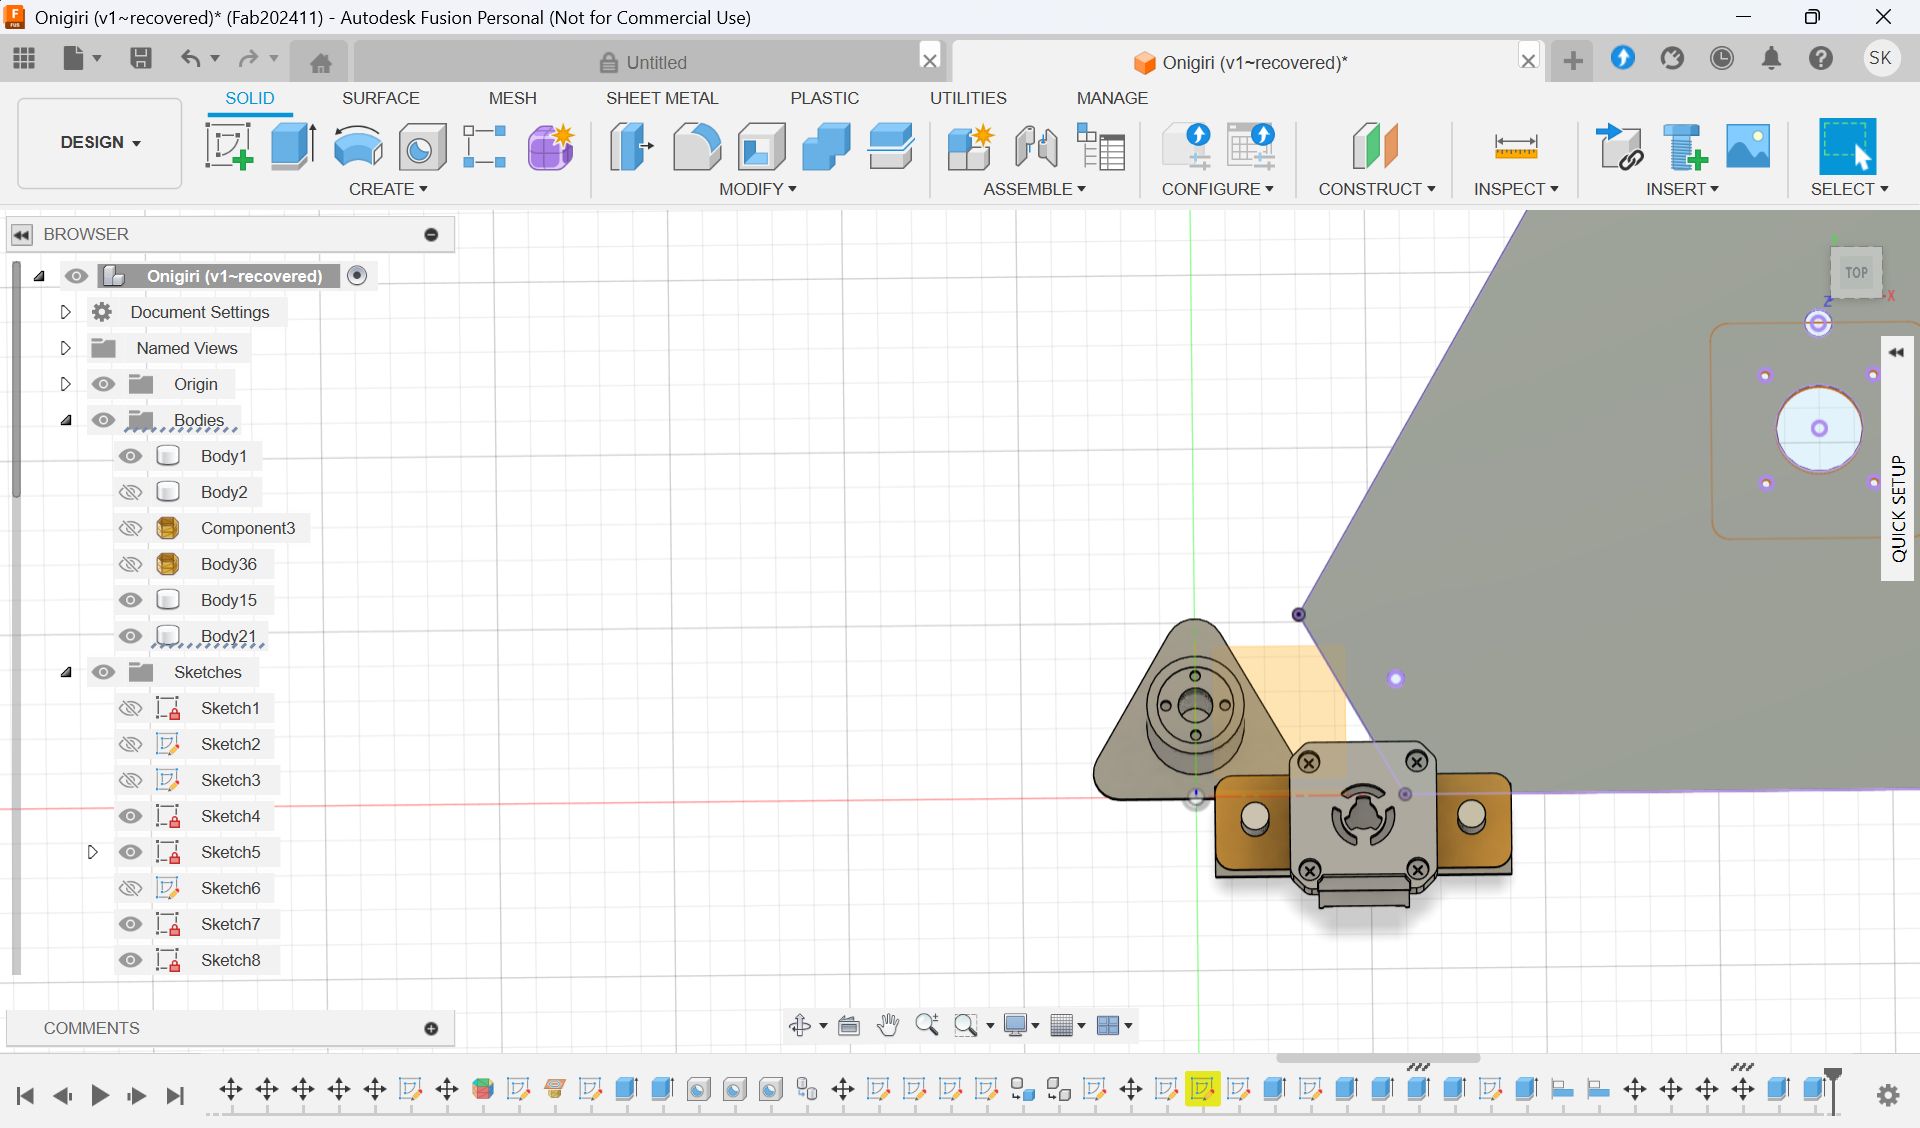
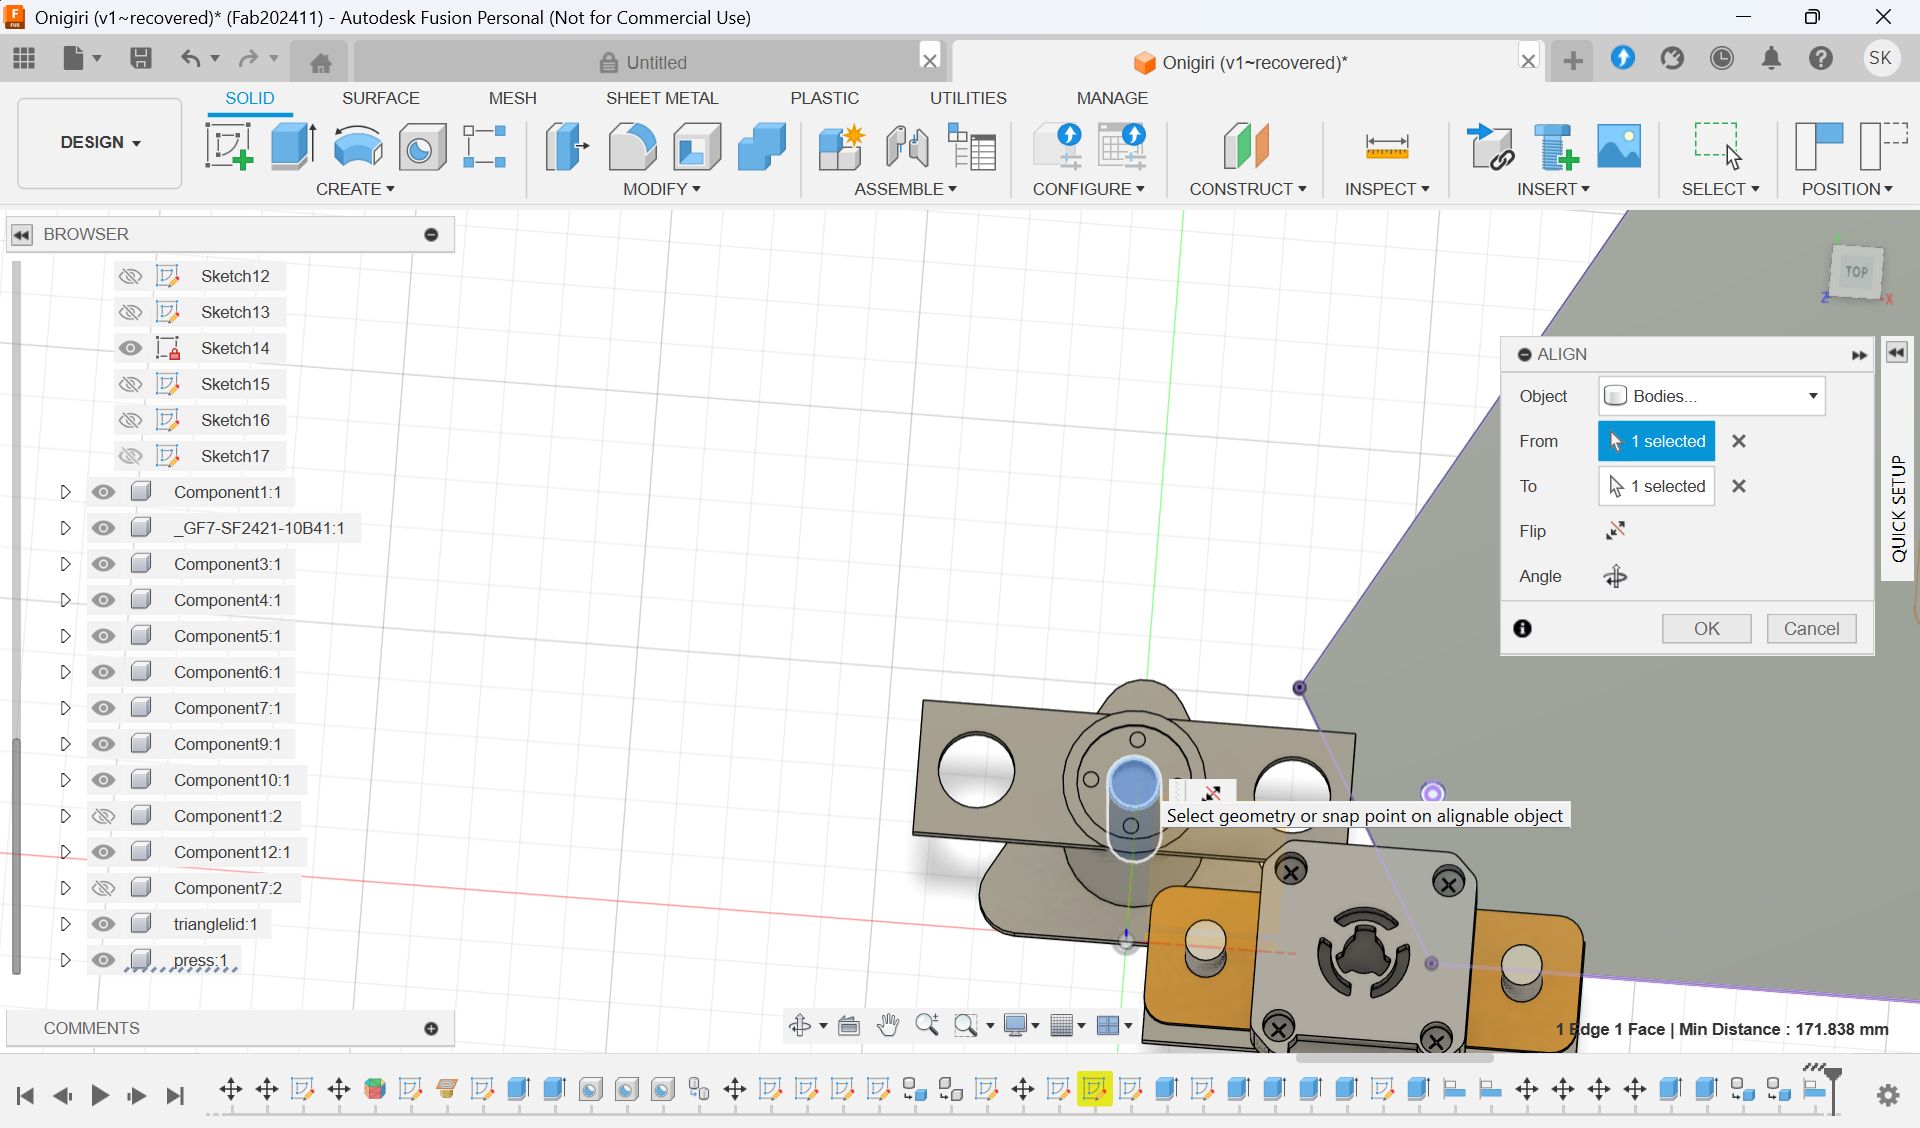
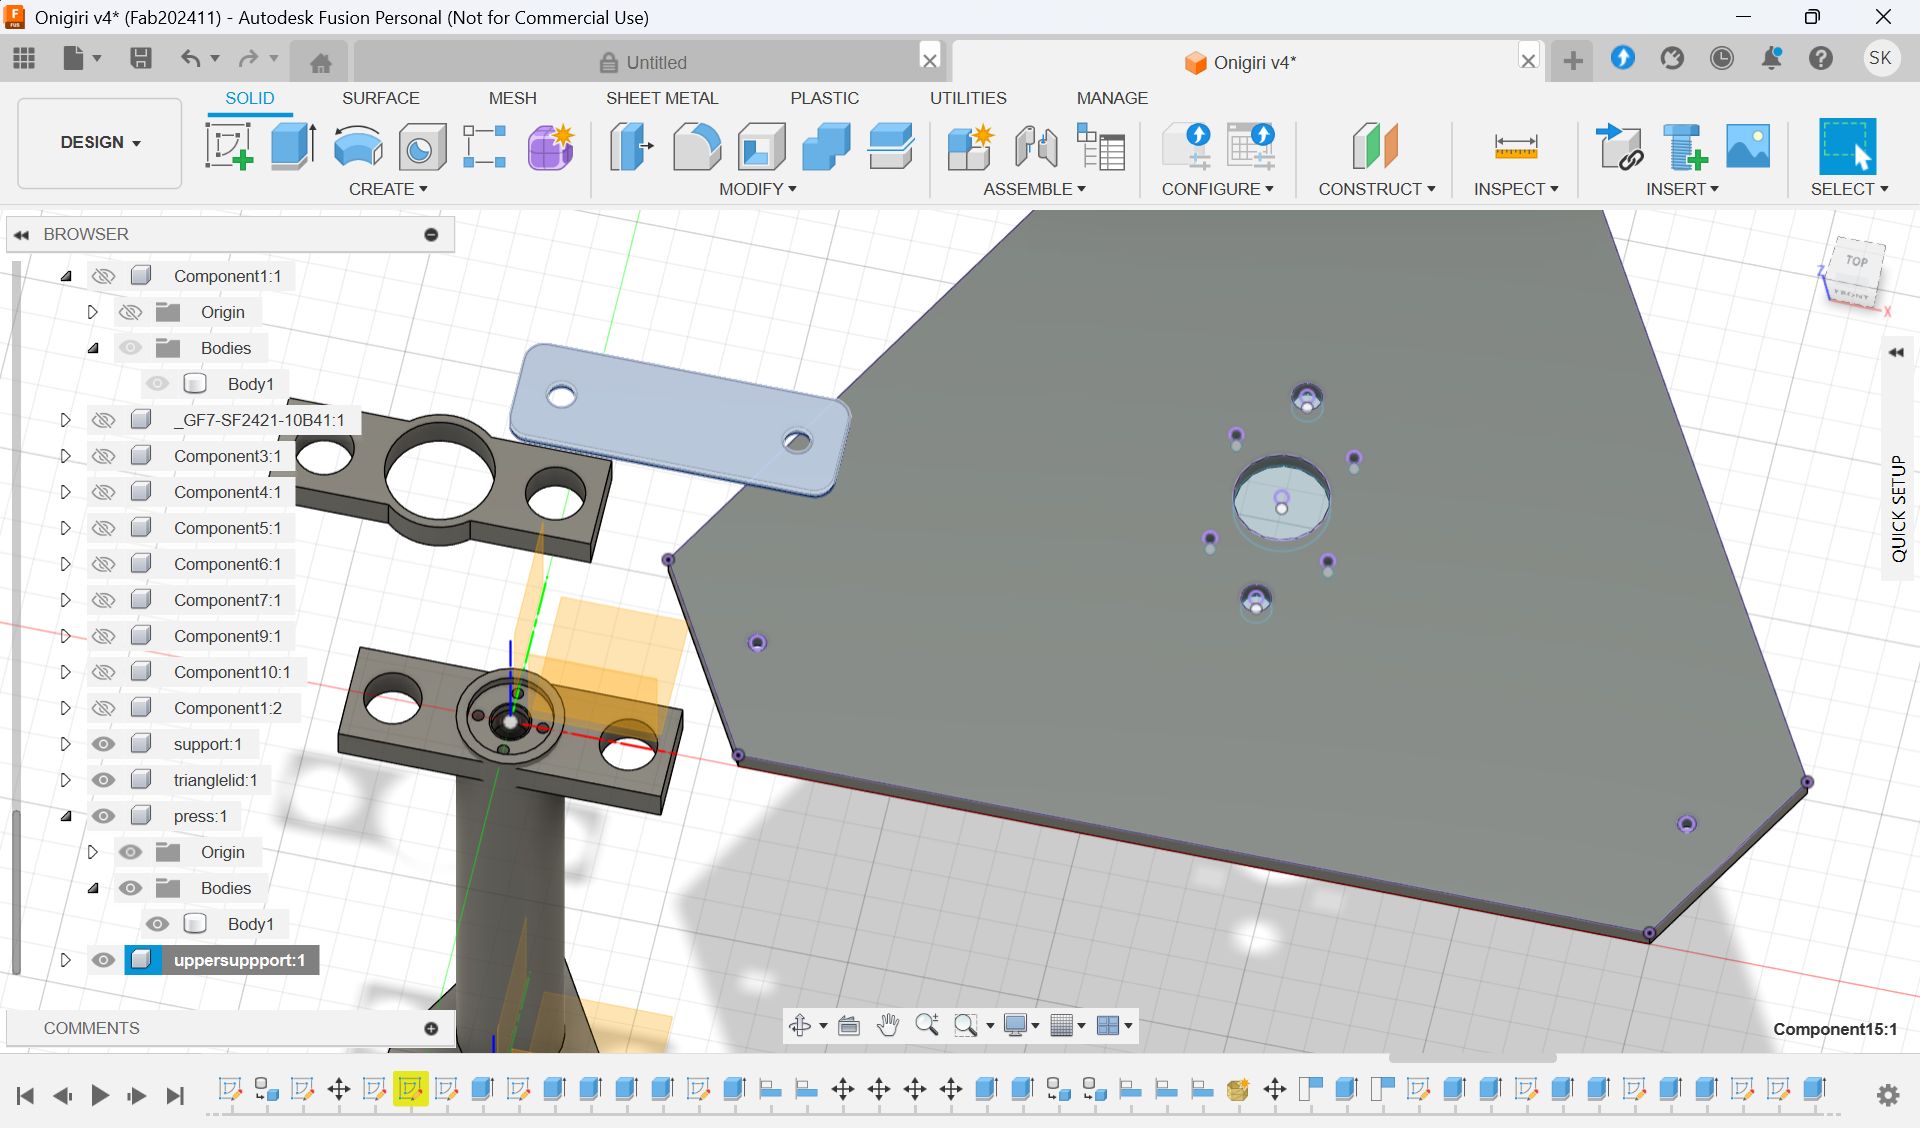
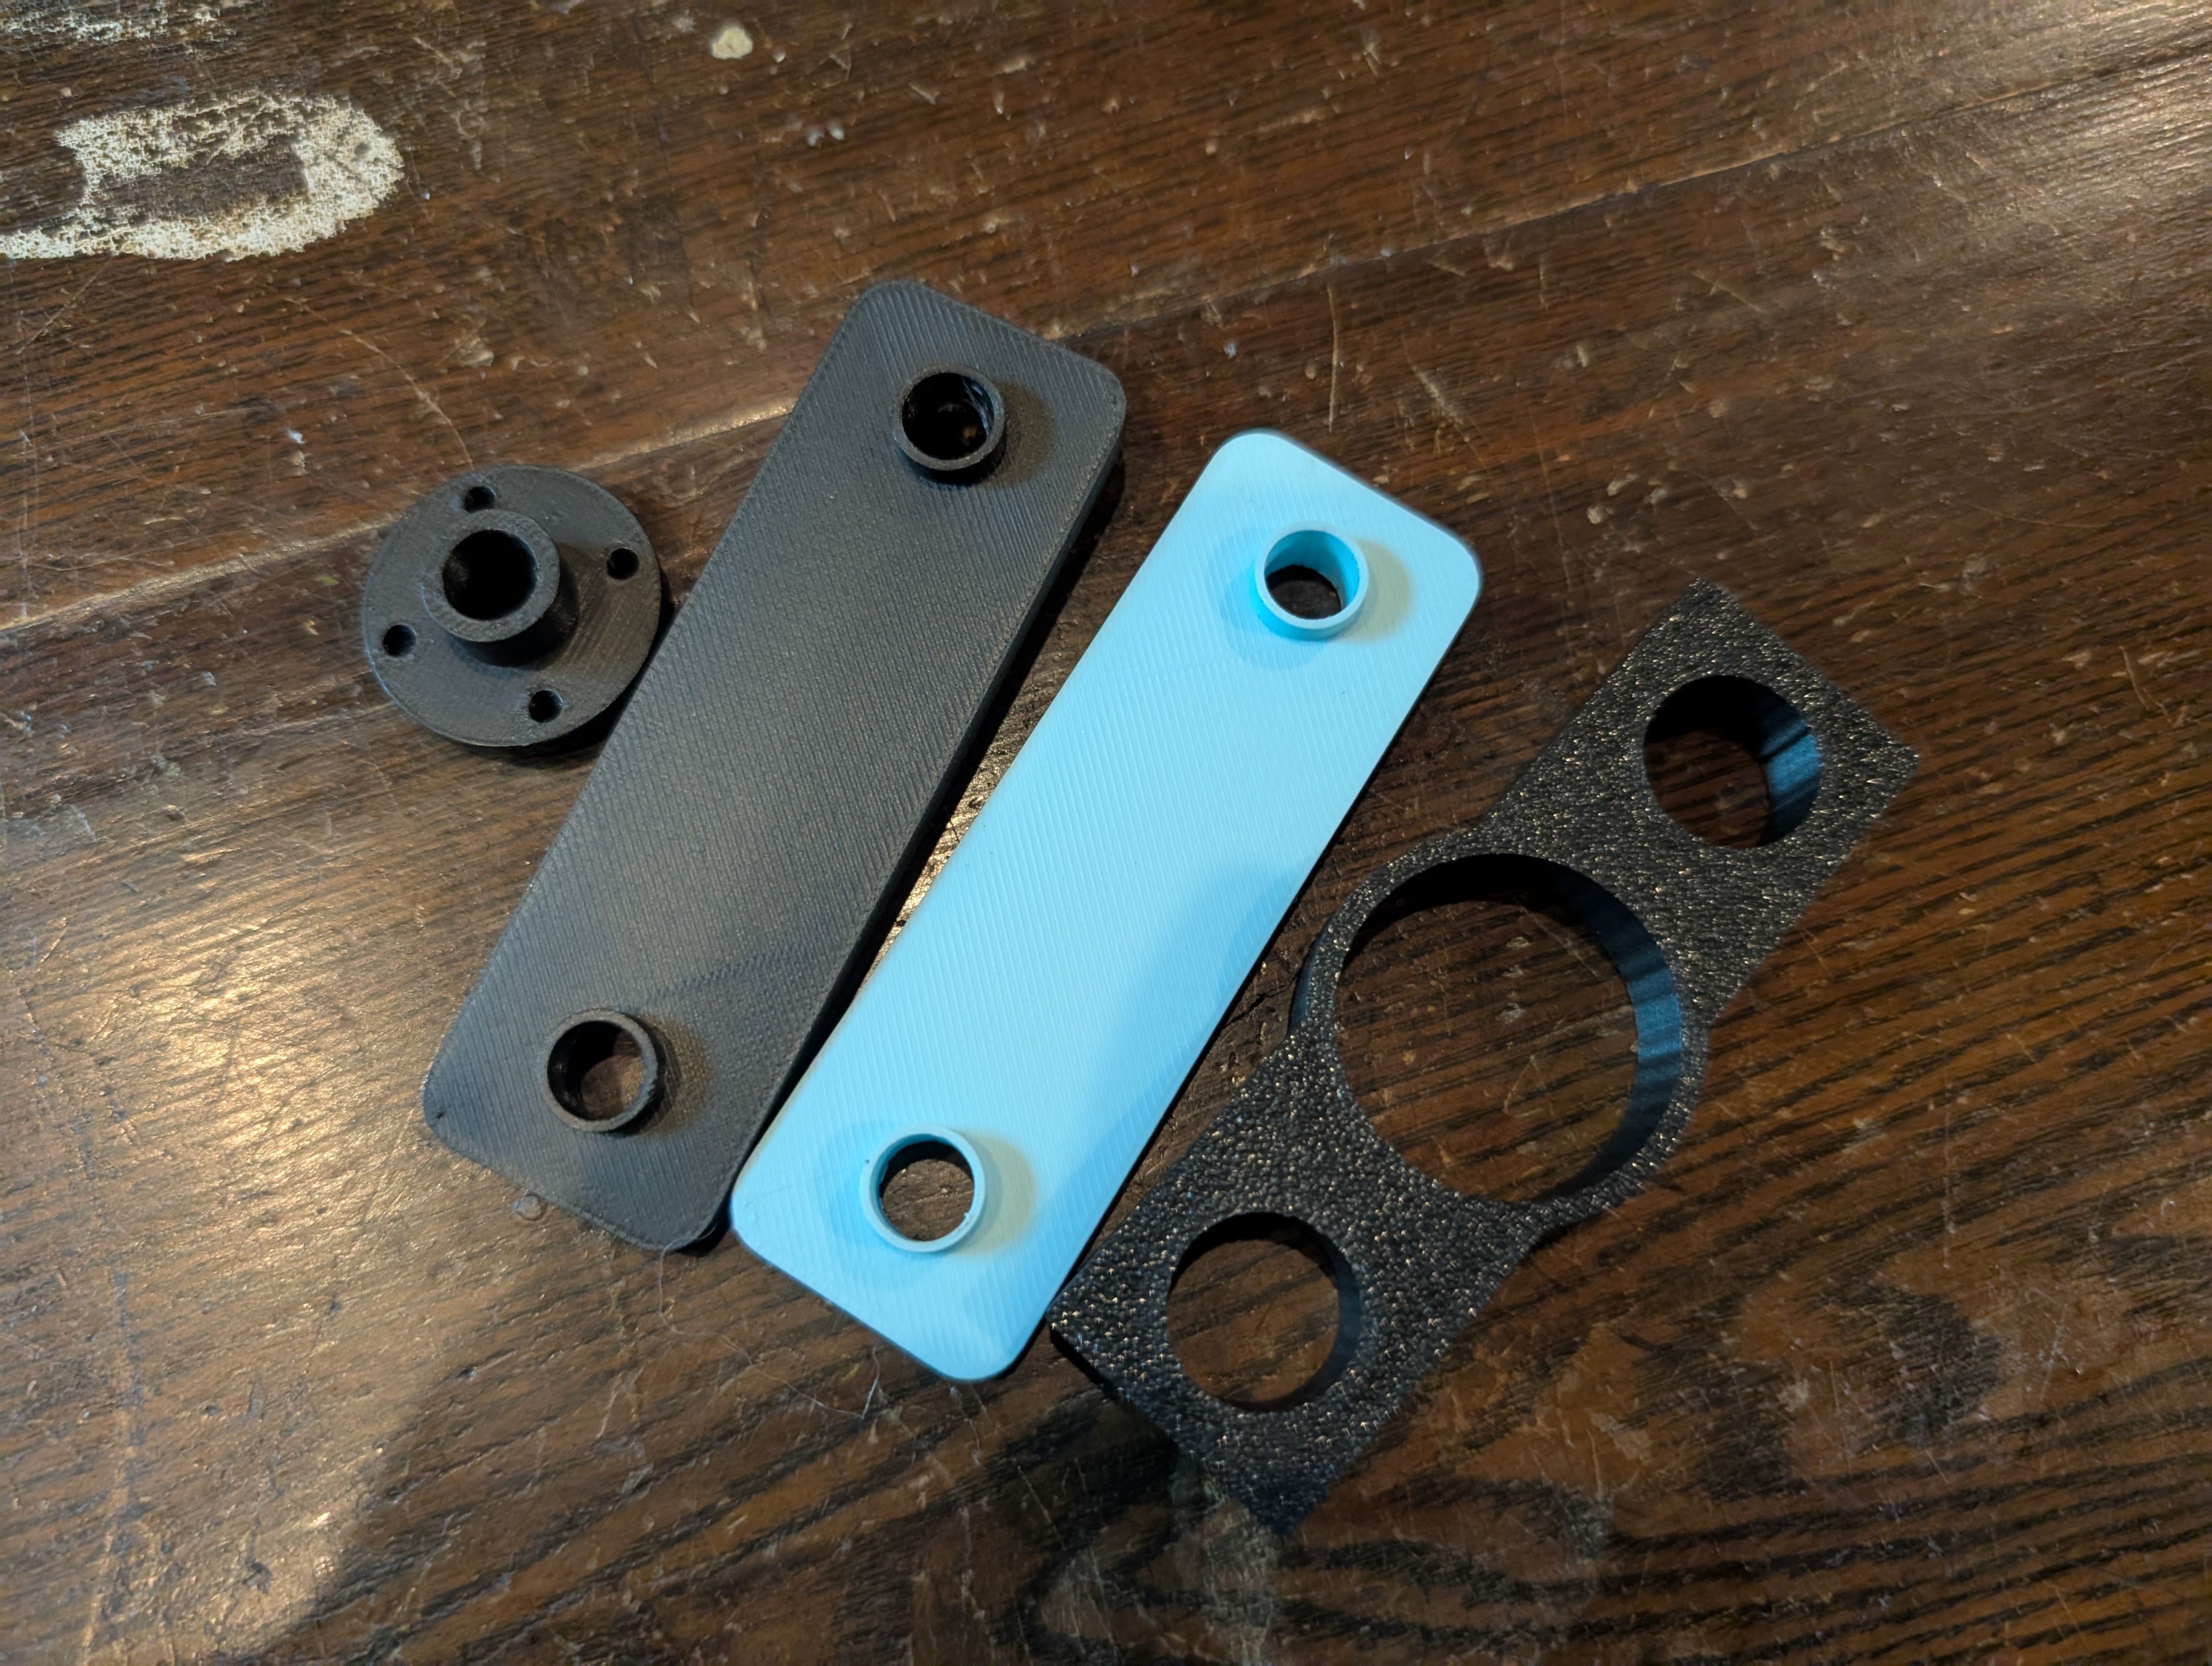
Design of mounting parts
In order to mount the motor from directly above, I designed the parts as the lid.
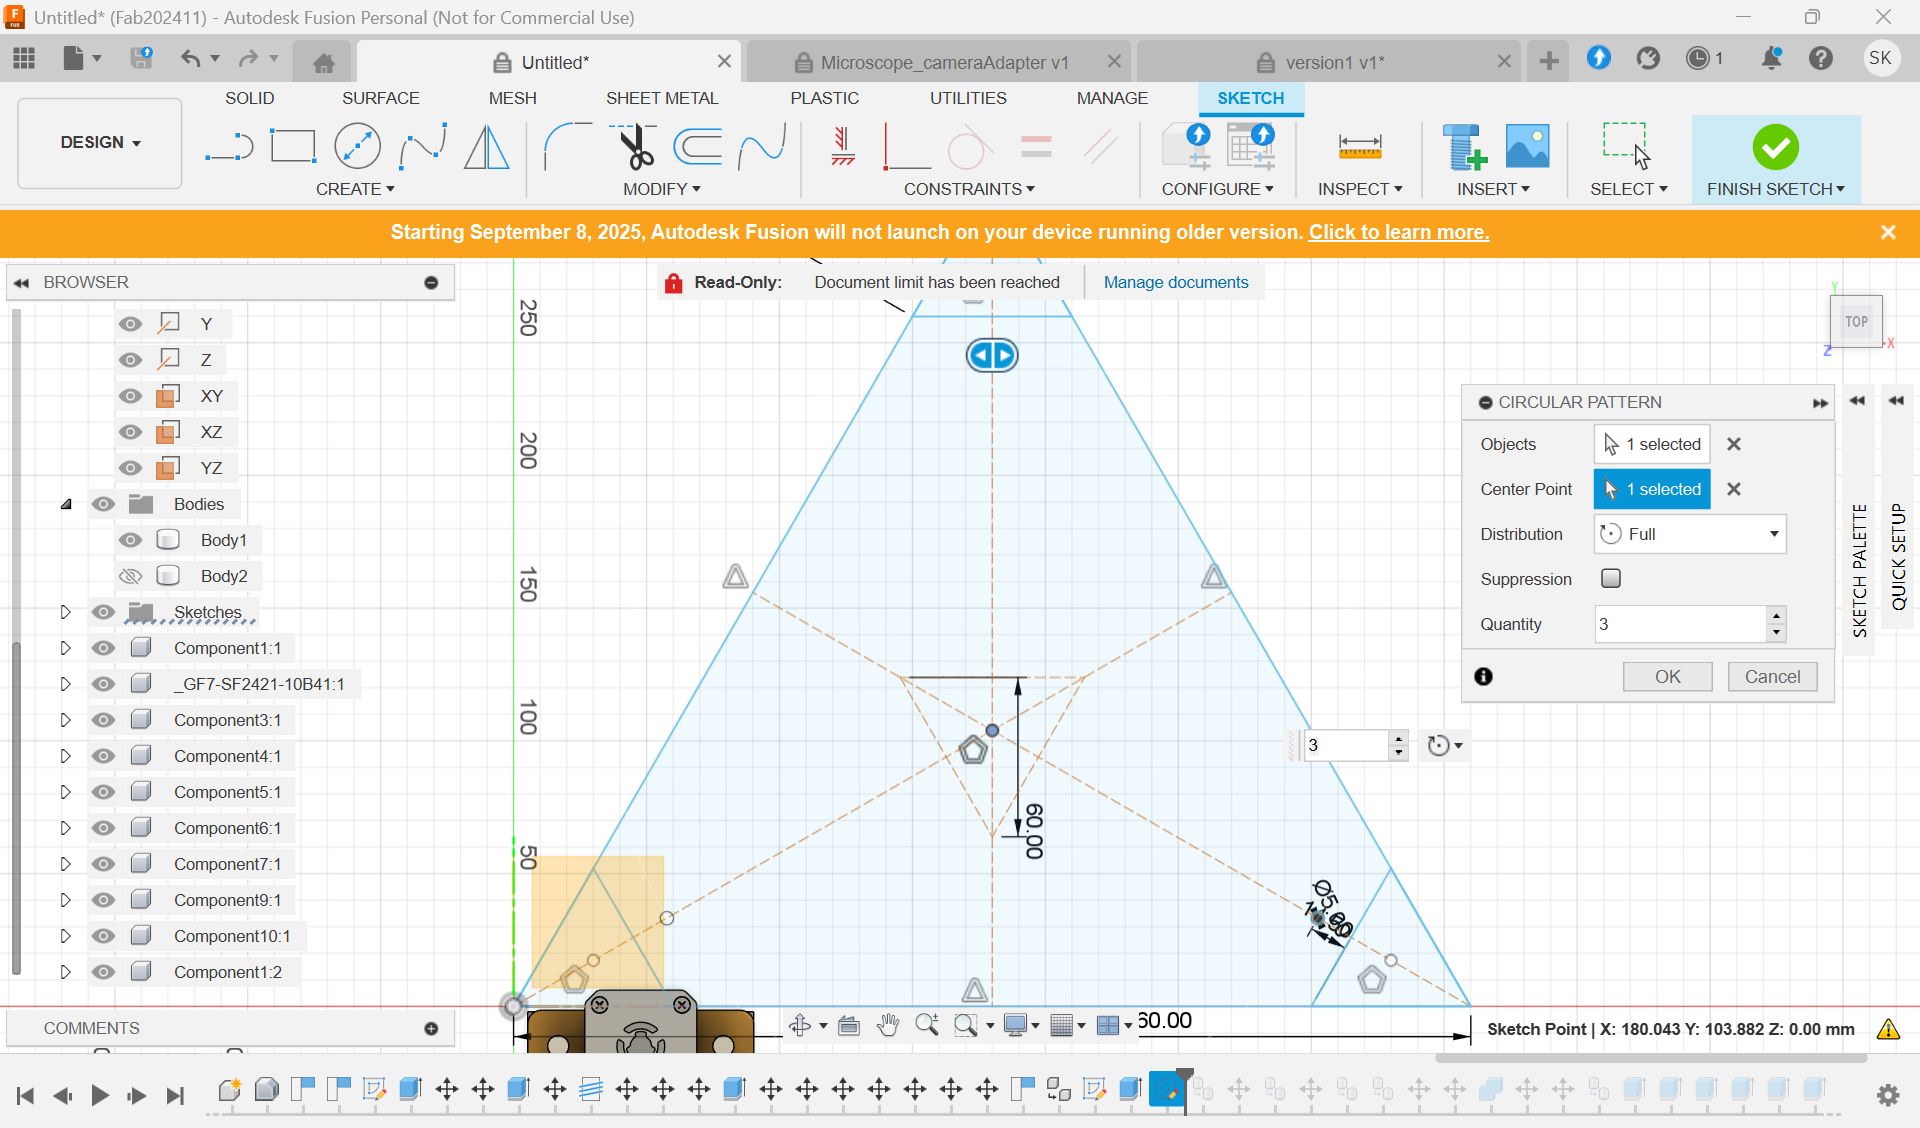
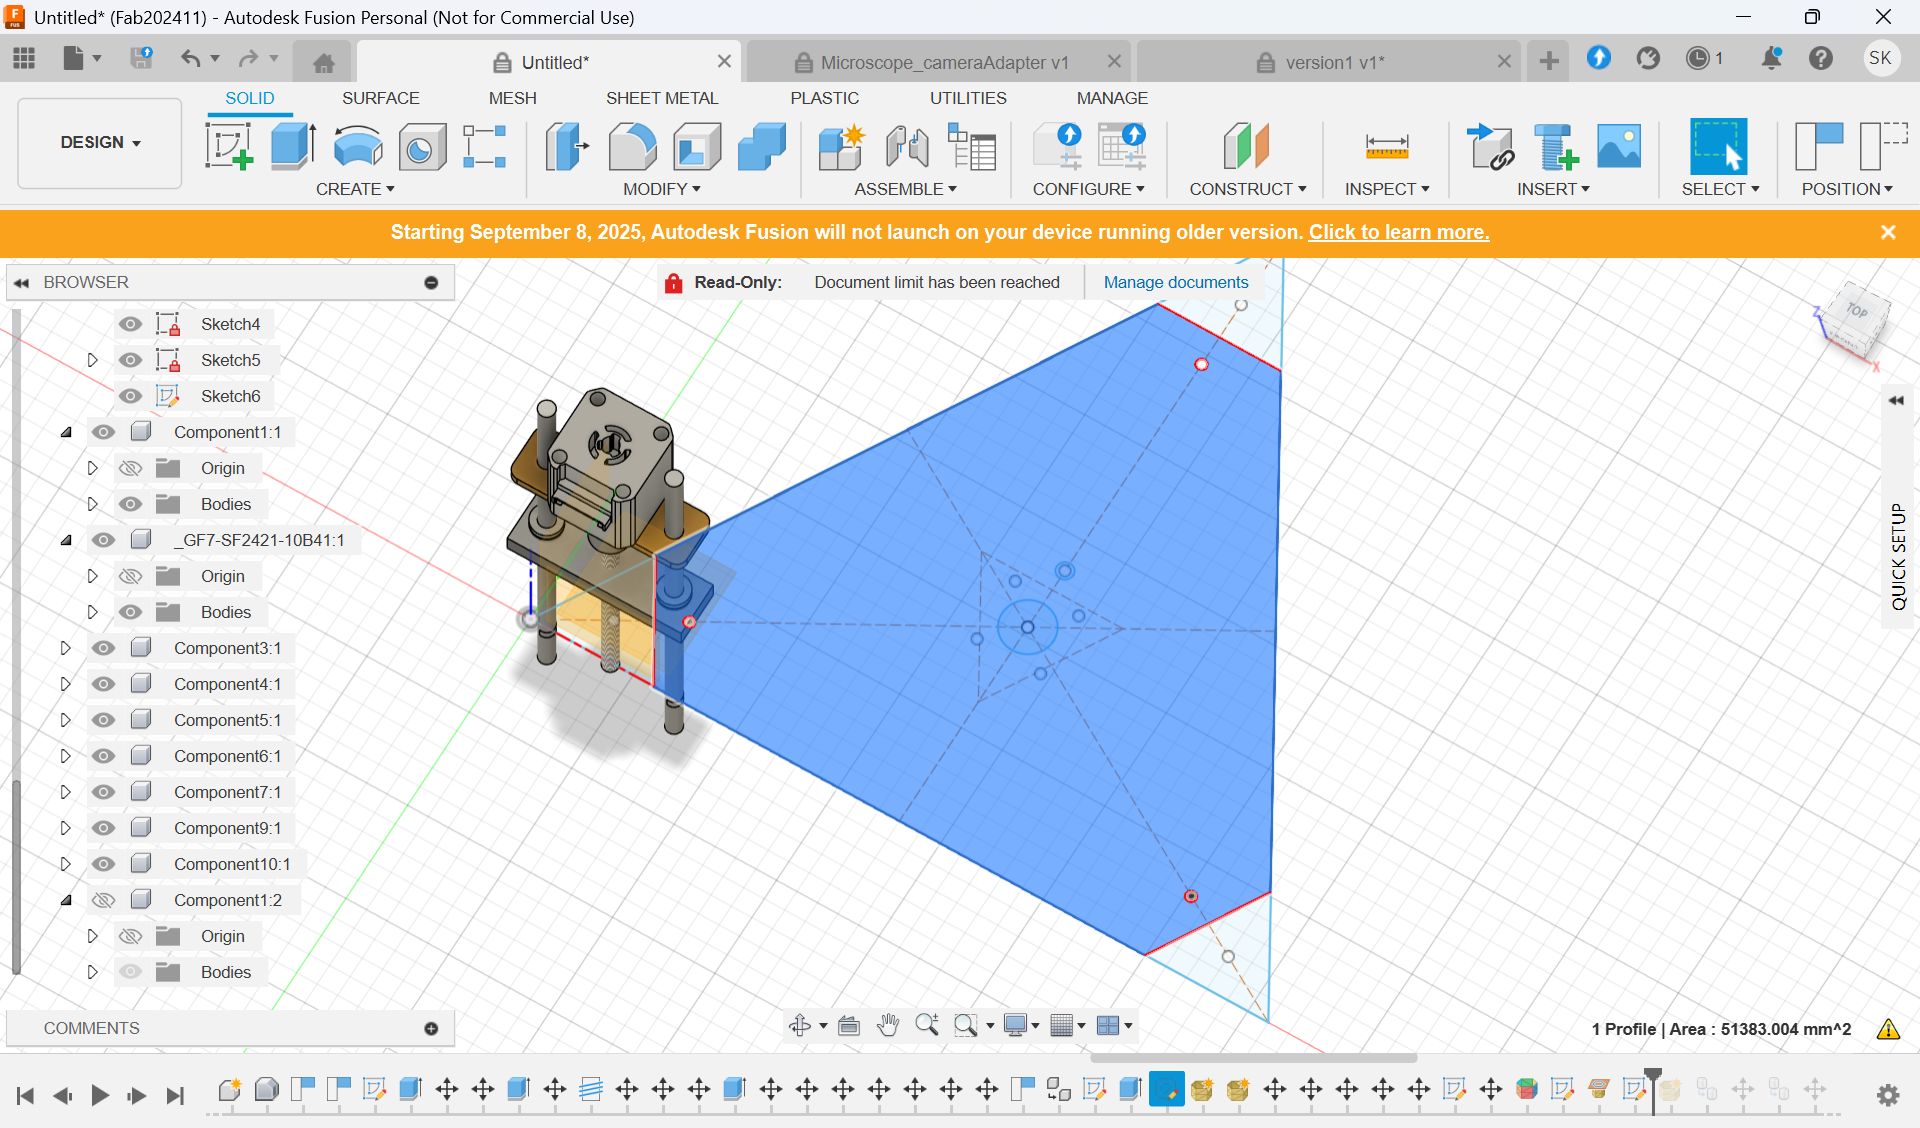
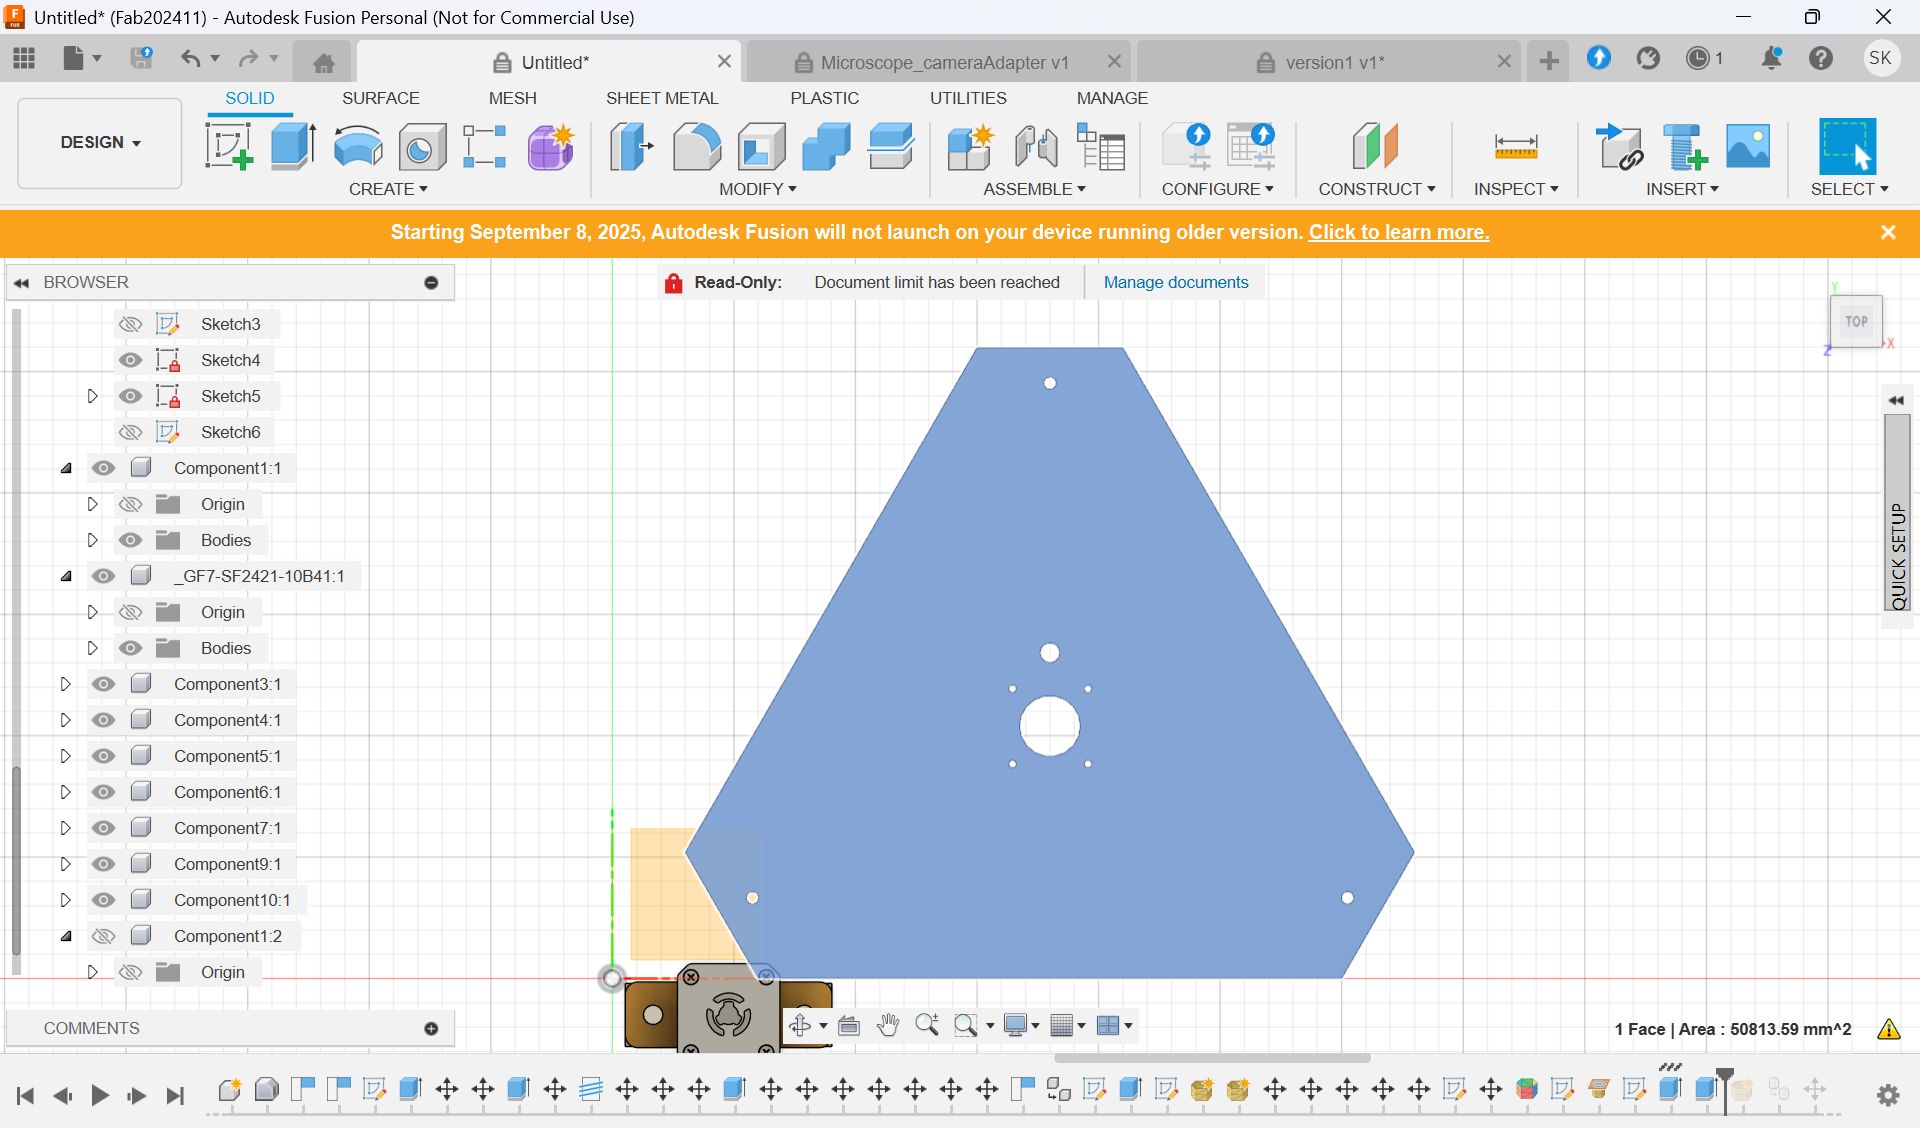
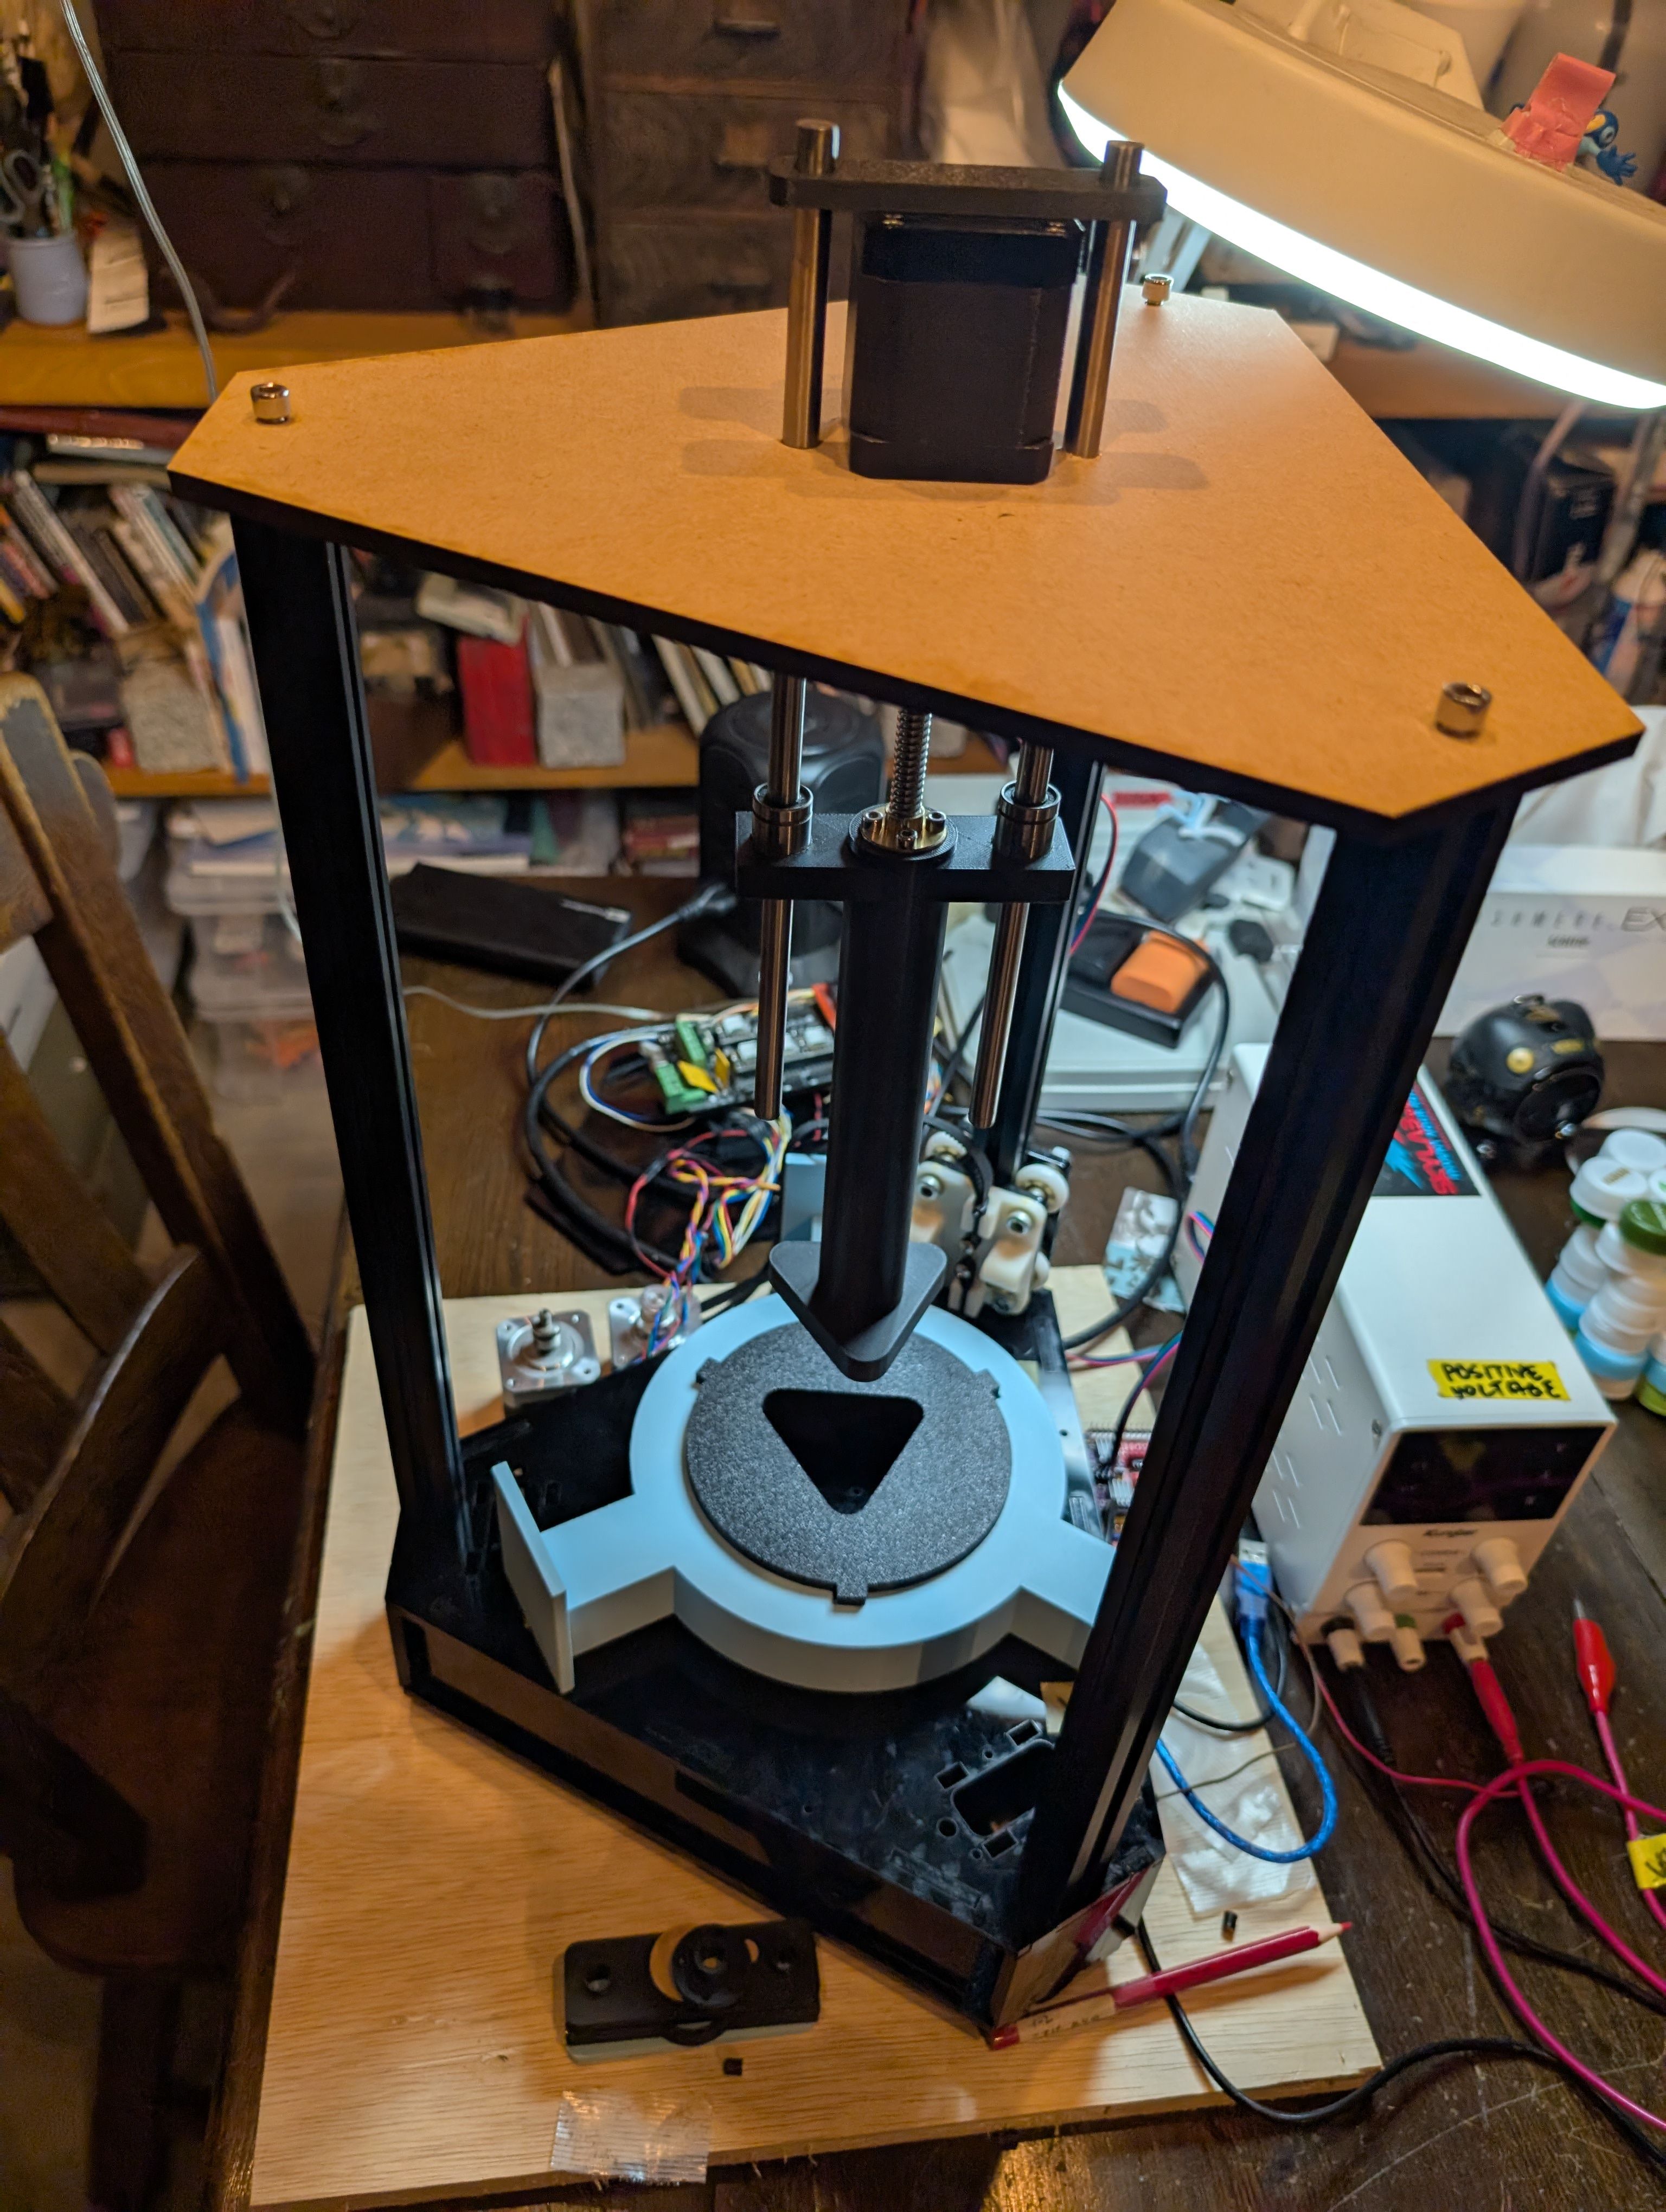
The final overall view (press part) is shown below.
Printing Parts
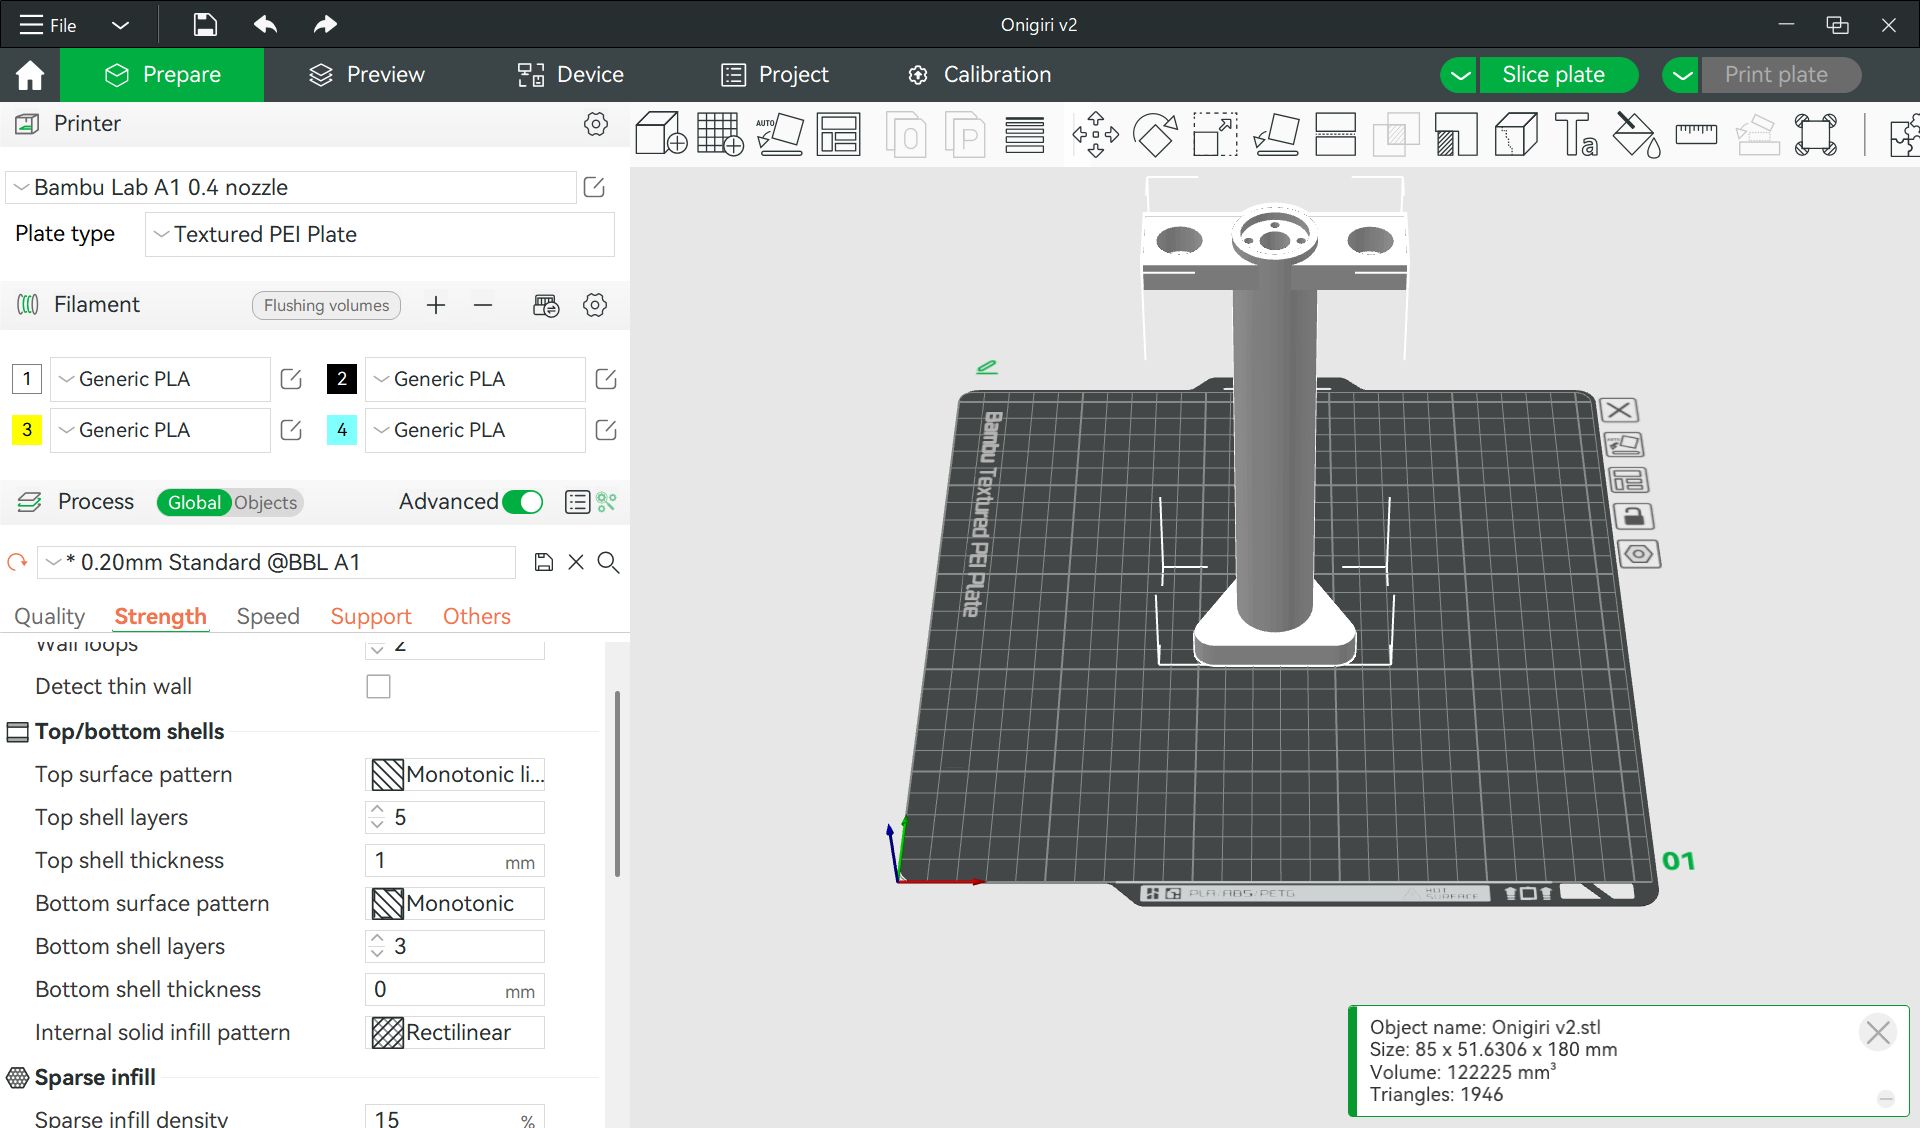


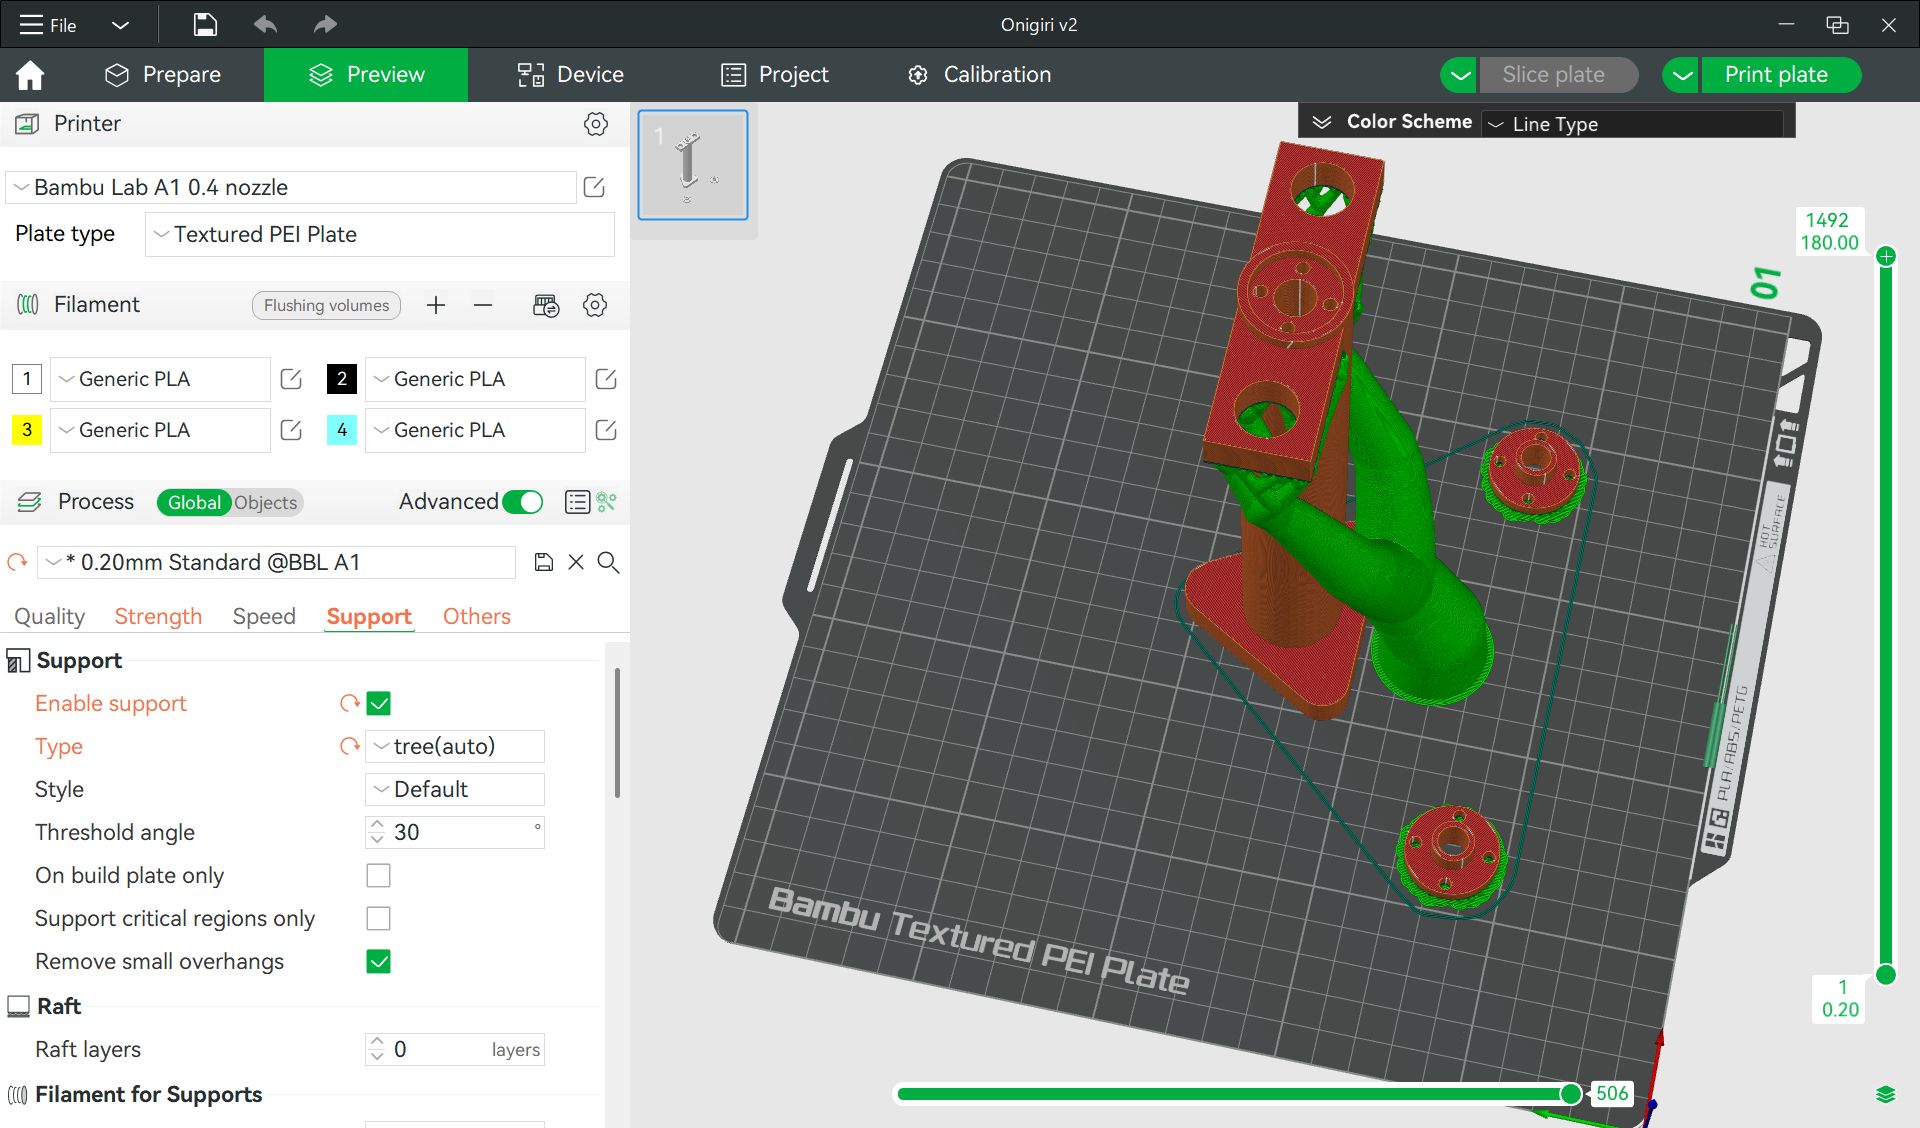
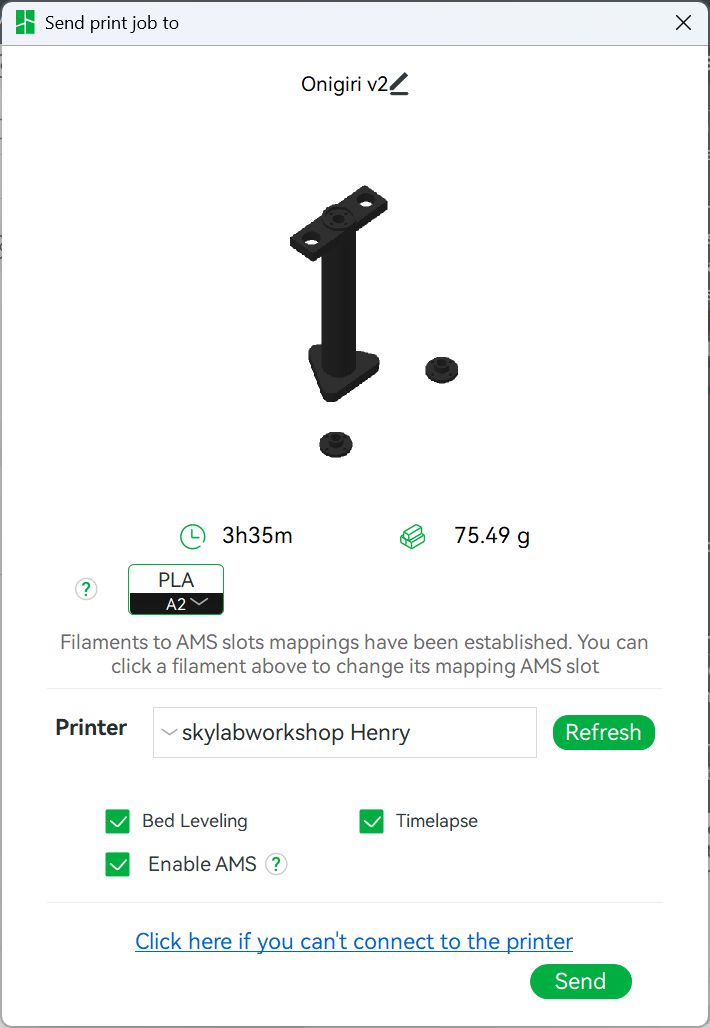
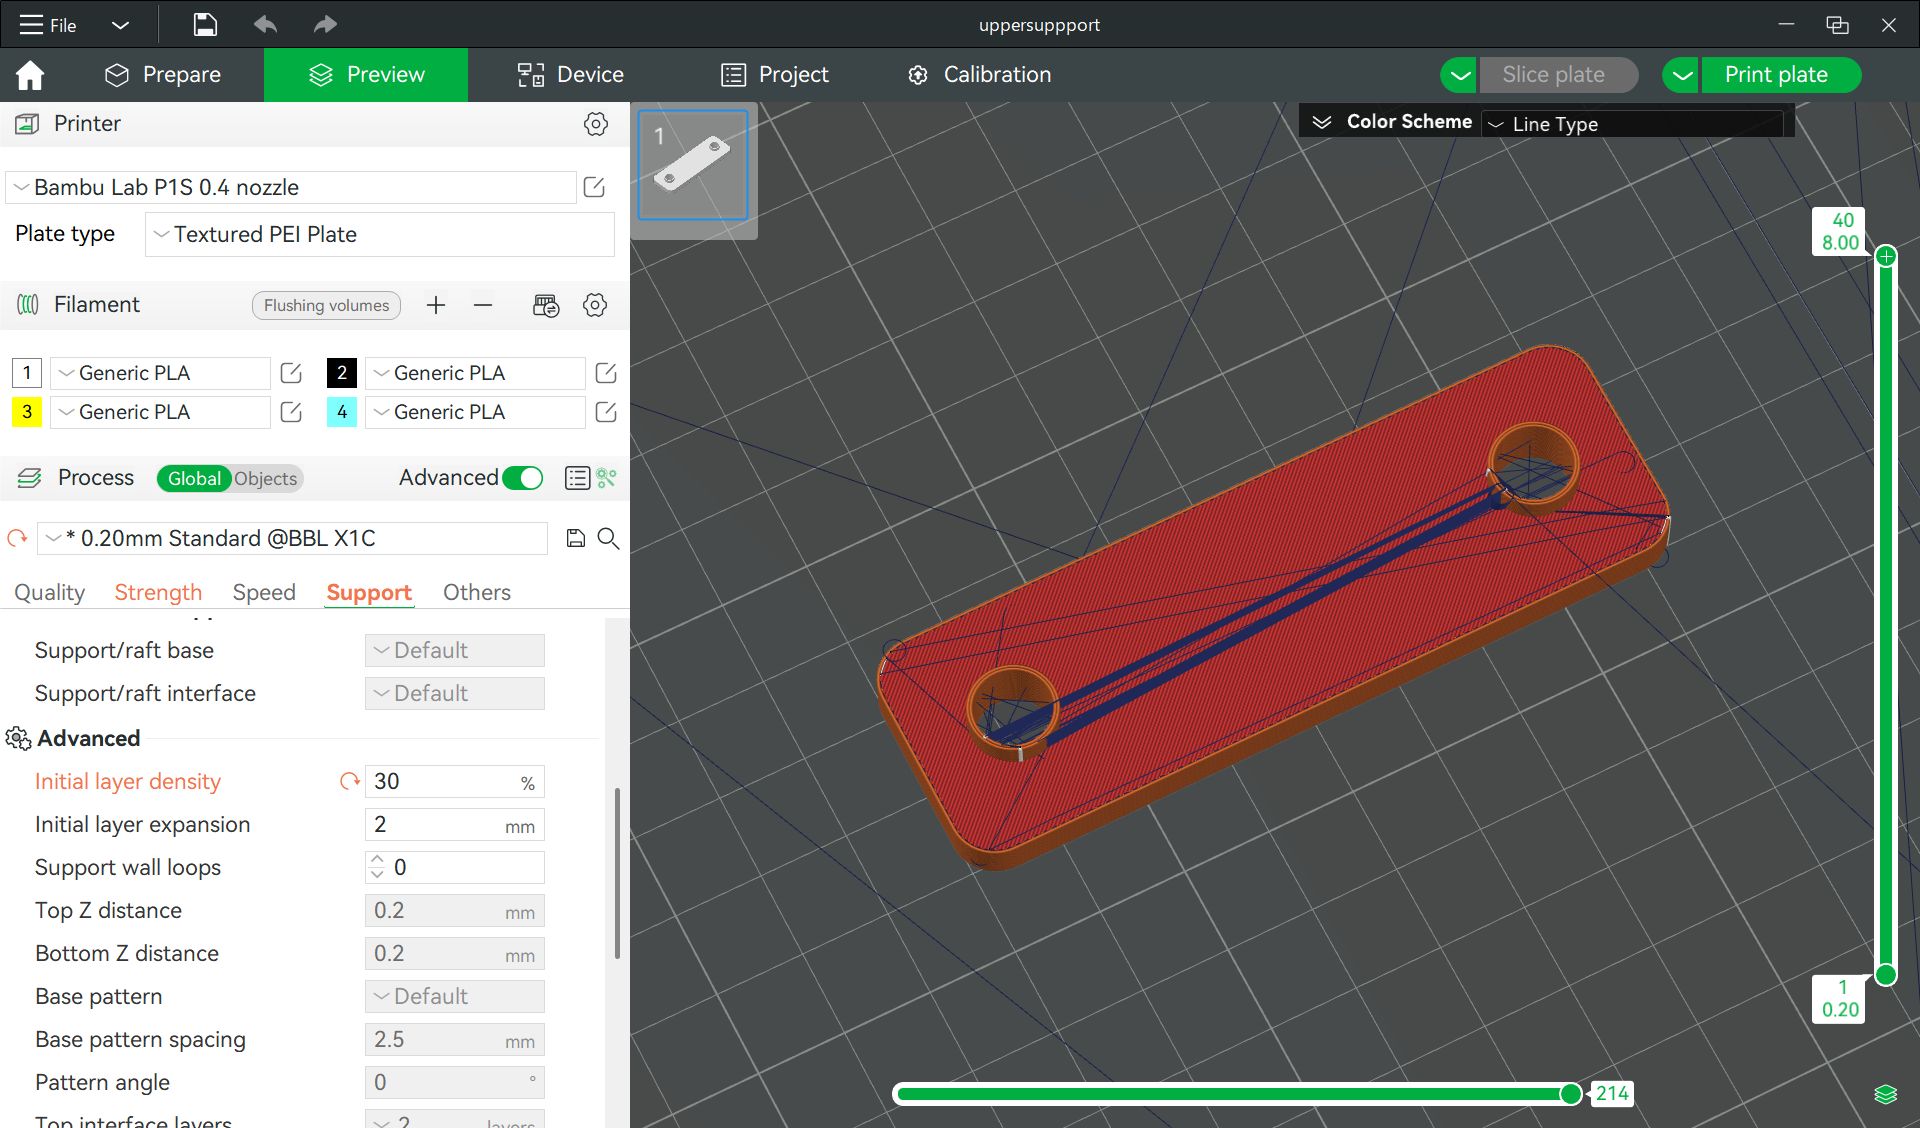
It took a lot of time to create parts that fit well with the originally existing parts.
(Below are the rejected fixed parts)
Automation in coding
Based on the test code created by Maki-san, I adjusted the movement distance and speed, and confirmed that it works well.
Code by Maki-san for testing
/*
      Onigiri Make Controller
 */

int x;

const int cncc_en = 8; // Pin for enable control CNCC

const int a_step = 2;    // Pressing Part
const int a_dir = 5;     // Direction for A
const int b_step = 3;    // Gear
const int b_dir = 6;     //

const char sel_a ='a';   // Pressing
const char sel_b ='b';   // Gear
const char sel_all ='c';  // All

// Setting values for
int step_num = 1600;     //  step number
int delay_time = 750;   // Delay time

void setup() {
  // Arduino pin setting
        pinMode(cncc_en,OUTPUT); // Enable
        pinMode(a_step,OUTPUT); // step setting for Pressing part
        pinMode(a_dir,OUTPUT);  // Direction for A
        pinMode(b_step,OUTPUT); // Step setting for Moving part
        pinMode(b_dir,OUTPUT);  // Direction for B
        digitalWrite(cncc_en,LOW); // Set Enable lowでドライバーが動く

        Serial.begin(9600);

        Serial.println("Which tool do you want to use?(a:Pressing b:Gear):");
}

void loop() {
    Serial.println("Which tool do you want to use?(a:Pressing b:Gear c:All):");

    // 入力があるまで待機
    while (Serial.available() == 0) {
        // ここでは何もせず、ひたすら待つ(CPUは暇)
        delay(100);  // 軽く休ませると無駄な負荷が減る
    }

    // ここに来たということは、何か入力されたということ
    char key = Serial.read();
    Serial.println(key);

    if(key == 'a'){          // Pressing
        move_control(a_step, a_dir);
    }
    else if(key == 'b'){     // Gear
        move_control(b_step, b_dir);
    }
    else if(key == 'c'){     // All
        move_control(a_step, a_dir);
        move_control(b_step, b_dir);
    }

    // 一通りの処理が終わったら、またloop先頭で待機状態に戻る
}

/*
  parameter: pin no, direction pin no, High/low
*/
void step_move(int move_pin, int dir_pin, float dir){
        digitalWrite(dir_pin ,dir); // Set Dir High 正転/逆転
        for(x = 0; x < step_num ; x++) //200ステップ分繰り返す
        {
            digitalWrite(move_pin, HIGH);
            delayMicroseconds(delay_time);
            digitalWrite(move_pin, LOW);
            delayMicroseconds(delay_time);
        }
        delay(1000);
}
/*
      Control up/down or clockwise/counter clockwise
      parameter (Port No, Direction No)
*/
void move_control(int port_no, int port_dir){
        char go = ' ';
        Serial.println("What do you want?(u:up d:Down x:exit):");
        while(go != 'x'){
              if (Serial.available()){
                    go= Serial.read();
                  // 改行や不要な文字を無視
                    if (go == '\n' || go == '\r') {
                      continue;
                    }
                    Serial.println(go);
              }
              if(go == 'u'){
                    step_move(port_no, port_dir, HIGH);
              }else if(go == 'd'){
                    step_move(port_no, port_dir, LOW);
              }else if(go == 'x'){
                return;
              }
              delay(500);
        }
}
At first, I tested with one support pole, but I found that if the support pole is only on one side, it may not be fixed well enough and the motor may not move.
So I decided to support with 2 poles
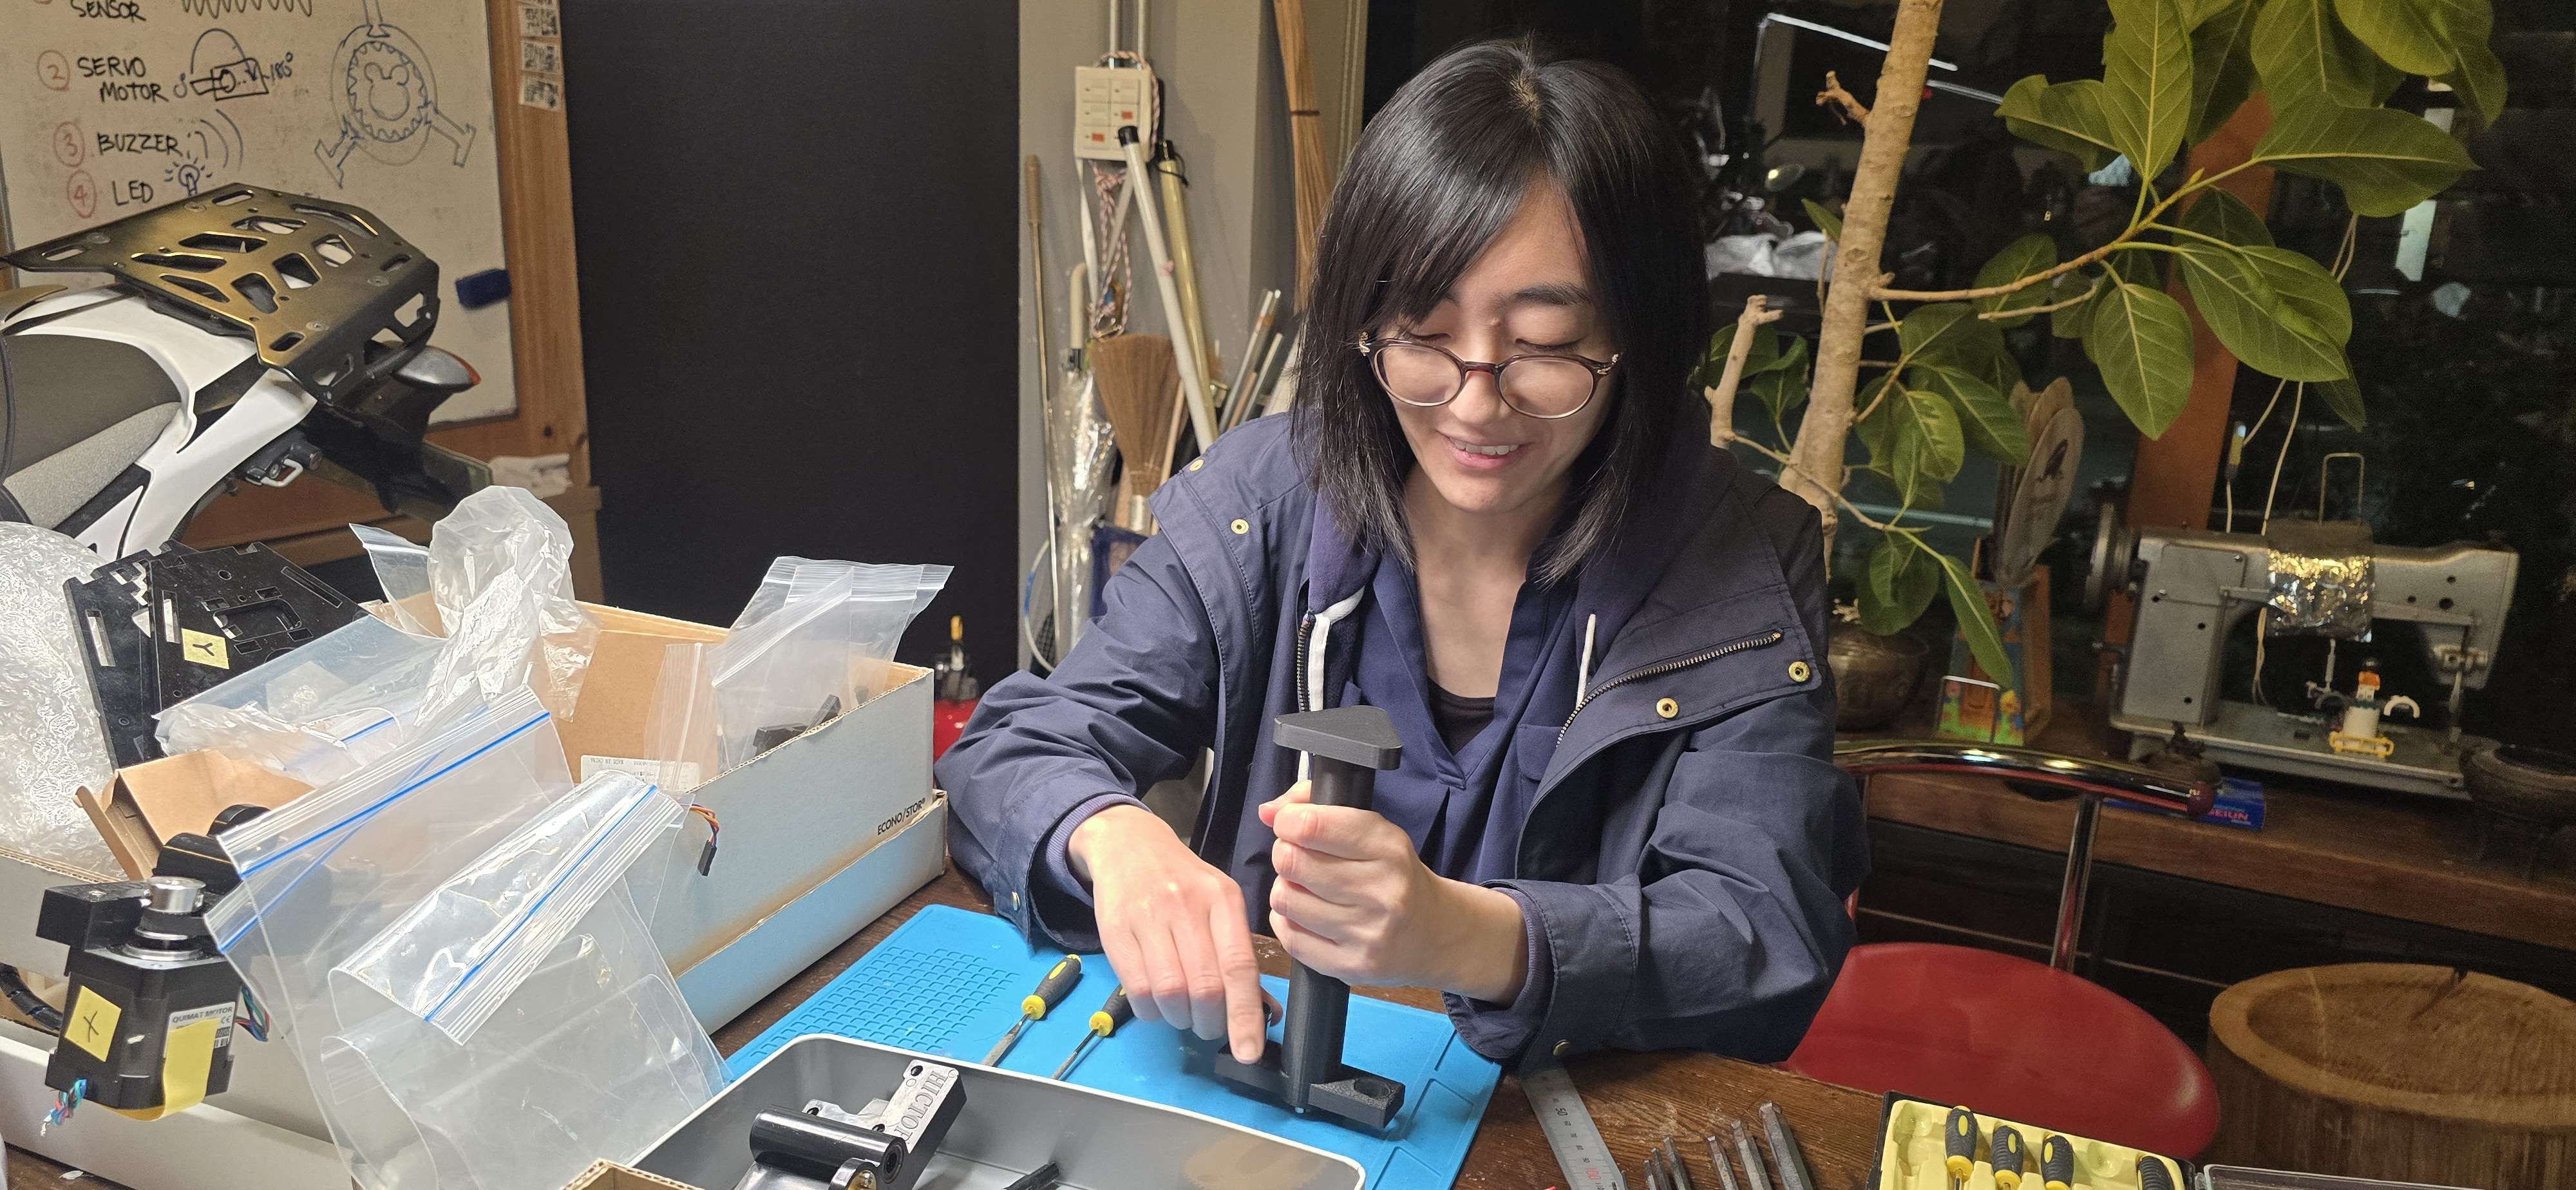
Test with rice
I tested the press by actually putting rice into the bowl to see if it would press well.
I first tested whether enough force could be applied to press the rice with only one support pole.
(The mold set up below was a temporary mold created by Maki-san for the test.)
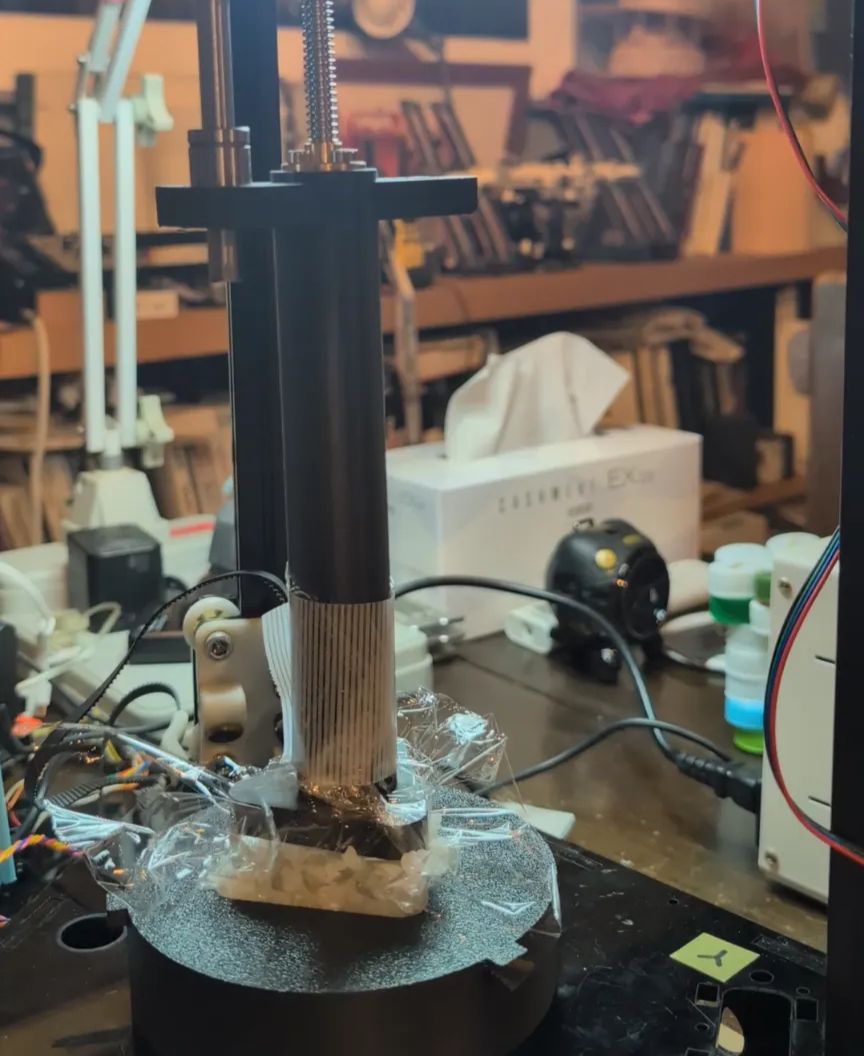
Here is the final assembly result.
After this, I take over this machine to Maki-san.
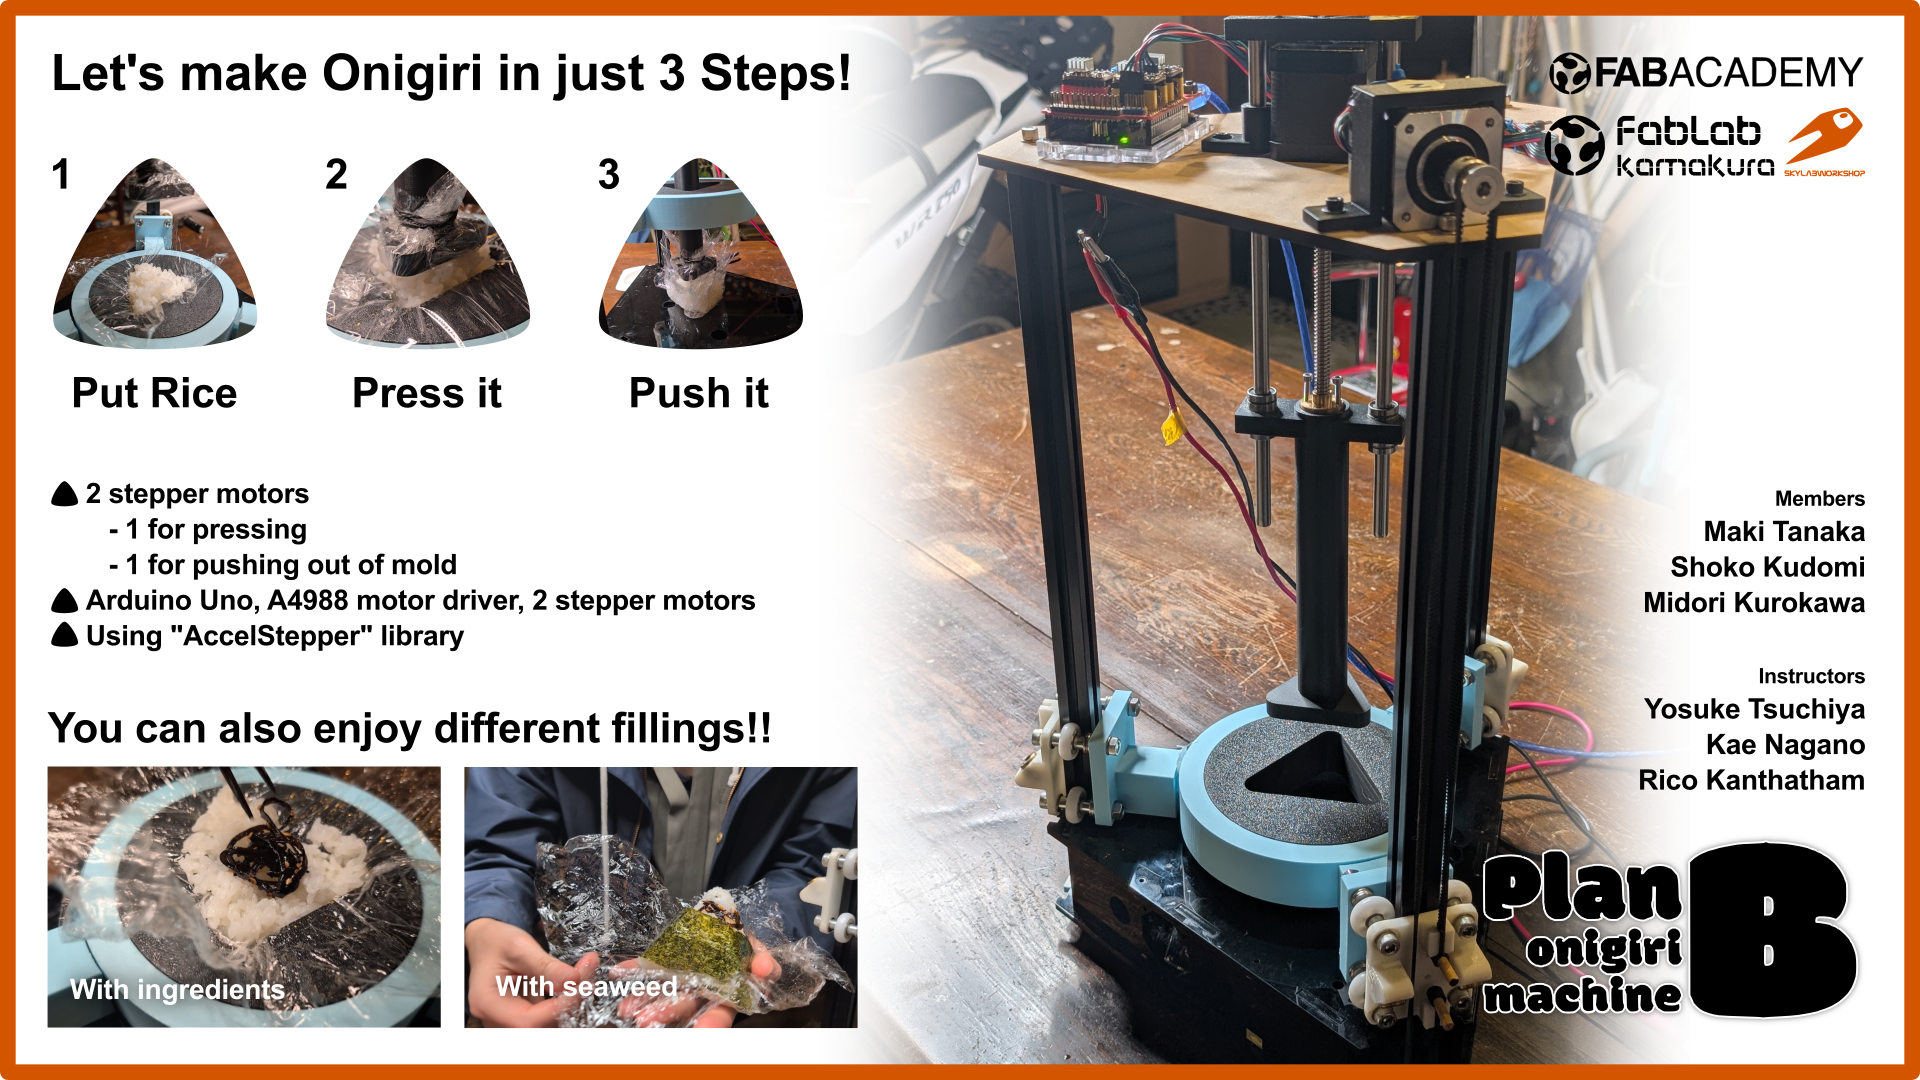
Made video and slide image
I was in charge of the presentation, so I collected everyone's images and videos and created the video and slides for the presentation.
Video: iMovie
Images: Inkscape
I really didn't have much time to create the images.(I started making it 3 hours before the class.) I wish I could have been a little more particular about it.
The result is as shown:
Outcomes
tinkercad model file
Onigiri press f3d file(Fusion)
Onigiri slide