#13 Molding and Casting
This week I learned how to make mold and cast the shape.
Assignment
Group assignment
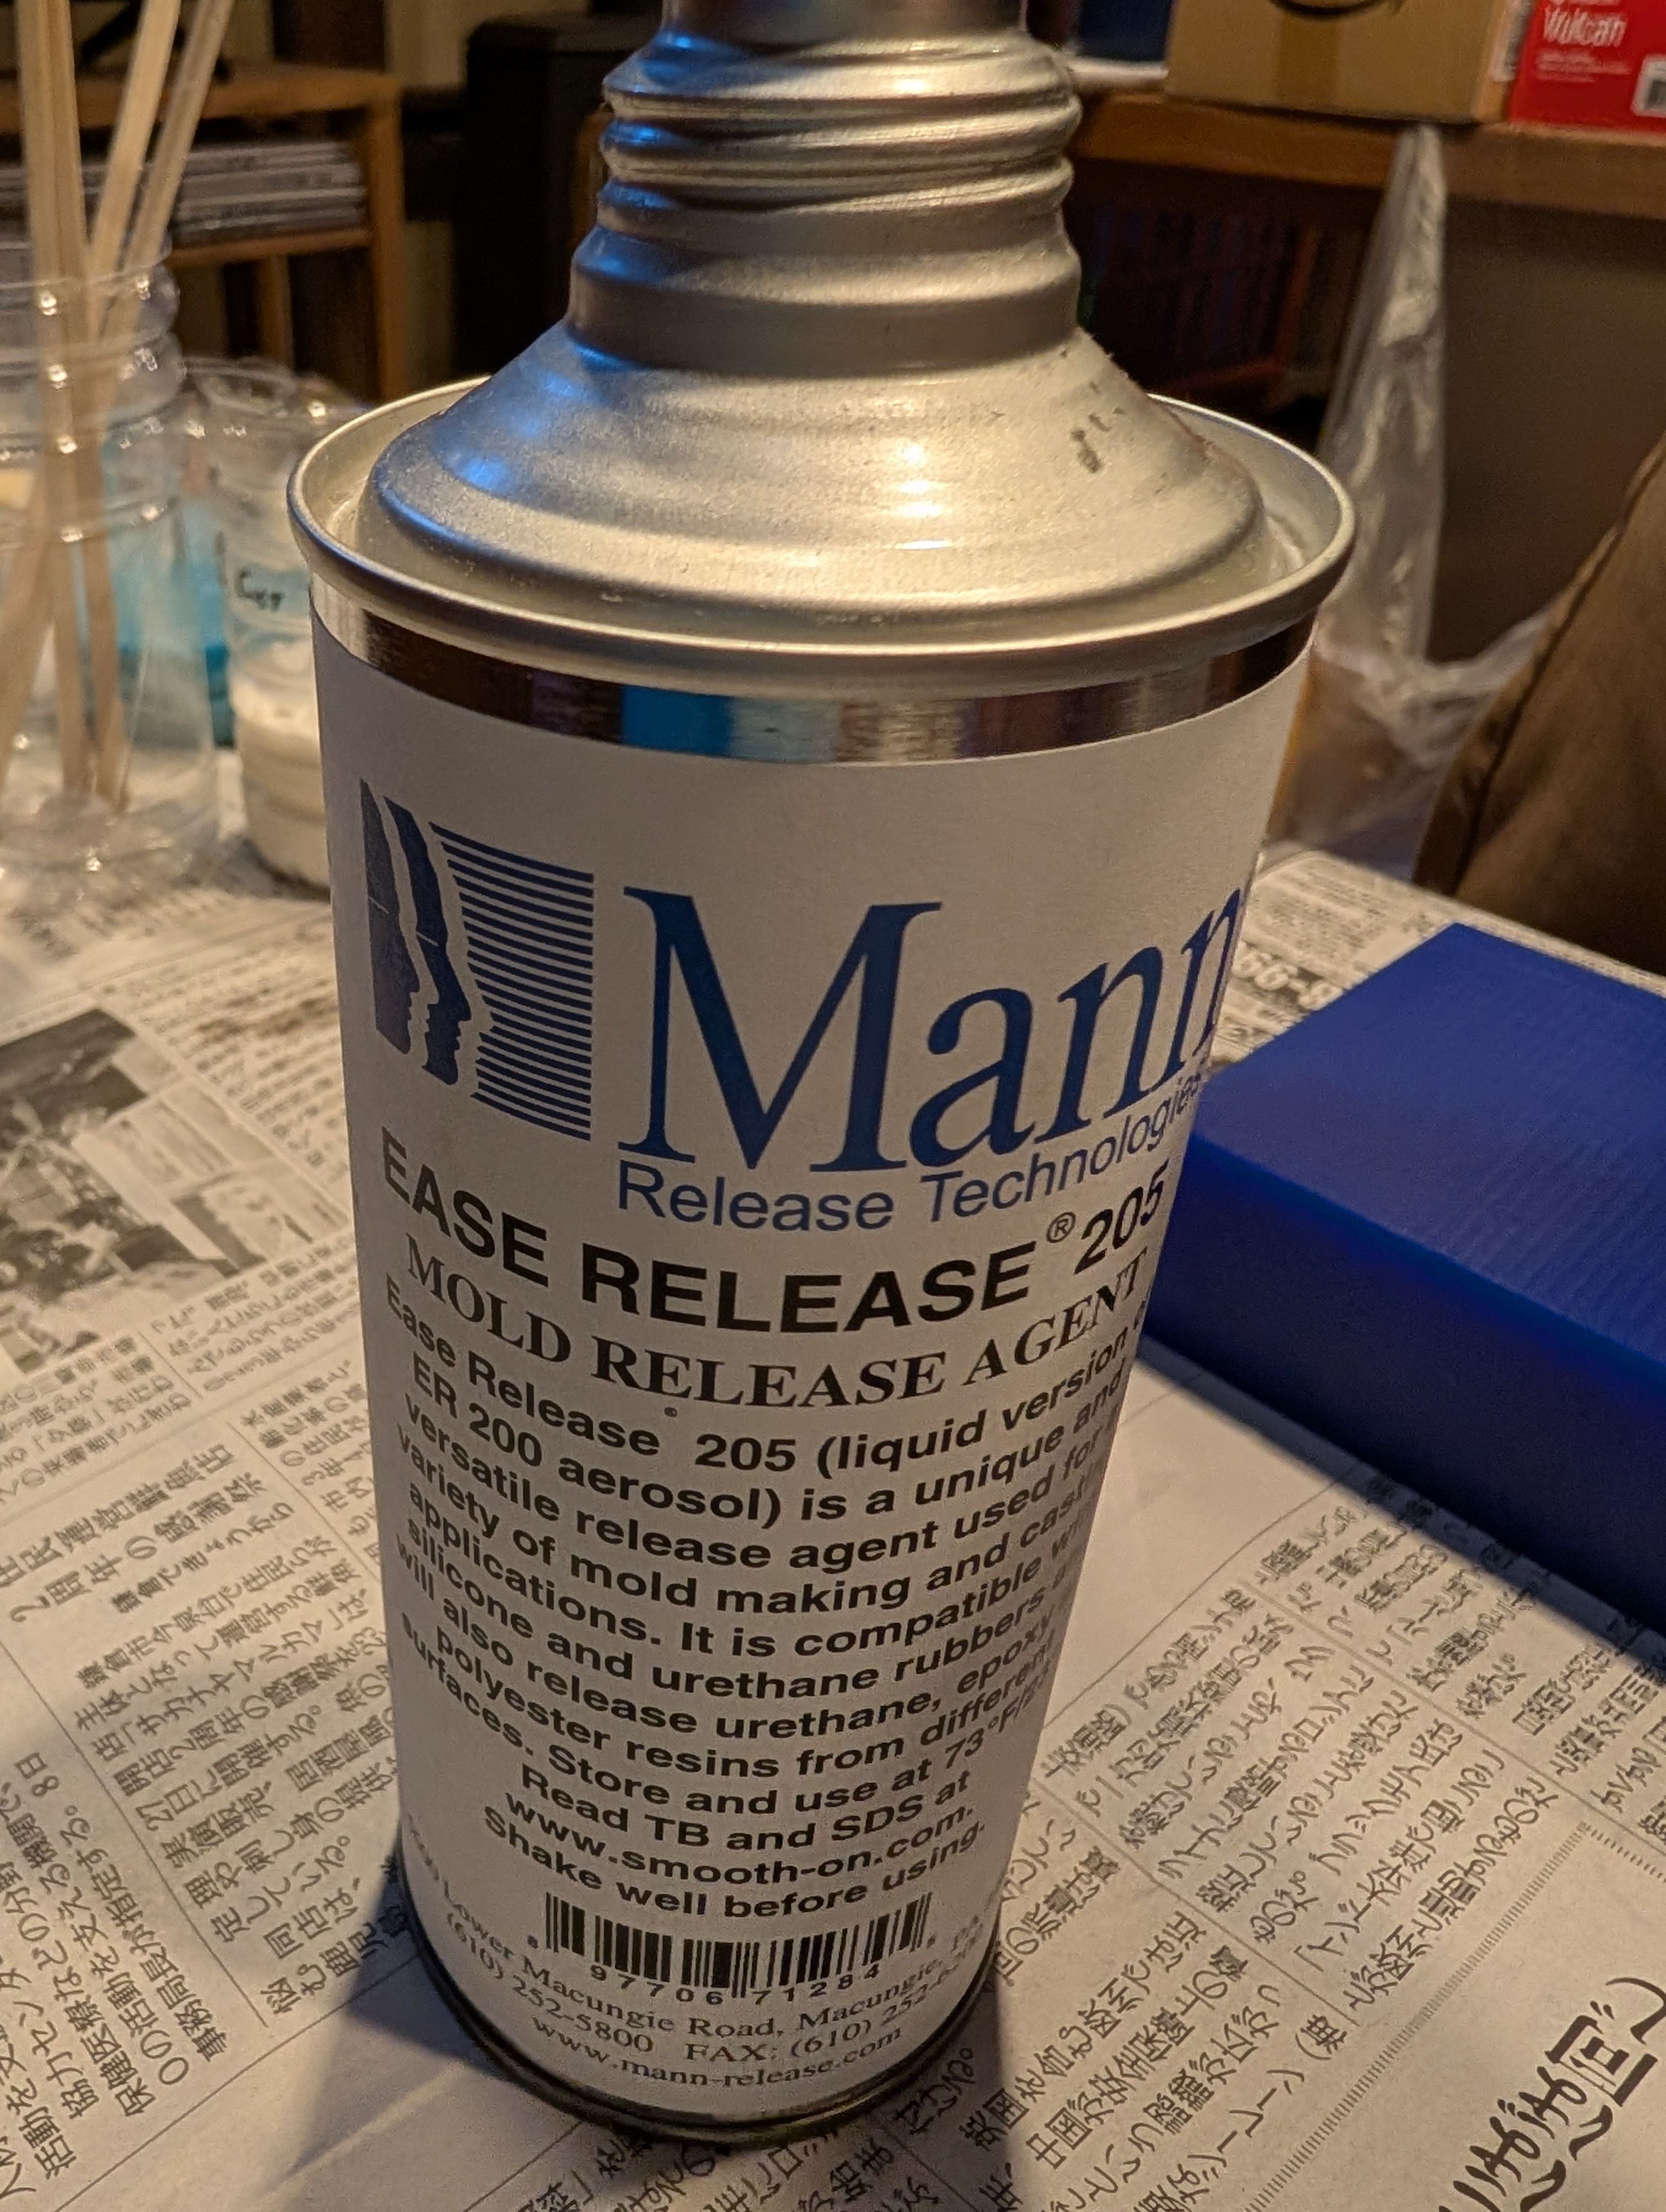
- Review the safety data sheets for each of your molding and casting materials
- Make and compare test casts with each of them
- Compare printing vs milling molds
Individual assignment
Outcomes
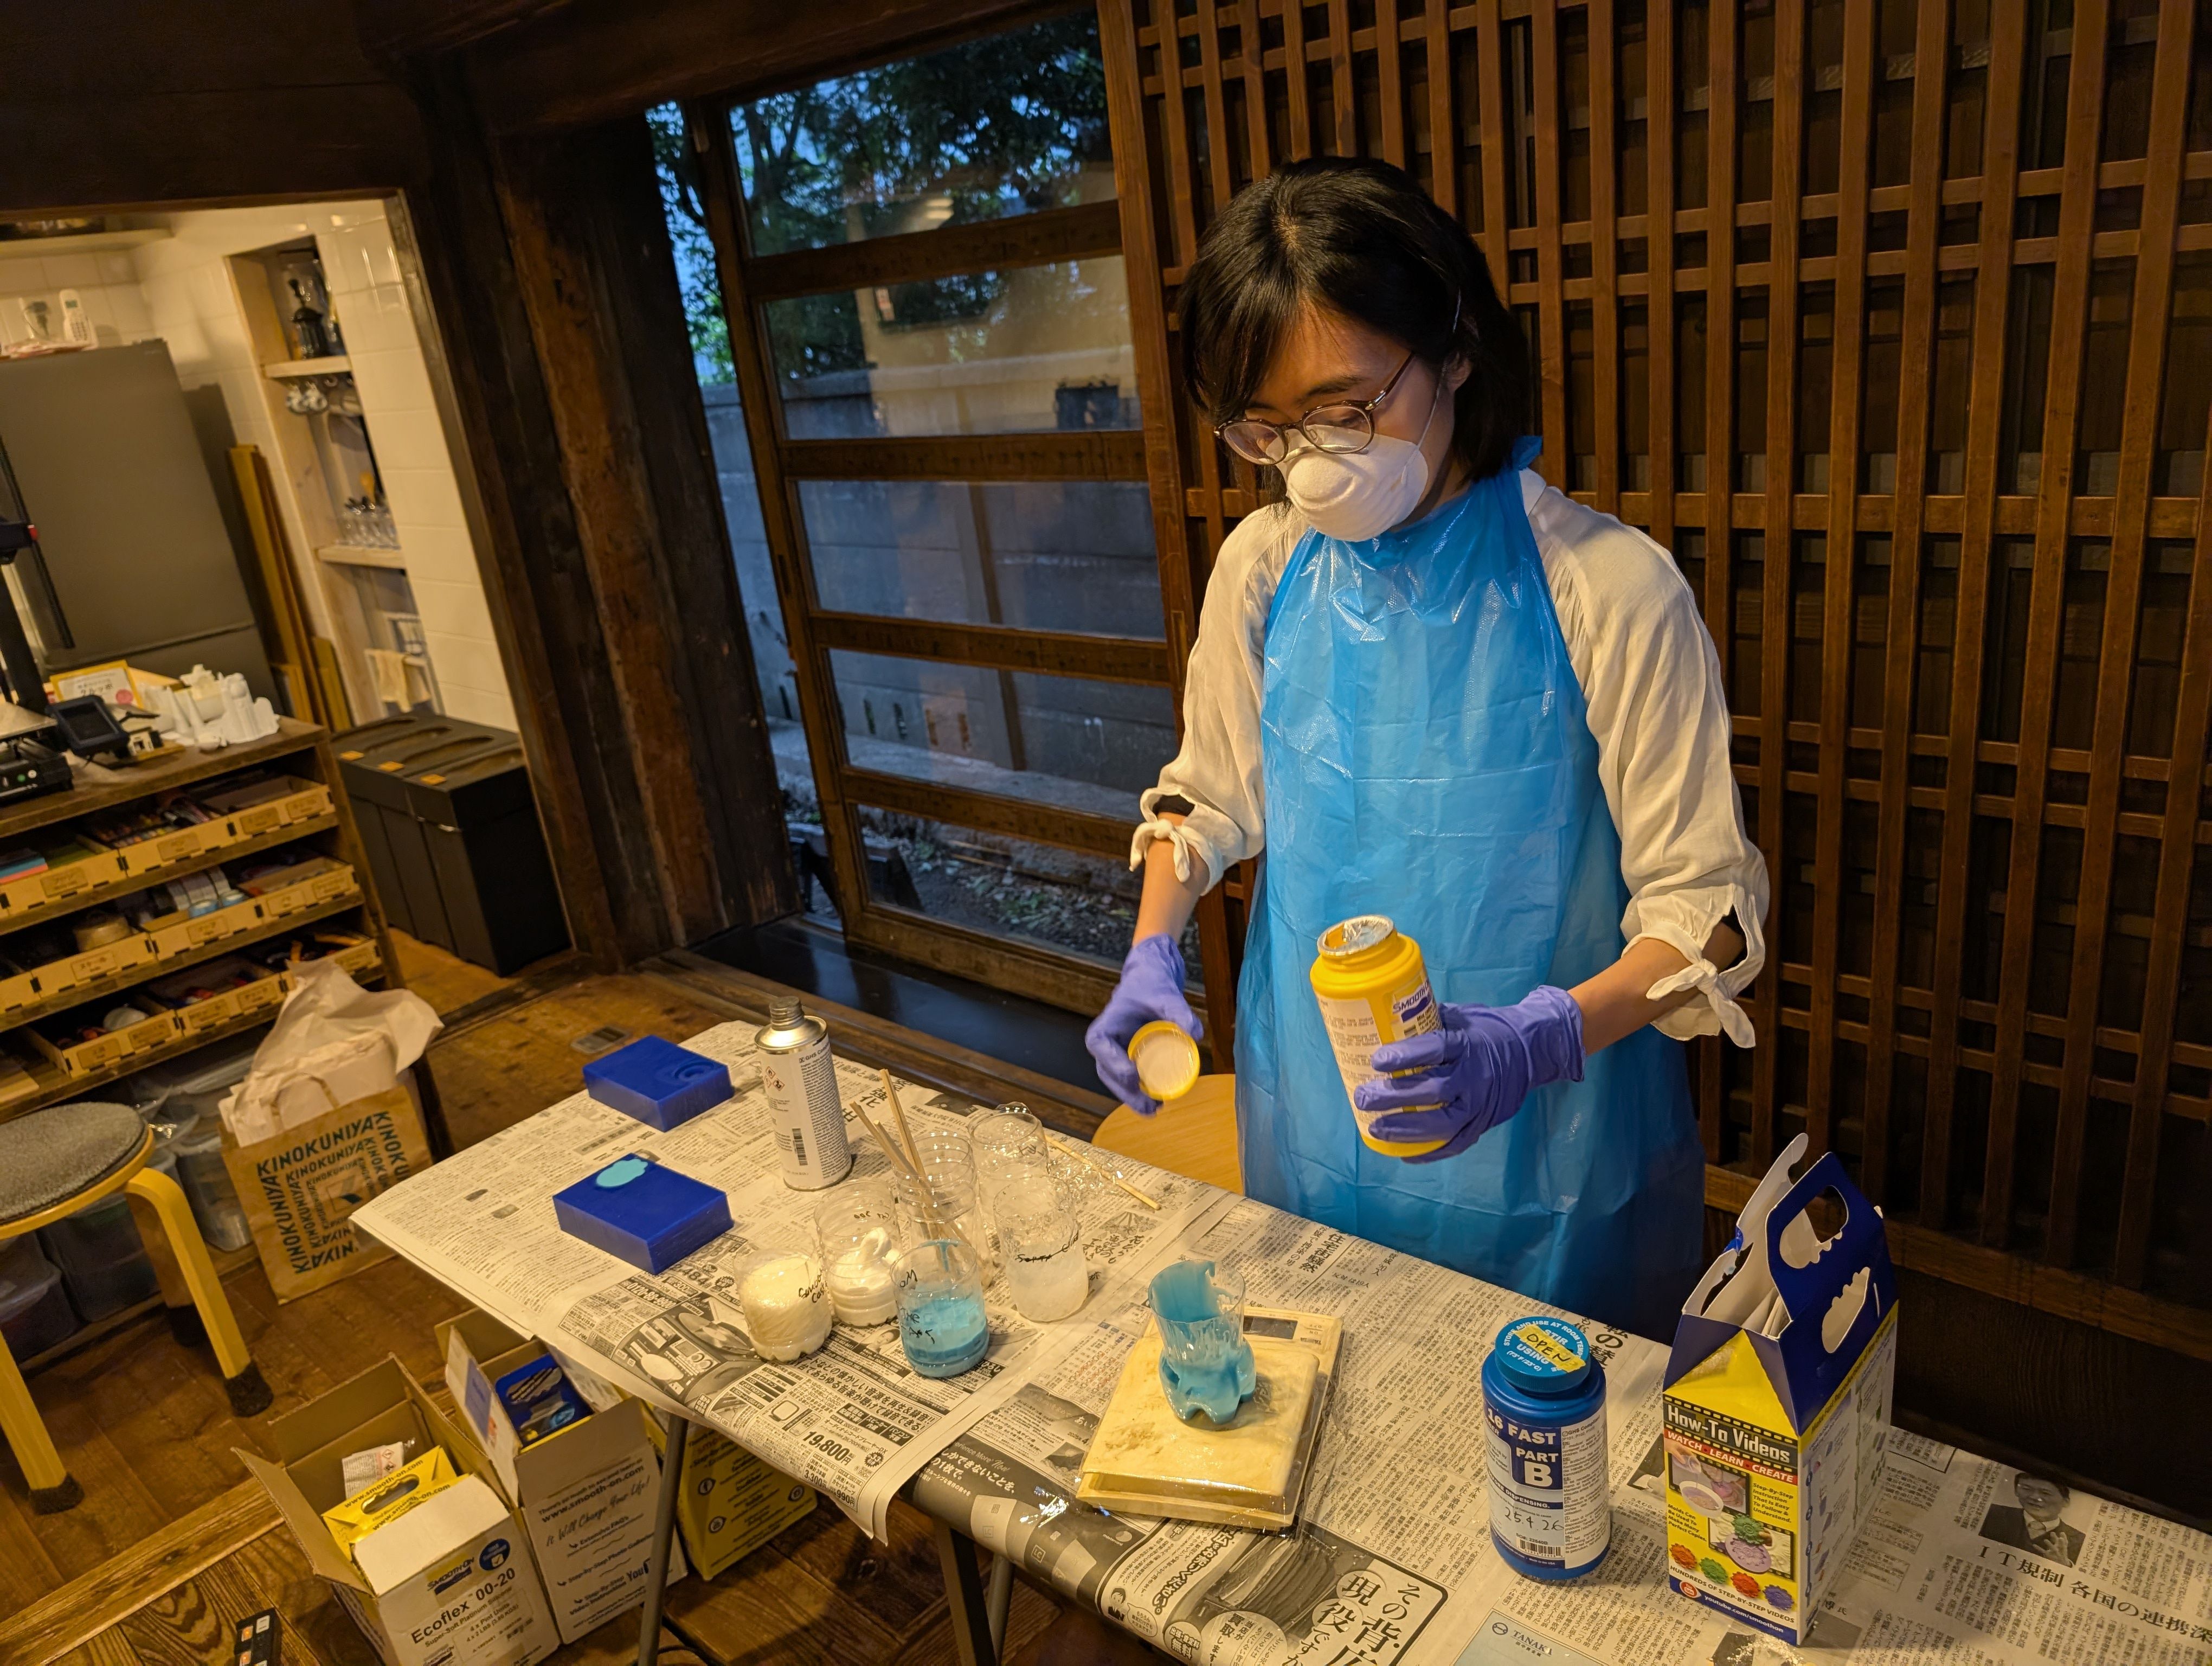
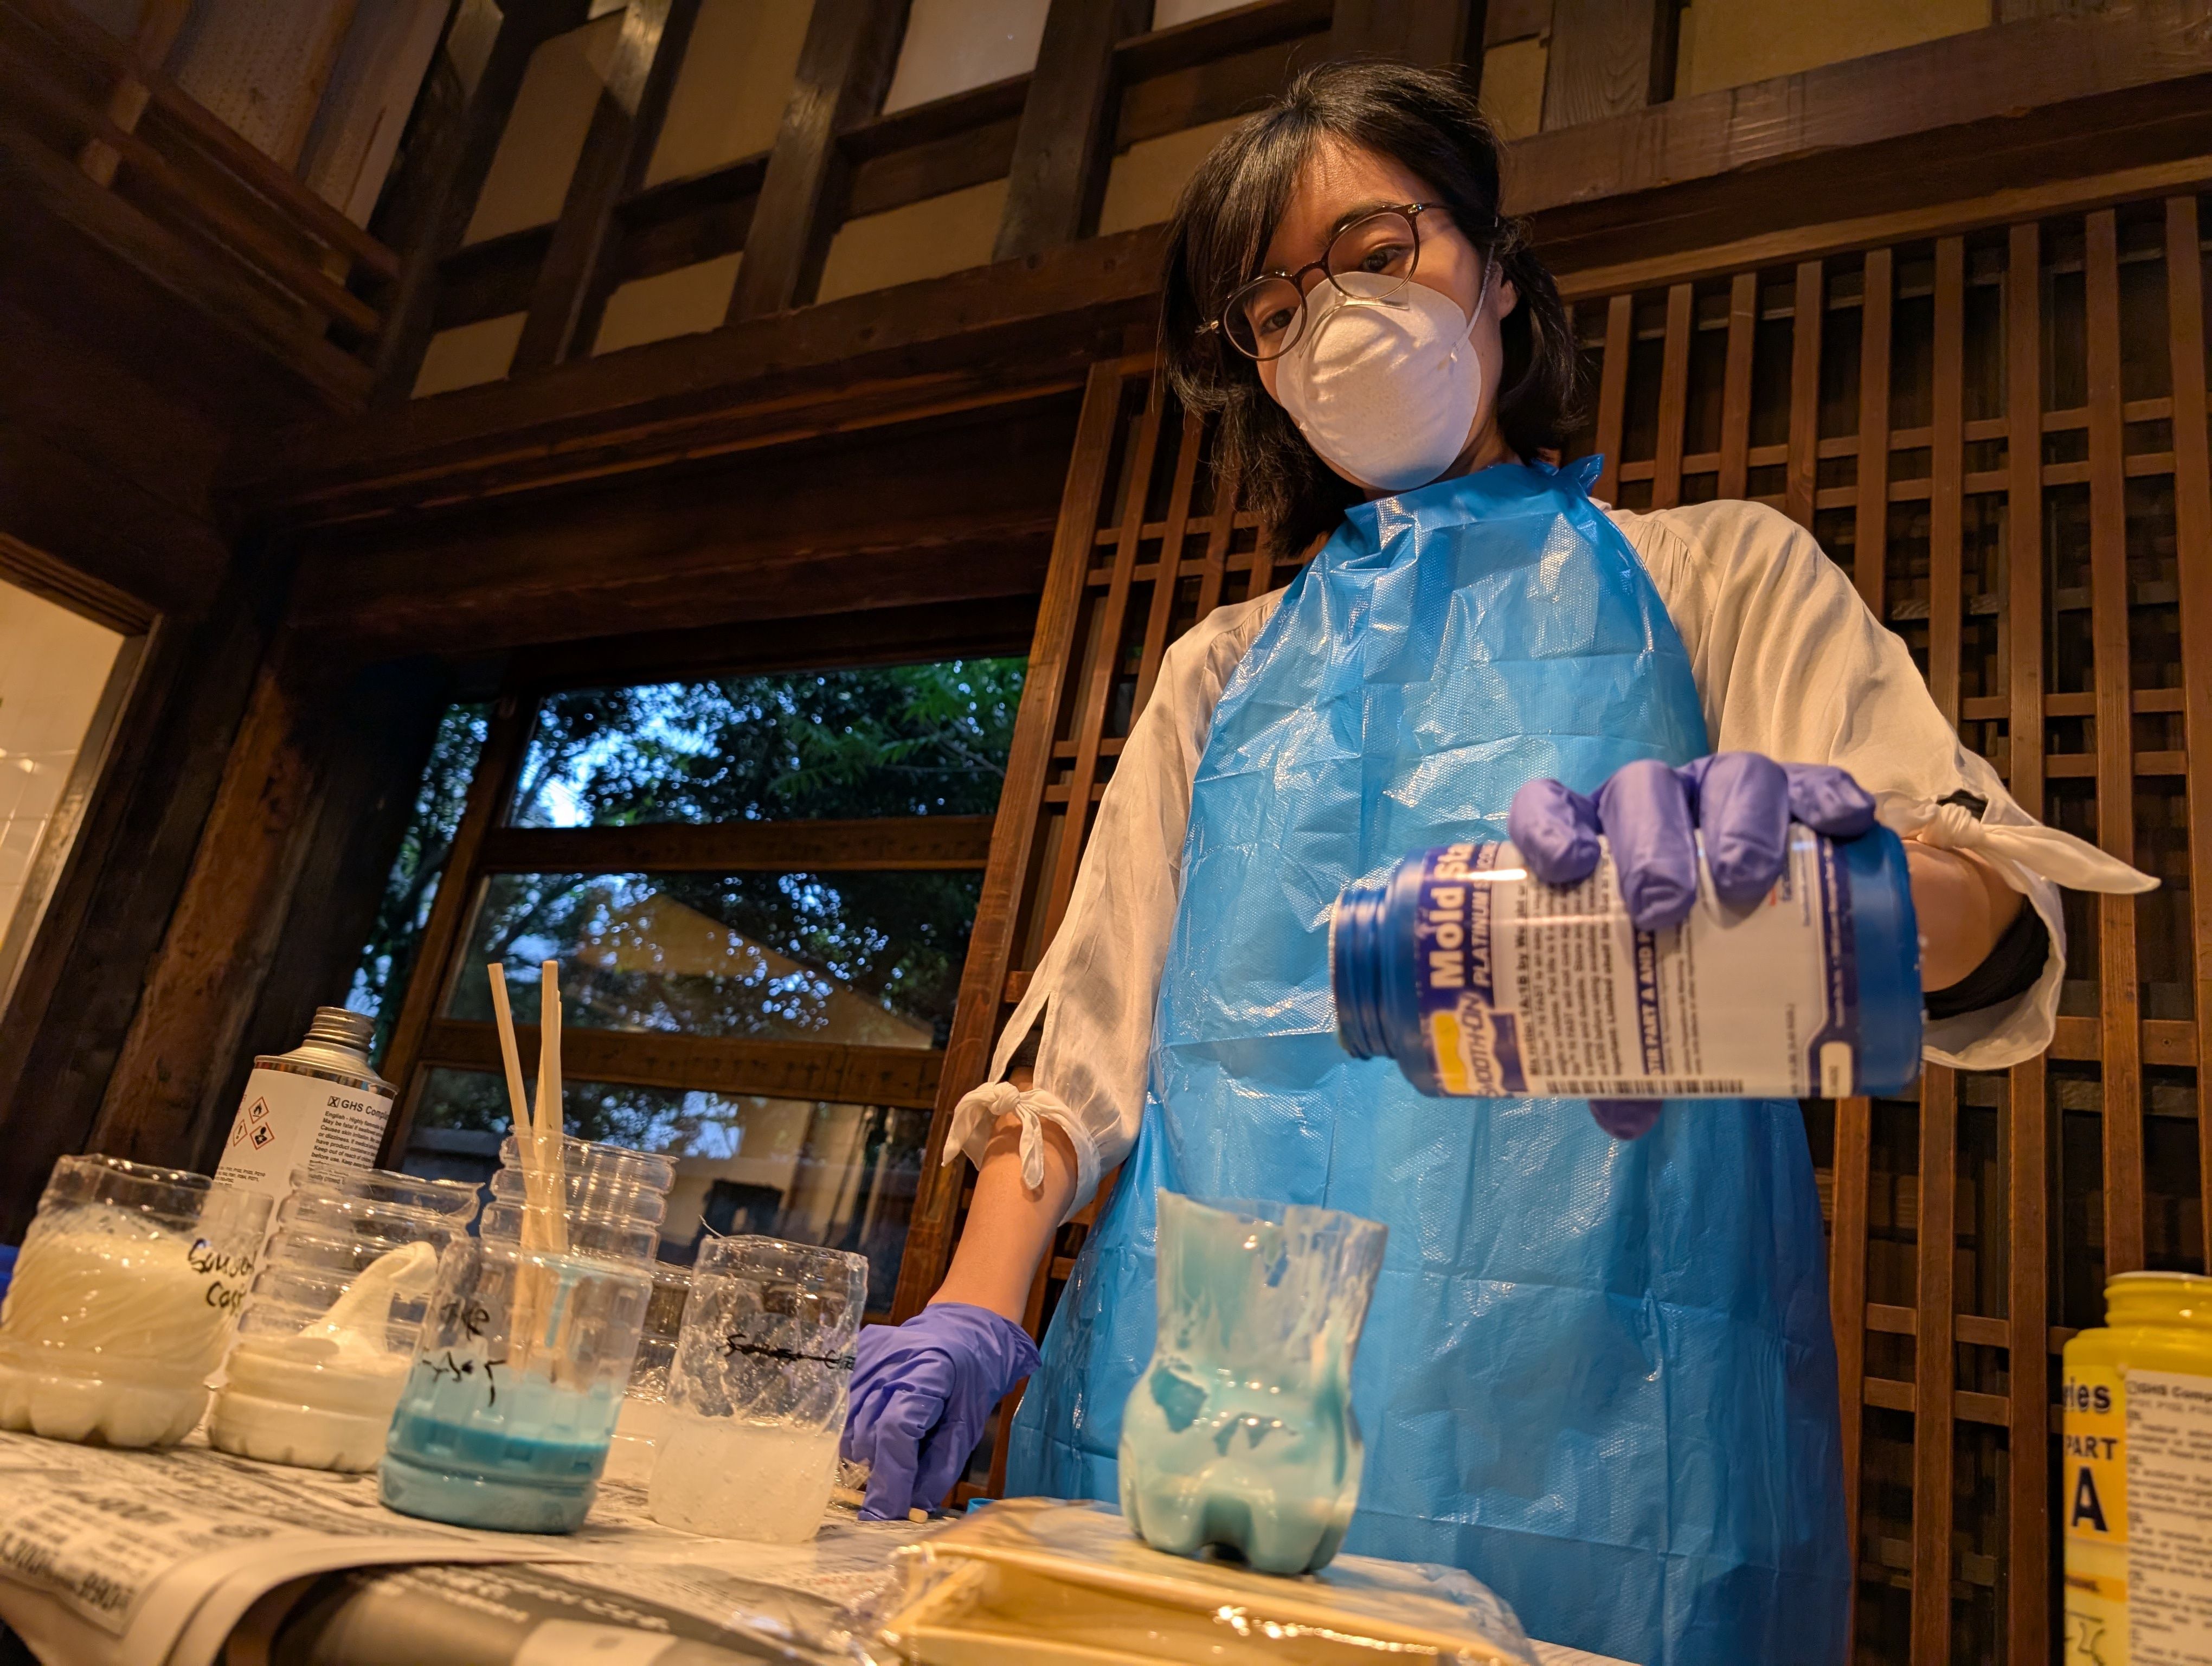
What did I do this week: 1. Group Assignment
The group assignment page - week13
- Review the safety data sheets for each of your molding and casting materials
- Make and compare test casts with each of them
- Compare printing vs milling molds
We compared five different materials.
For details, please see the group page: The group assignment page - week13
What did I do this week: 2. Individual assignment
Design a mold around the process you'll be using, produce it with a smooth surface finish that does not show the production process, and use it to cast parts
Since I use the glass globe for Final Project, I thought it is nice to have a support parts with soft
material for the glass.
*My first plan was float the globe, but it seems no time to do it for 1st spiral…So this new part is
needed.
1.Test model
Modeling - Fusion
It was my first time to do casting, so I made a small test piece first.
I made the curve surface with the site below:
https://forums.autodesk.com/t5/fusion-ri-ben-yu/ping-mianni-duisurukubomi-dinpuru/td-p/7121074
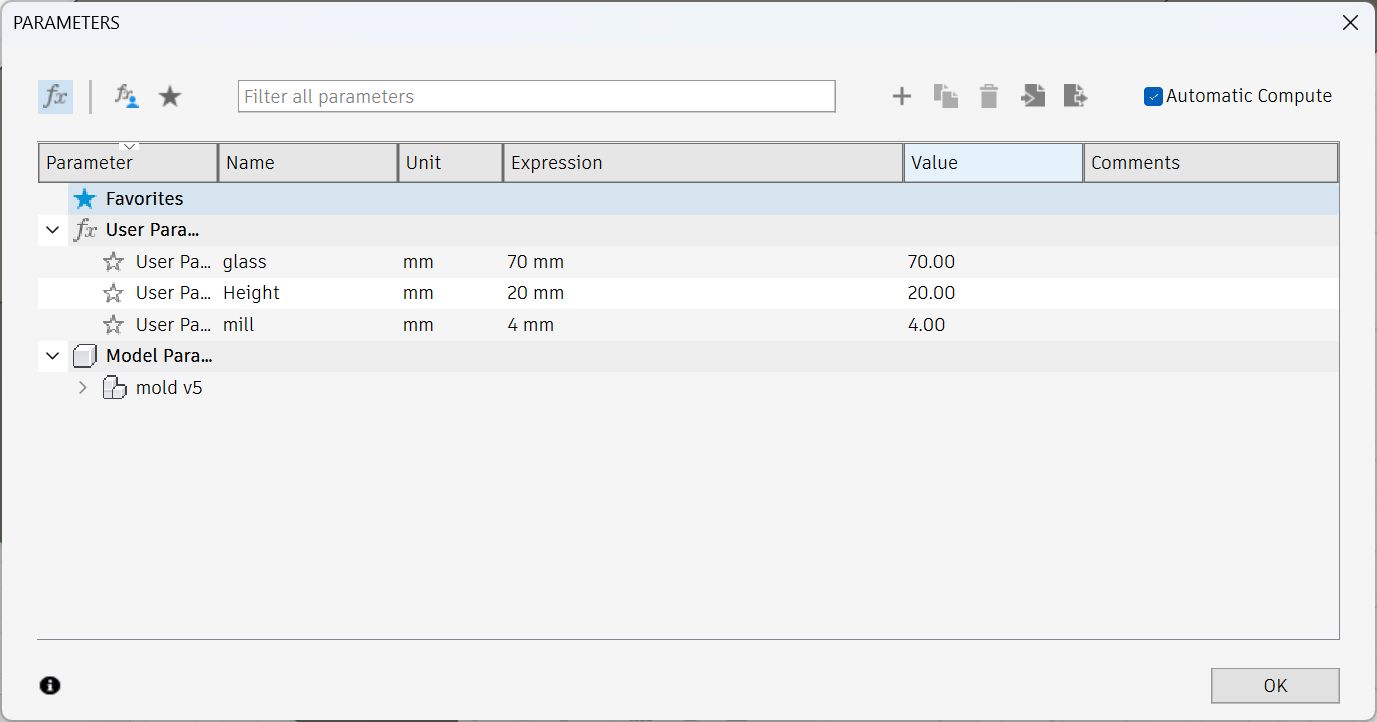
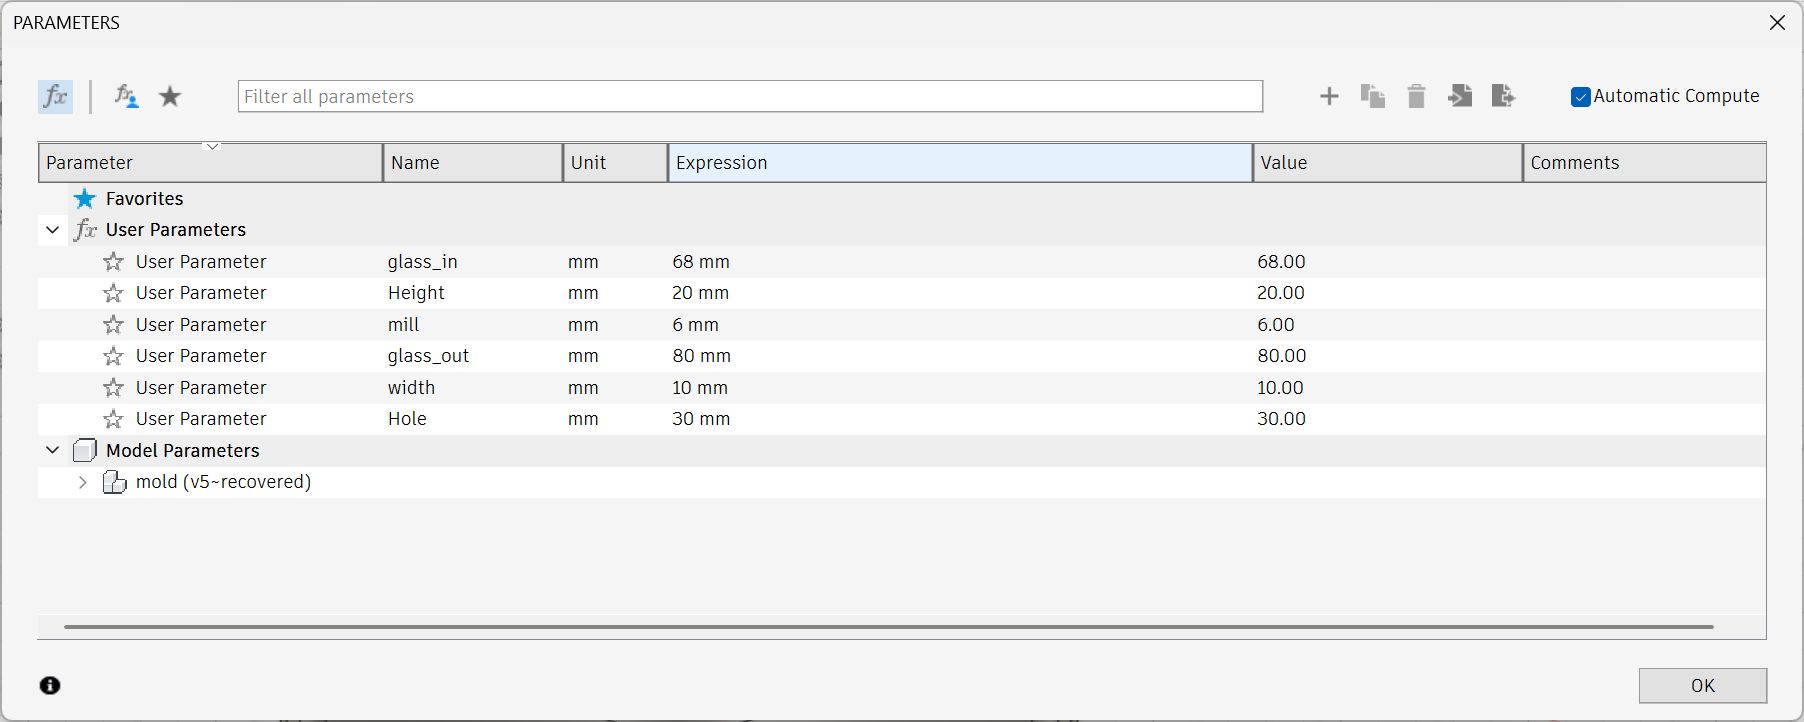
Parameter for test model
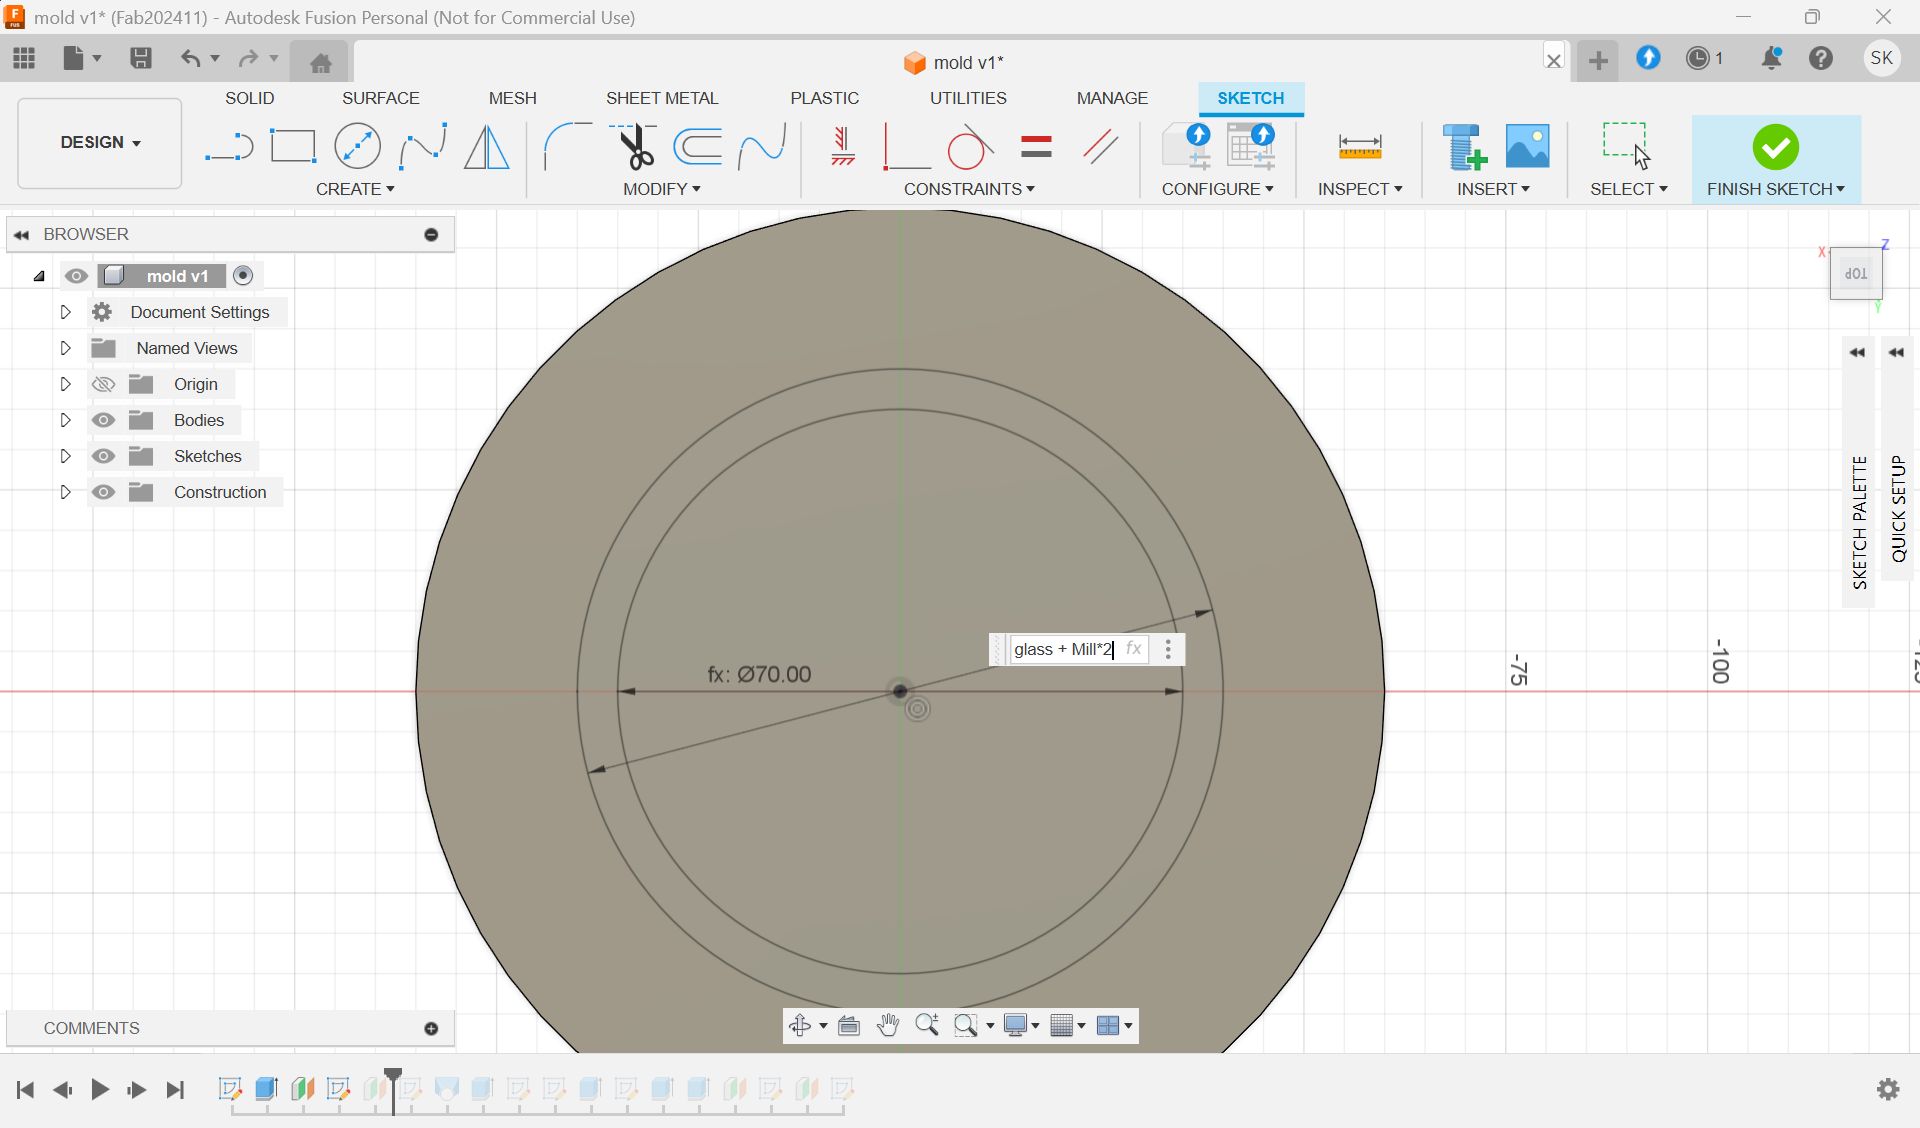
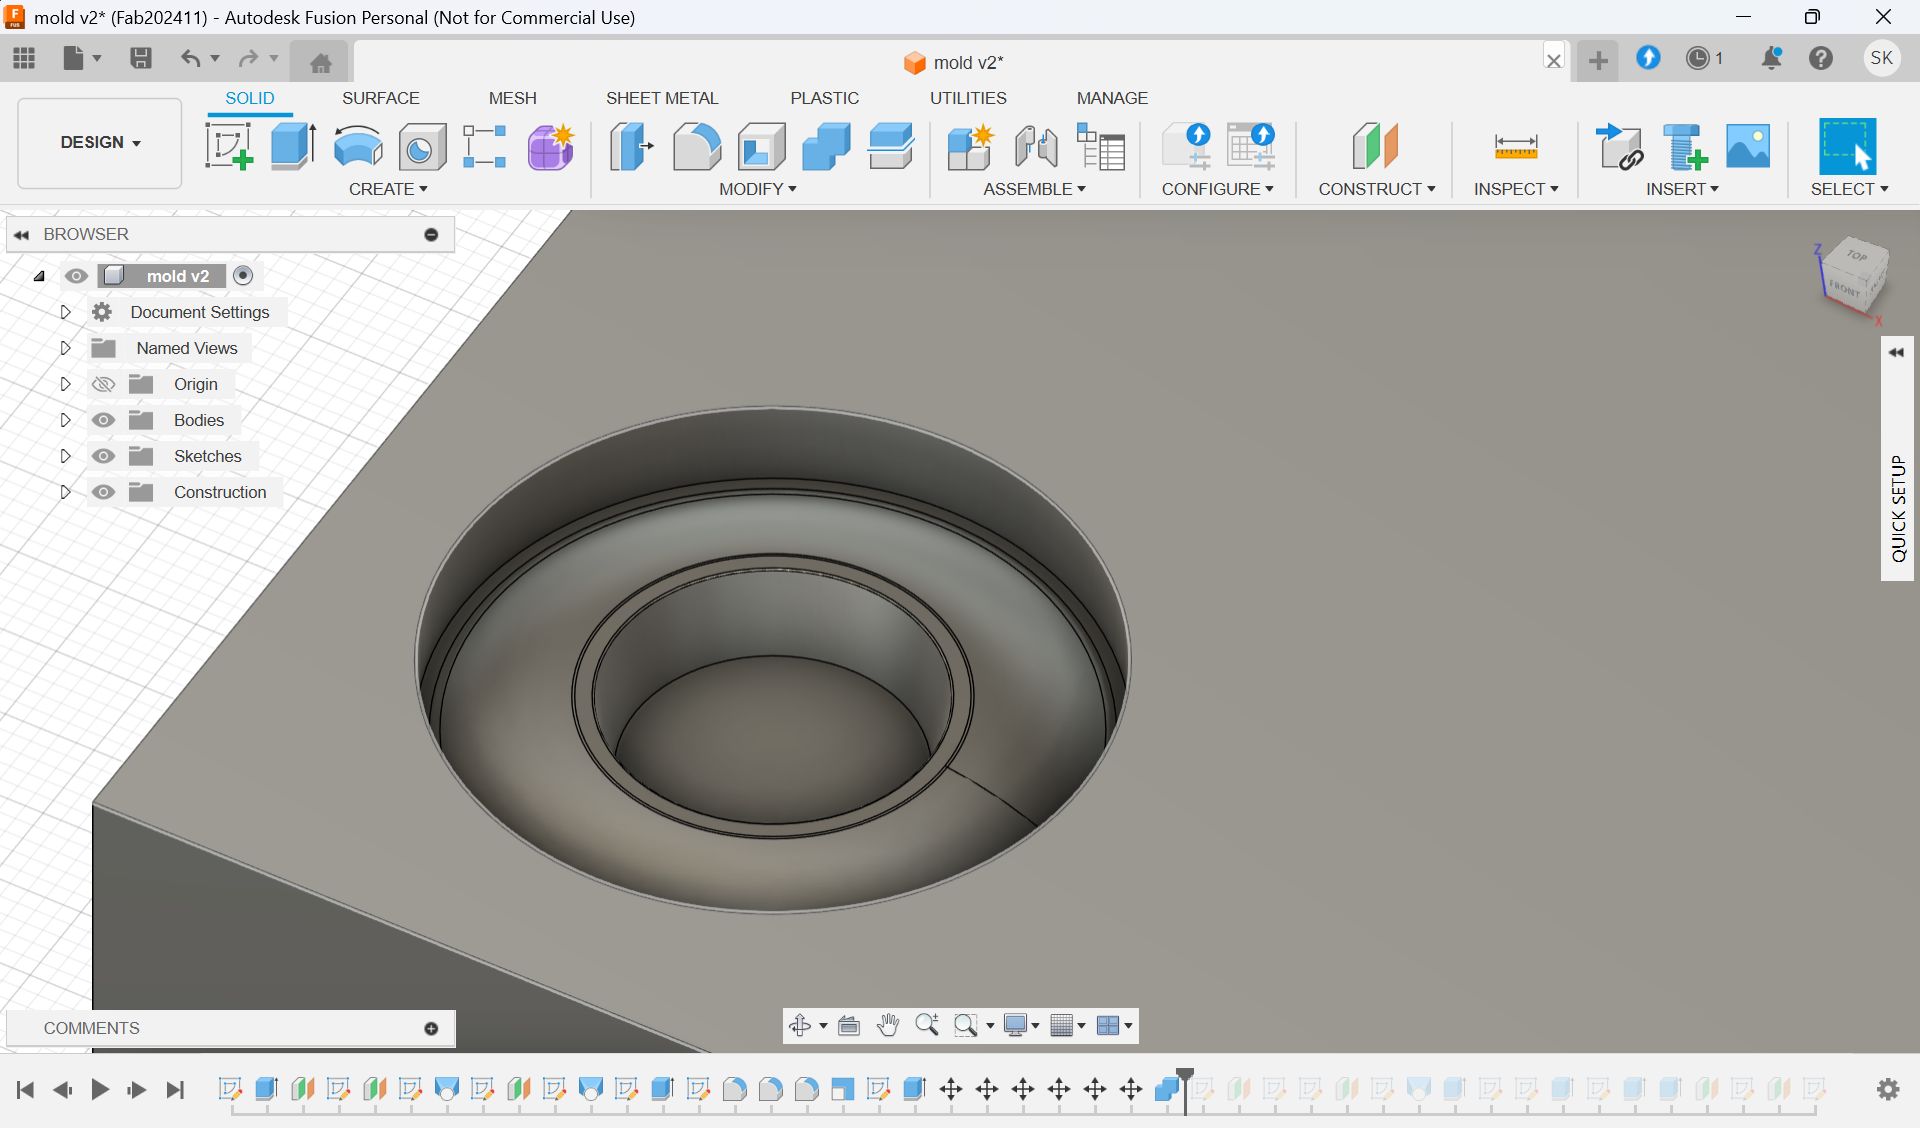
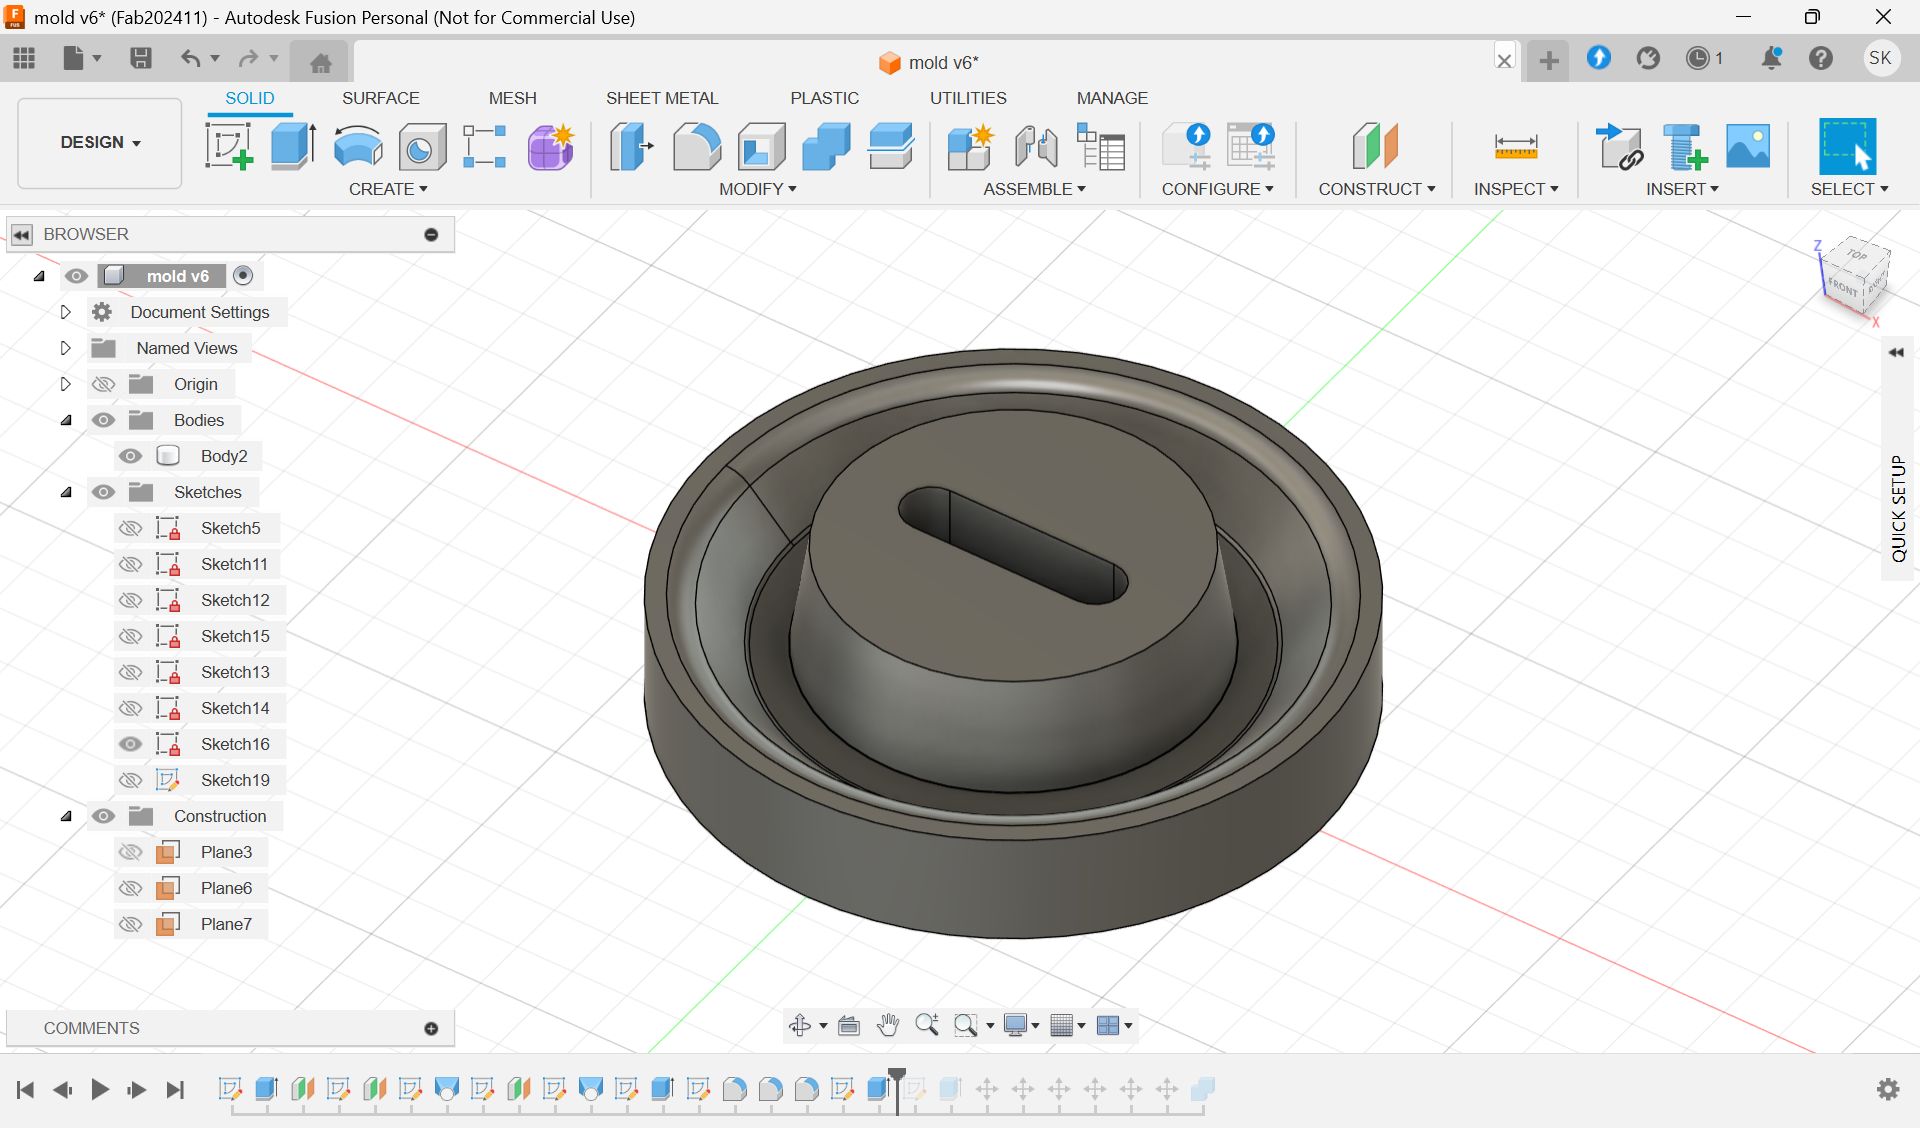
Made a model
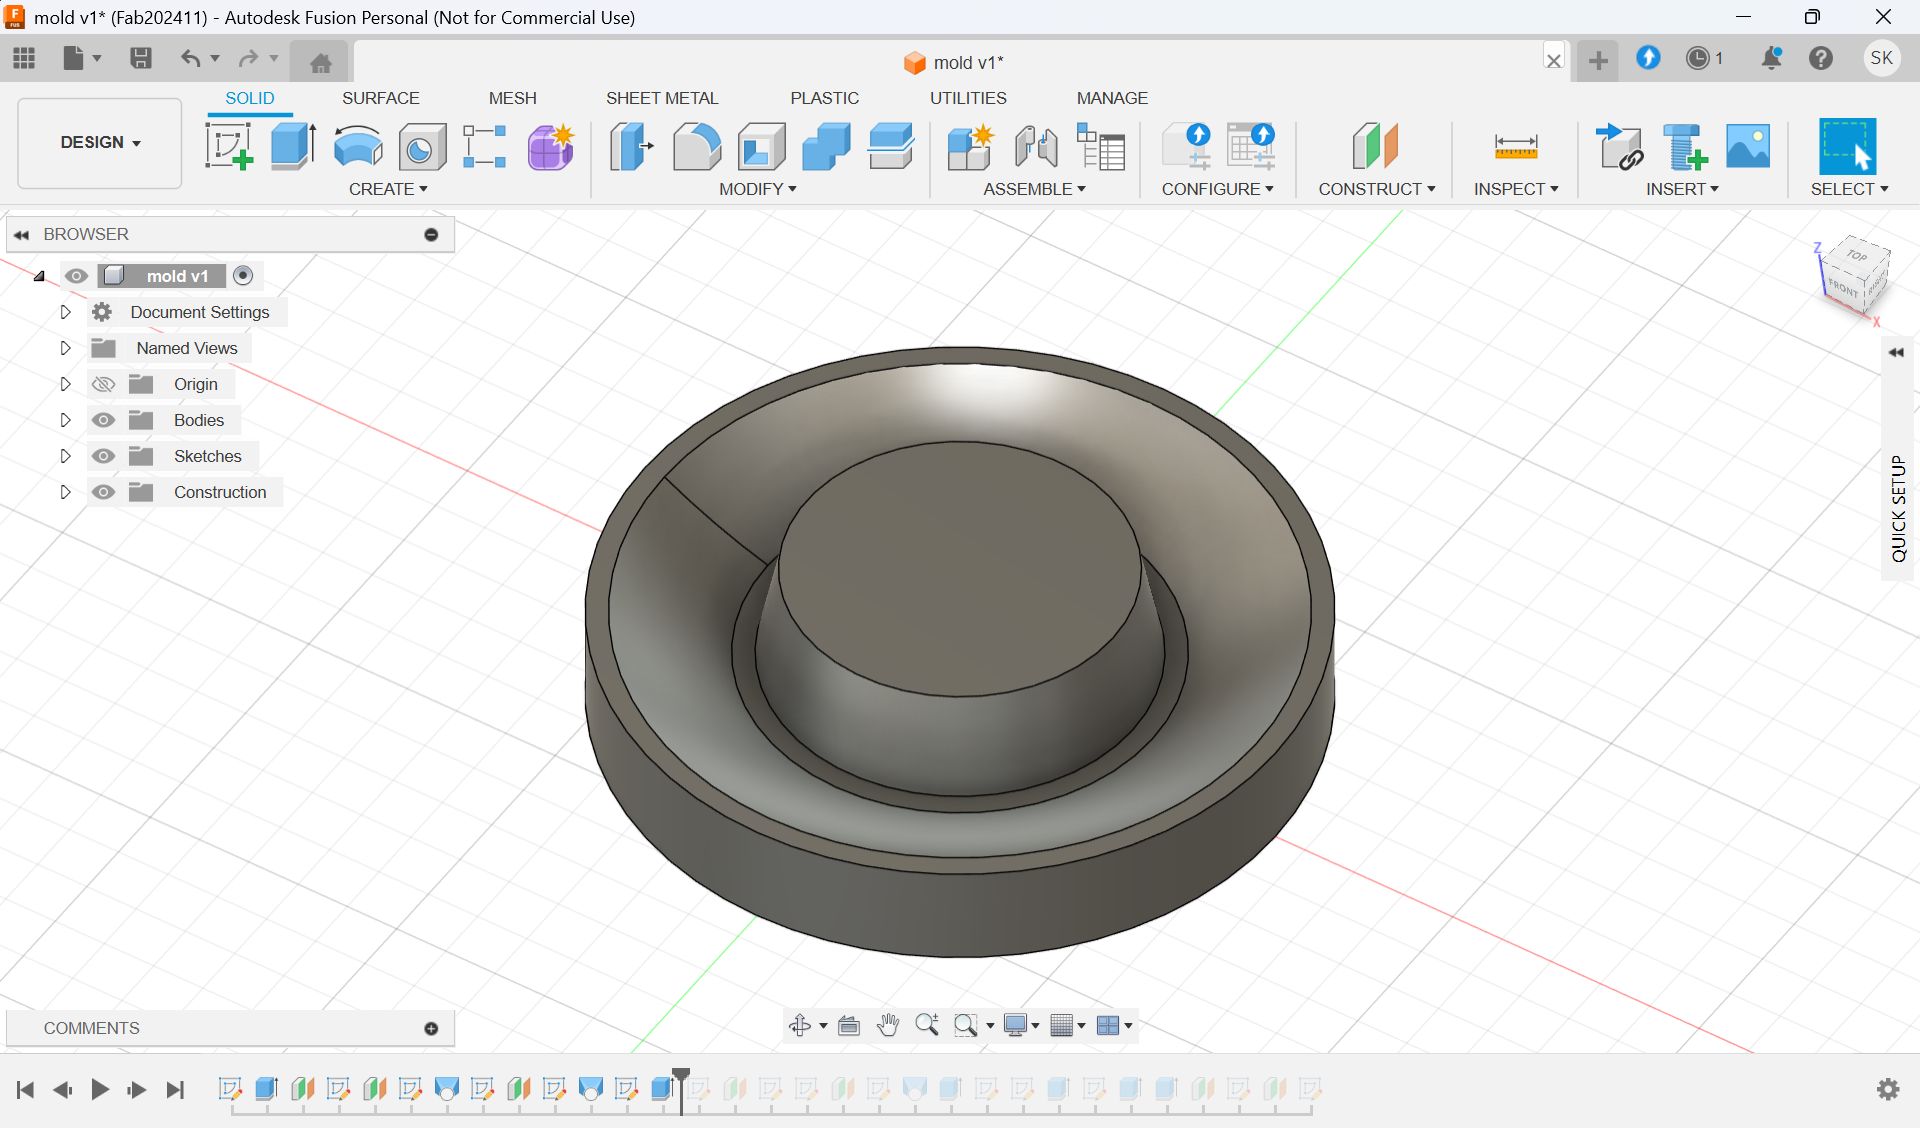
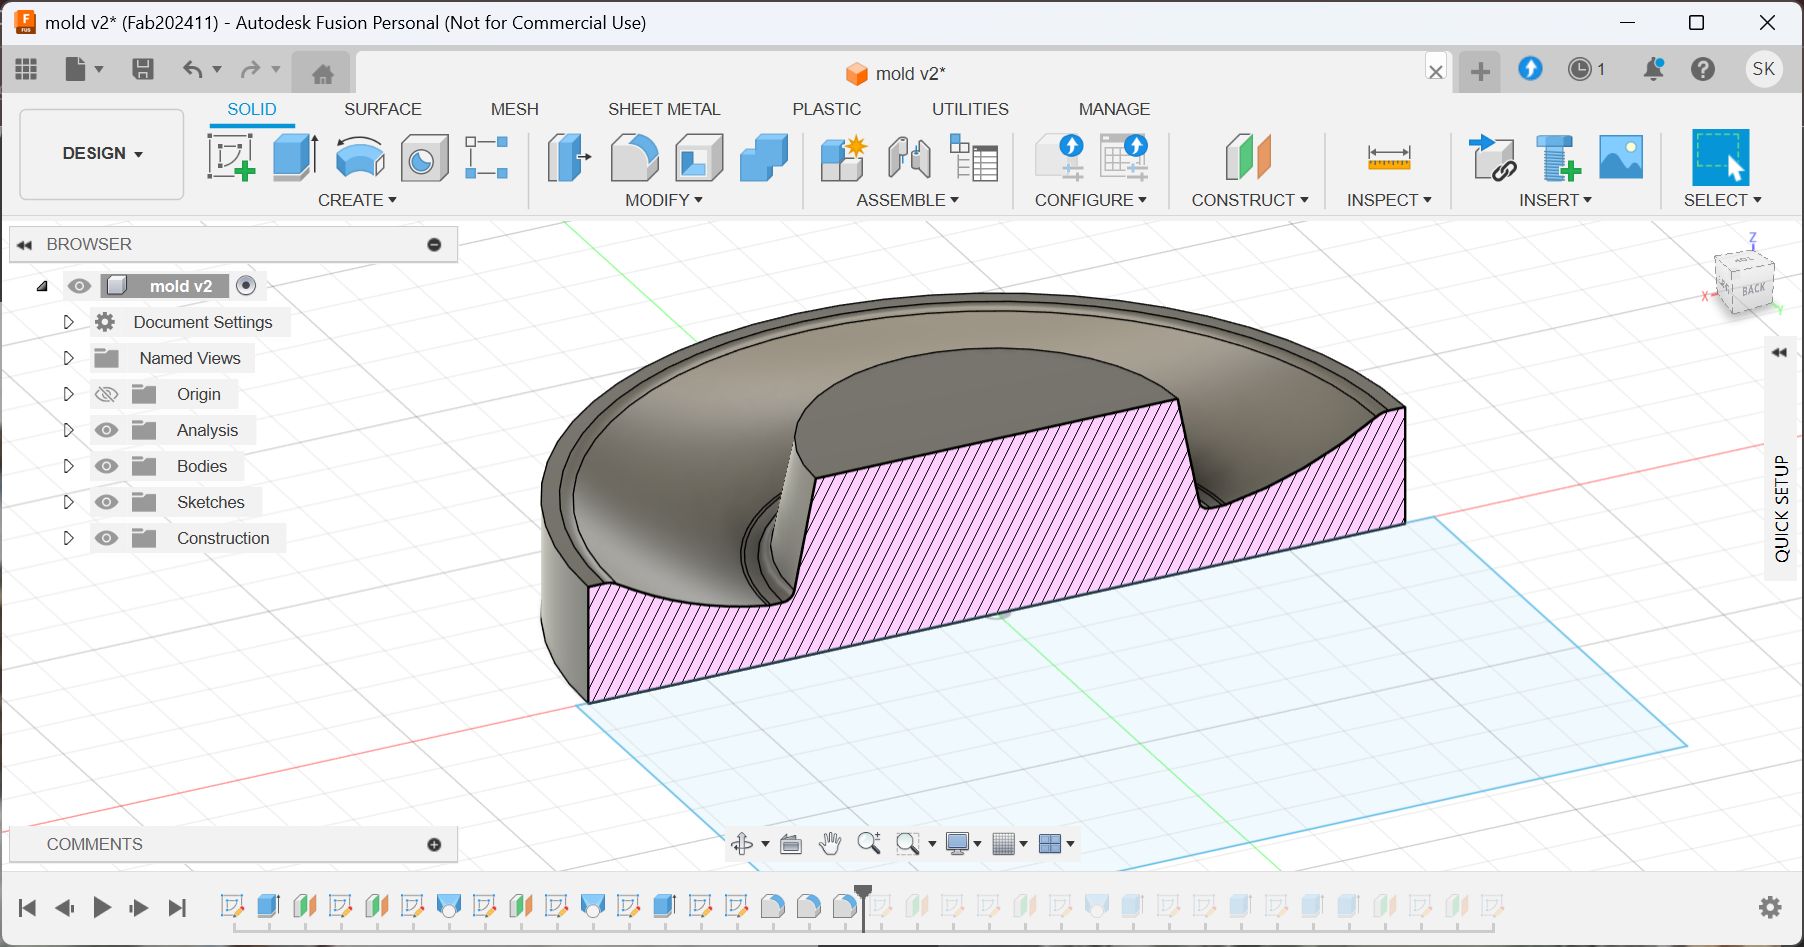
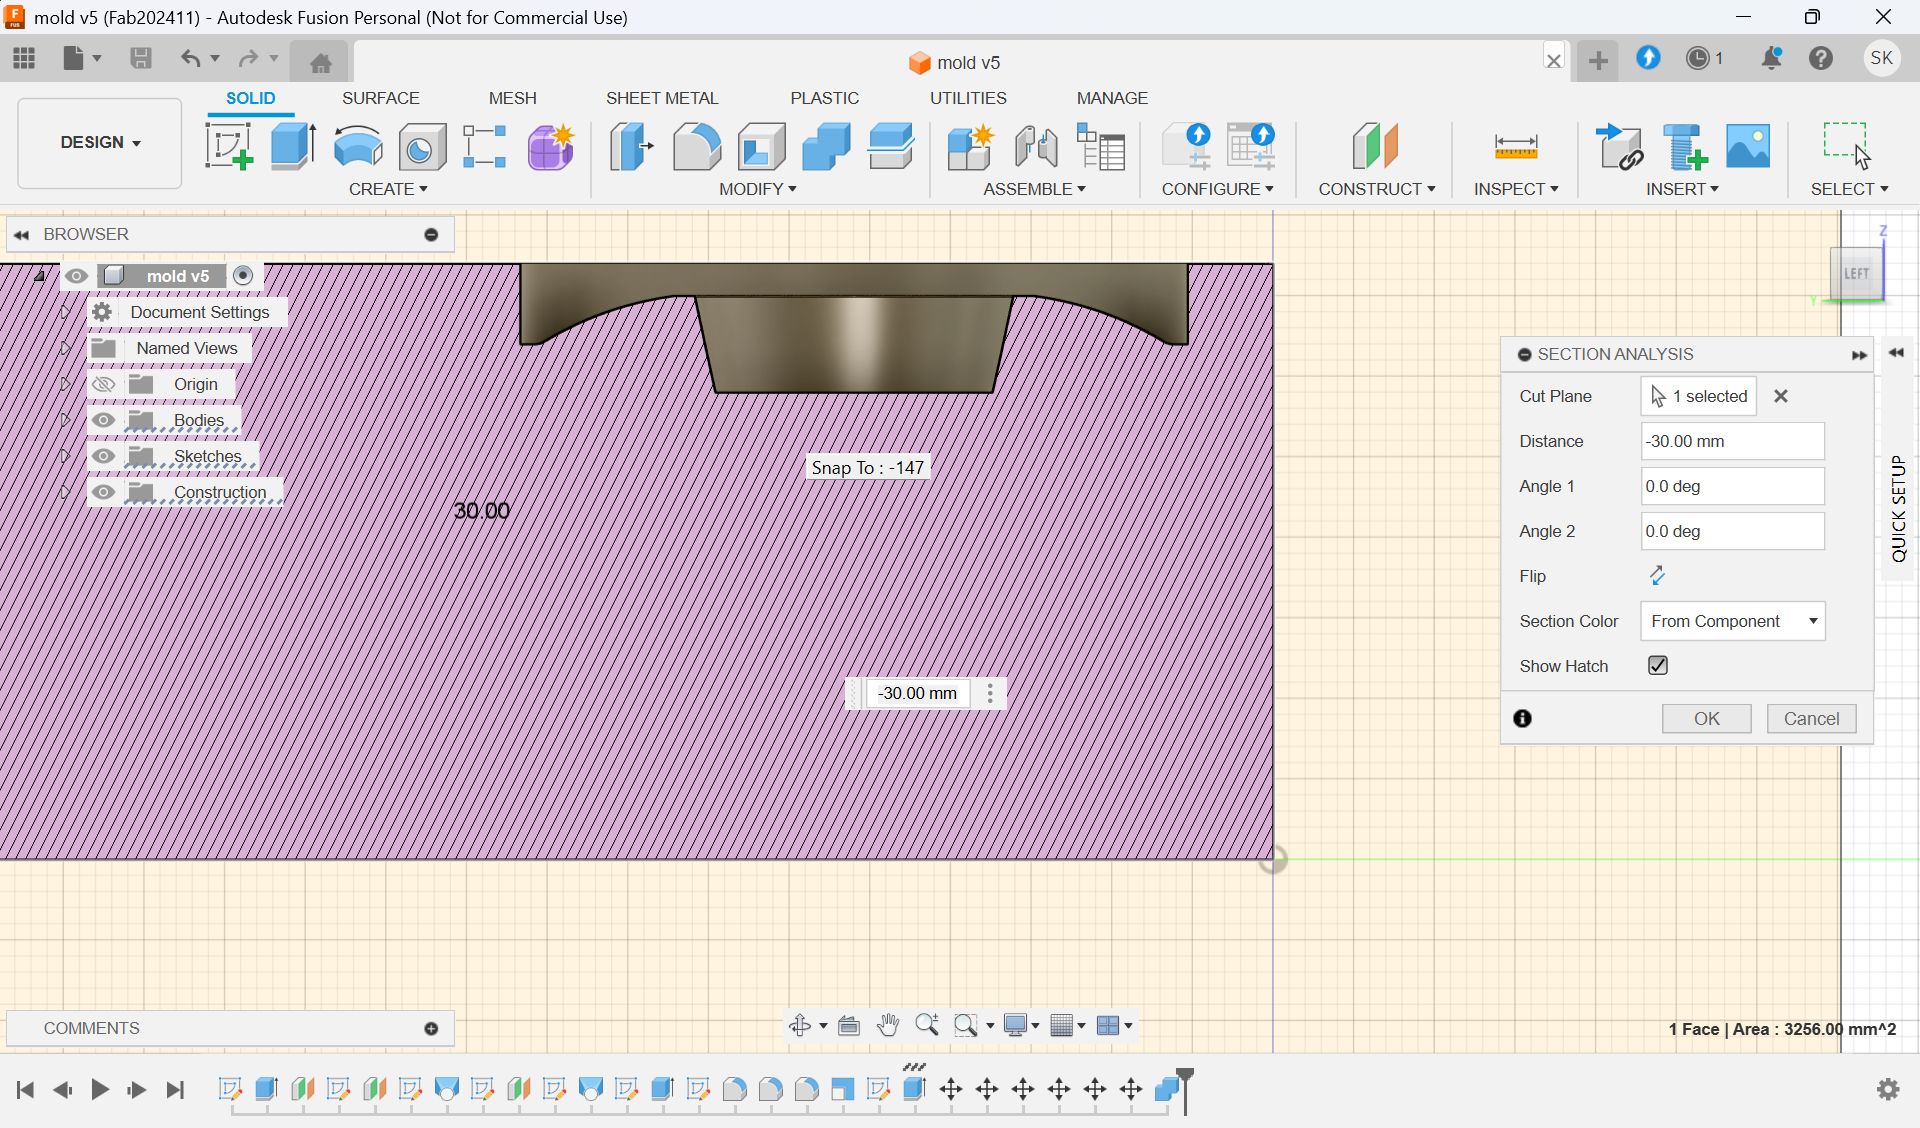
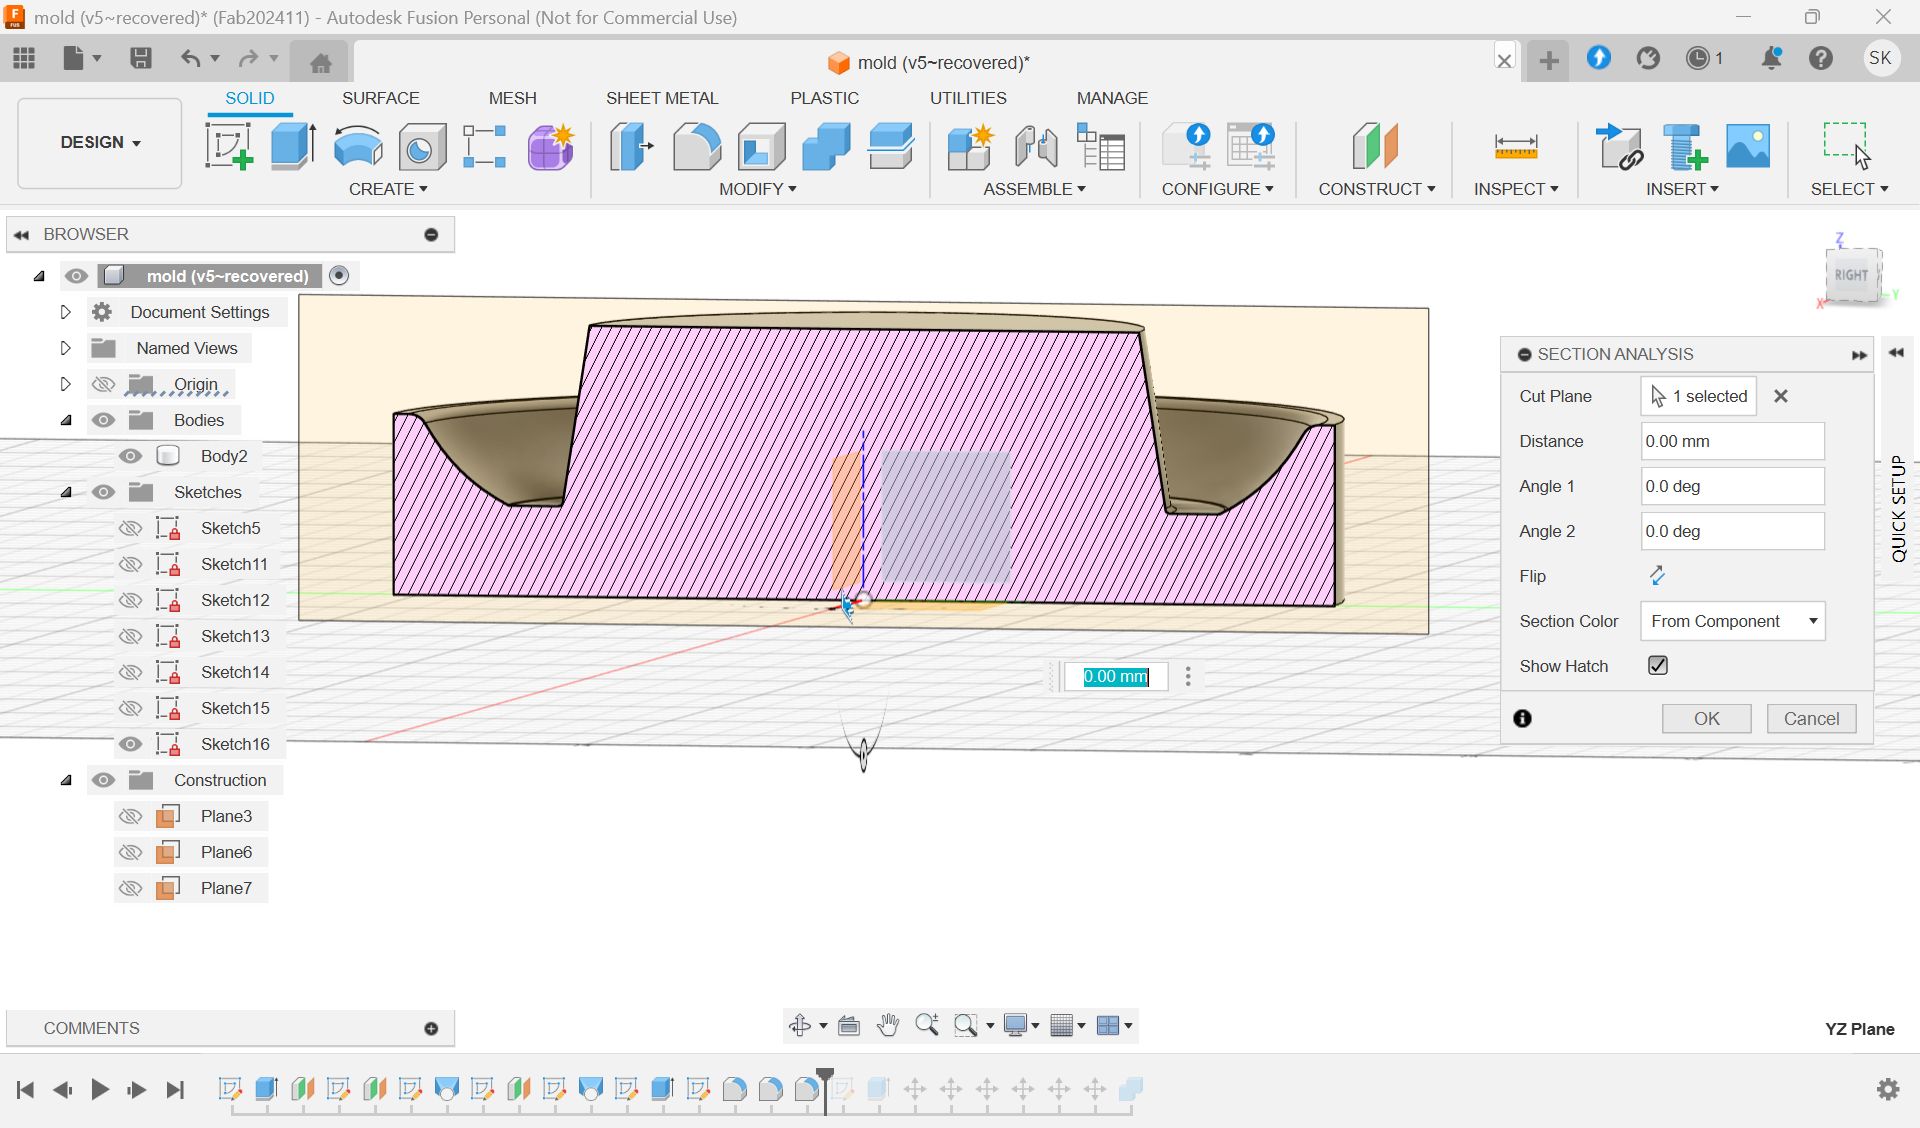
Check the cross section
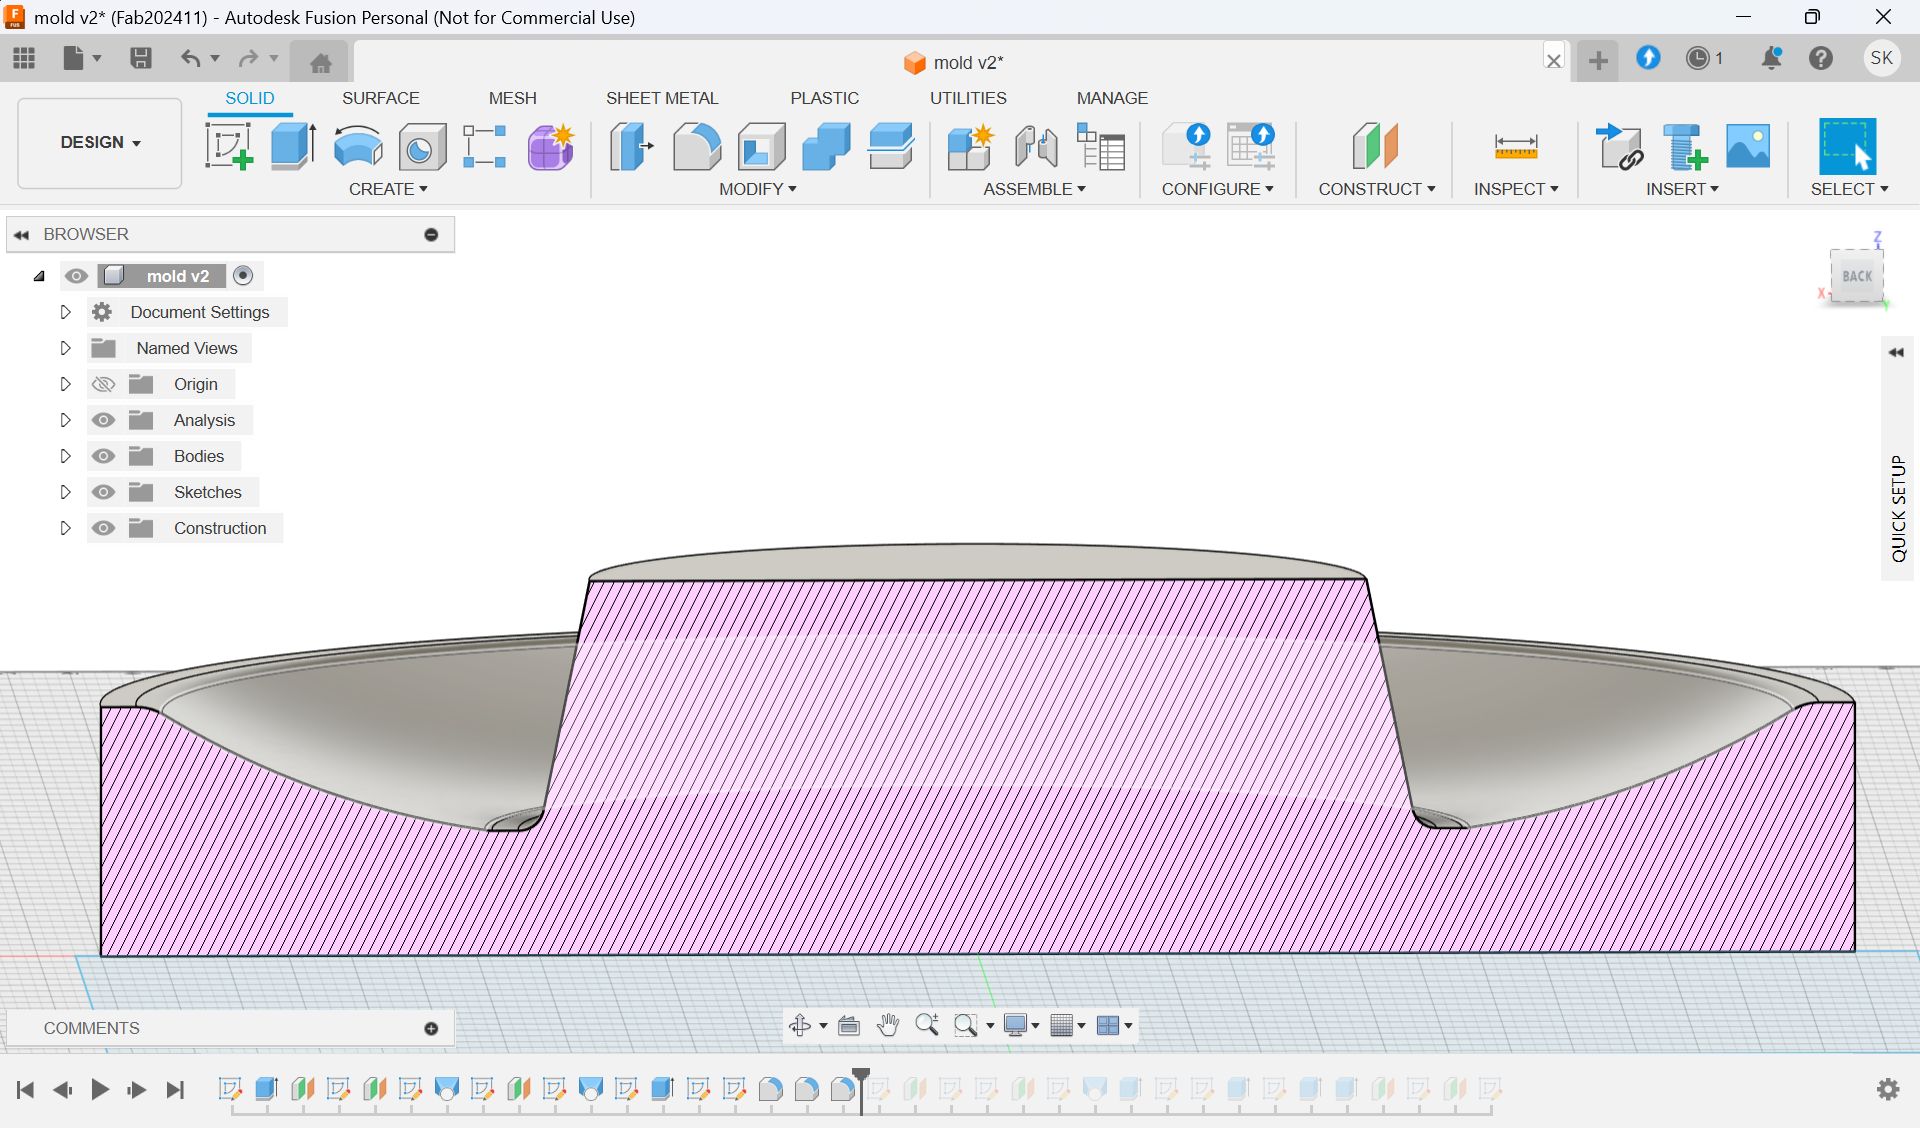
This time, for testing purposes, I set it to 0.35x.
To make a mold, create a box with the size of the wax and select Combine → Cut.
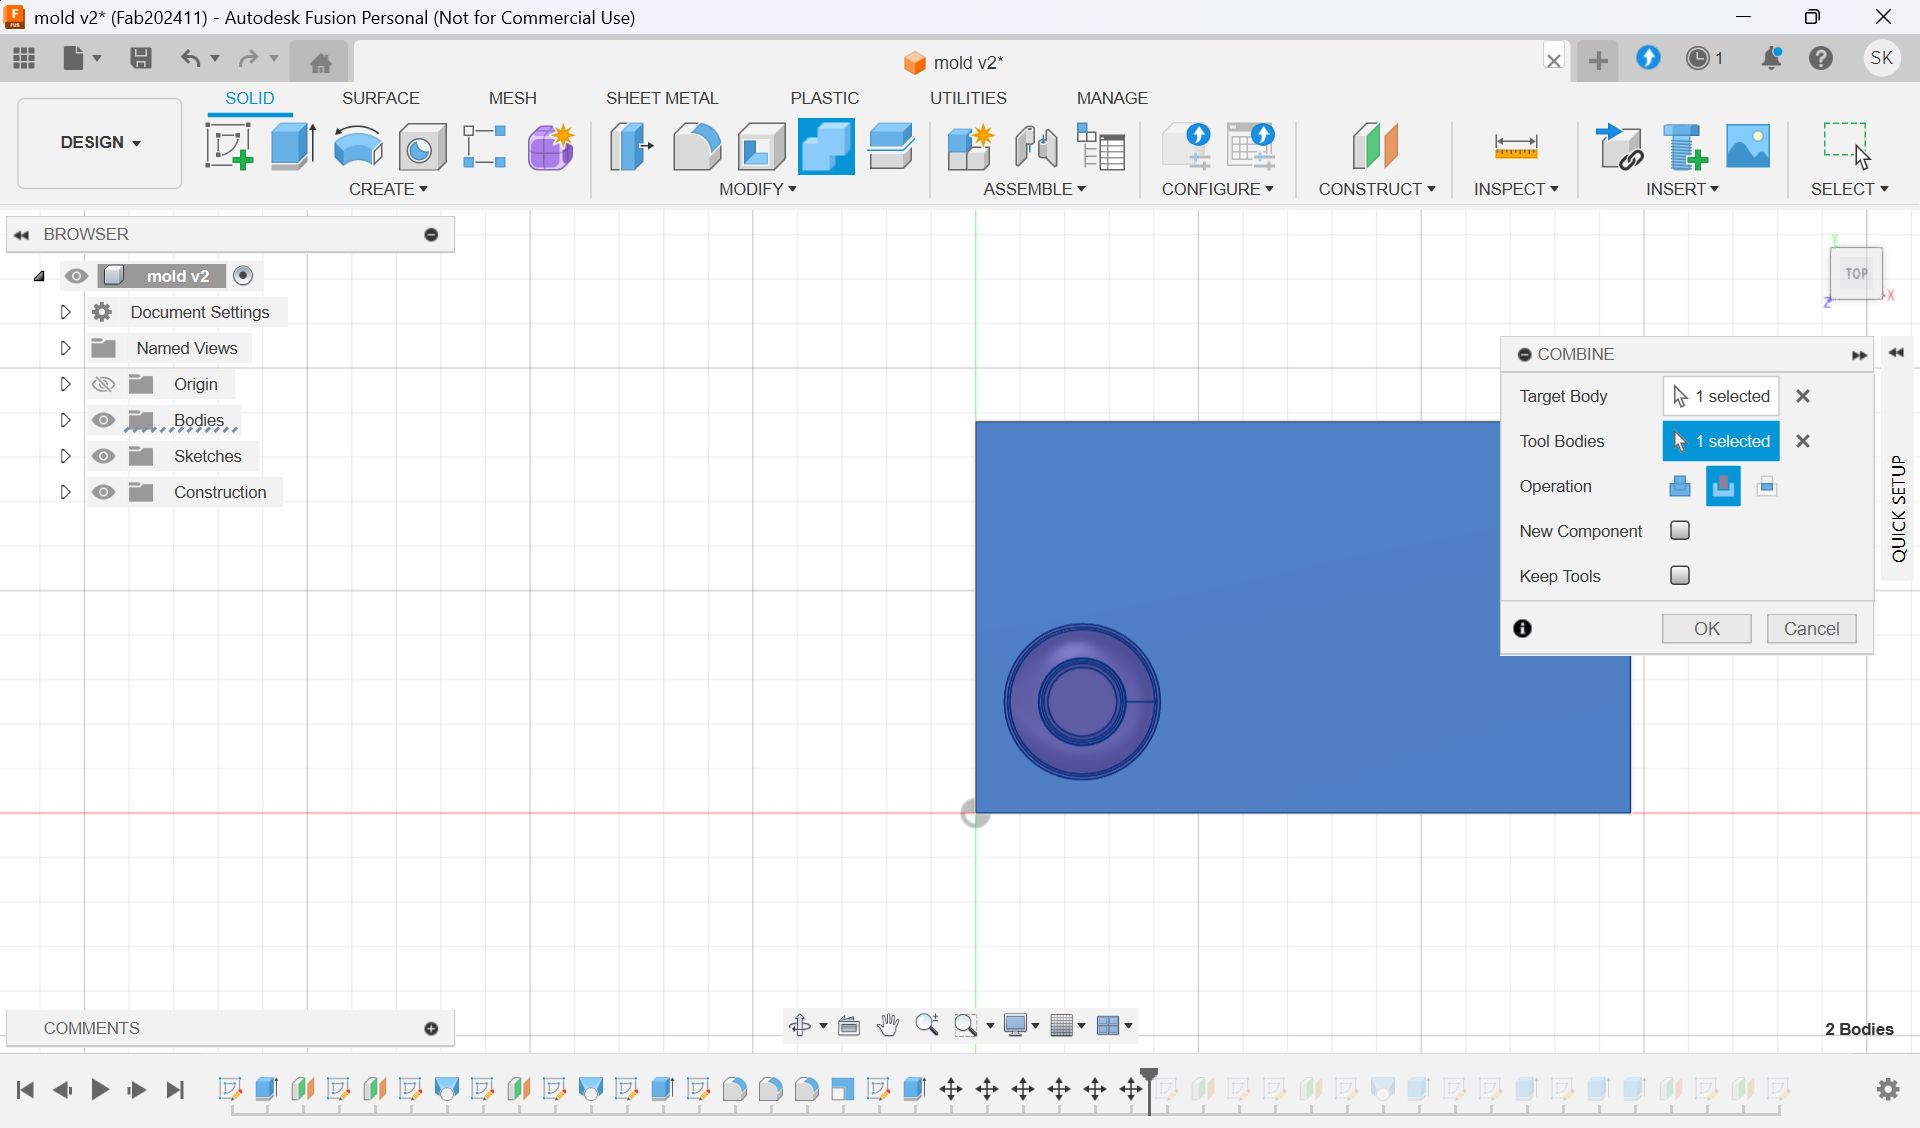
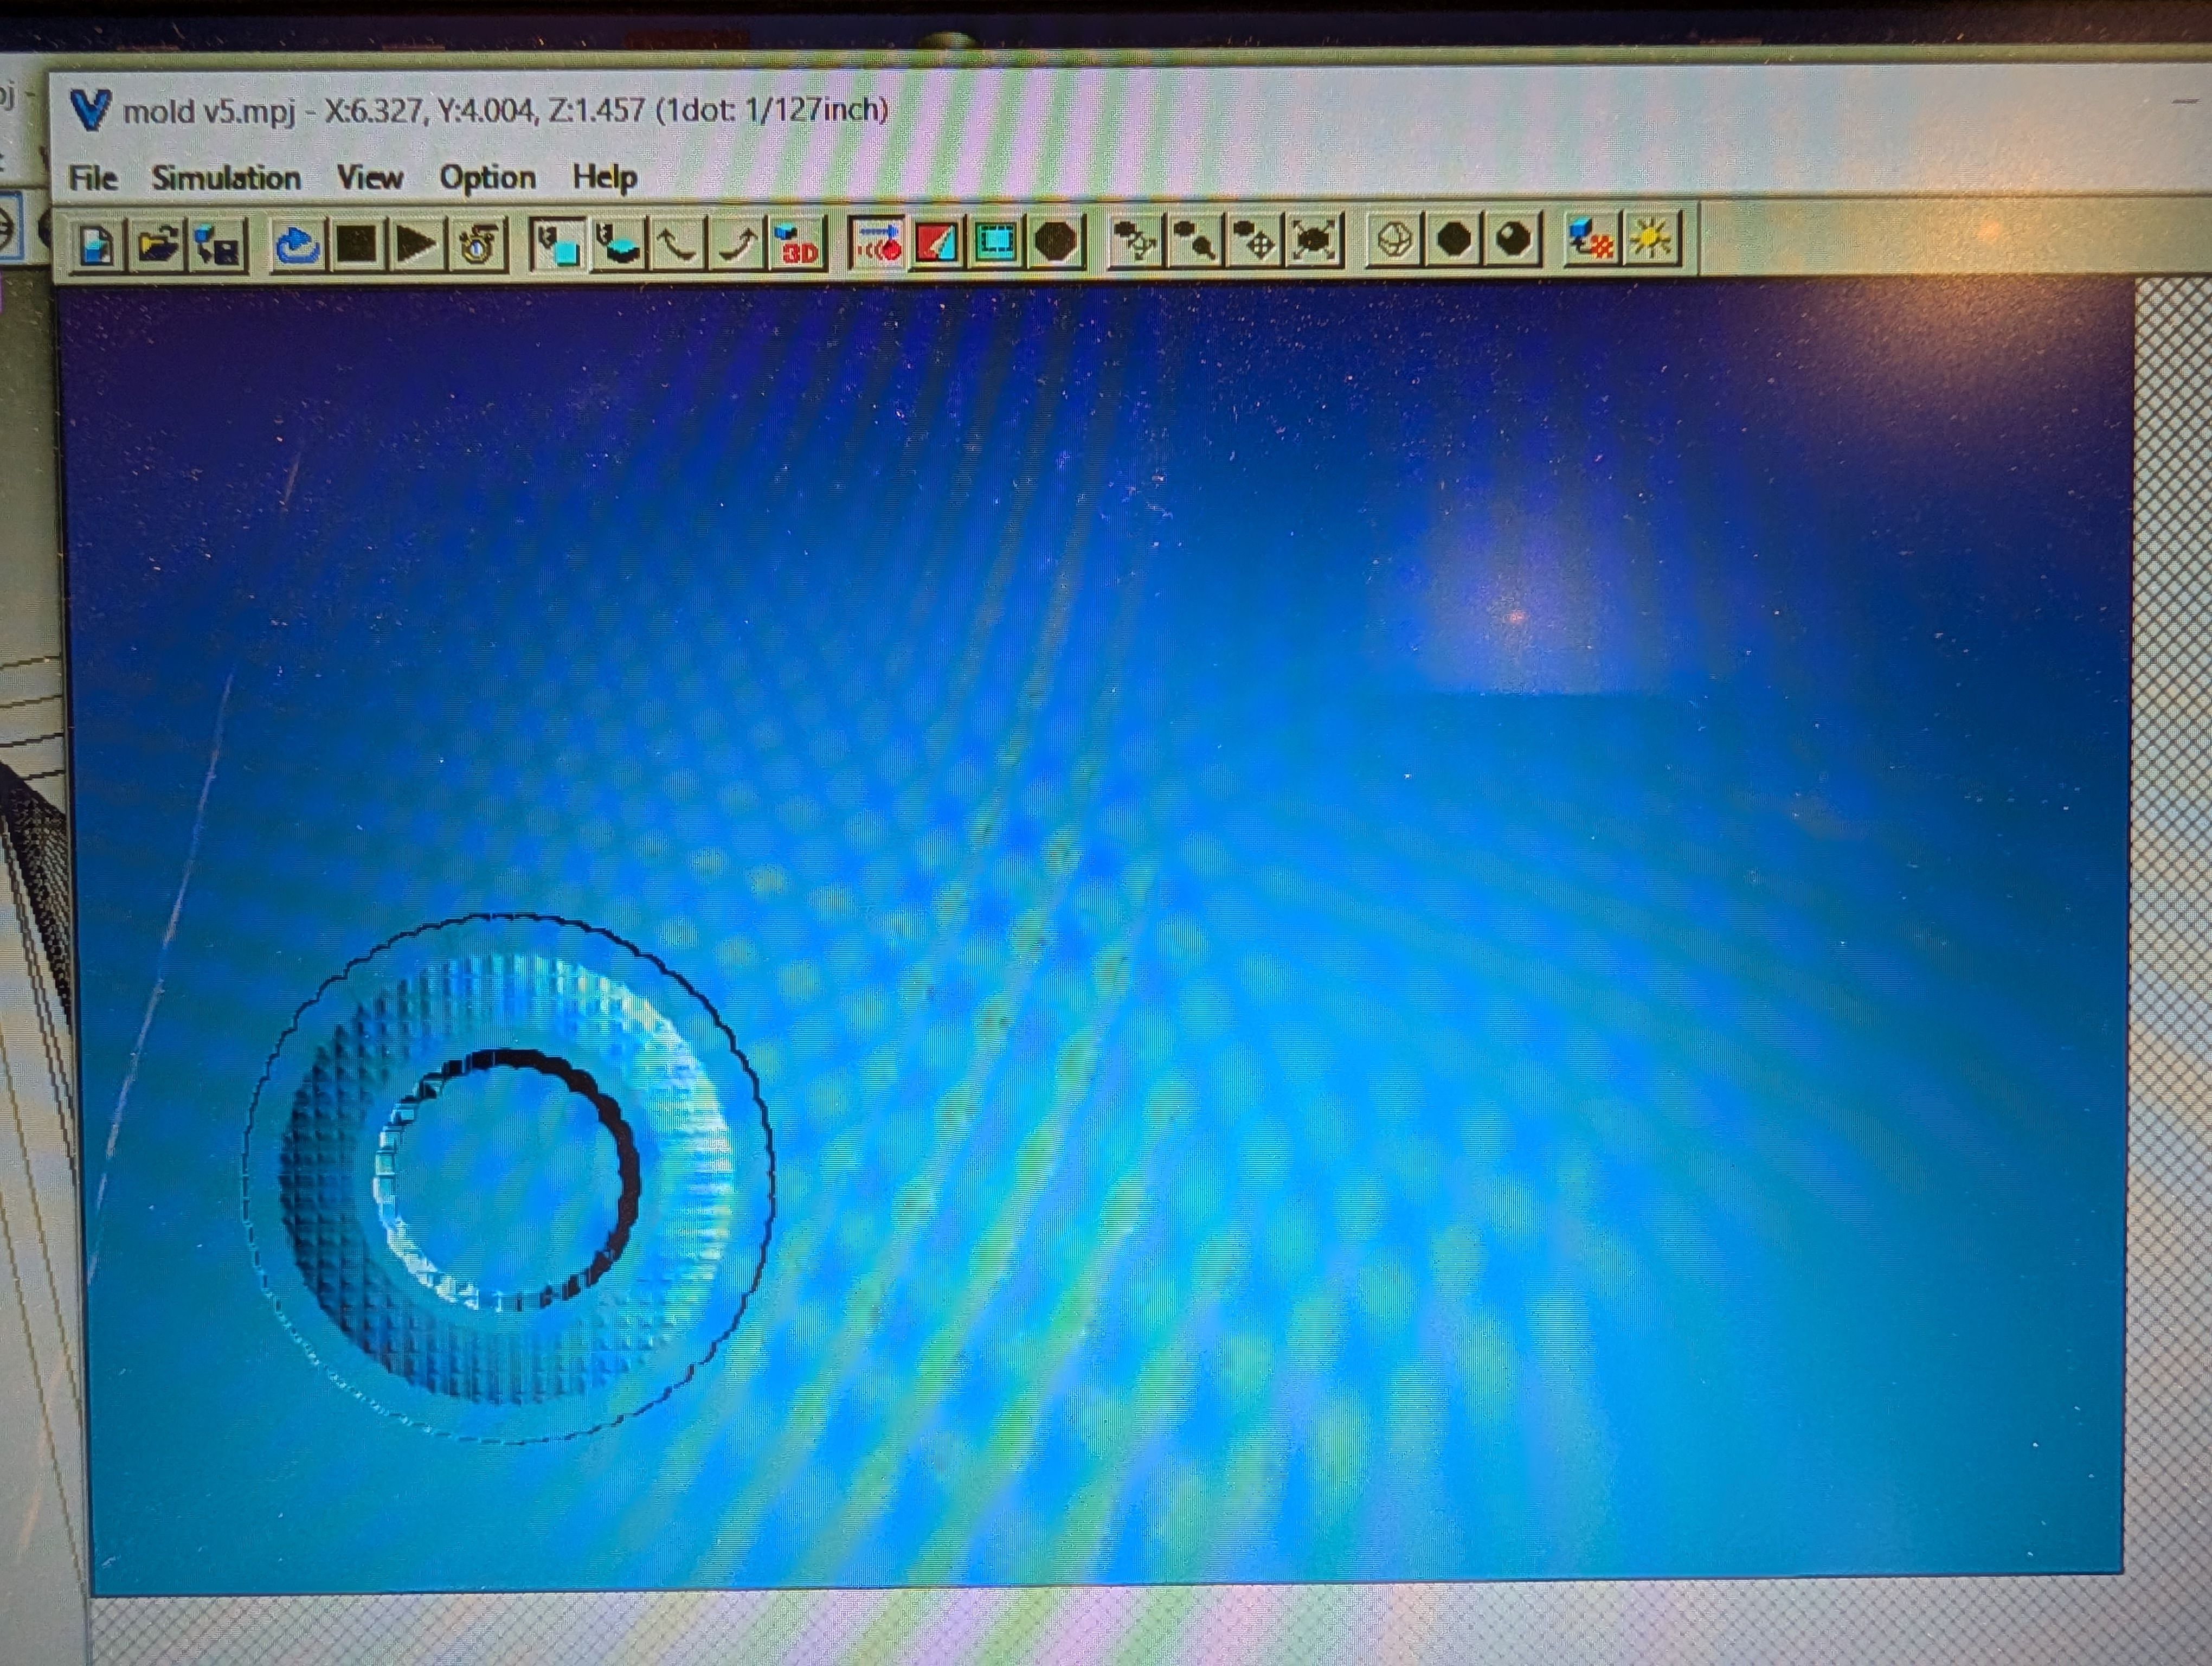
Check the cross section to see if the mill can pass through without any problems.
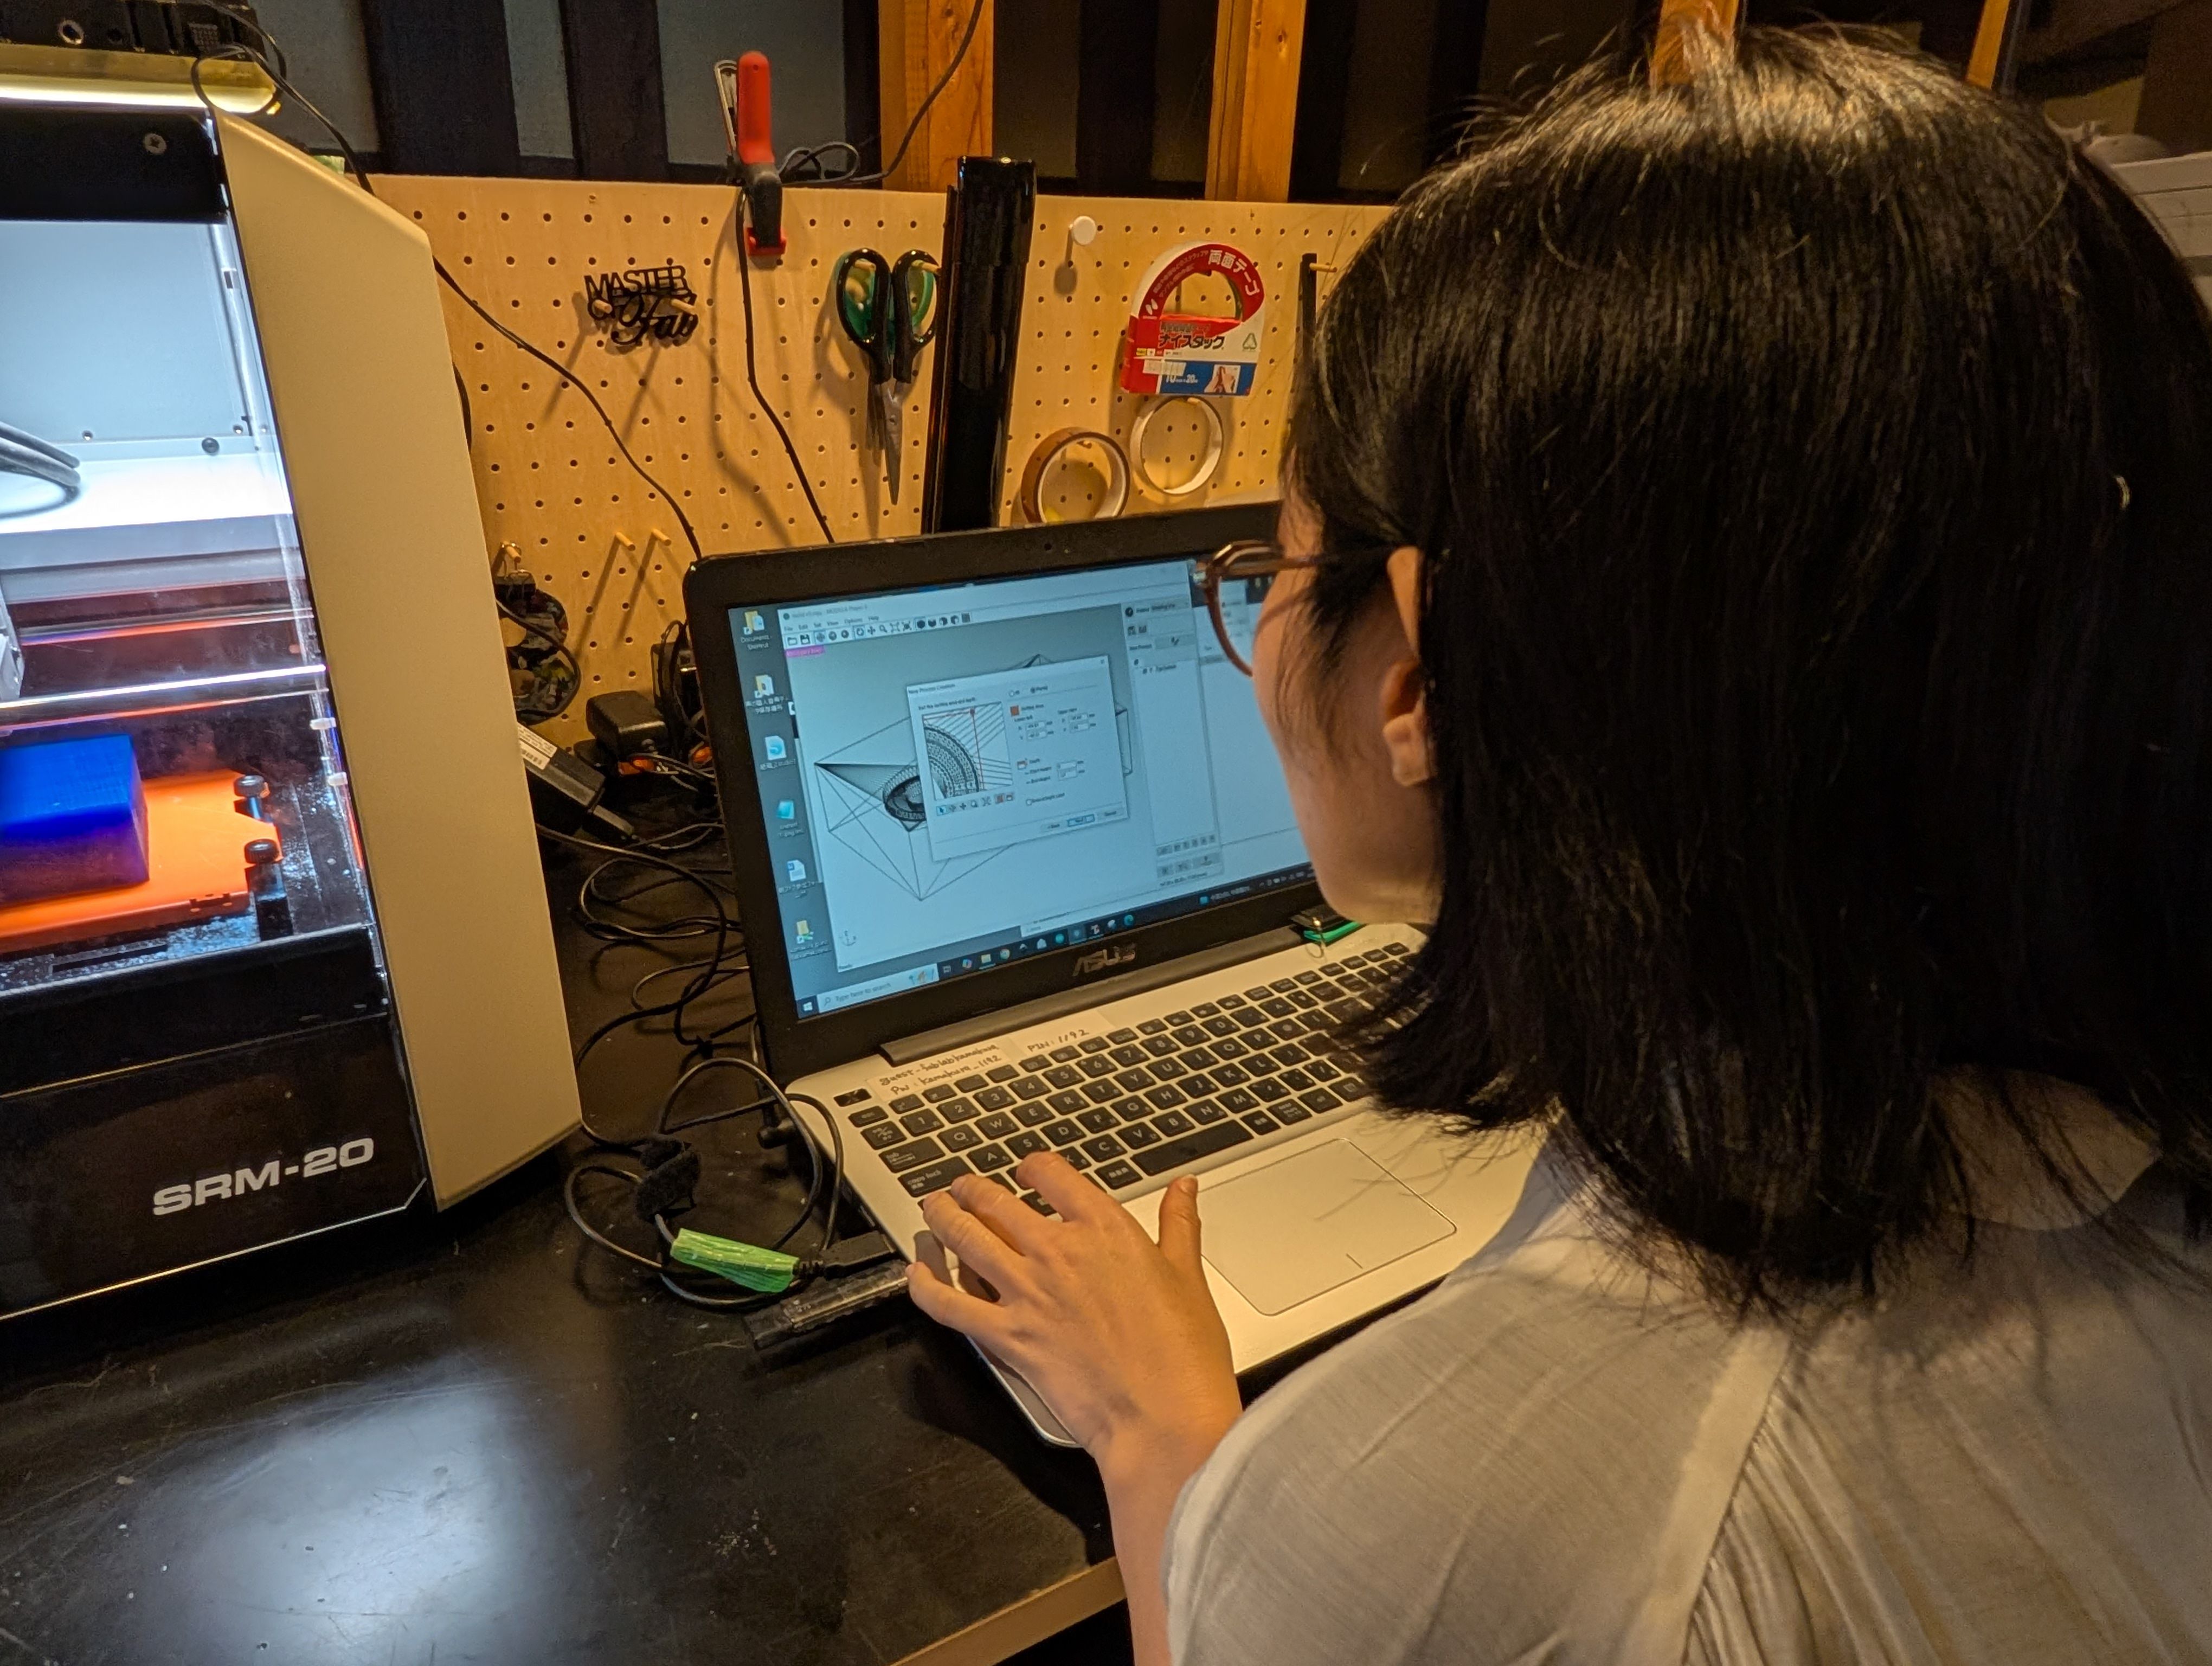
CutPass - Modela
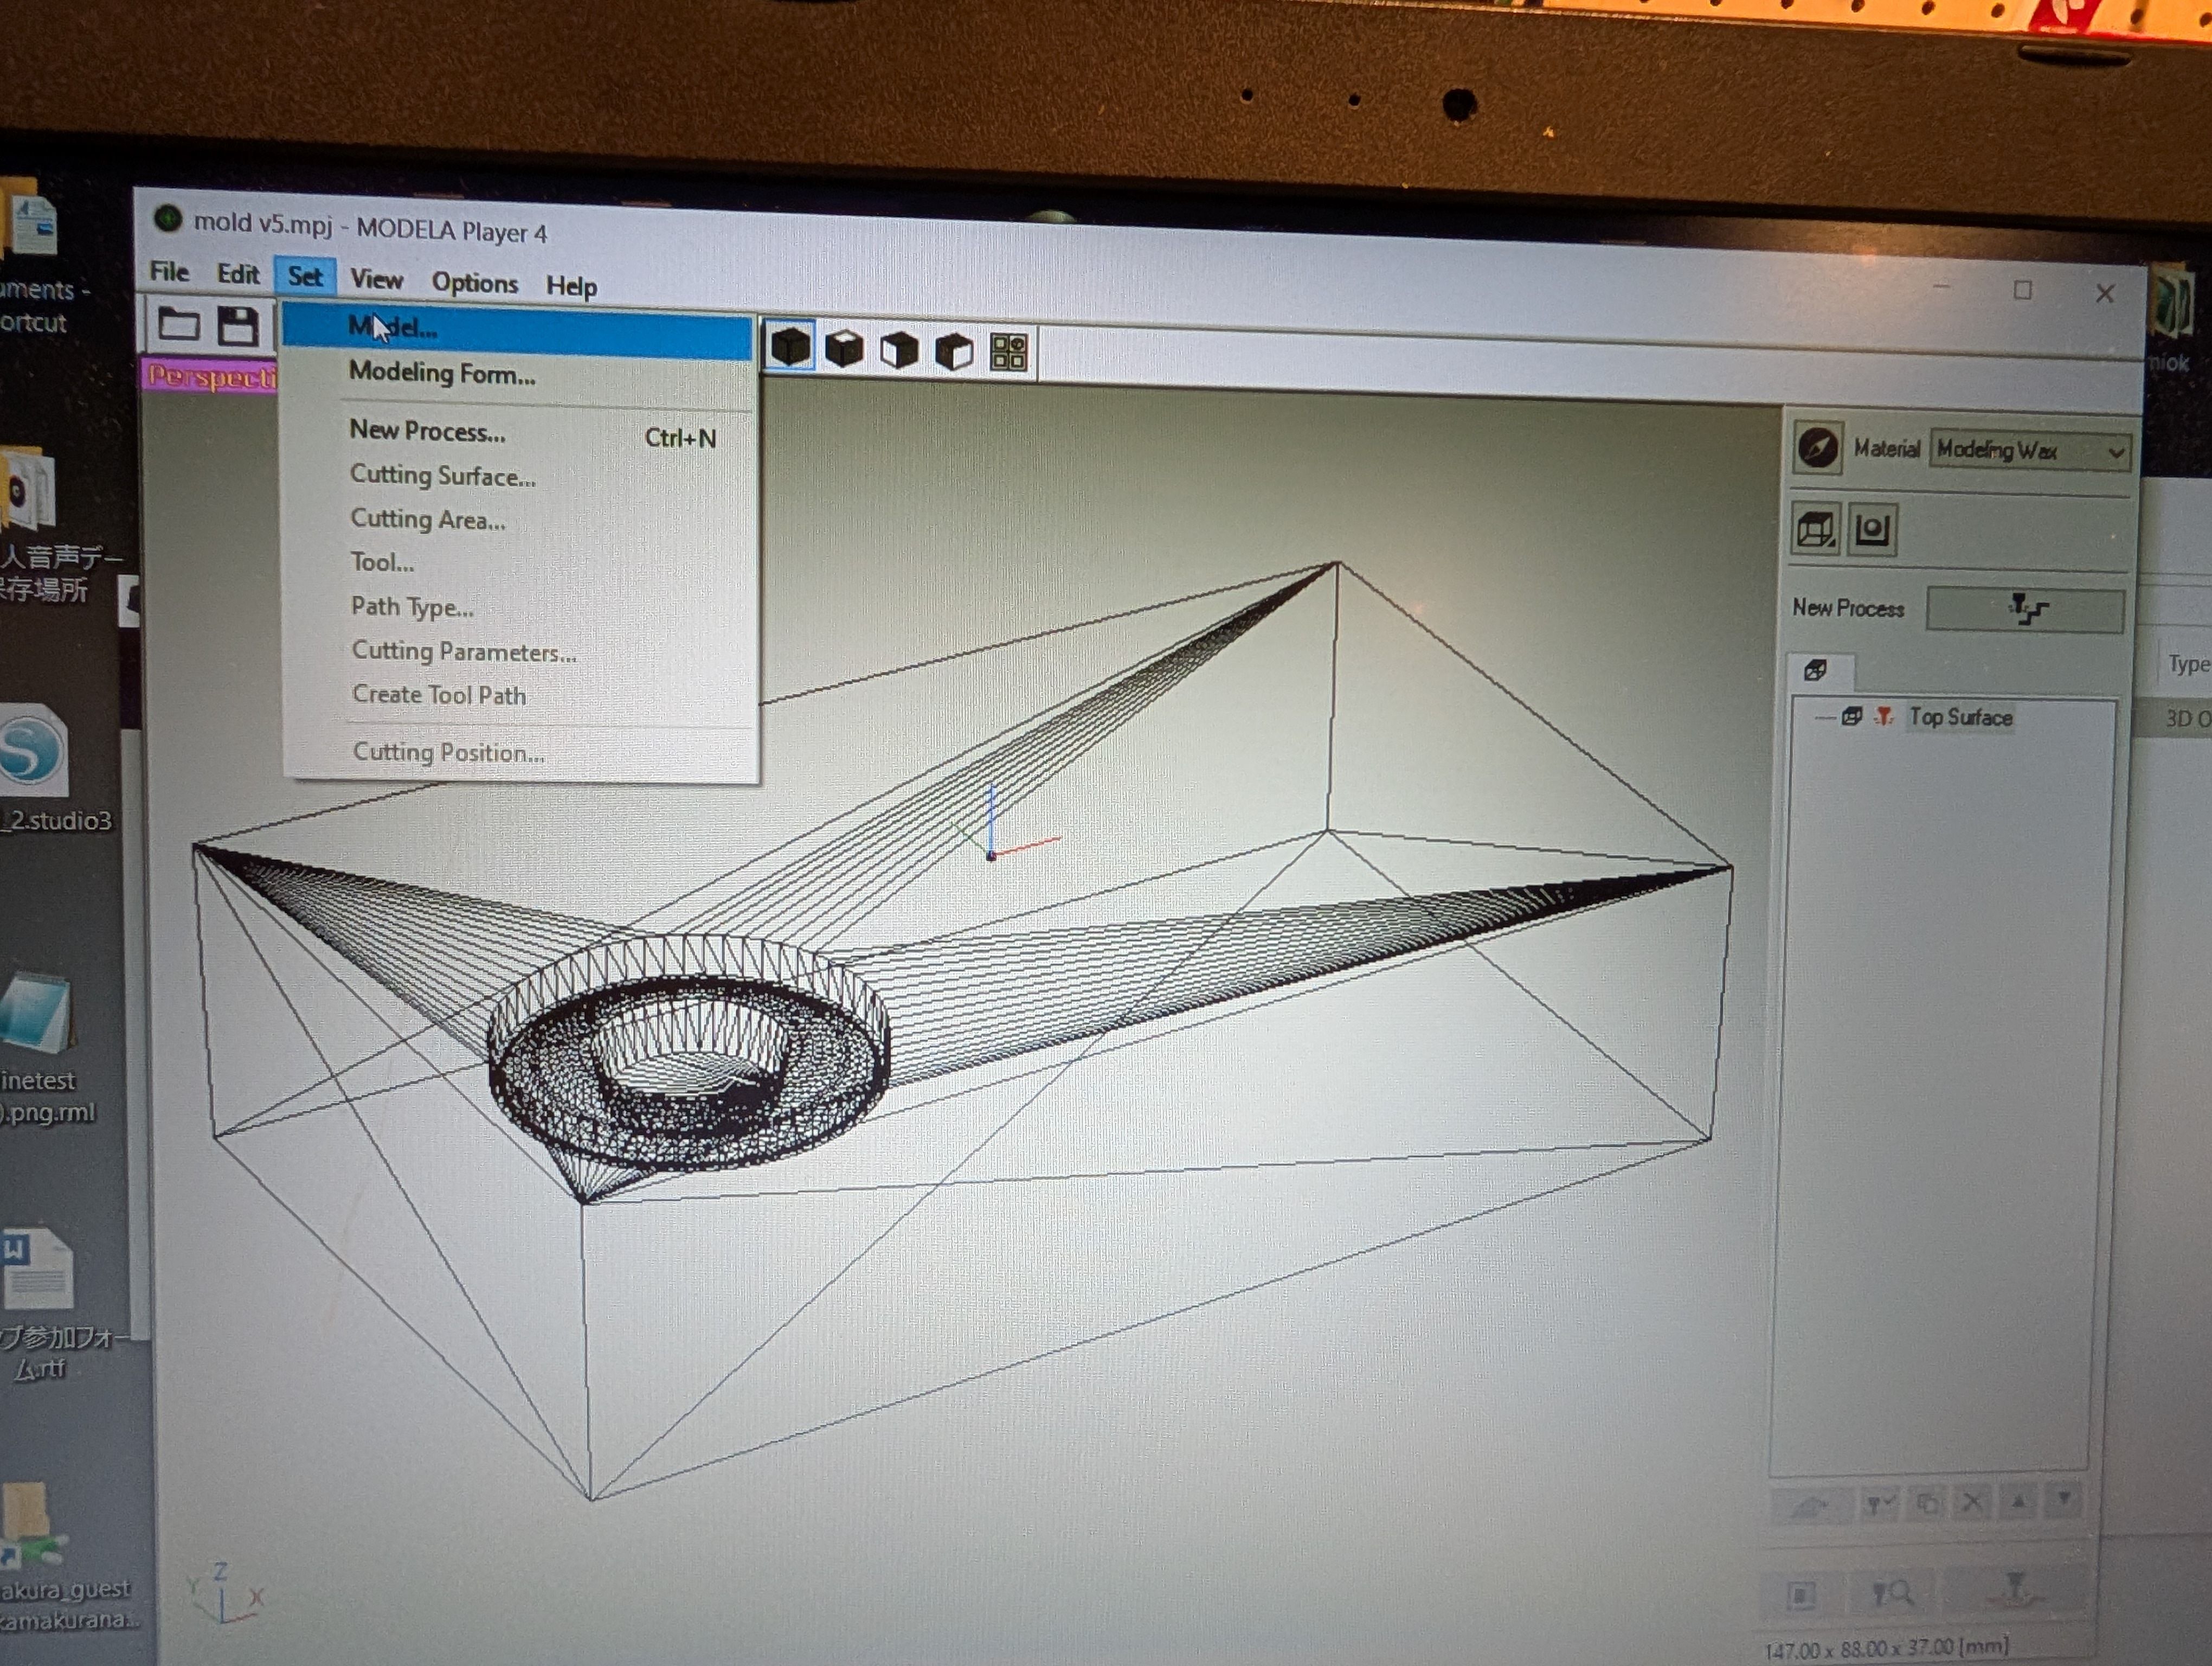
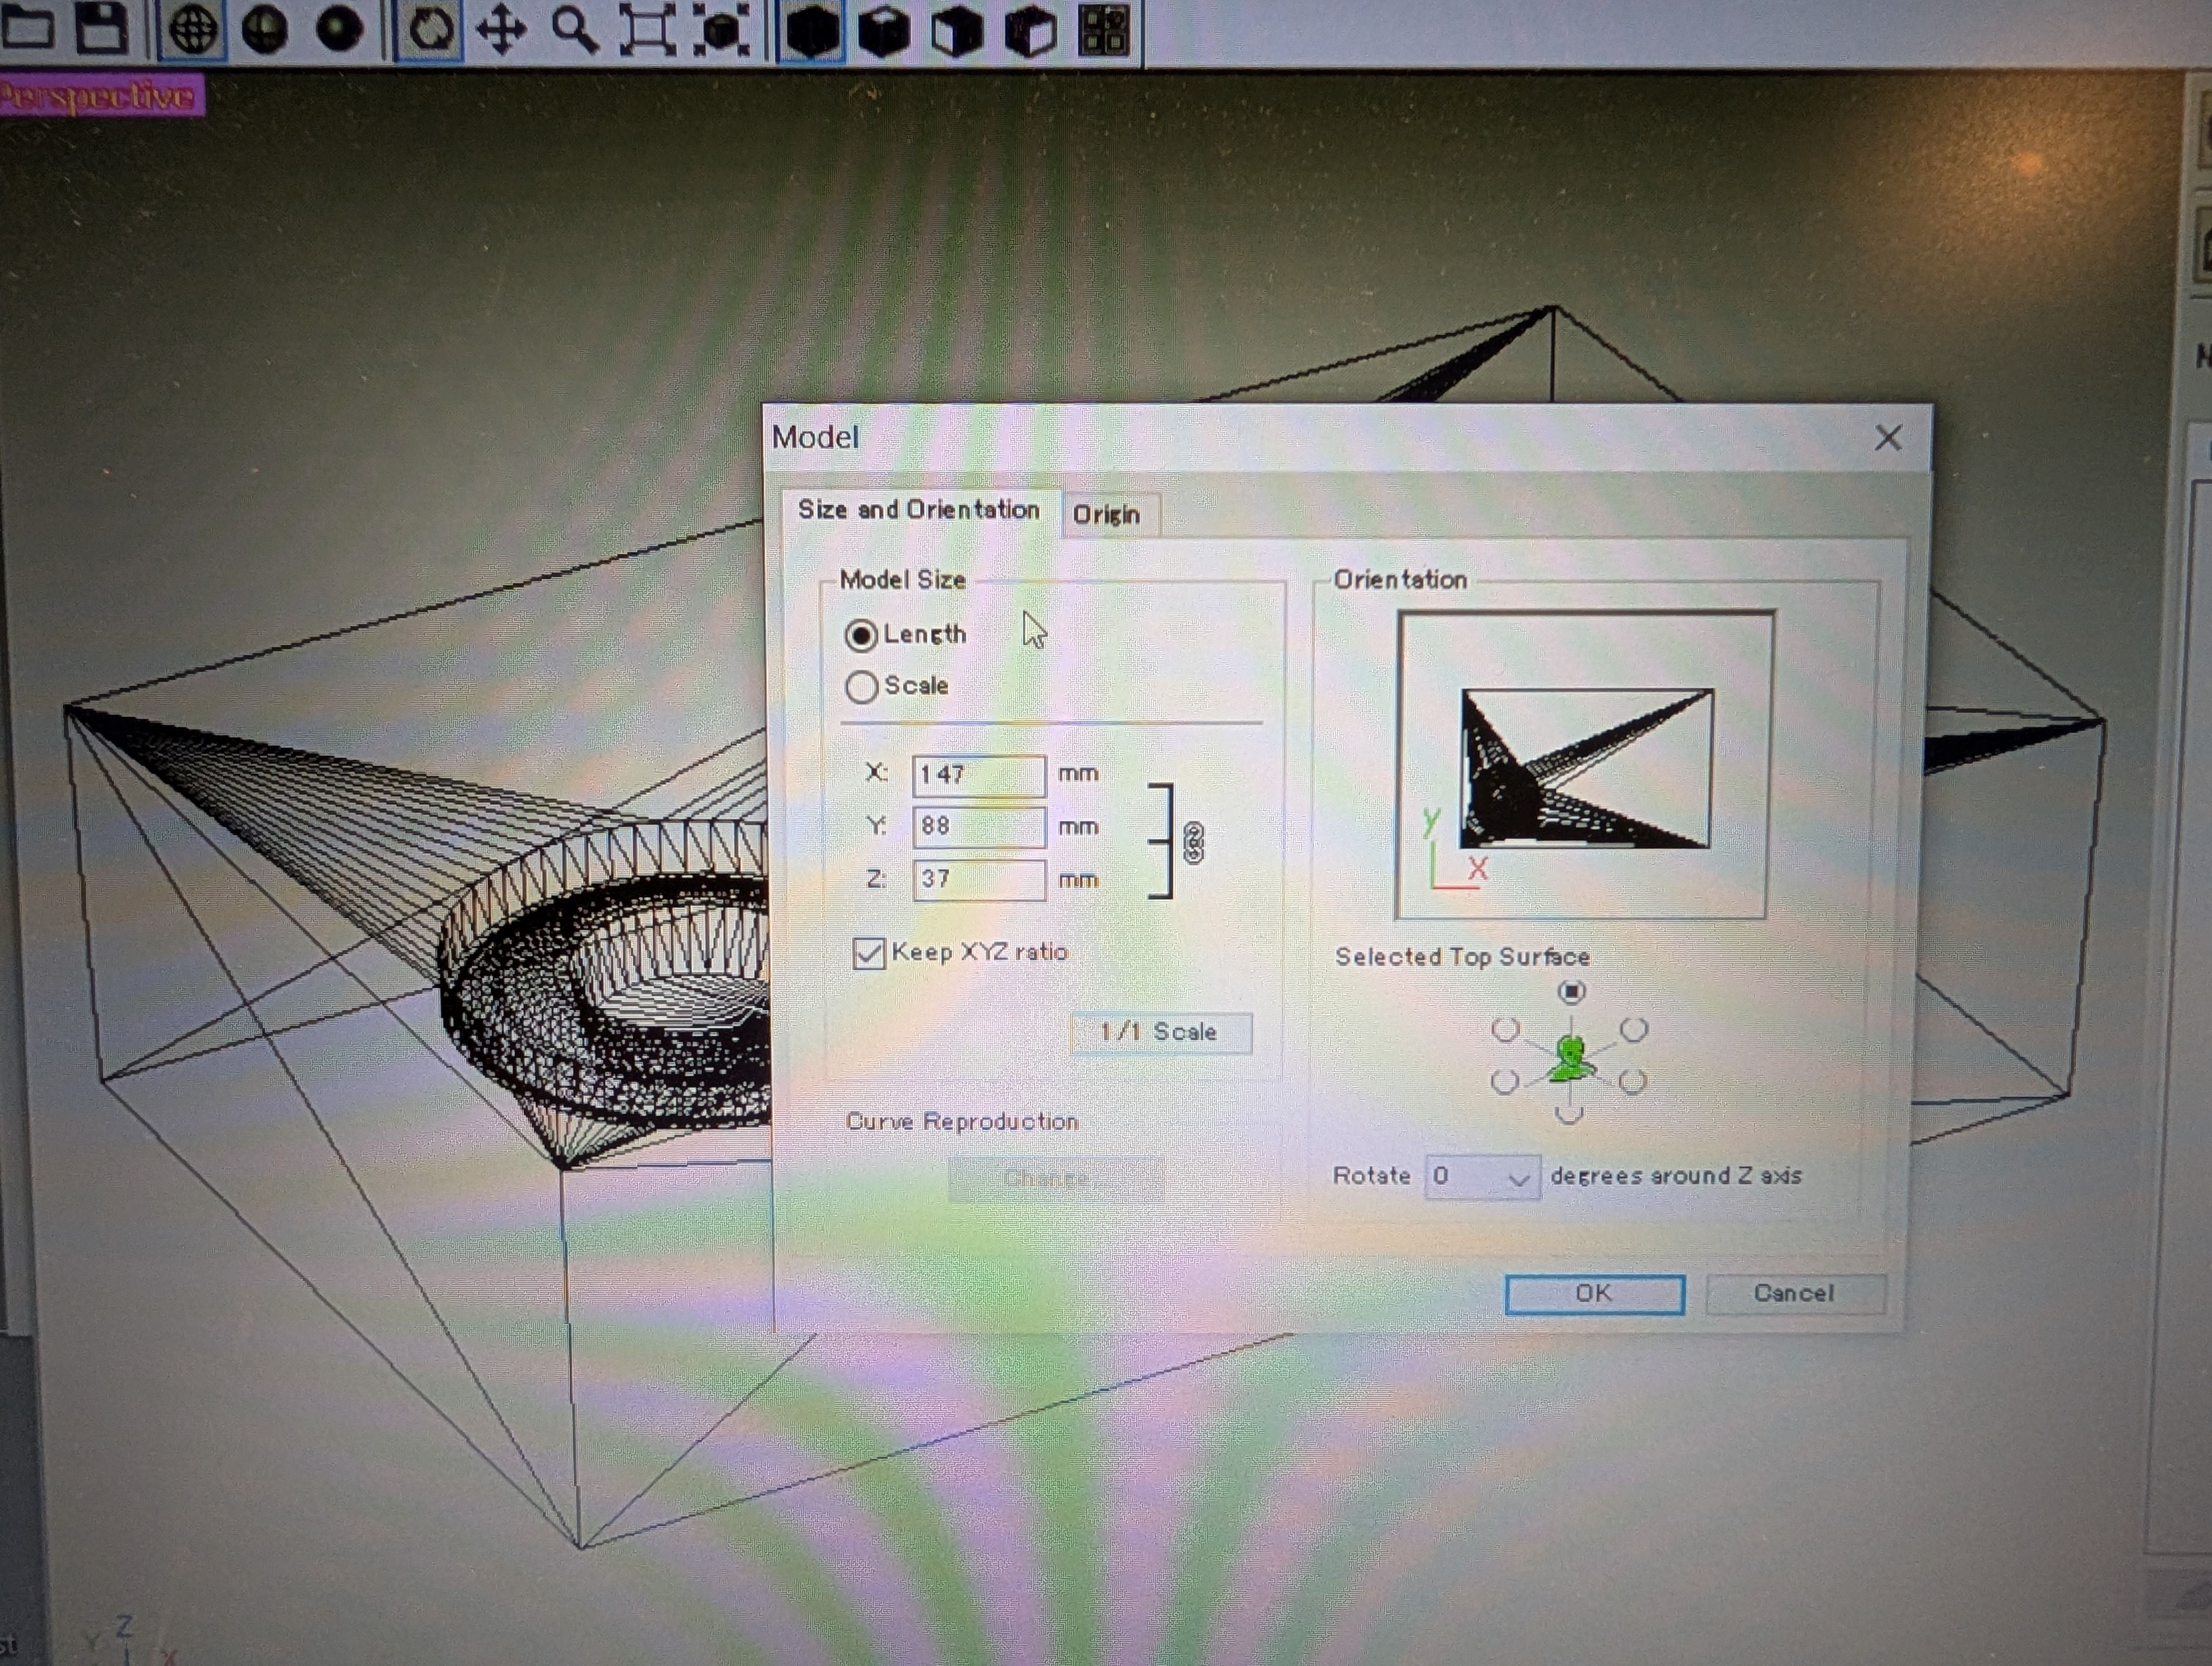
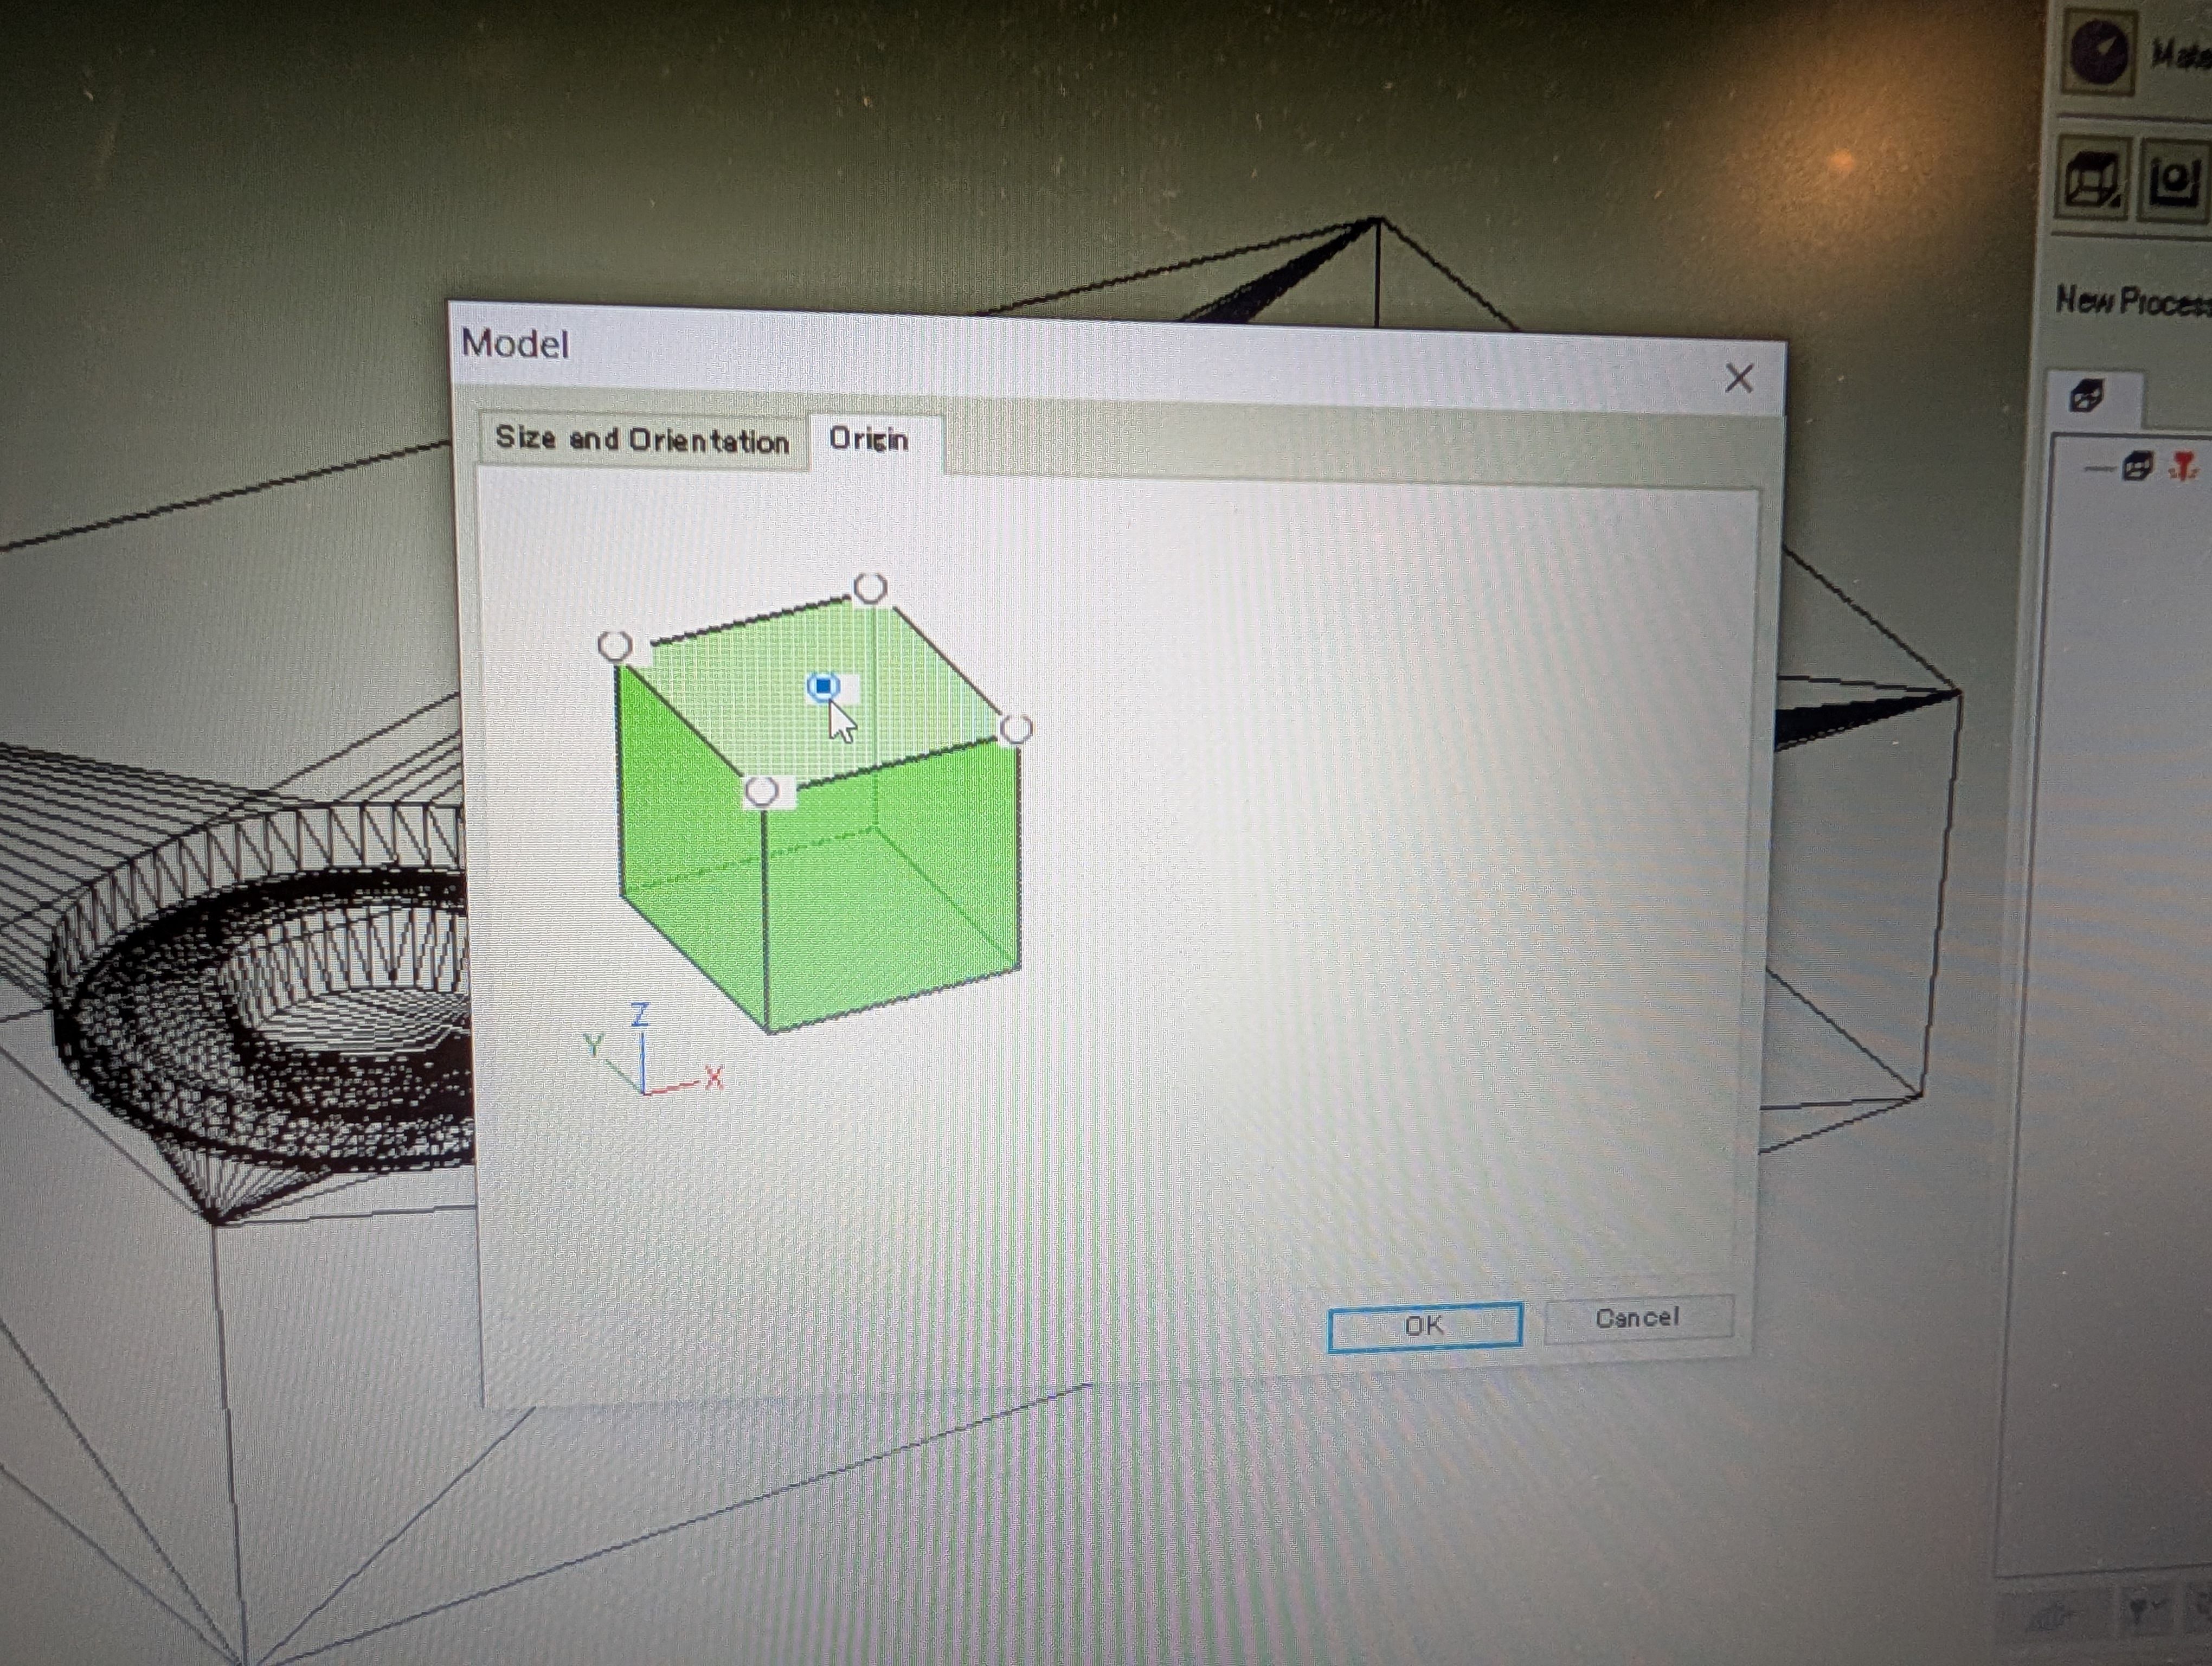
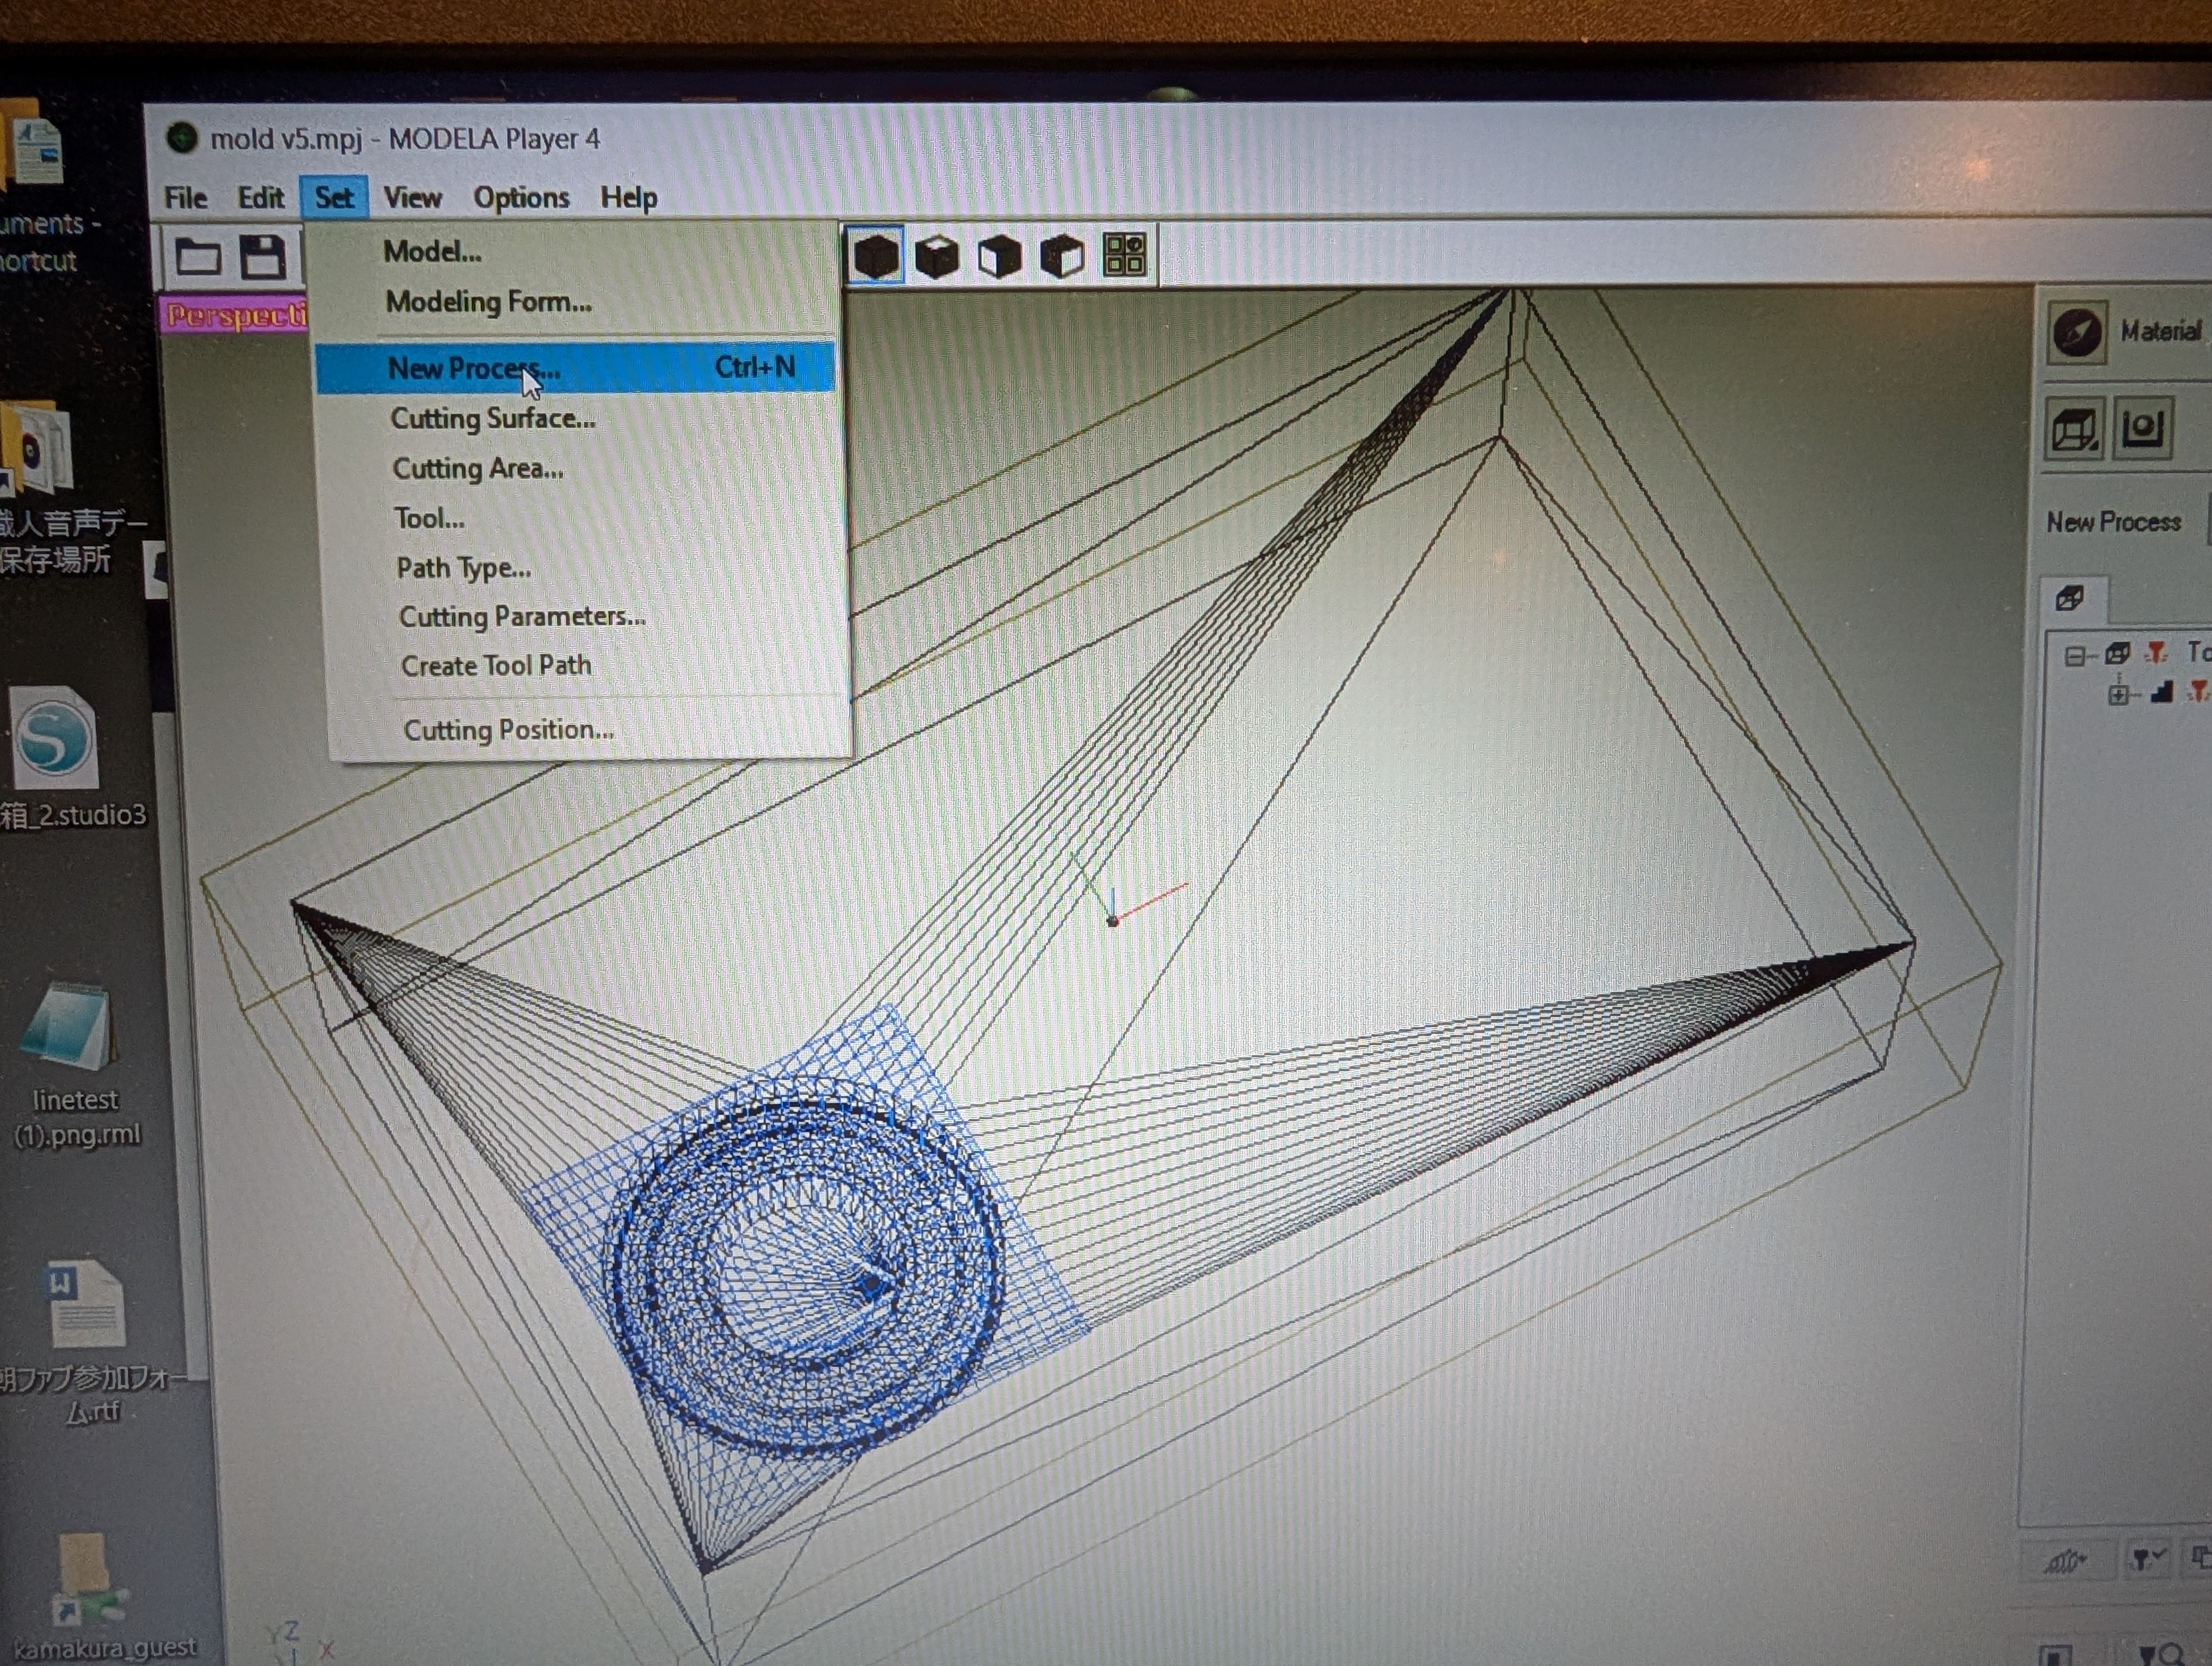
Modela
Open file, choose “Model” menu and confirm the orientation. And Origin
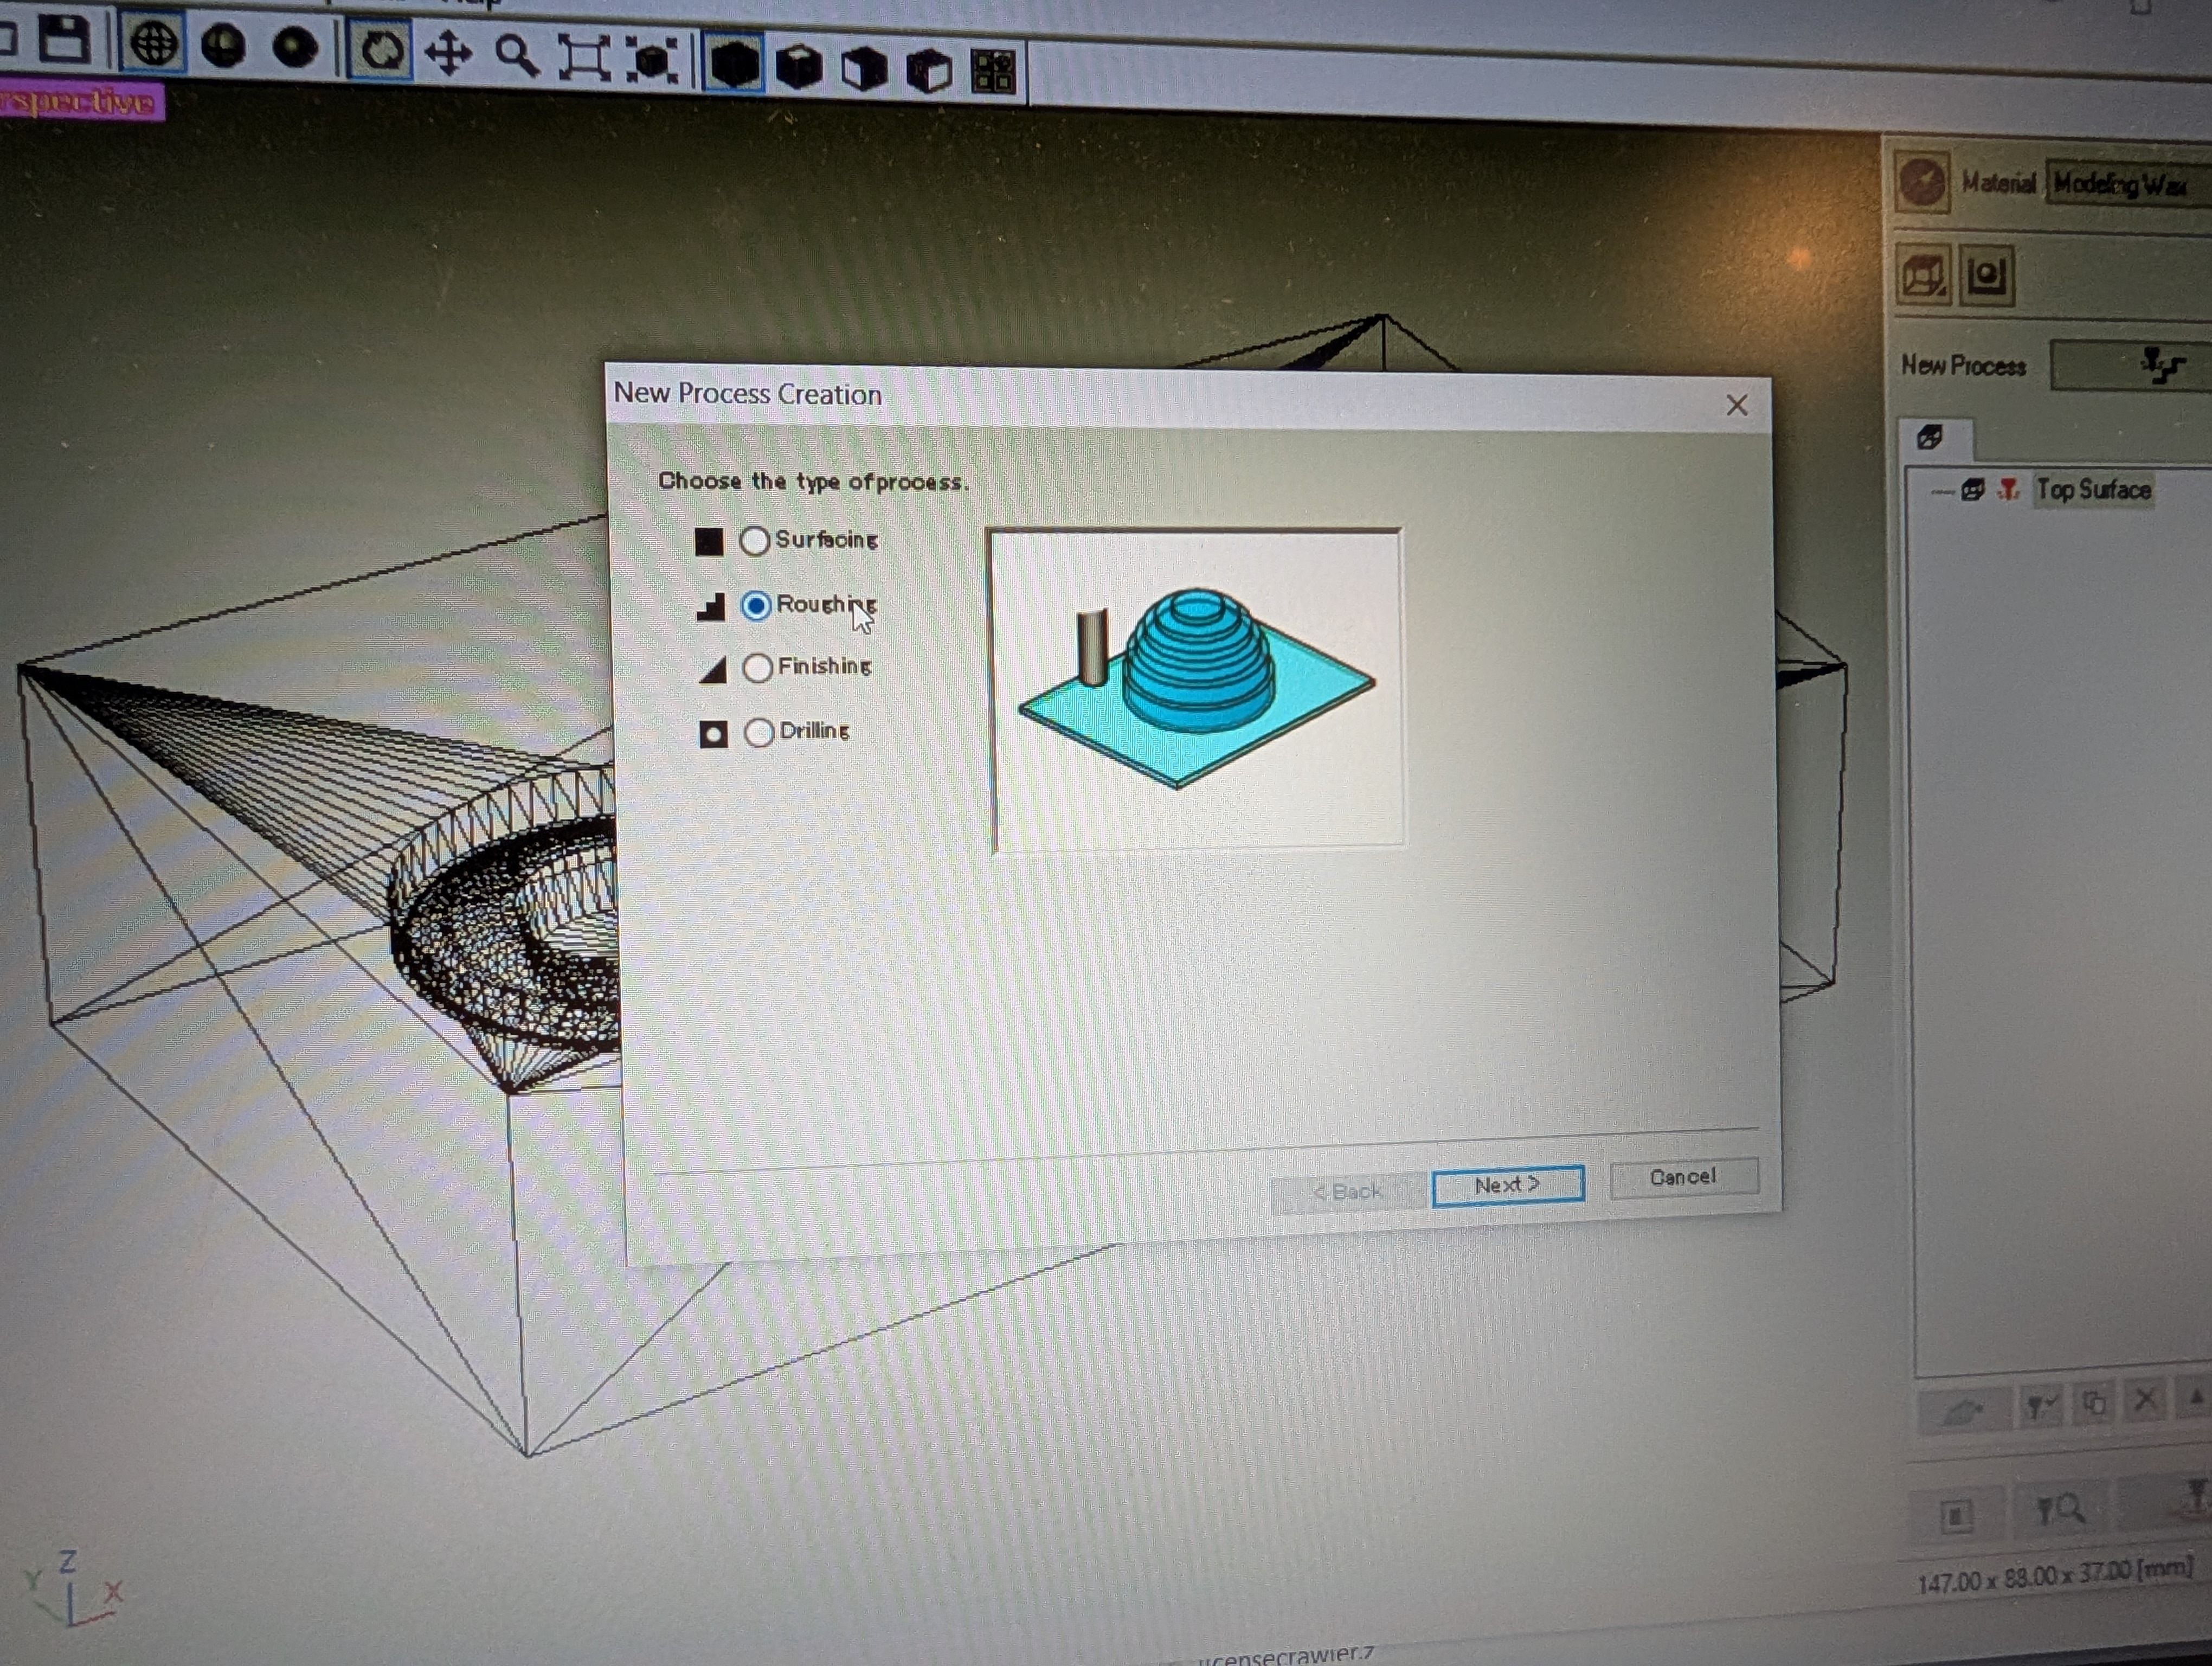
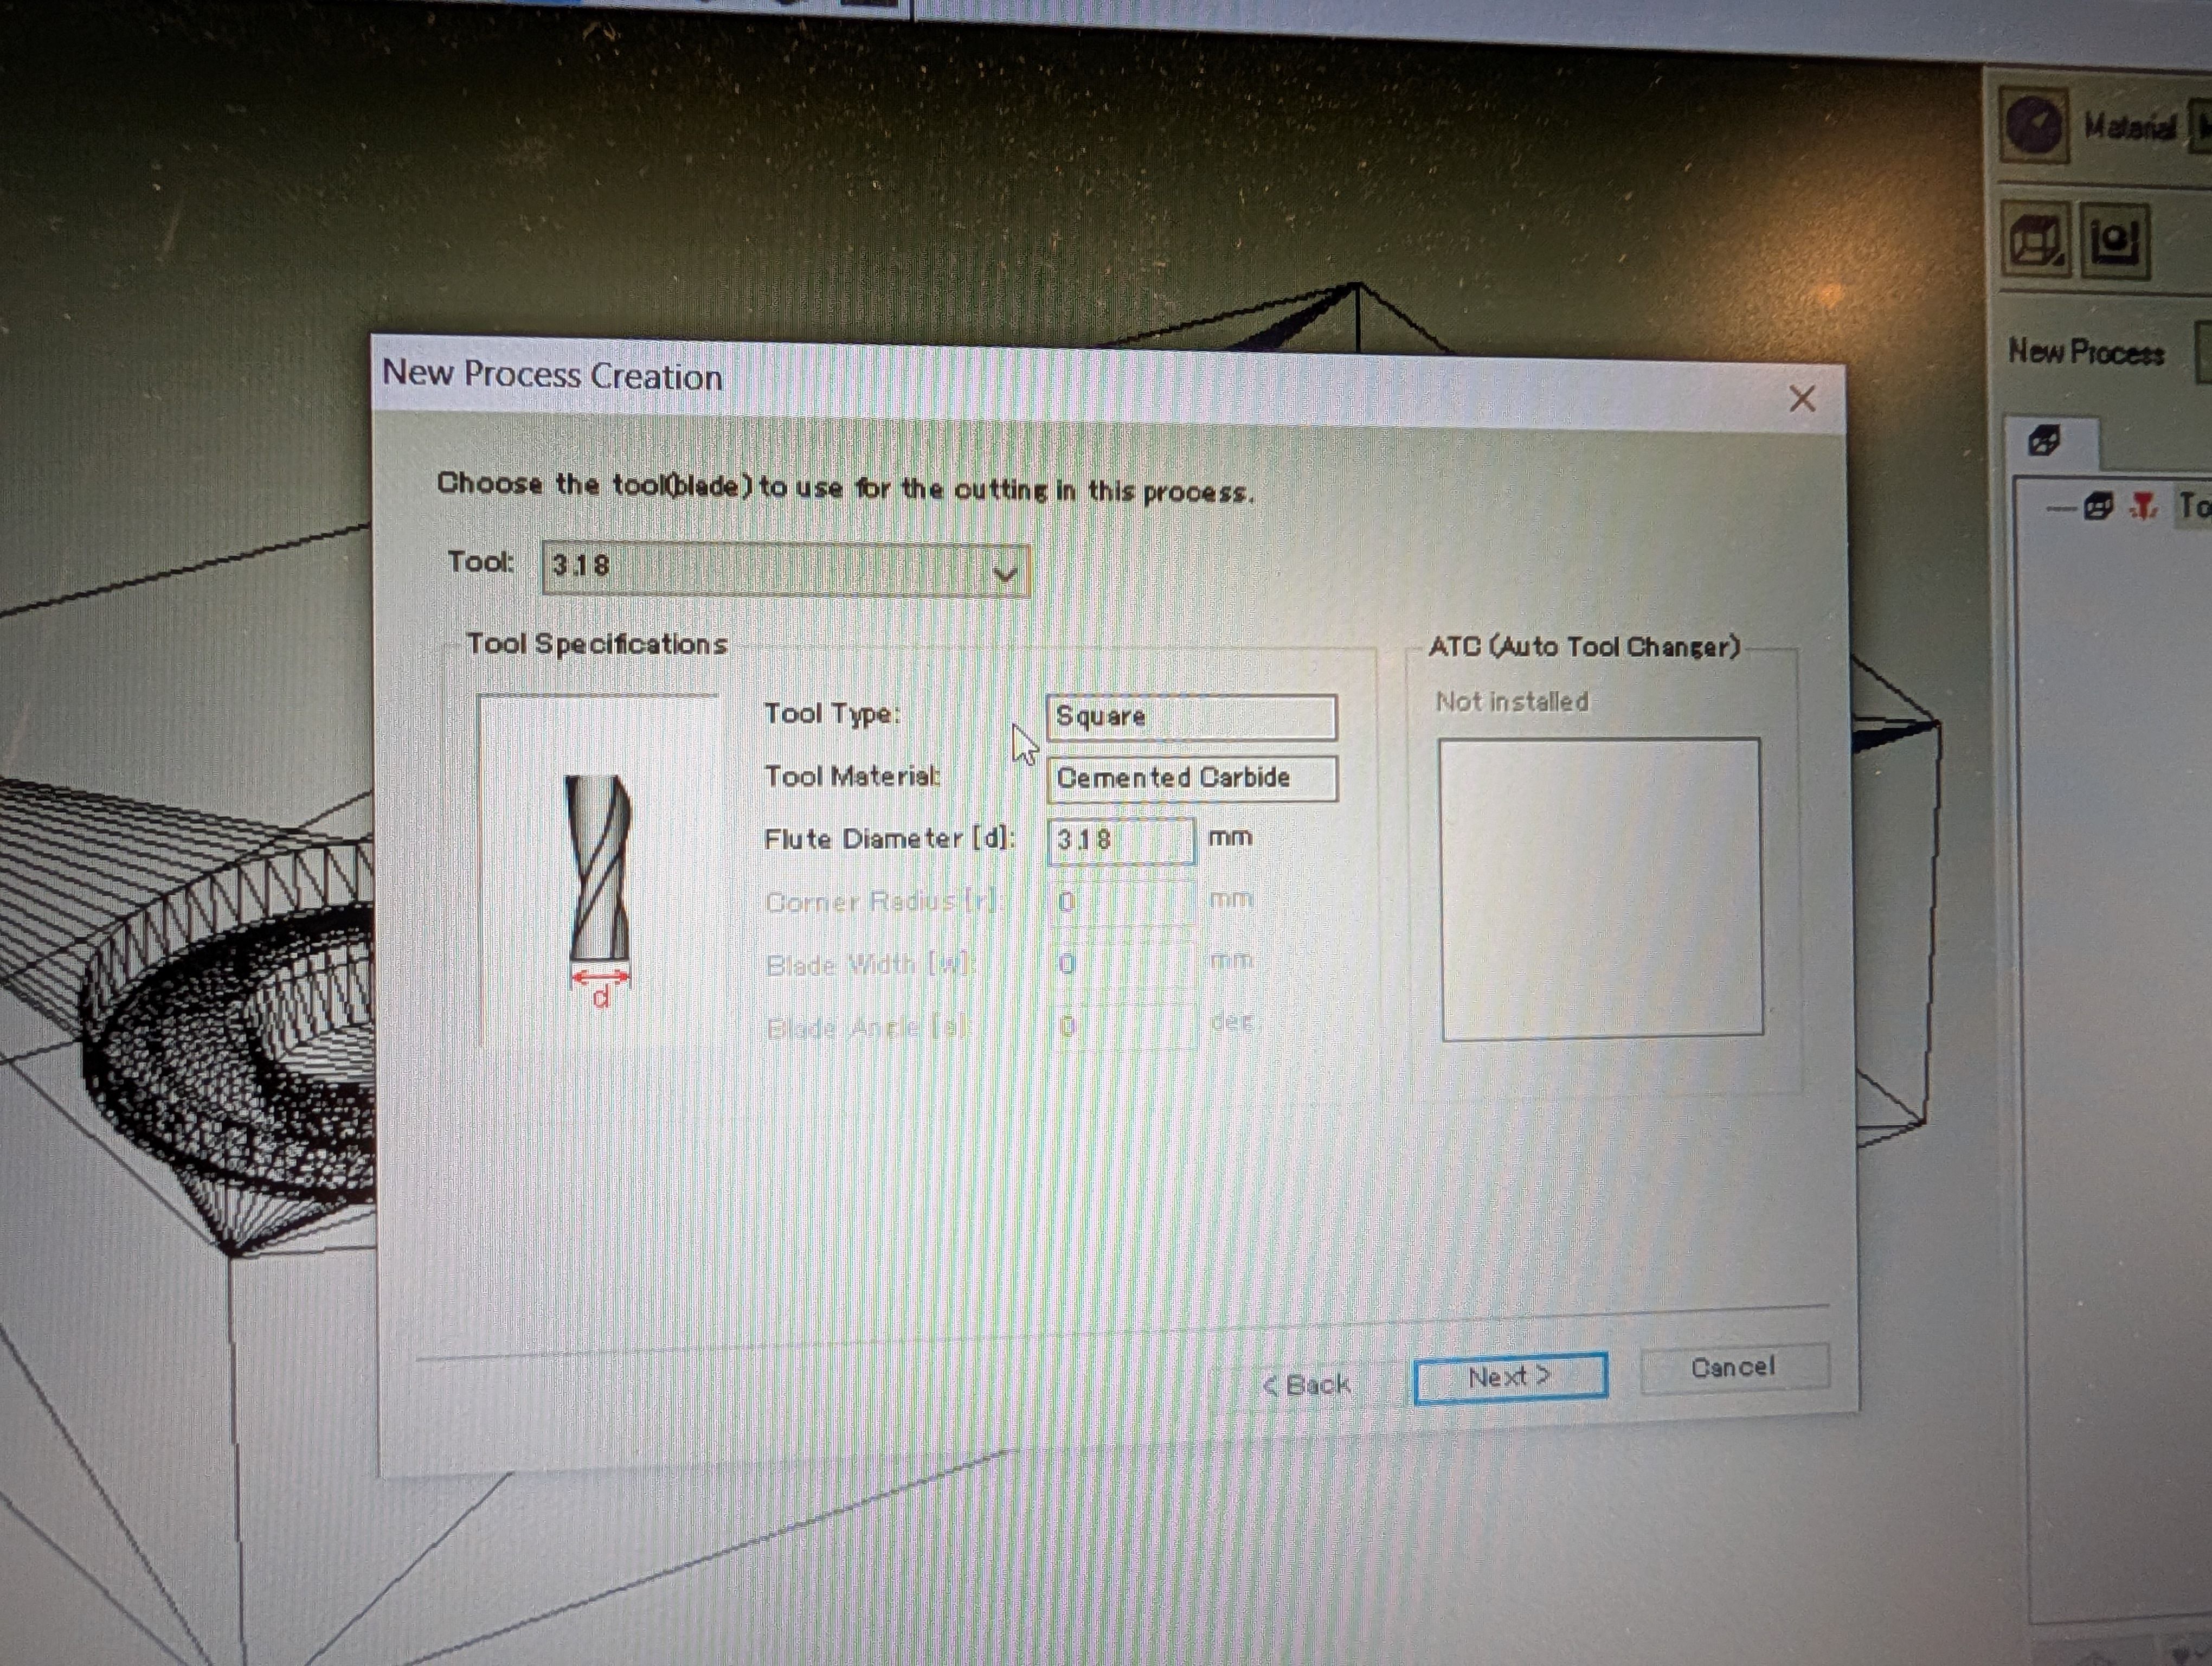
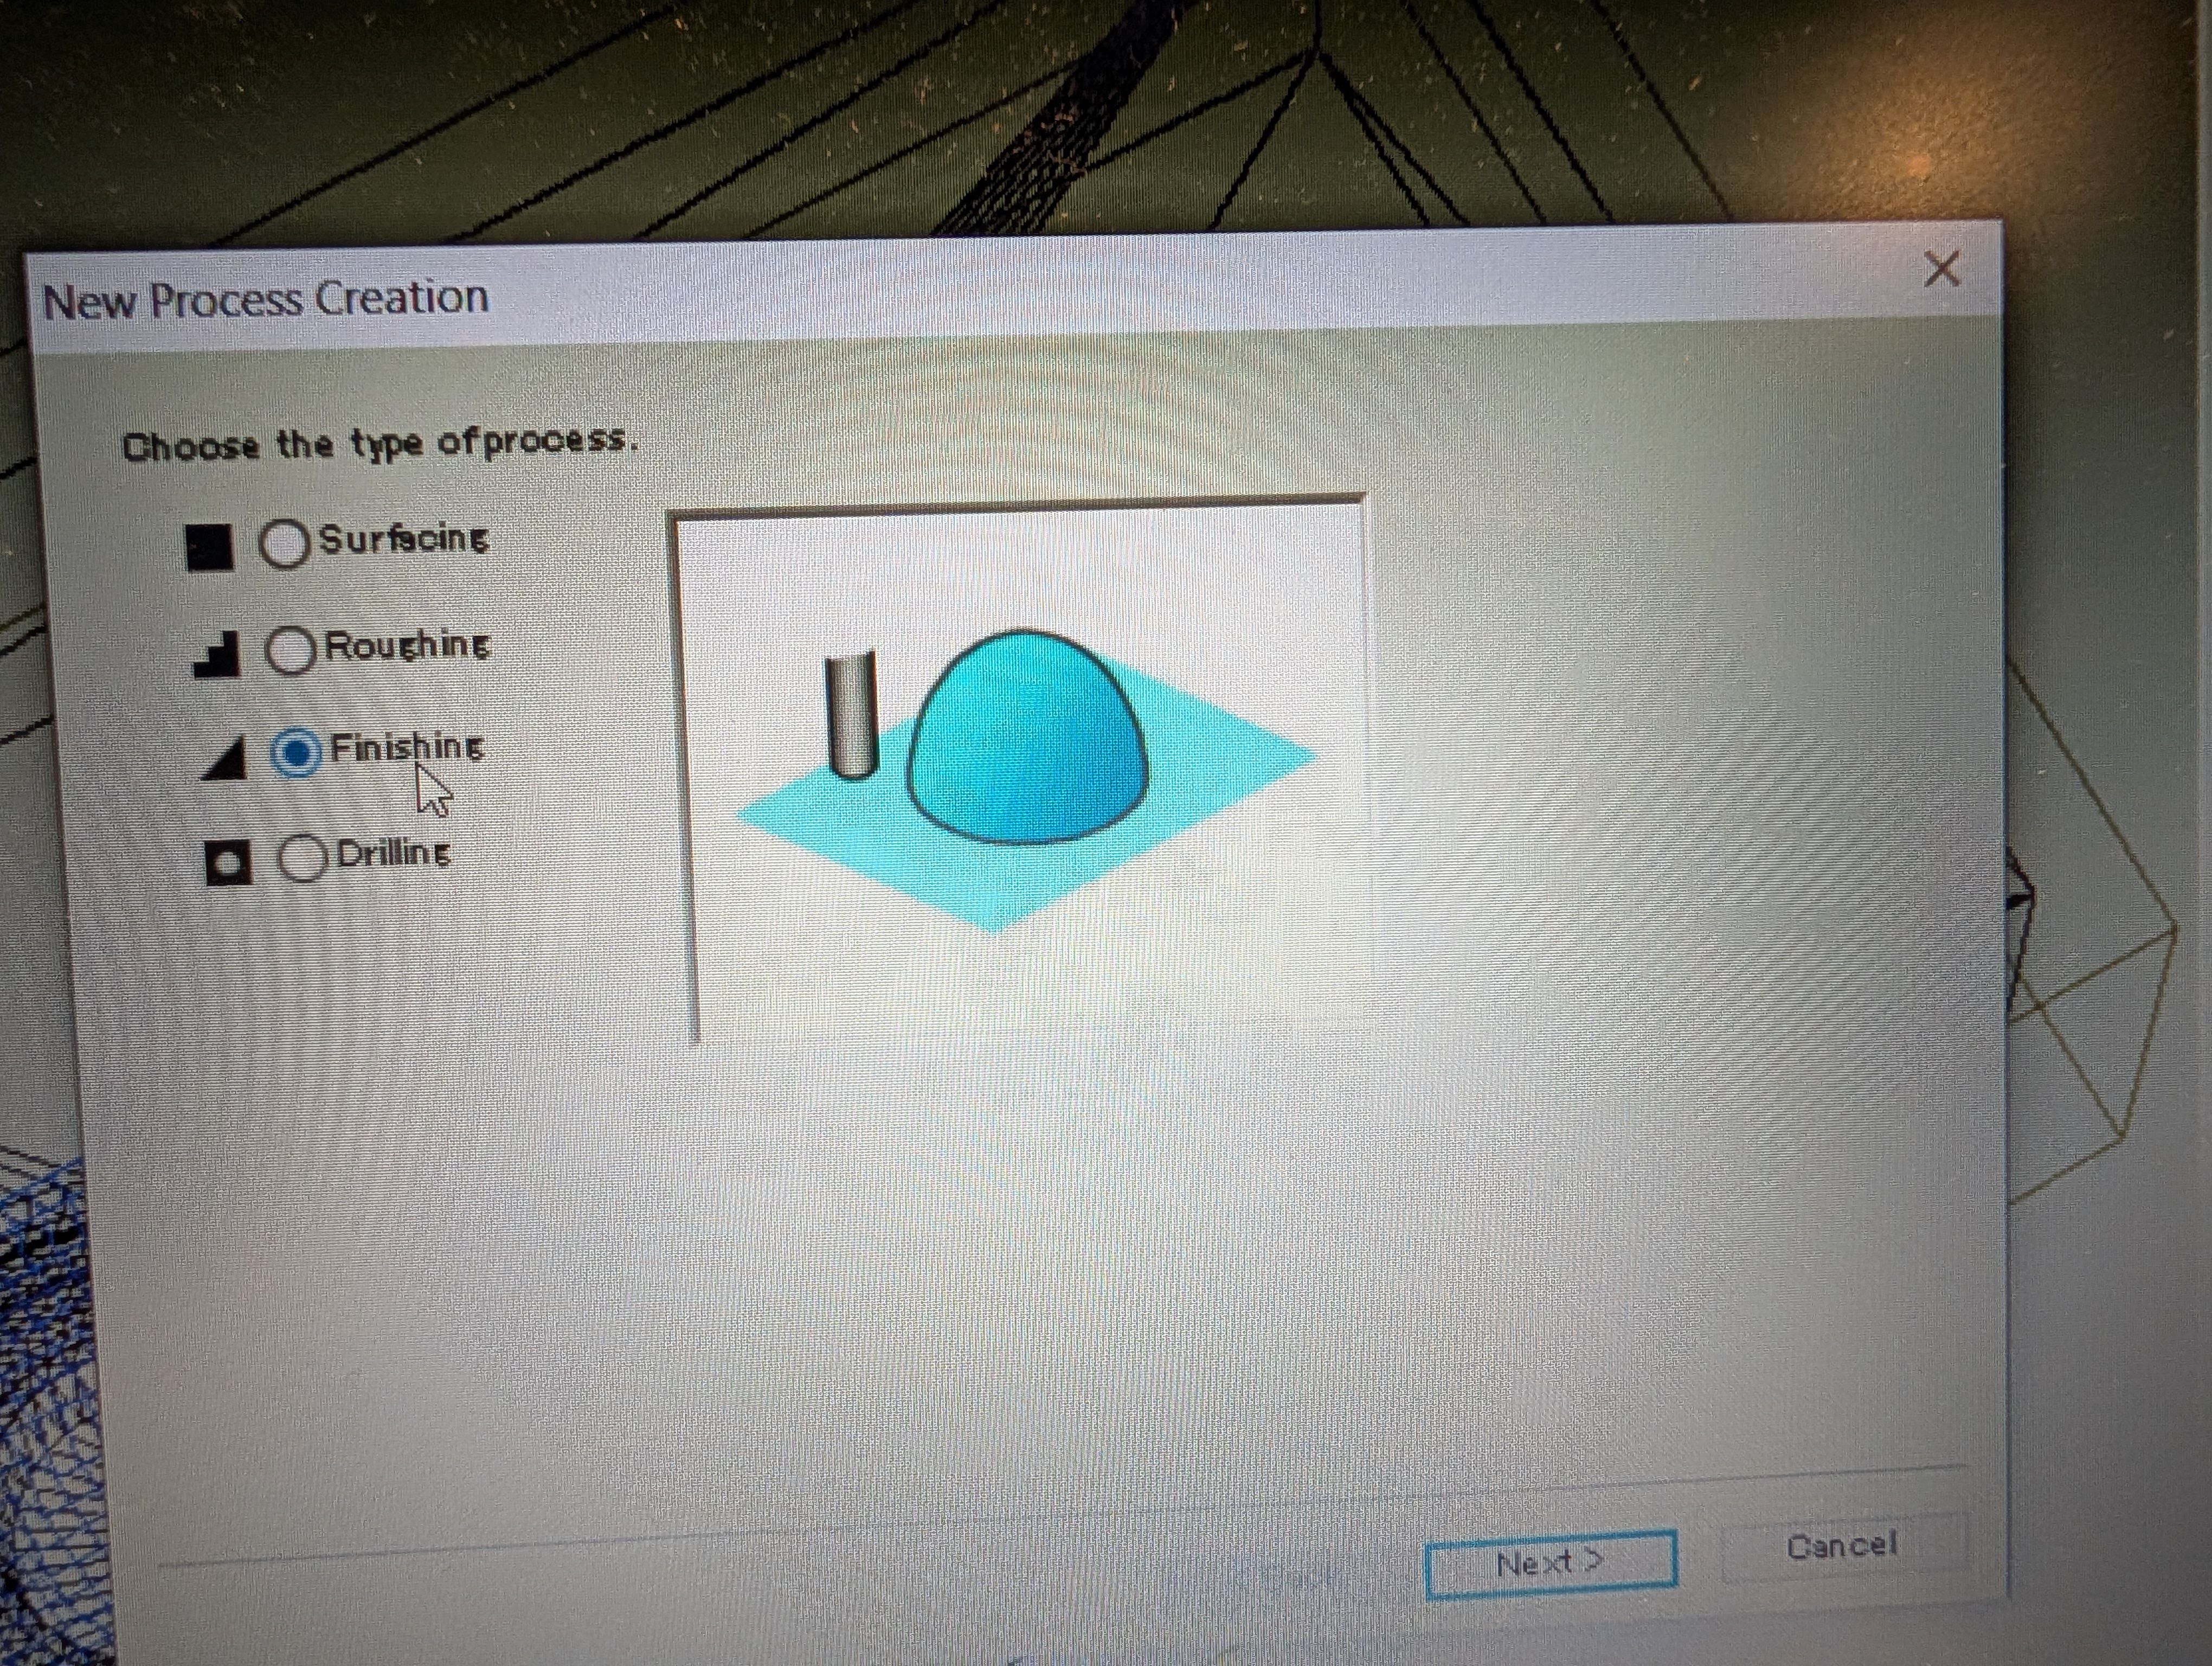
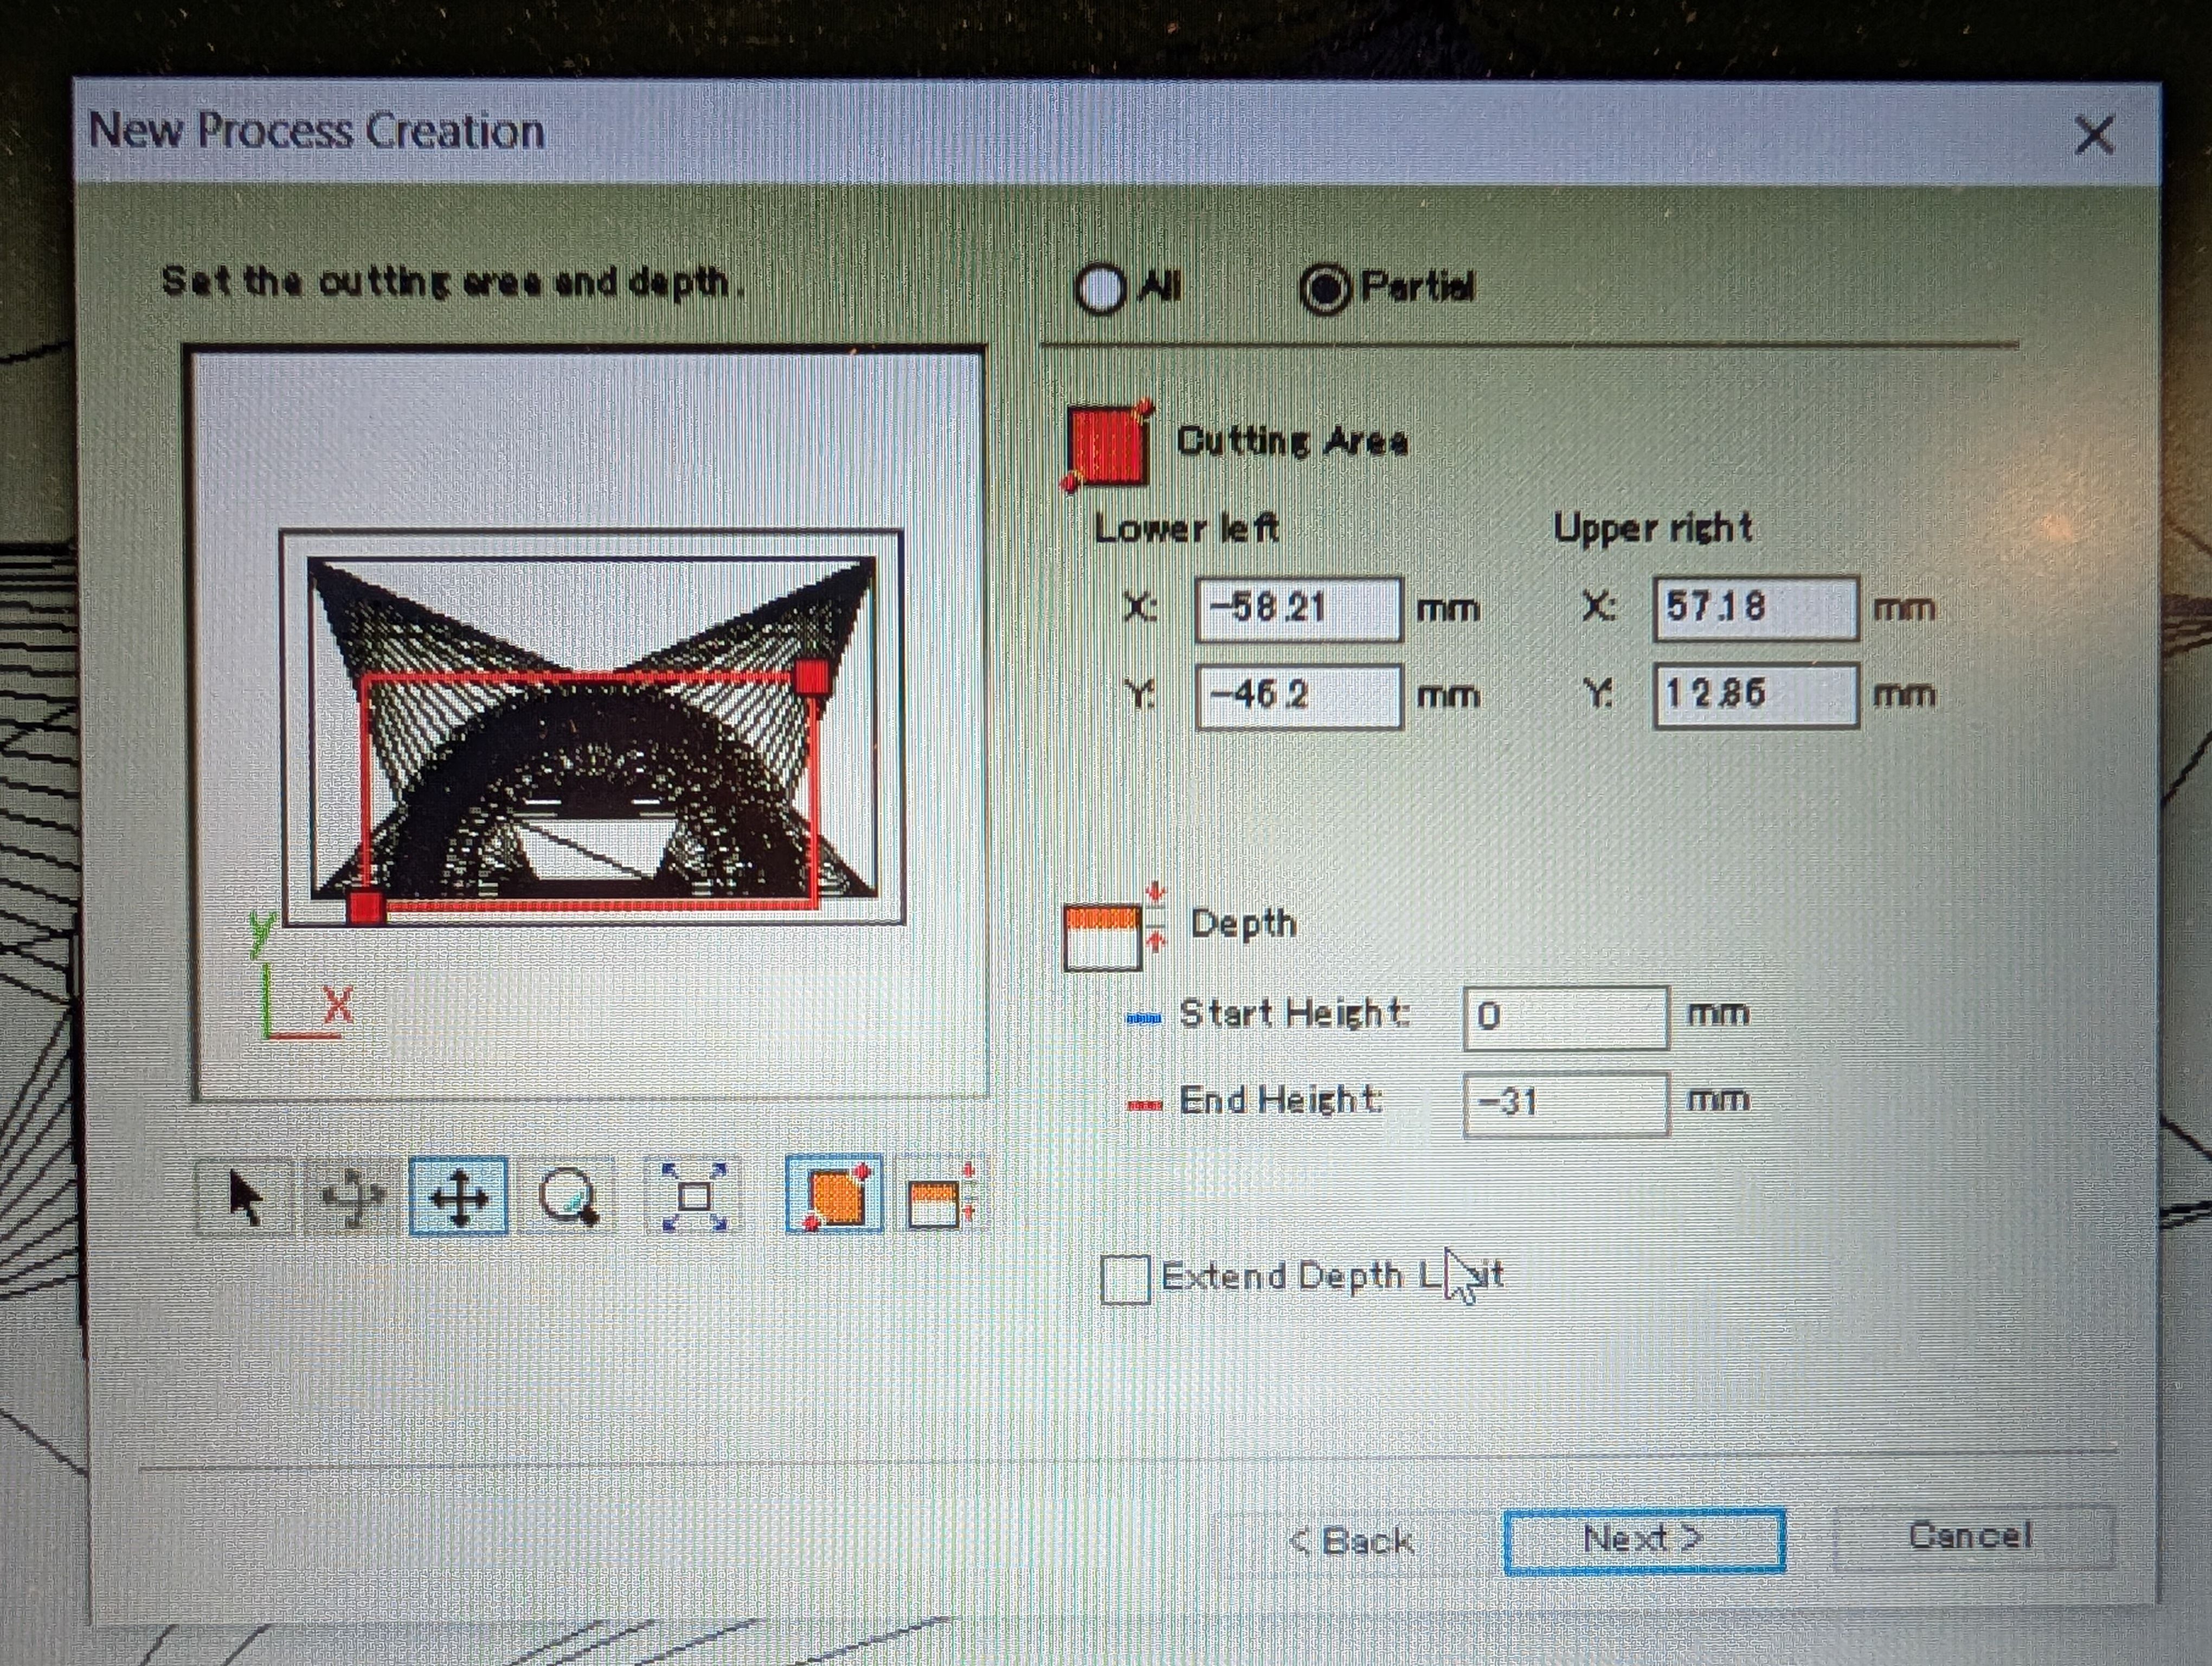
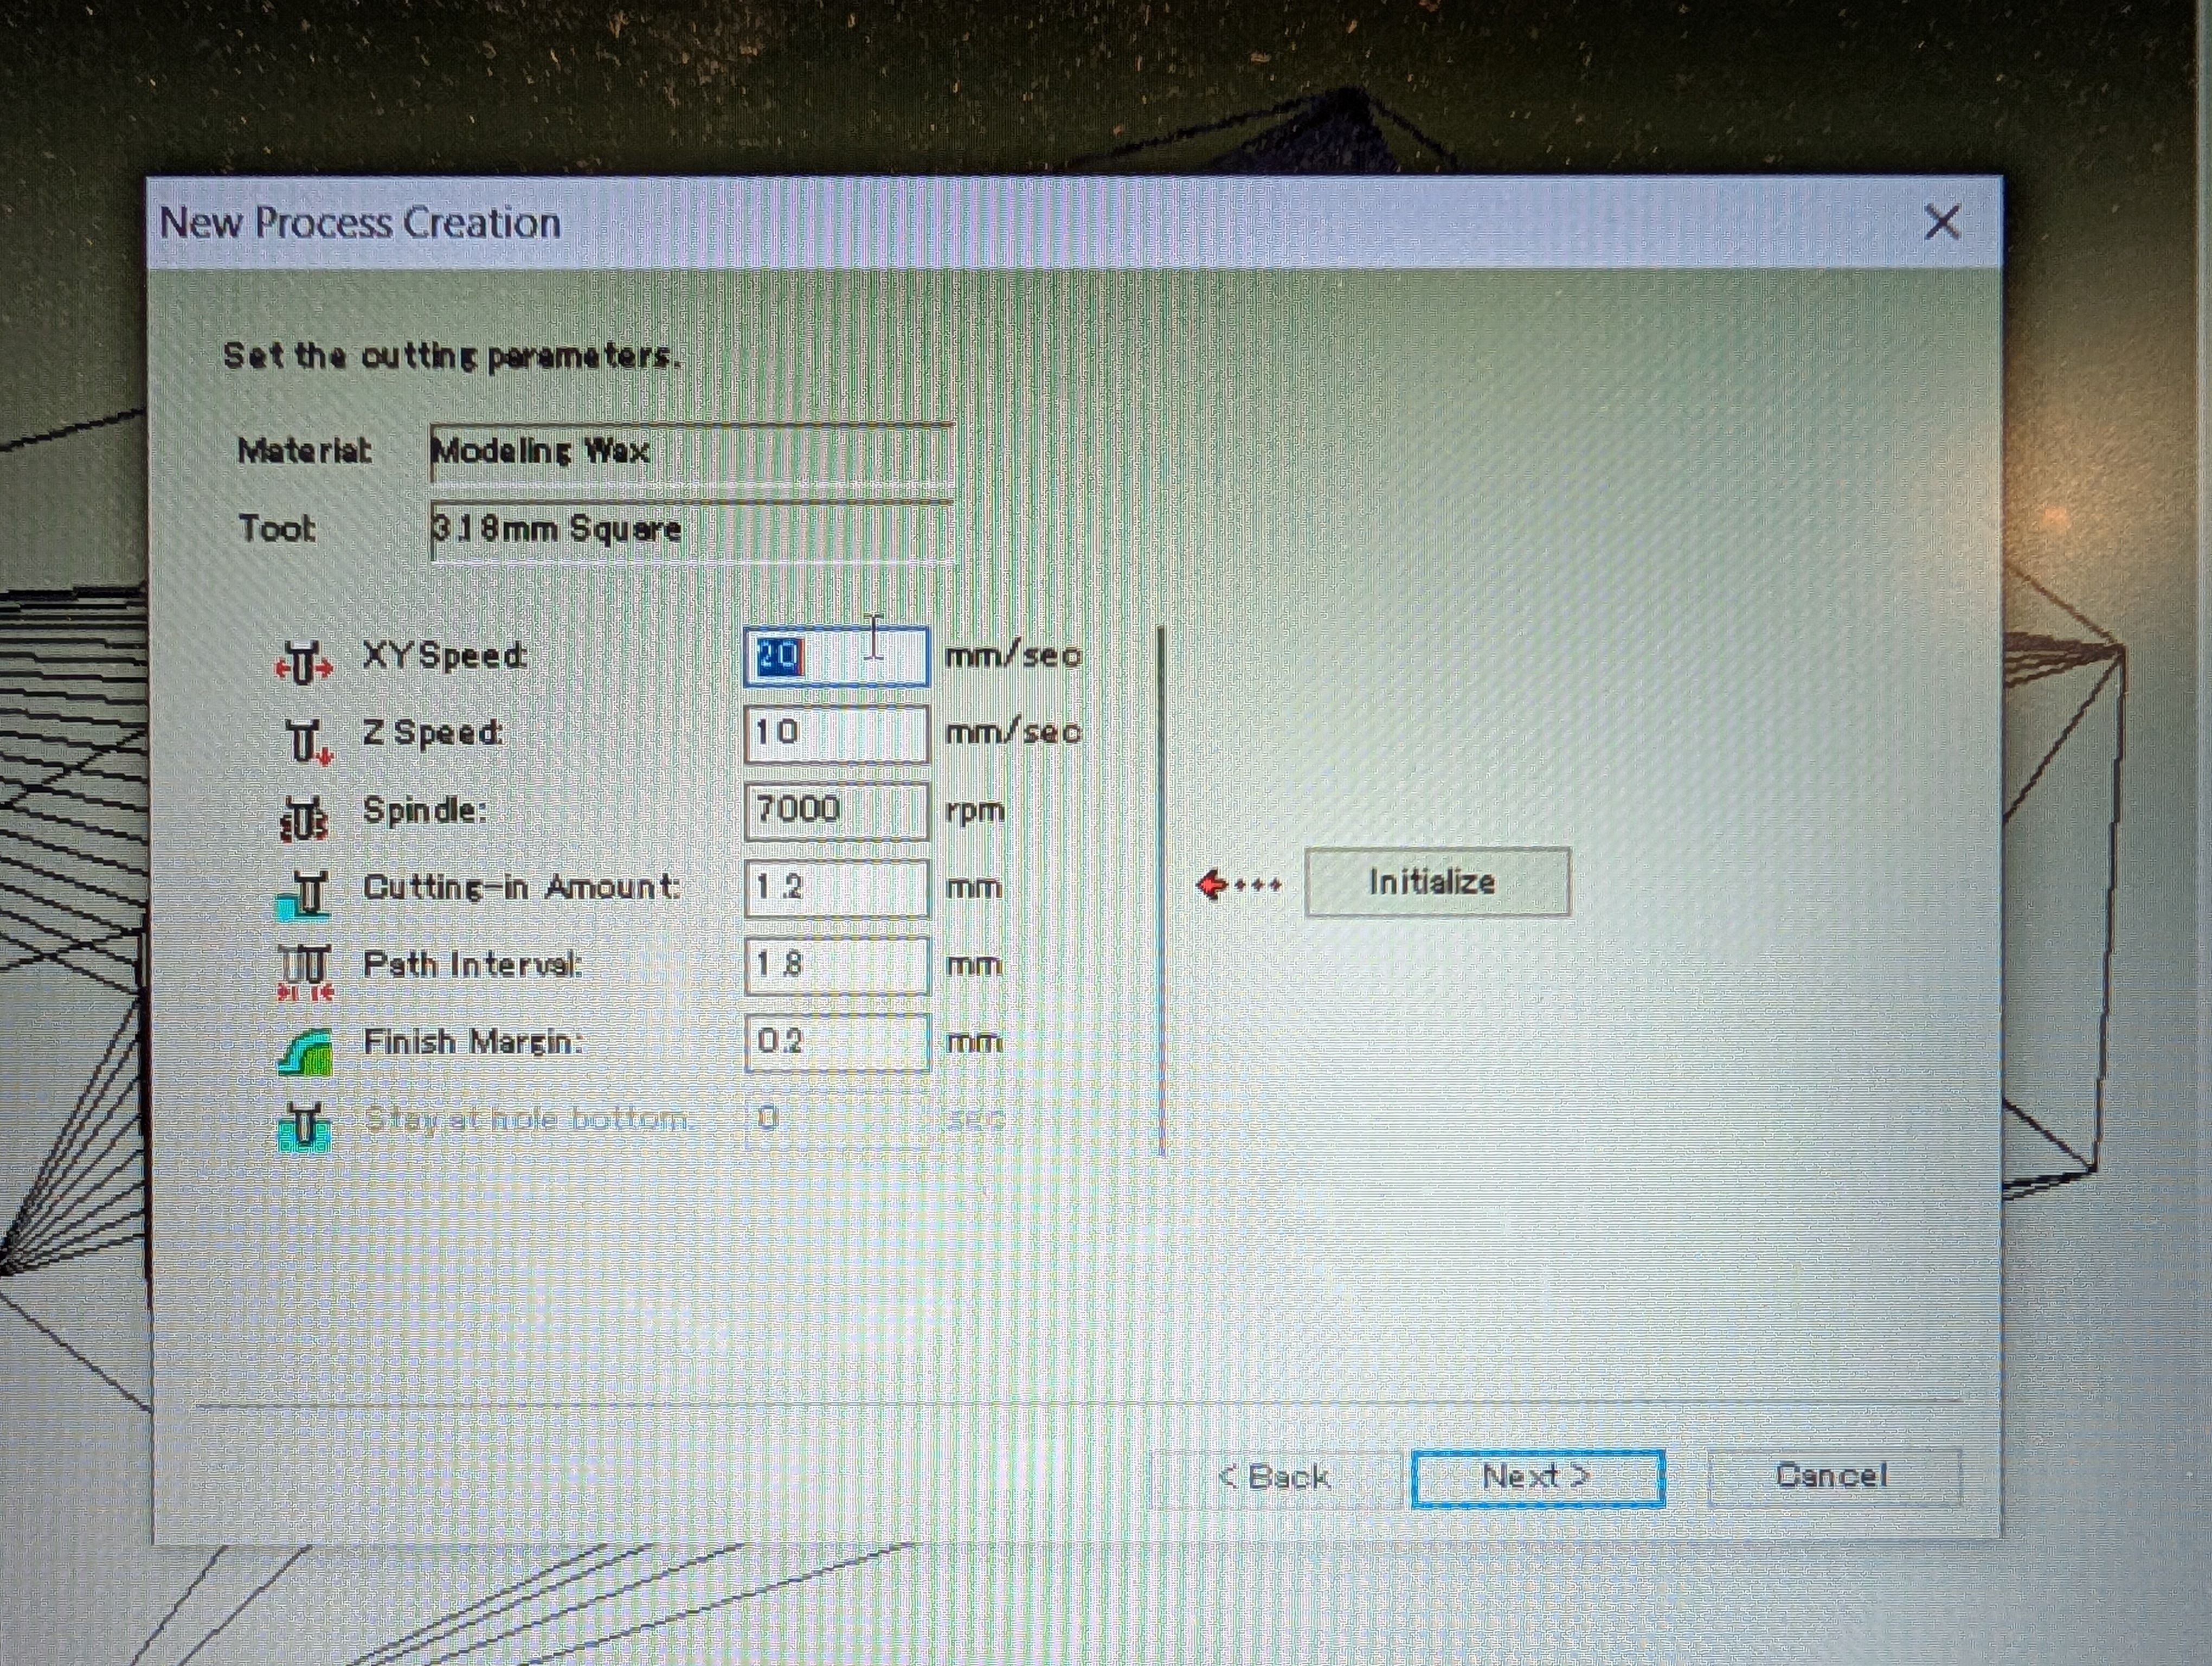
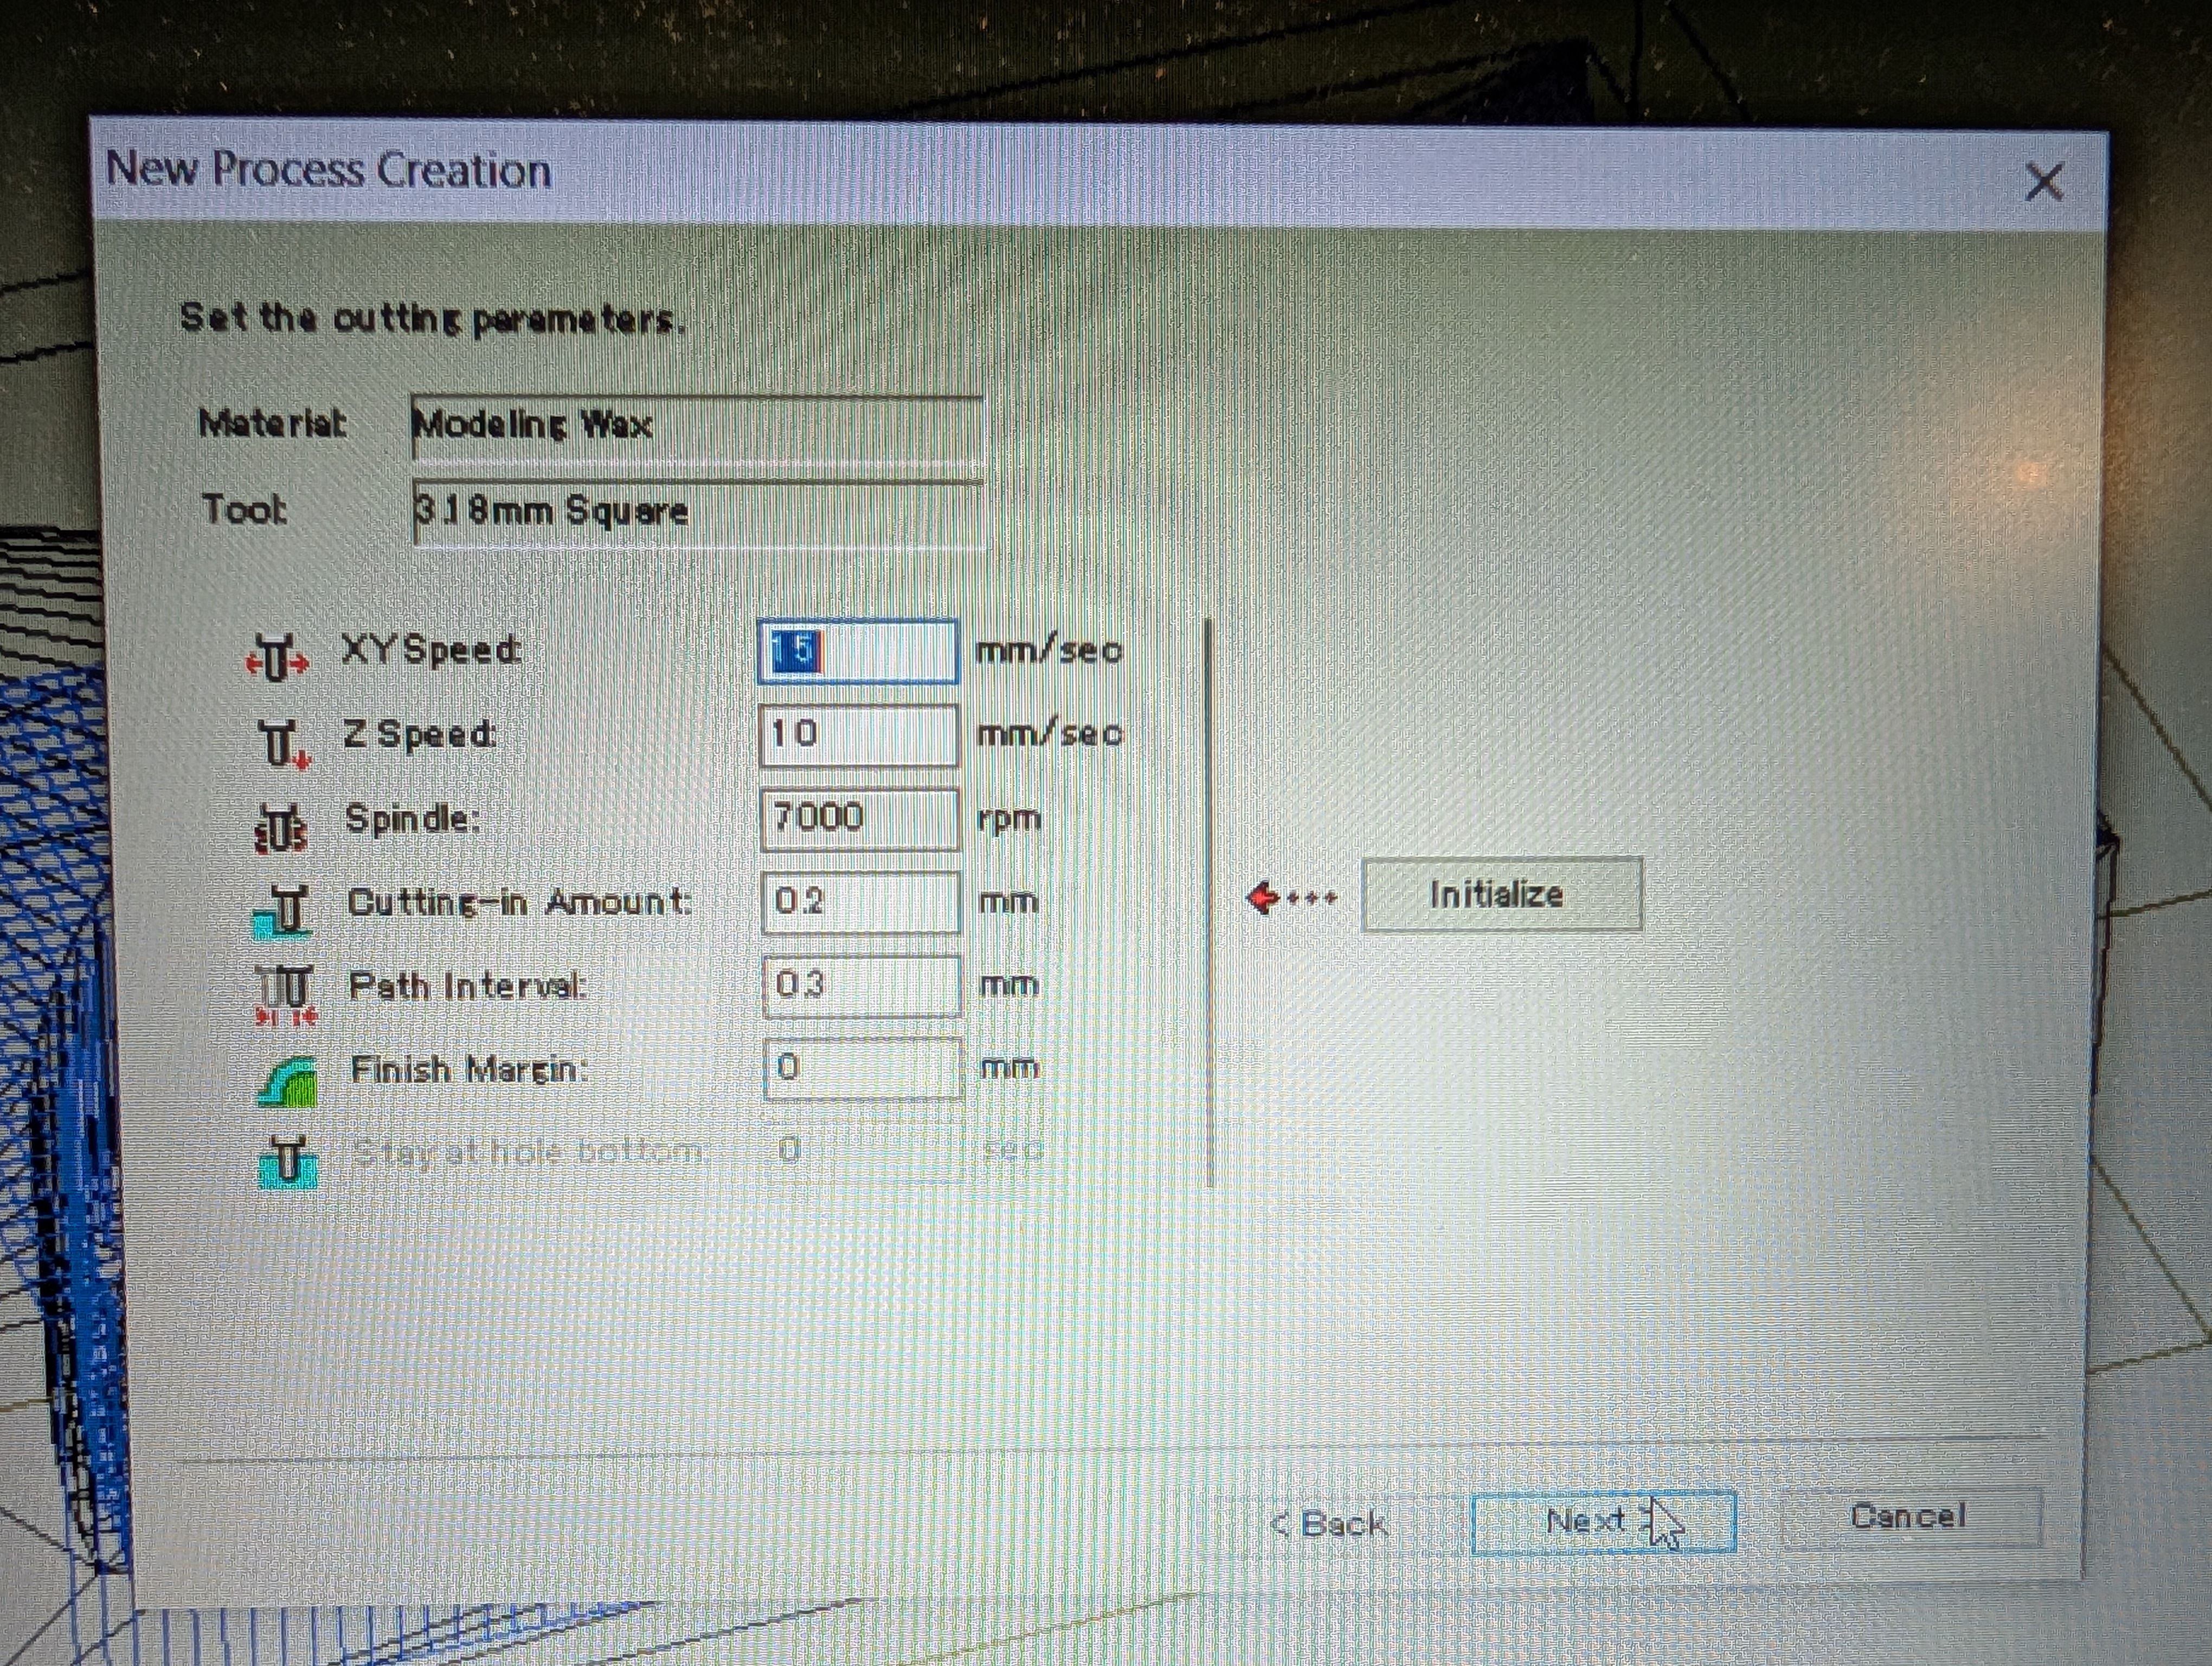
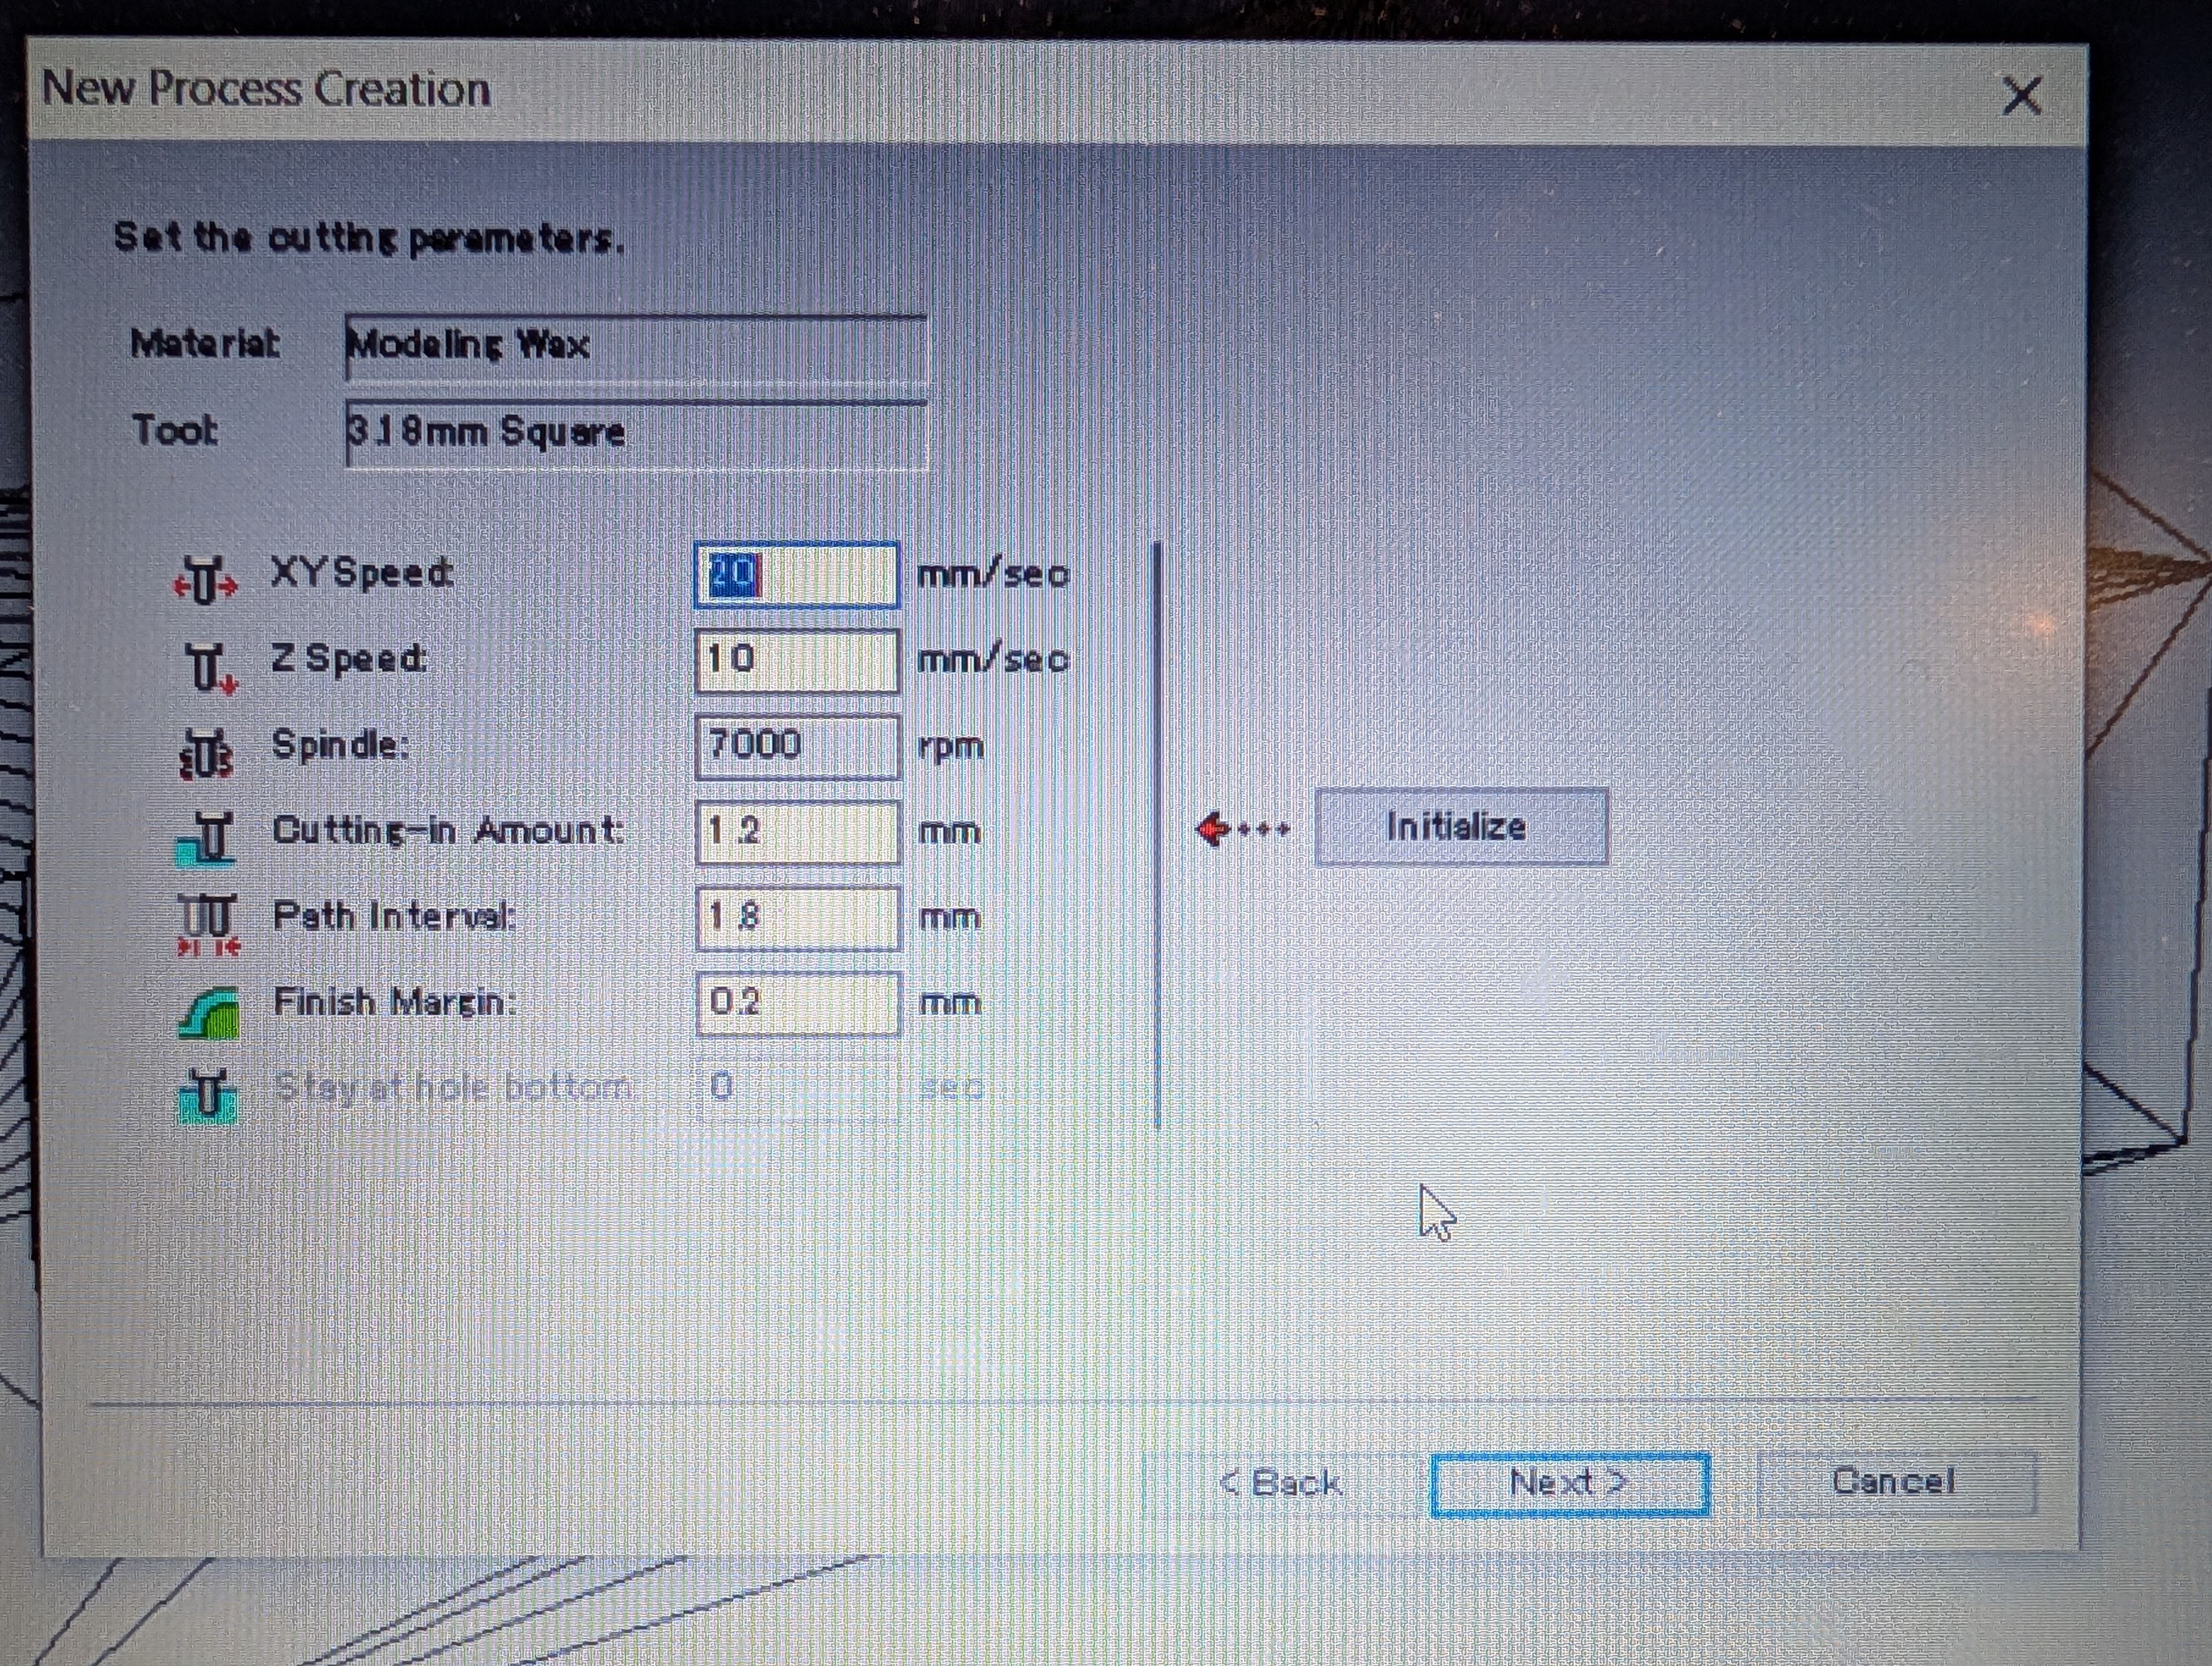
Setting for Roughing
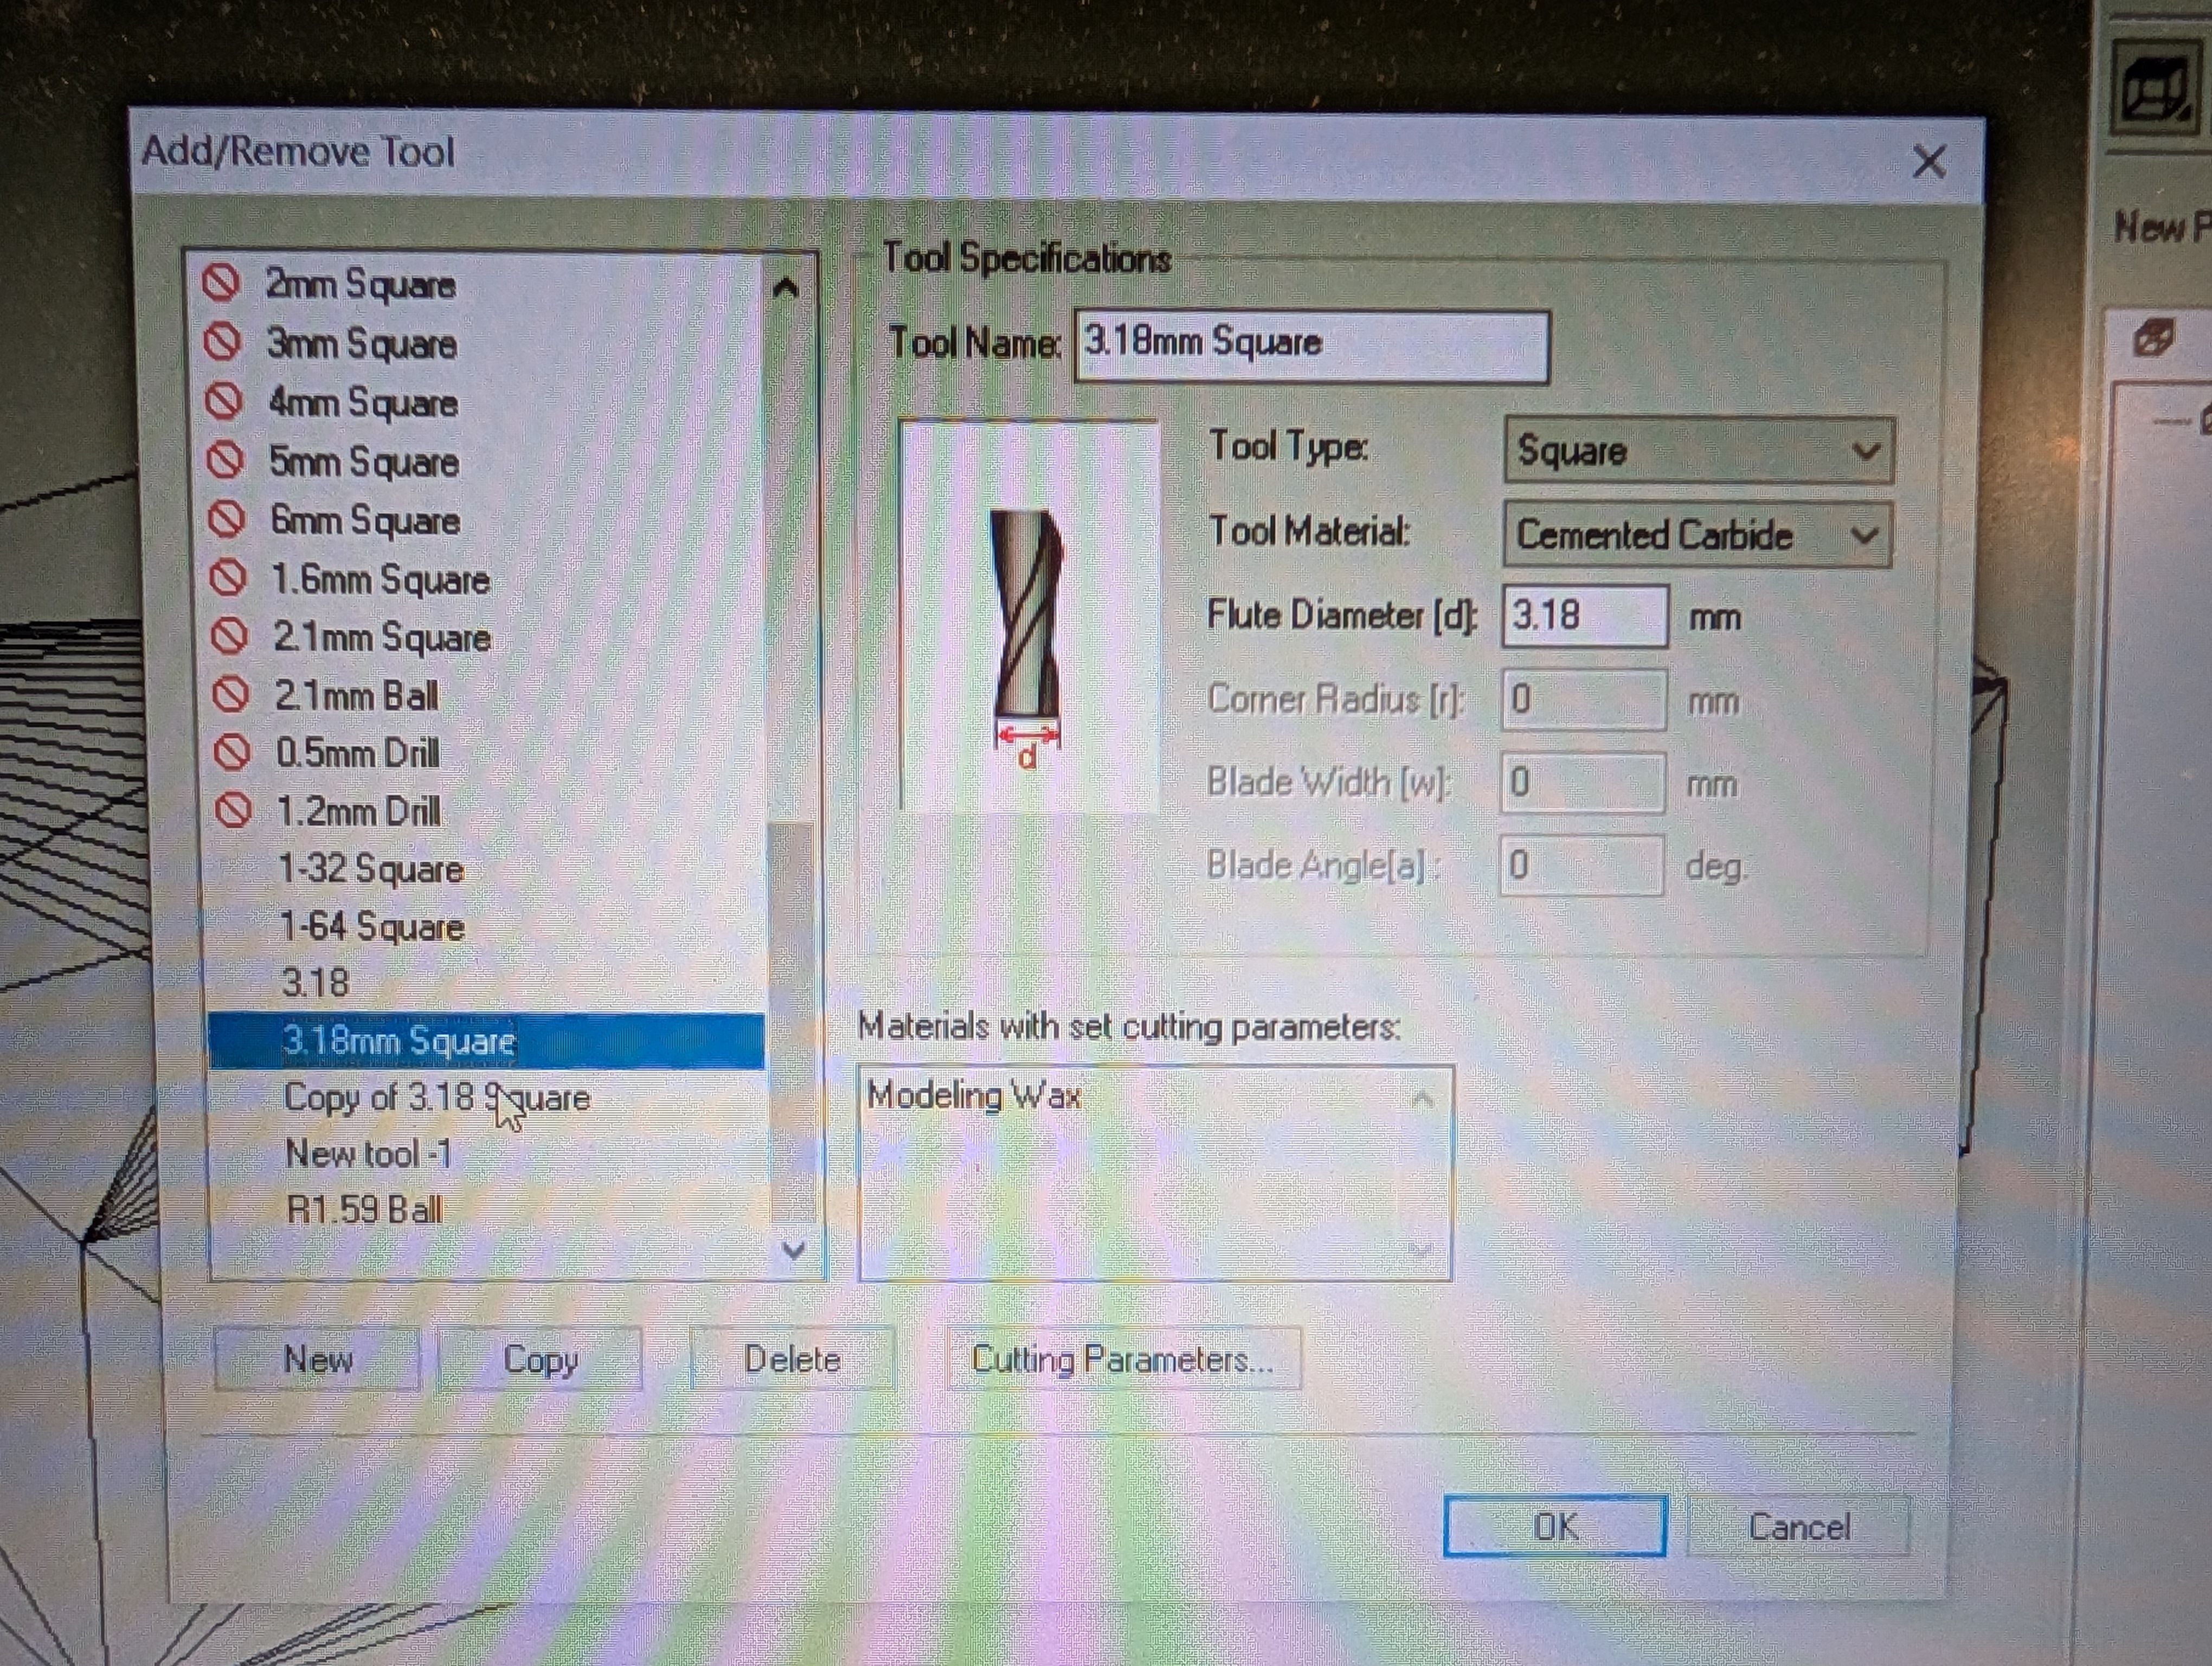
Tool(blade): 3.18 mm square mill
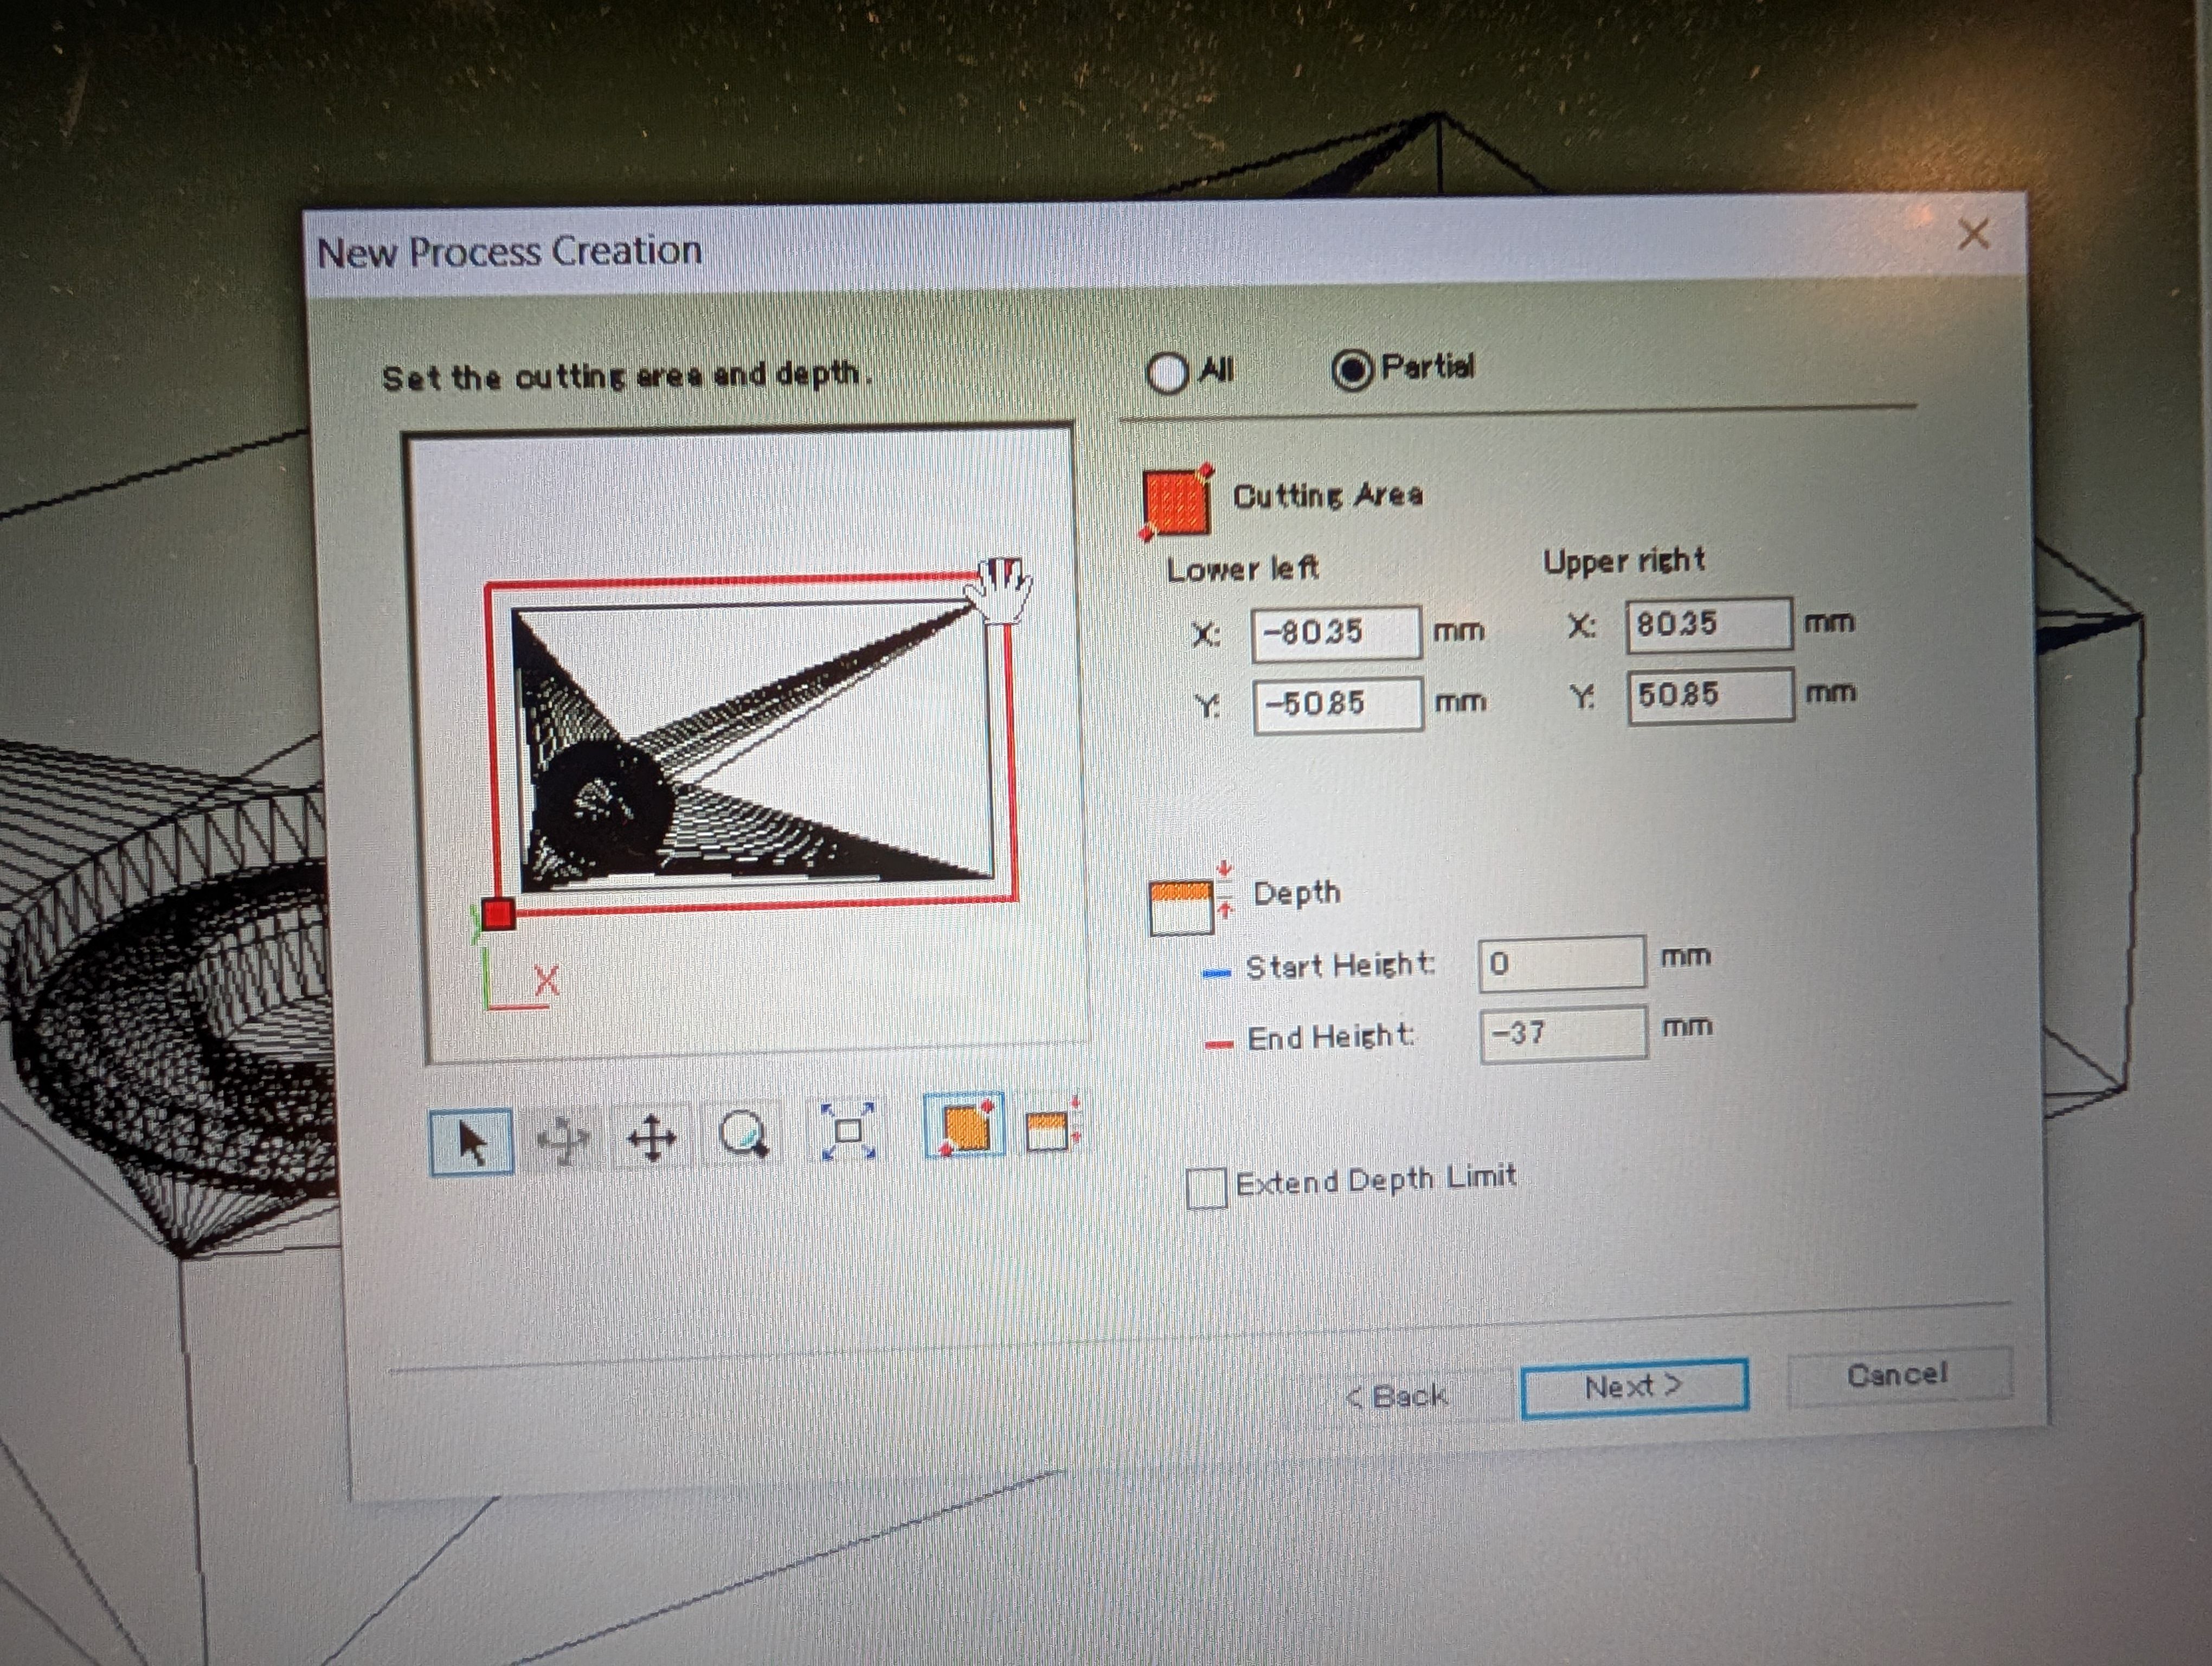
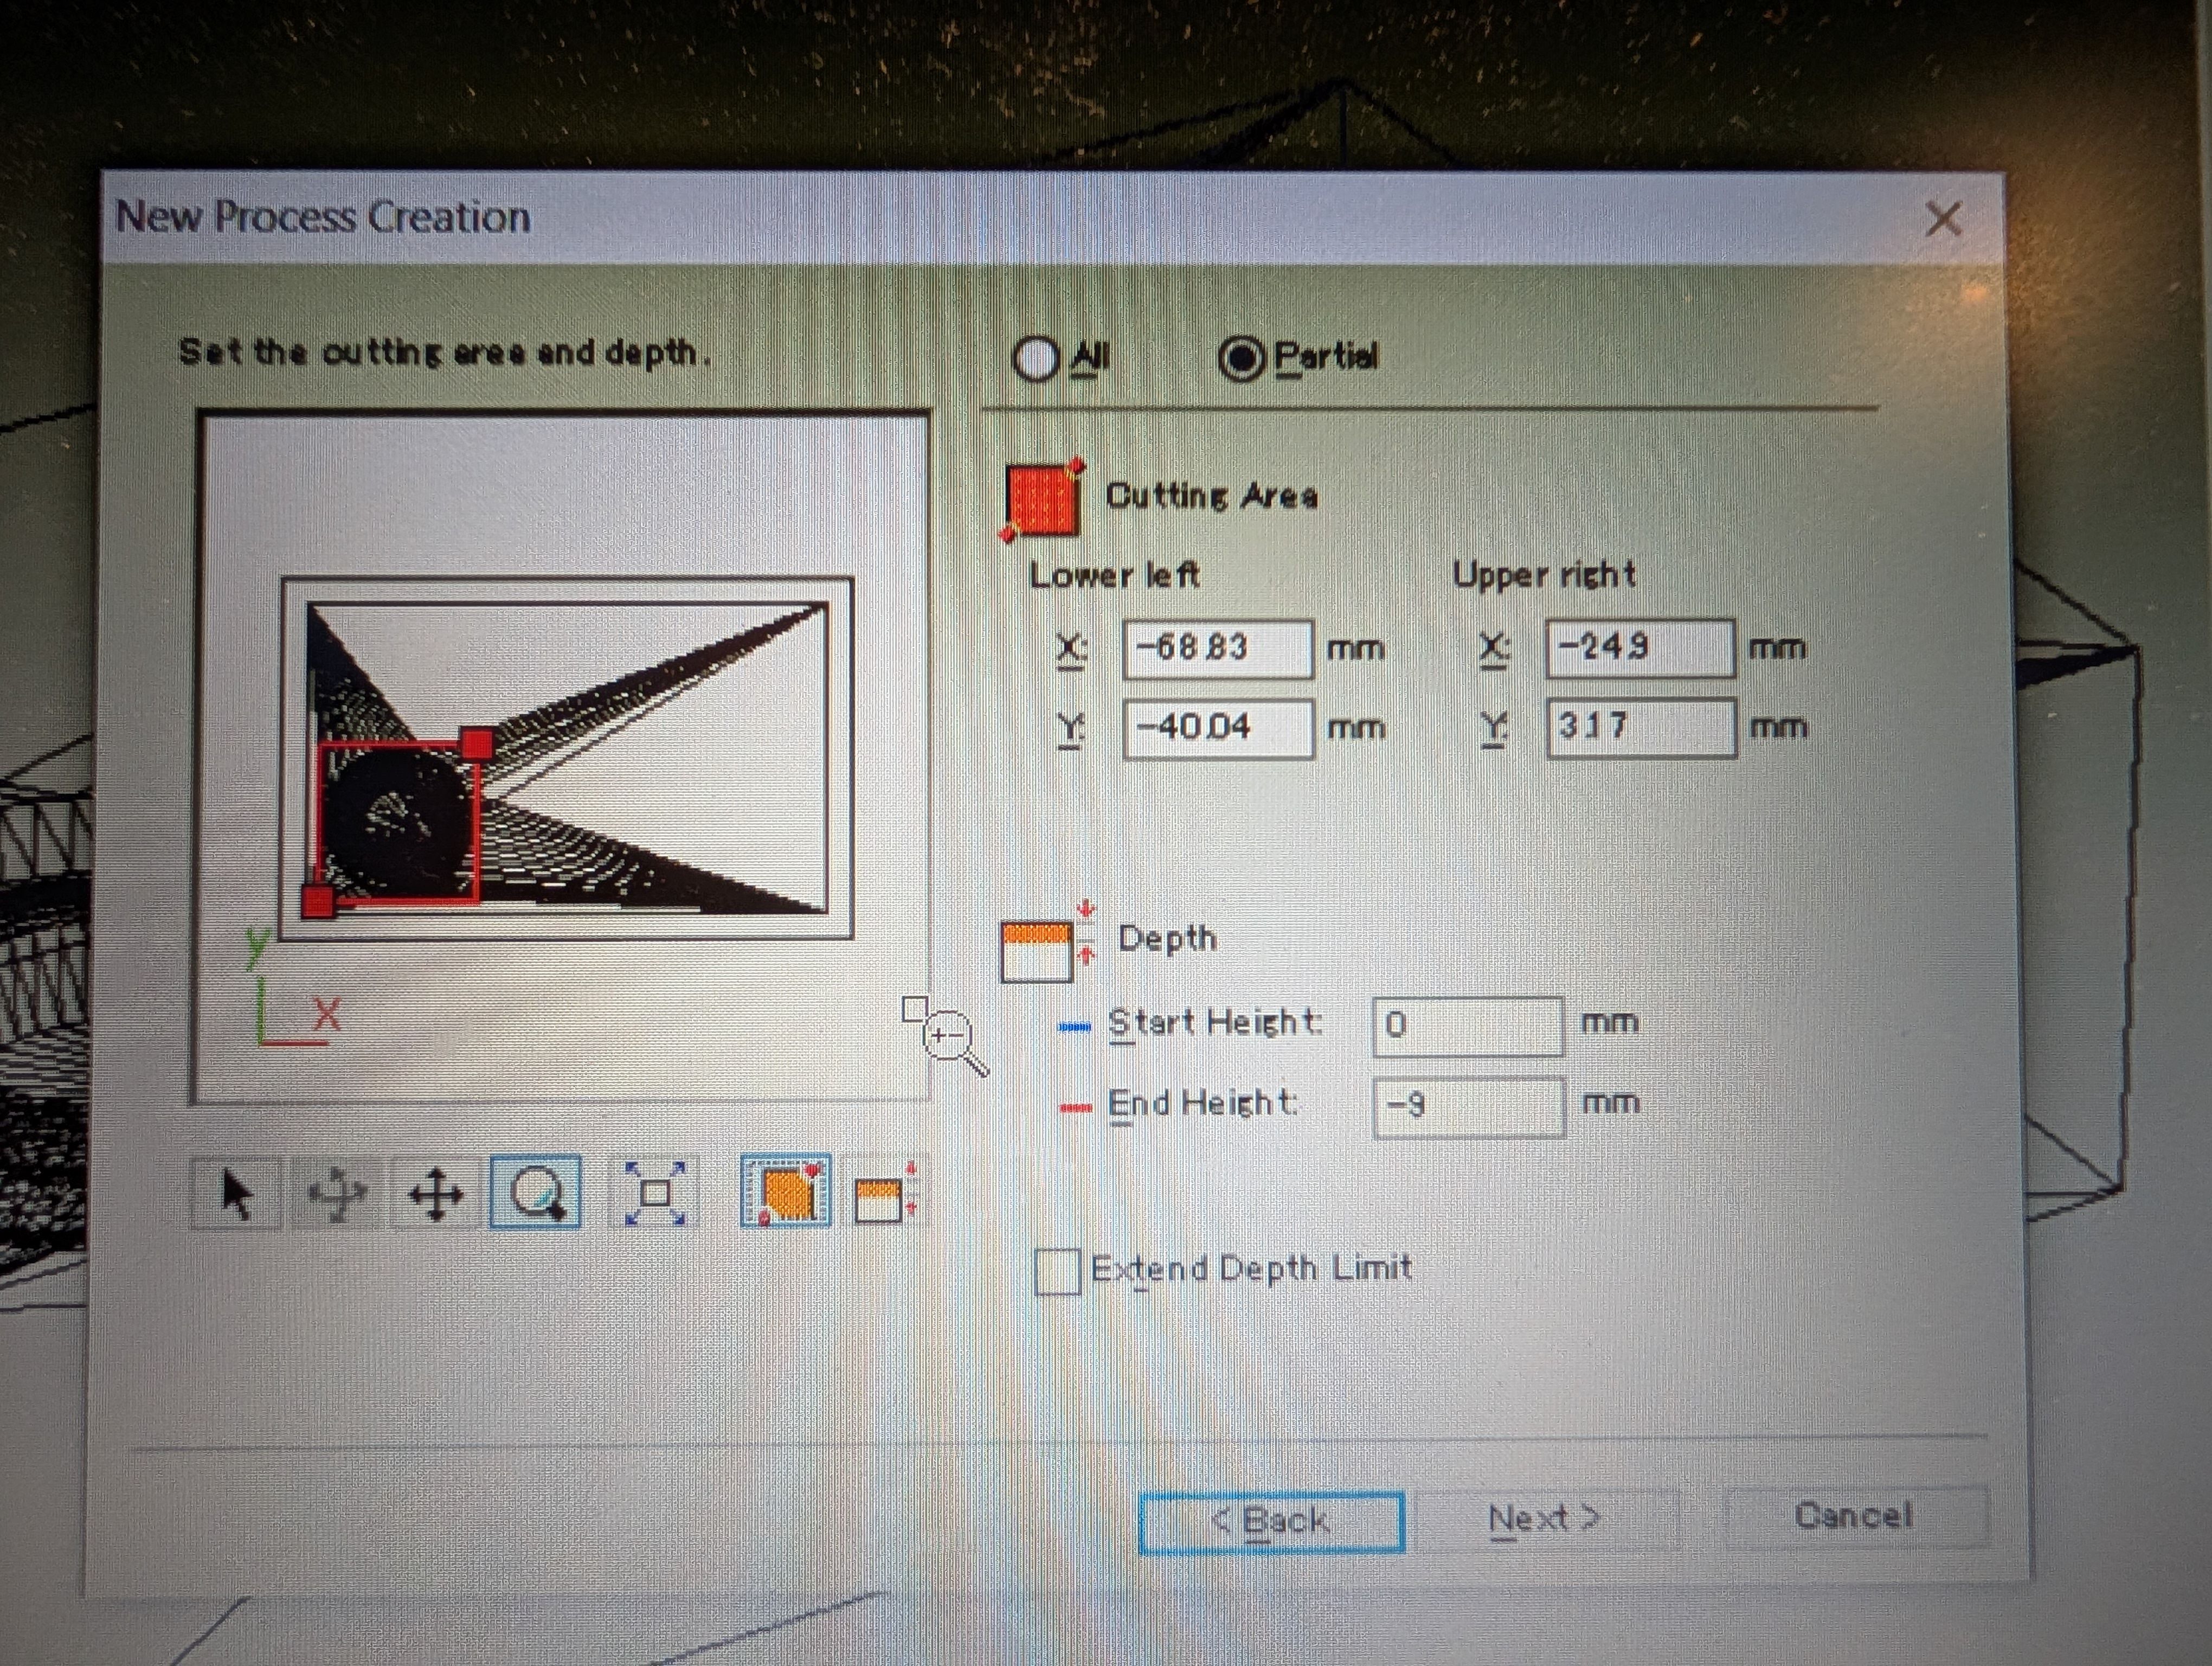
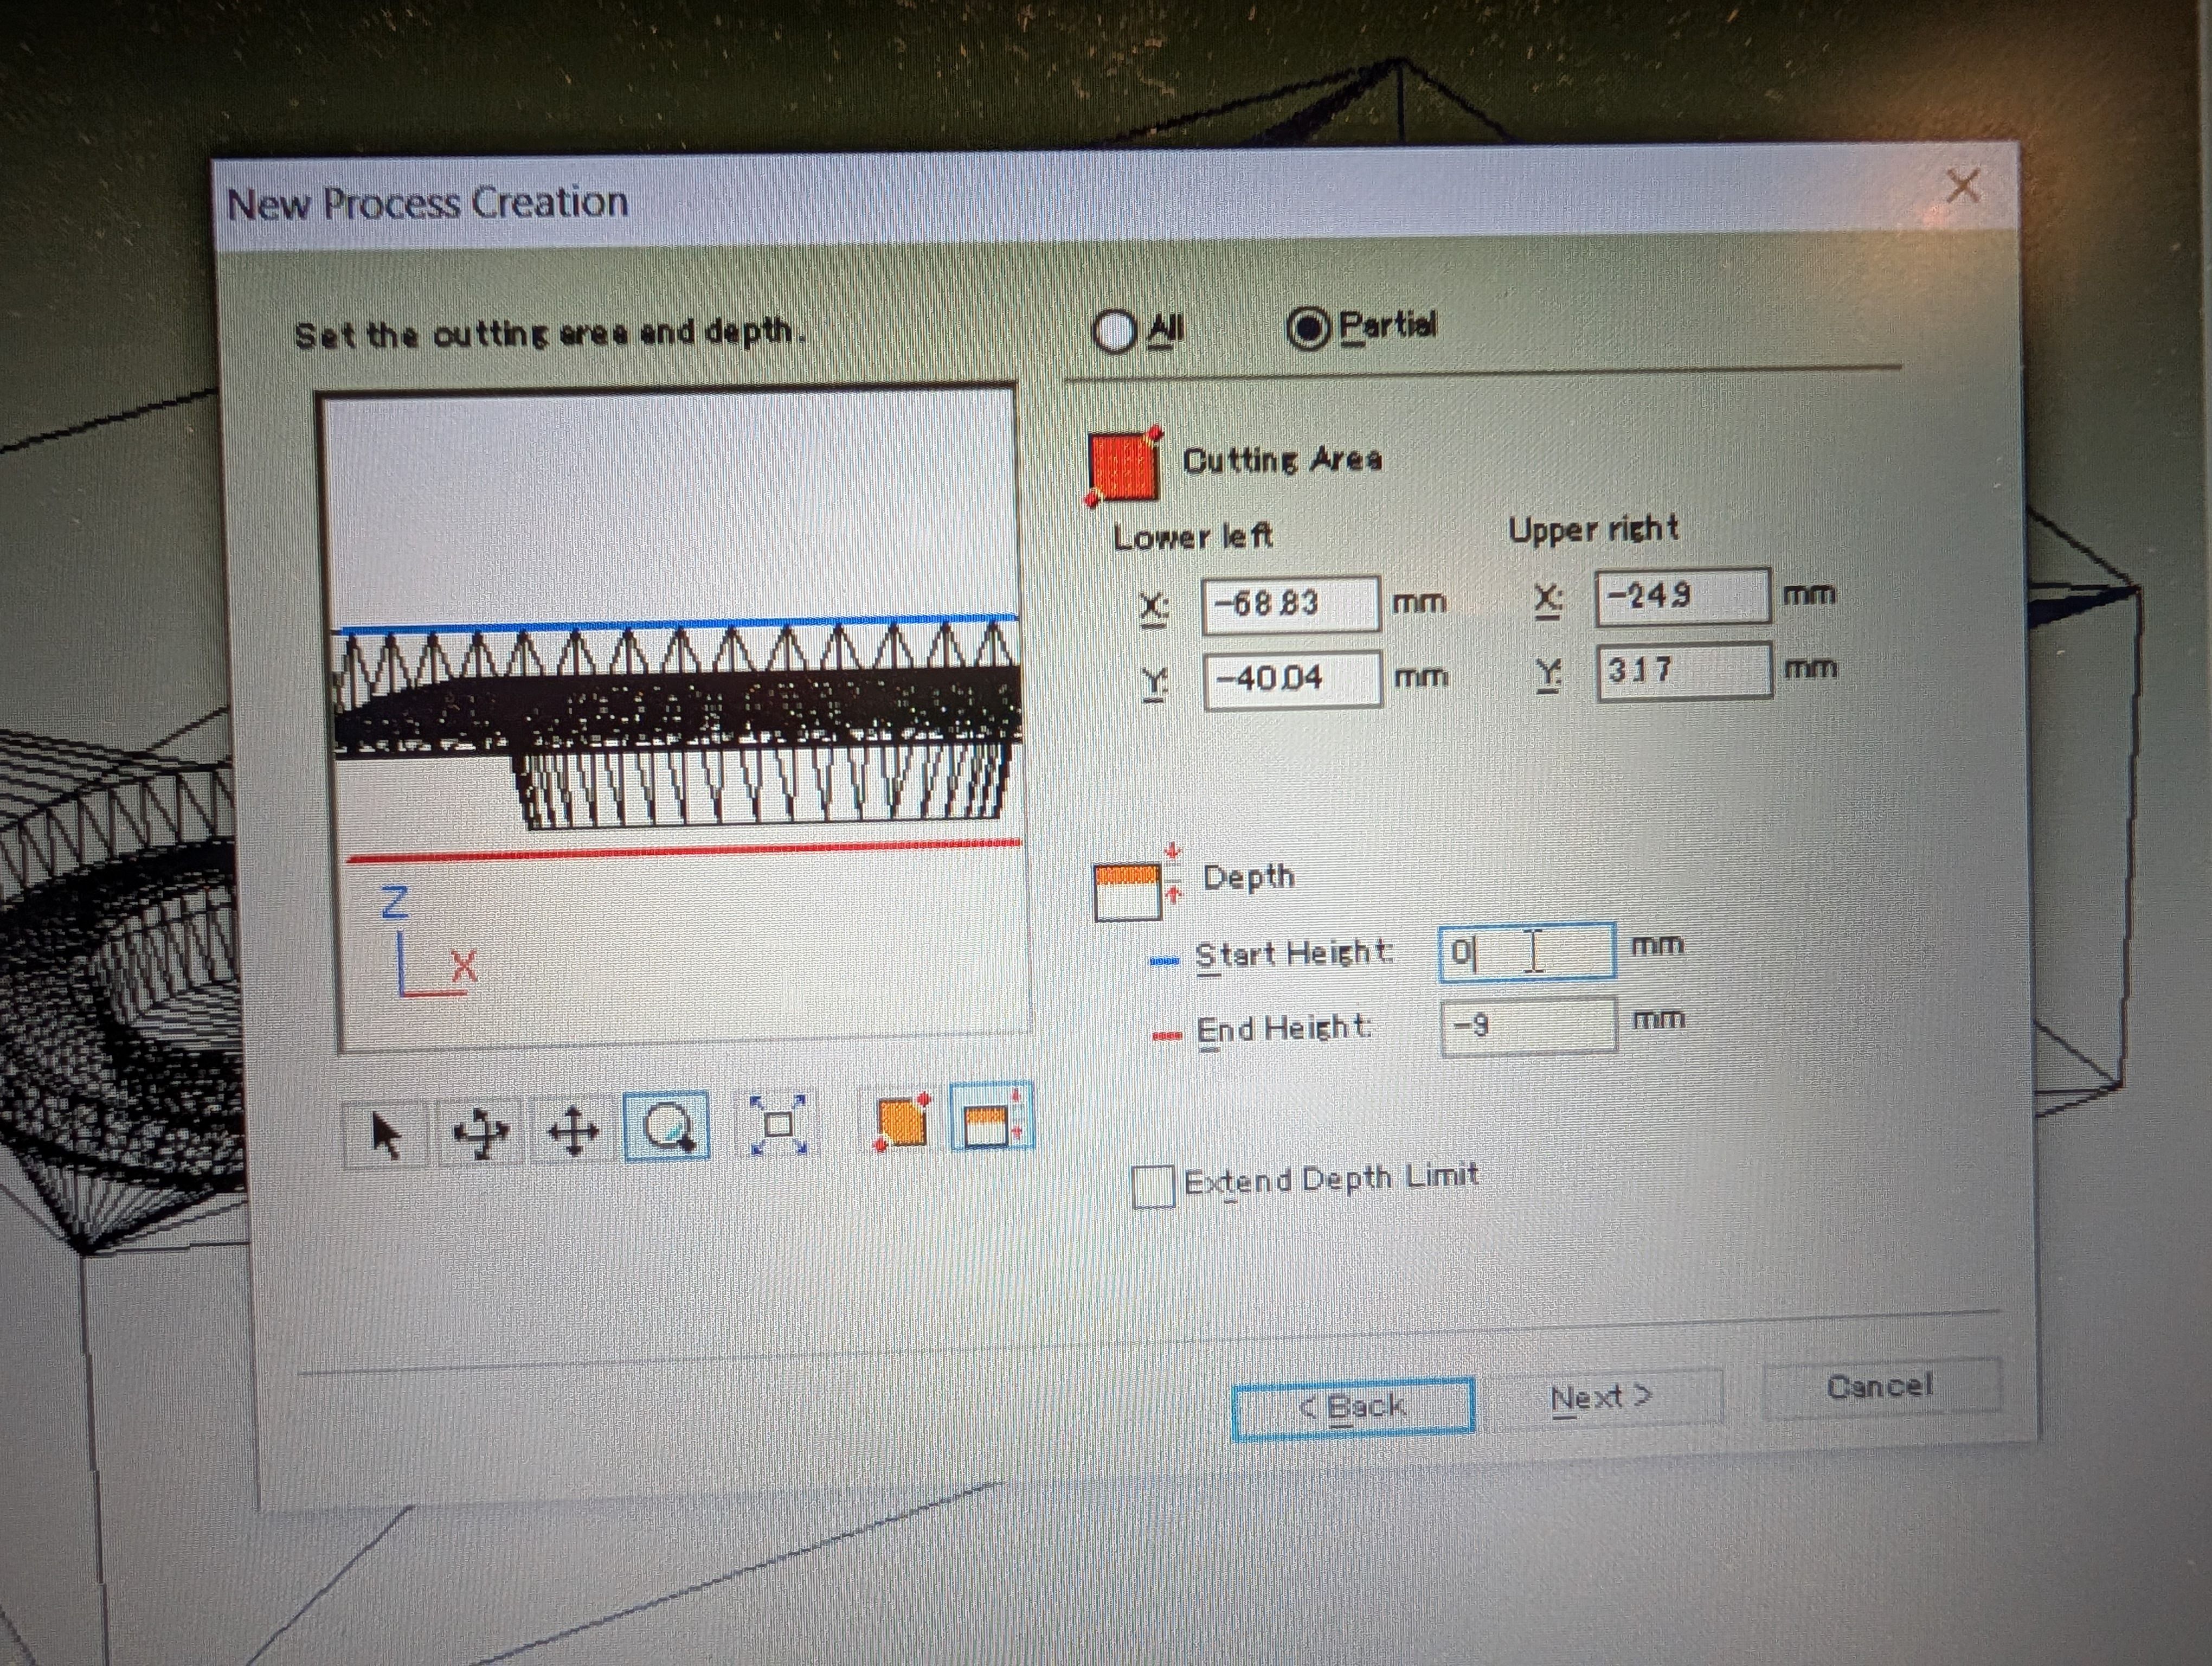
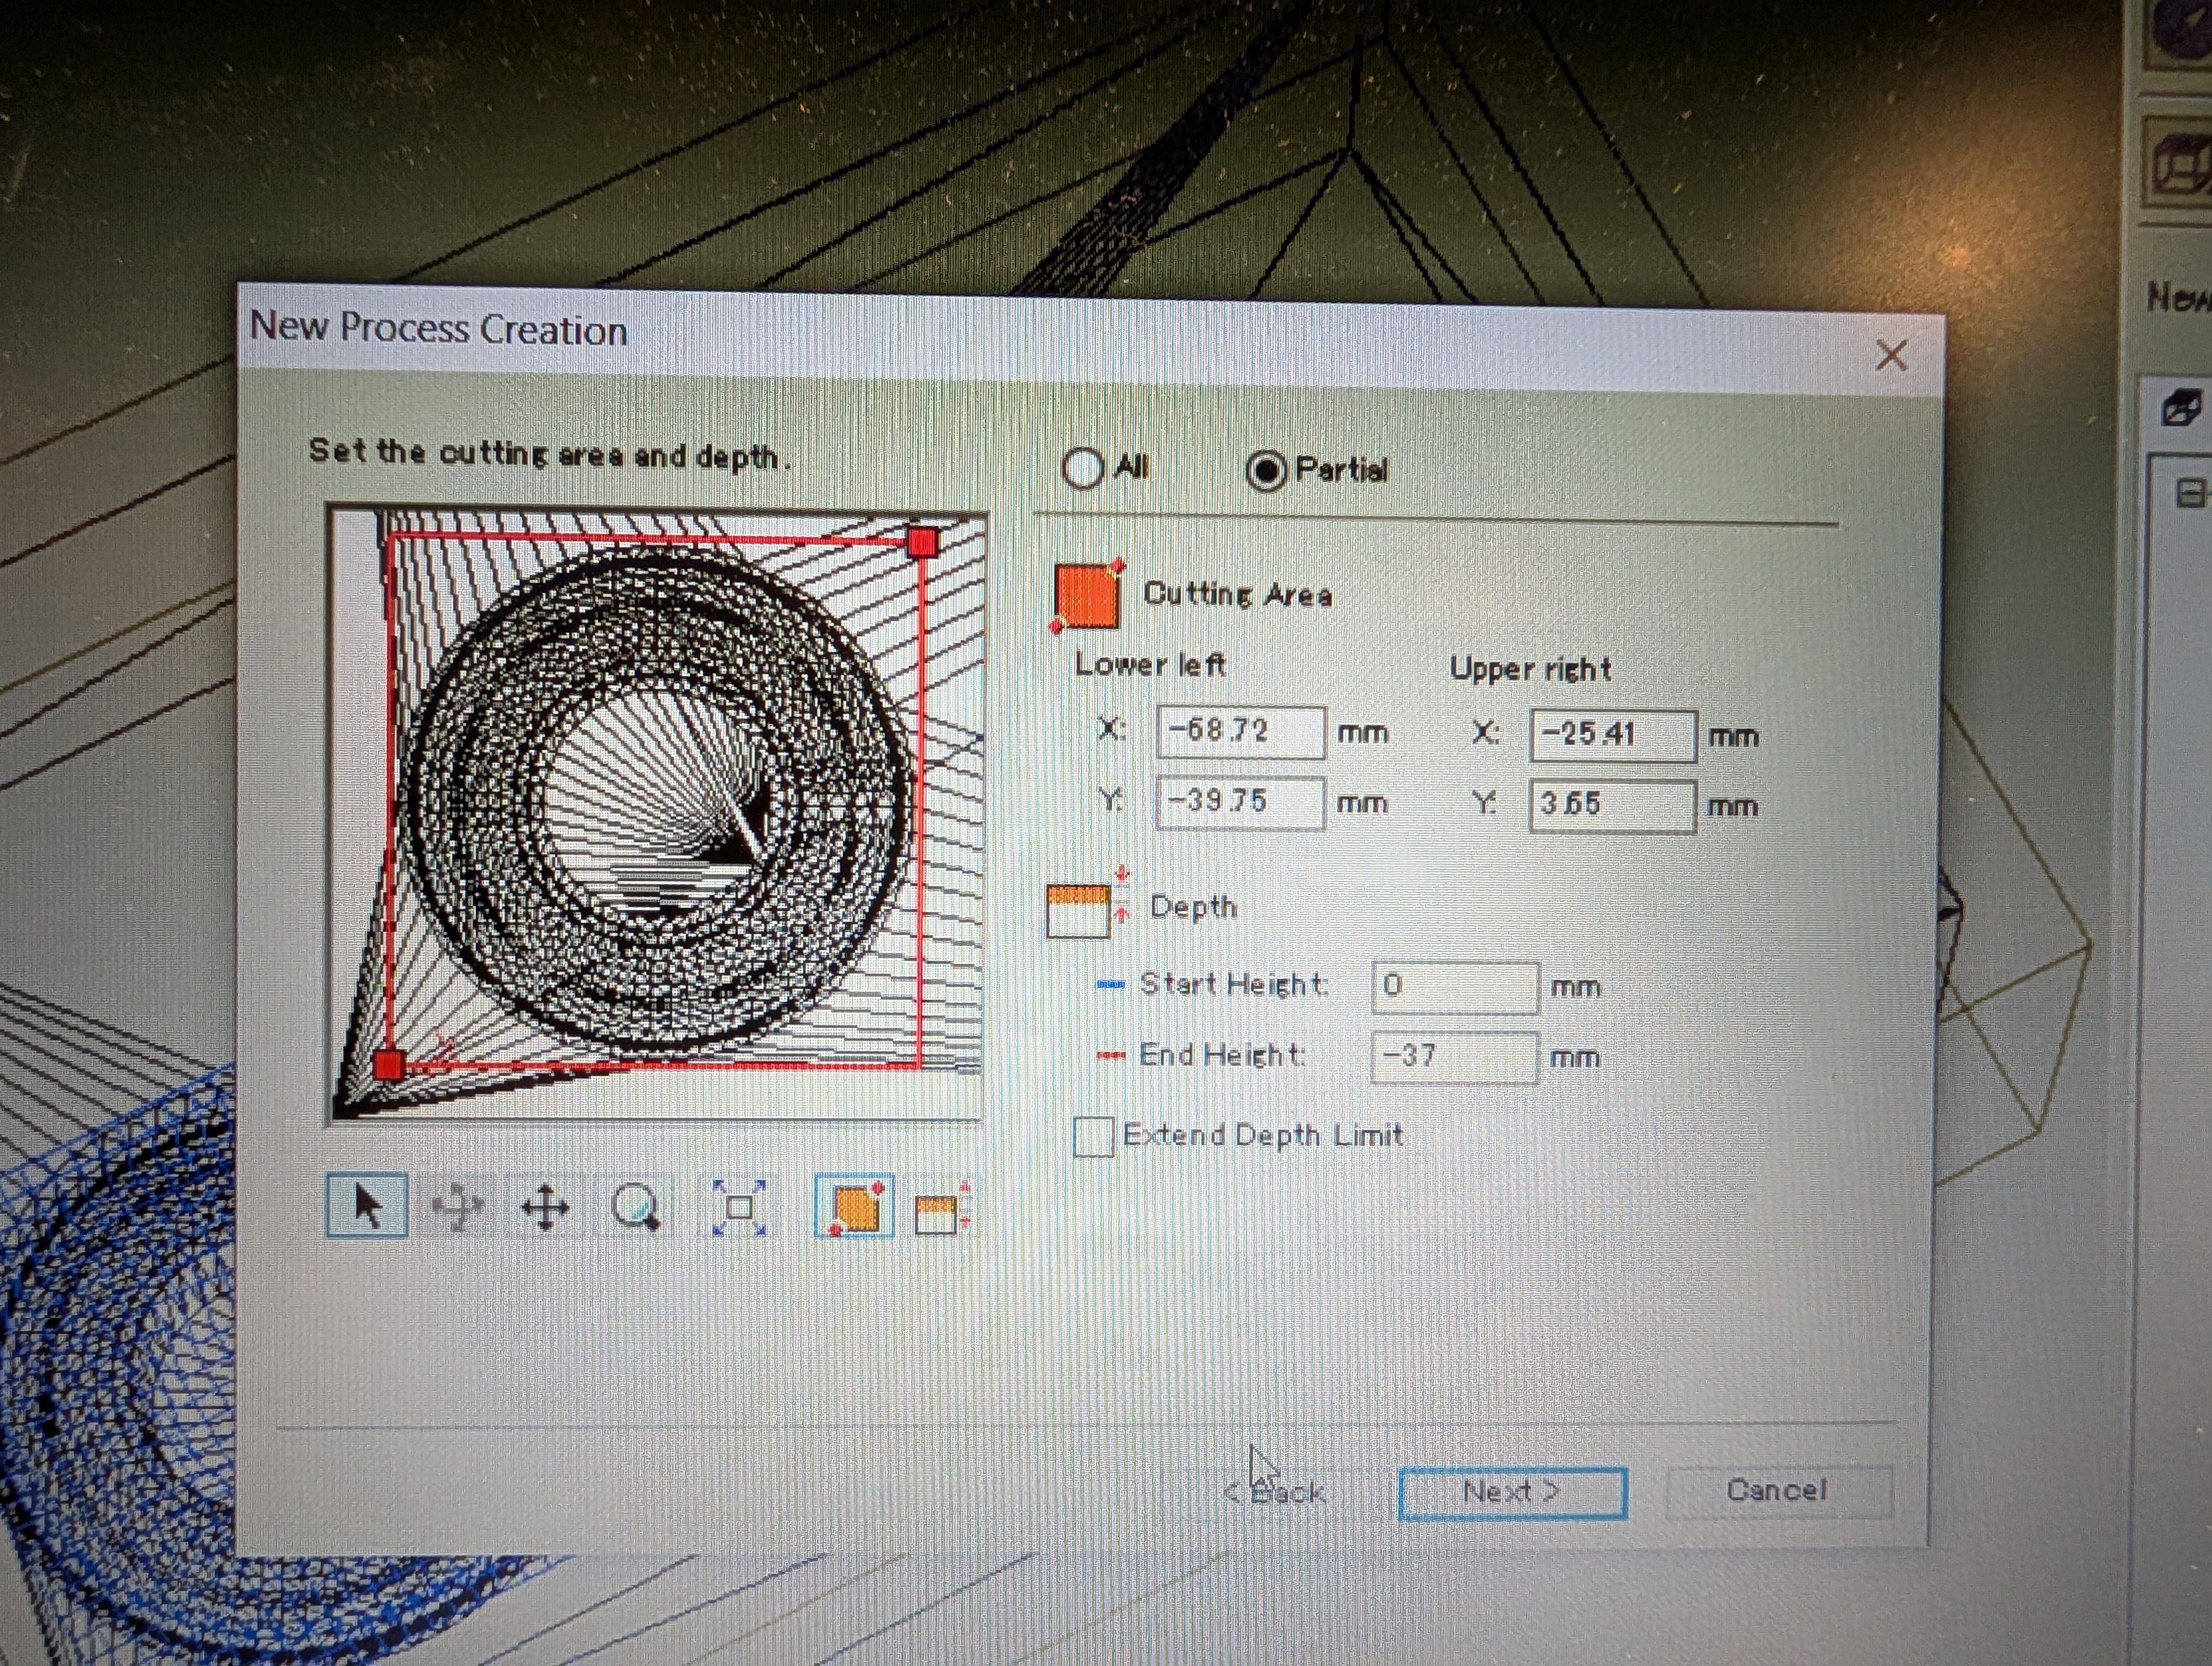
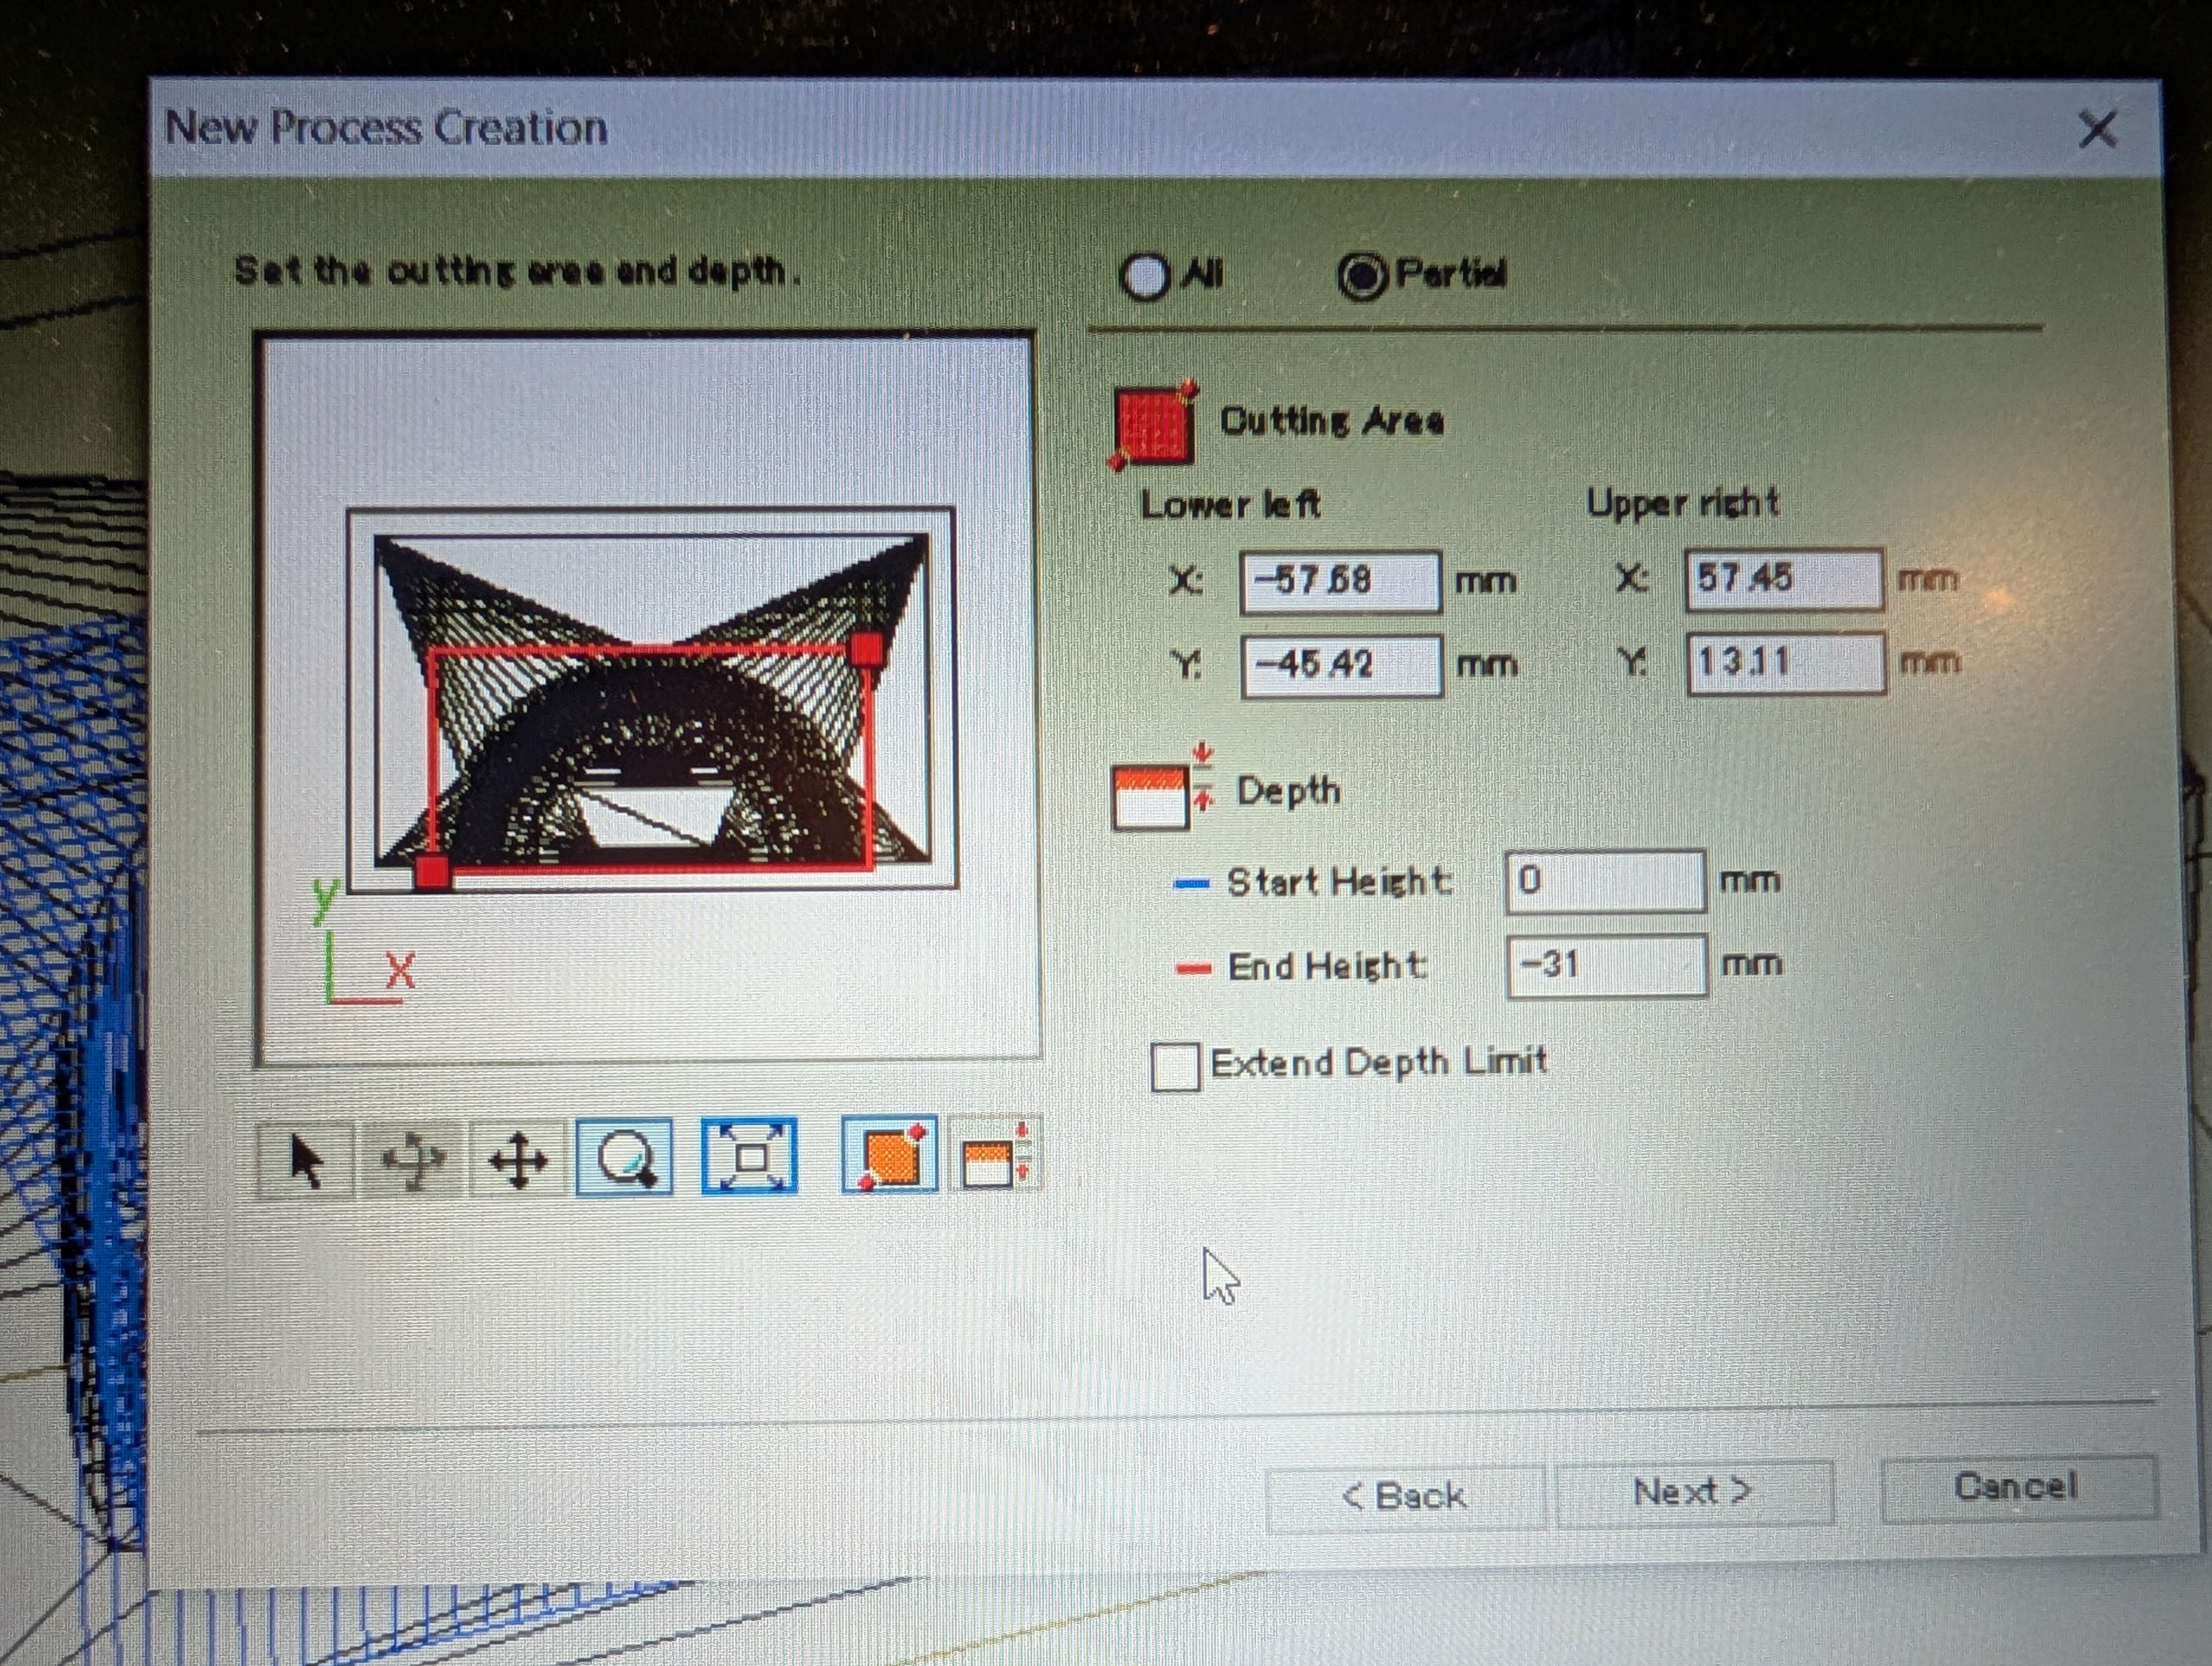
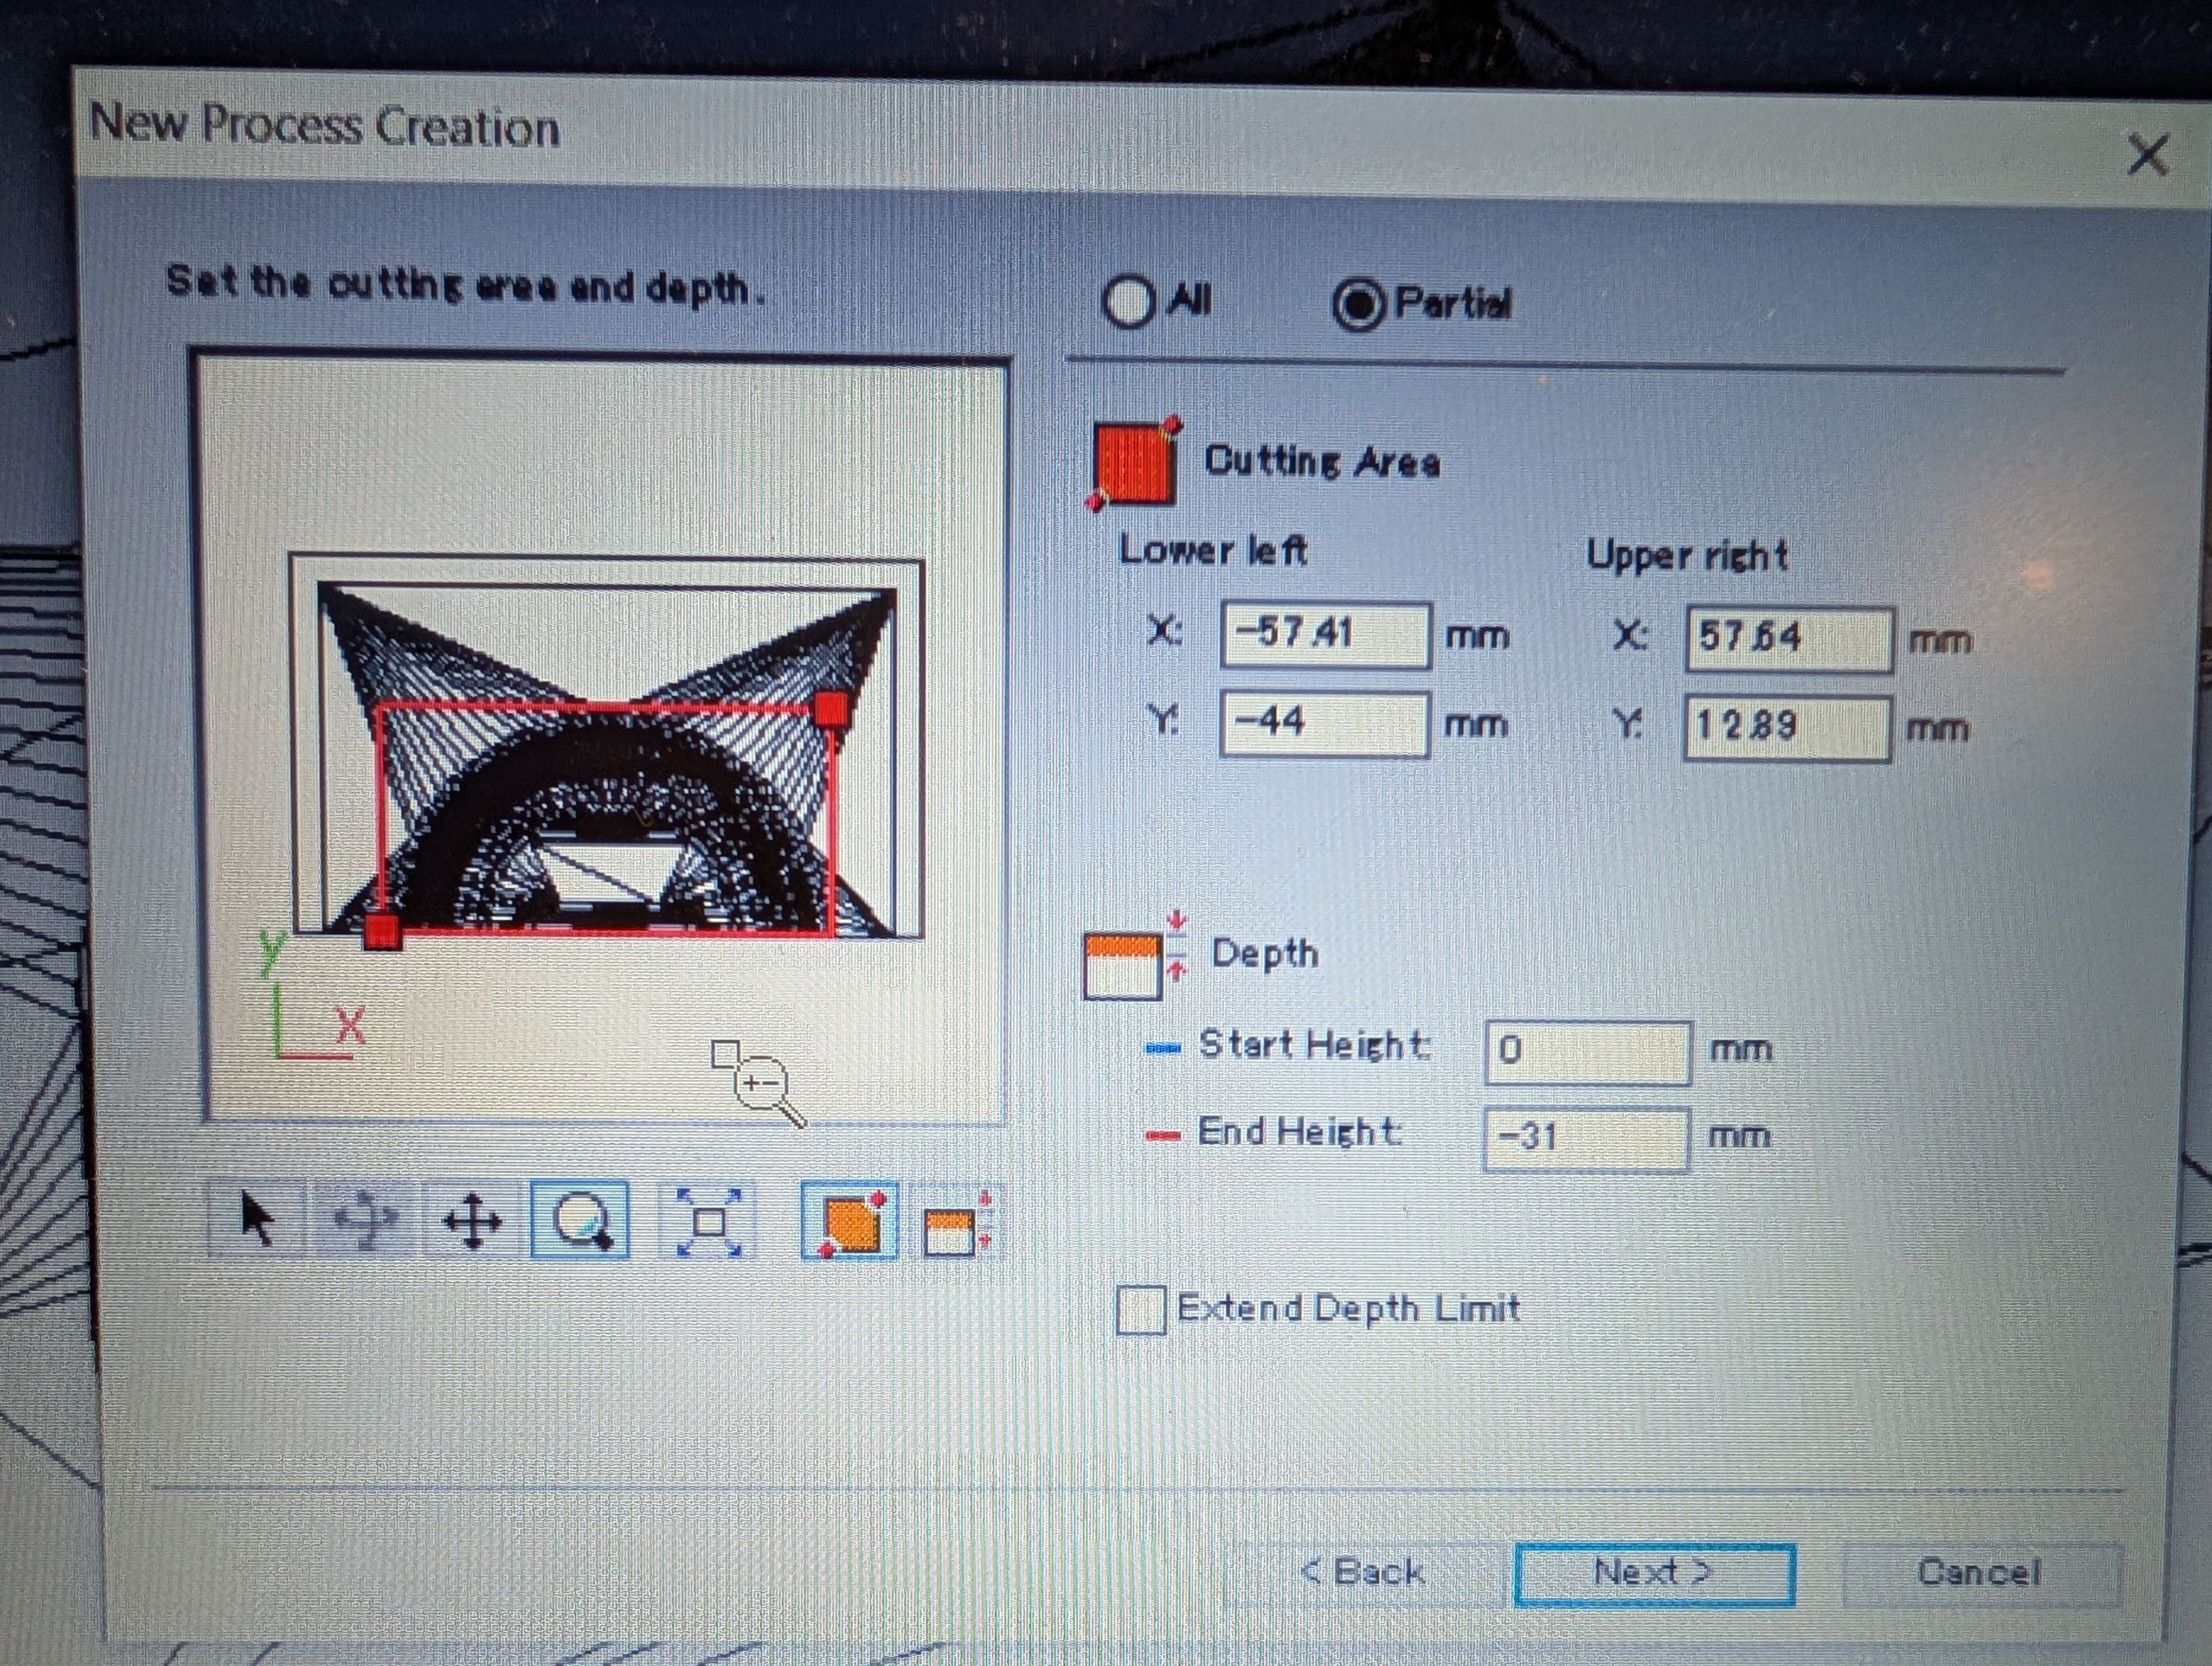
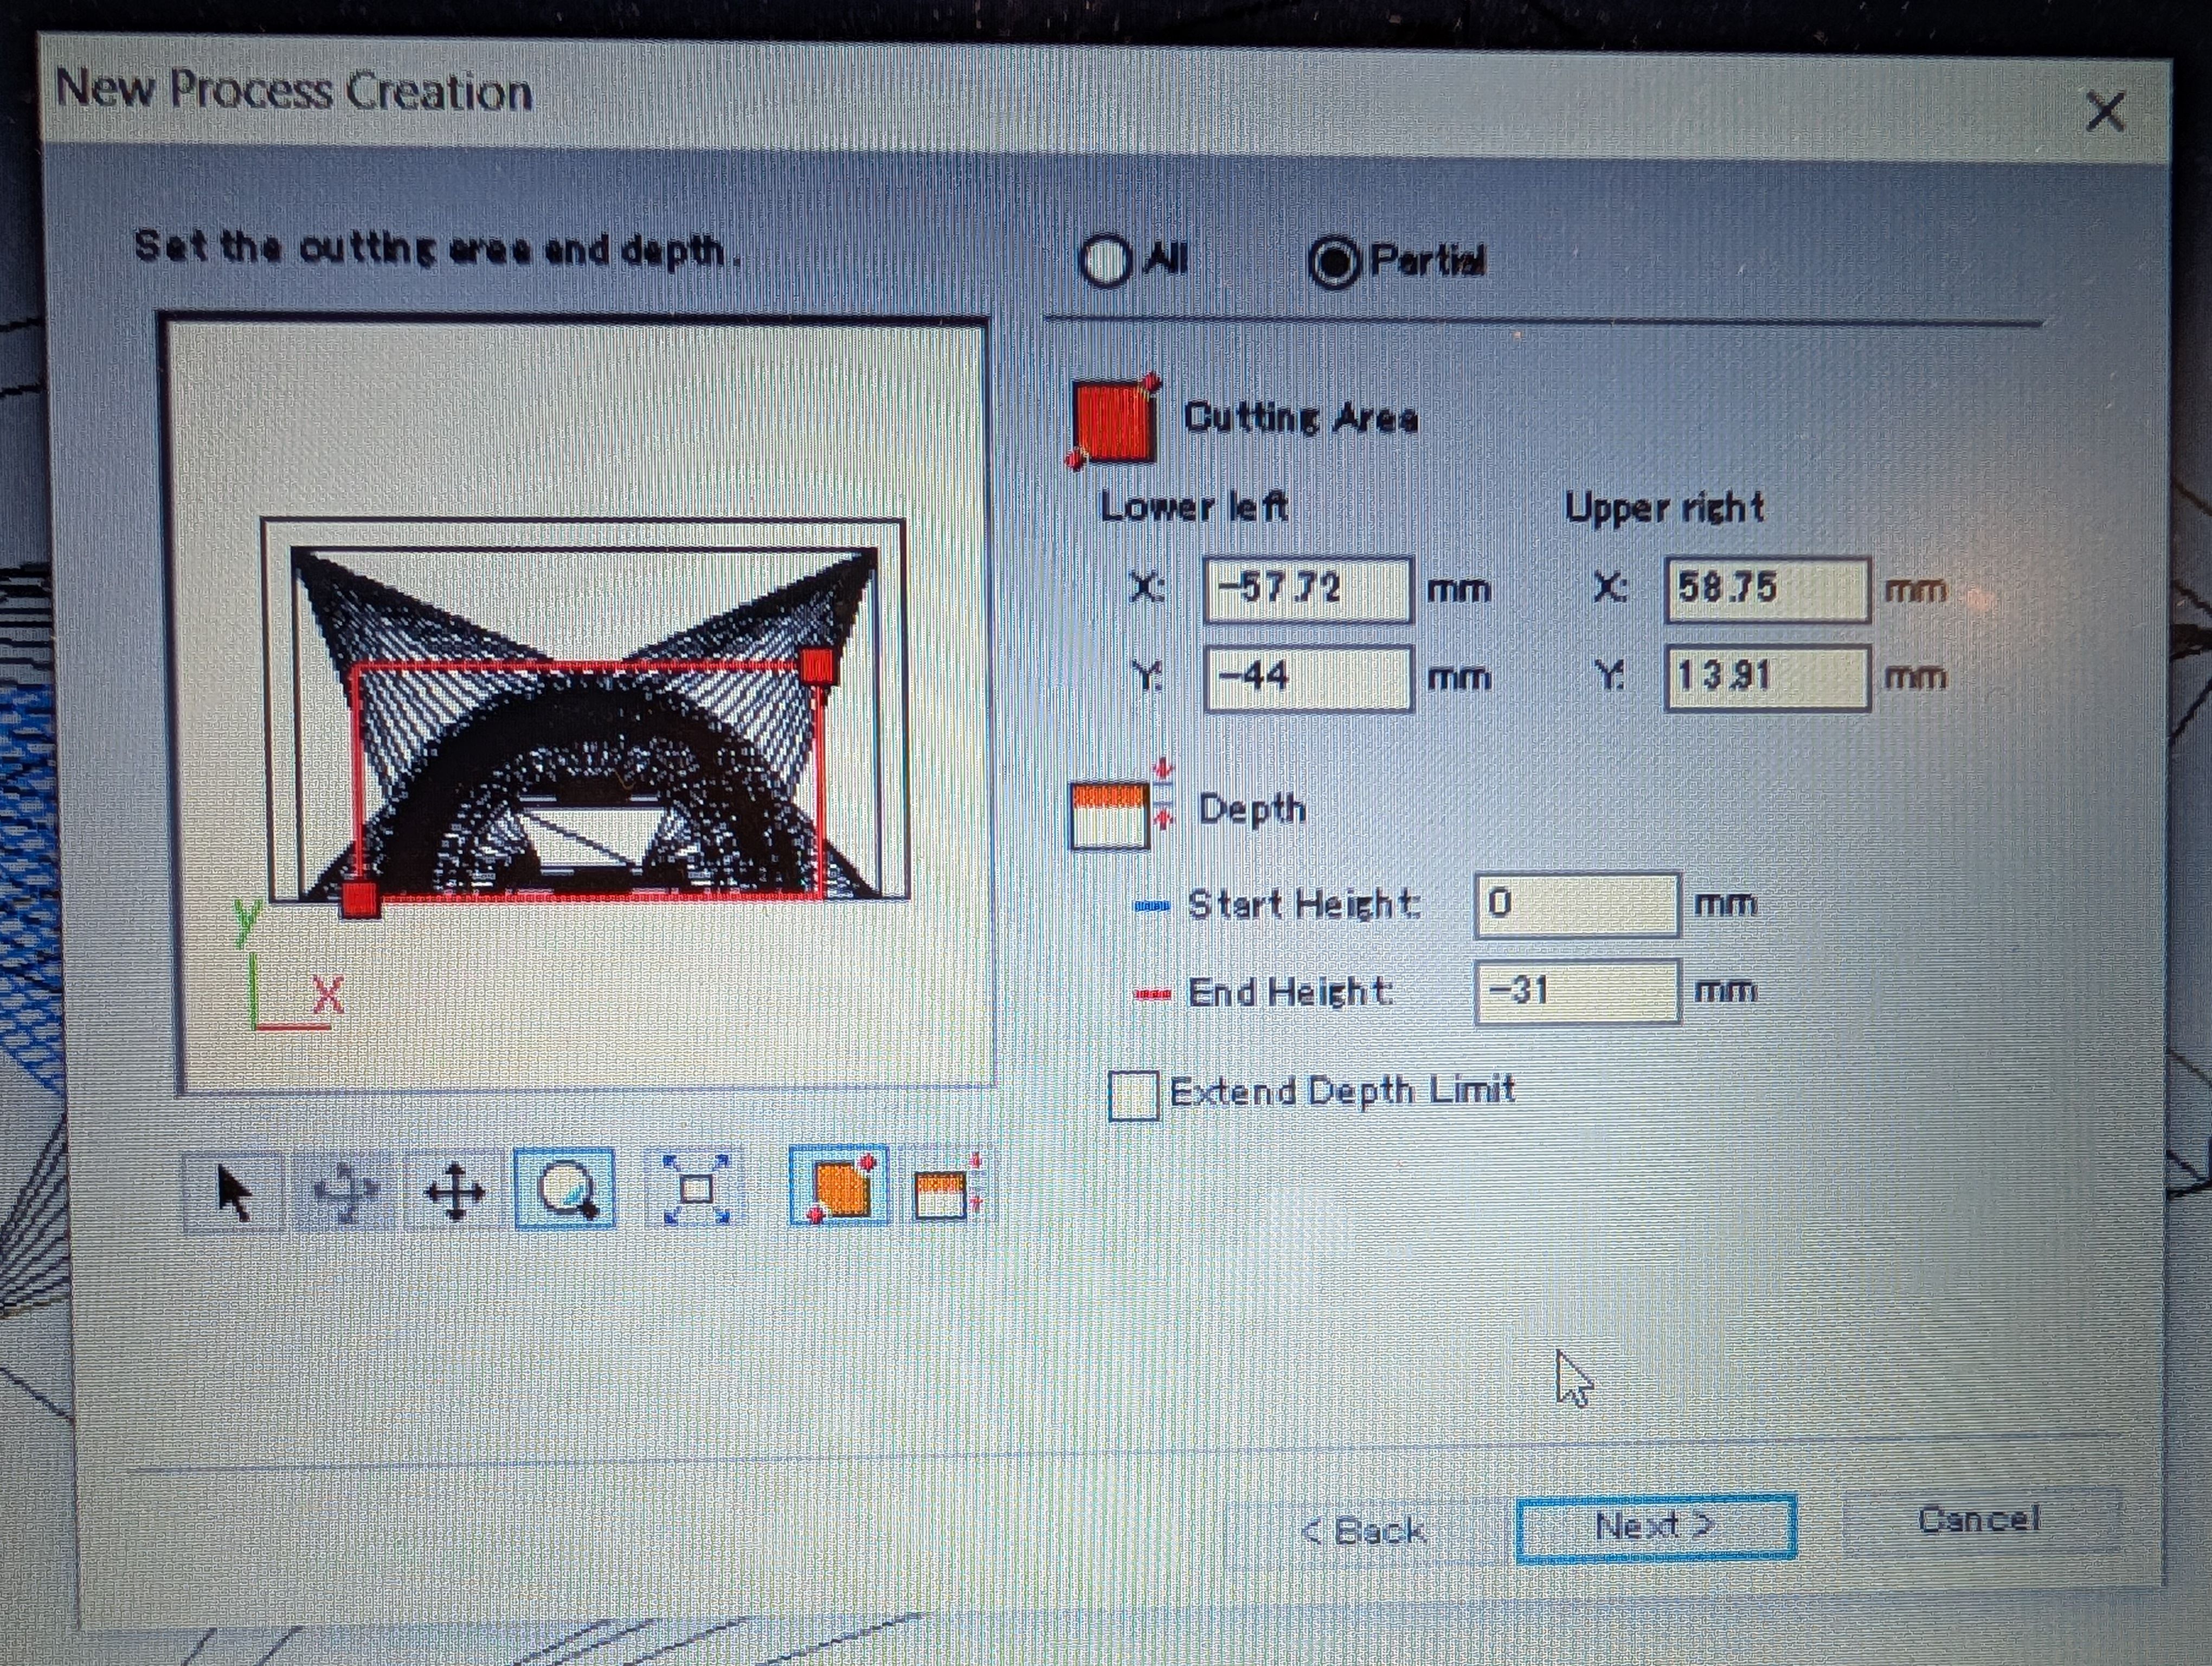
Set cutting area and shorten the cutting time
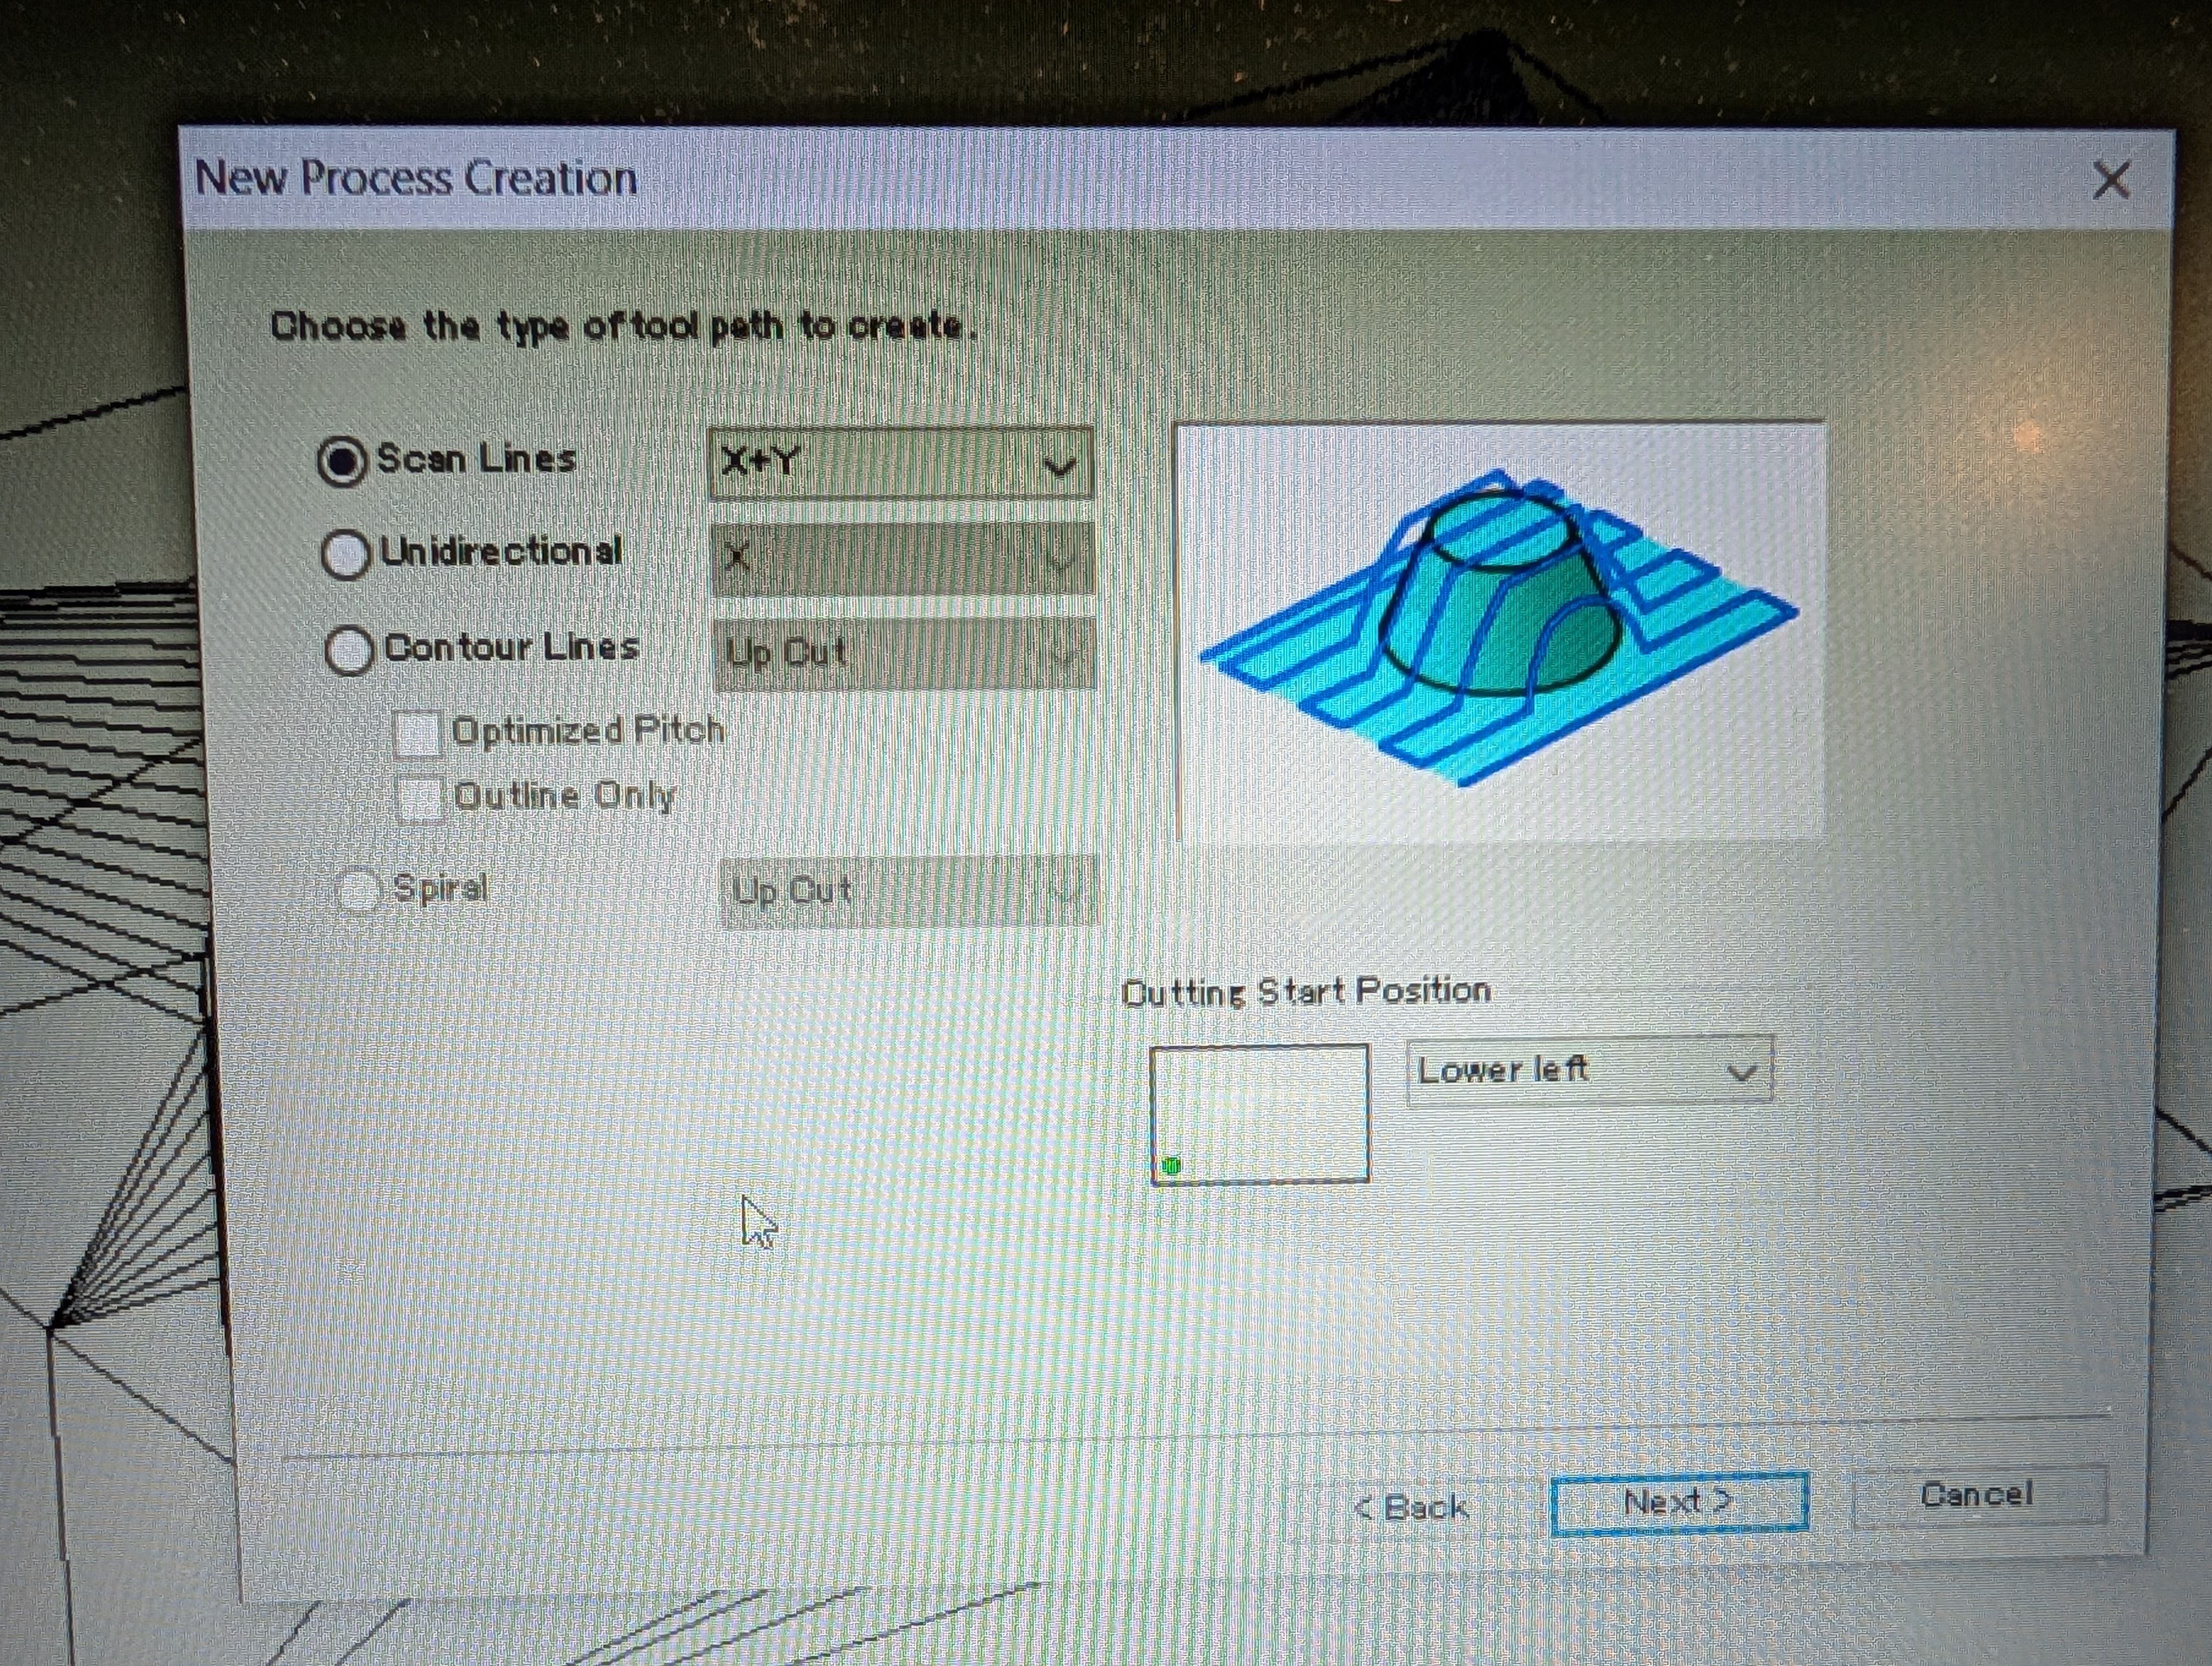
Scan Lines X+Y
XY Speed : 20mm/sec
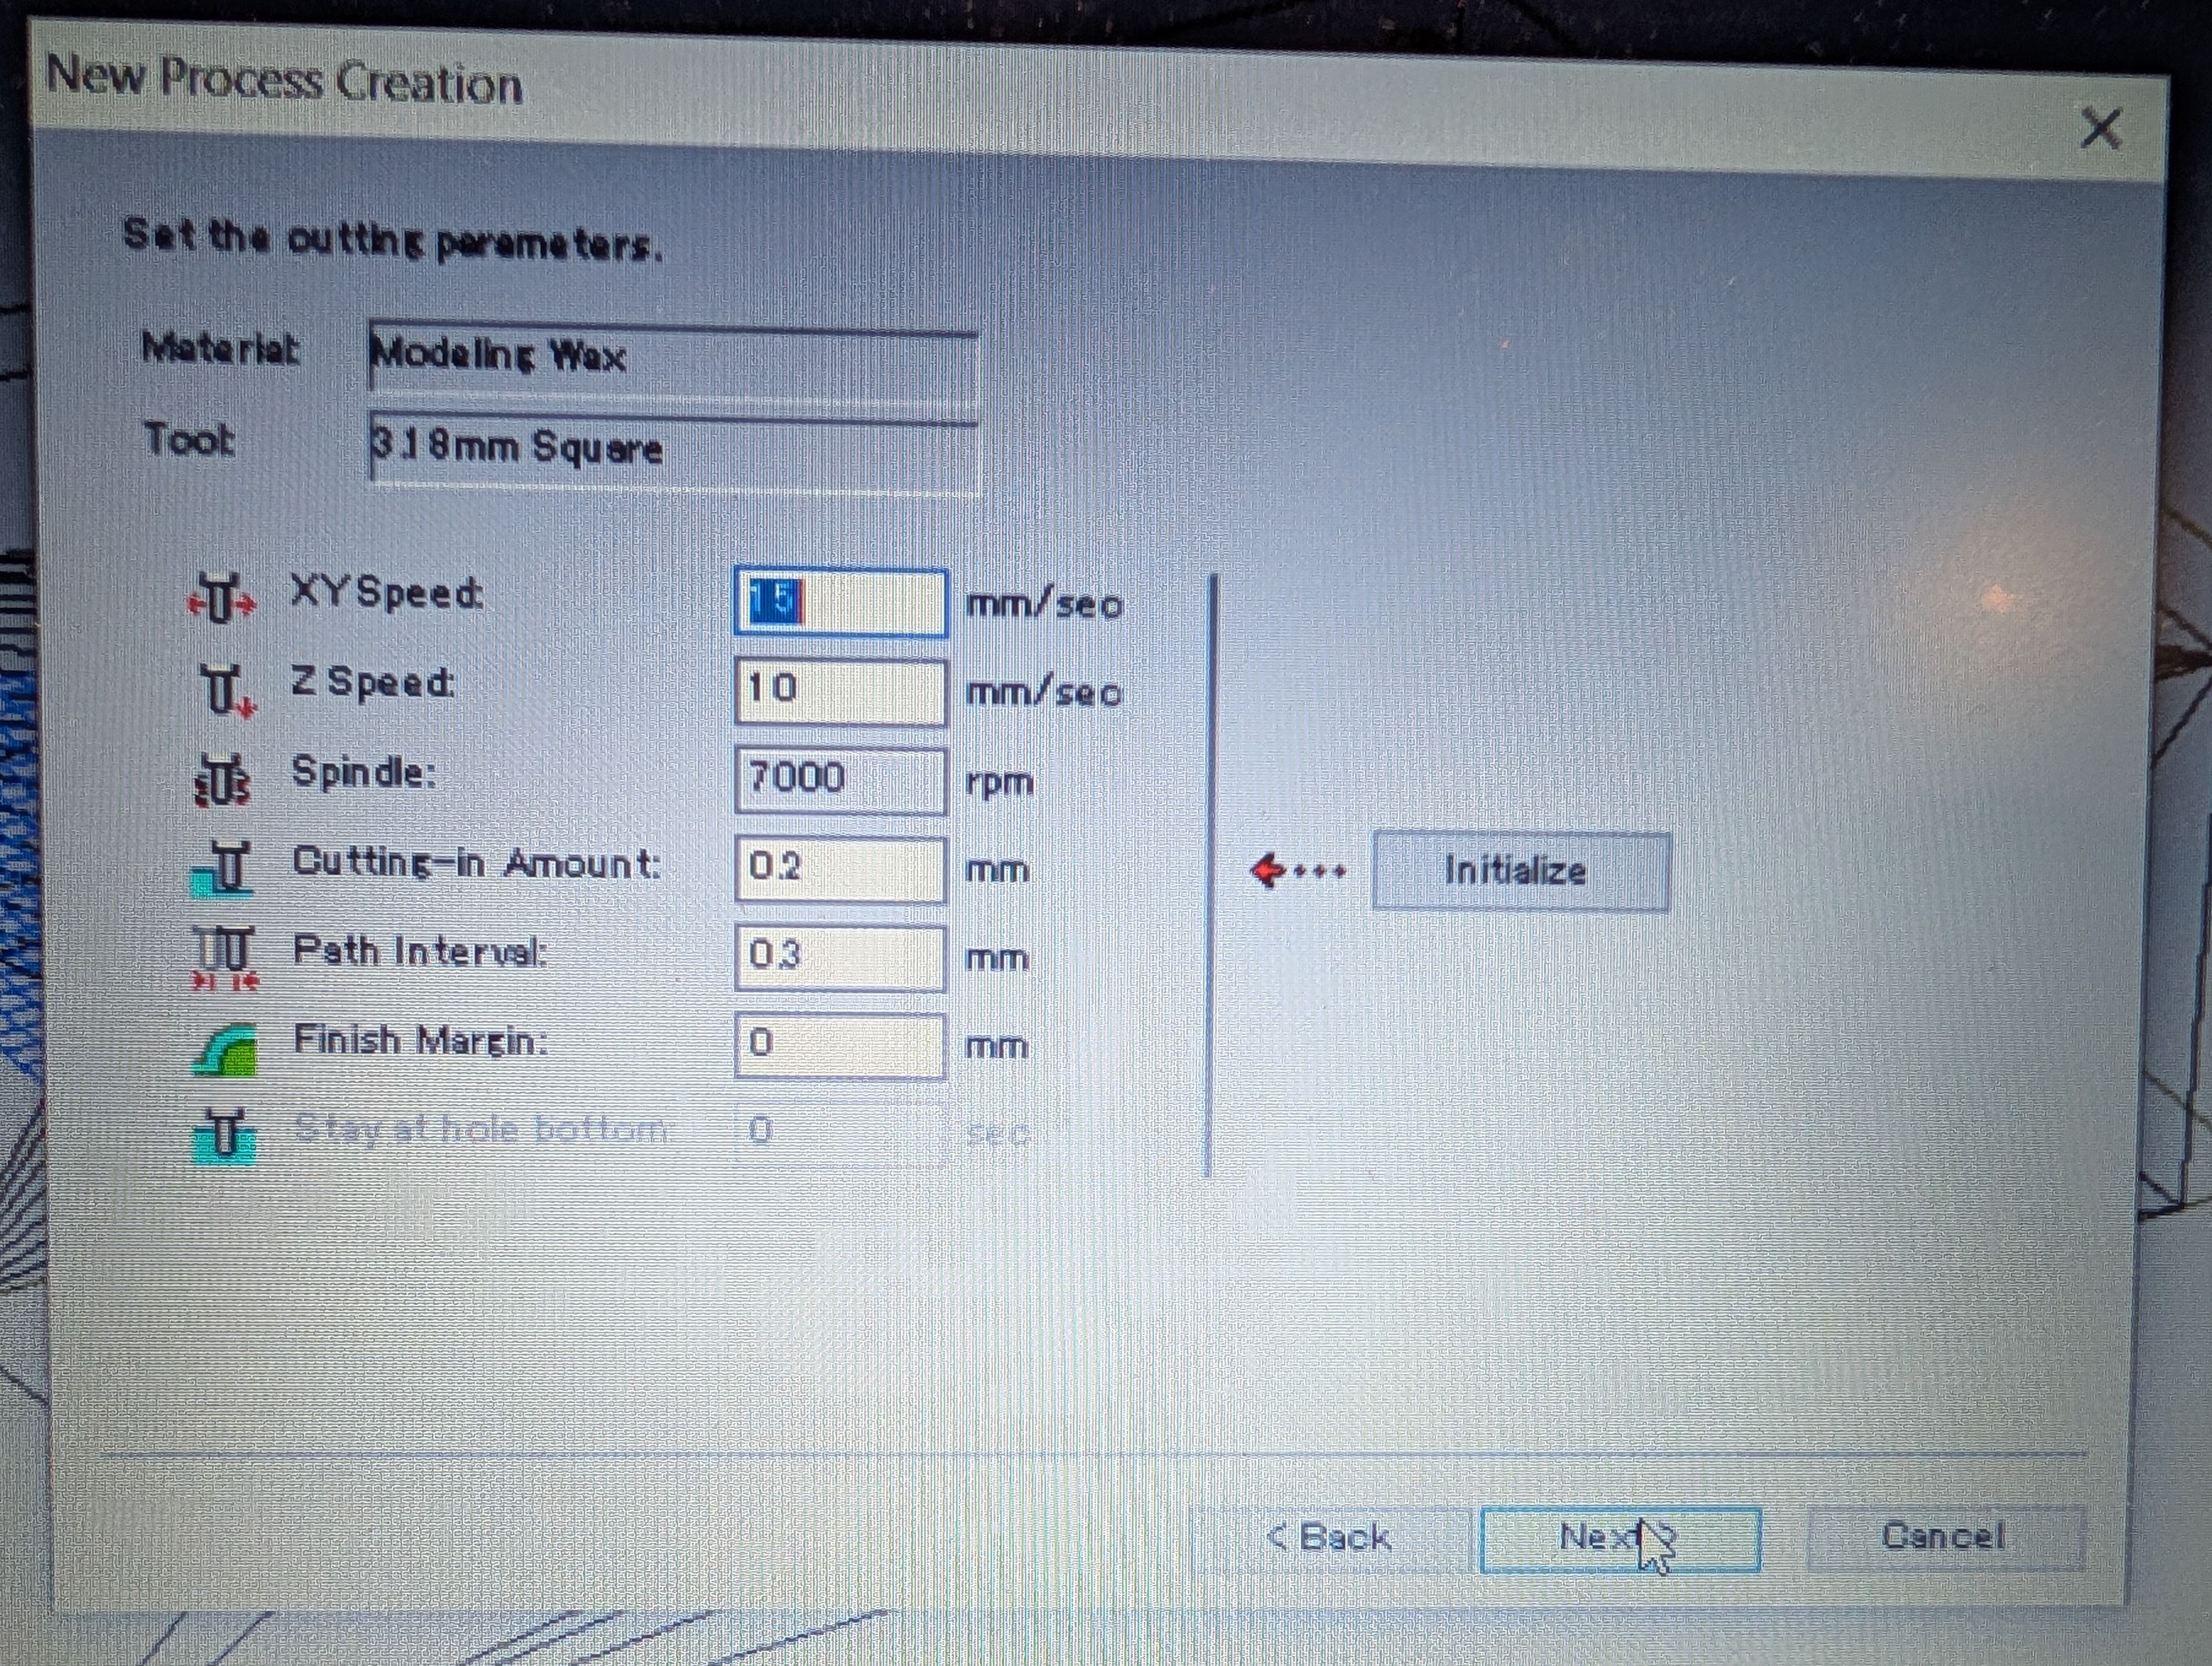
Setting for finishing
Use same tool
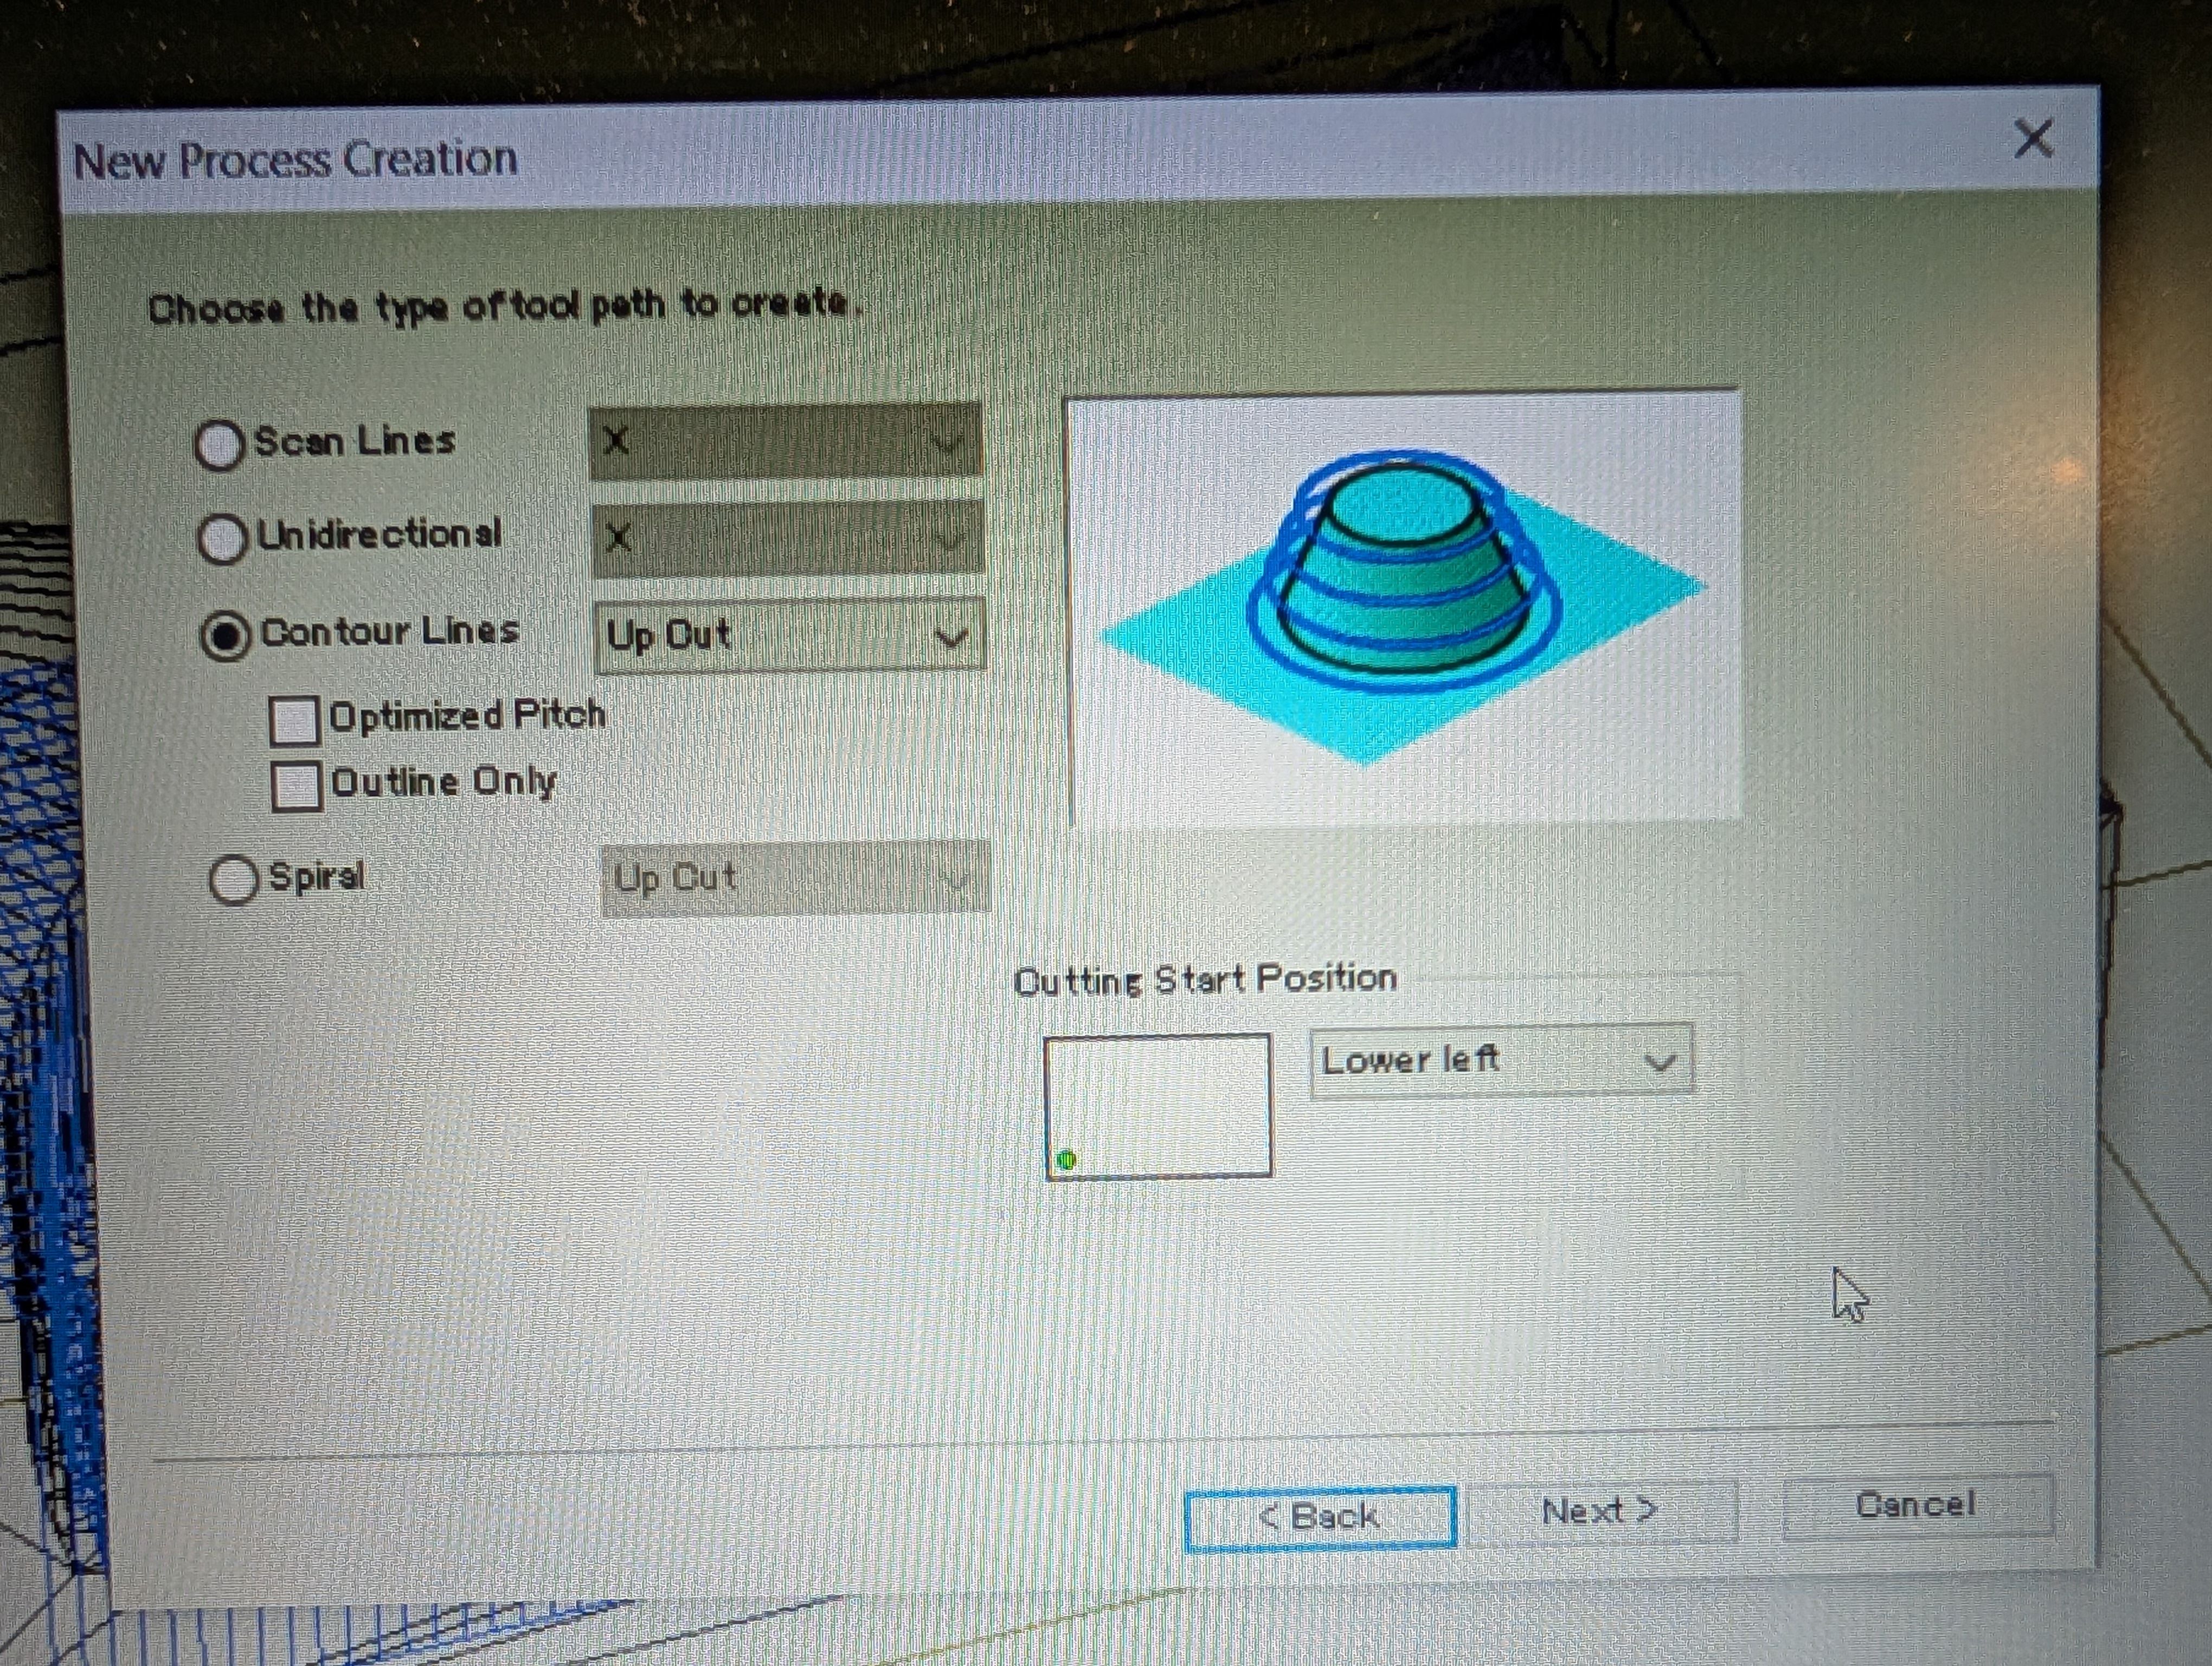
Contour Lines Up Out
XY Speed : 15mm/sec
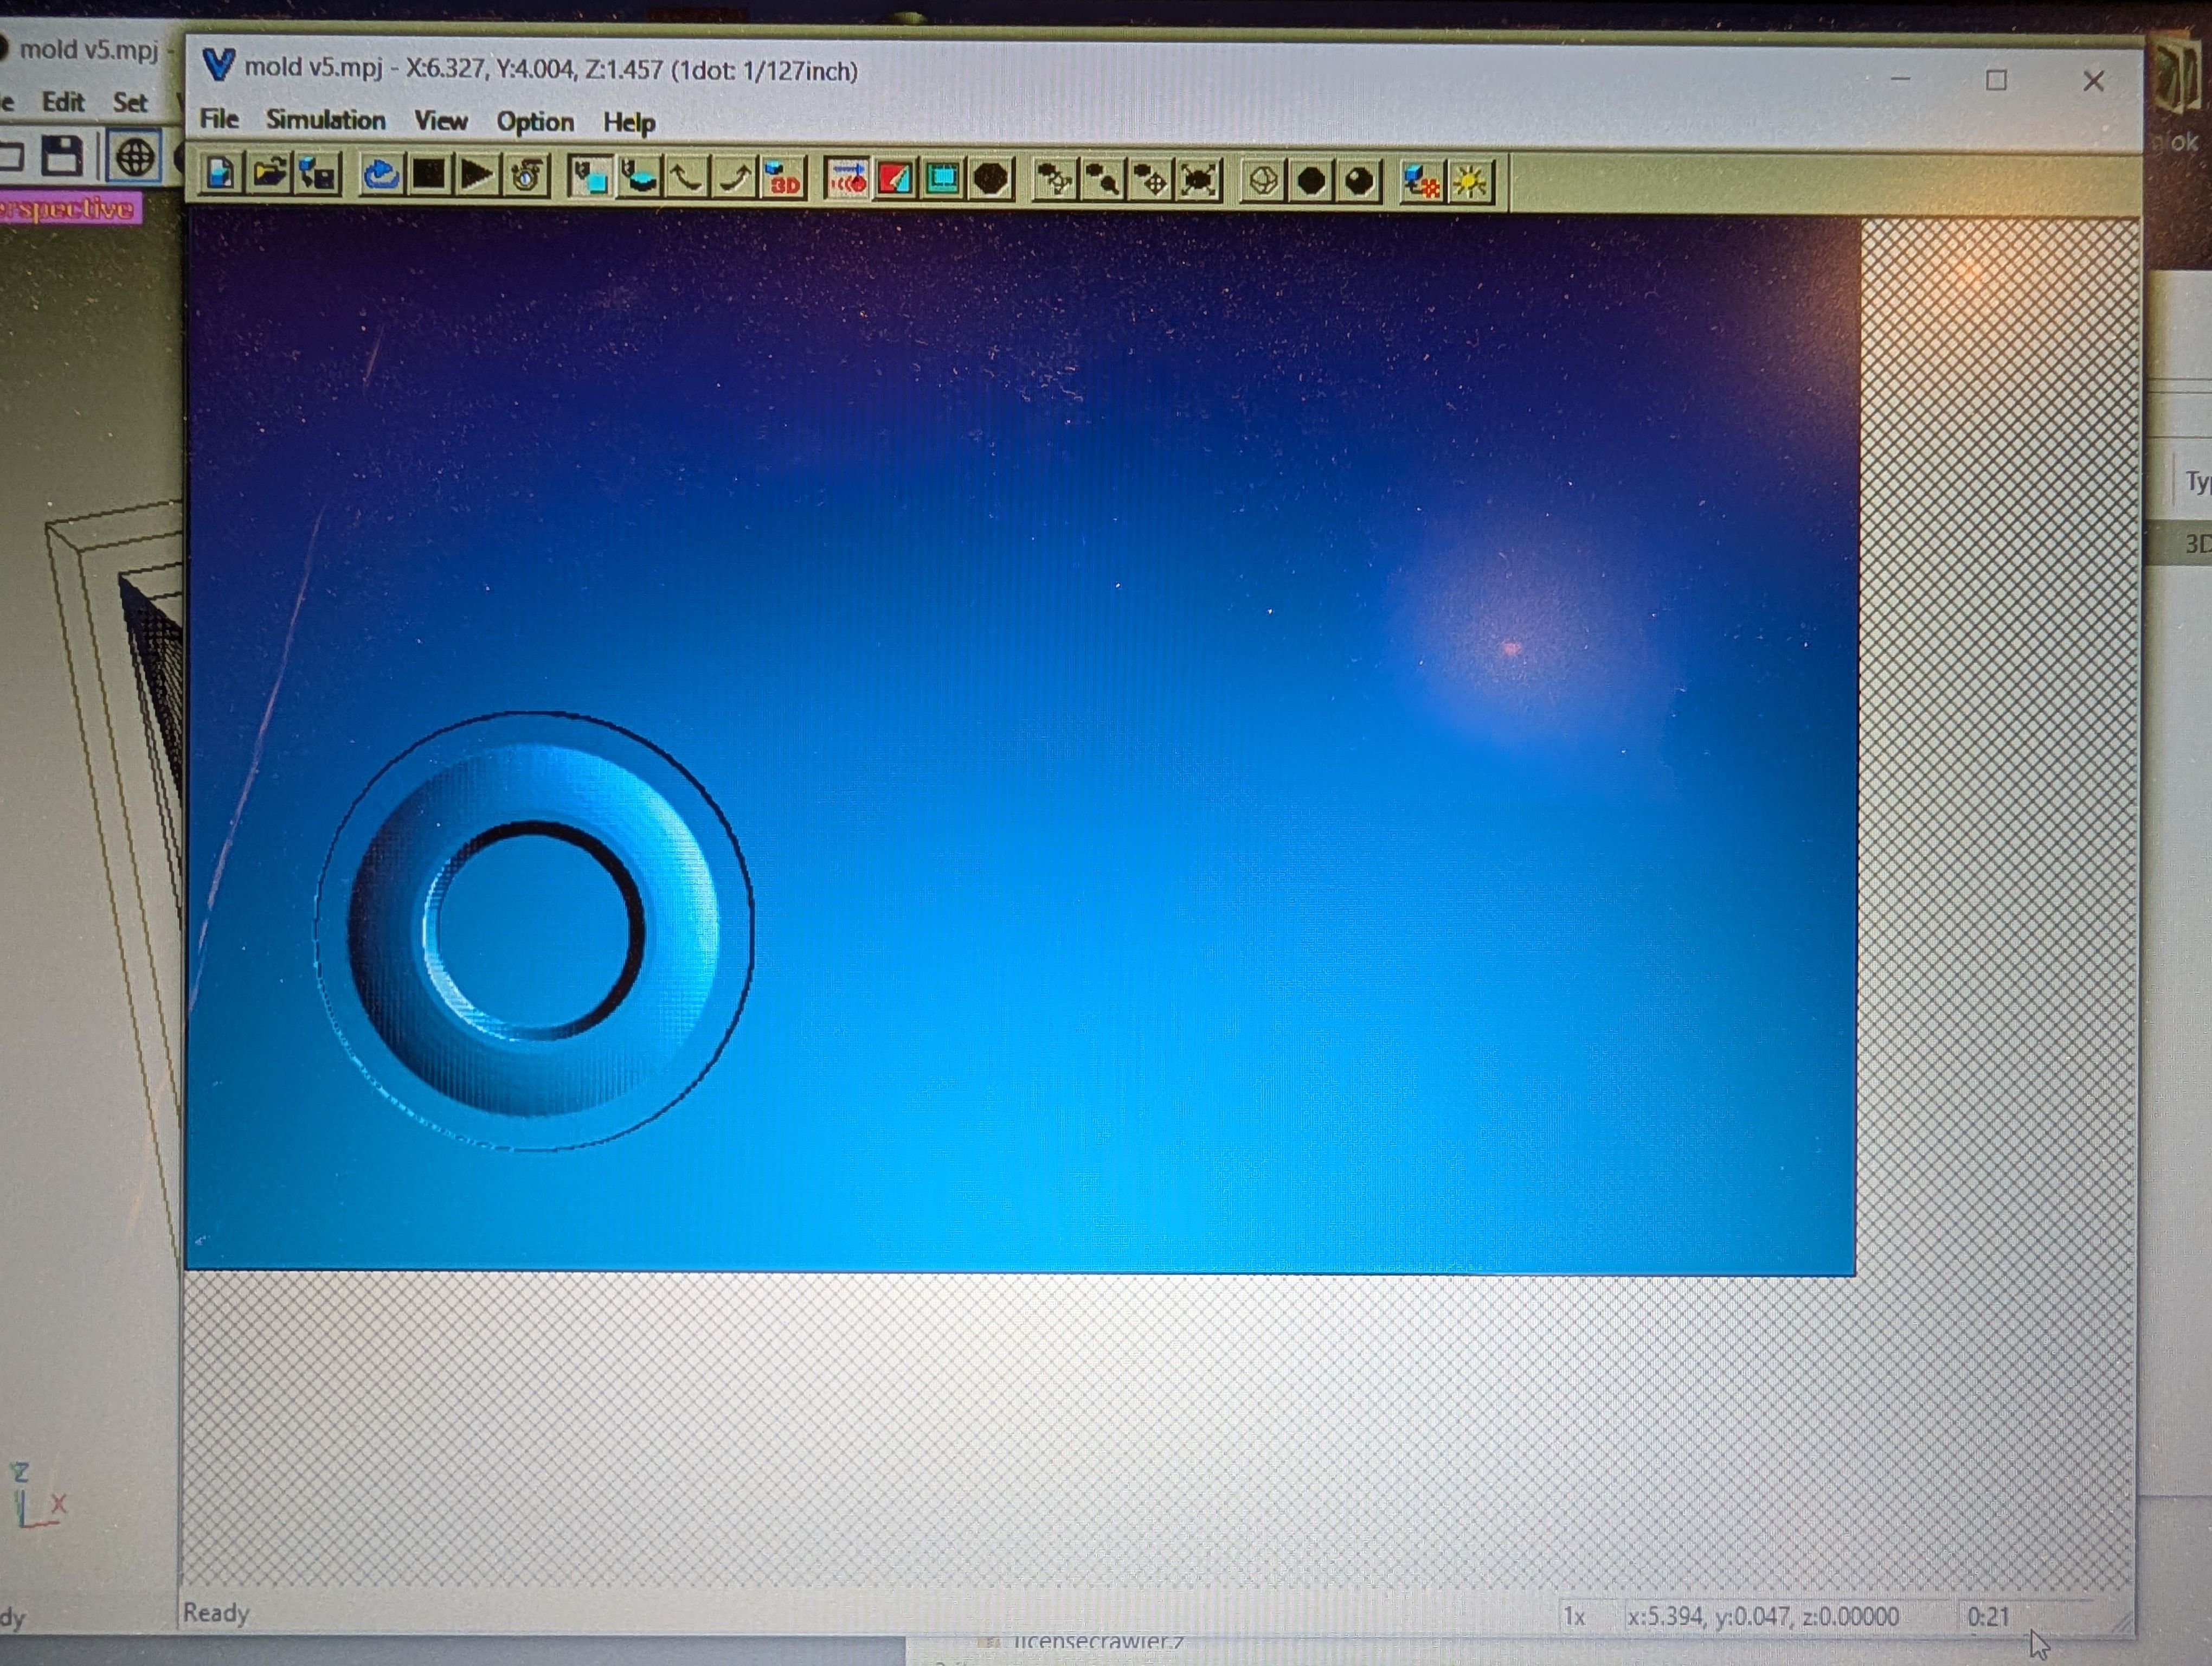
Check time from “Preview Cutting” menu
Time for roughing: 0h12m
Time for finishing: 0h21m
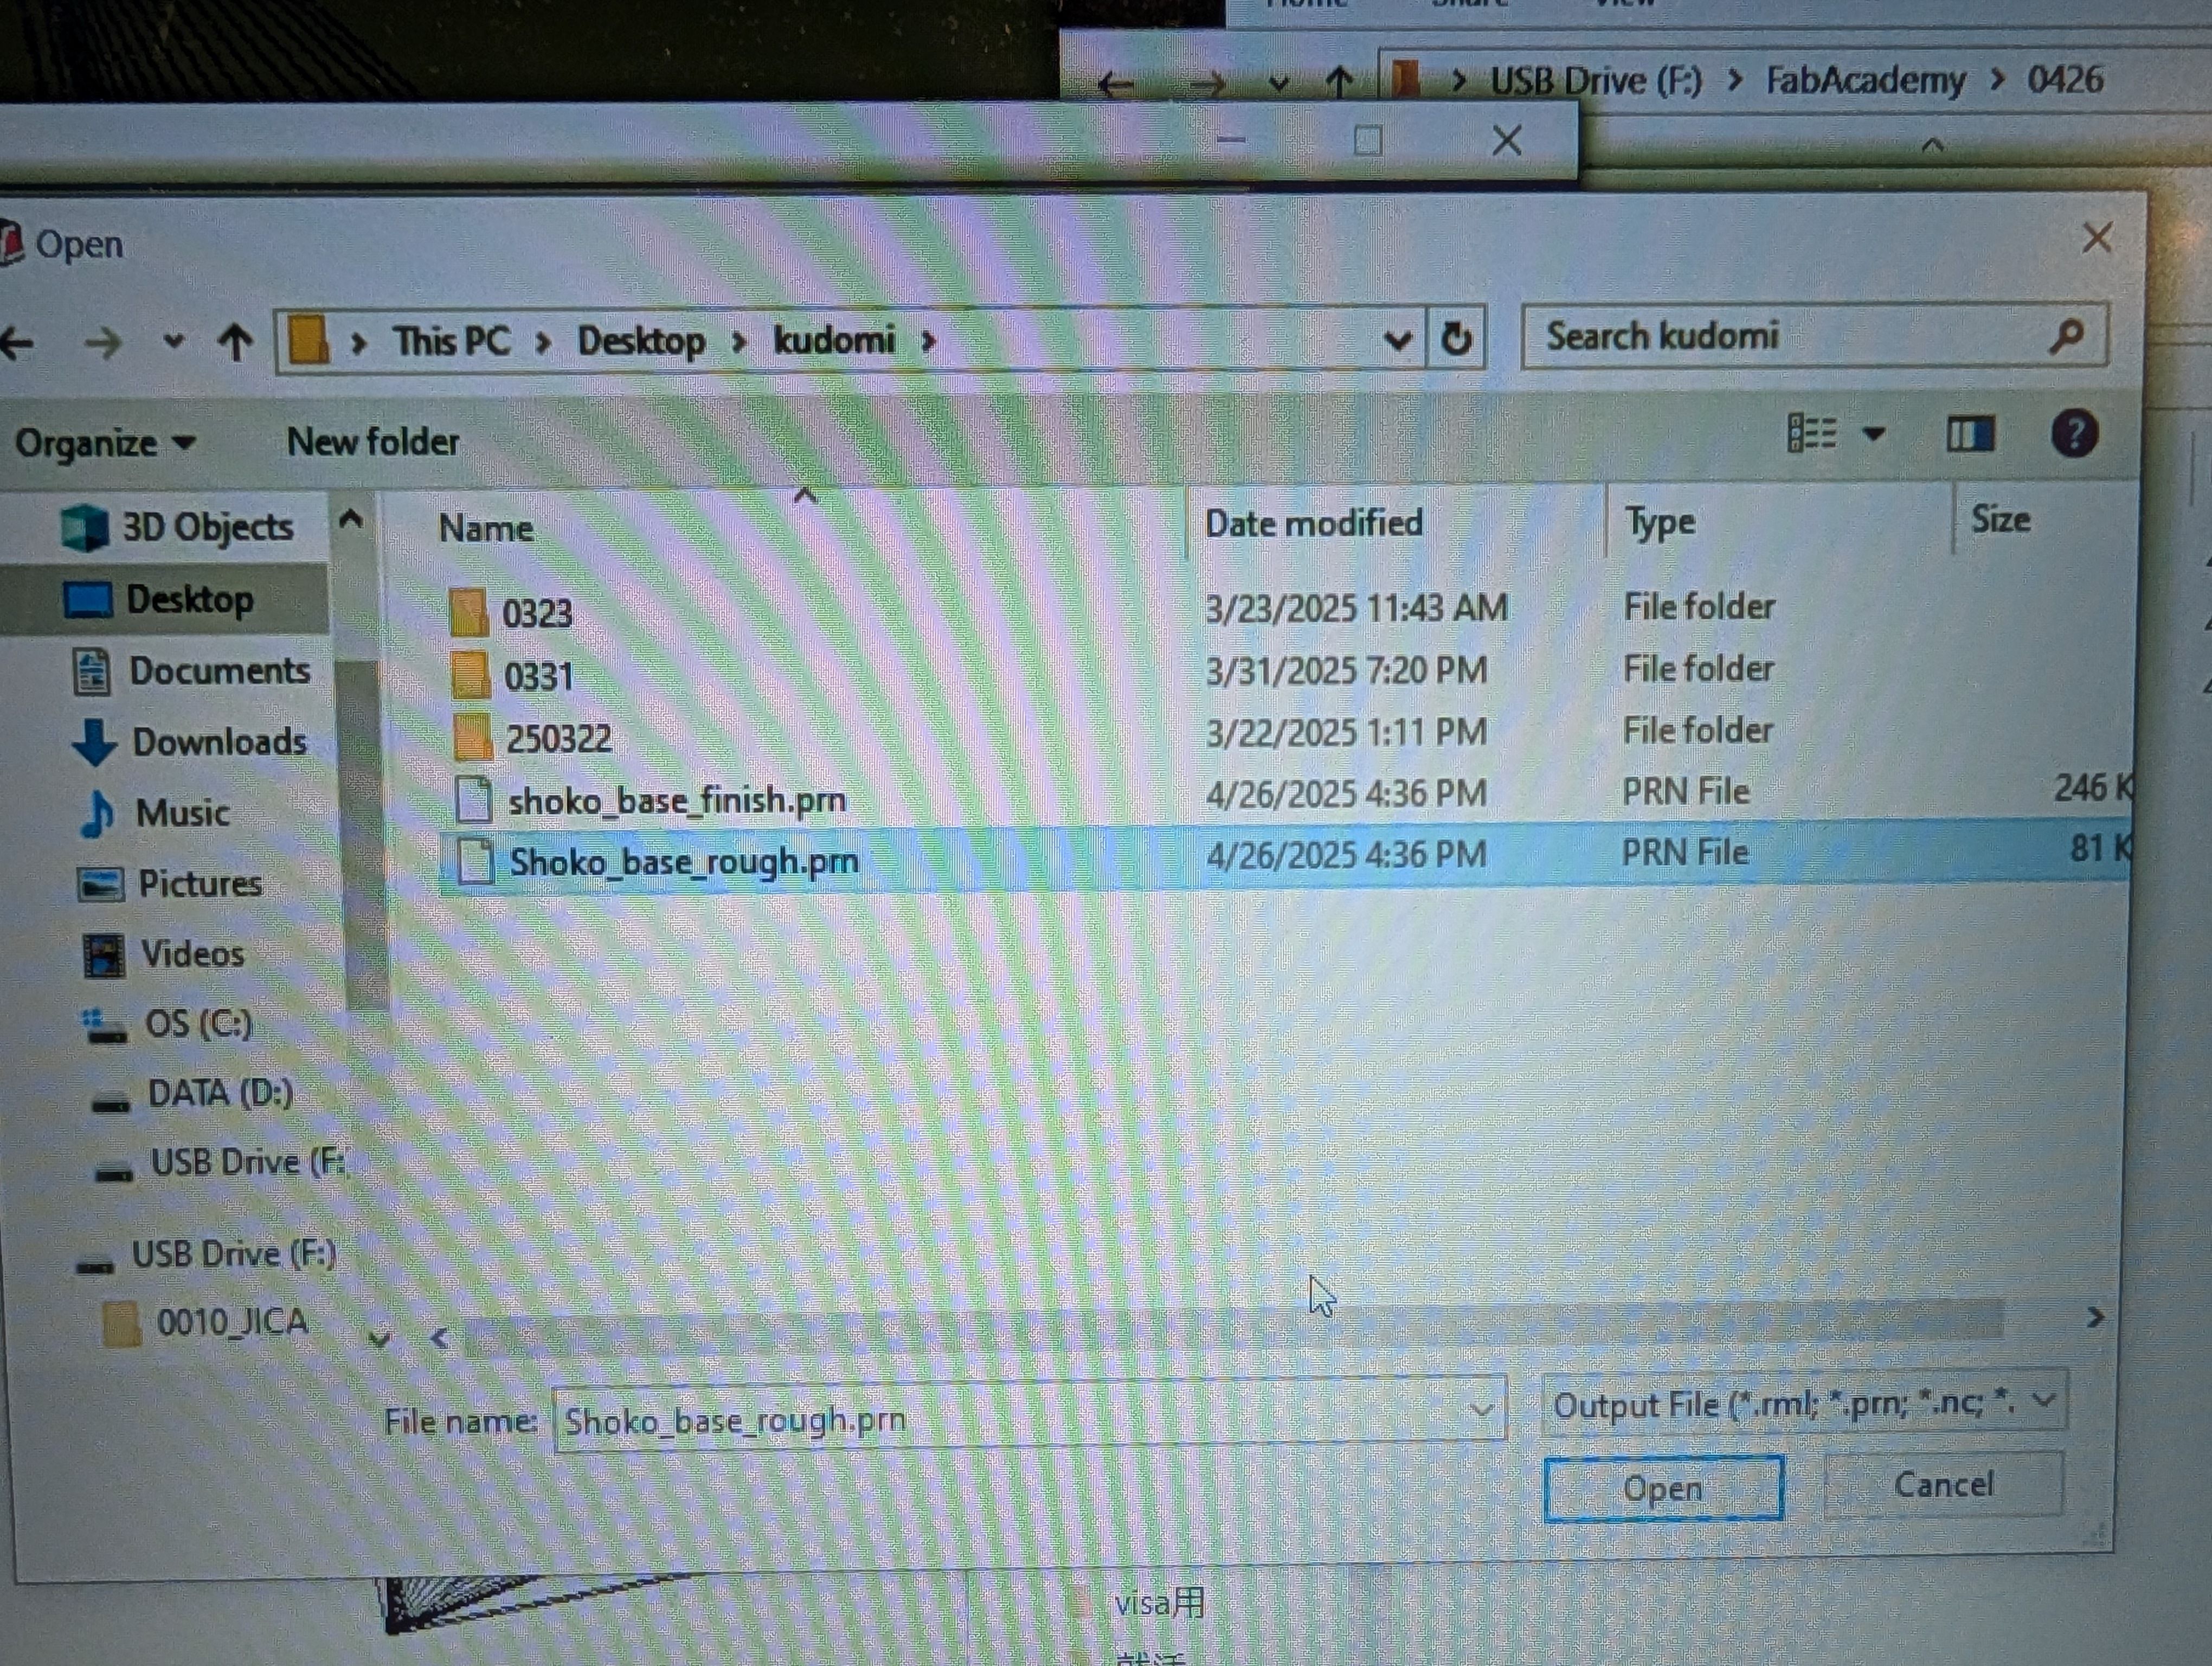
Output path file from “Cut” menu on right bottom
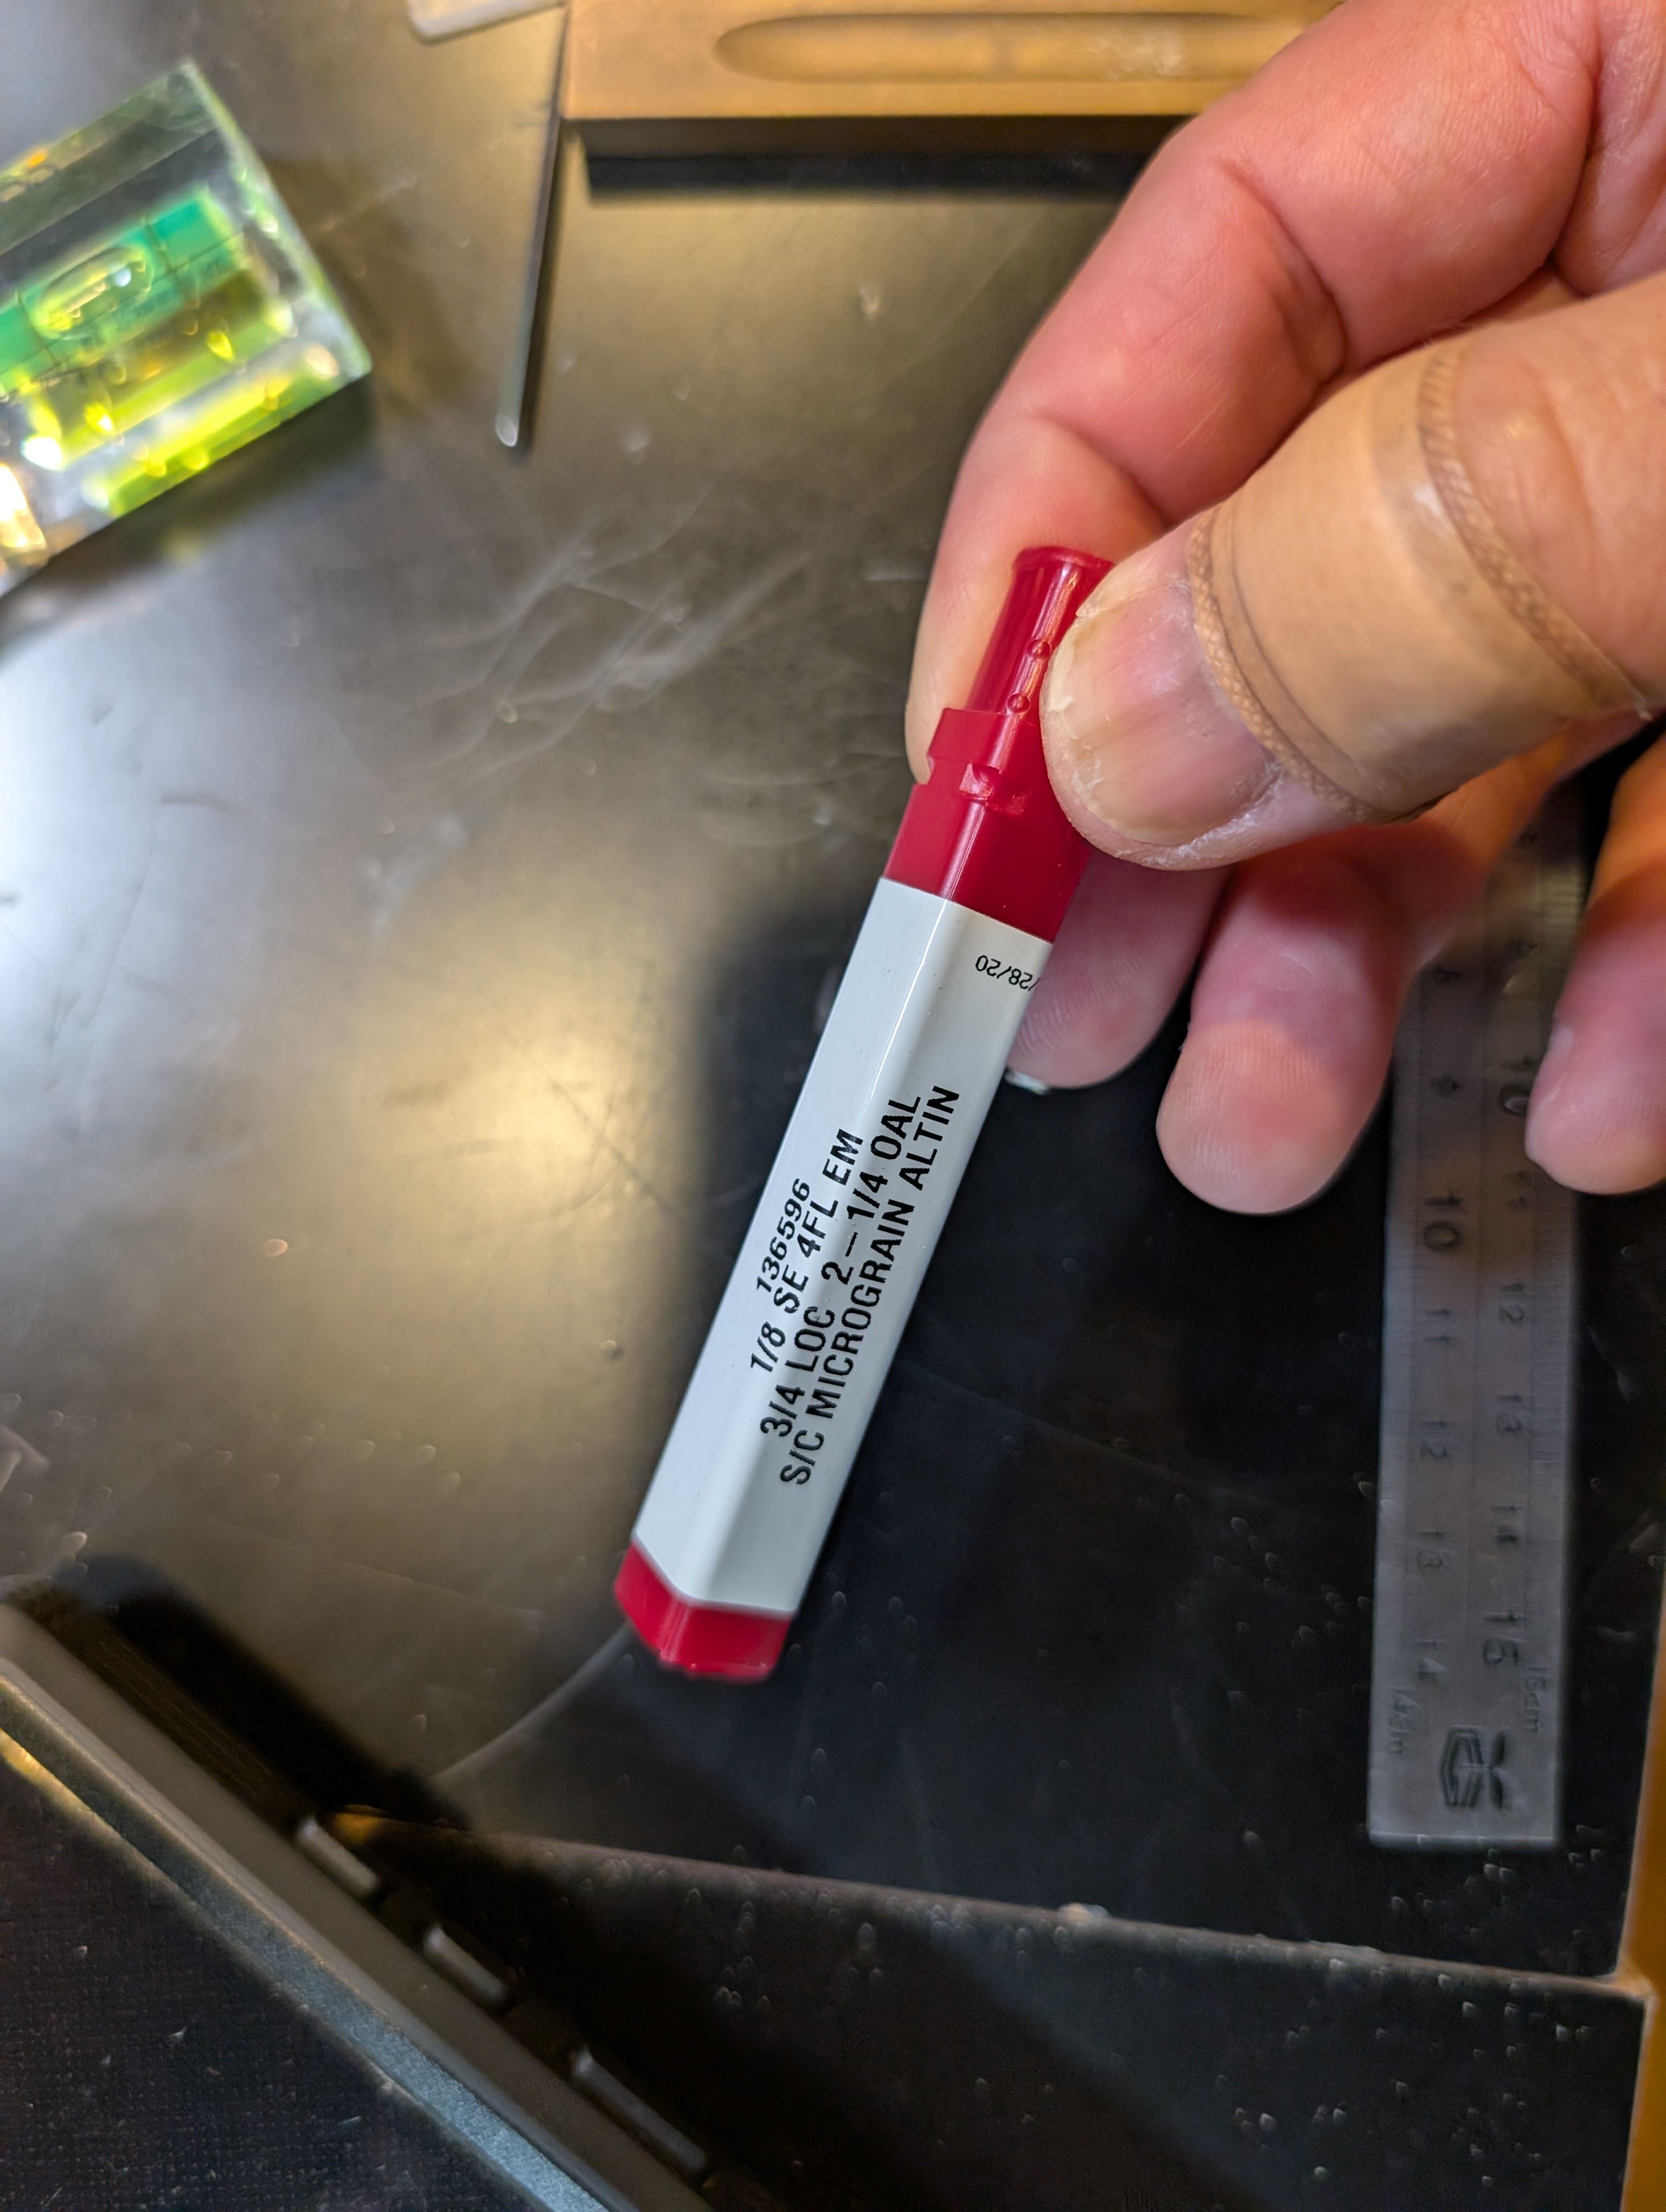
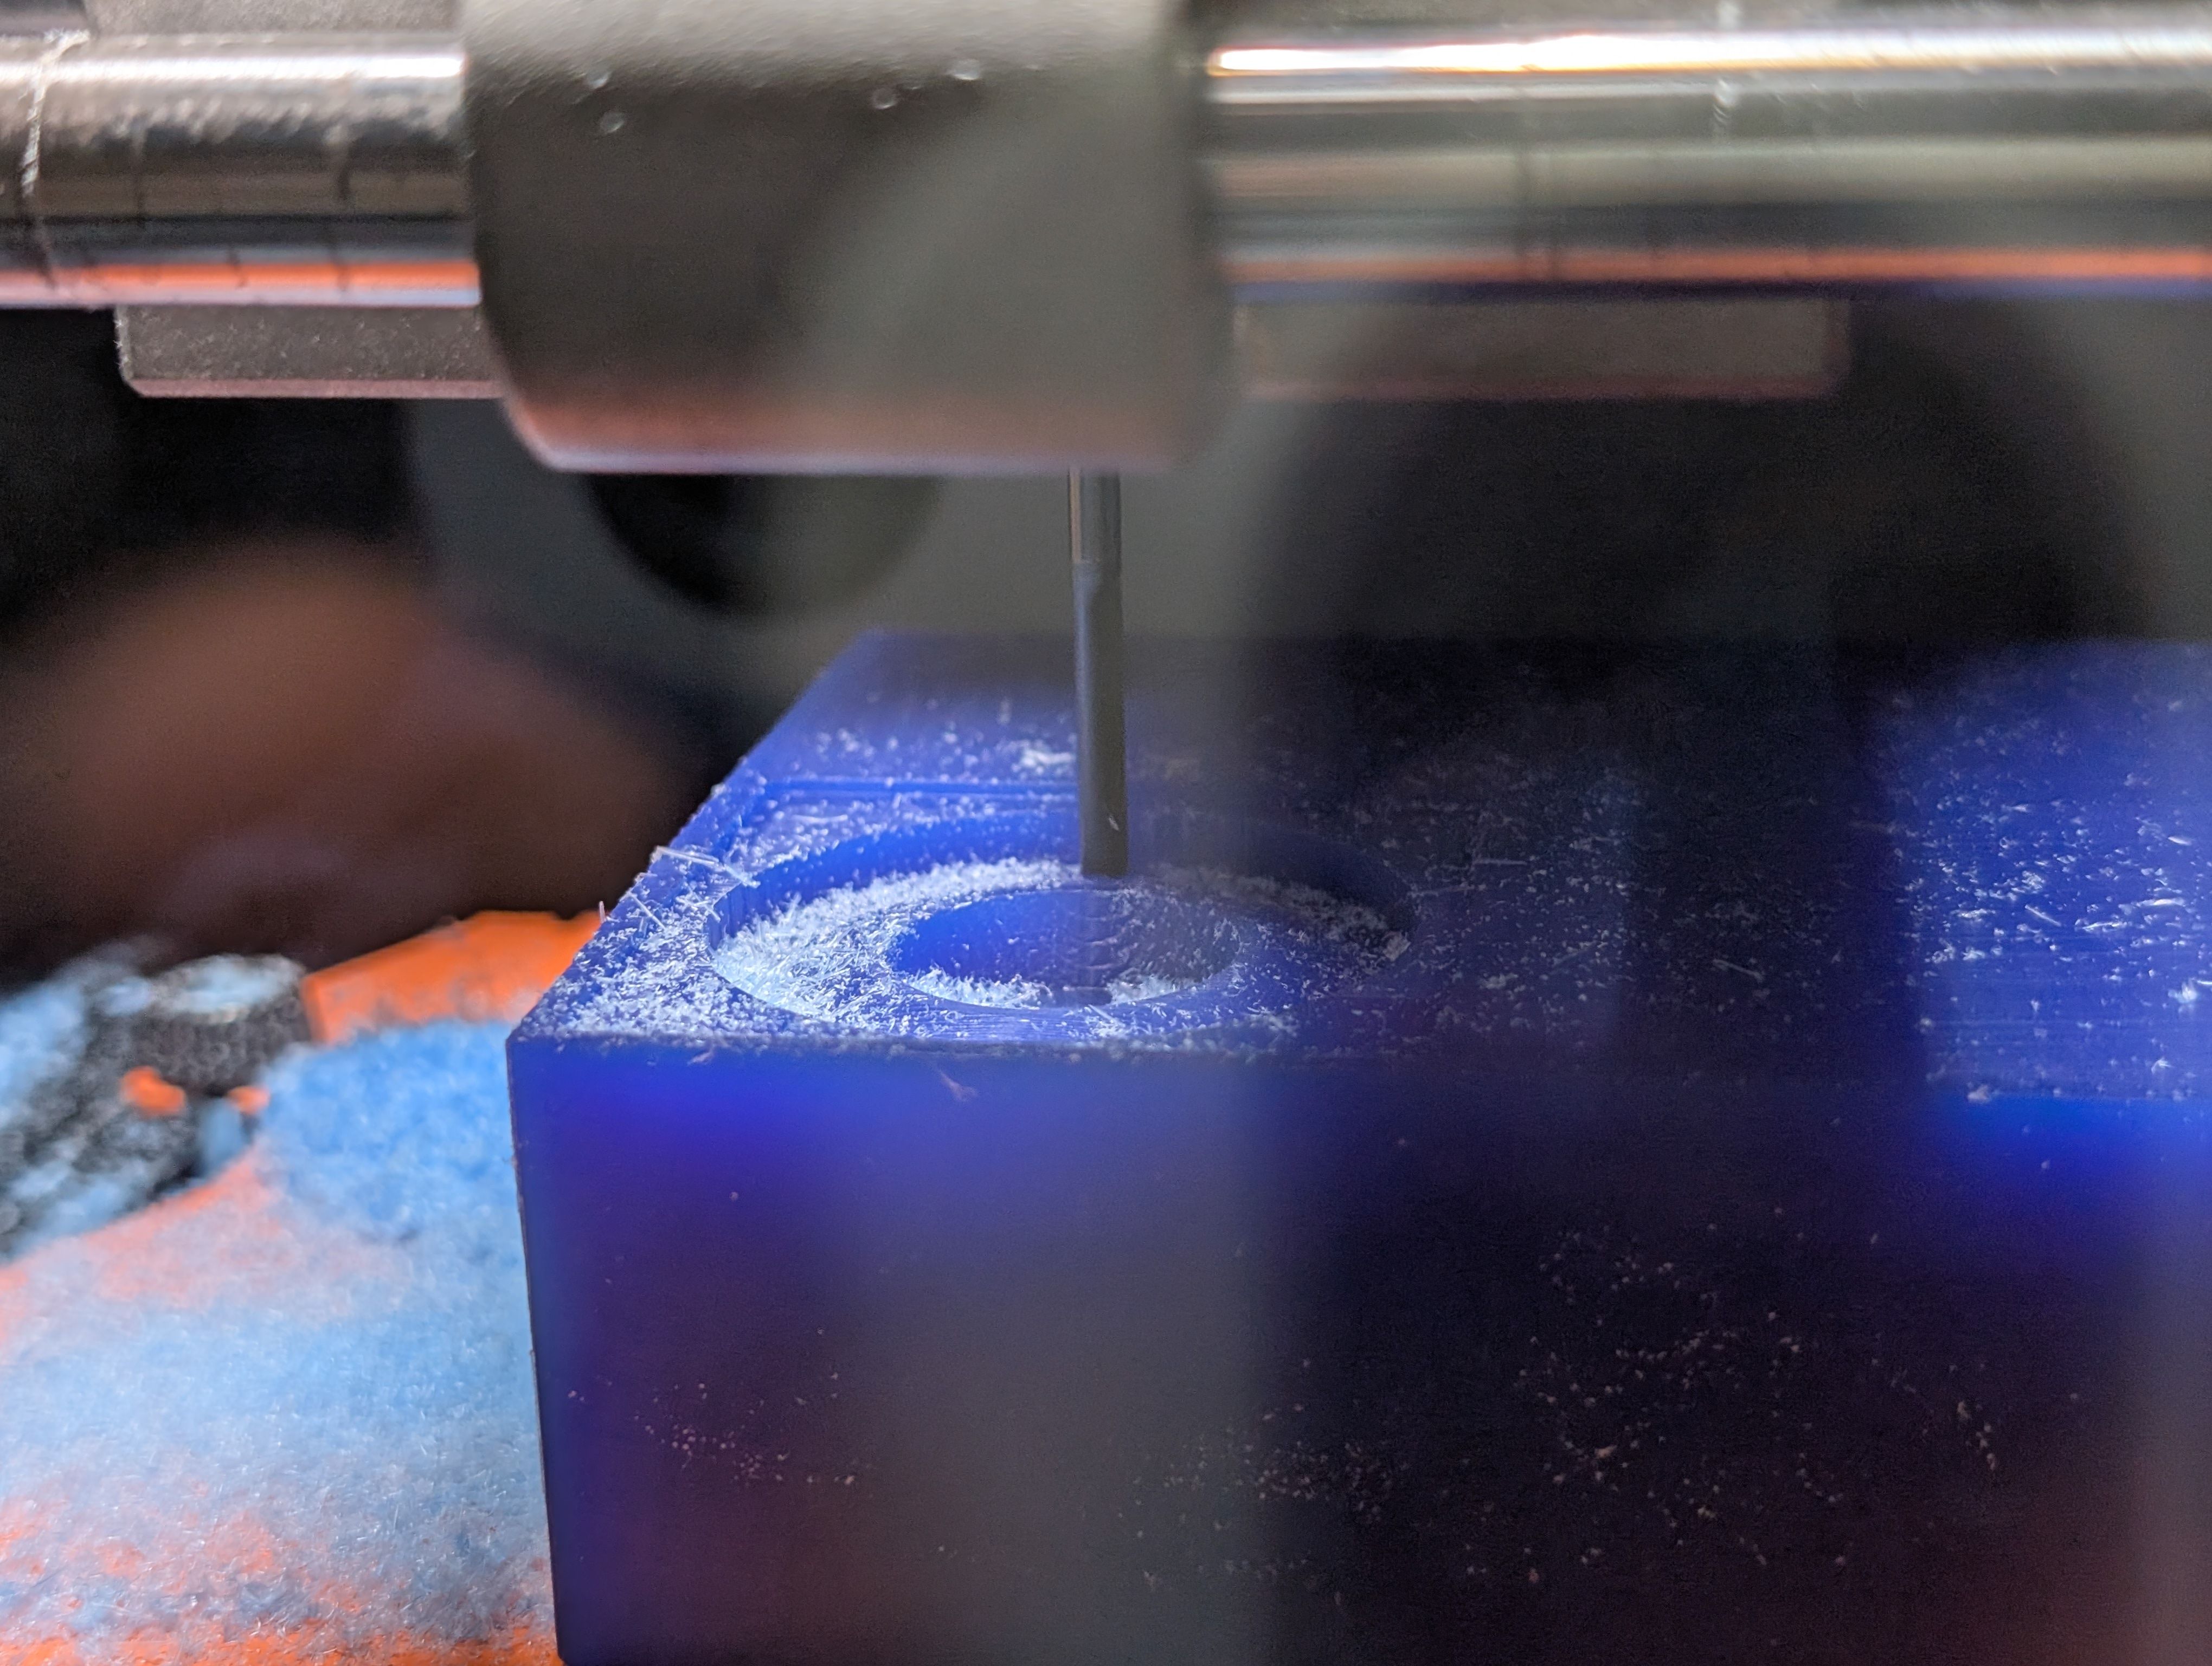
Milling
Tool: 1/8 SE 4FL EM
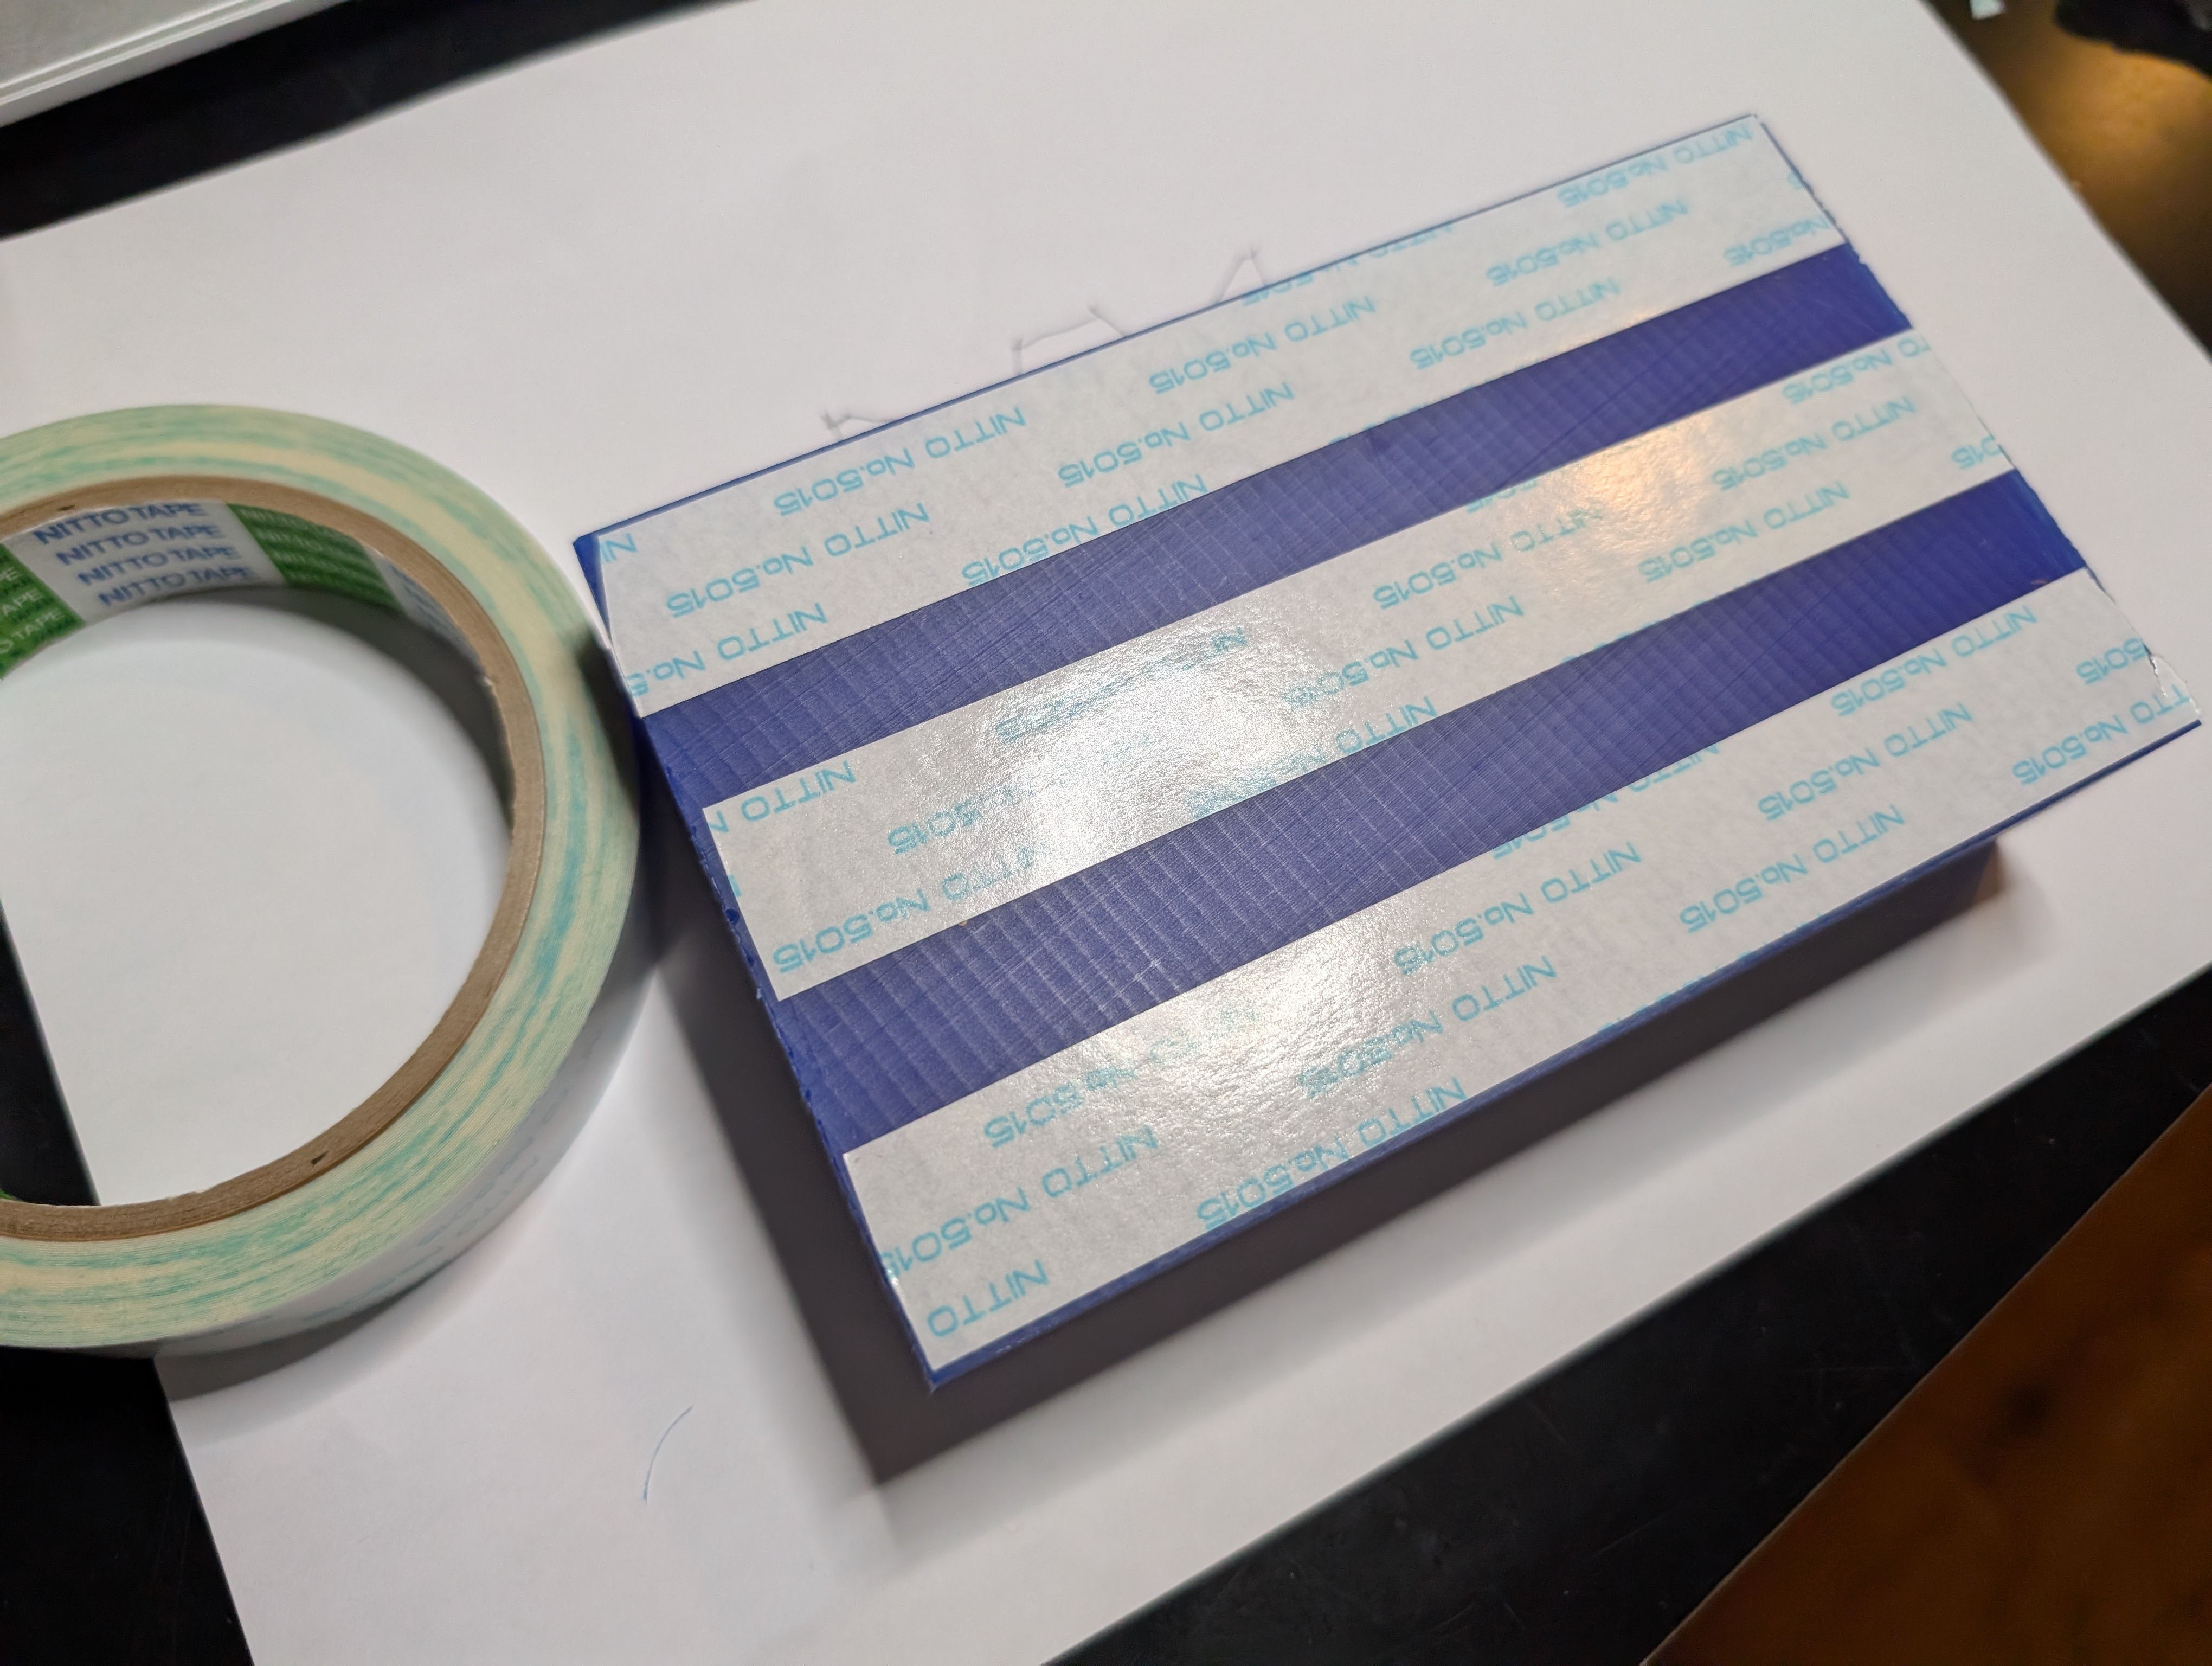
Apply double-sided tape to the backside.
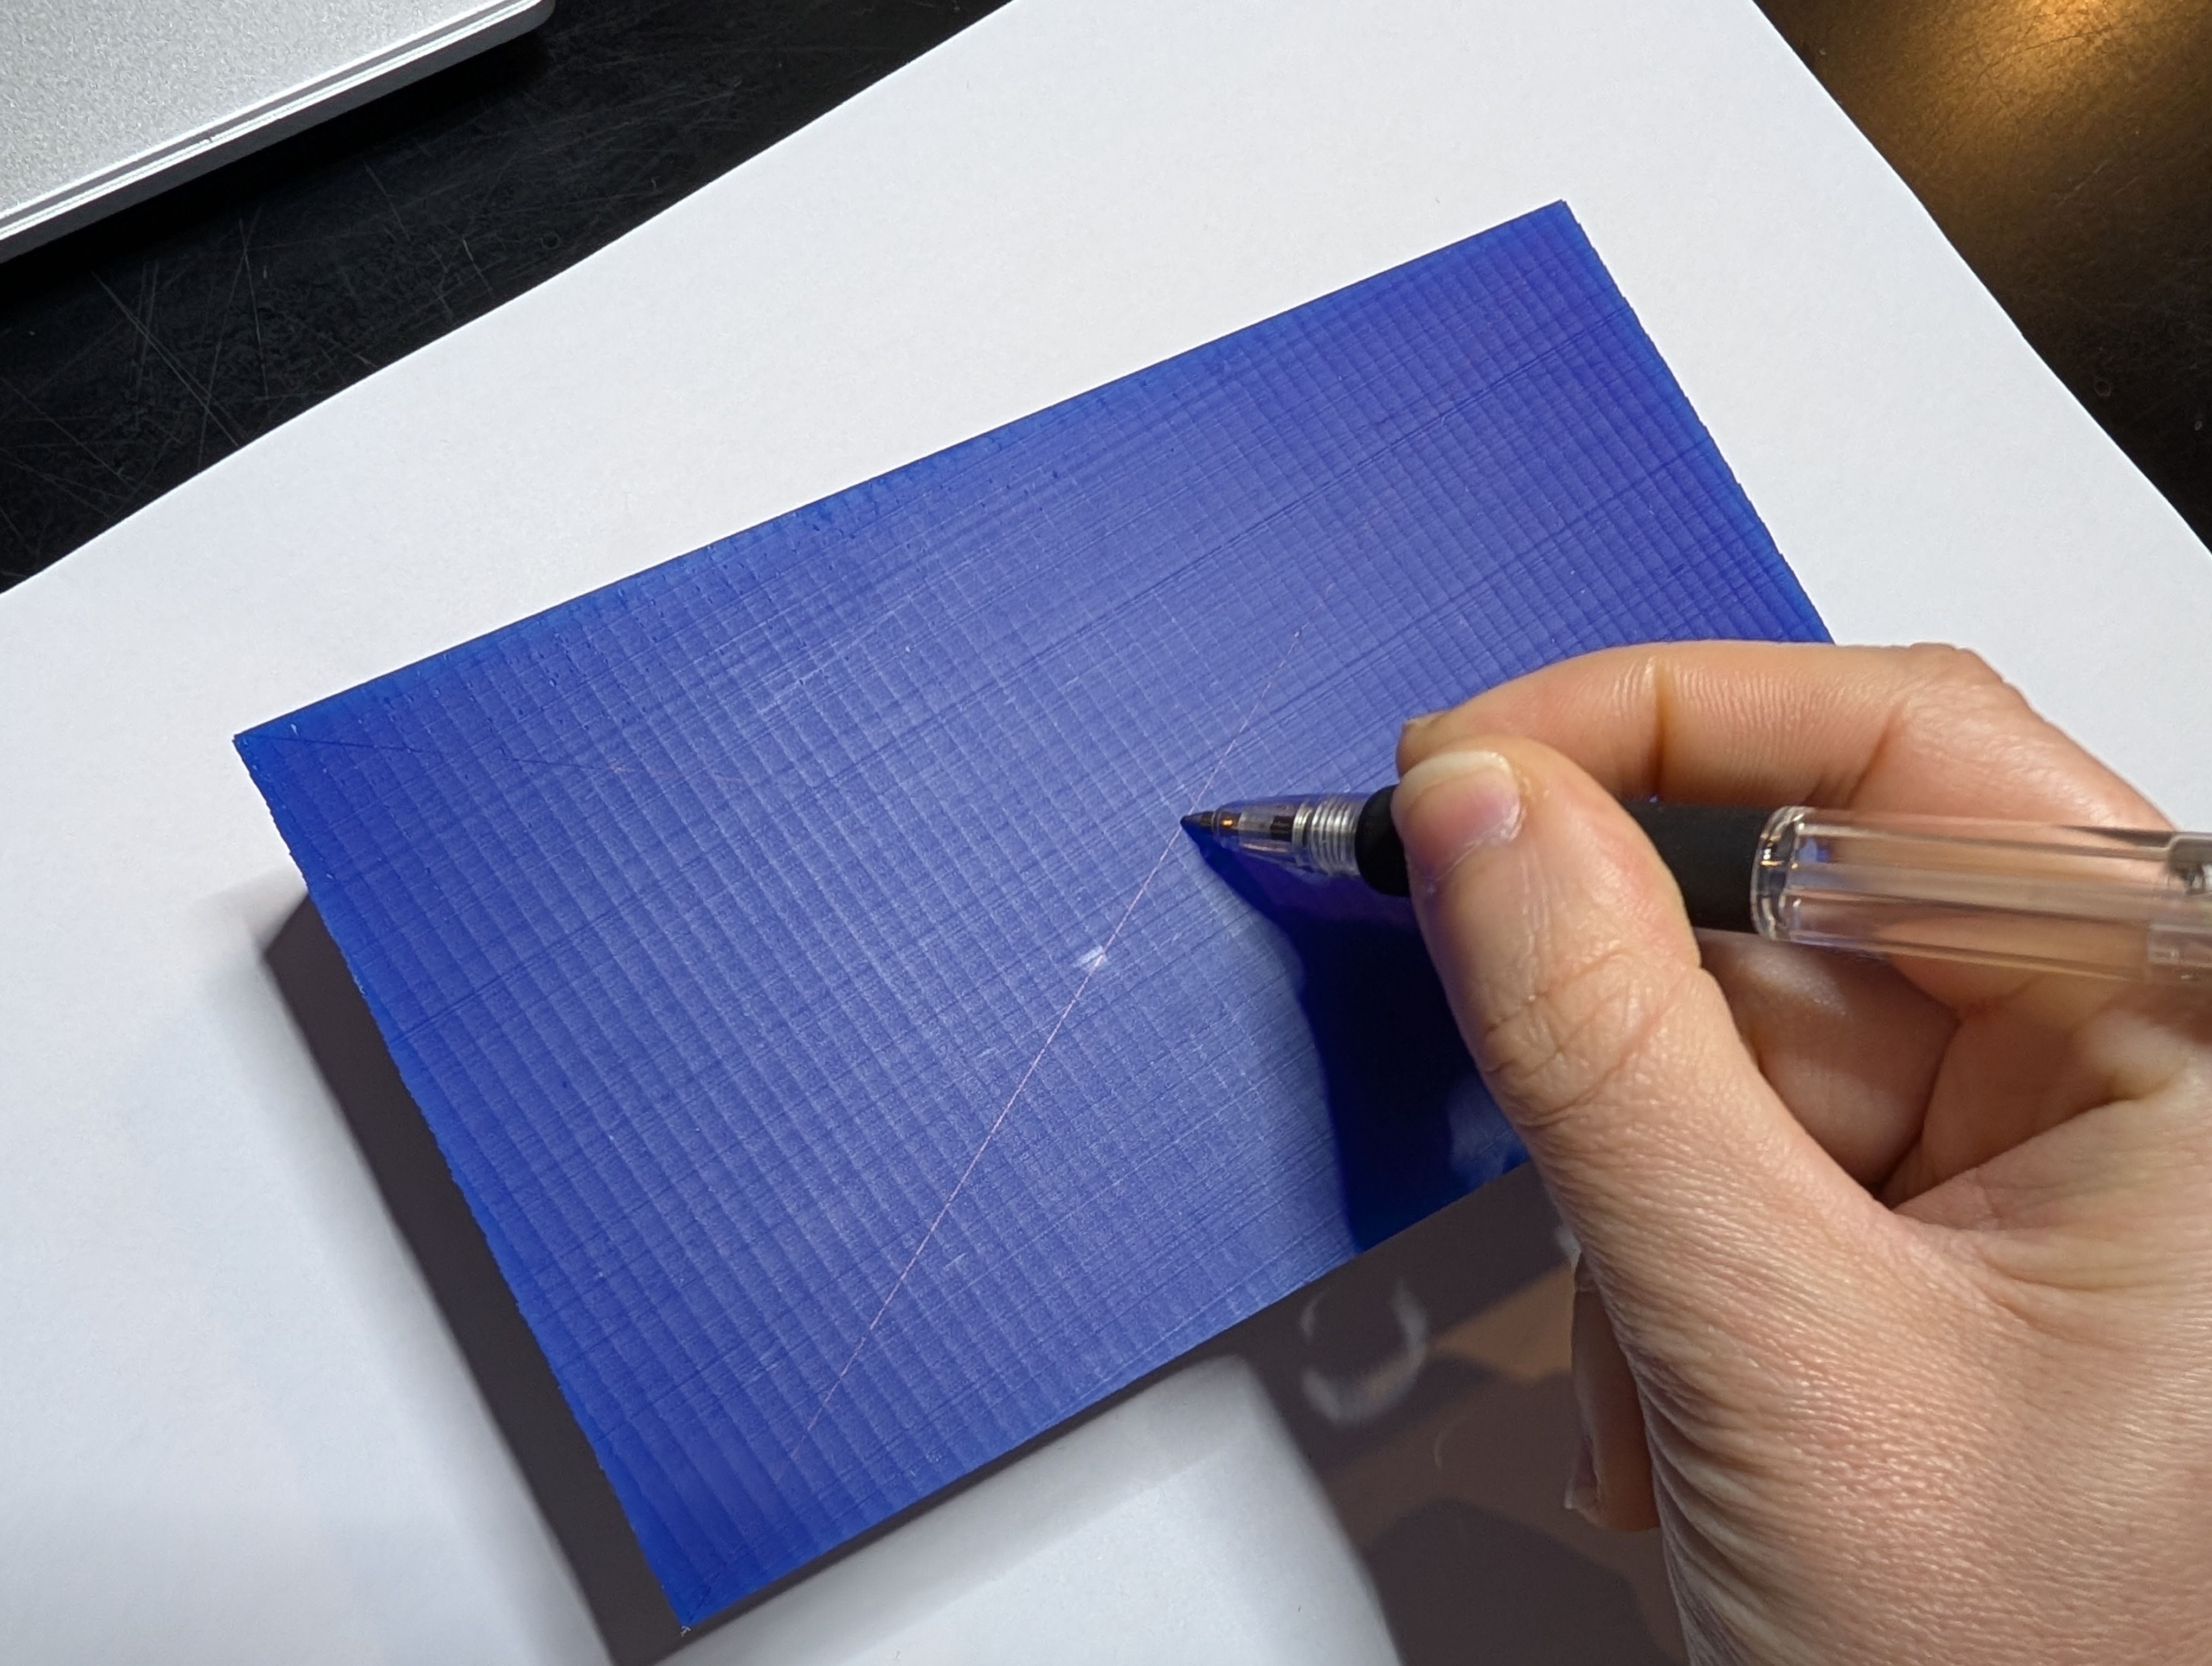
Make a mark in the center of the wax.
Fix the wax so that it is parallel to the base of the machine. (Use a ruler, etc.)
Set the XY origin in the center of the wax.
Set the Z origin on the top of the wax. (Use a piece of paper to lower the Z axis until it stops
moving.)
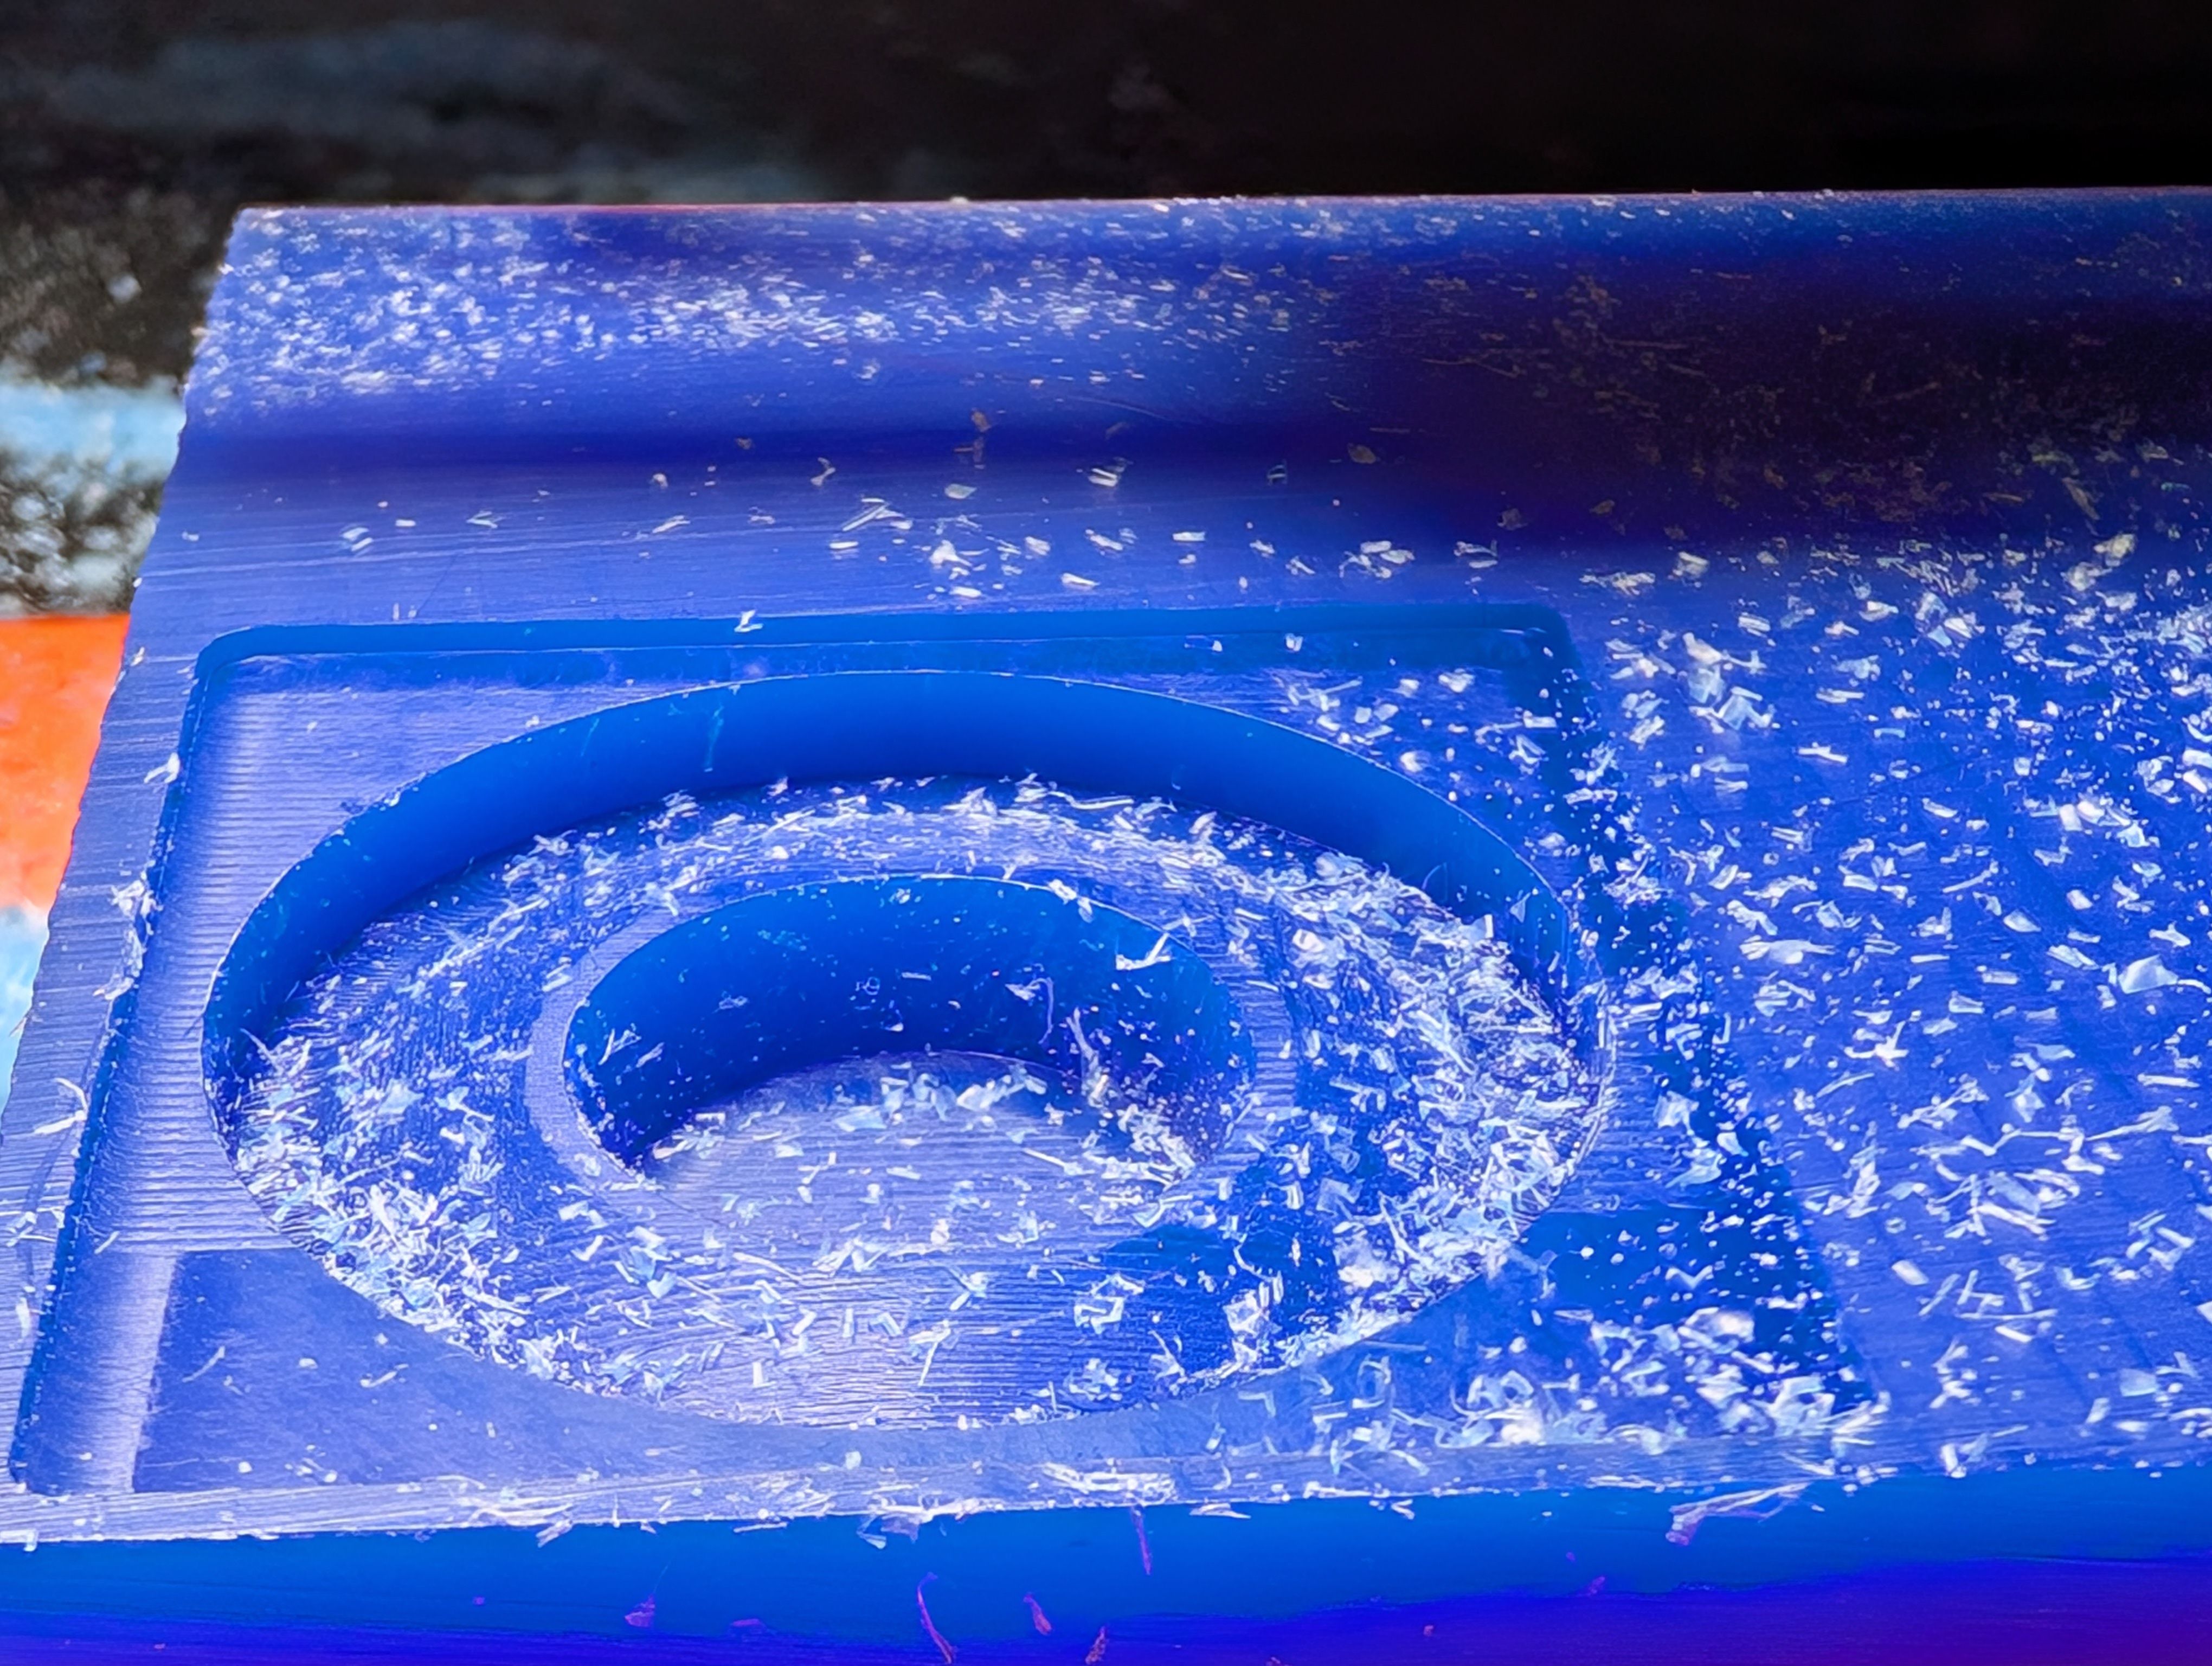
Roughing
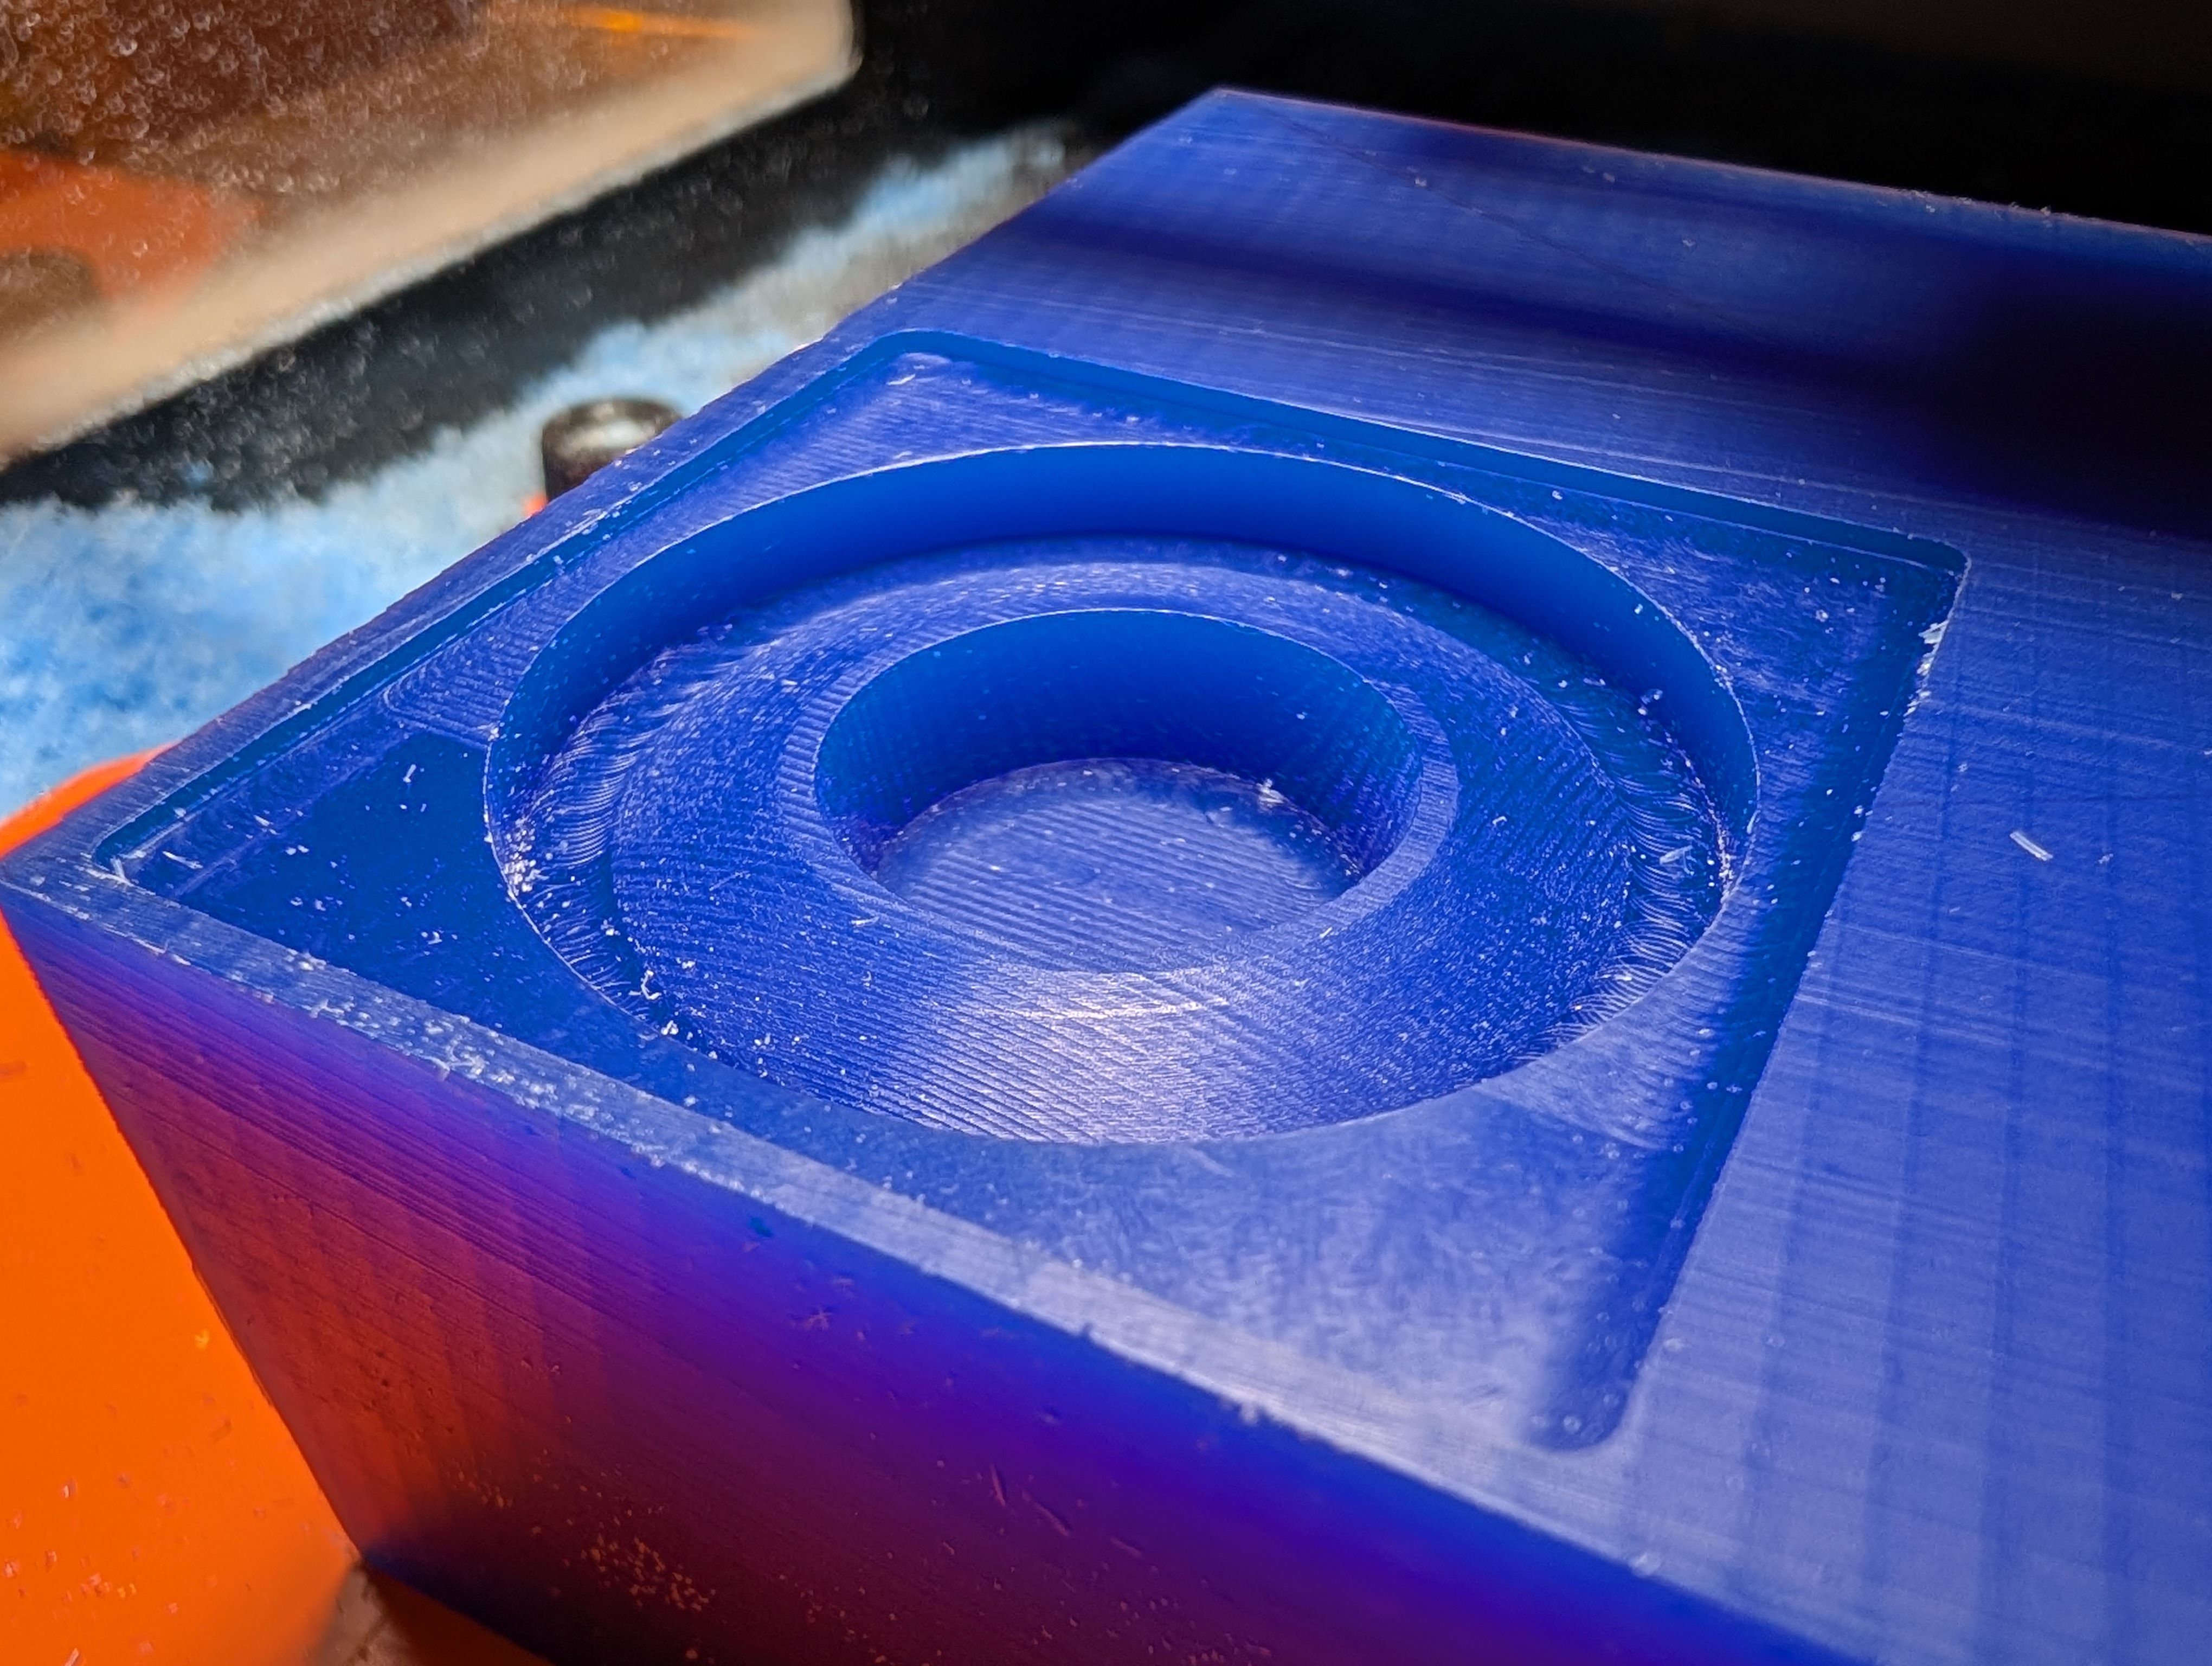
Finishing
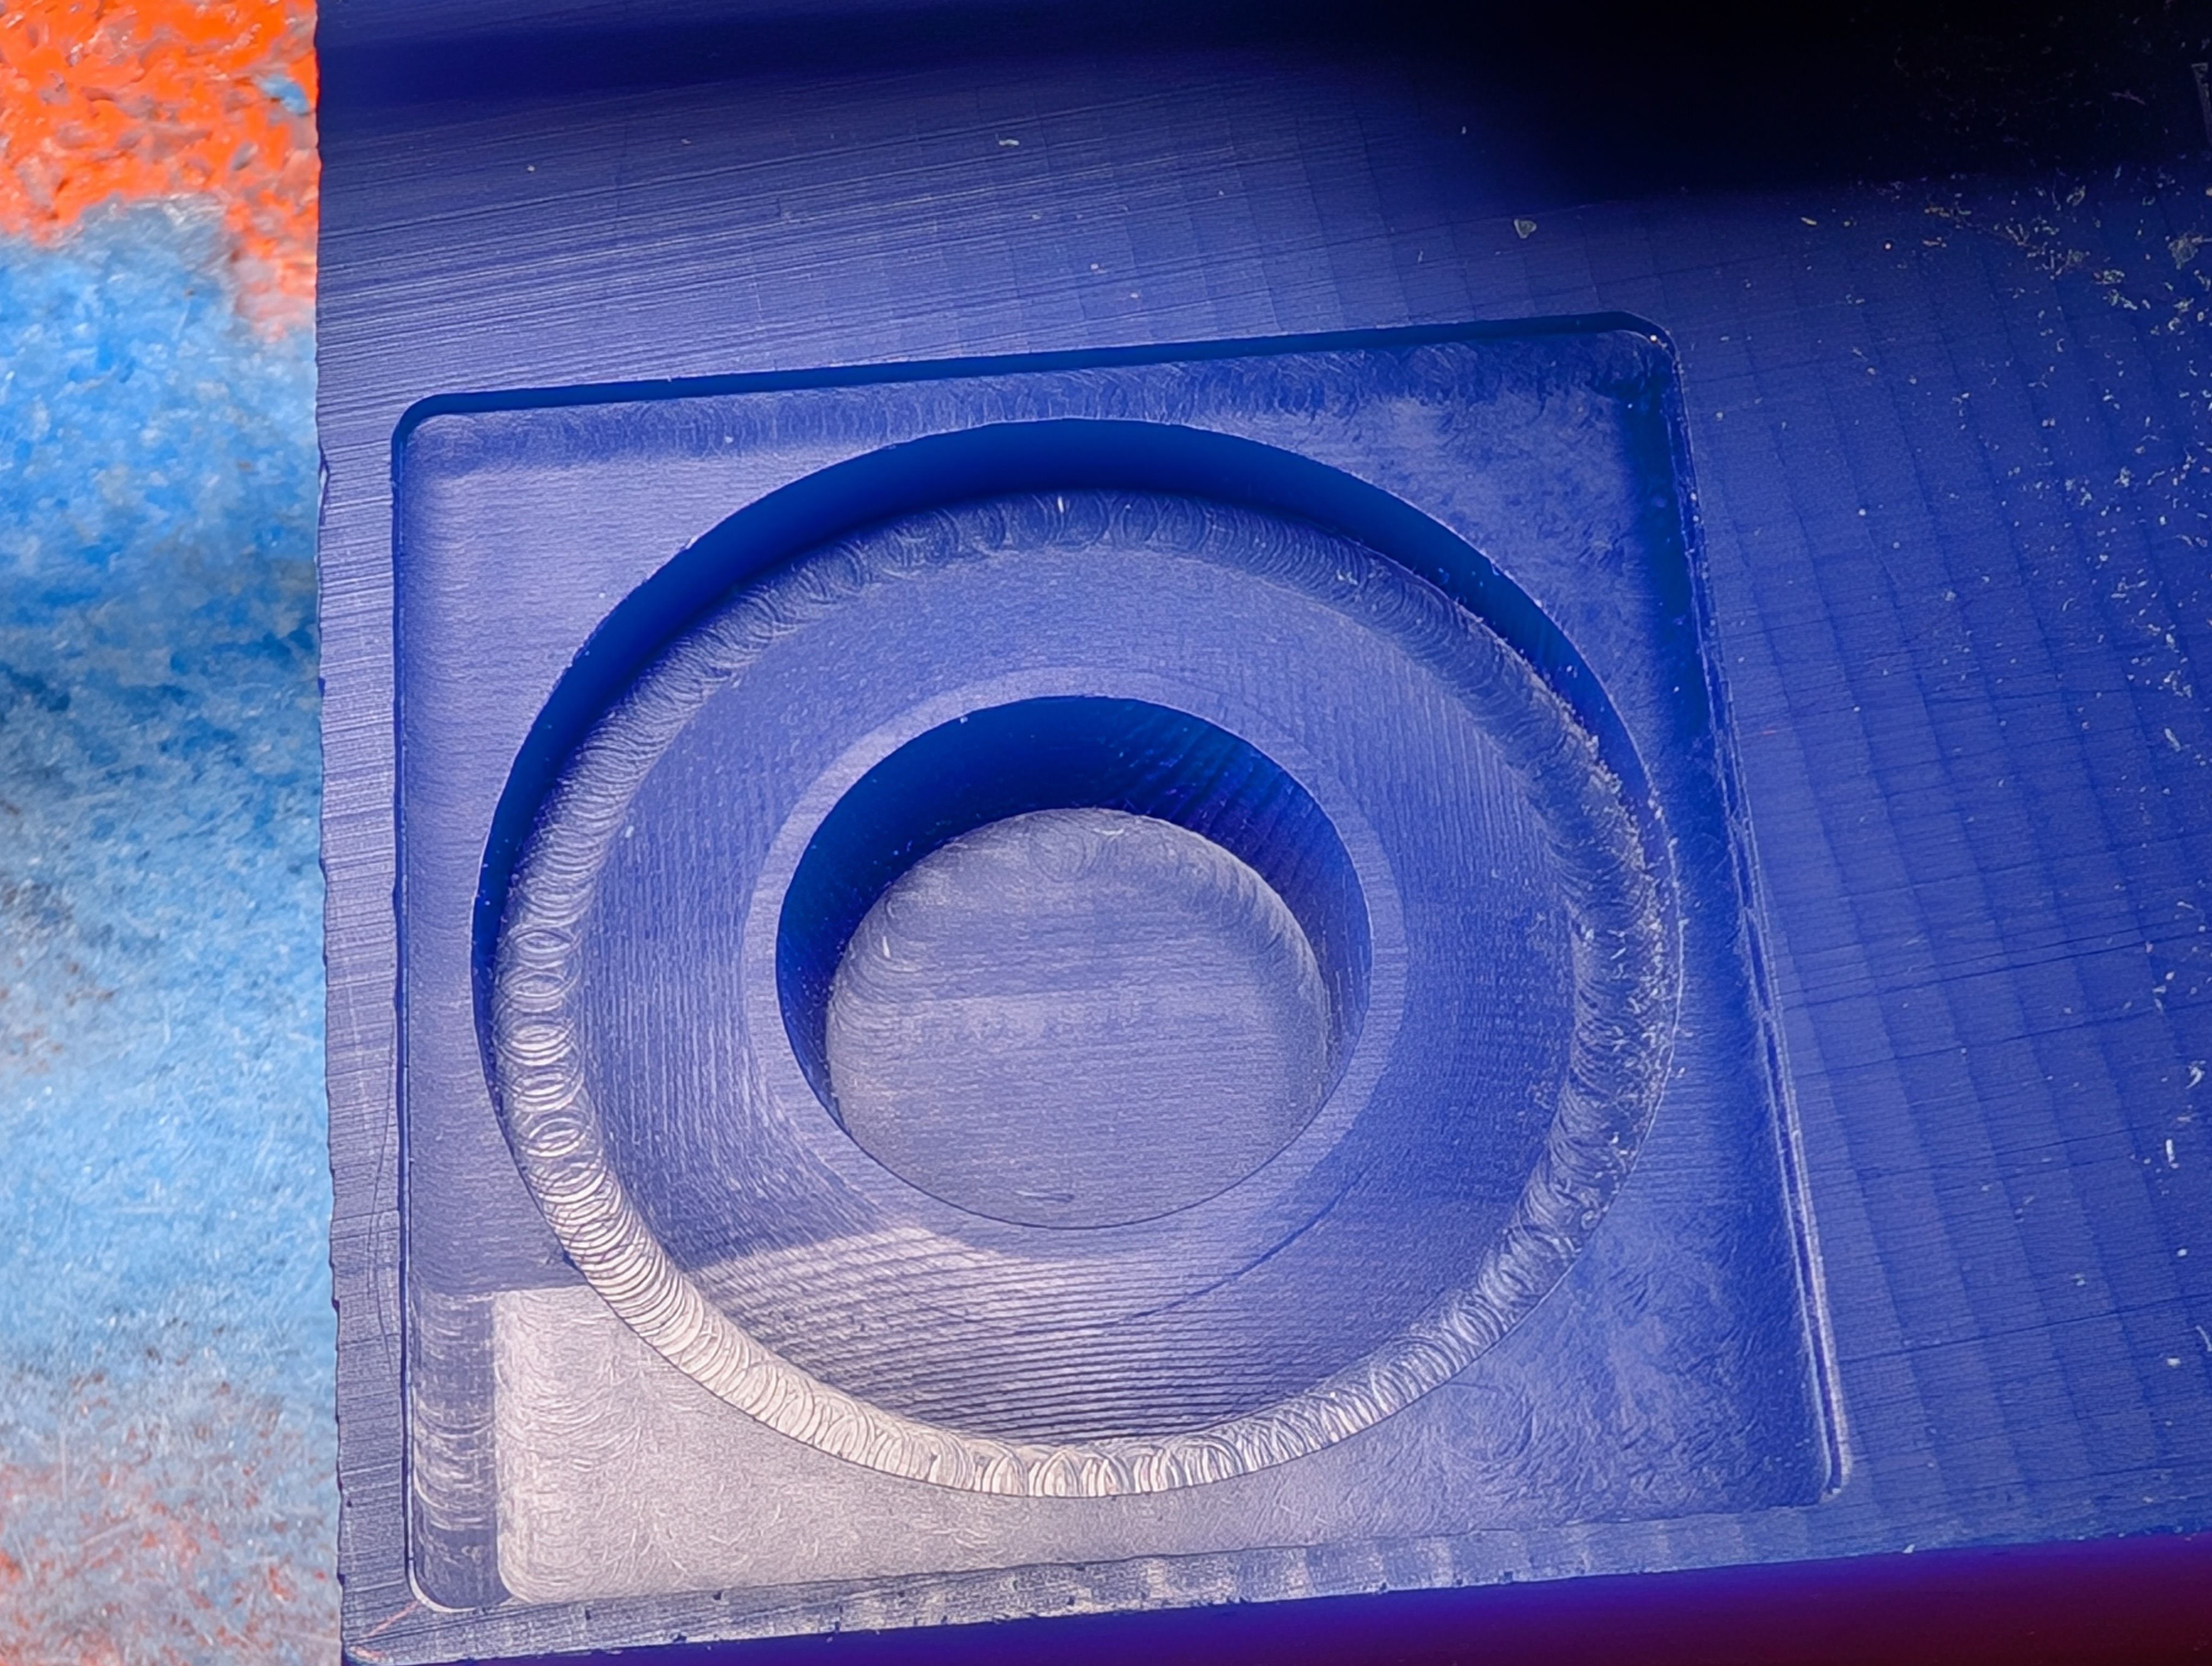
Since it seems still rough, I added finishing path with
Scan Lines X+Y
XY Speed : 20mm/sec

Casting
Use ease release as release agent
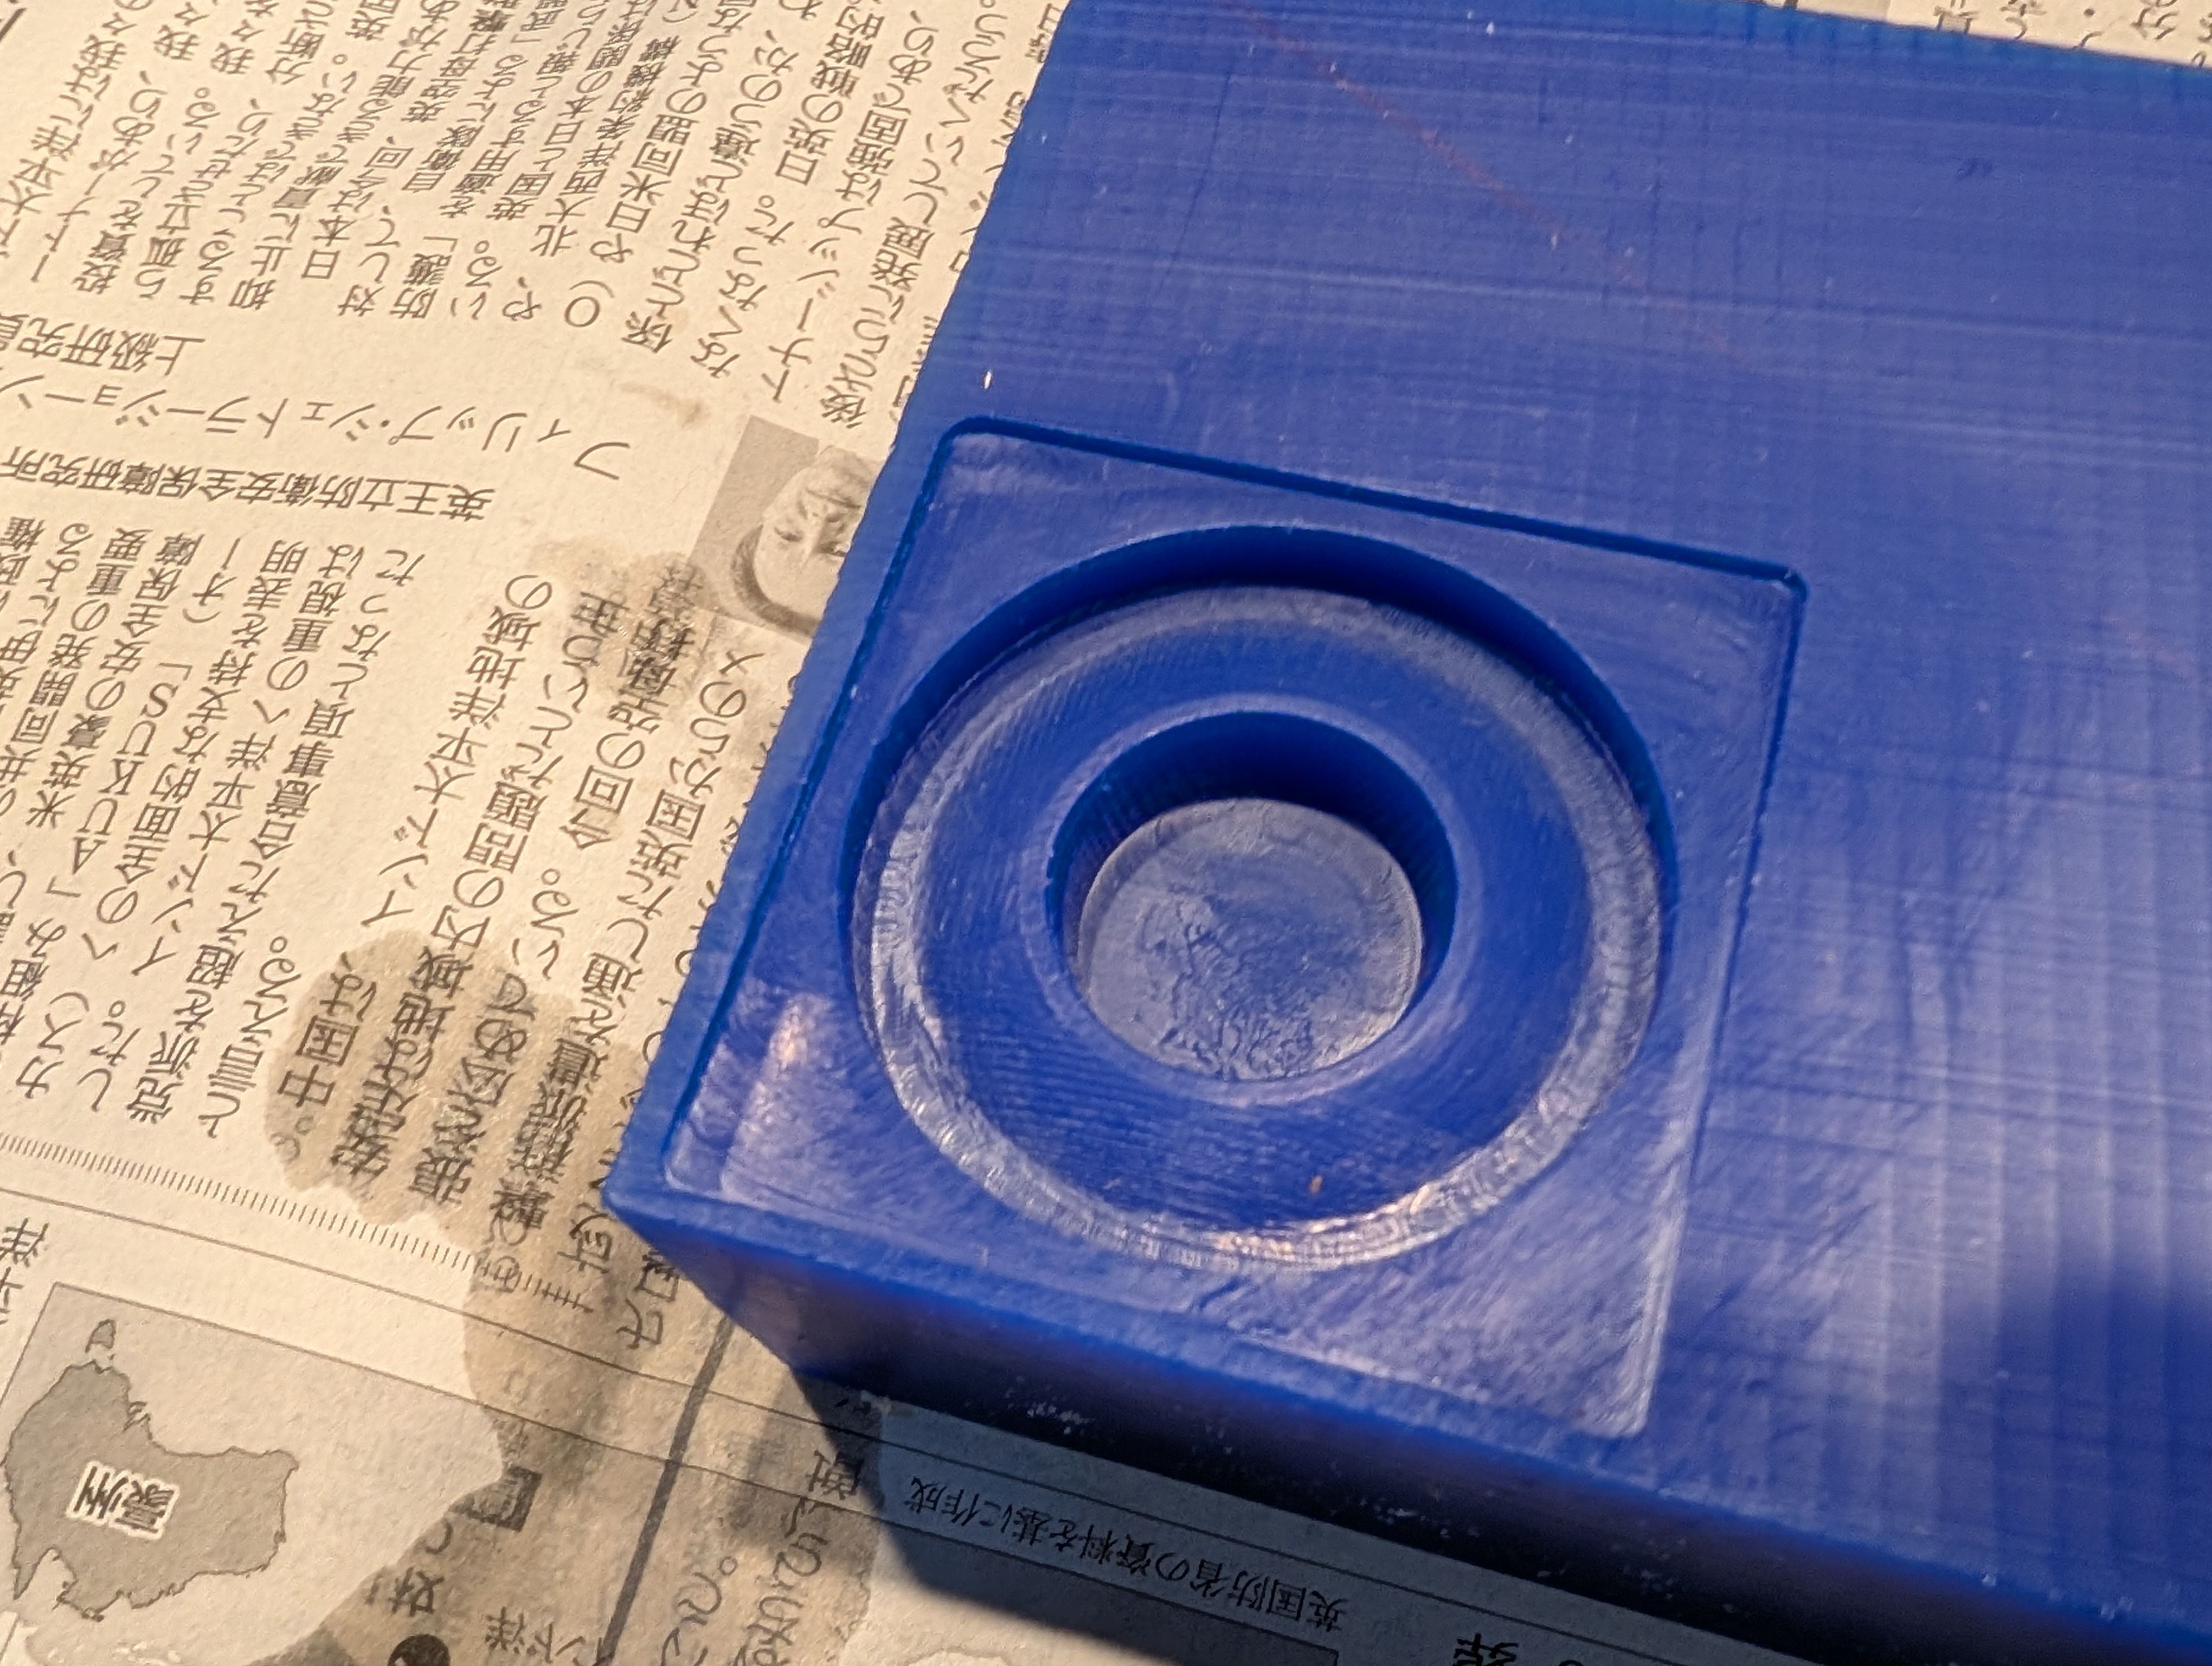
Use moldstar 16 fast for casting - mix A and B = 1:1
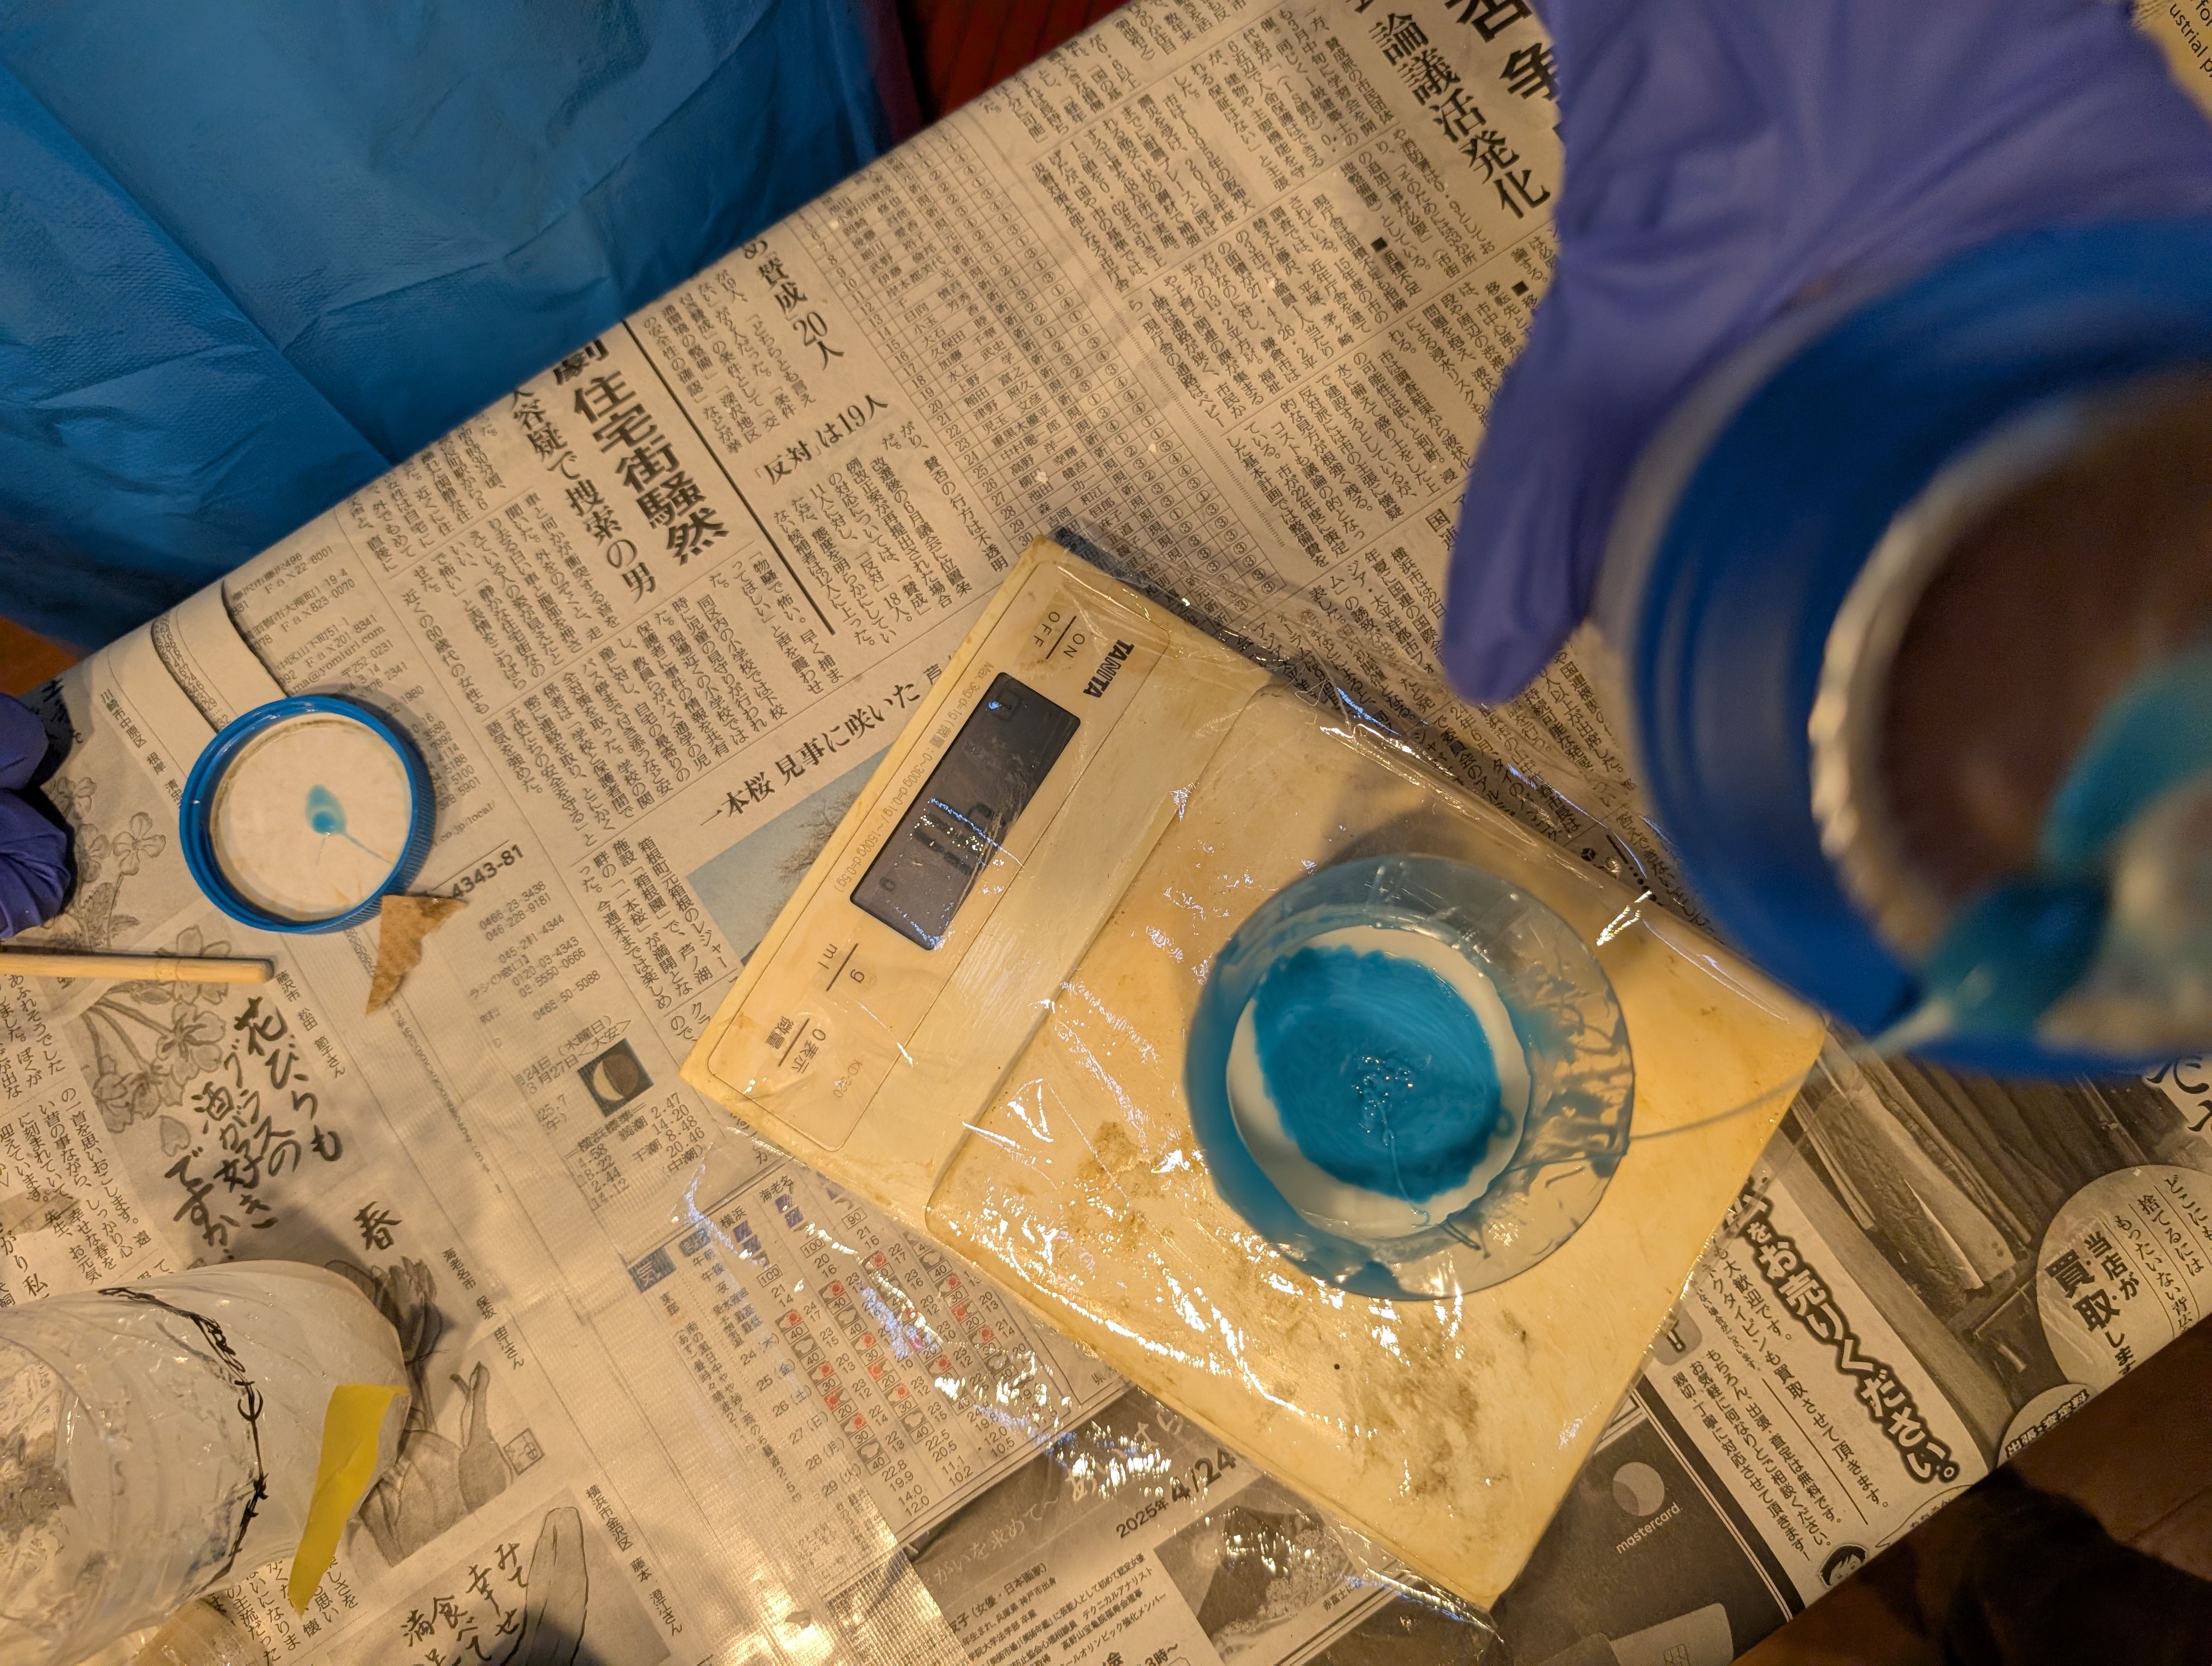
I keep it for 1 night
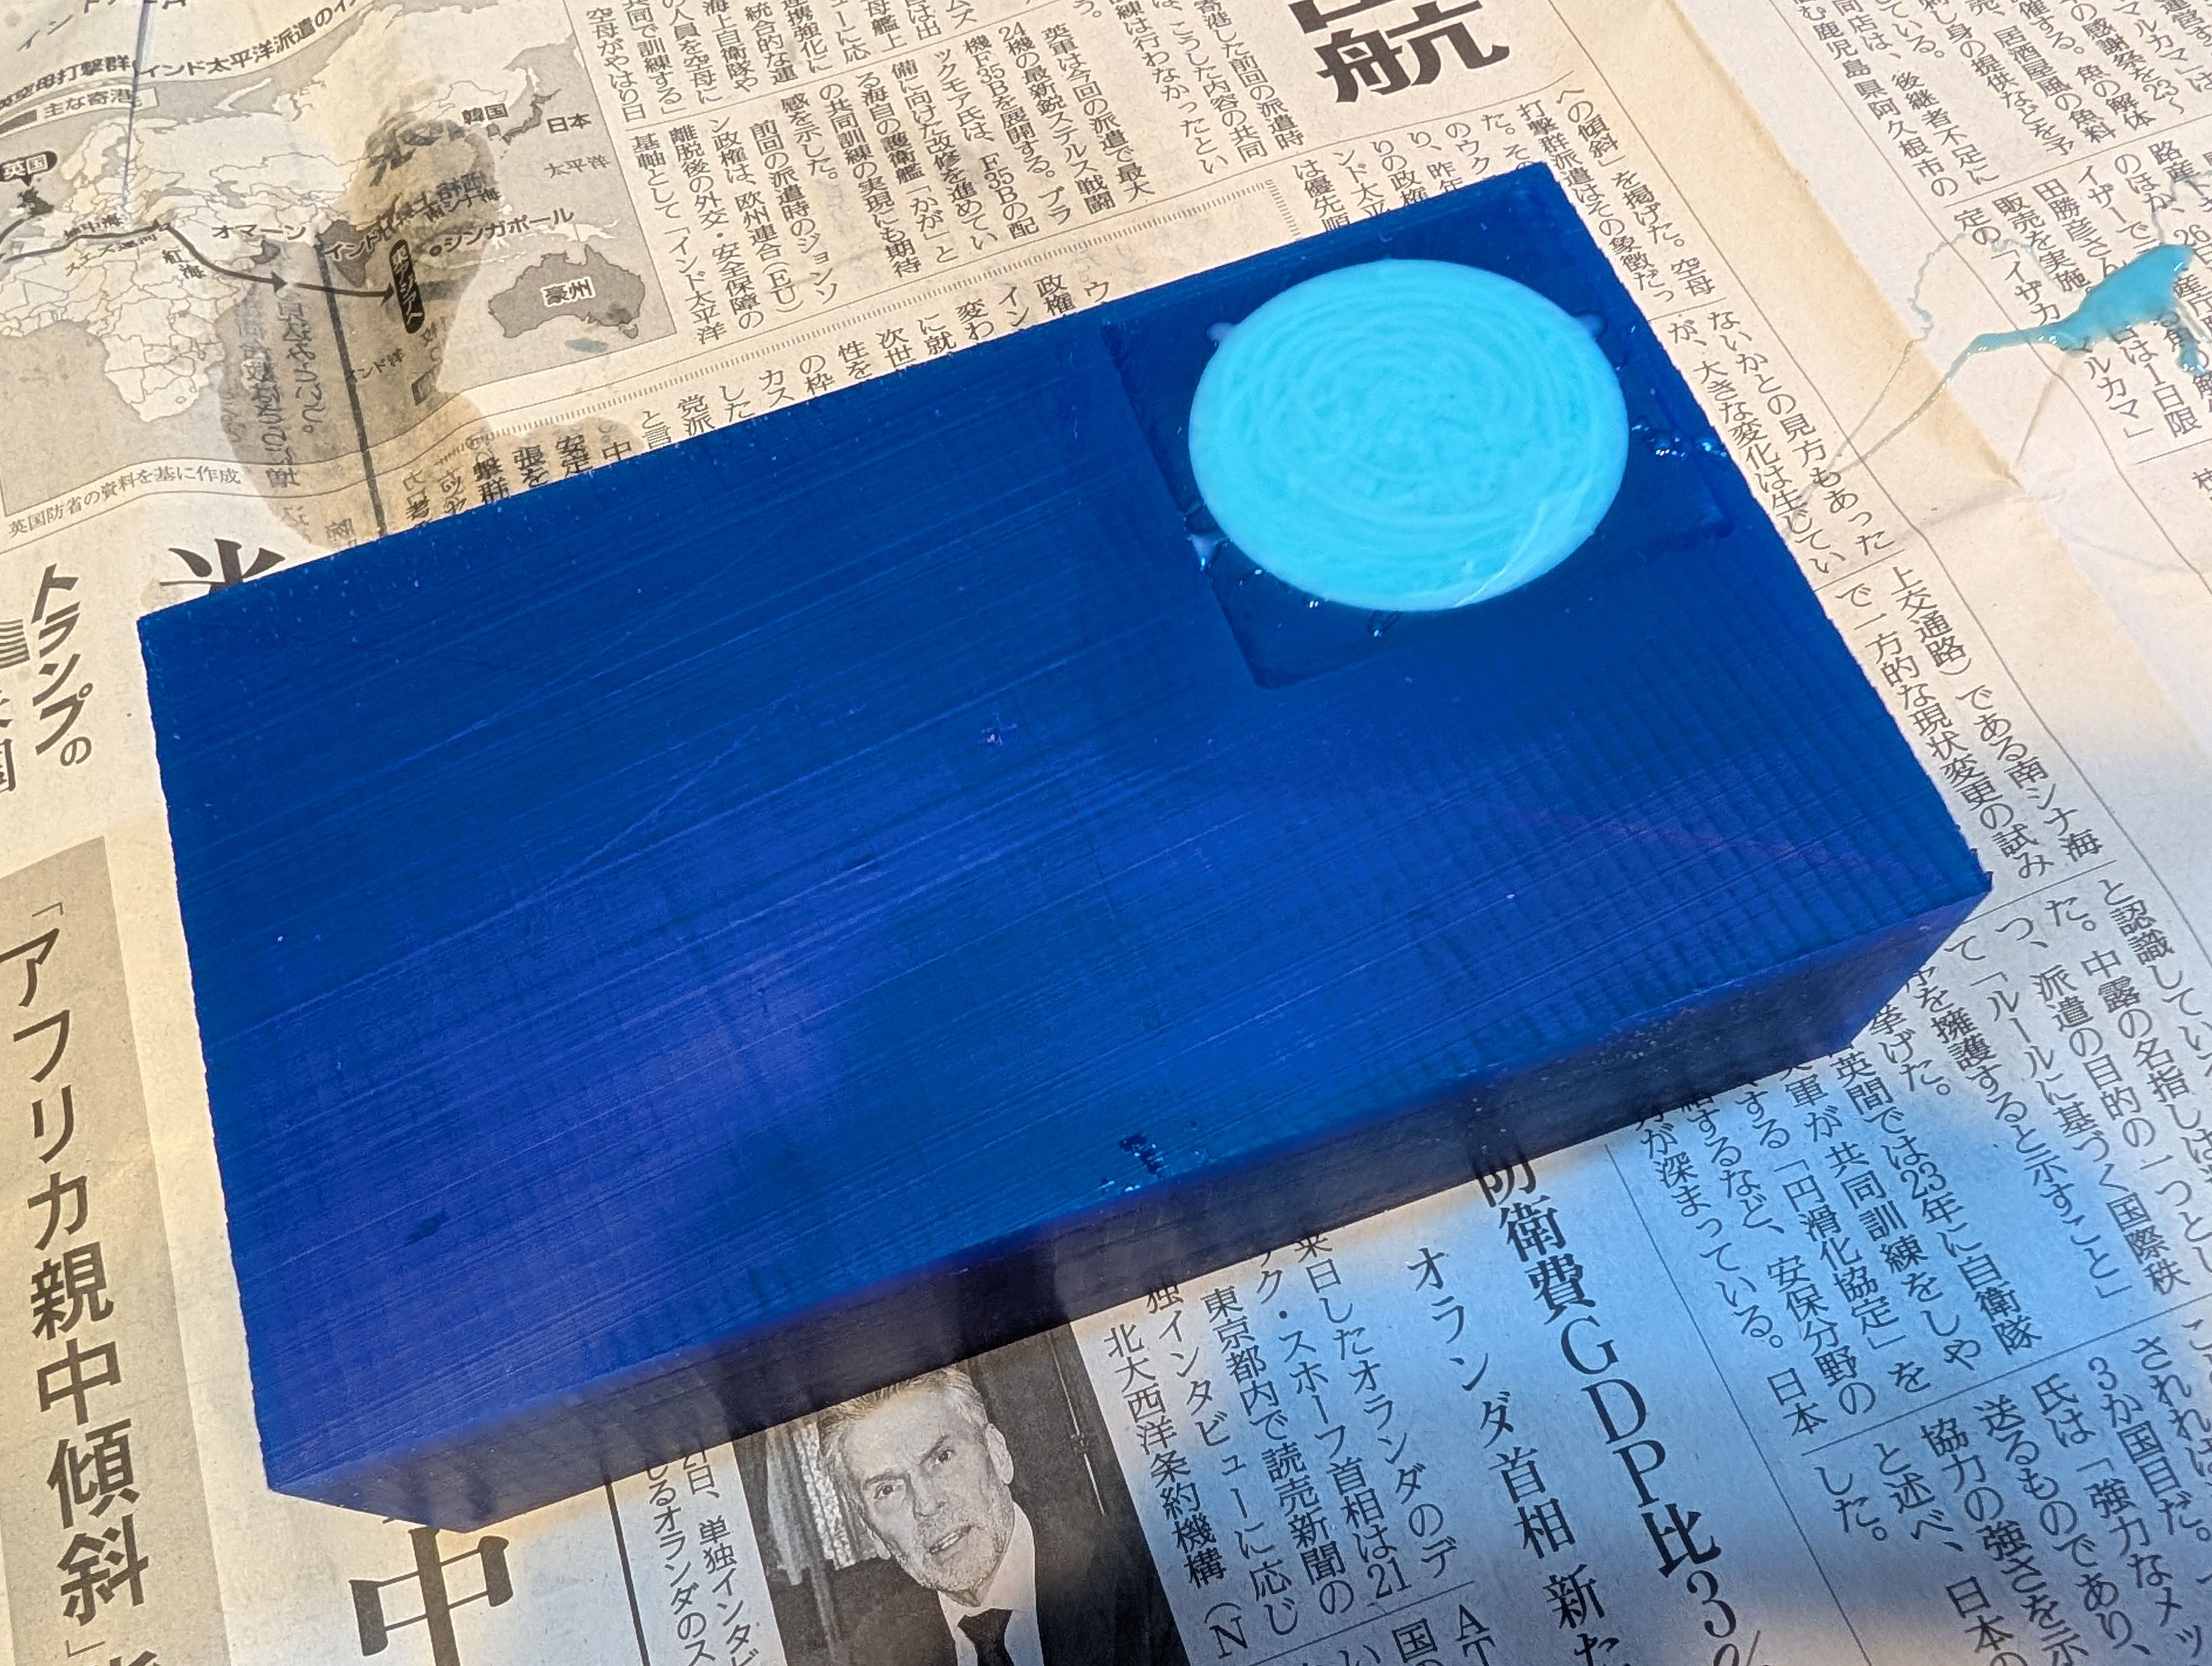
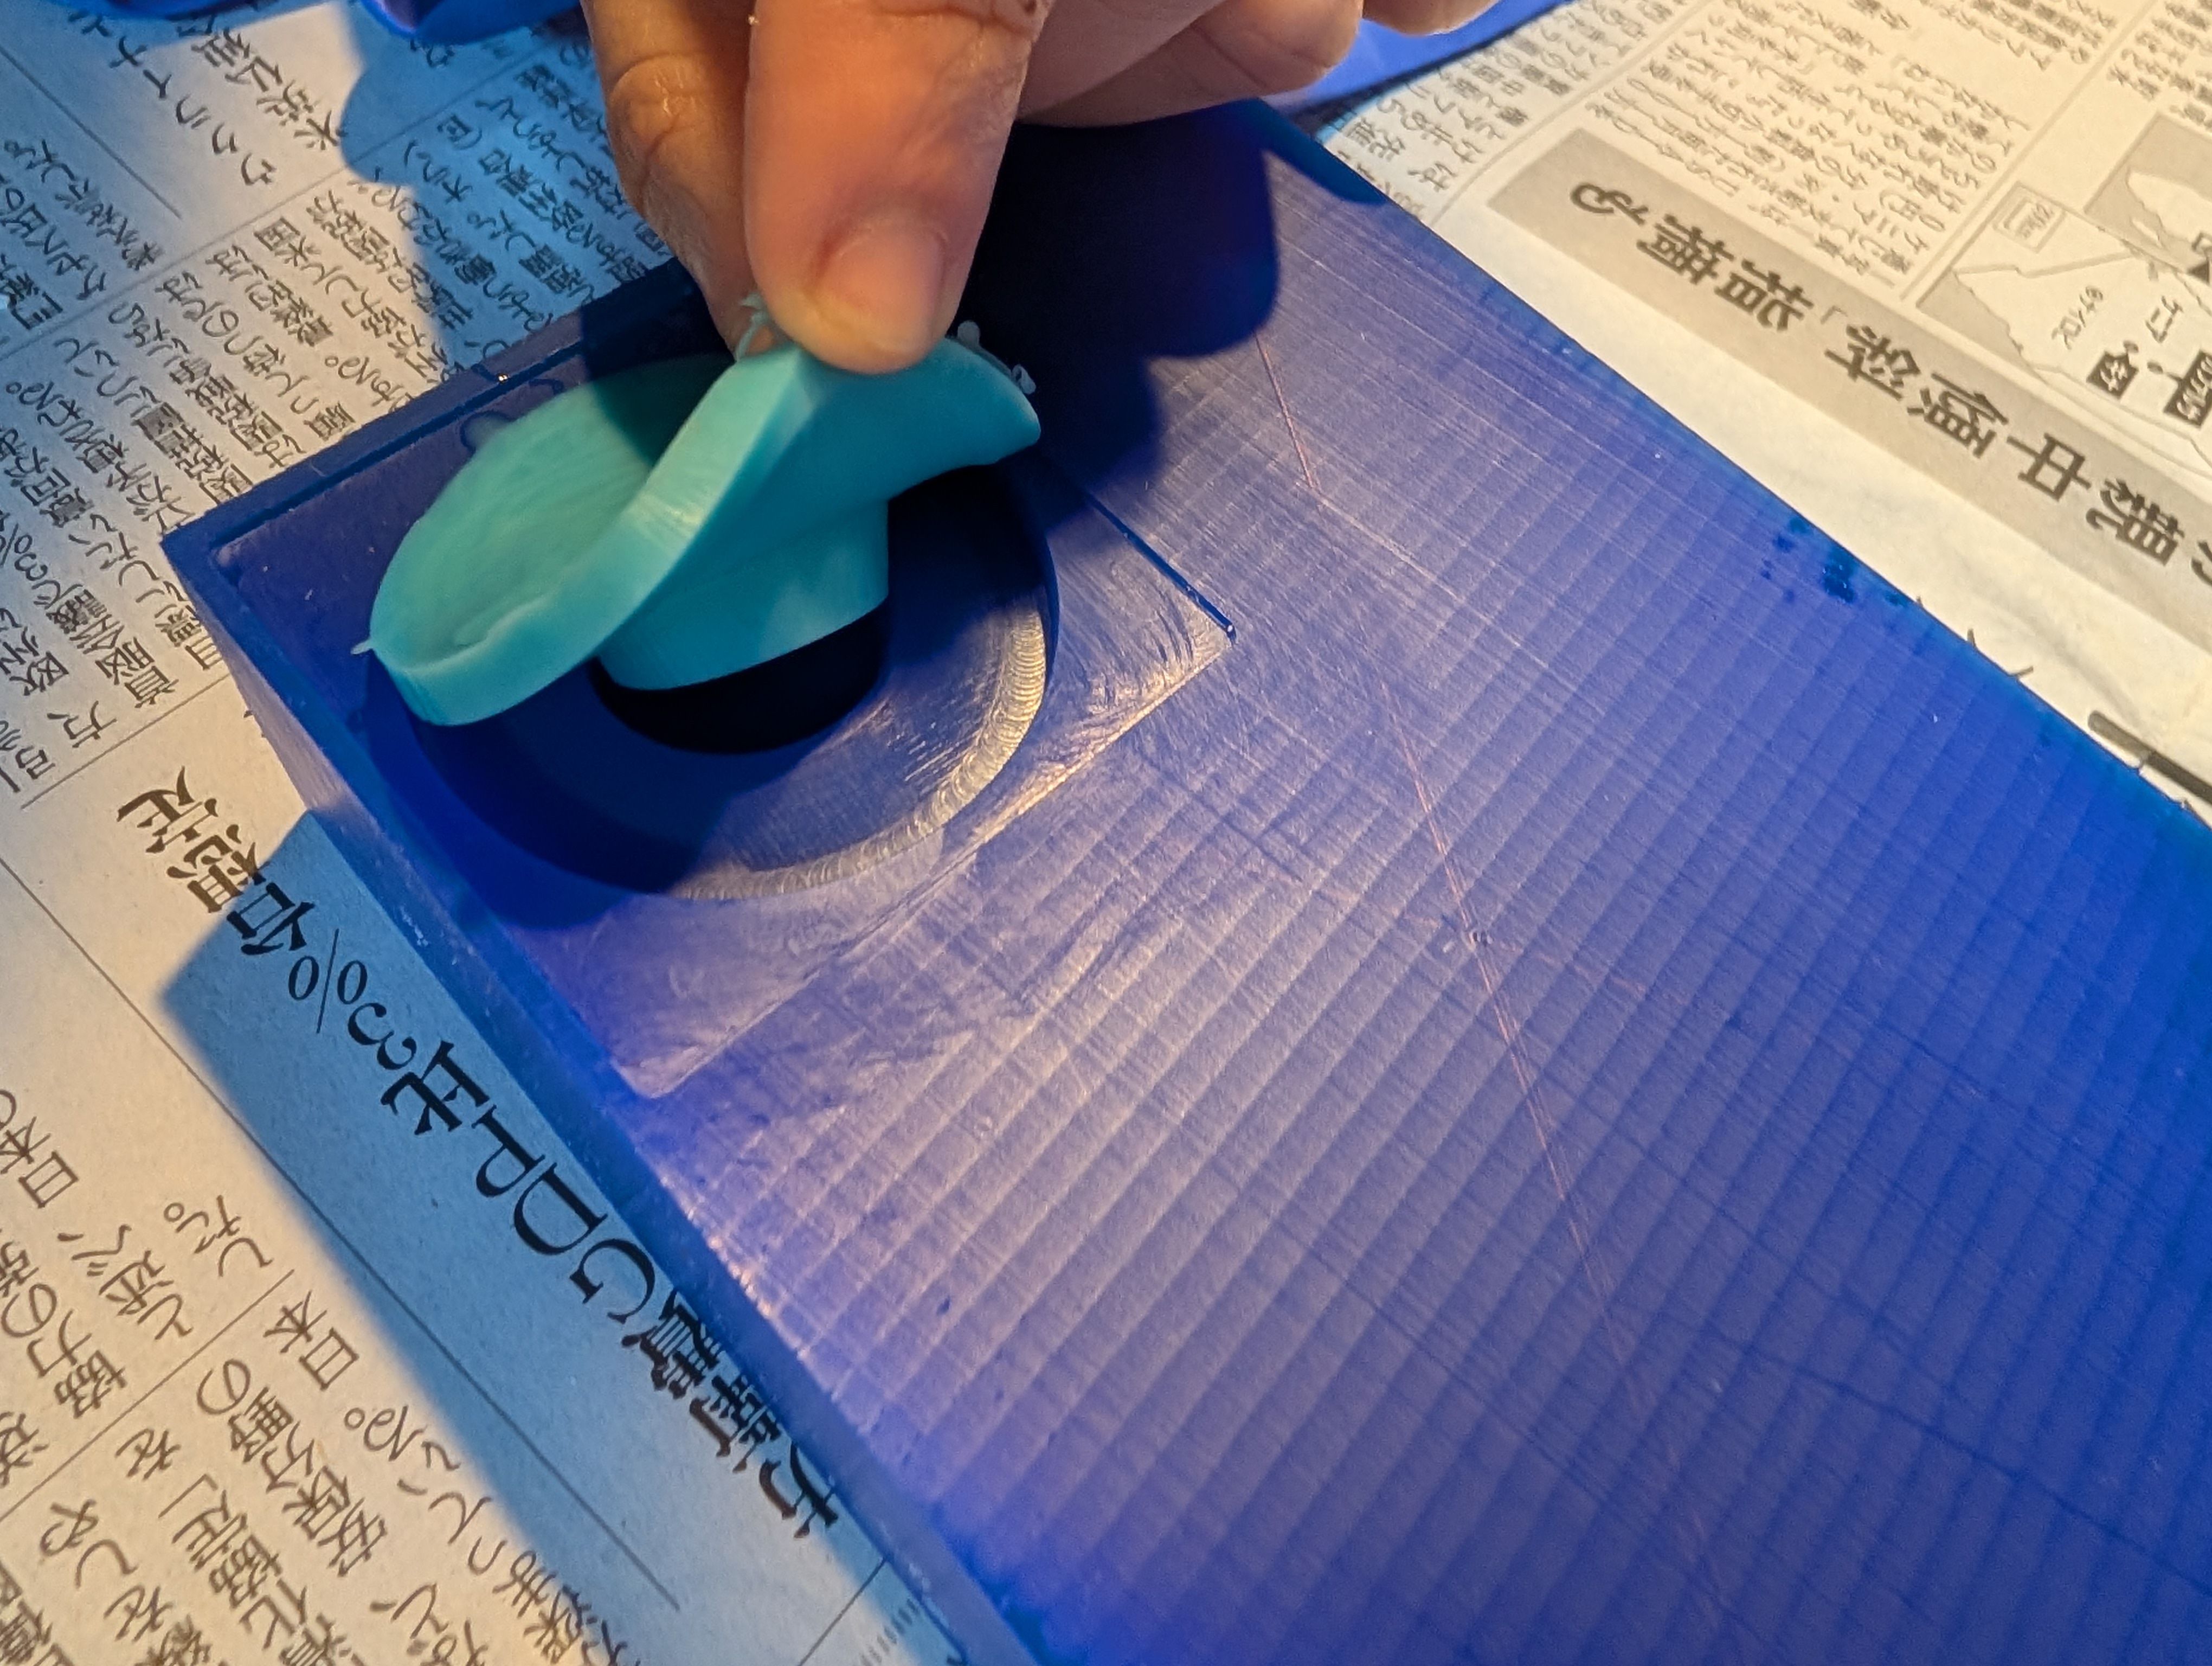
I could cast it successfully!
2. Final Model
Modeling - Fusion
From the test model, I adjusted the parameters.
I scaled the glass and decide the number
Parameter for final model
Check the cross section
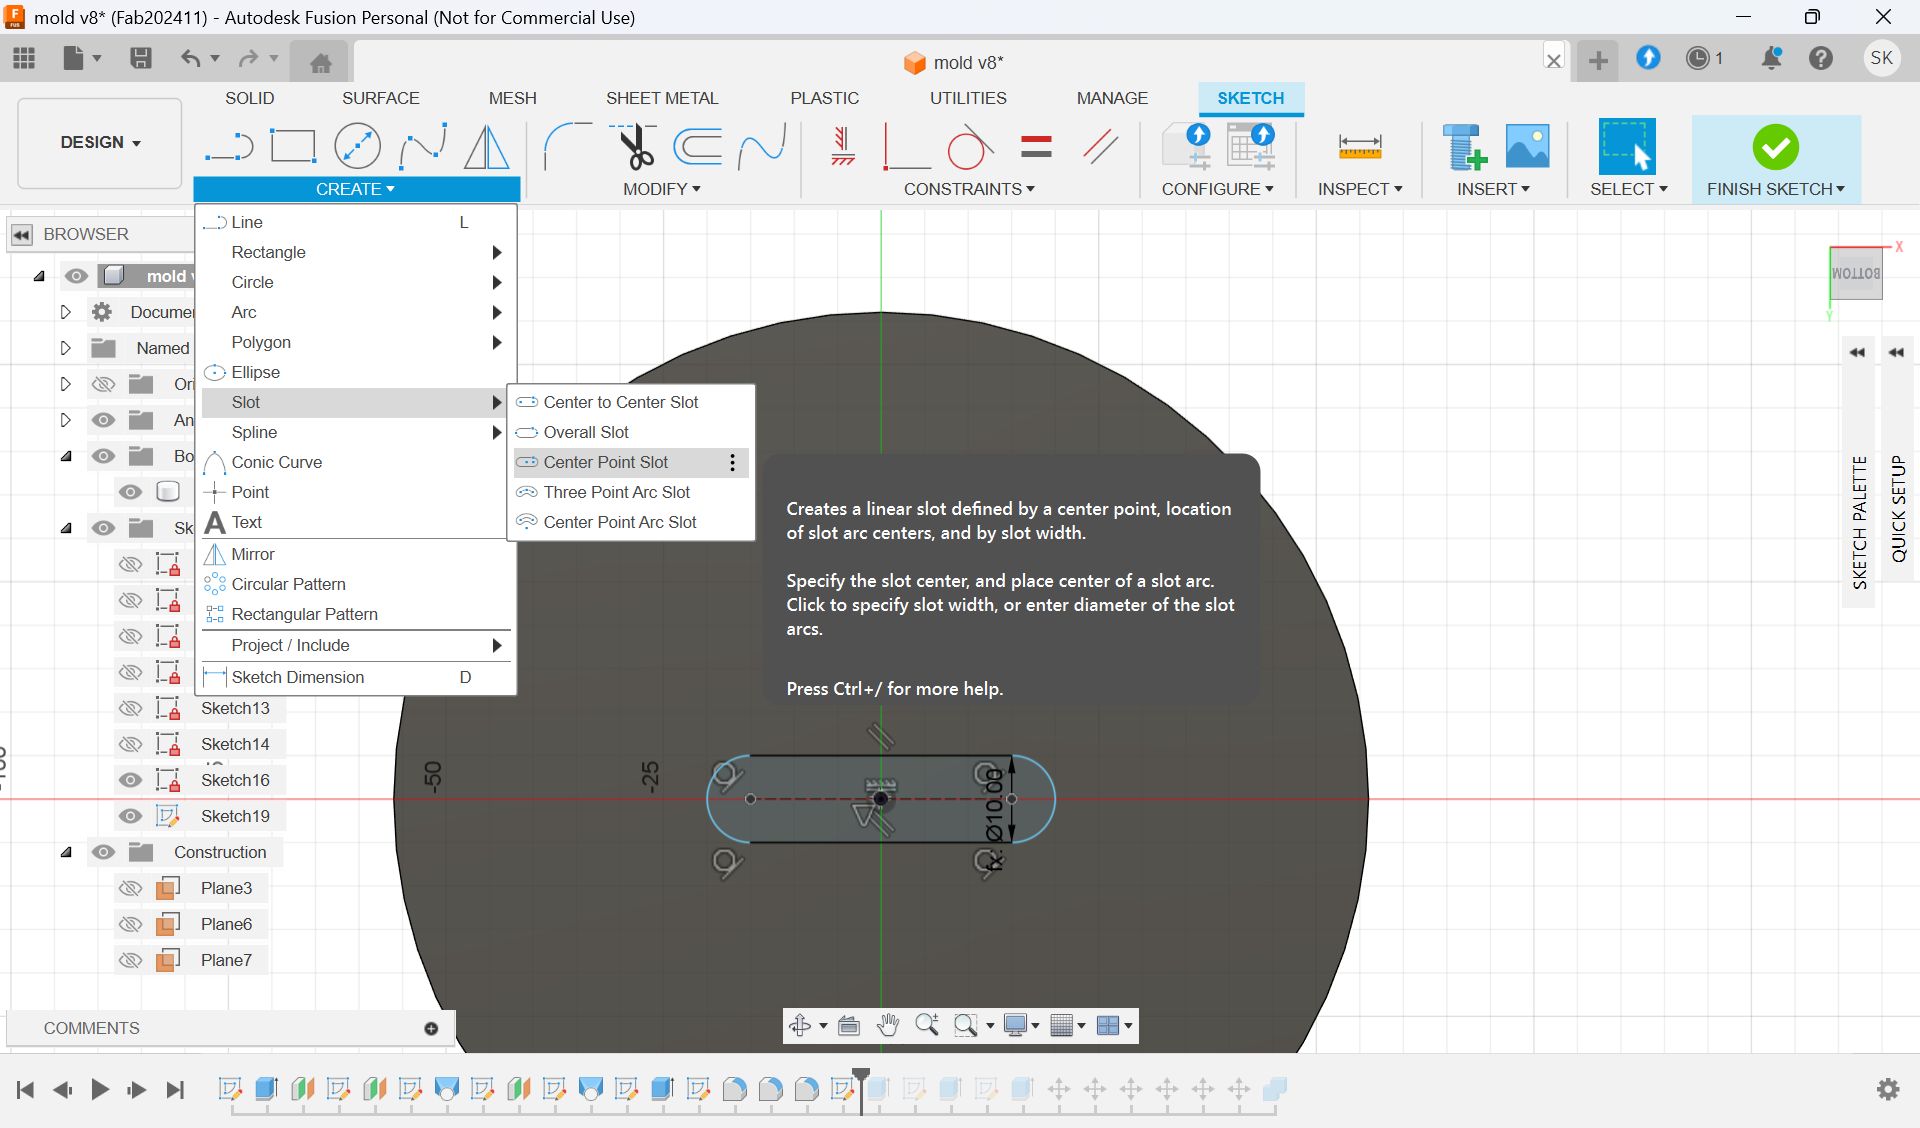
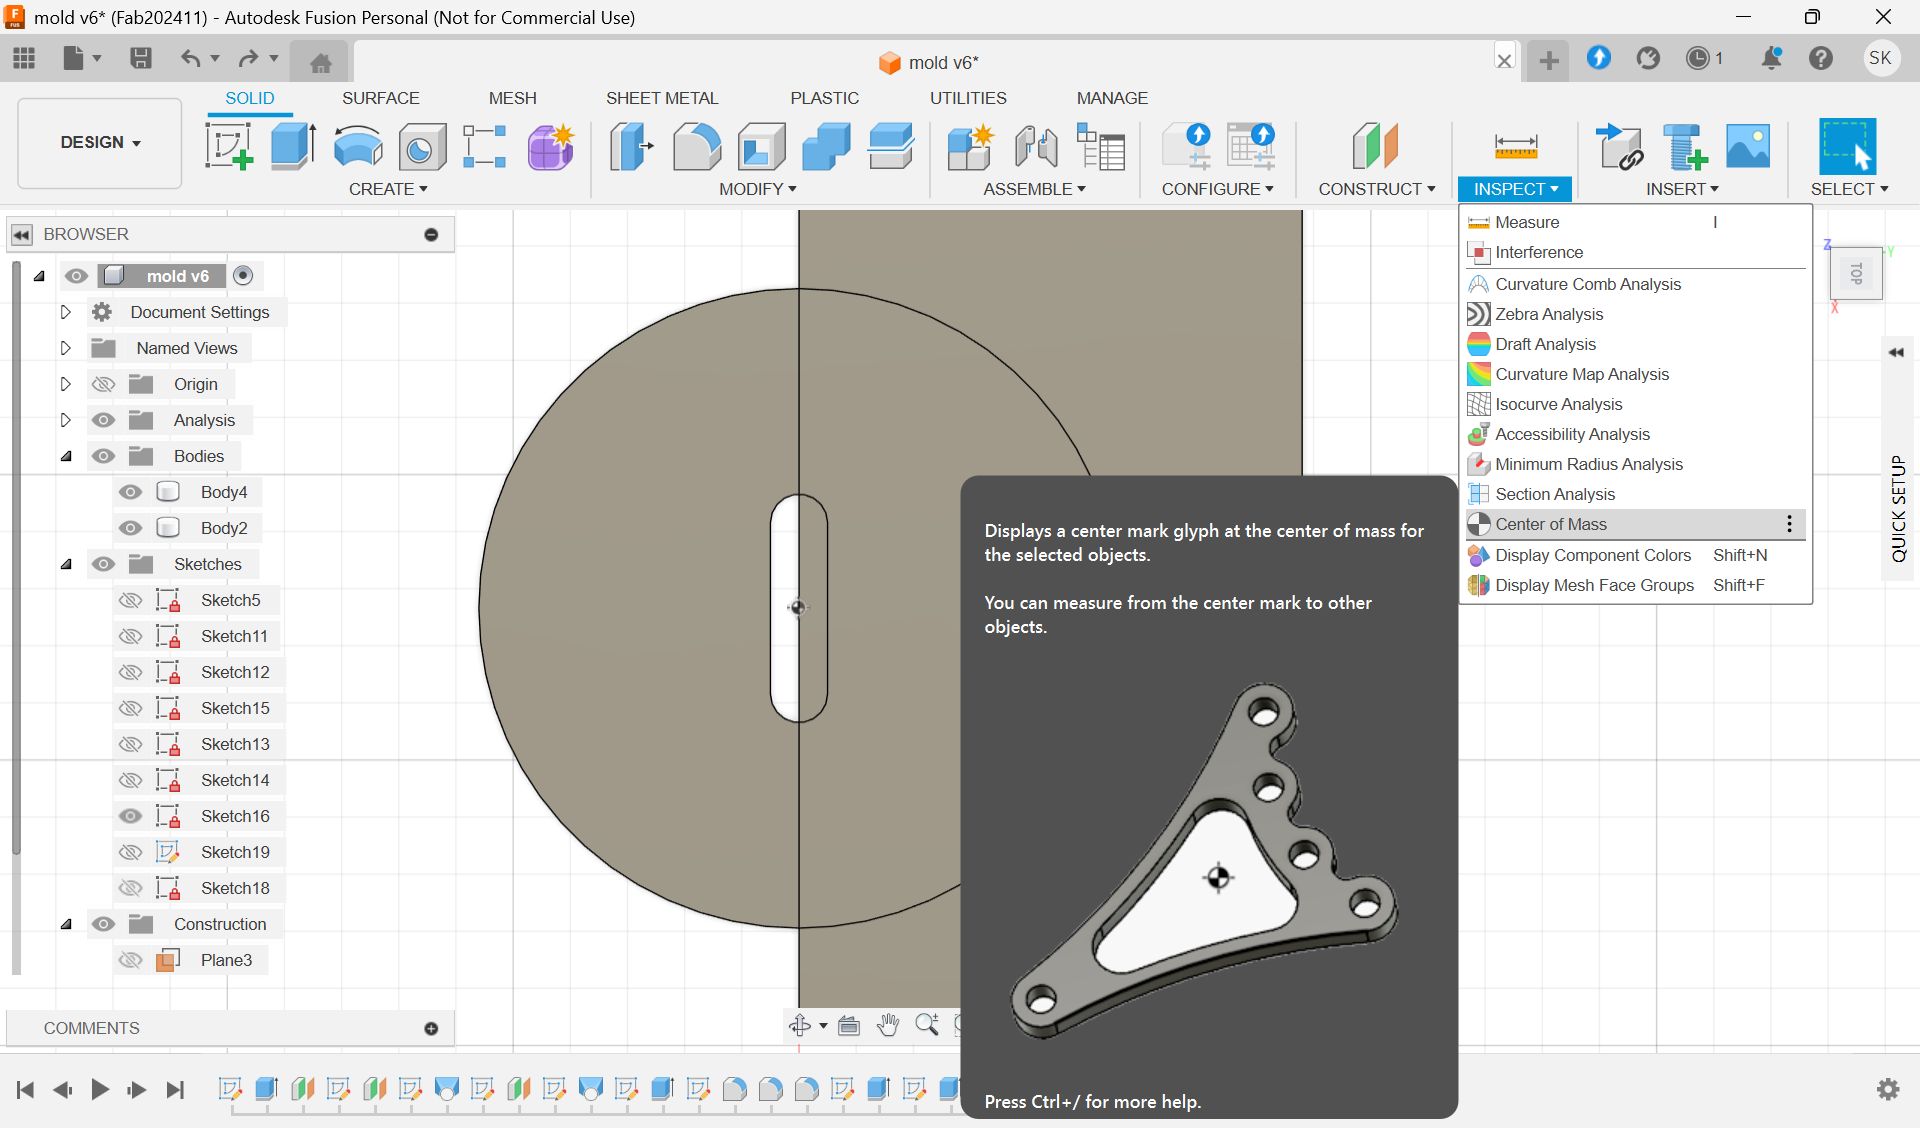
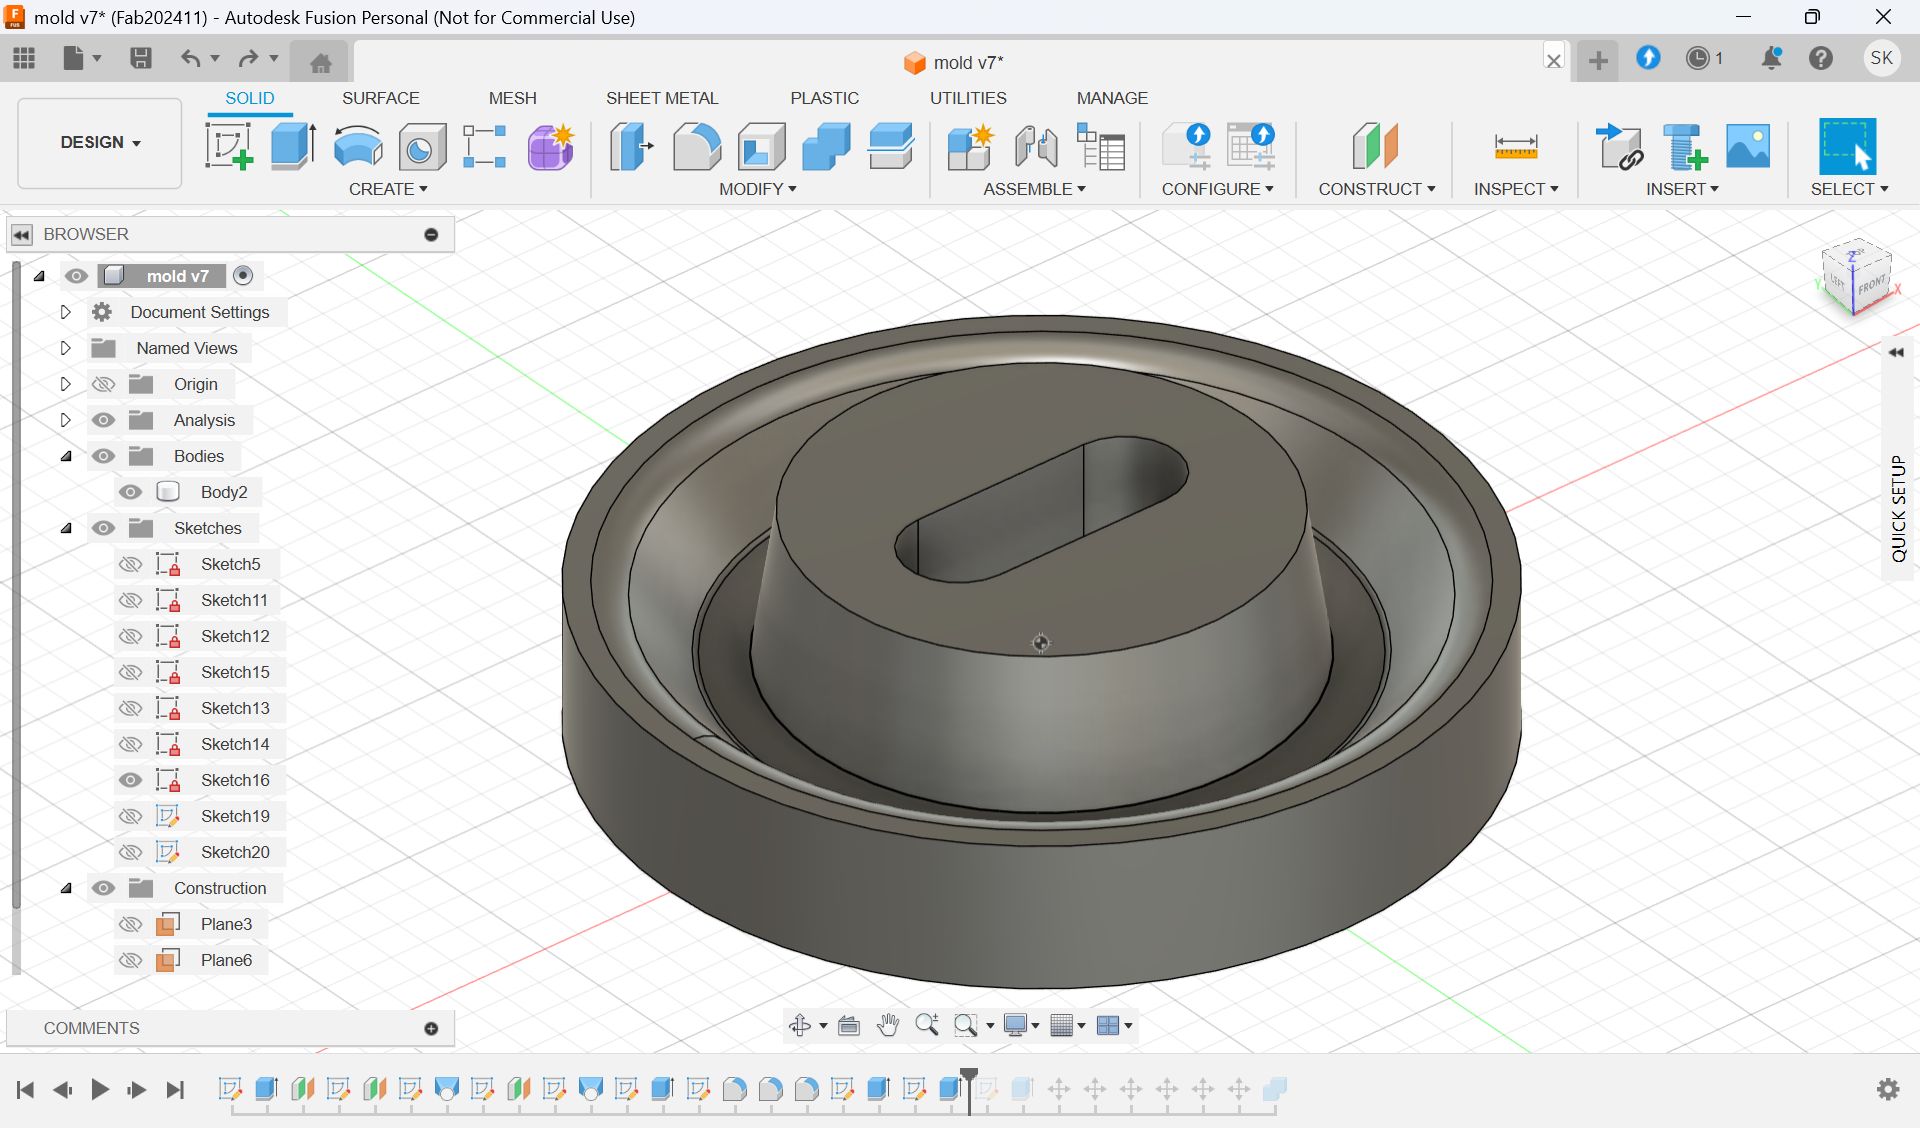
I wanted to add a hole for cables.
Add hole with “Slot“ form Sketch menu and extrude it.
Since the wax is smaller than the model size, I made the half cut mold.
To make it divided in the center, use the “Center of mass”.
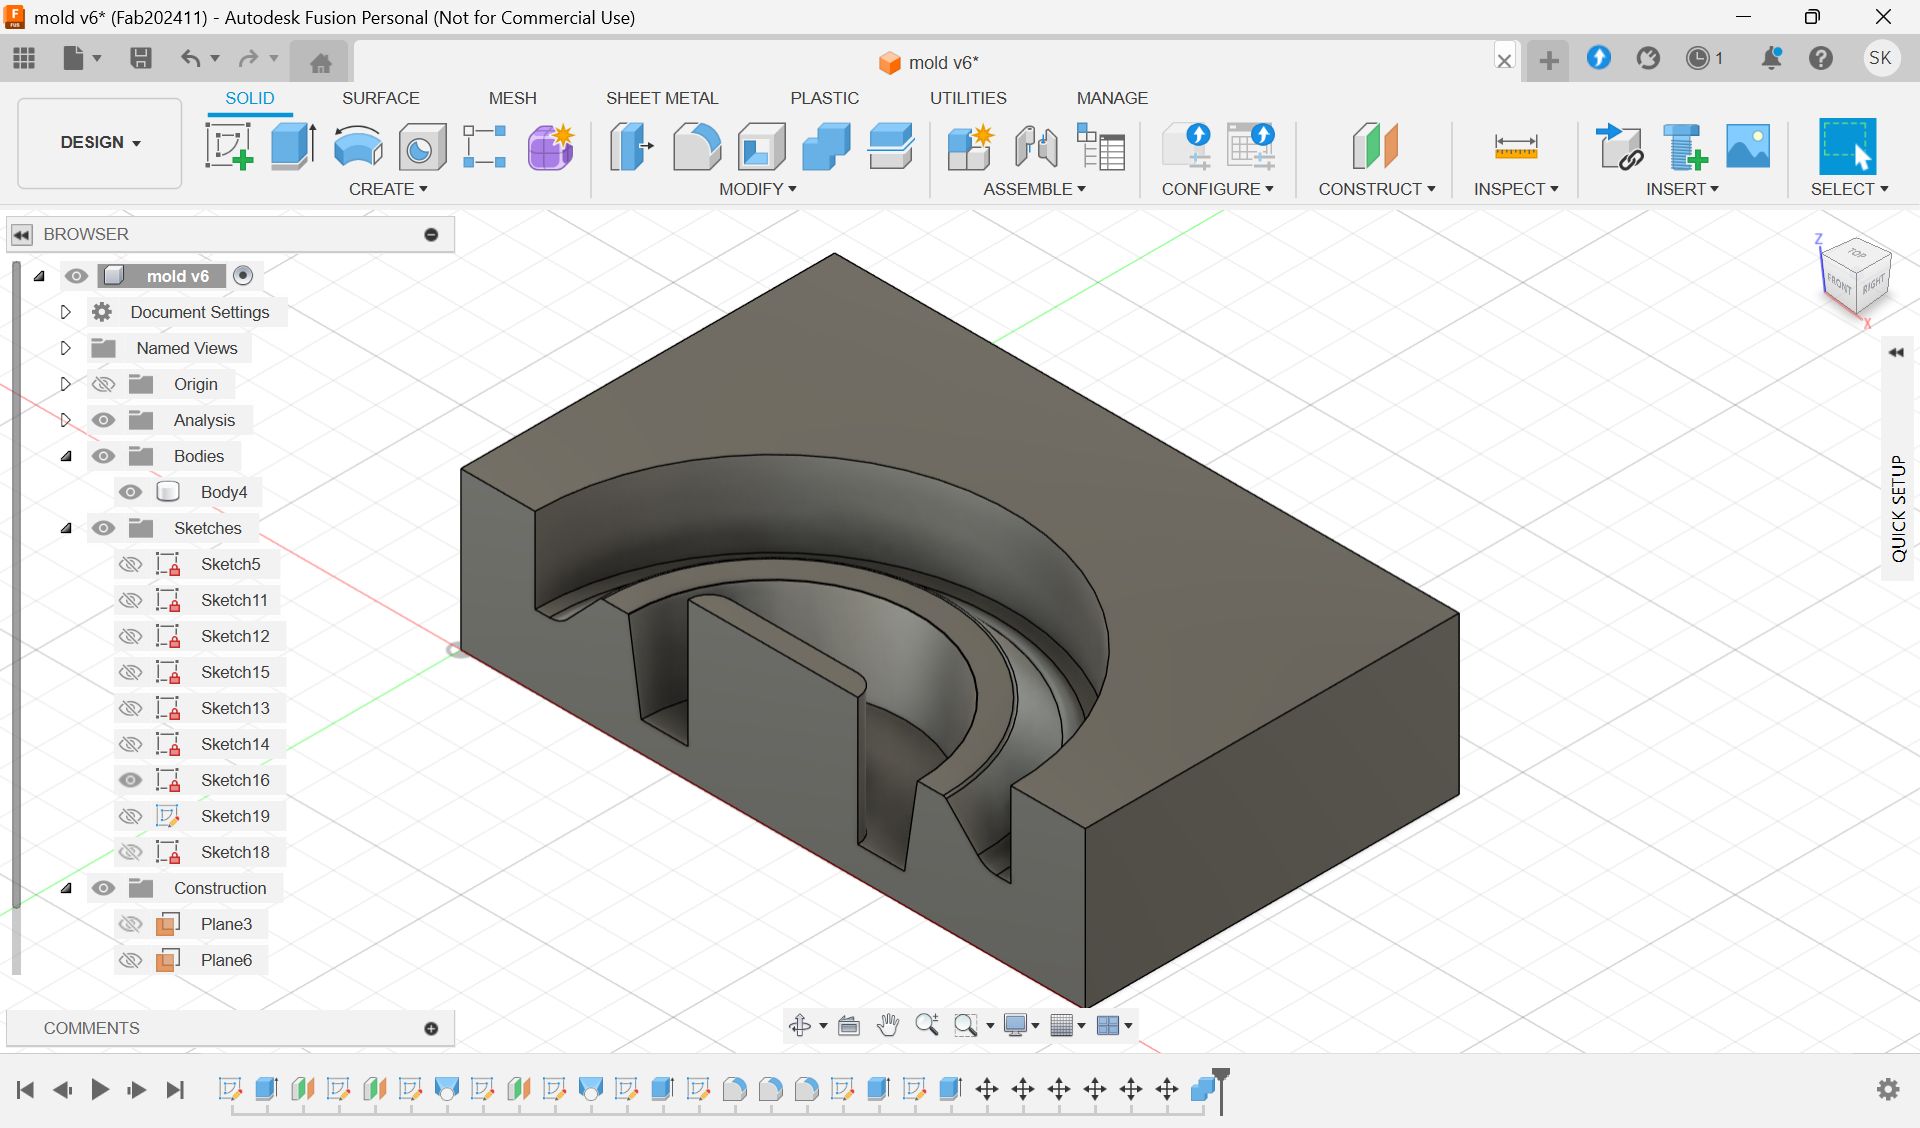
This is the final model for 1st half.
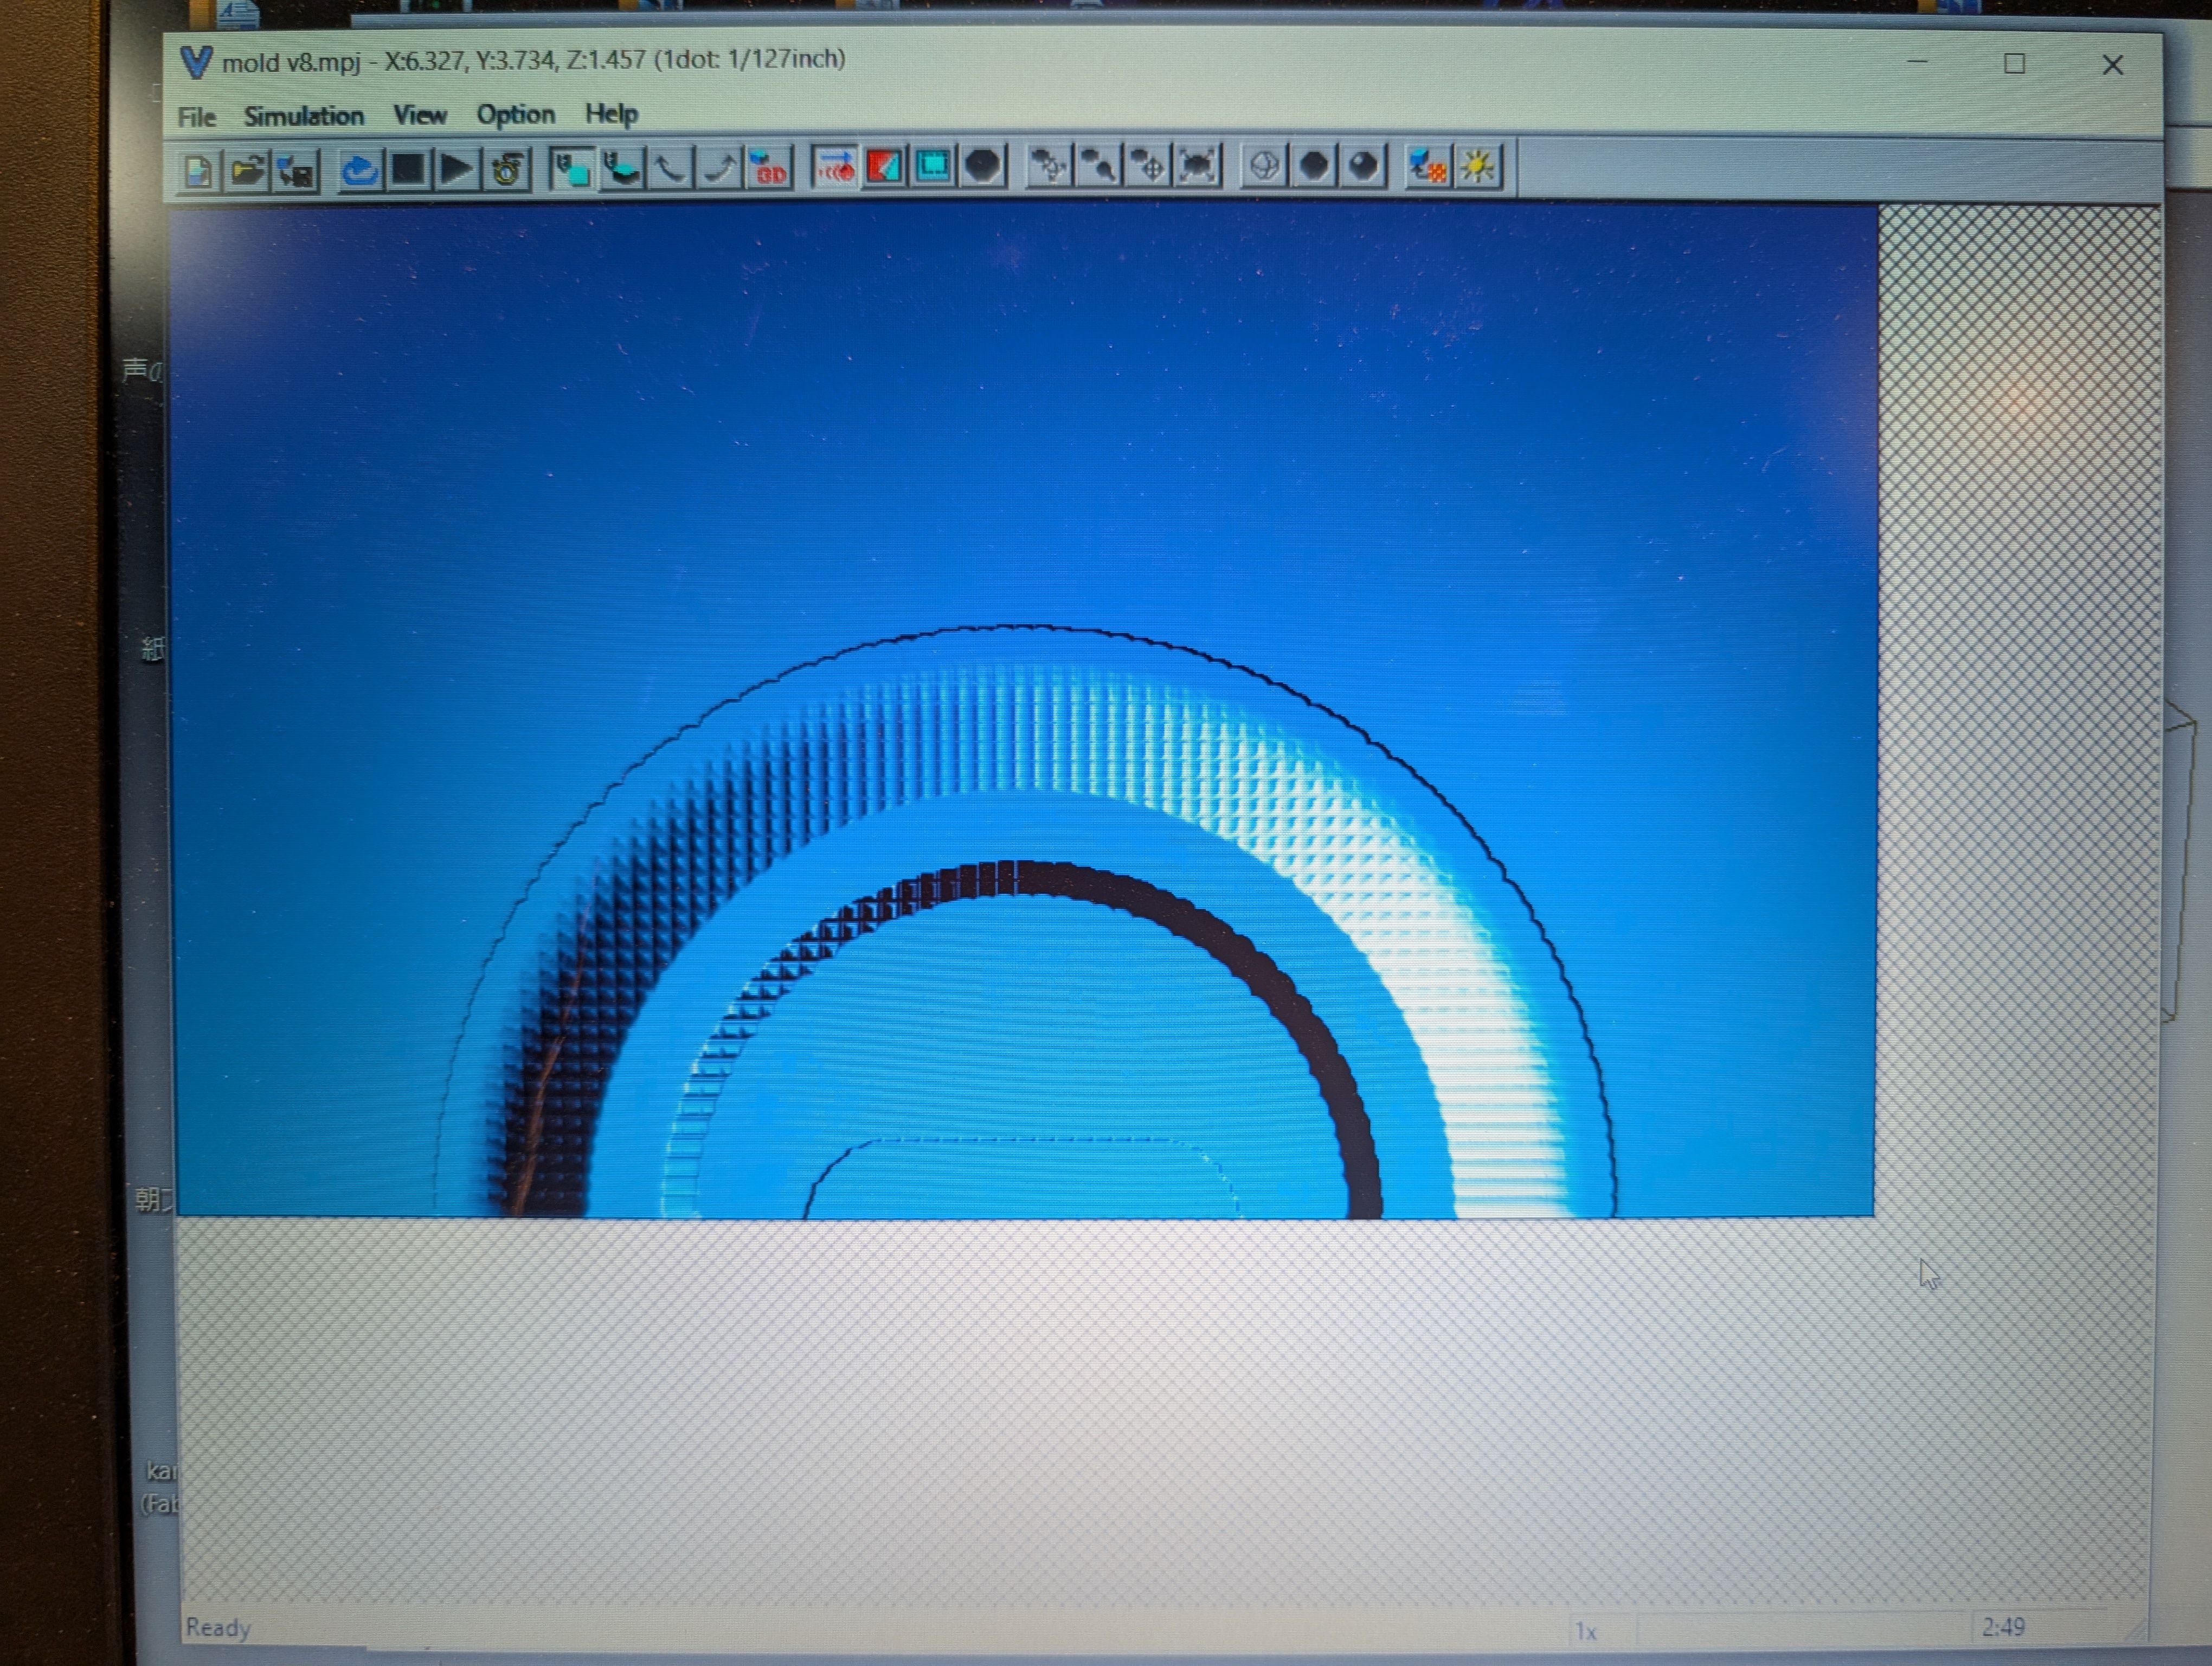
Path
This time I alse chosed 3.18 square mill.
Setting for roughing
Scan Lines = X + Y
XY speed = 20 mm/sec
Setting for Finishing
Contour Lines : Up out
XY speed = 15 mm/sec
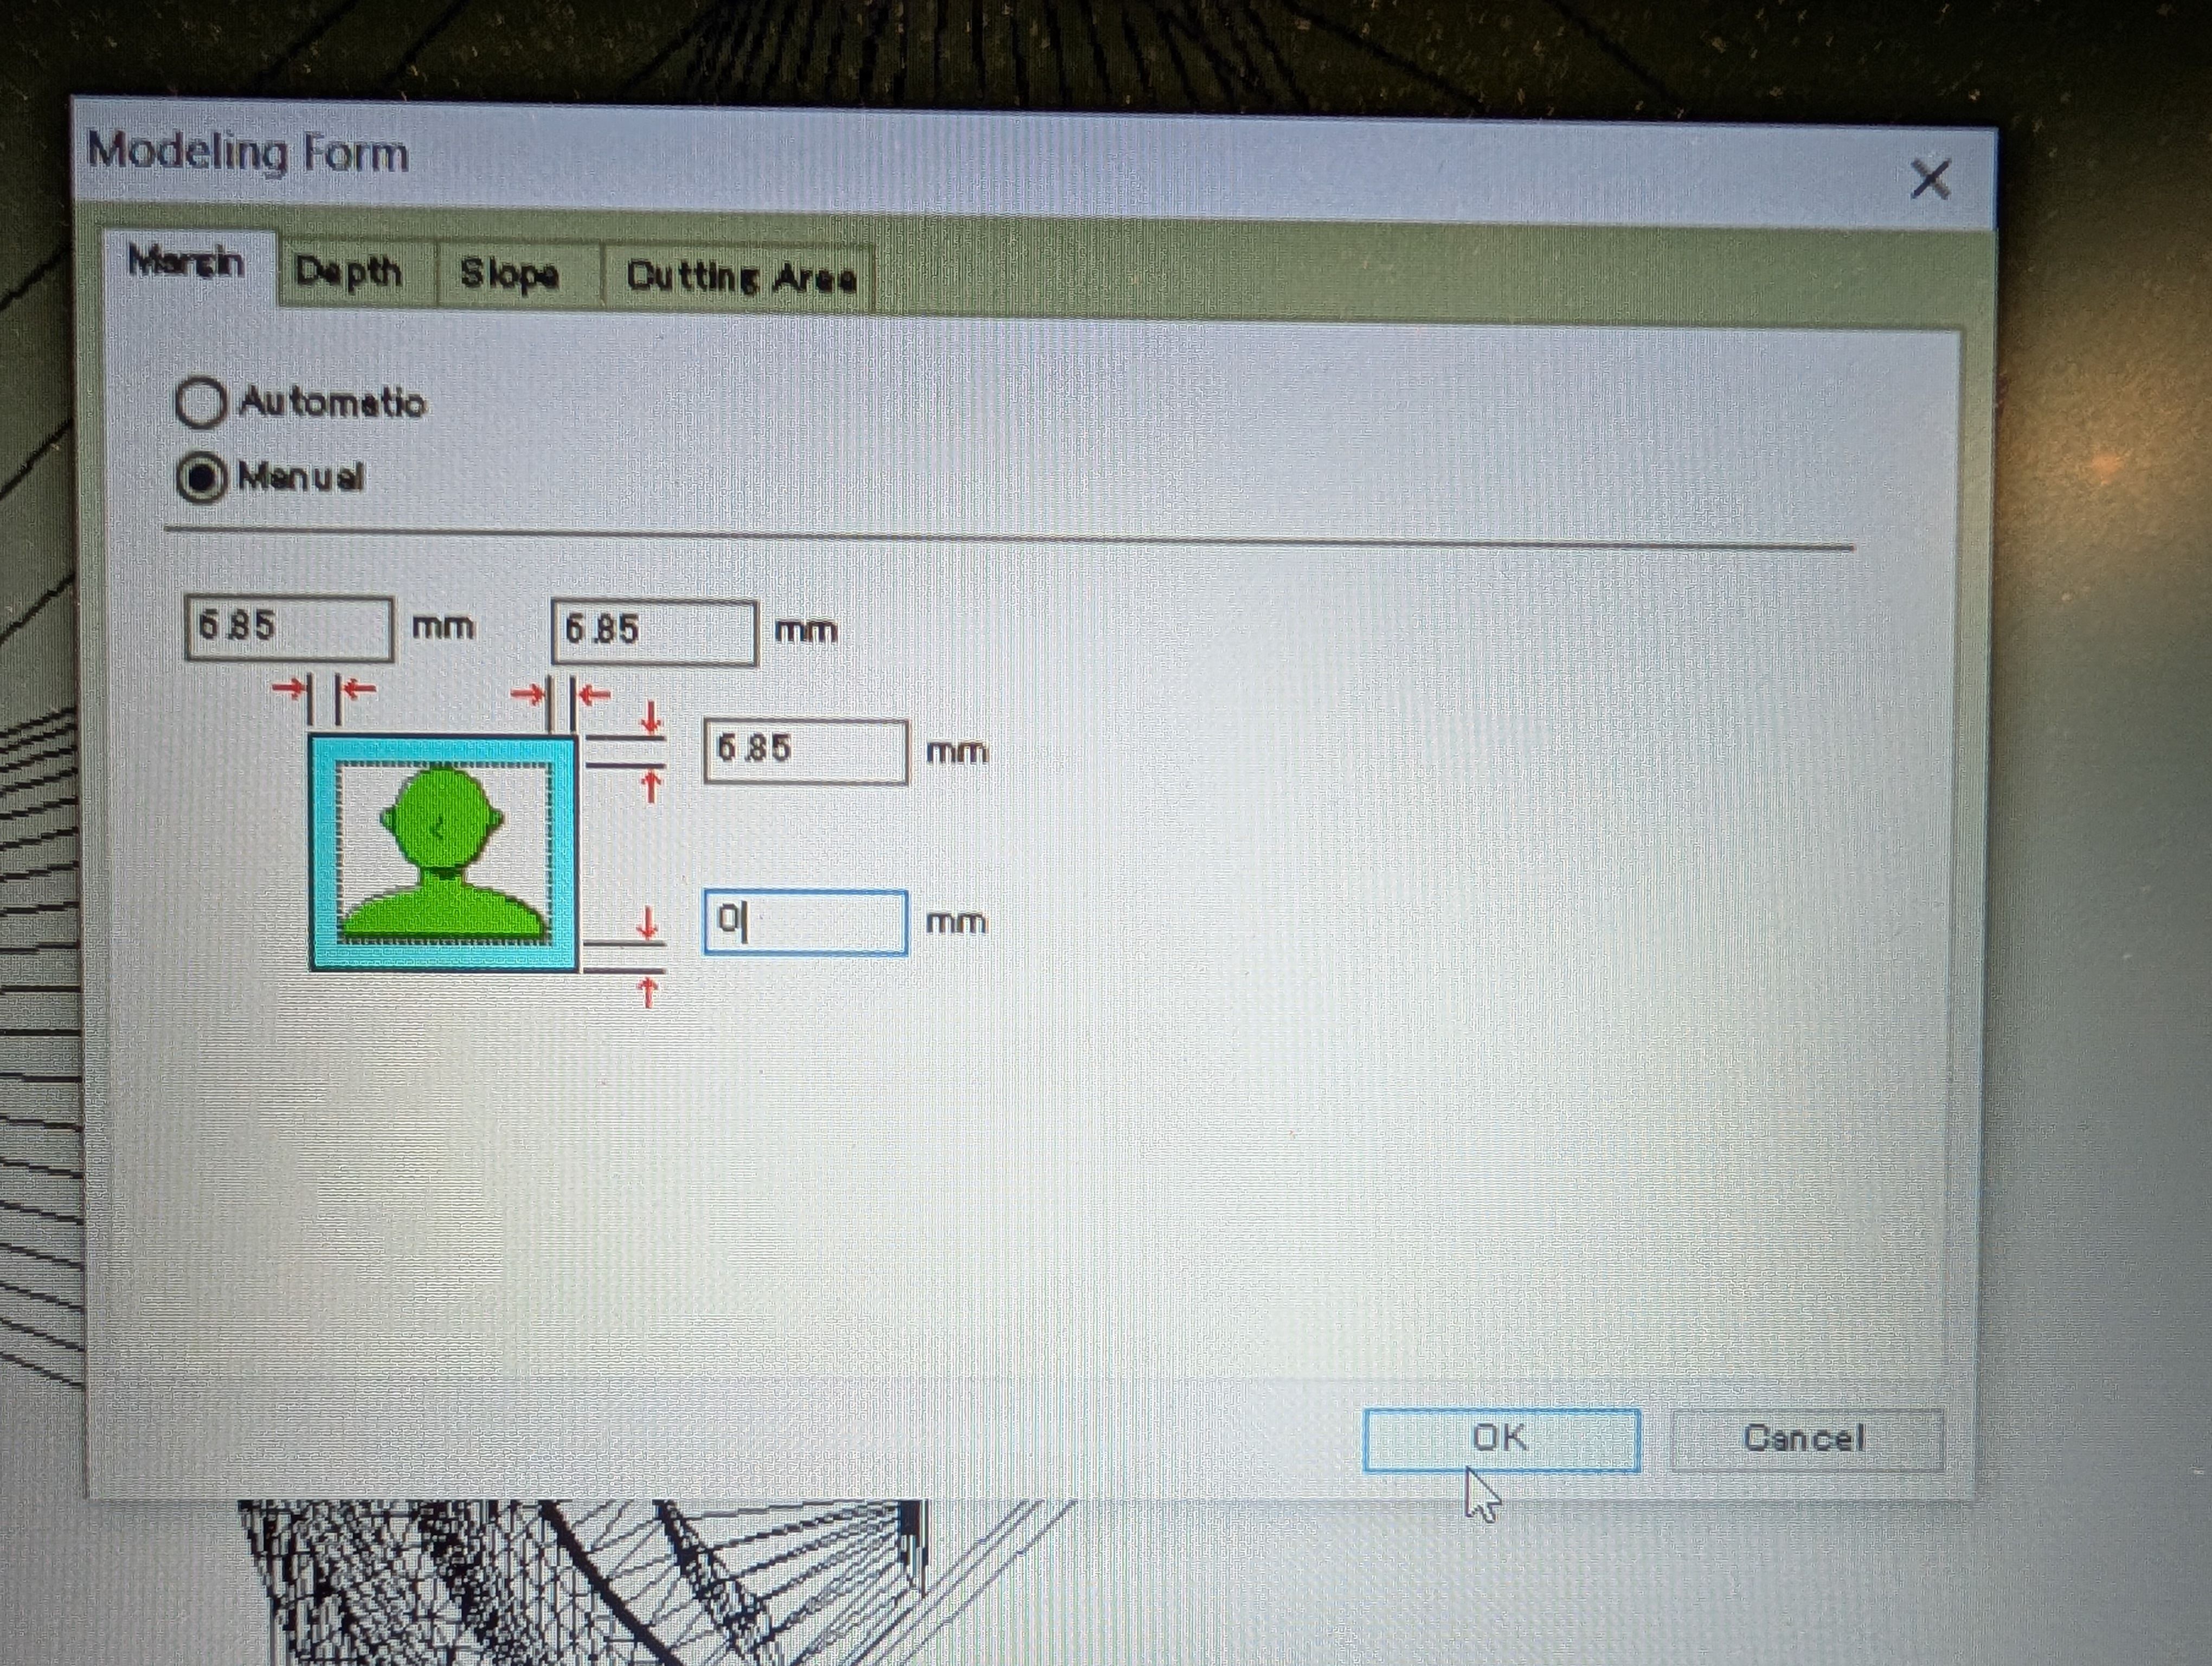
To will without leaving any edges, I have to delete margin.
I set margin bottom = 0mm from Modeling Form menu.
Check time from “Preview Cutting” menu
Time for roughing: 2h53m
Time for finishing: 1h37m
To set tool, I have to check the depth of workspace, and height of wax, and calculate
depth of workspace : 31mm
(depth of design: 30mm)
height of wax: 37mm
→tool length should be between 31-37
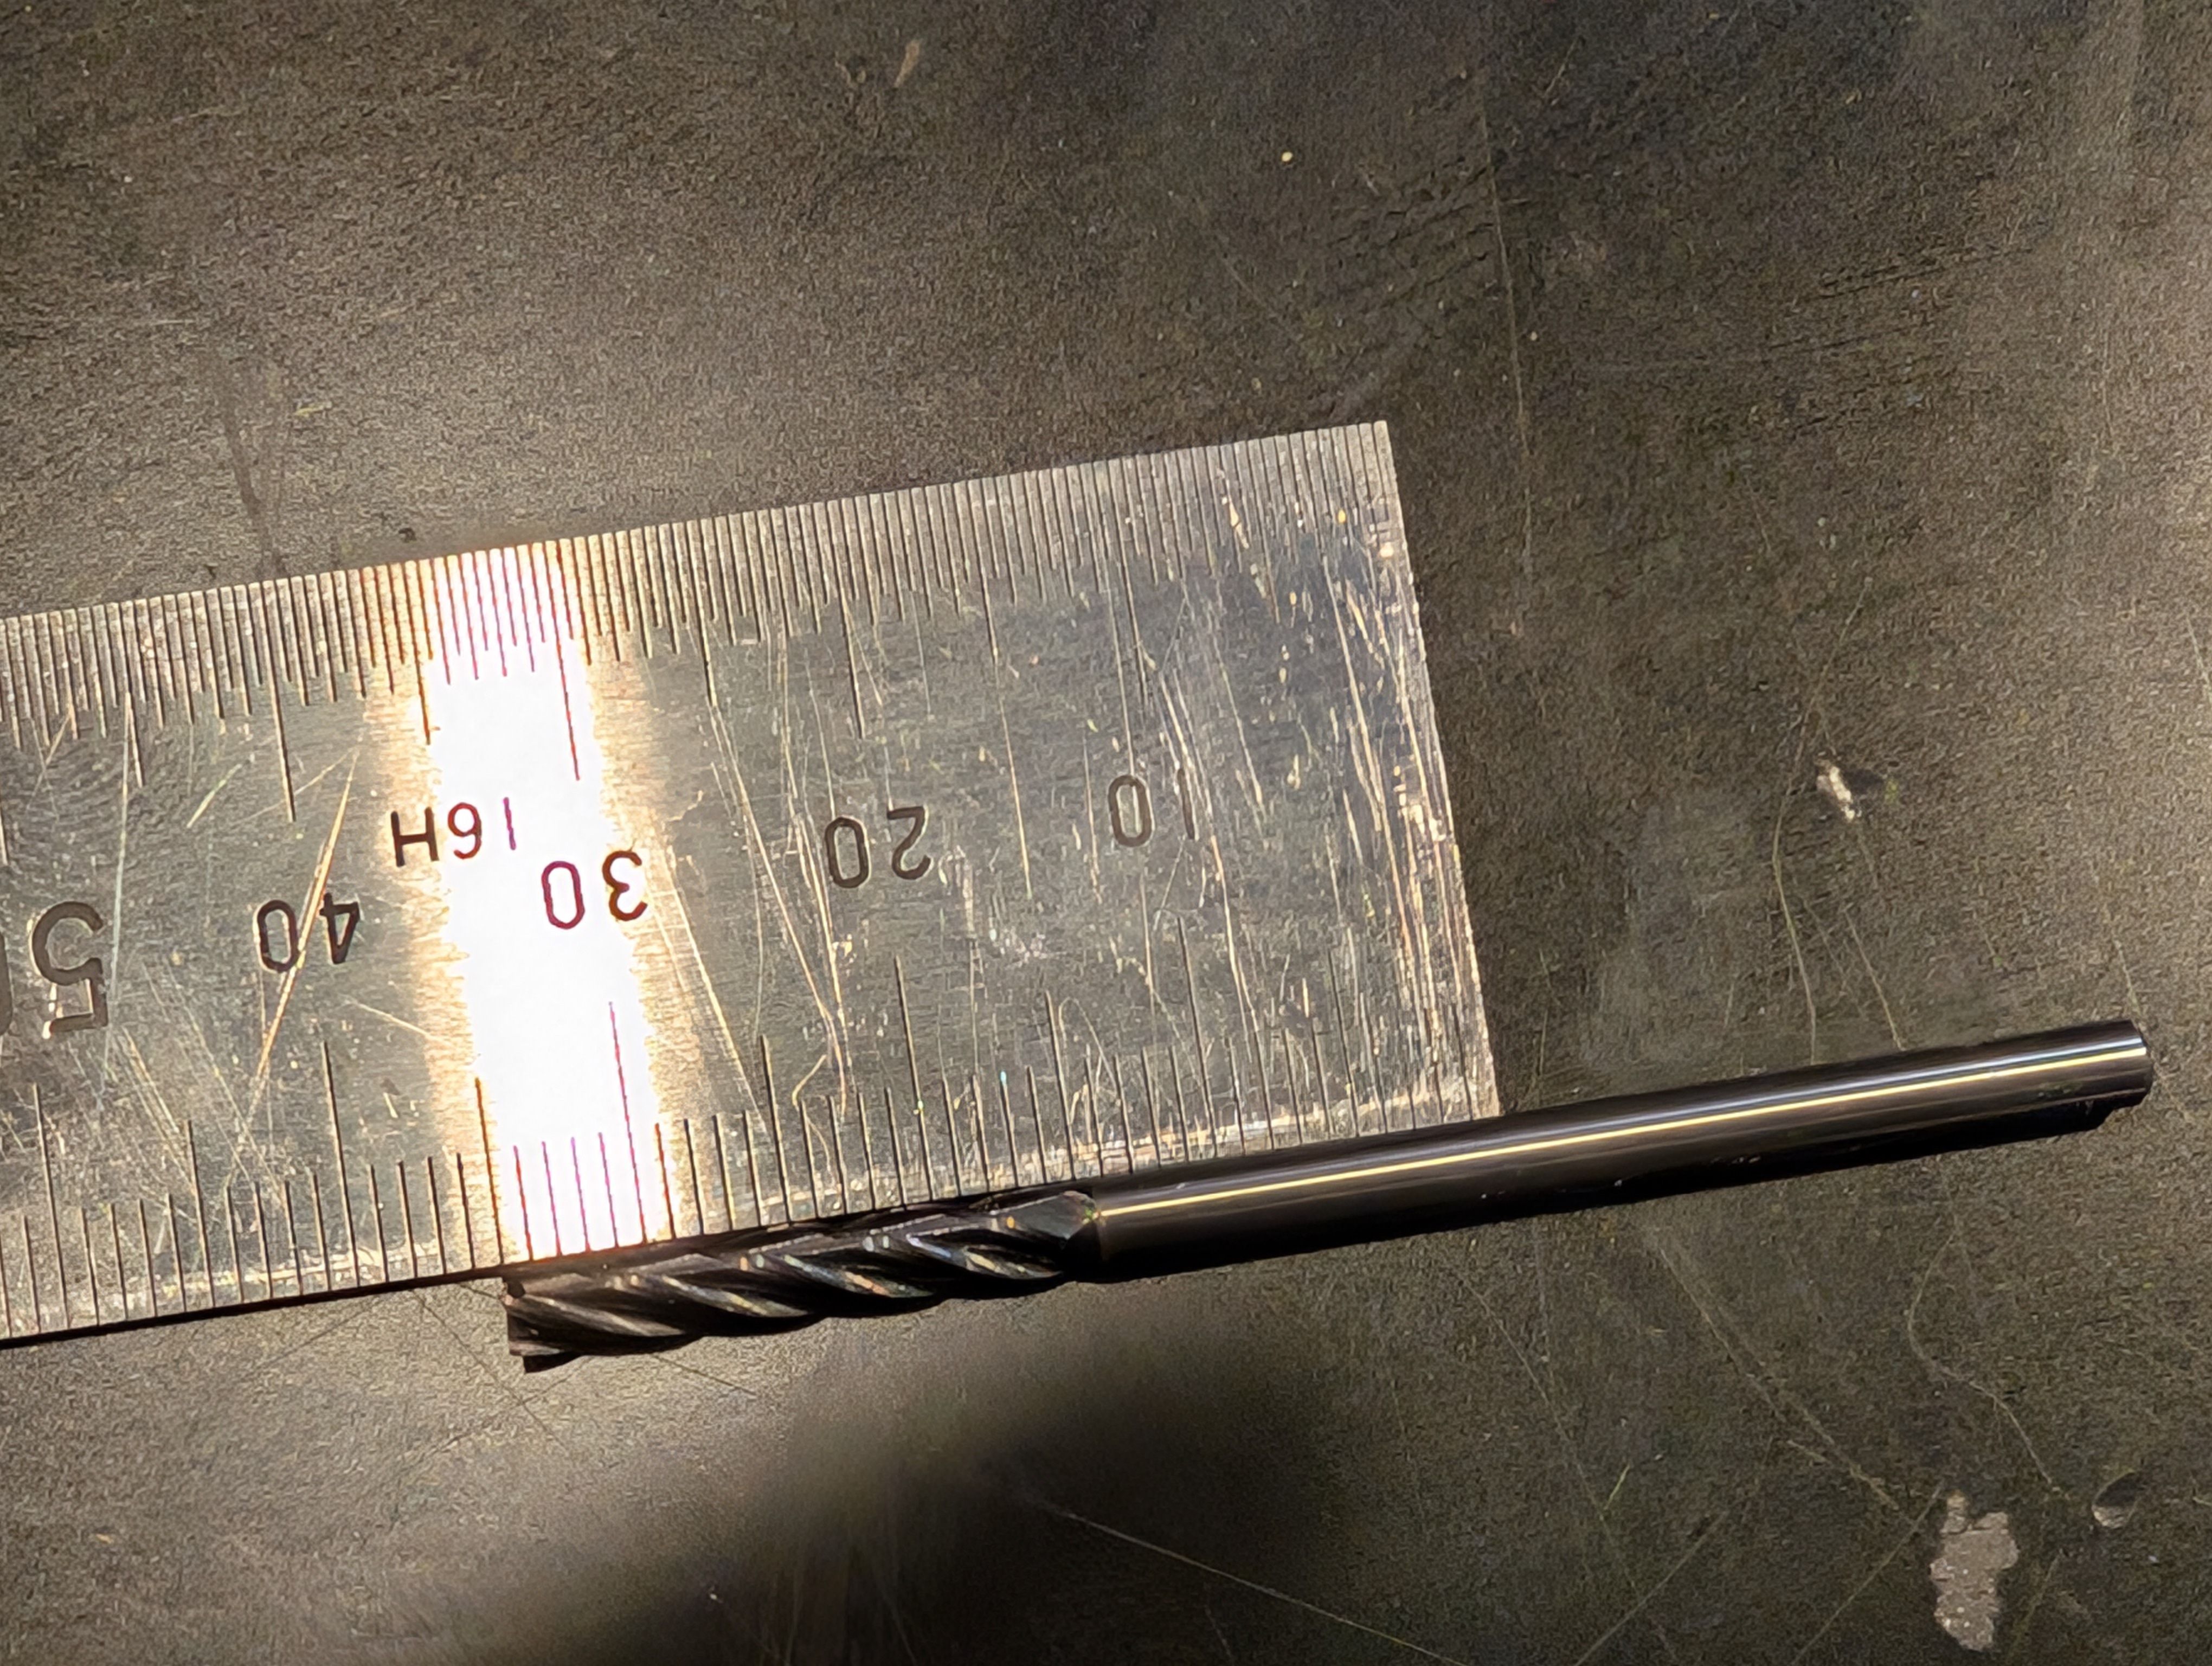
Tool I used: 3.18 inch 2FL LONG
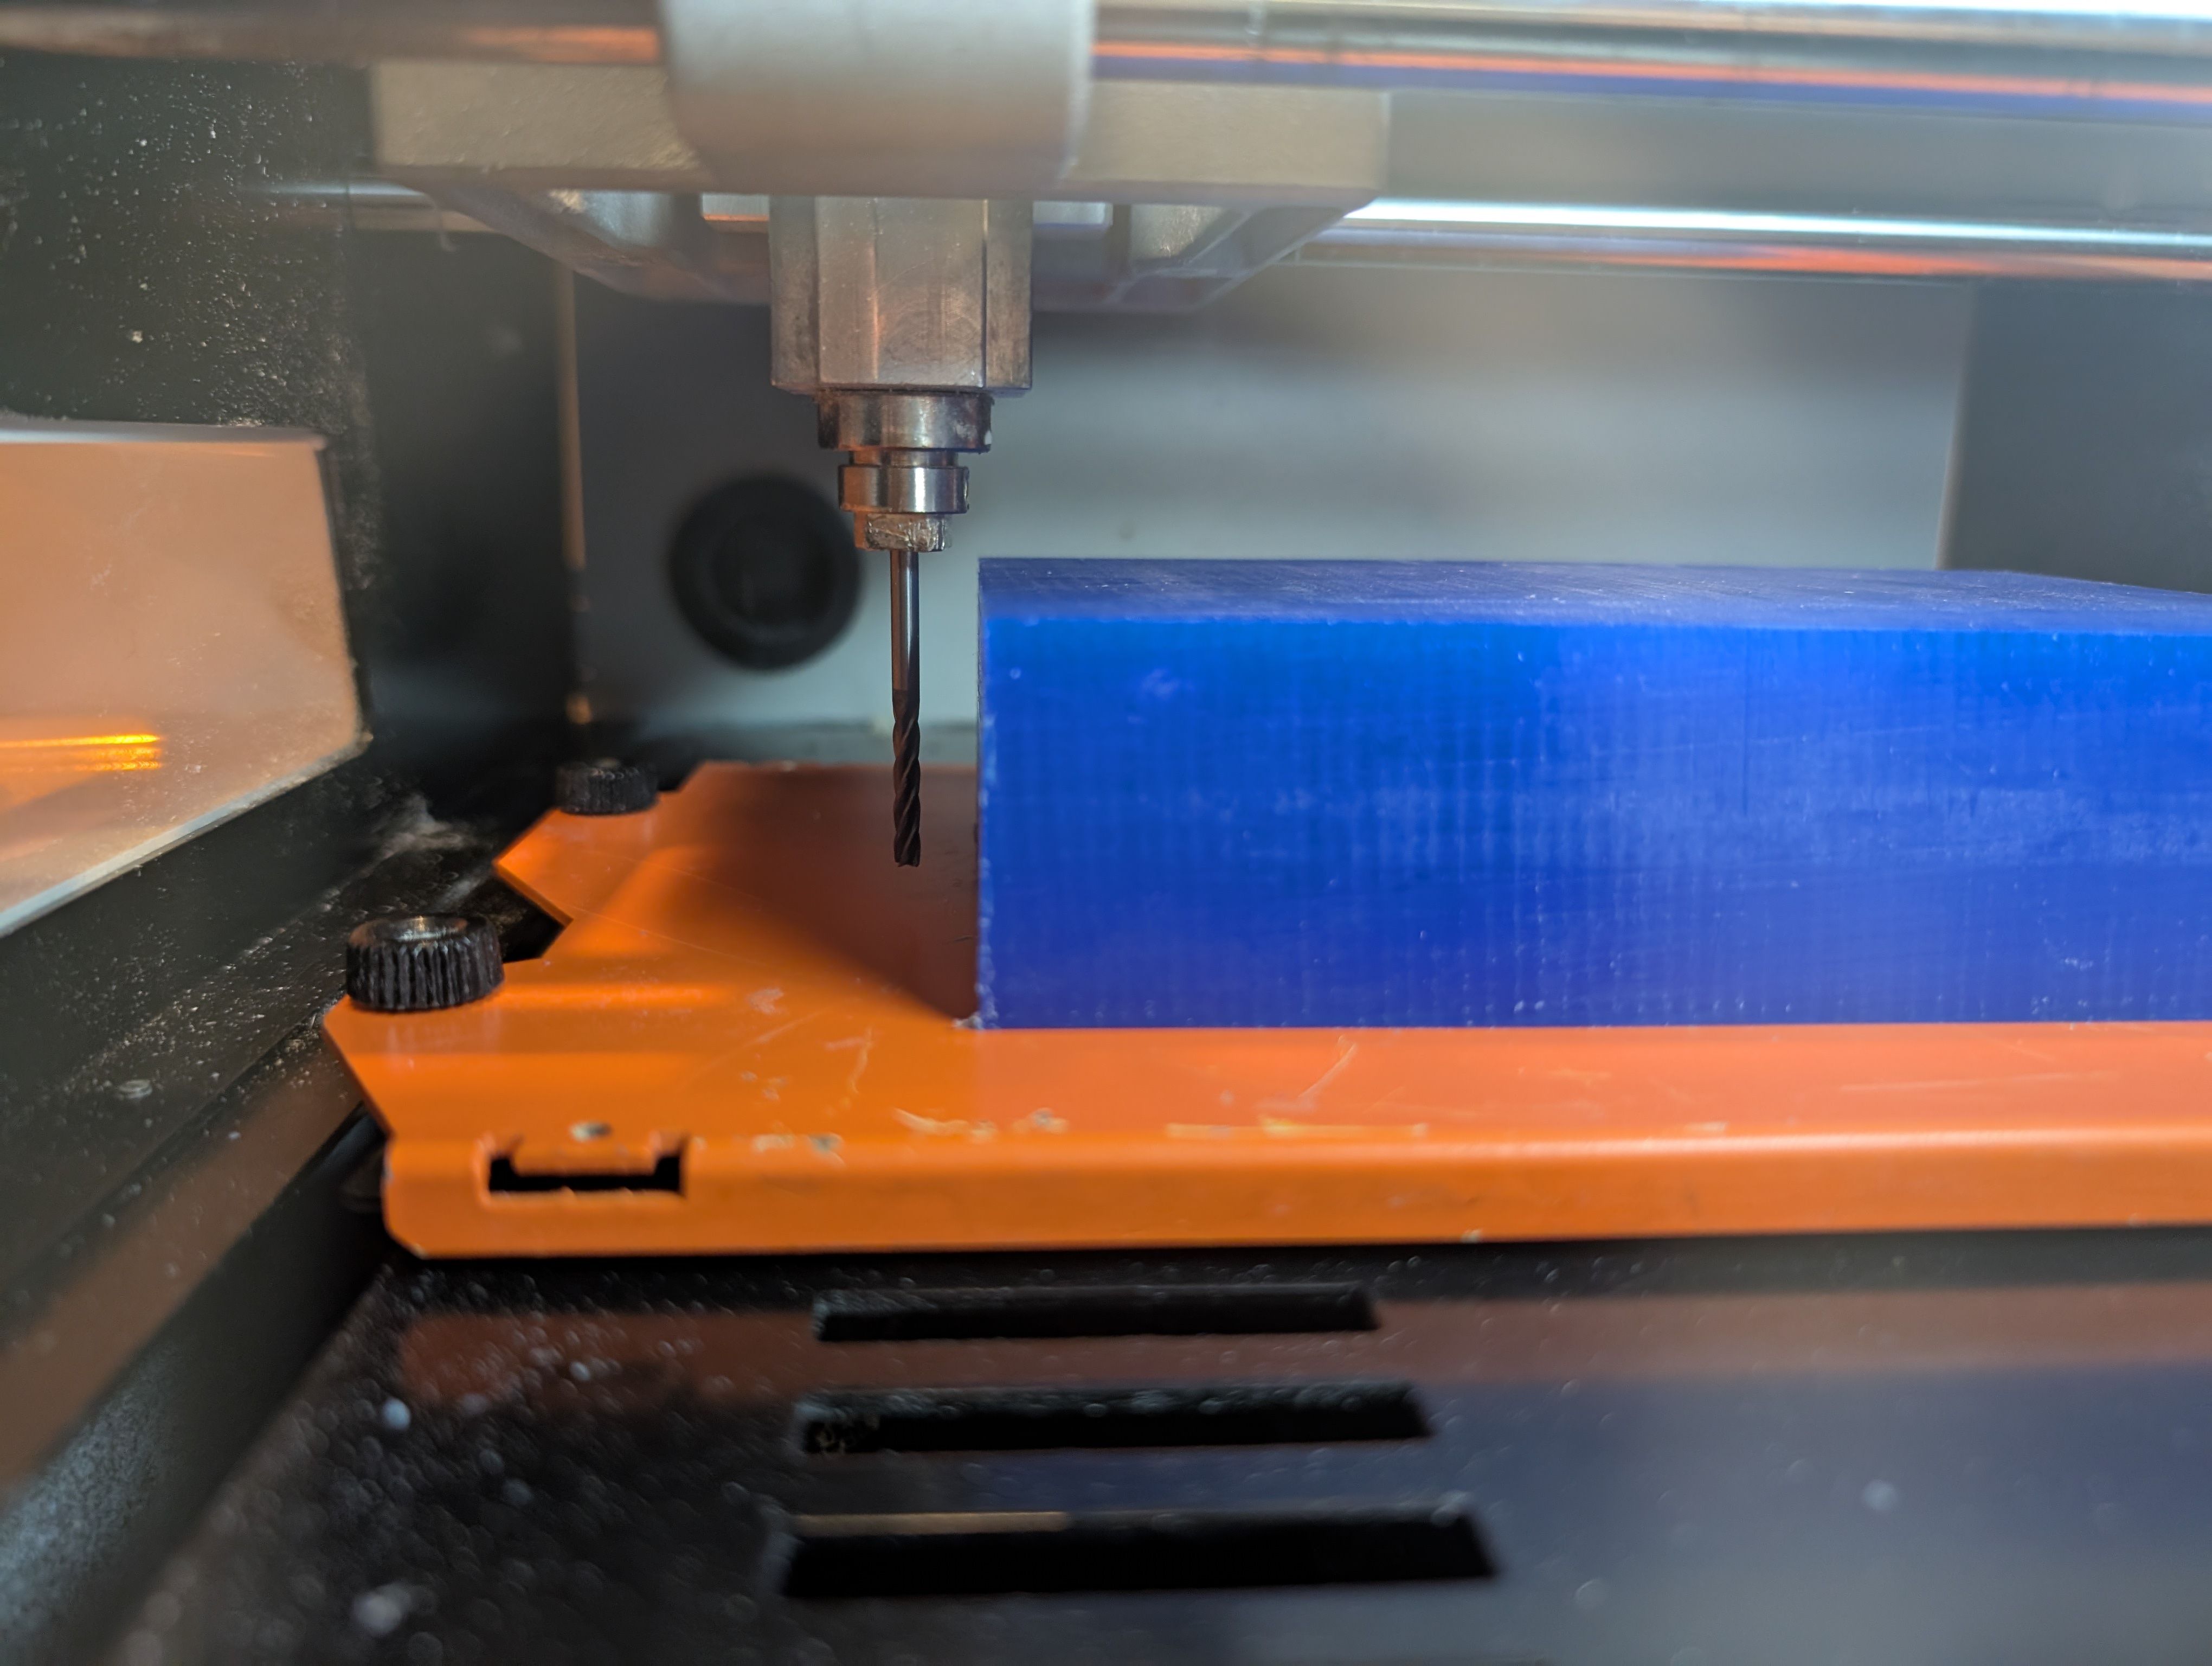
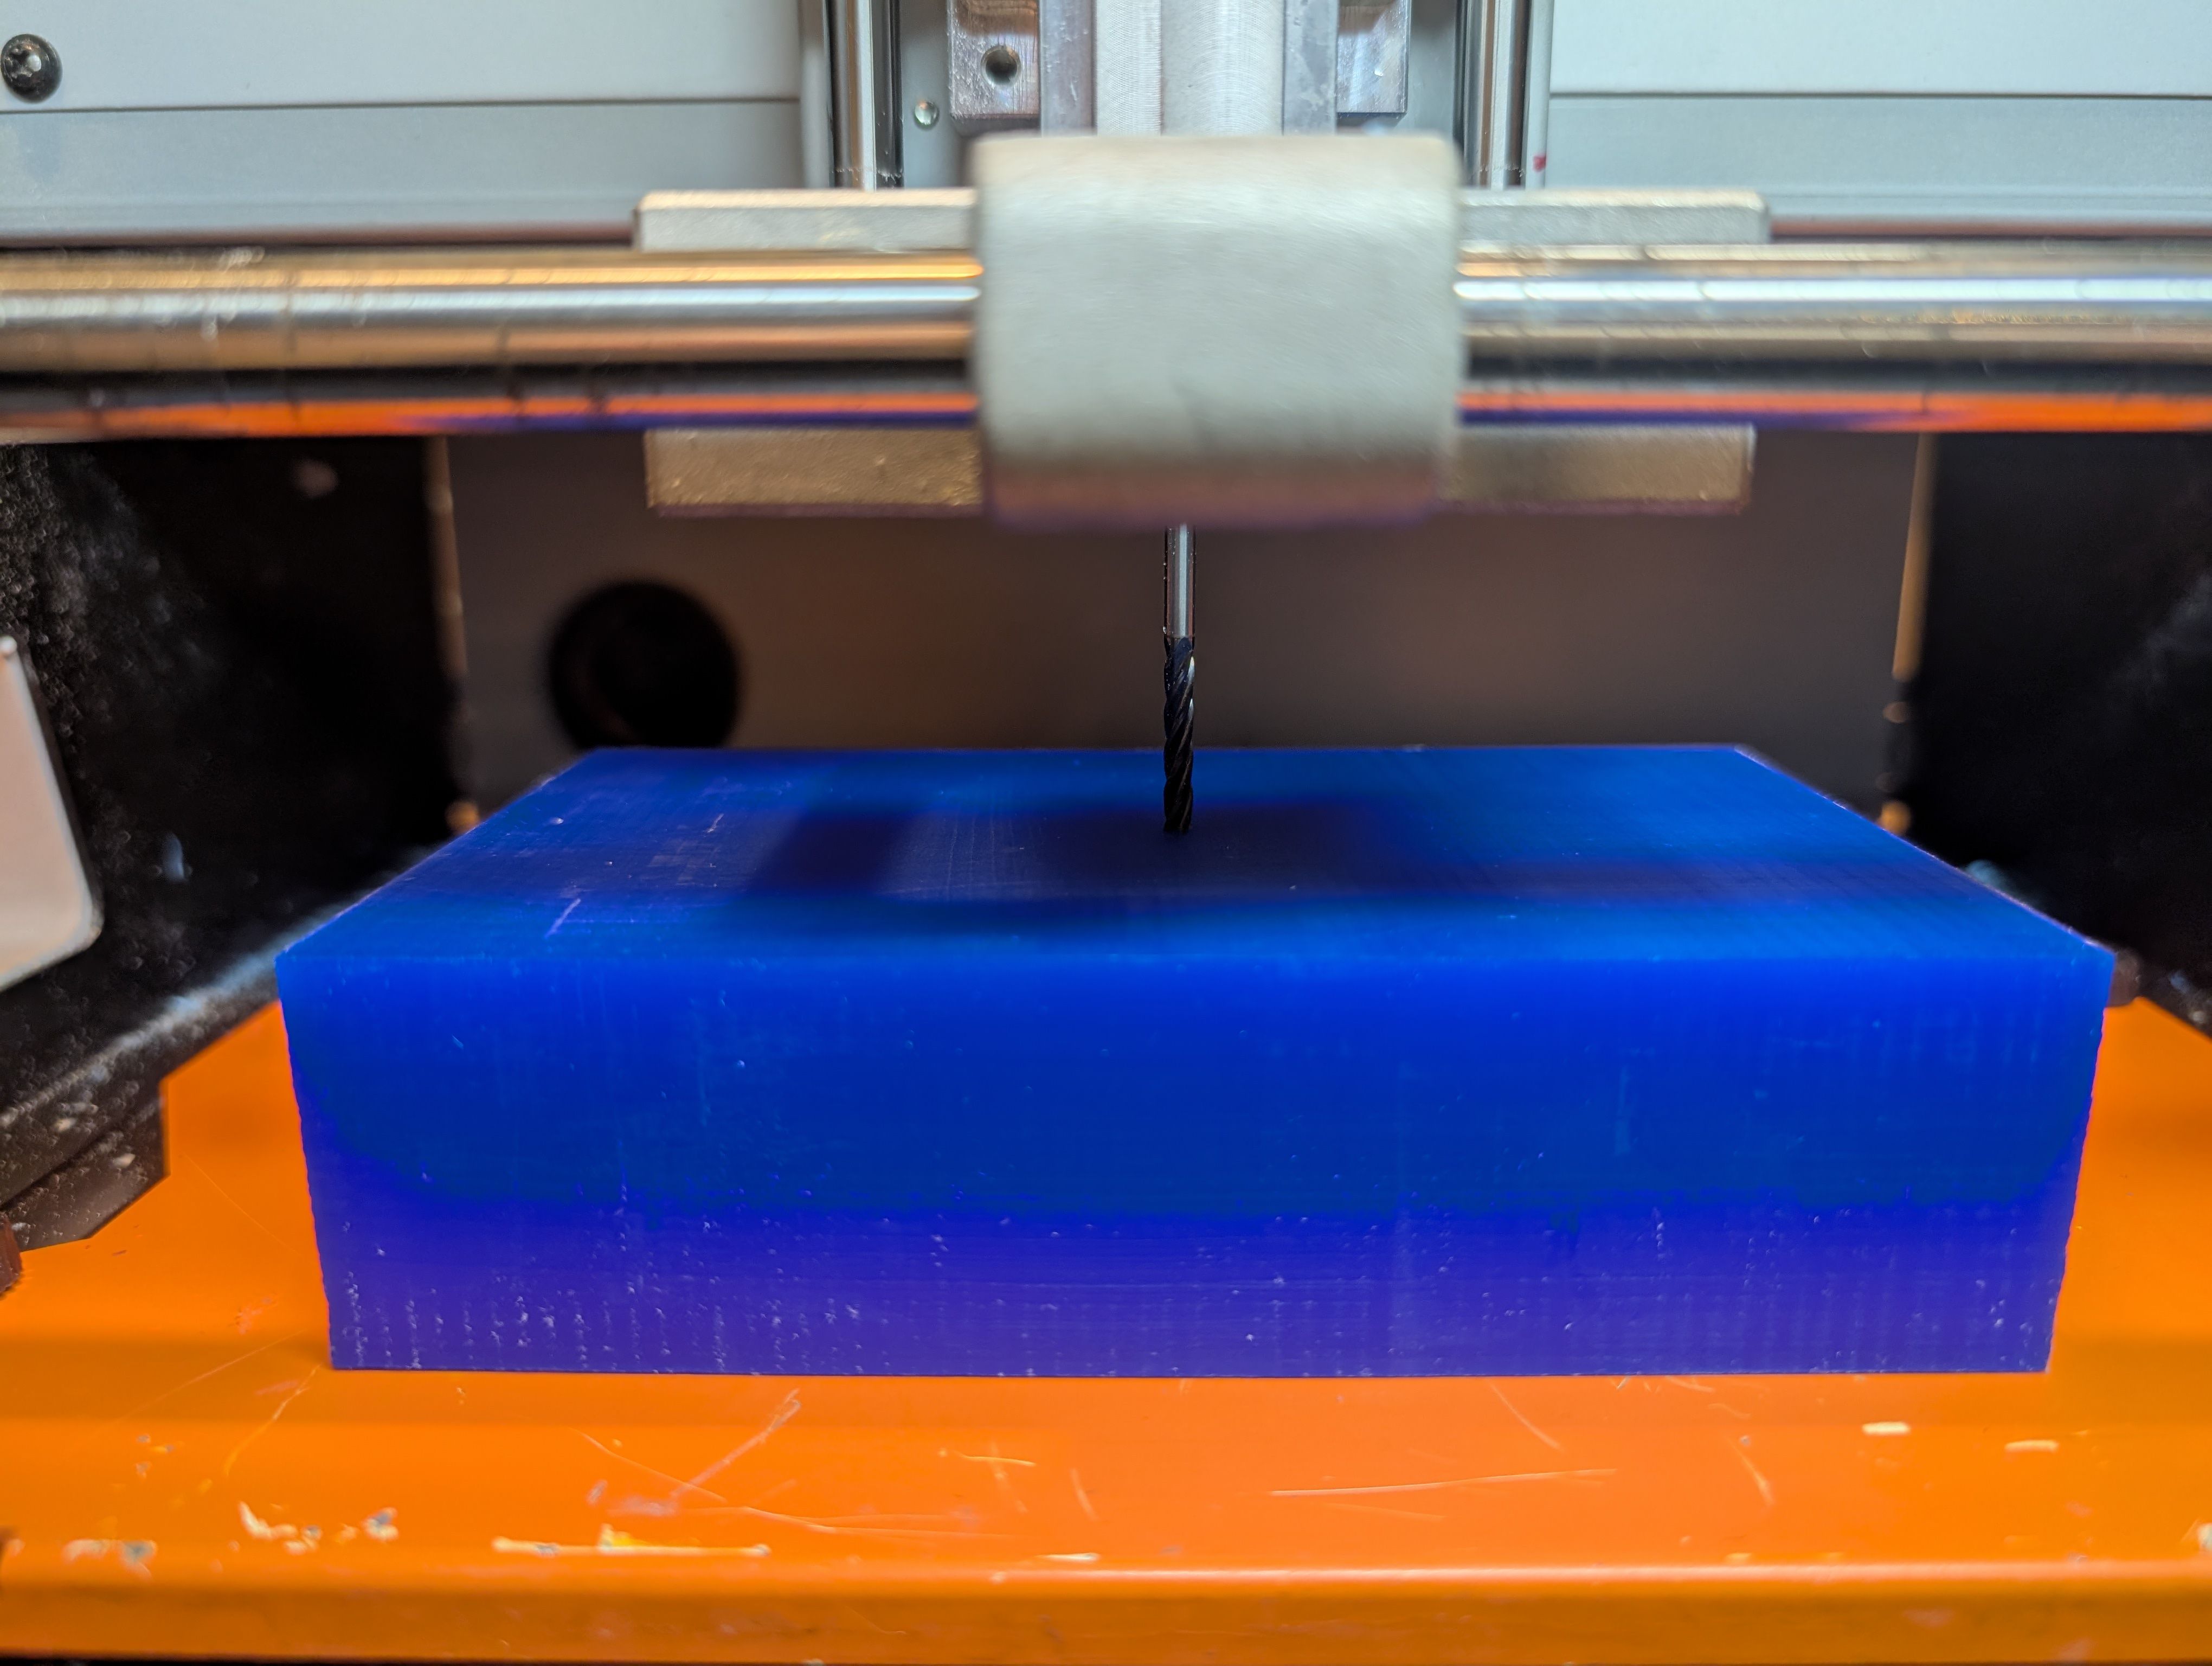
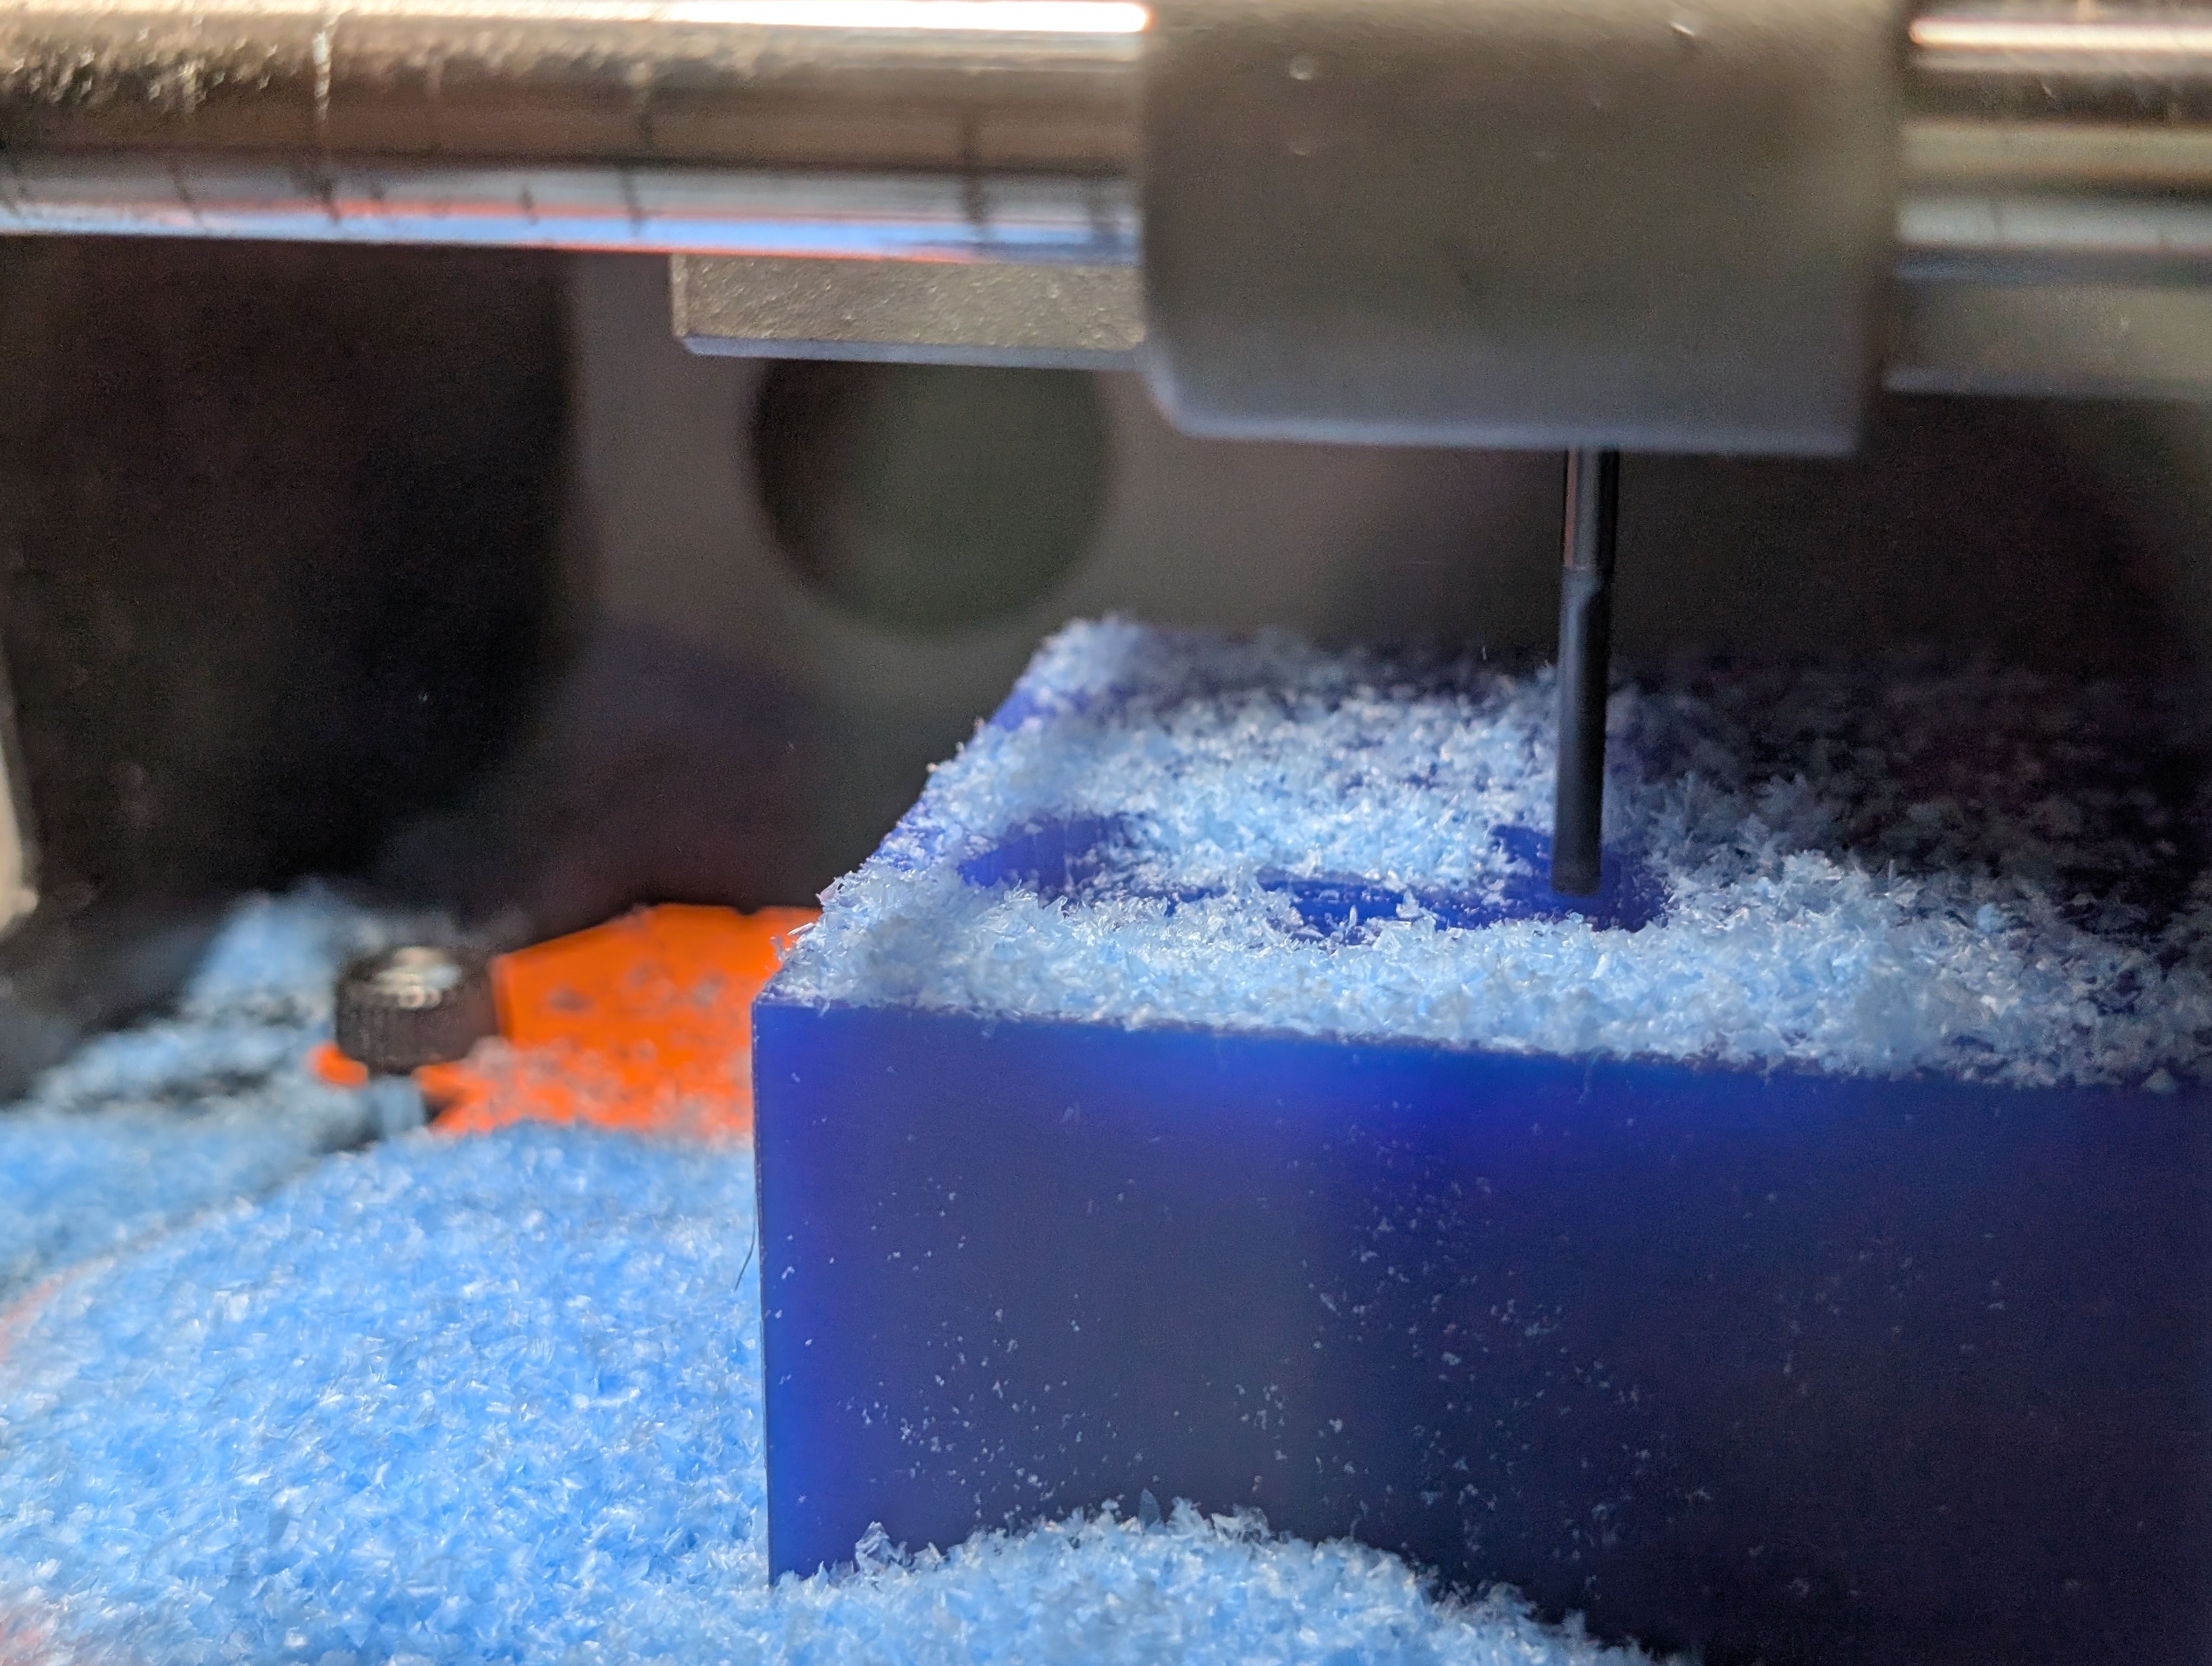
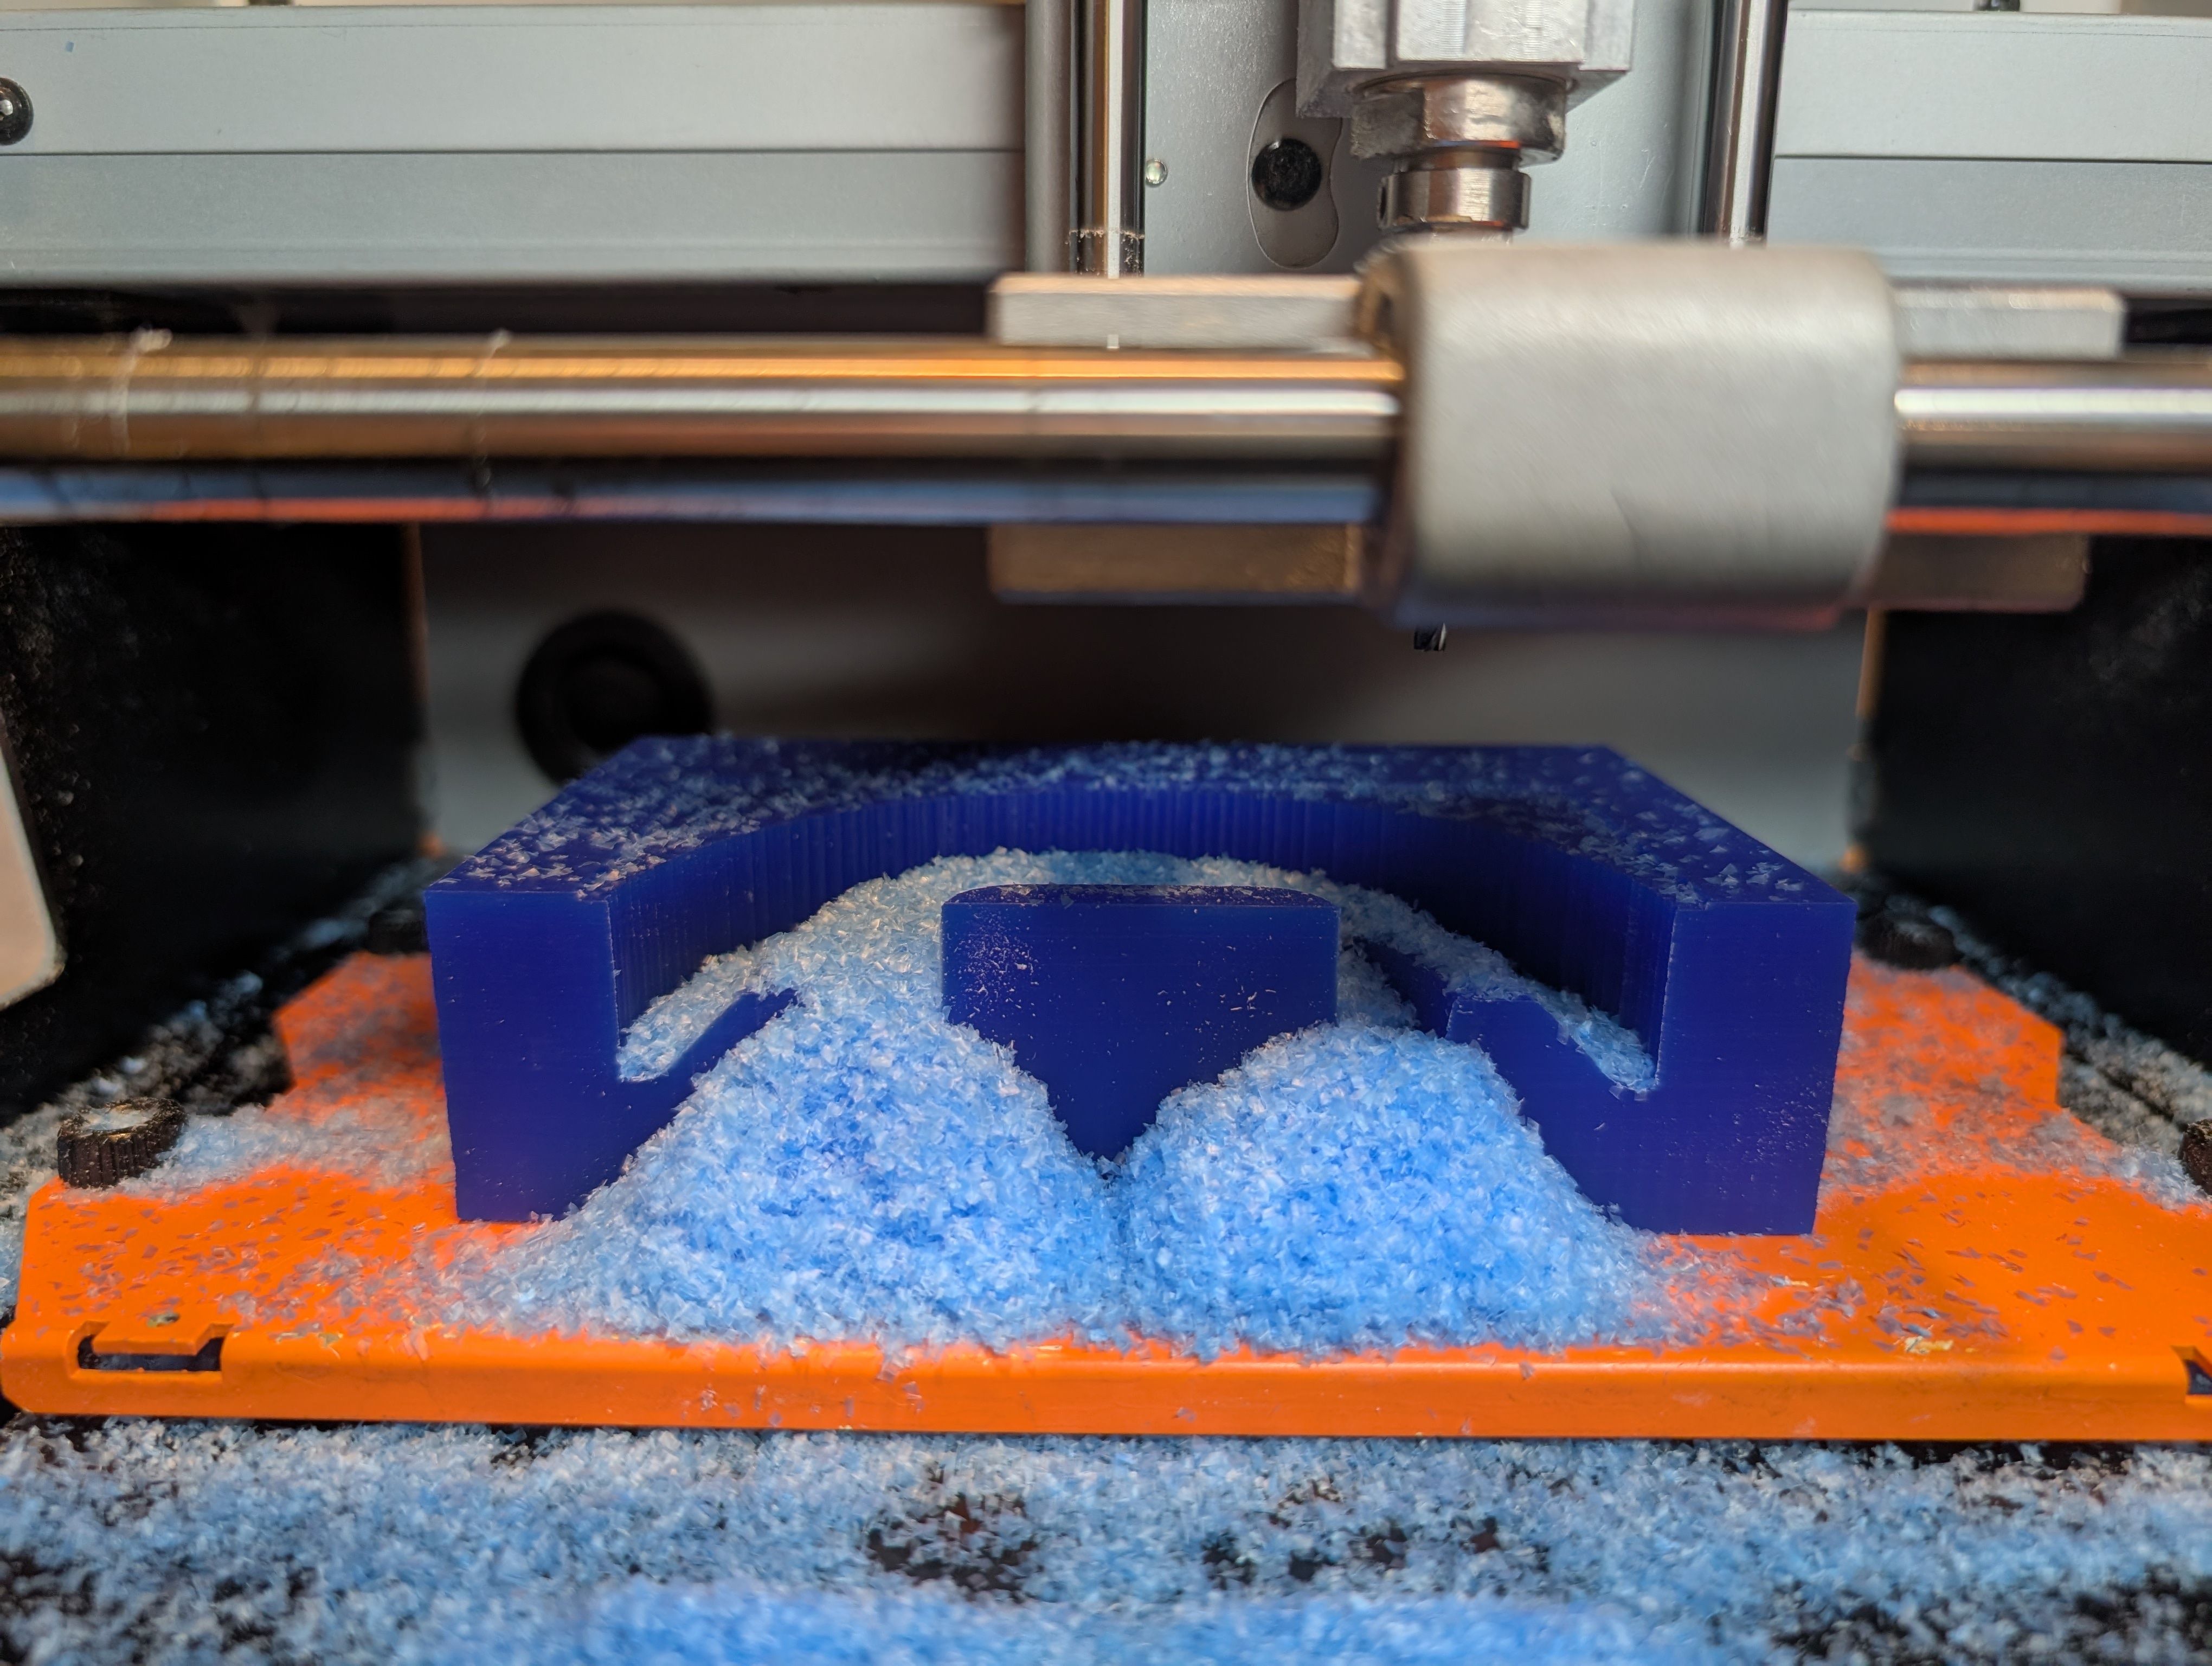
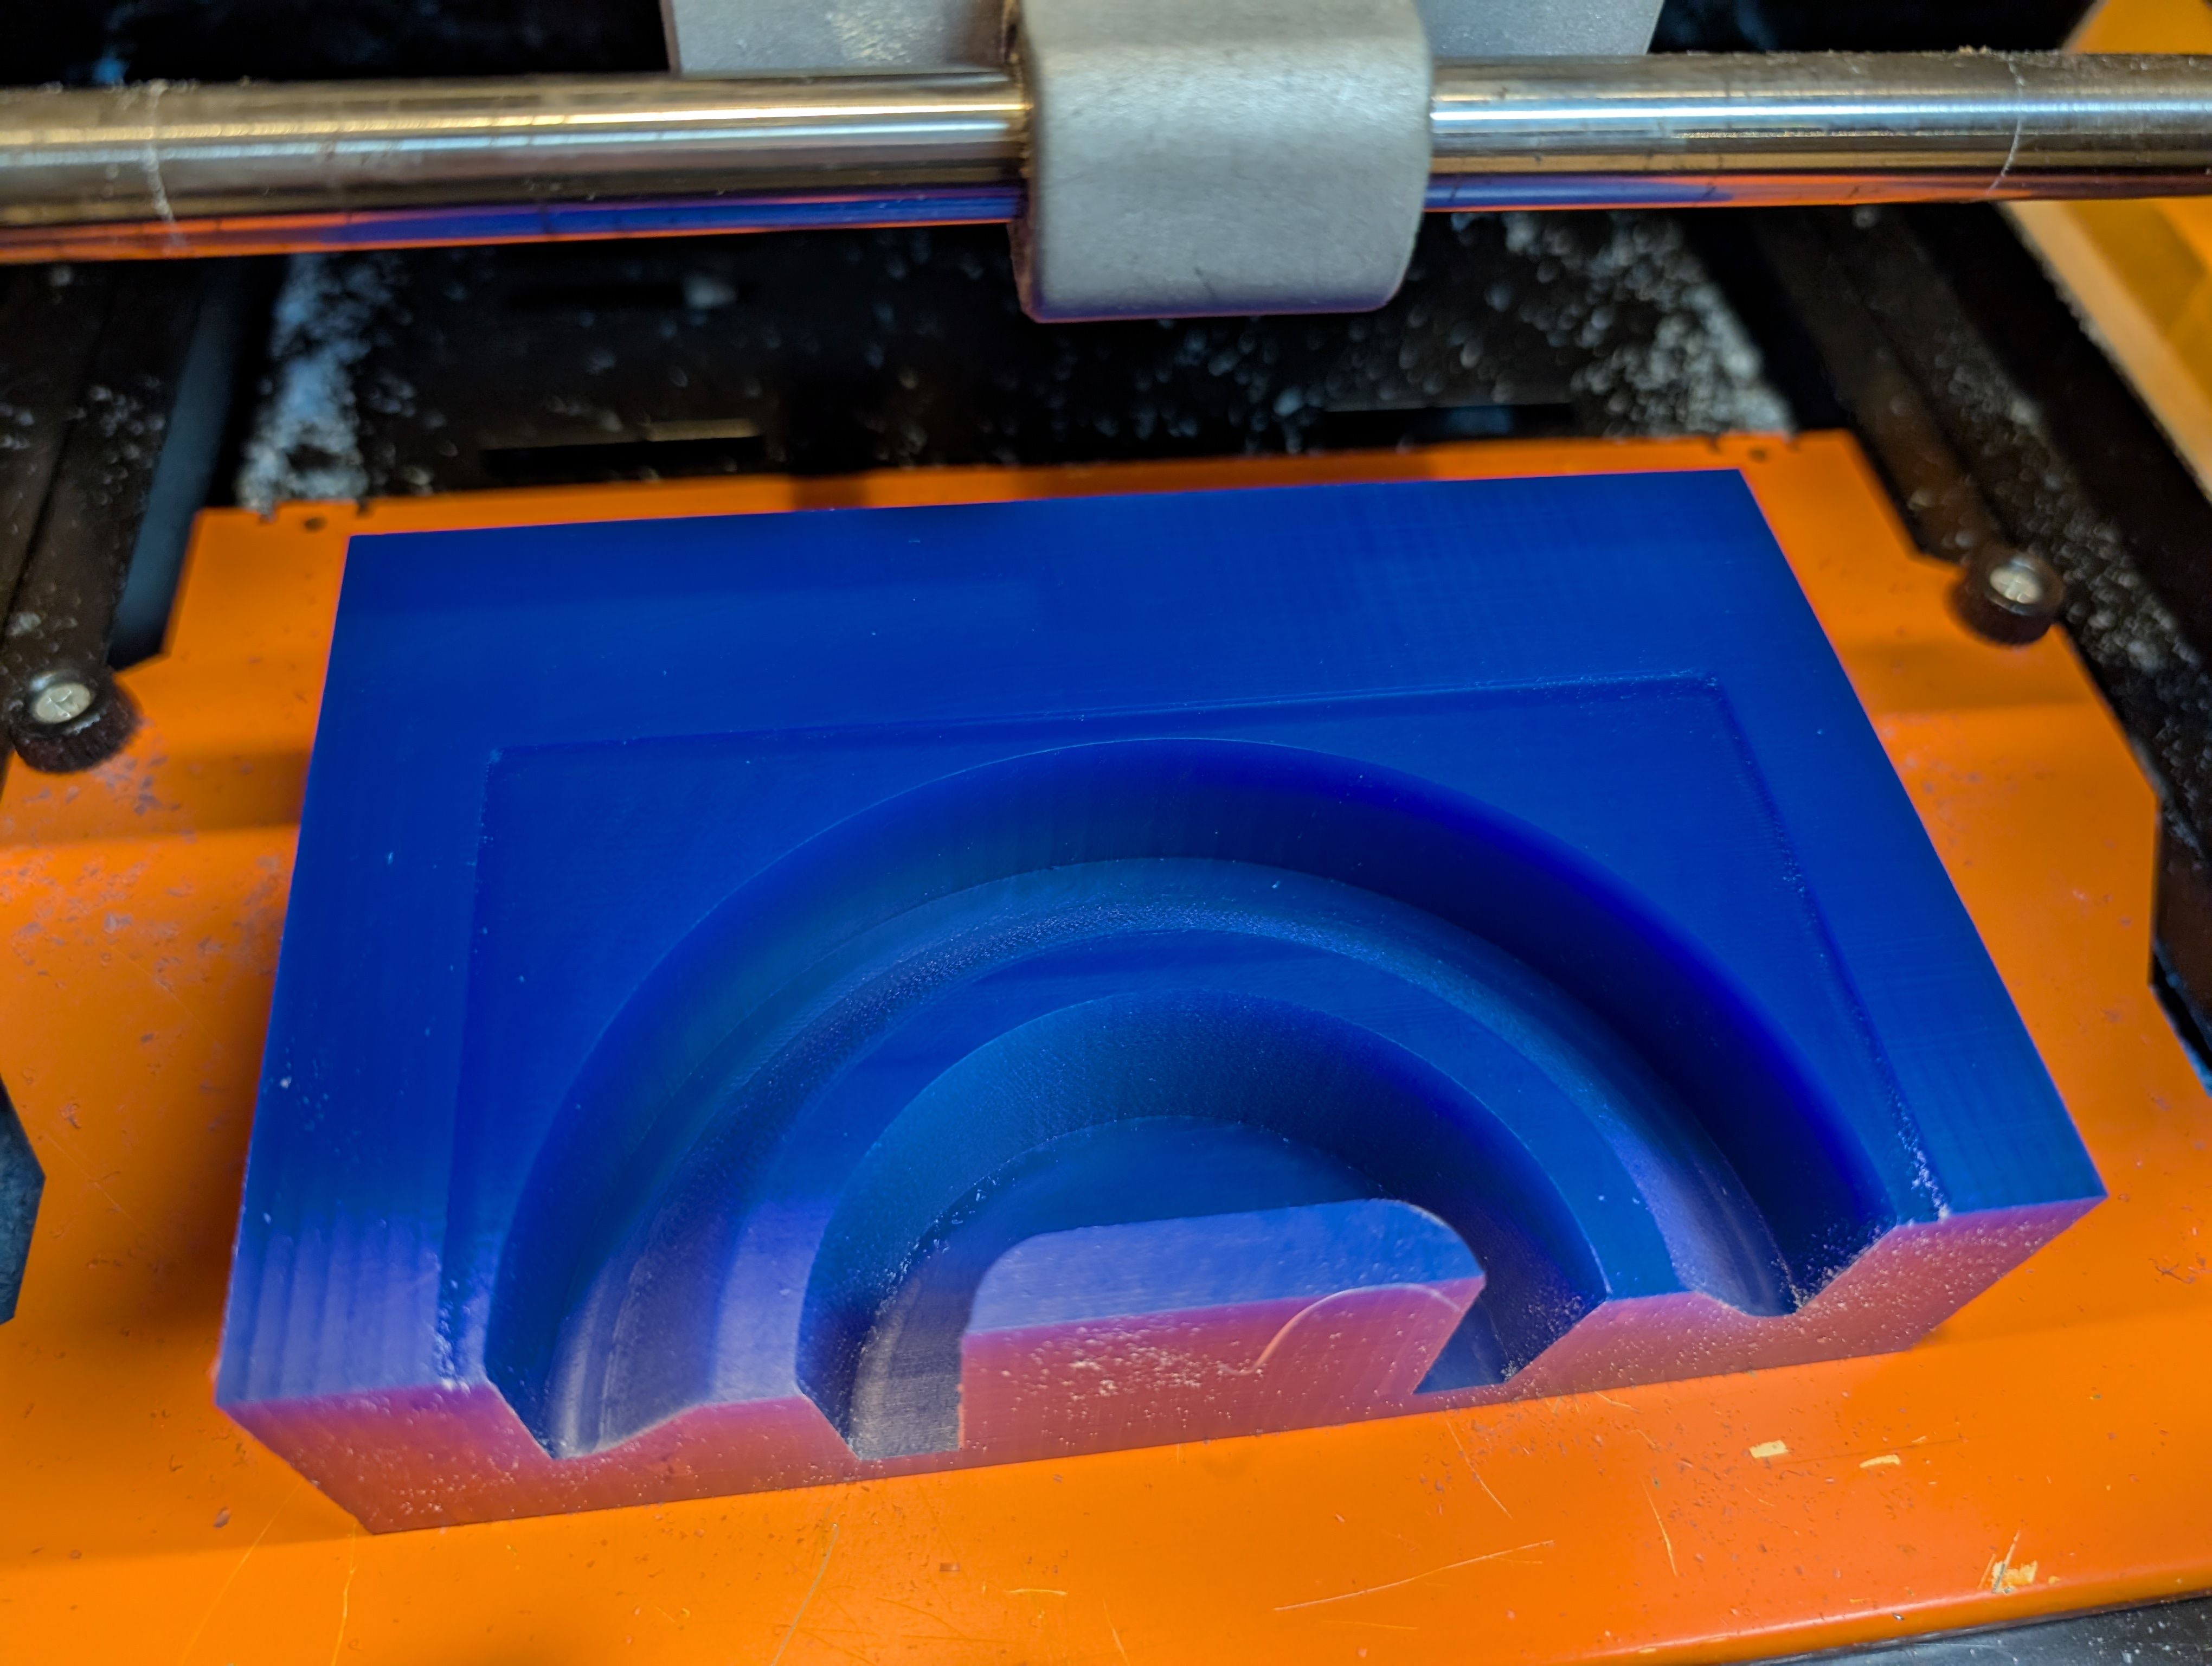
Start cutting.
Roughing goes well.

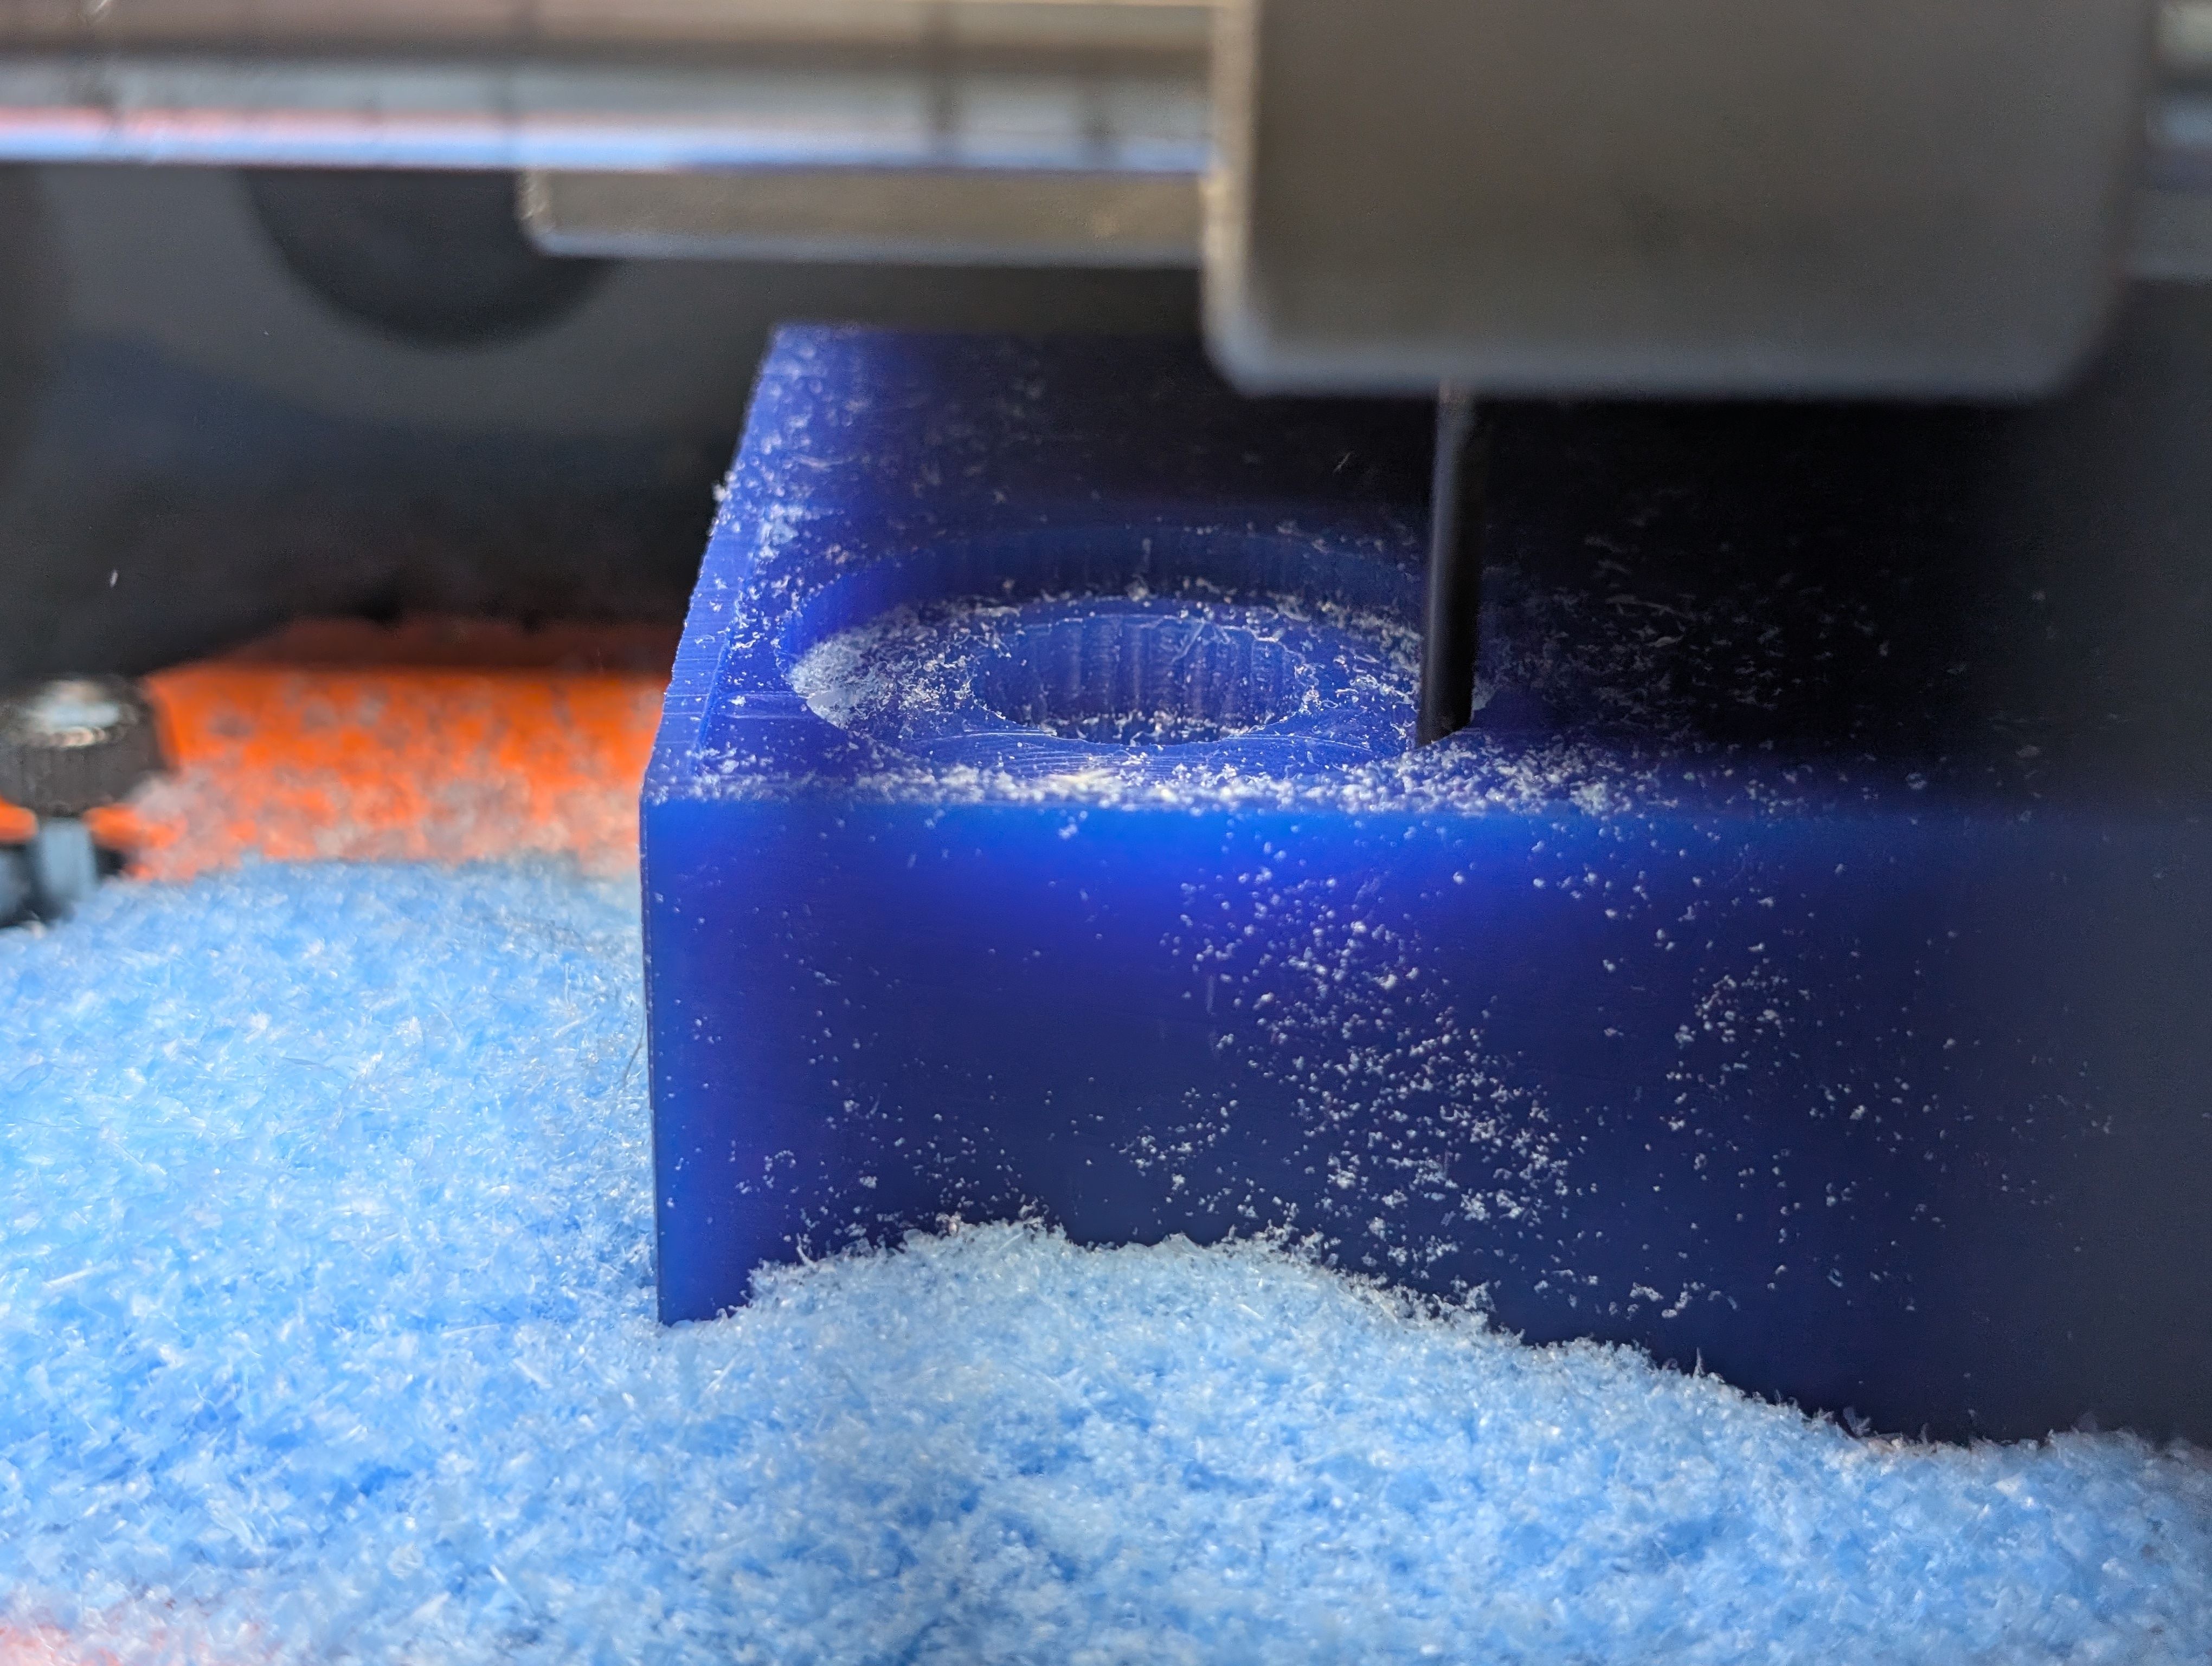
Finishing
However, while finishing, the wall broken…(for make hole)
It seems the width is too thin.
Since the mill blades go in from the same direction every time, I think too much pressure was being
applied in that direction only.
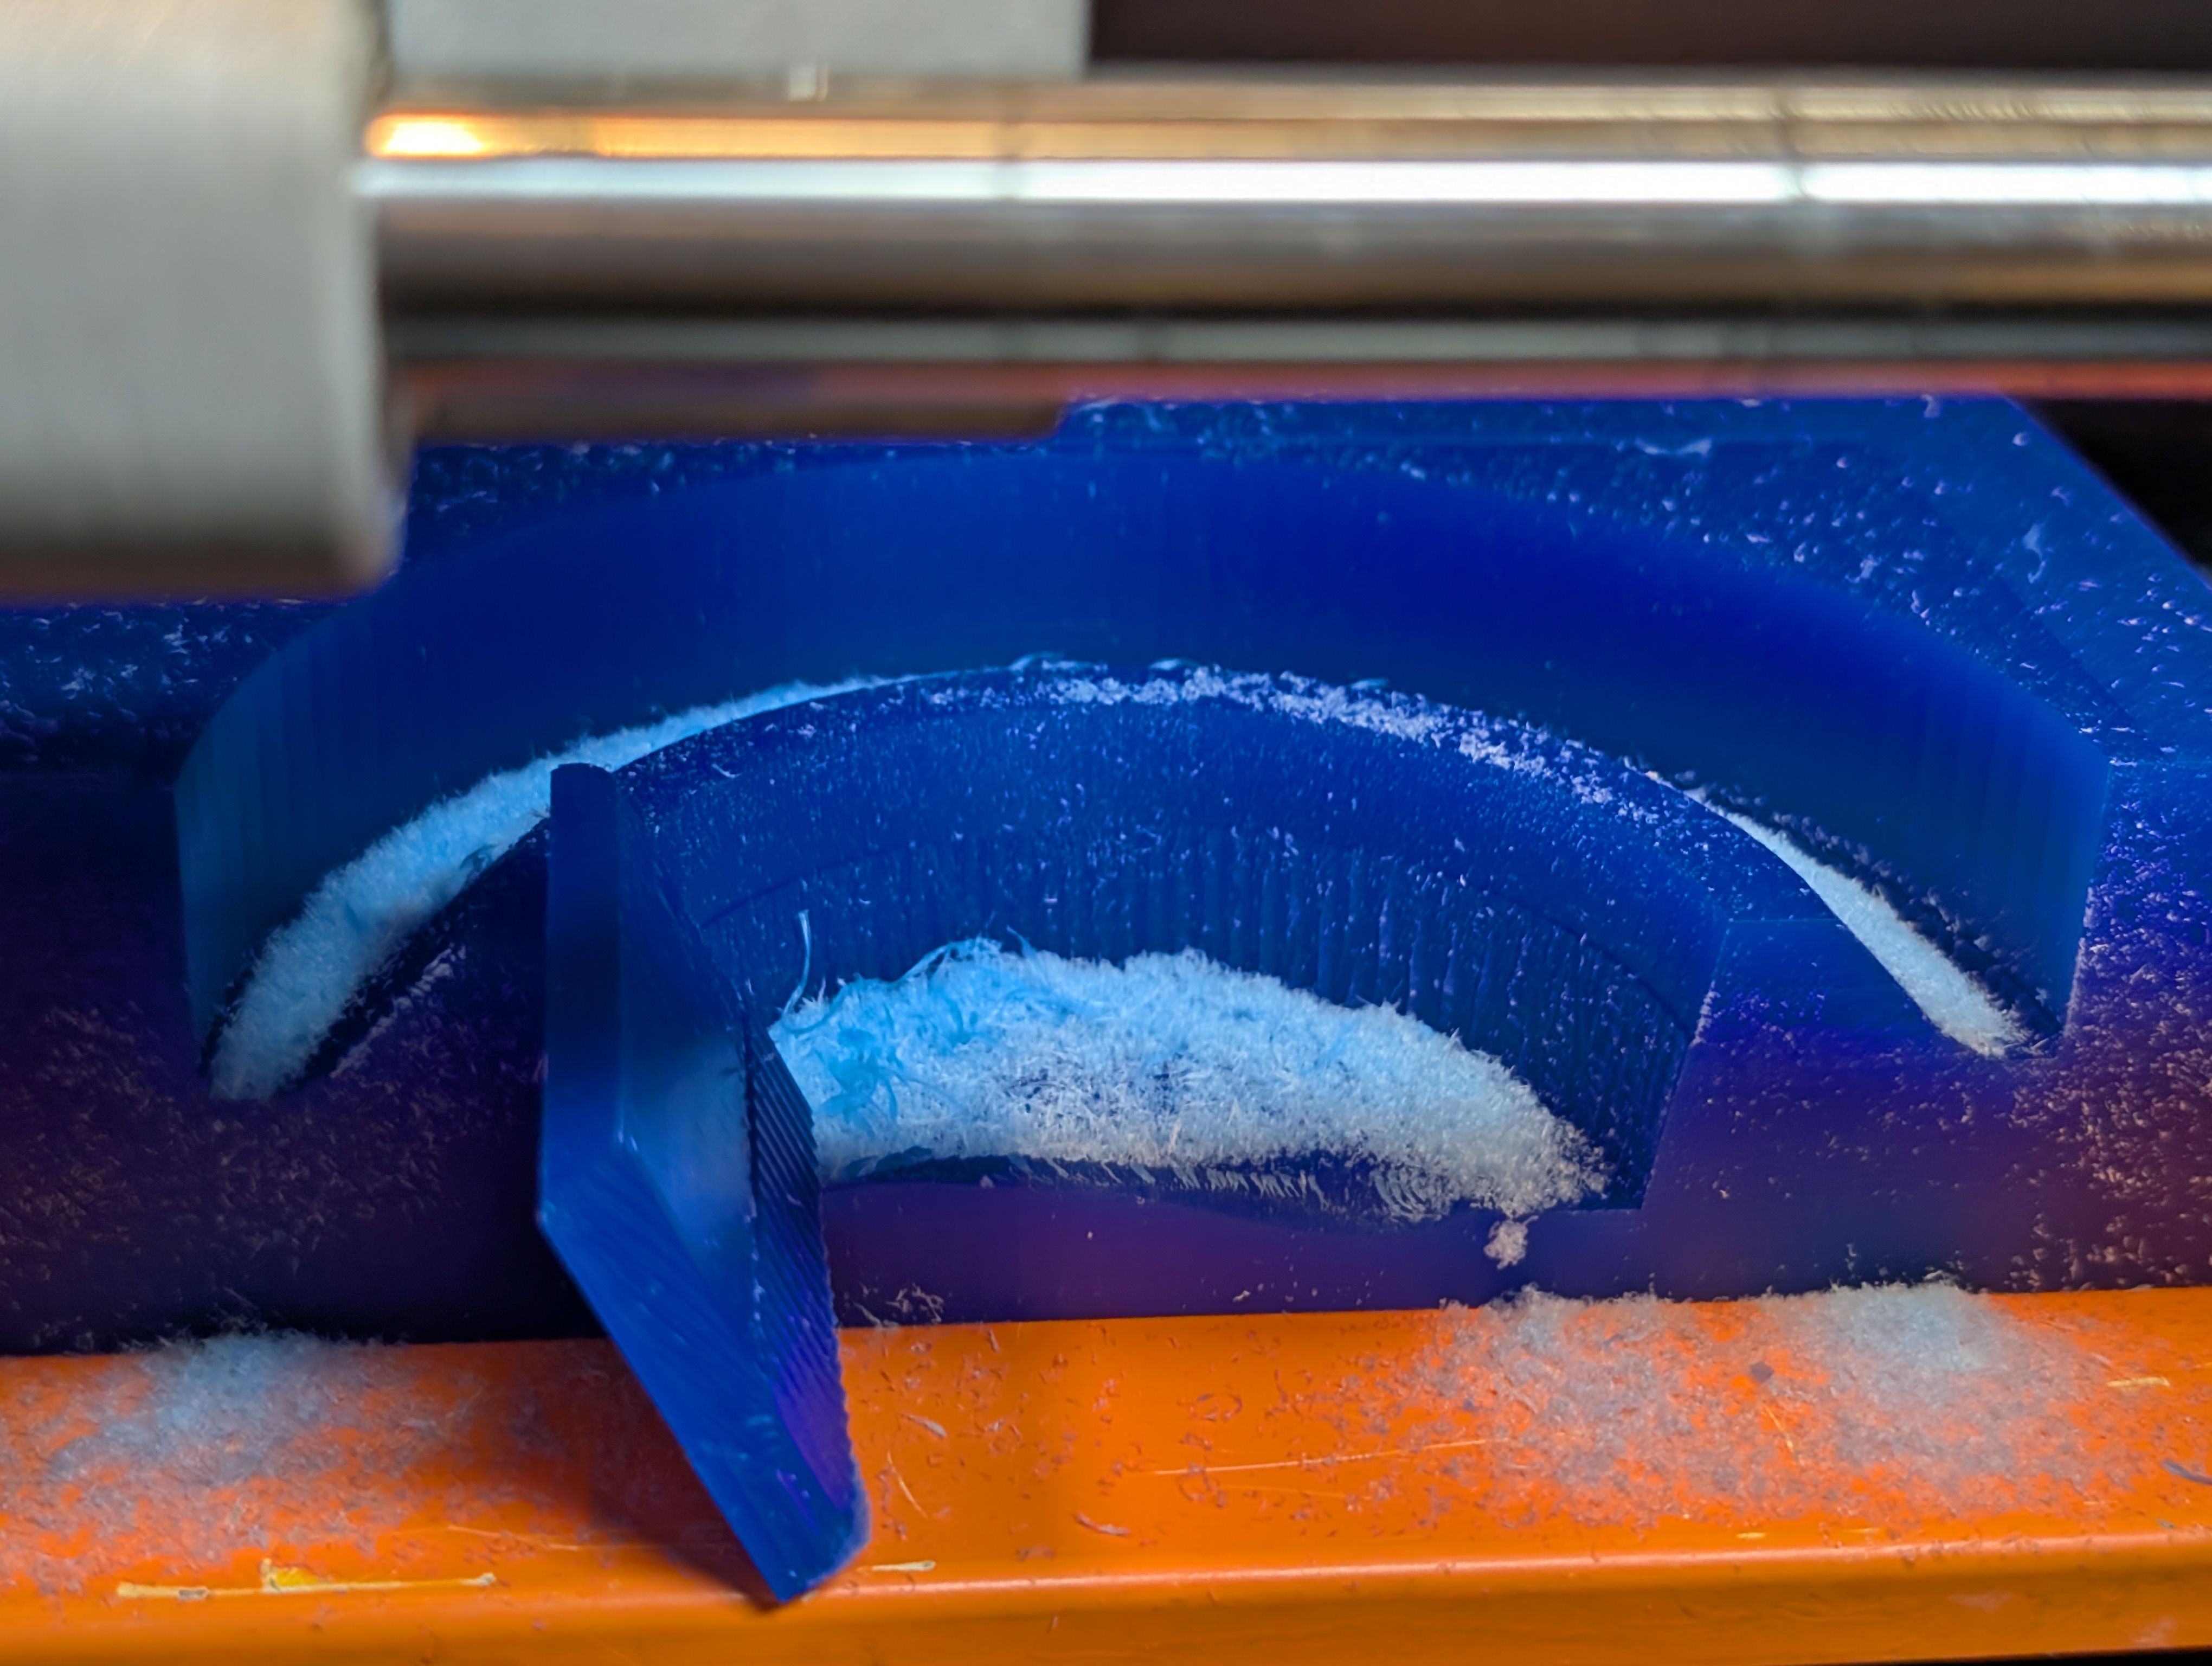
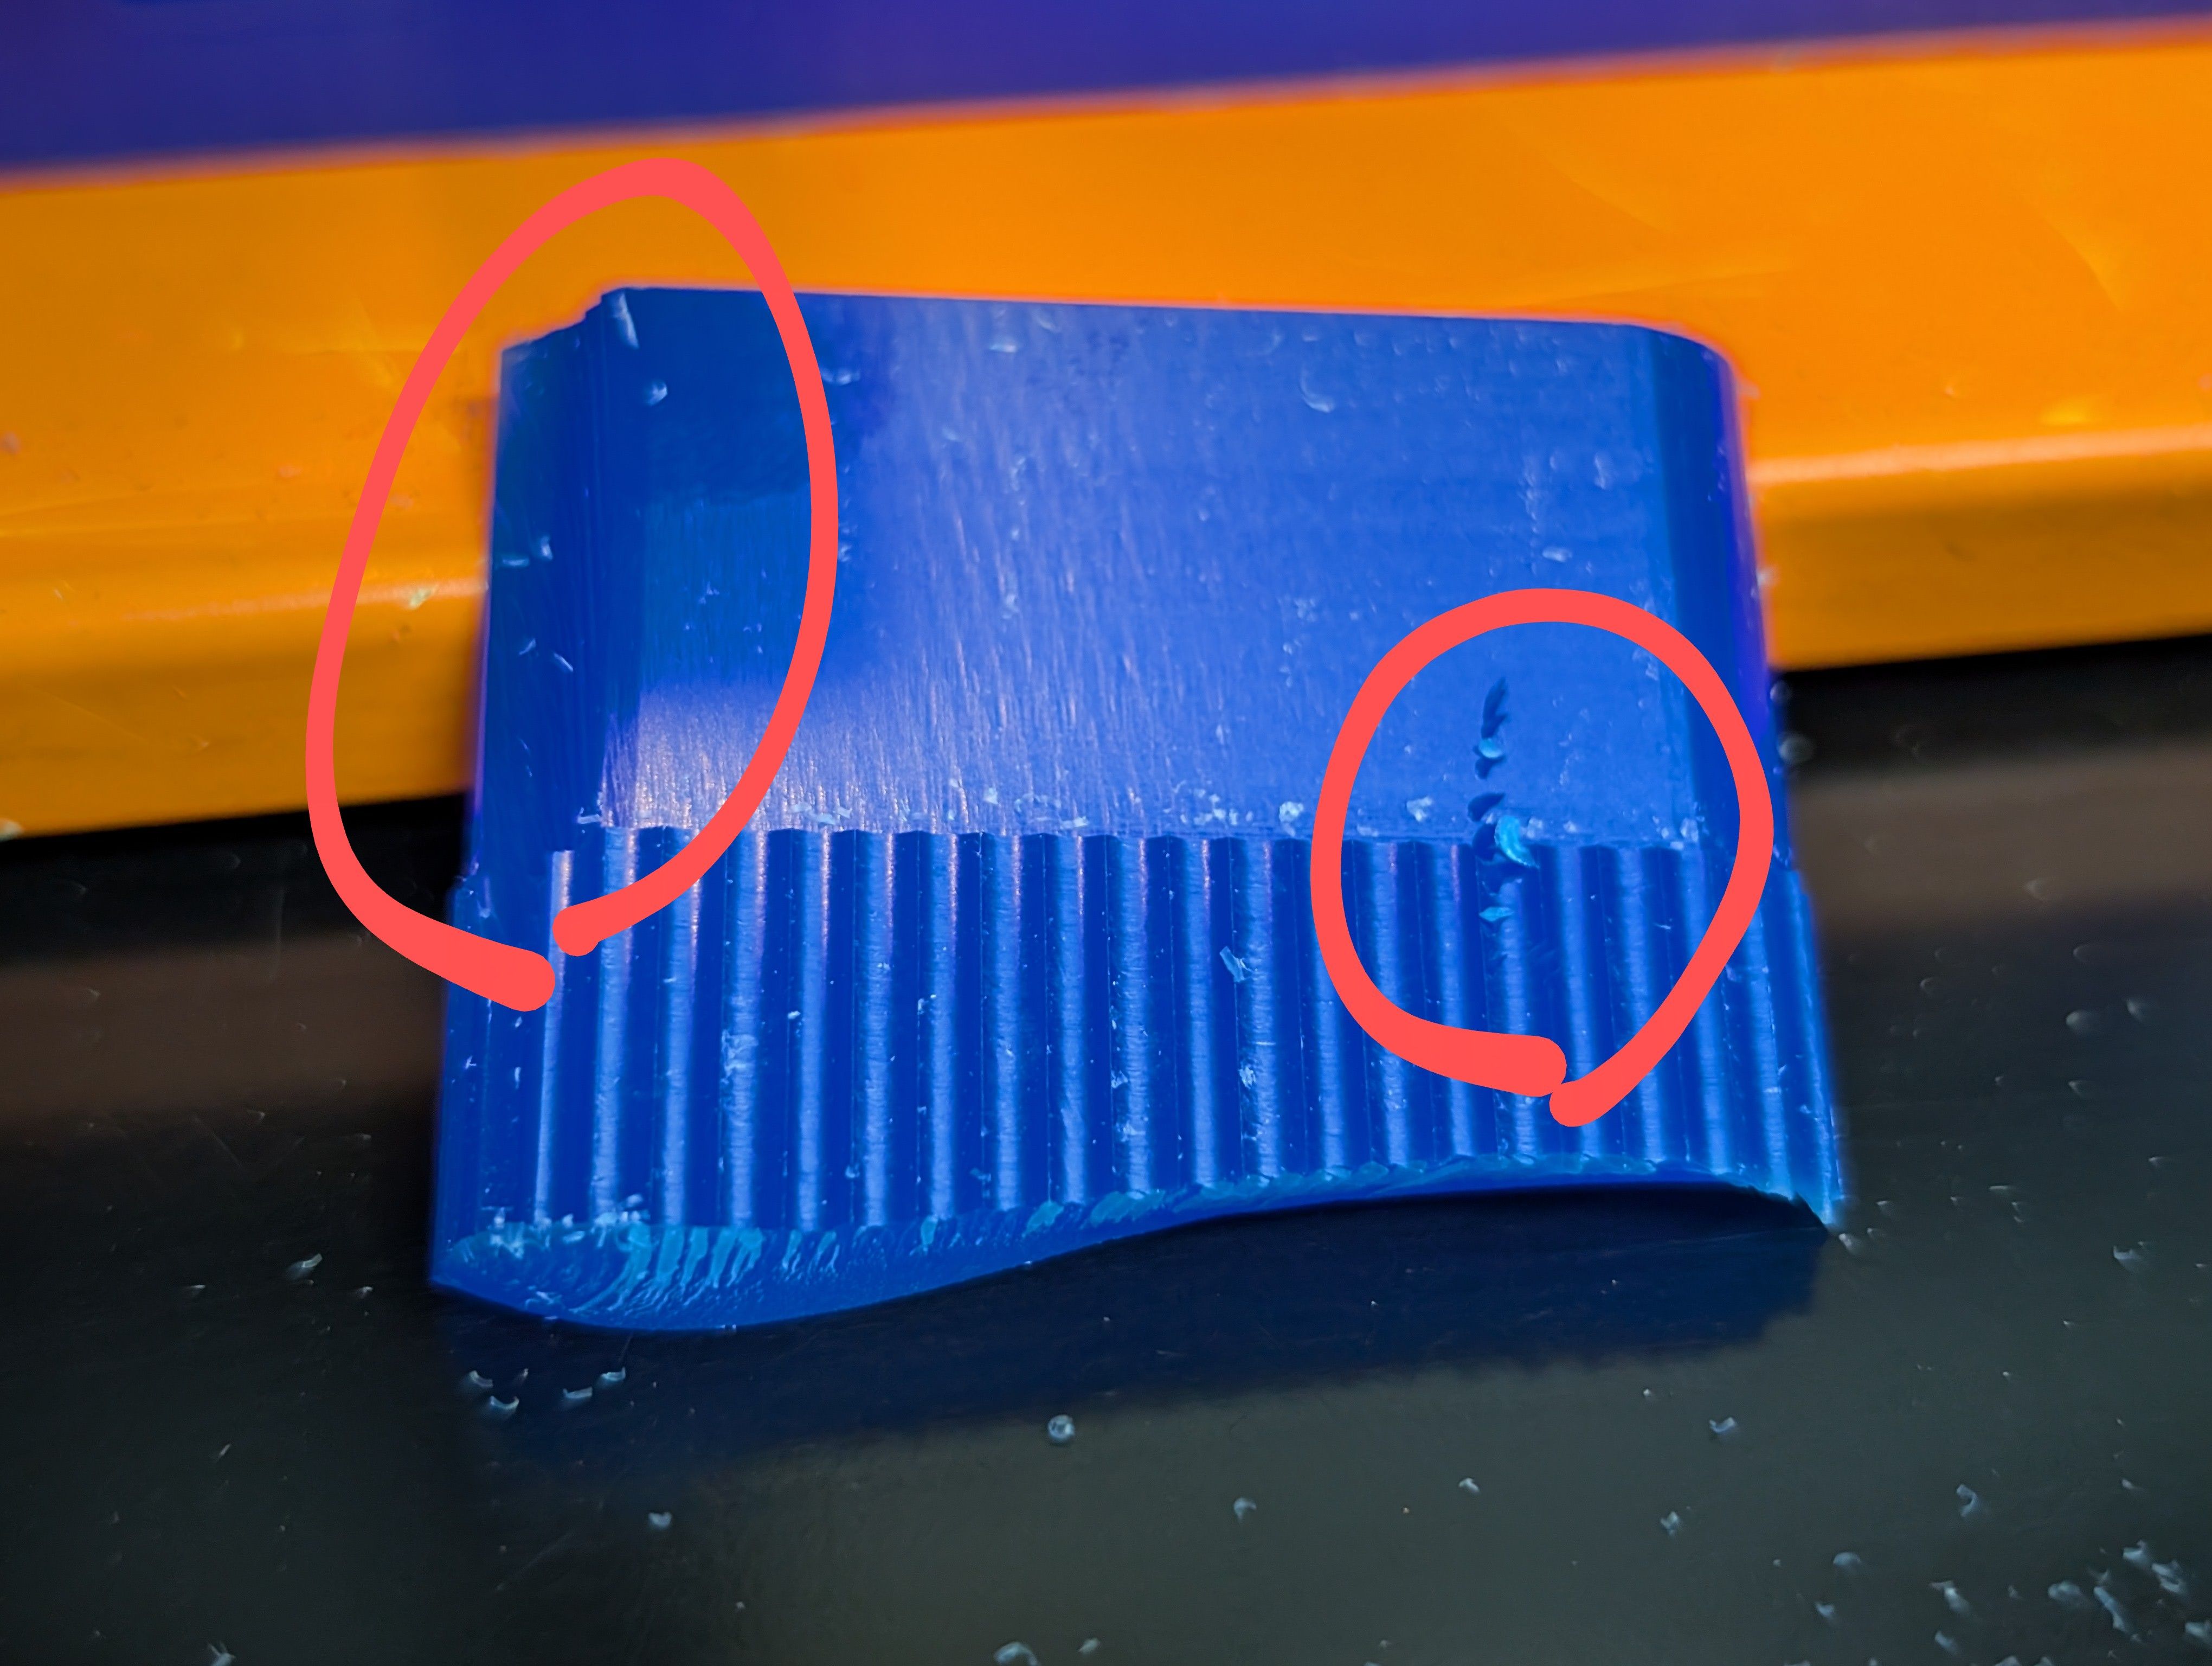
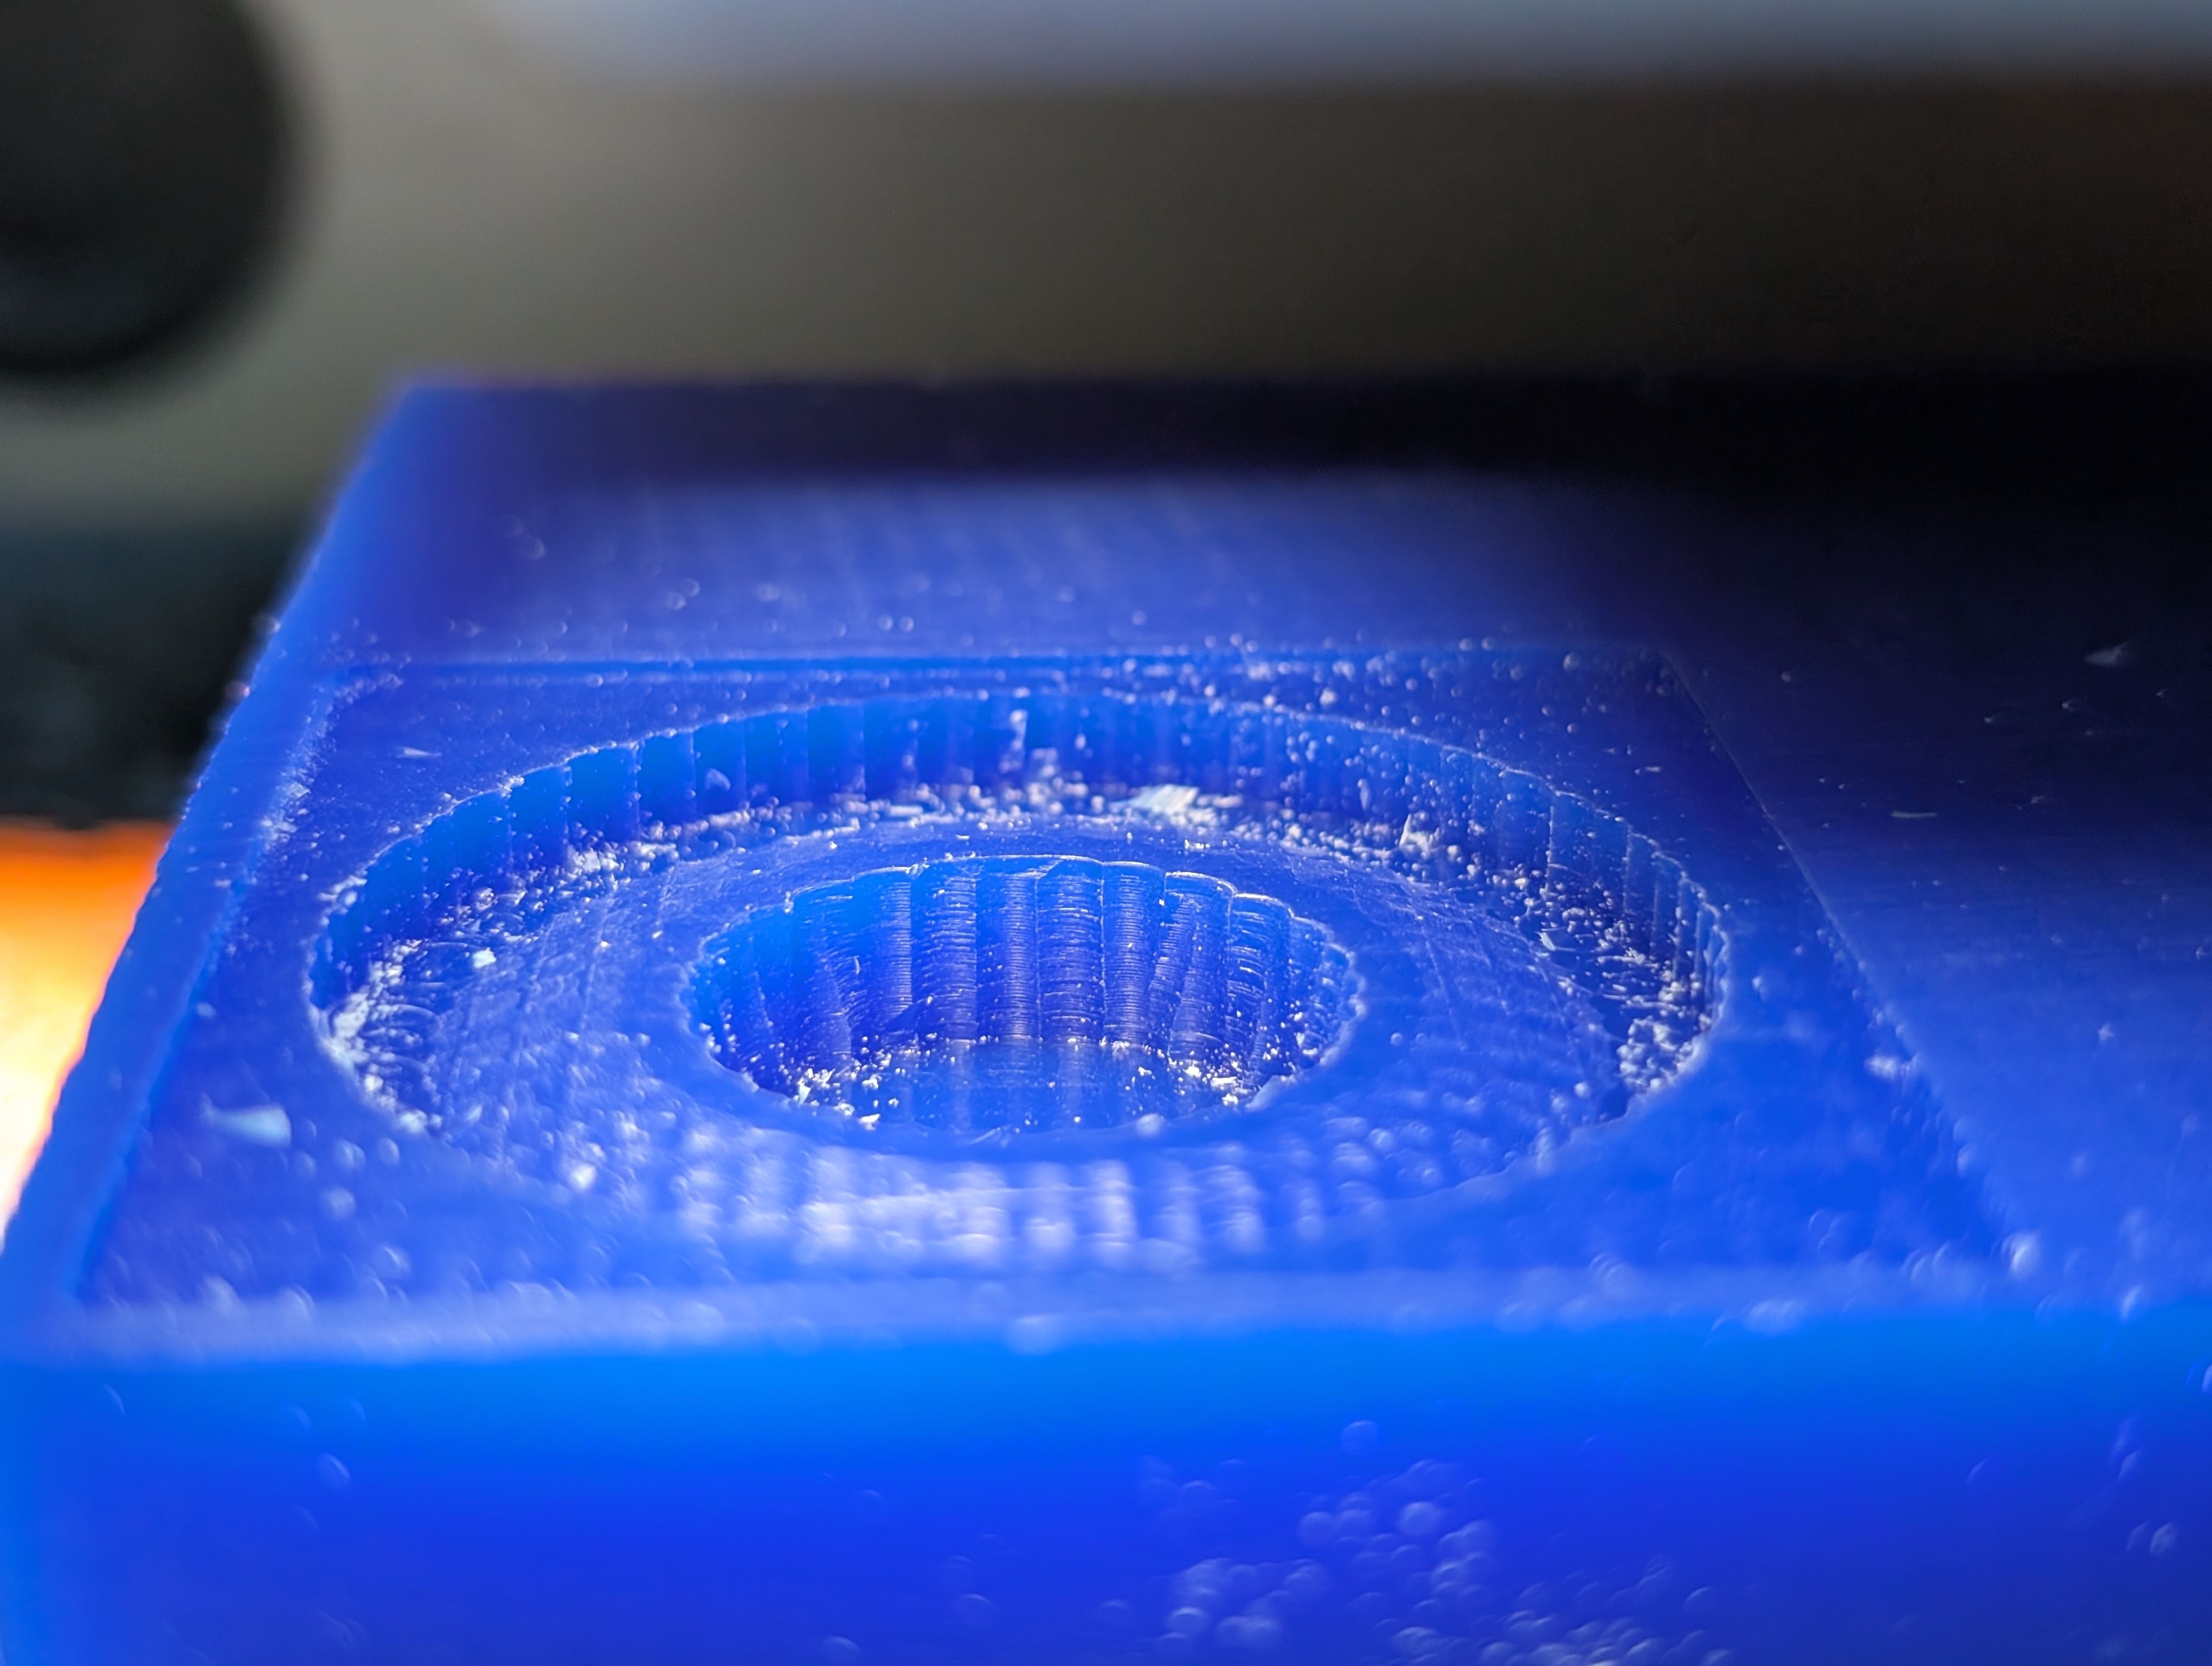
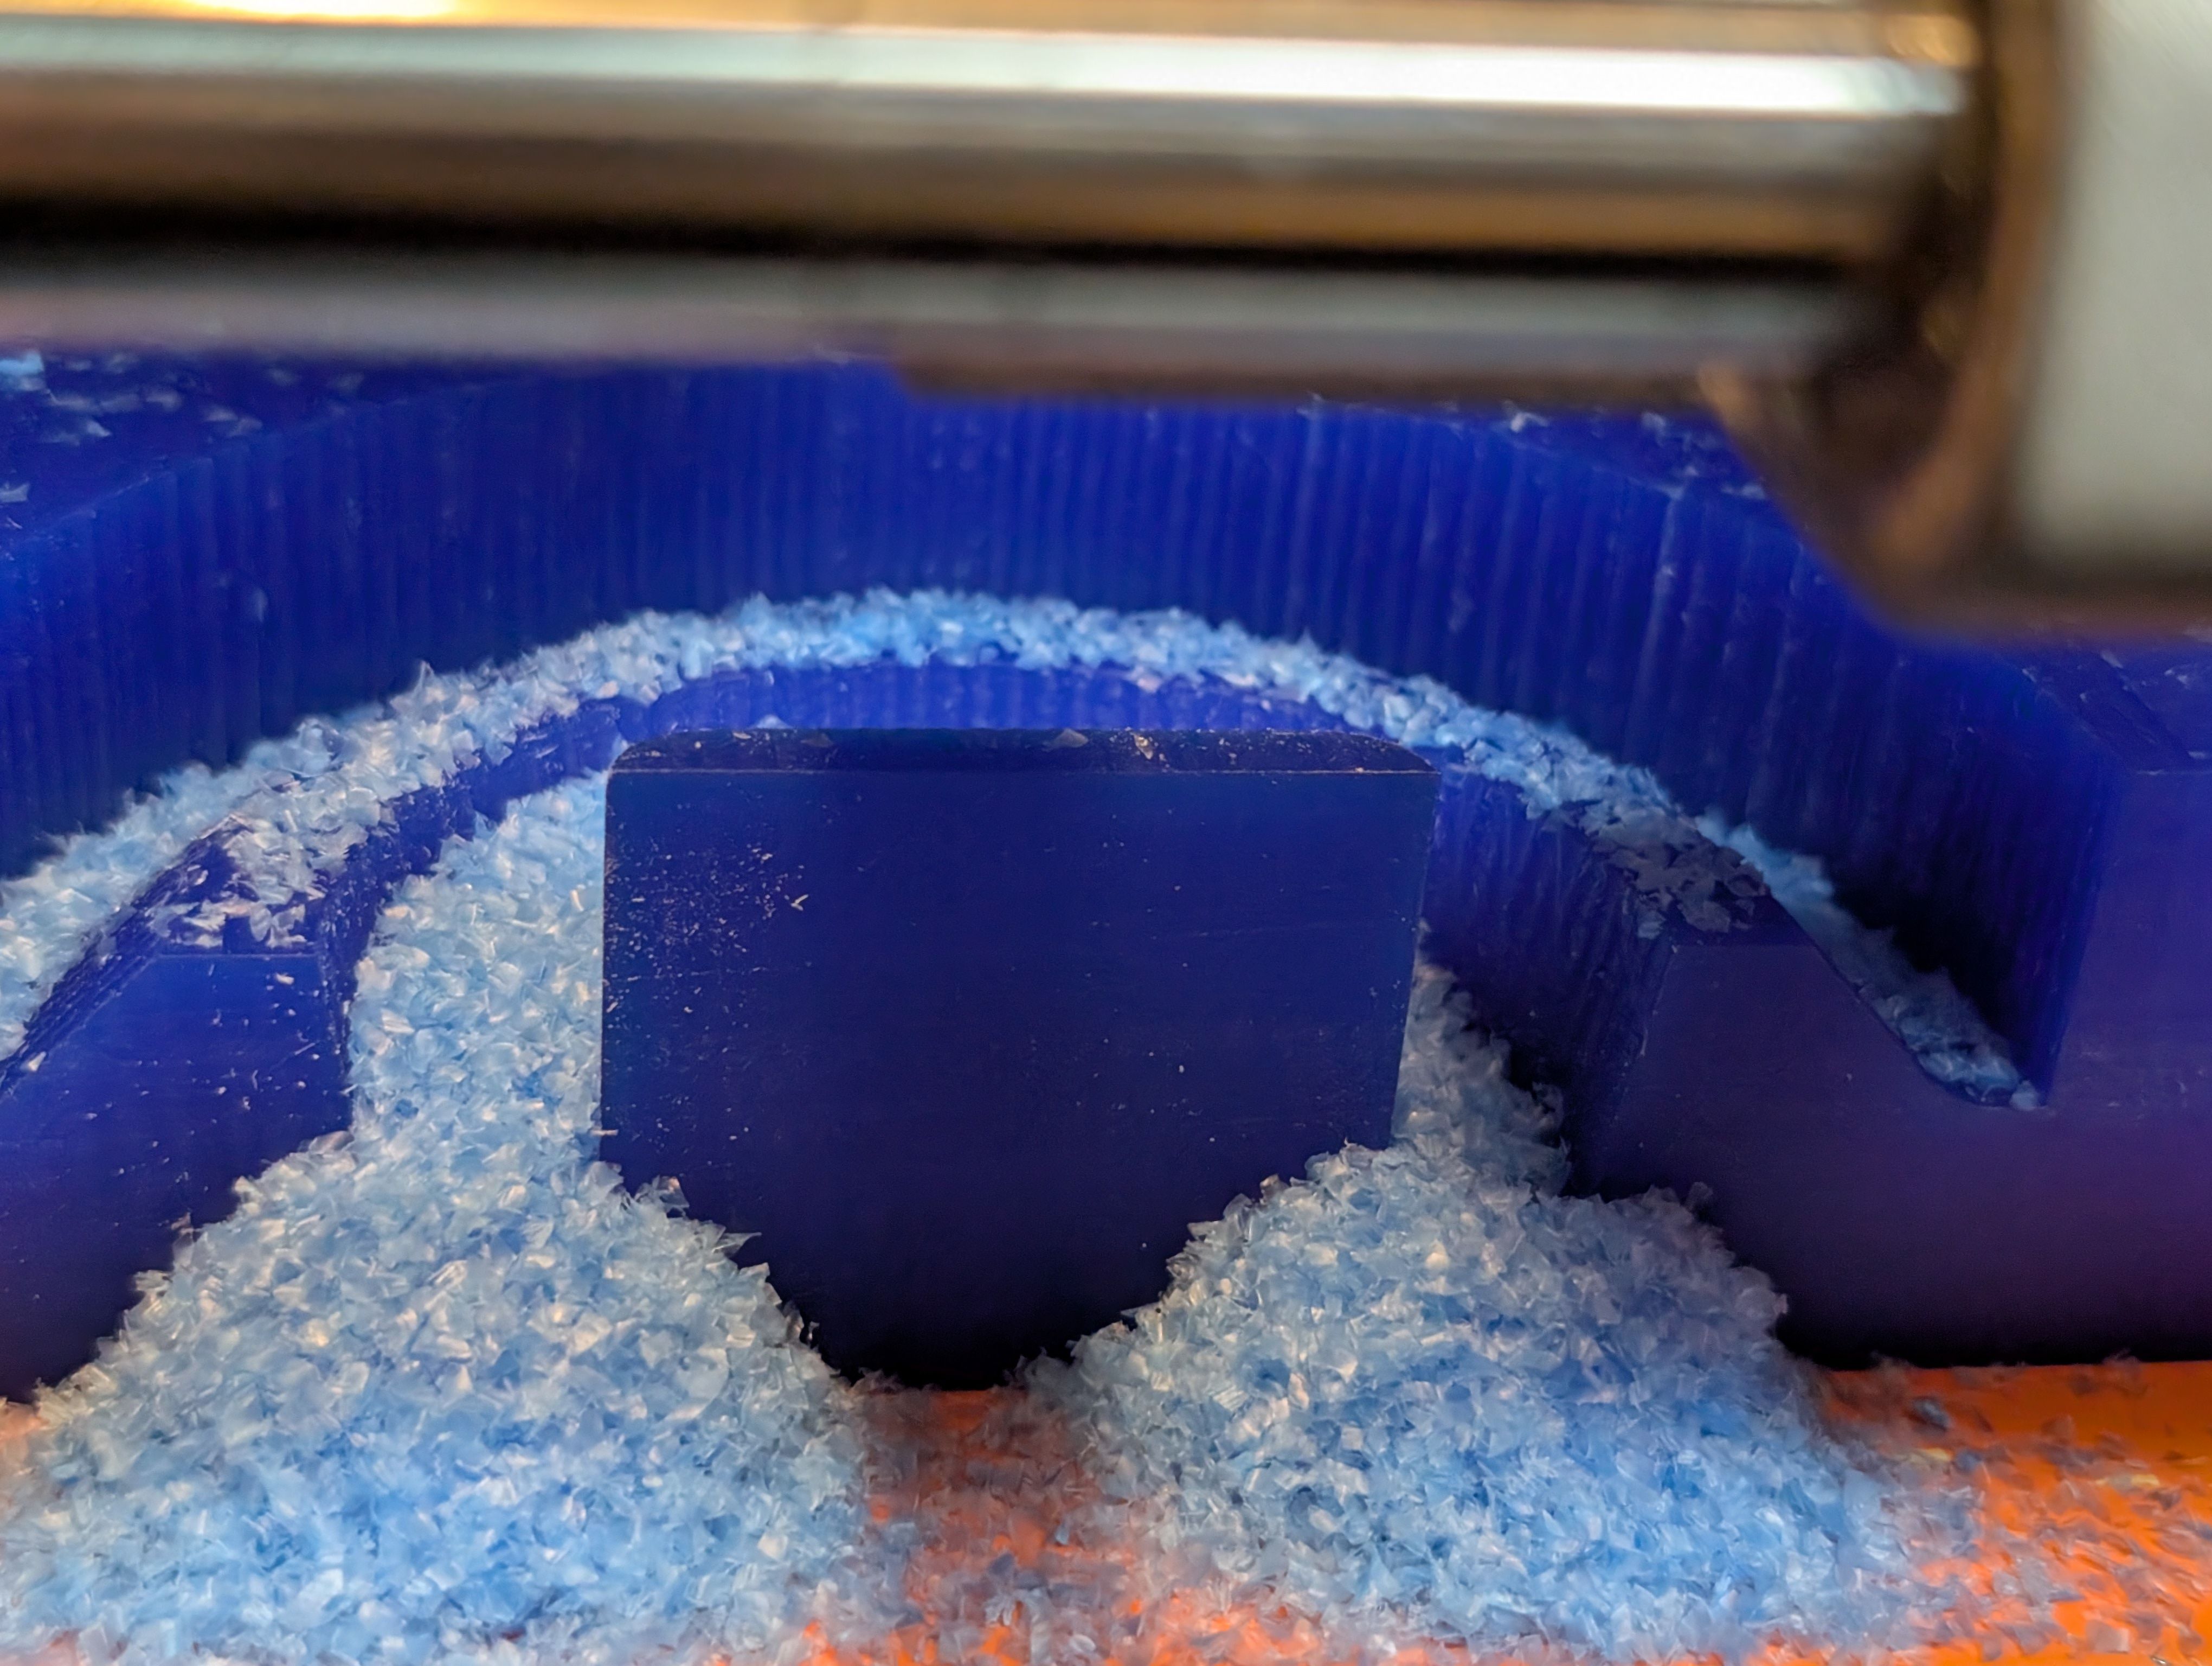
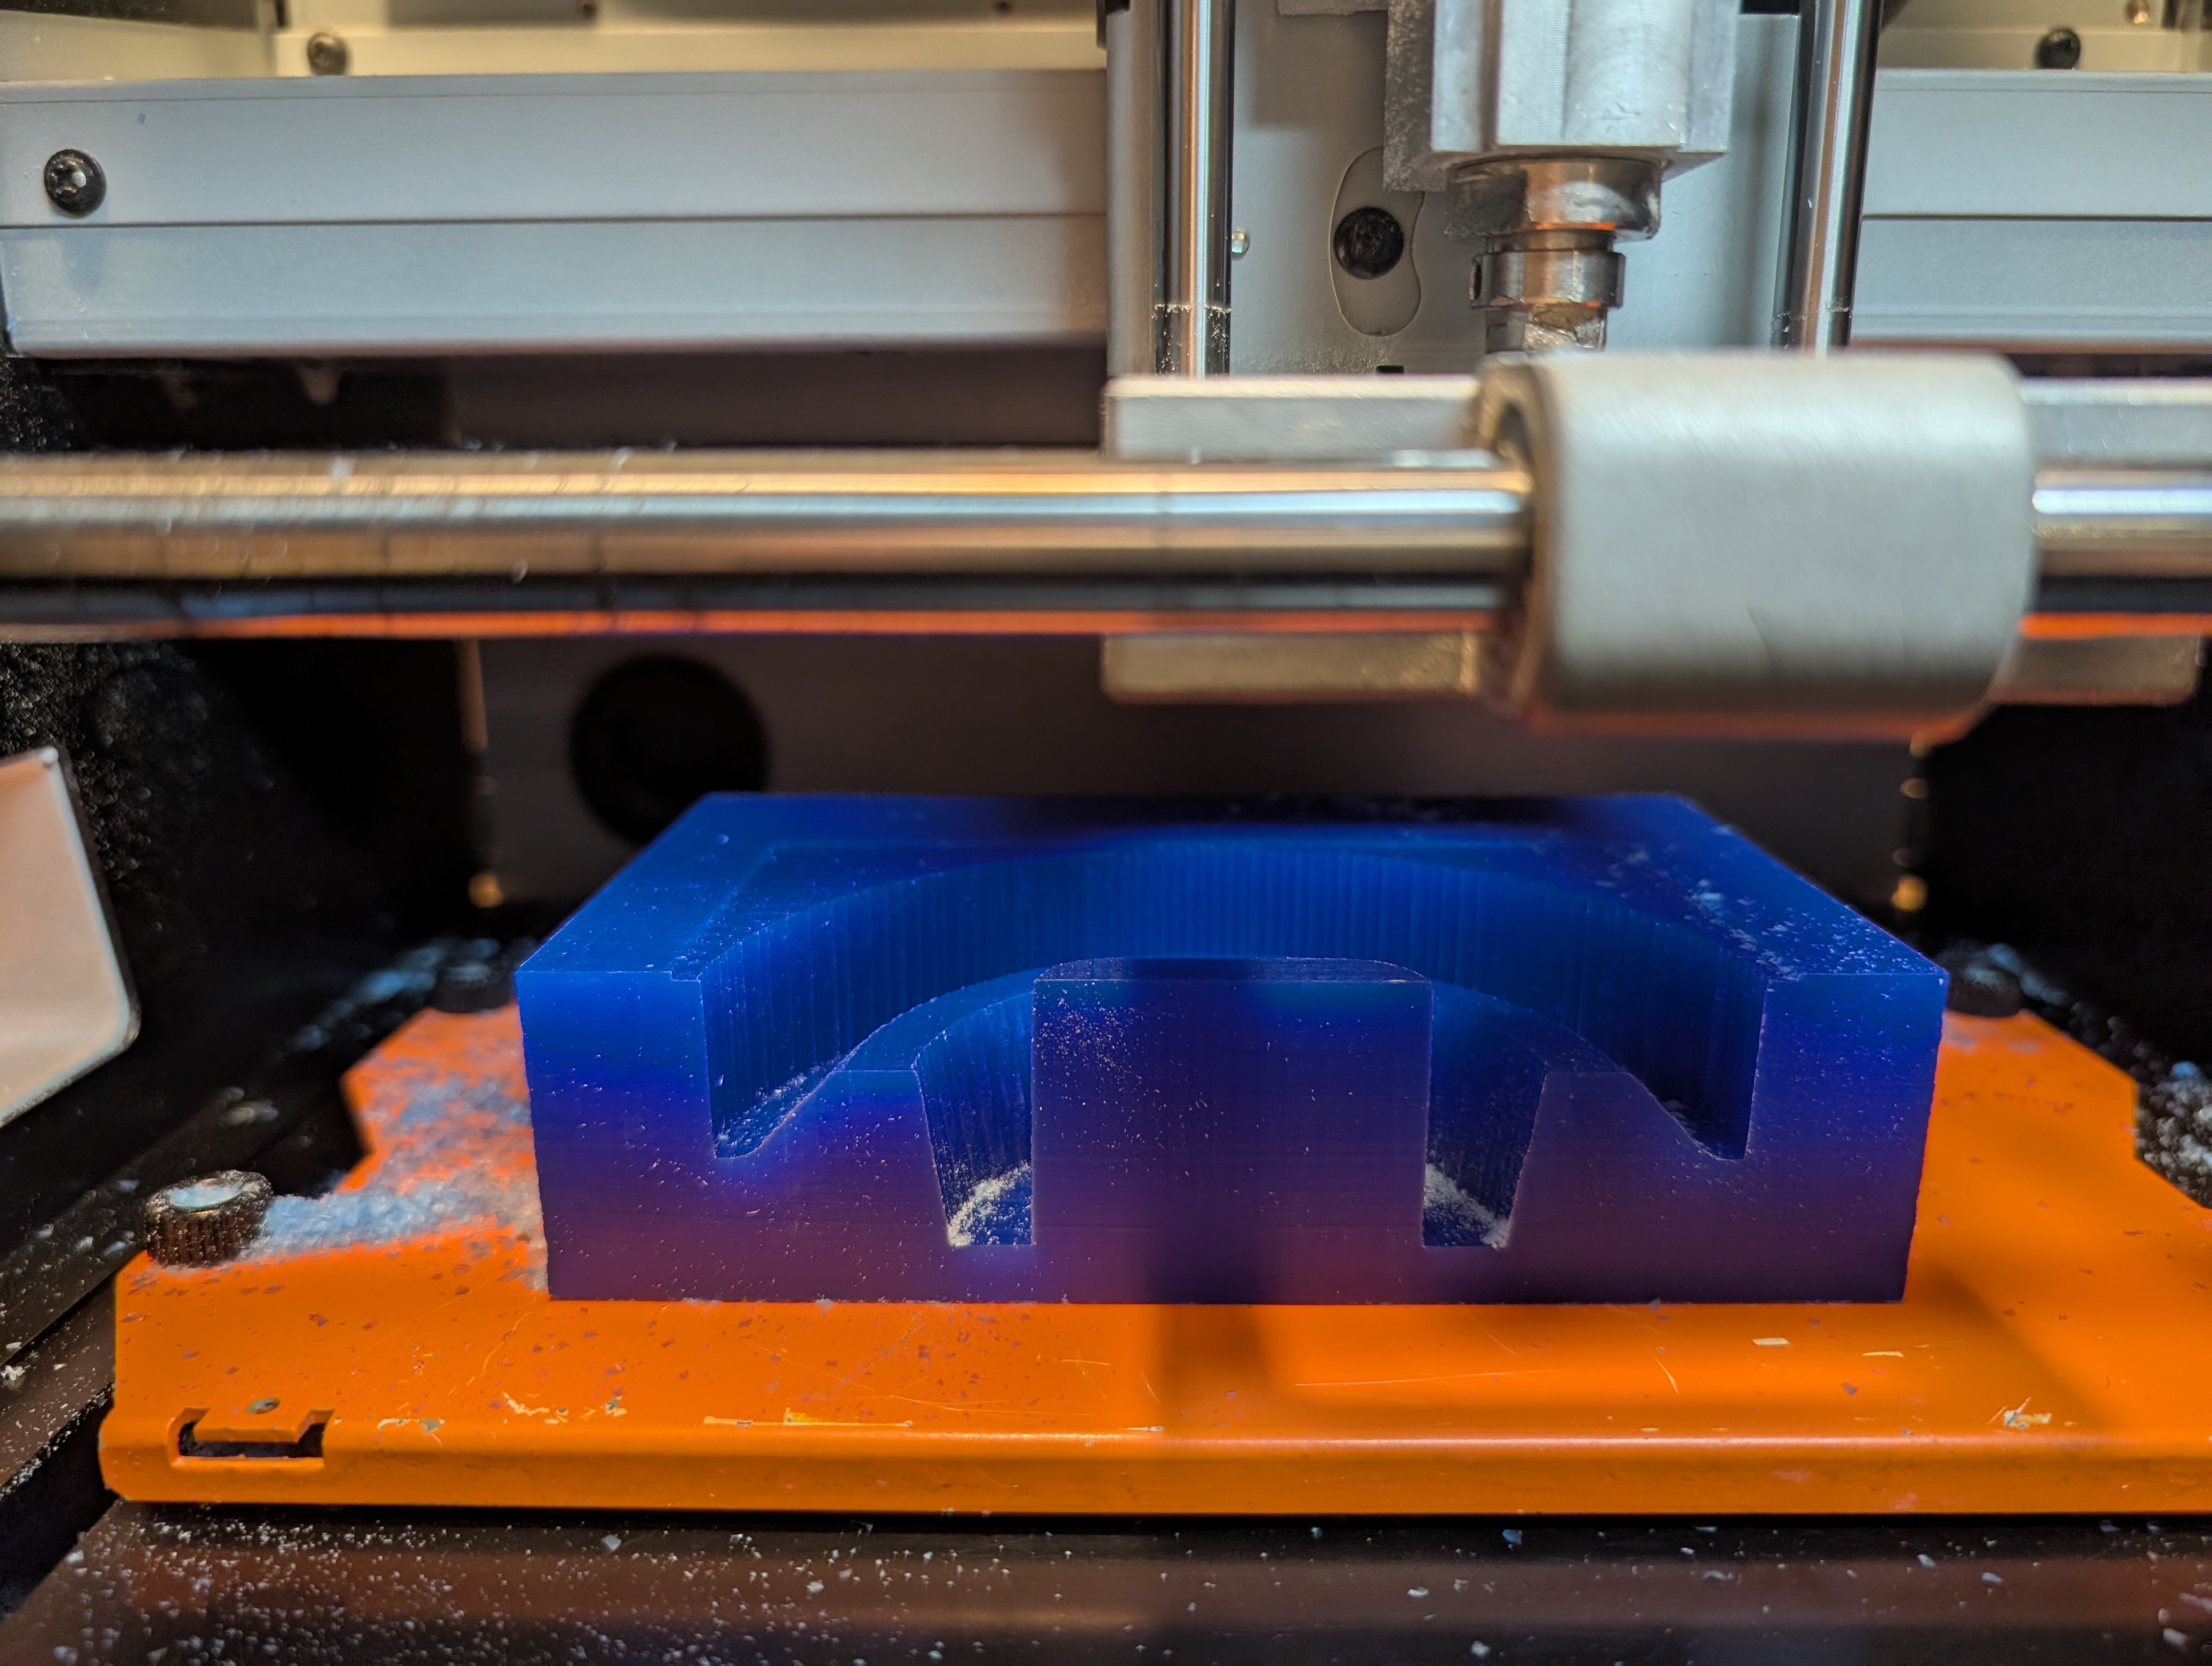
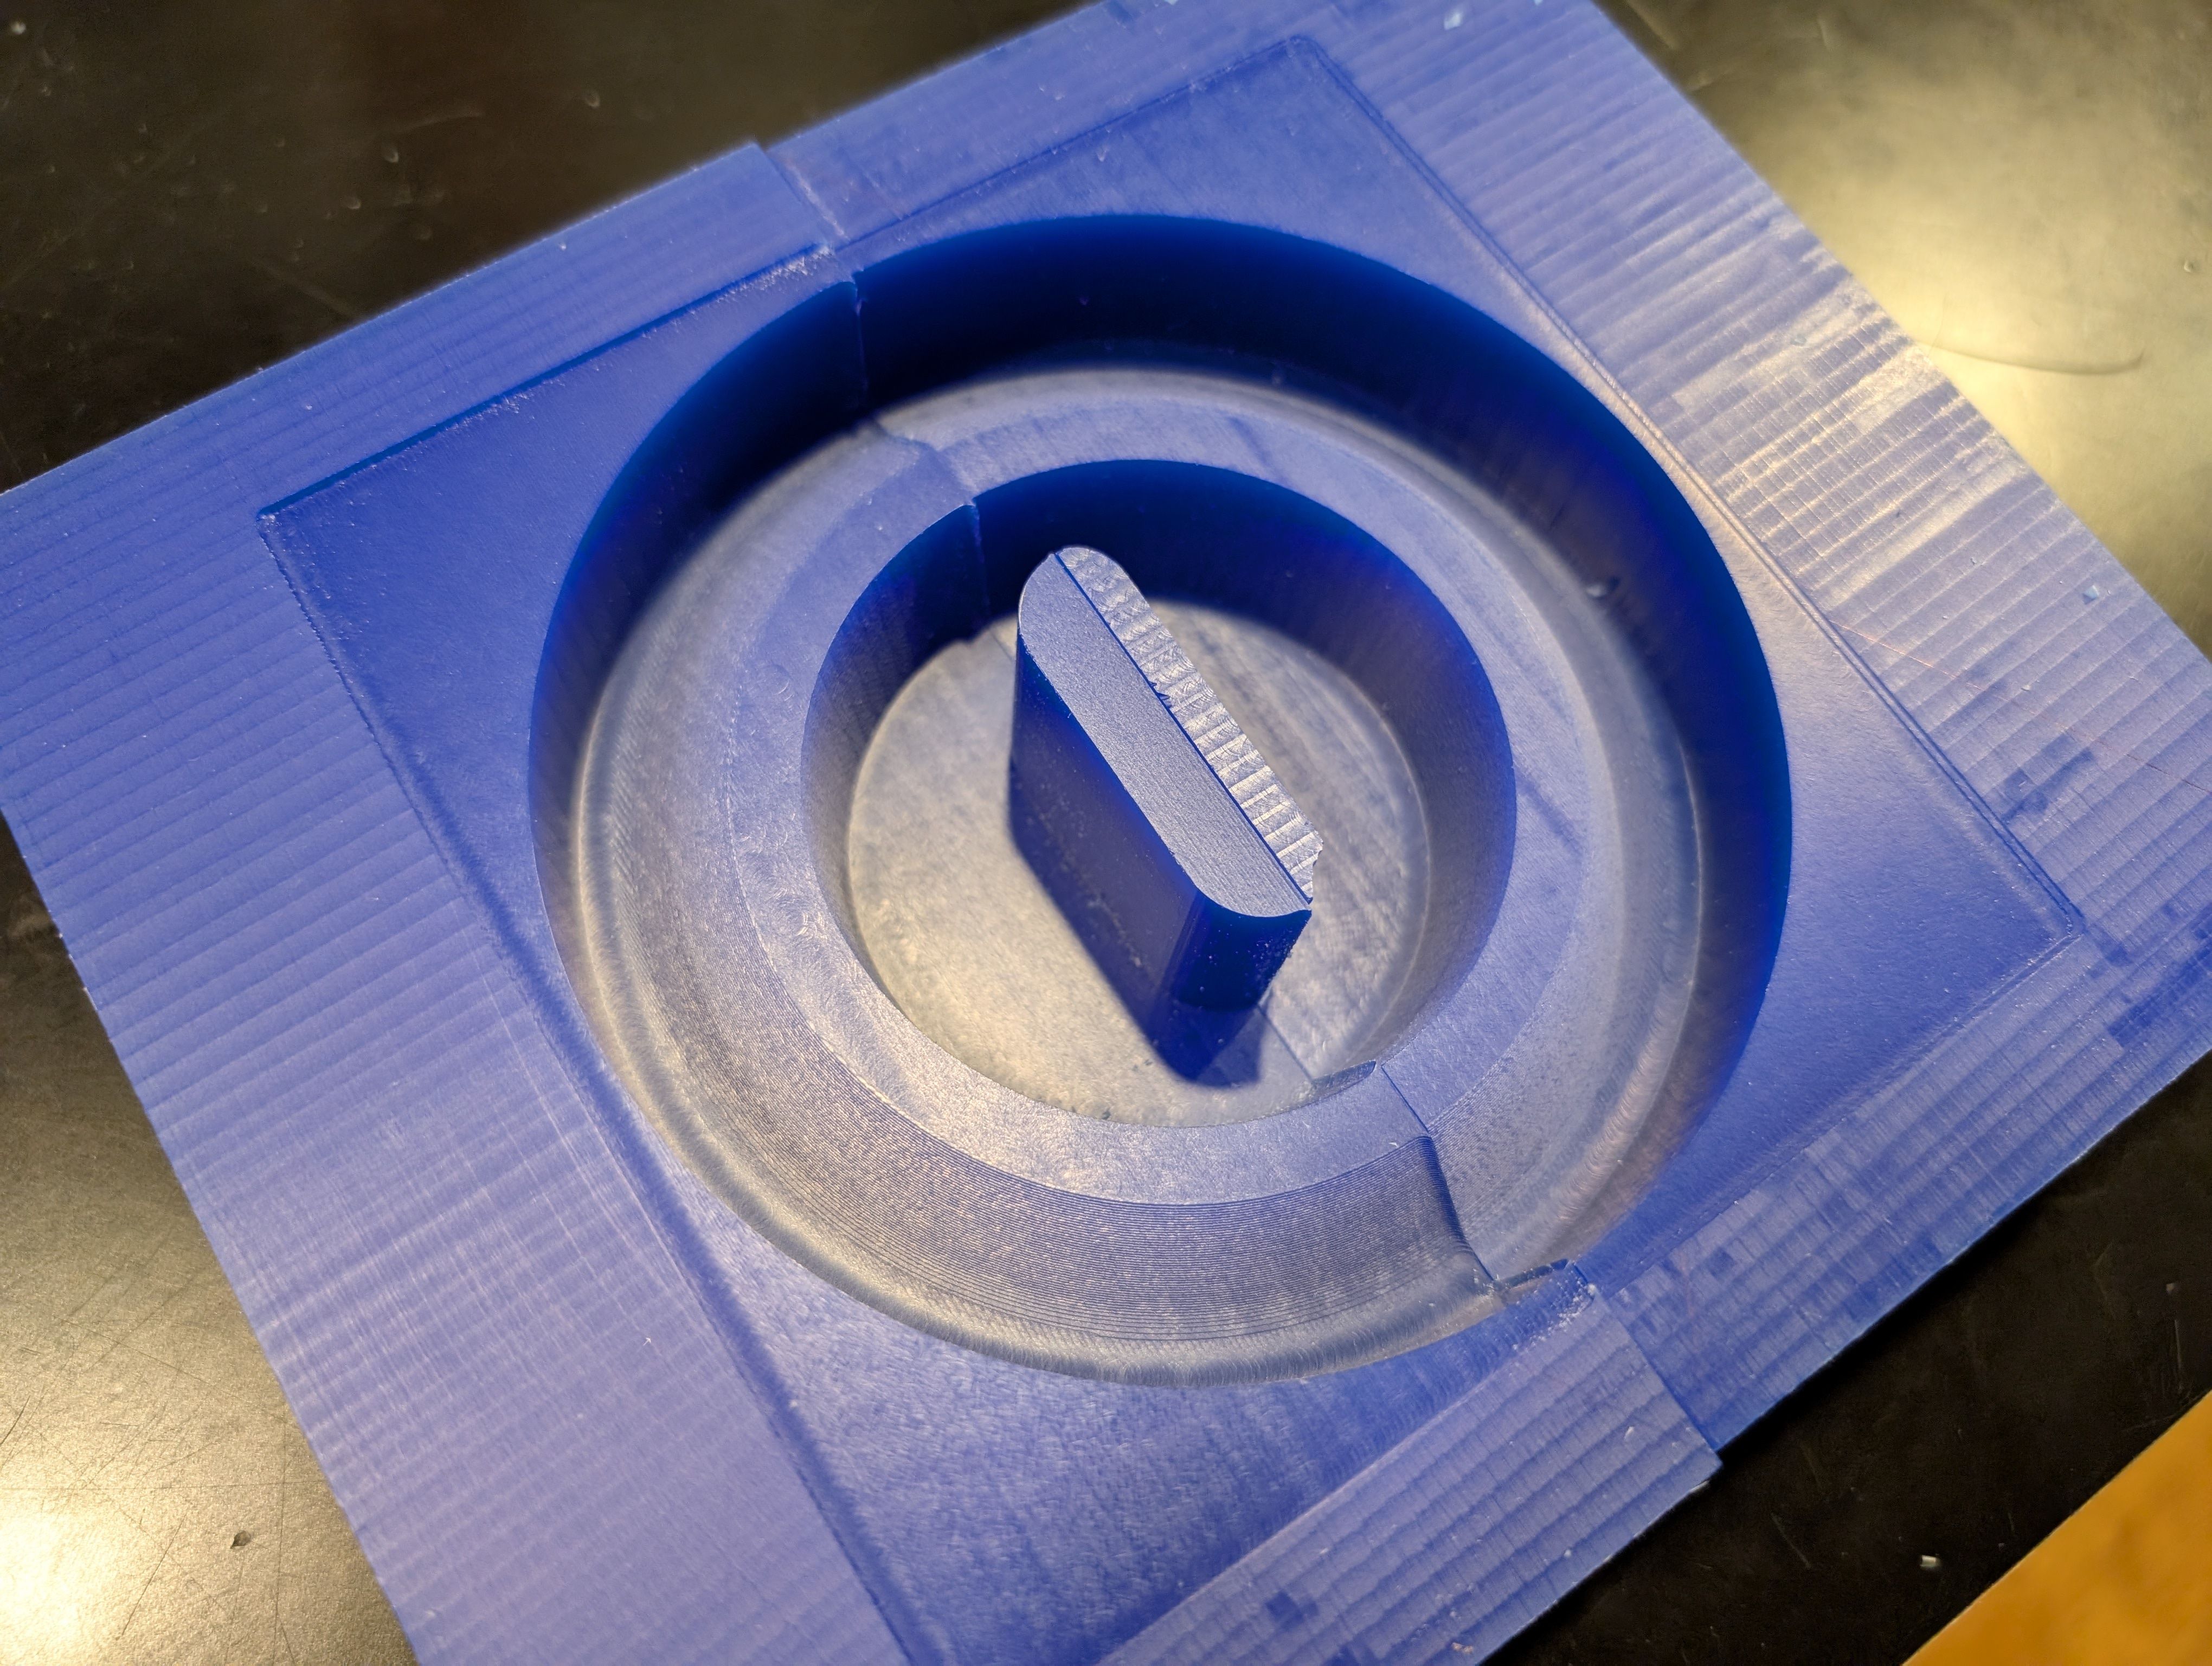
Result for 1st half mold
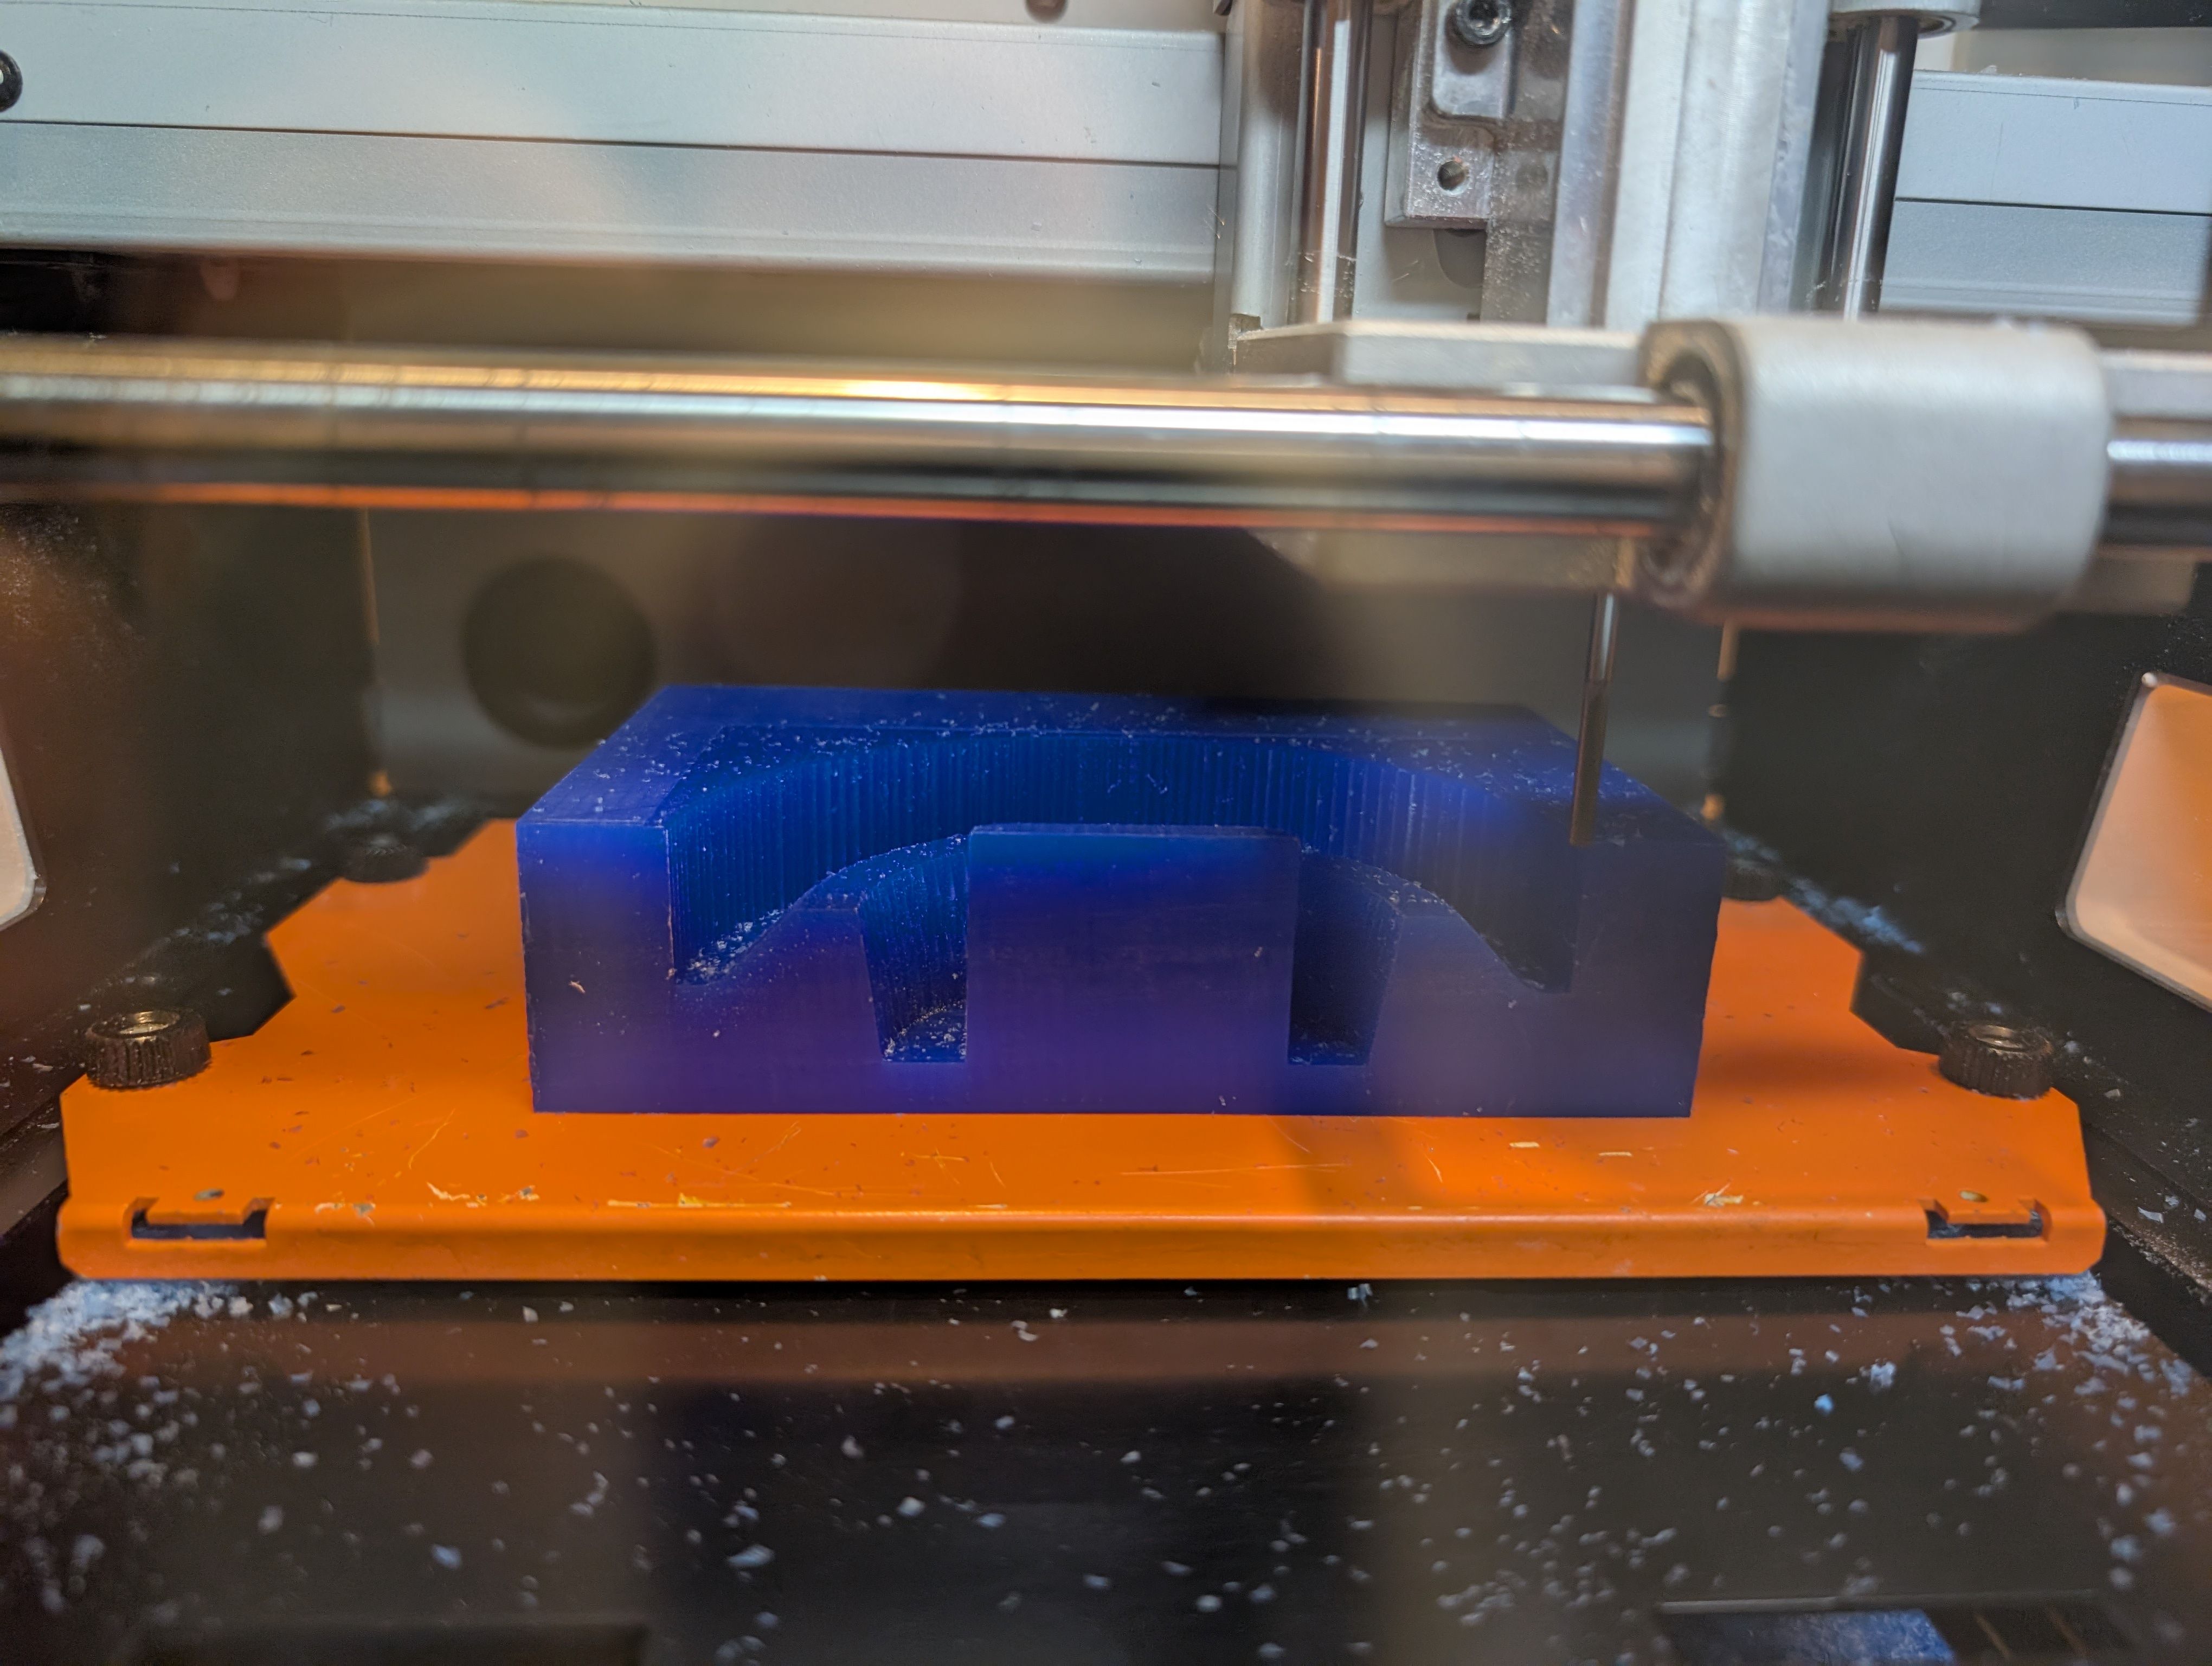
Make 2nd half mold
After 1st half mold, since the hole is too thin to cut out, I made the hole bigger and made 2nd half
mold.

Setting for roughing
Setting for finishing
Time for roughing: 2h49m
Time for finishing: 1h36m
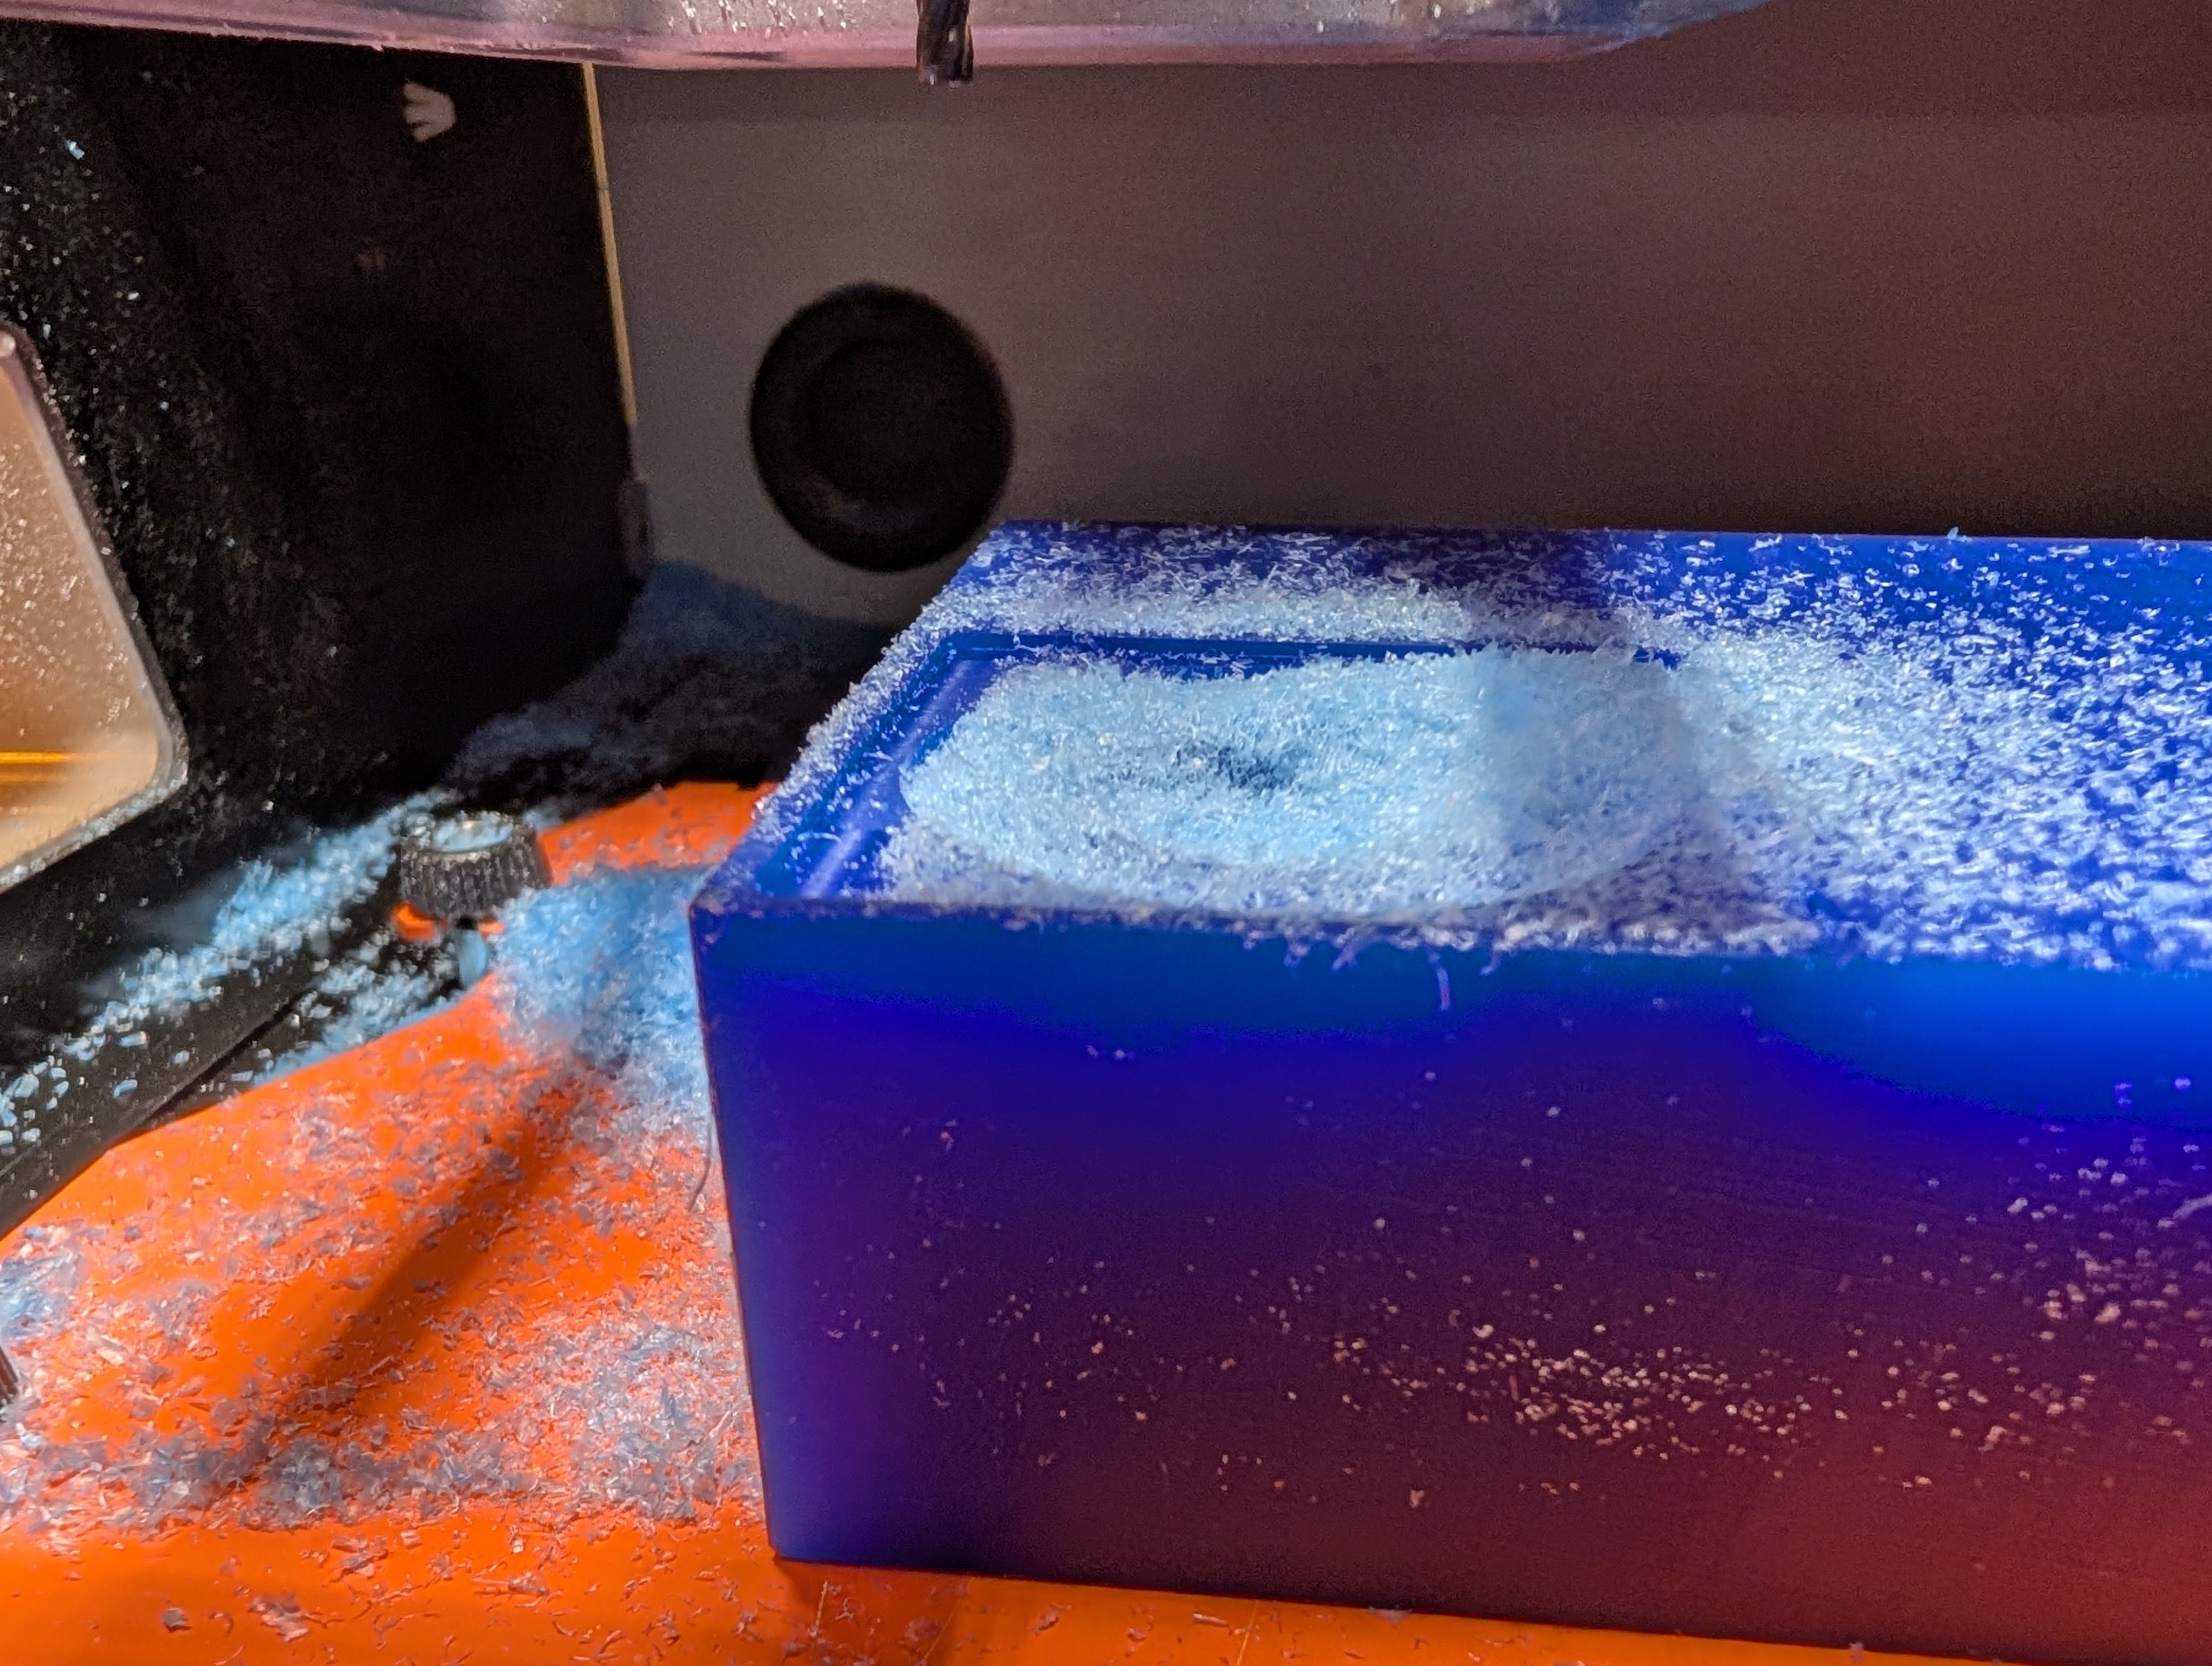
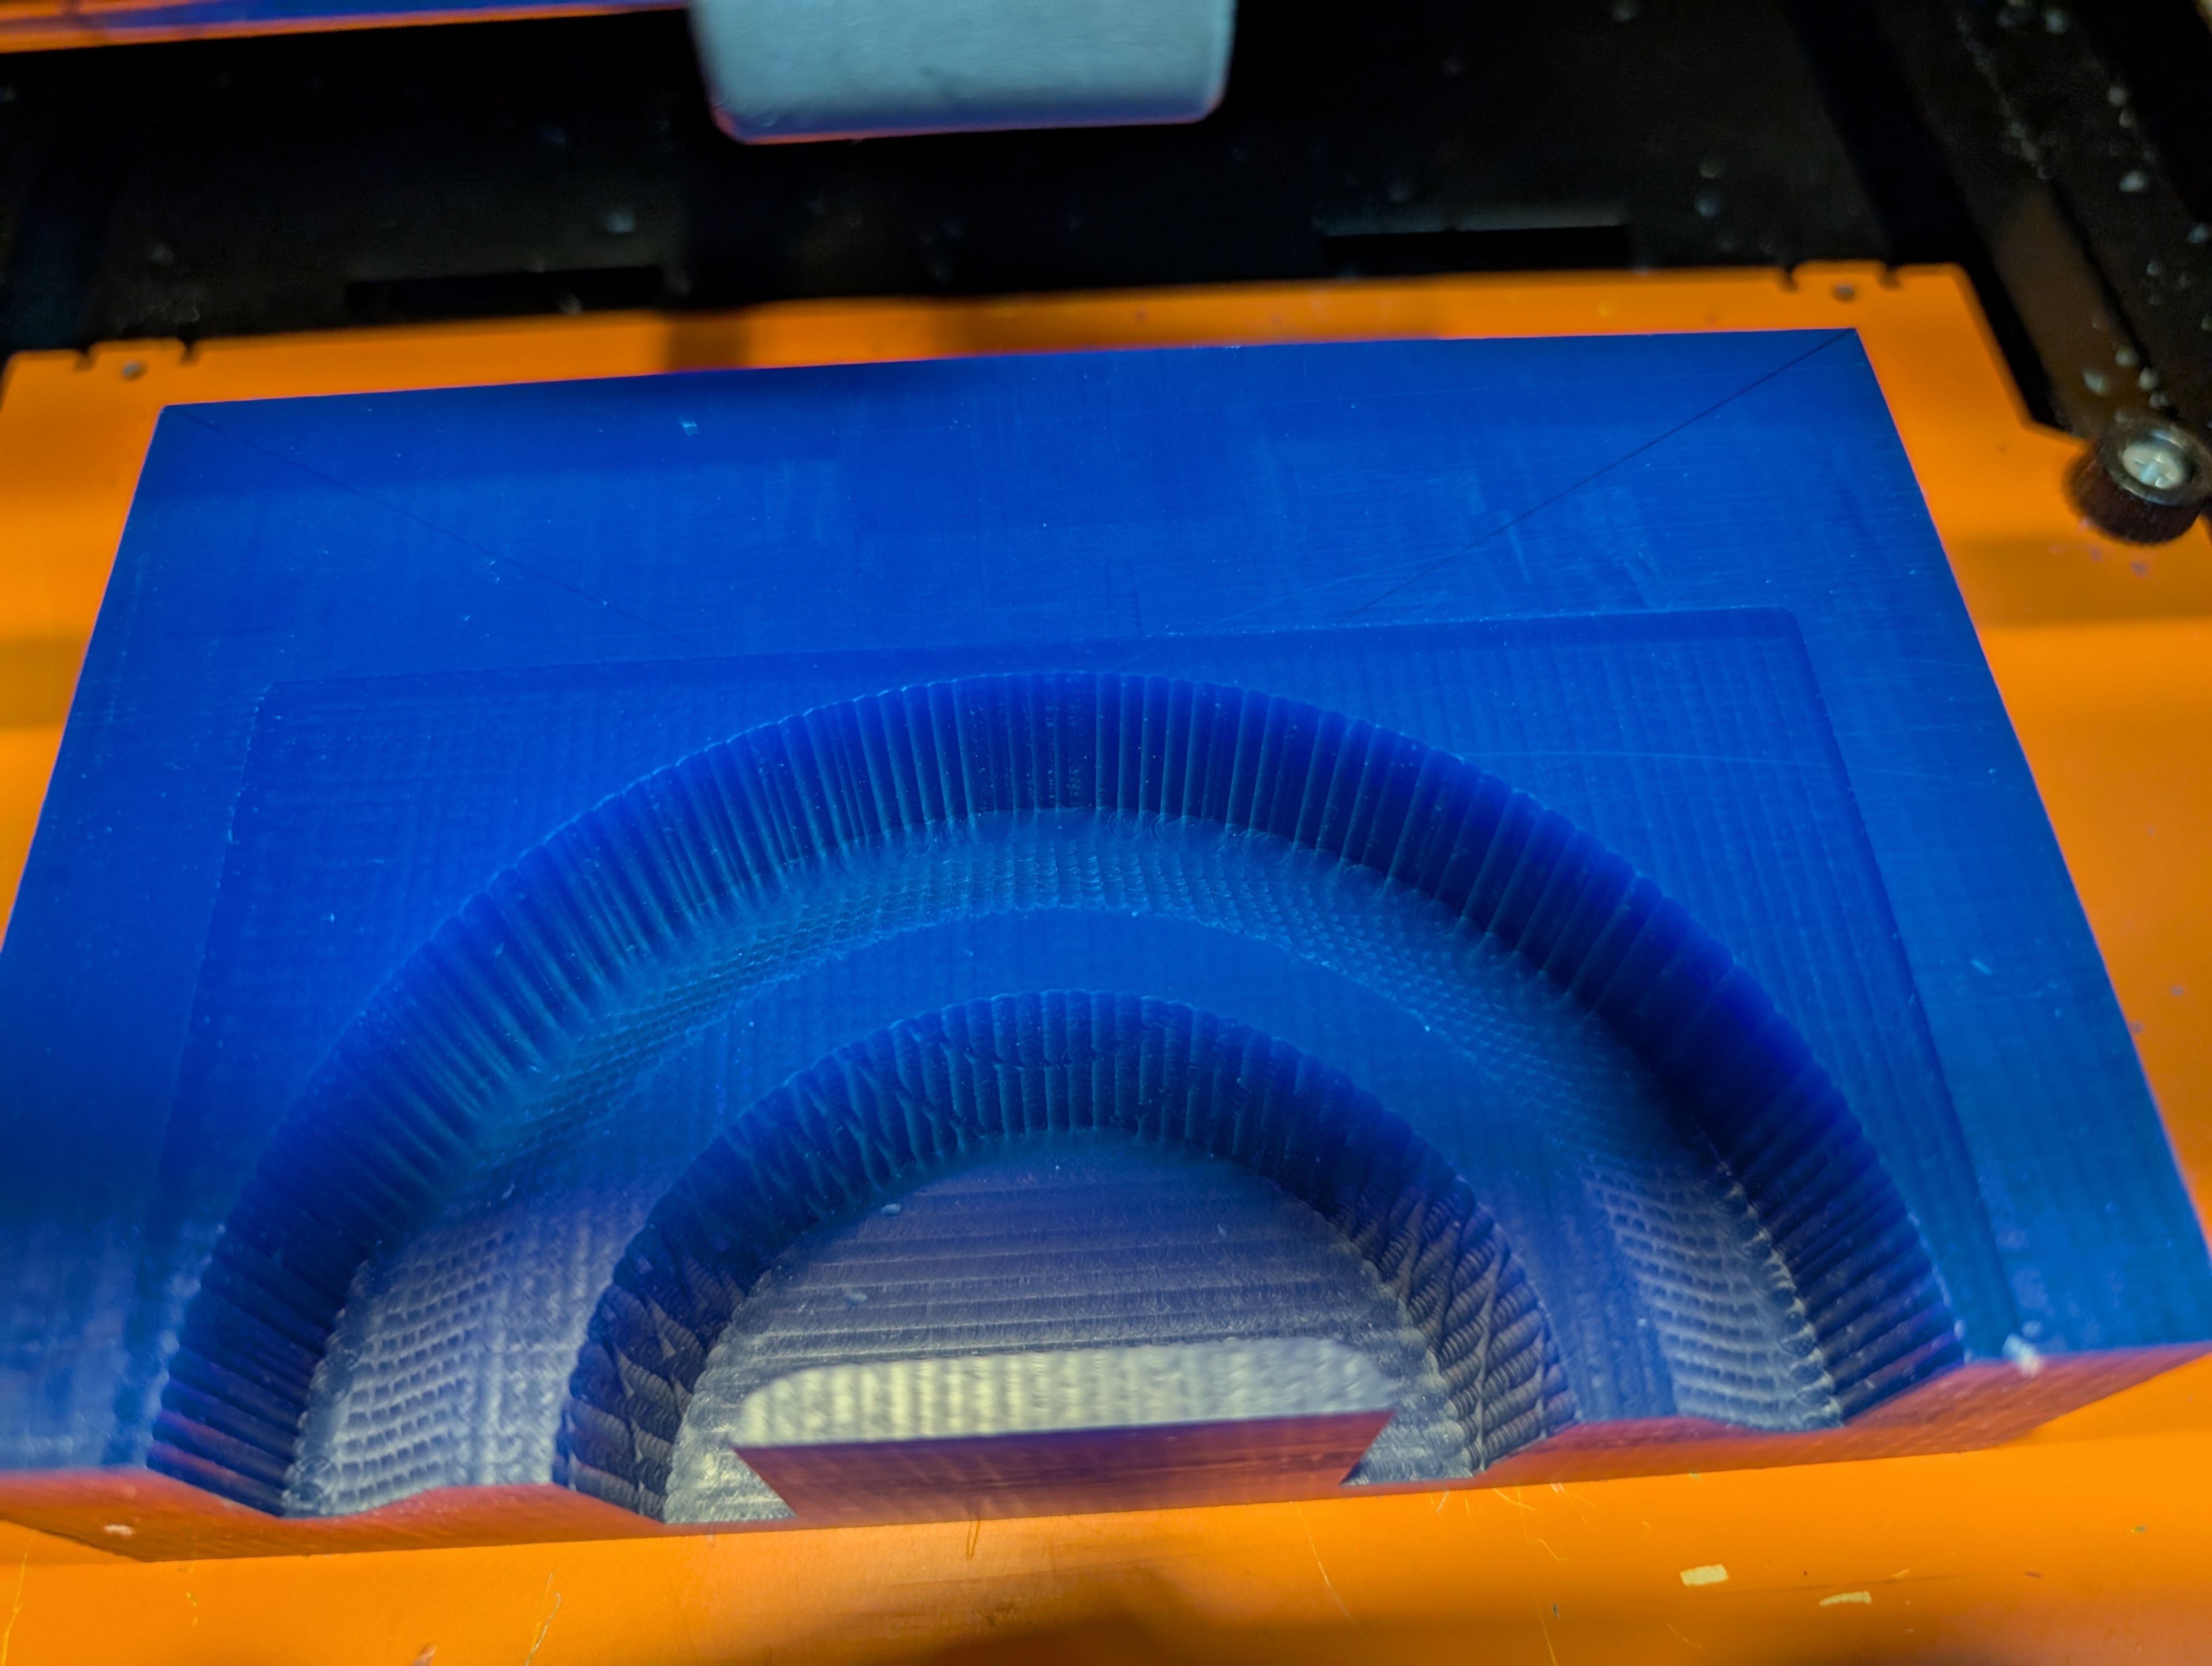
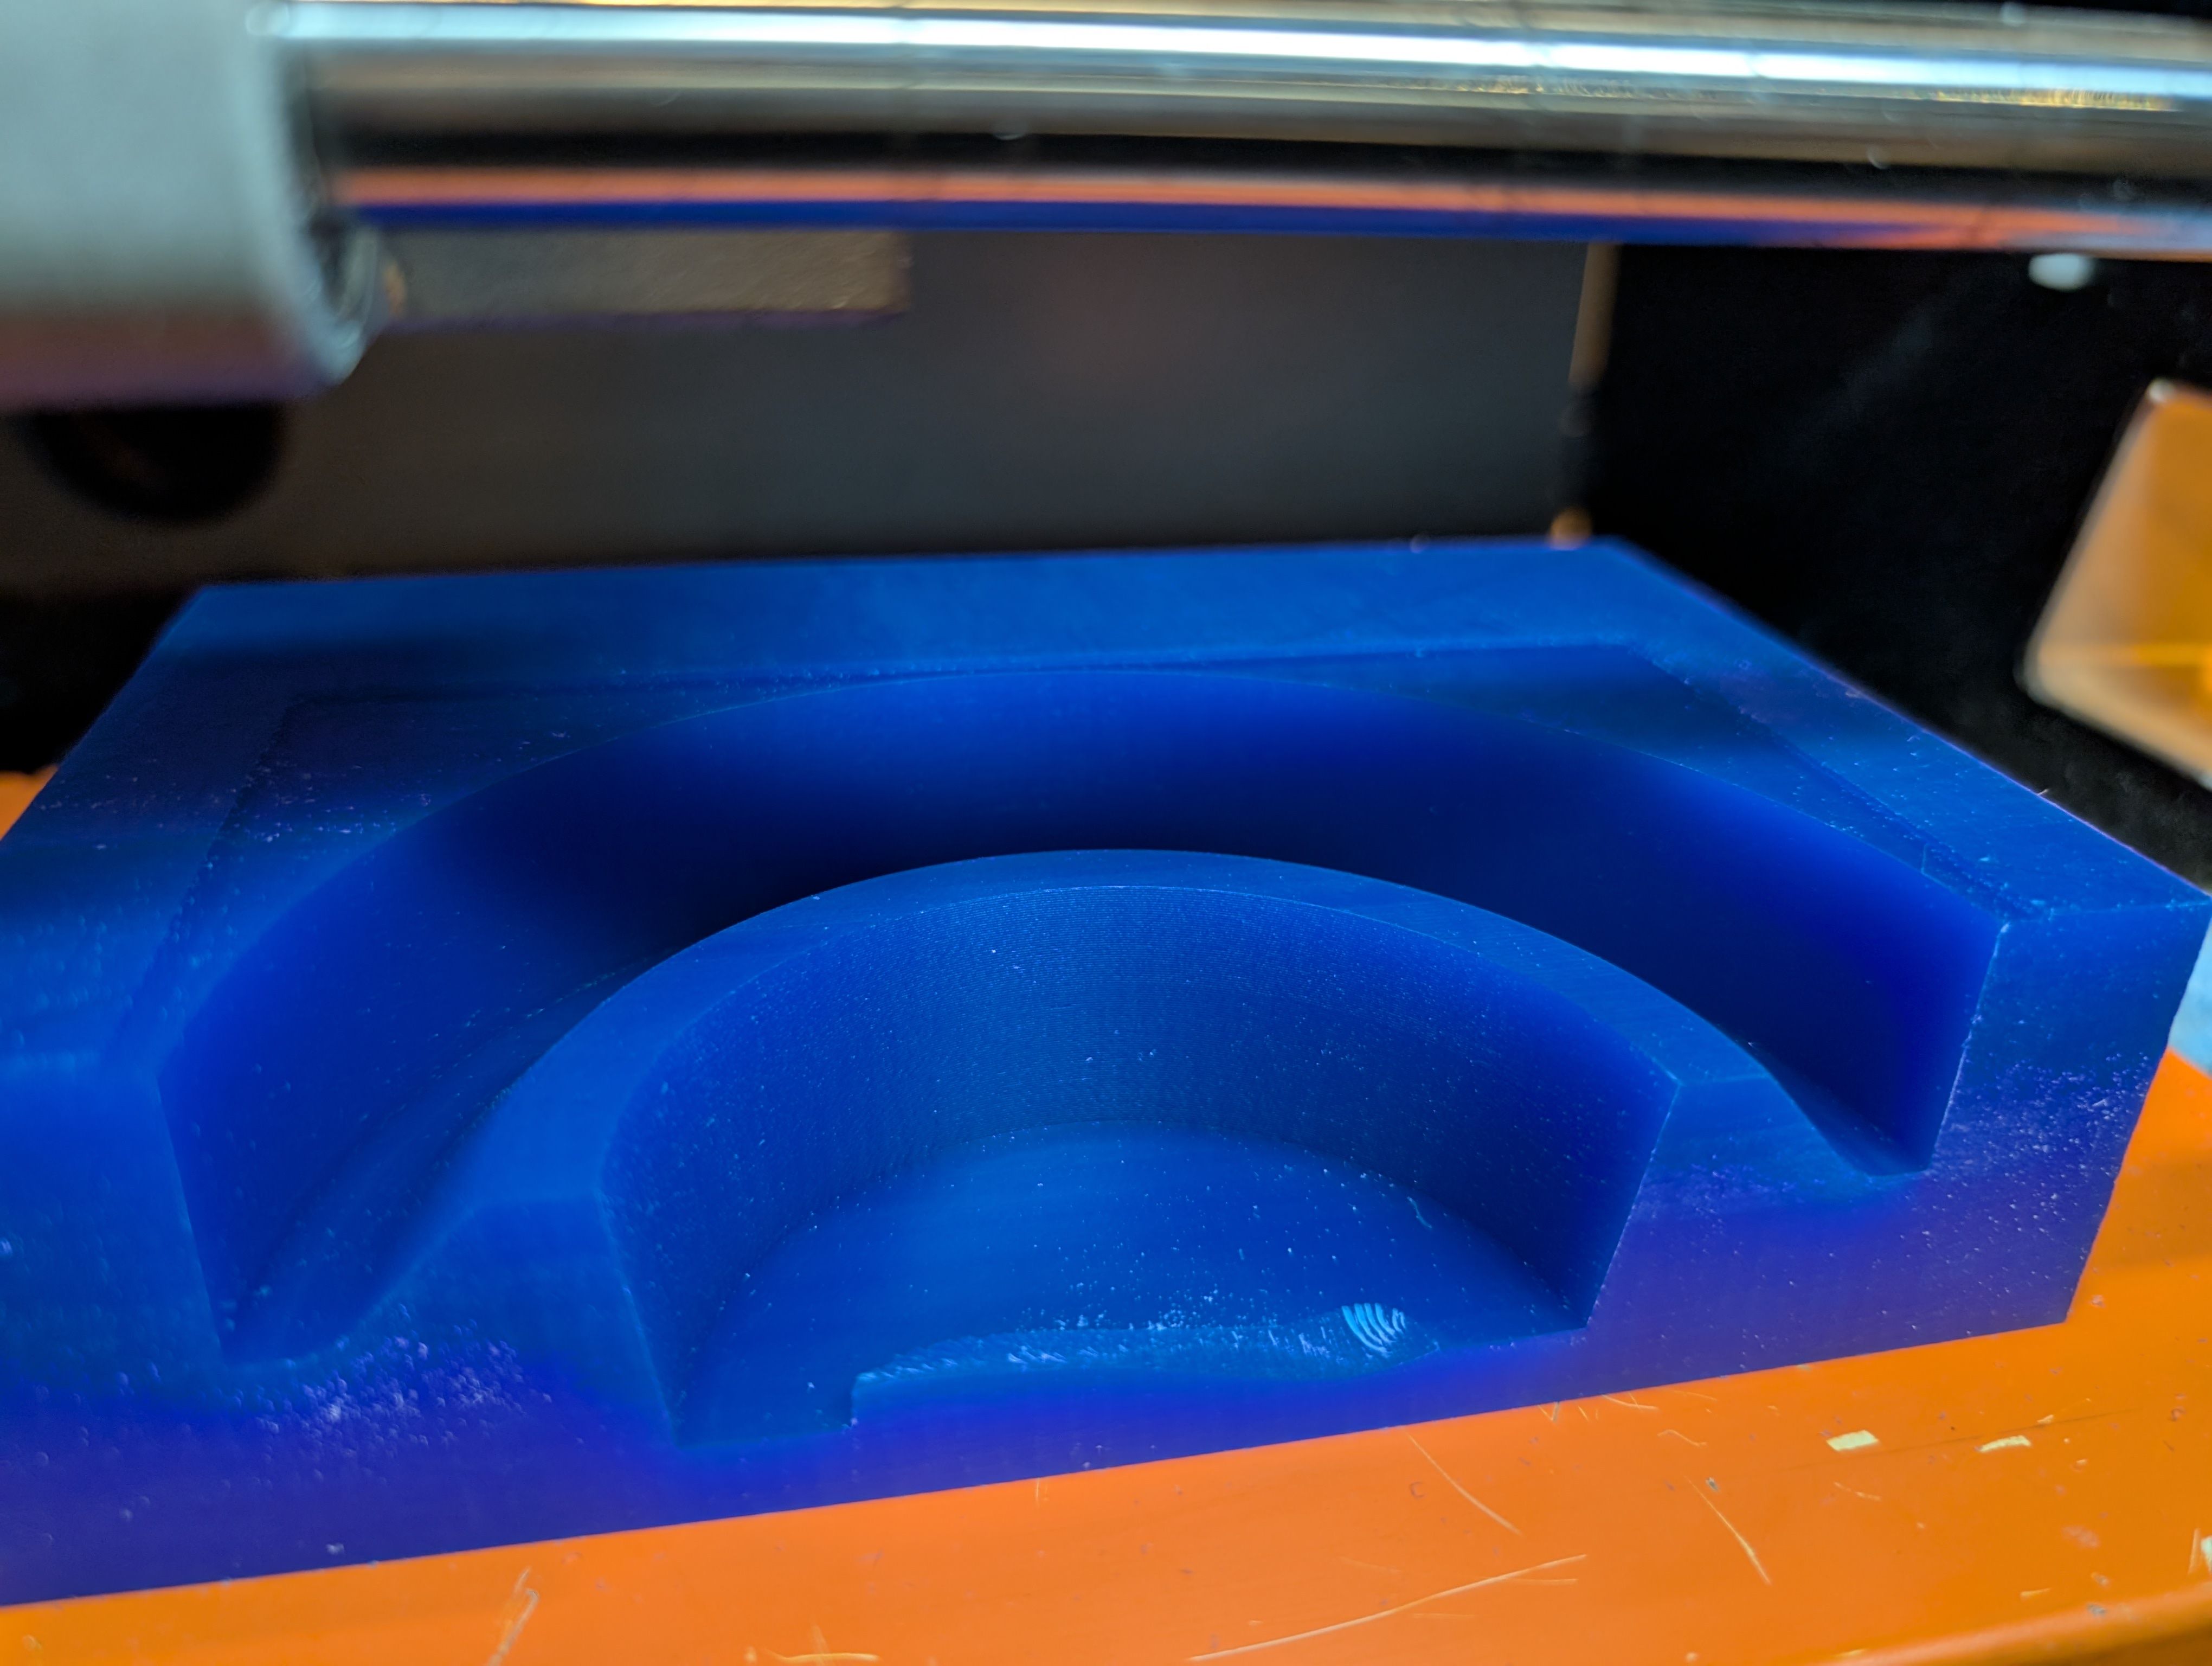
Roughing
Finishing
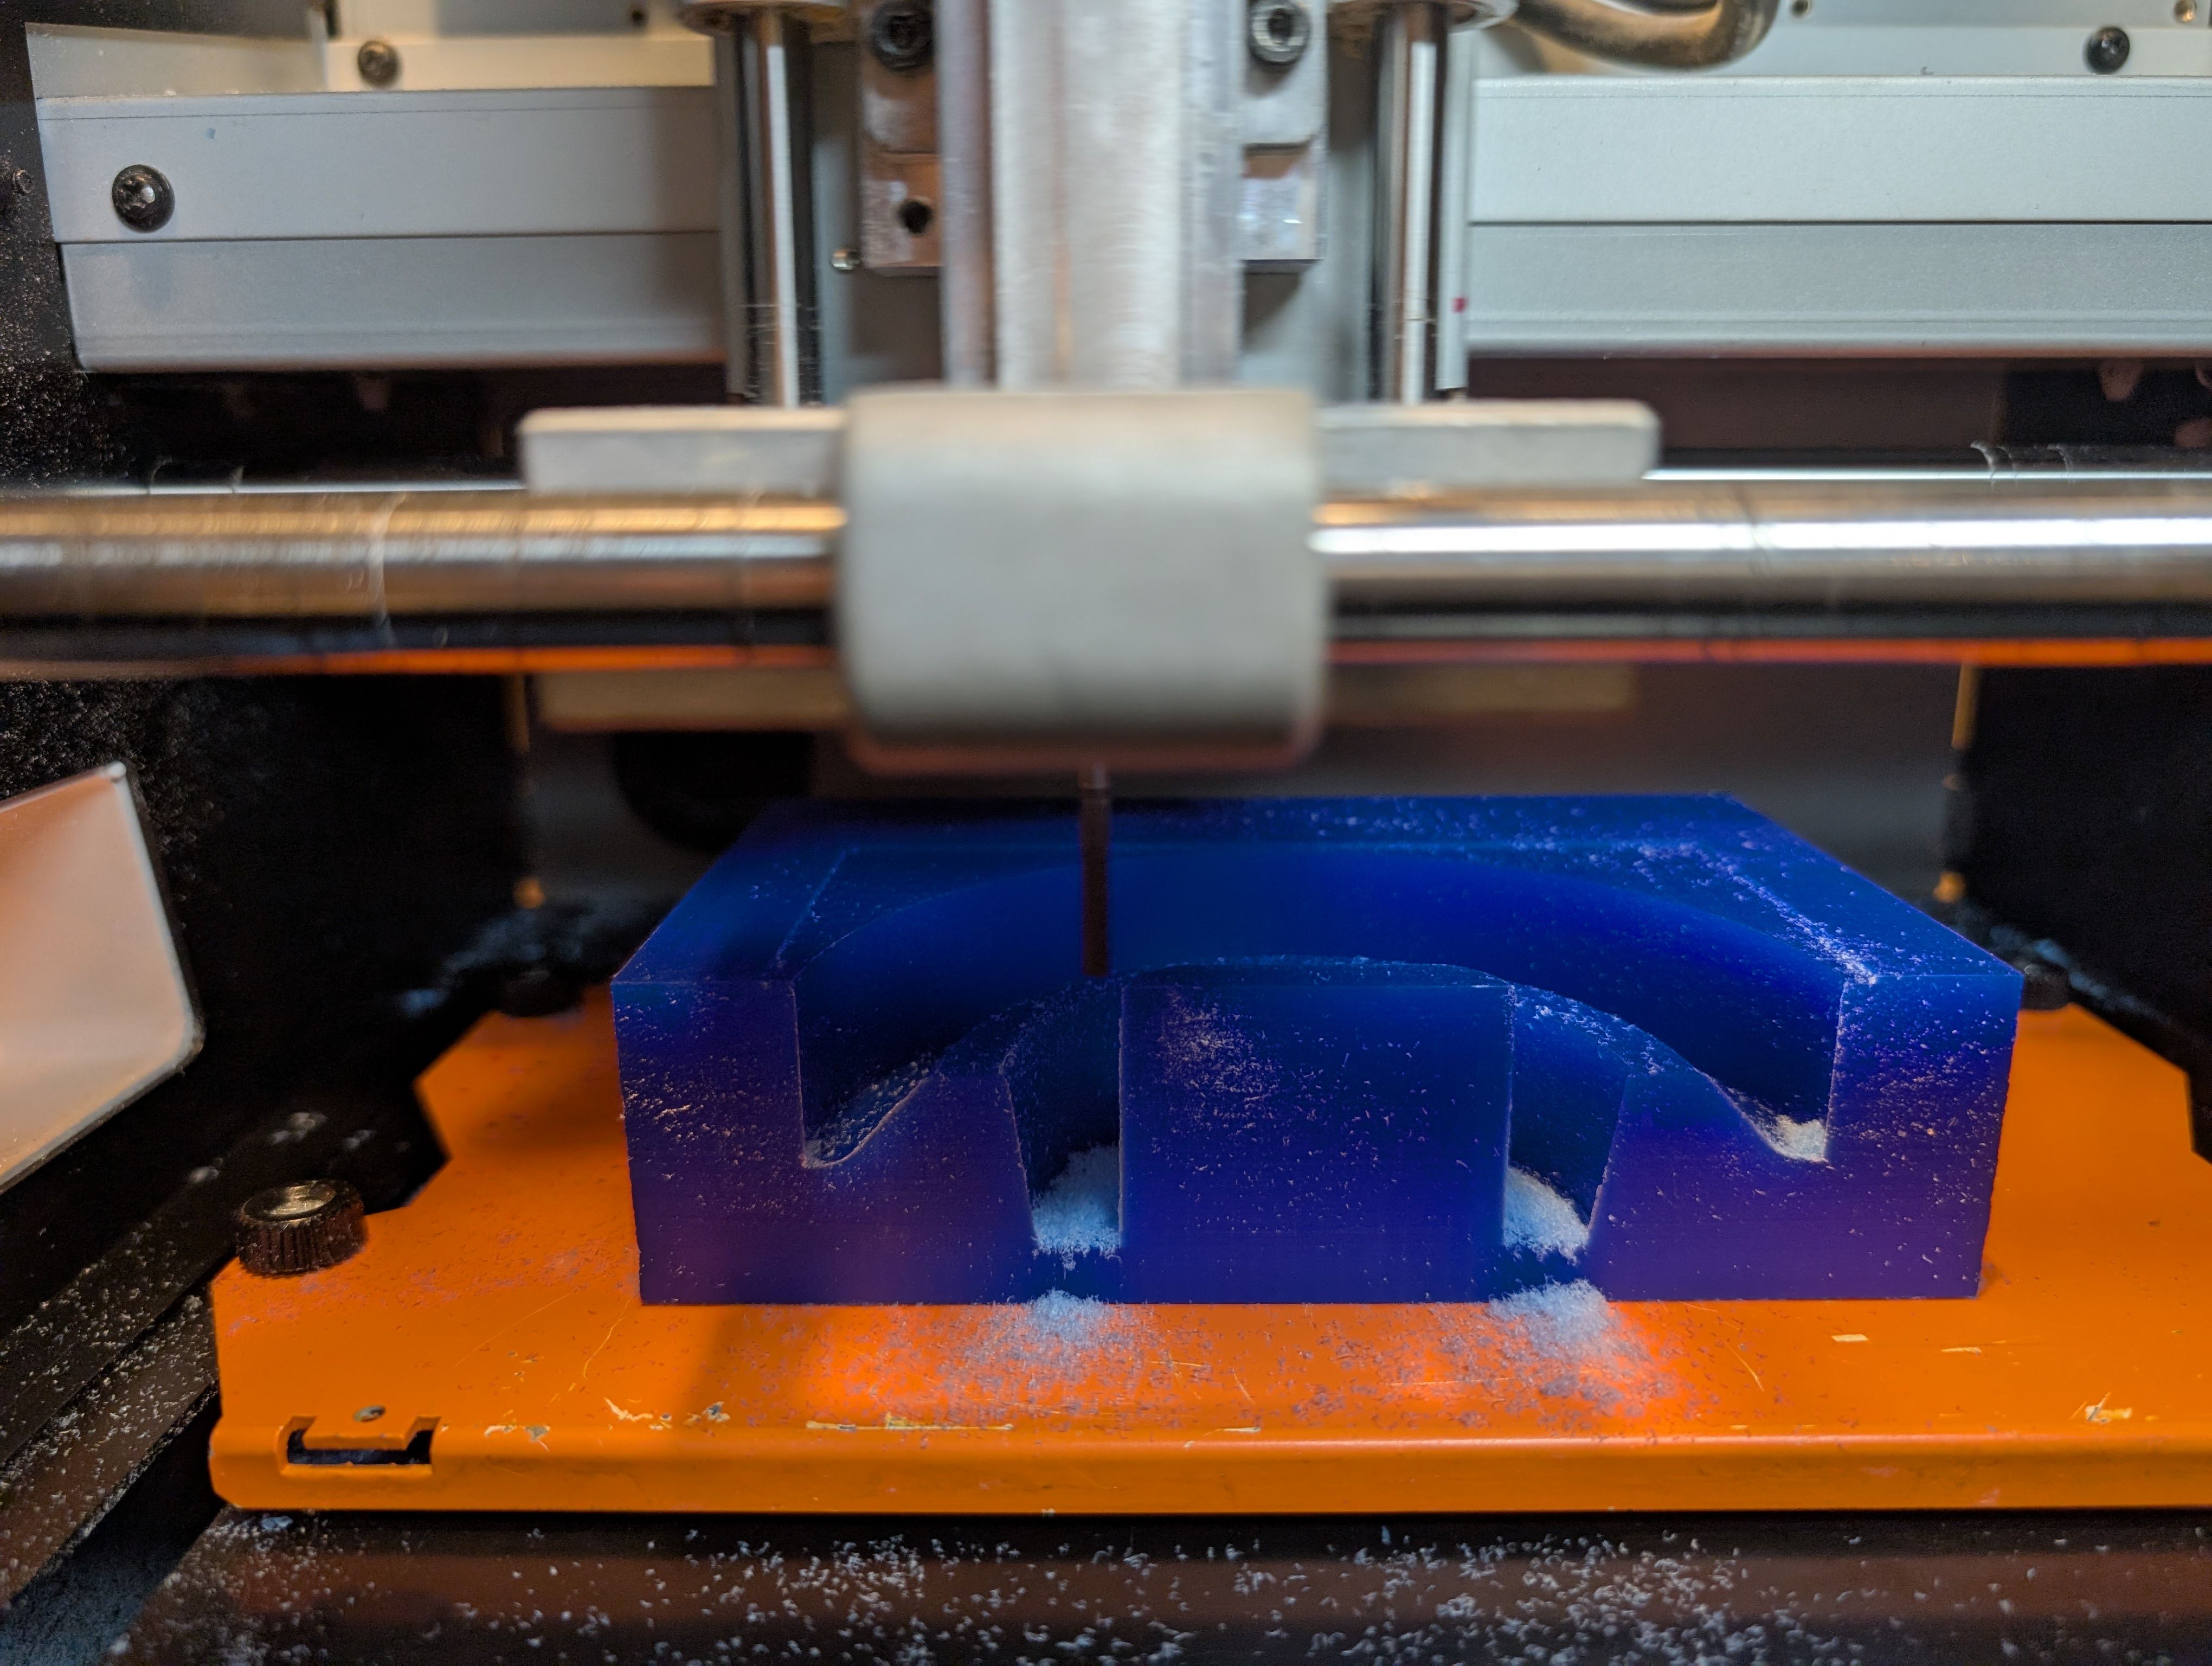
*A large amount of waste was generated
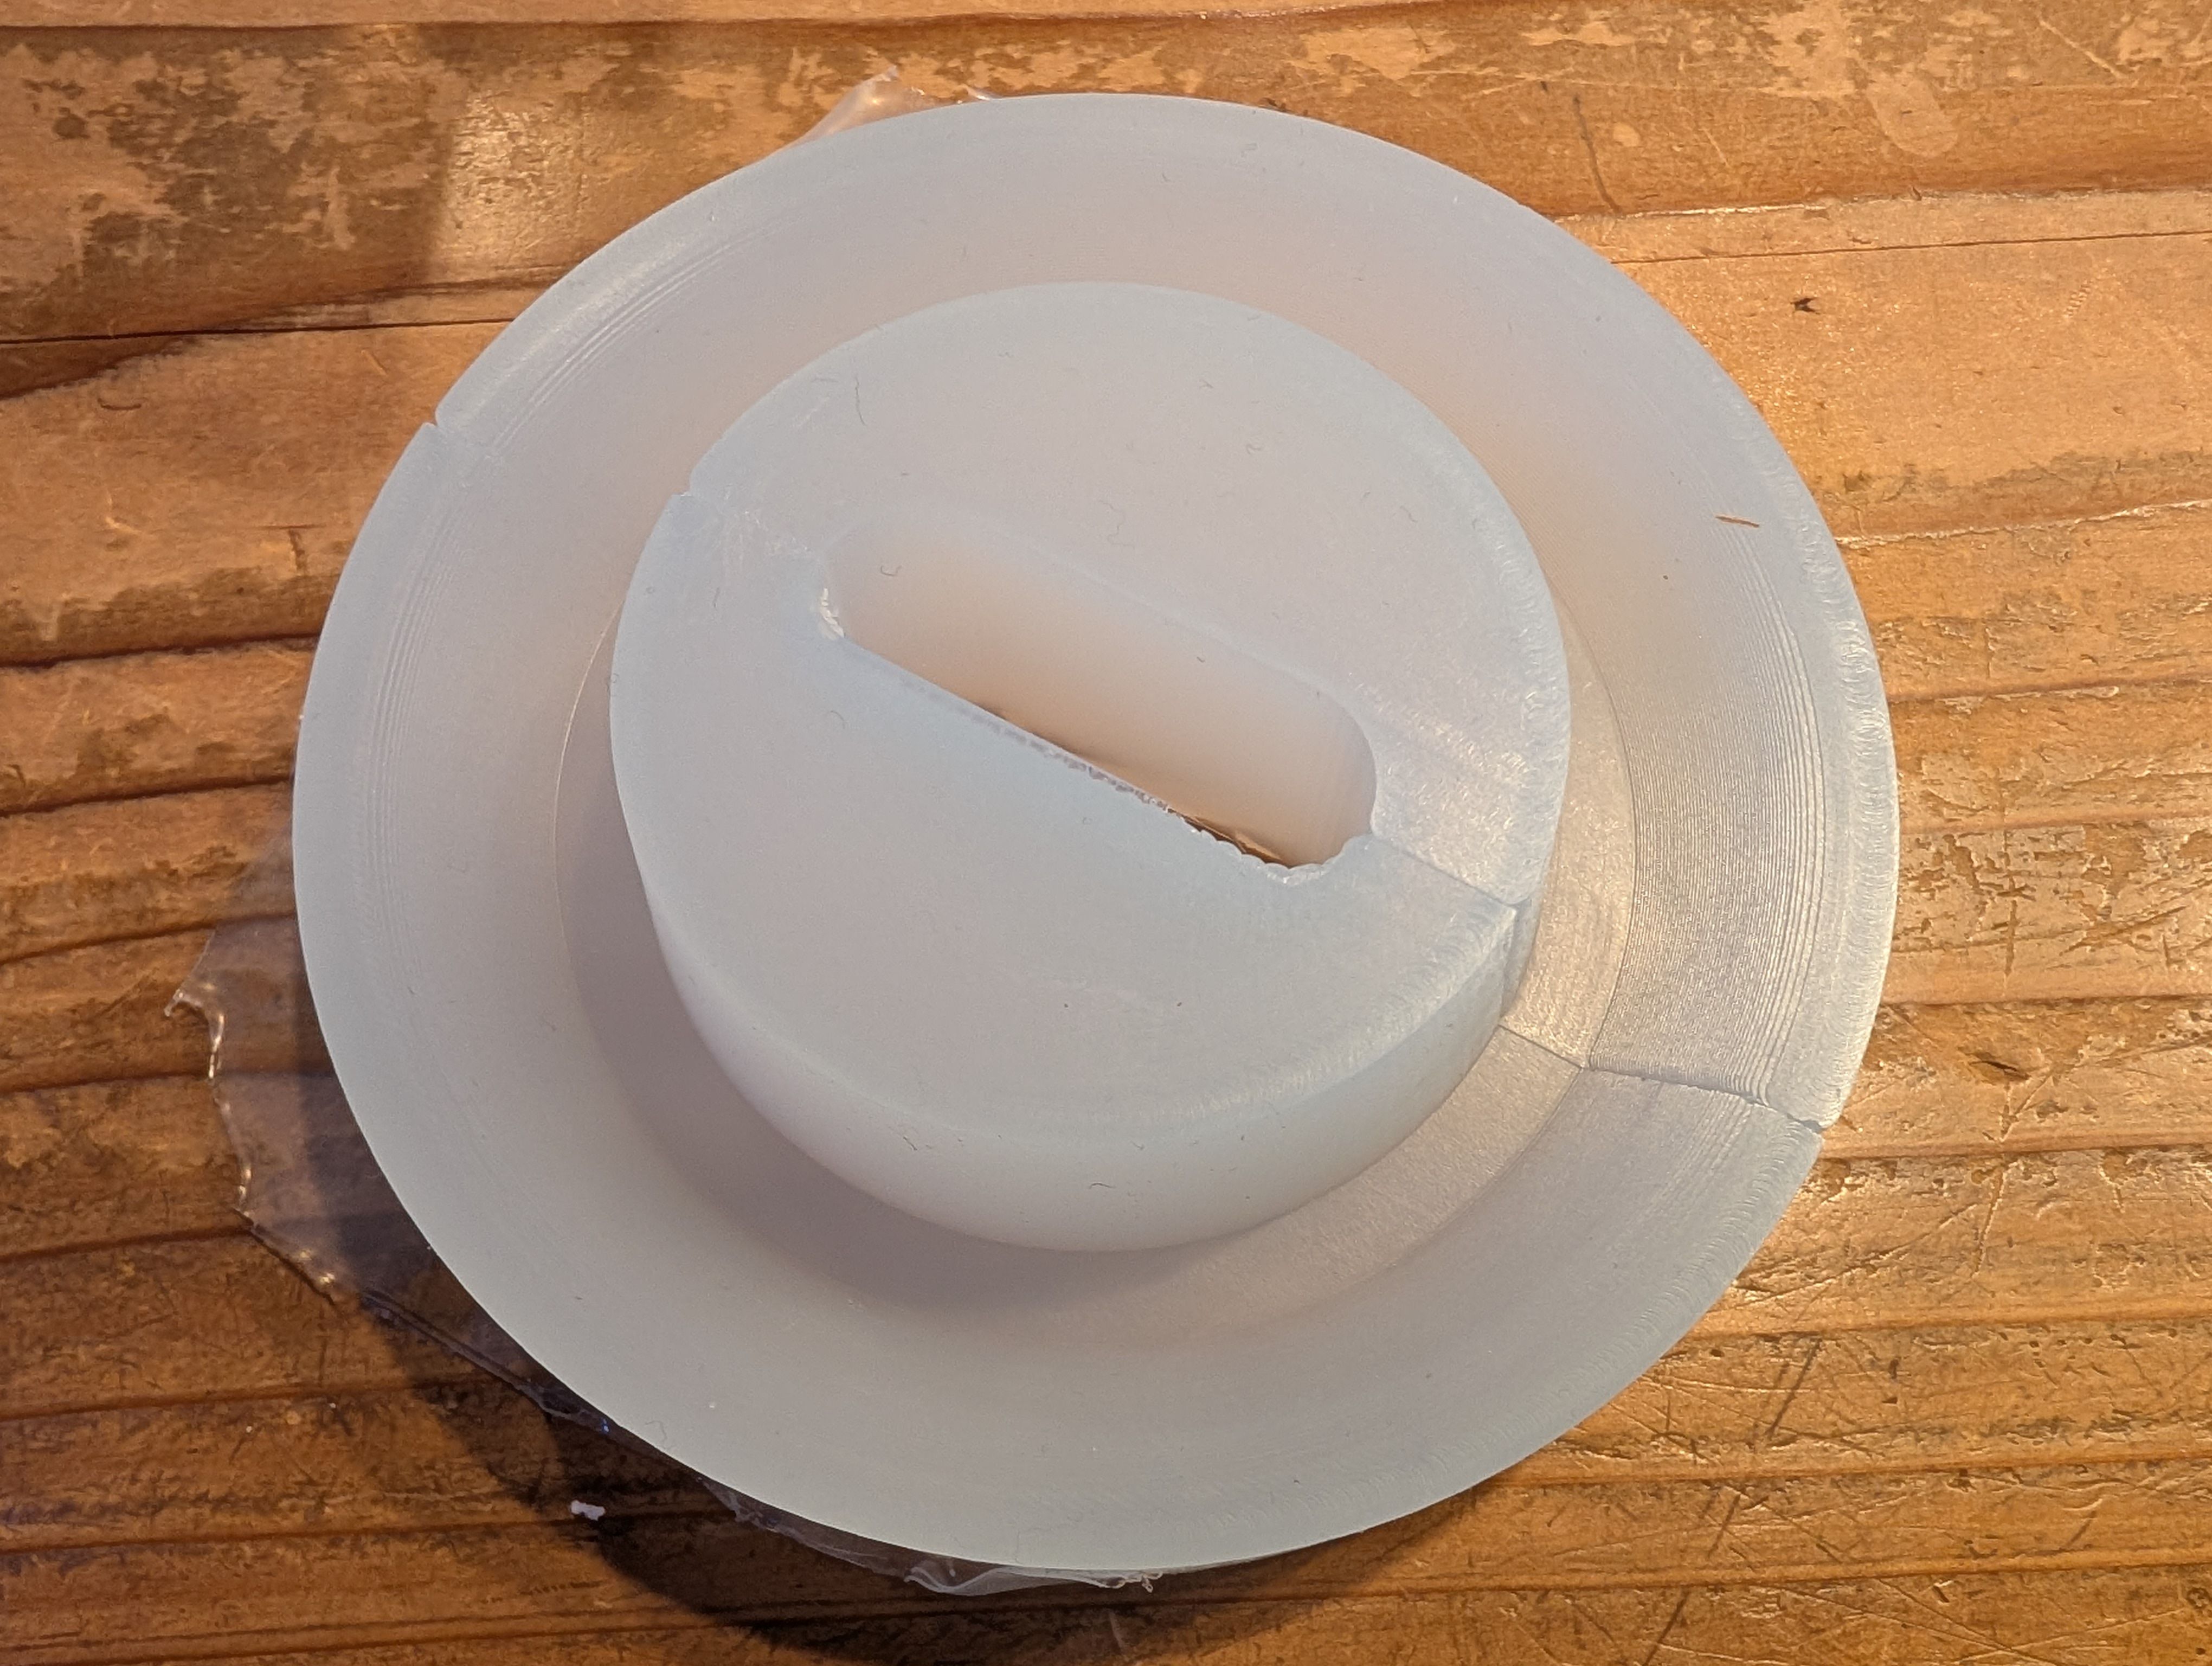
It fits nicely
The broken part was fixed with glue.
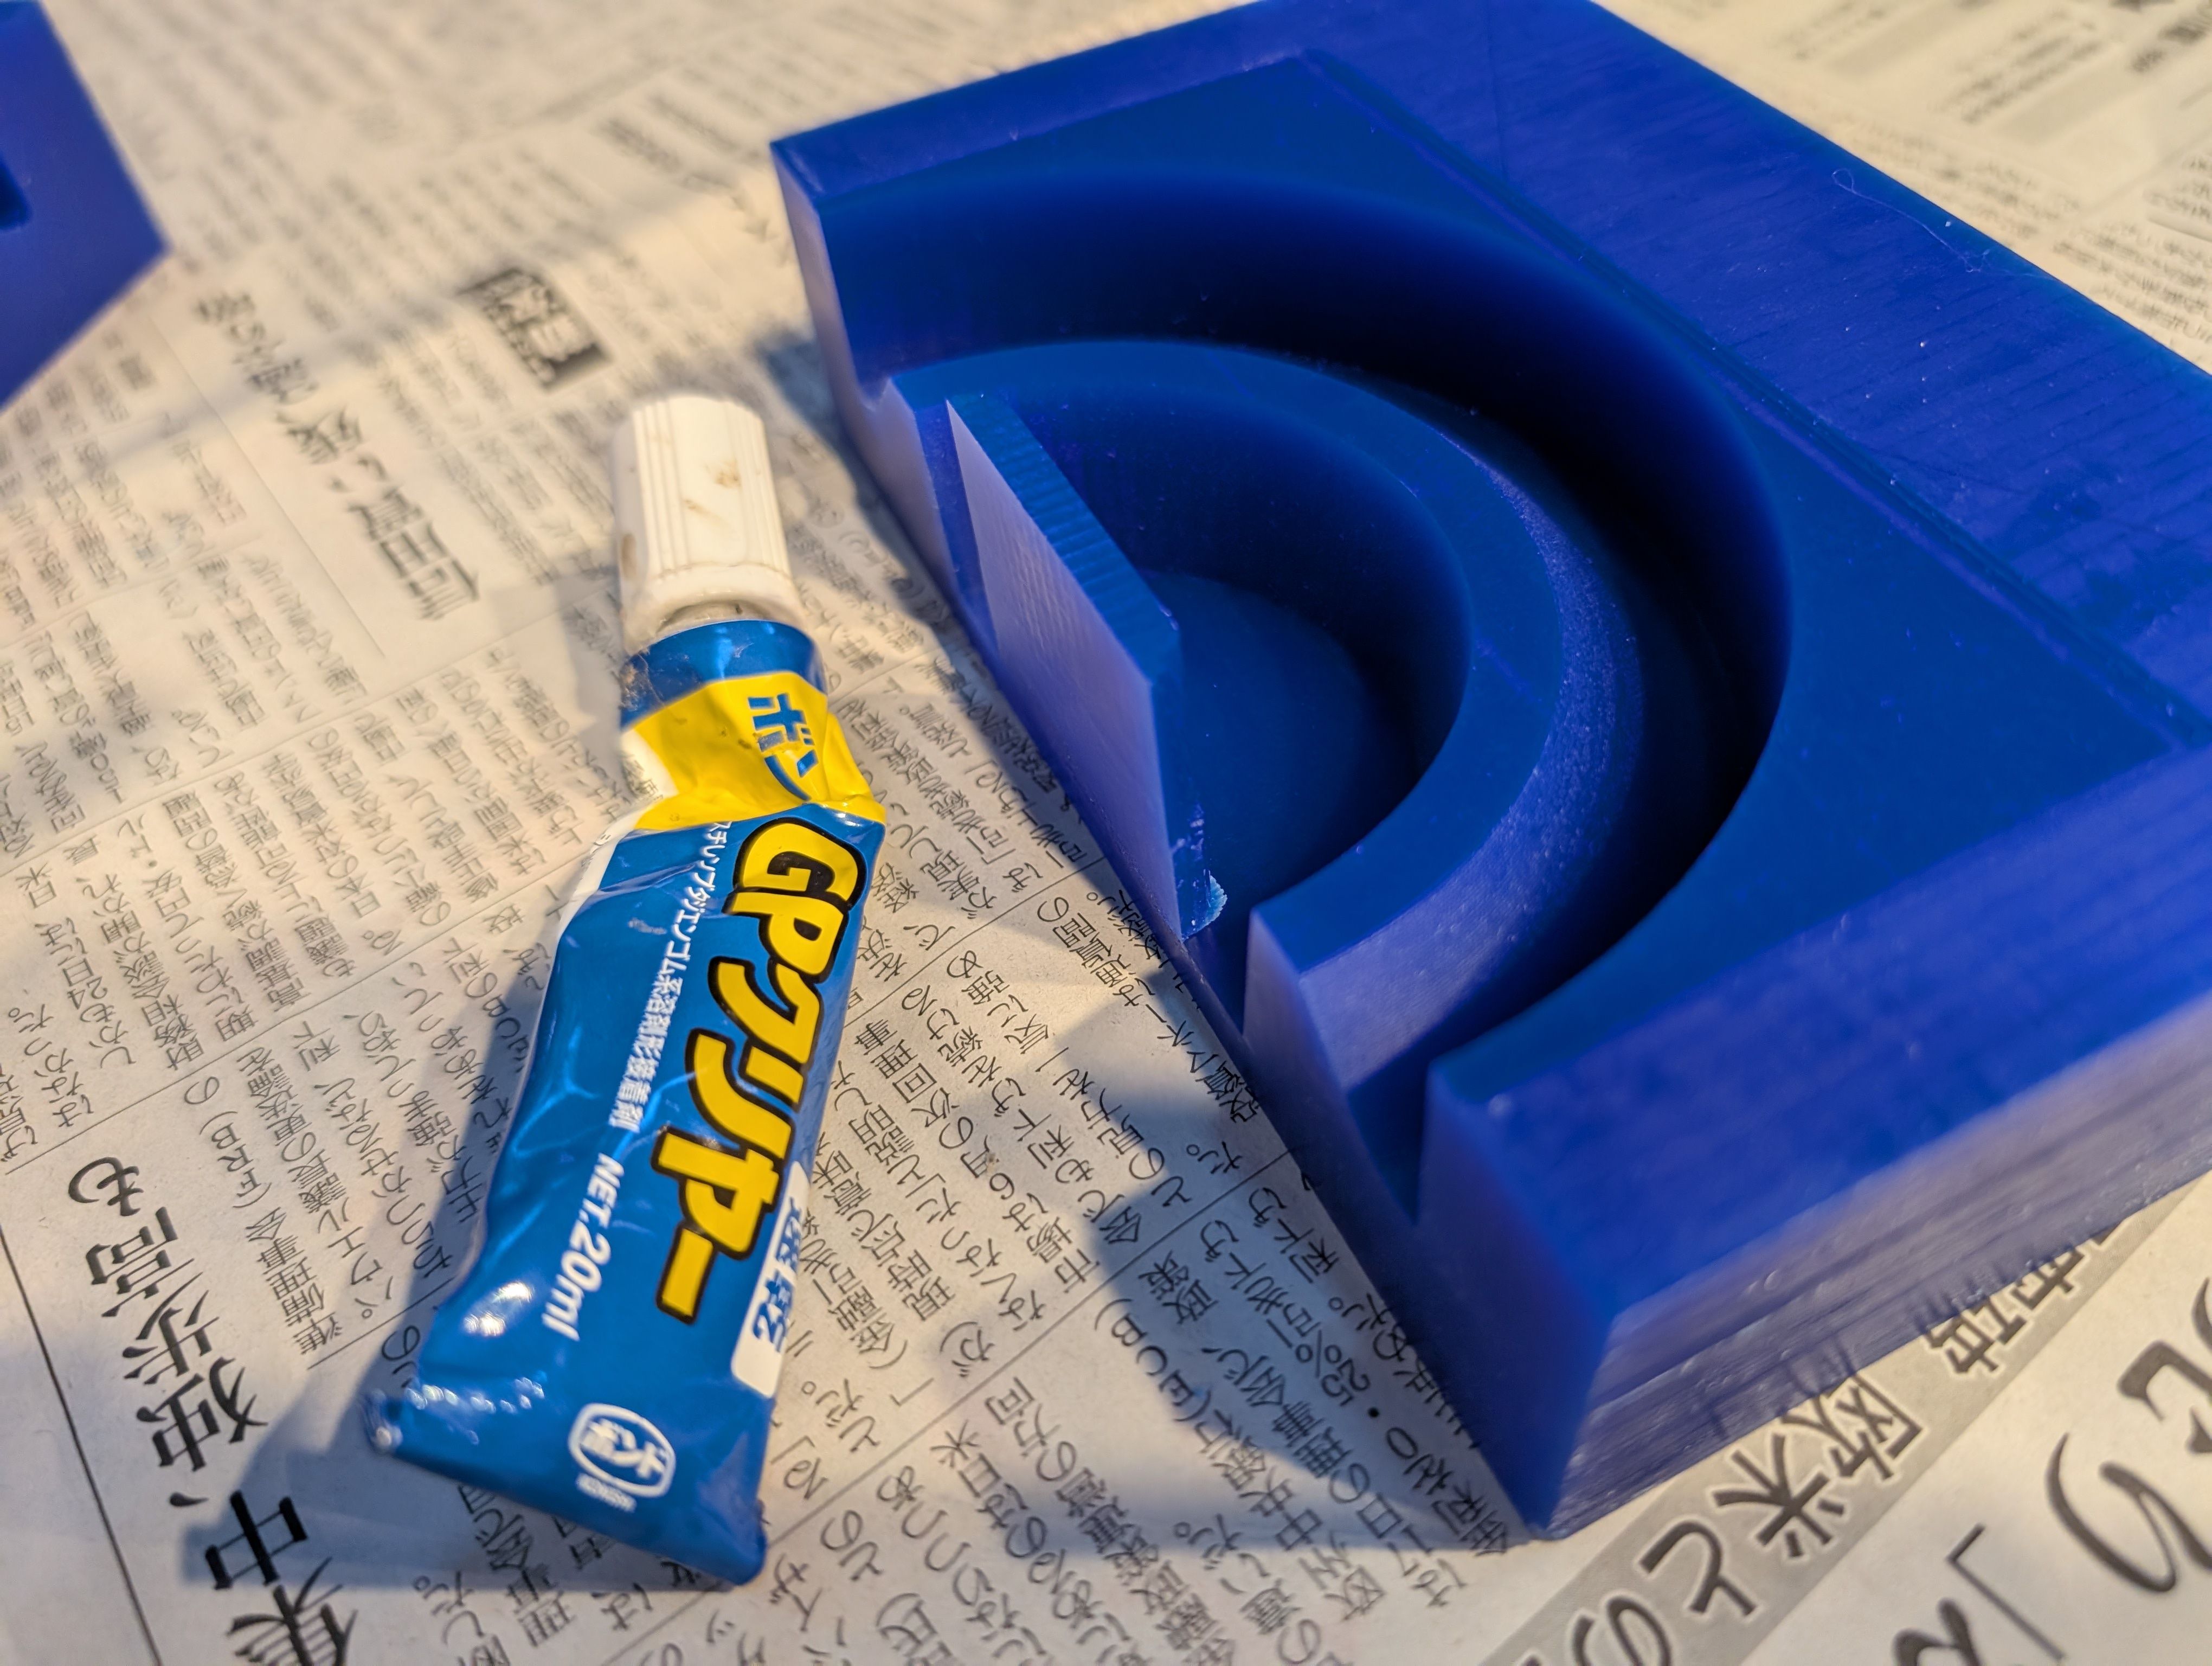
The 2 parts were also fixed together with glue and clamp.
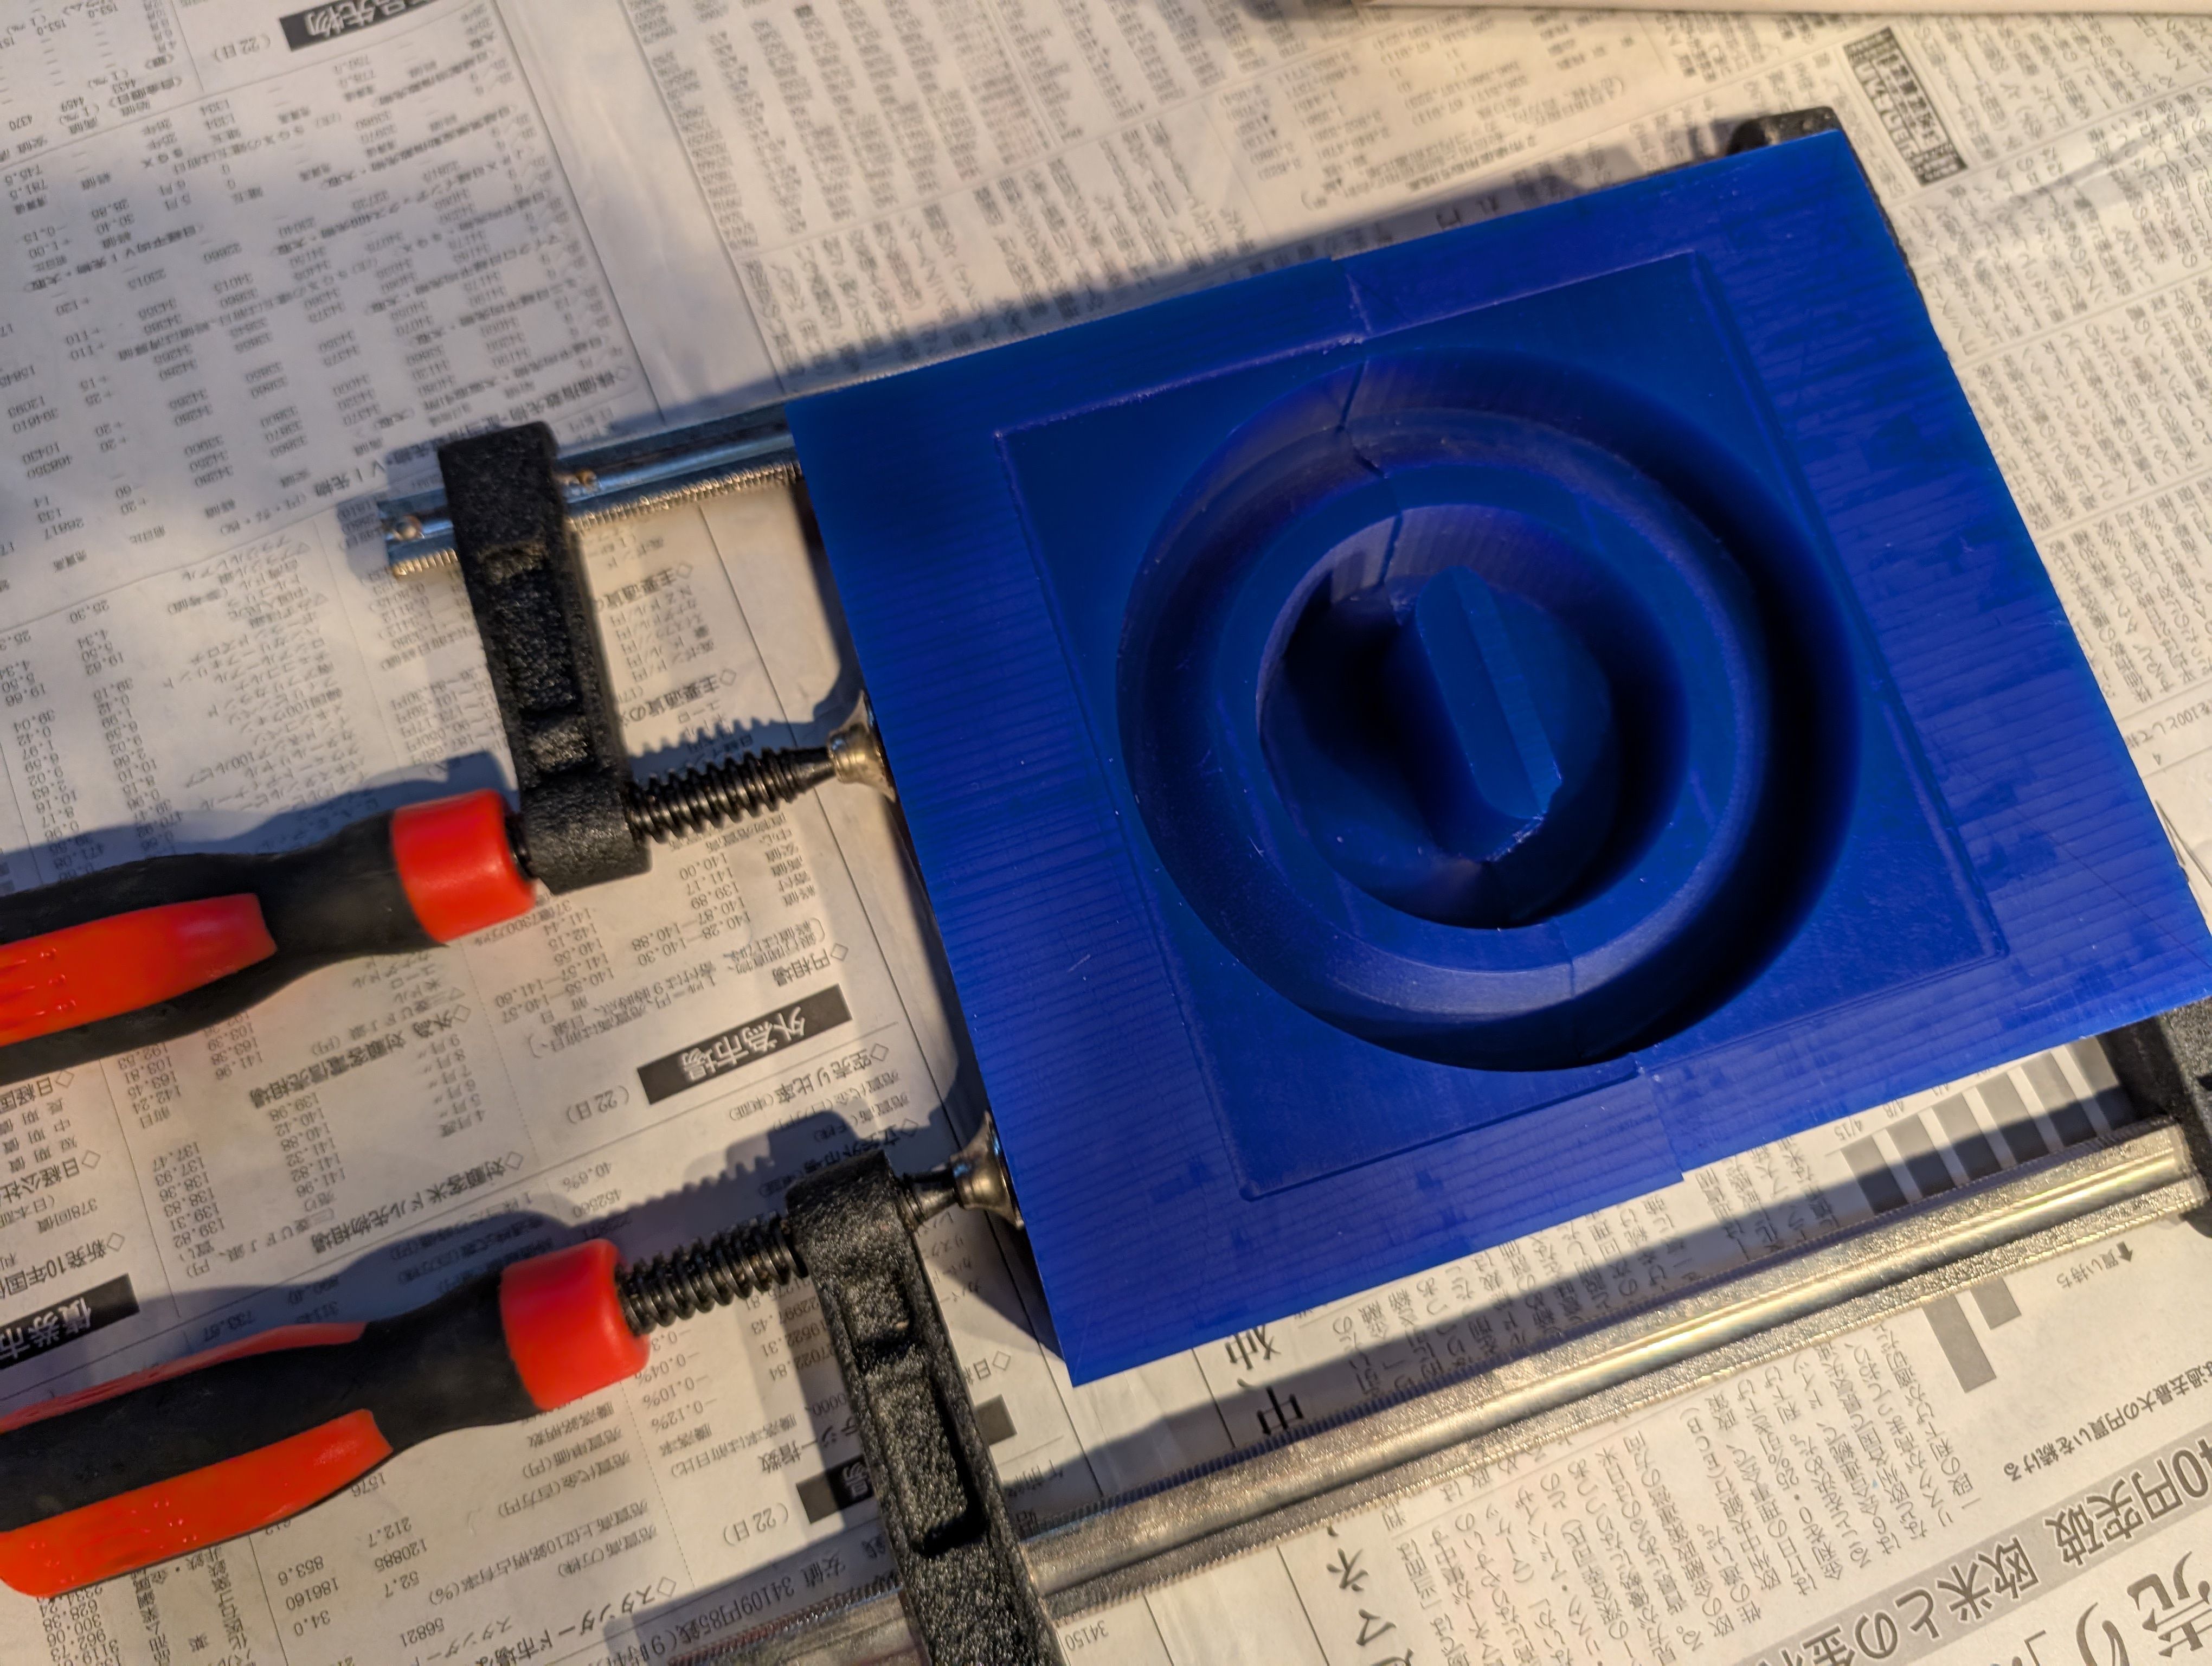
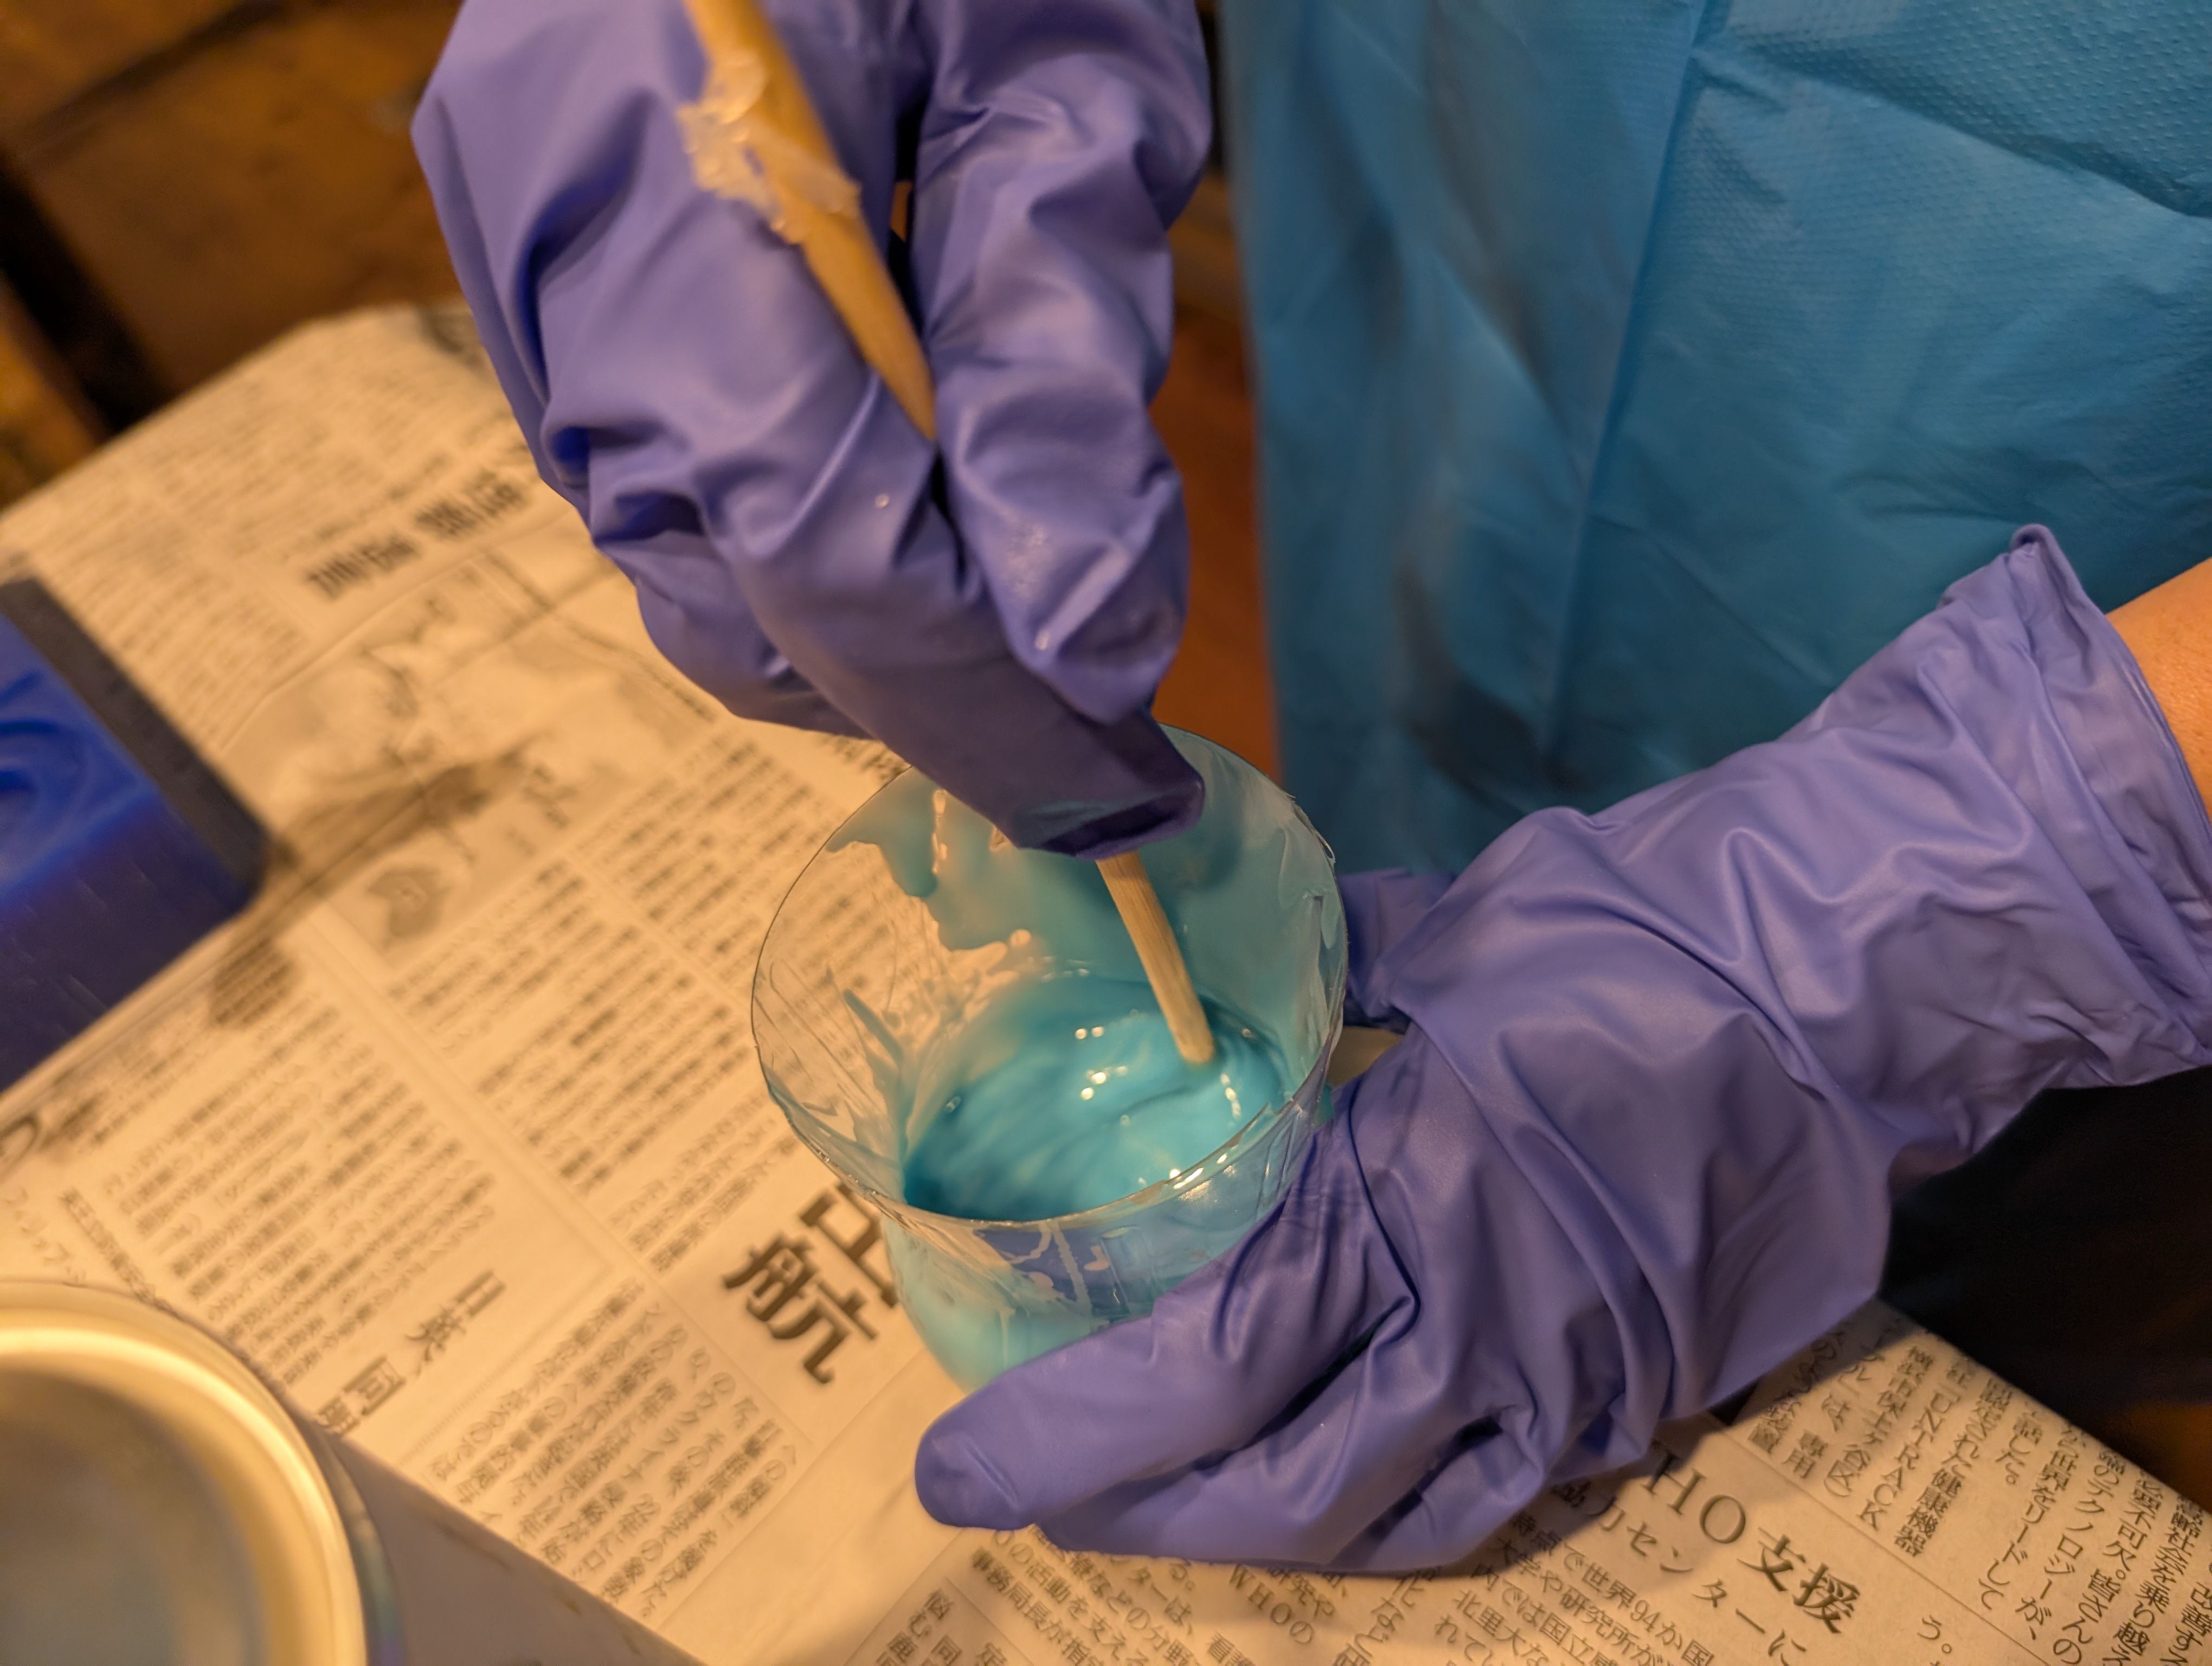
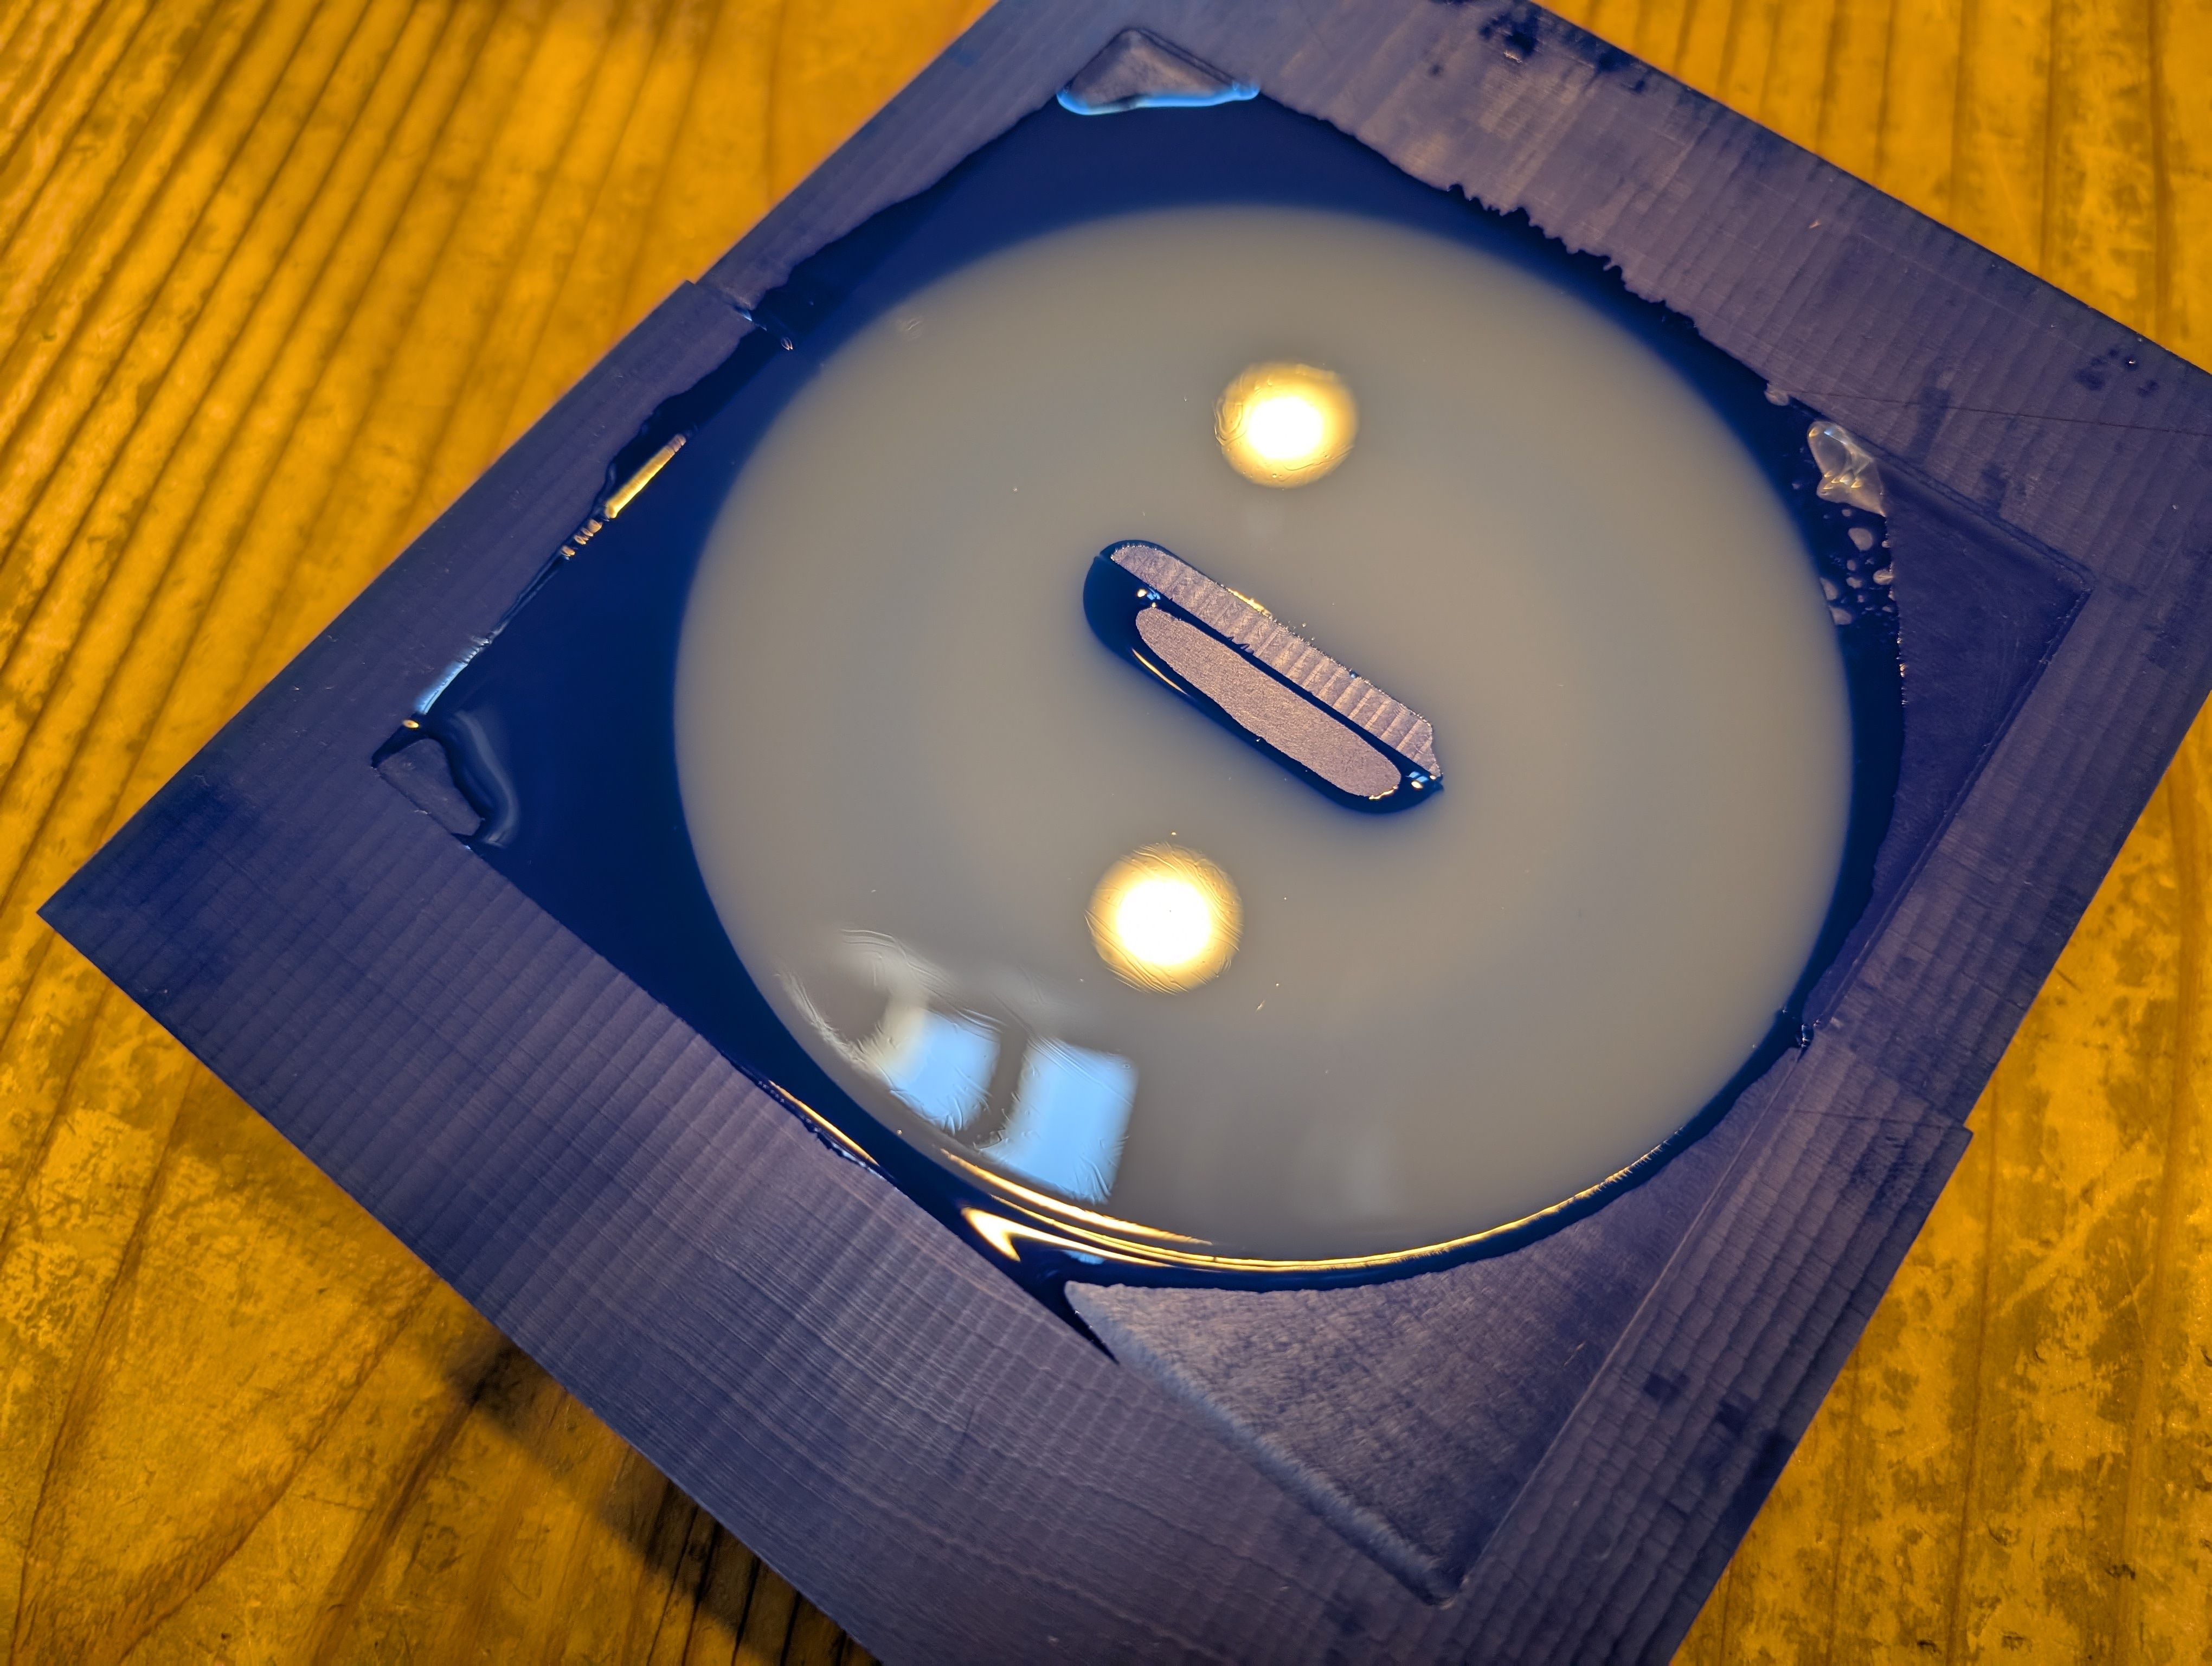
Casting
I used Ecoflex 00-30. Part A : Part B = 1 : 1 = 120g : 120g
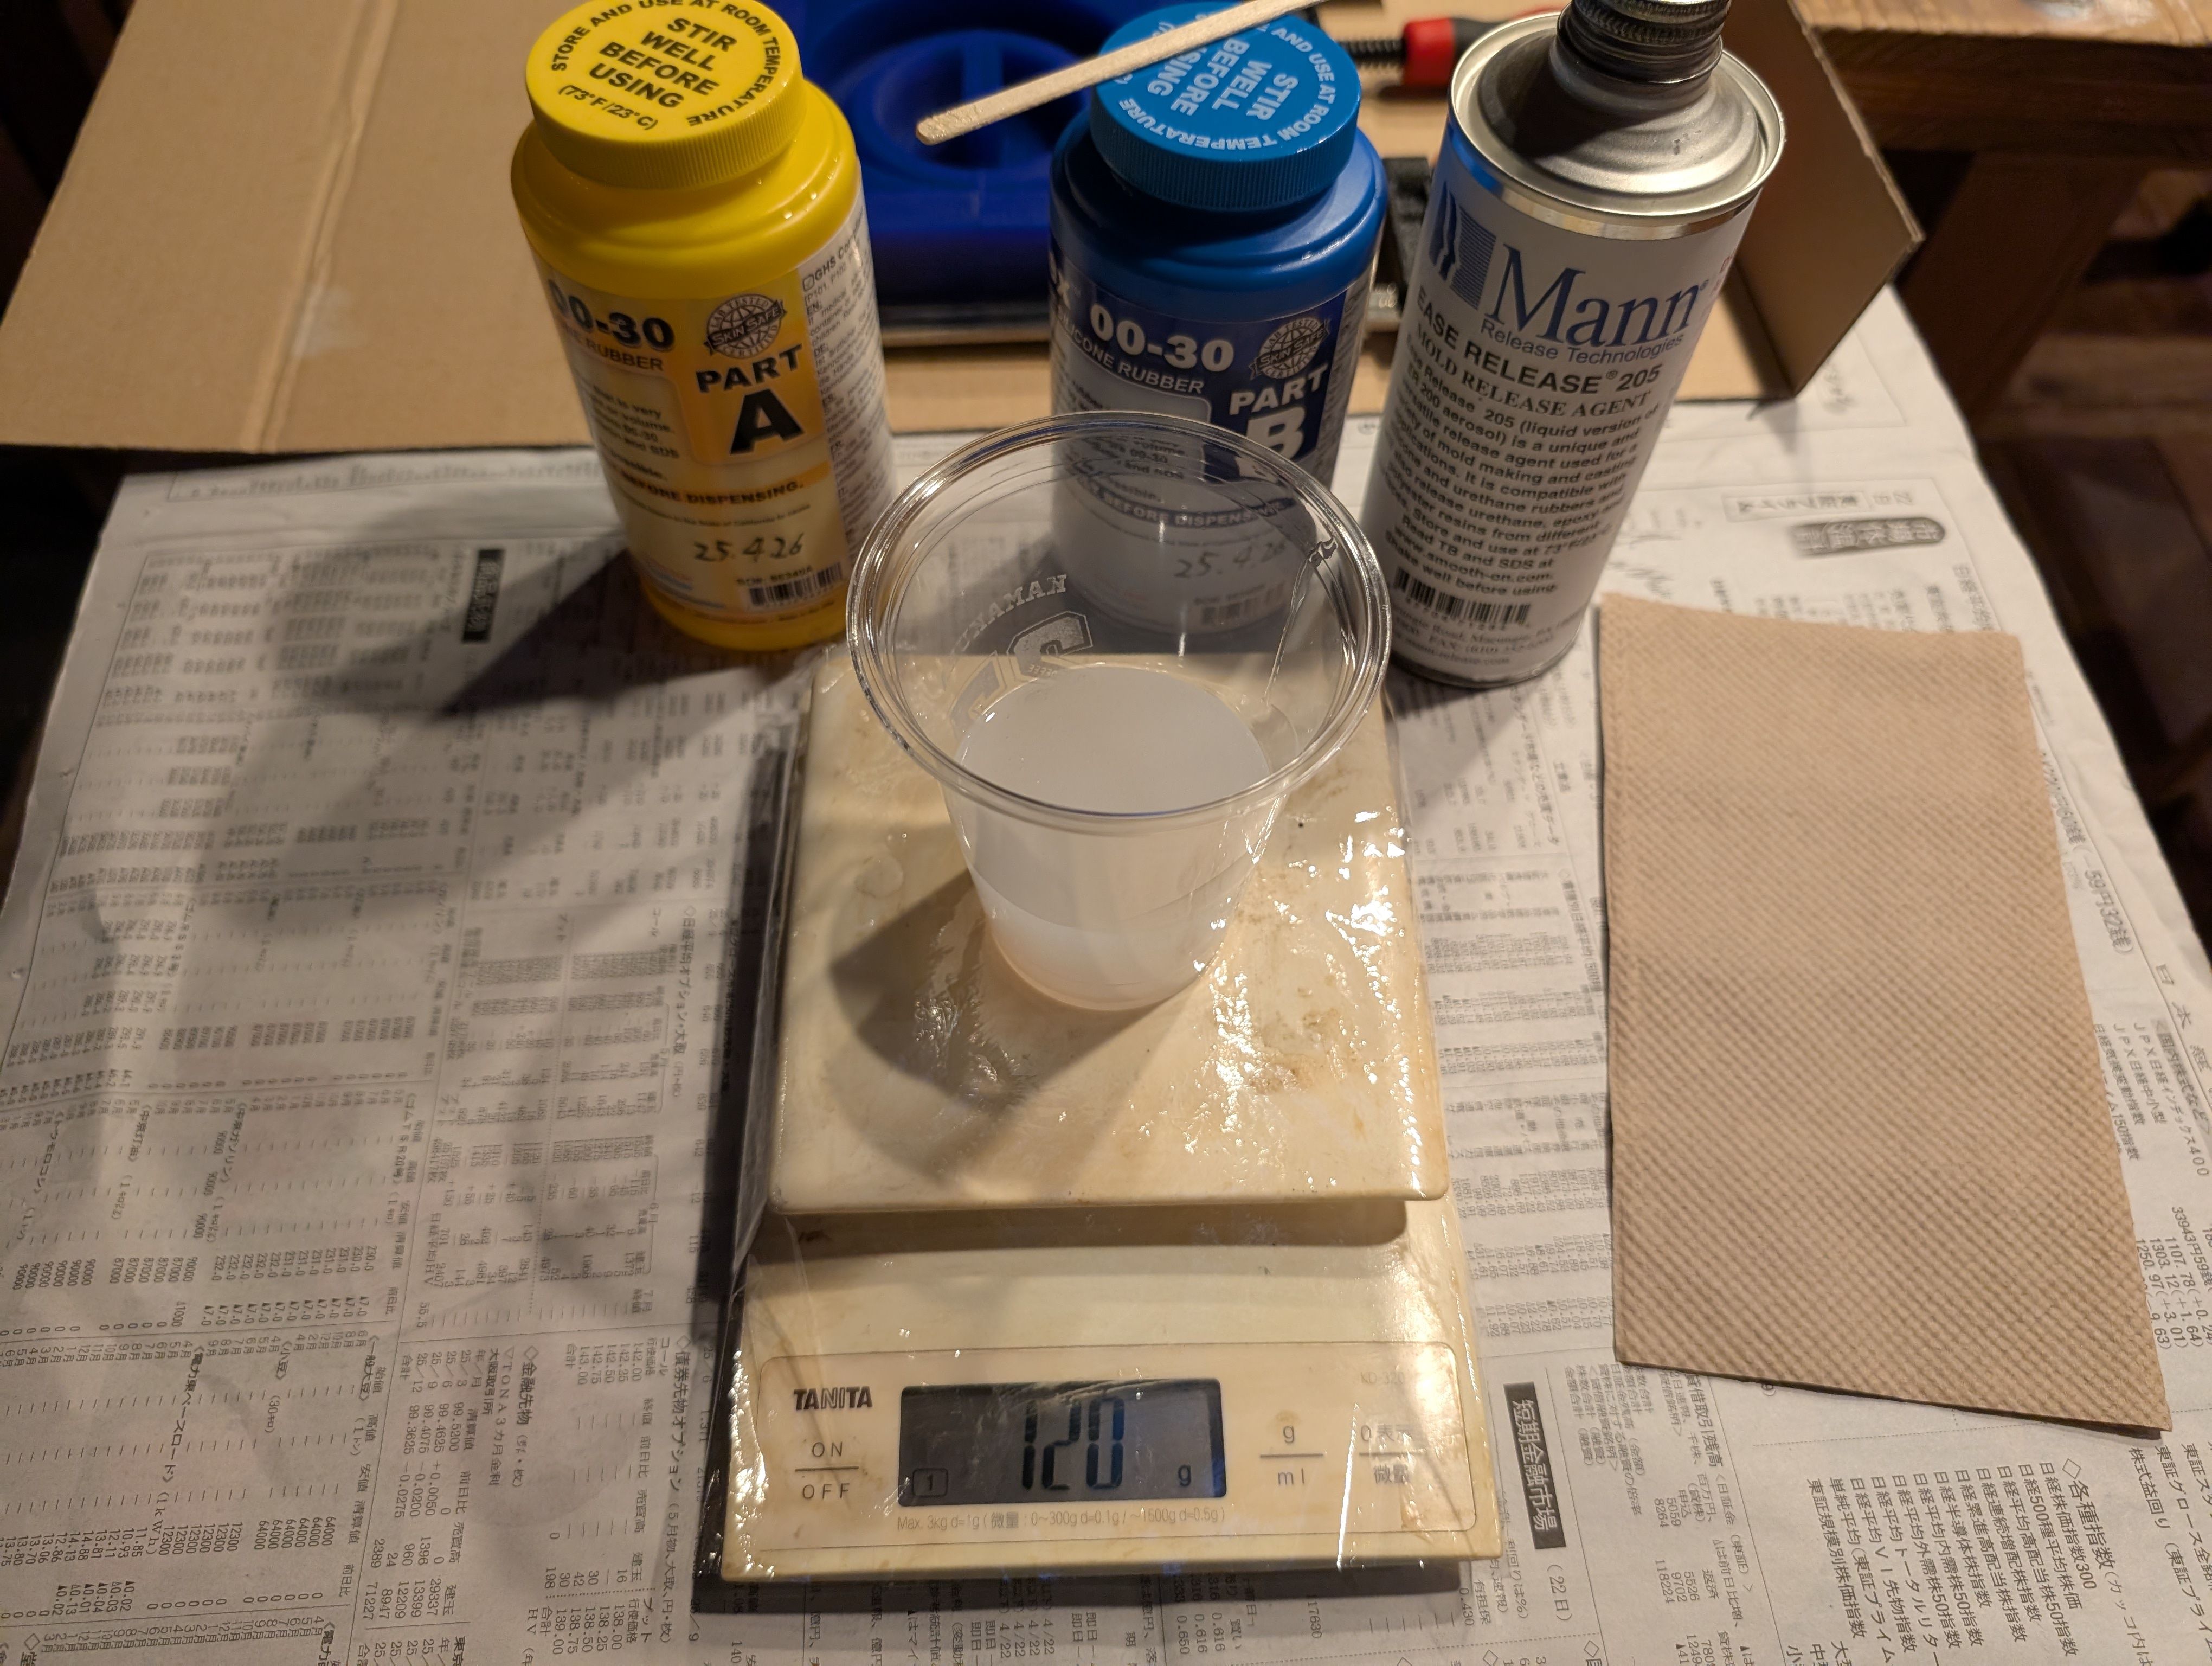
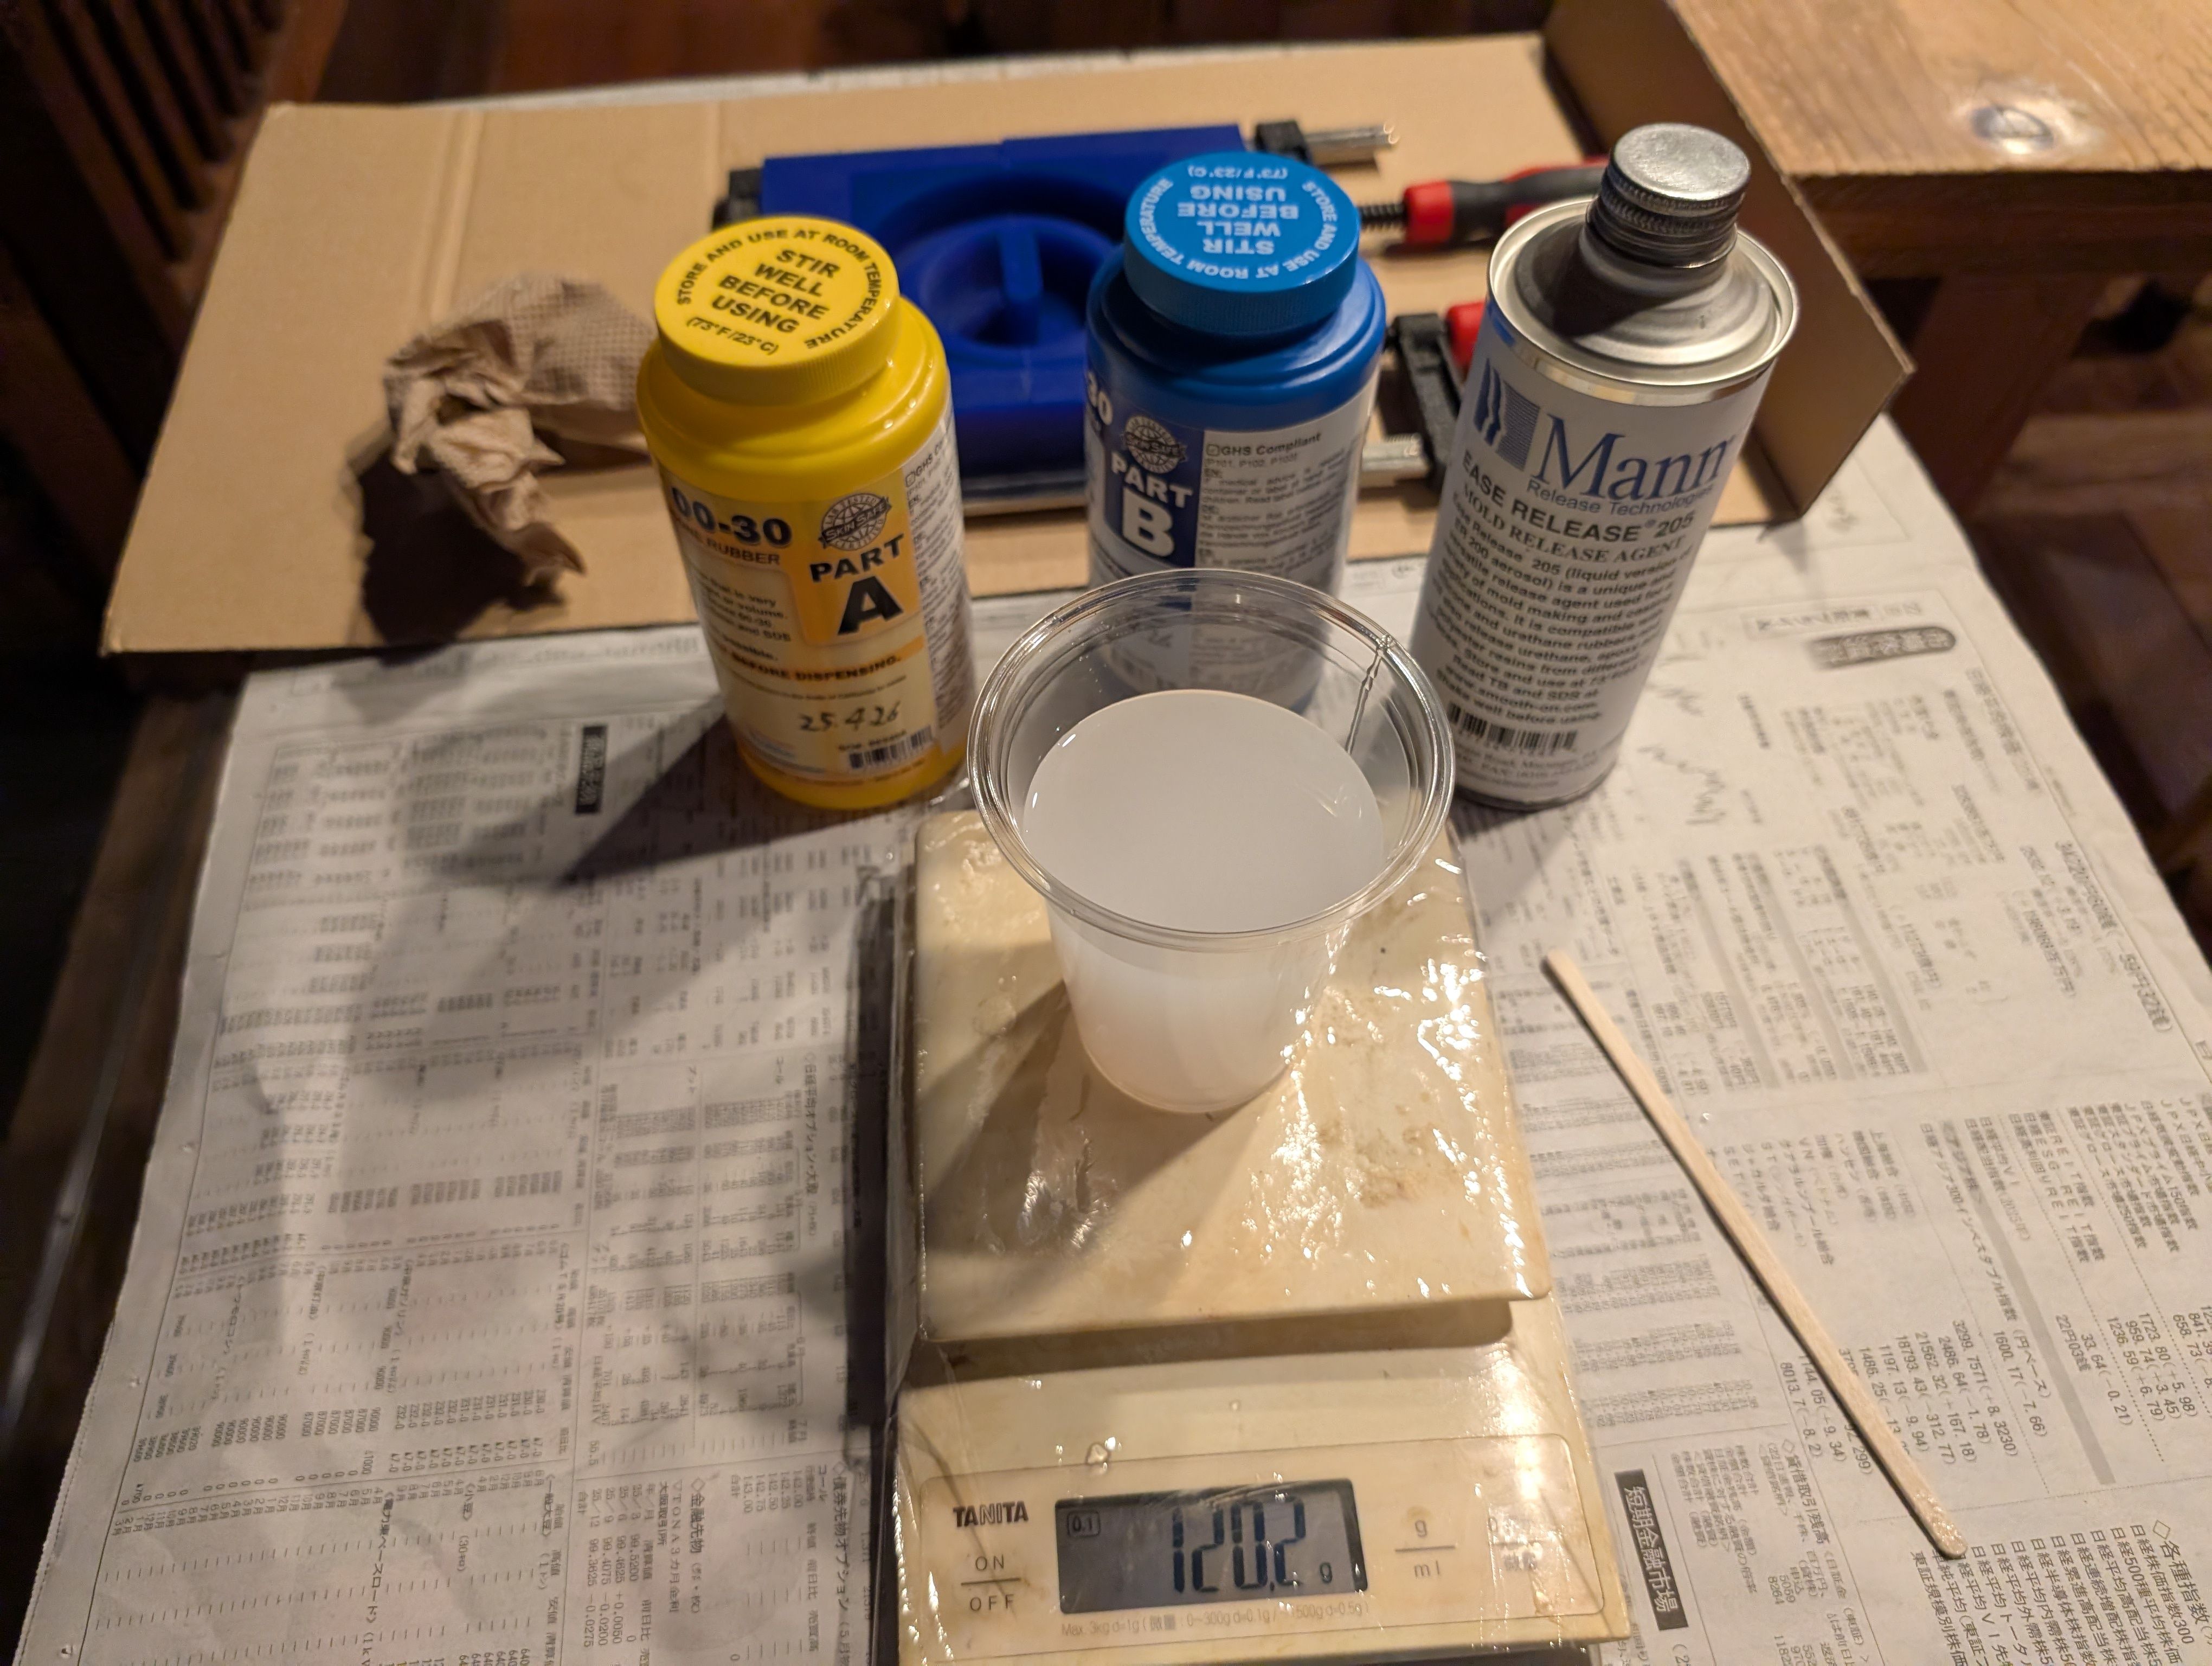
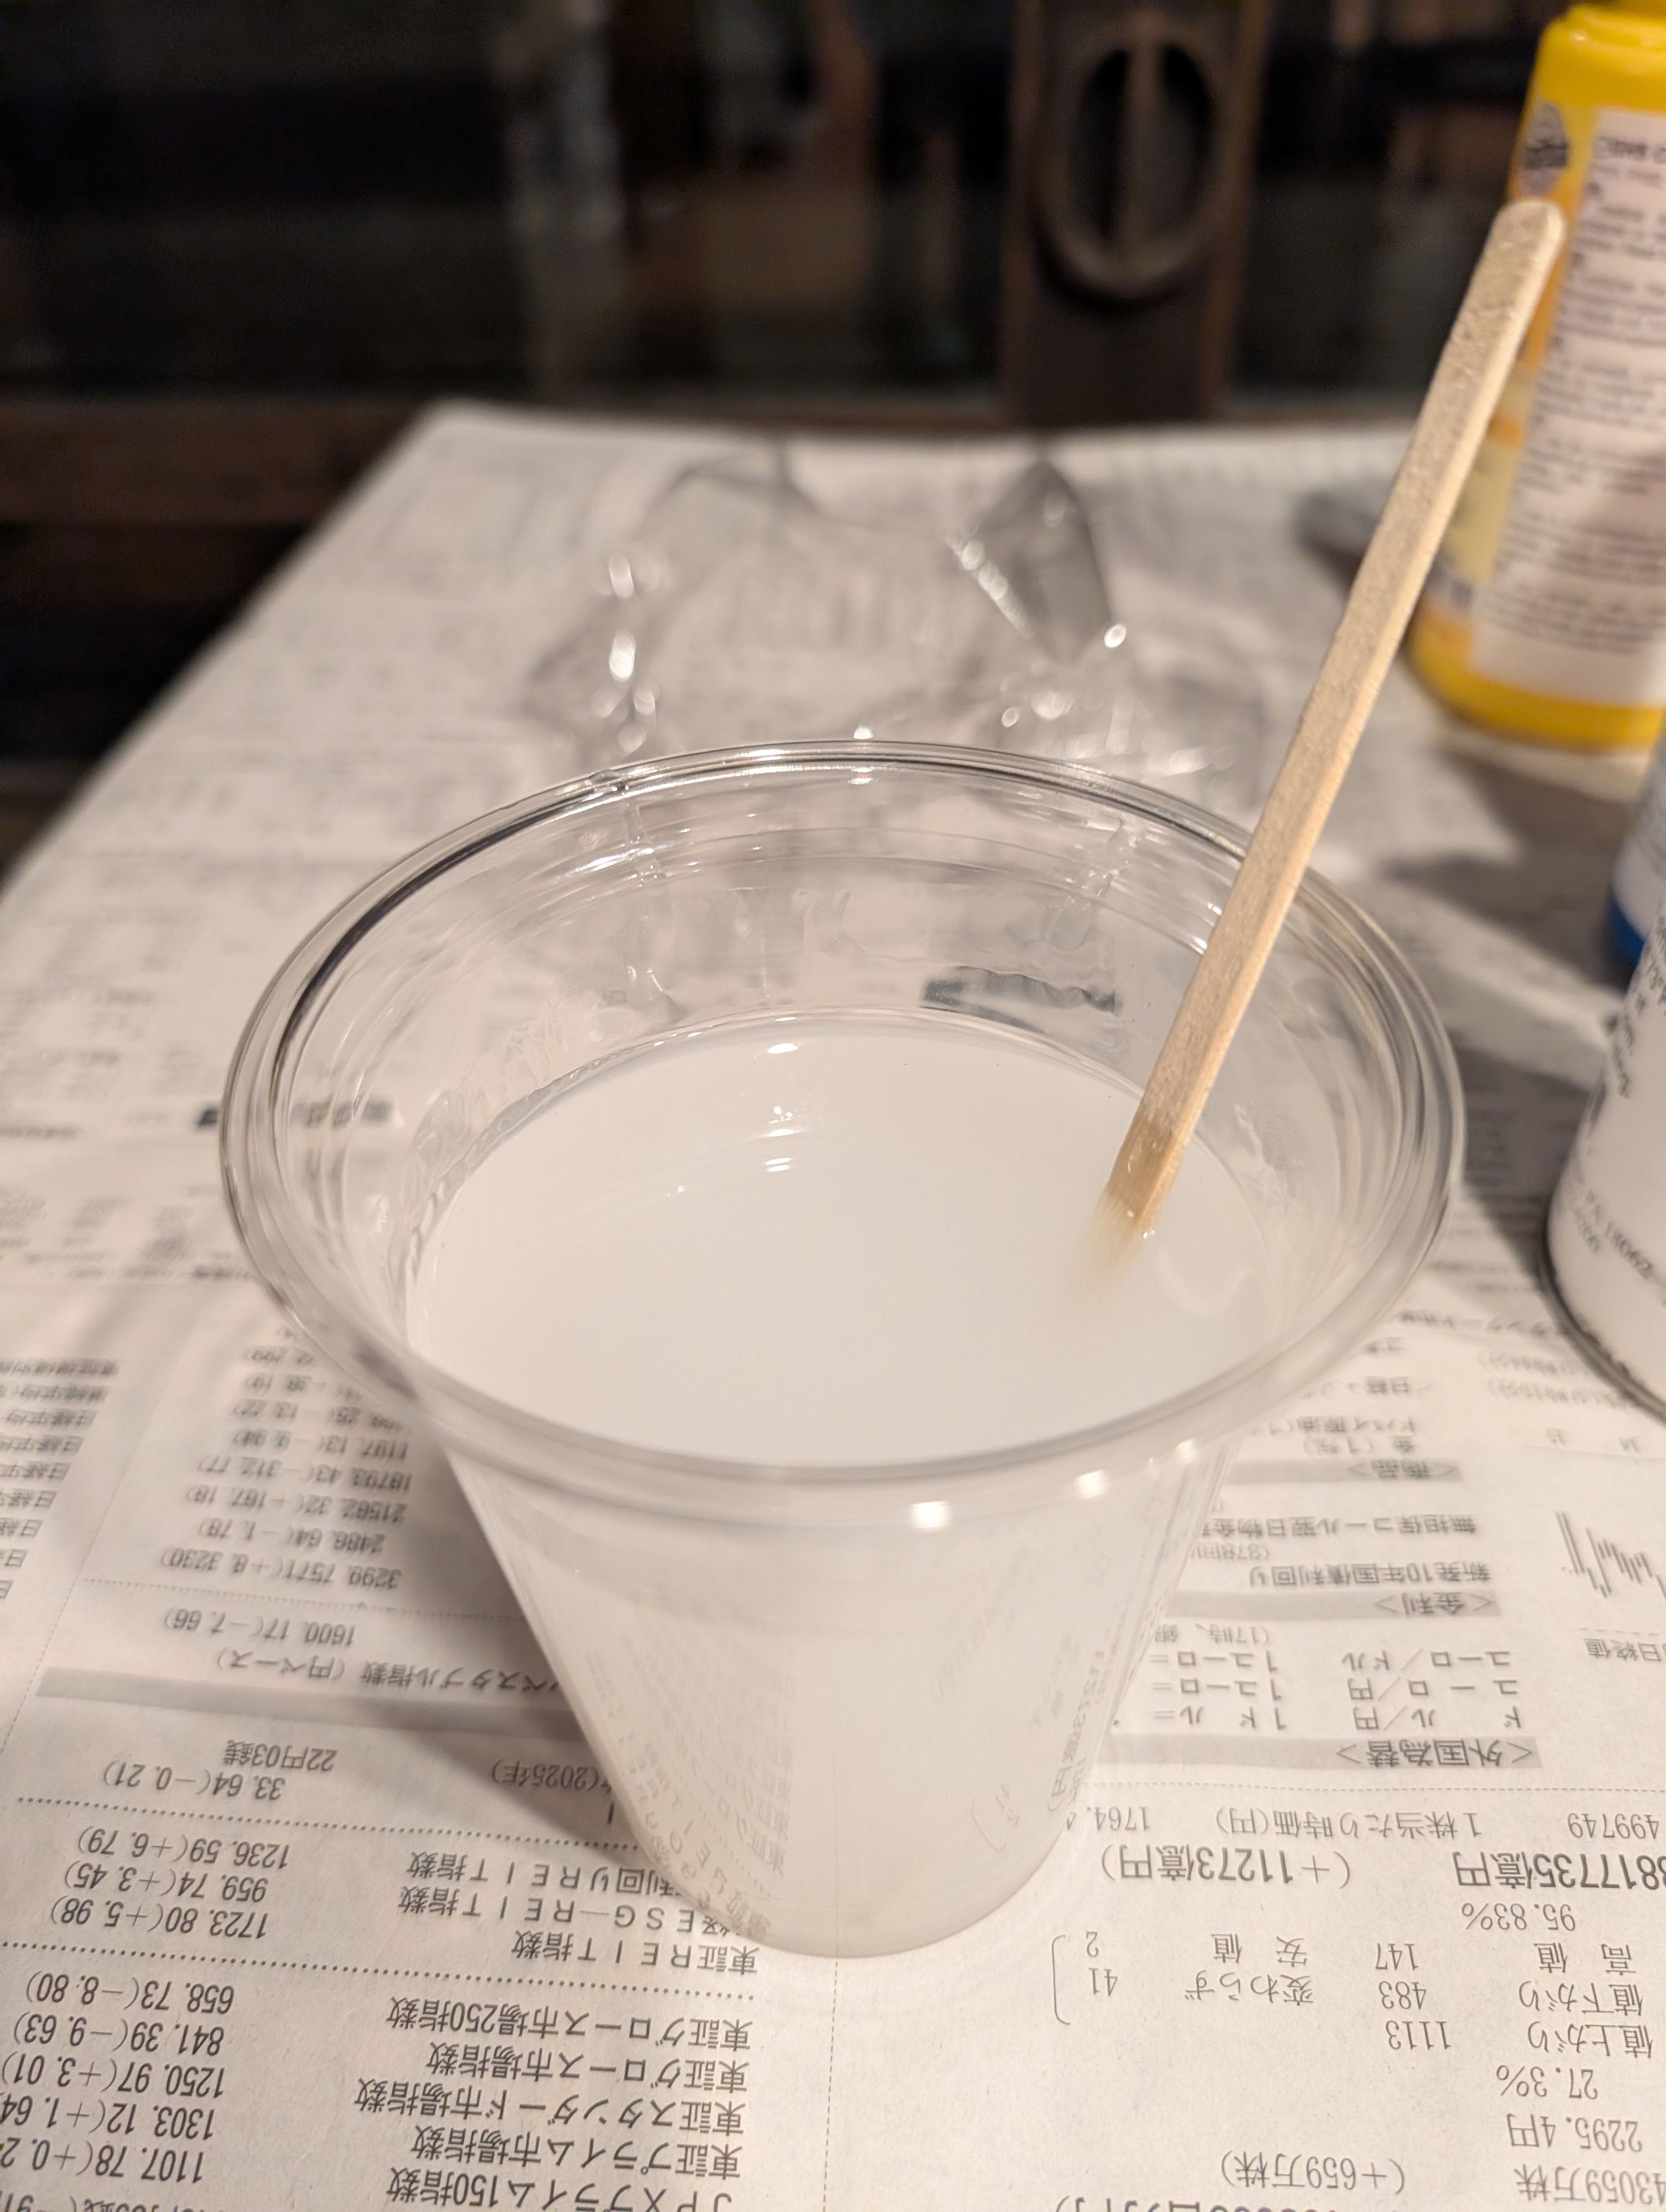
Mix them well and put to the mold
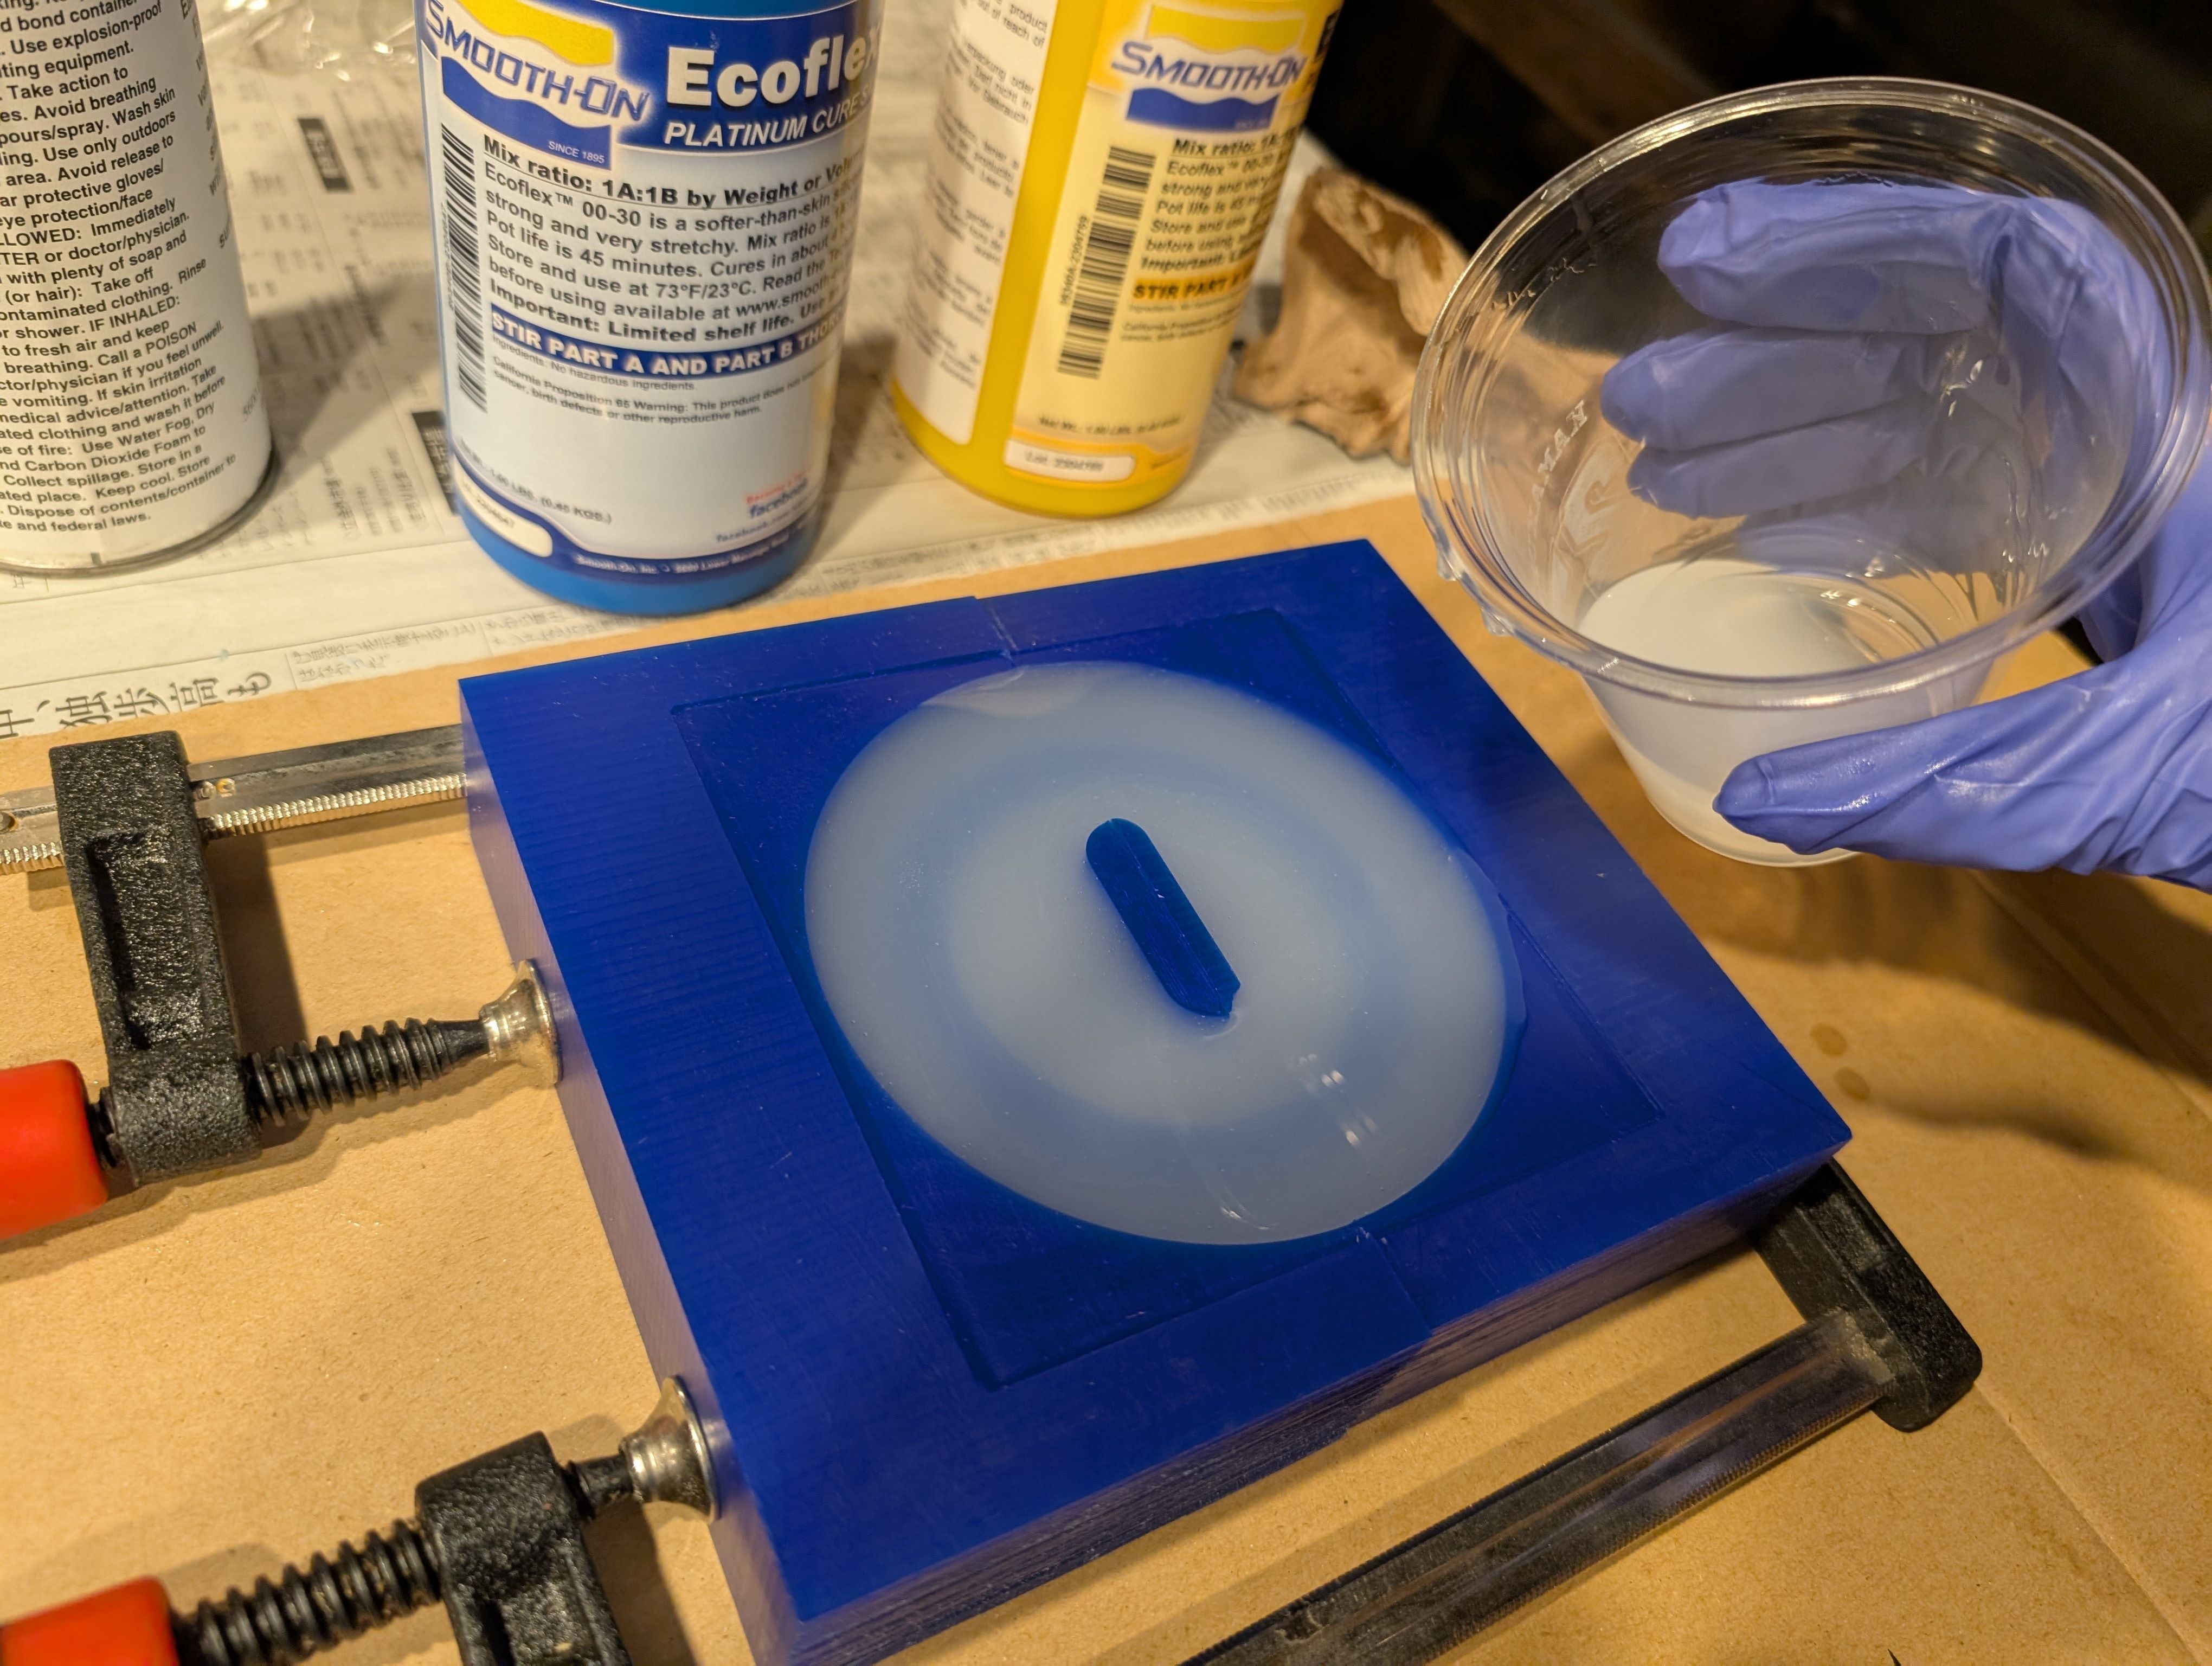
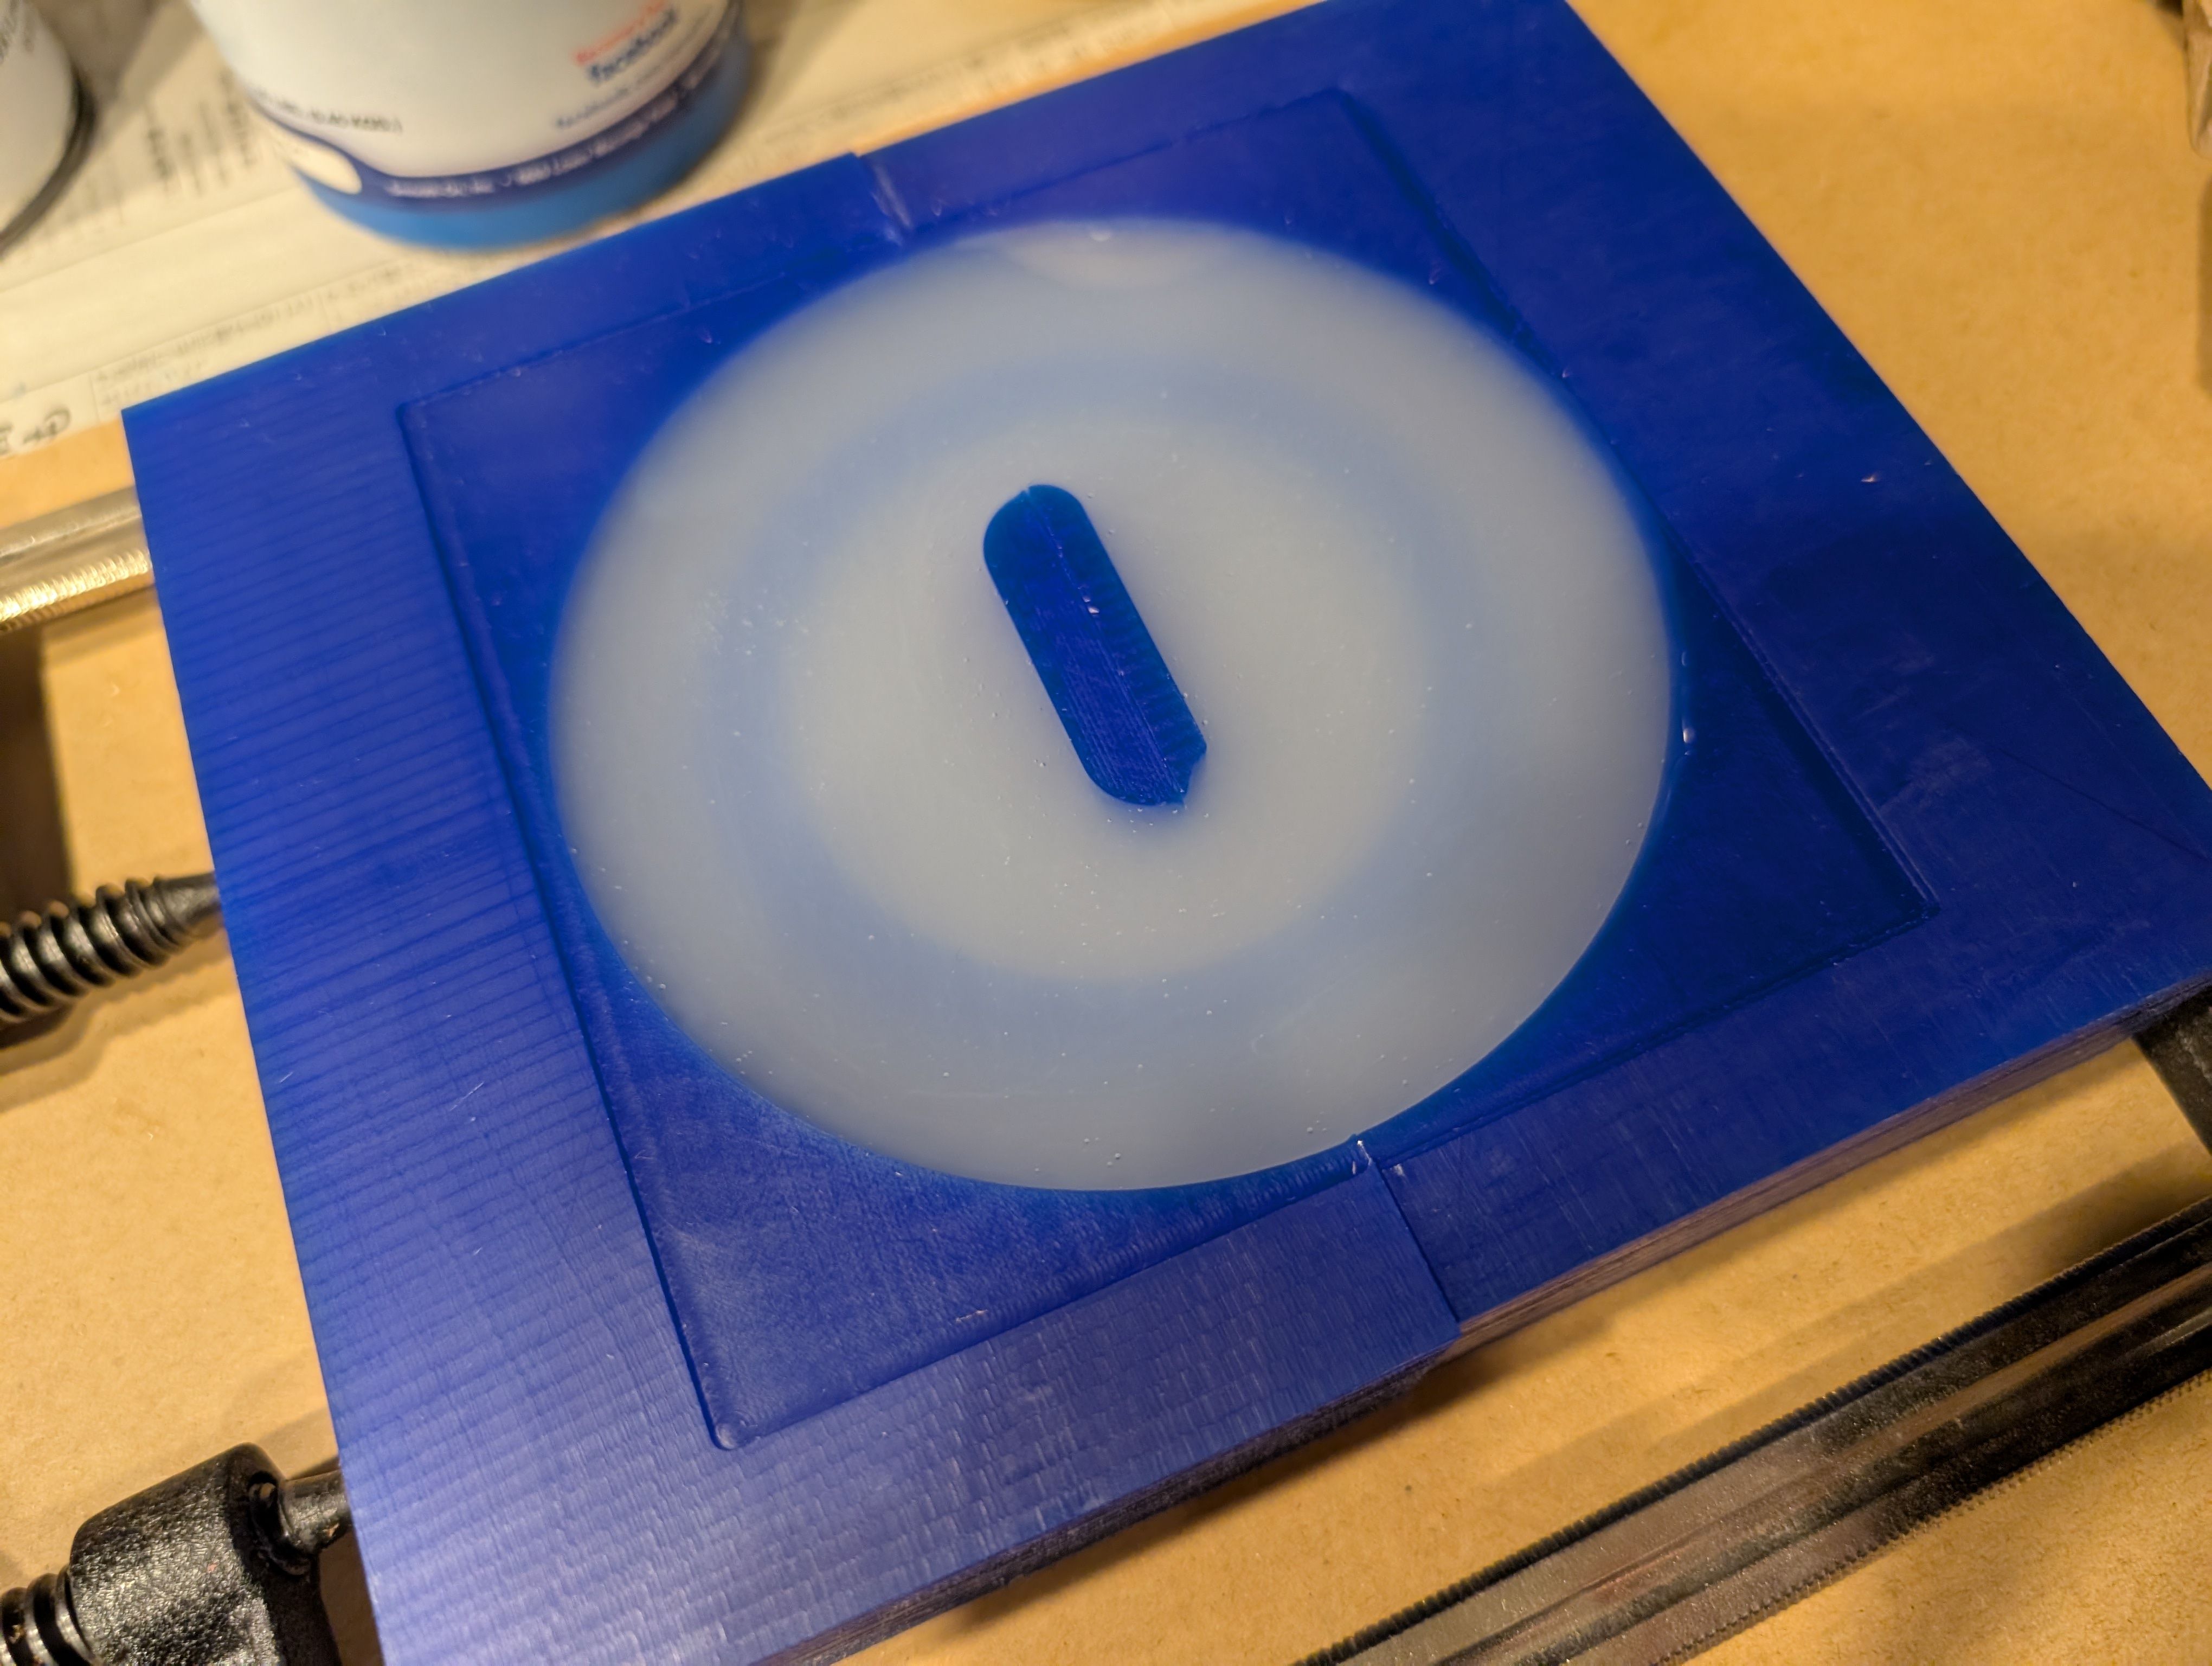
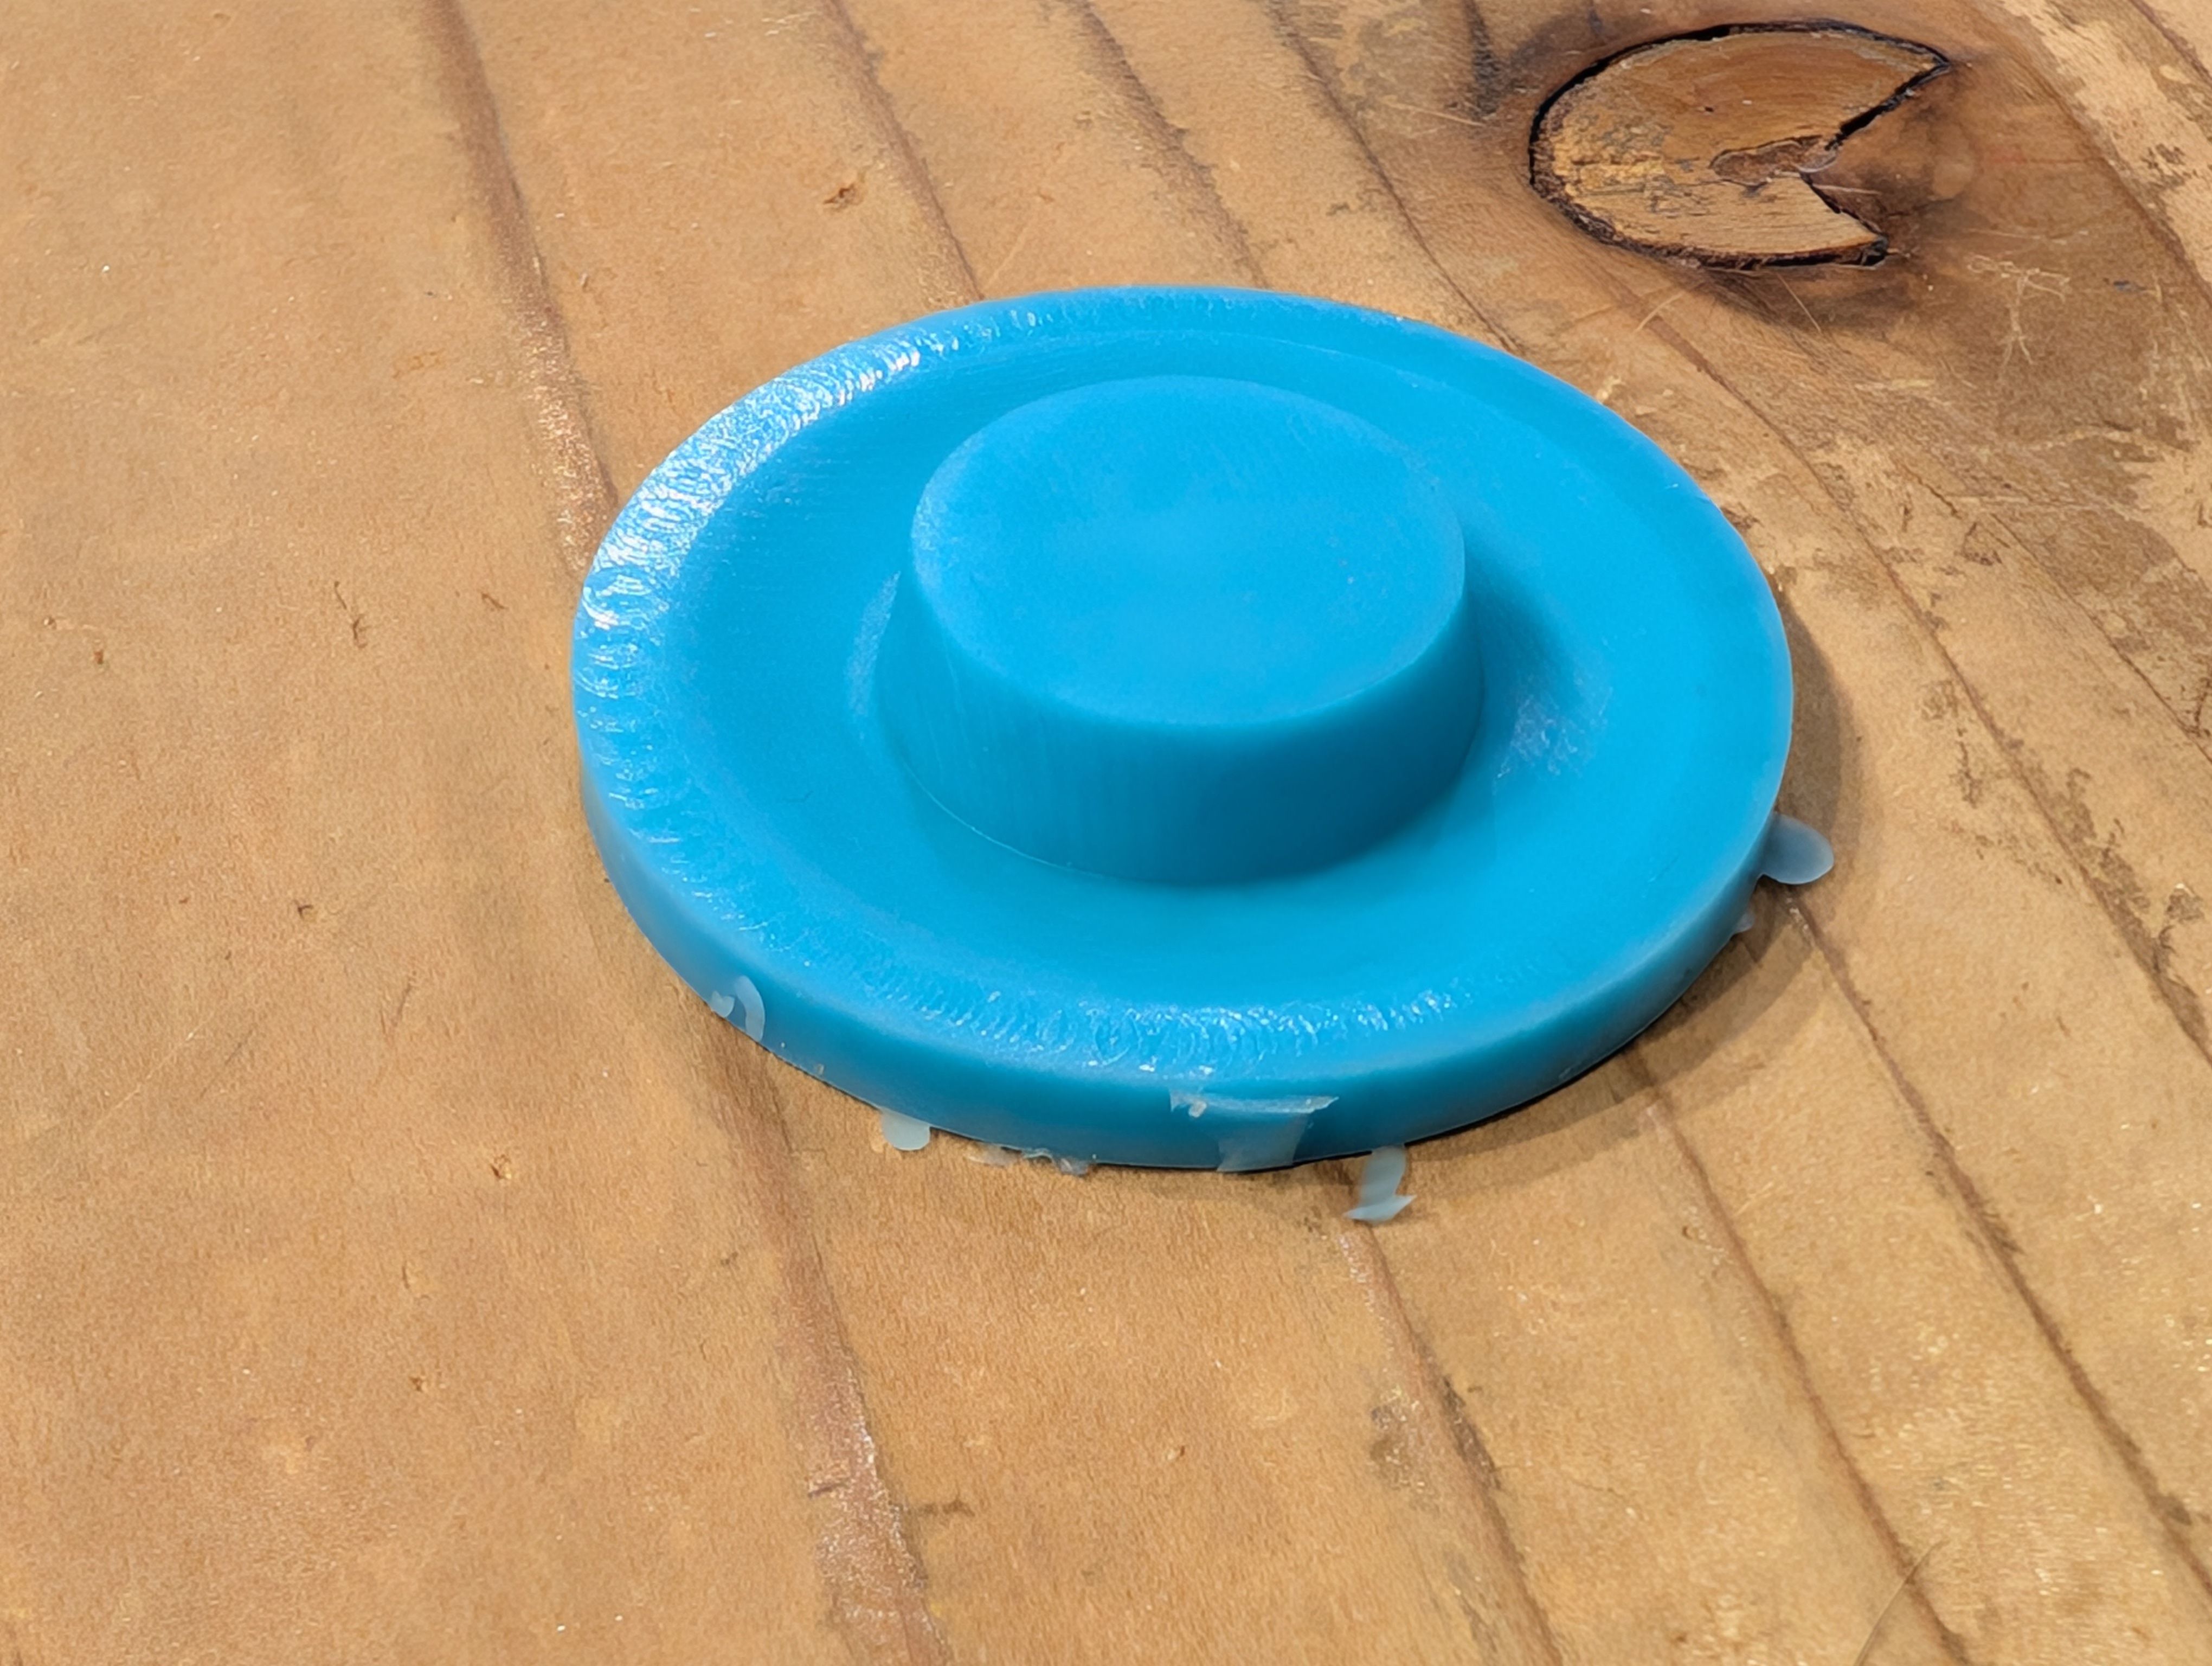
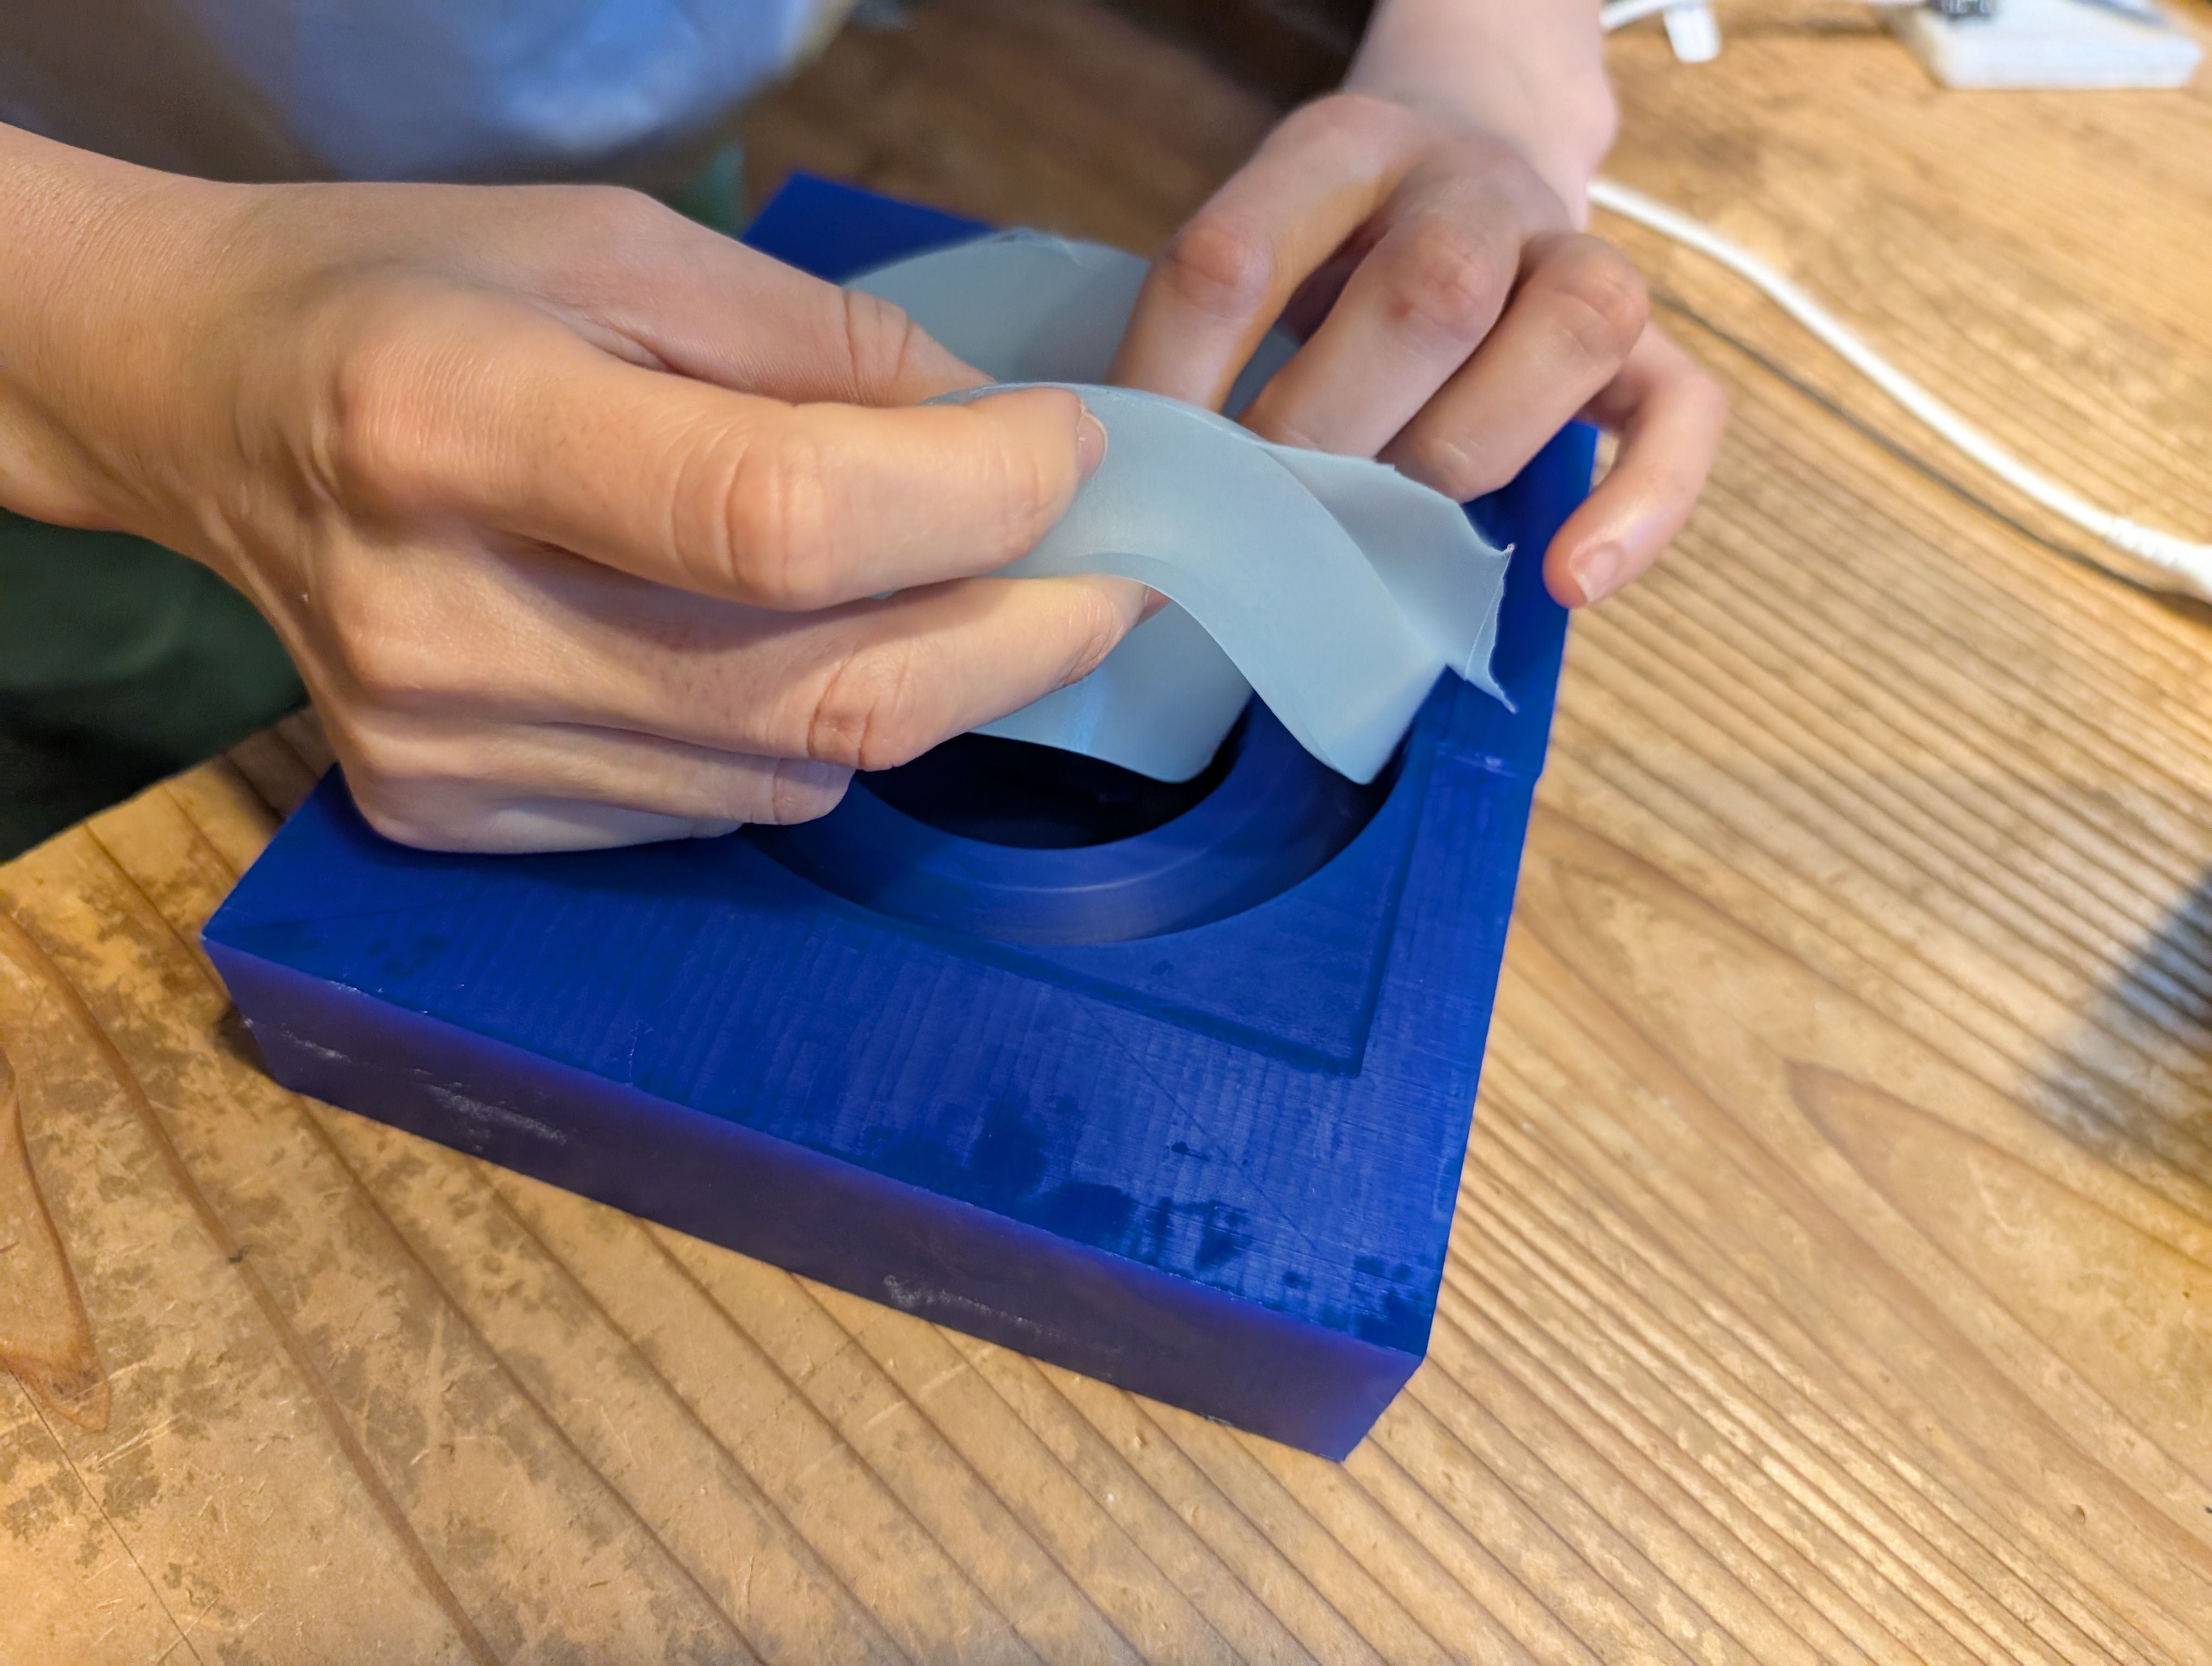
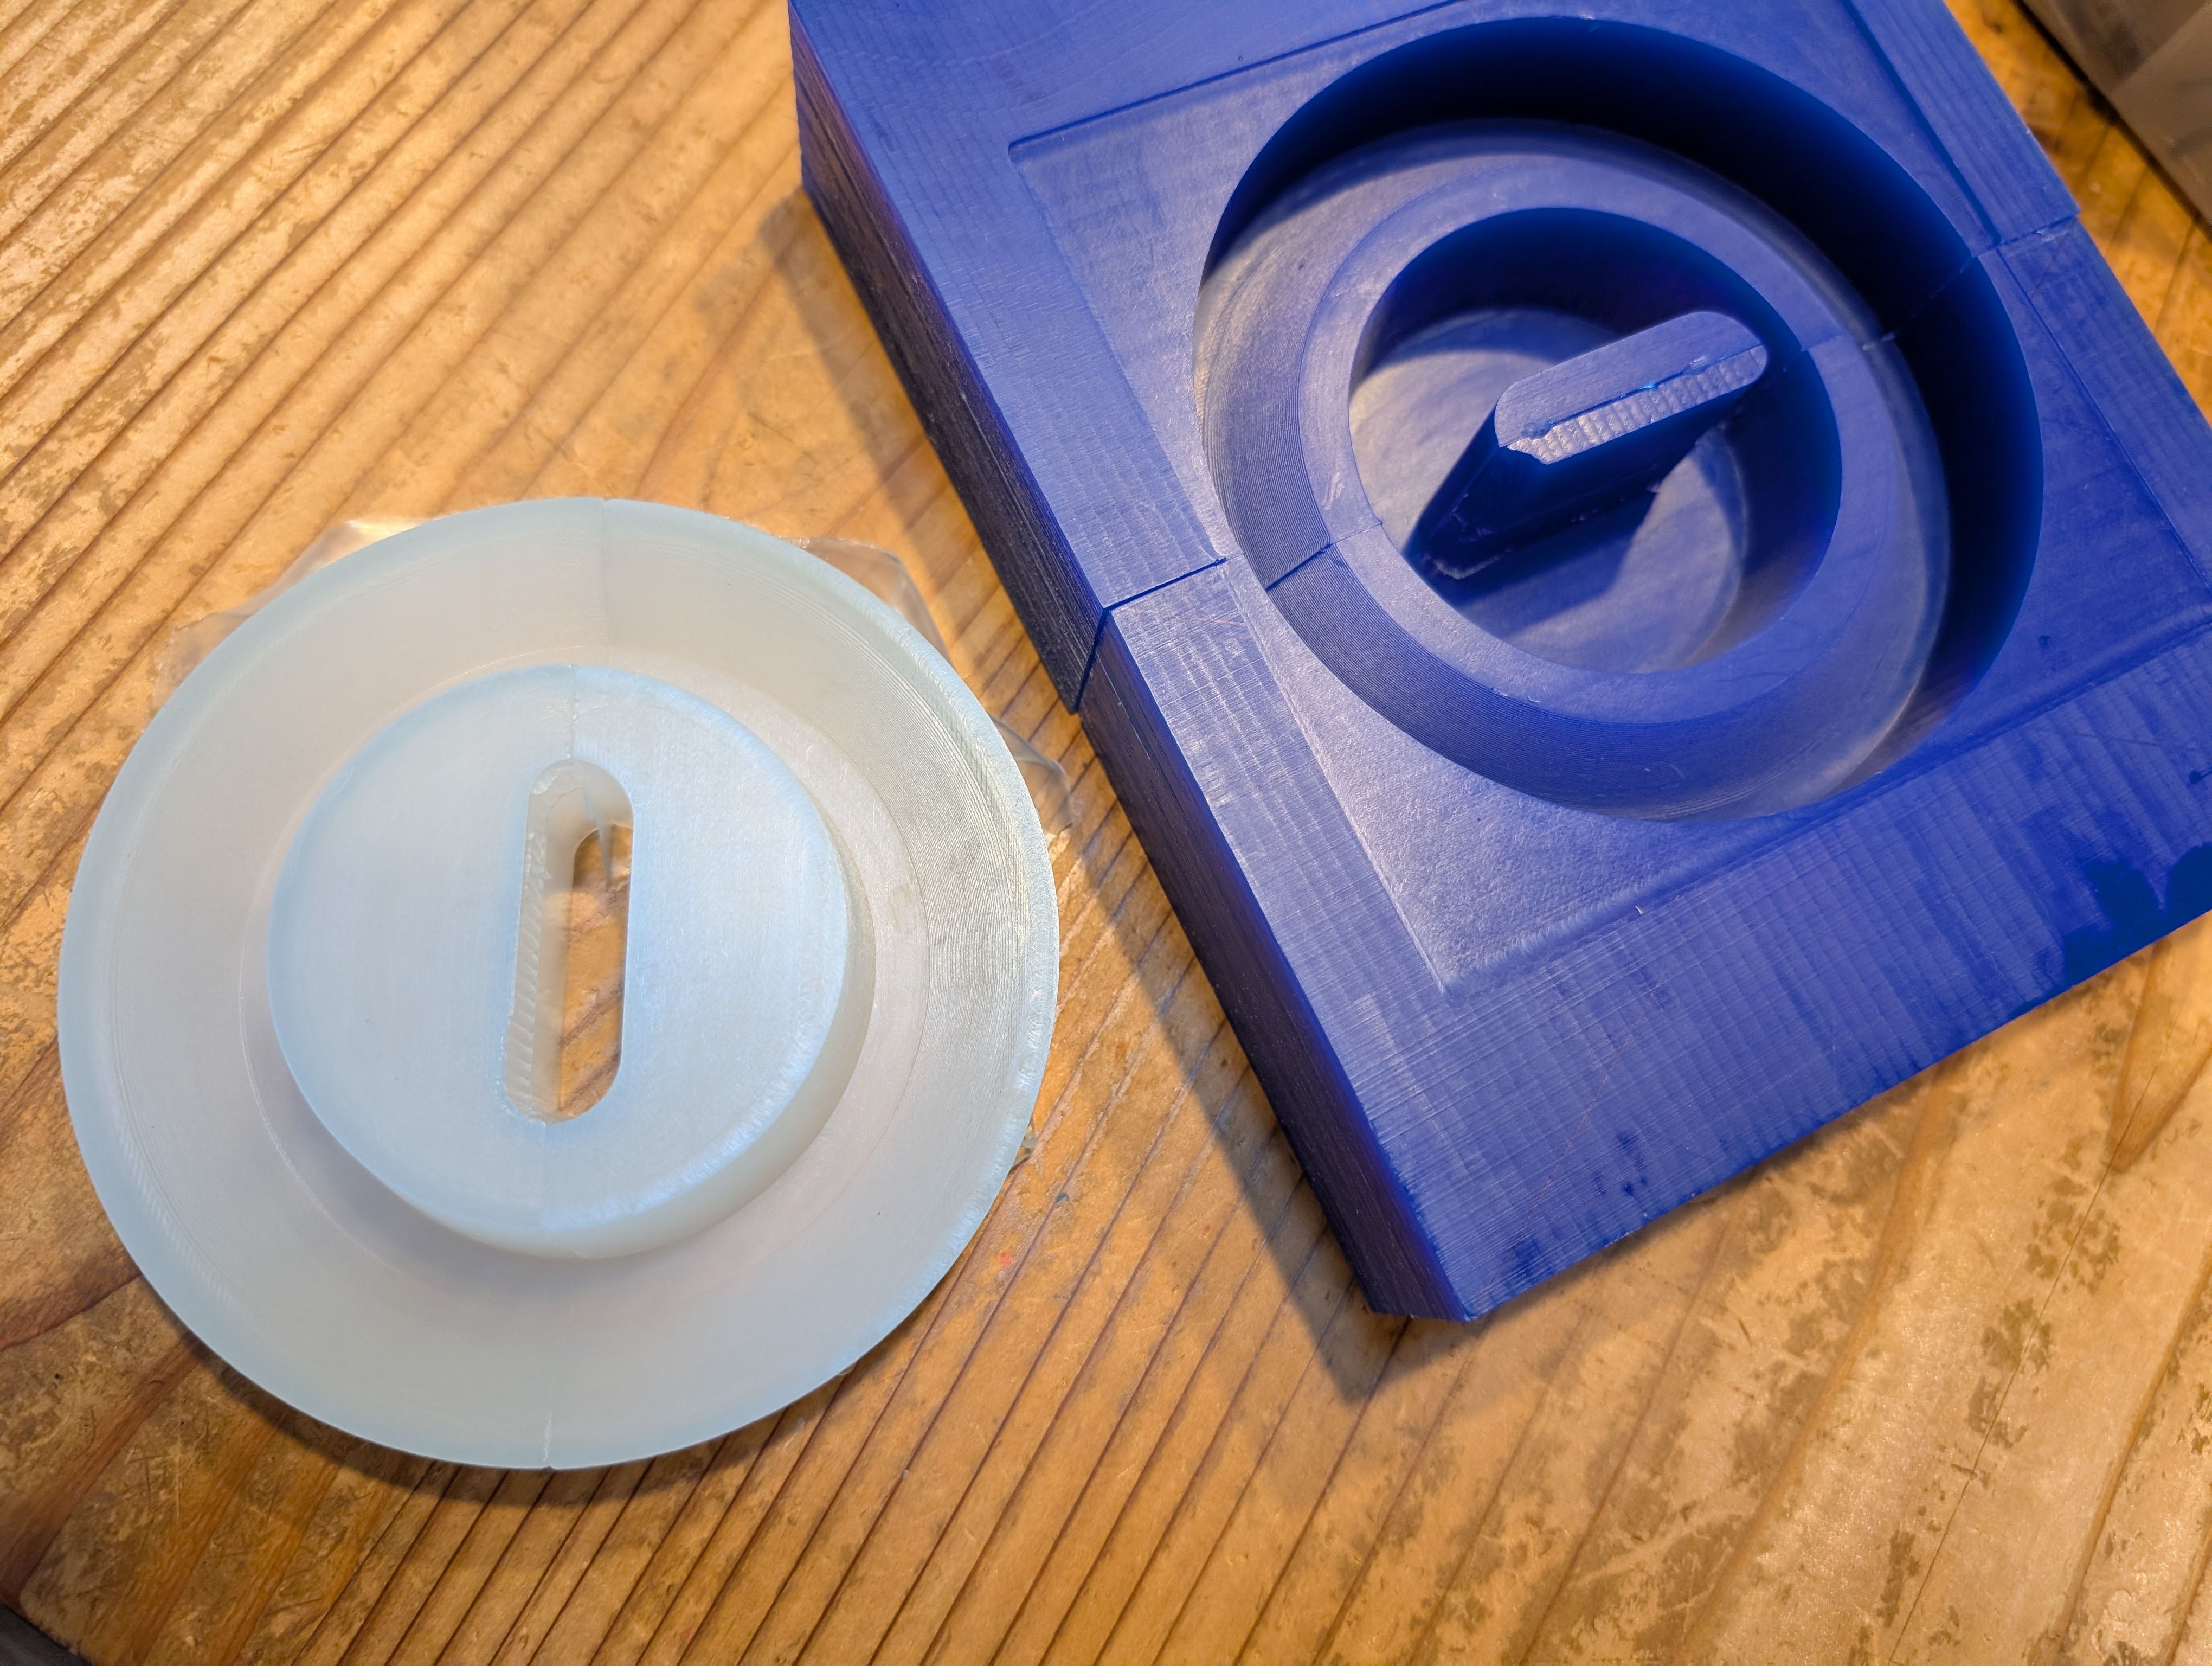
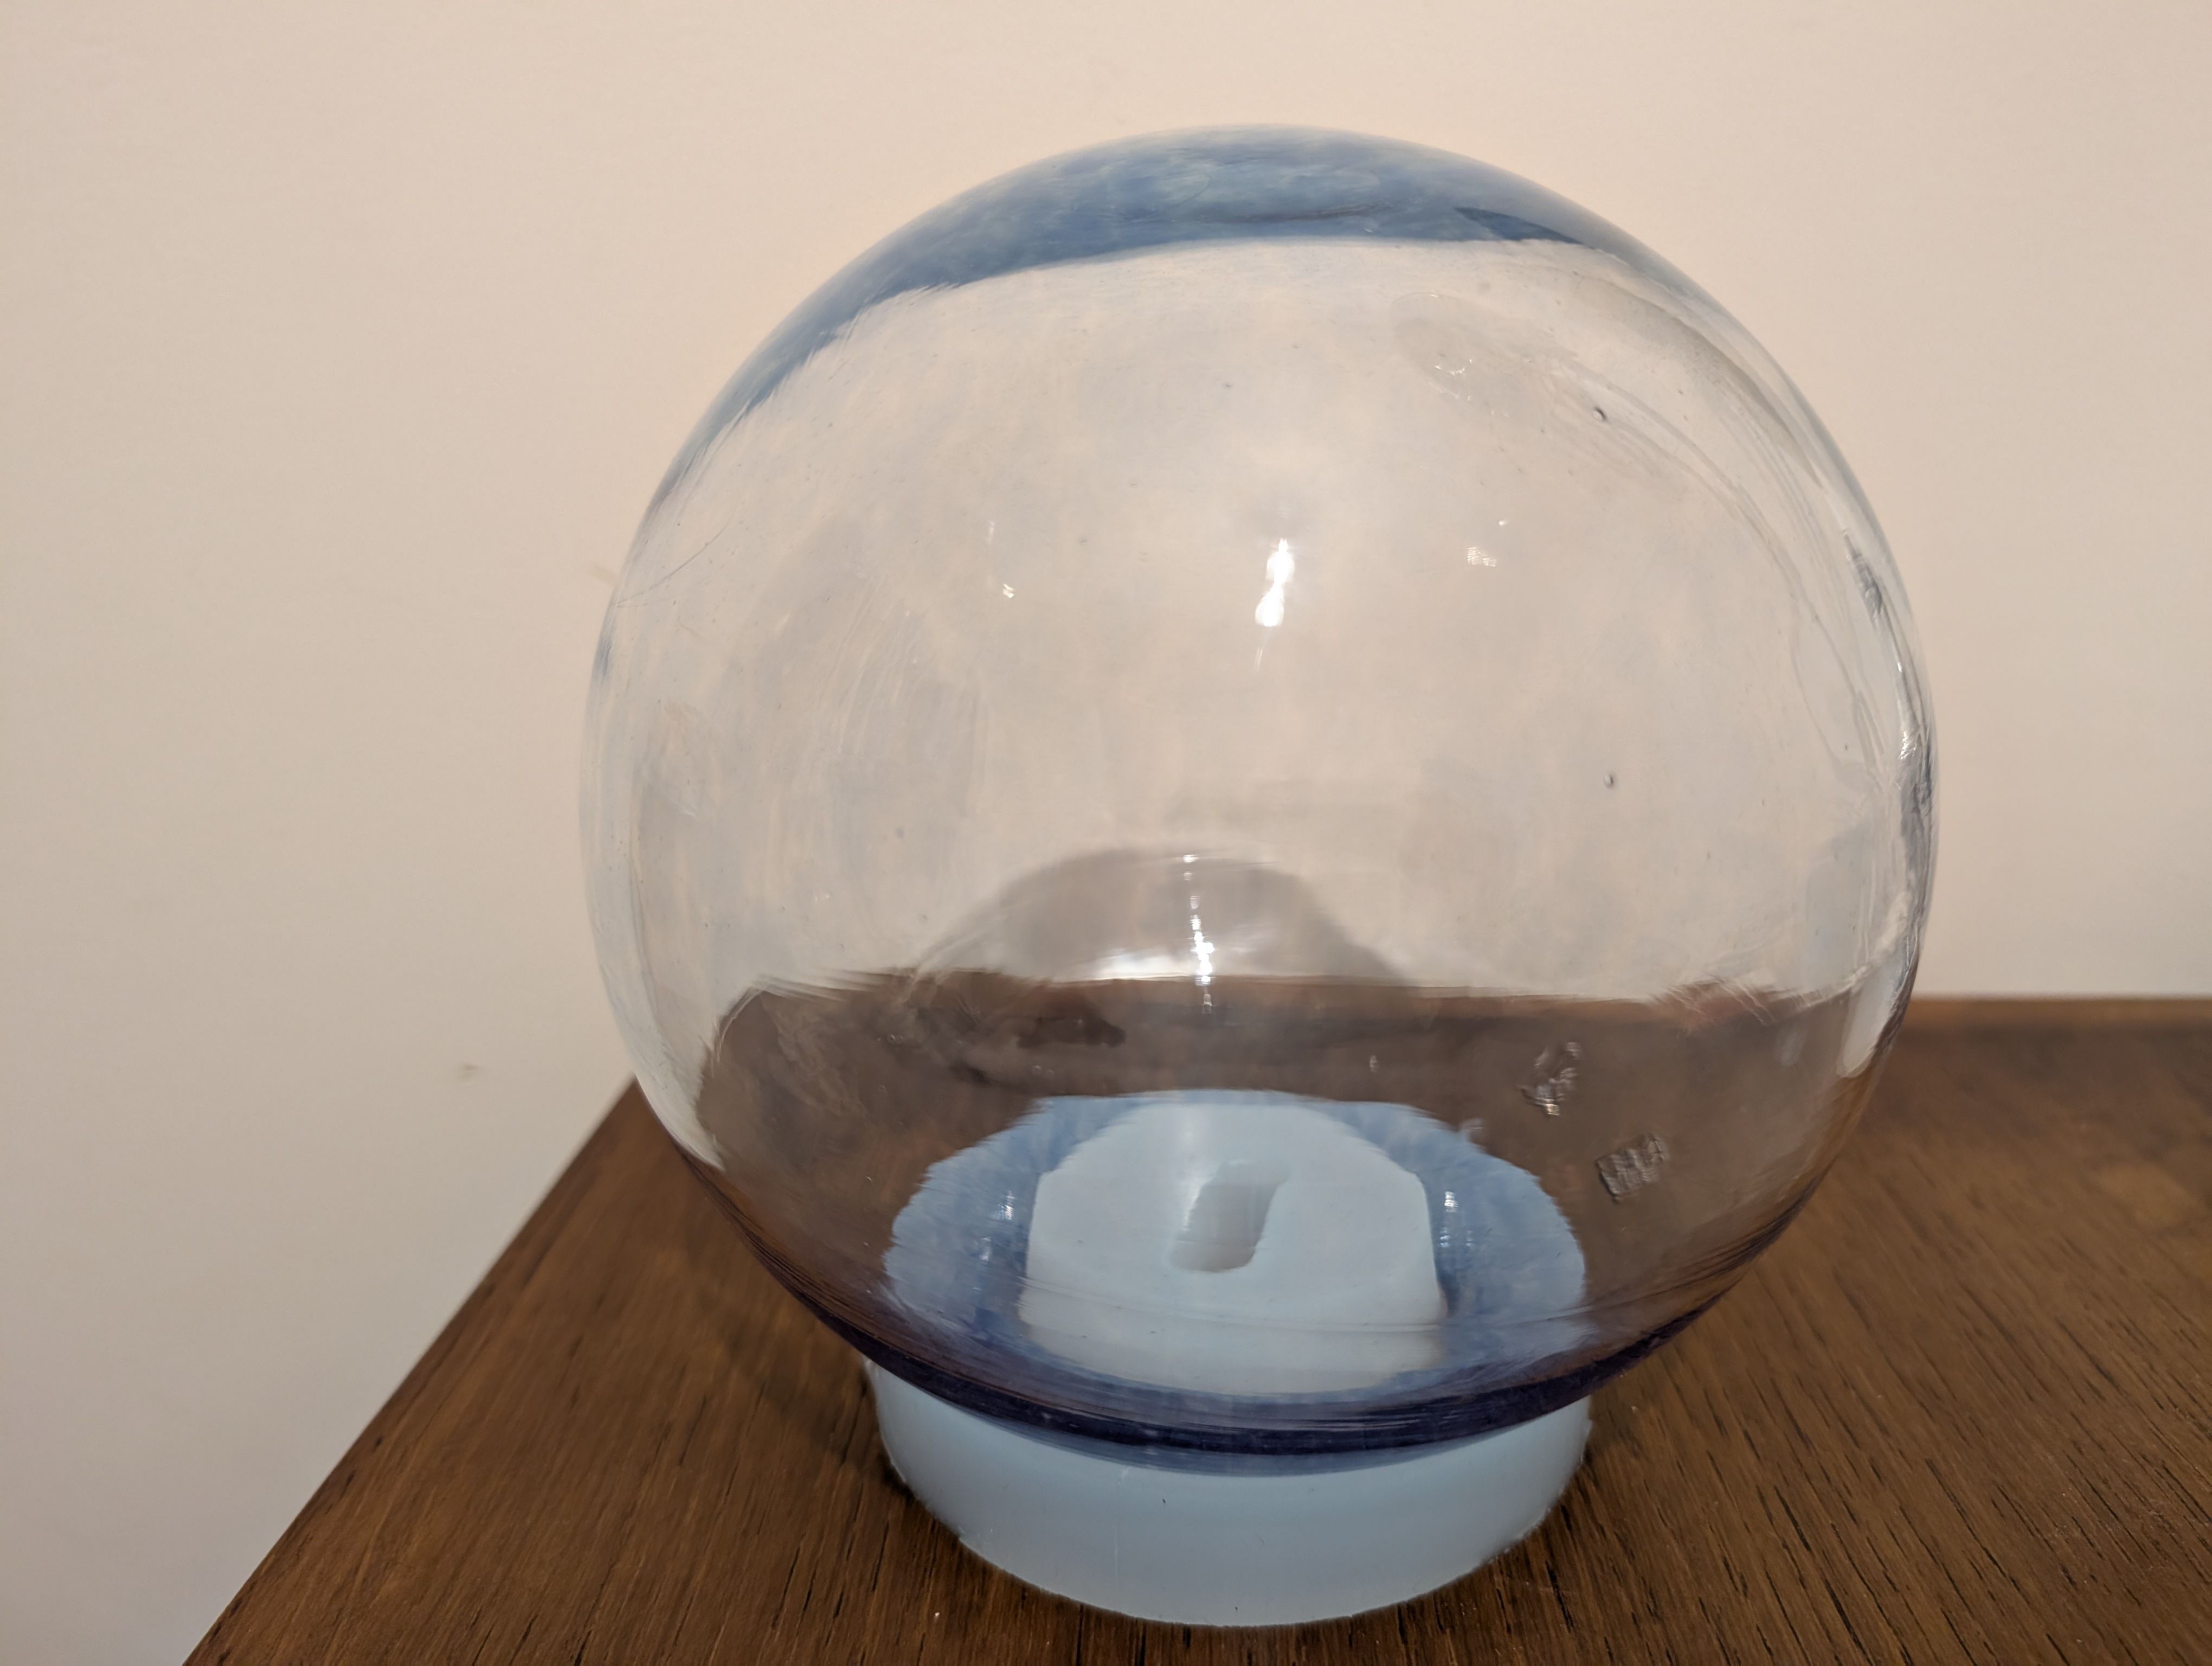
Result
It fit well with the glass!
Outcomes
- f3d for test
- stl for test
- f3d for final
- stl for final model side1
- stl for final model side2(wider hole)
This week I could tried molding and casting with machining for the first time, and could made a part for FP.
Remaining issues - things to check
***