Week 5: 3D scanning and printing
Assignement
Group: Test the design rules of the 3D printer -> it can be found on our fablab web page.
Individual: - design and 3D print an object (small, few cm3, limited by printer time) that could not be made subtractively - 3D scan an object (and optionally print it)
What I did
3D scanning
First time using a scanner and of course, I wanted to try to scan me to see the result.
The scanner in our fablab is a Creality Ferret Pro, and it’s quite straight forward to use.
I started by downloading the Creality Scan software, connected the scanner to my computer via USB key and just pressed “scan”. Easy. It’s possible to choose different setting depending on the type of object you want to scan. With the face option, the scan is really focused on the face while with the body option you can scan your whole bust or body. I went for the body option. You can also choose the size of the object, the feature of the object i.e. is it a complex geometry as a body or more flat surface but with patterns on it and so on. One other option is the “turnable” which allow to choose if the object is turning or the camera is moving all around it.

When the parameters are selected, you can start the scan and once again the software is guiding the scan. It will show if the camera is too far from the object or not with a scale, and it will show which part of the object is already scanned on the middle of the screen. It’s important to move slowly during the scan so the software can associate correctly the different frames that are taken together.
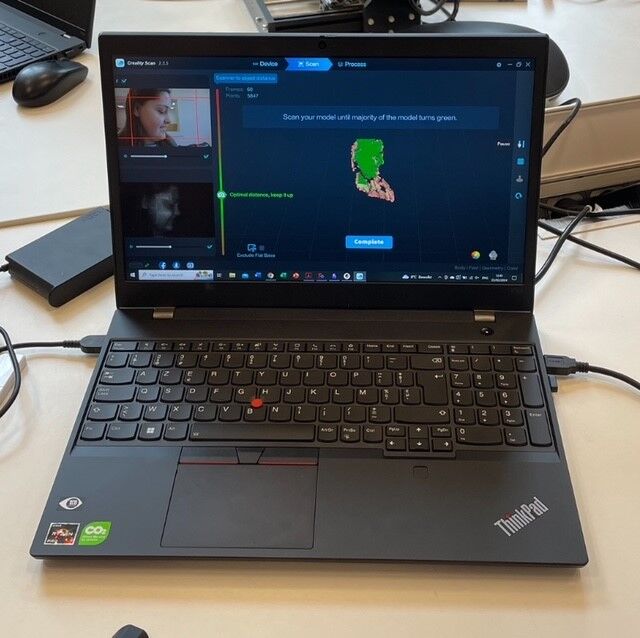
When the object is fully green, the scanning process is over and the post processing can start. The software has an integrated feature to produce the meshing of the scanned object, but other softwares could be used as well.
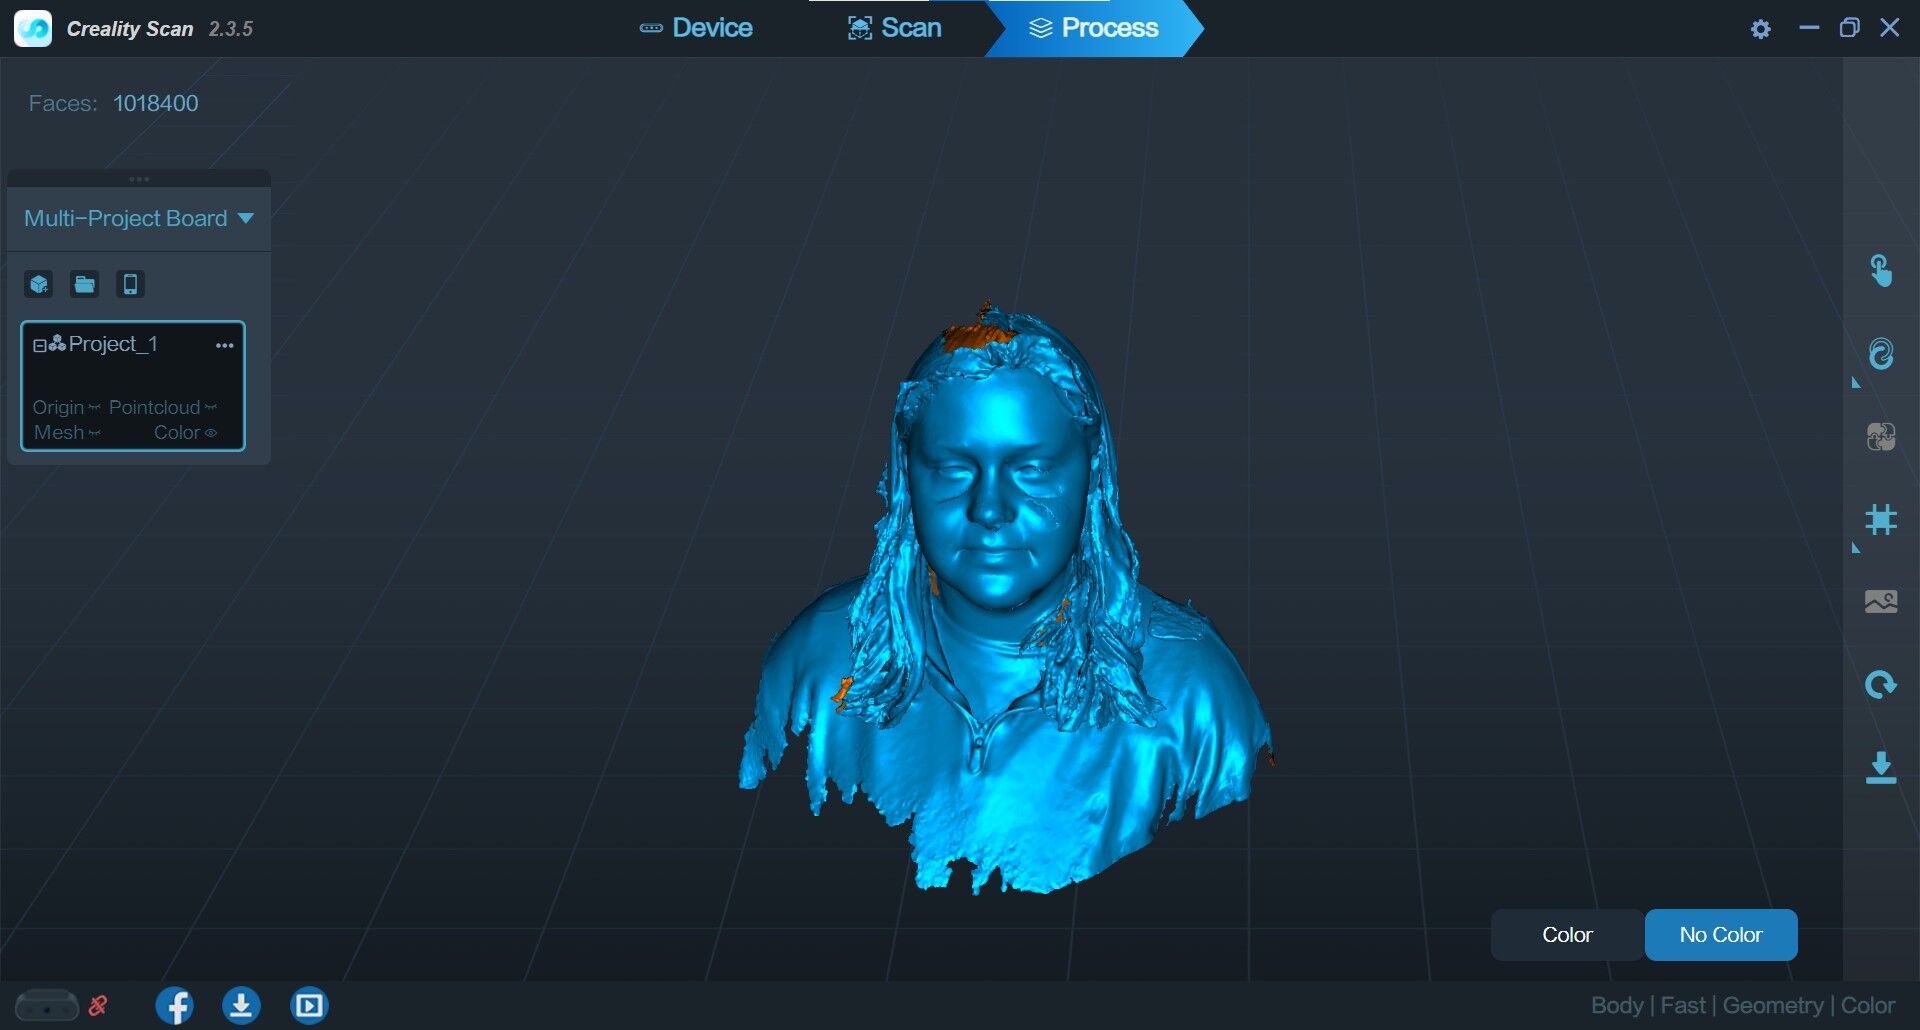
Results of my scan
My bust is quite good, I just have a hole in my hair and a very kind reminder that I am tired. I will use Meshmixer to do some post processing and try to do something cool with my bust.
3D scanning post processing - Meshmixer
Cleaning - smoothing
Meshmixer is a free software from Autodesk to clean 3D scan and also to design an object that fit on something else. I will use both functionality.
I exported my bust from Creality Scan to a “.obj” file, and imported it on Meshmixer. I followed this tutorial to do my post processing:
-
Scaling: I am in a real size so I will rescale it a bit: edit -> transform -> rescale by percentage or directly in size.
-
I want to look a bit less tired -> scult option -> choose different parameters to smooth a bit my dark circles.
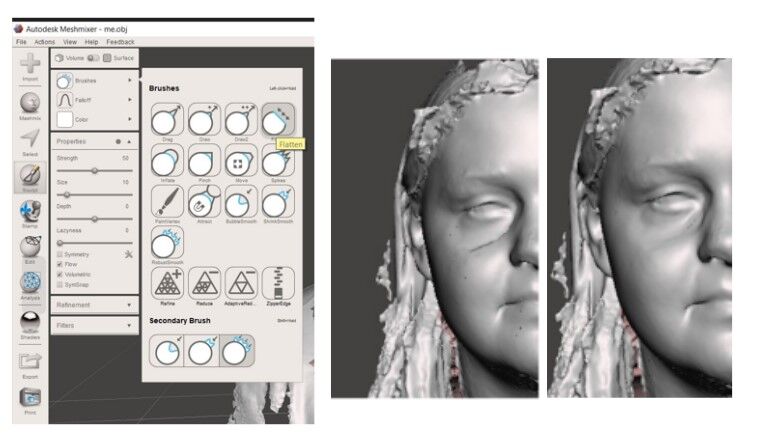
- Smooth some irregularities: select tool -> select the area to smooth -> deform -> smooth -> choose the parameters

Not so much changes, but it was fun to discover this software!
Mix my face with an octopus
Now, I would like to mix my face with a design of an octopus find on internet, to print my face on it. I will mix my scan and the imported design downloaded here.
I have followed this tutorial.
| Steps | Description |
|---|---|
| Import the stl file of the octopus | 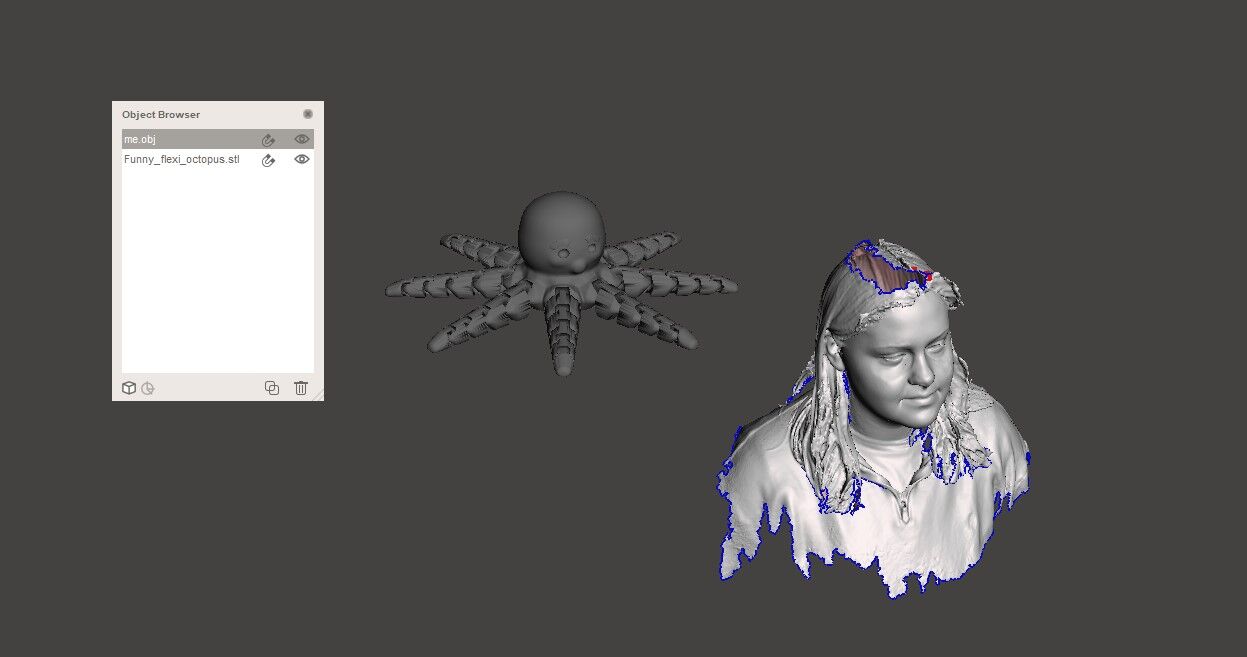 |
| Cut out my face from my bust | Select tool -> color the part that I want to cut -> edit -> separate 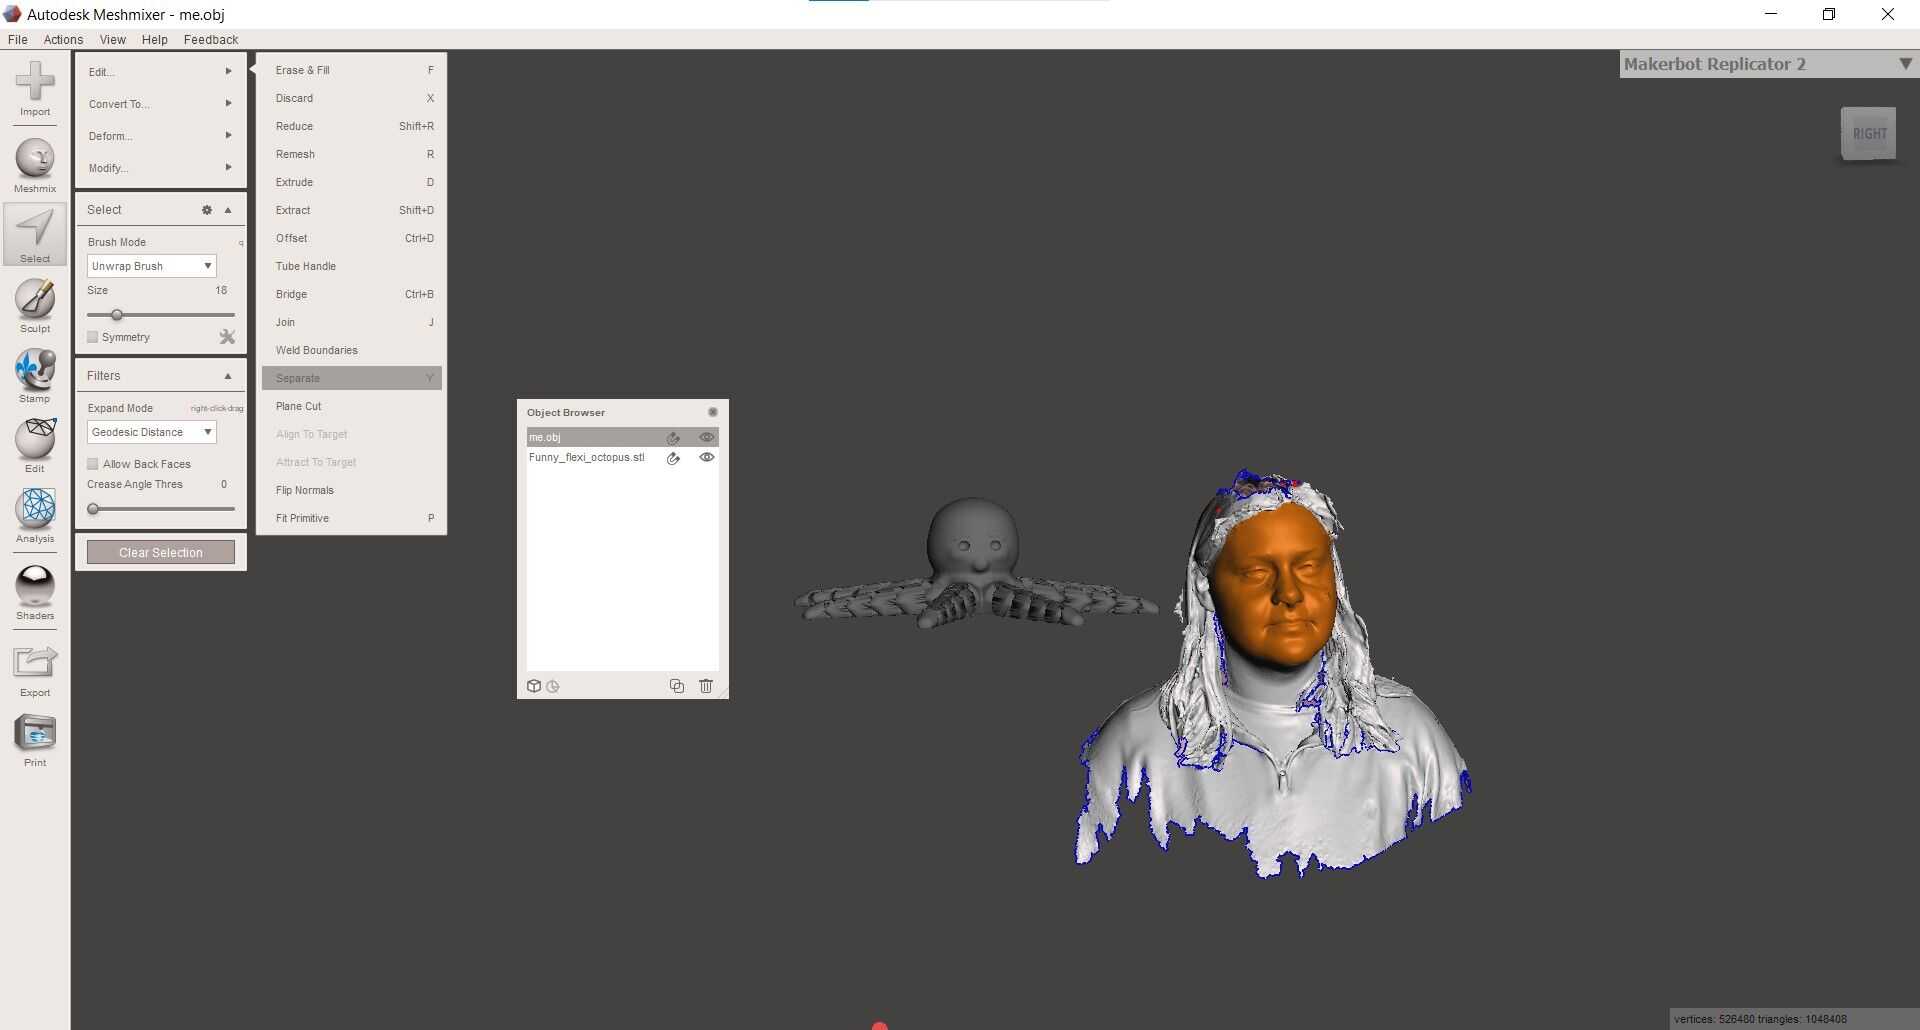 |
| Delete my body |  |
| Cut the octopus face | 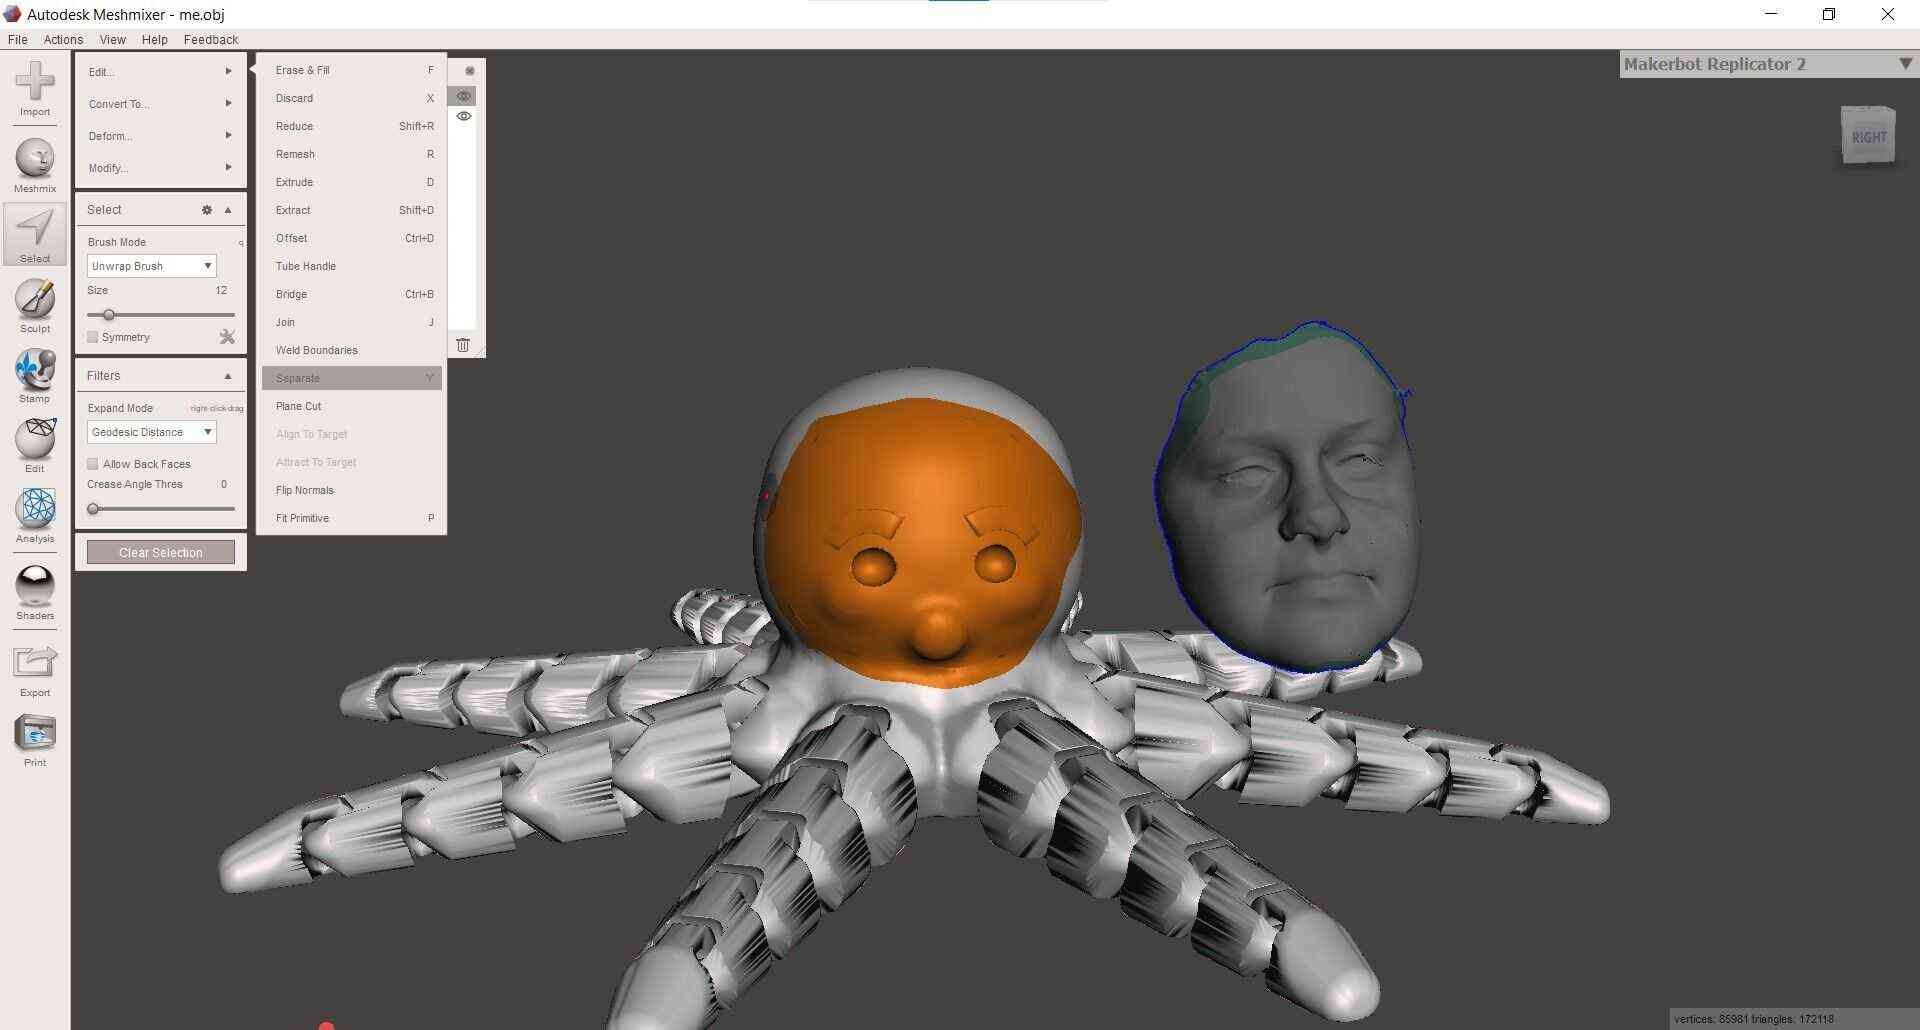 |
| Combine the 2 parts | Shift and select both parts |
| Rescaling | Rescale a bit the head to the octopus size |
| Join the 2 bodies | Select tool -> double click on the edges that must be connected -> edit -> join |
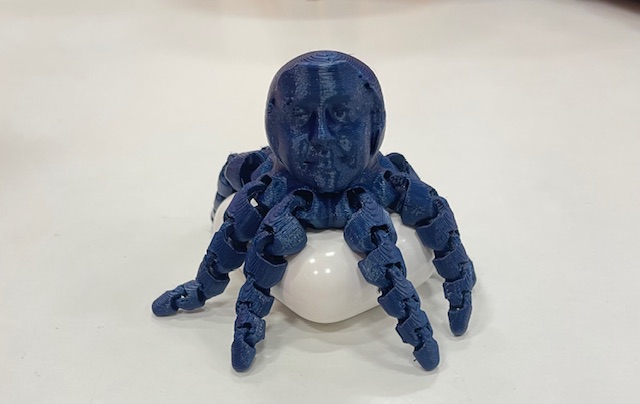
And.. Here is the very creepy result
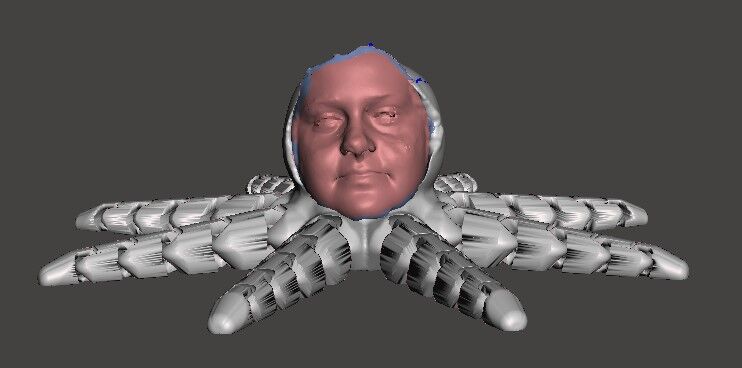
I could have done more processing in order to have a better match between my face and the octopus, but for a first try I’m pretty happy.
3D printing
Octopus
I wanted to print my personalized octopus, so I exported the stl file from Meshmixer and use Prusaslicer to make the G-code. I do not need any support even if the head of my octopus is empty, because as we tested during the group assignement, the printer can handle to print with an angle (up to 45°) without needing any support.
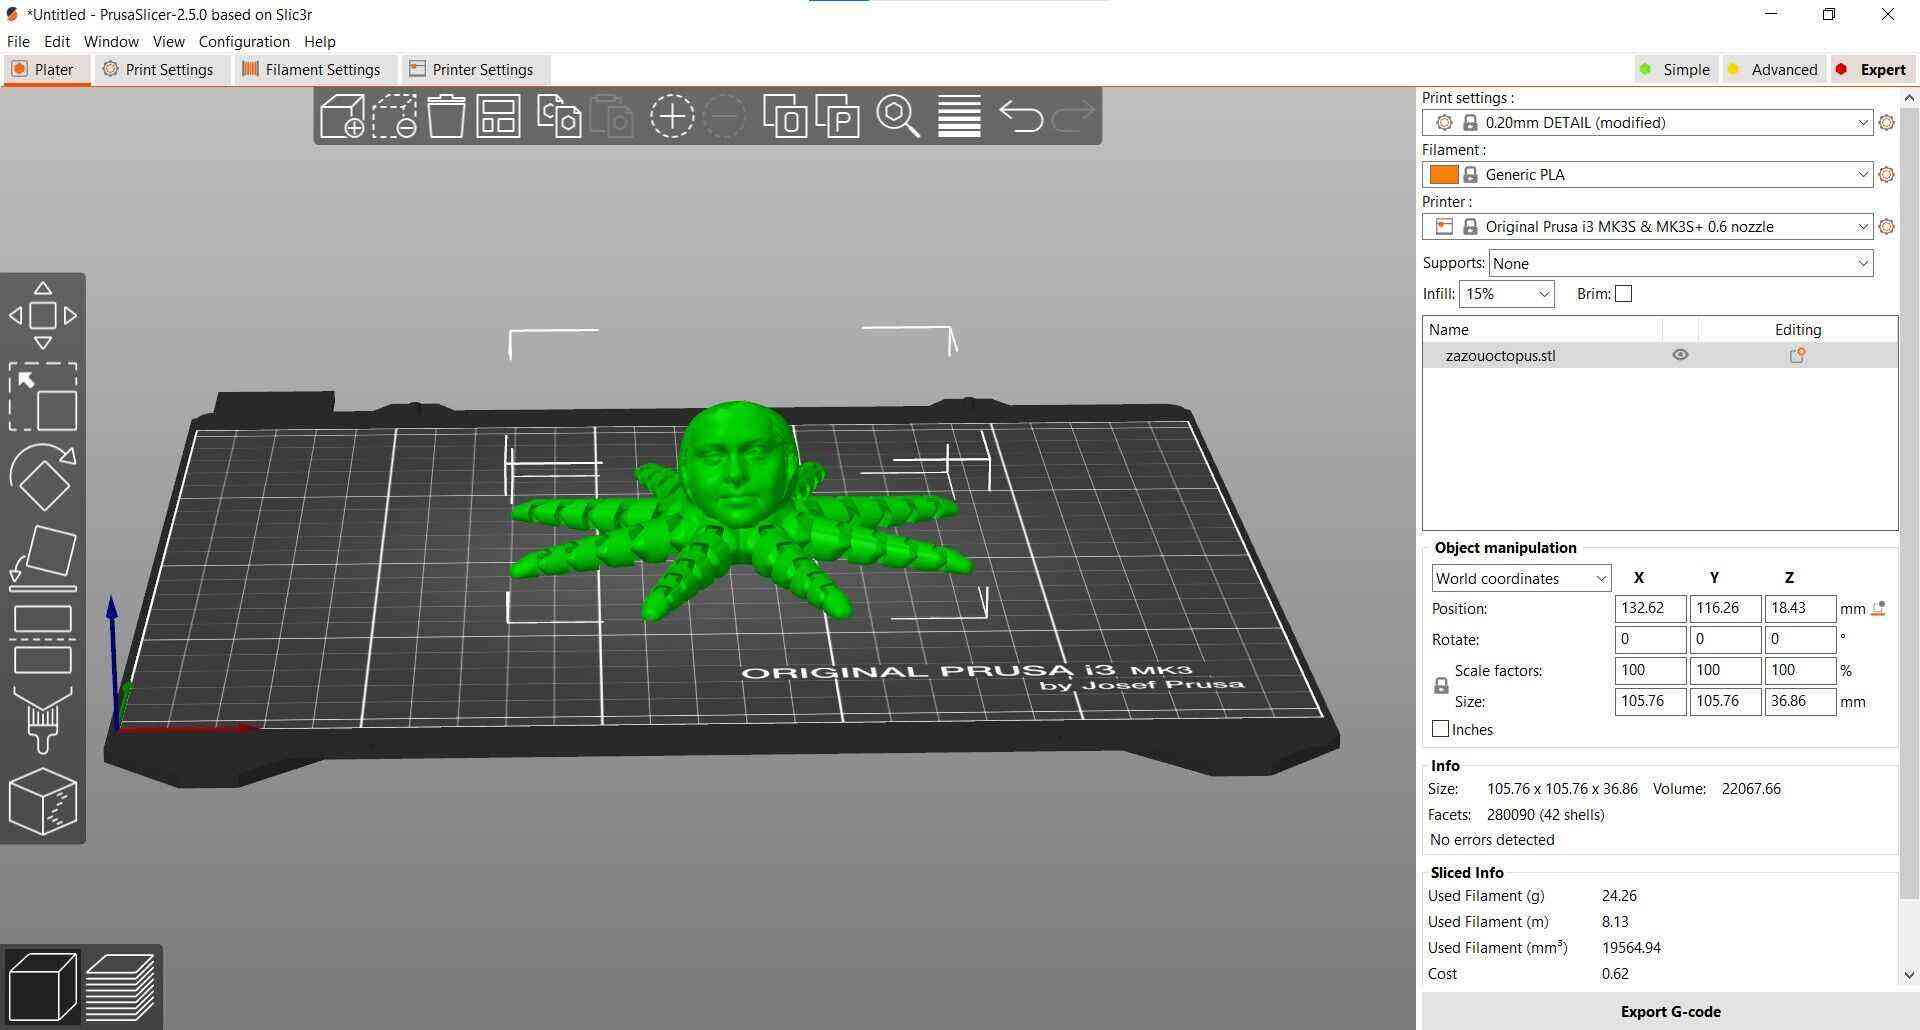
Result
Design and print something that can not be made subtractively
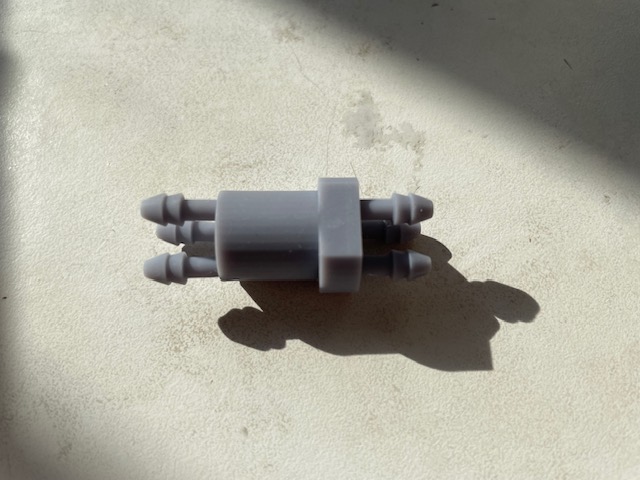
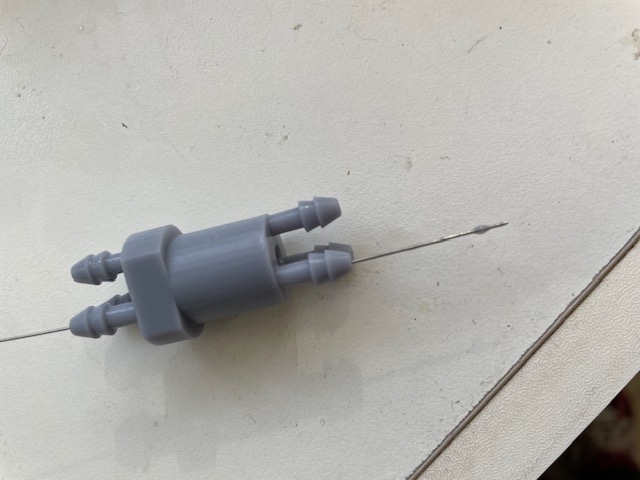
For my final project, I will make multiple prototype of pneumatic actuator. To join the air channel of the actuator to the air tubes coming out of the air source without any leaks, I have designed a connector based on the “luer lock” structure. I decided to print it this week as it’s a good exemple of design that can not be made subtractively, because of the 3 tubes design.
The design files can be downloaded here.
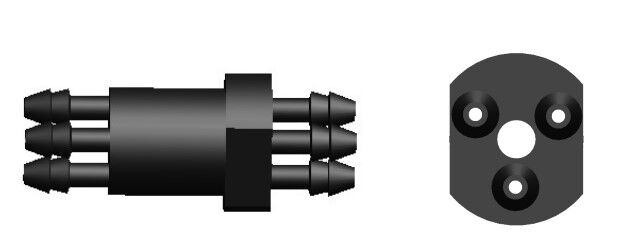
I didn’t print it by using the fused deposition modeling techniques (FDM) because the dimensions of my design are quite small and the holes must not be clogged by plastic irregularities during the print. The precision will be better with a stereolithographe printer (SLA).
I used a ELEGOO MARS 2 PRO and the Chitubox software to obtain my G-code from the stl file generated with Solidworks after the design.
Chitubox:
- Import the stl file
- Put the settings of the printer
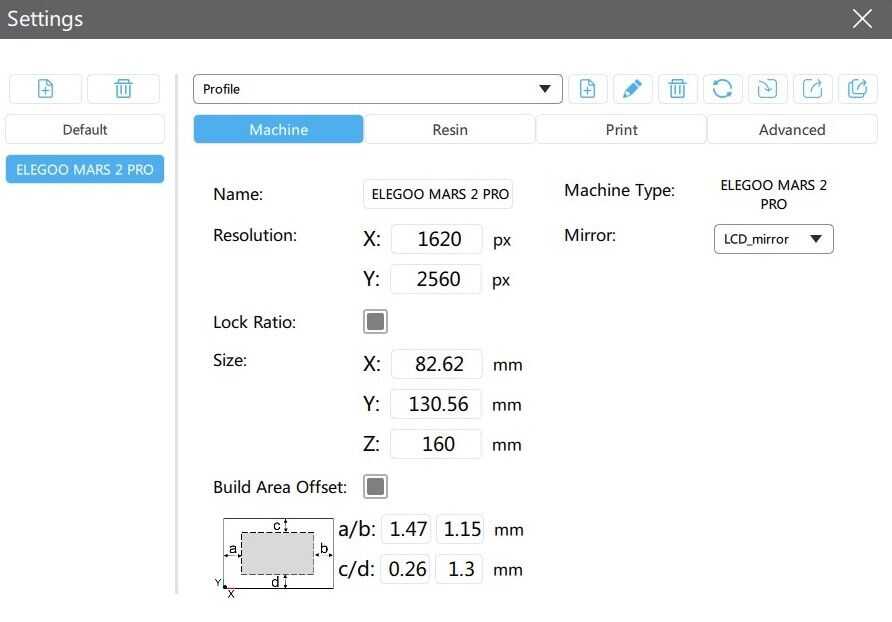
- Orientation of the parts -> I put 45°
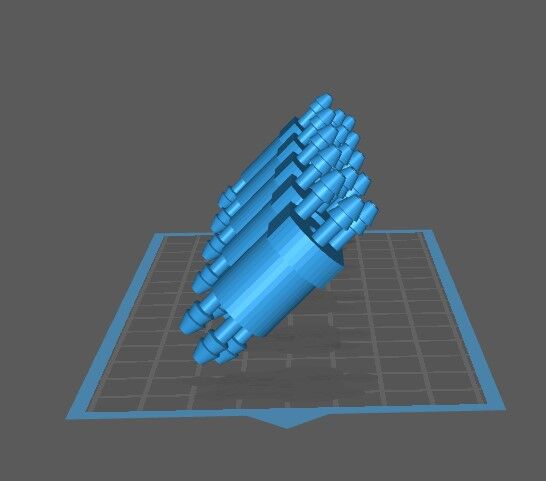
- Put support: the software can generate support automaticaly -> support -> choose your parameter -> “+all”. It’s also possible to add more support manually if you see some part that are still in red.

-
Choose the resin that you are using and the parameters (exposure time) linked to it. Here I used ABS like because it’s less brittle than a normal resin.
-
Slice -> the software will give an estimation of the time. The time will not depend on the number of part in the plate, as every layer will be done at the same time, but just on the height of the bigger part.
Print:
Very easy, just need to use a usb key and press print on the printer.
Post processing:
- When the print is finished, I used isopropyl alcohol (IPA) to remove the excess of resin on my parts, and also to clean the printing bed, because resin is very sticky when it cure. I put a lot of IPA in the small hole of my part with a seringue to be sure that no resin will cure inside and clogged the hole.
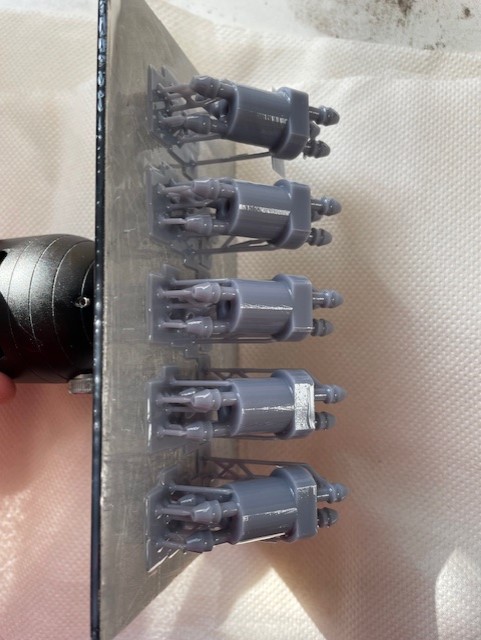
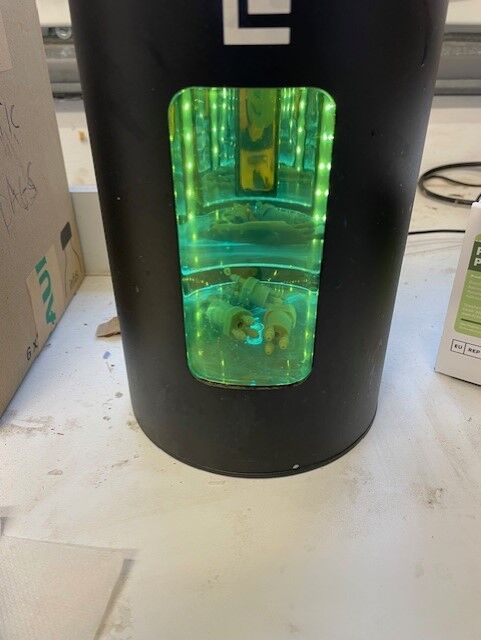
- After removing excess of resin, I put the parts in a UV machine for a couple of second to allow the rest of the resin to cure properly.
Results after cleaning
