Week 16: Wildcard week
Assignment
Design and produce something with a digital process (incorporating computer-aided design and manufacturing) not covered in another assignment, documenting the requirements that your assignment meets, and including everything necessary to reproduce it.
What I did
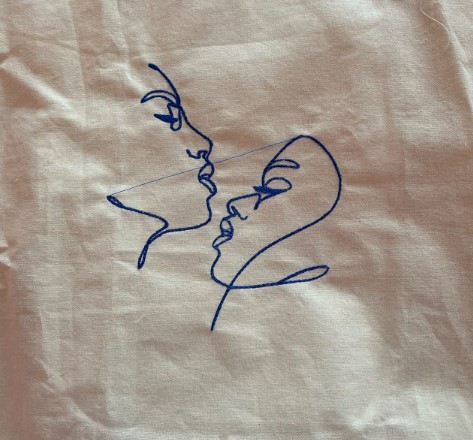
This week one of our instructor Melanie, suggest us to do something creative with the last machine of our fablab: the embroidery machine. I thus did a tote bag from A to Z, using a embroidery machine as well as a sewing machine.
Embroidery machine
The embroidery machine available of our fablab is a Brother Innov-is F480.

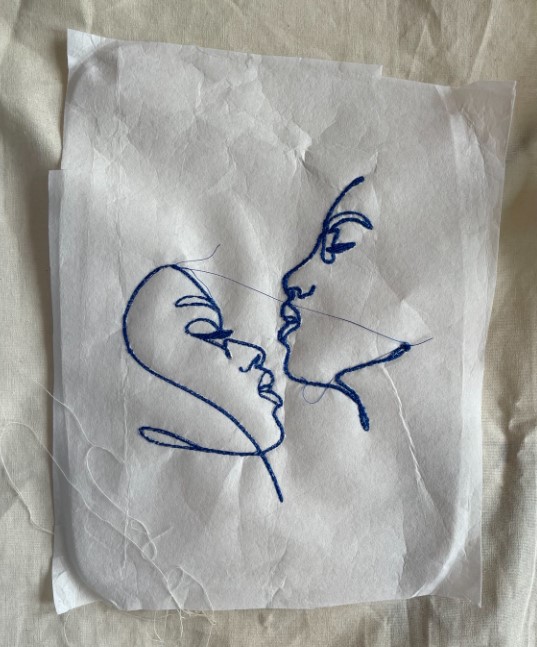
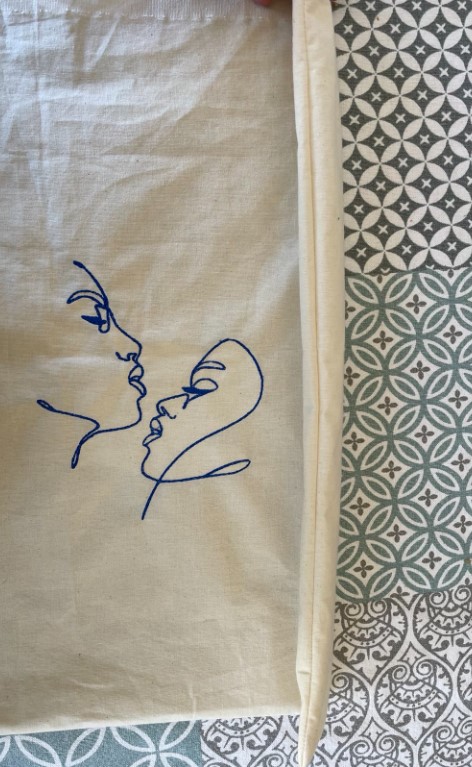
I used this machine to embroider a drawing that a friend did for me. I will explain here how to do step by step.
Embroidery design with Inkscape
First, I used Inkscape and an extension, to create a file for the embroidery machine. Indeed, it’s not just a svg or dxf file, but a special file that will describe the embroidery.
1) Install the ink/stitch extension for Inkscape
2) Open Inkscape -> import the file that you want -> convert it to path.
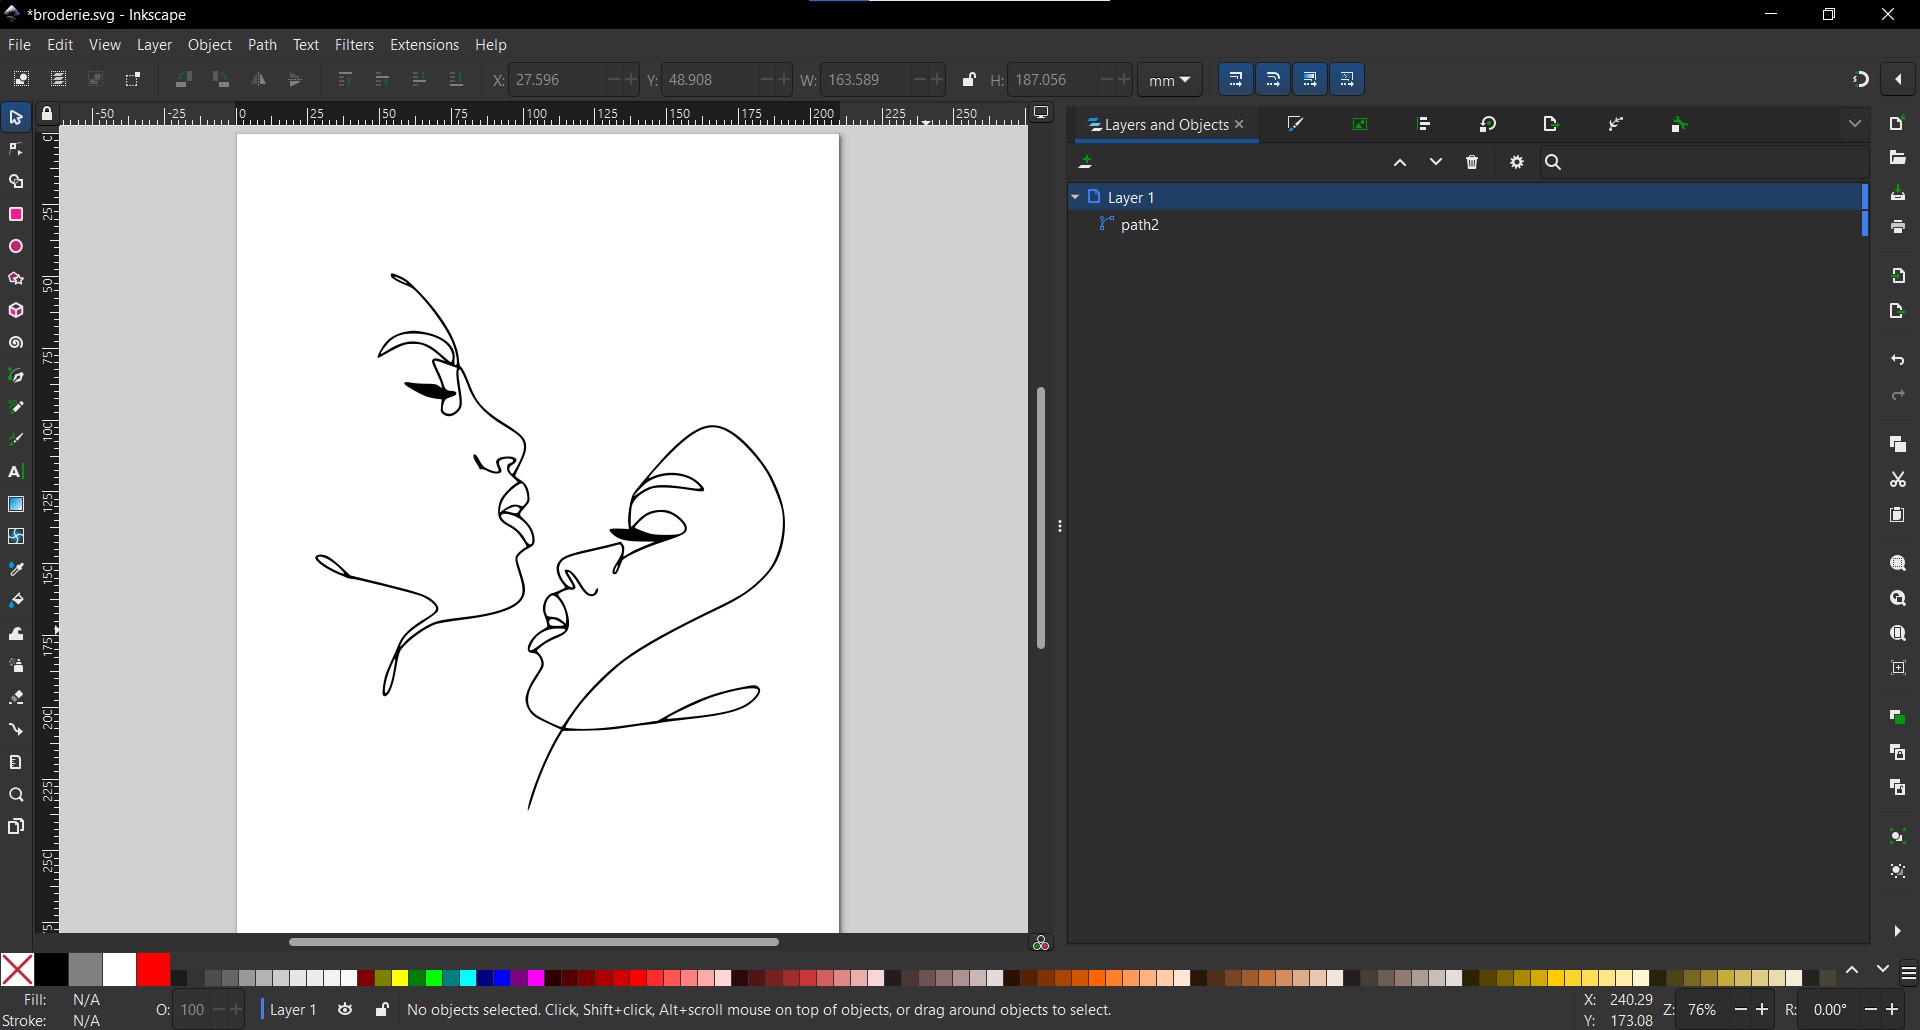
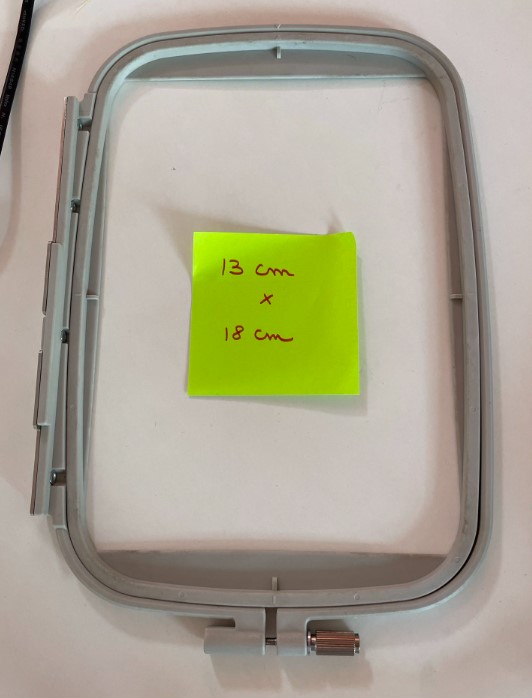
3) Make sure that the design is not bigger than the embroidery hoop
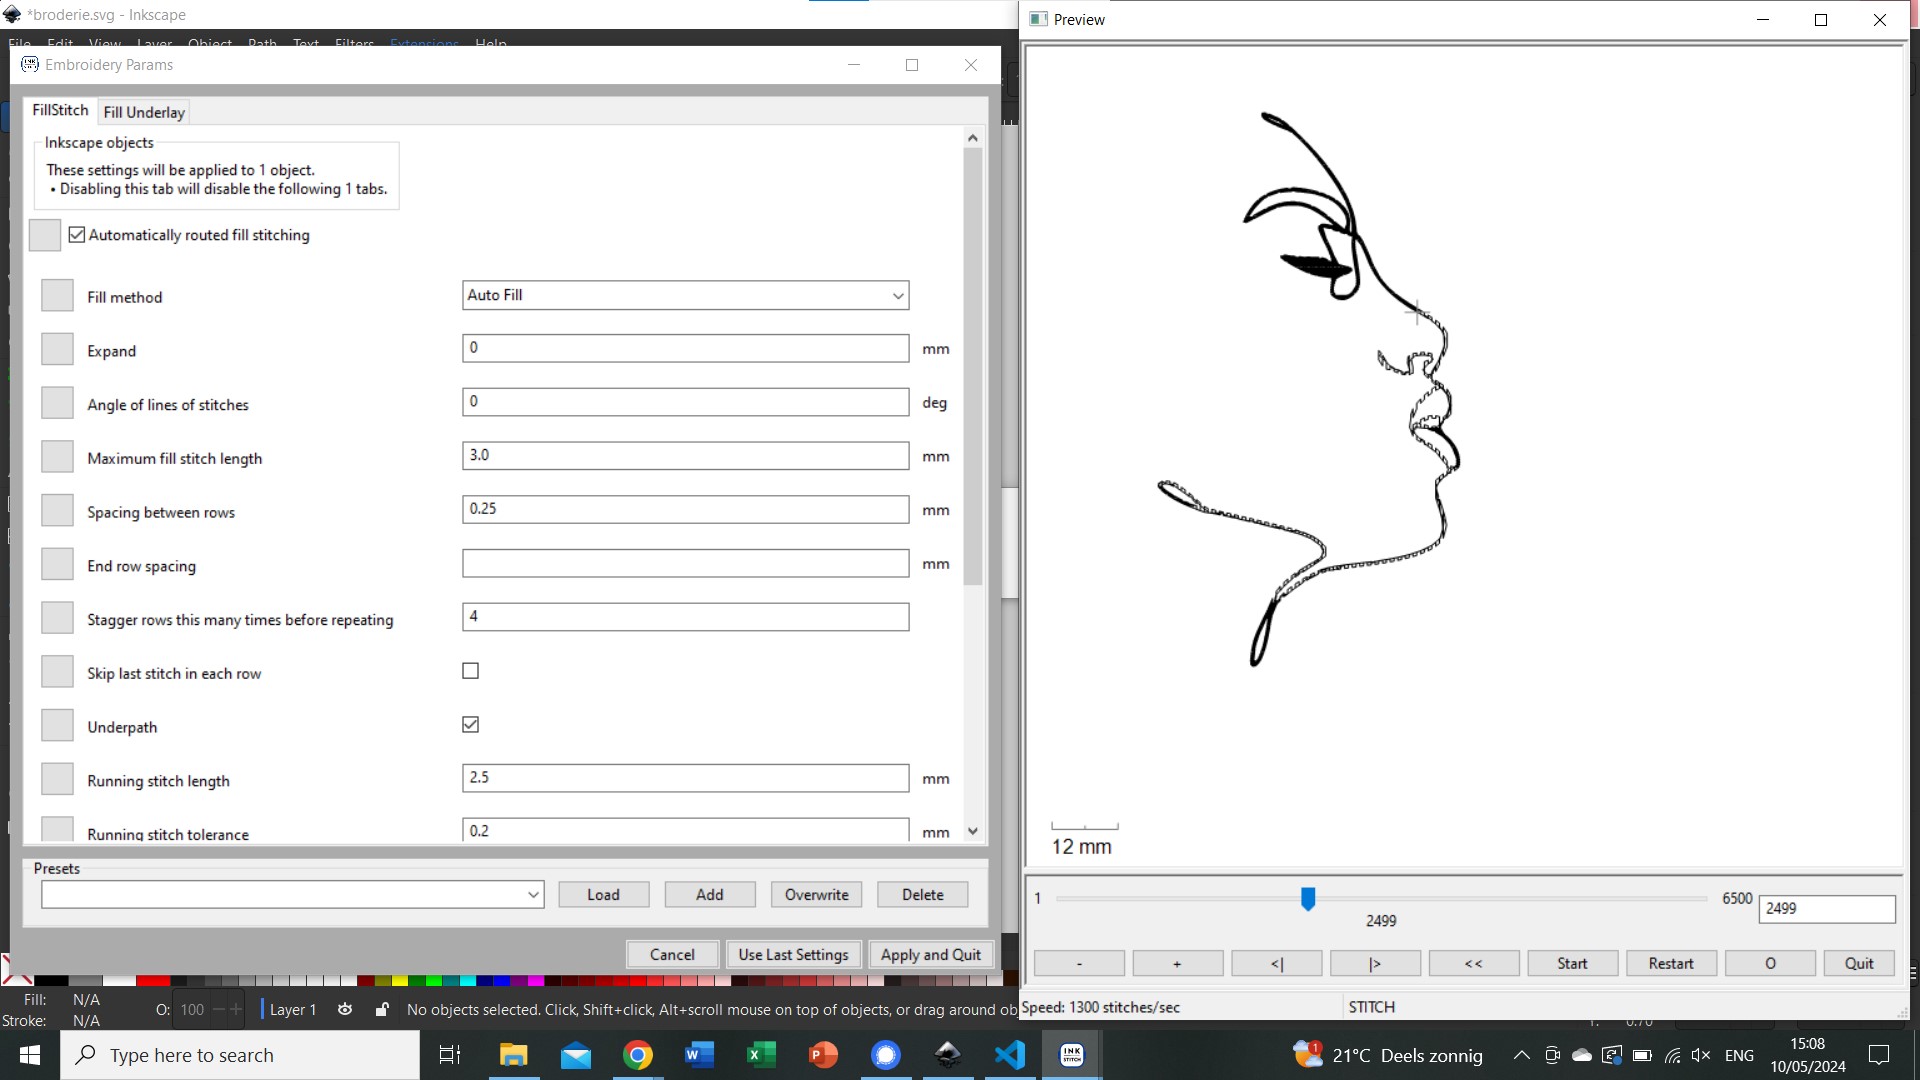
4) Then go in Extension -> Ink/Stitch -> Params: It will open a window to modify the embroidery parameters and another one to pre visualize the embroidery result.
Note that the embroidery result will be different if you set a stroke or a fill of your path. I personnaly choose to put no stroke and a fill.
Here you can see the parameters choice window as well as the previsualization window when there is no stroke and just a fill of the path.
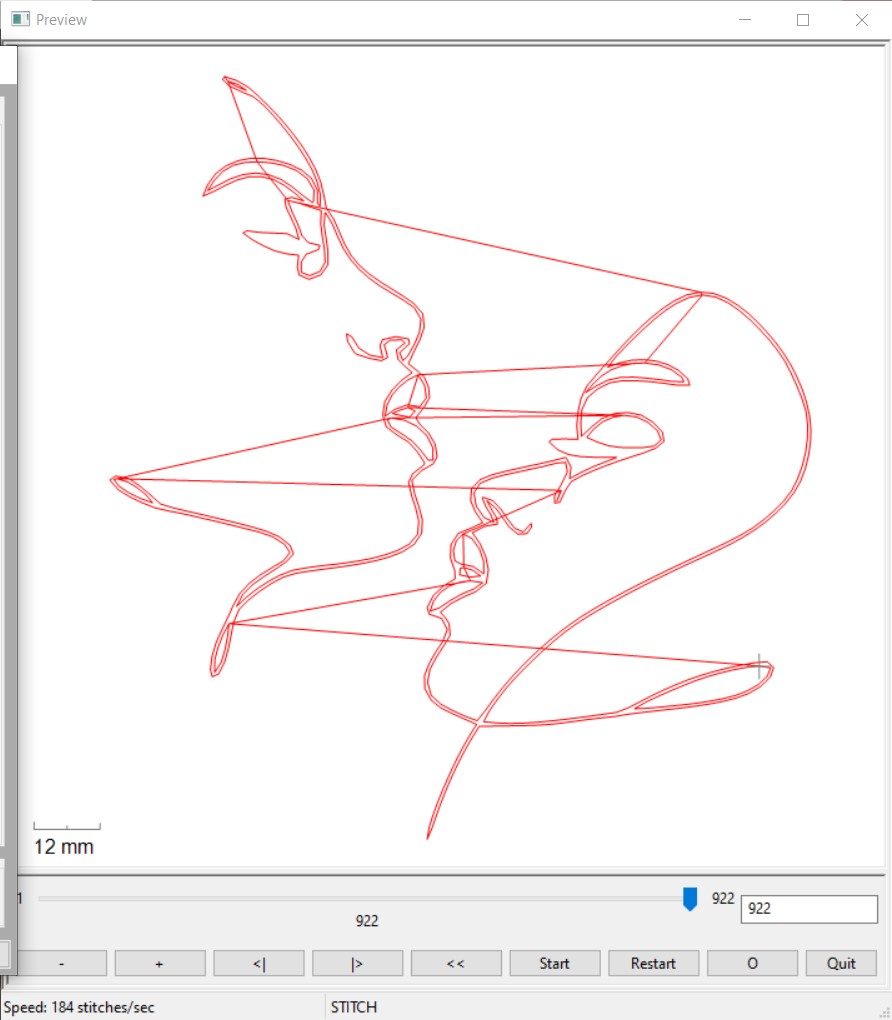
Here it’s the previsualization when there is just a stroke and no fill.
If you put stroke and fill, the stroke will be done twice.
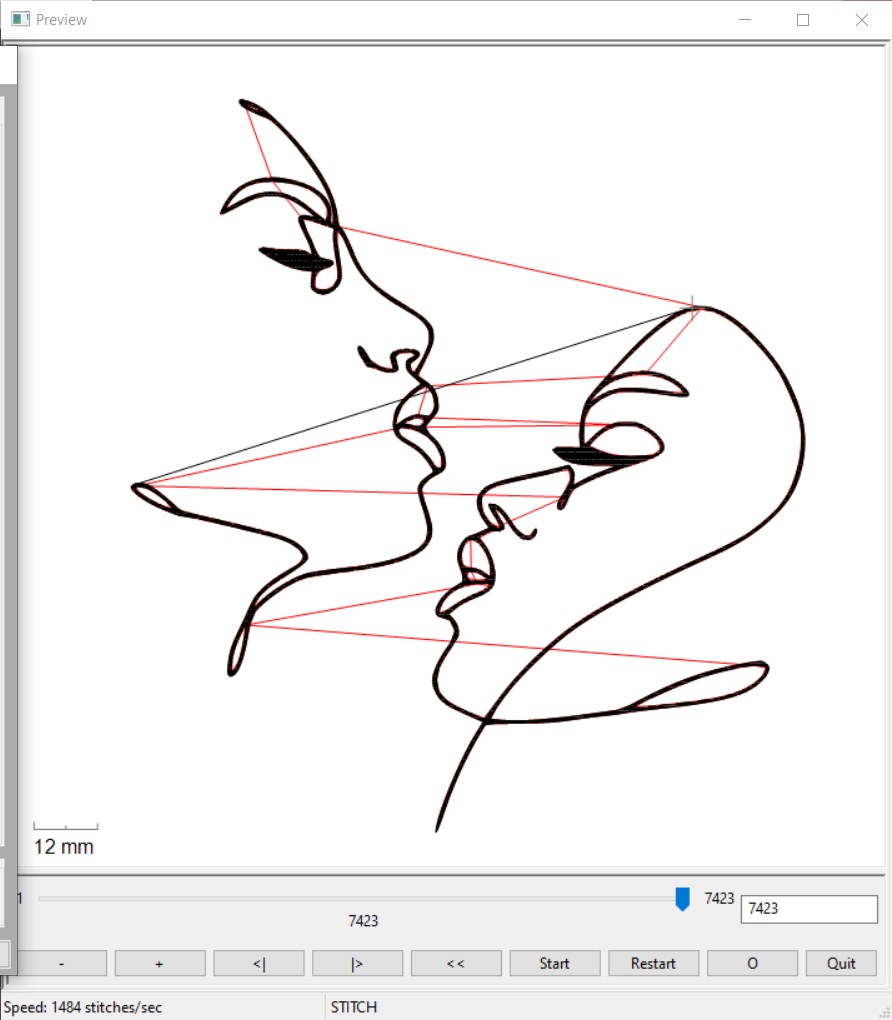
5) When you are satisfied with the result -> click on “apply and quit” on the parameters window.
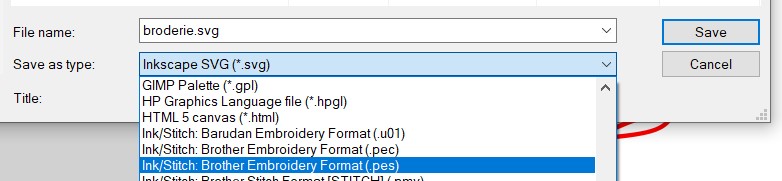
6) Go to File -> save as -> select the “.pes” extension
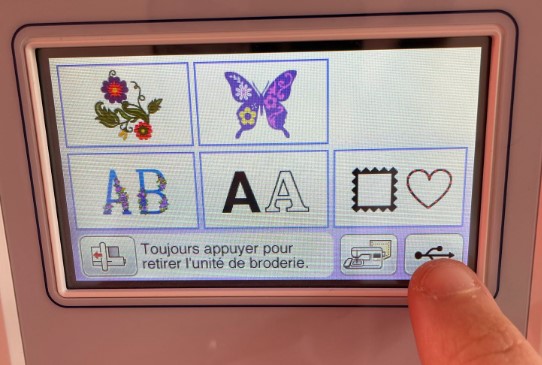
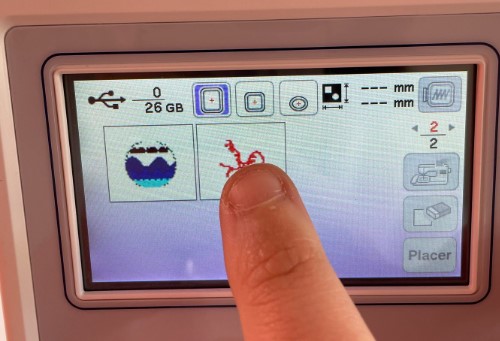
7) Put the file on a USB key and go to the embroidery machine
Here is my embroidery file that can be downloaded.
Embroidery preparation
Before starting, you need to choose and install the thread that you want to use for the embroidery. Here I have only one color so it will be easy, just one color thread will be prepared, but if you have multiple colors, the thread will be changed by hand at the end of the first color path.
Two thread bobines must be prepared, the upper one and the bottom one. The upper one is just the thread bobine that you bought, and the bottom one will be made with the upper one.
1) Make the bottom bobine
Fix the upper bobine in the machine and follow the doted path with the thread until to reach the small bobine that you have fixed. Everything is well indicated on the machine so it’s quite easy to follow.
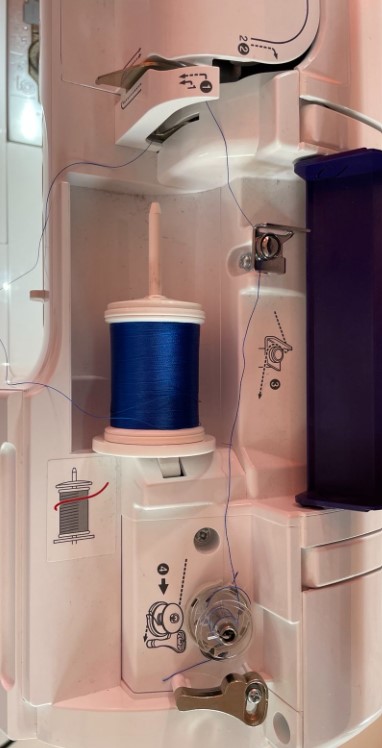
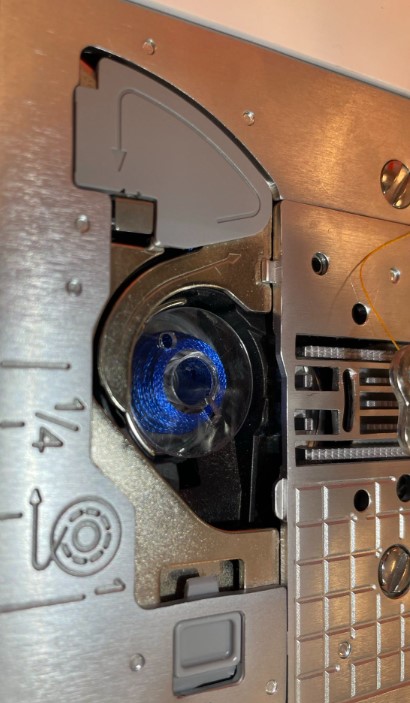
Then the bottom bobine can be fixed at its place in the bottom of the machine (i.e. under the tissue):
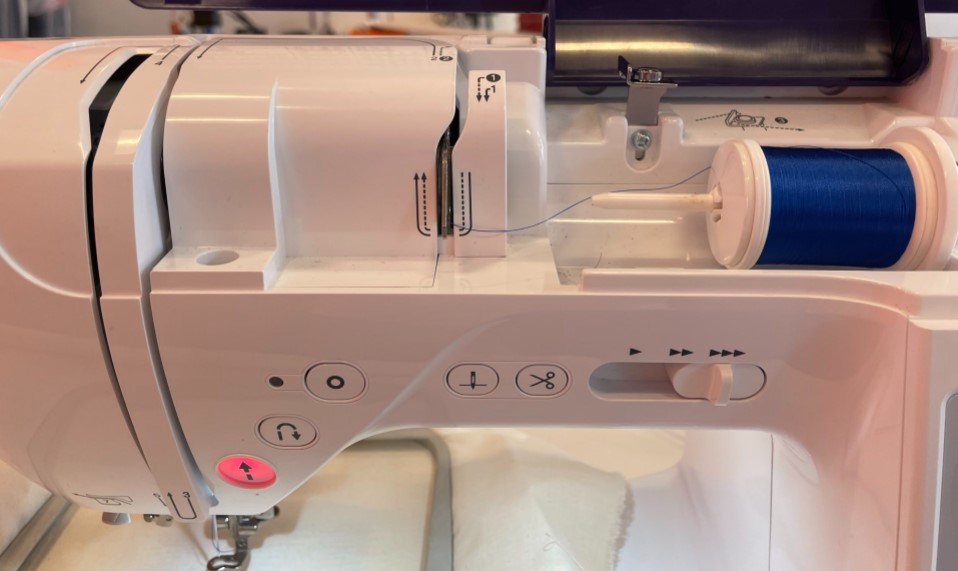
2) Fix the upper bobine
Now just follow the solid line to fix the thread inside the needle.
3) Fix the tissue in the embroidery hoop
Note I put a embroidery paper under the tissue where I will perform the embroidey to reinforce the tissue and give more volume to the embroidery.
4) Fix it on the machine
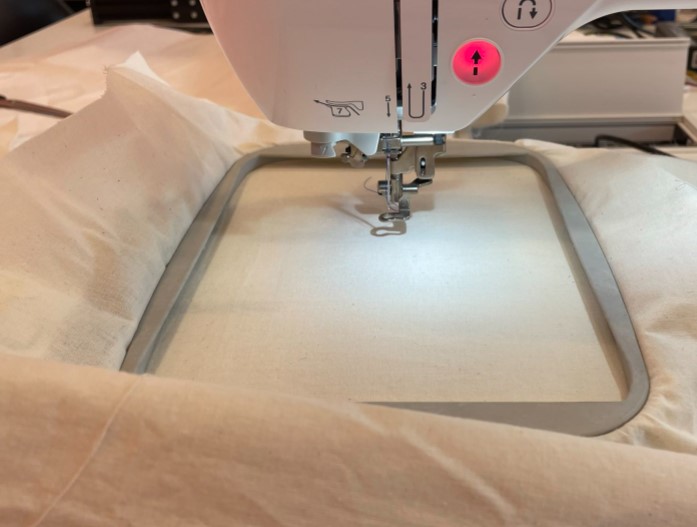
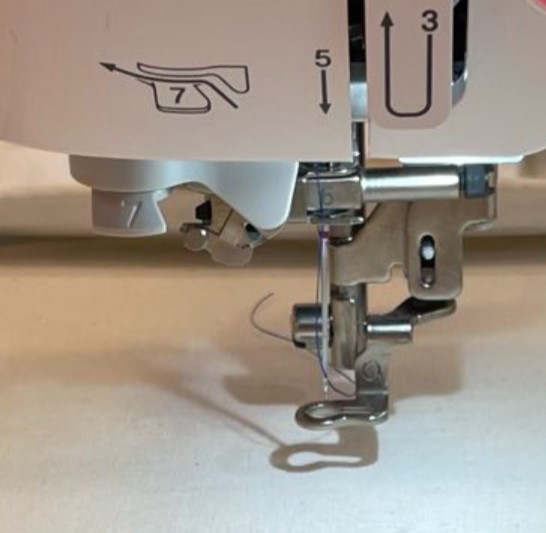
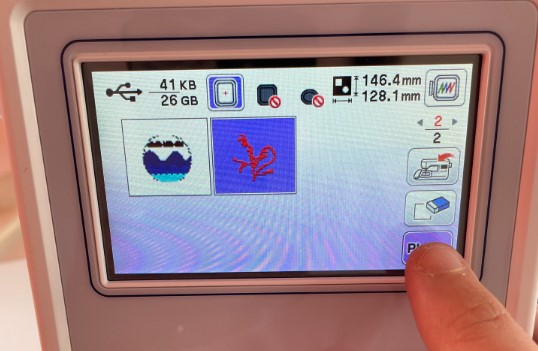
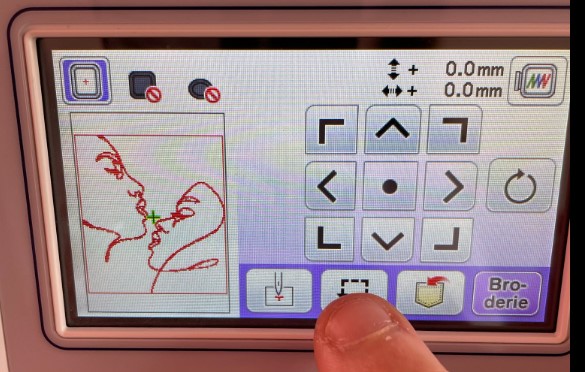
5) Follow the steps below to start the embroidery
Note: the arrow will be green when all the steps are correctly done -> press on the green arrow to begin the embroidery.
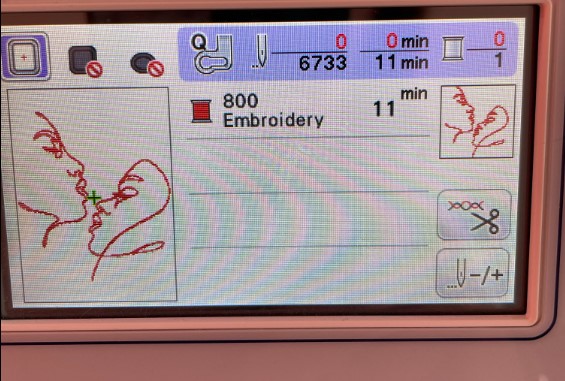
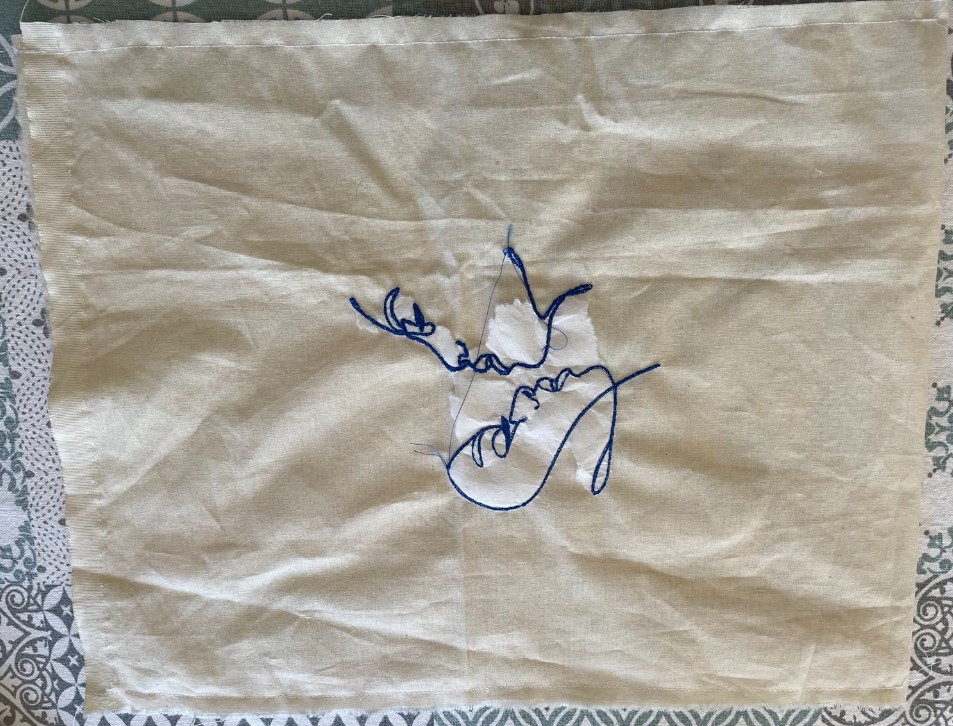
Embroidery
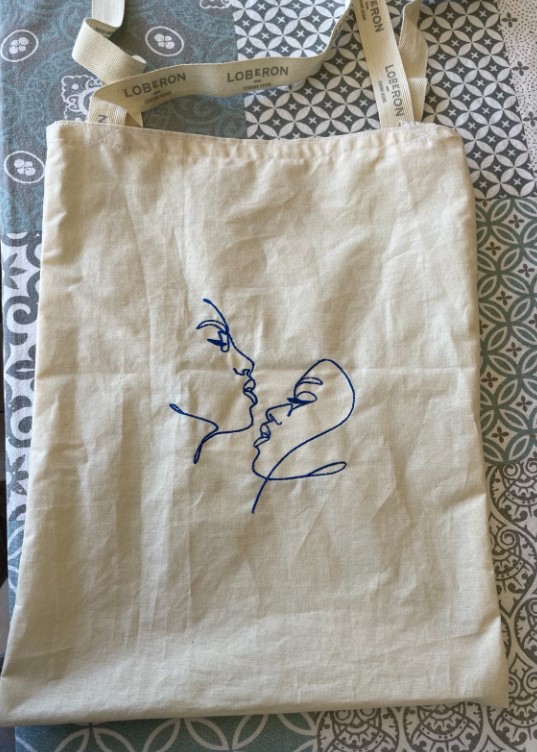
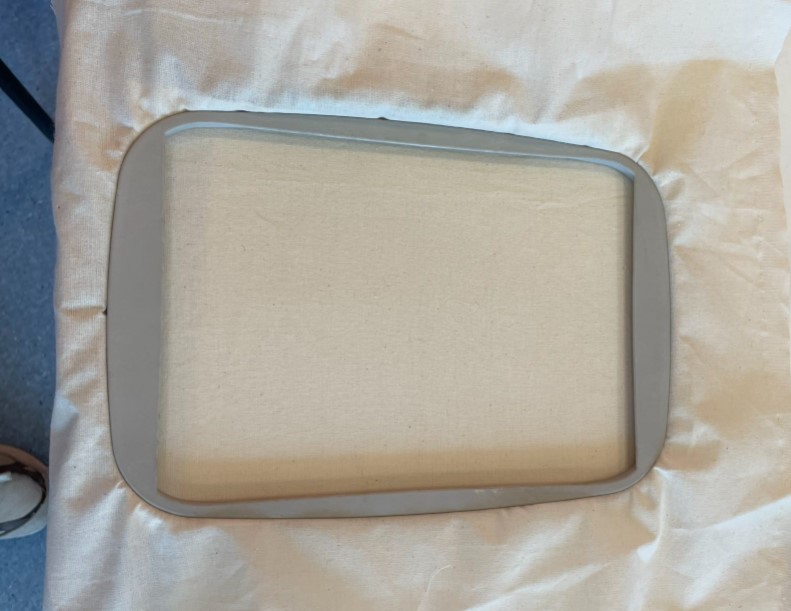
Results
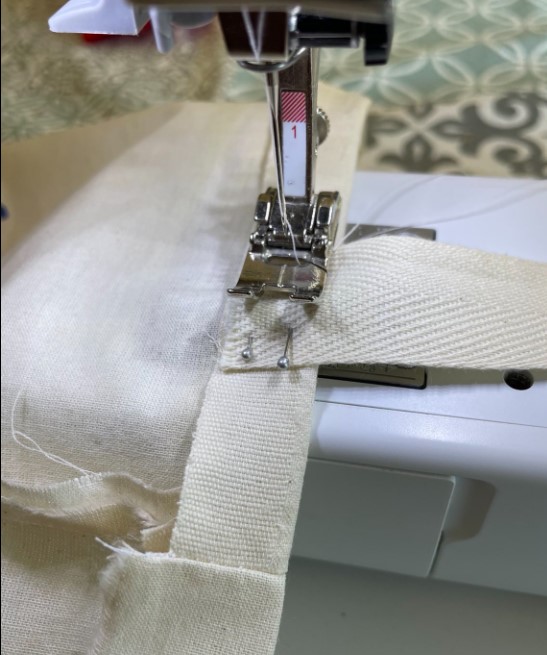
Sewing machine
Now that the design is embroidered, I can finish the bag on the sewing machine. I asked my mom to teach me how to use her machine, and she was very happy to finally teach me!
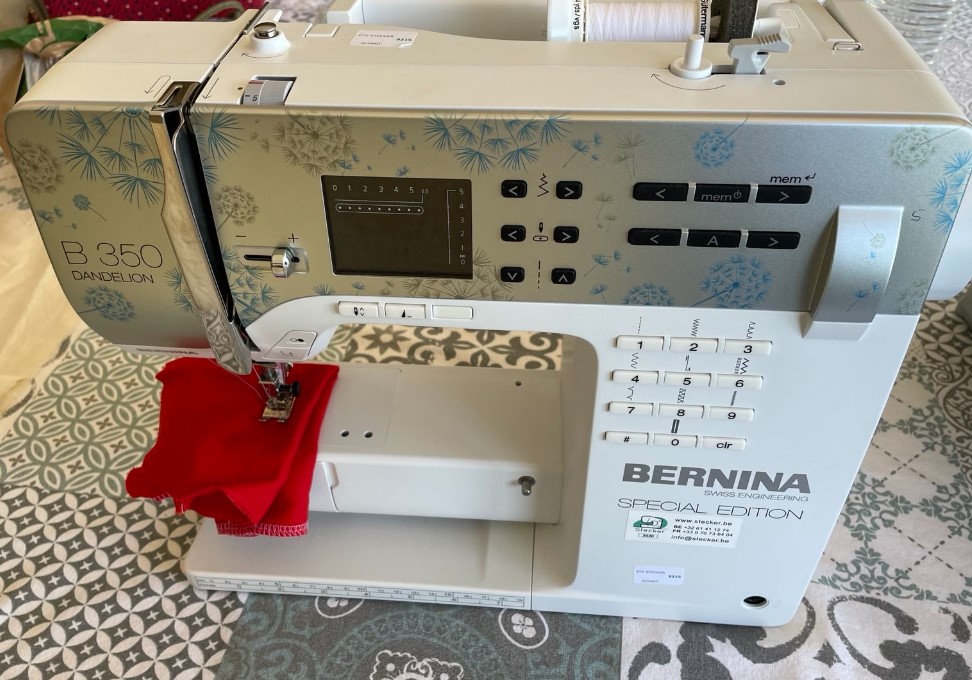
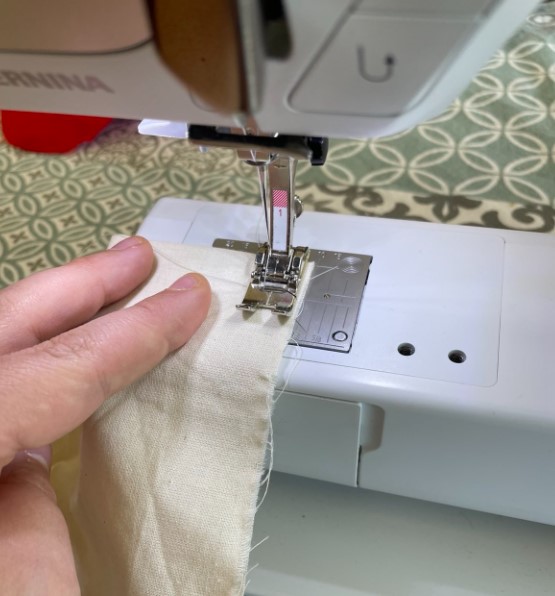
The machine is the one below. I first did some trials to teach how it worked on a random pieceof tissue, and then I did my bag!
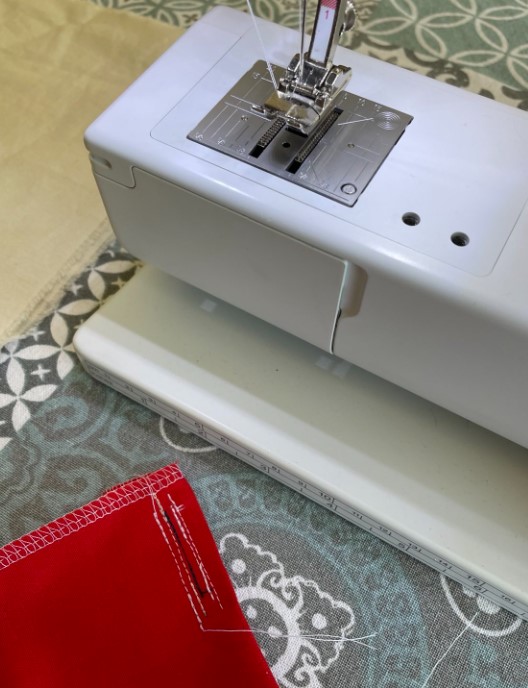
1) I started the sewing process with the 2 seams along the bag. They obviously have to be done inside out, so that the seam is on the inside of the bag when you turn it inside out, and therefore not visible.
I chose one type of seam, and then just started sewing by following the edge of the bag.
Sewing result

2) Second step was to sew some handles for the bag. I look how it was done on another bag and I tried to replicate it.
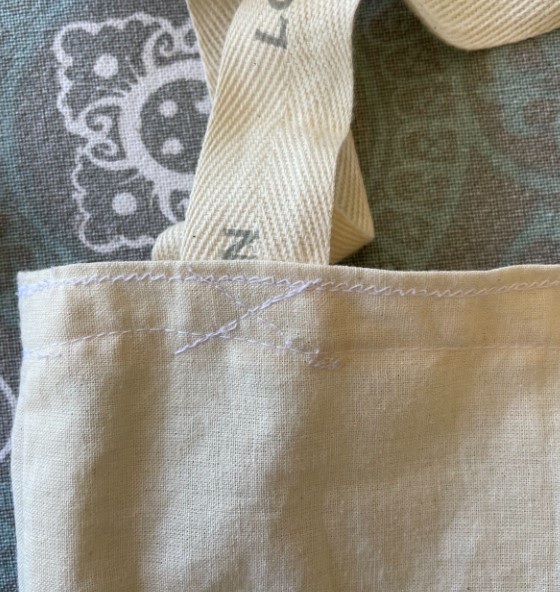
Final result
Very happy with the result!