Cutting and Assembly
Now that my file is ready, it's time to cut the board. After setting the board on the Shopbot's bed, I had to setup the software and machine.
Safety Procedures
The CNC machine is one of, if not the single, most dangerous machine I will use during Fab Academy. It spins at a very high RPM speed and can easily harm a person if they are standing too close or if it catches someone's clothes or hair. Additionally, the damages the machine can cause are not self-contained and can be over the entire room. At the Charlotte Latin Fab Lab, we have a few safety procedures in place to prevent accidents:
- All users of the machine must always have a partner in the room with them
- You must roll up sleeves and tie up hair
- Everyone must wear safety goggles in the CNC workshop room
- There is a yellow warning boundary taped on the floor delineating danger zones while the Shopbot is running
Turning on the Machine
- Turn on the computer.
- Log in to the computer.
- Turn on the Shopbot.
- Hit the blue Reset button on the controller.
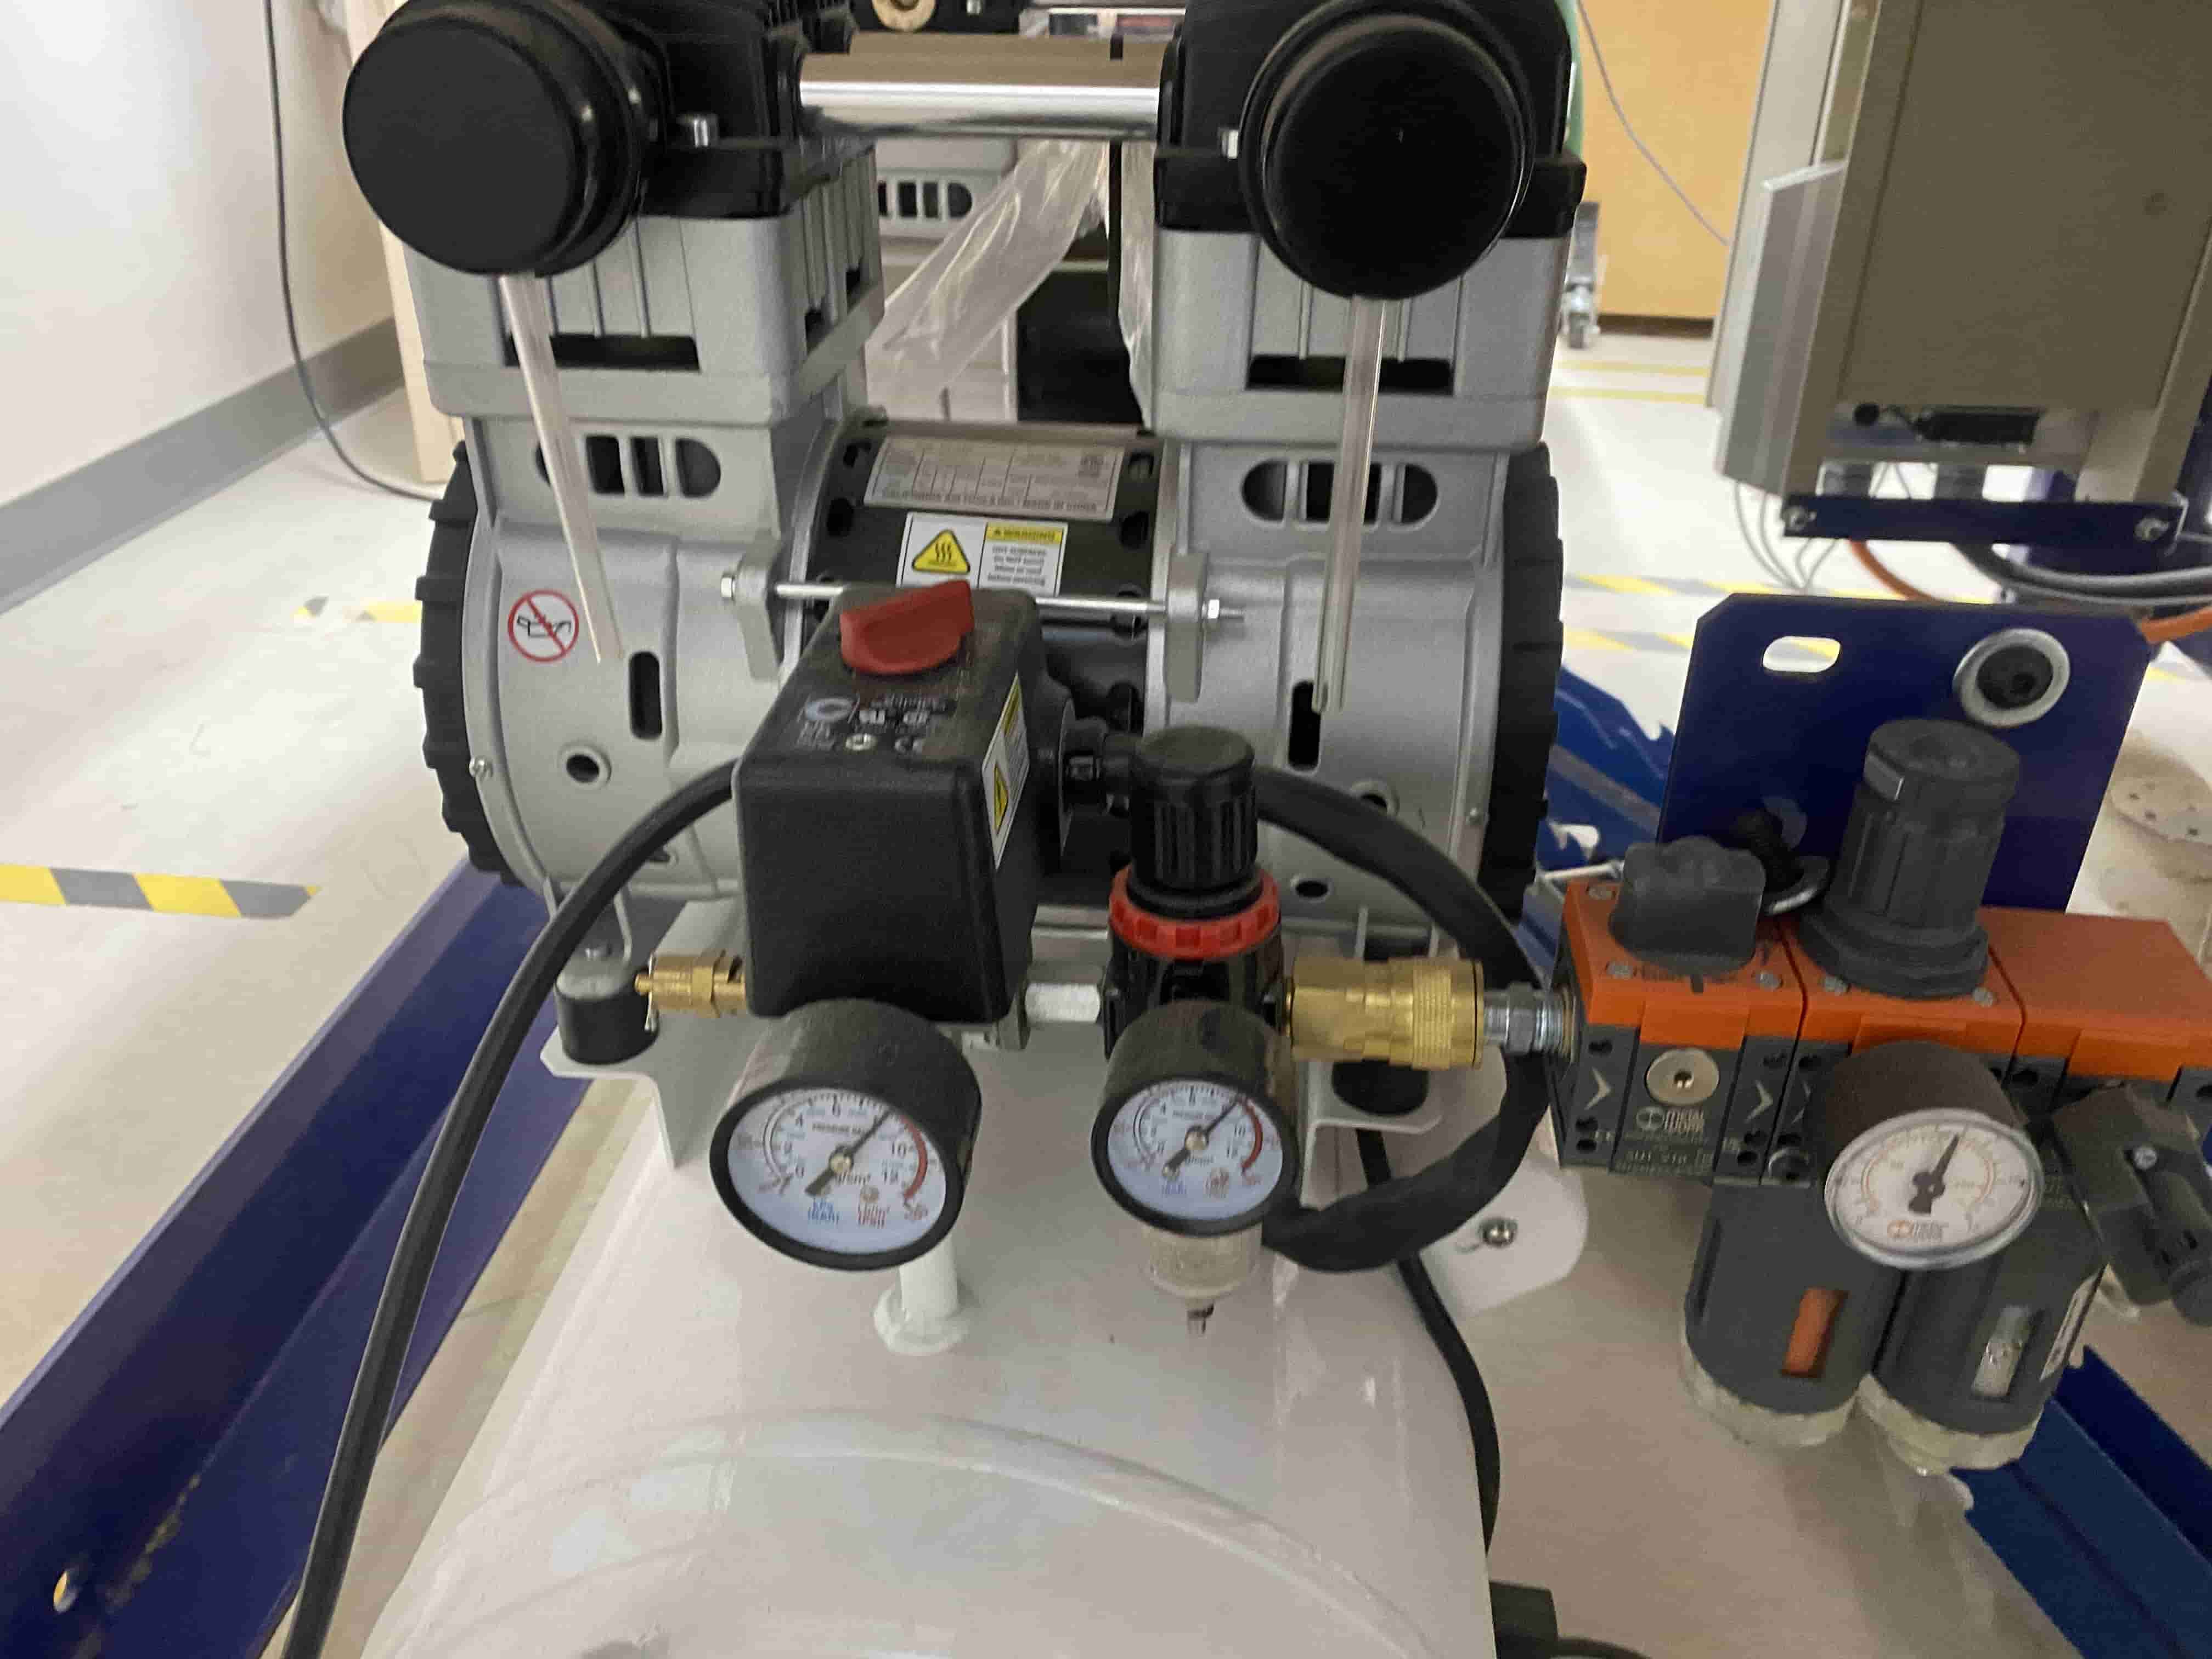
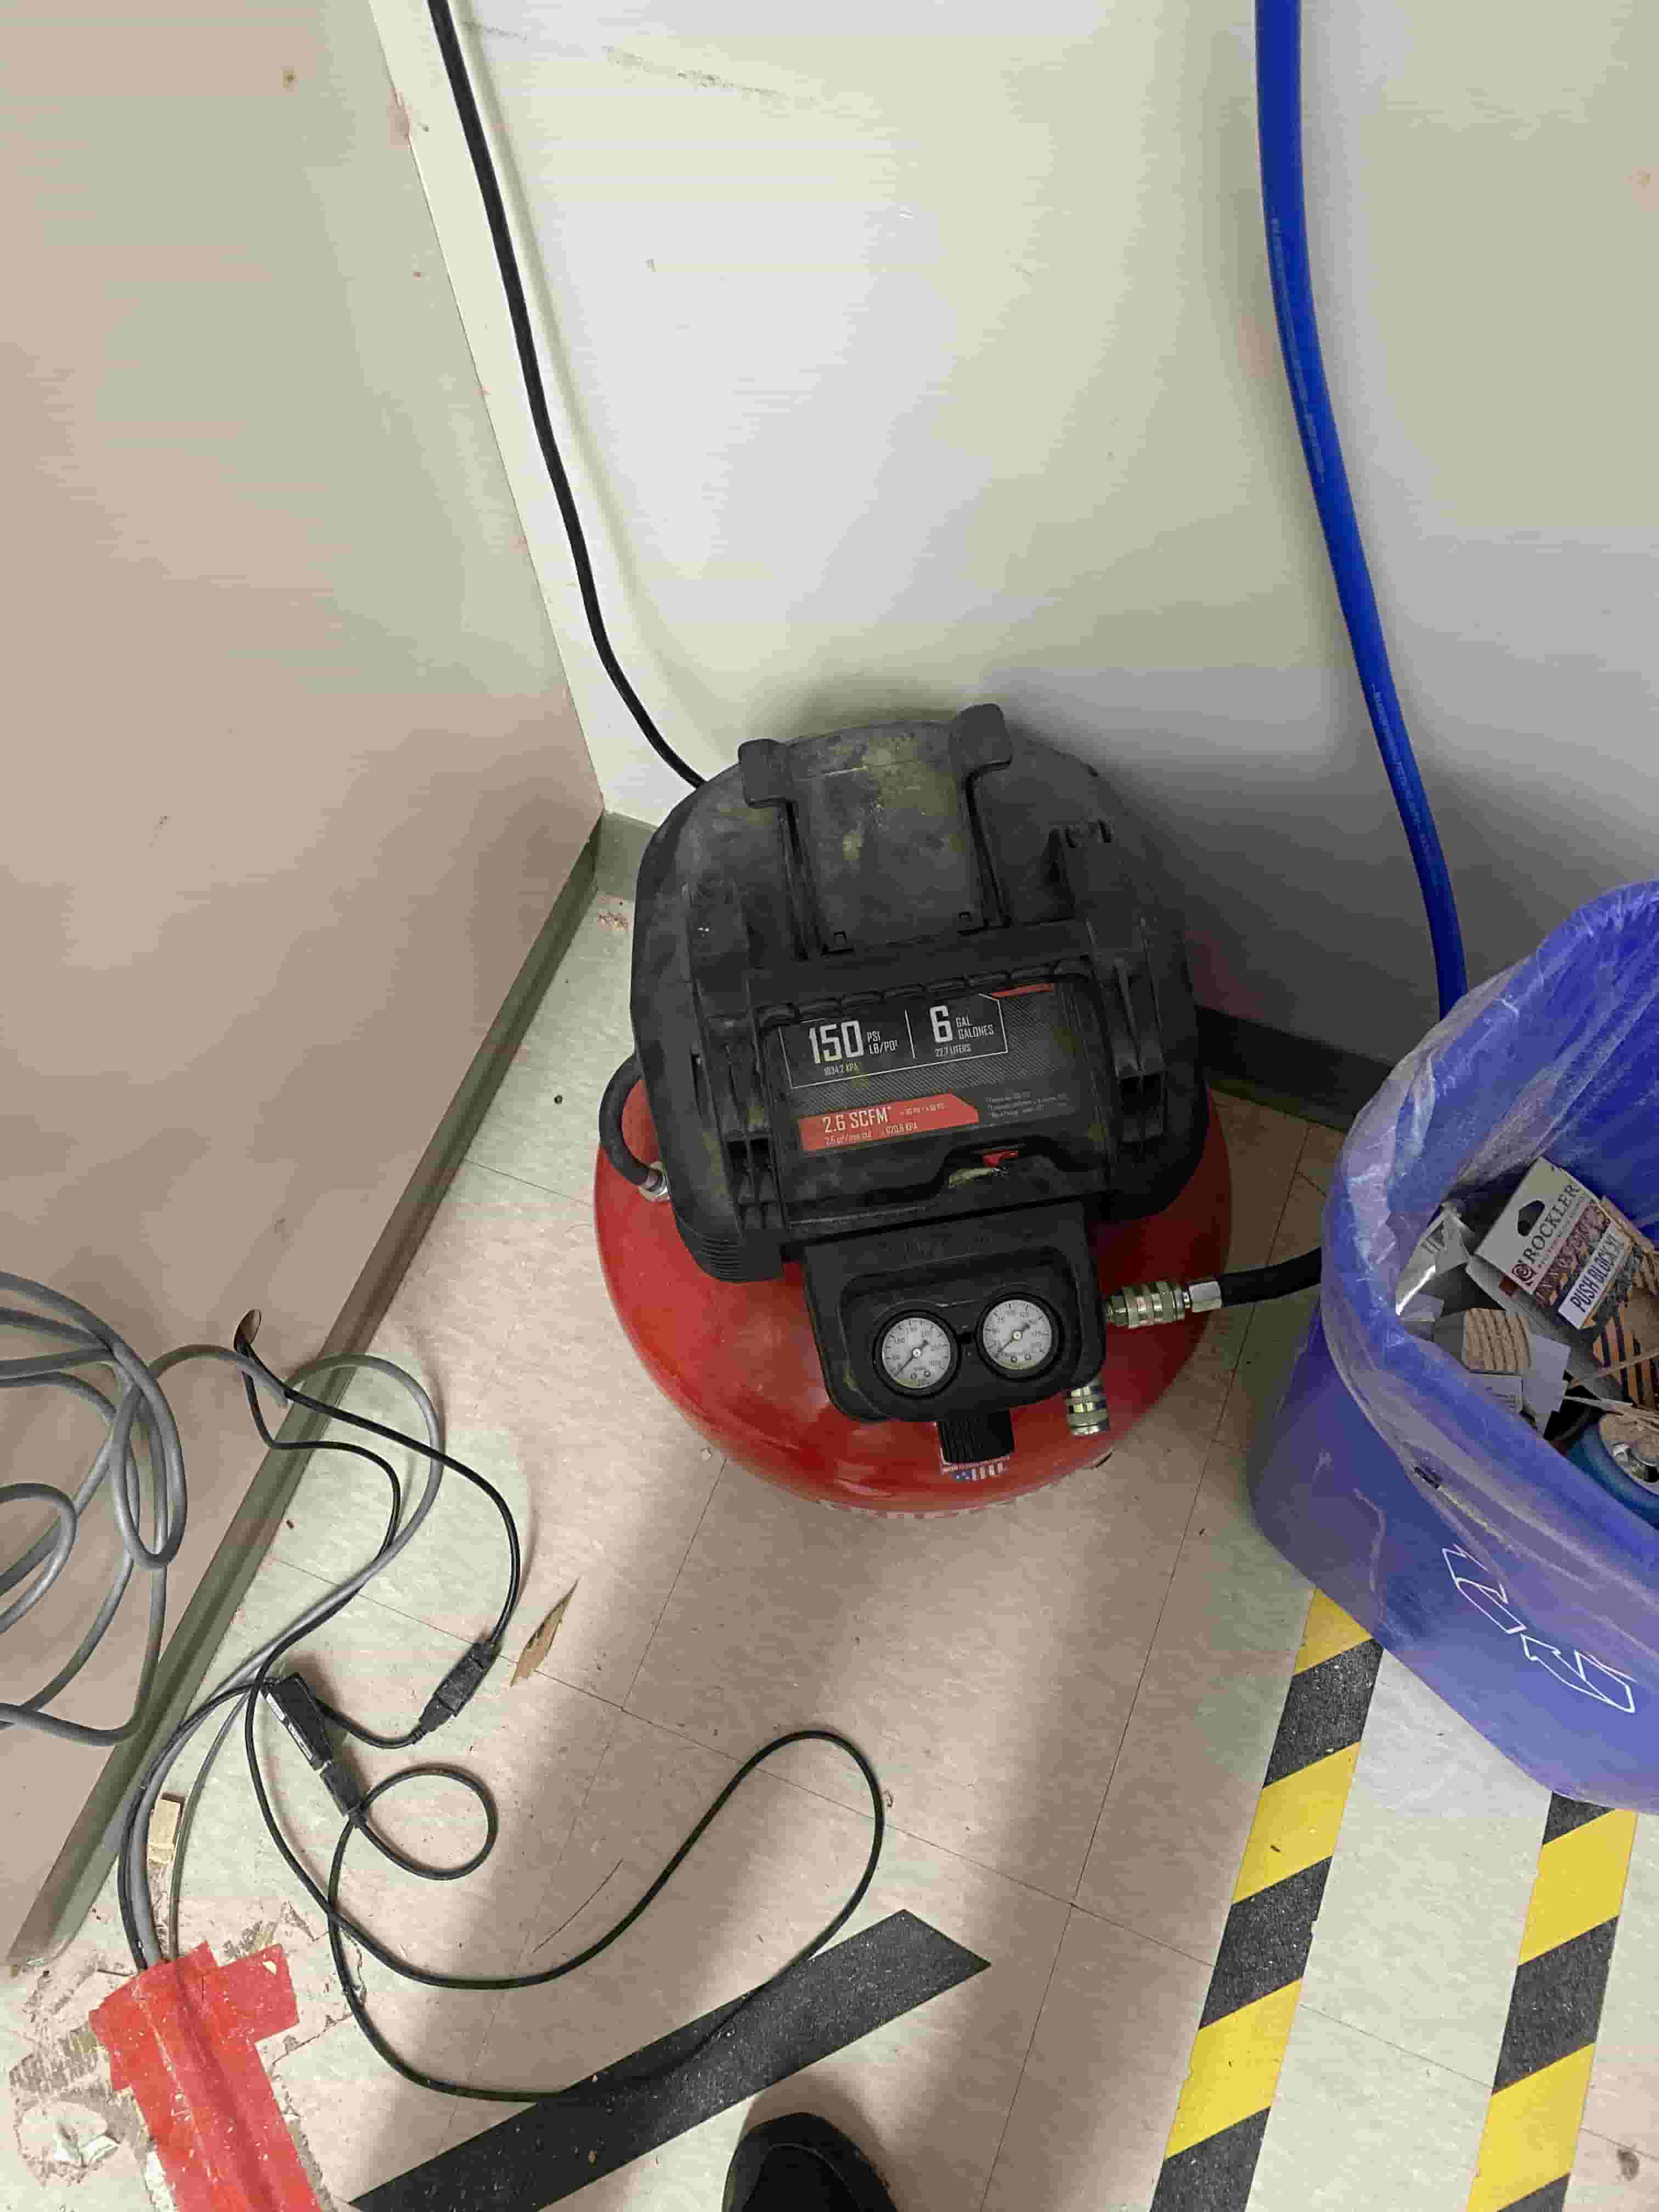
- Turn on the air compressor by turning the red switch clockwise (Beware loud noise).
- Open Shopbot software on the computer.
- Confirm software is in Move/Cut mode NOT Preview
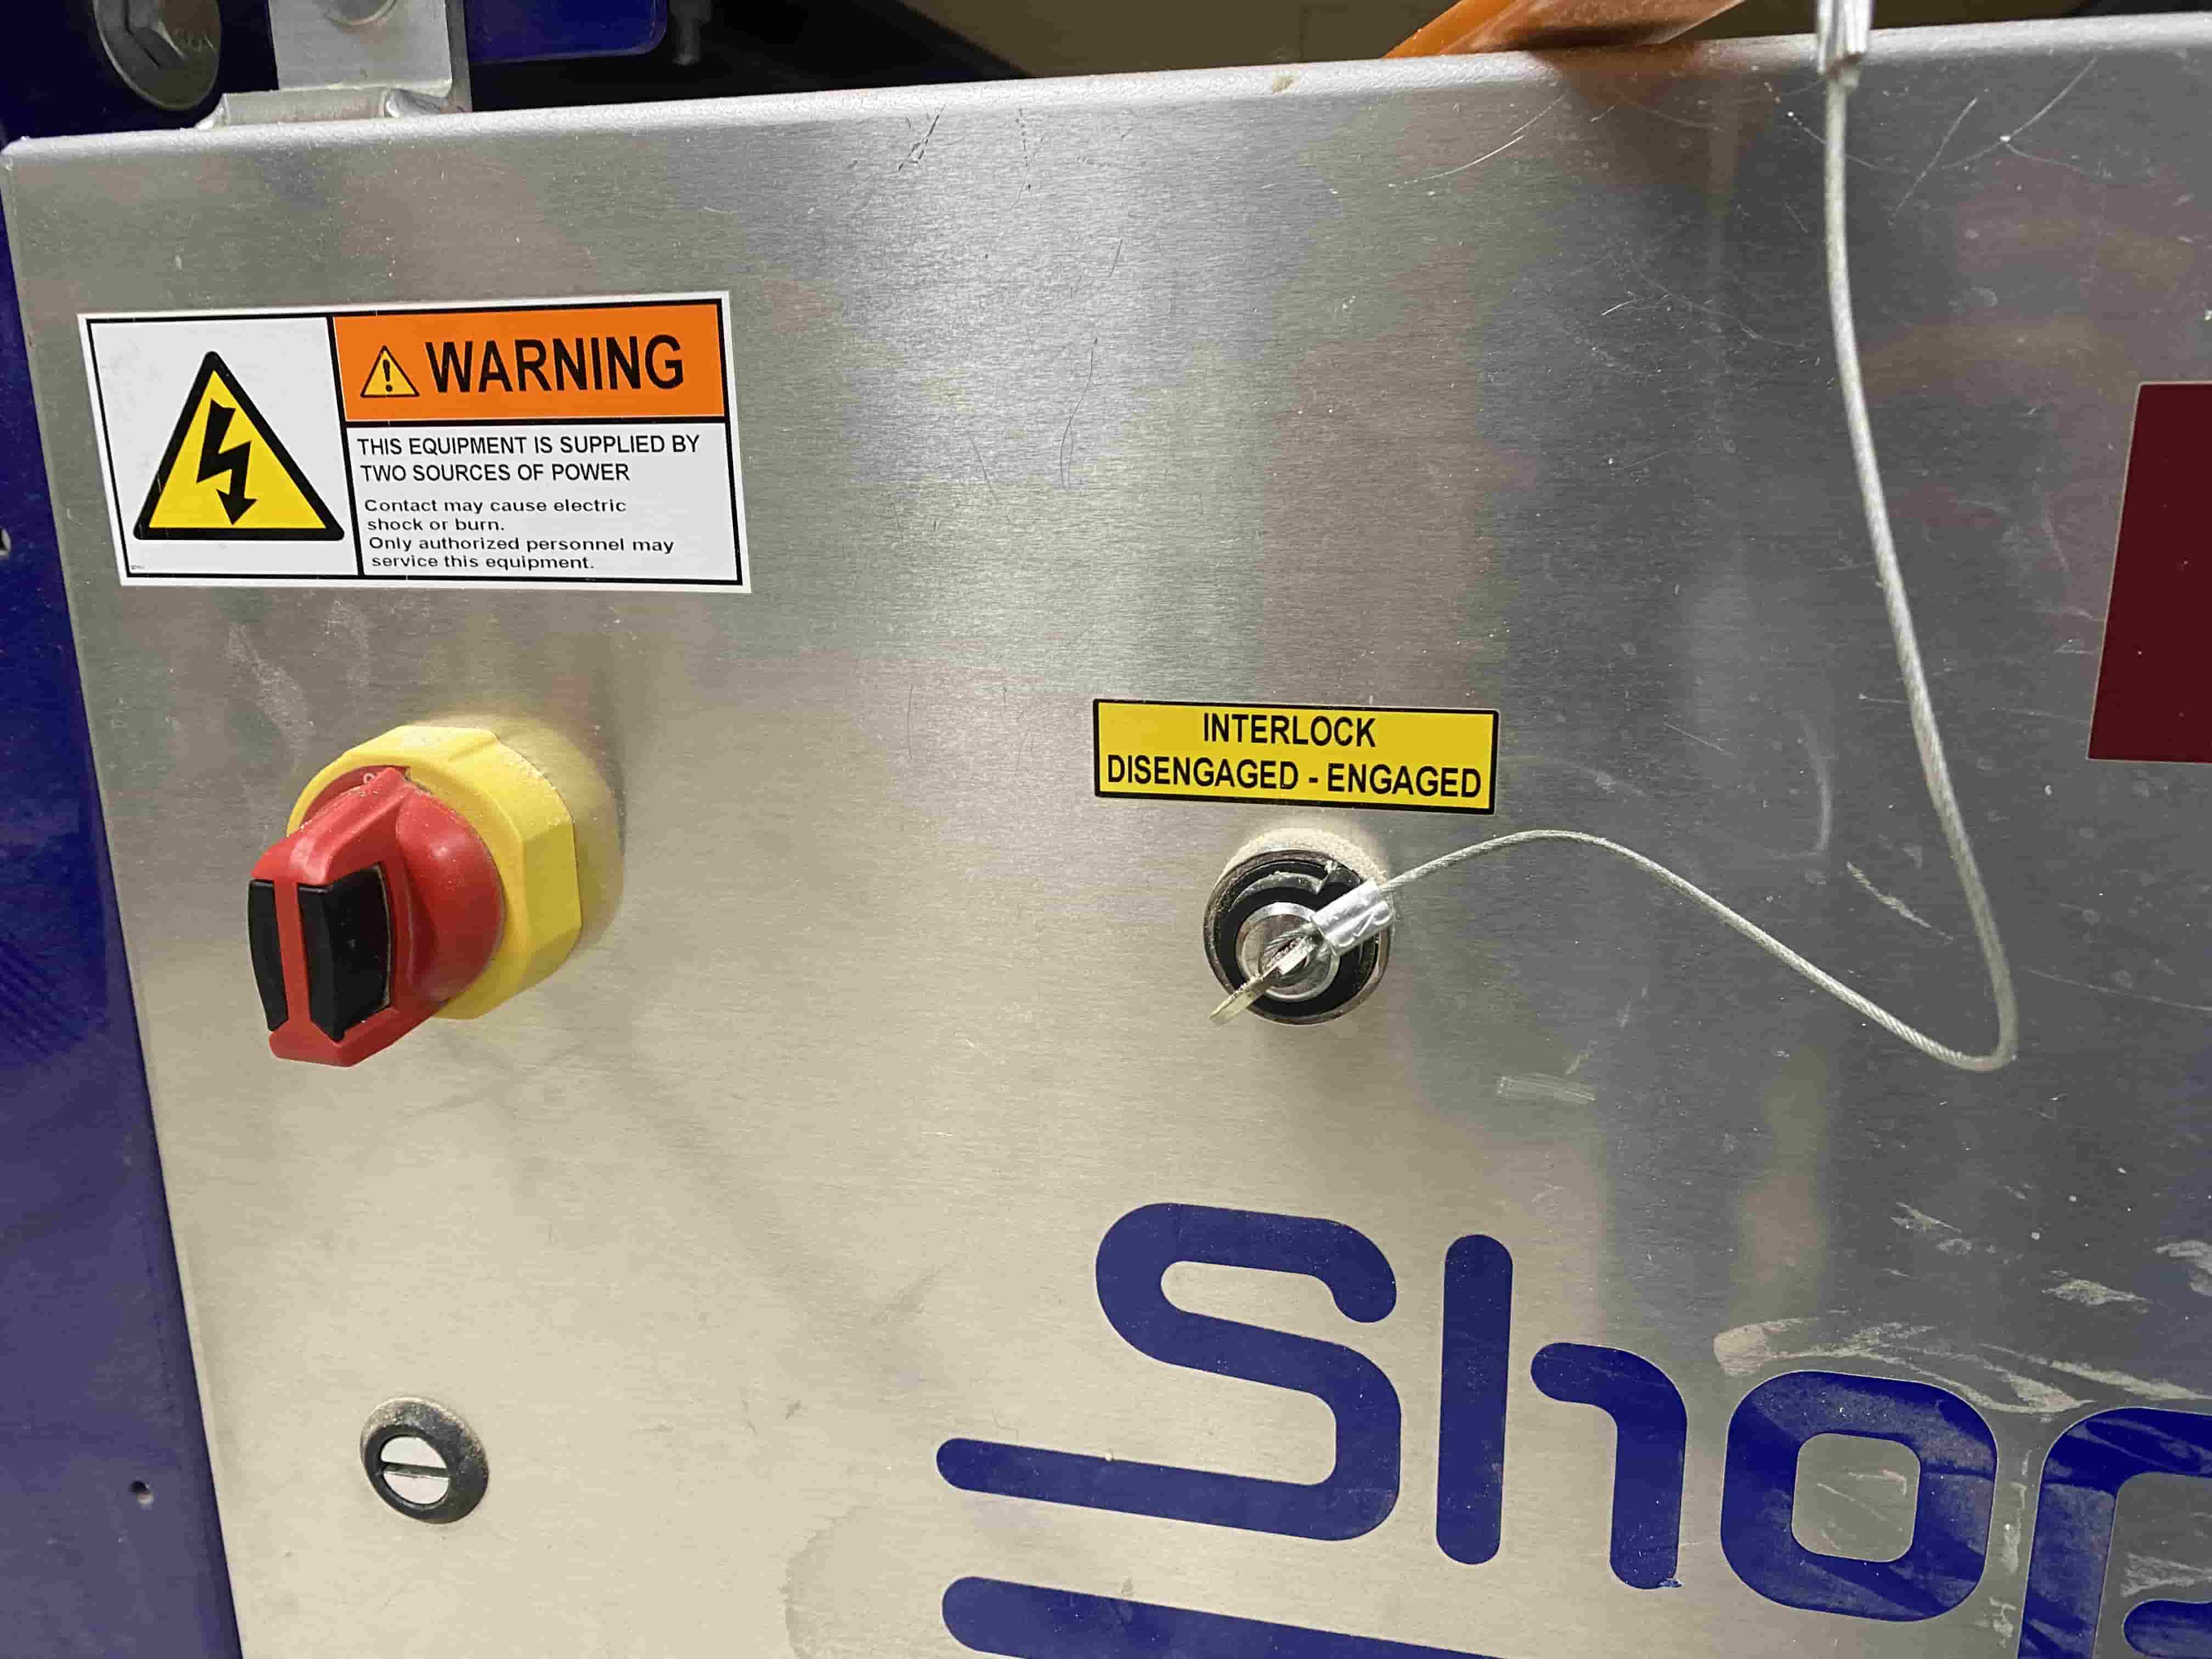
- Engage the spindle by turning the interlock key clockwise to “Engaged”.
- Go to Cuts Menu and select CN, 10 - Start of Day (This will warm up the spindle and take about 15 minutes).
- Machine will home Z axis with a proximity switch
- Machine will then home X and Y axes with proximity switch
- The Shopbot's "home" or default position is located at the bottom right corner.
- Machine will Grab tool #1
- Machine will then go to the center of board (48, 24, 6.928)
- A window will ask you to turn on spindle
- Press the Green button on the spindle controller.
- Select ‘OK’ on computer
- Spindle will warm up
- The spindle will finish and go to 0,24 on the table
- Put the magnetic dust boot on the spindle.
- Click OK
- Spindle will automatically return to the back of the board.
Before running the test cut, I used the brad gun to attach my wood board to the bed of the machine.
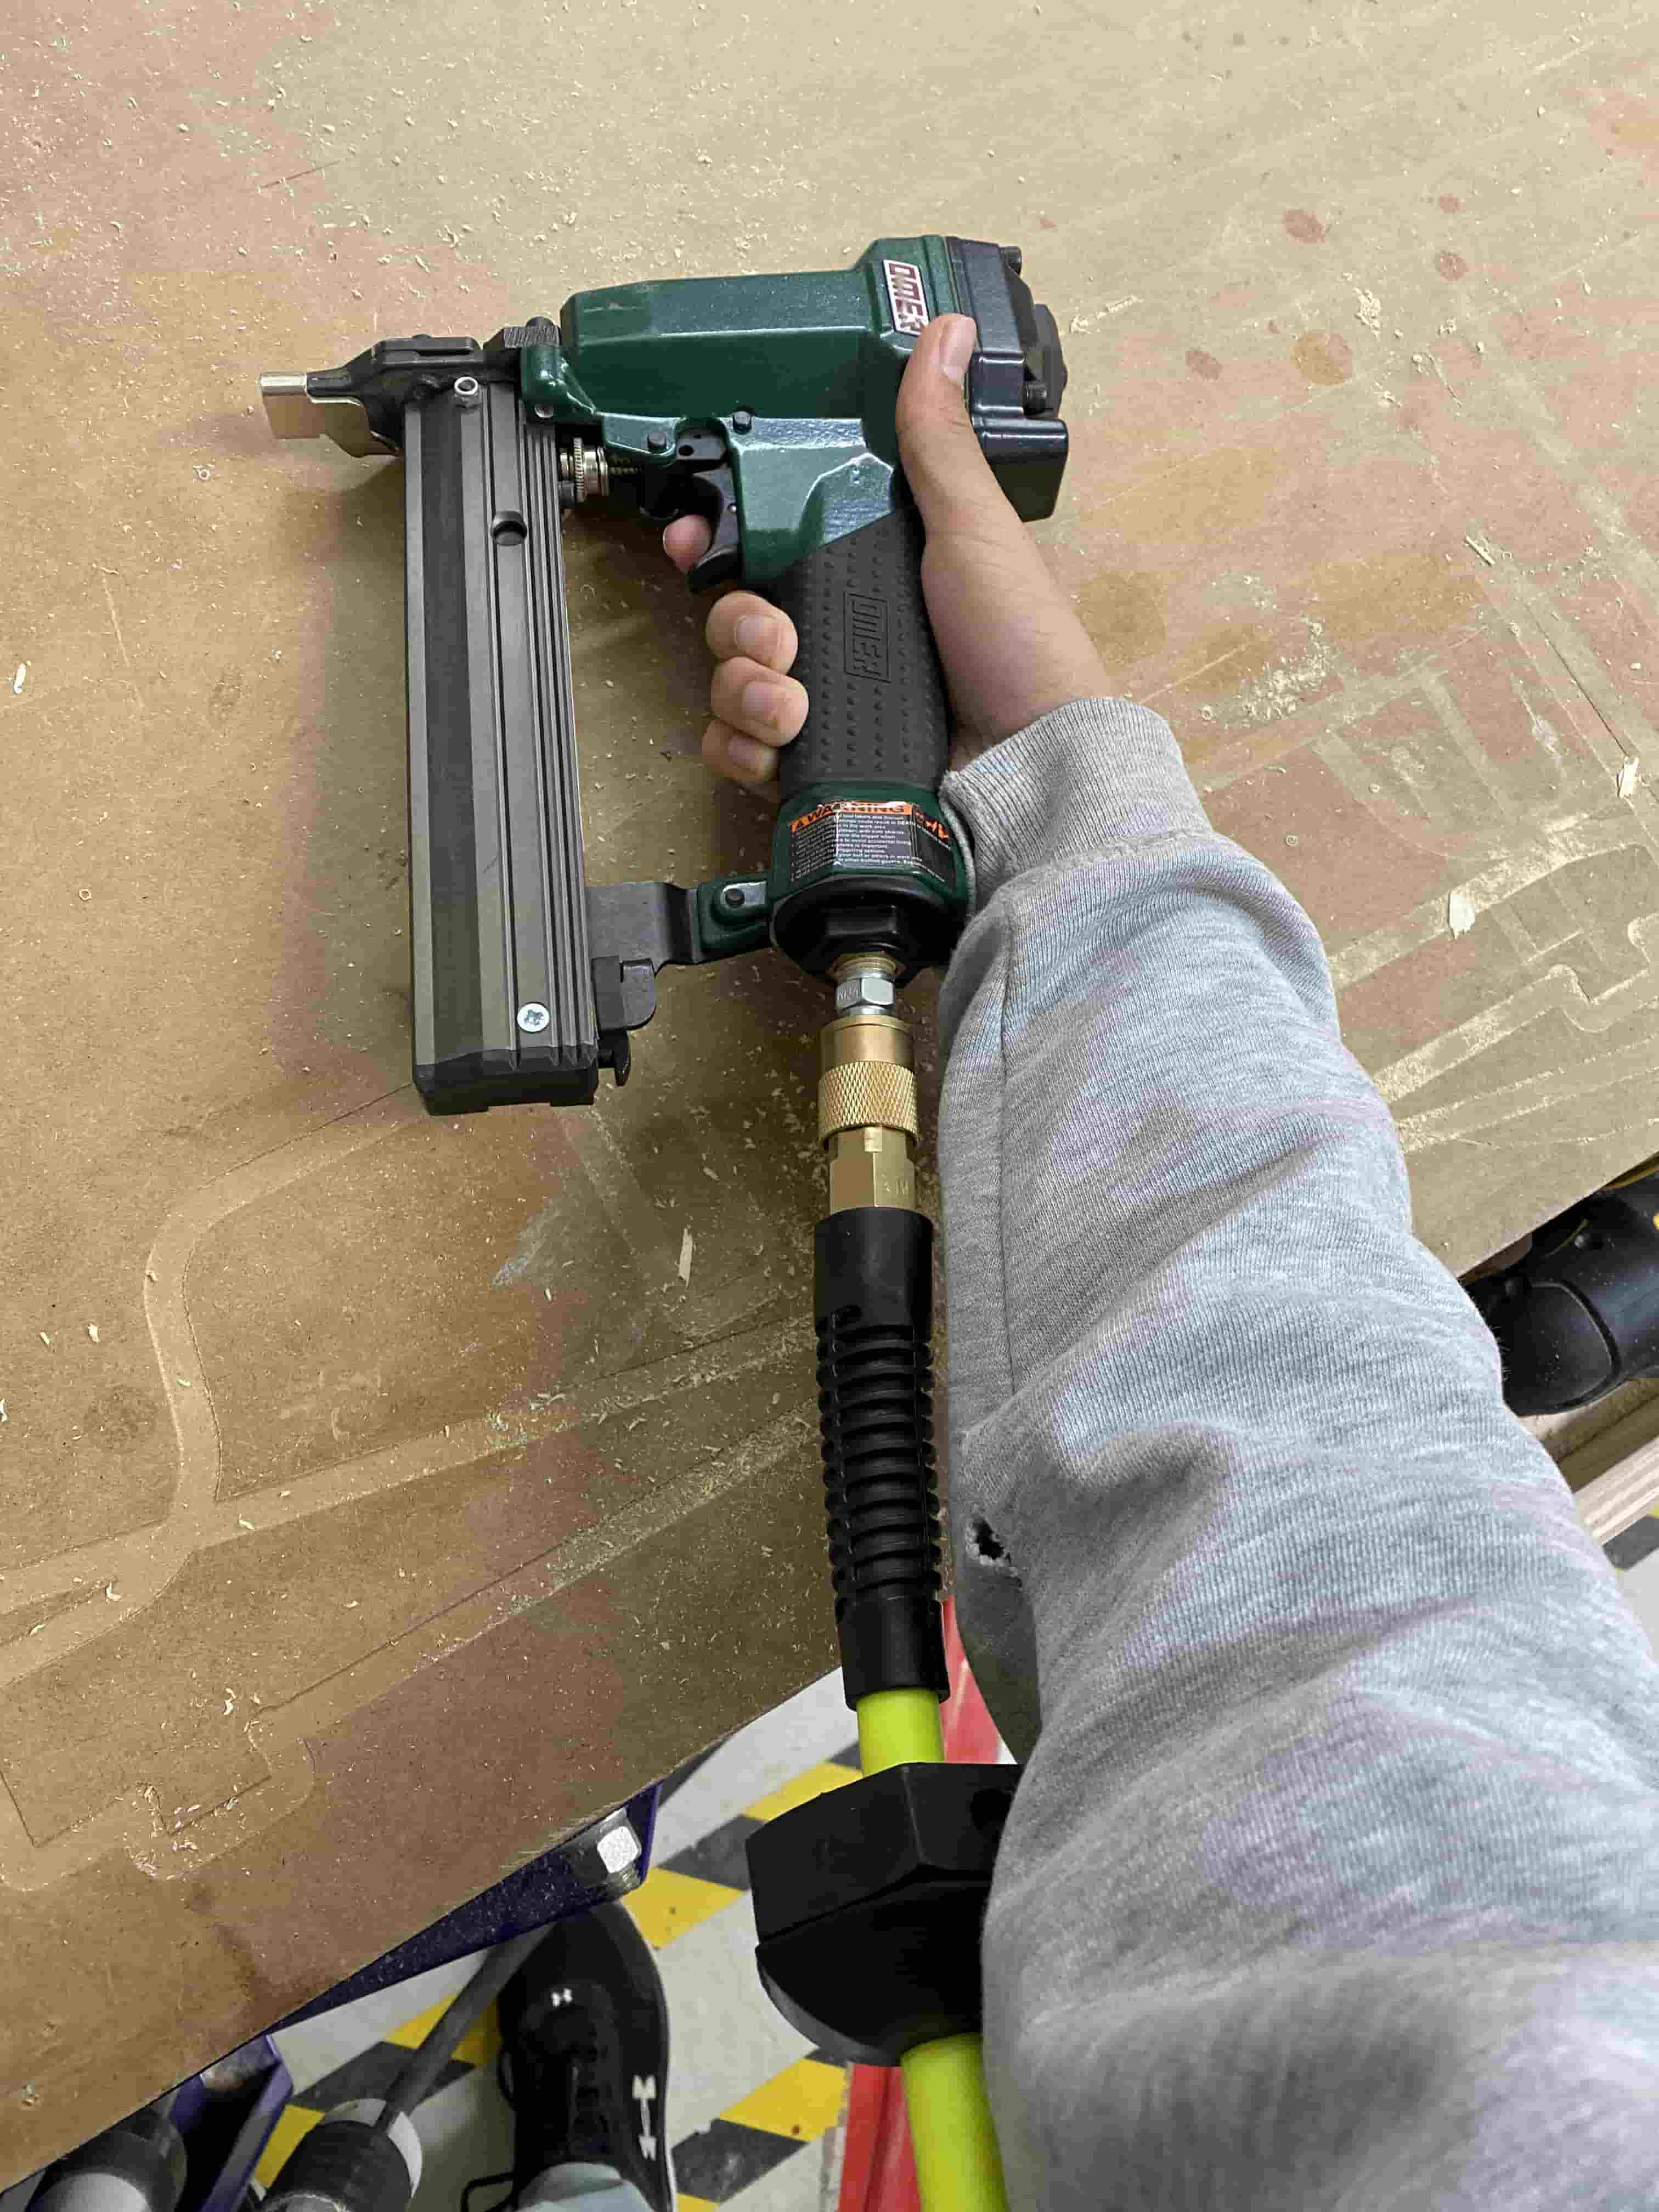
The brad gun uses pressurized air and essentially nails the board to the bed to secure the material. After cutting, the brads are easily removable with a mallet or chisel so that you can get the material back off of the machine.
Air Cut
- Once you have secured your material to the spoilboard, bring the spindle to the origin (JH) and set the Z-Height to 1 inch above your material. (Ex. JZ1.5 for 0.5”plywood).
- Use the Zero-Z-Axis (Zz) command to zero the Z-axis for a new temporary origin above the material.
- Run your file with no offset and it will run as an aircut.
- Once the routine is complete, run the C3 command to rehome the machine and reset the Z-zero height to the machine bed.
Homing and Zeroing
The Shopbot's home is located at the bottom right corner of the bed. To rehome the machine via its builtin proximity switches, use the C3 macro within the Shopbot software.
Zeroing is useful if you want to manually set a home point. This can be done through the Zero or z macro, where Zx, Zy, and Zz will set the home point of the respective axis to the current position of the spindle (zero).
Cutting
Before cutting, ensure that the dust skirt is on, the vacuum is on, and the vacuum tubes are open.
- Load the file
- Click enter and run the file
- If a popup box appears prompting you to turn on the spindle, hit the START button that is next to the machine
- After you hear the spindle start whirring, click OK on the computer to continue and run the cut
Clicking the computer's spacebar at any point during the cut will pause the cut. Pausing is good if you are unsure about something or the machine seems to be doing something unusual.
Clicking the red stop button will immediately terminate the machine. Use this button something goes seemingly extremely wrong or if there is a safety hazard to anyone. Clicking the red stop button will require restarting the machine and restarting your cut.
Starting the job with cutting out the shelf legs
Cutting the big lower shelf
Cutting the medium middle shelf's inner cutout
Cutting the small top shelf
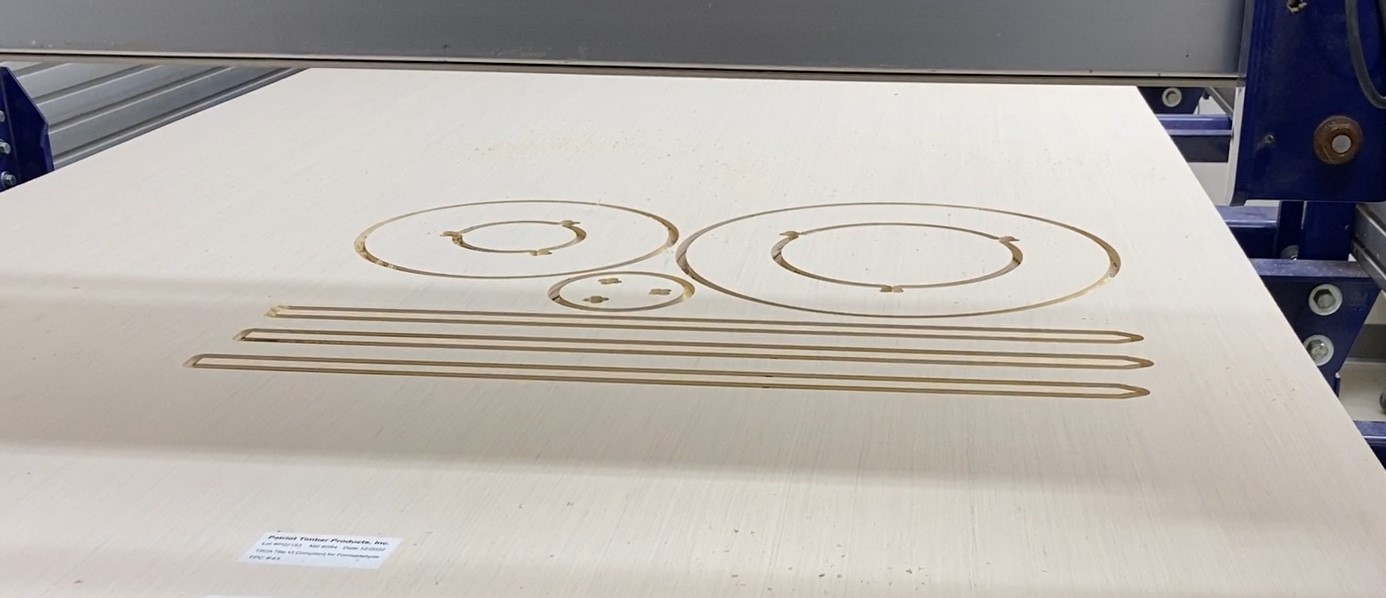
Here is the board after the job completed.
X Offset
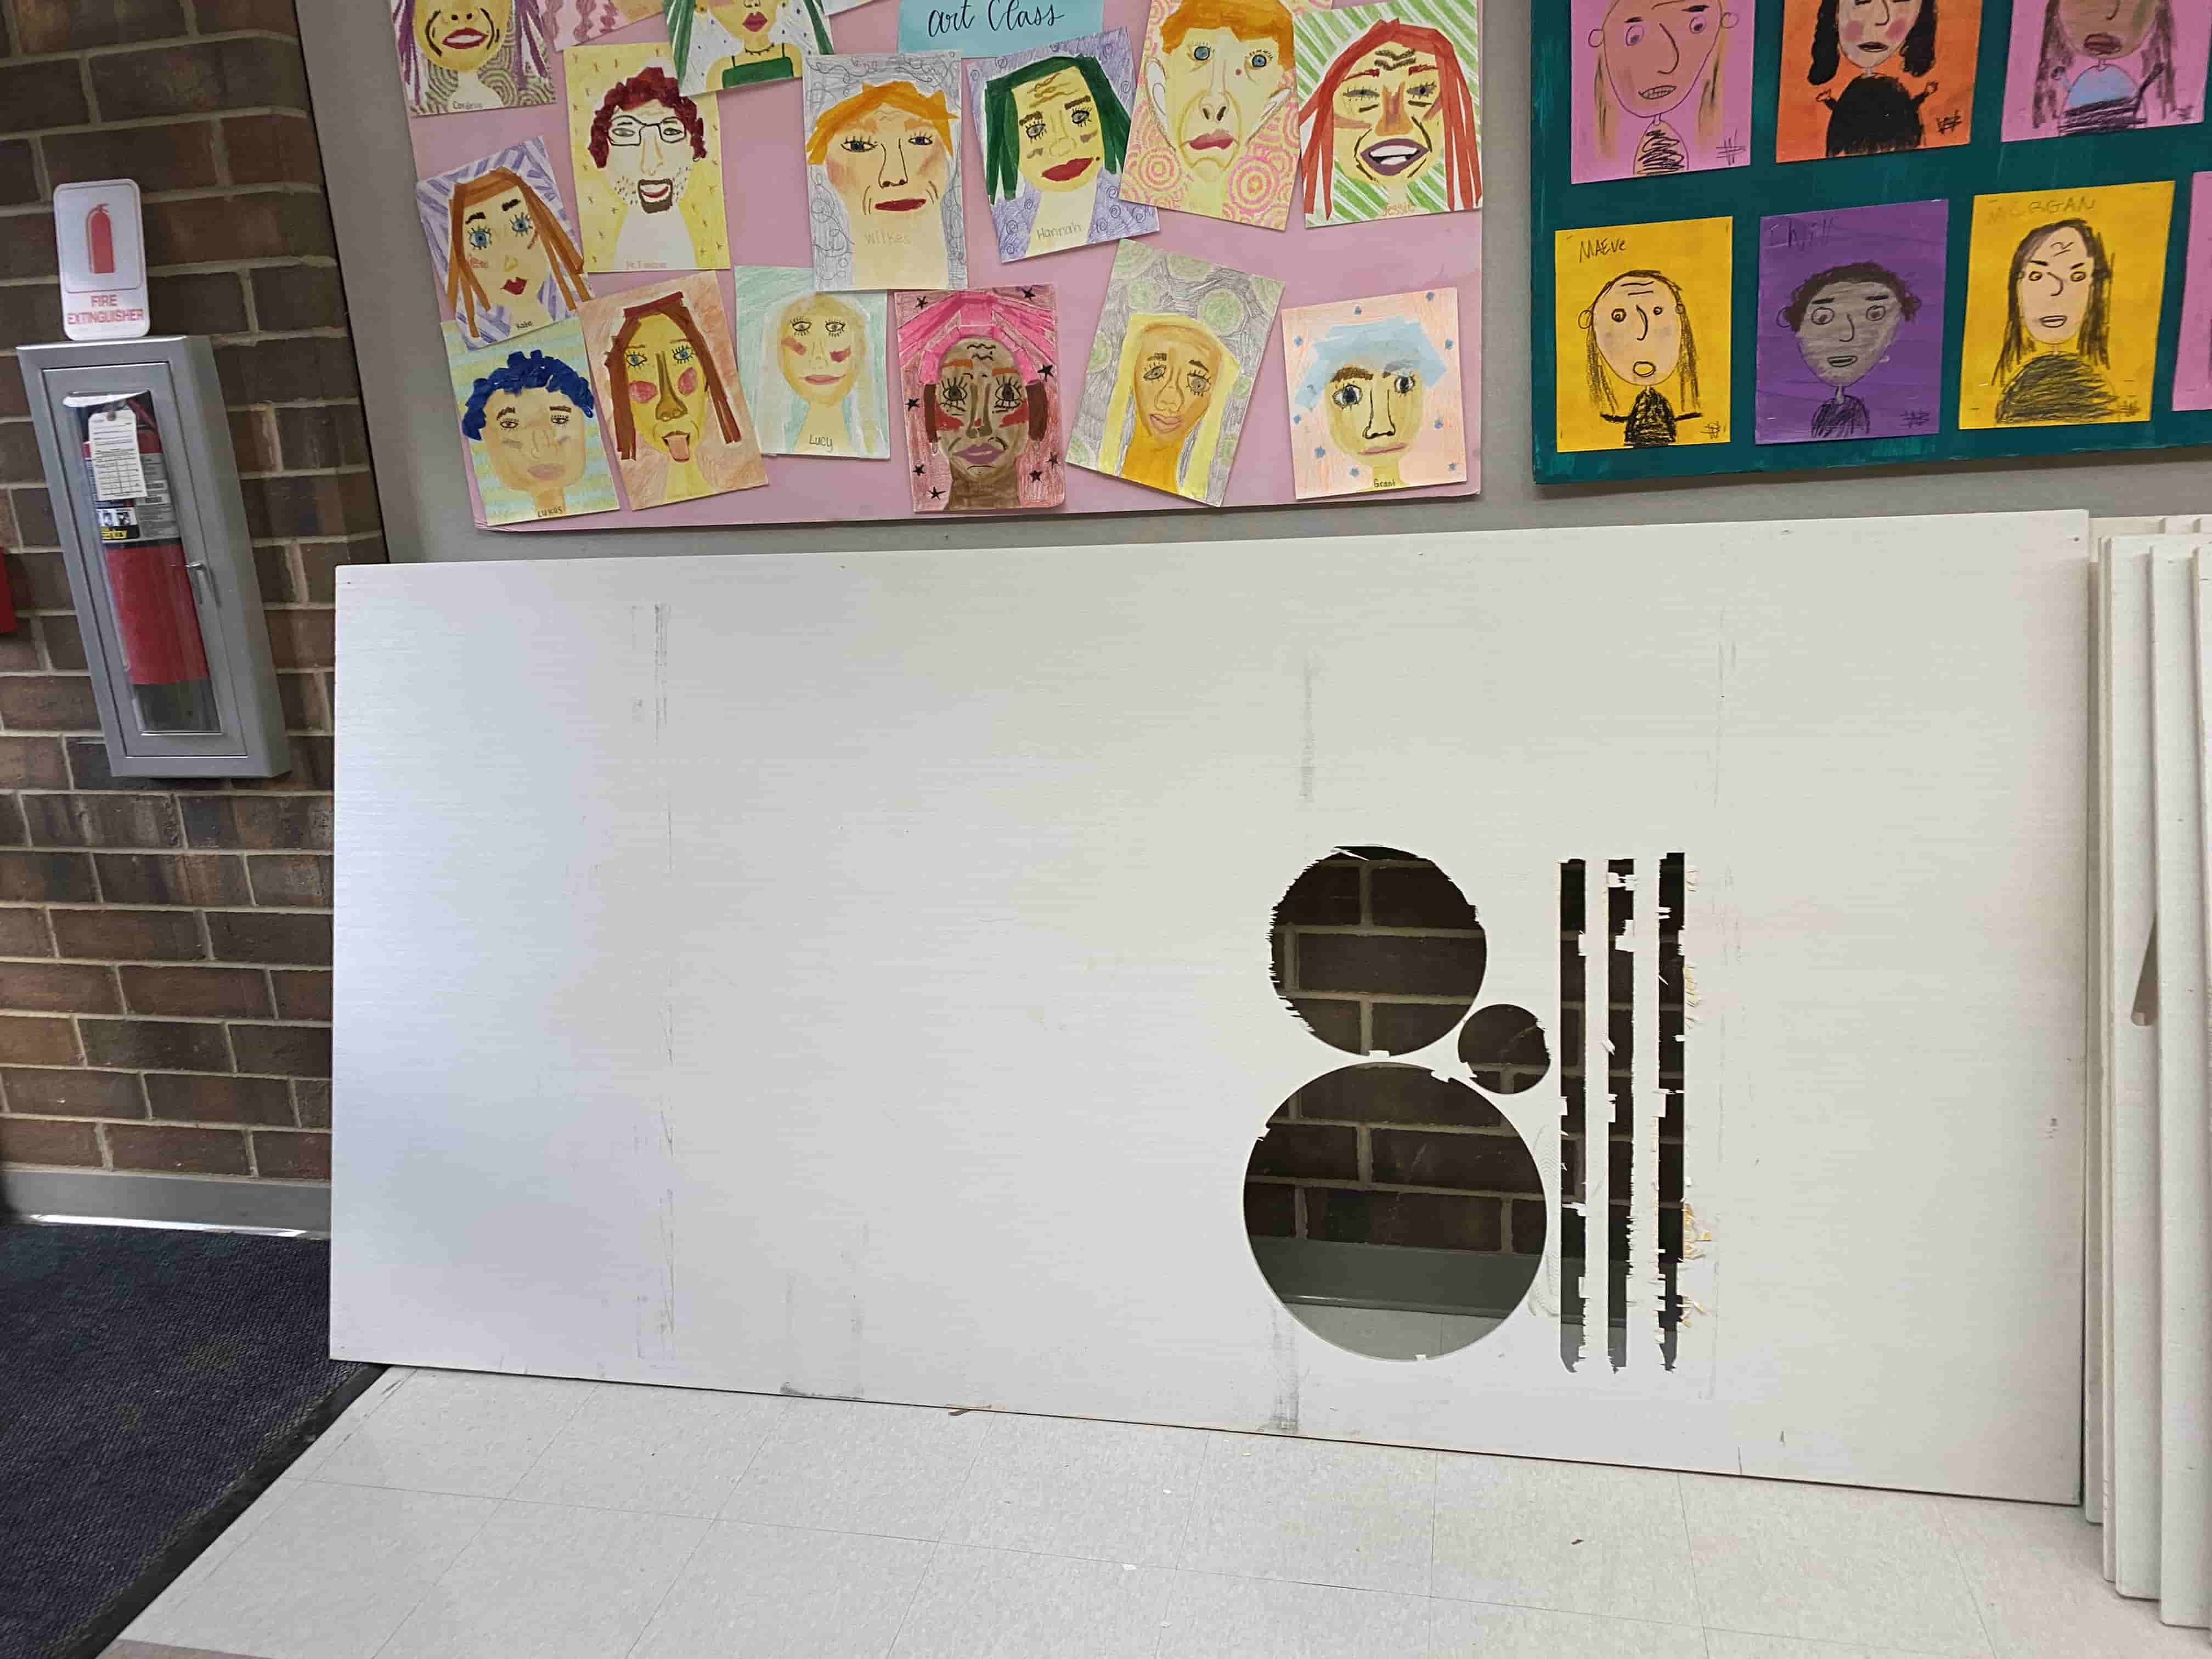
When I ran the job, the cut started around a foot into the board instead of at the edge of the board like I planned. As such, I ended up wasting a bit of material, and I was pretty confused why this happened as I had ensured that the cut was only a few inches from the edge and had gone over my file with an instructor.
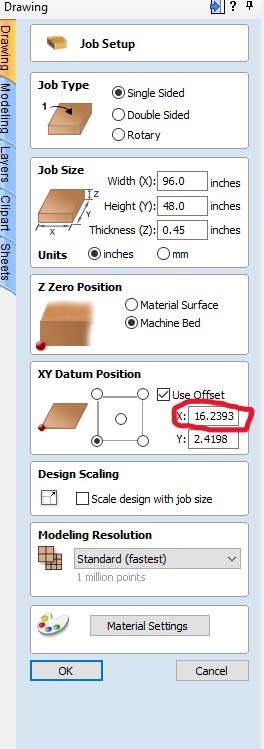
After an instructor helped me look in-depth at my file, we discovered that a setting called XY Datum Position had a 16 inch X offset, meaning that the entire job would take place 16 inches extra into the board. I'm not exactly sure why this happened as I never touched this setting.
Assembly
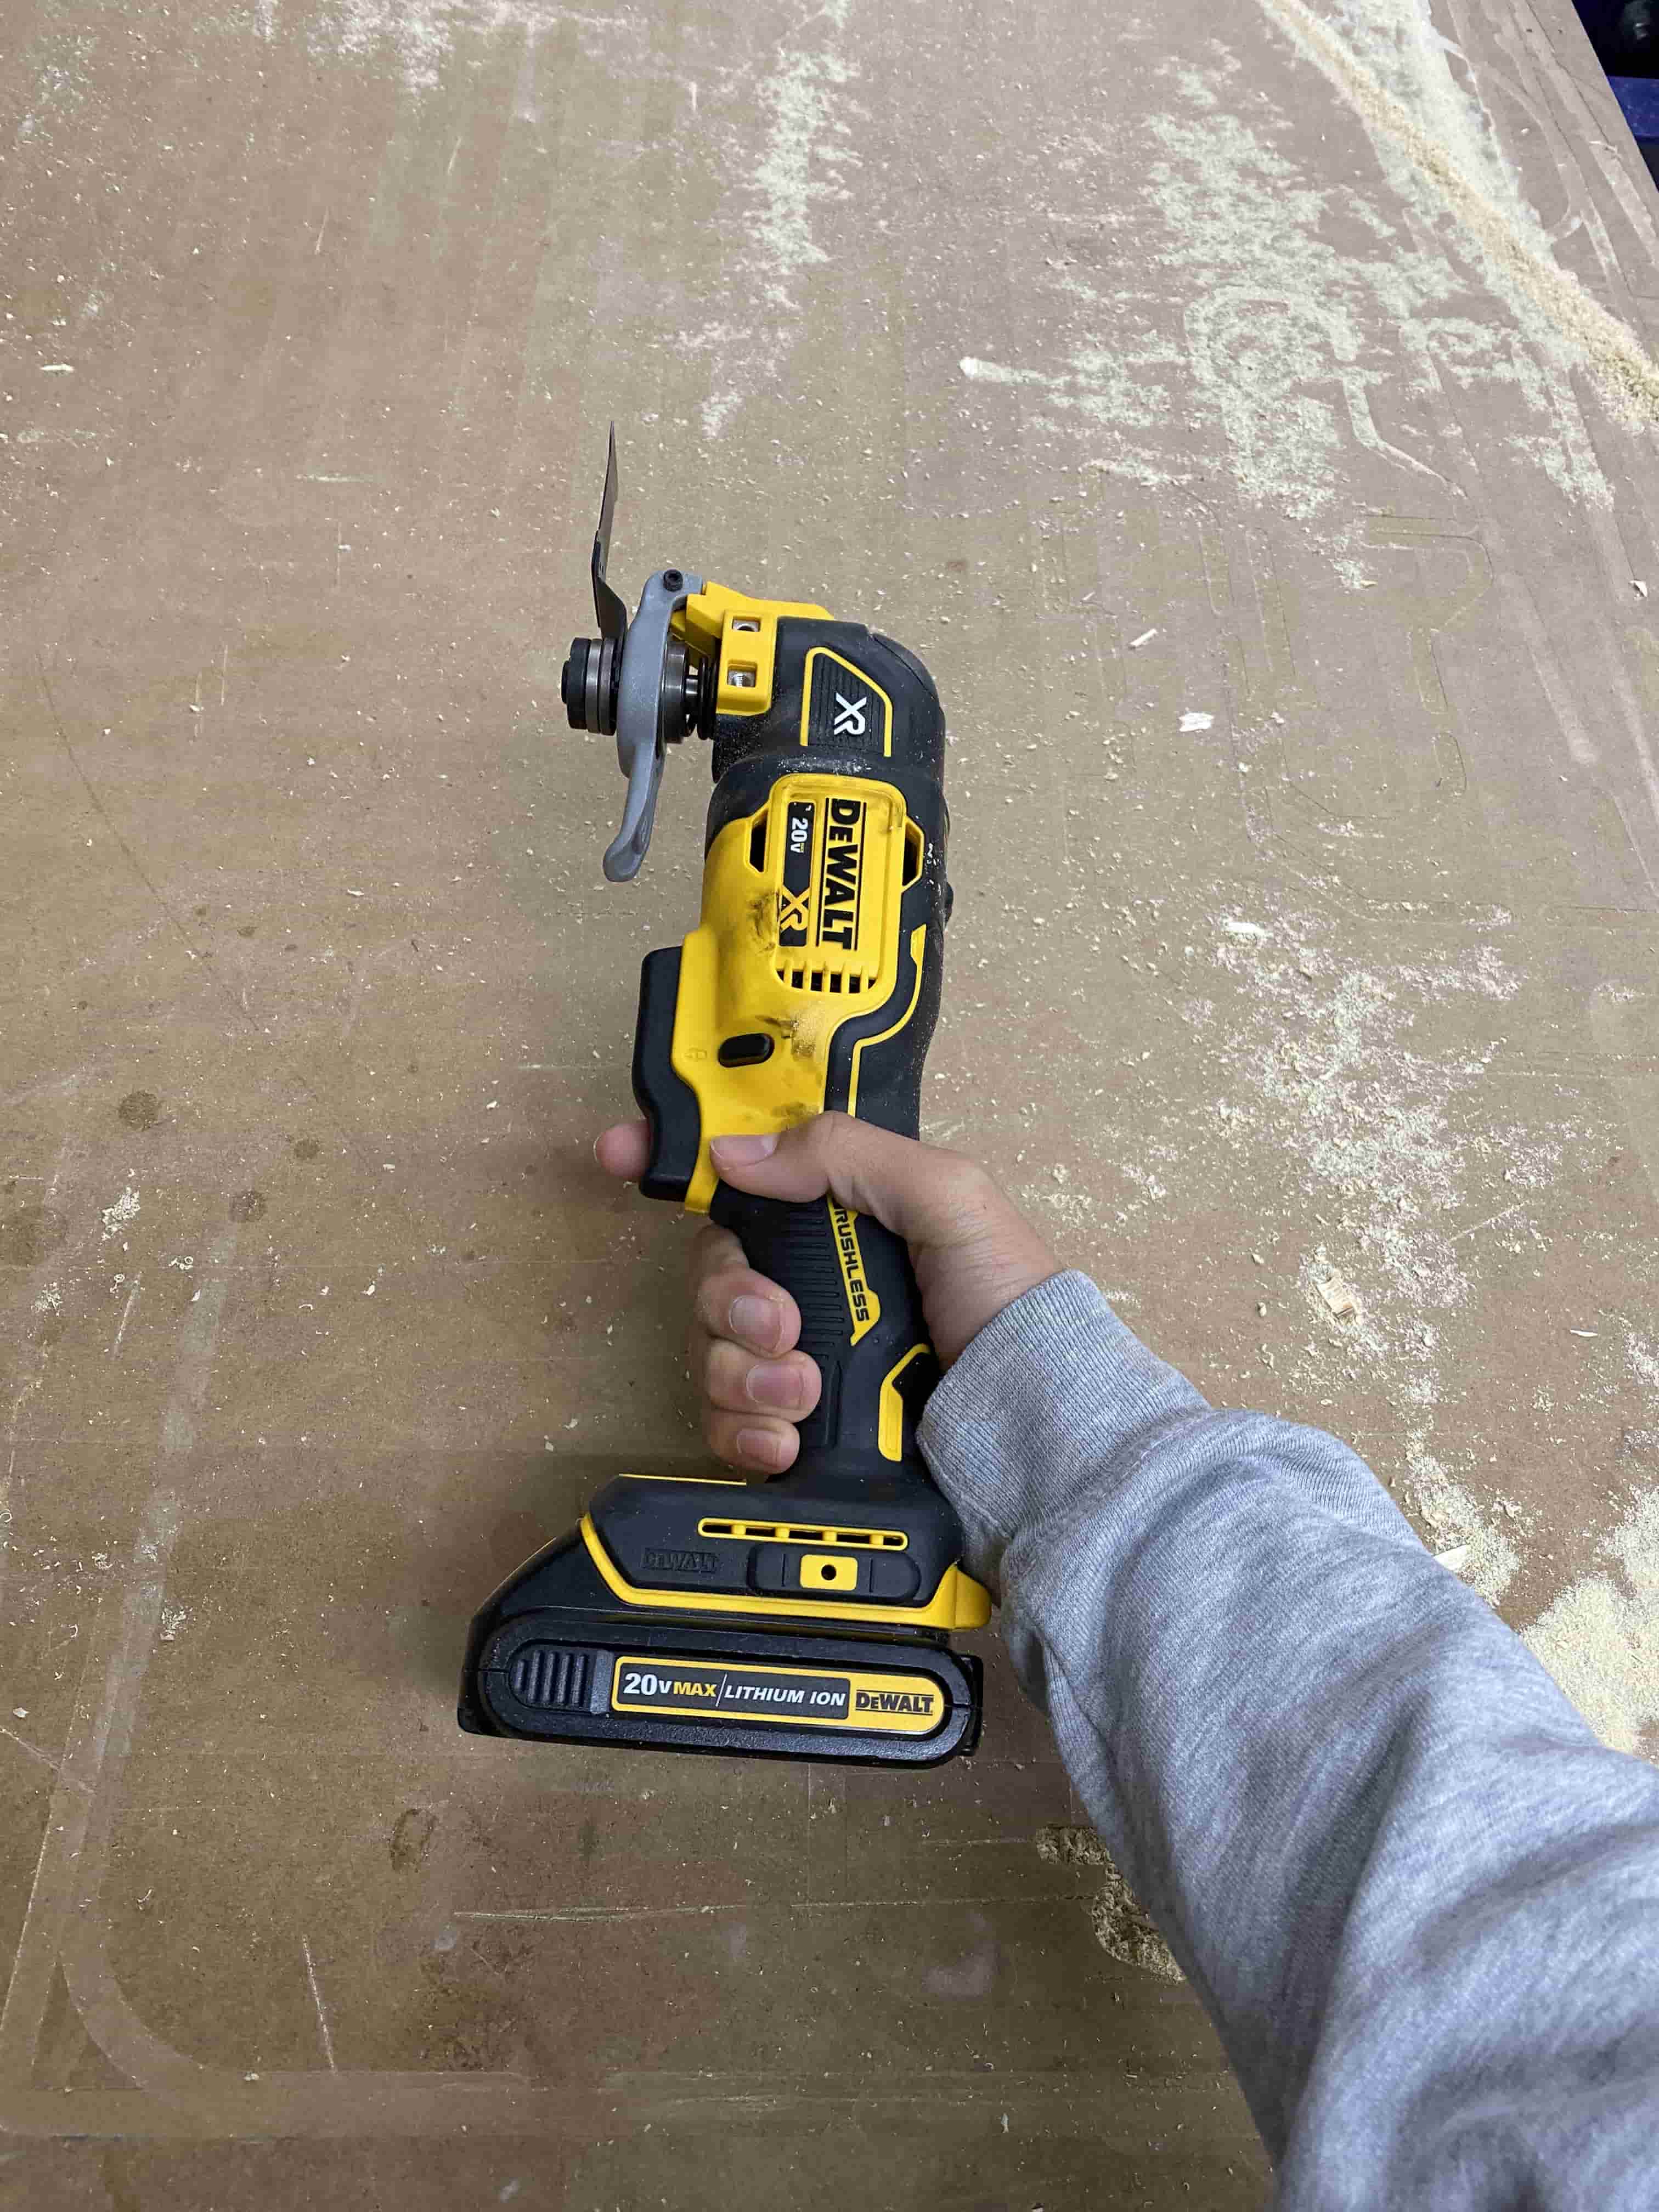
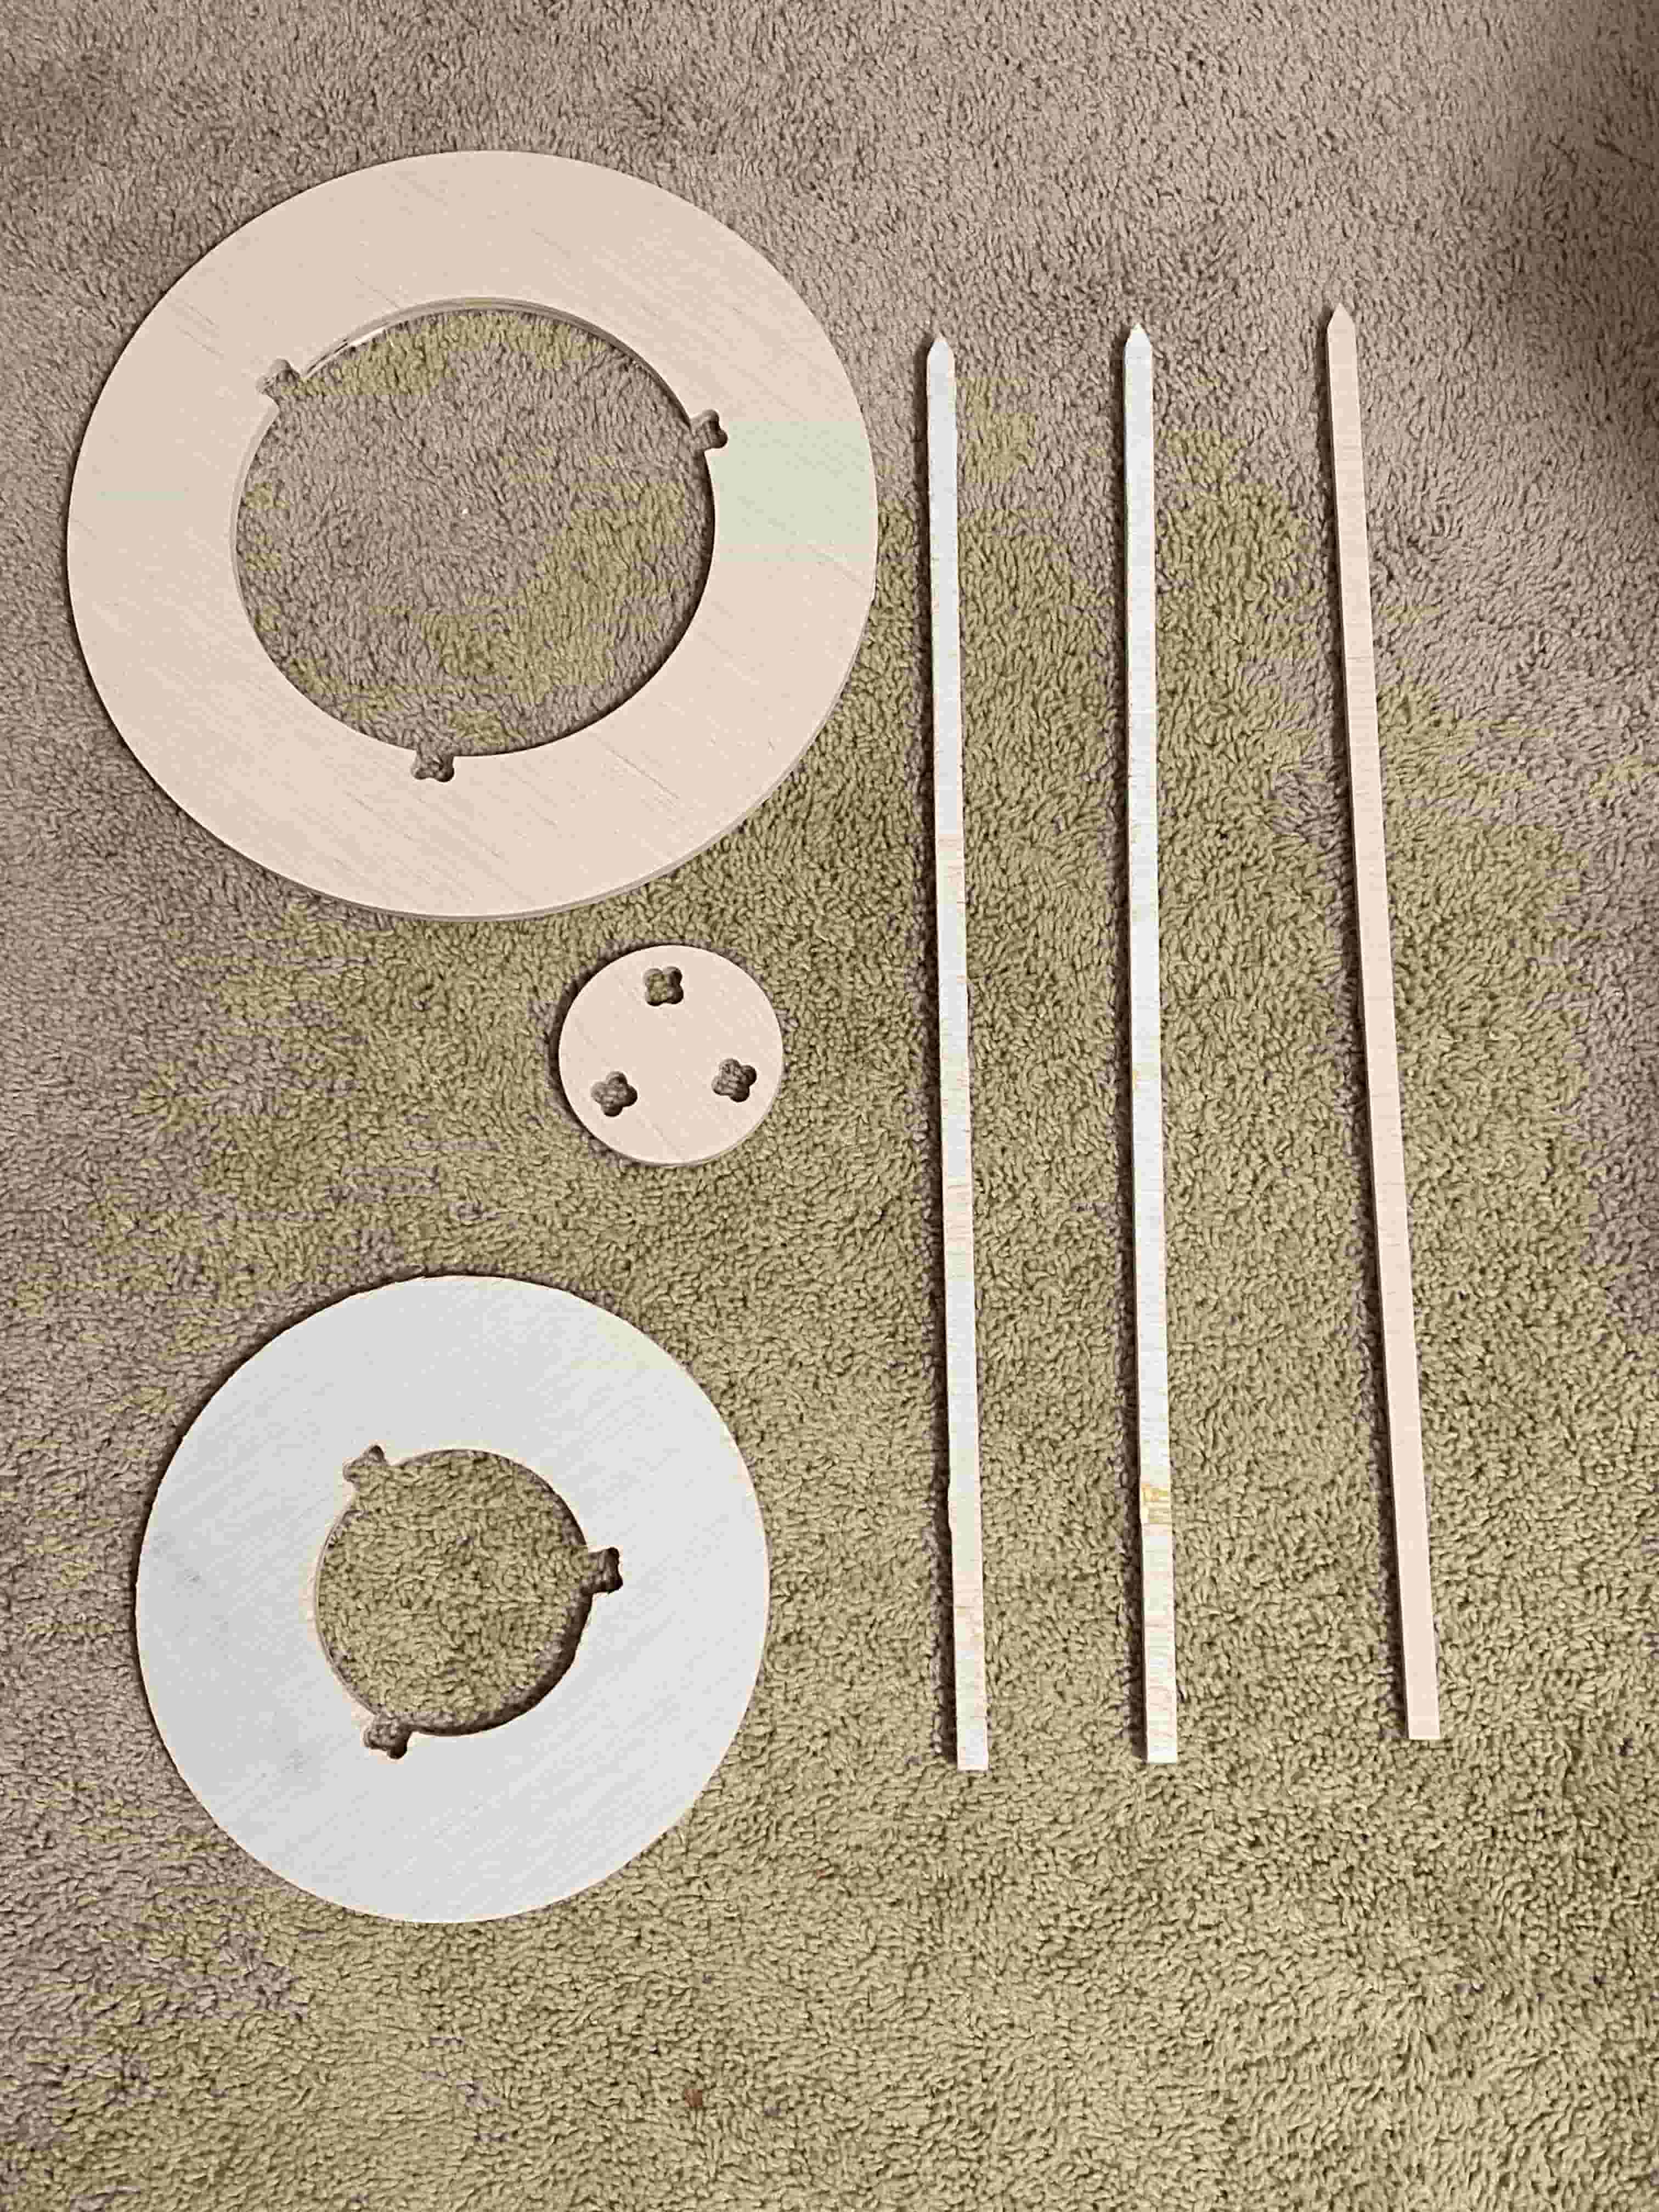
I first removed the tabs with the tab remover tool.
Here are all of my parts after taking them out of the board.
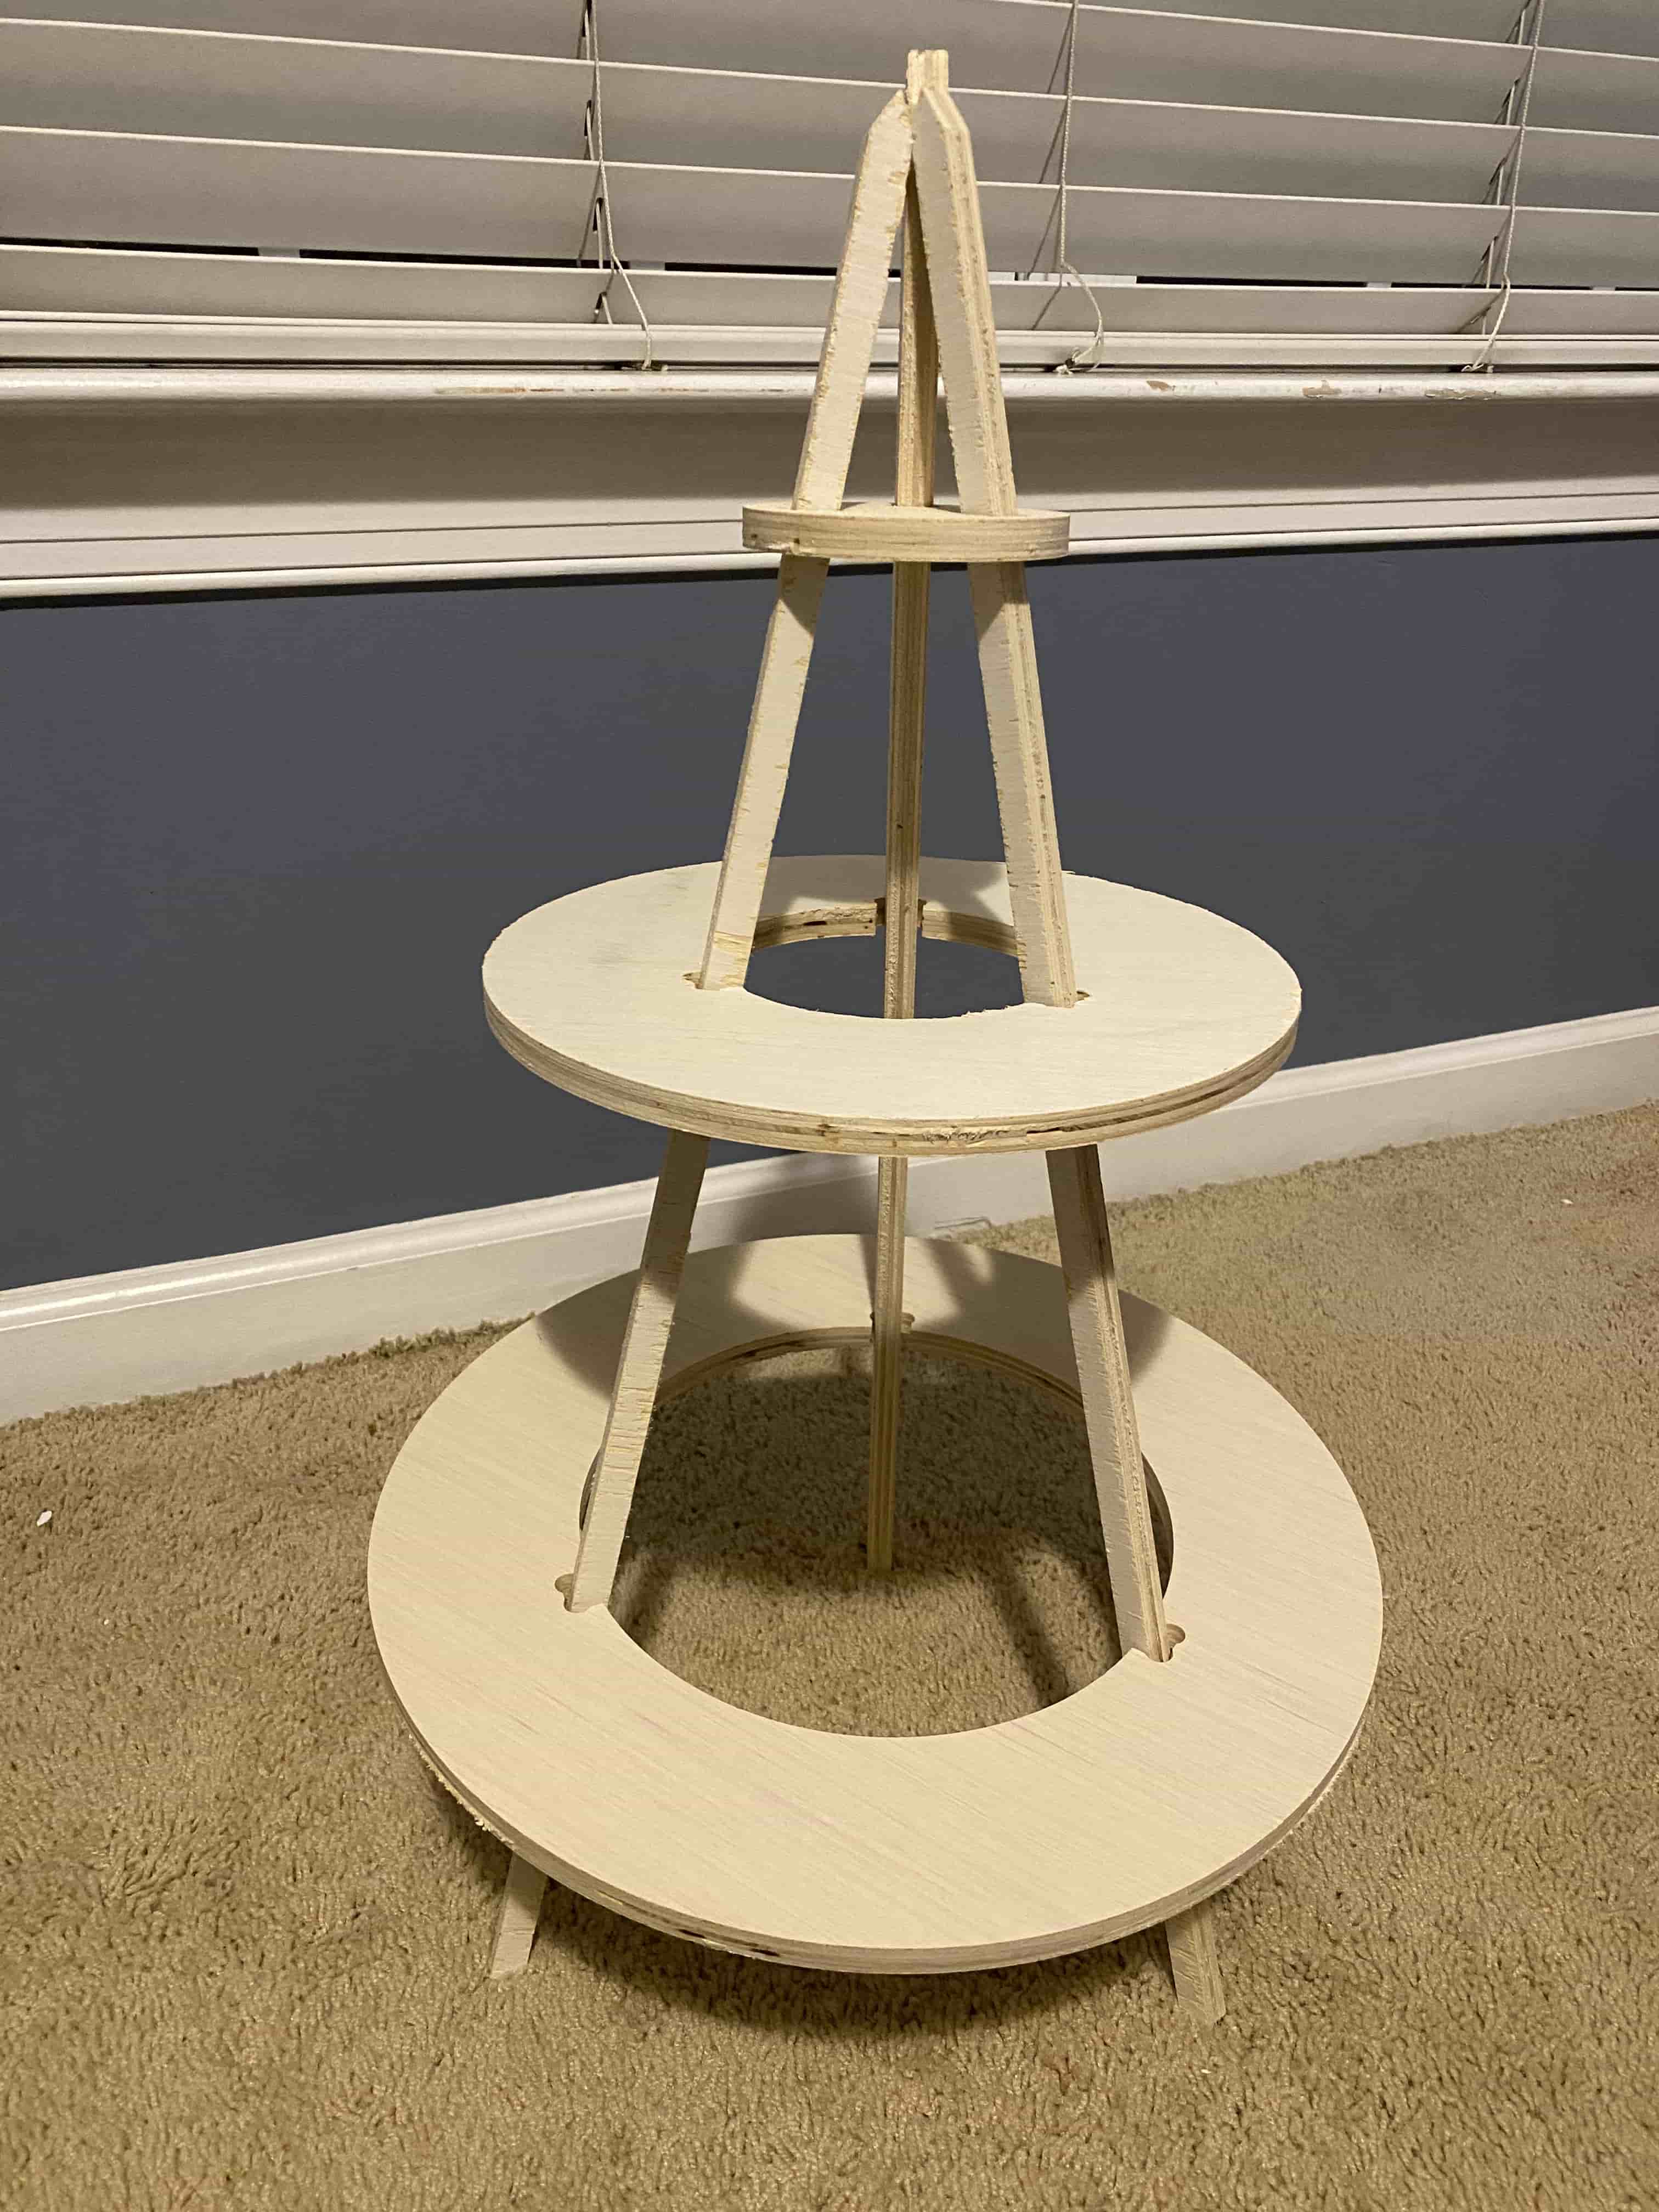
I then assembled all the parts together.
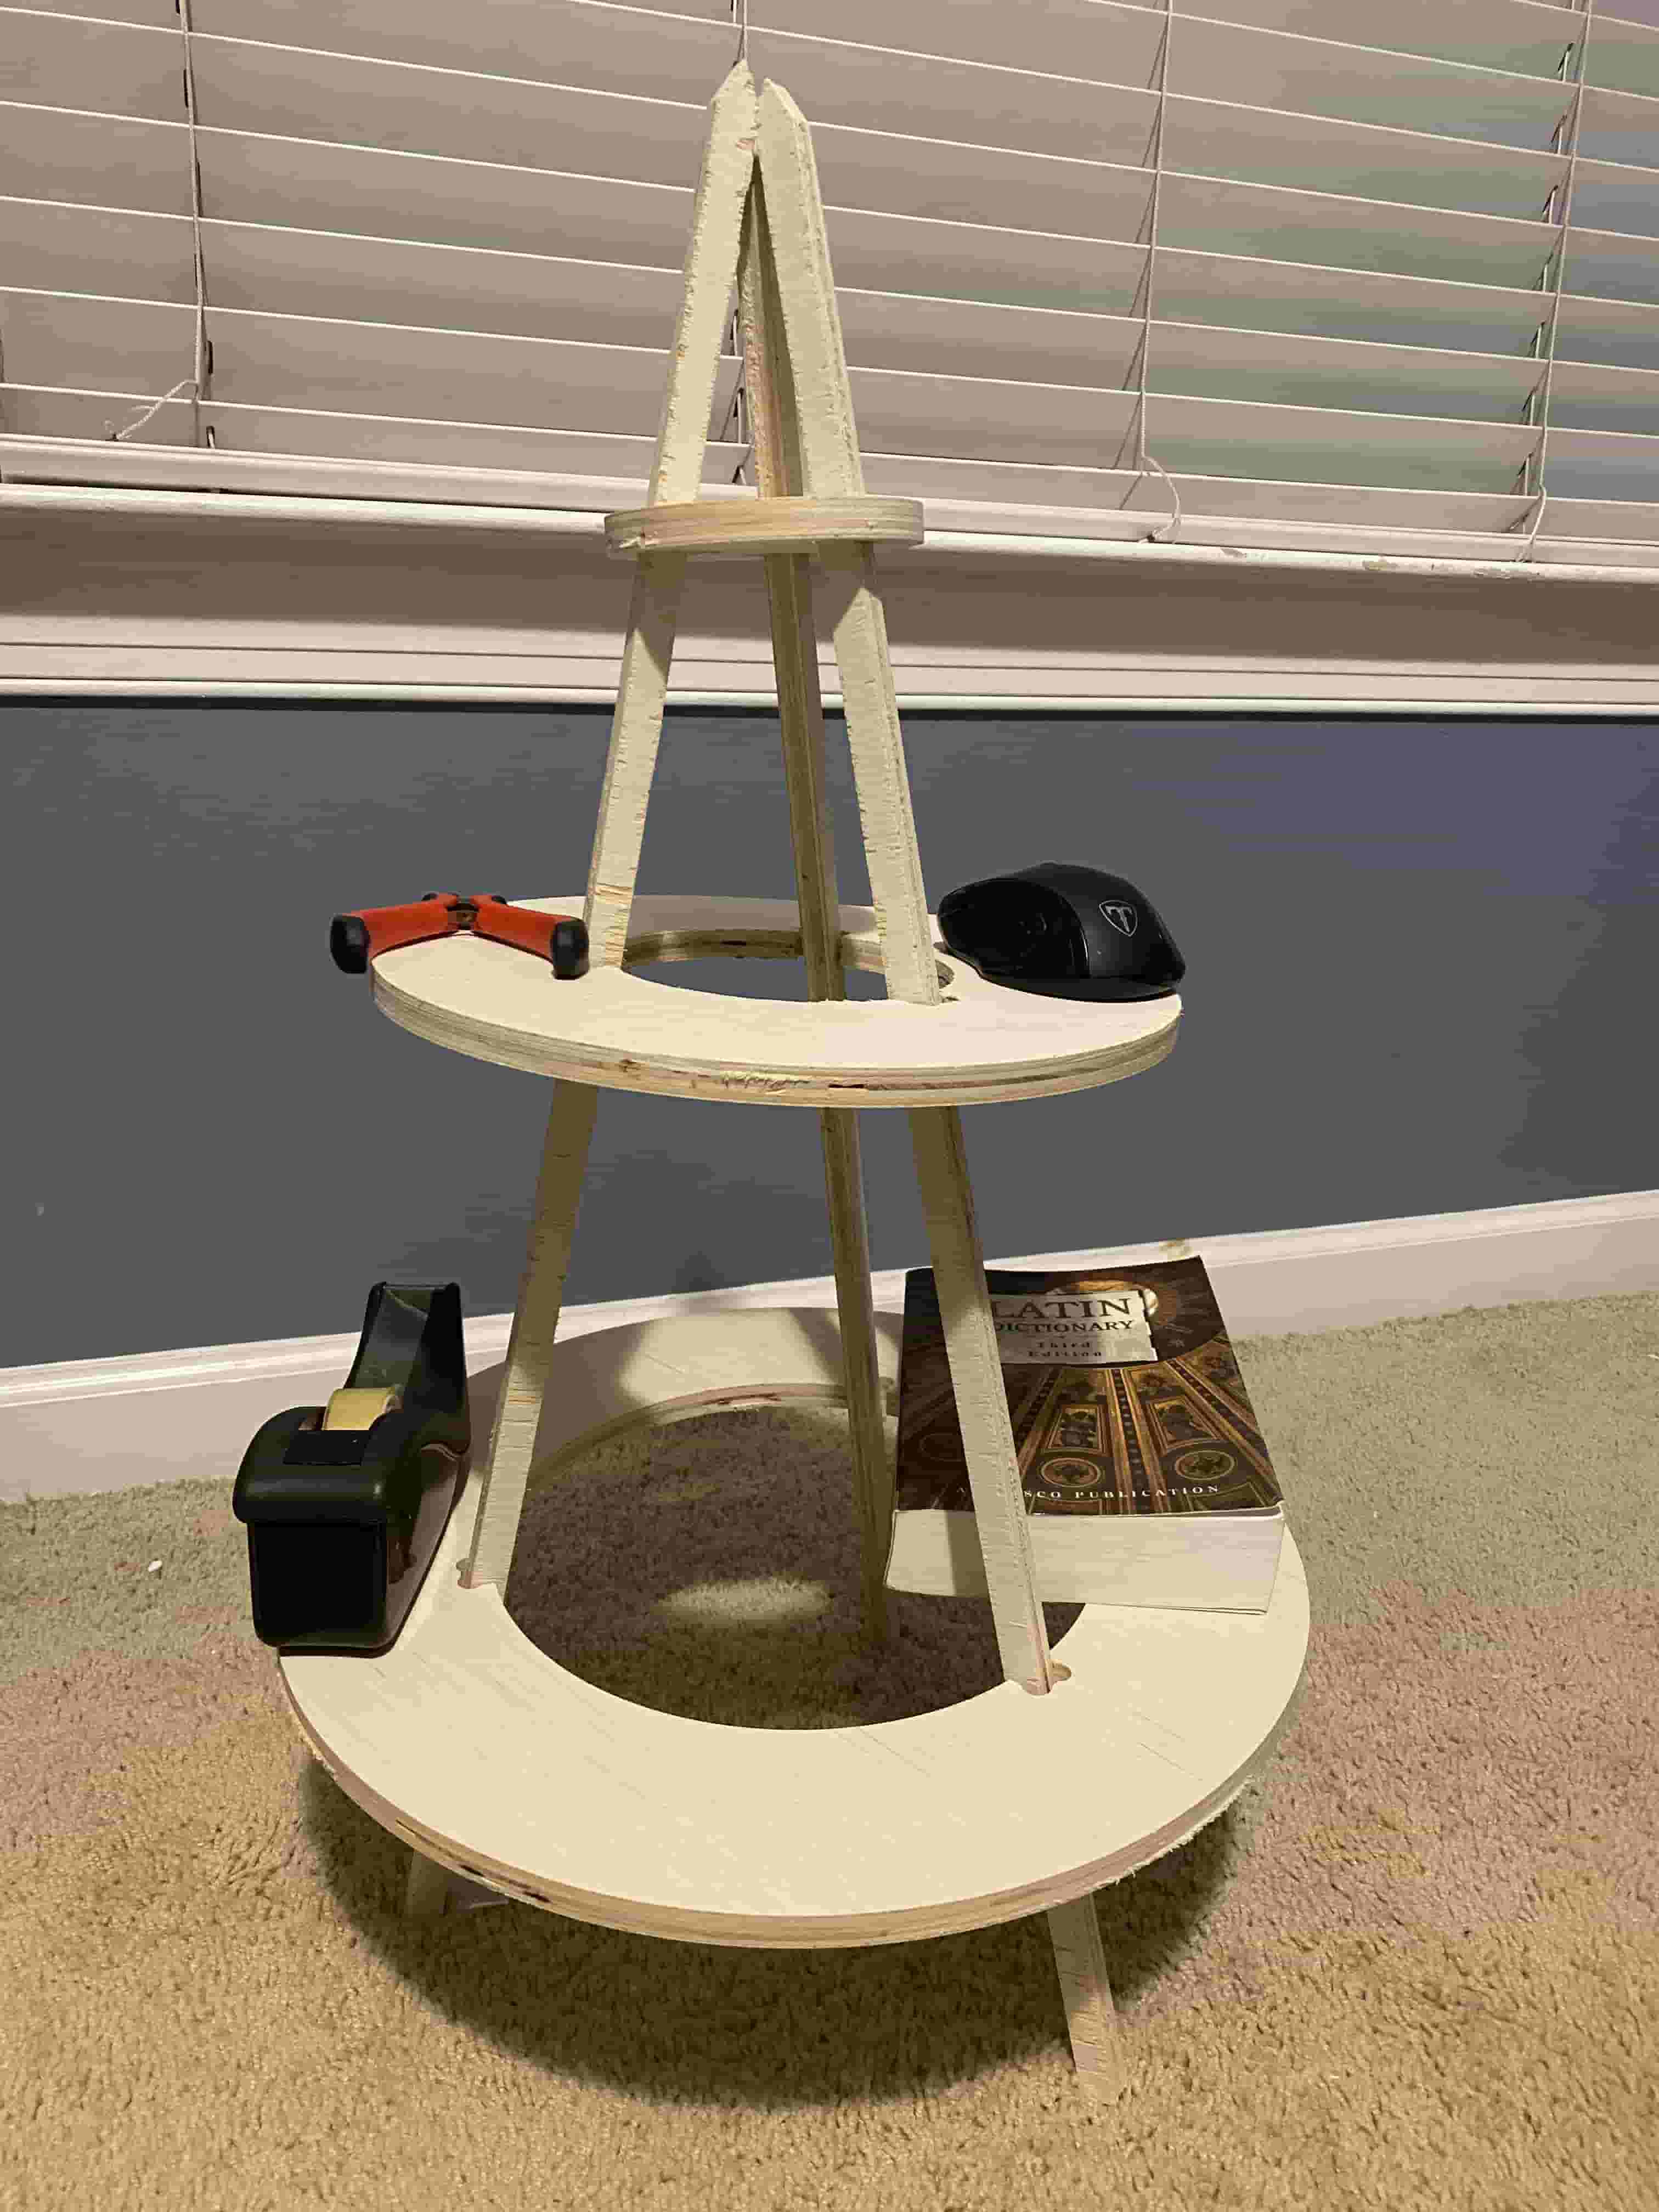
Here is my shelf with some things on it.