Tiny Arcade
Today, I fully built and assembled the Tiny Arcade Kit. The kit consisted of a bunch of small plastic parts which would be assembled together to create a small arcade machine. The acrylic was cut pretty roughly, however, so picking the pieces apart took some time. The largest problem, by far, was that the build had structural integrity issues through much of the assembly process due to only being held together by a single screw and would fall apart whenever it was turned. I solved this problem through having someone else assist me in holding the arcade as I pushed the pieces together. After all the pieces were in, the arcade was a lot more stable.
Materials
The kit that we assembled can be found on the manufacturer's website here. The kit included:
- 32-bit ARM processor
- OLED screen
- MicroSD card compatibility for game and video storage
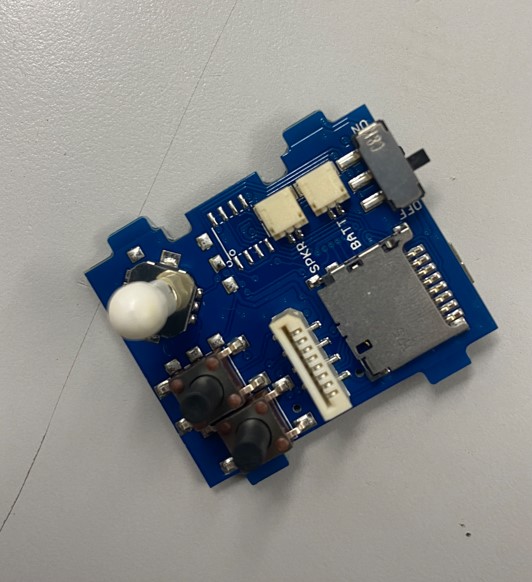
- Joystick with two working pushbuttons
- Built-in speaker with volume control
- Rechargeable lithium battery
- USB port for charging and loading
- Acrylic casing
- Decorative stickers
- 5-pin Wireling connector for adding different dimensions to games
Assembly
I assembled the tiny arcade following the instructions within the manual provided in the kit. There were no major complications other than having some issues tearing off the wrapping for the acrylic due to having short nails and some difficulty in pushing the acrylic pieces together.
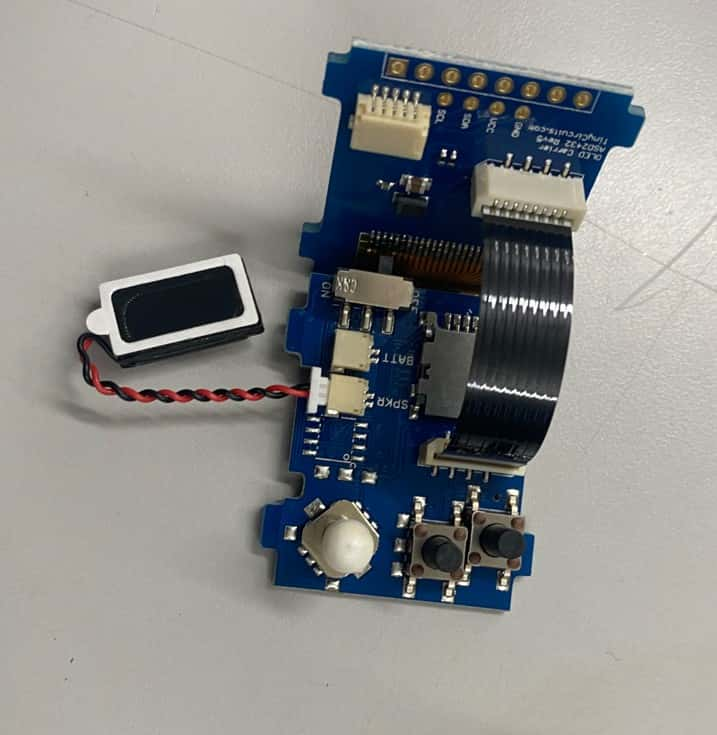
I then attached the speaker.
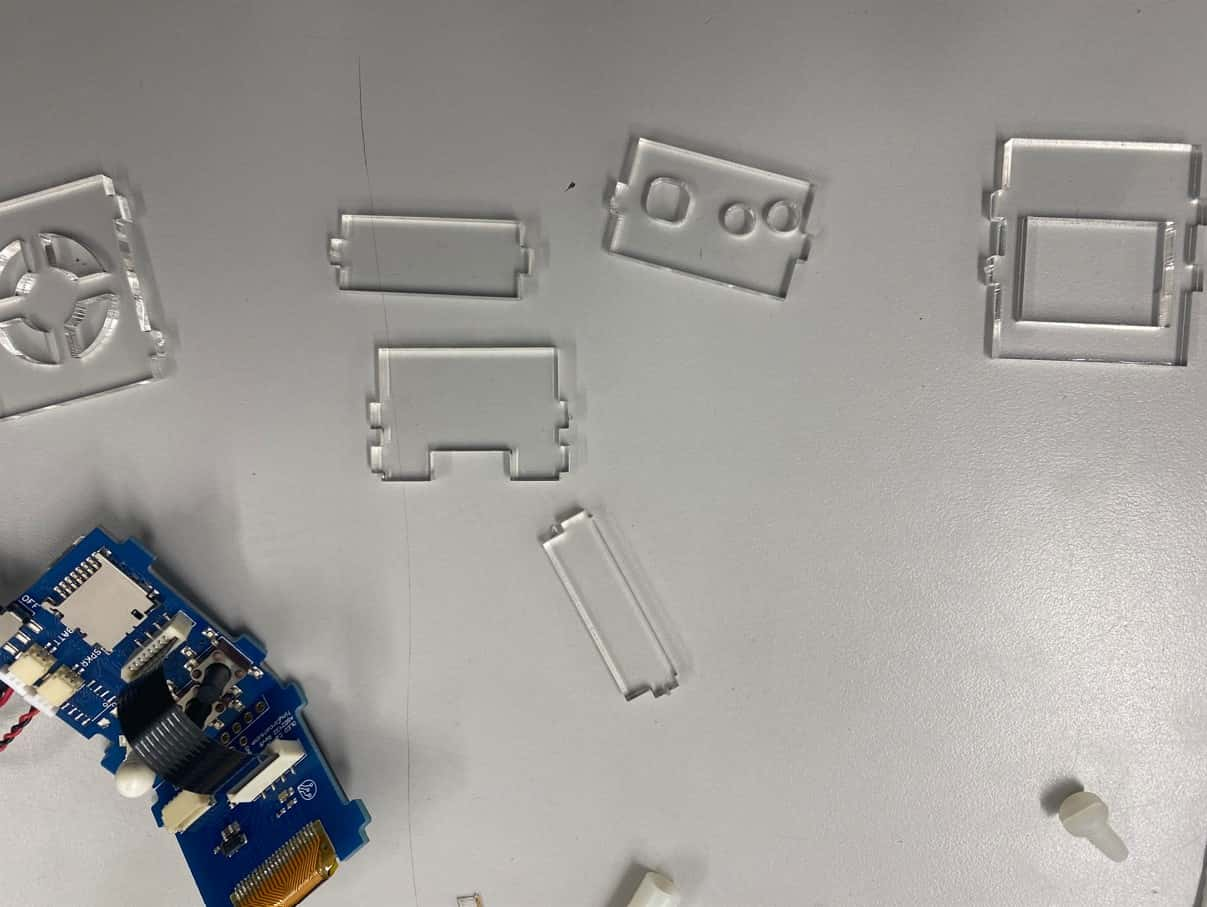
I tore off the wrapping paper from all the acrylic walling. Here are all the acrylic pieces laid out before assembly:
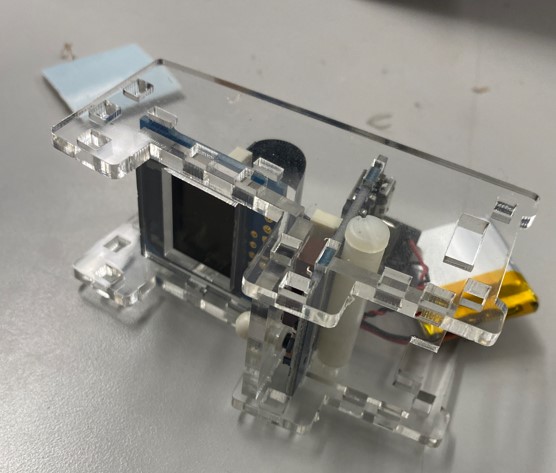
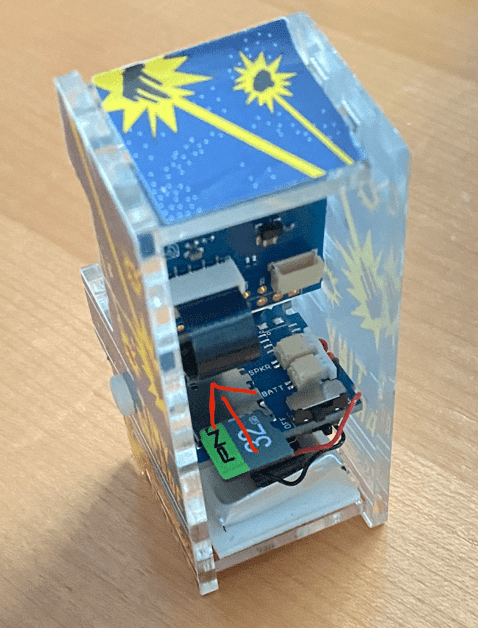
Next, I assembled the first side of the arcade, along with attaching the battery and the screw.
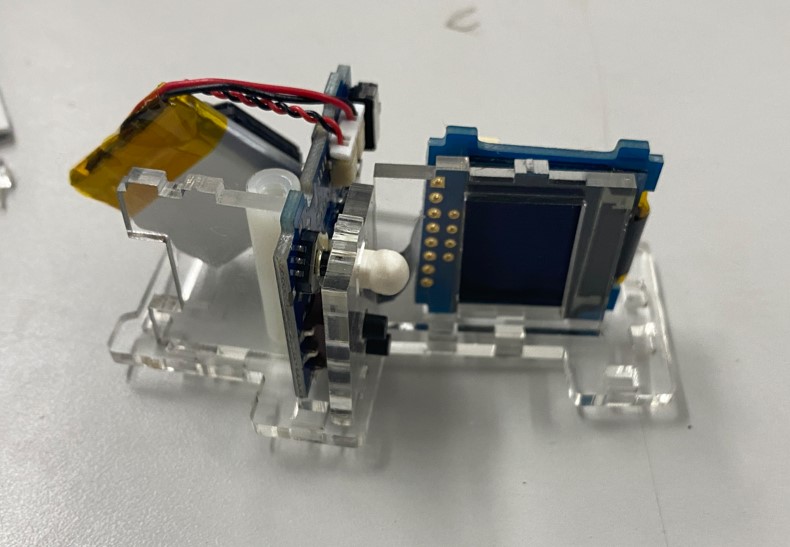
I then put the second side of the arcade machine in, allowing me to fully screw both sides together.
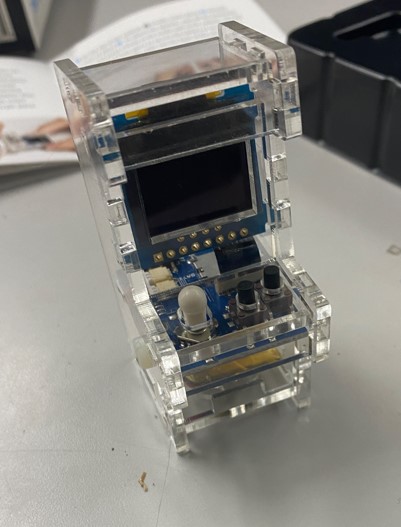
This is what the arcade looks like after assembling the rest of the acrylic pieces:
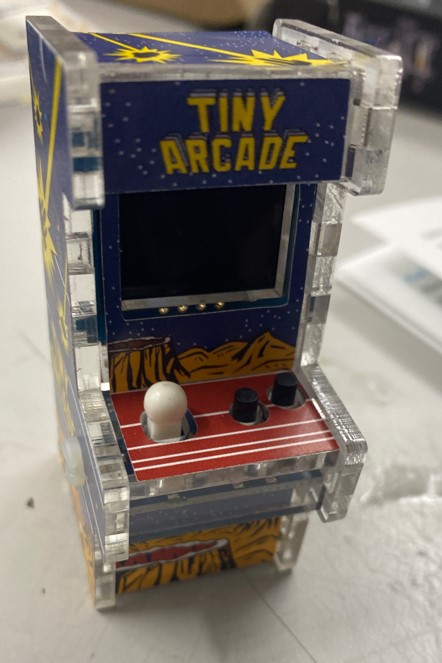
Final step: stickers!
Adding Games
The base arcade came loaded with only 3 games on it. However, the arcade is able to support other games through a micro SD card. The instructions for doing so can be found on the TinyCircuits website here.
My regular computer didn't have either an SD card or microSD port so I had to switch to a second computer. After that, I downloaded the other games from the TinyCircuits website.
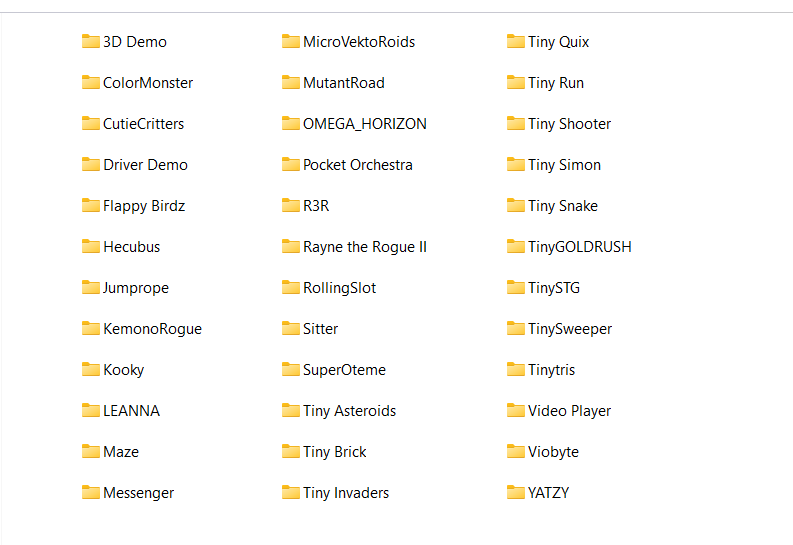
This is what the zip file containing all the games looks like. Within each of these game folders is a bin and a tsv file for that respective game.
I then uploaded the contents of the zip file into the micro SD card, which was the D drive under my file system. After ejecting the micro SD card from the computer port, I put it into the port inside the TinyArcade machine.
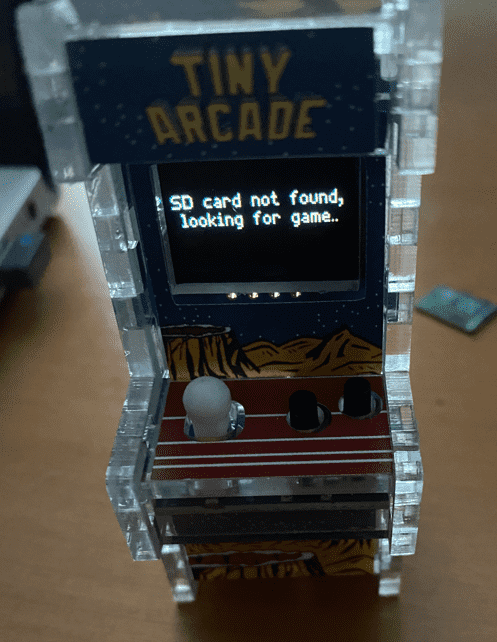
Instead of displaying a screen upon startup with a message notifying the user that there is no SD card inserted, the Arcade now starts up and allows the user to play all the imported games. The Arcade steps through the games in alphabetical order. All the added games are now playable!
 |