Vinyl Cutting
Idea
At the Charlotte Latin Fab Lab, each year every Fab student is expected to make a sticker that will be permanently displayed on a wall. The only requirement was that the sticker had to use multiple colors and be sufficiently complex. As an avid computer programmer, I decided to use make a sticker of the Eclipse IDE logo. To edit the image of the logo, I used use Gimp, a software that I was first introduced to in Week 2.

Design
To begin designing my sticker, I had to dissect the logo into each different color. Based on the colors of vinyl that I had in the Lab, I decided to use three colors: gold, purple, and white. I first downloaded the logo from Eclipse's Artwork Site.

After importing the logo into Gimp, I first cropped the image to remove the text from the logo, as I wouldn't be designing that part into my sticker.
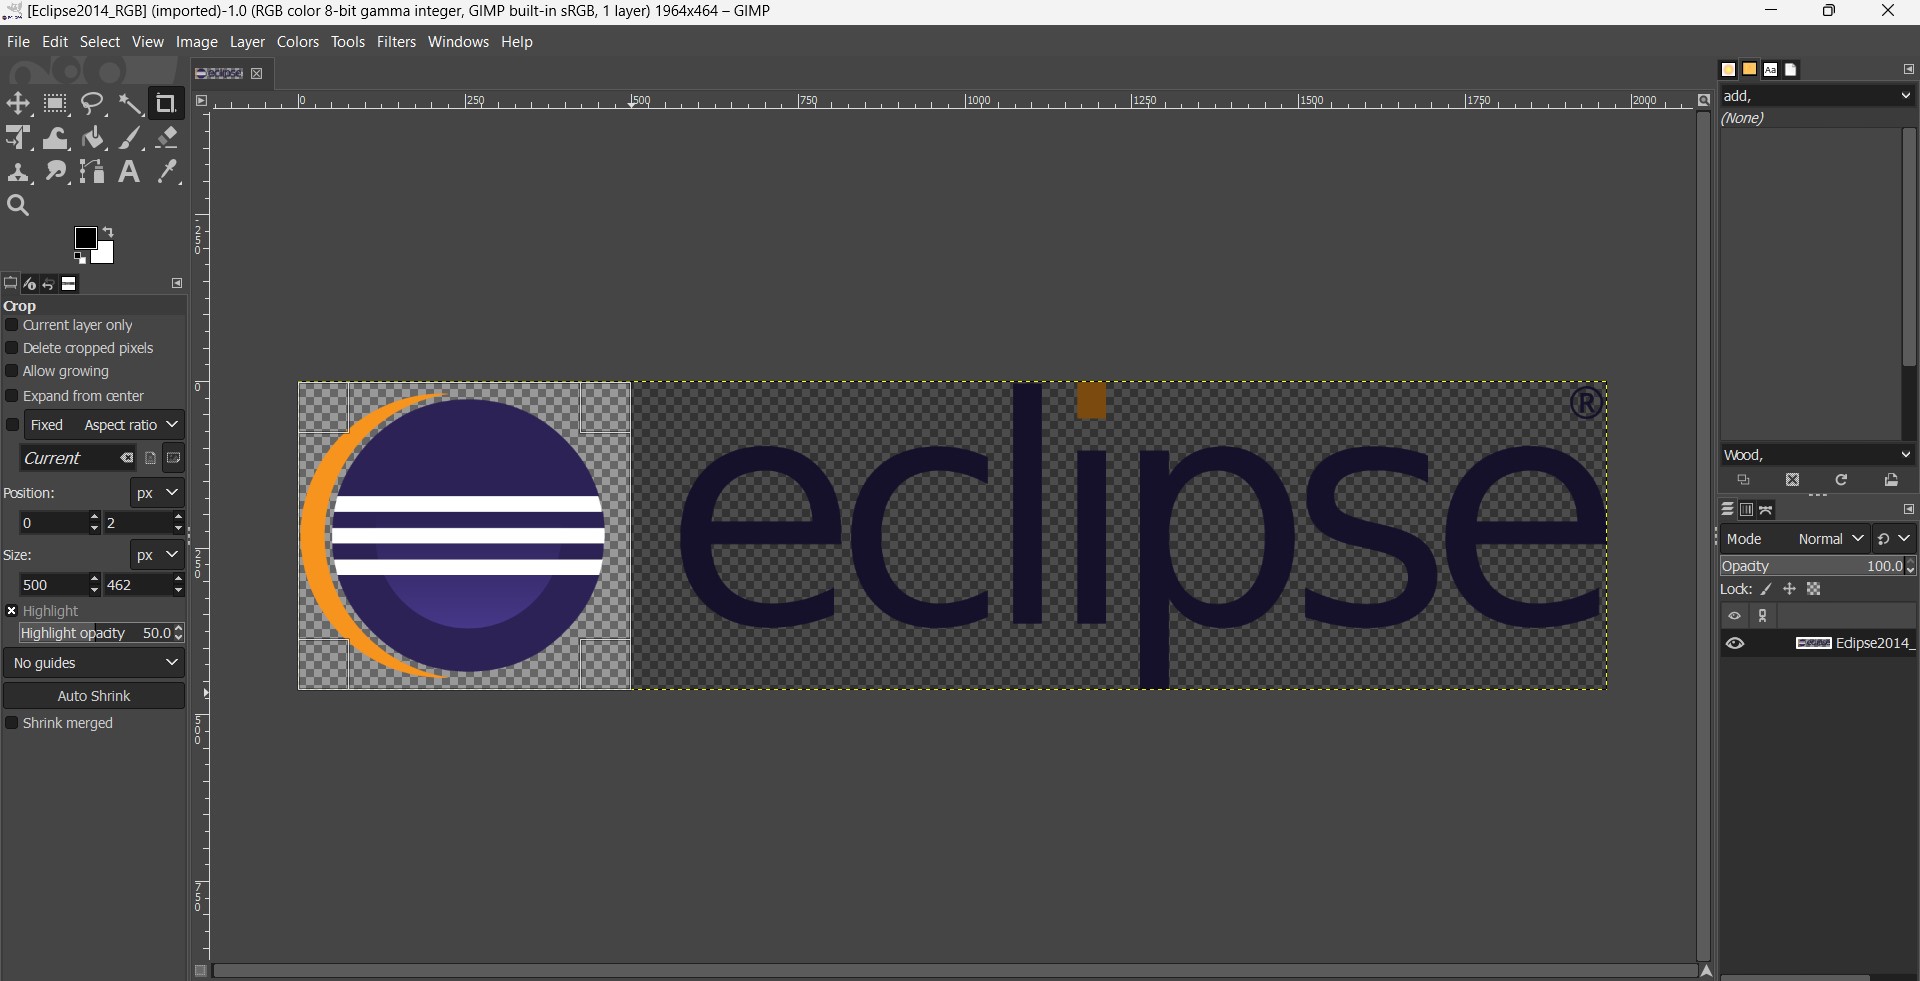
I was then left with the following image:
Using Gimp's Fuzzy Select tool, I was able to separate portions of the logo by color: gold, purple, and white.
 |
 |
 |
However, the white part of the logo didn't show up in the image since the background was also white. I knew that in order to trace the outline of each part of the sticker in Silhouette Studio, the white portion would need to be visible. I then realized that the white portion did not necessarily need to be white in color - as long as the software could differentiate between two colors and trace the edges of each color, it would work. Thus, I changed the color of the white portions to be black, and simply cut out the design on white vinyl.
|
|
 |
Assembly
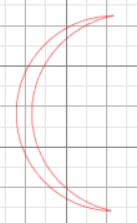
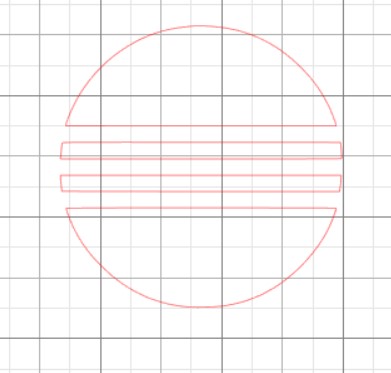
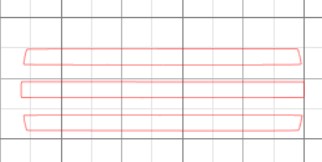
I then imported each image into Silhouette Studio and traced it. The tracing (red lines) is where the vinyl cutter will cut.
 |
 |
 |
After cutting each design out on its respectively colored vinyl, I arranged all the stickers together on a piece of transfer tape.
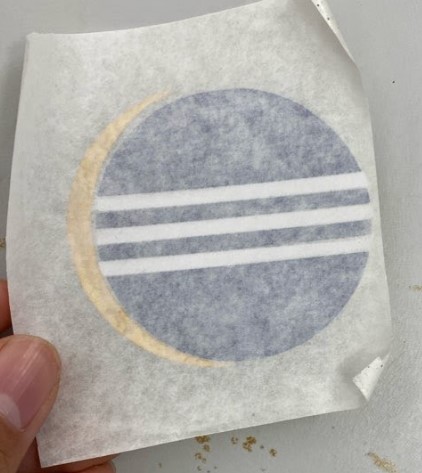
I then peeled off the backs of the sticker and stuck it to the wall with the transfer tape still on.
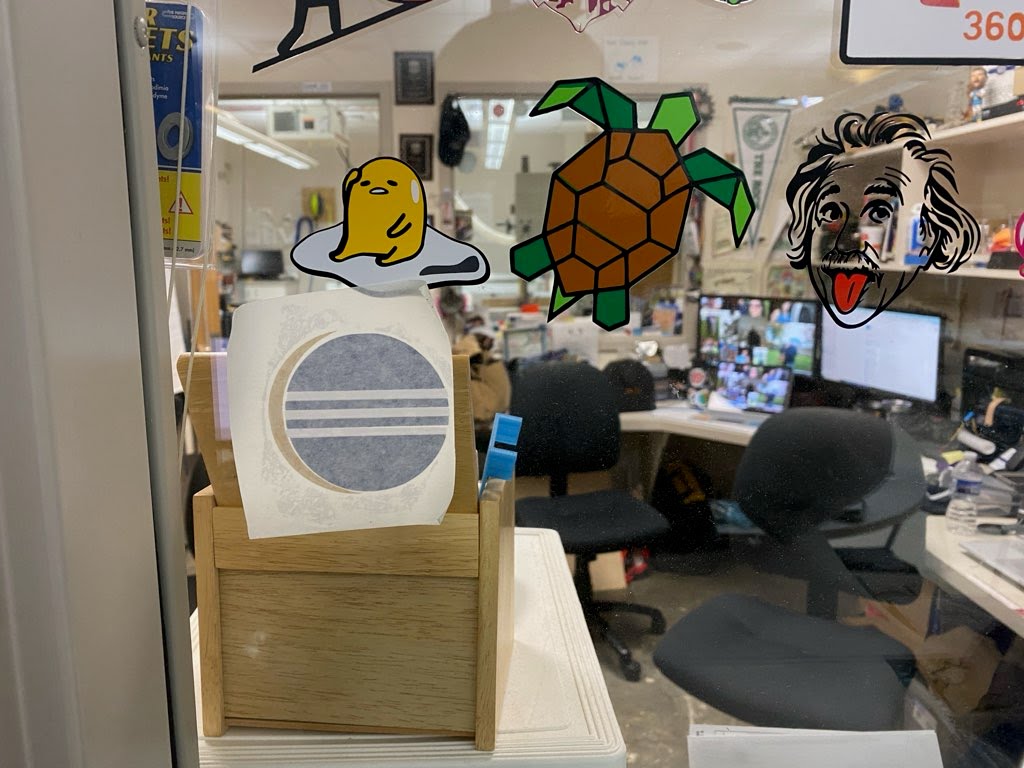
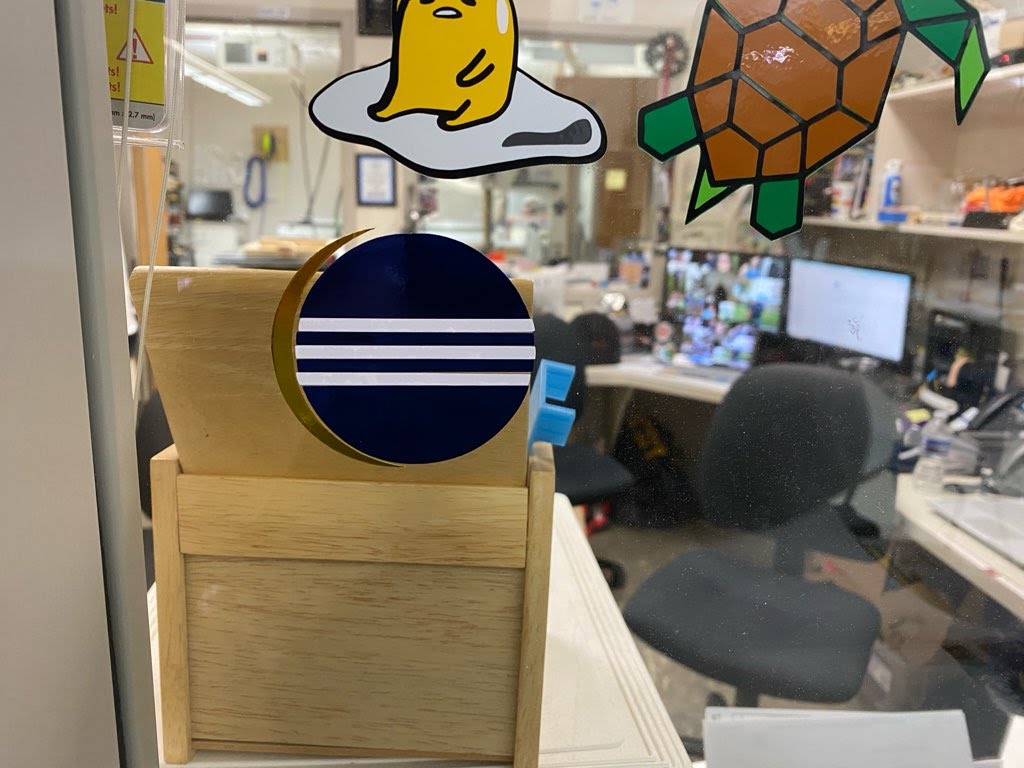
Finally, I took off the transfer tape and allowed the sticker to stay on the wall. Here's the final design!