PCB Milling
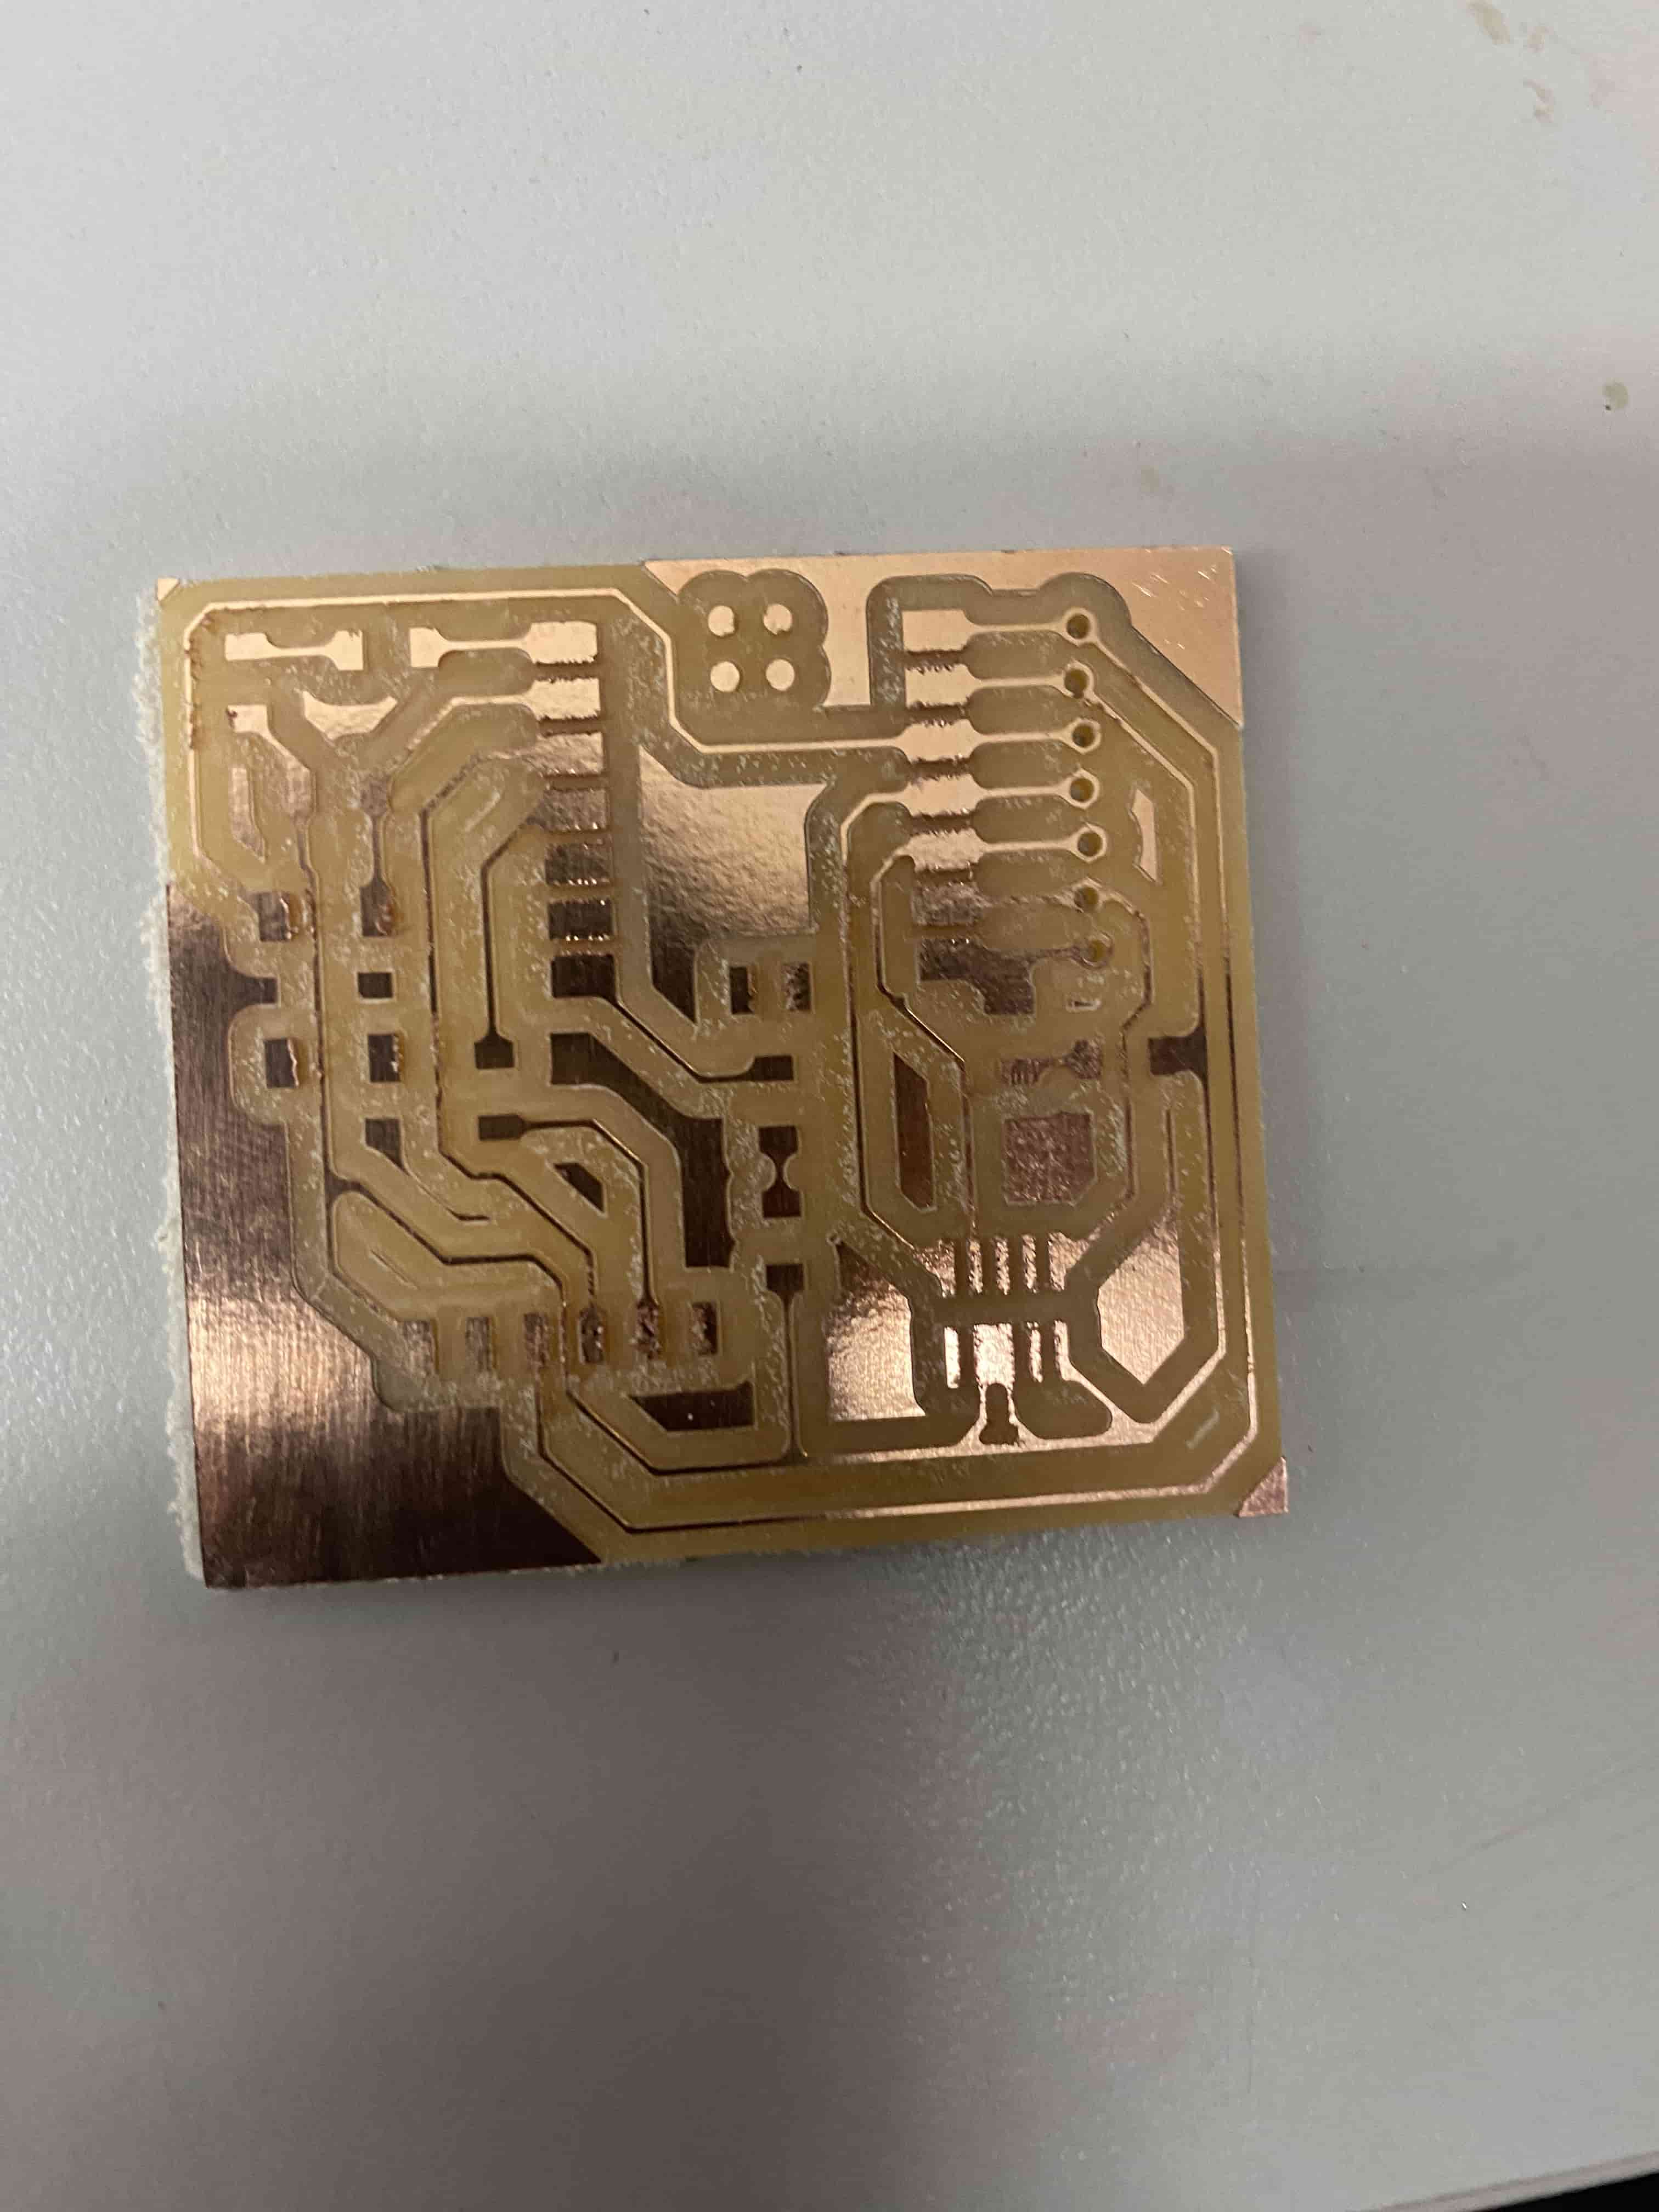
As part of this week's assignment, I was challenged to create a custom circuit board. I used the lab's Bantam Desktop CNC Machine and Bantam Tools Desktop Milling Machine Software for milling and setup respectively. The PCB design that I milled can be downloaded under this week's files. I am milling the Quentorres board, which can be found under this week's file downloads as the FabLab.2024.XIAO.RP2040 v5.brd board
Workflow
- Apply double-sided adhesive to your material and the bed. Position and place the material on the bed.
- Open Bantam Tools Software
- Under home, select install tool, and select the bit that you are installing
- Insert your tool into the spindle
- Use the 2 wrenches by the milling machine and align them respectively to the top of the spindle area and by the middle bit area where their imprints are
- Have you or a partner hold the bit itself while you unscrew it. This is to prevent the bit from dropping onto the bed and potentially breaking.
- To loosen the bit, bring the 2 wrenches in towards each other
- If using multiple bits, select them all under File Setup. Start with the smallest tool and make your way to the largest.
- Probe
- Move the metal prong from the side of the bed to sit on top of it. Make sure that they touch so electricity can conduct.
- Click
Z Only Stick Probingand use the Jog menu to move the spindle above your material. - Once the spindle is positioned above your material, start the probing.
- Under Material Setup, leave the
Material Offset Zat 0.01mm - Change the
Material Sizeto the dimensions of your material. - Import your file under File Setup
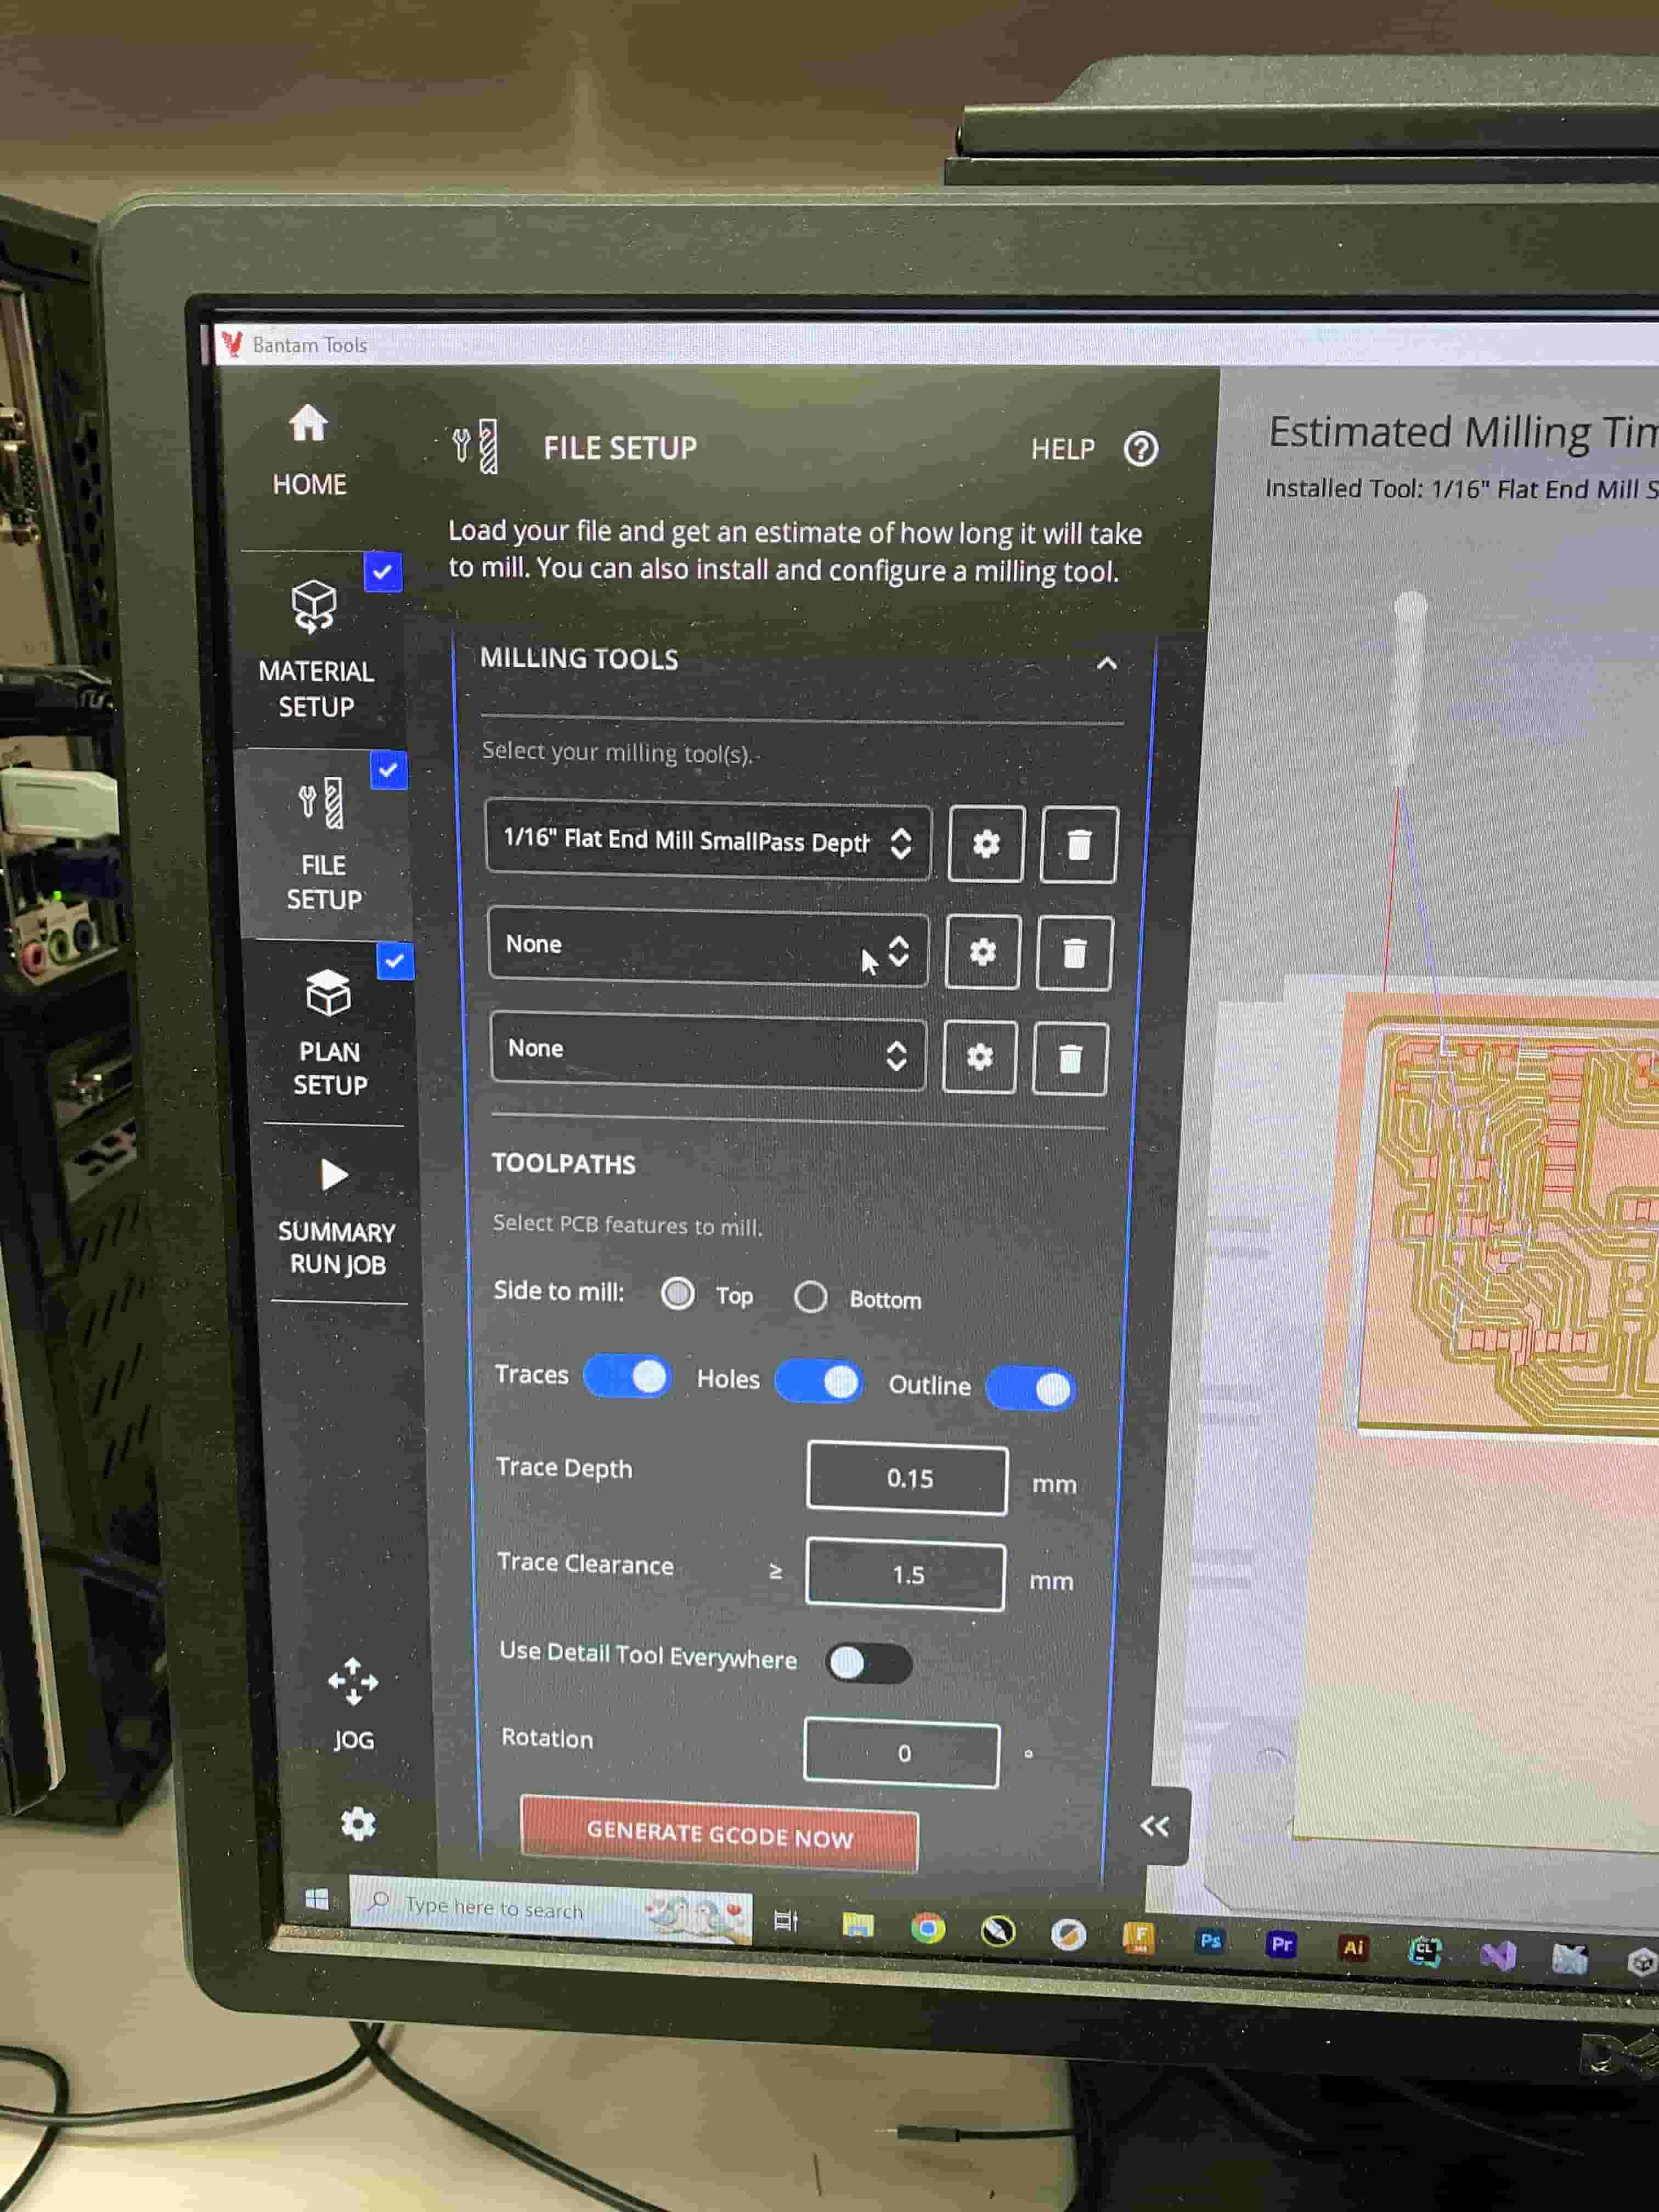
- Choose the bit(s) you will be using
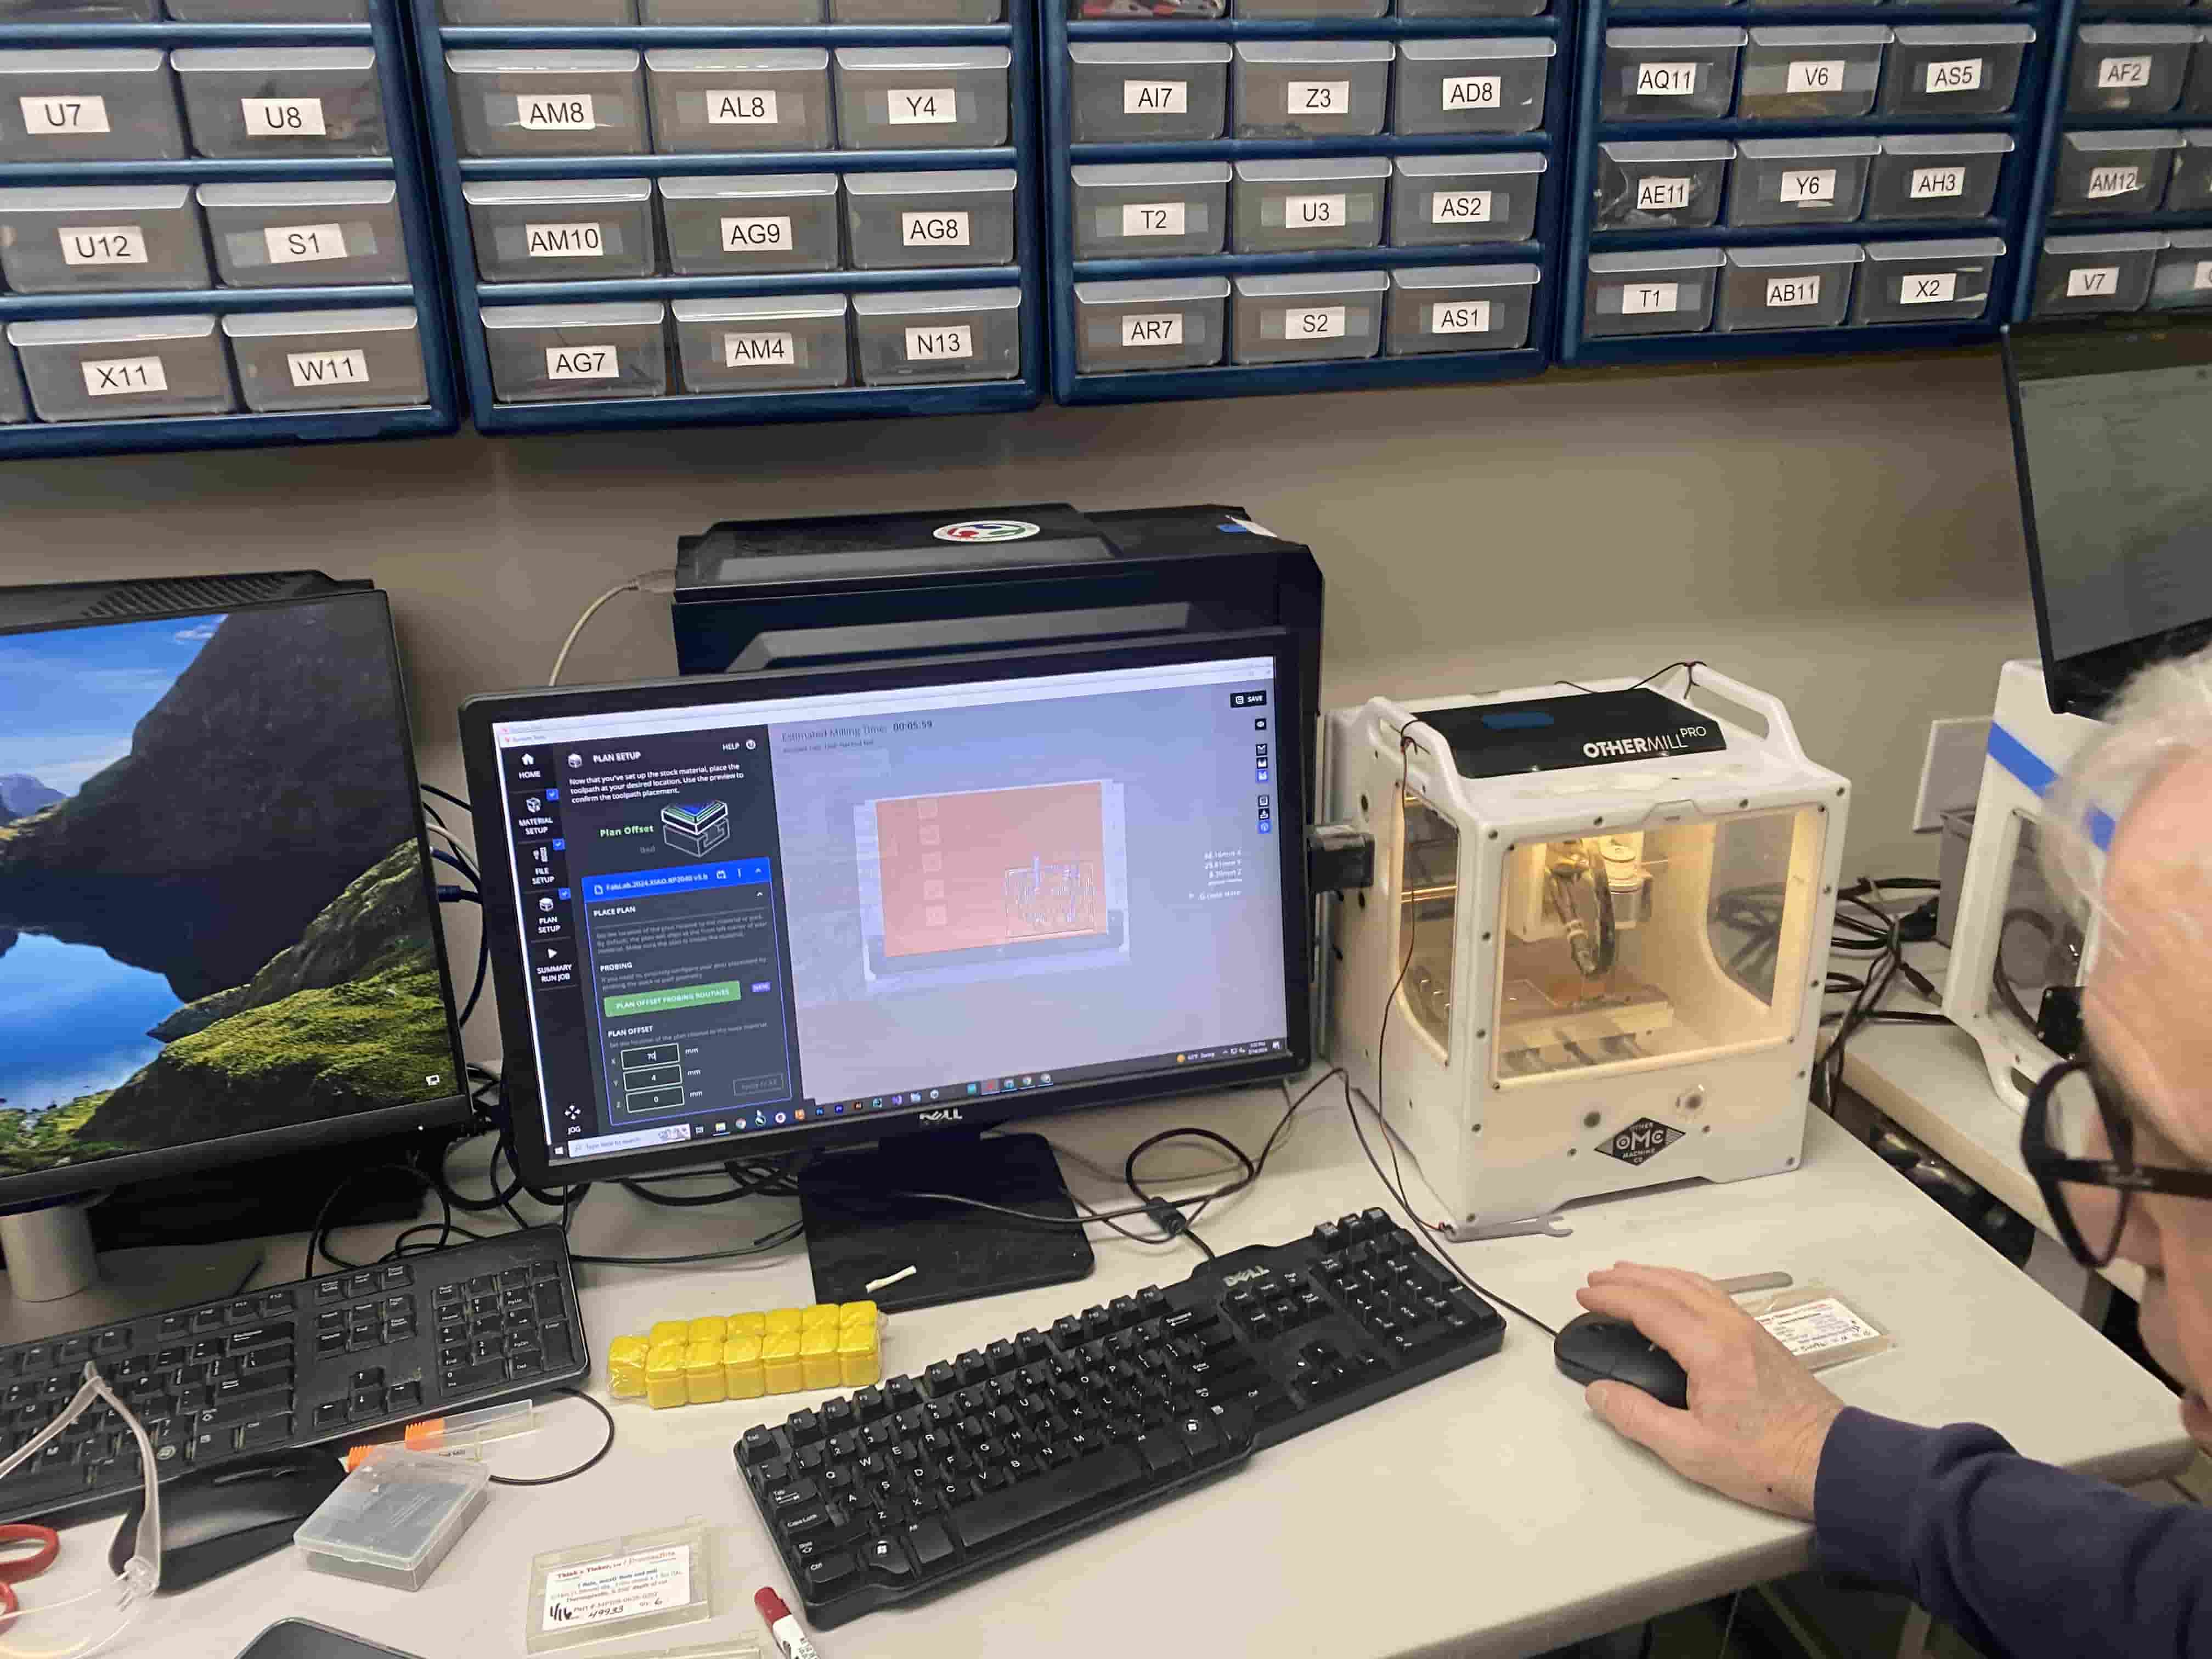
- You can see the projection of the result on the right side of the screen. Use the
Plan Offsetx, y, and z setting to move the placement of the design around. - Ensure that you have the correct bit selected and inserted into the machine.
- Run the job from the Summary/Run section. It is recommended to run the engraving job before the cutting job to ensure that your material does not move around.
- If you are using multiple bits, the machine will pause during the job and prompt you to change bits.
Bantam Setup
Before milling the board, the settings had to be configured in Bantam Tools Software. For this board specifically, the Material Offset Z was 0.01mm and the total job dimensions were 88mm by 30mm by 8mm.
As we were preparing the 1/16" bit, Adam Durrett noticed that the drill depth on the Bantam Software was configured at 1mm, which may cause problems with cutting out the outline of the board. We then made a new custom tool in Bantam with the same specs as the preconfigured 1/16" bit, but with a lesser depth value.
To attach the copper to the bed and ensure that it would not move during the milling process, I adhered some double sided Nitto tape to the board, which firmly stuck it in place on the bed.
Because we used three different bit sizes for this job (1/16", 1/32", 1/64"), Bantam Software automatically segmented the job into separate sub-jobs for each drill bit thickness. As such, during the milling process the machine would pause after finishing one bit's job and prompt the user to change the bit.
After the job was complete, we vacuumed away the dust and the board was ready for soldering.