Microcontroller-Based Control
Assignment
For this week, I was assigned to write a program for a microcontroller development board to interact with local devices and communicate with remote devices.
Local Devices
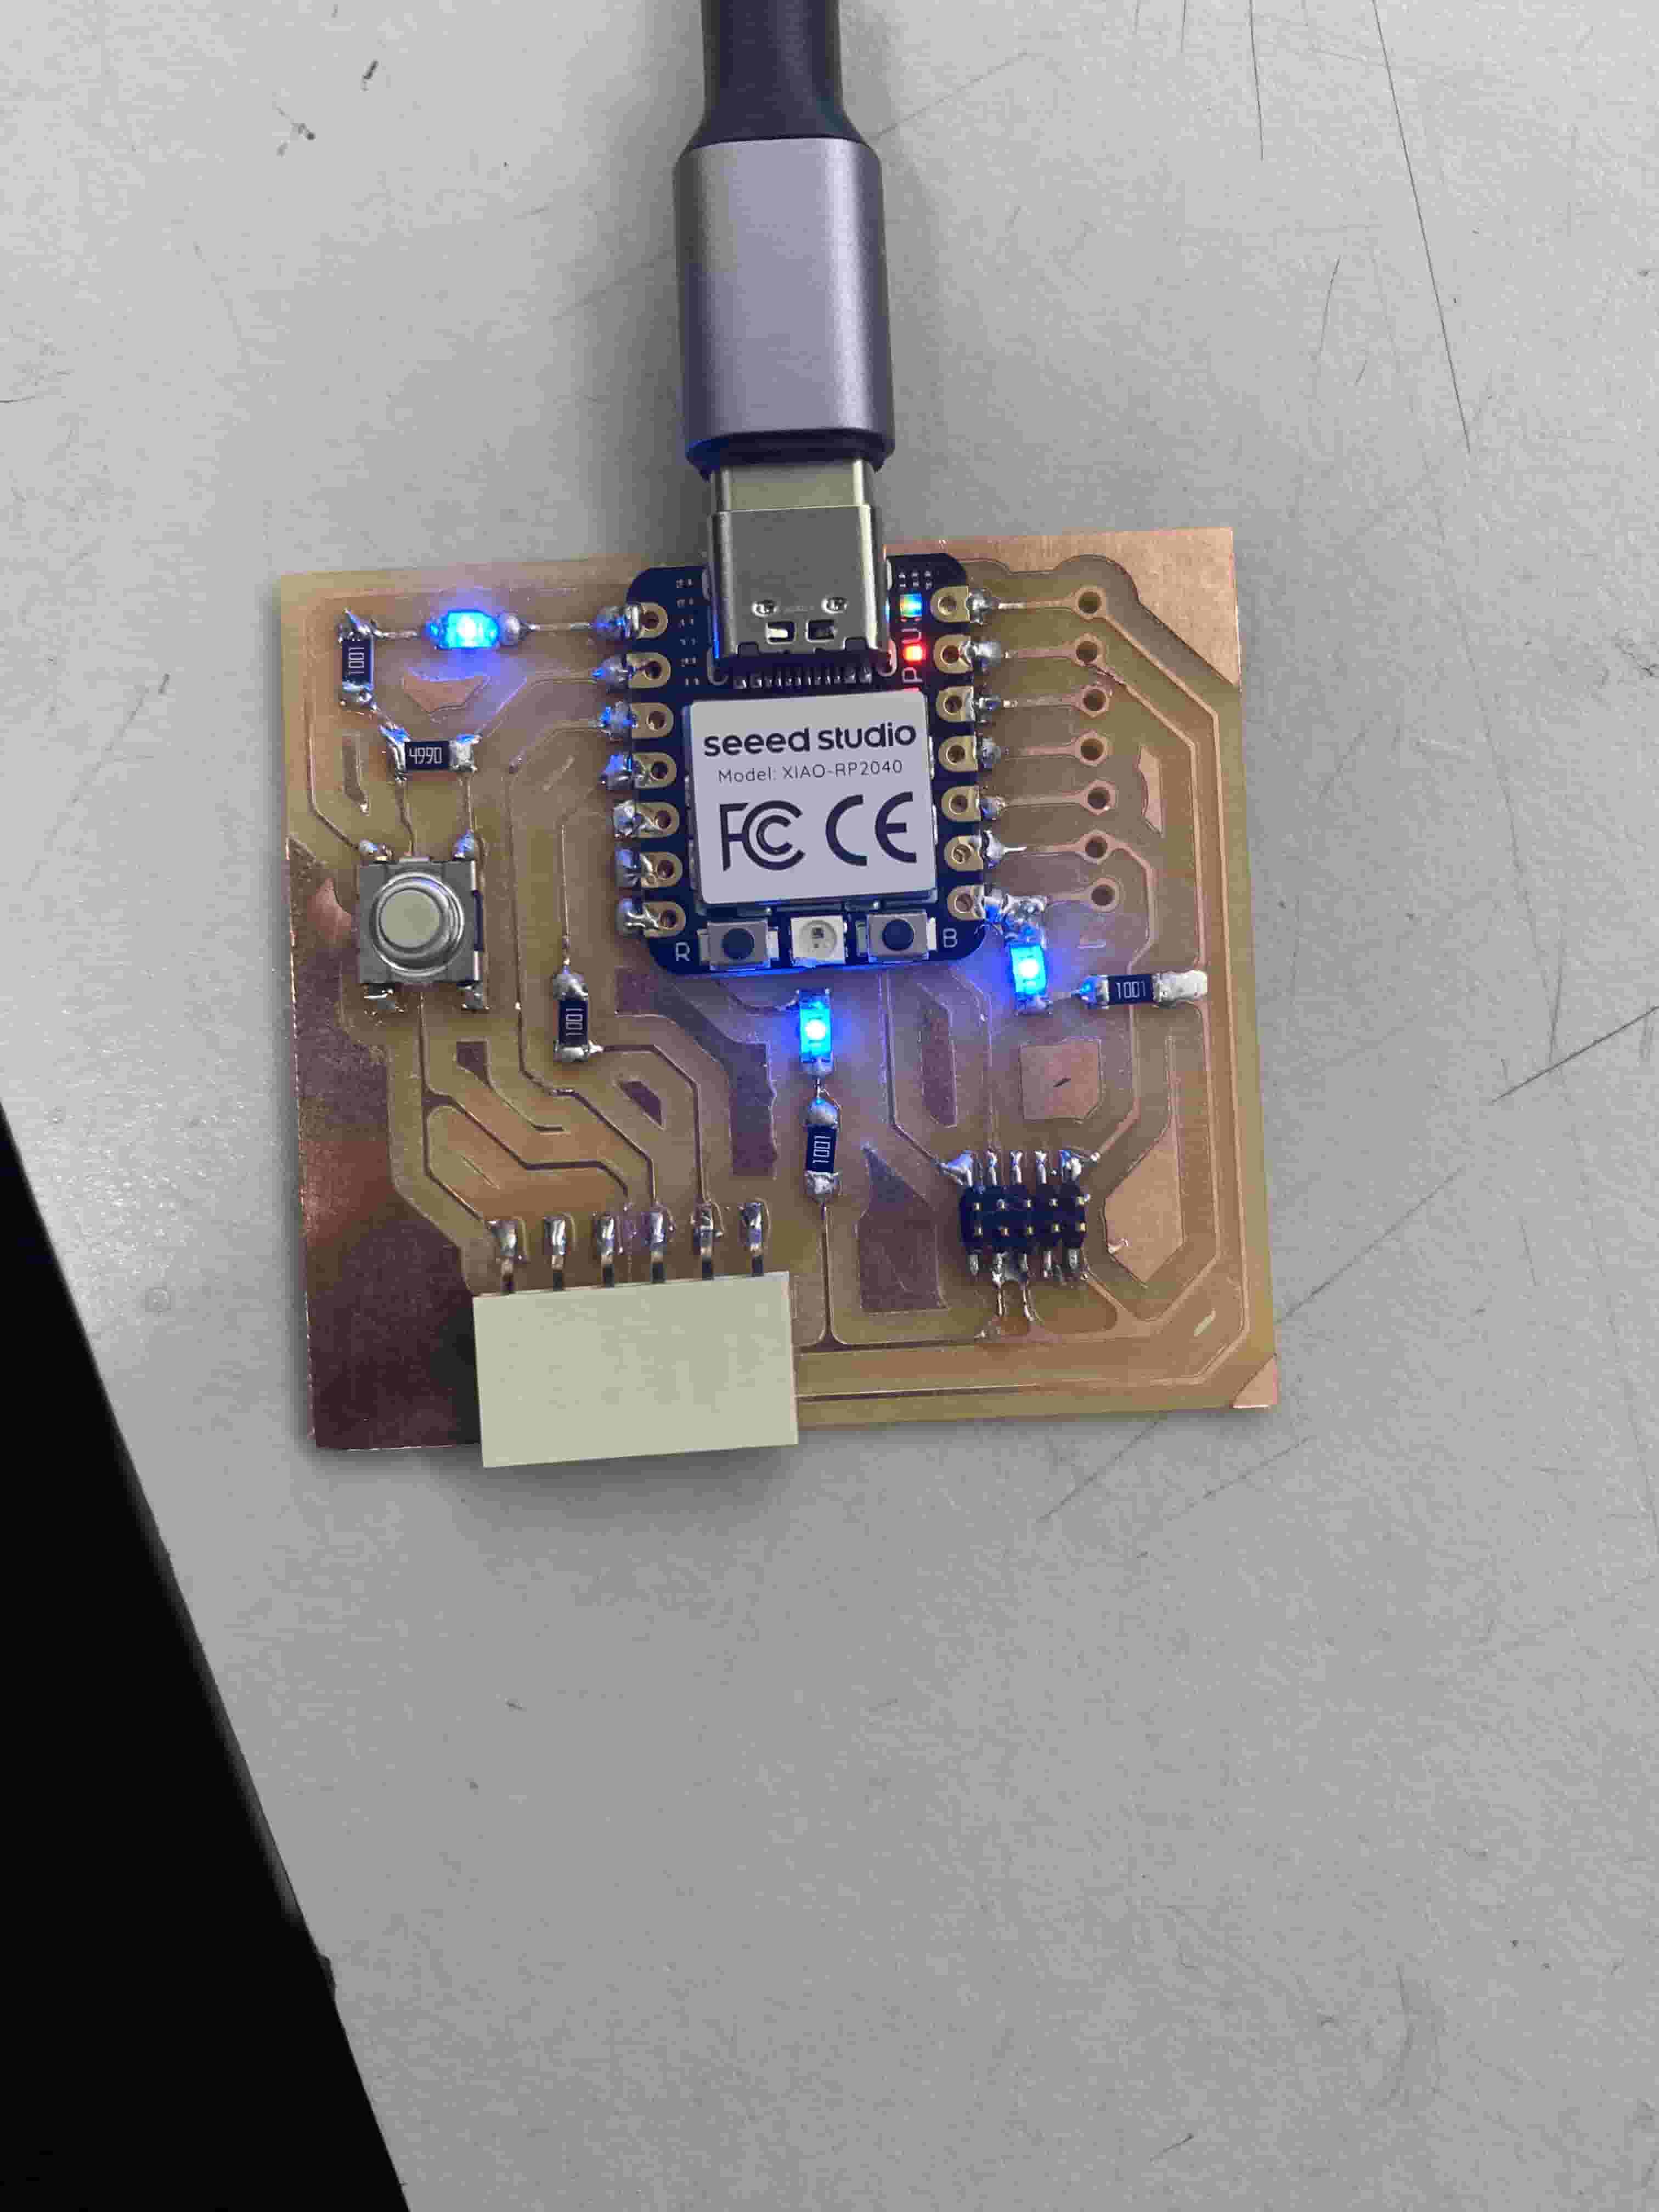
I tested both local input and local output devices, using a button and the LEDs that I soldered onto my PCB respectively, as documented under Week 4.
LED Blinking
To test the circuit board, I wrote a simple program to blink all 3 LEDs that I sent to my fellow classmates. The LEDs are connected to pin 0, 1, and 26 respectively.
void setup() {
  pinMode(1, OUTPUT); //bottom right LED
  pinMode(26, OUTPUT); //top left LED
  pinMode(0, OUTPUT); //bottom left LED
}

void loop() {
  digitalWrite(1, HIGH); //turns bottom right LED on
  digitalWrite(26, HIGH); //turns top left LED on
  digitalWrite(0, HIGH); //turns bottom left LED on

  delay(1000); //waits for 1 second

  digitalWrite(1, LOW); //turns bottom right LED off
  digitalWrite(26, LOW); //turns top left LED off
  digitalWrite(0, LOW); //turns bottom left LED off

  delay(1000); //waits for 1 second
}
After uploading it, all of my LEDs worked without any issues!
 |
Button-Controlled LEDs
I then created a program that would turn on the LEDs when a button is pressed. The button is connected to pin 27.
void setup() {
  // Initialize LED pins as outputs
  pinMode(1, OUTPUT); // Bottom right LED
  pinMode(26, OUTPUT); // Top left LED
  pinMode(0, OUTPUT); // Bottom left LED

  // Initialize the button pin as an input
  pinMode(27, INPUT_PULLUP); // Button tactile switch on pin 27
}

void loop() {
  // Read the state of the button
  int buttonState = digitalRead(27);

  // If the button is not pressed, turn off the LEDs
  if (buttonState == LOW) { // The button is not pressed
    digitalWrite(1, LOW); // Turn off bottom right LED
    digitalWrite(26, LOW); // Turn off top left LED
    digitalWrite(0, LOW); // Turn off bottom left LED
  }

  // The button is pressed
  else {
    digitalWrite(1, HIGH);  // Turn on bottom right LED
    digitalWrite(26, HIGH); // Turn on top left LED
    digitalWrite(0, HIGH); // Turn on bottom left LED
  }
}
This video demonstrates the code in action.
Button Toggling LEDs
I wanted to create a program that would allow the button to act as a toggle for the LEDs. The LEDs would begin in the off state, then turn on when the button is pressed and vice versa. This program was slightly more difficult to write than the others, but also far more interesting.
// Define LED and Button pins as global variables
int ledPins[] = {0, 1, 26};
int buttonPin = 27;

// Variable to store the LED state
bool ledState = false;

// Variable to store the last button state
int lastButtonState = LOW;

void setup() {
  // Initialize LED pins as outputs
  for (int i = 0; i < 3; i++) {
    pinMode(ledPins[i], OUTPUT);
  }

  // Initialize the button pin as an input
  pinMode(buttonPin, INPUT_PULLUP);
}

void loop() {
  // Read the state of the button
  int buttonState = digitalRead(buttonPin);

  // Check if the button is pressed. The second part of the conditional ensures that the button only triggers the toggle once per actual press down.
  if (buttonState == LOW && lastButtonState == HIGH) {
    ledState = !ledState;

    // Toggle the LEDs
    for (int i = 0; i < 3; i++) {
      digitalWrite(ledPins[i], ledState ? HIGH : LOW);
    }

    // Debounce delay
    delay(50);
  }

  // Update the last button state
  lastButtonState = buttonState;
}
Here is the program running on the board:
Remote Communication
I decided to demonstrate the chip's wired remote communications capabilities via printing a line to the Serial Monitor in the Arduino IDE whenever the button is pressed.
int buttonPin = 27; // Pin where the button is connected
int lastButtonState = LOW;
int currentTime = millis();

void setup() {
  pinMode(buttonPin, INPUT_PULLUP); // Set the button pin as input
  Serial.begin(9600); // Initialize serial communication at 9600 bits per second
}

void loop() {
  // Read the state of the button
  int buttonState = digitalRead(buttonPin);

  // Check if the button is pressed. The second part of the conditional ensures that the button only triggers the toggle once per actual press down.
  if (buttonState == LOW && lastButtonState == HIGH) {
    Serial.println("Button Pressed"); // Print the message to the serial monitor

    // Debounce delay
    delay(50);
  }

  // Update the last button state
  lastButtonState = buttonState;
}
I then sent the code to the chip and tested it out.