16. Wildcard Week
- Design and produce something with a digital fabrication process (incorporating computer-aided design and manufacturing) not covered in another assignment, documenting the requirements that your assignment meets, and including everything necessary to reproduce it.
Epoxy Resin Lamps
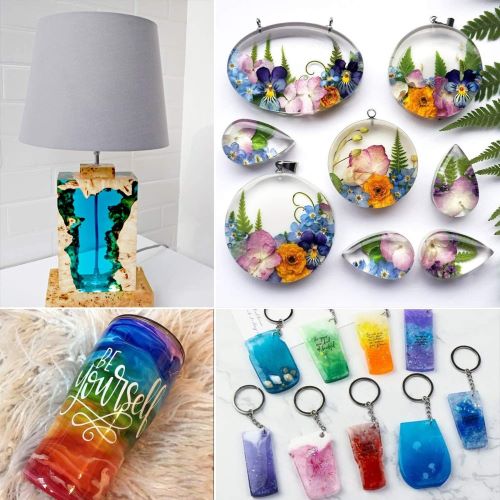
In this week I want to try something new and trendy like risen art The idea of resin crafts can seem quite intimidating for someone who has never done it before, like me! but lets try.
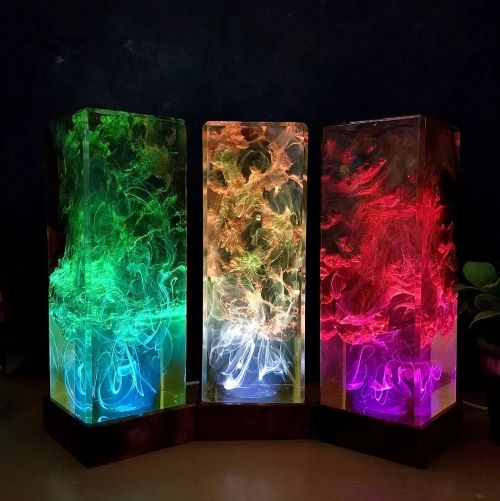
I plan to design a side resin light
Tools:
- MDF 8mm.
- 1 750 g Resin.
- Resin tape.
- Wood wax.
- LED.
- Arduino.
- ON/Off switch.
Design the light:
Because I plan to do a big piece of Resin I need to use a CNC machine to cut my design so I’m starting my design by Inkscape.
Inkscape
To open new file
File > New
I design my piece by using path drawing Tool

Tool bar > Pen Tool
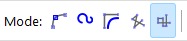
Click with the left mouse button to create the first point of the path Move the mouse and click again to create the first path. Repeat same steps as many points that you want to draw be sure chose the straight lines mode from the top .
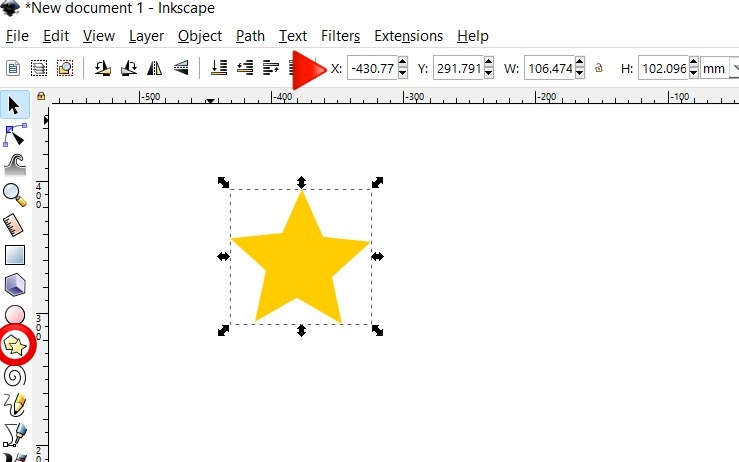
For the Stars I draw it by using Polygon or Stars Tool
Tool bar > Polygon
you can control the size and the quantity of star Corners from the option in the top that change each time with different tool
For the MOON I download moon Icon and Convert it to vector
Path > Trace Bitmap
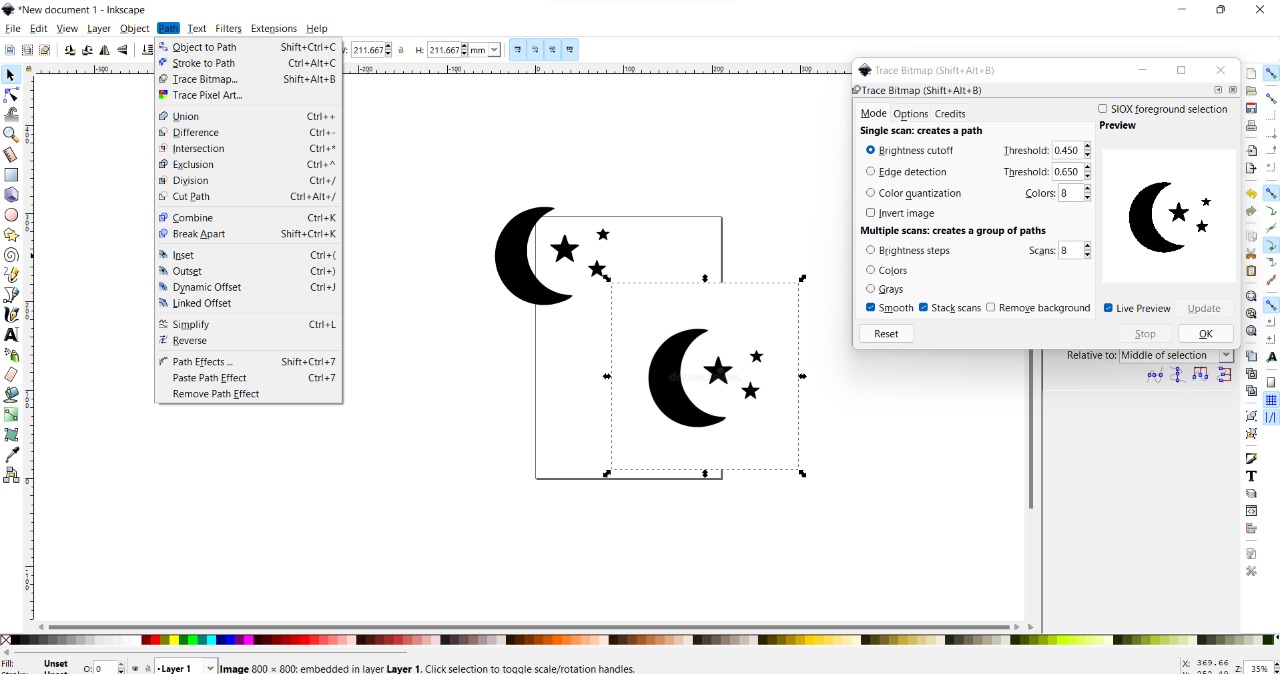
Save the file by PDF format so we can Convert it to V carve
File > Save as > PDF
For more about how using Inkscape I Explain in week3 - WEEK 03. -
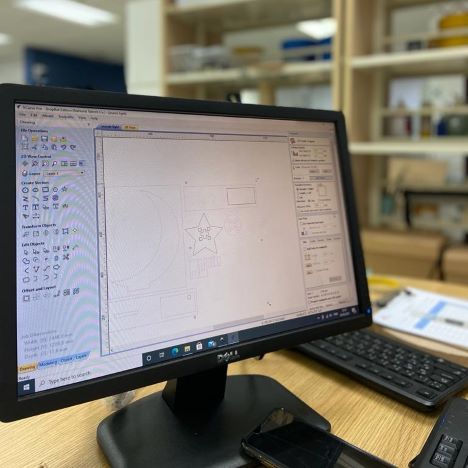
Vcarve
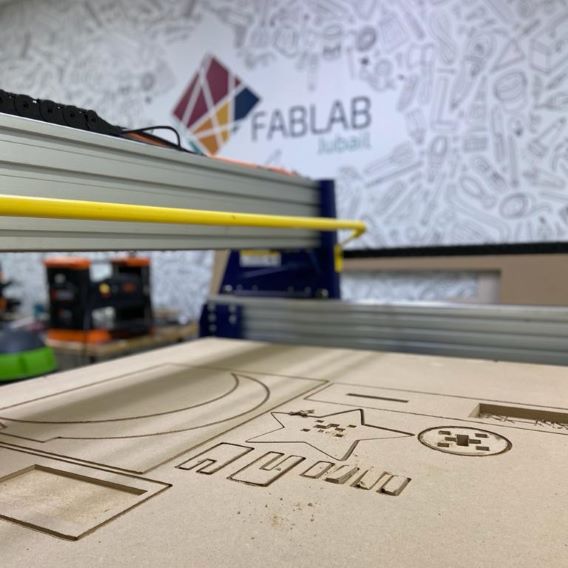
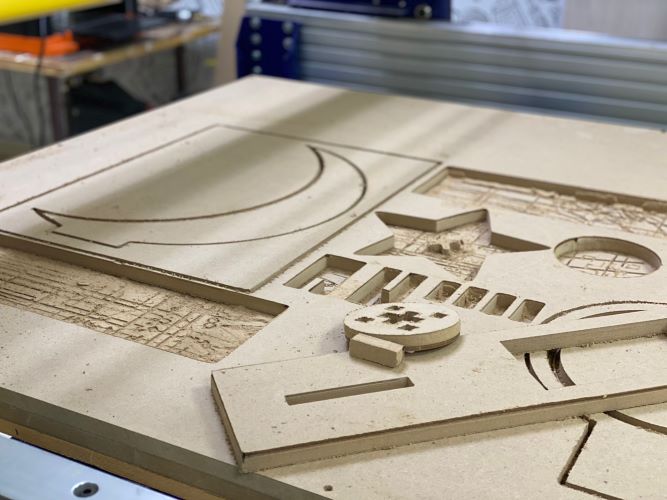
I Convert it to Vcarve software because I will use CNC Machine ,Now start cutting the (18mm MDF) then I collect all the pieces
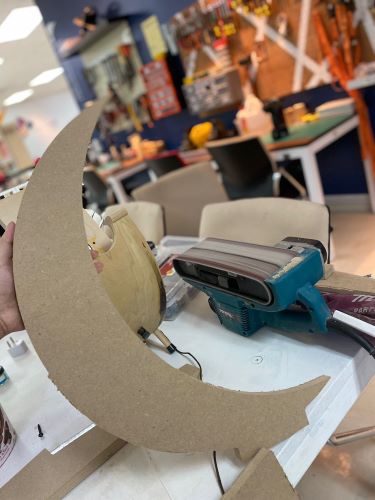
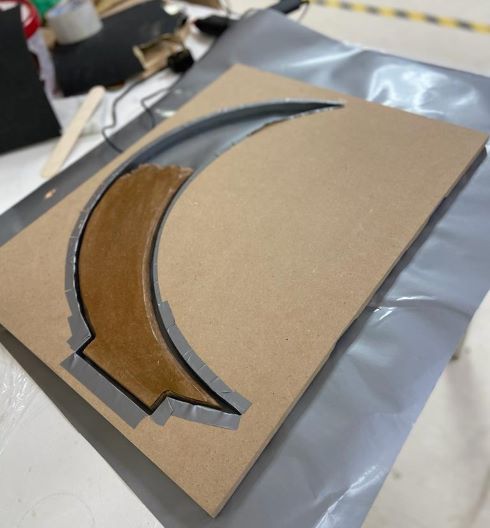
for the main piece, the one I will use as a template for the Resin is the moon piece I take it and cut it randomly from the top to create this wood effect
here I got the template ready by covering it with a vinyl sticker and after this, I cover it with the resin tape that I mention the above to be sure not of the liquid go out.
Apply the Resin
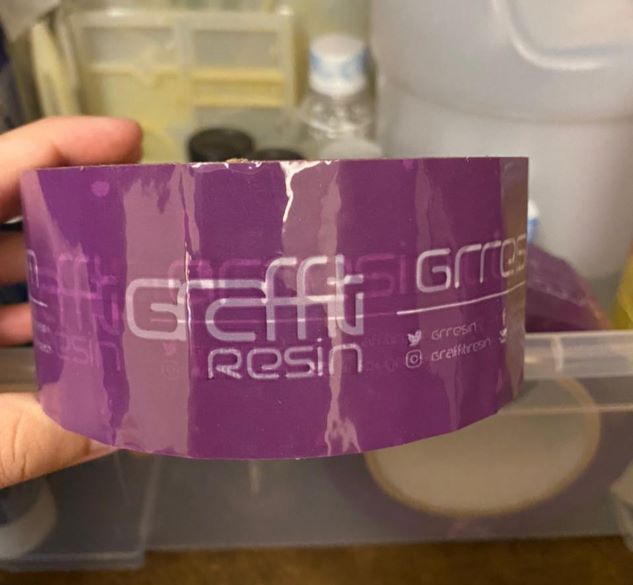
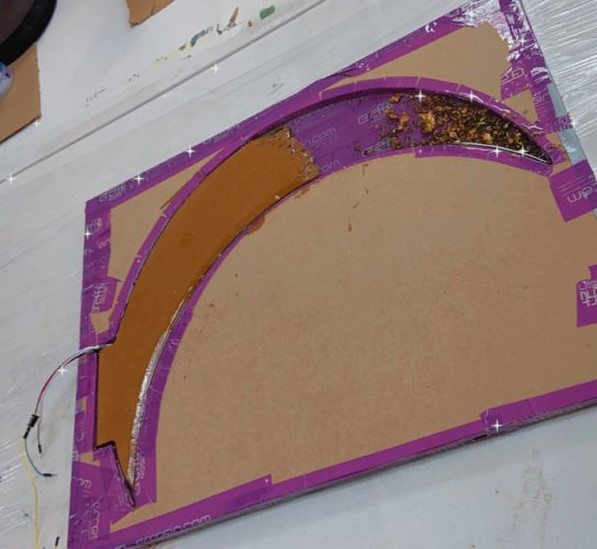
Ready to apply the Resin but Before I start applying my resign I need to cover the edges by using especial tape that came with the Resin kit.
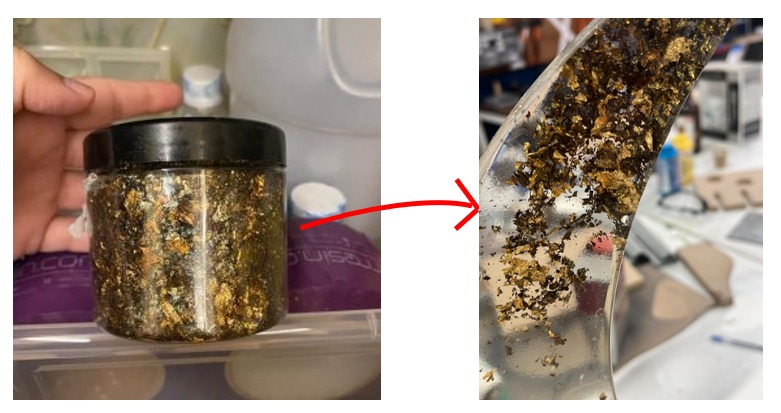
After applying the resin I add some Imitation Gold Leaf
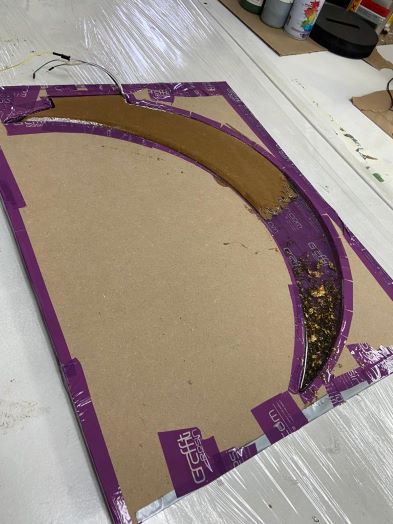
in this step, my colleague adds an LED strip and makes the wires out as you see in the picture but I will not make the light now I will work on the Lighting part later now lets focus on the Resin and enjoy it.
Applying the Resin
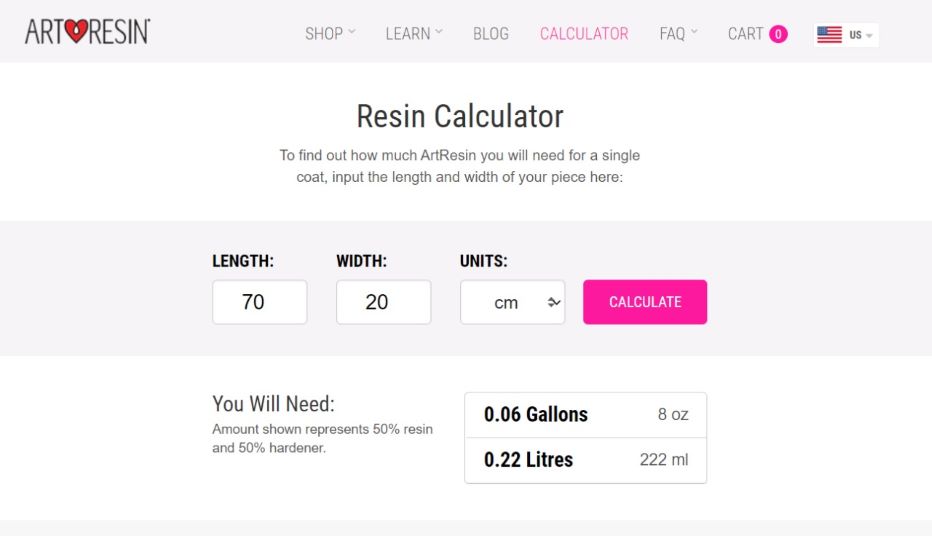
In the beginning, I was confused about how many grams of resin I needed, keep thinking maybe it’s will be finished in the middle of my pouring and will dry before I mix more but I find Resin Calculator website
https://www.artresin.com/pages/calculator
It was a relief this calculator make me more sure about the resin amount I need but because I’m using different type of Resin here the calculator depends on a 1:1 equal amount between the resin and the hardener for me the Resin I used it 1:6.
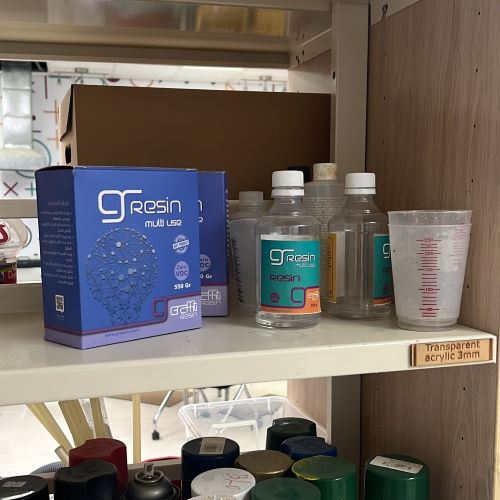
Now measure, and pour the amounts of resin and hardener into a mixing gallon. here I’m using graffiti Resin 1:6 that is mean 100 gm of resin needs 60 gm of hardener, I use two kits for the Resin (550 g).

Now I pour the resin and the hardener and sperate it in 2 different gallons
quick tips
-
when you mix the resin and hardener together do not mix it very fast because you will allow the air to go inside the mixing this will make a bubbled inside the resin.
-
the Open Time of resin is 2-3 mins do you need to pour is quickly before its dry.
pour and Let the resin run over the edges and then just use a brush to tidy it up. You’ll notice bubbles will begin to rise to the surface. you can also use a lighter or torch lighter to pop the bubbles, (this step needs to be done very fast because of this I cannot take too many pictures).
The dry hour the reason it’s 24 Hours but for me, I leave it for 3 days because I using a big amount of resin I was worry if I remove the tape it will broke but after 3 days it’s very strong and stable.
assembly
Now I assembly other pieces to build my light and glue it with wood glue
while they are dry I sand some pieces with a sanding machine
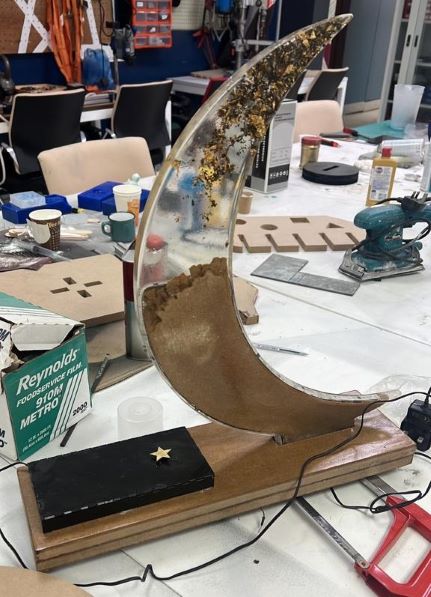
Final Result
After painting it and add a small box for the electronic part
A local store for Resin (ONLINE) https://shop.grresin.com/en
the electronic part
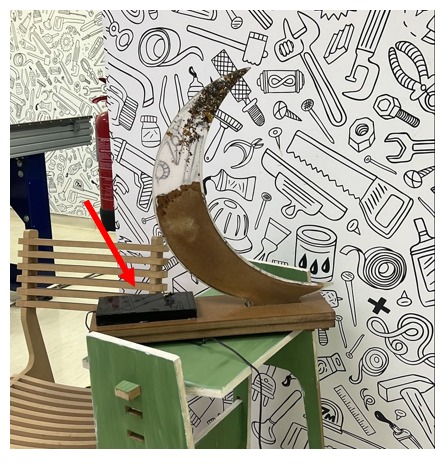
For the electronic part as you see in the above I already put an LED strip around the Moon resin piece do I create a box on the right of the moon to collect all the connections and create a Star button to turn it ON/OFF