10. Moulding and casting
▶ Individual assignment:
Design a 3D mould around the stock and tooling that you’ll be using, mill it (rough cut + (at least) three-axis finish cut), and use it to cast parts.
● Design
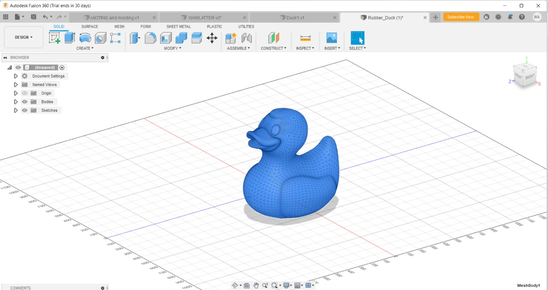
I Start my design using Fusion 360 {I already explain how to download and use it}.
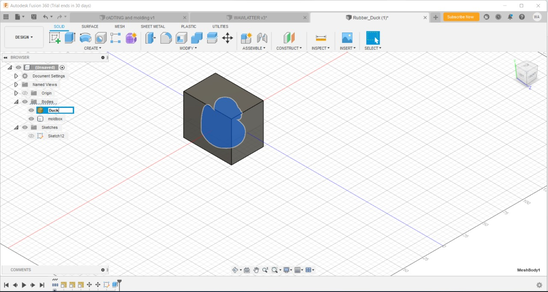
In 3D Scanning and printing Week, I print small tinny duck Very Cute by 3D printing this time I want to try it By moulding and casting let’s see the difference between them.
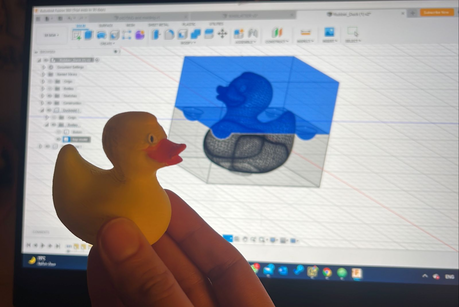
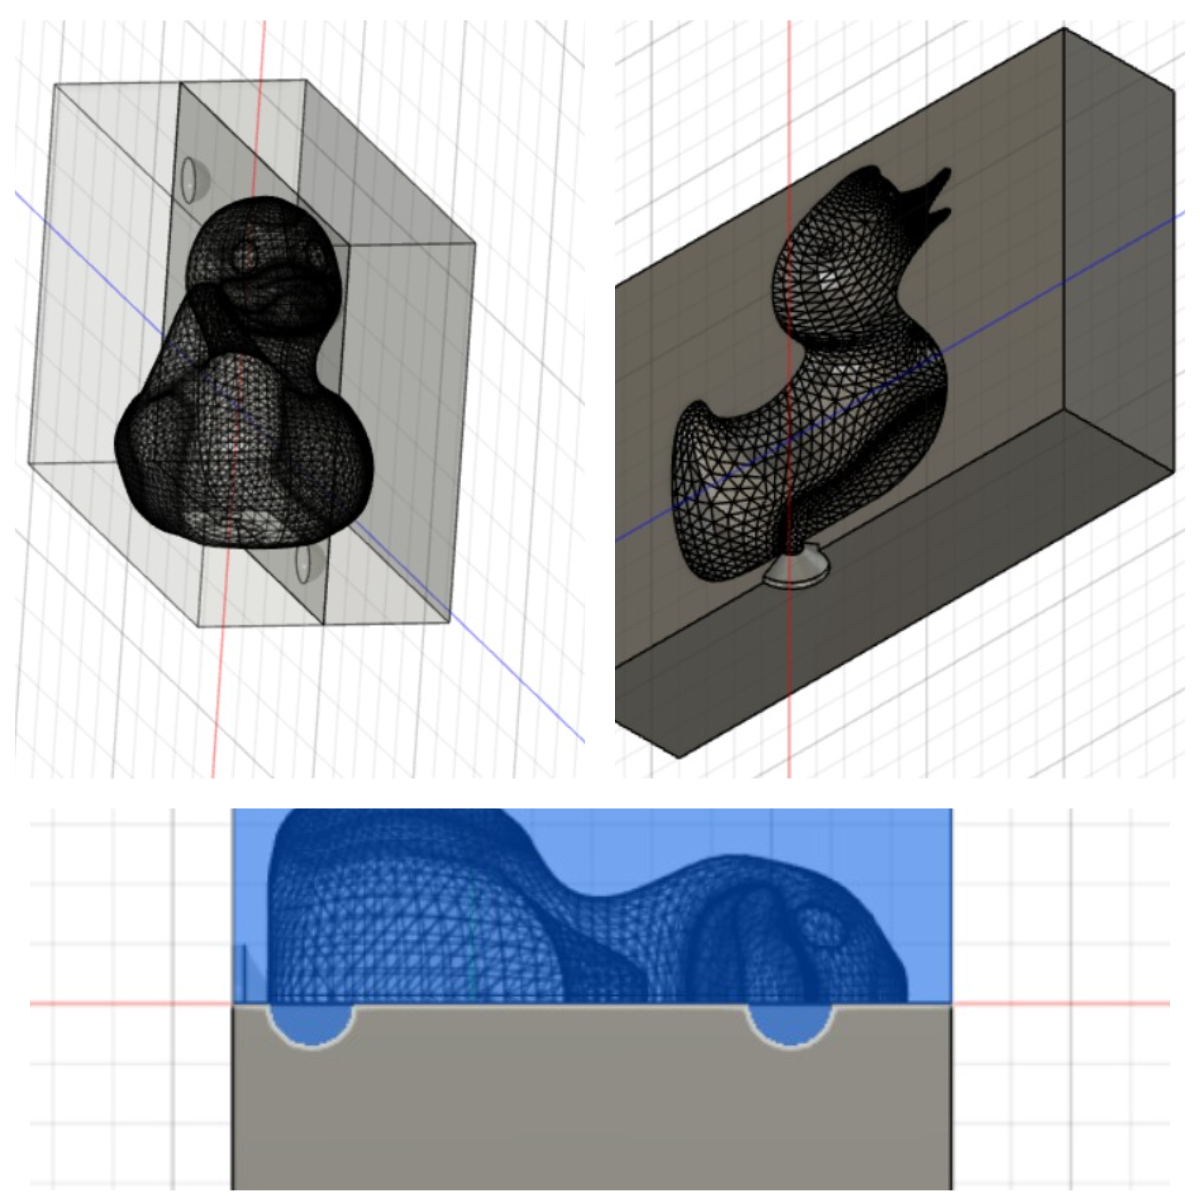
- Create a Two-Part mould in Fusion 360 by followed this tutorial By Product Design Online I download the file STL by willie
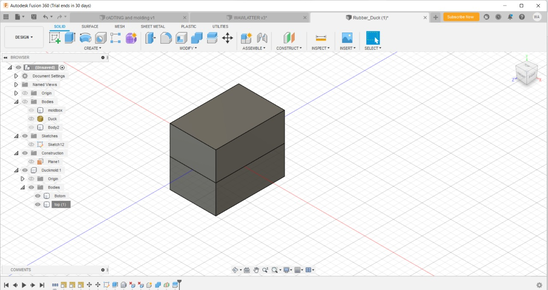
then I draw the mould box around the duck by
Sketch > rectangle. After Extrude it by 2 sides
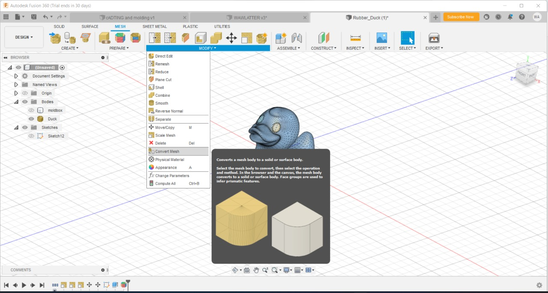
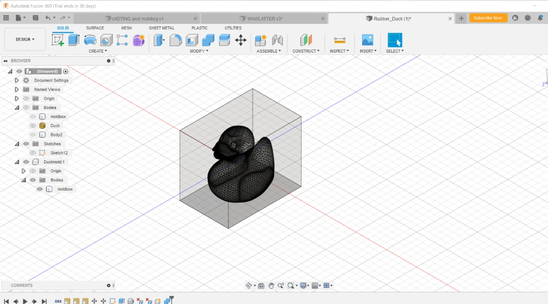
when I want to combine the objects I faced a problem the select tool did not recognize the duck object because its an STL file so I should convert it to the solid 3d object by
Mesh > Prepare > Generate face group
Modify > Combine > operation CUT > new component(✓ ) > Keep Tool(✓ )
Before cutting the body into two parts we need to add a construction plane from
construct menu > midplane
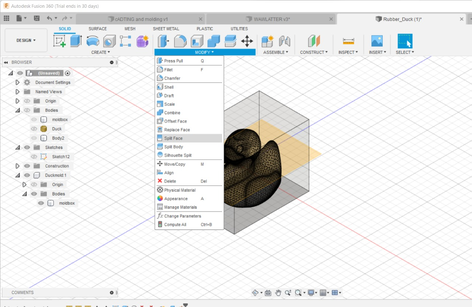
Now Split body into tow parts
modify > split body
We have to parts Top and bottom
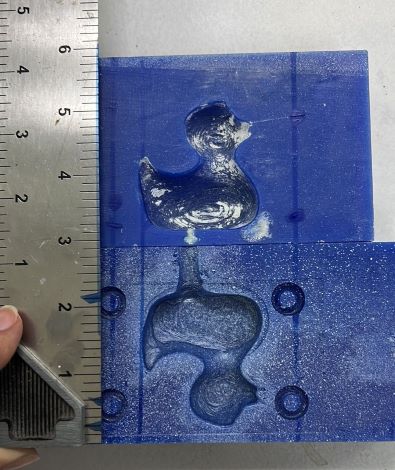
● Registration pins and hole
Create registration pins do the mould lined up correctly
Create > Sphere > 10 mm > Join
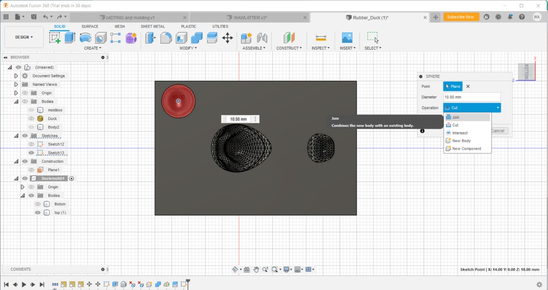
Create > Pattern > Rectangular pattern
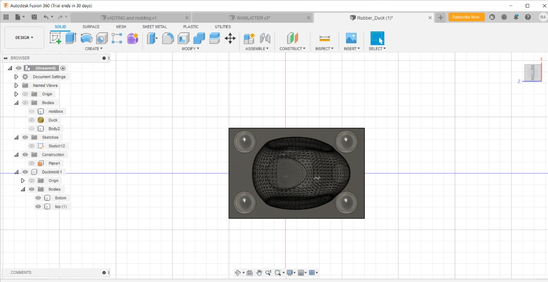
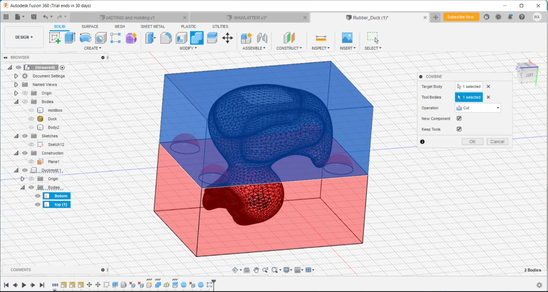
Move to another part to create the opening for our features
Modify > Combine > operation CUT > new component (✓ ) > Keep Tool (✓ )
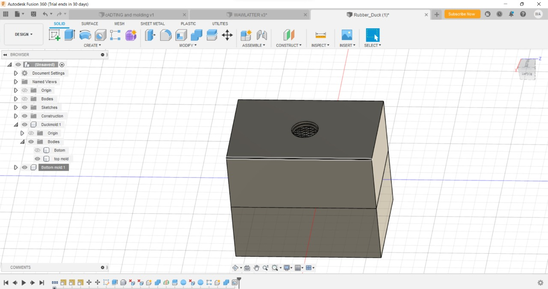
Create a hole to pour the material into the mould
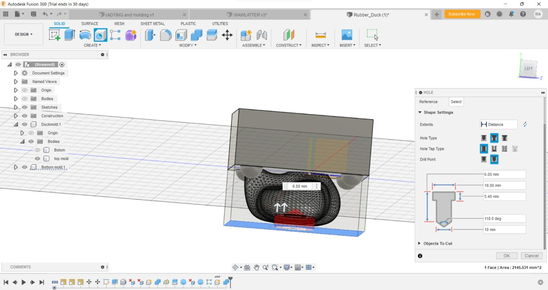
depends on your design you can choose the location of the hole for me I put it at the bottom
● Modela 4 player
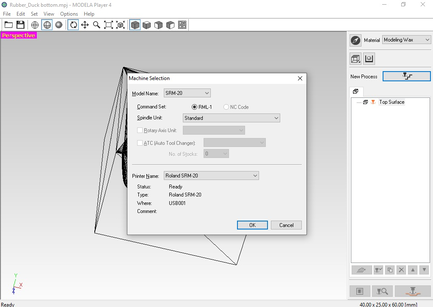
Use MODELA 4 player to create the tool path , I try to find a download link or any tutorial on how to use it but I realize Roland End his Life
For me I will use Modela player 4 because this software already in our lab

First select the machine you use
File > Select Machine > SRM 20
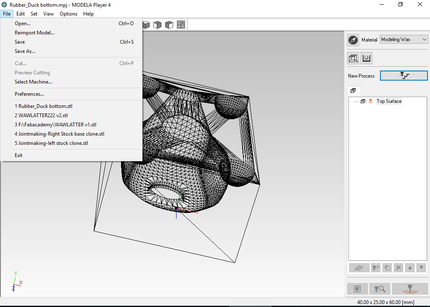
Open your STL file I start with bottom part
File > Open Or Drag and drop
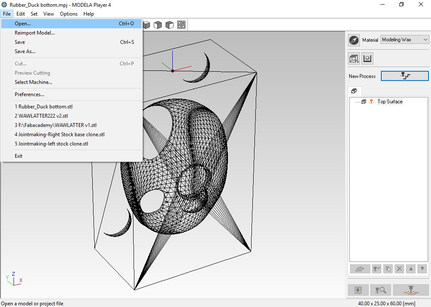
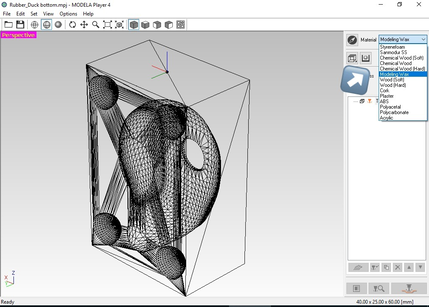
material >mould wax
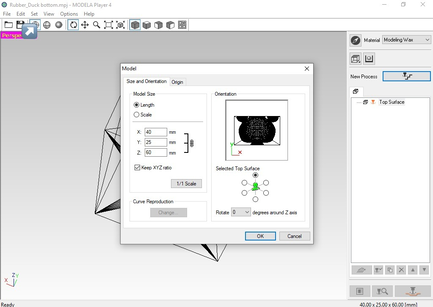
Set your mould in the right path
Set > Model
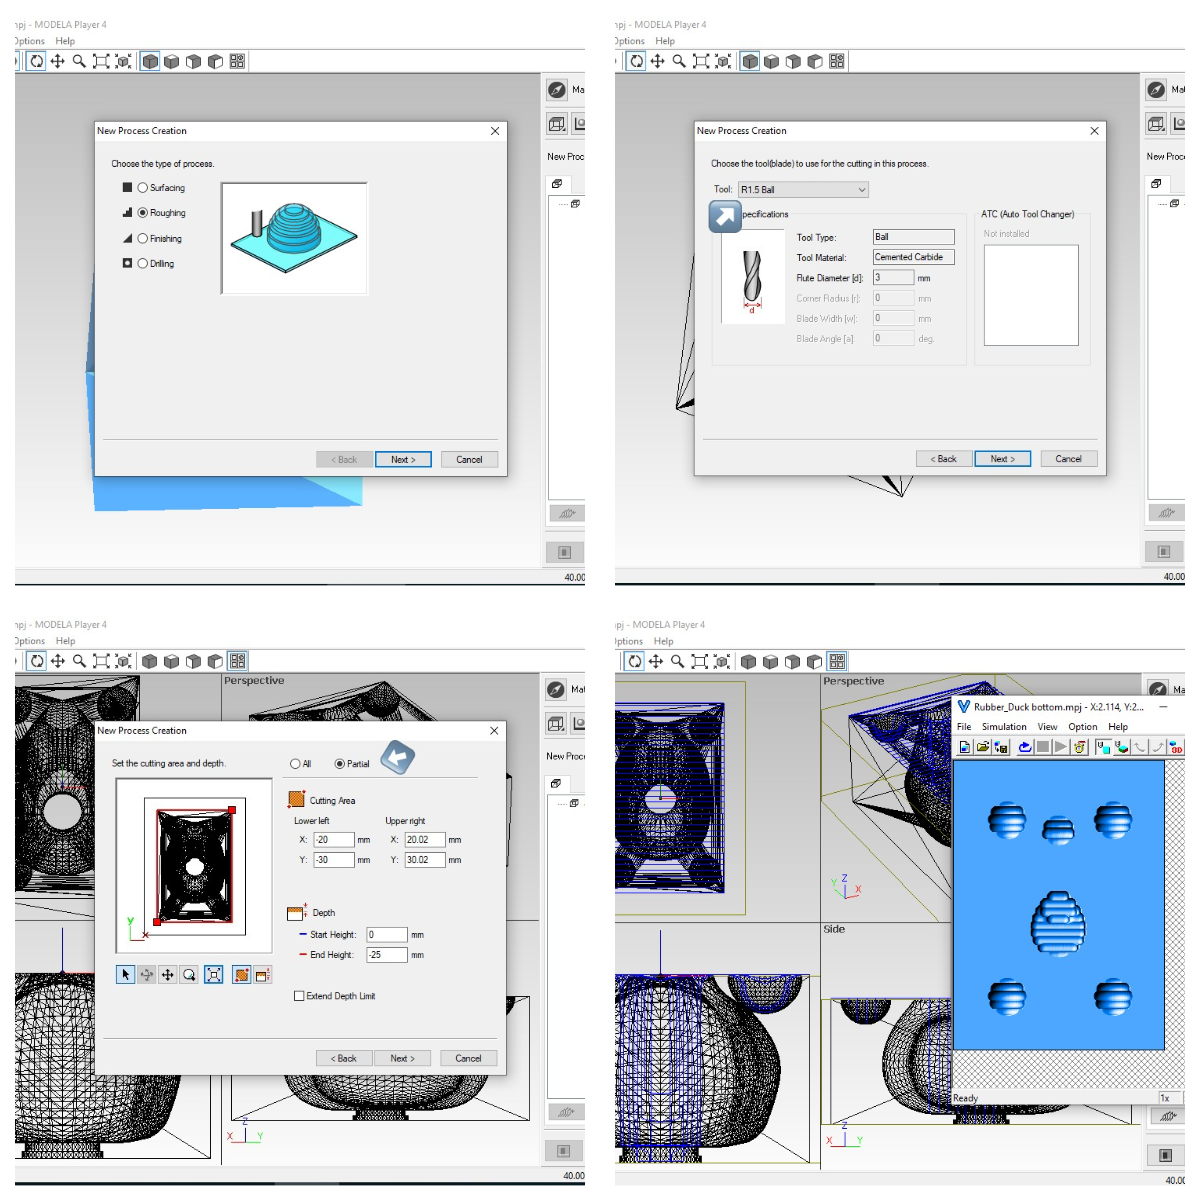
New process
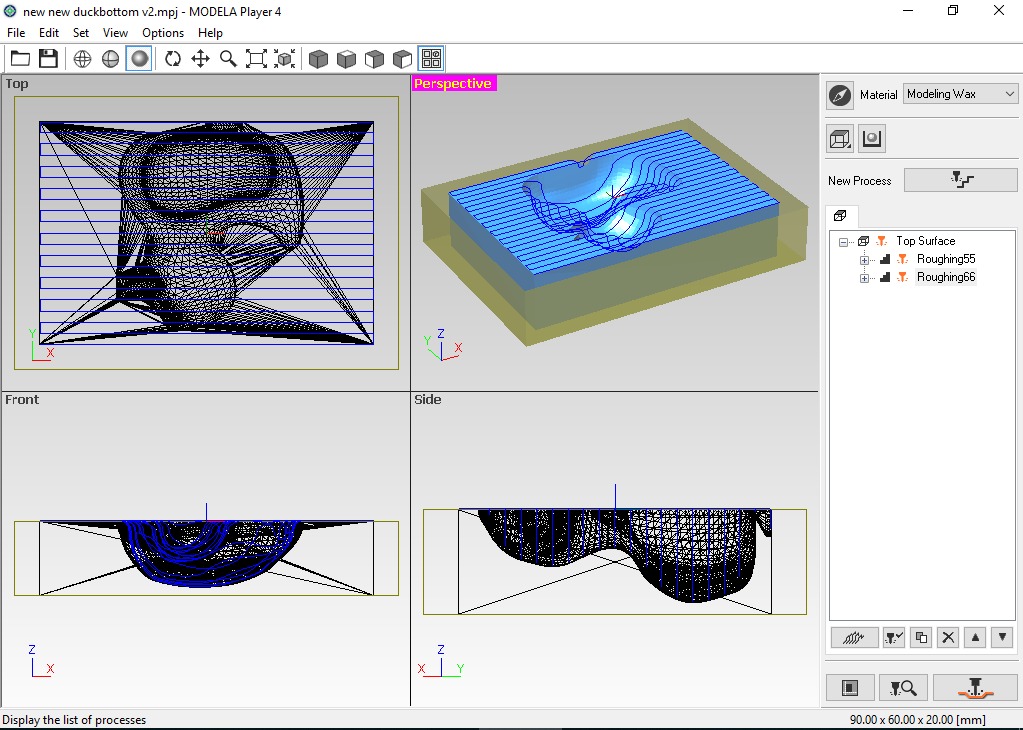
First type [Roughing]
Roughing > Tool (1.5 Ball) > Make Red points in Corners > Scan line > OK
settings the cutting parameter . The processing speed this time is
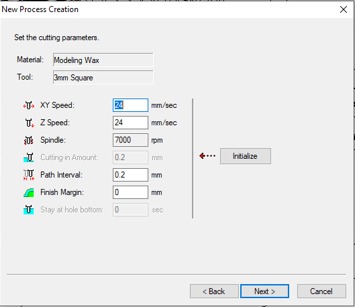
XY axis = 24mm/sec Z axis = 24mm/sec
Finally set the name (Roughing 1).
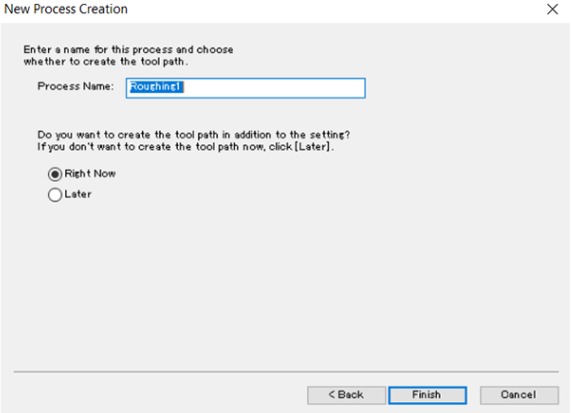
Click finish then you can see the preview for your cutting by click the icon in the right corner

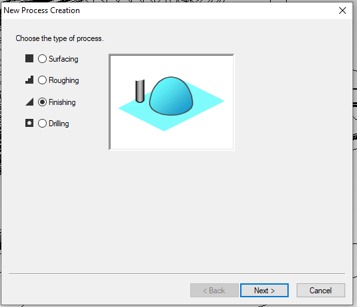
Second type [Finishing]
Now we do the same process but with “Finishing” type.
set is selected as before machine service > Next > cutting drill > Next > set the selection manually as we did in the Roughing > next > Set the tool path then next .
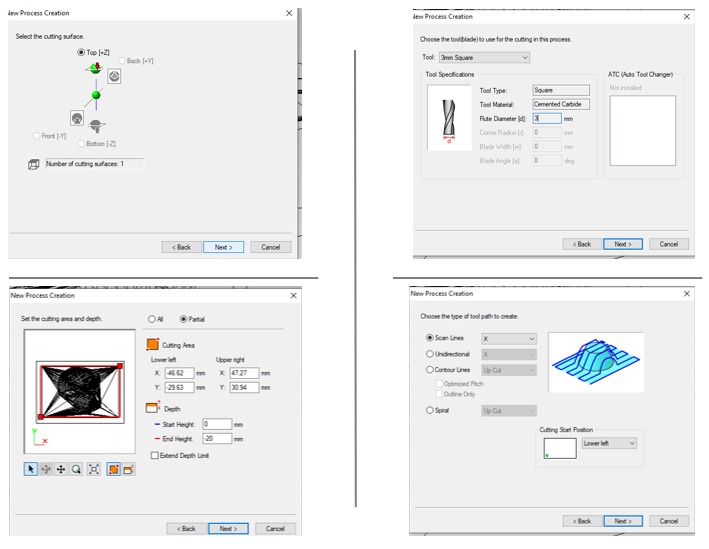
settings the cutting parameter . The processing speed this time is
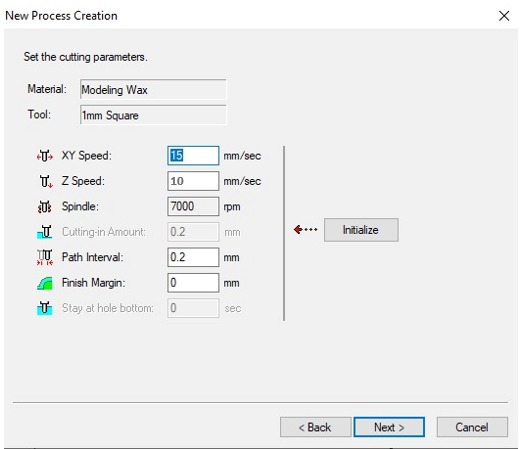
XY axis = 15mm/sec Z axis = 10mm/sec
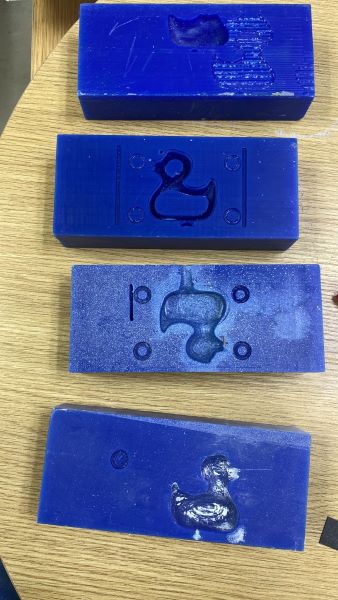
Here I realize my mistake I Cut my mould wrong the machine cant mil it like this s so I Do it again

I Cut my duck vertical so the machine can do her job very clear and easy
Send it to the machine
● Milling Machine
Now Start milling the two sides
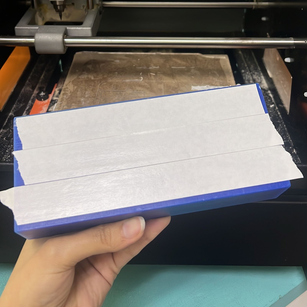
- Cover the bottom of moulding wax by tape.
- change the cutting tool to 1.5 ball.

- Send to the machine
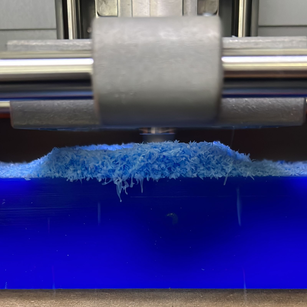
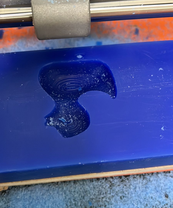
As you see many fail but I had the chance to learn more about this I start with finishing the cut to save time but As you see the machine acts crazy and can’t move very well the cutting tool almost broke but thanks gad it save.
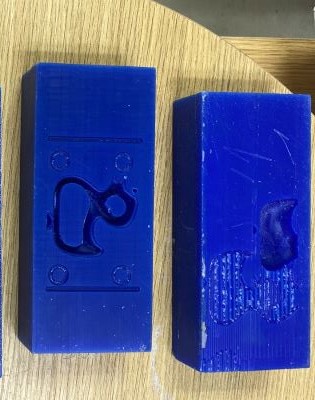
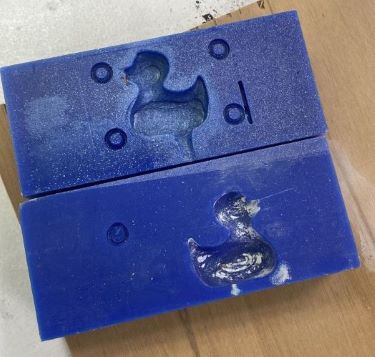
here is the mould I used because I’m already wasting my material and my time so I think this one is better and I can work with it the problem is the location of the cutting tool I do not put the cutting tool in the middle of wax this was a huge mistake but I can handle it in the end, I use a drill to make the opening to allow the cast go inside.
● Registration pins
I face many problems while milling my mold wax so in the end I decide to choose the good one and modify it manually by drill
here I measure the Registration pins to make holes and on another side, I cut small wood fingers to assembly both sides together
-
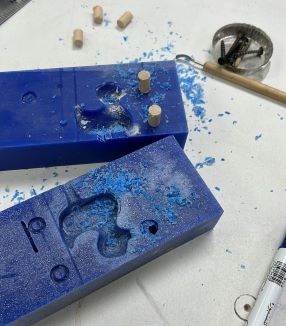
it’s not become a perfect assembly but the problem was fix and I spend a long time point the mold wax and do the holes in the right position so I think its better to re-mill the mold again
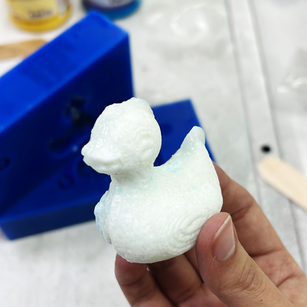
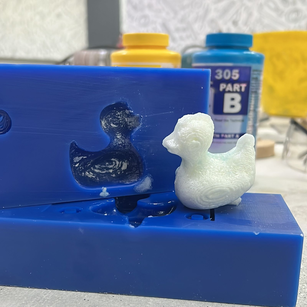
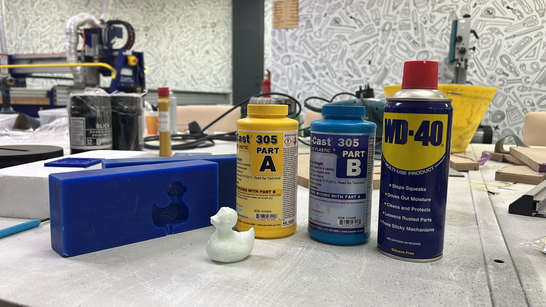
● casting
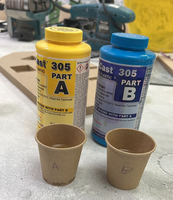
I’m using smooth cast 305
-
I cover my Mols by Wd 40 spray use as mould release spray.
-
Dispense equal amount 1A:1B by volume.
-
Mixing the two liquids (A & B) together my mistake here is A mix strong so there are too many bubbles.
-
Pour into the mould.
-
After dry (my mould is very rough because when I Mill it I chose rough cut).