12. Mechanical Design, Machine Design
▶ Programming & automation
Because I’m the only student in my lab so my instructor helps me with coding and automation.
● Automation
After we assembly, all the vending pieces that I’m already cut and glued with the I/O Devices then We did a quick operation with a servo, and its quite good
▶ Youtube
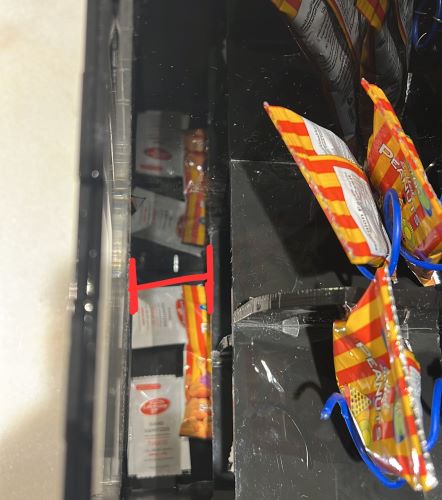
From the first test we note the wire we use Its very thin and weak can’t push very strong , we change it by Clothes hanger bend it.
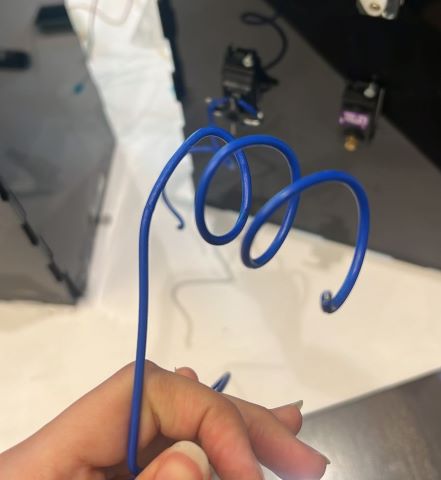
Why using the 360° servo
We should here use a 360° servo to make the servo round on one side
you could simply put limit switches to stop the motor so if you type the product number 3333 the servo will round to one side a 180° then let the gravity drop the product then if you type the same number 3333 it will move round in the same round to complete the 360°.
● Connection
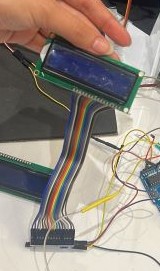
For me, this is the first time working with (3) types of devices in one project and the first time with LCD so I’m reading and learning too much let’s start.
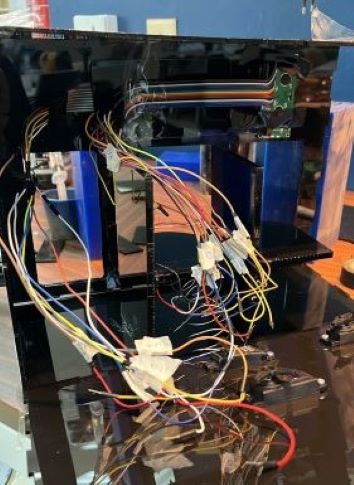
I start to connect the wires with Arduino mega but when I connect too many wires I’m lost in the middle of the connection so my instructor advised me to the I2C module so I need to order it we don’t had it in our lab.
What is I2C module ?
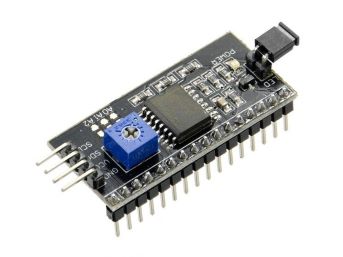
I2C Module has a inbuilt PCF8574 I2C chip that converts I2C serial data to parallel data for the LCD display.
Operating Voltage: 5V and it comes Come with 2 IIC interfaces, which are Compatible with 16x2 LCD, With this I2C interface module, you will be able to realize data display via only 2 wires, so basically we use this module to minimize the pins number that connect with Arduino.
I didn’t know there is a different pins out of I2C because of this I use Male to male jumpers.
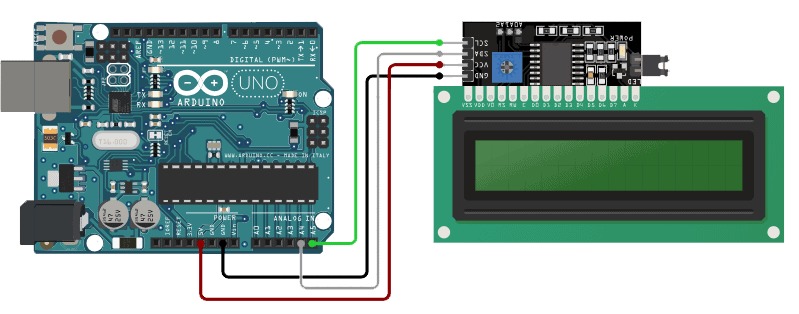
Connection of I2C LCD Module with Arduino
GND-> ground
VCC-> +5V
SDA-> A4
SCL-> A5
Now I will connect the LCD with Keypad and the servo, I search for a project like mine but most vending machines work with coins or QR scanning codes but I find this tutorial project Arduino Door Lock using I2C LCD and Keypad its different function but the same concept so I follow it
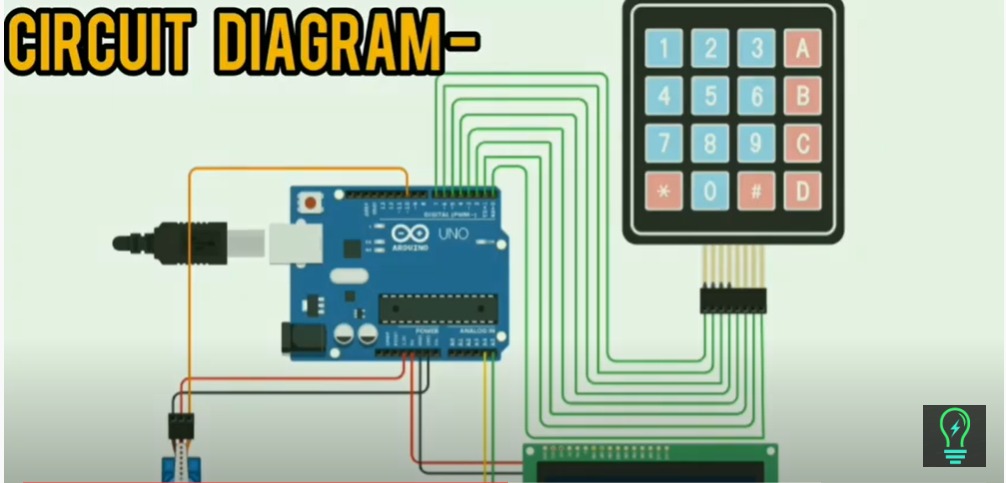
Connect the devices by following the schematic above.
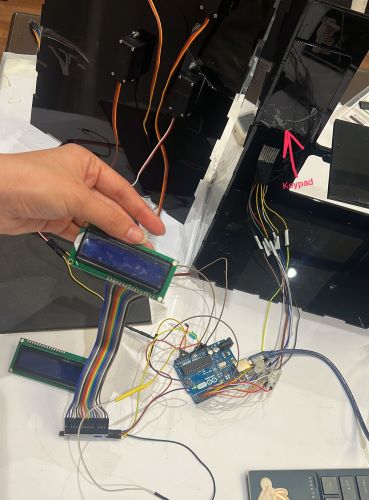
the keypad it’s already stuck I can’t move it.
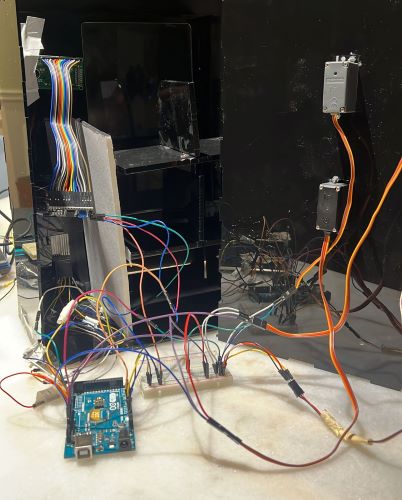
I complete the connection by following the diagram in above I add the 3 more servos with relay.
Note For Servo
I did a test to see the time needed to get the item and I found that 2 seconds is enough.
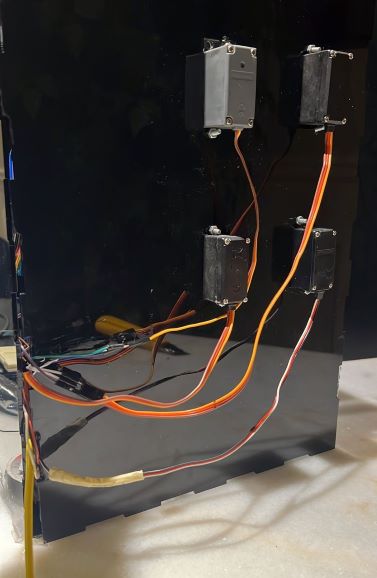
now I arrange the wires and close the machine I took I should work more for the back of my vending machine.
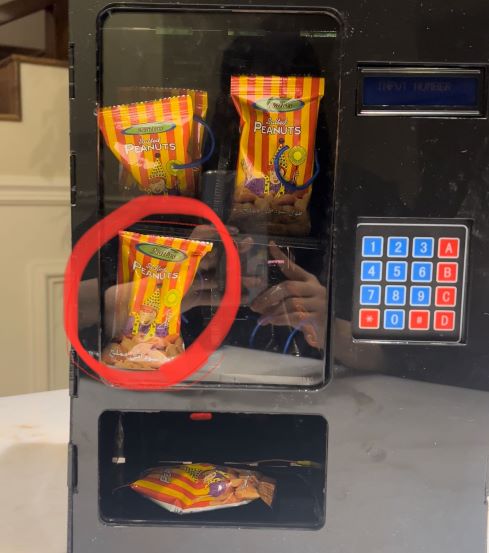
I try my machine with different kinds of candies and chocolate always the item stuck in the beginning I think my problem was with the servo movement of the spring I use I try several times until I realize !!
that the problems were in the space between the Items shelves and the door it’s very tight so the items stuck in the middle of the machine
● Coding
you can find the code file down because the code is very long and includes three libraries crystallized I2c, Servo, and keypad library

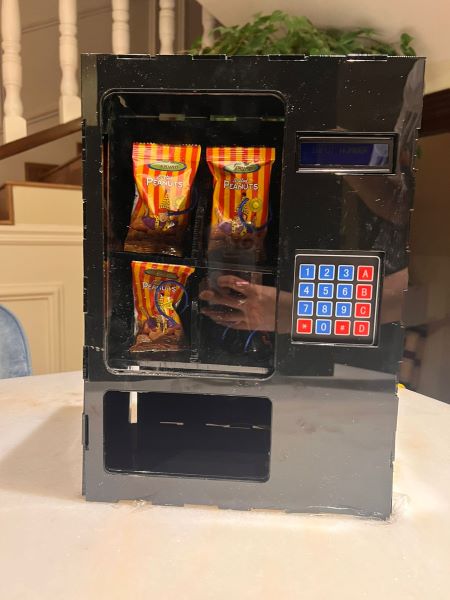
Final Result
video