8. Computer controlled machining
▶ Individual project
- Make (design + mill + assemble) something big.
● Software

- VCarve Pro software solution for creating and cutting parts on a CNC Route , with profile, pocket, drill and inlay toolpaths, plus gives you the ability to create designs.
You can use any system you are an expert in (Fusion 360 , AutoCAD , Inkscape) and it gives you accurate measurements. #here I don’t recommend using Vcarve for designing. Use it only to export the design to the machine.
To download Vcarve Desktop FREE TRIAL.

- ShopBot With the ShopBot Control Software, you can enter individual commands to move the tool or run a ShopBot Part File, a cutting file created in a CAD/CAM program such as the ShopBot Design Software Suite, to cut out a part. To download ShopBot.
● Design something big
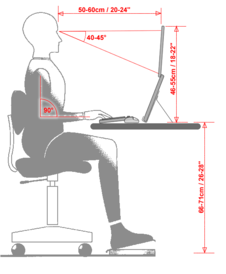
In this task, I decided to design a solution to my problem I work on the computer all day, and this caused me pain in the neck and shoulders. My doctor advised me to make sure to work at a high table so that the computer would be at eye level. I search for the right dimension for my desk.
✷Inspiration Designing a real scale furniture✷
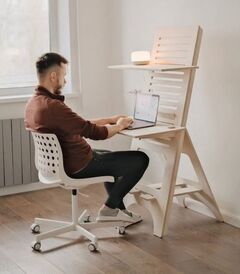
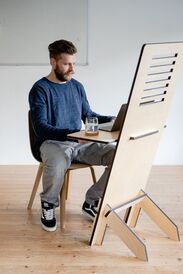
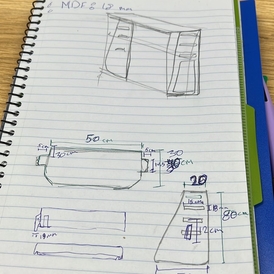
I start sketching, measuring, and designing my piece
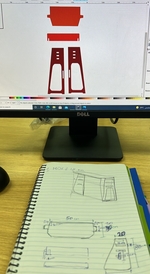
● AutoCAD
I’m using AutoCAD for this assignment because this is the software the lab Pc the one connecting with CNC

I’m working with AutoCAD software when I was a college student, for me, the AutoCAD features are not that special its a bit complex, Creating a 3D Furniture Layout in AutoCAD is not that much easy like Fusion 360 but for 2D drawings, the AutoCAD is the best, As I mentioned above I have to use it because the fusion 360 it’s not uploading in CNC computer so it’s easier to transform it to V-carve
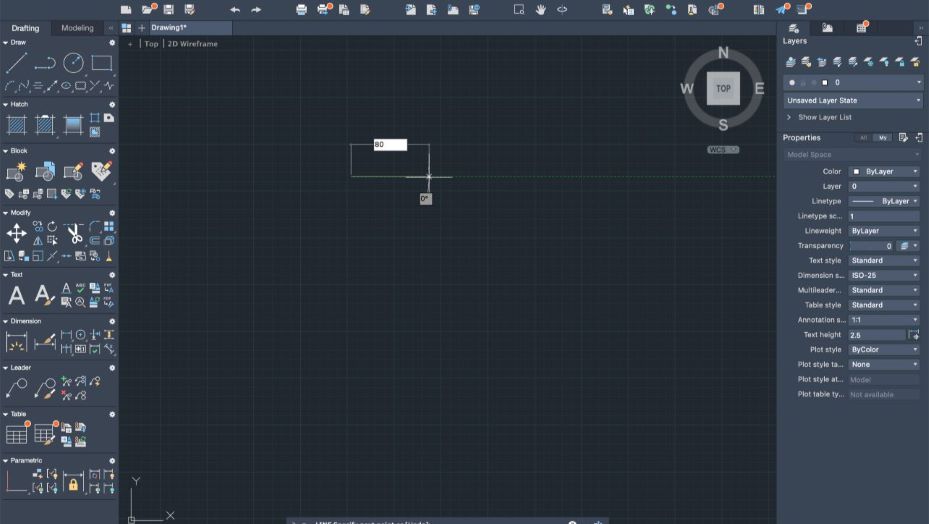
First I start drawing the basic shapes for my desk
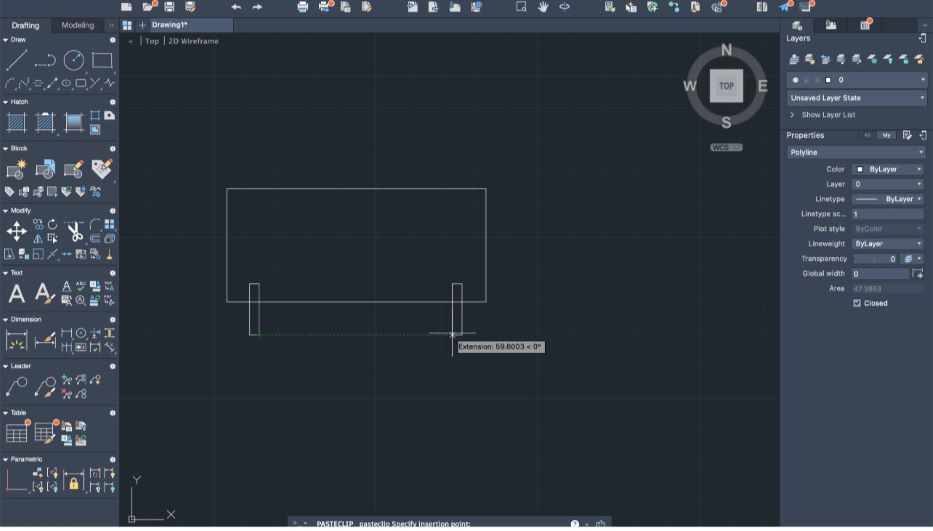
then by using a Trim tool I remove the lines I do not need it
Now I use the Chamfer tool to draw the top of my desk like my sketch above
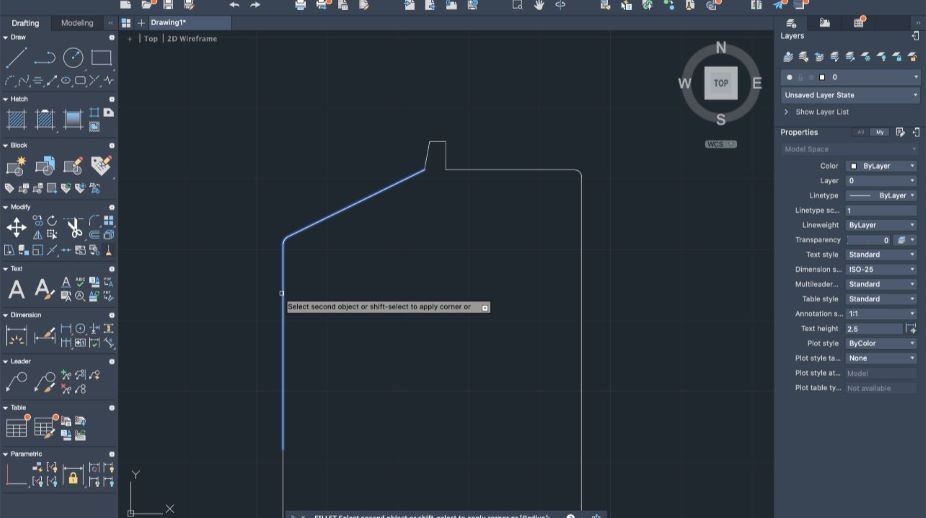
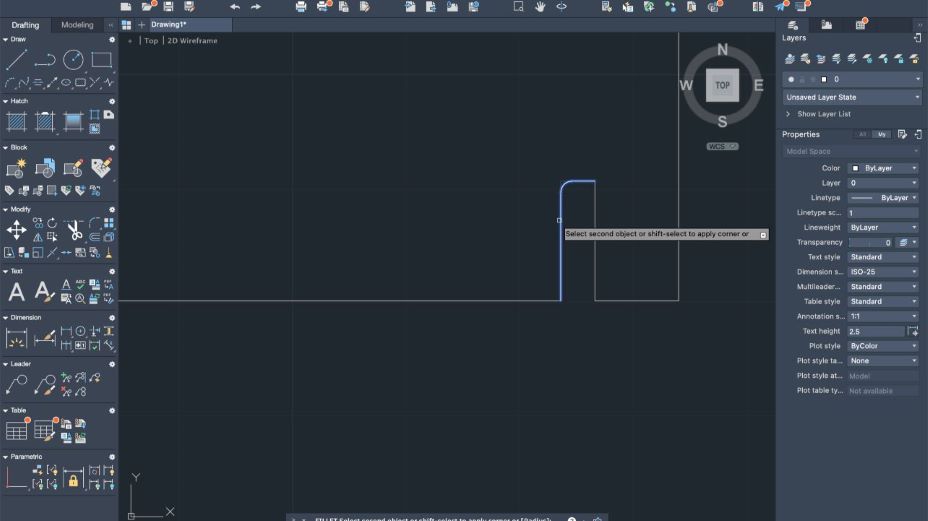
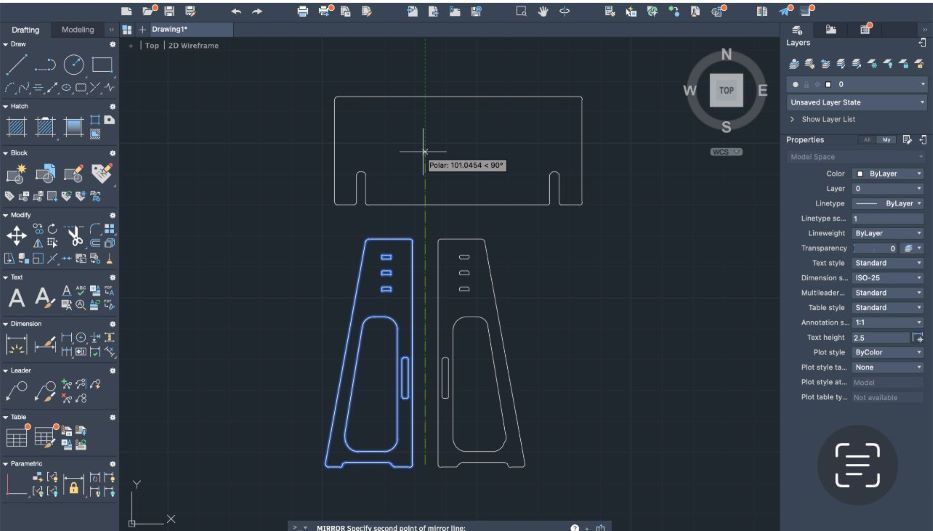
By using the Fillet tool go around all the joints I create (Both slot and the fingers) to make the corner smooth, not sharp
After I finish with one leg I reflect other one by using Mirror and then copy
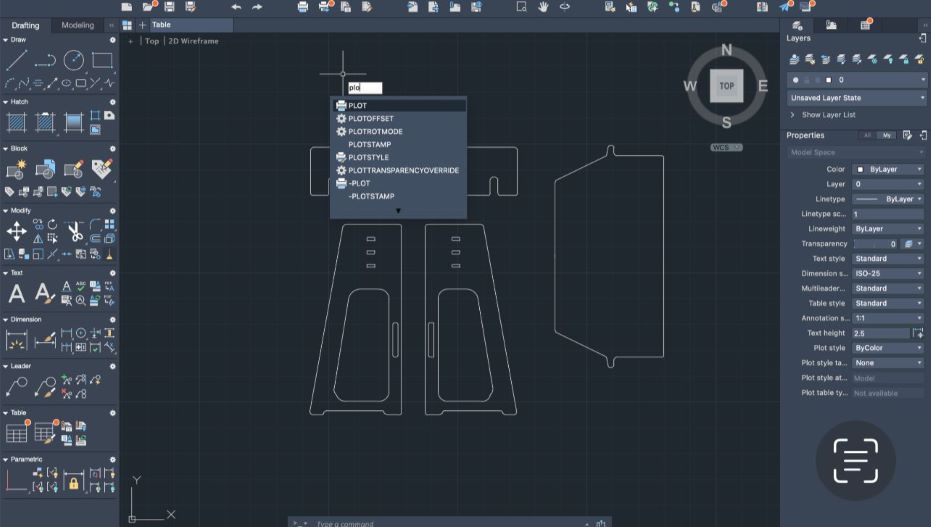
to export your drawings Click Ctrl+P (Plot)the choose PDF format to open it in V carve
● VCarve
If using ShopBot CNC absolutely you will use Vcarve
Vcarve has a very simple interface that contains
-
Menu Bar : Clicking on any of the options on the menu bar (File, Edit etc.) will result in a drop-down menu appearing with choices related to that topic. Many of these are just an alternative way to access functions.
-
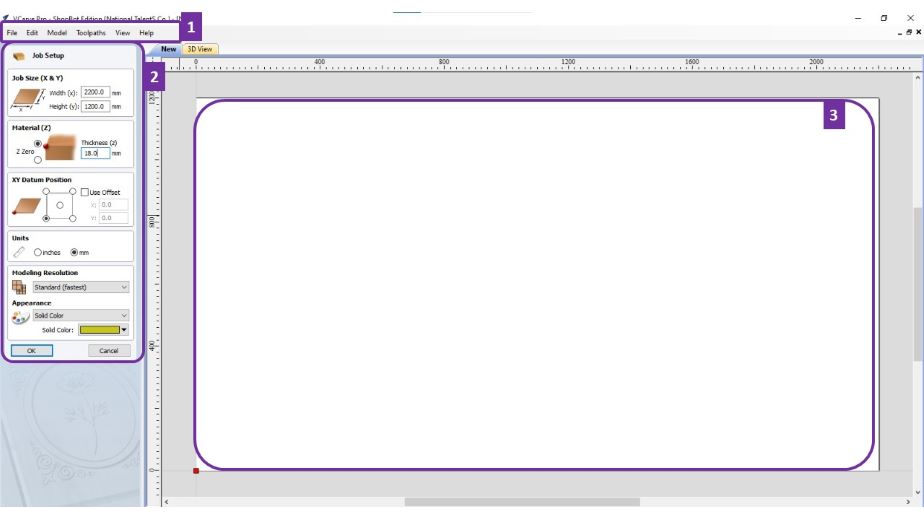
Job Setup :
Job Type : To set what type of work you’ll create.
Job Size : To set the job size dimensions ( Width , Length , Depth ), set the job size by the actual wood sheet dimensions you used. This will prevent us from wasting the material, and it will enable us know the exact location of each job. You can change the unit ( Inch or mm ).
Z Zero Position : To set Z Zero position. XY Datum Position: To set the origin point. By default is the lower left corner.
- Job Area : It is the working space that contains all the designs.
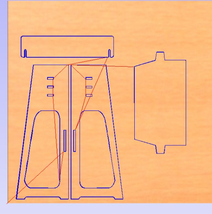
After Import my design this settings will showing
File > Import > Image DWG
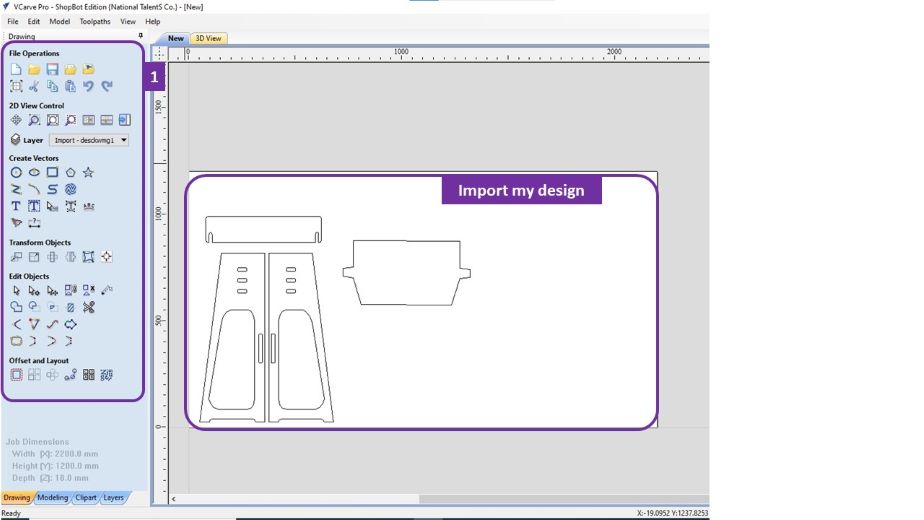
- Design Panel : All tools to design and modify designed objects. You can switch between a group of tools with tabs at the bottom of the design panel.
Next, after you place your design now start the Mill setup
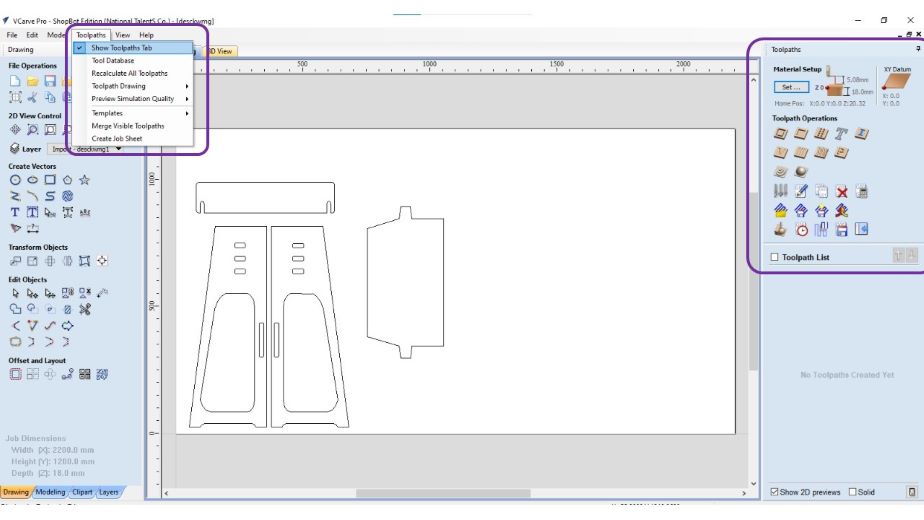
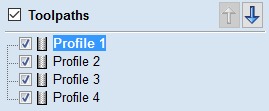
Toolpaths > Show toolpaths tap
Toolpaths Operation:
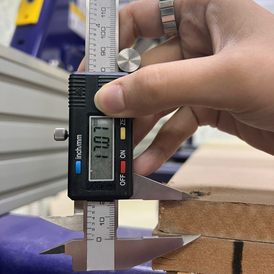
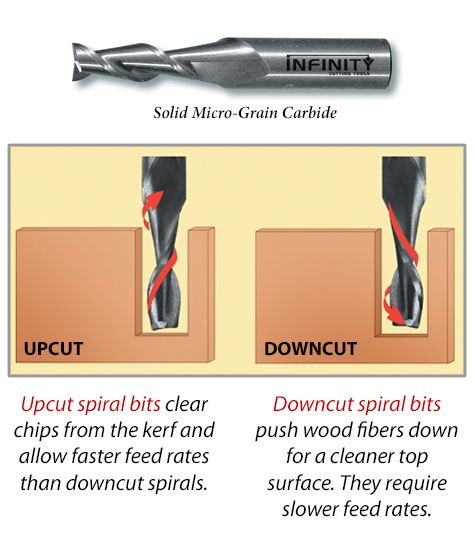
✷MDF Wood (17mm) # Upcut drill bet ~ Diameter: 0.25”✷
I using MDF Wood (17mm) Depending on my wood sheet I can set up
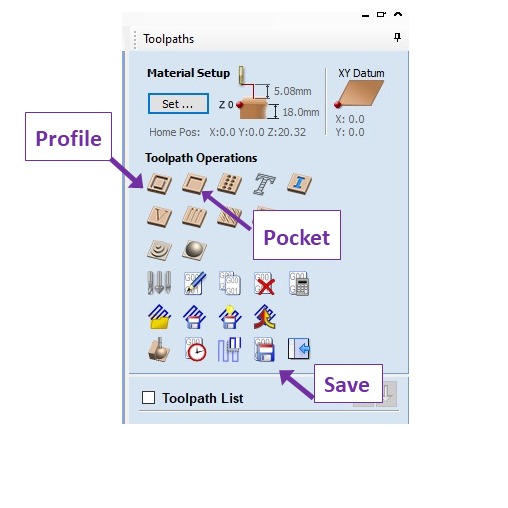
Profile = cut Pocket = Engrave (More details below)
Save = To save the file: Save the tool paths (.shp file) Save the project. (.crv file)
 ✓ Profile ✓
In my project Im using only profile so I go through the details
✓ Profile ✓
In my project Im using only profile so I go through the details

-
Start Depth (D) Specifies the depth at which the Profile toolpath is calculated. When cutting directly into the surface of a job the Start Depth will usually be (0)
-
Cut Depth (C) The depth of the profile toolpath relative to the Start Depth. here I put it (17.5) to be sure its cut correct.
-
The cutting tool I used here 1/4 Up-cut.
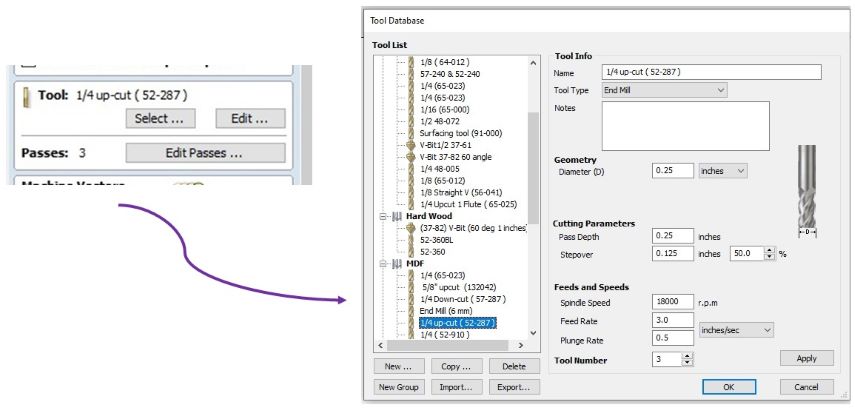
Clicking the Edit button opens the Edit Tool form which allows the cutting parameters for the selected tool to be modified, without changing the master information in the database.
Selecting the Right Bit/Feeds and Speeds Charts.
-
Passes The Total number of passes required to reach the desired cut depth here I make it 3 passes.
-
Machine Vectors There are 3 options to choose from to determine how the tool is positioned relative to the selected vectors/s:
⋄ Outside

Calculates a profile toolpath around the Outside of the selected vectors, with options for the cut direction to be either.
⋄ Inside

Calculates a profile toolpath around the Inside of the selected vectors, with options for the cut direction to be either.
⋄ In

Calculates a profile toolpath around the On the selected vectors, with options for the cut direction to be either.
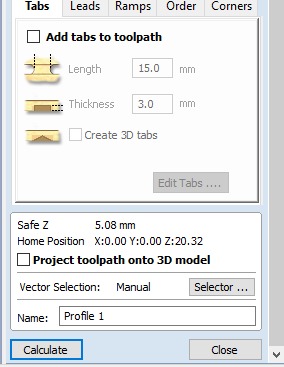
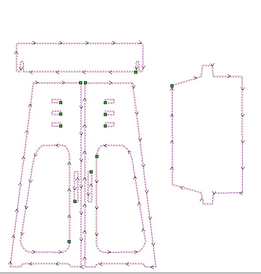
- Add Taps
The tap is very important tool its t keeps the piece of attached to the stock material, so it cannot move or stuck in cutting tool and then you can be cut or broke by your hand or by using chisel.
click the check box to add taps from edit tap you can set up the size, the number and location of the tabs.

● CNC (Computer Numeric Control)
After you set everything press (Calculate)
then click Save Toolpath
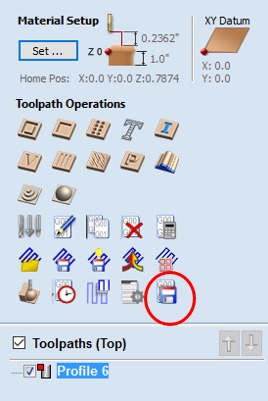
Select the profile file and then click Save Toolpath
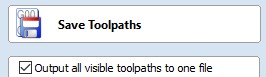
then the same steps with the pocket file after this you will find 2 files (profile.sbp + pocket.sbp) on your desktop or any location you select.
3D View … cutting way
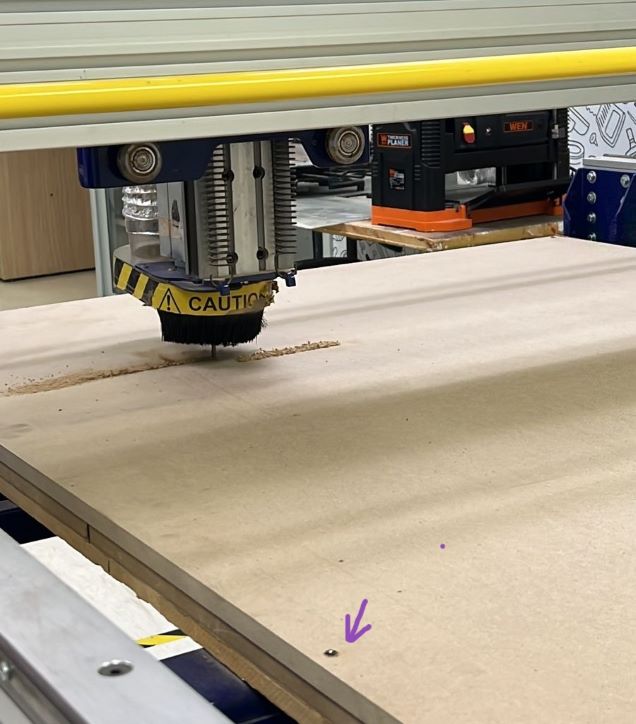
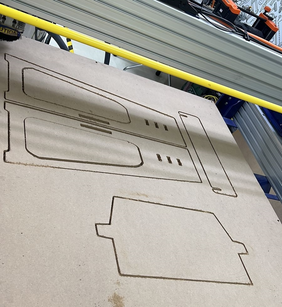
Now I apply the sheet on the CNC machine I’m asking for help because it’s very big and heavy after applying the wood on the CNC plate we drill nails around the sheets to be sure it’s stable and doesn’t move during the cutting work.
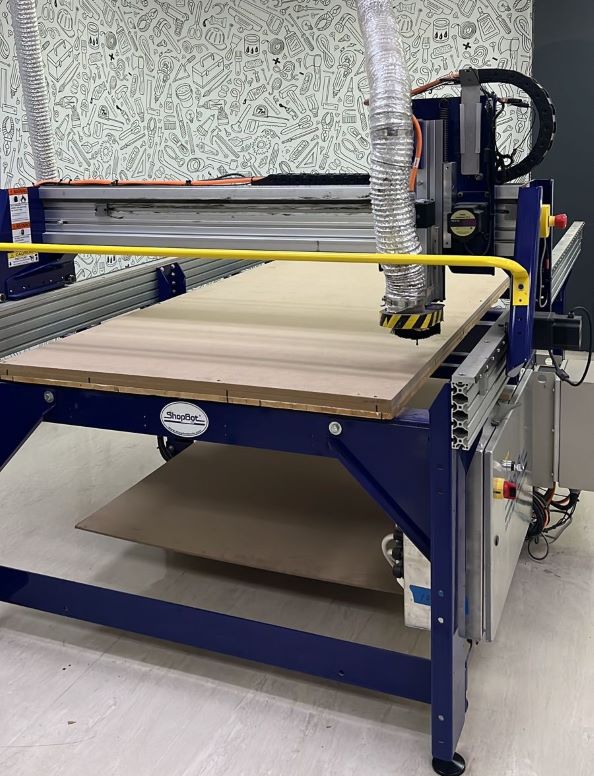
To add the nails I measure around 10 cm from the wood sheet outline and when I start applying my design in V carve I consider the nails around the wood sheet to be sure the cutting tool does not touch the nails when it works and it will broke
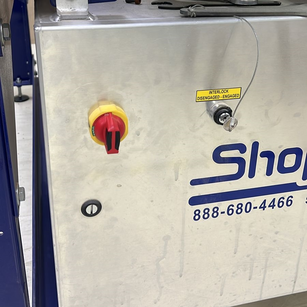
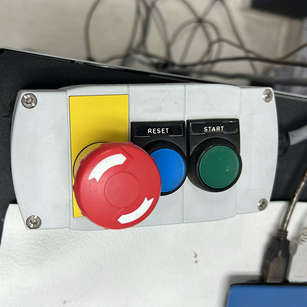
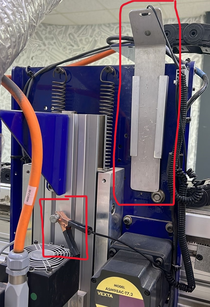
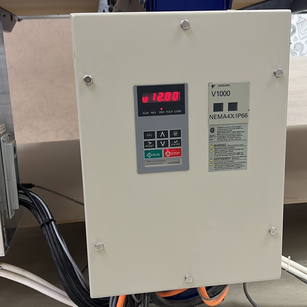
Now turn ON your machine by the red on/off switch, and Press the blue reset button in the controller.
 click the shopbot control software
▶ Manually Setting XY and Z Zero Locations
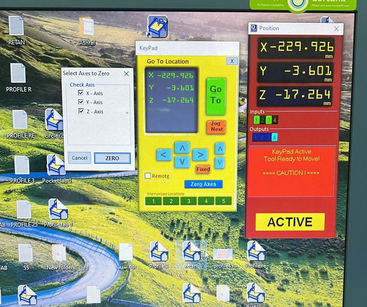
Click the icon of shopbot > set the access To manually move the spindle or gantry type K and the keypad will appear.
-
(XY) Use the blue arrows or keyboard arrows to move the gantry in X and Y.
-
(Z) Move the Z enough to the spoil board surface to accurately see the location on the spoil board - but not so close to drag the bit across the top of the material.
Add your design by click {Cut Design} Start with pocket befor profile
this message will show
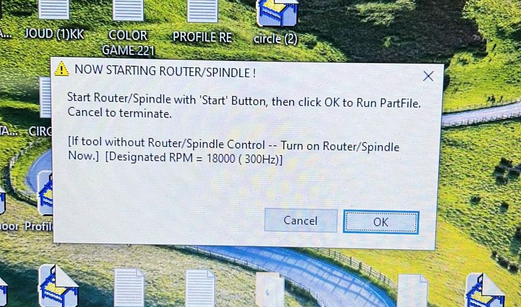
before you click OK Make sure to click Start from the controller.
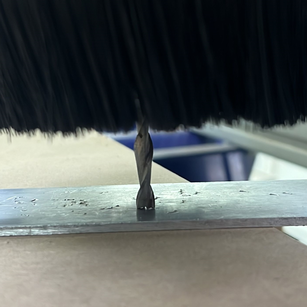
Click OK here you will hear the drill bit move wait for a minutes Be sure you followed the safety rules
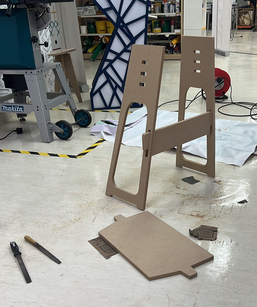
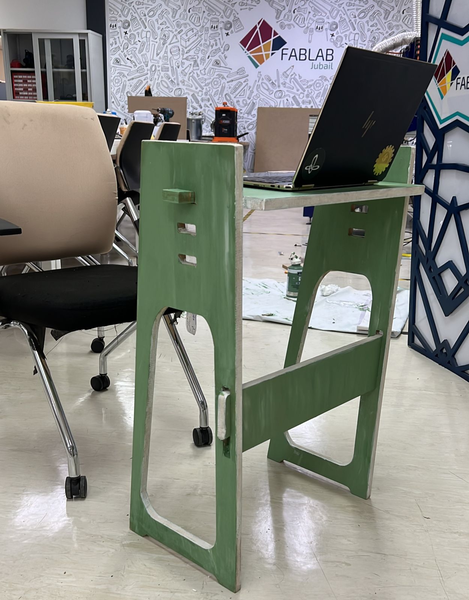
● My small desk
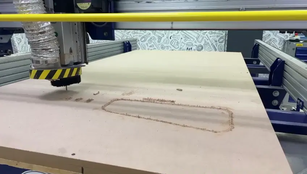
The CNC will start her work
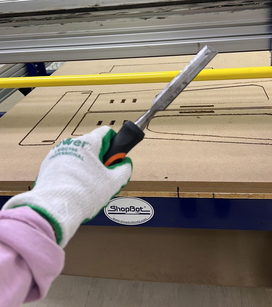
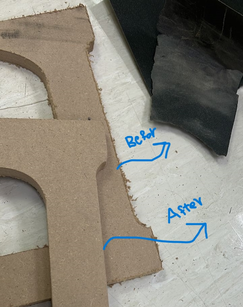
Remove your piece by Chisel
Using rough patches
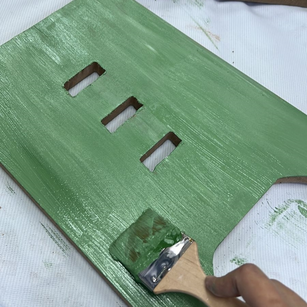
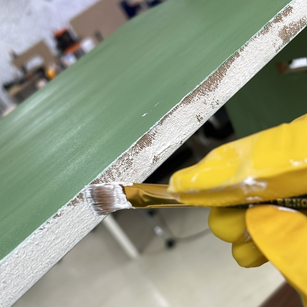
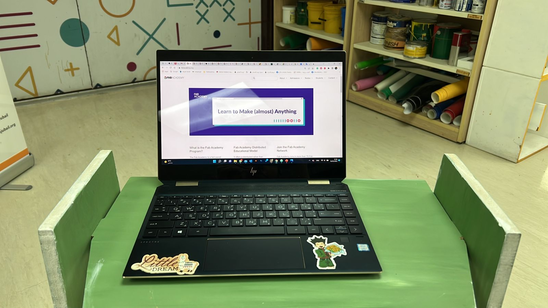
Paint it
Collect all pieces
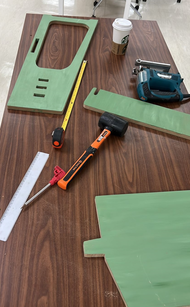
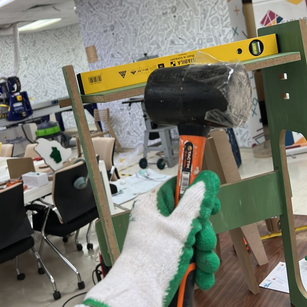
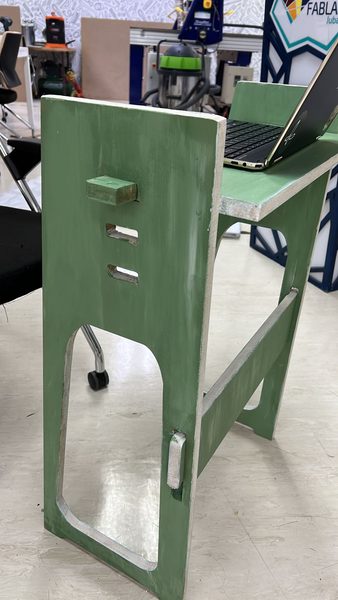
Check the balance and everything its stable
Final look
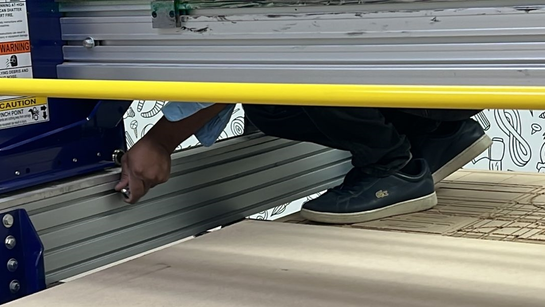
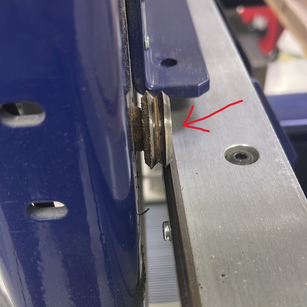
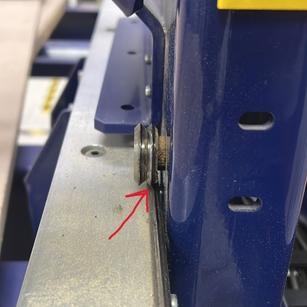
● problems
Suddenly the tray stop moving and when I checked the wheels go out from the path so we tried to get it back by the software but its do not move we tried manually it was heavy and no one can move it after this by using the scraw we remove the wheel and get back again and its move and work again