6. 3D Scanning and printing
Group assignment ✌
- Test the design rules for your 3D printer(s).
- Document your work and explain what are the limits of your printer(s).
1/ For testing the machine I Download the thingivers that have all the Design Rolls in one design

All In One 3D Printer test
It’s a perfect model to test the capacity of your printer, this model will allow you to test the support, scale, overhang, hole, diameter, and bridging test. To print it successfully you should set up several settings like speed, temperature, and Infill settings. An important advantage of this model is the inclusion of instruction that describes the ways to solve potential problems.
To download the original design All In One 3D Printer test.
2/ Here i’m using Original Prusa MINI+
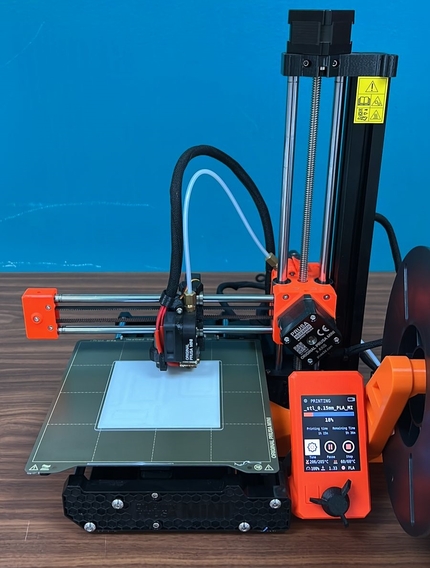
the mini Prusa is a new 3D printer in our lab I feel very excited to try it (the owner is one of the regular visitors)
there are many features in mini Prusa that I observe by myself
- the size of the machine is perfect for personal use.
- it’s available wherever you are, you can order it and there is a shipment to any country.
- you have a choice either you order the kit and you assembly by yourself or order it with Semi-assembled and this choice very good for beginners.
- Open source, there is a thousand ready design to print by Prusa in addition you can develop your print by adding some part and all free.
- if you face any problem with them machine and you did not find the solution in youtube there is a 7/24 Technical support you contact with them and they will help you.
all this features make the mini prusa the perfect printer for beginners and expert
The Mini Prusa website >> https://www.prusa3d.com/category/original-prusa-mini/
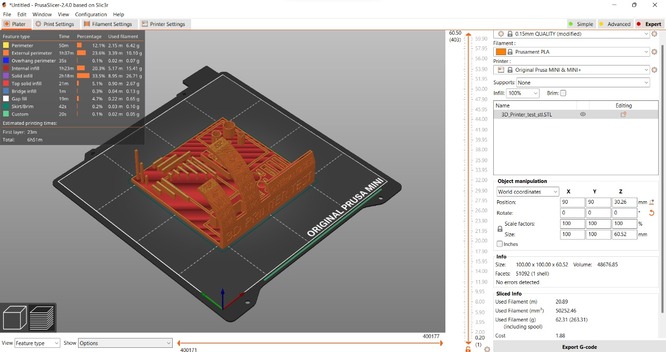
3/ I download the file from Thingiverse original design then I open it in Prusaslicer.
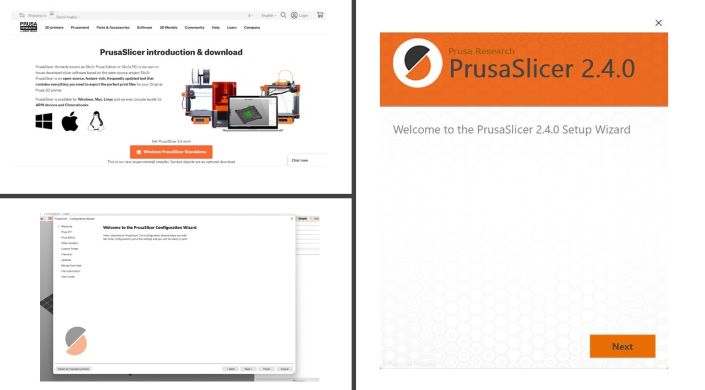
4/ if you don’t have the Prusa slicer you can download it from the link in the down , for me its best slicer software because it’s very easy to use and not heavy.
PrusaSlicer introduction & download.
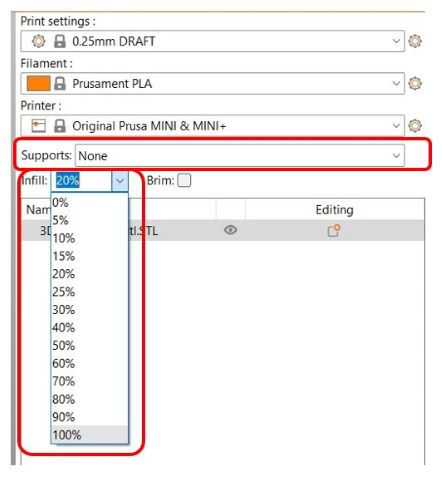
5/ For best testing, the designer mentions that the Infill should be 100% with no support.
Infill = 100% Support = None
6/ Advanced settings
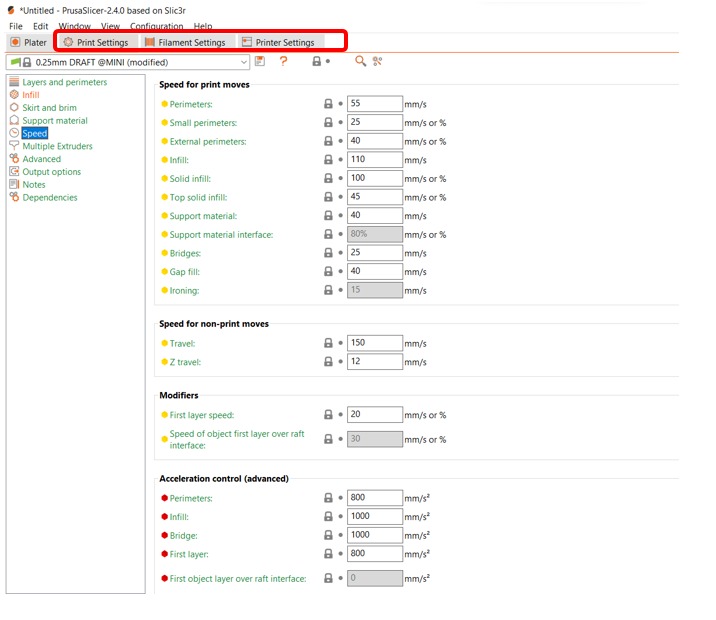
For more advanced settings you can find them on the right top - Print settings. - Filament settings. - printer settings.
for me I didn’t change it I keep it by default
7/ The Raft Layer
the Raft Layer it’s the most important layer If you start printing and the first sign for your printer if it failed or success
8/ Printer settings
Nozzle and Bed Temperature
from the screen in the printers you can set the nozzle ,bed temperature ,speed and you load and unload the materials.
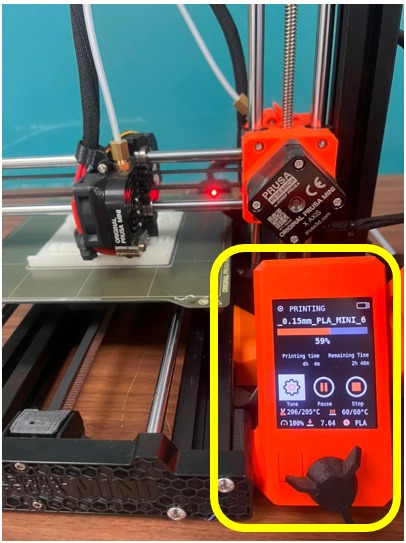
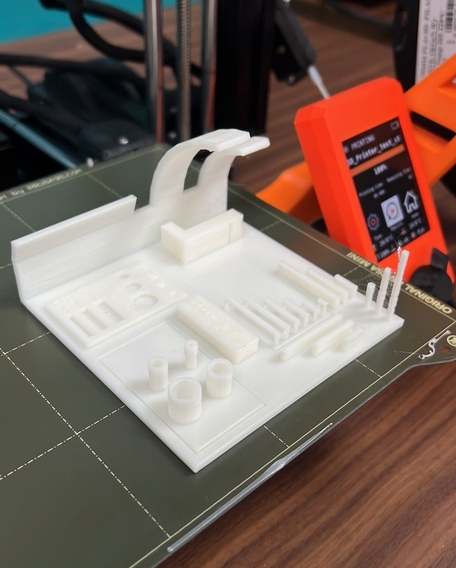
5) Final print
For the final result, as you see in the picture the printer running pretty good, I feel relief and I like this printer more than before, when I compared it with the Creality CR 10 the one I use in individual assignments The mini Prusa much better because of the features I machined it in the above in additional the Creality CR 10 in our lab it’s very old.