Touchscreen

One of the key components in this device will be the touchscreen.
It will allow the user to interact with the device:
- visualize which commonly purchased items are available
- select an item so the correct change is dispensed
- visualize the quantity of coins of each type inside the machine itself
This is one of the two commercial components used in this project.
Assembling the touchscreen
This simple step by step guide explains how to assemble the touchscreen, the screen driver and the pi board, so they can all be carried around as a single block.
There are lots of similar guides and how to tutorials on how to wire up the touchscreen for the raspberry pi , on YouTube, if you’re trying to replicate this setup.
The look and feel of this product is overall robust, very responsive to user input, not great color accuracy (but that was not an important feature), the overall experience is exactly what I was looking for: hard to break and not too slow (I really wanted to avoid the cheap-android-tablets-from-2013 lag).
What I liked about it is: how easy it is to integrate into the system (2x jumper cables and 1x ribbon cable).
What I will need to keep in mind as I develop an application for it is: the low resolution it has, I’ll have to be careful to fit the entire UI into a small space, and the UI elements will need to be large enough that they do not require the precision of a mouse.
Power requirements
In the end, I decided to remove the jumper cables and to use two separate power cables, one for the touchscreen and another one for the Pi.
The current needed for the touchscreen is enough to warrant this, and it was the only way to supply enough power to the Pi to avoid getting the infamous Low Voltage Warning
Setting up the user interface
The first step is to configure the RaspberryPi is to download the latest RaspberryPi image from the official website.
We are going to use the downloaded software to choose a “full desktop” image, and to flash into a microSD card.

Writing OS failed a couple of times in a row… We’re going to go ahead anyway and see what happens:
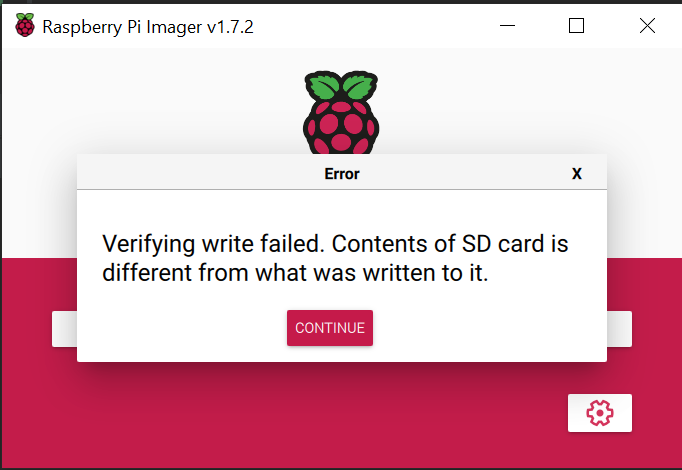
After trying 3 times, I decided to wing it, and try anyway. The screen did not turn on!
After flashing a new SD card, it all worked perfectly.
Rotating the screen
Rotating the screen 180’ so it shows right-side-up during development
xinput set-prop 'raspberrypi-ts' 'Coordinate Transformation Matrix' -1 0 1 0 -1 1 0 0 1
This command can be added to the boot/config.txt file
This tutorial also recommends updating
your *evdev* file in /usr/share/X11/xorg.conf.d/ to add this extra line at the end of the touchscreen section
config.
Option "TransformationMatrix" "-1 0 1 0 -1 1 0 0 1"