Vinyl Cutter
individual assignment:
- cut something on the vinyl cutter ✅
This week we had the chance to try out the vinyl cutter (aka. the least appreciated piece of equipment in all fab labs, according to Neil)
Inkscape Design and adjustments
To start off, I wanted to explore inkscape and learn how to perform basic operations beyond the simple tests we did last week.
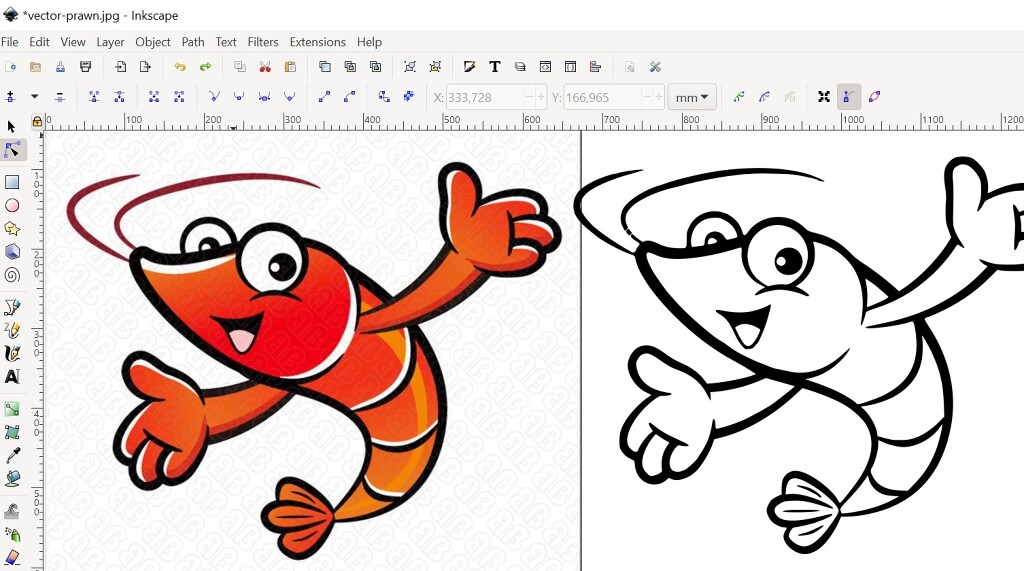
Once we remove the colours and the details that we don’t want to retain (white stripes, etc..) we are able to convert it to vectors, to continue operating on it.
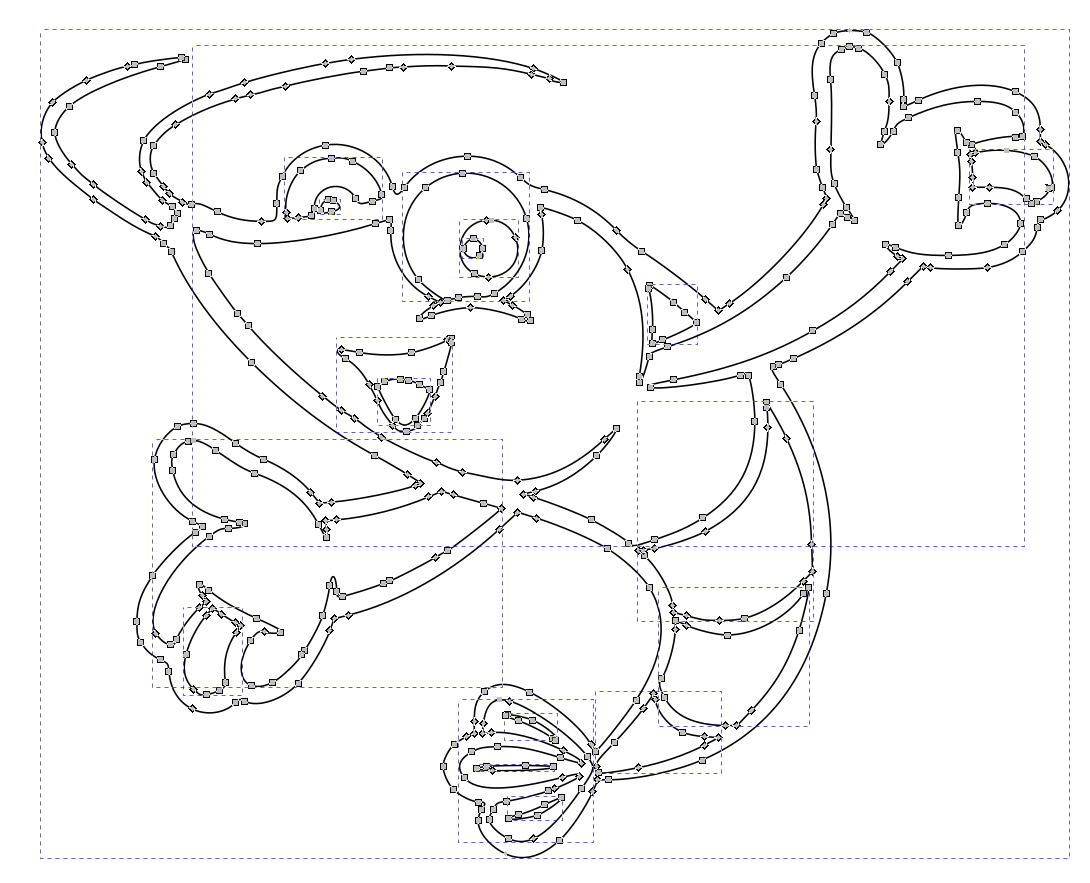
The design had some finicky details that we wanted to remove from it (the thin and fragile antennae).

Once we are happy with the design, we can export it as a DXF file, so that we can do the final post-processing in Silhouette Studio.
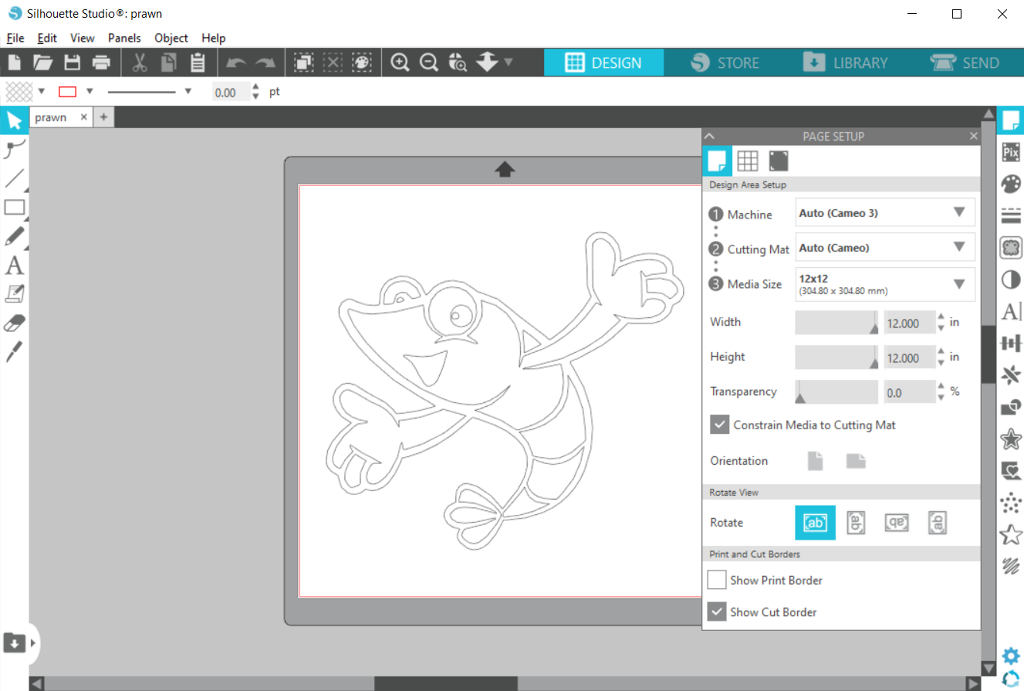
Post-processing in Silhouette Studio
For our final post-processing, we’ll be using Silhouette Studio 4.4, an application that supports the actual device in the lab.

The first step is to import the DXF we just exported from Inkscape.
The tool allows us to select material sizes and overall proportions, as well as basic positioning settings (flips, rotations, etc..)
Blade auto-calibration
The vinyl cutter that we have in the Fab Lab automatically calibrates the blade pressure before each cut operation, so even this step could be skipped and removed from our normal workflow.
The only thing we need to do, to make sure that auto-calibration is done correctly is to set the material in the “Send” tab.

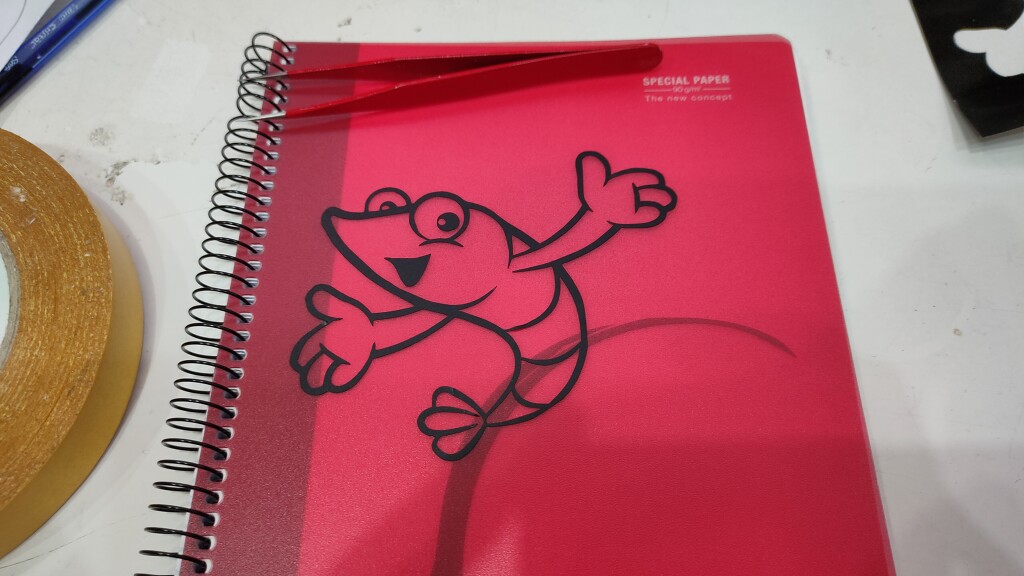
The vinyl-cut figure

The last step is peeling off the figure and pasting it in its final place.
This turned out to be a bit delicate, but nothing that couldn’t be achieved with patience and a pair of tweezers.
Closing thoughts
The entire cutting-transferring-sticking-peeling operation took ~30 minutes end to end, and was way easier than initially expected.
It seems that the vinyl cutters don’t seem to get much love in the labs, and I don’t fully understand why. The process was simple, fairly easy and rewarding.