Molding and Casting - Attempt #2
If you have not yet read the first attempt at molding and casting, you should read that first.
Concept
After the first design, which did not work, and based on feedback from other instructors in FabLab Leon, I decided to try a different design that would explore milling in full 3D more clearly.
Something where we could explore surface curvature.
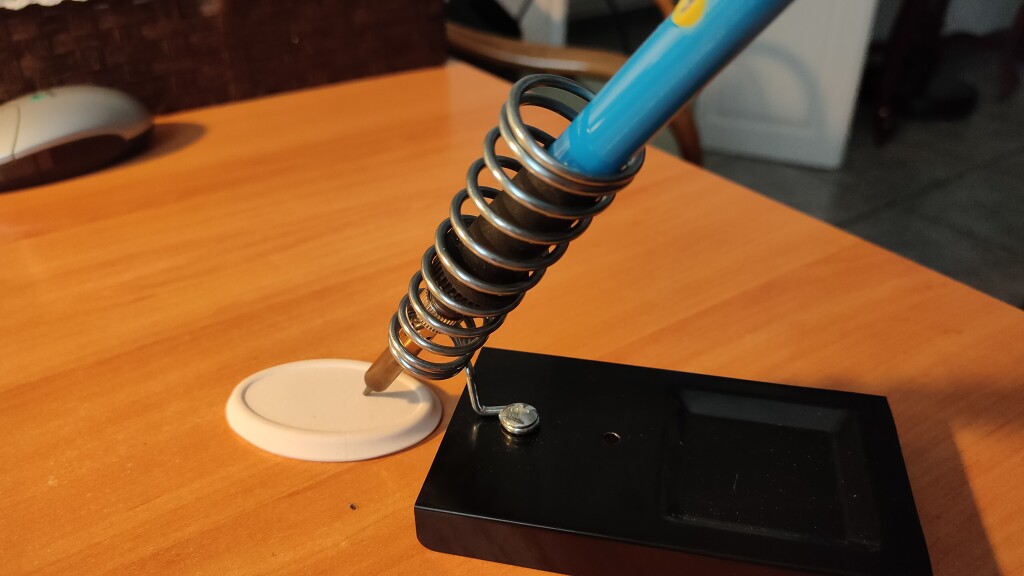
The idea was to design something that I could use as a resting place for the soldering tip, since sometimes it slips down its holder and the hot tip touches that table surface.
The reason why it is so shallow is that this was done on the flip side of the original wax block. I didn’t want to consume another wax block, so I designed a shallow piece.
New Dimensions for our piece
Our original wax block was 45mm and we consumed 12mm into it while milling our dinosaur lamp.
45.07 - 12.60 = 32.47 mm new thickness available
Let’s remove 5mm for the top and 3mm for the bottom
32 - 5 - 3 = 24mm max height of our figure
- Material: Recycled Machinable Wax
- Dimensions:
- Width: 143mm
- Length: 85mm
- Depth: 24mm 🆕
2nd attempt - here we go again
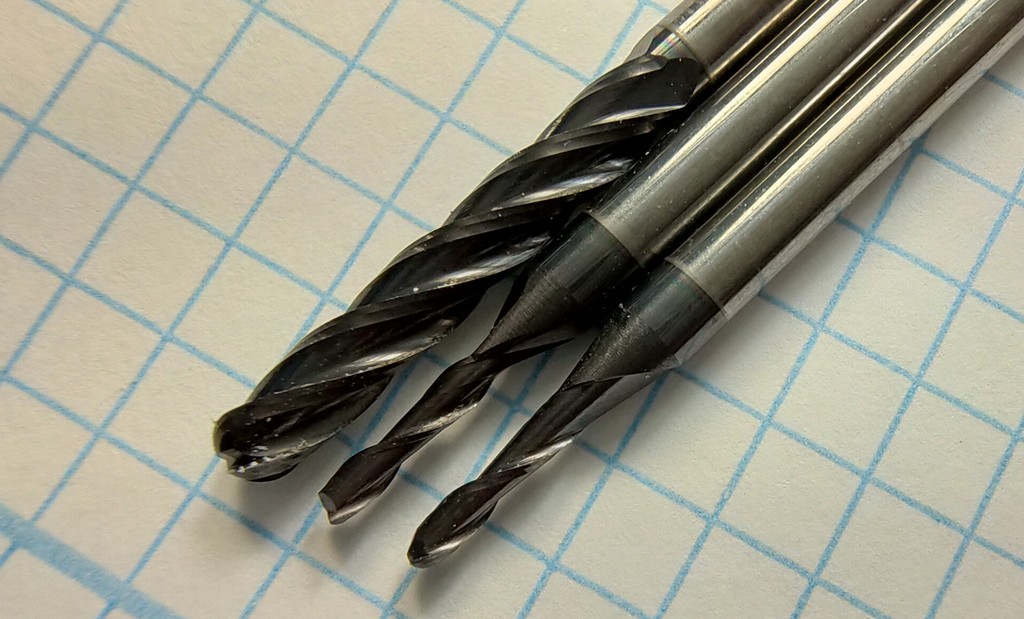
The design and milling process was done like the first time. The only change was that I could chamfer the walls a lot more aggresively.
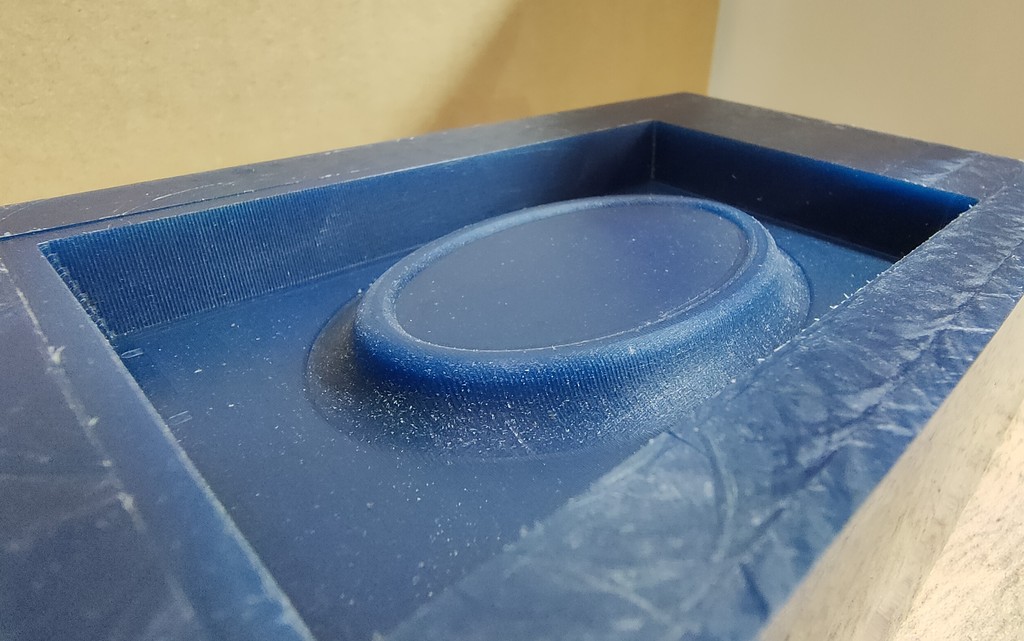
This is the finished piece of wax that we will use to create our negative mold.
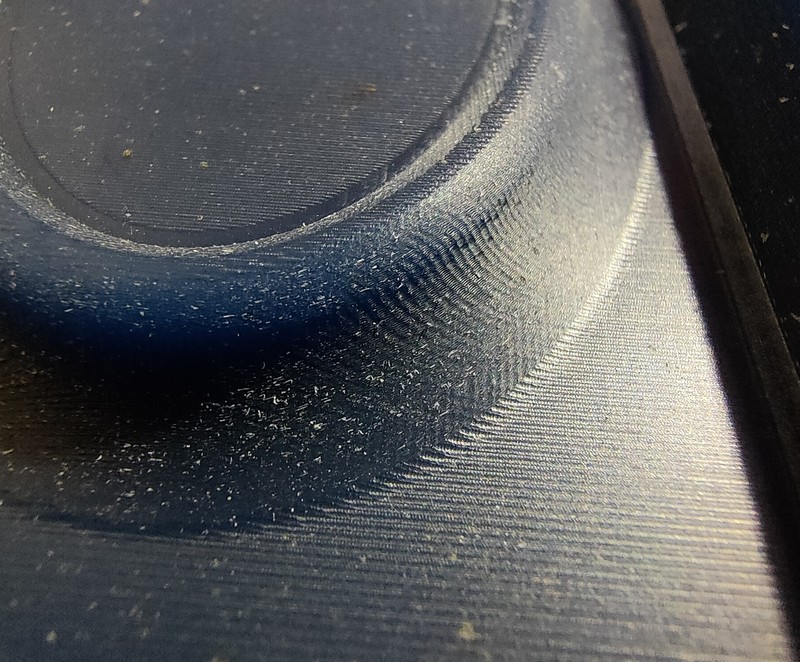
This is a closeup of the finish cut. The texture was buttery smooth, between the precise milling and the natural texture of wax.
Once we have our wax ready, we need to measure the volume it can hold, with a bit of water.

This was 60g = 60ml of water.
We are going to use translucent non-foodsafe silicone: Easyplat 00-30
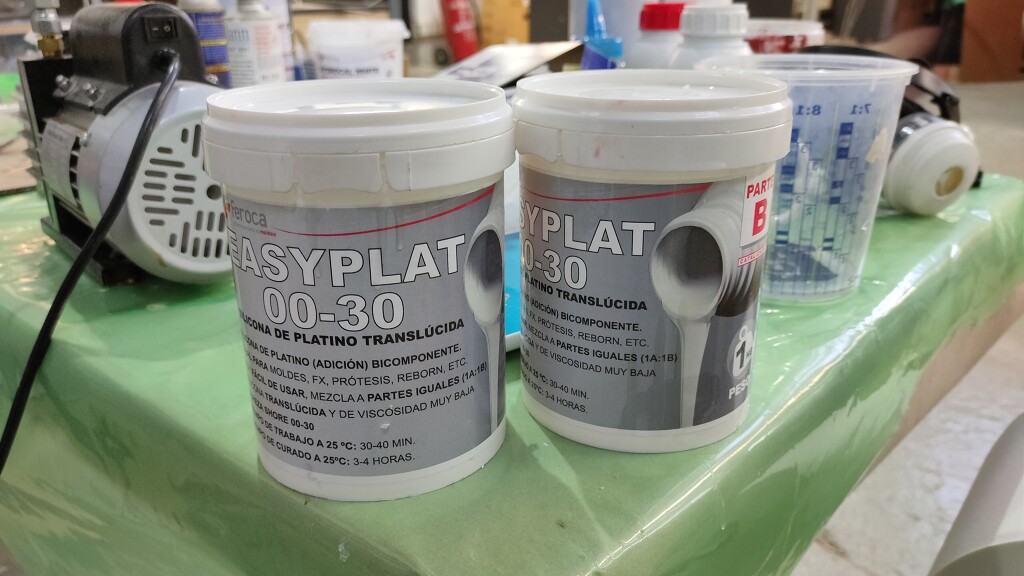
Given our material uses a 50% / 50% mix we need to measure 30g of each part.

After a goooood long stirring (~ 5 minutes), we need to de-gas our mix, to remove air bubbles.
Degassing our silicone
This is a 5-minute time-lapse of the degassing
This is the vacuum pump we used to create a -12 bar of negative pressure to de-gas our molding mix:

Creating the Silicone Mold
Creating the silicone mold requires us to pour the well stirred and thoroughly de-gassed mix into our wax block with care and attention that no bubbles are created.

Then we wait for a few hours to allow for curation (the datasheet will tell us the min. duration) , in our case I left it until the next day since there was no rush.
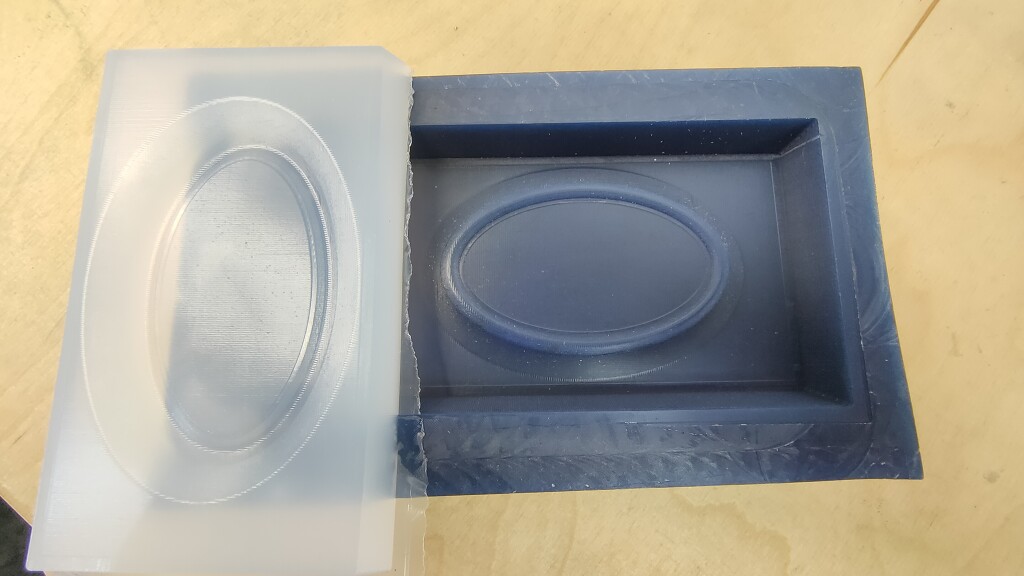
This is the finished product: a mold (negative shape) that we can use to create the final casts (positive shape)
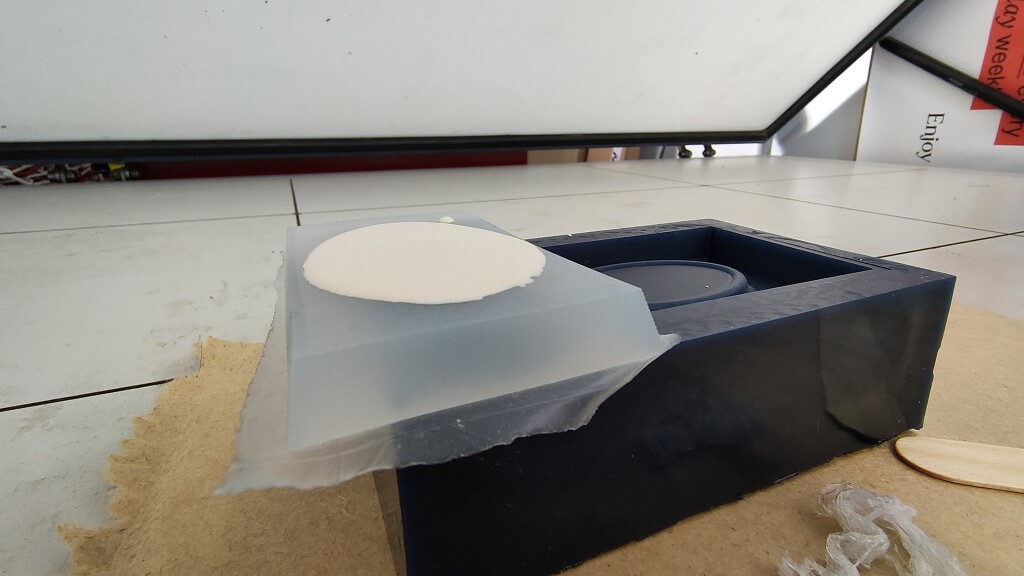
Final Cast
The last step is to repeat the fill up the negative mold with the mix that we will use for the positive cast.
Final touches for supreme excellence
Give your finished piece a nice polish up to remove rough edges and give it the smoothness it deserves to be considered a masterpiece.
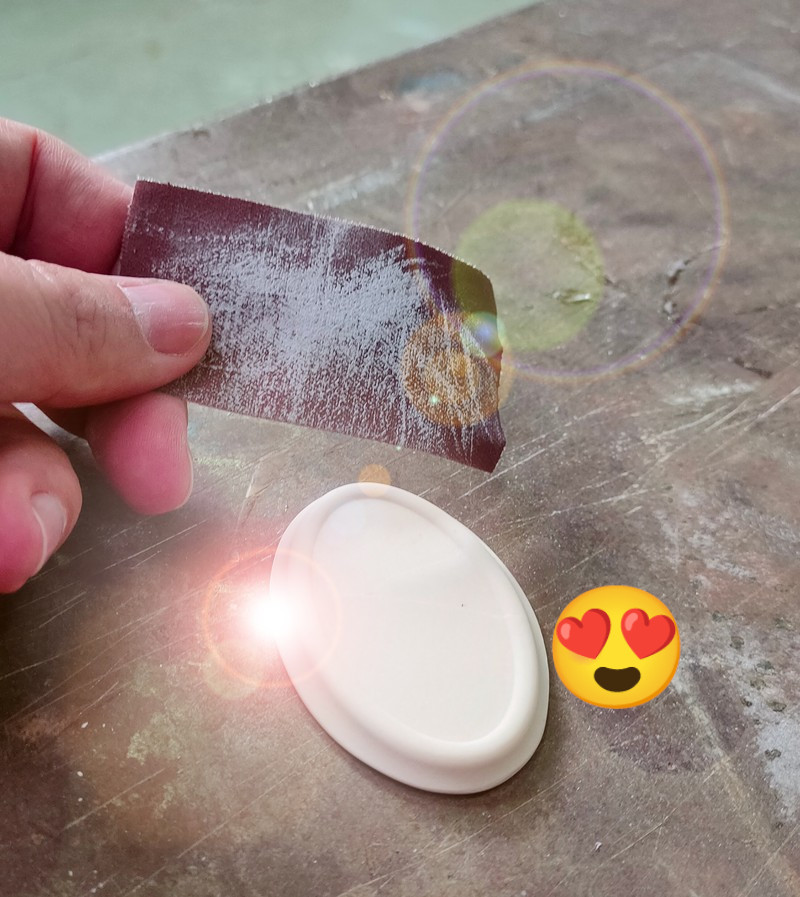
Oh, yes! 🔝 PRO TIP: Don’t forget to accidentally drop your cast on the floor 2 minutes after giving it a final polish.

What? Did you forget to check the drop resistance on the material’s datasheet when you were picking casting
materials? 🥲 Dropping it immediately after finishing the entire process ensures that you won’t
forget it next time!
FabAcademy Instructor of the week award
The FabAcademy Instructor of the week award goes to “Karma”. “Karma; It really drives the point home”

Soldering Tray (completed)
Have you ever wondered what it feels like to drop a piece like the one described above? Use these files to create your own, and YOU TOO can join this exclusive and elite club of infinite clumsiness ✌
Get your files here and start breaking your casts and your heart in 3 easy steps!