10. Molding and casting
Individual Assignment
For this week, I have to design my 3D part and mill it on the wax mold using the CNC machine. Afterwards, This wax mold casts with a soft material and finally the soft material mold casts with a hard material. I made two 3D design but for this week I milled the simple one because first I want to learn and practice all the process before doing the one which takes more time milling.
DESIGNING THE 3D OBJECT
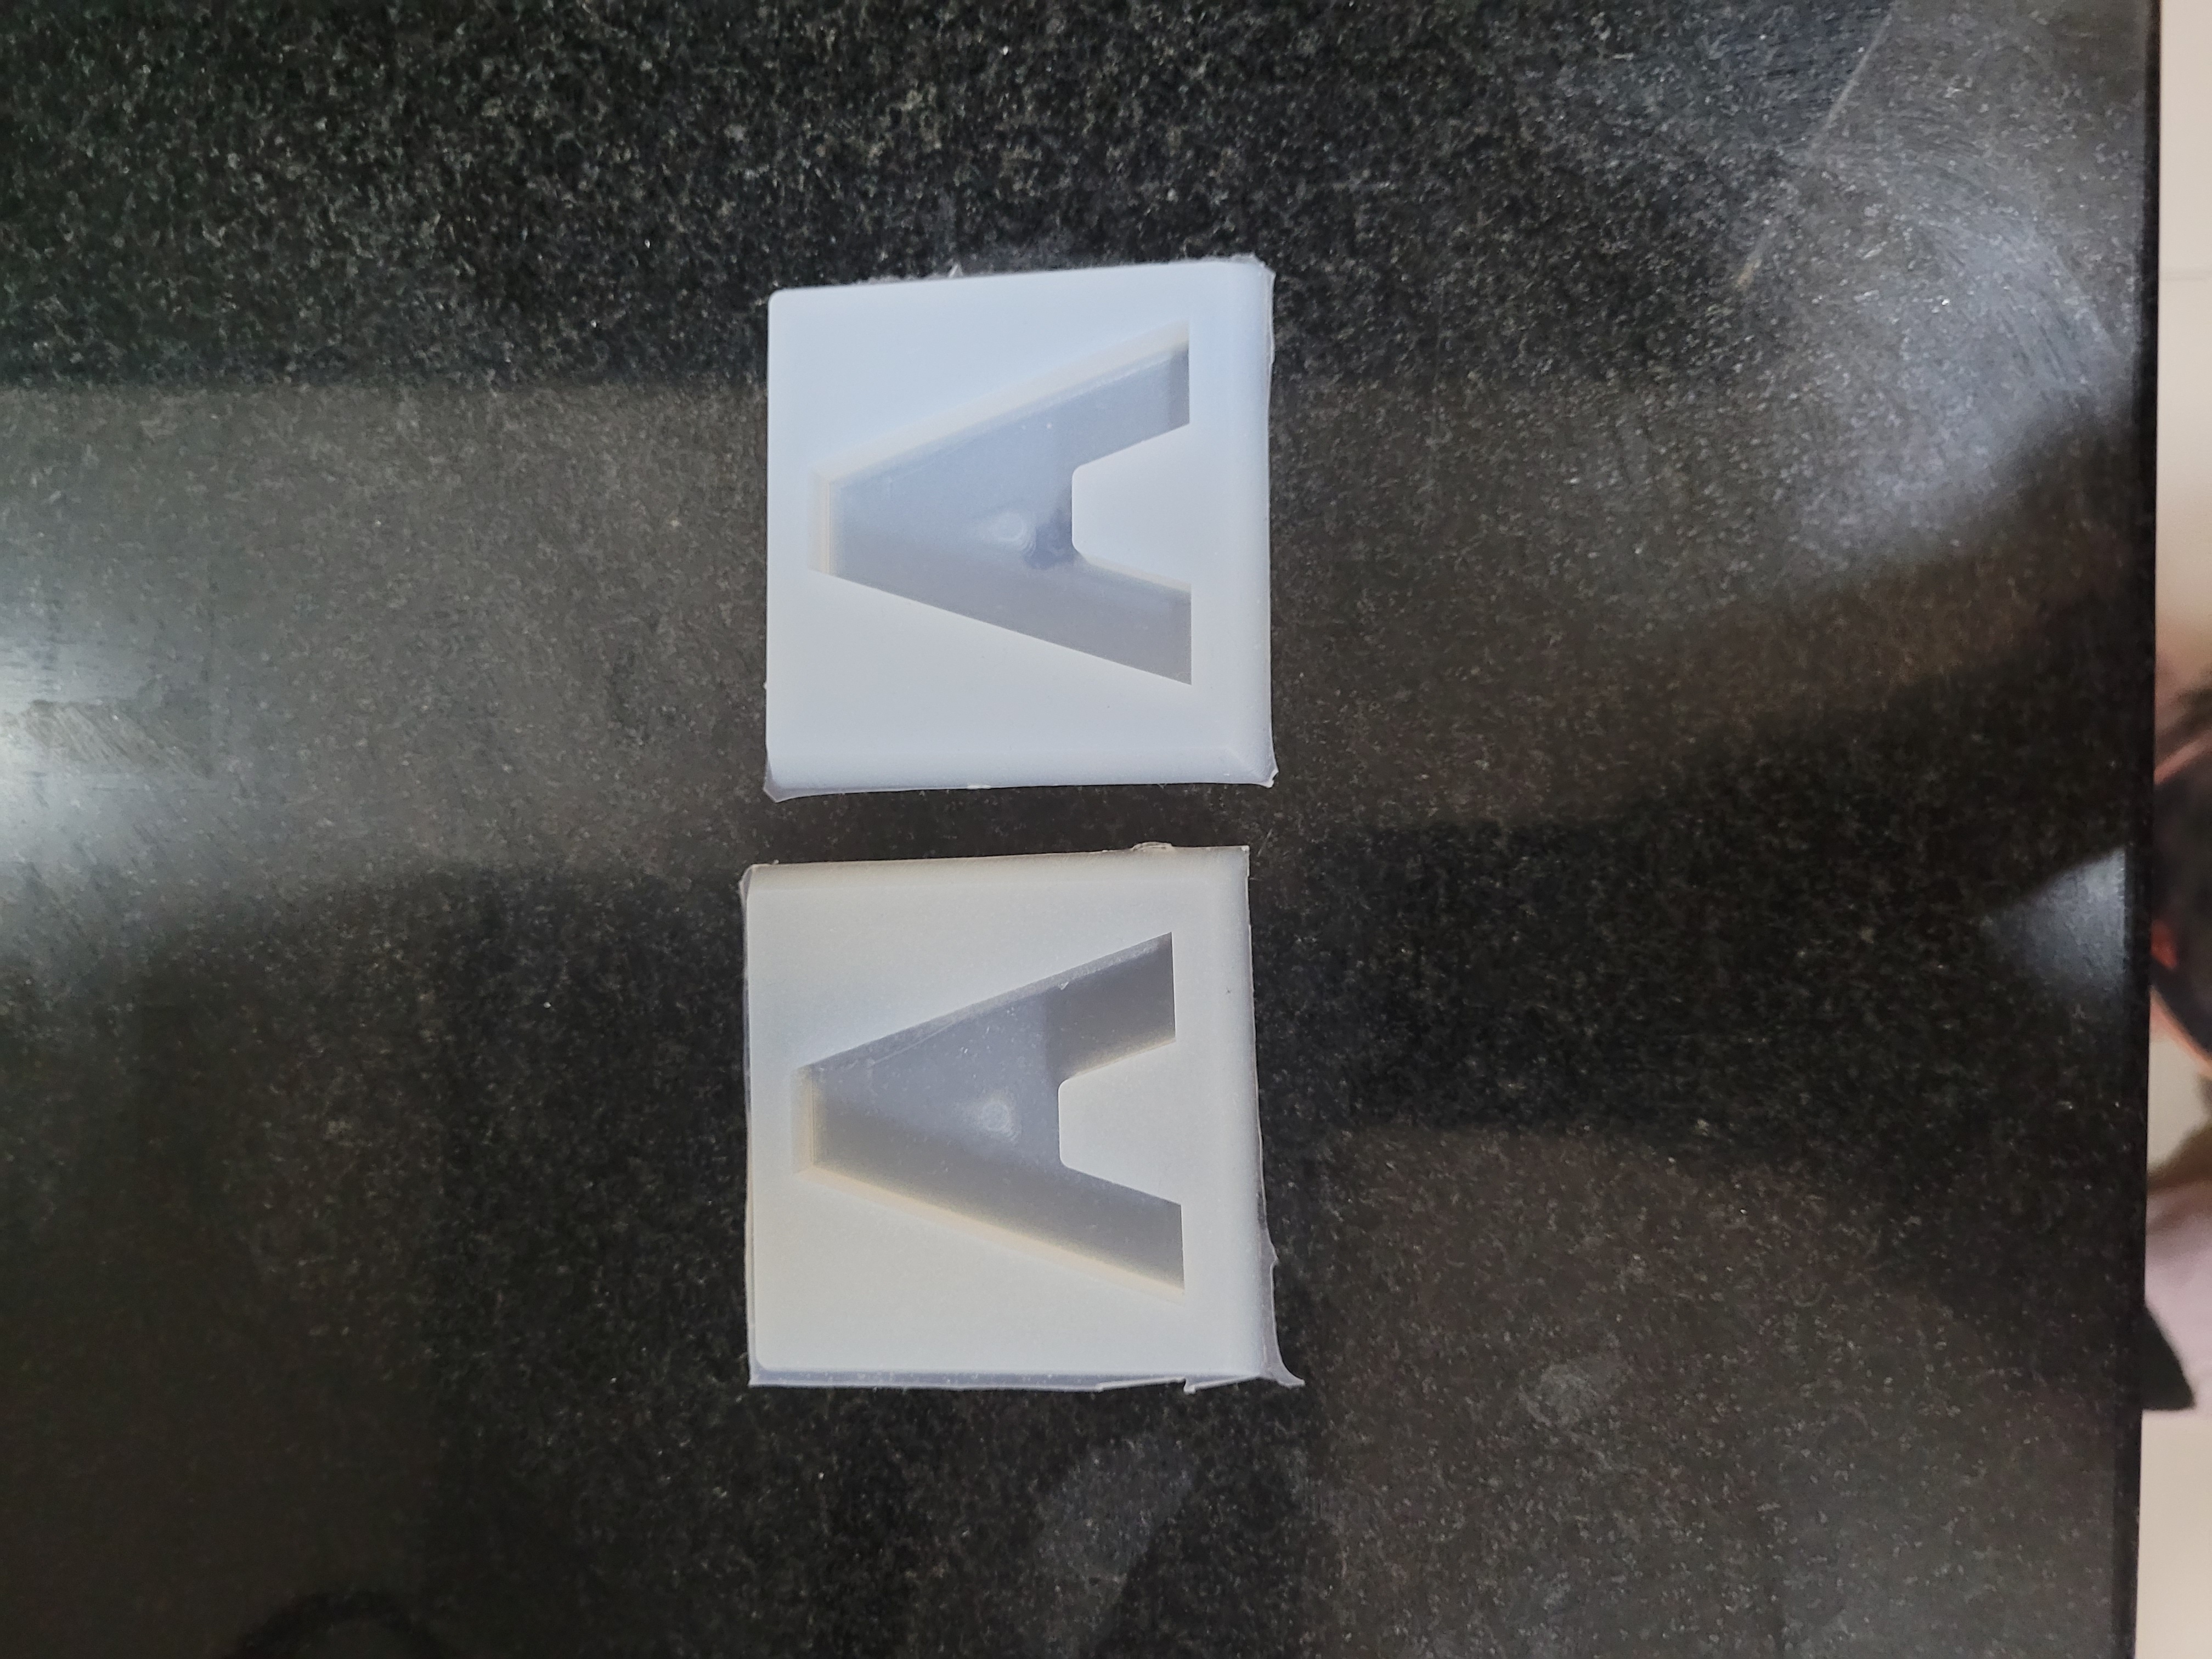
As I mentioned for this assignment I made two 3D parts but I elected to mill the simple one which is the letter “A” because it is the first letter of my mother’s name. As can be seen, I like fusion 360 that is why I made my design on this software.
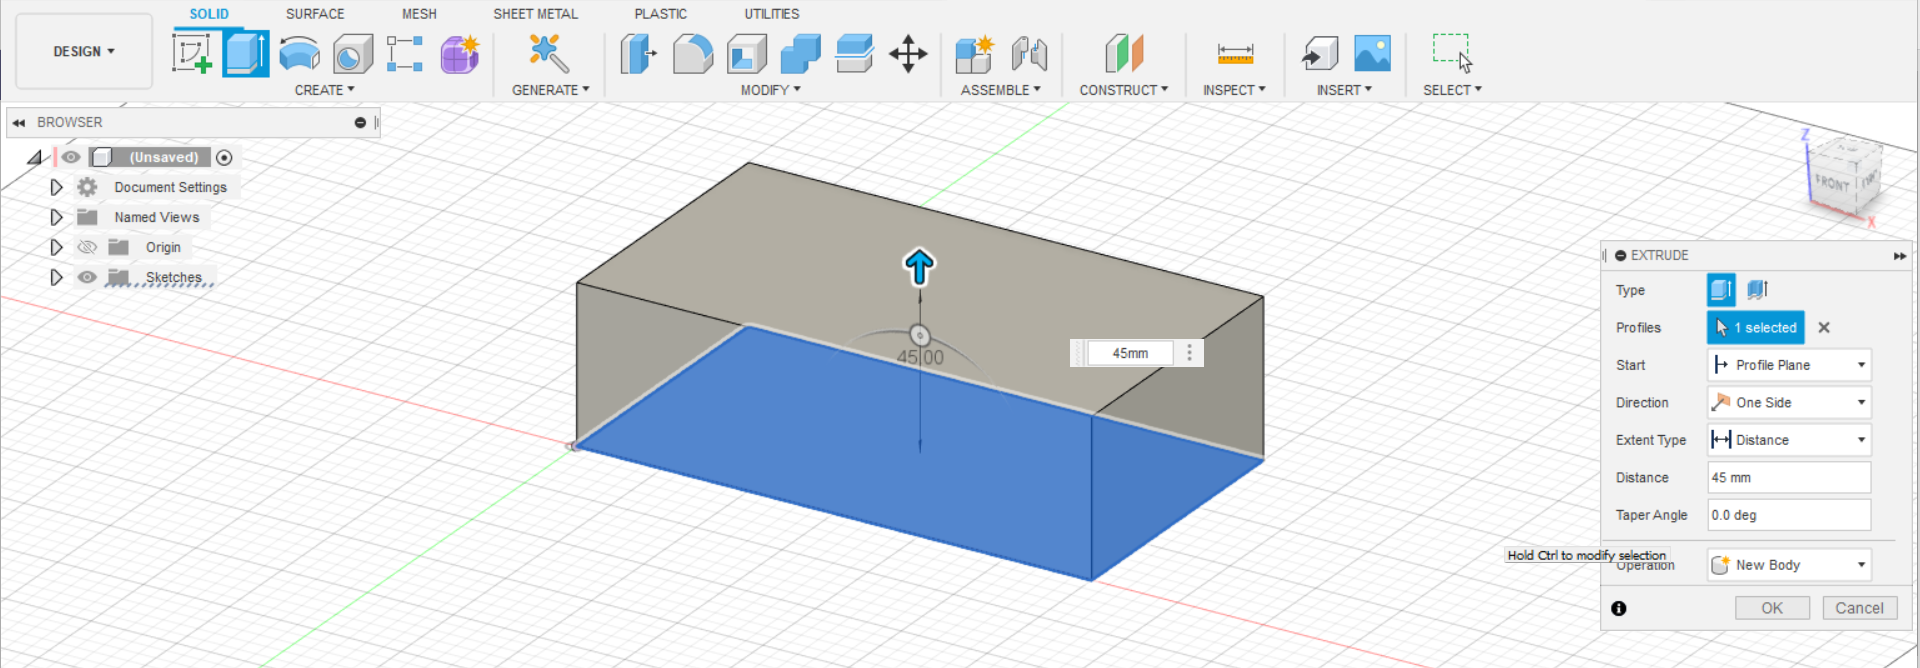
I start to create a rectangle with the lenght and width of my wax block. Then, I extrude the sketch with the block height which is 45mm.
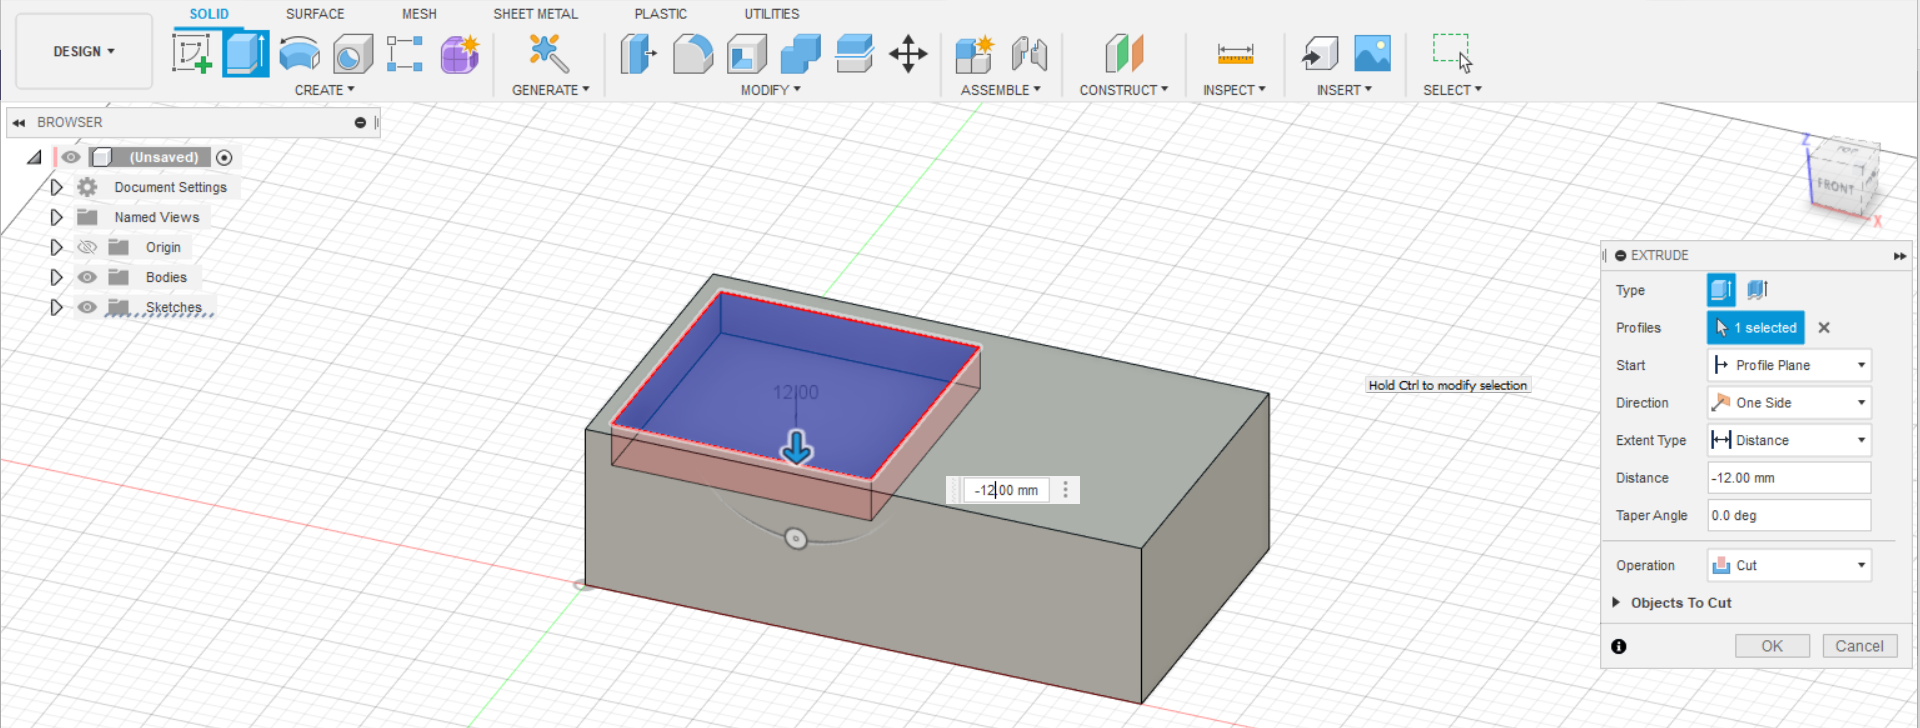
I take out a part of the block.
I sketch the letter “A” on the base and with the extrude I can get a 2.5D Design. It is imperative to leave a space between the top part of the mold and the object, in my case the letter “A”, that allows us to cover all the object when it is going to cast.
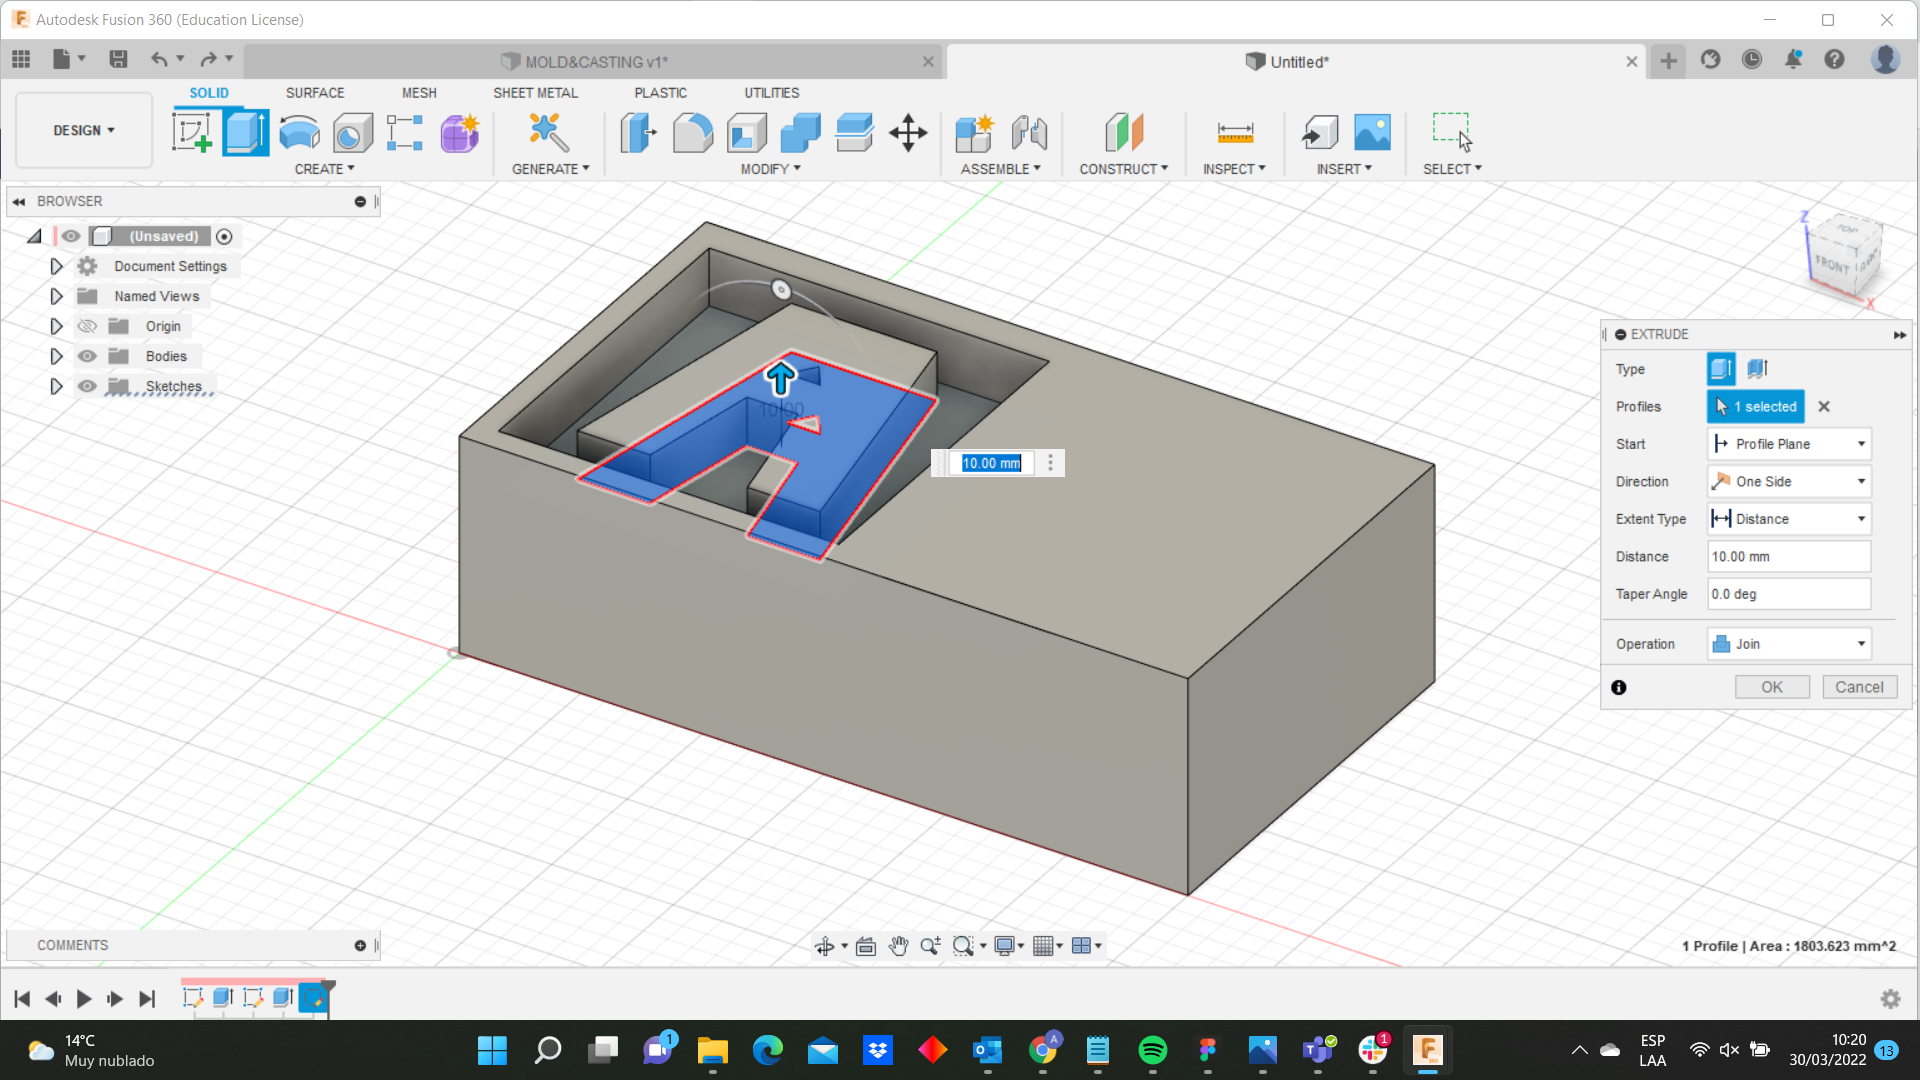
I design another depth to give to chocolate some thickness.
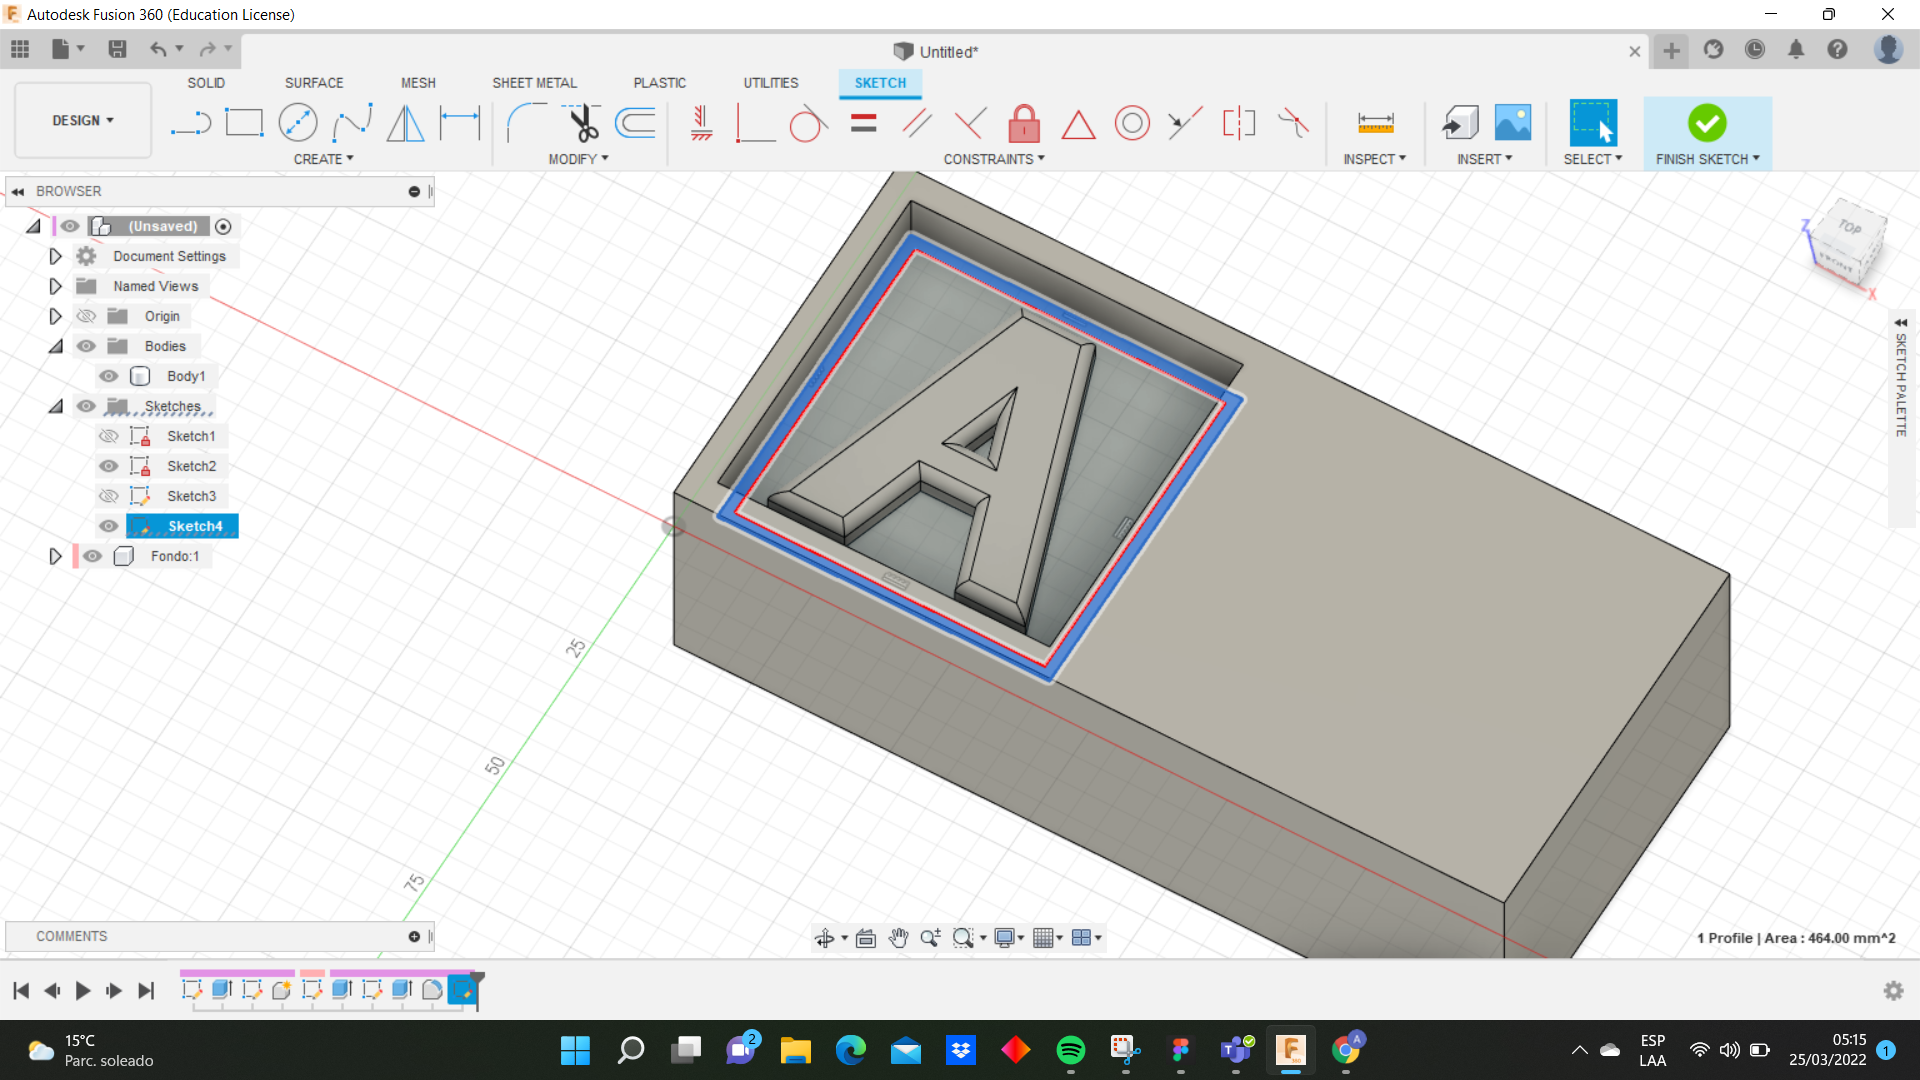
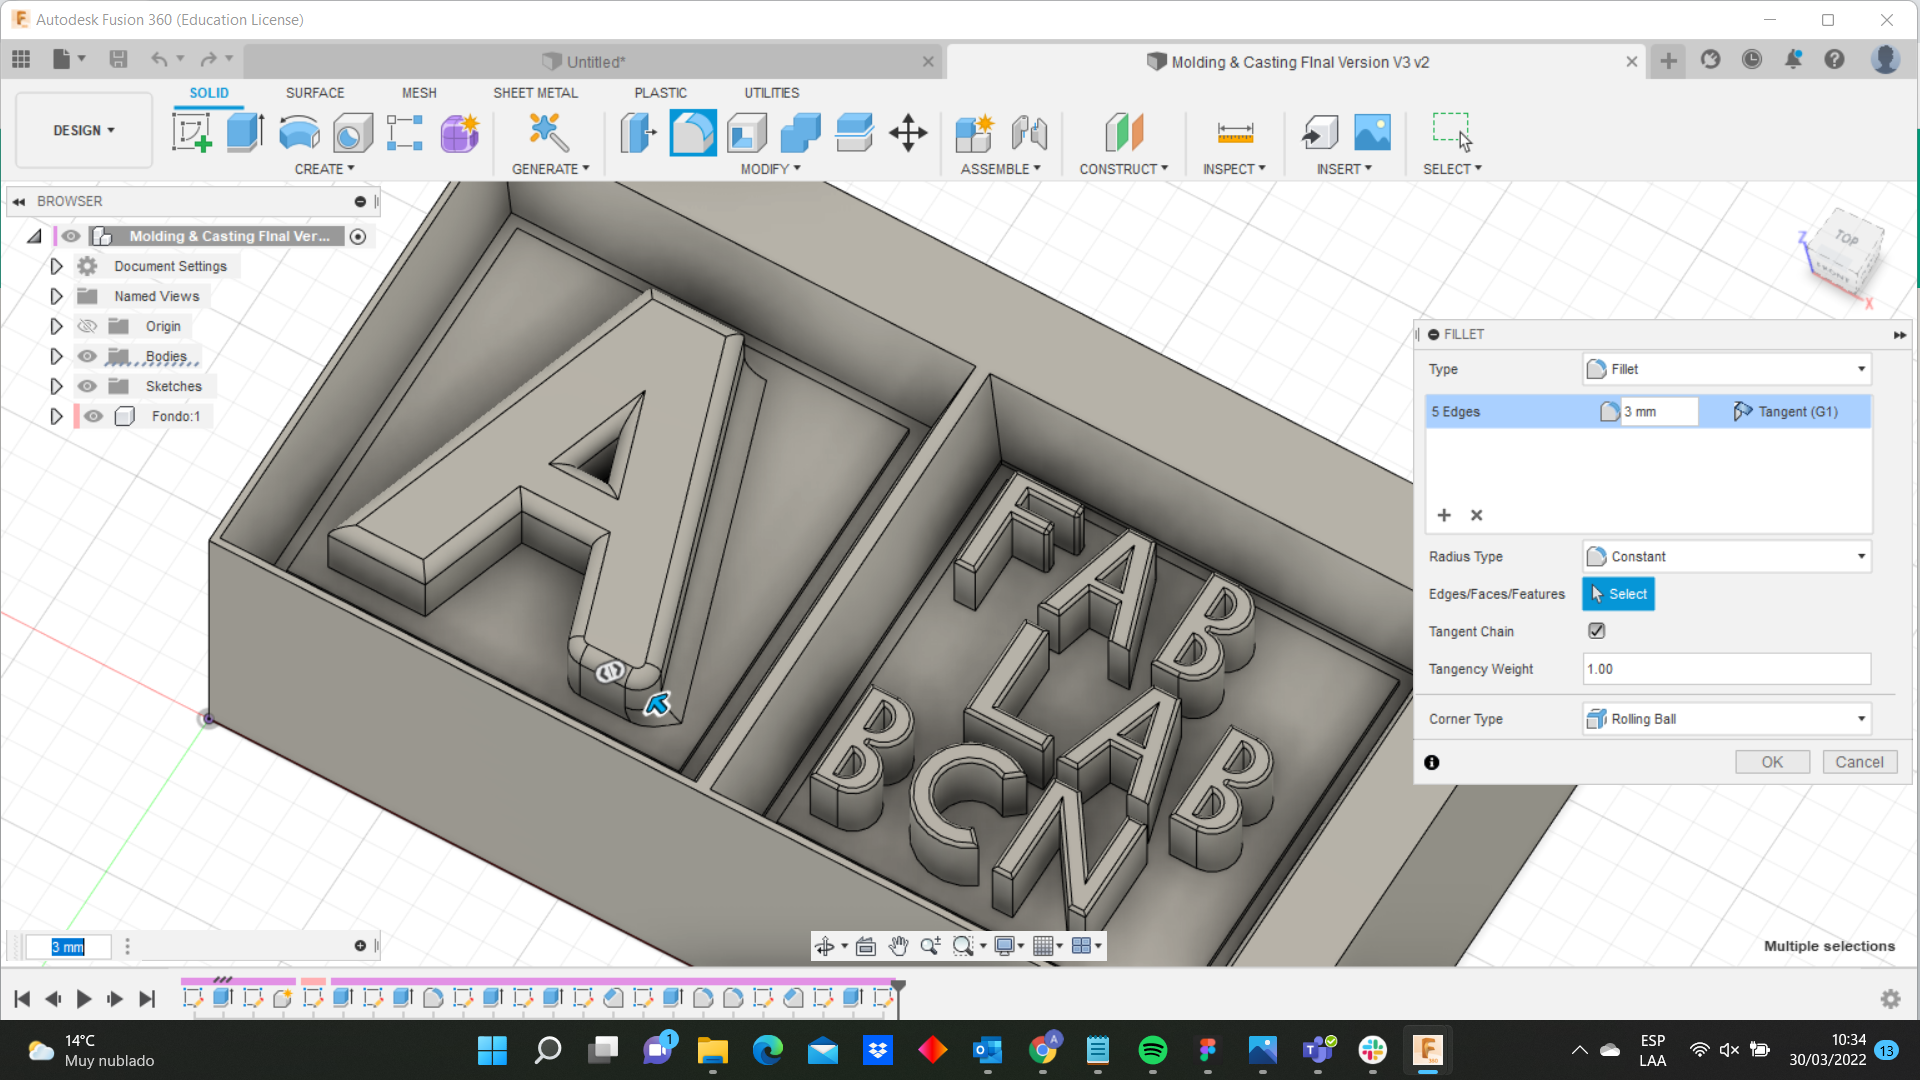
I need to get a 3D design and not a 2.5D design so I use the fillet modification around the top of the A.
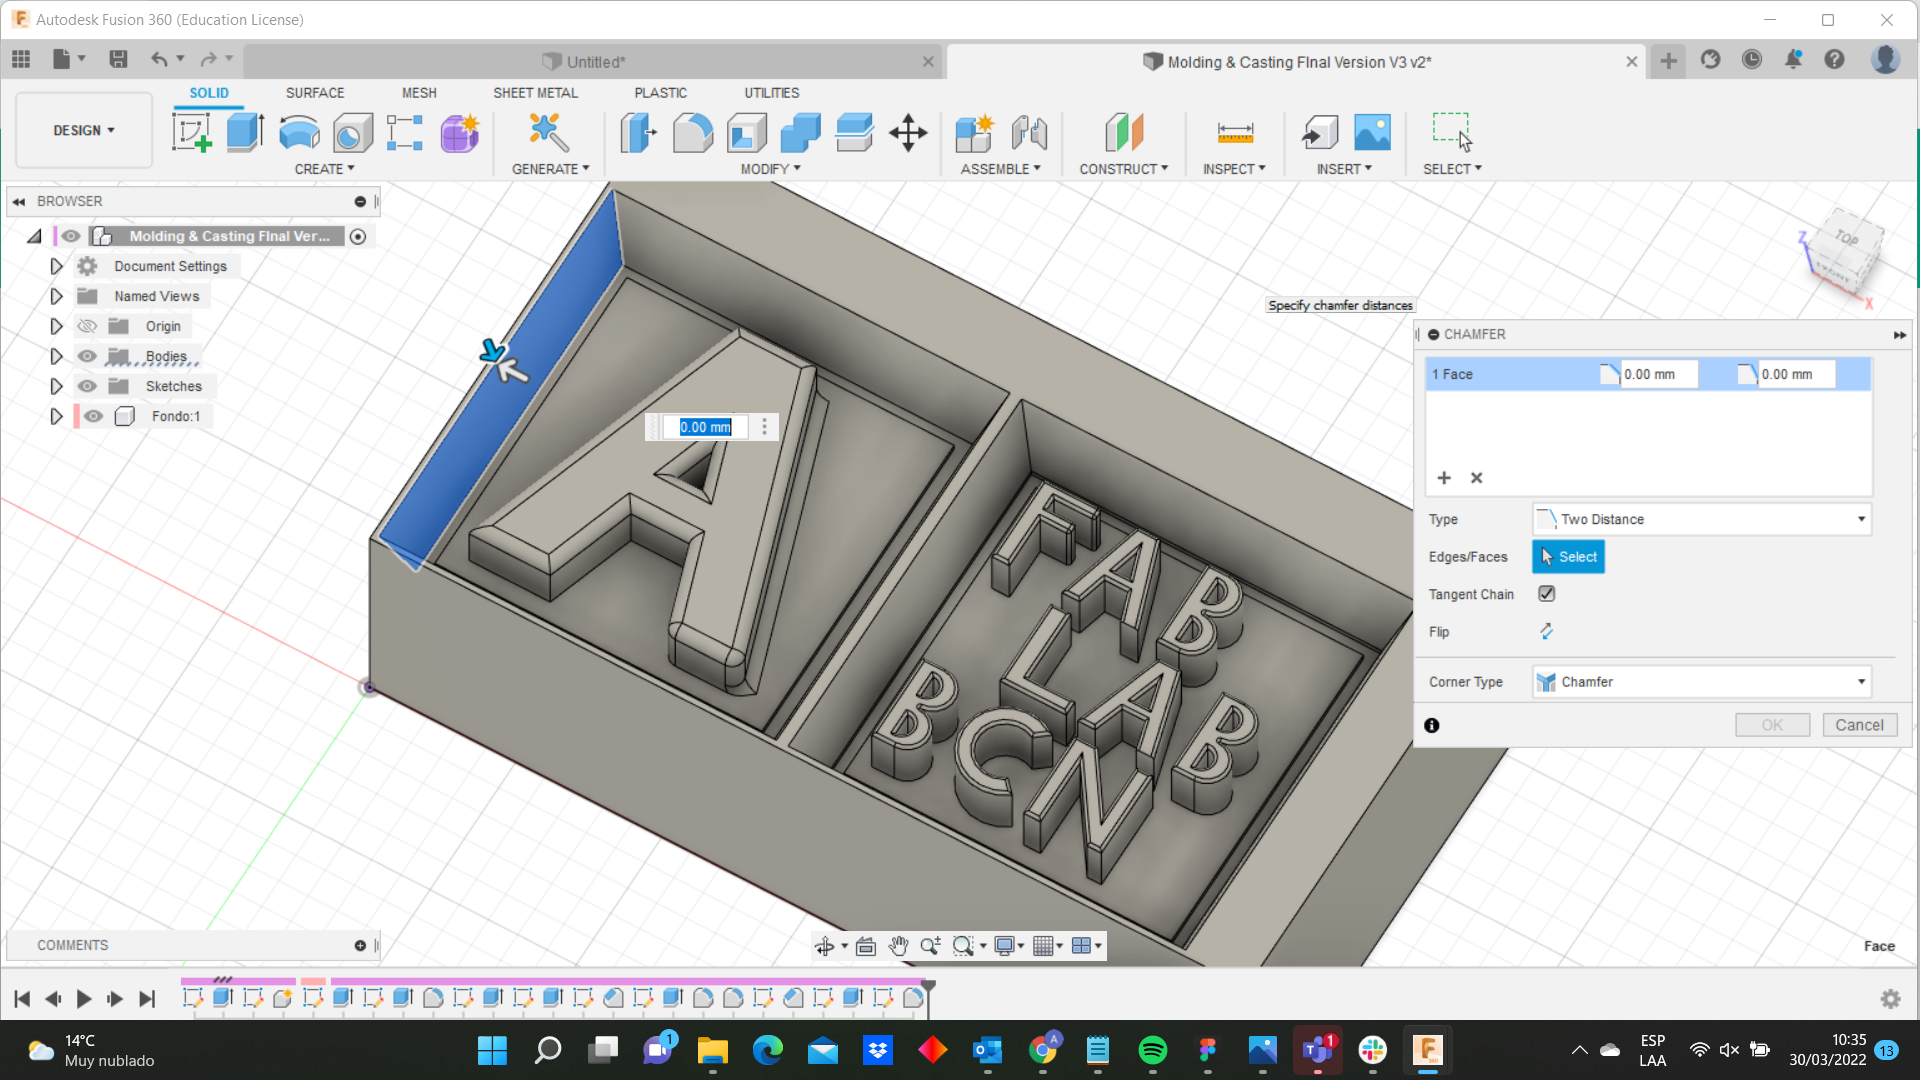
We must leave a space between the walls and the object to allows the end mill to go through the whole object and mill it. That is why I use the chamfer command on the edge on the mold.
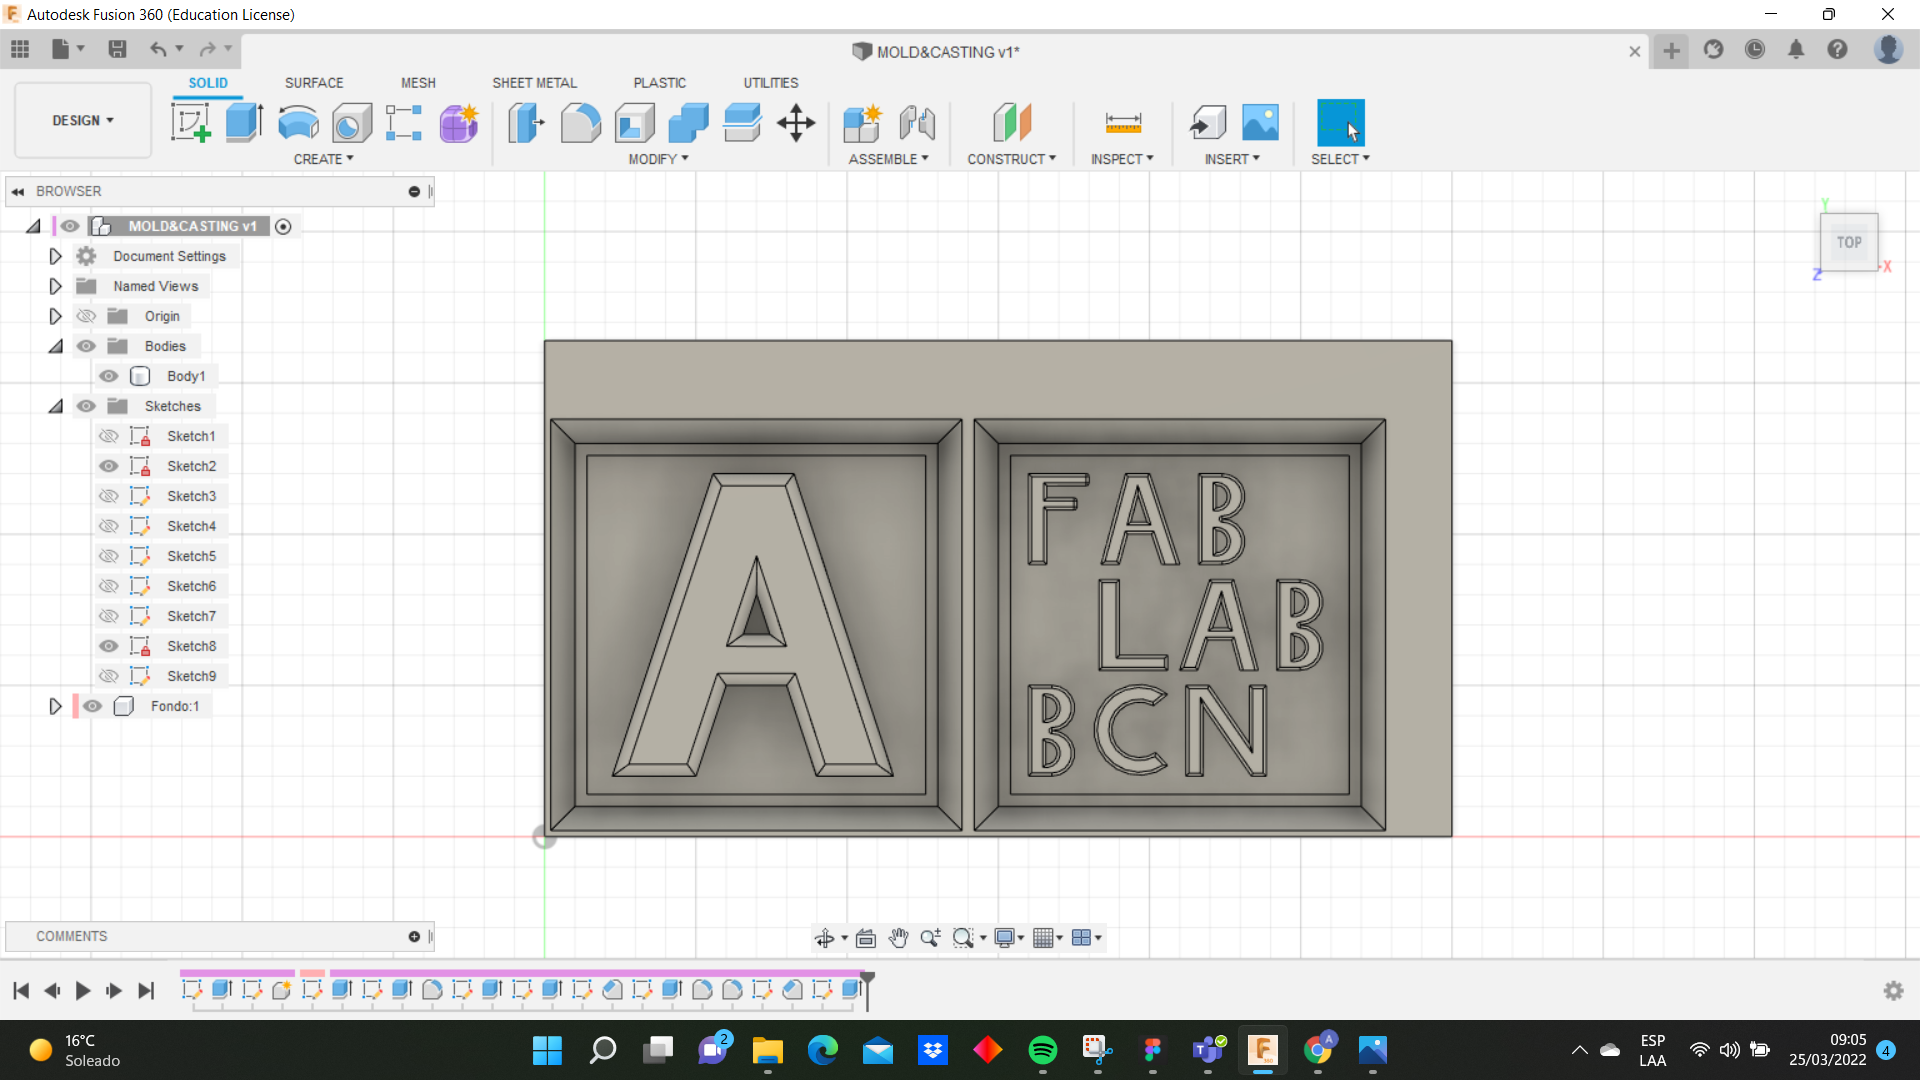
By the way, I show you my second 3D design that it would be mill in the next weeks.
To conclude this stage, I export the file as .STL that allows me to create a CNC path.
CREATING THE CNC PATH ON MODELA 4
We need to get the files for the milling machine. For that, we have Modela 4 in the computers and must follow the next steps.
1.- Go to File -> Preferences -> and choose SRM-20.
2.- Open the file.
3.- Define the origin. It is important to define the origin in the lower left corner which means set to 0 the values for x0, y0, z0 and then we can observe that the origin is the same as the design.
4.- Check the correct material to be milled –> modelling wax
5.- Change the margin to 0 in all the option. This change allows you to select the design that will be milled. In my case, it helped me because I am going to mill only one.

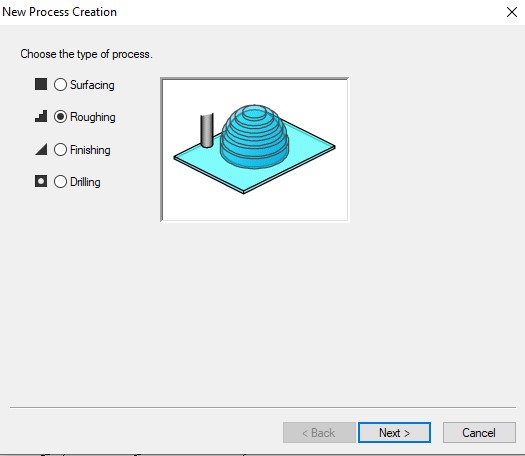
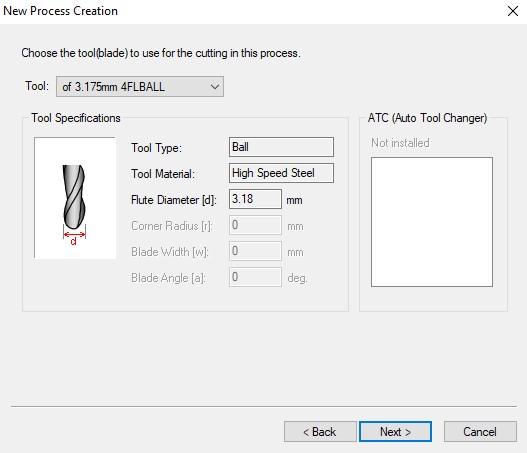
6.- Click on New process and define the roughing. It is pretty important check the tool and the software simulates how the tool will work so you can decide which one uses. However, according to the simulation, it might be necessary to create the tool. I had to create a new tool because I used a end mill of 1/8 inches (3.175mm). To create a new tool go to options -> create a new tool.
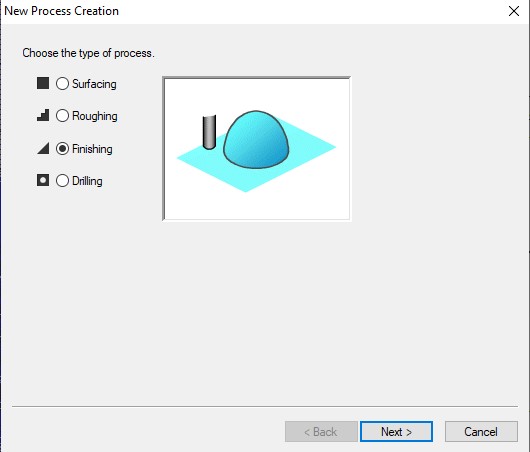
7.- Define the finishing. For this part, I am going to use the same tool as roughing because I prefer the right angles under the mold must be straight and not rounded.
....and here we go! now we can get the files and go to the milling machine.
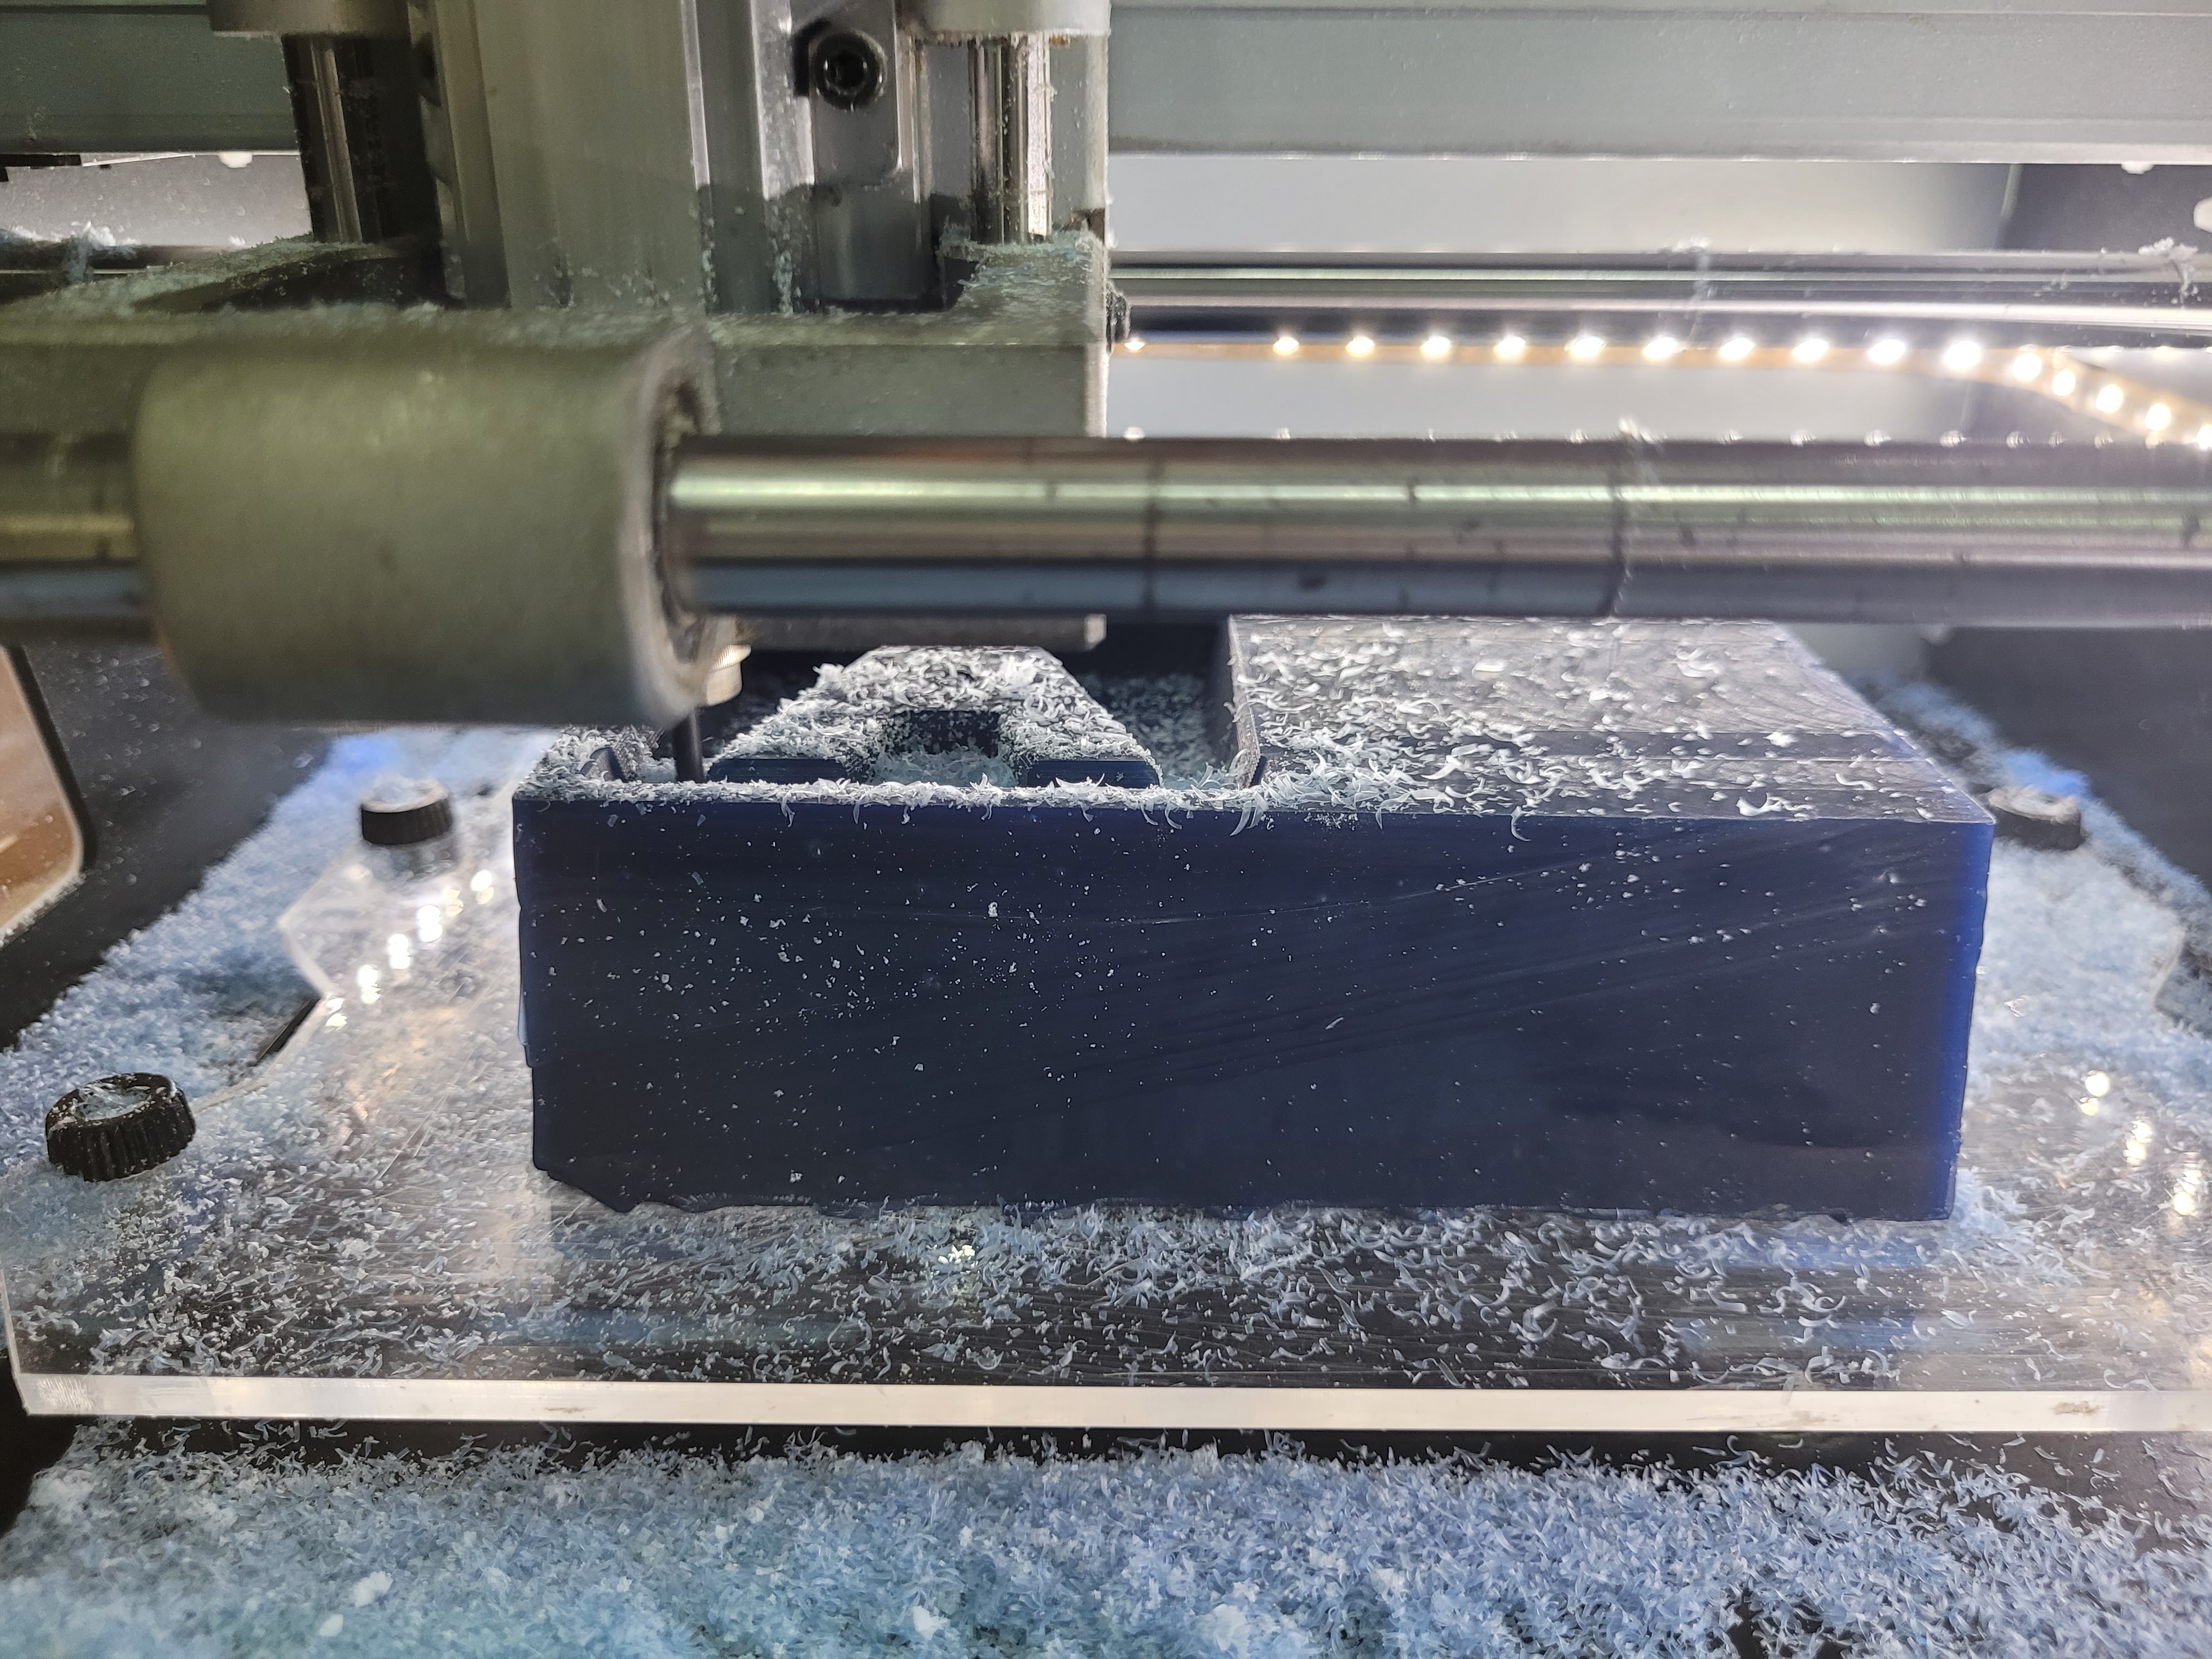
MILLING THE WAX
First, I use a double side tape and stick it into the wax mold and then put it on the CNC plate. We must define the origin as we did in previous assignments. To set the Z origin when the end mill until touched the block.
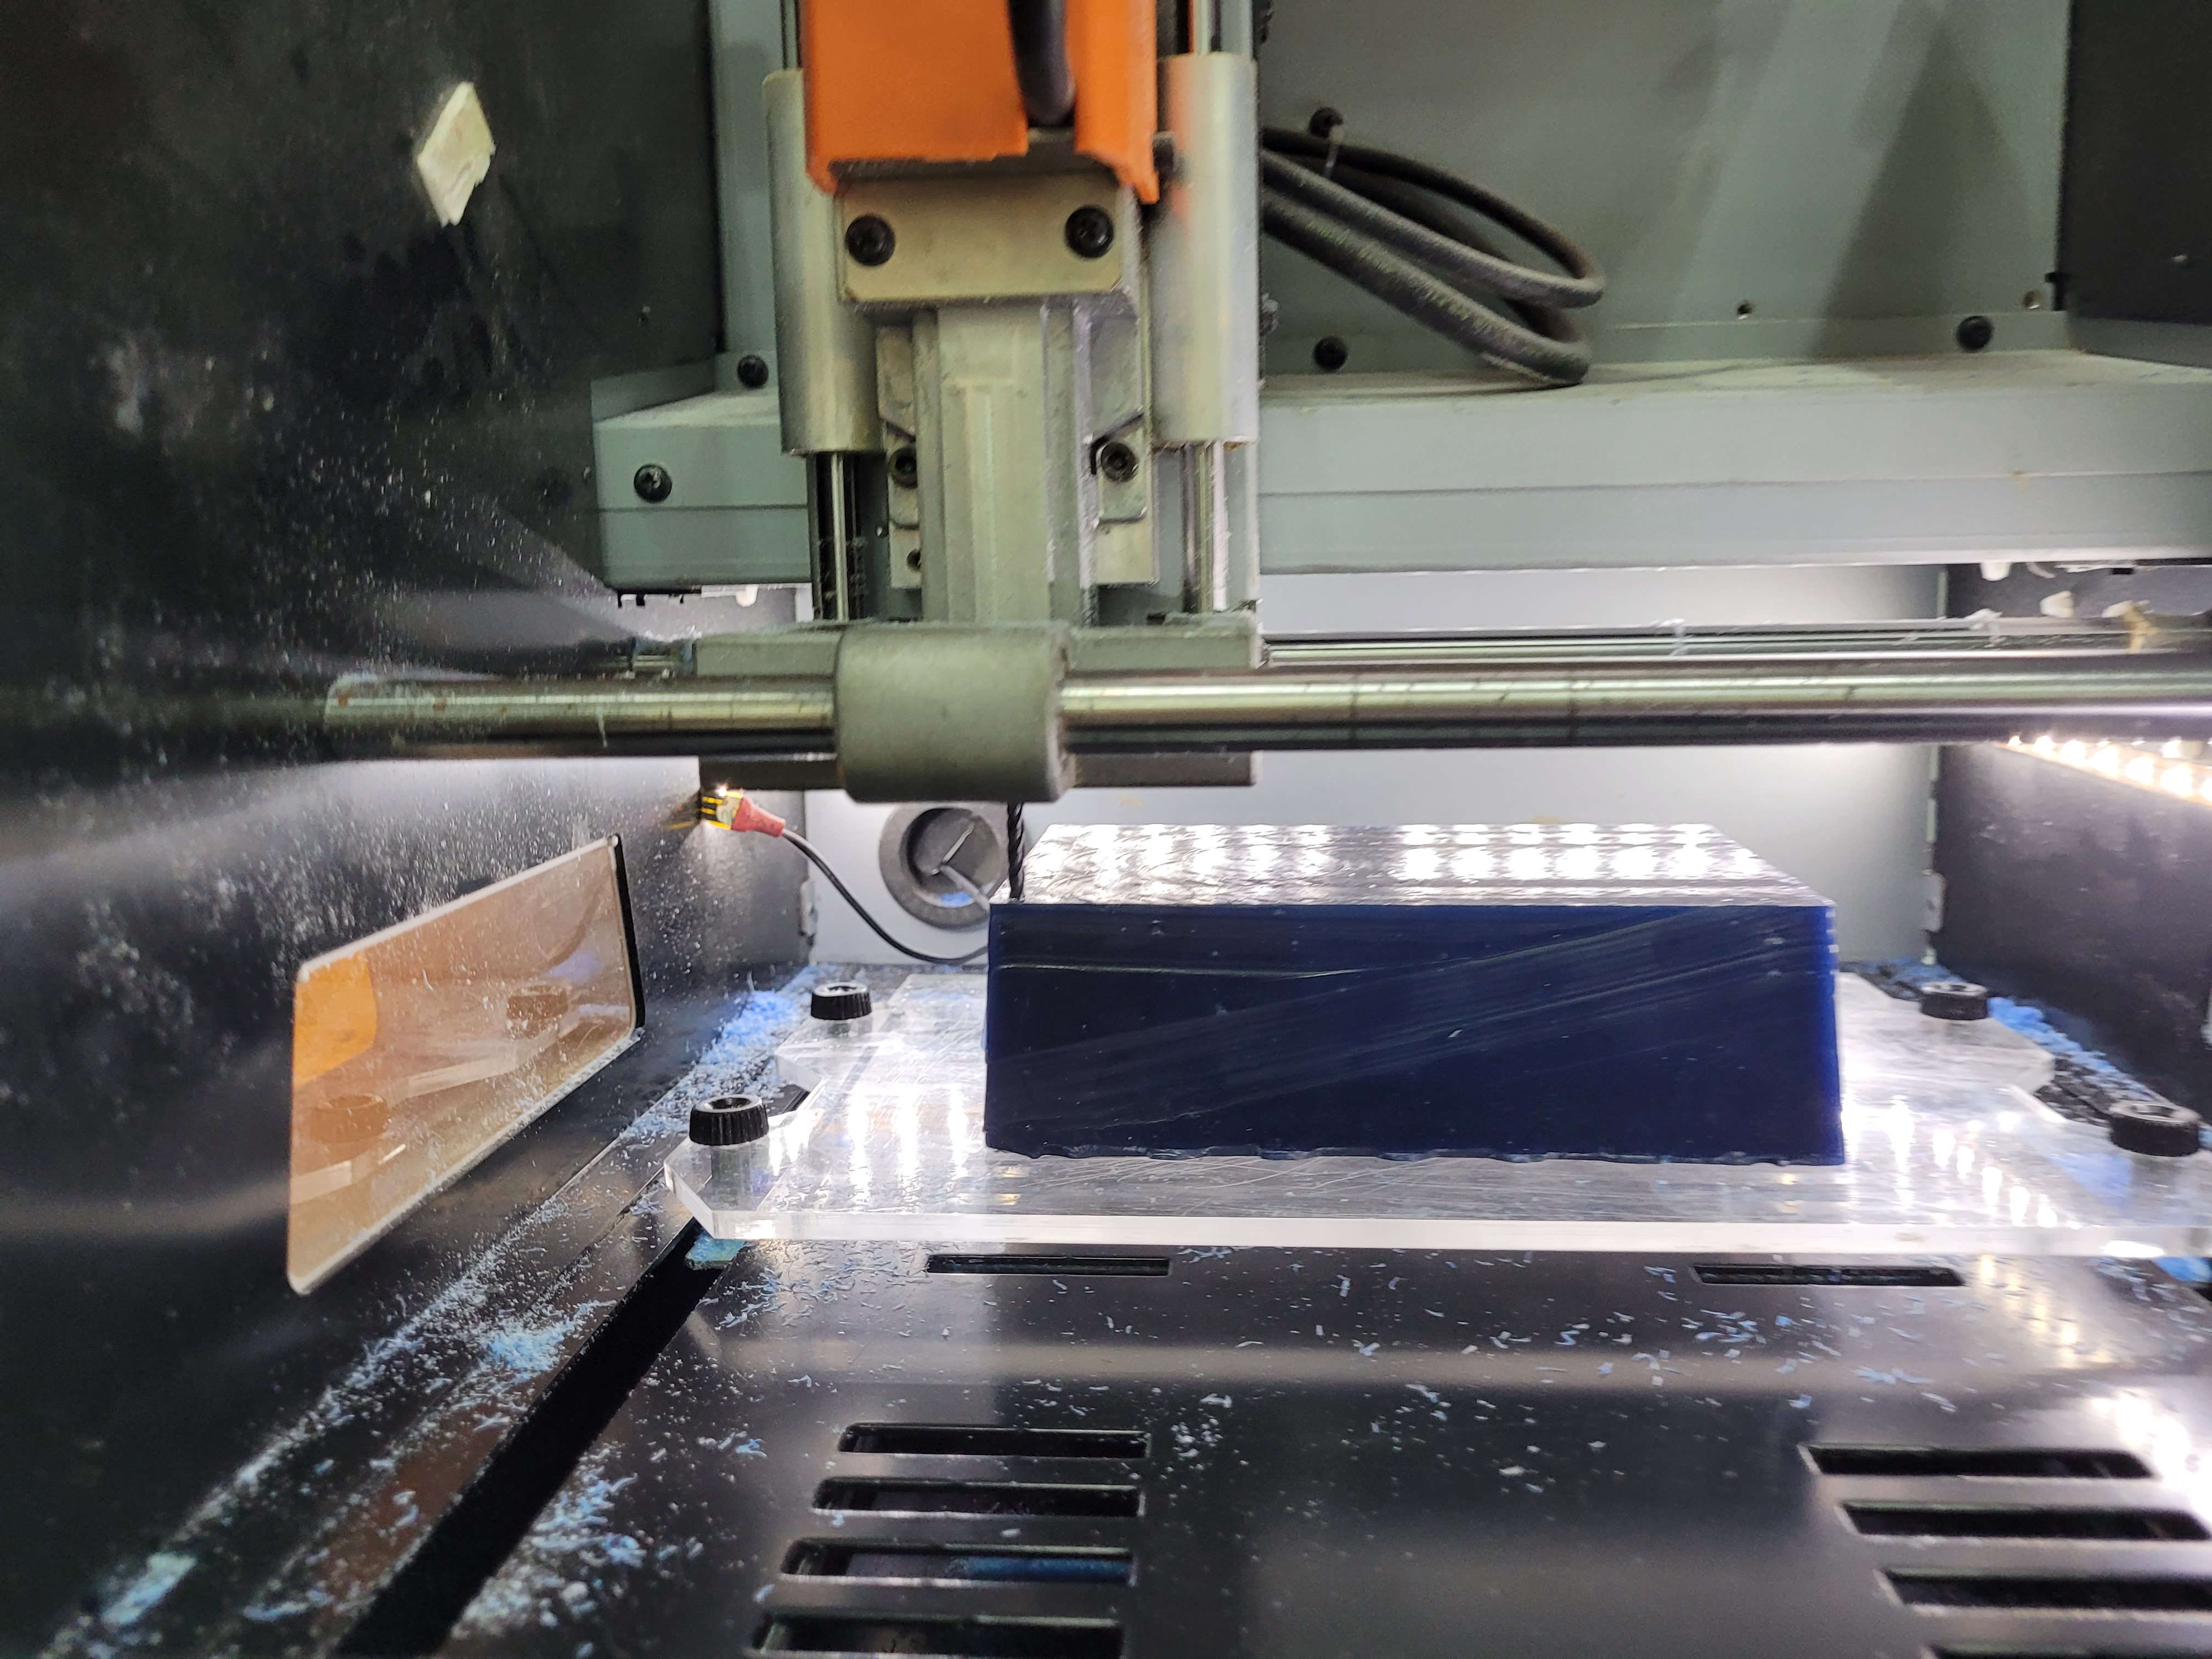
The rough cut is the first procedure and its goal is remove the majority of material of the block so it offers a limited accuracy.
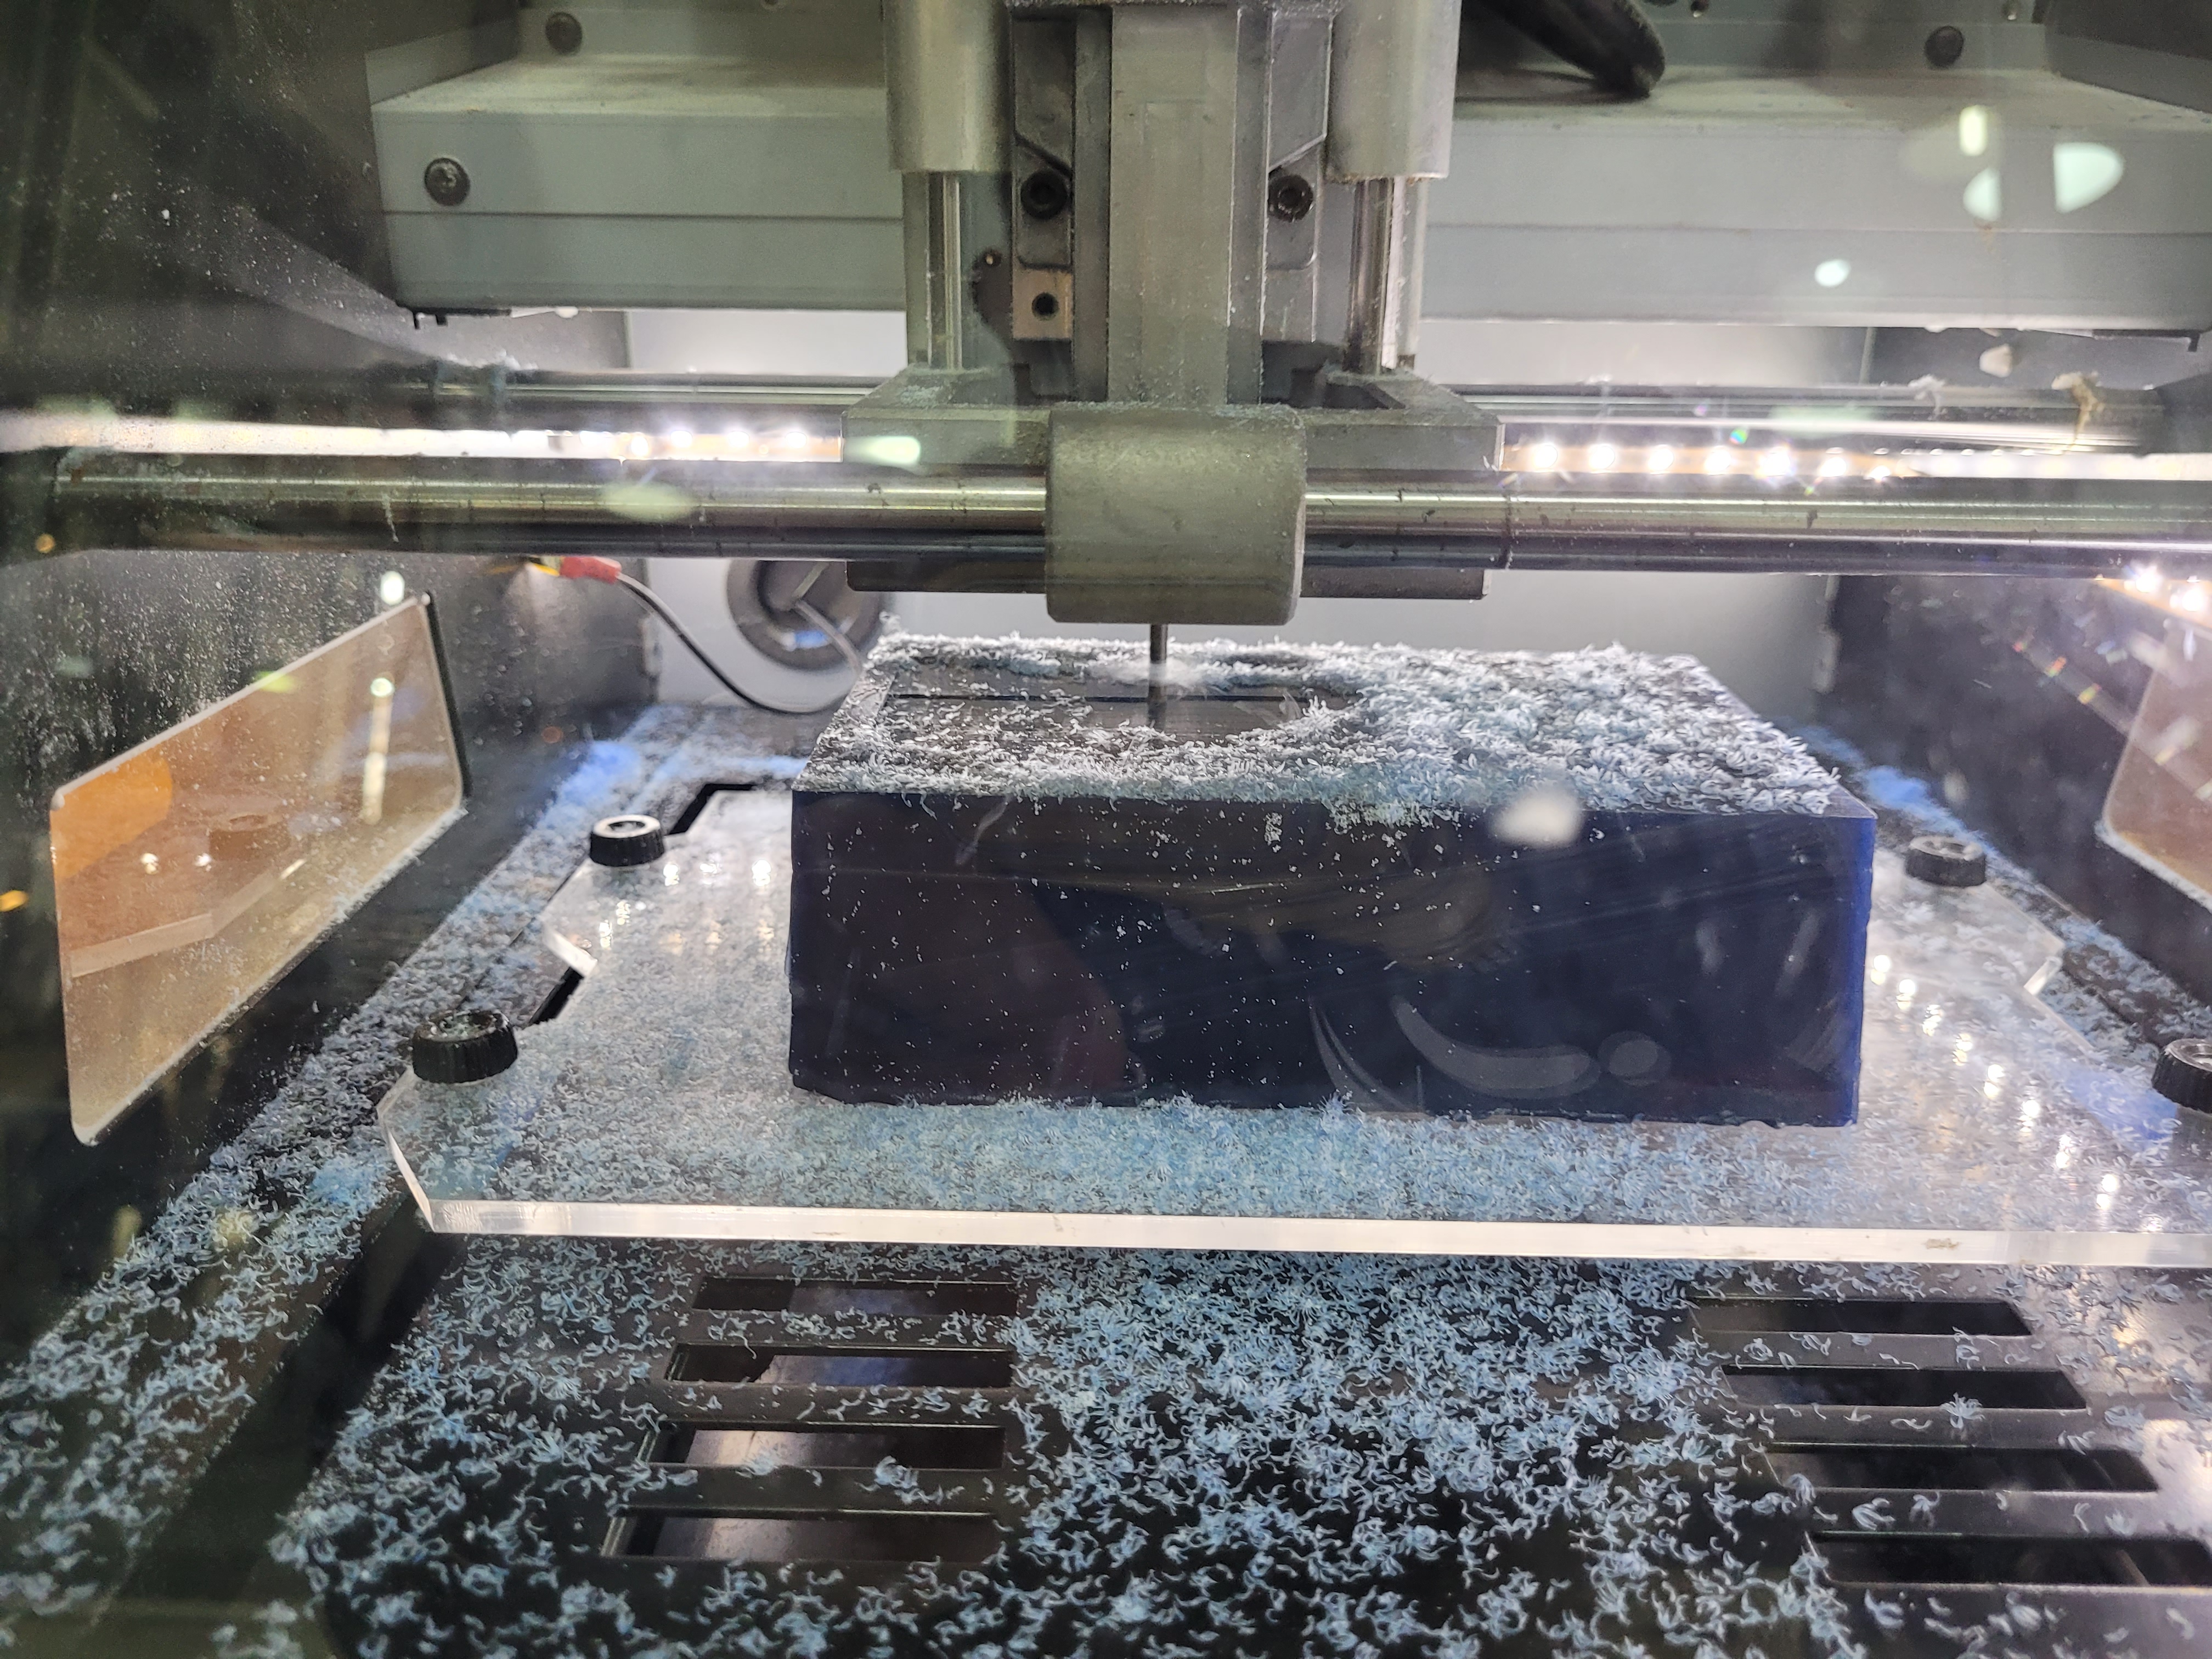

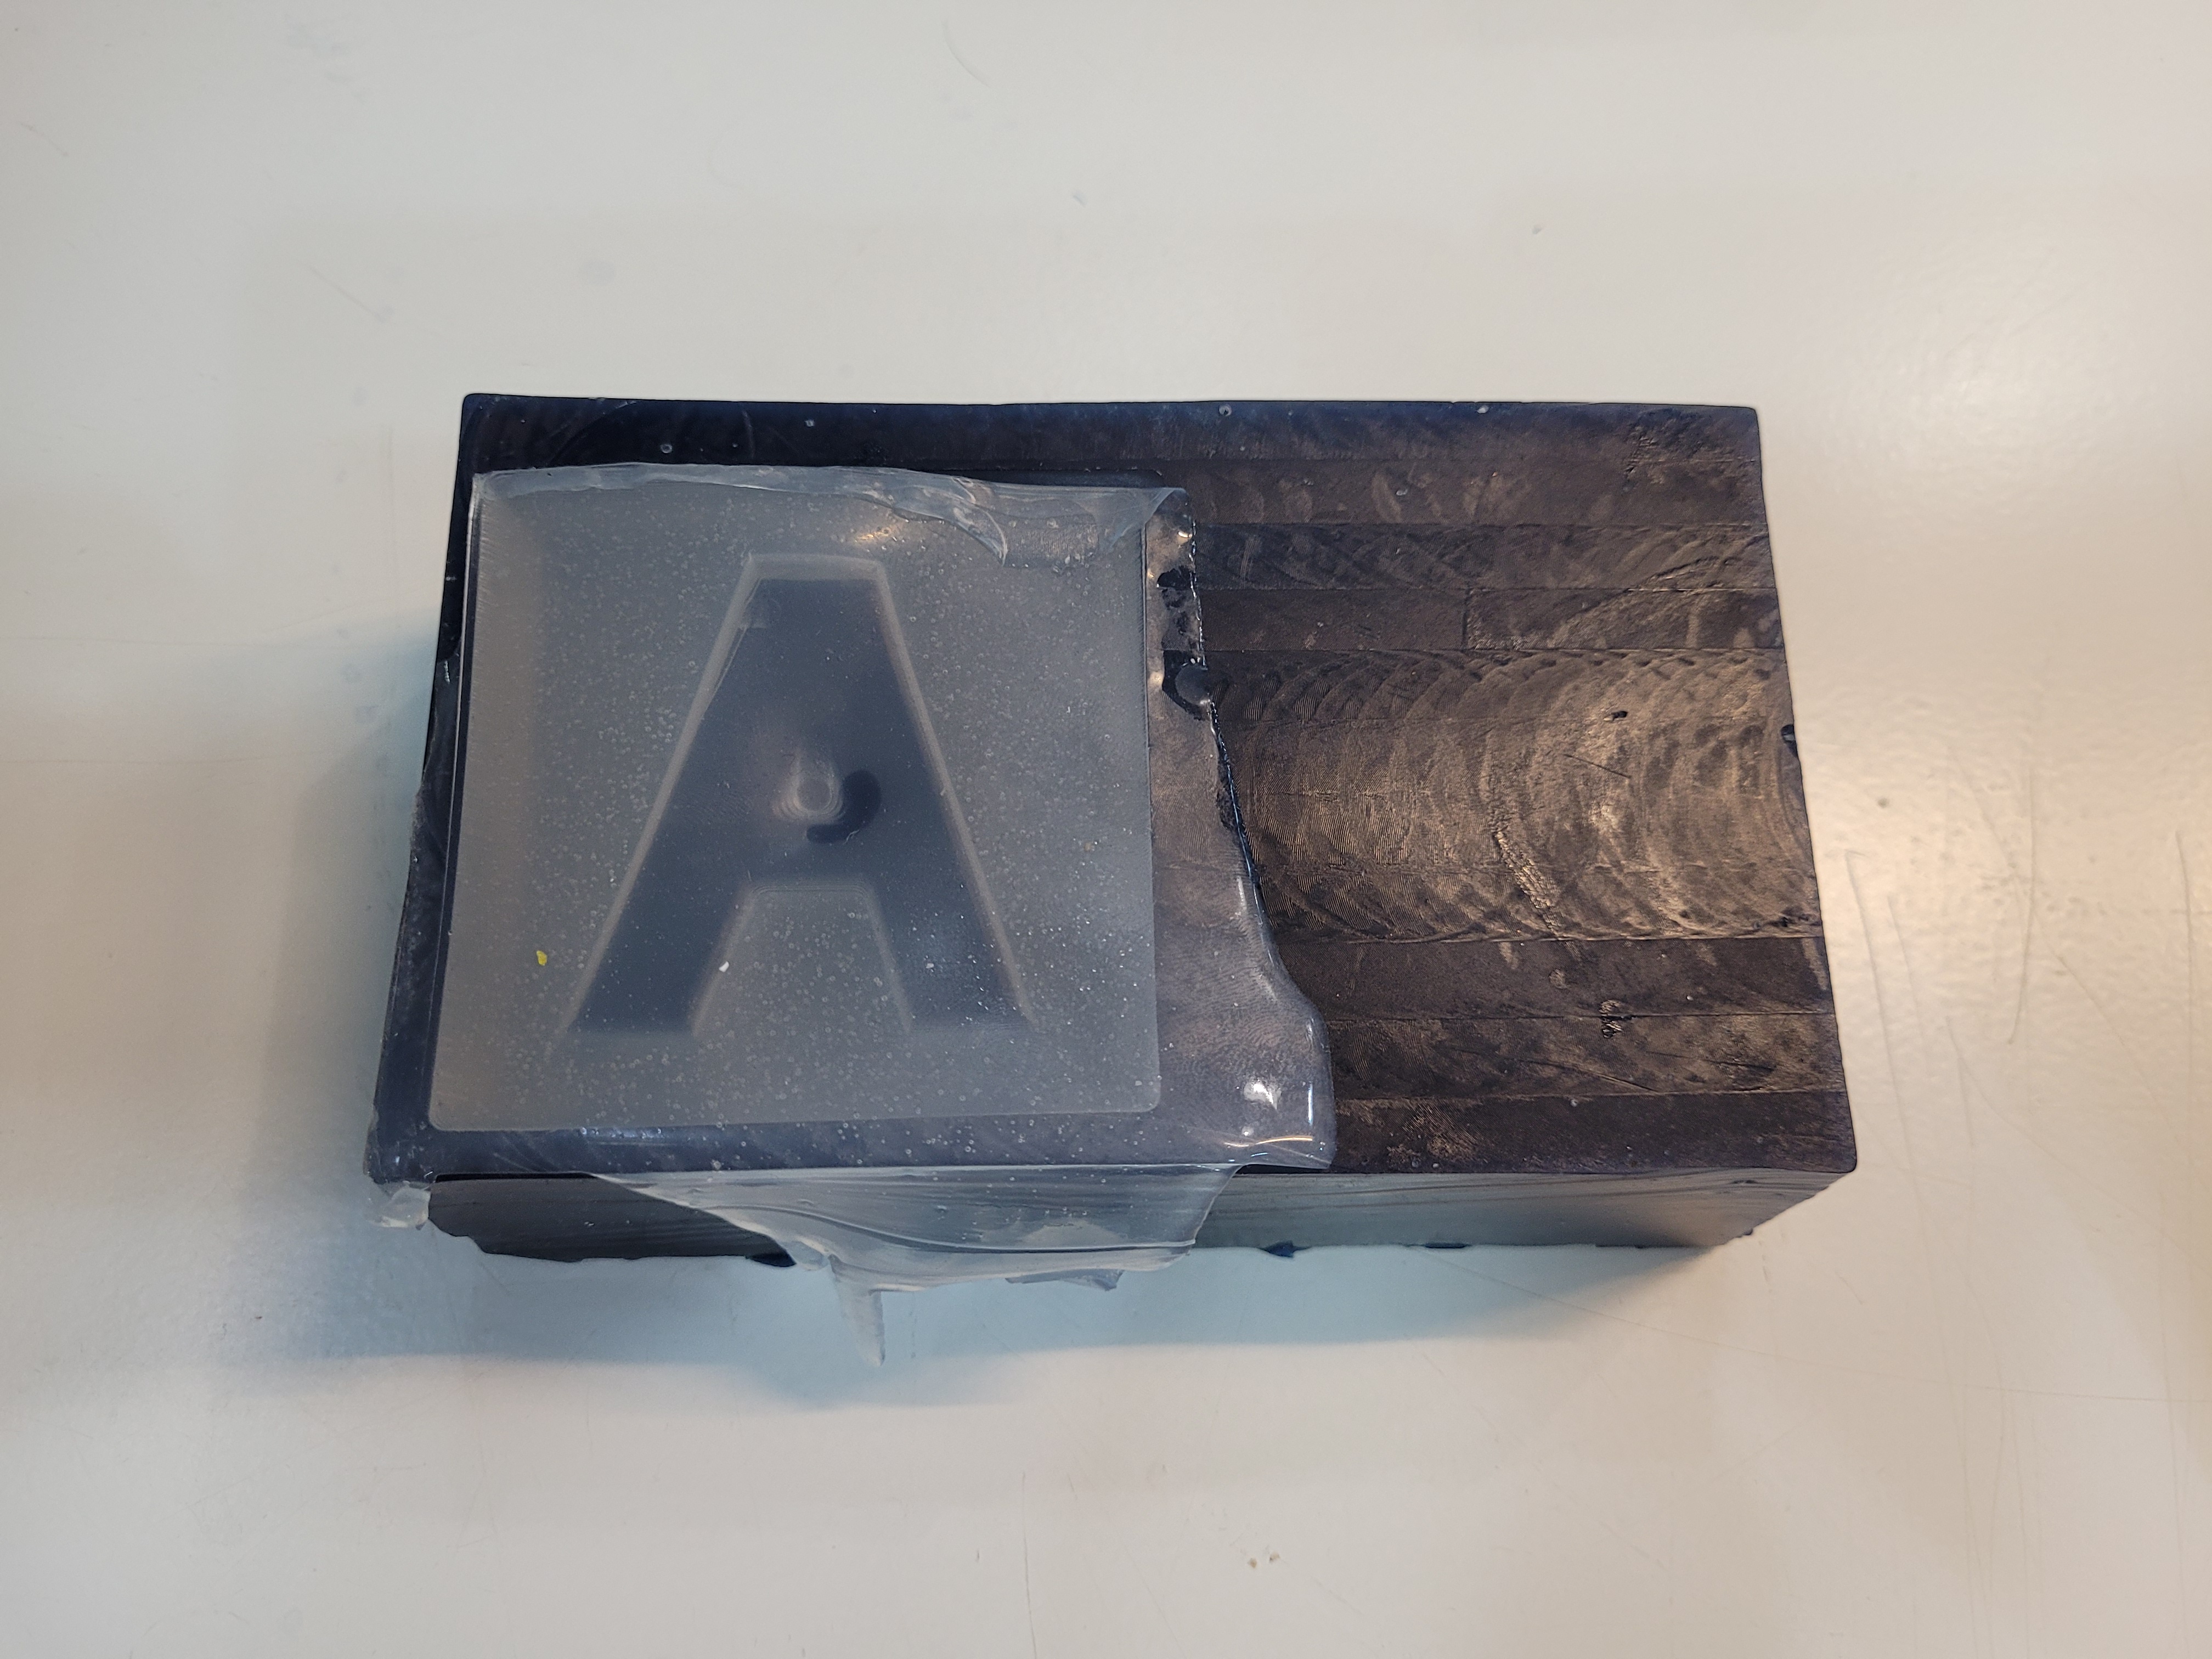
I got the follow result:
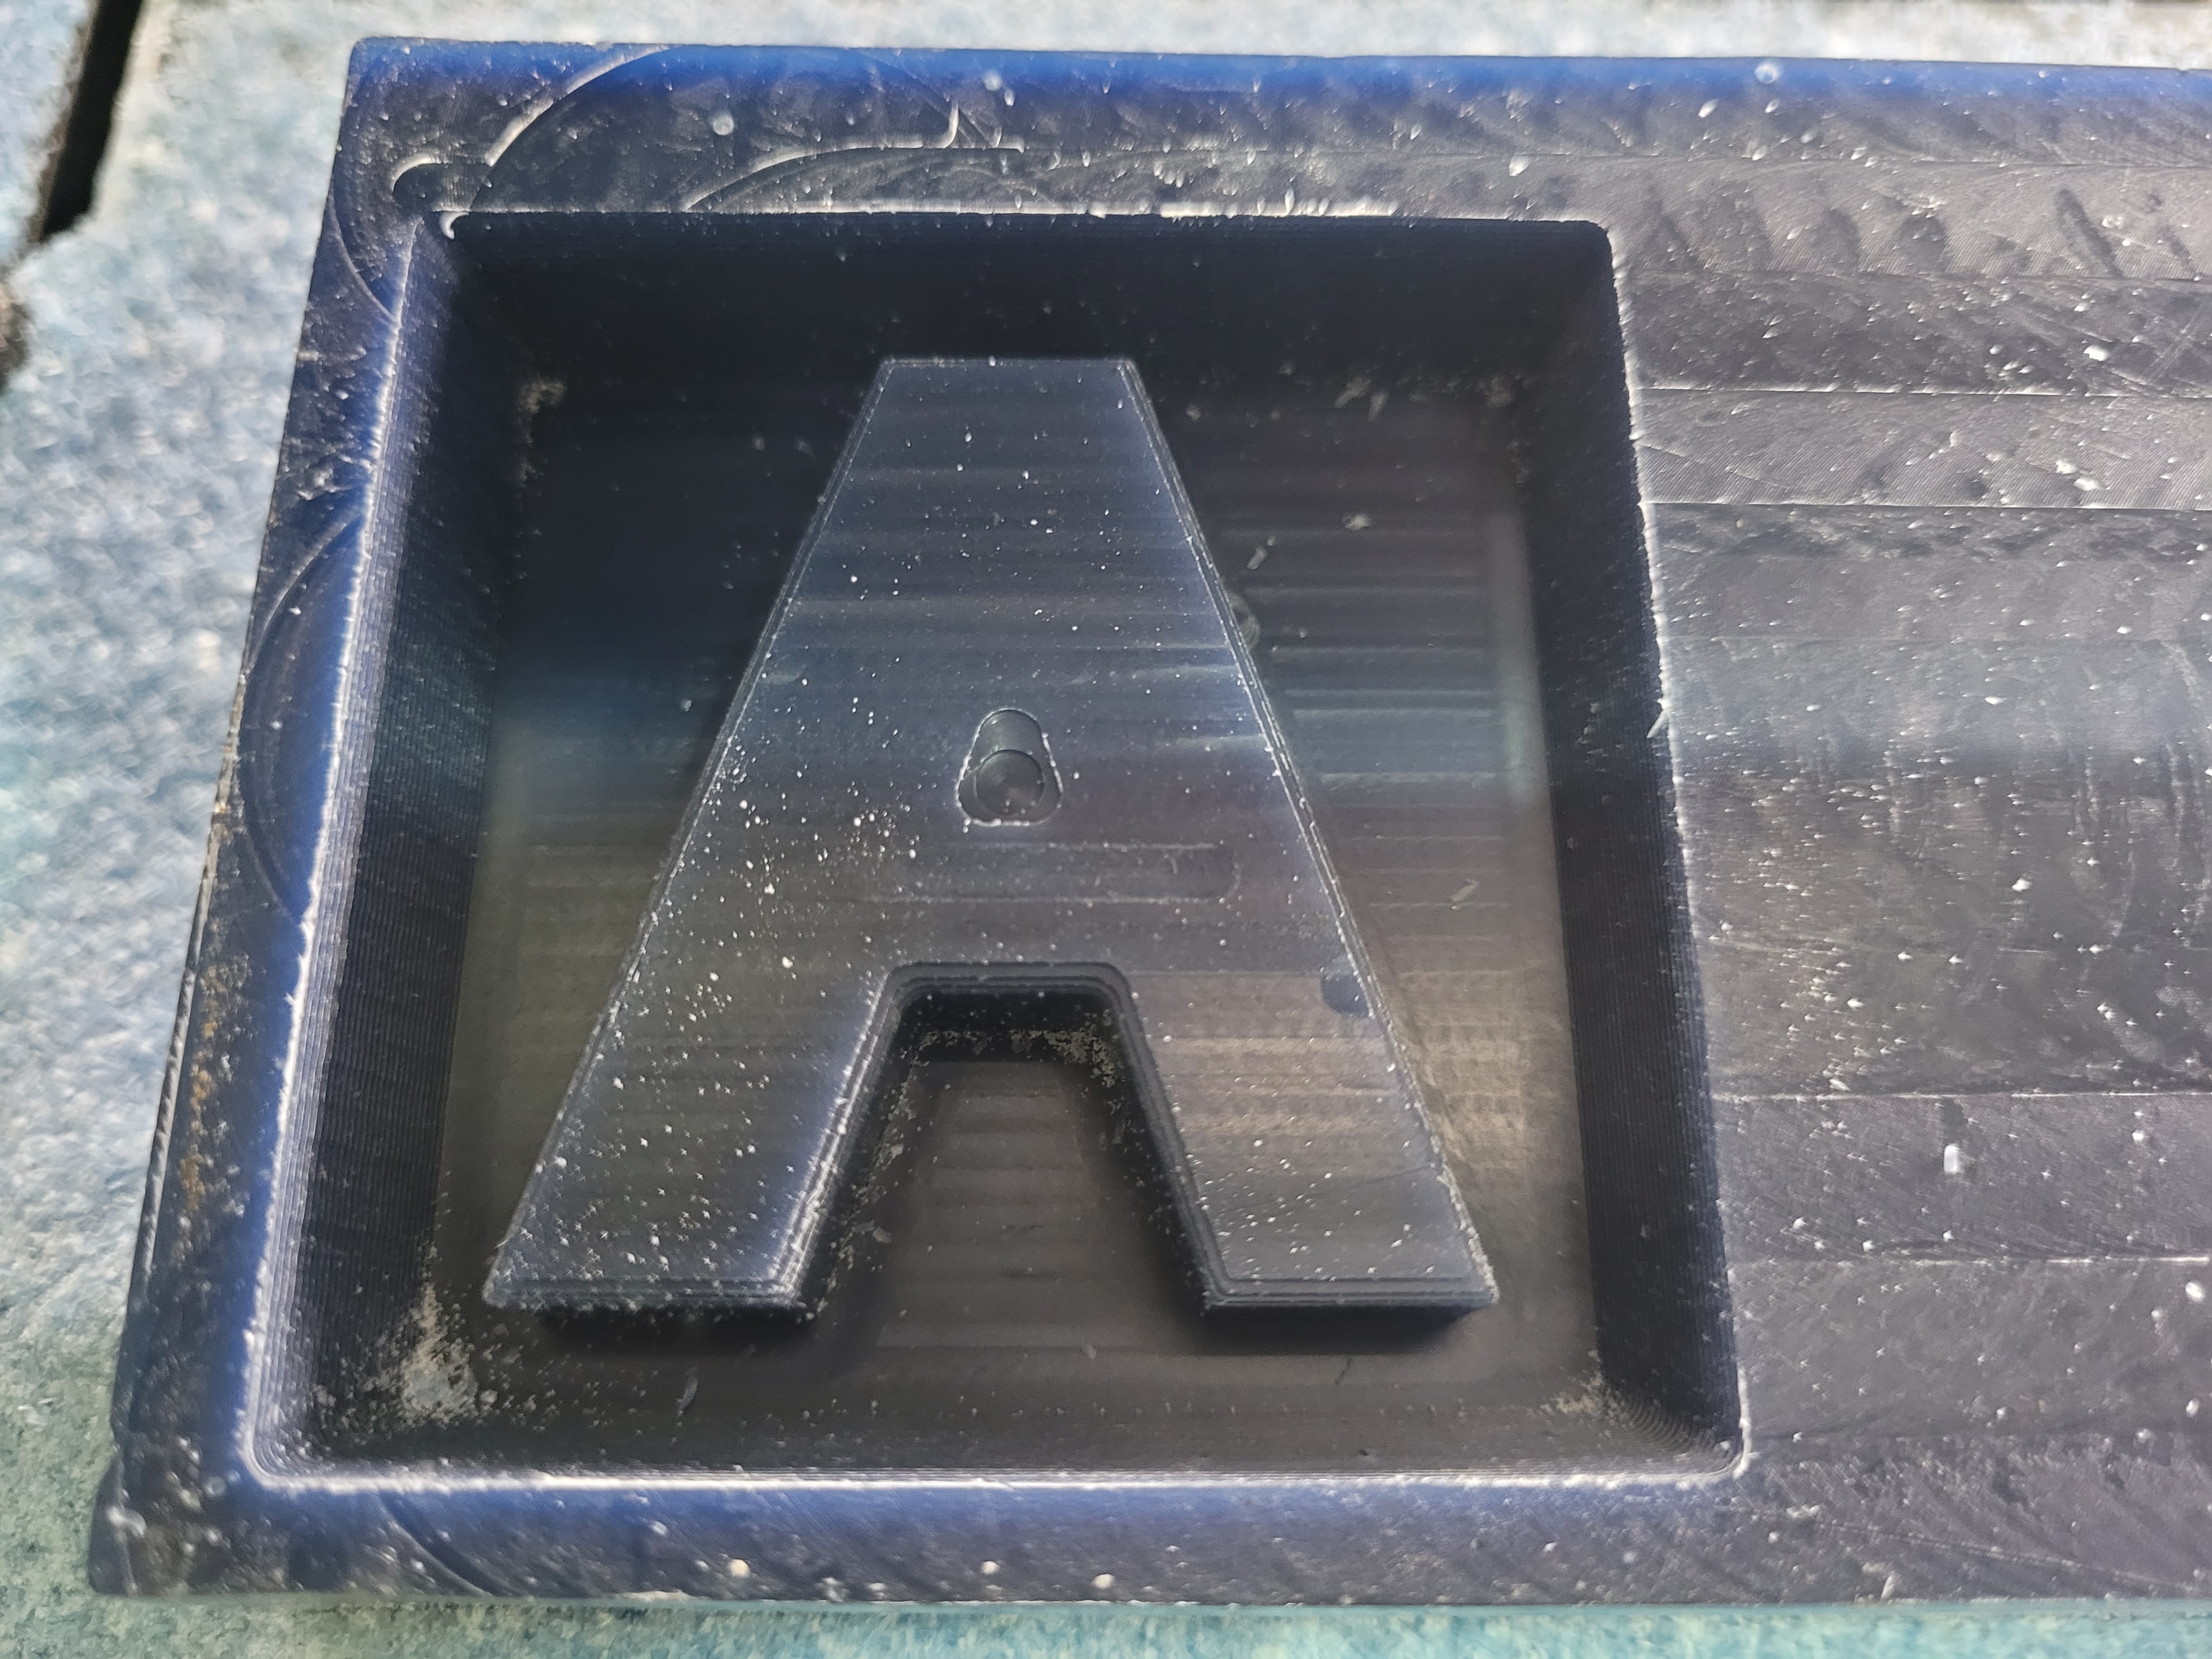
As we can see, there are horizontal lines on the mold because at the beginning this procedure makes horizontal movements to clear the pockets.
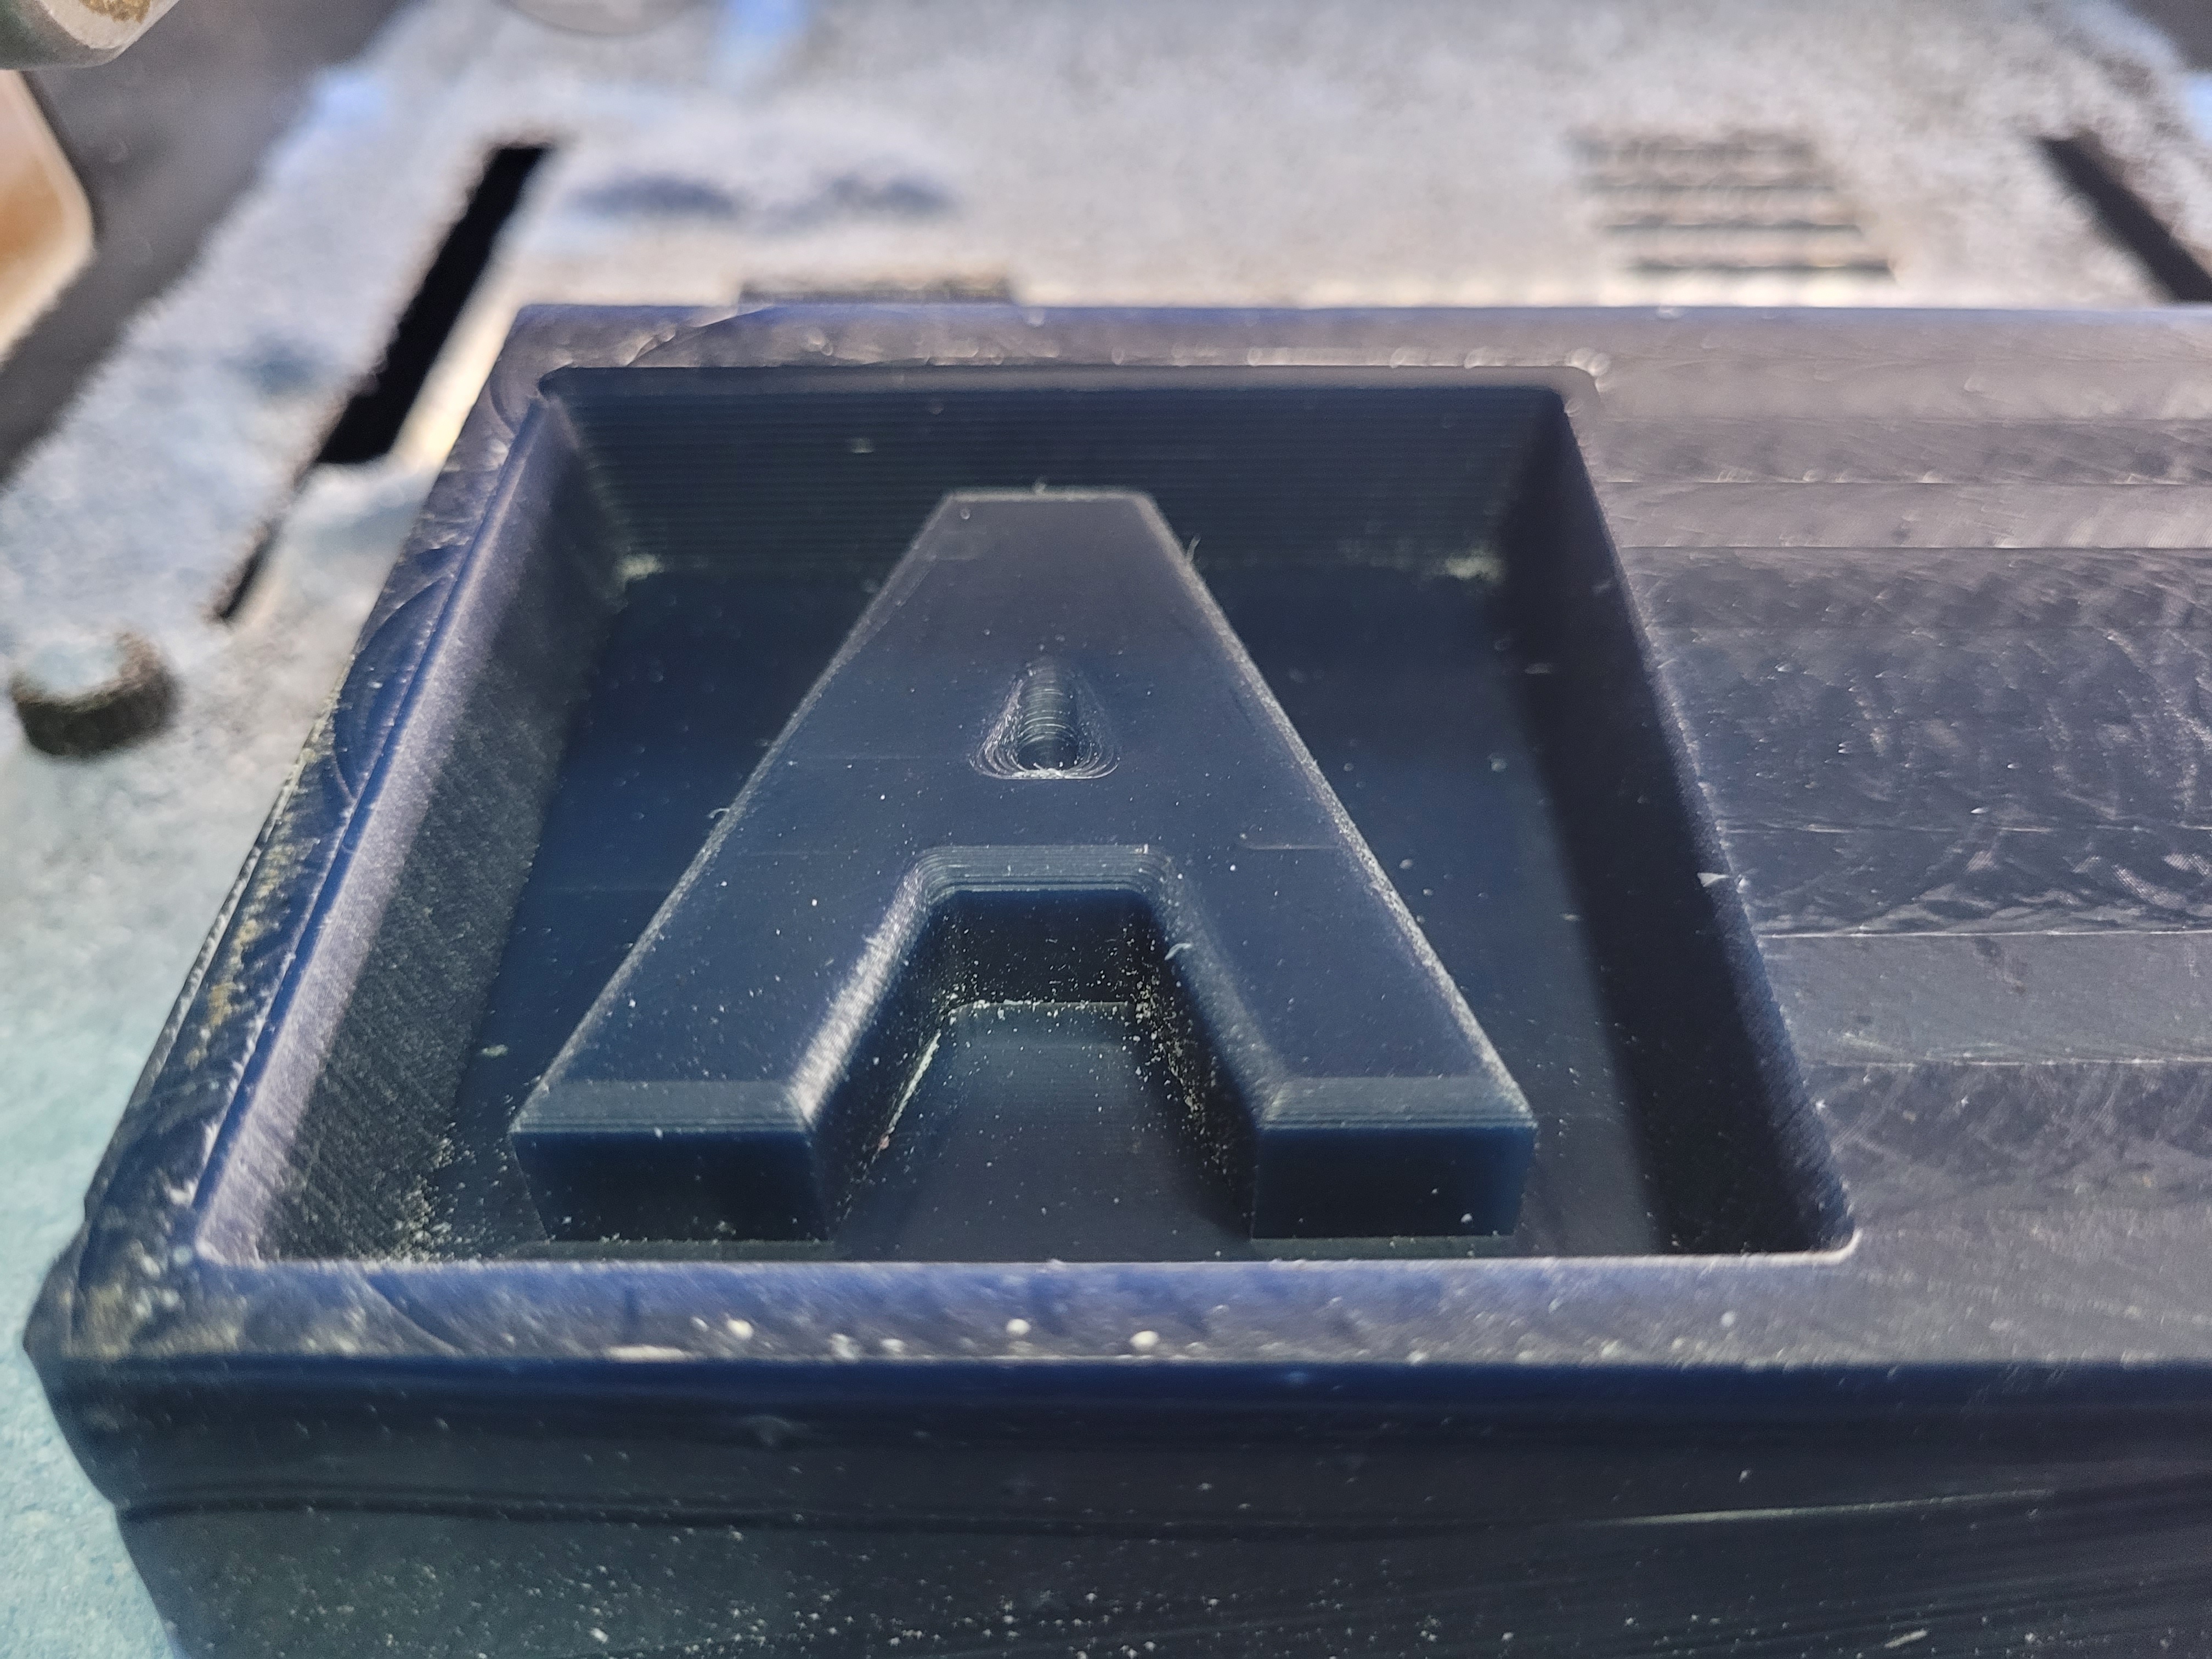
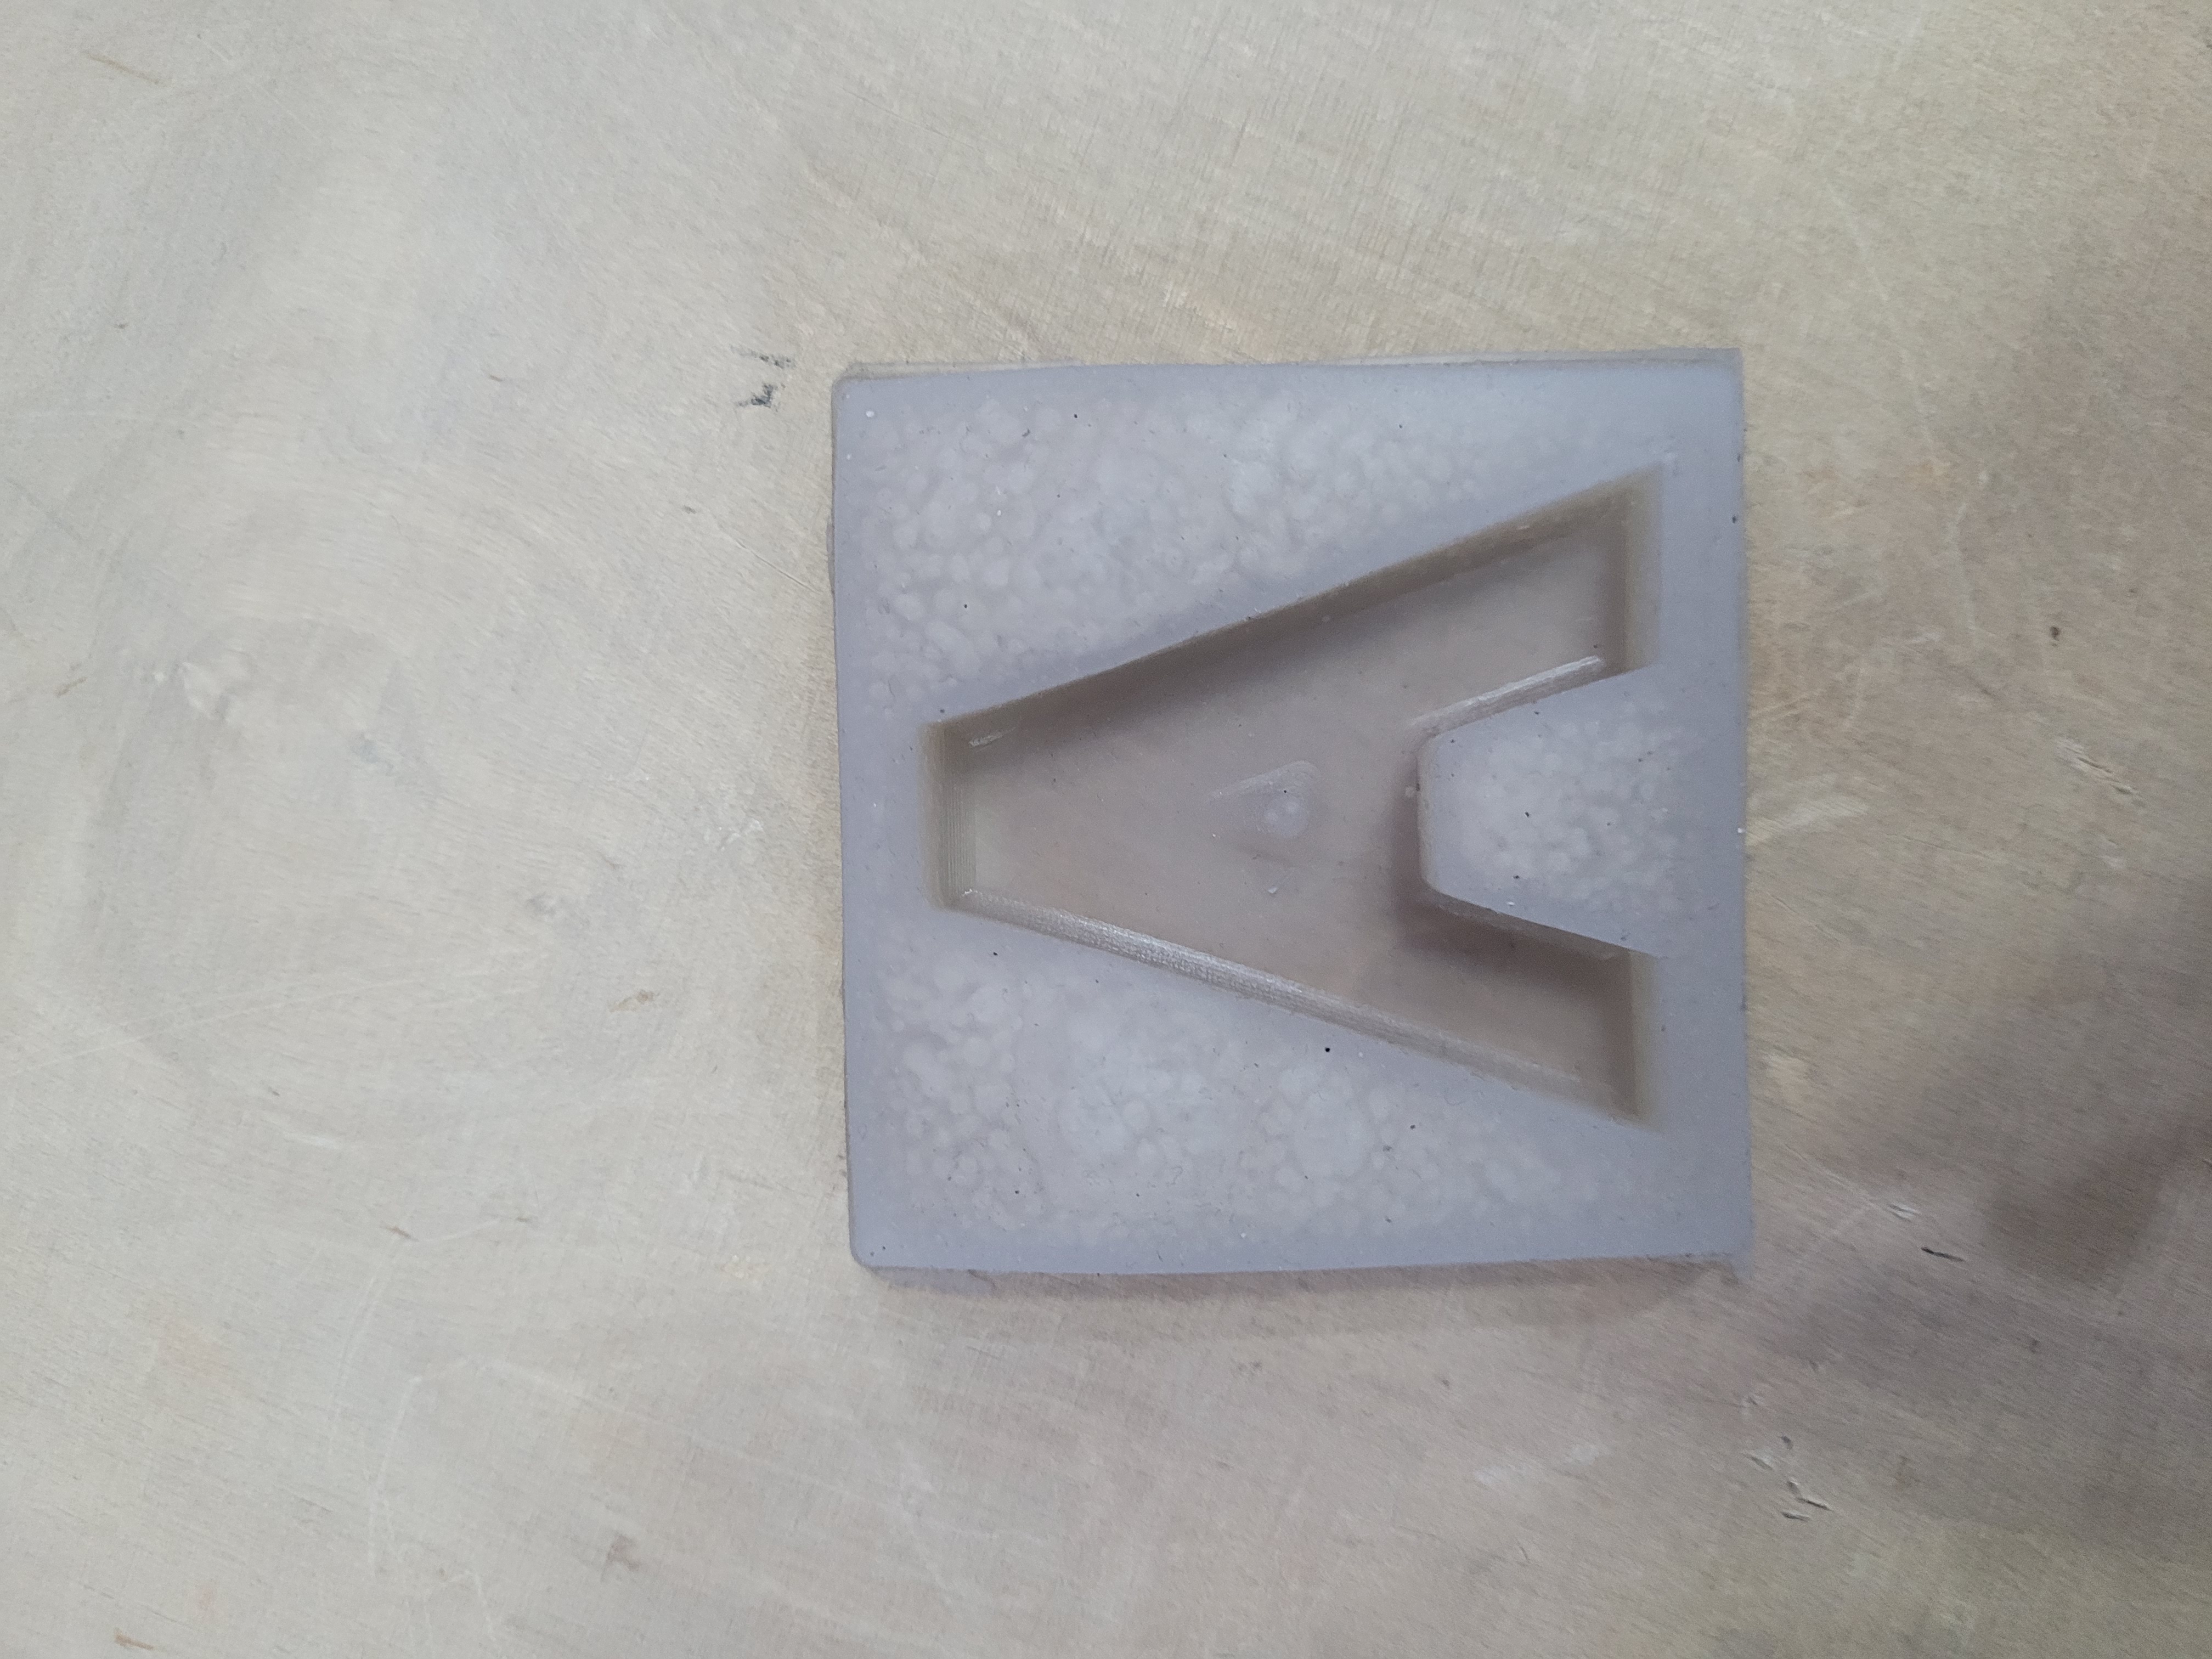
For the finish cut, in my case, I did not change the tool. Definitely, this procedure is faster than rough cut because it has to remove less material.
The accuracy is terrific!
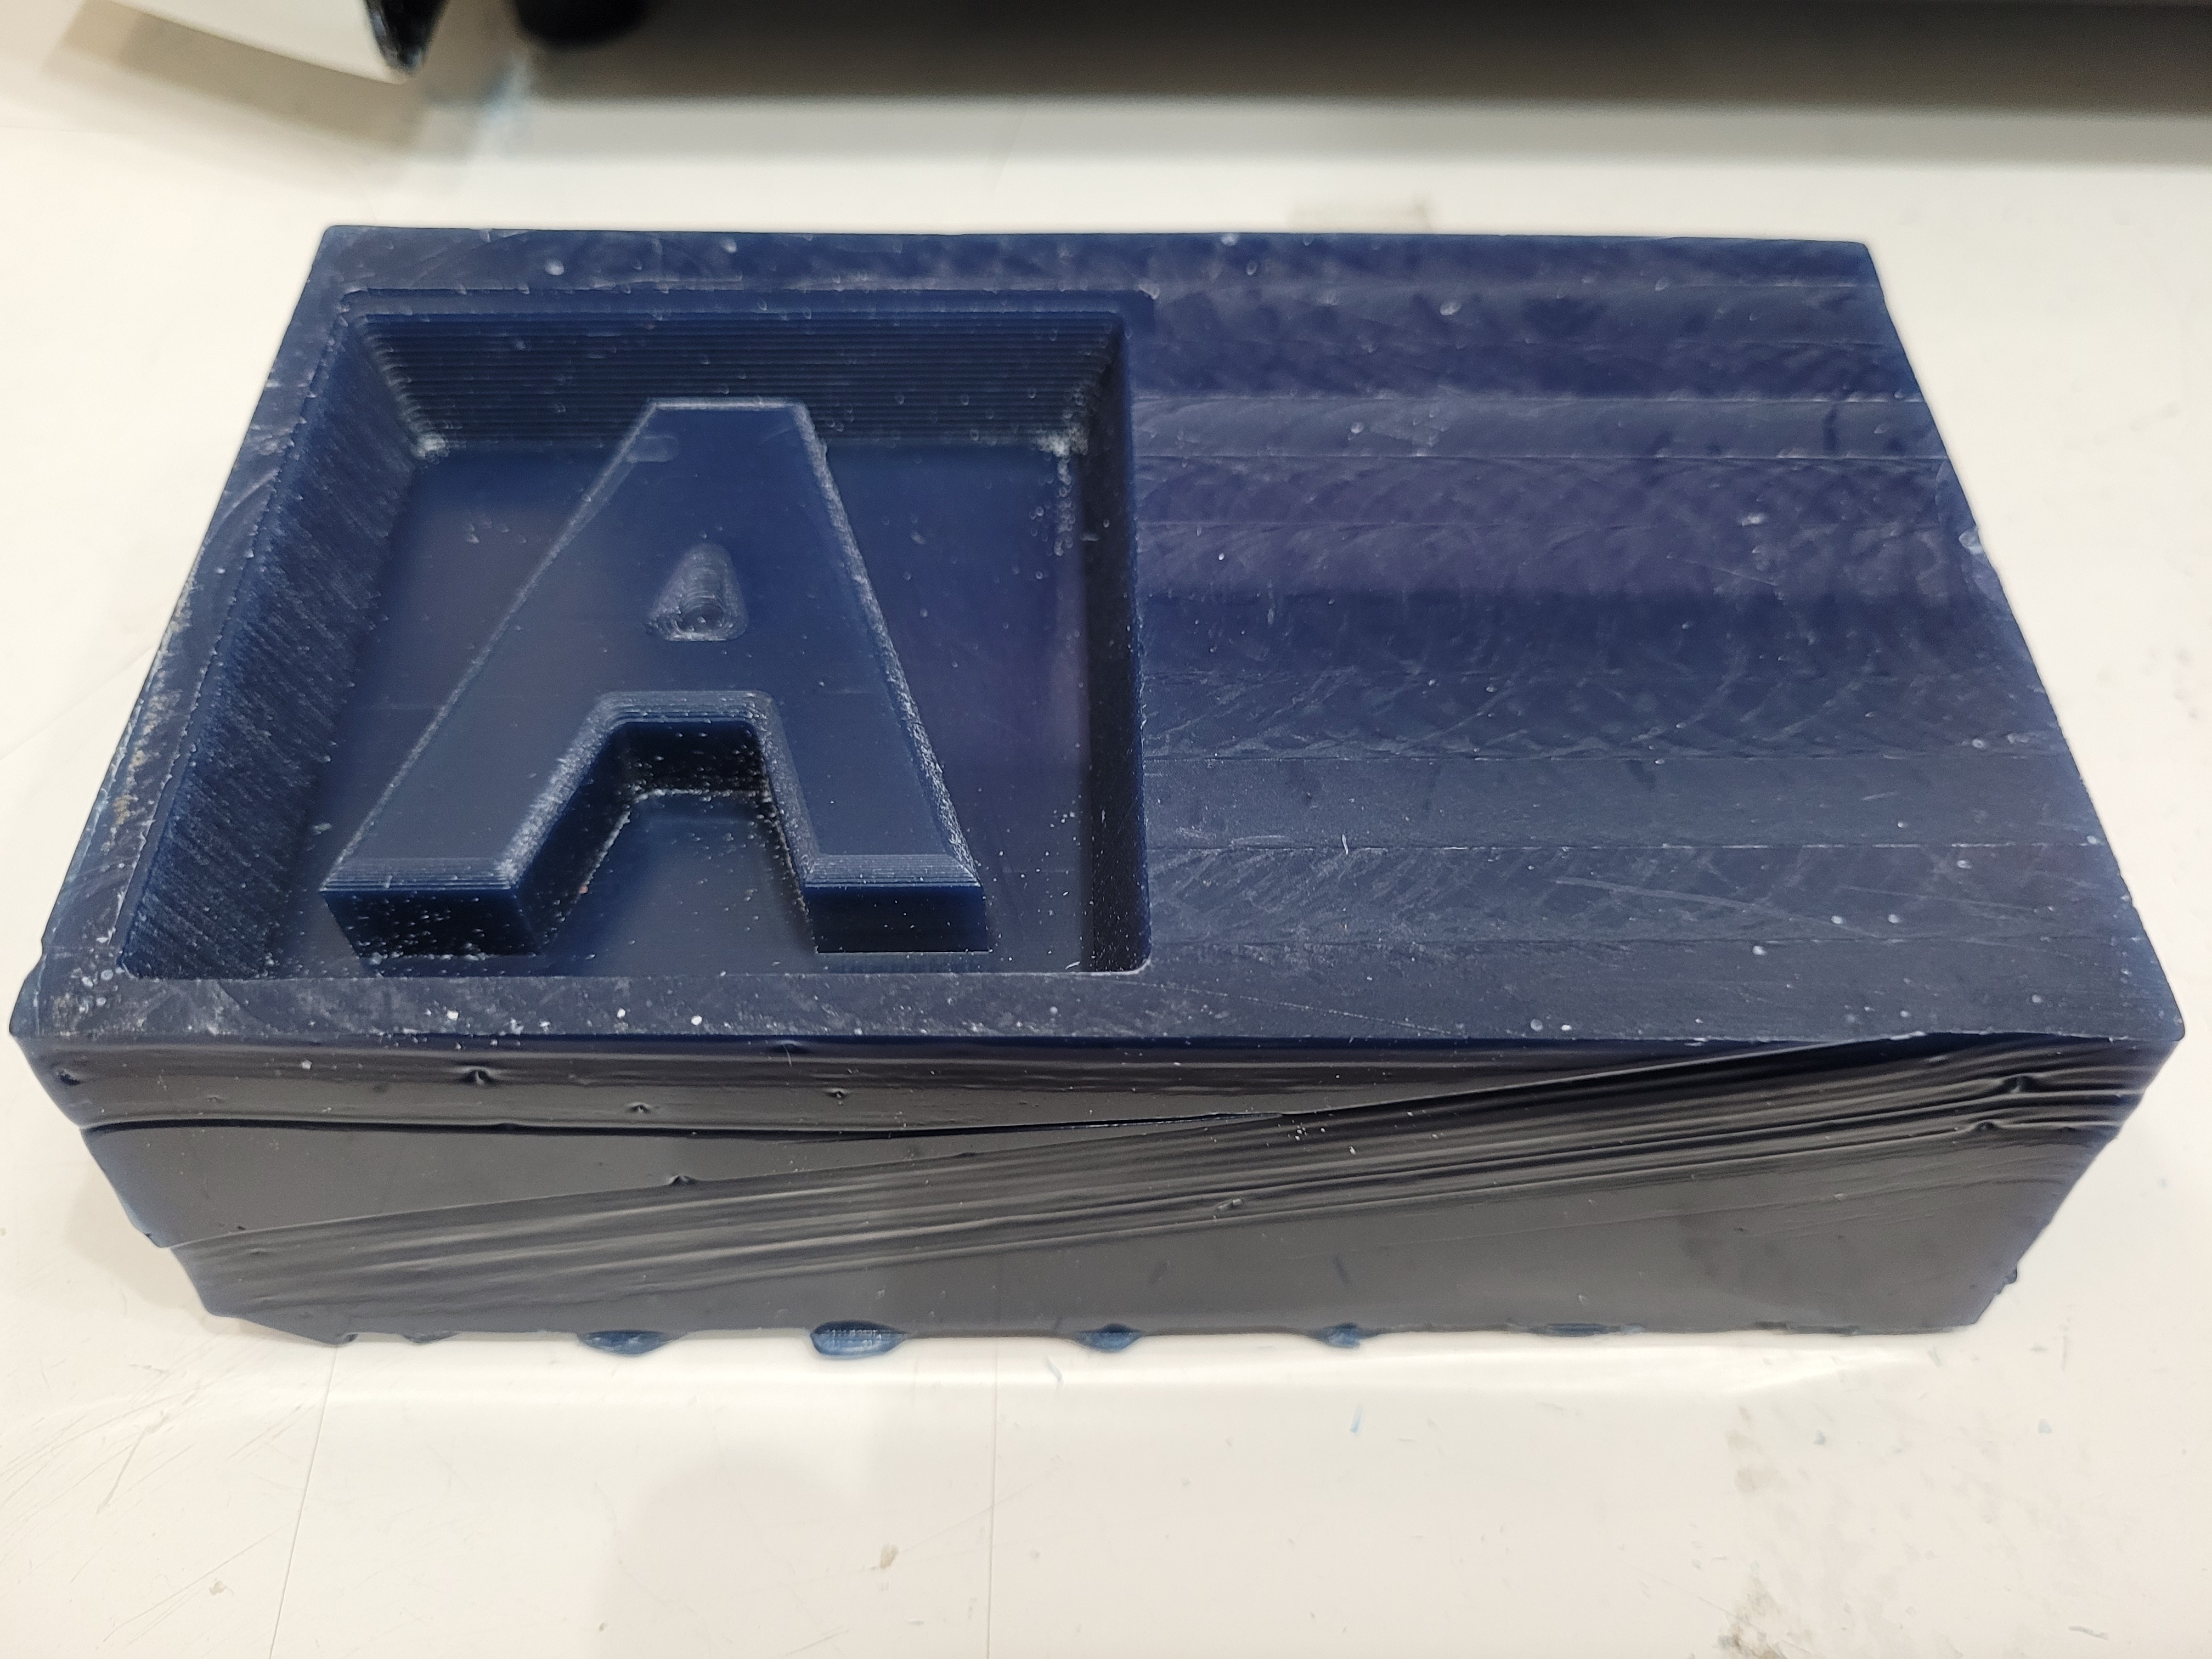
Do not forget to clean and recycle the wax as it can be melted and use it for a new mold
CASTING
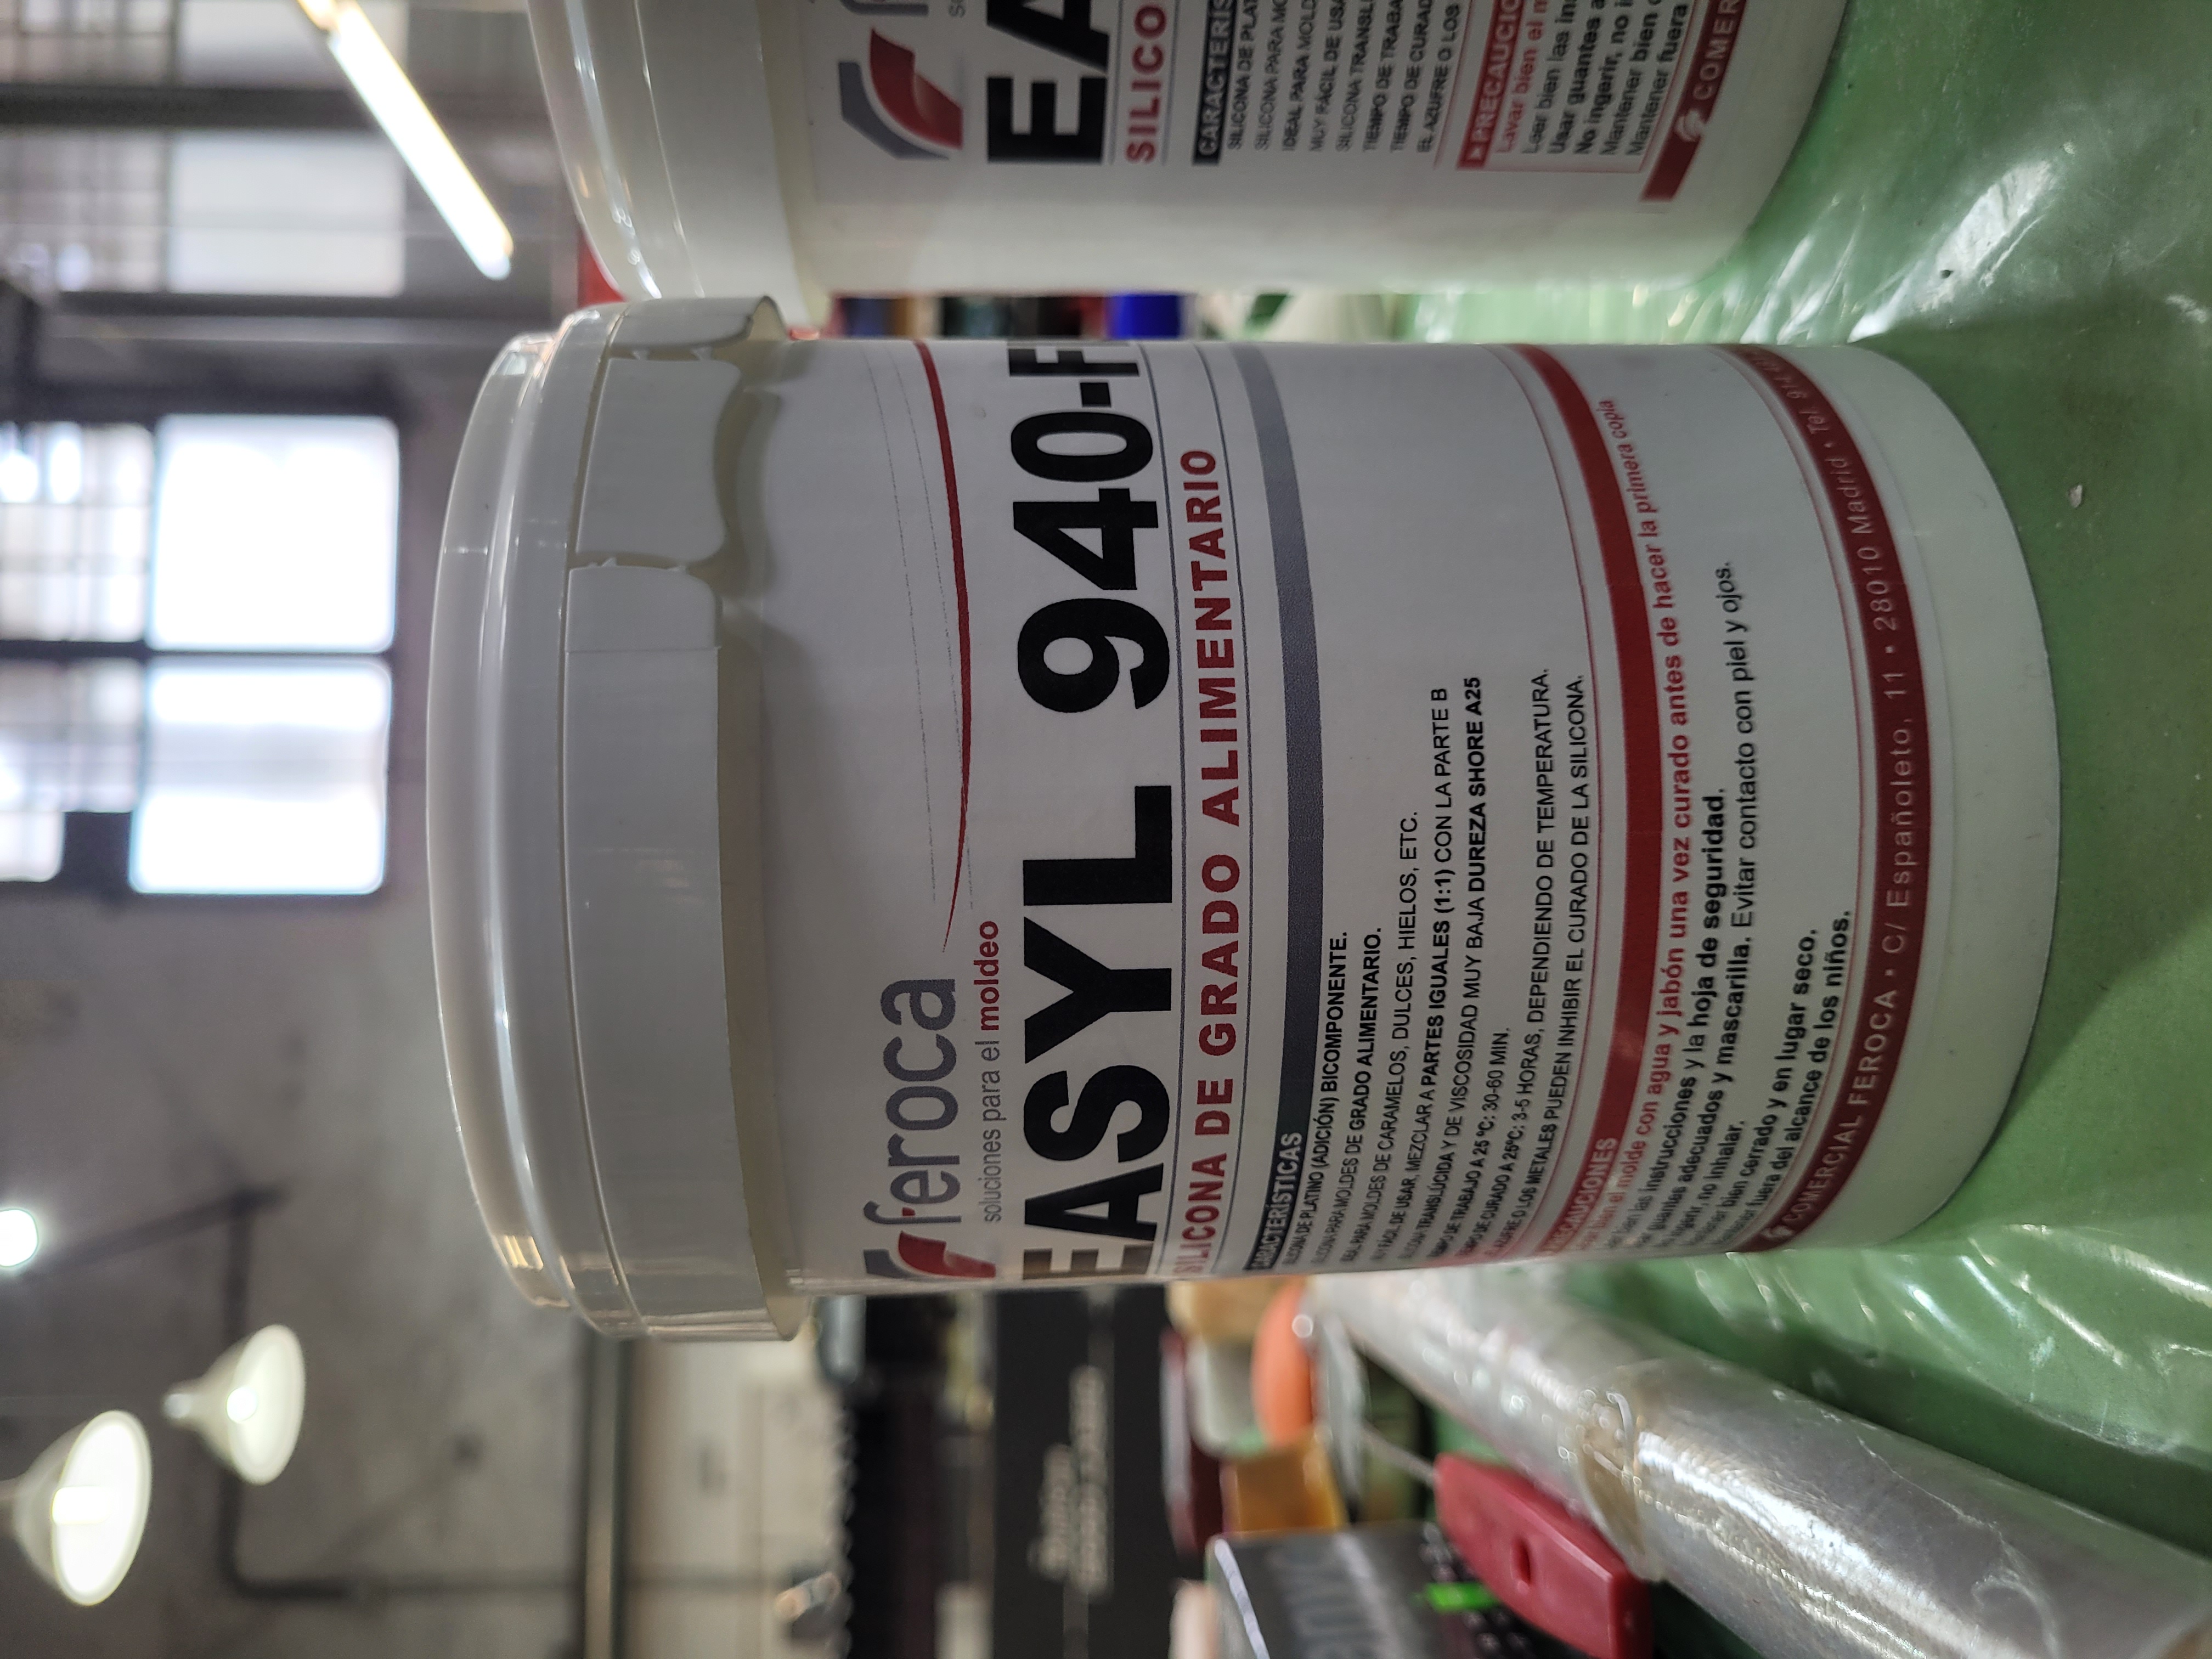
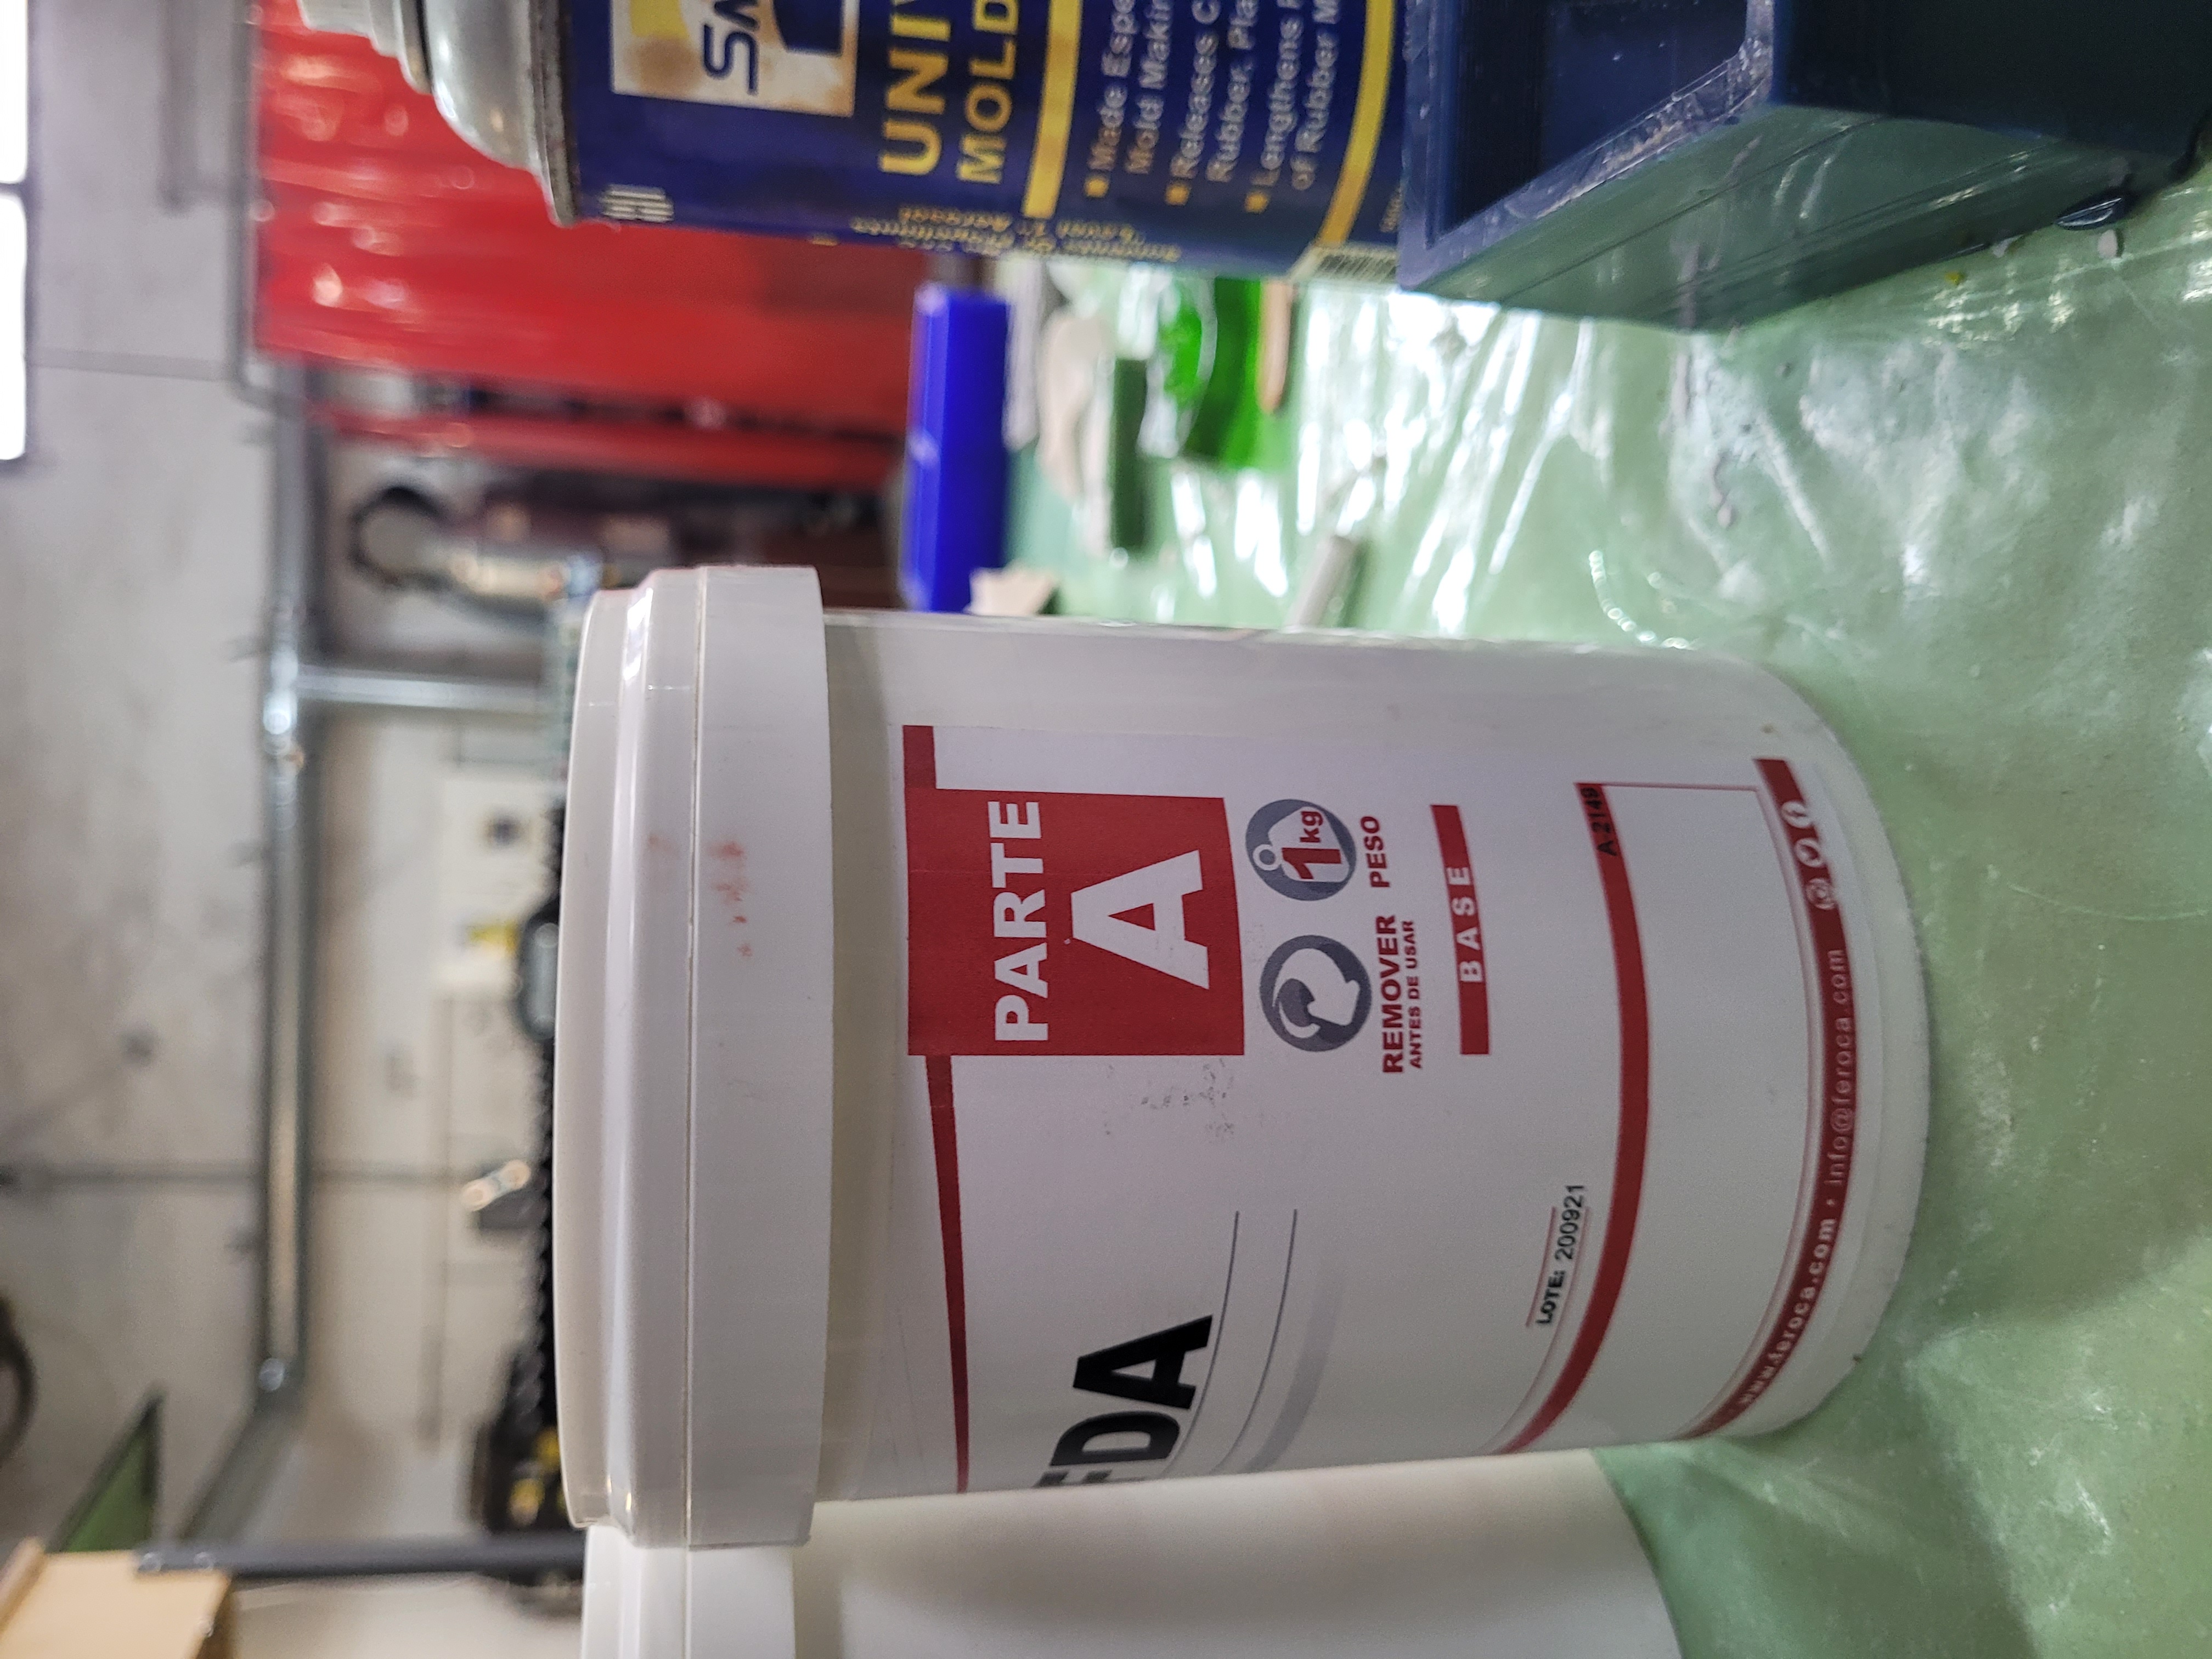
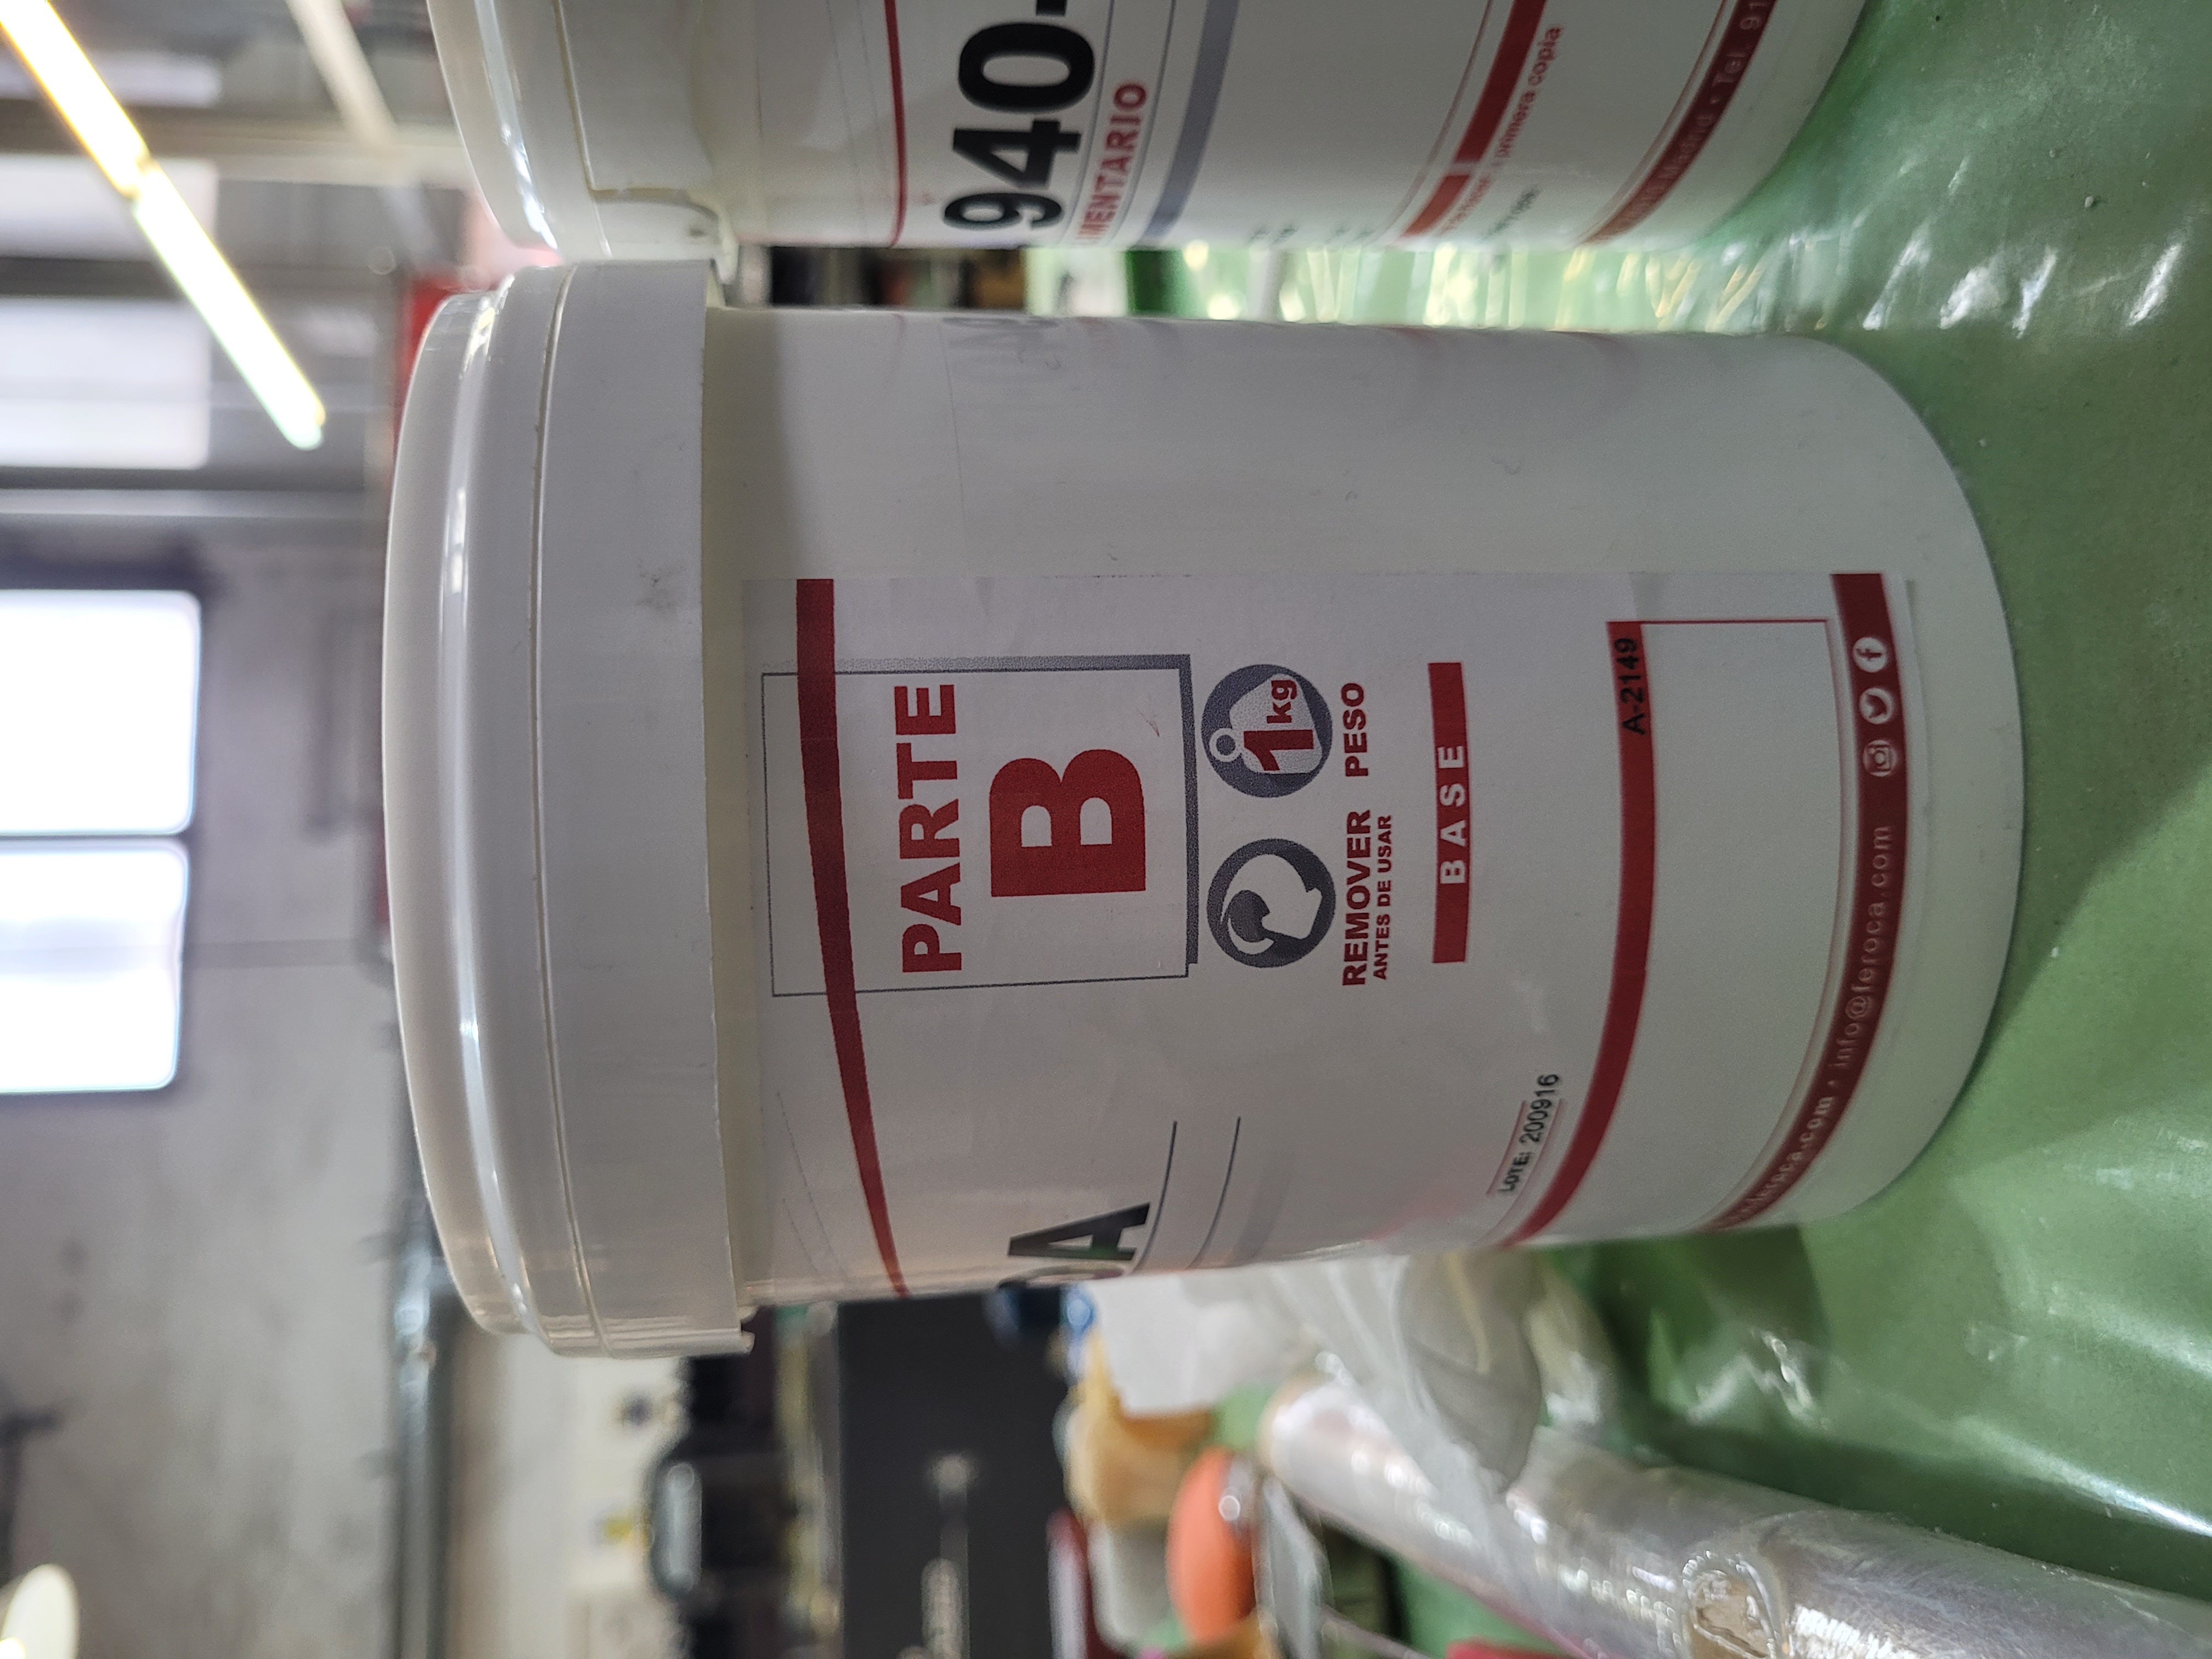
Next parade! the casting. I wanted to make chocolate, so to make the soft material mold I need food safe silicone. The fab has the Easyl 940-FDA Silicone A and B which are food safe. Do not forget to looking for the datasheet. I found the datasheet, the safety datasheet and the food safe technical bulletin on the internet but unfortunately is in spanish.
It is recommended to use a release agent to the mold that allows us to take out the casting easily.

Now, it is time to mixing the silicone, following the instructions on the datasheet we mix the same amount of the part A and B, so for 30g of product A I had to add the same amount of part B. According to the datasheet, I have 30 minutes to mix the silicones and put it to the mold therefore I have enough time to mix it well. It is important mention that it will better use gloves.
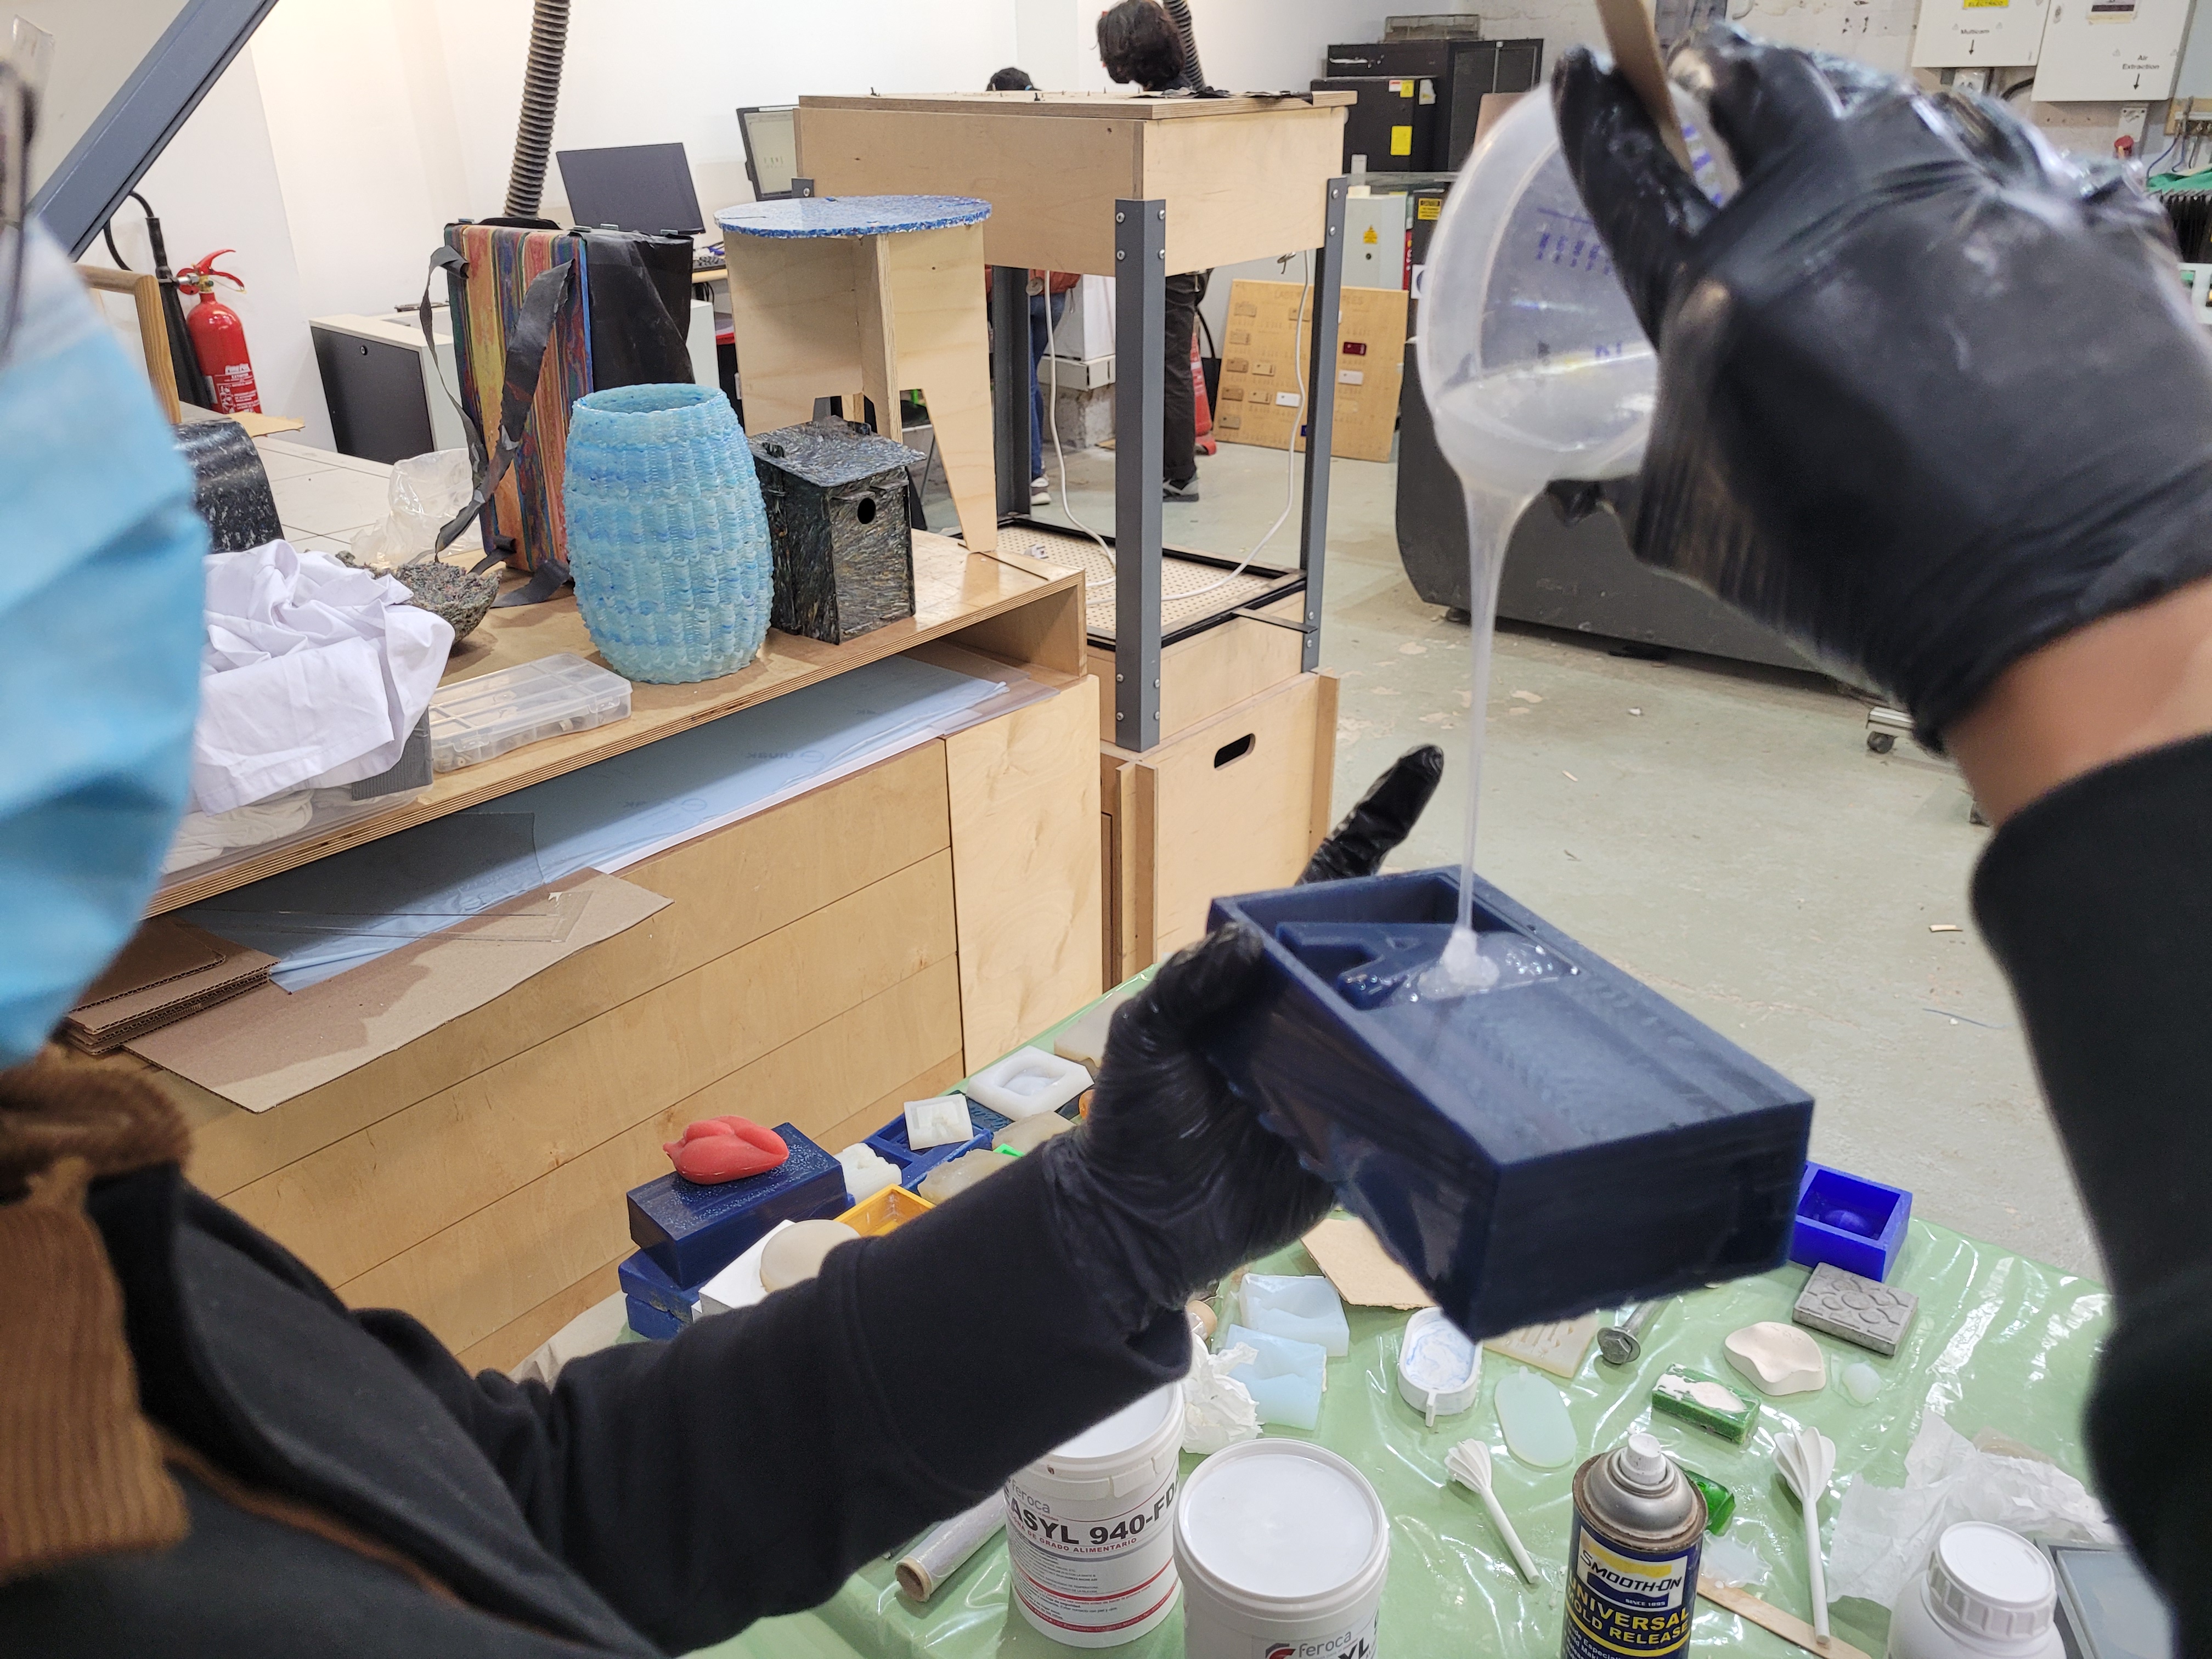
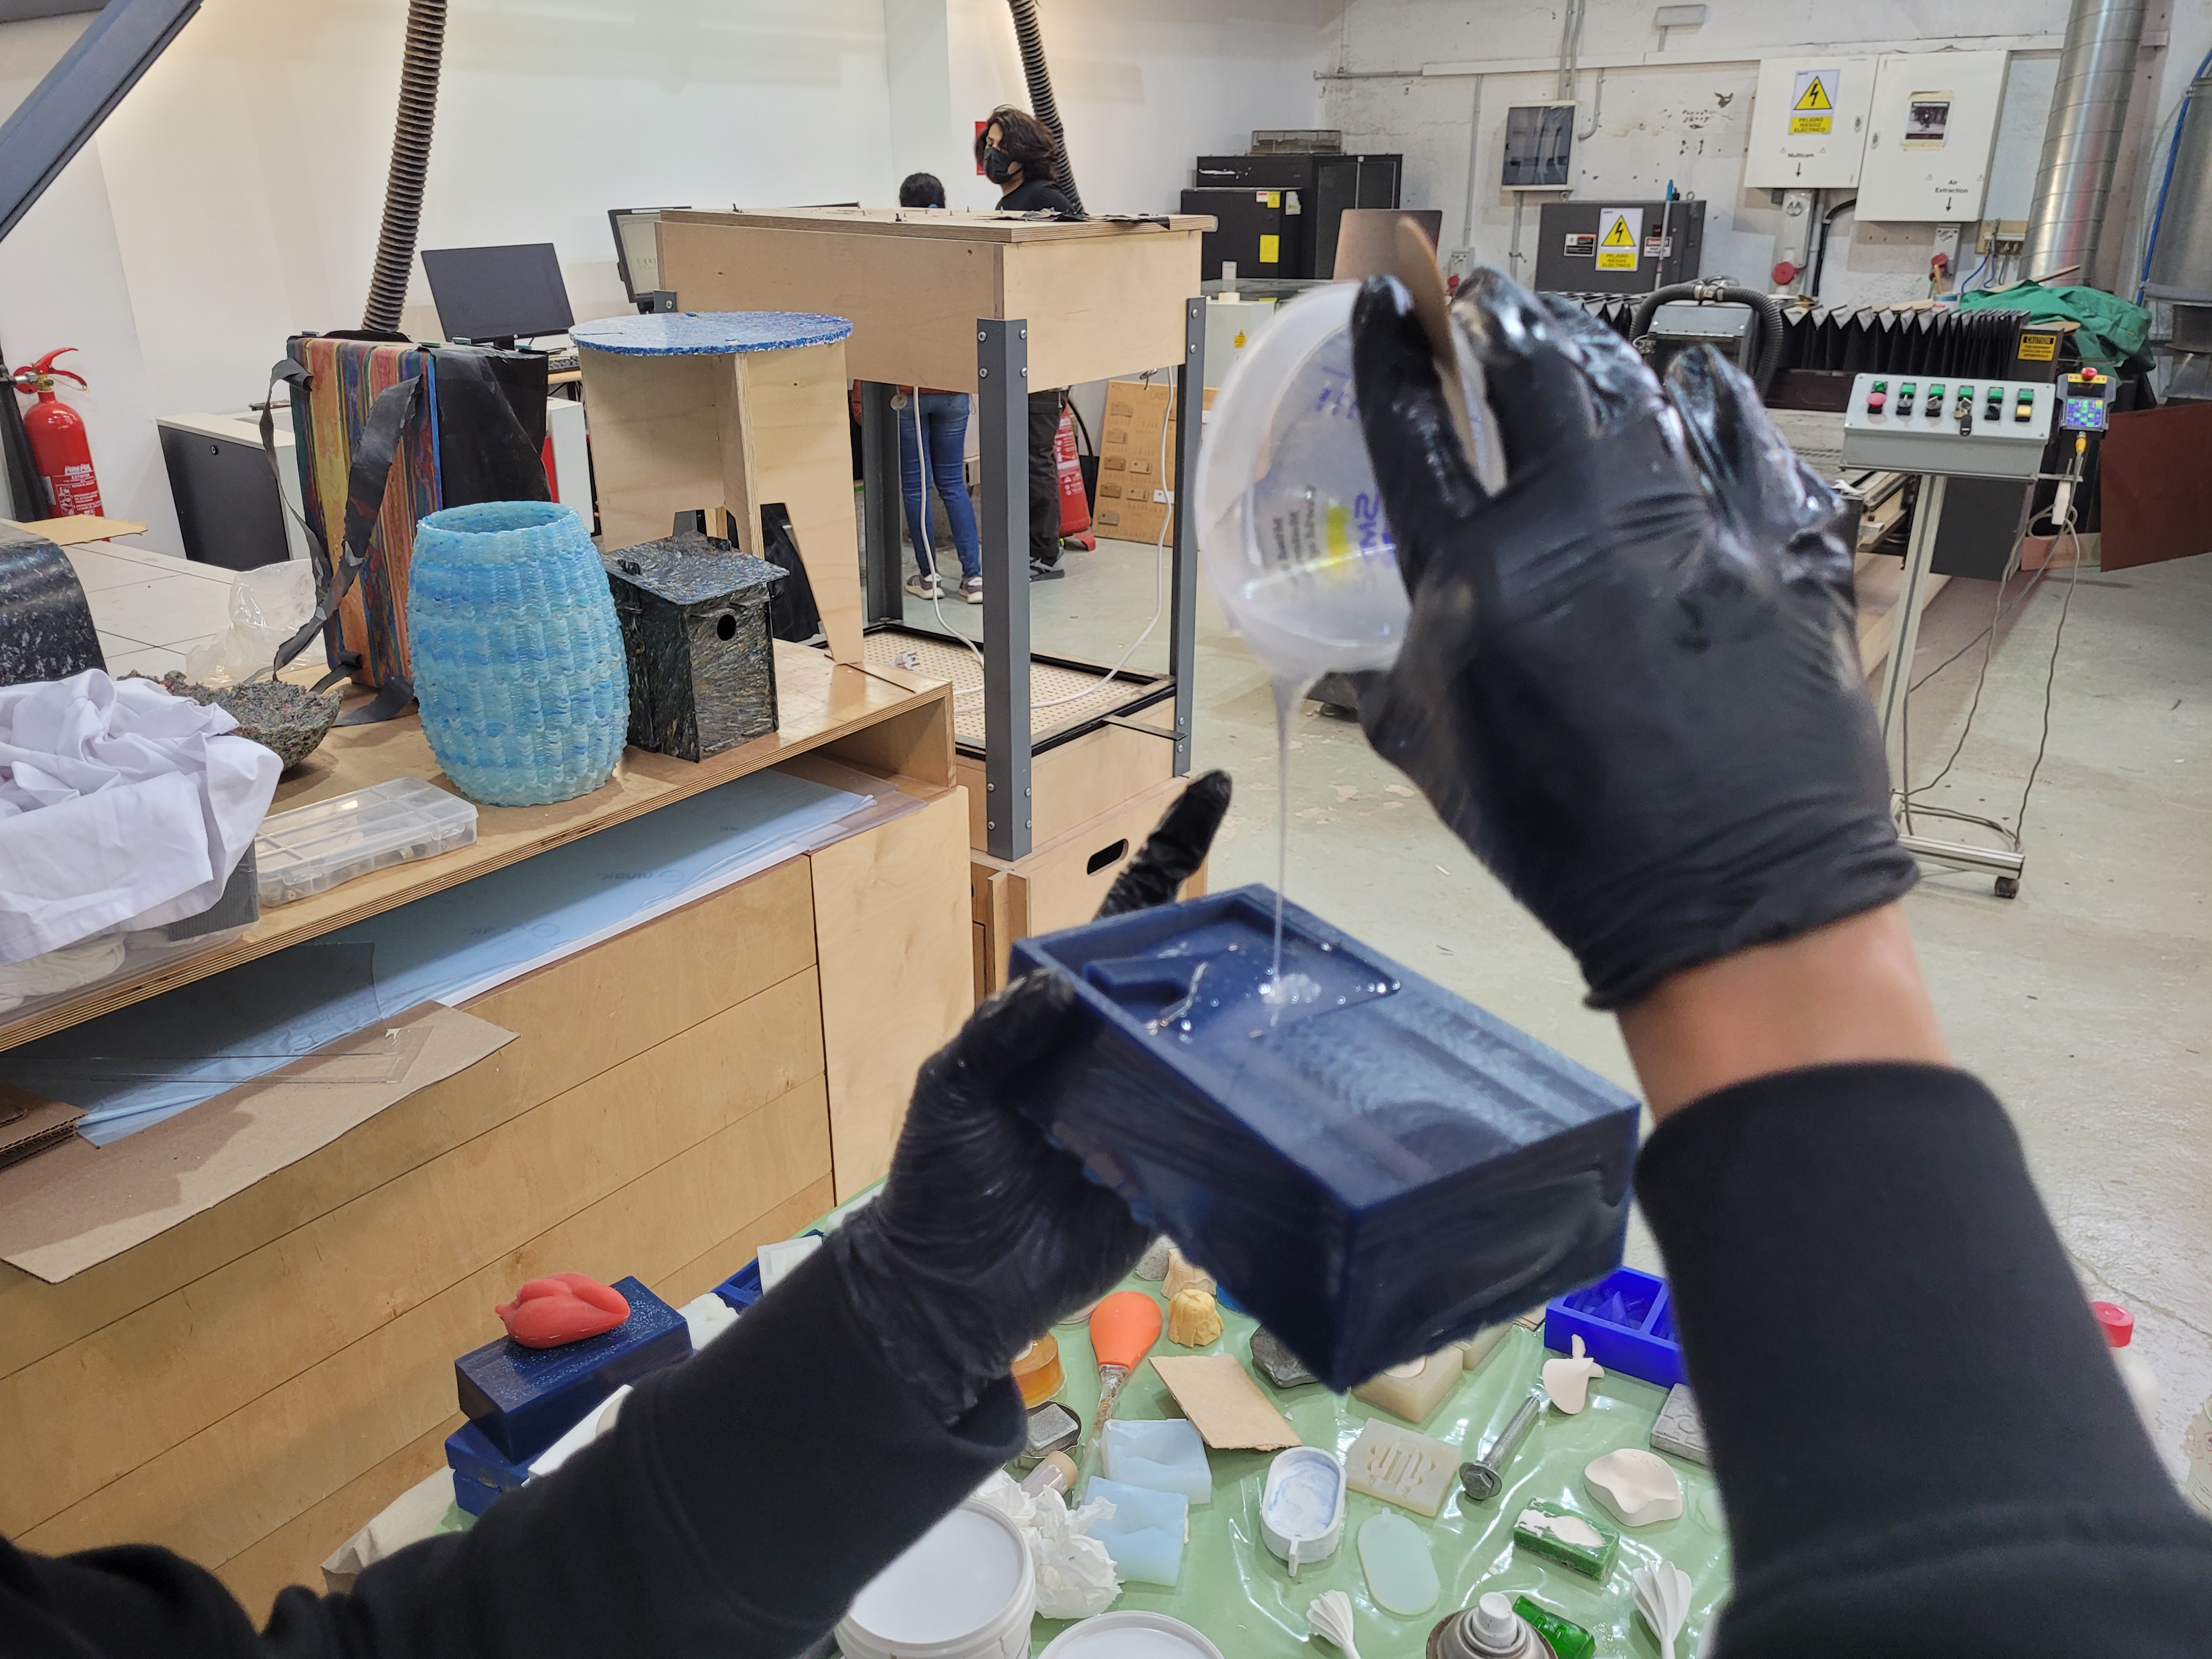
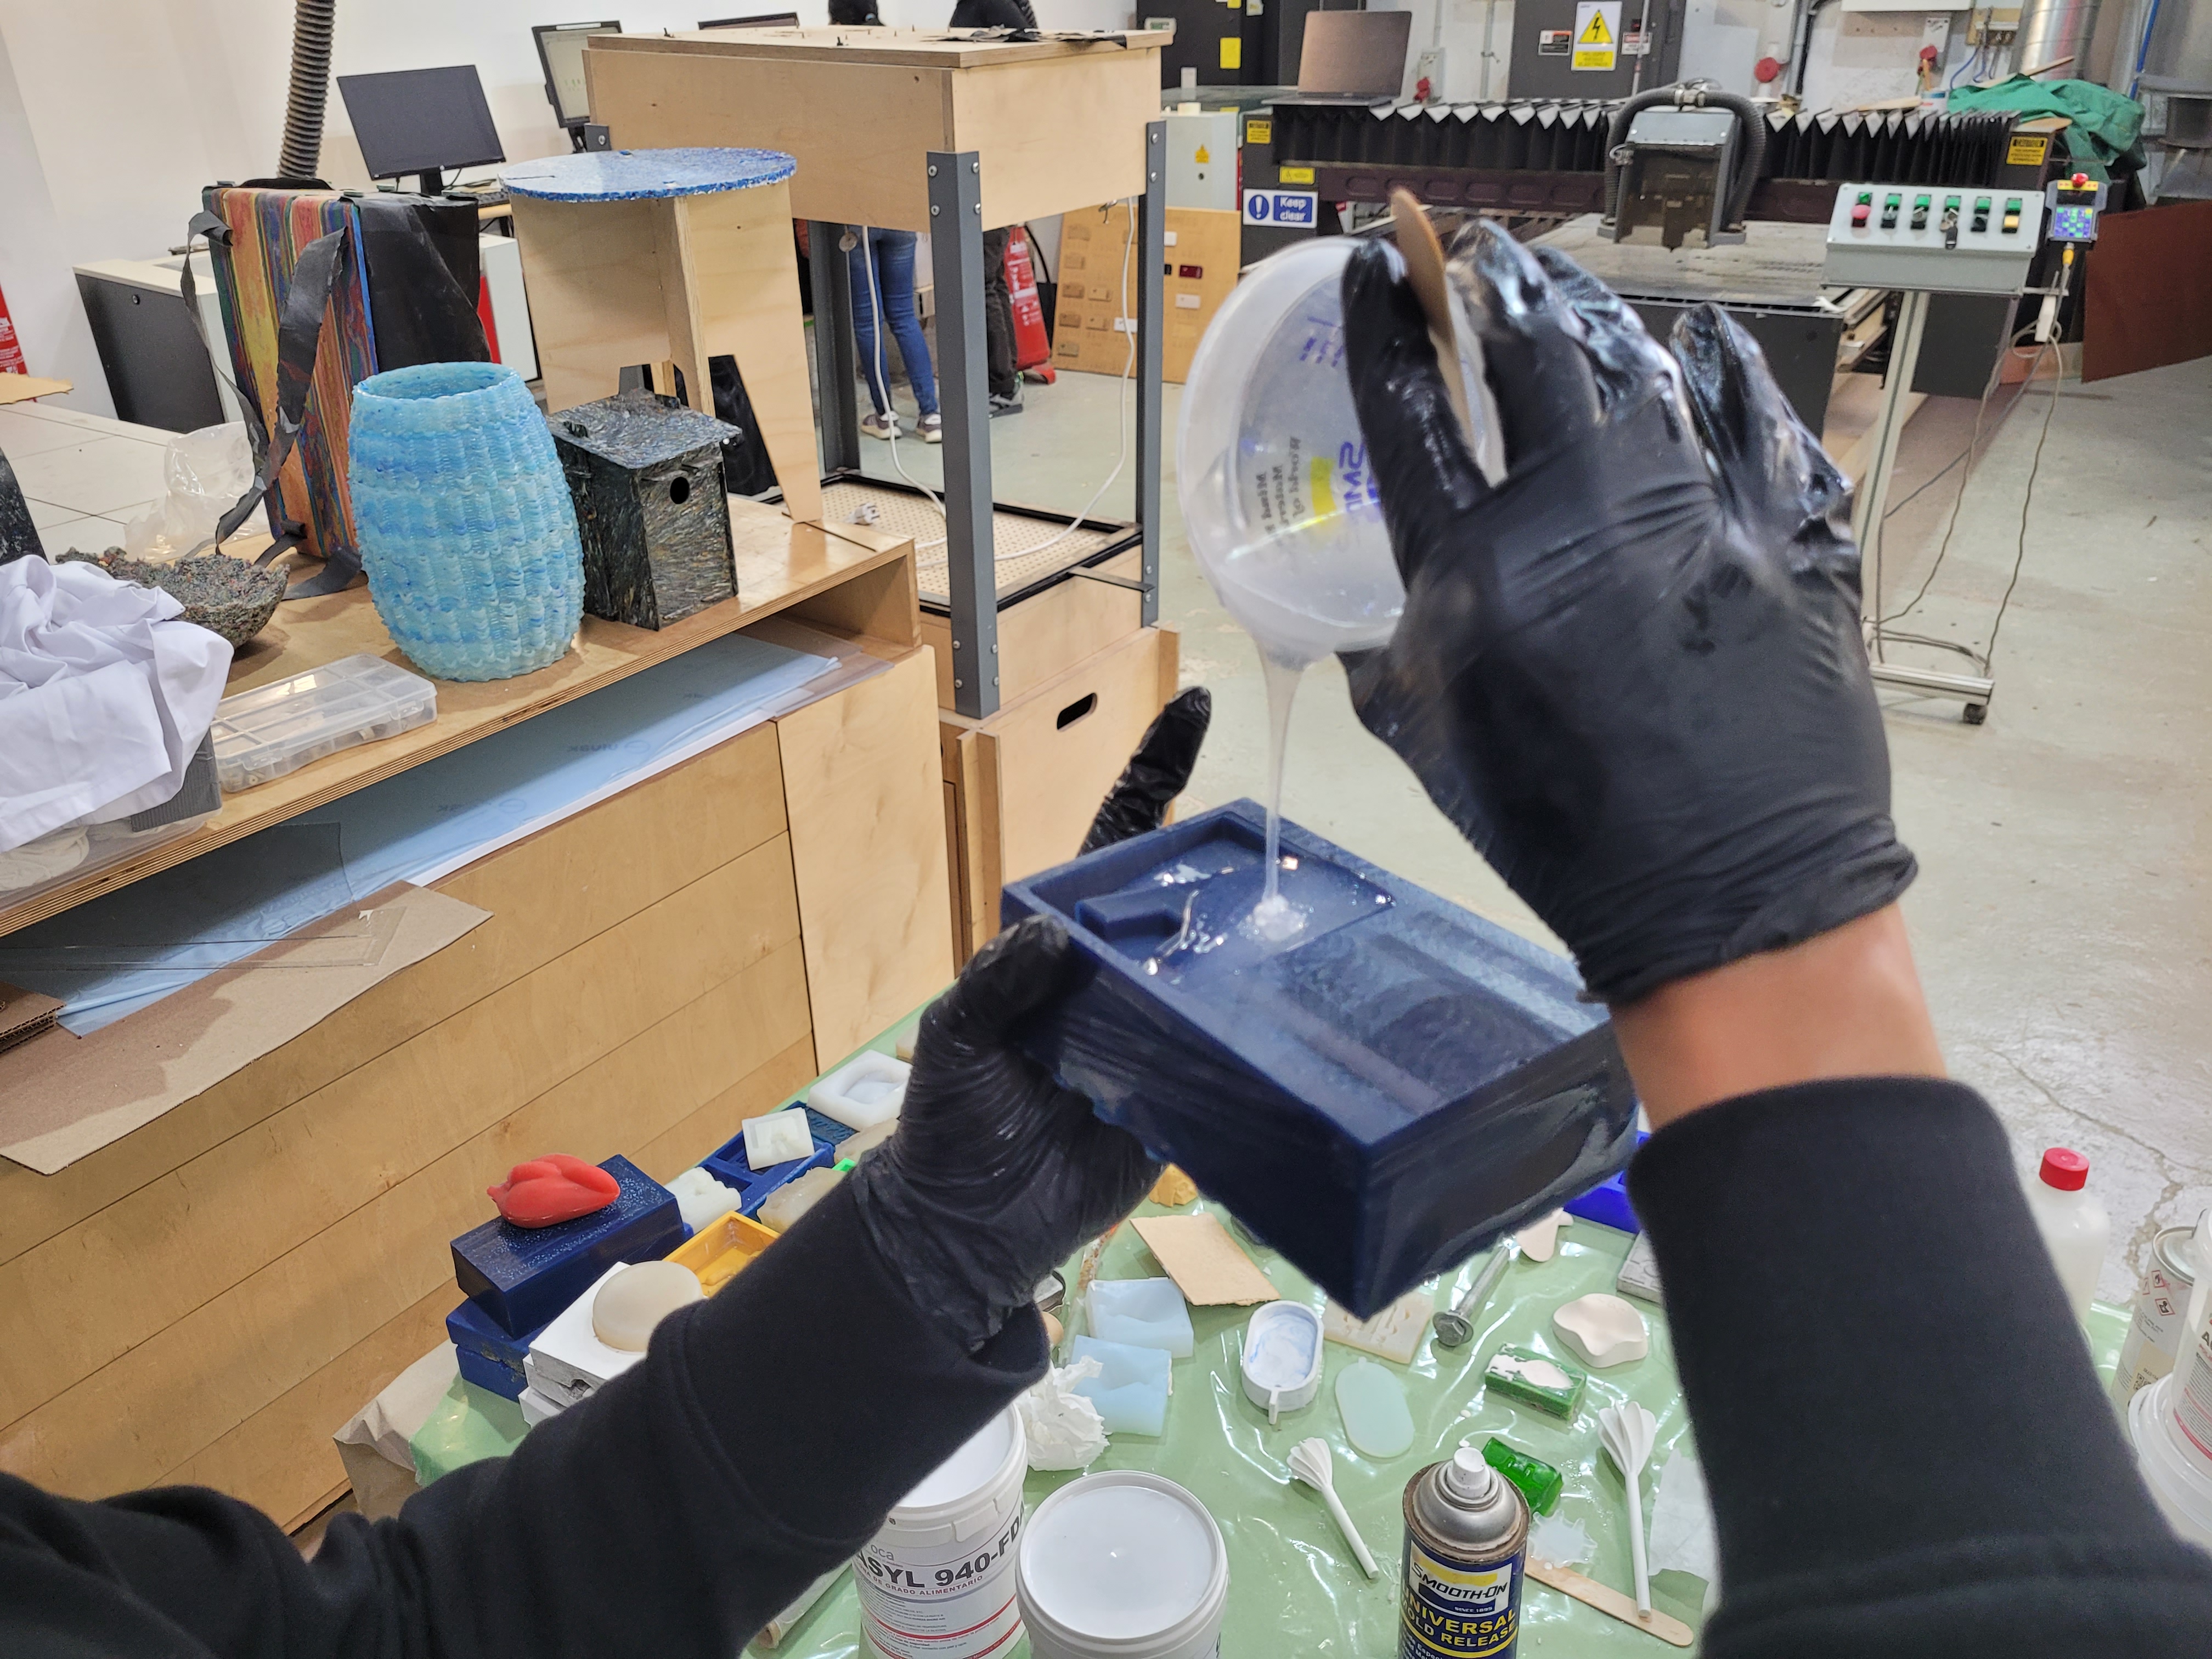
To pour the silicone into the mold we start at one corner and put it with a thin line because we do not want to appear bubbles. I shaked the mold for a few minute to reduce the amount of bubbles.
Then I let the mold cure for 24 hours.
Later, I put the silicone mold in the oven at 100°C, but unfortunately I did not control the temperature inside it as a result my mold ruined. Let see what happened in this picture.

Be careful! We always must control the temperature and check the datasheet because all this information to avoid this mistakes is available in the document.
So, I mixed the food safe silicone again and I put in the oven at 100°C but this time I controlled the temperature every 15 or 30 minutes.
Now the sweetest part of the process.
CHOCOLATE CASTING
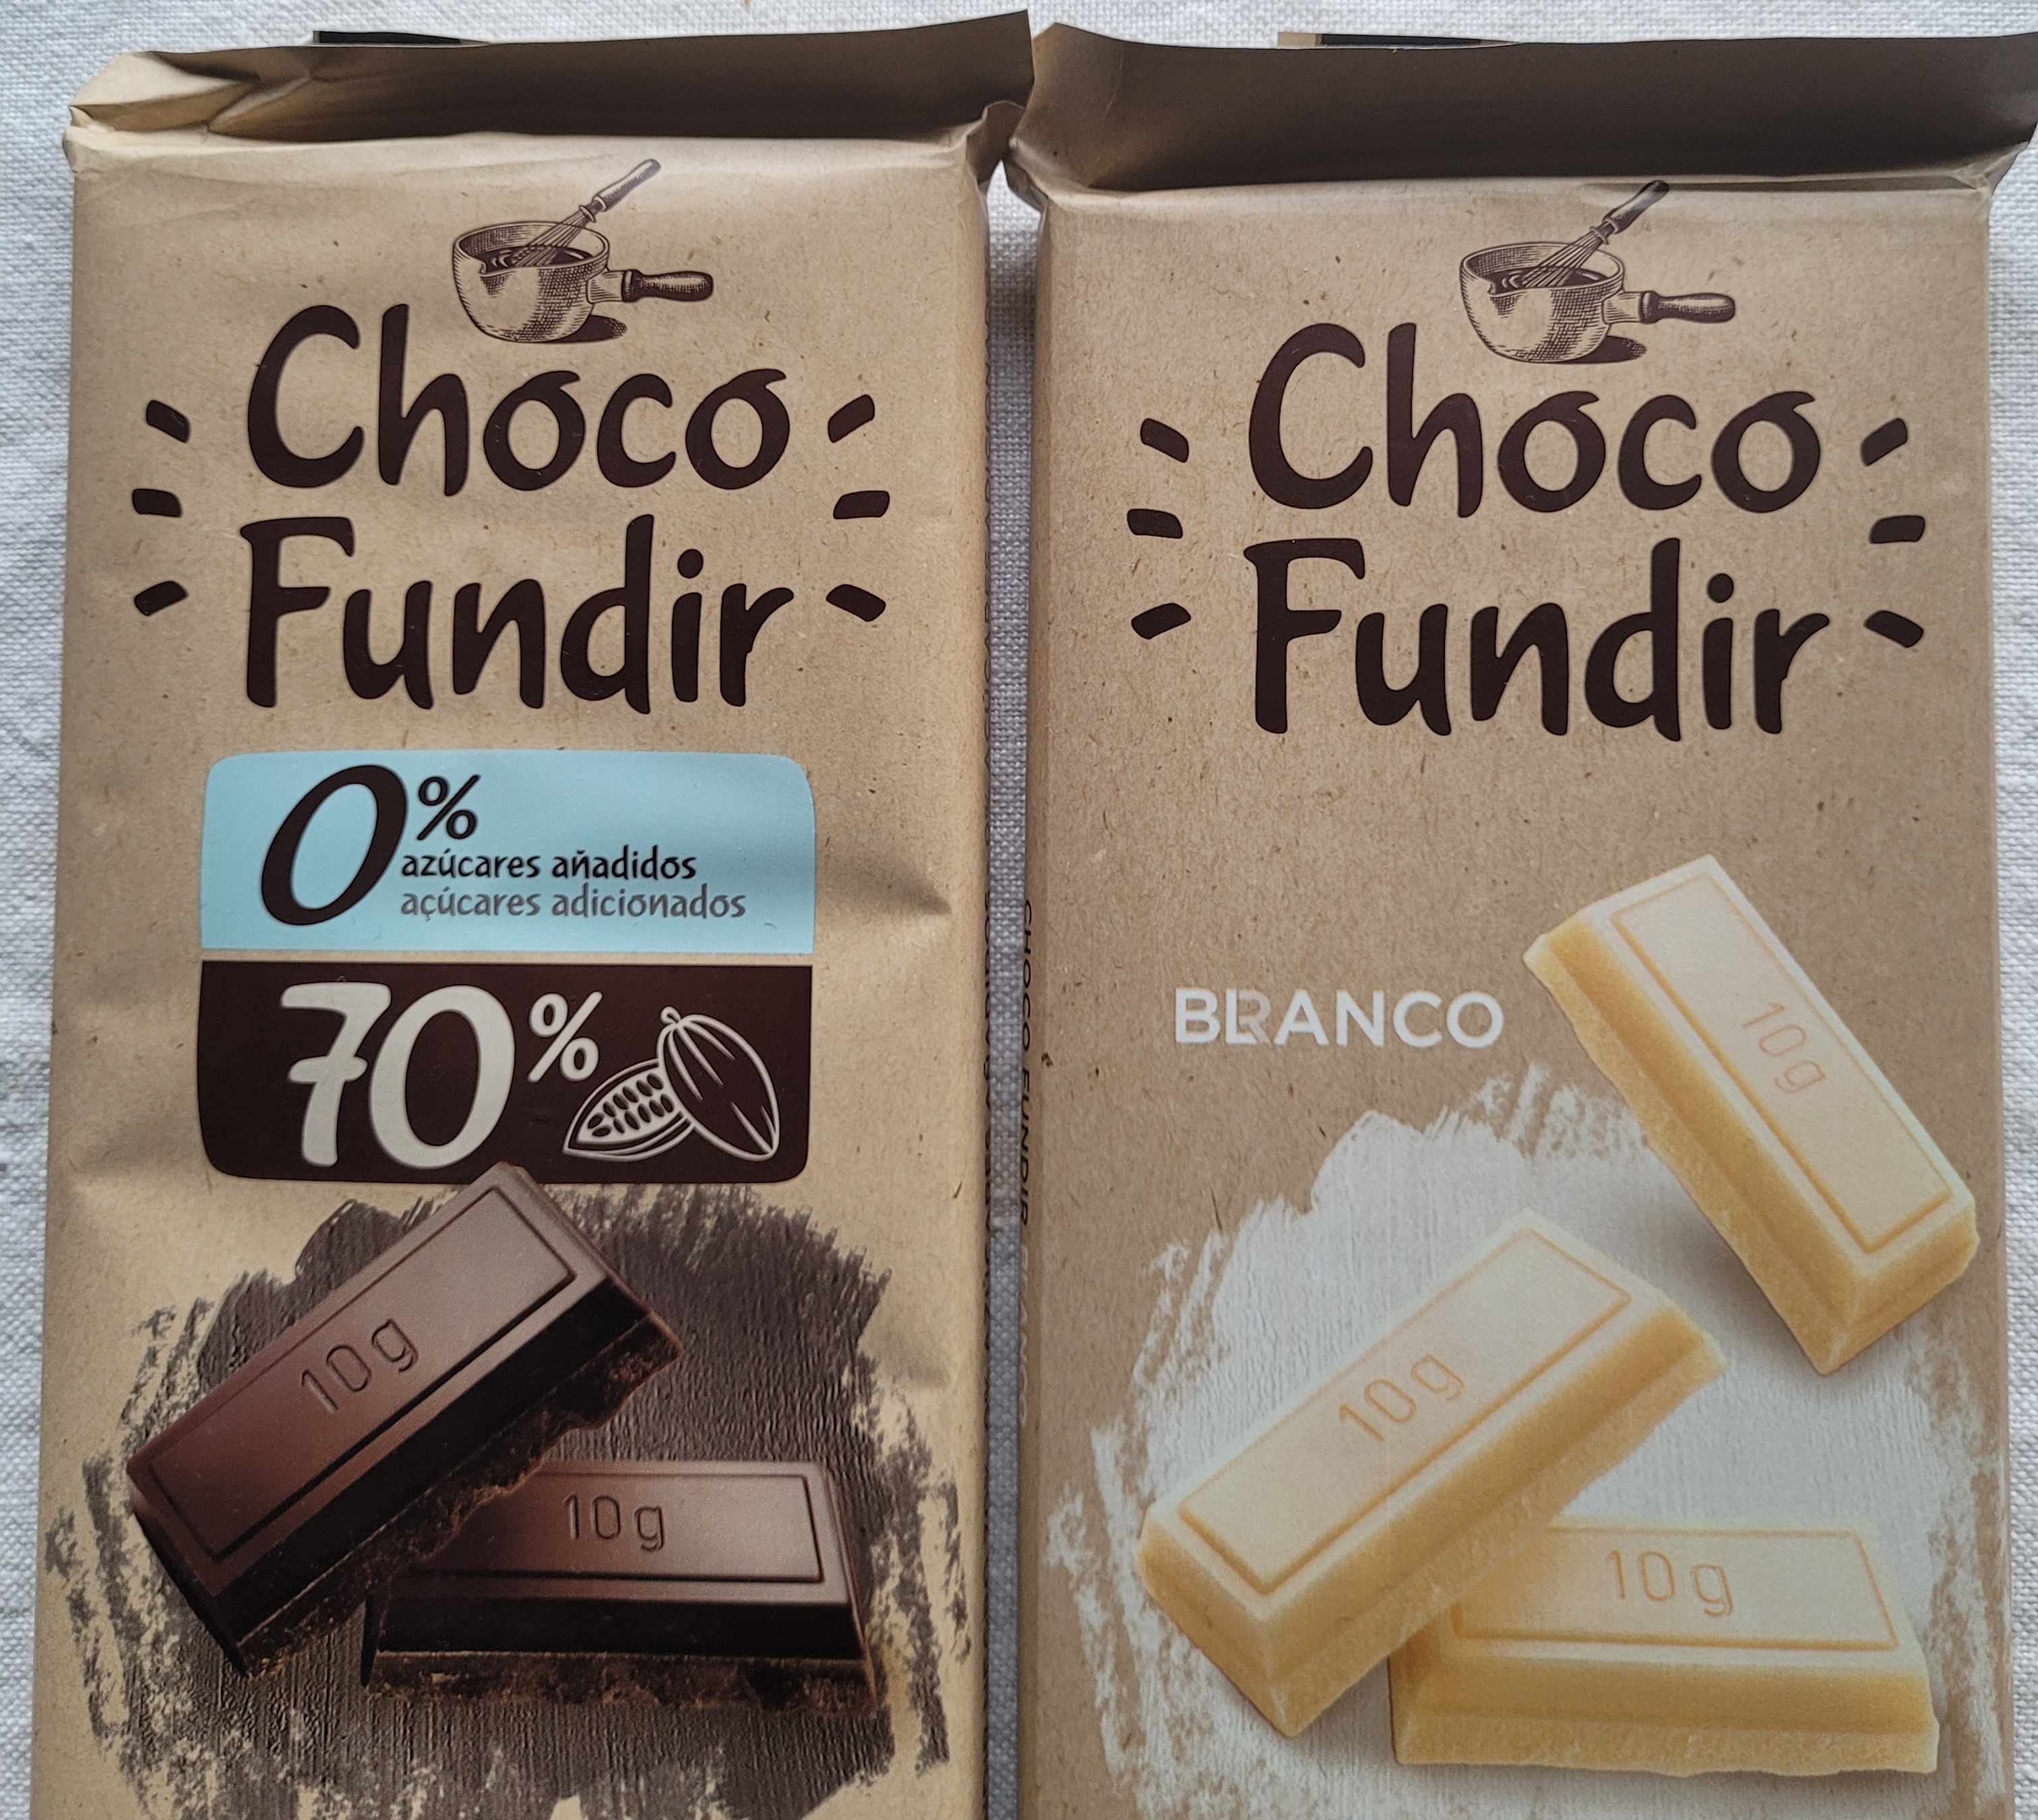
I choosed a chocolate with 70% cocoa to cast the mold with a material hard.
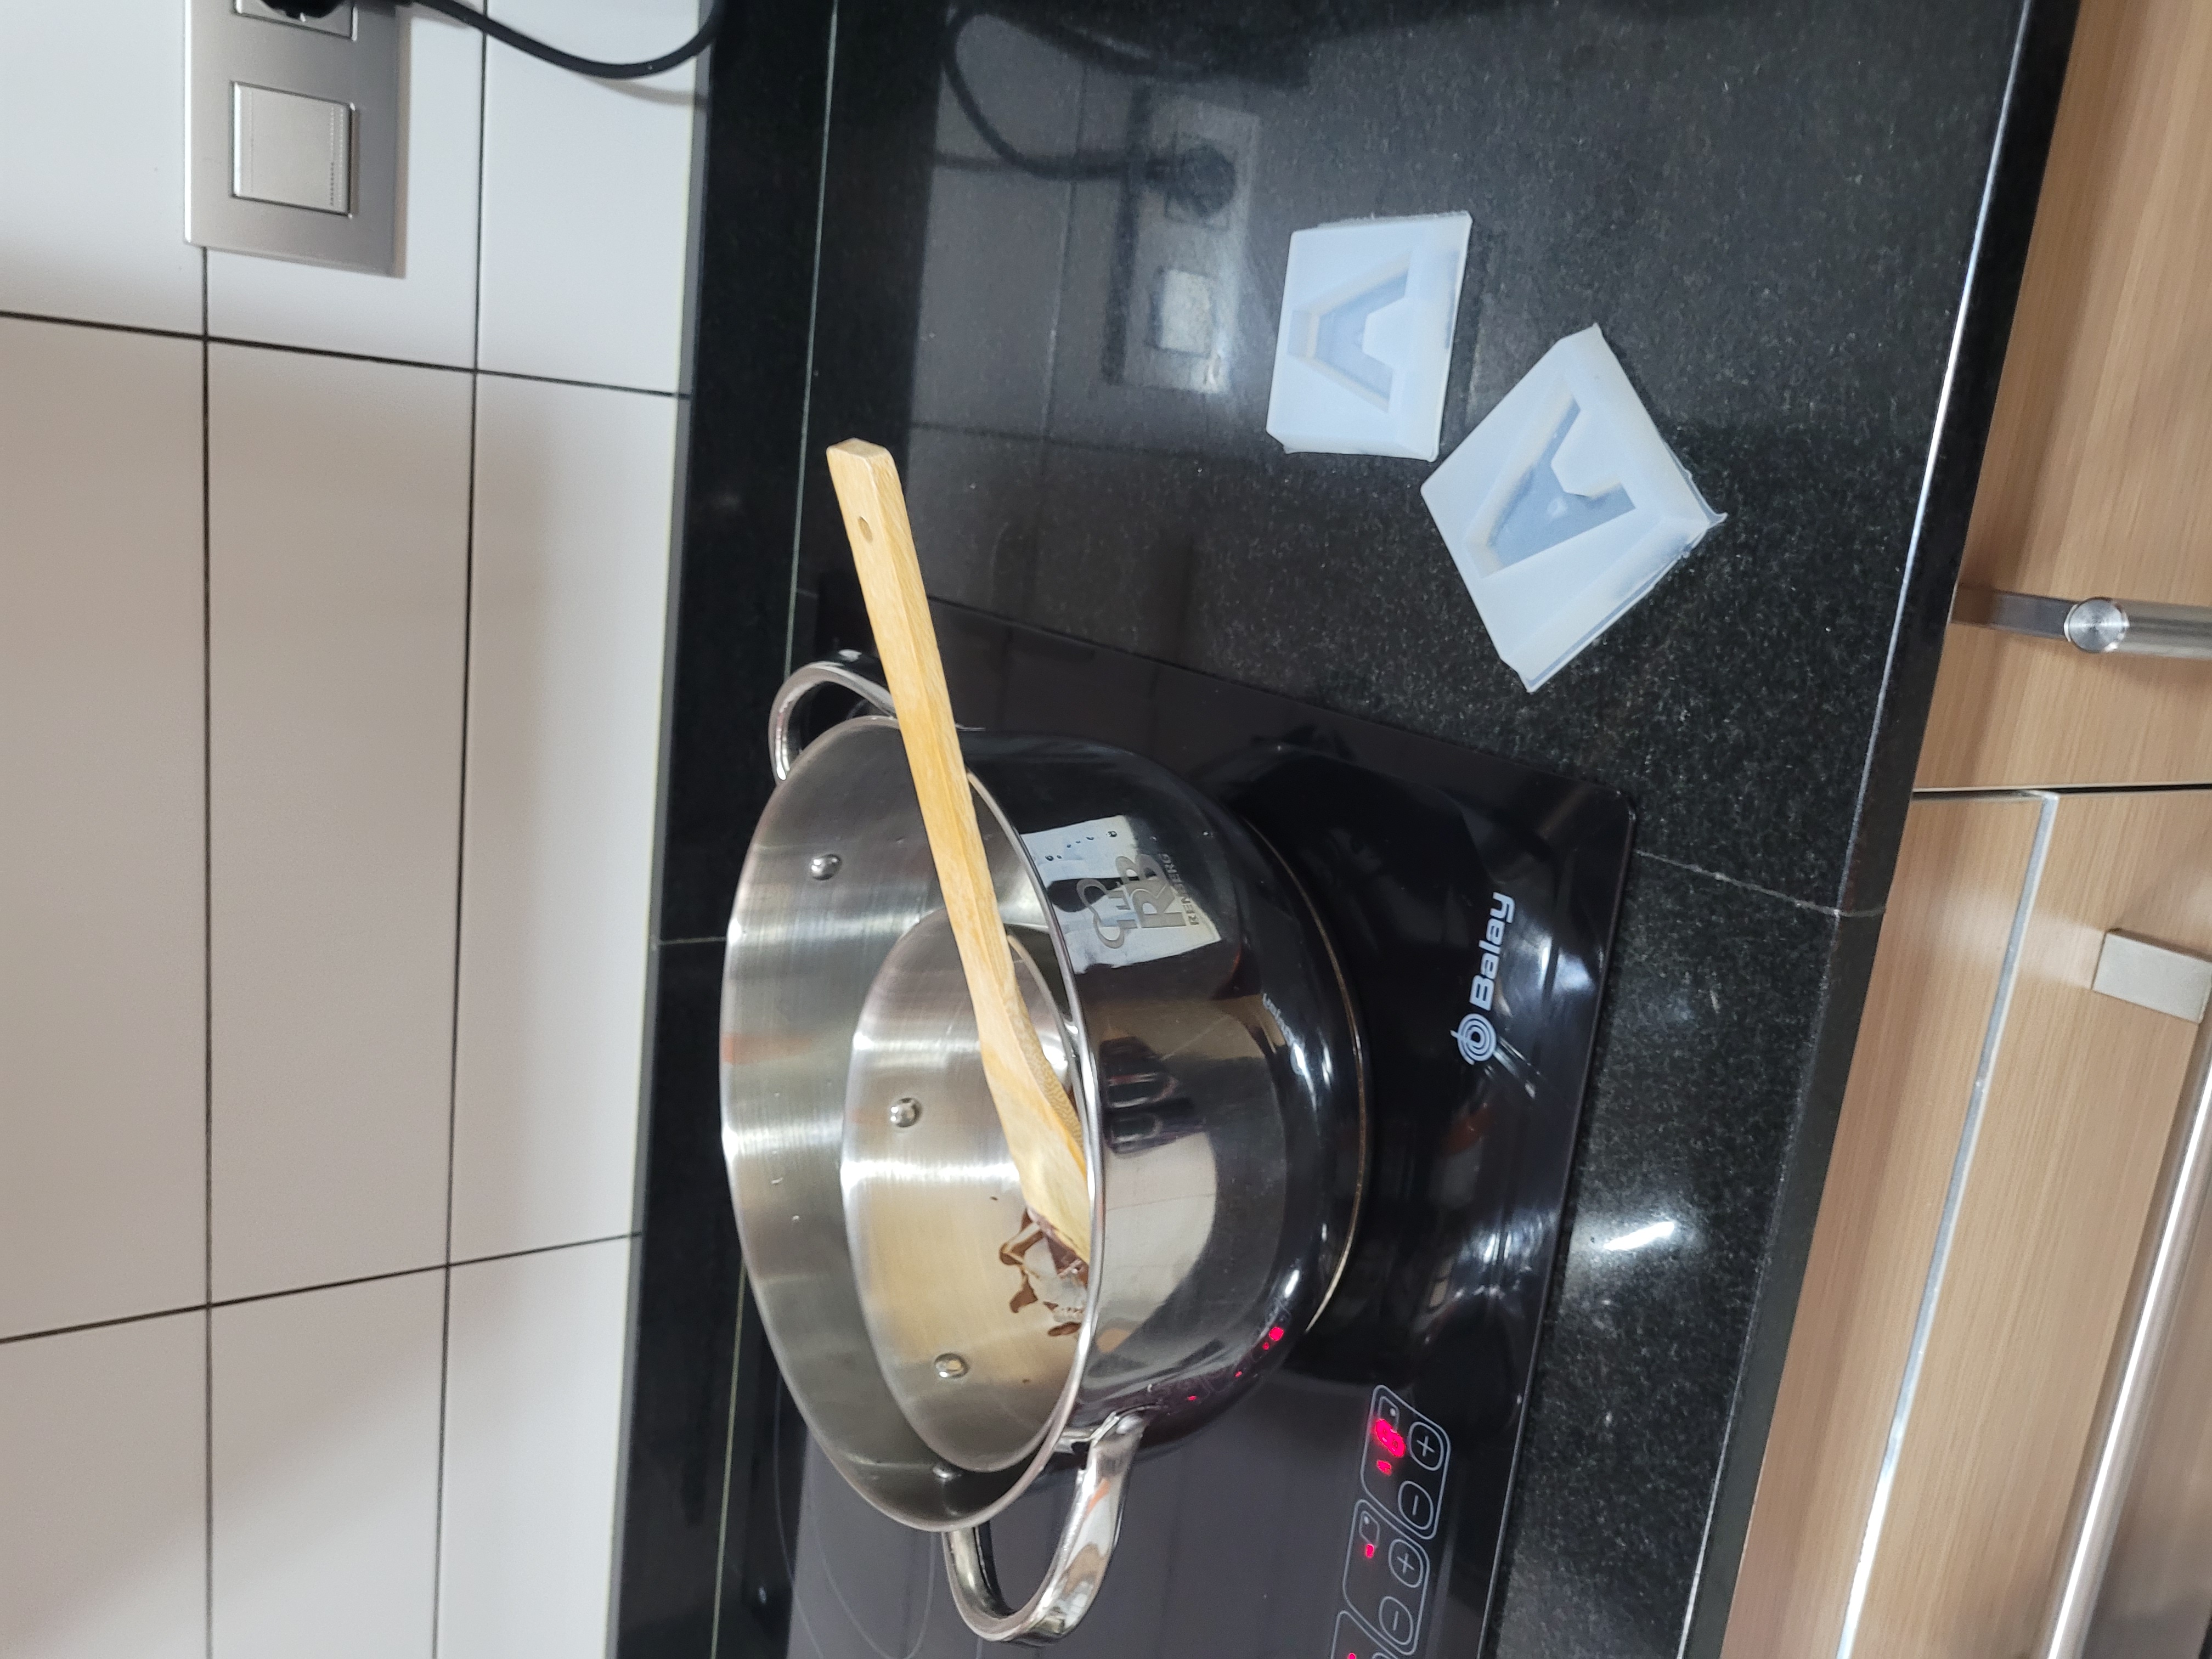
First, I heated the pot at 45°C. As yoo can see, I use a Water bath that allows me to control the temperature.
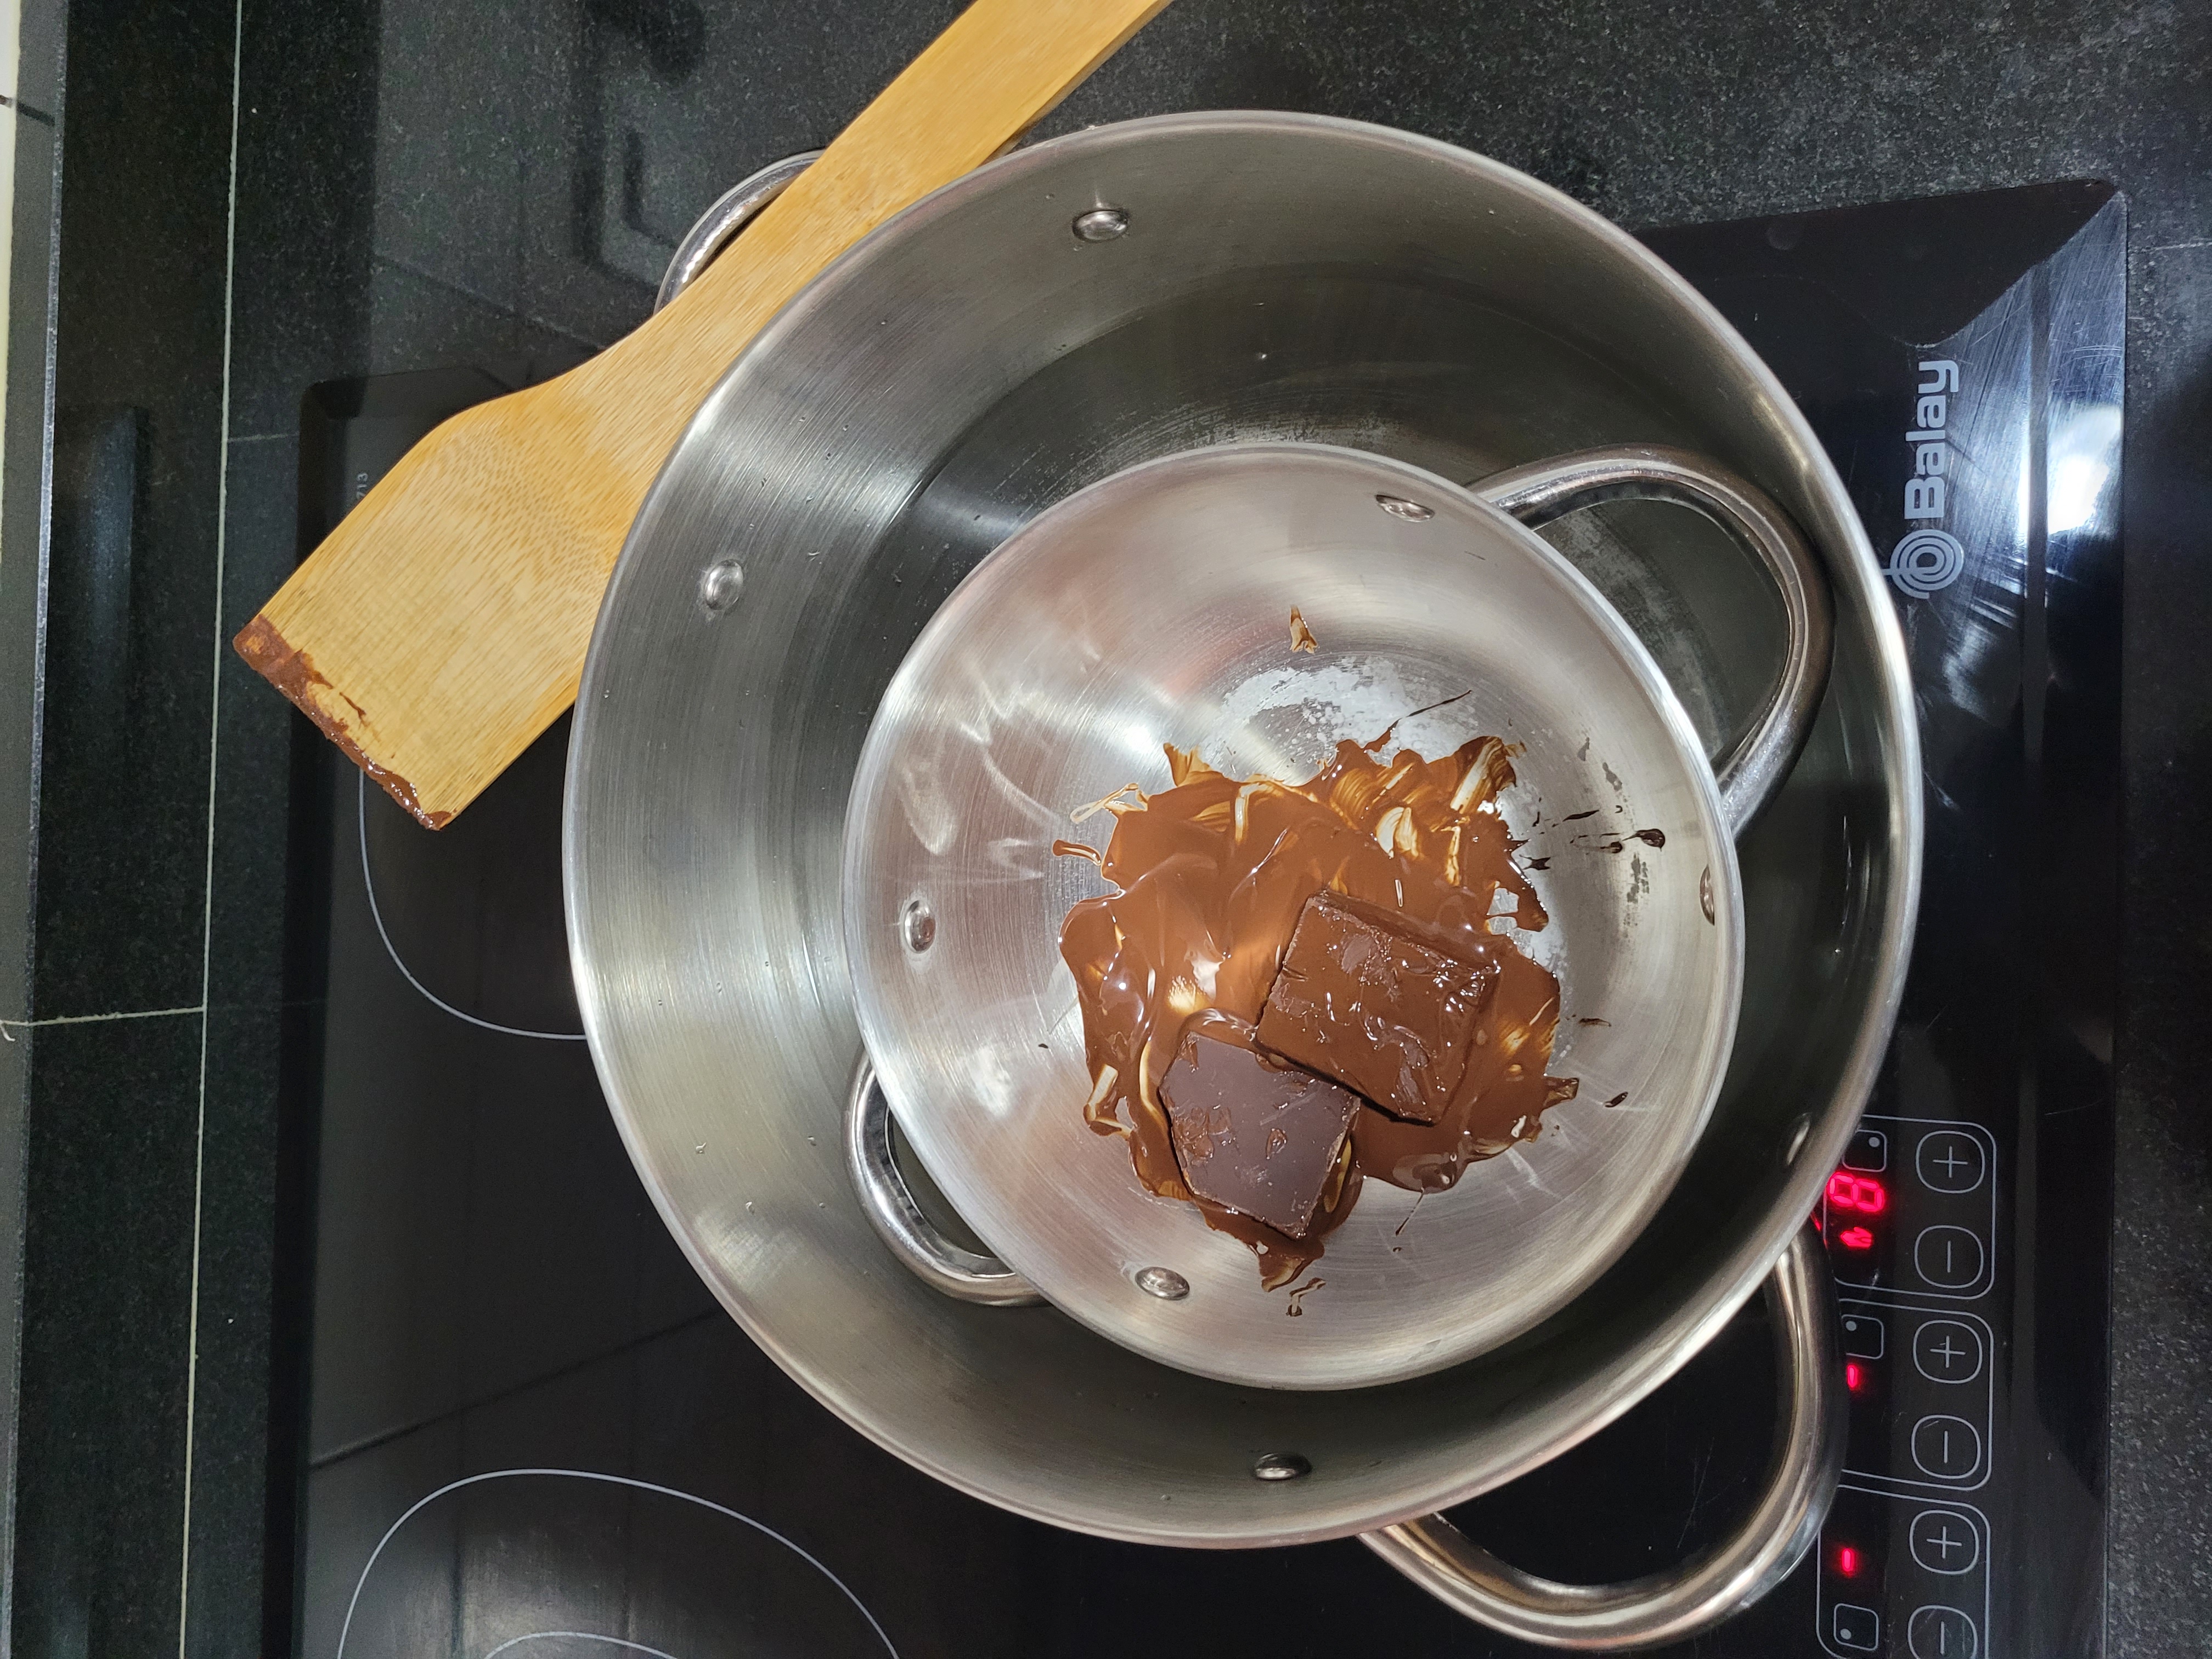
I poured the pieces of chocolate at 45°C and stirred it to melt it.
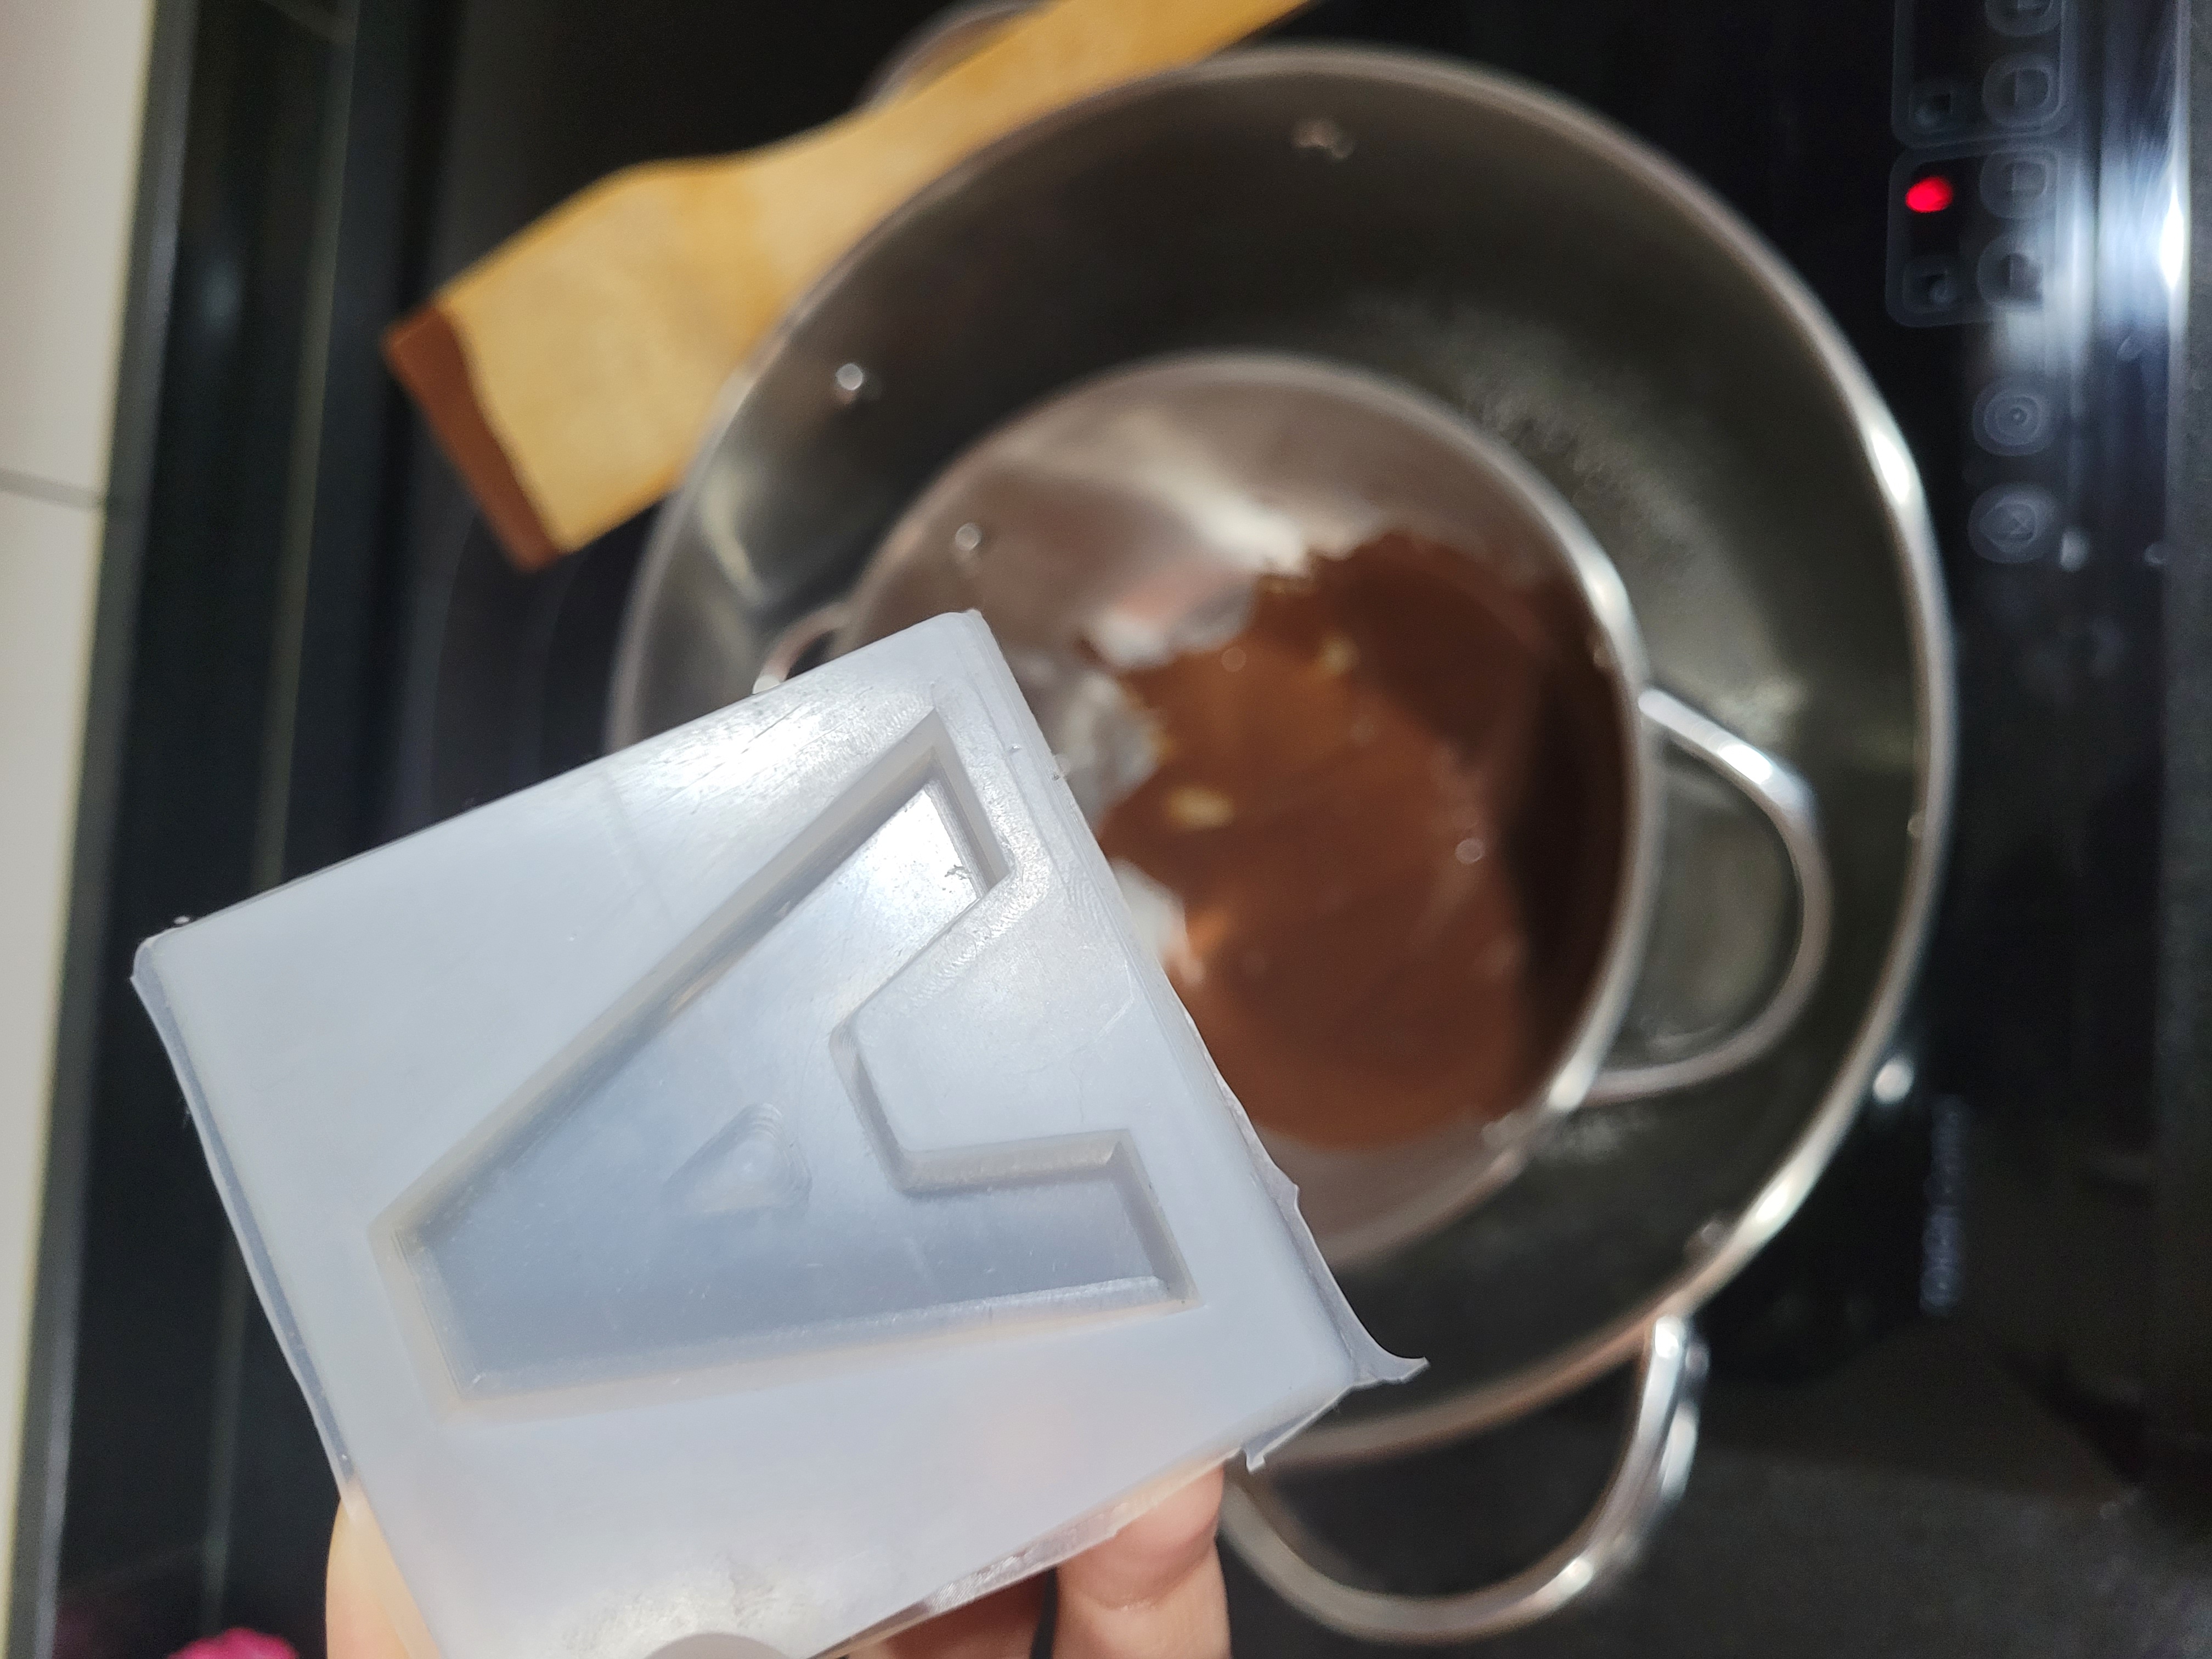
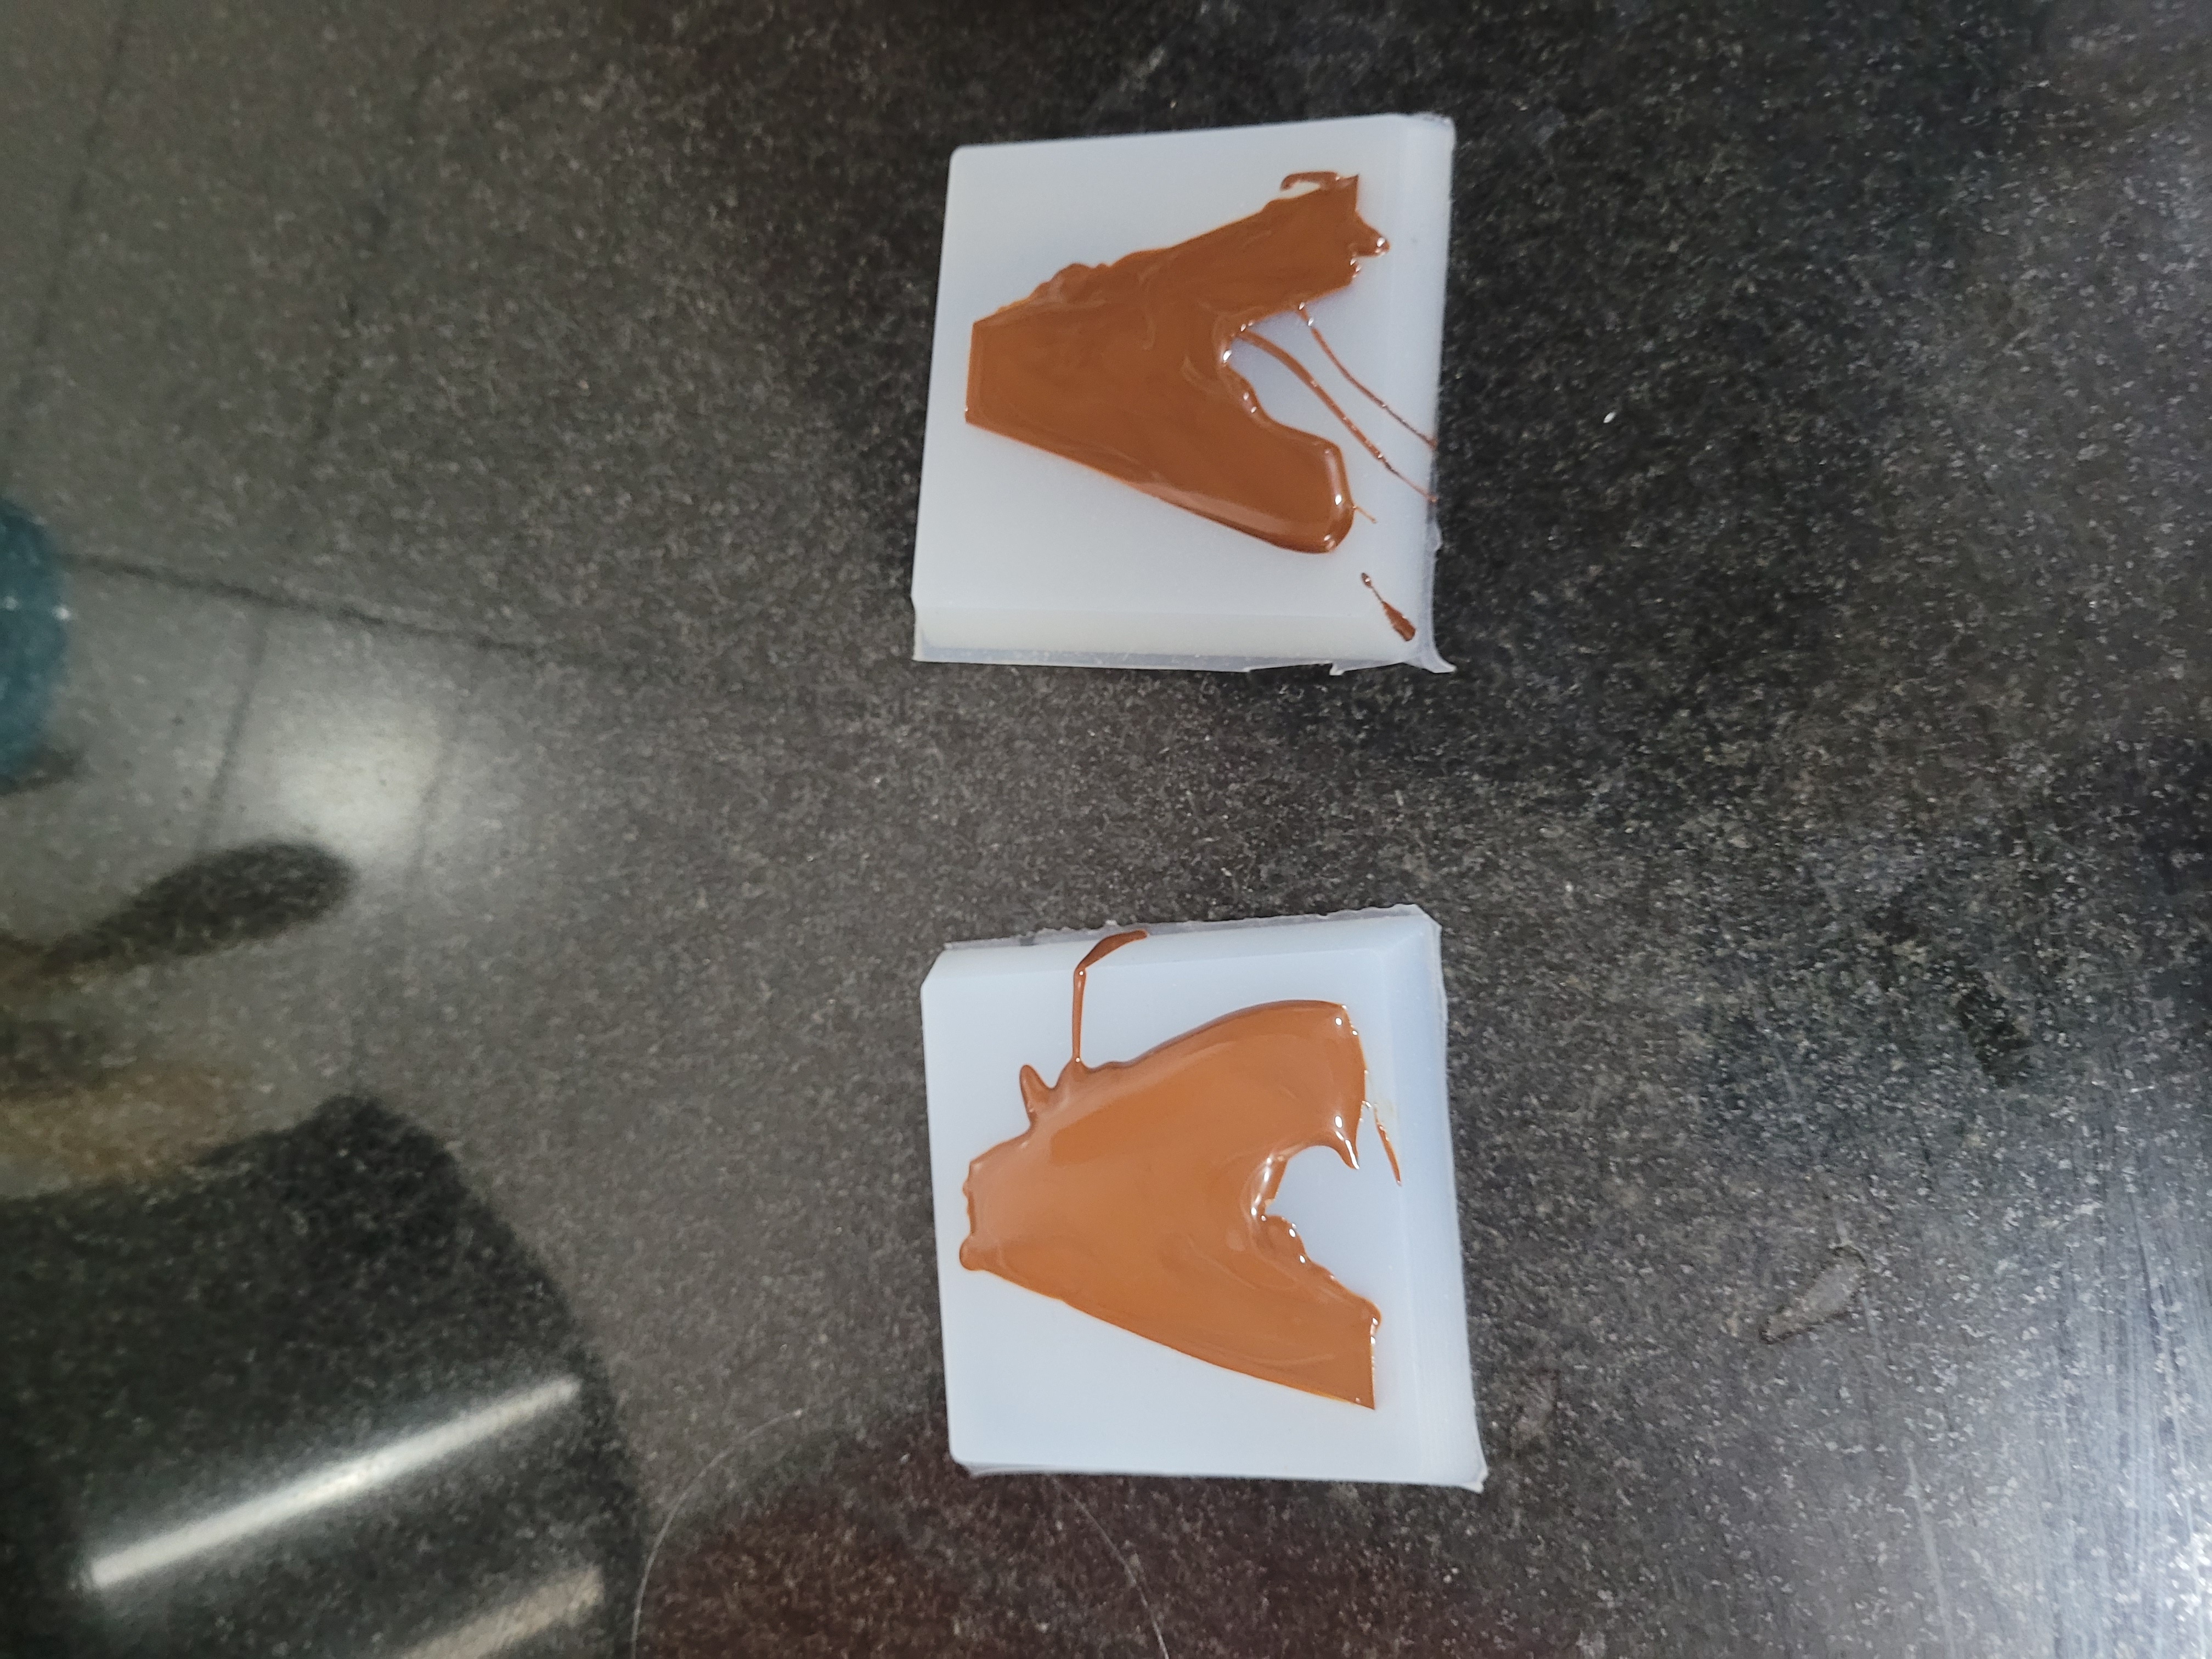
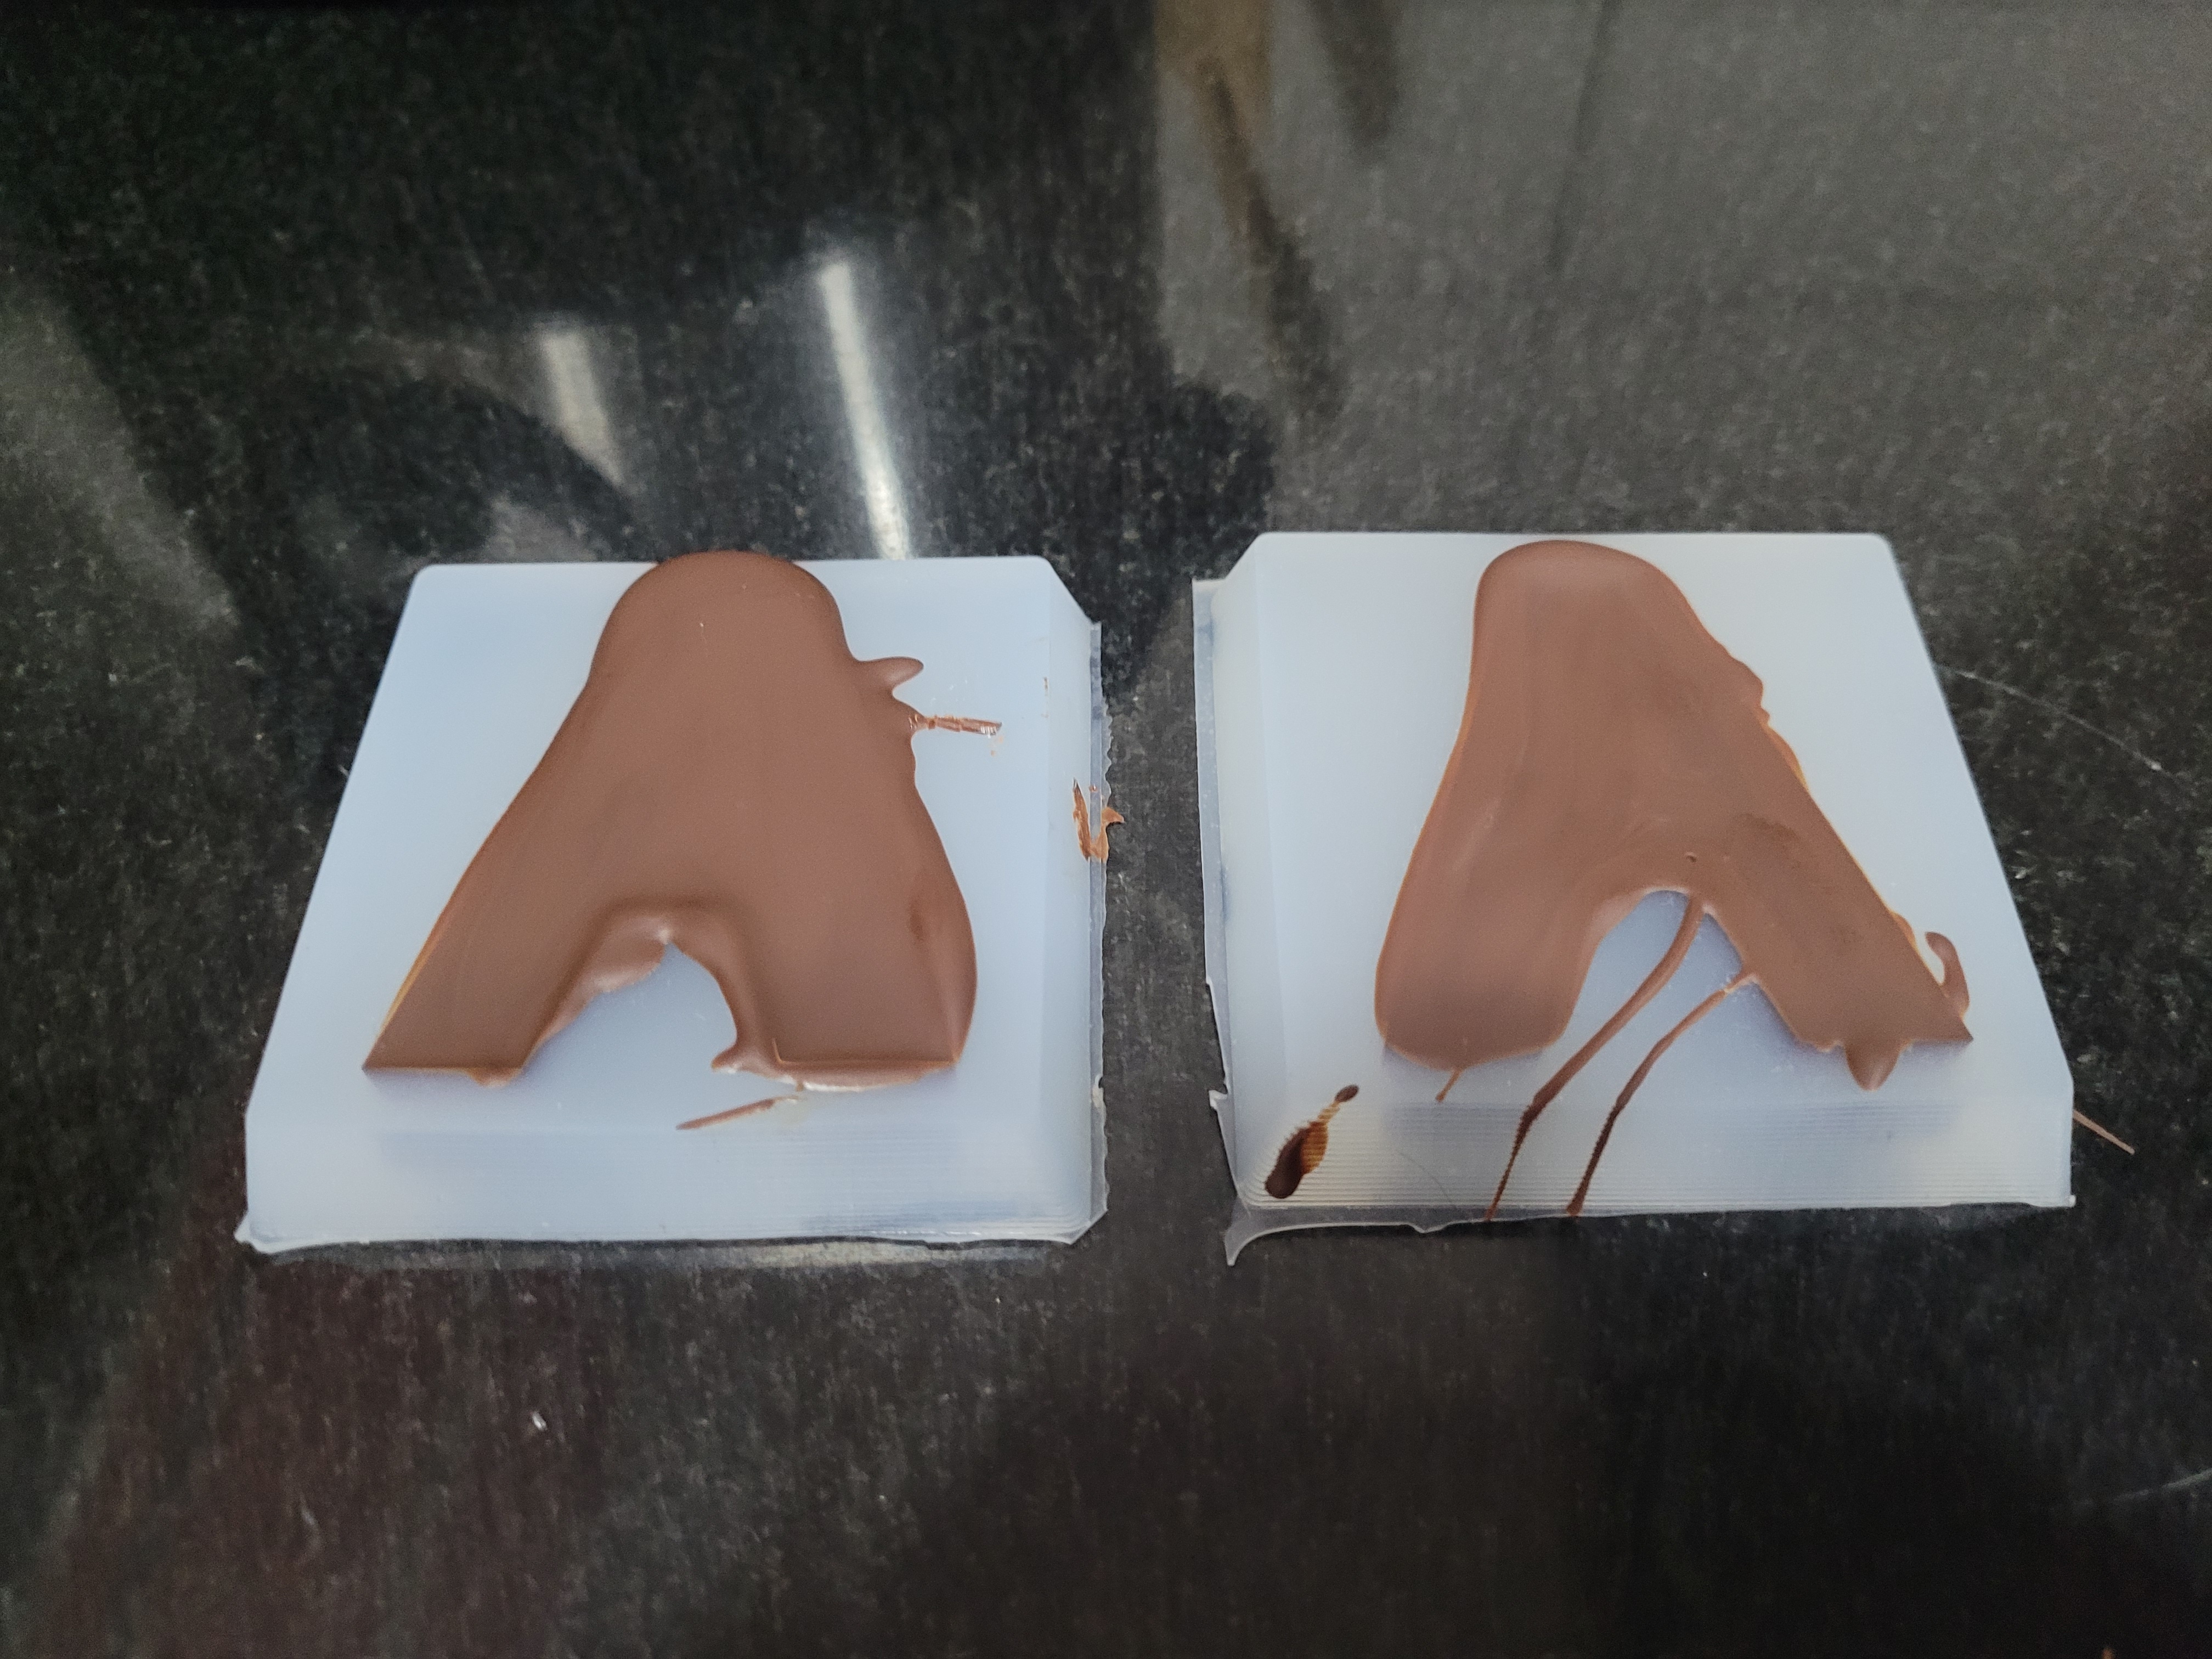
In few minutes the chocolate is fully melt and I cast it in the mold. Then I put it in the fridge.
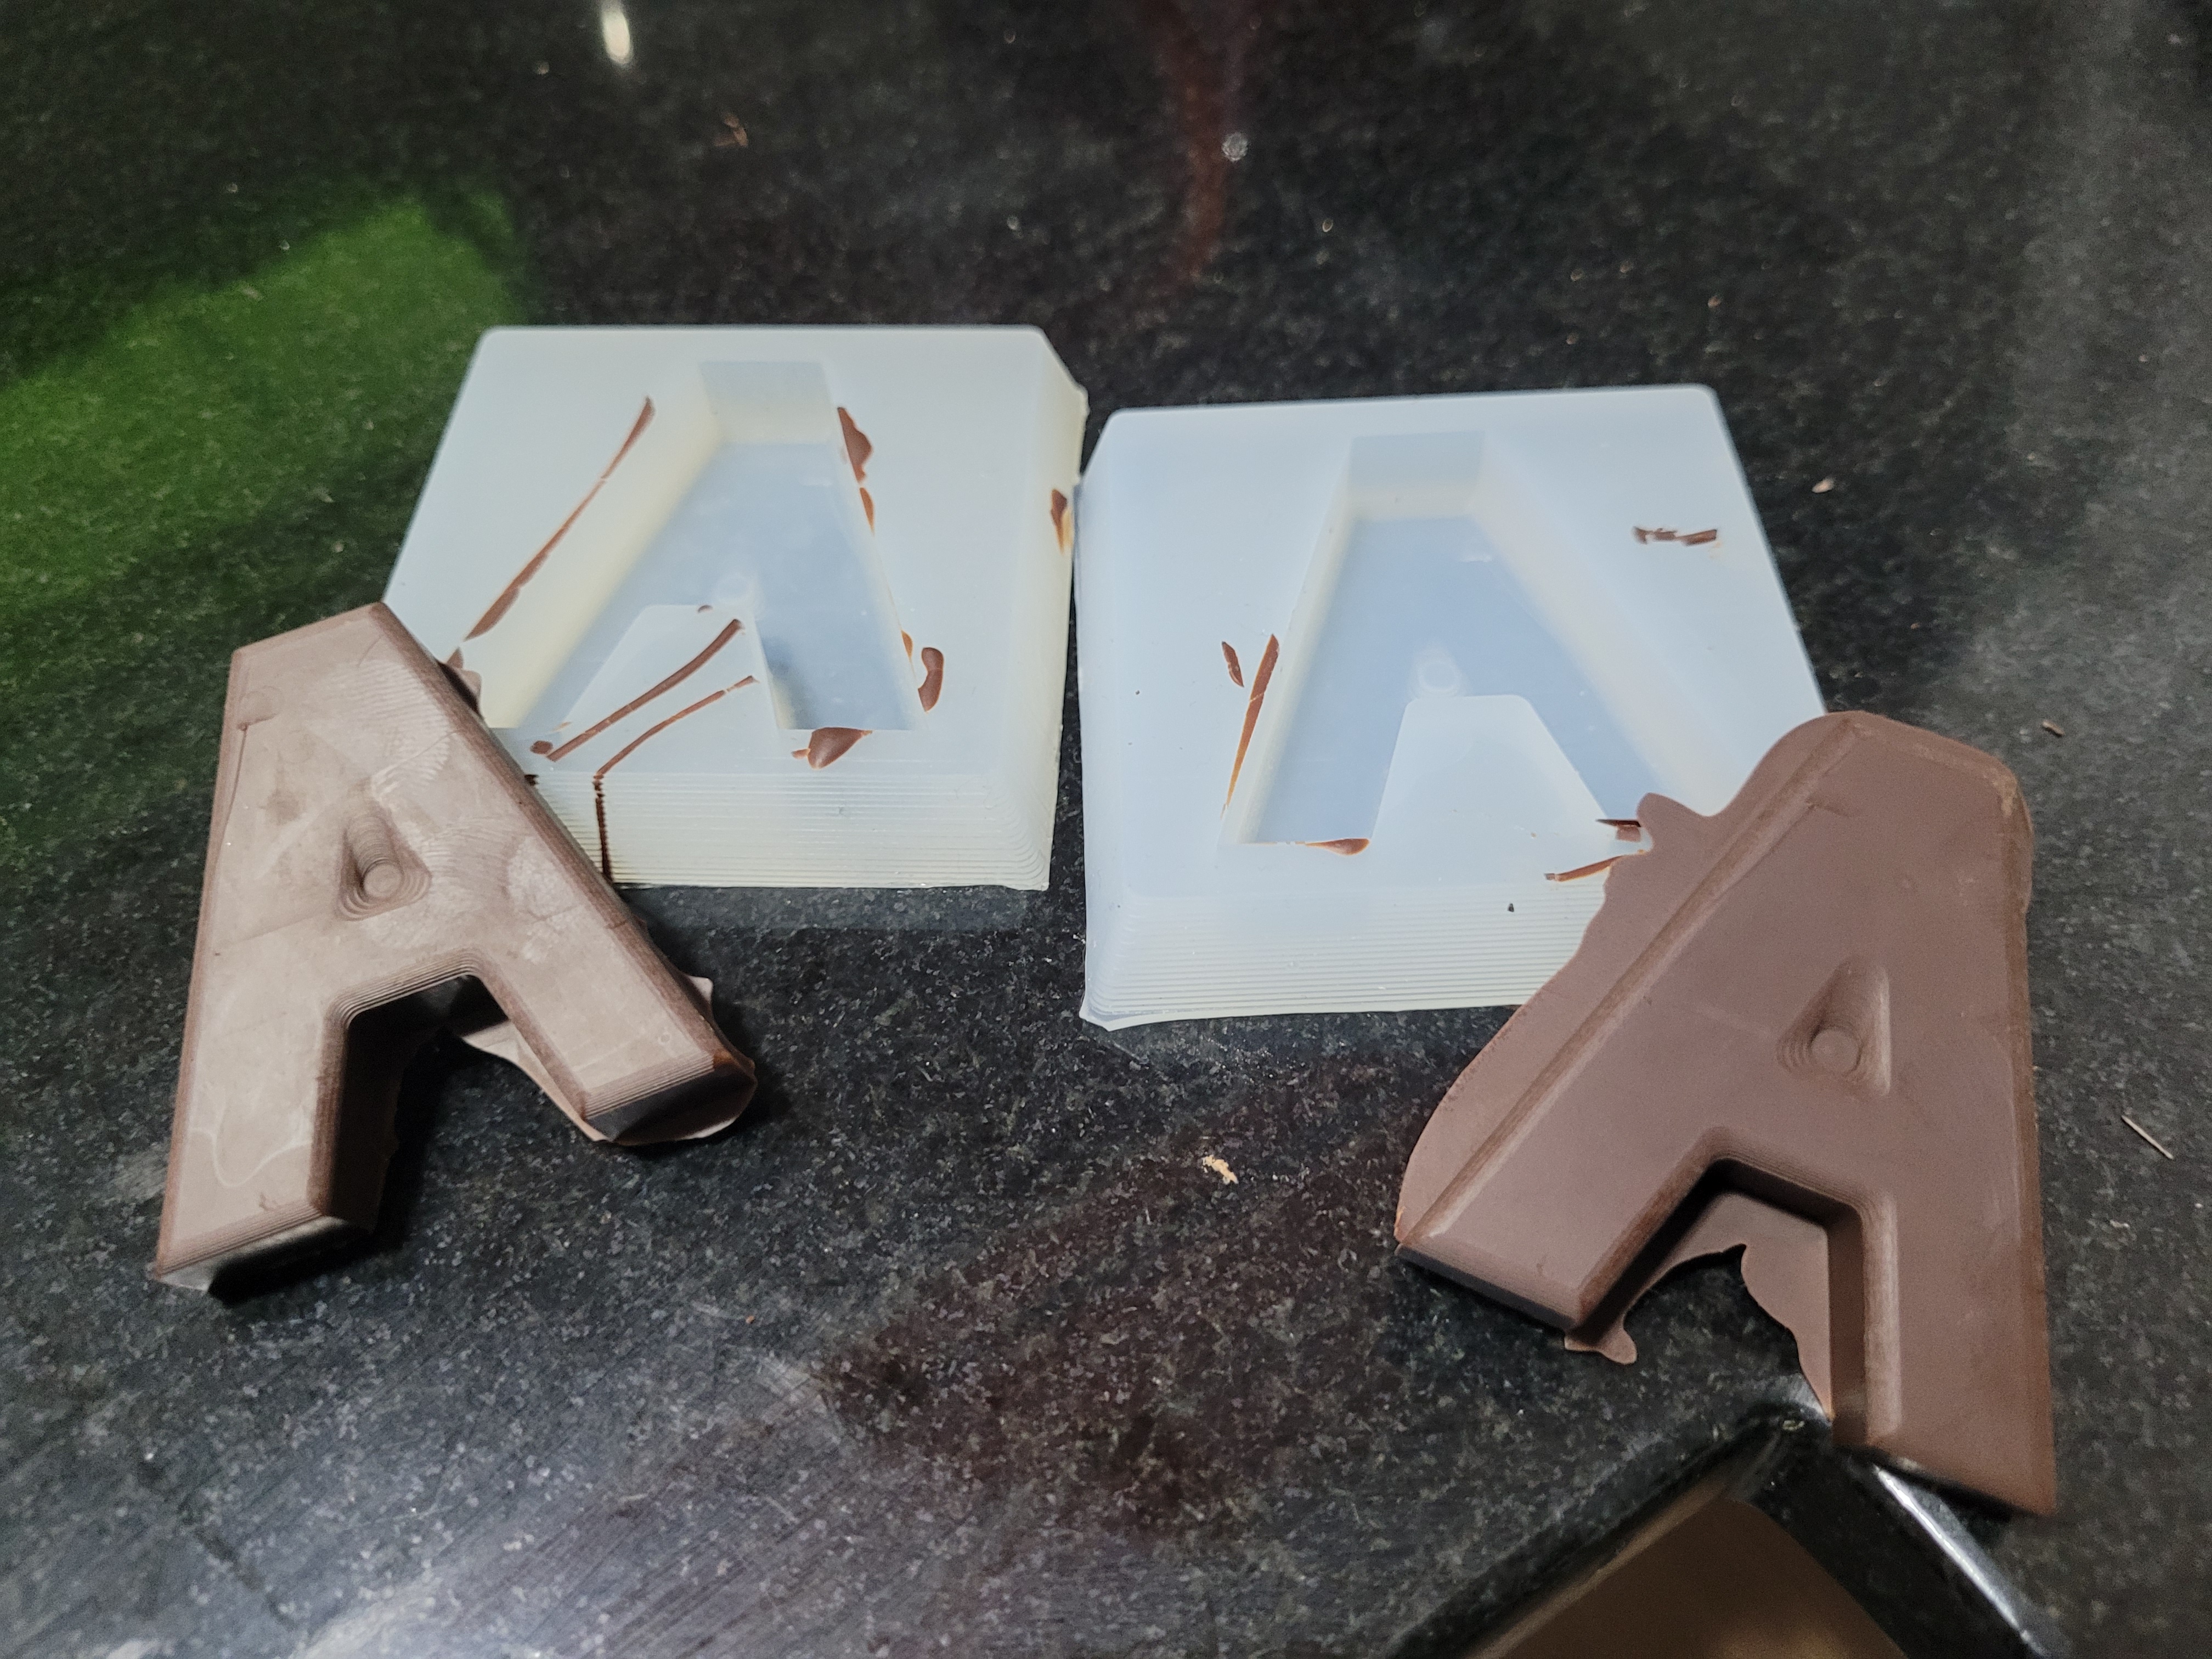
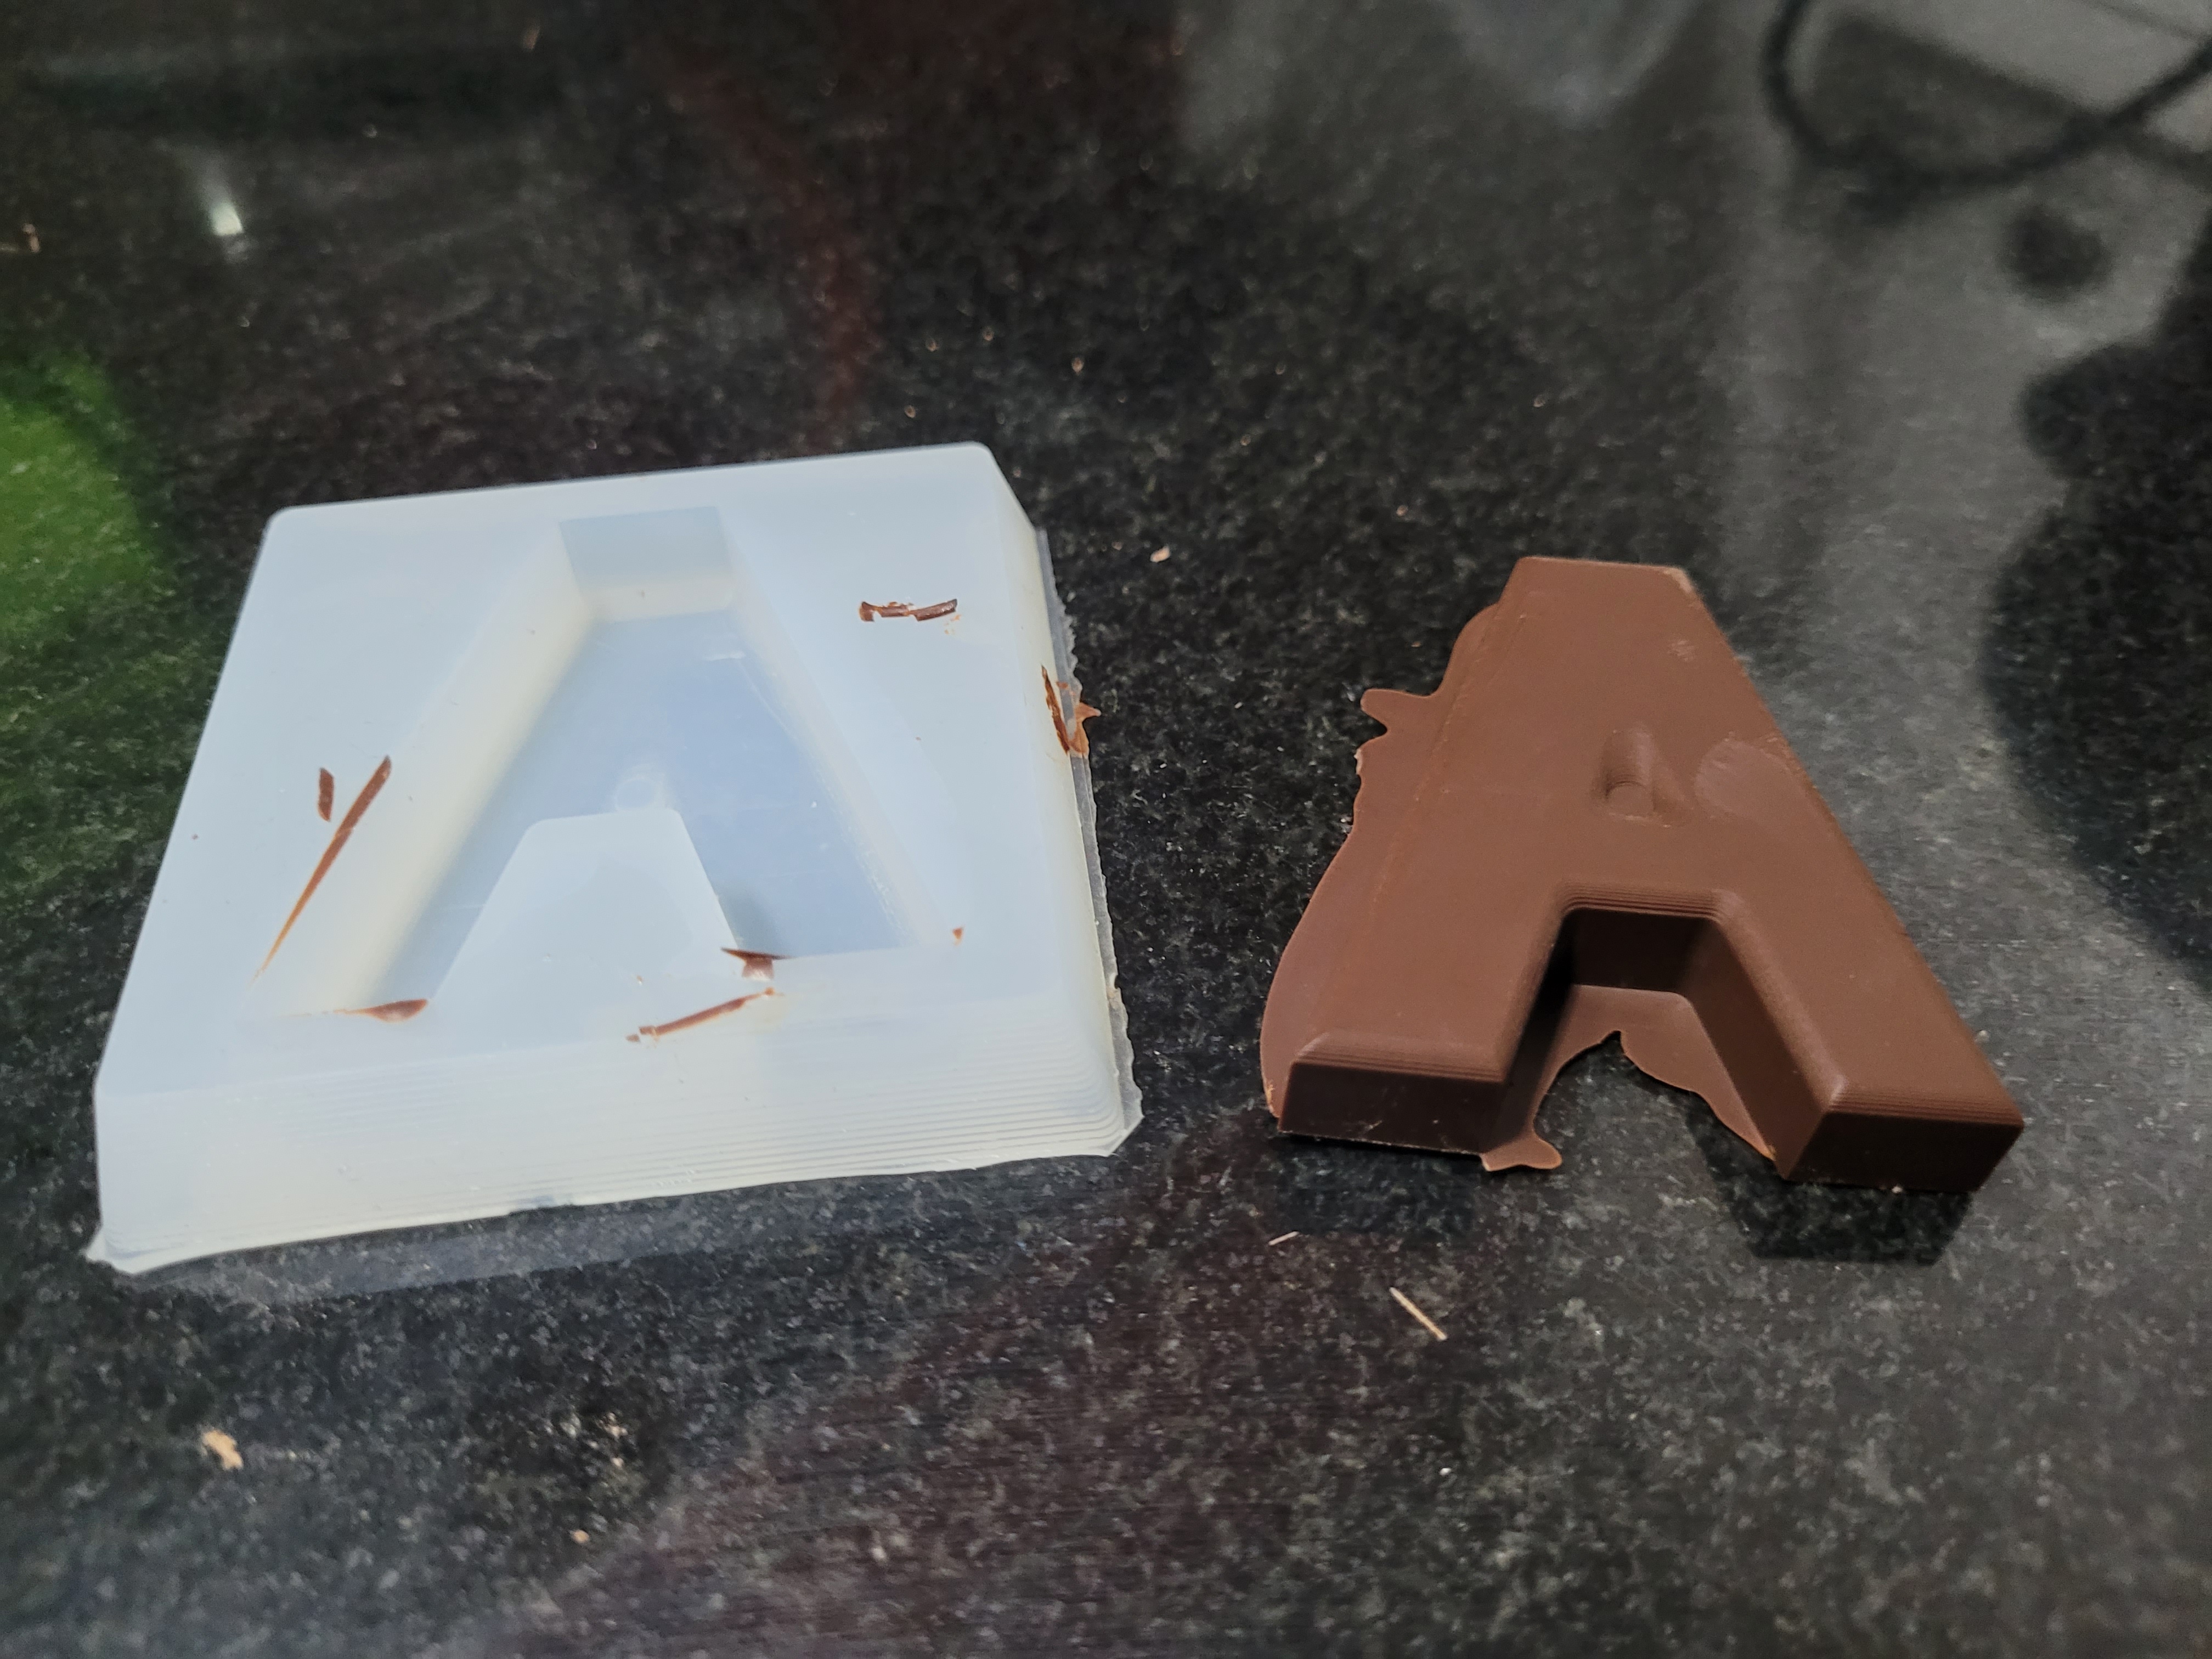
After 1 hour, I unmold the chocolate and it tasted good. Definitely, I am going to design more letters and create fully names.
Group Assignment
Here is the link