6. 3D Scanning and printing
Individual Assignment
For this week I had to design something to 3D print. I was thinking and finally I decided to do something very interesting for me. So, go ahead!
Gear
I like how it looks the gears and I wanted to design them. I did my design on fusion 360. These are the steps:
-
The good thing is that fusion has the scripts and add-ins command which allows us to set up some parameters and we can custom our gear.
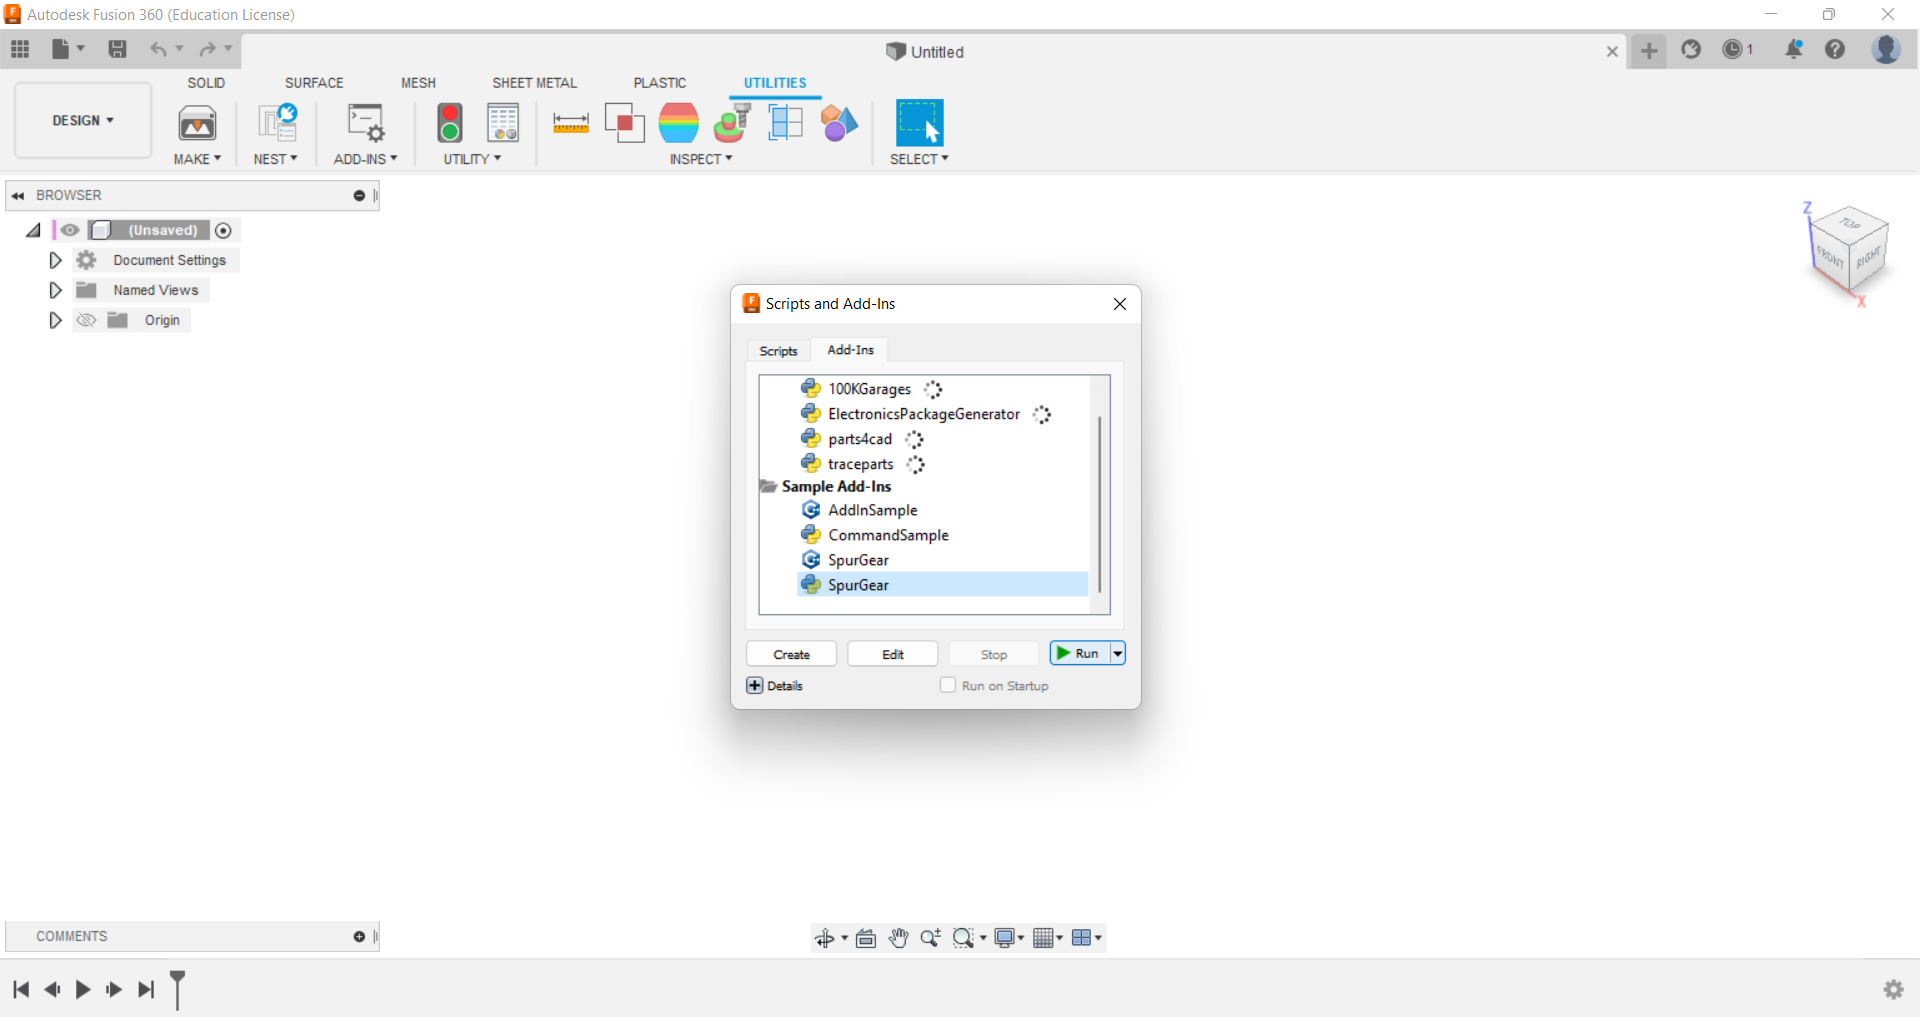
-
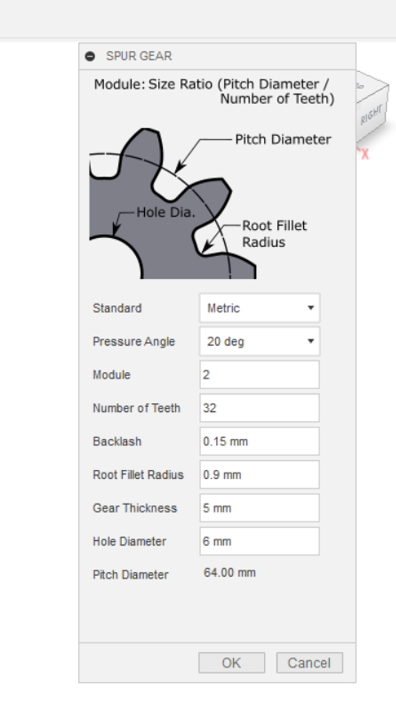
I set up the following parameters: Size ratio, Pitch Diameter and root Fillet Radius.
-
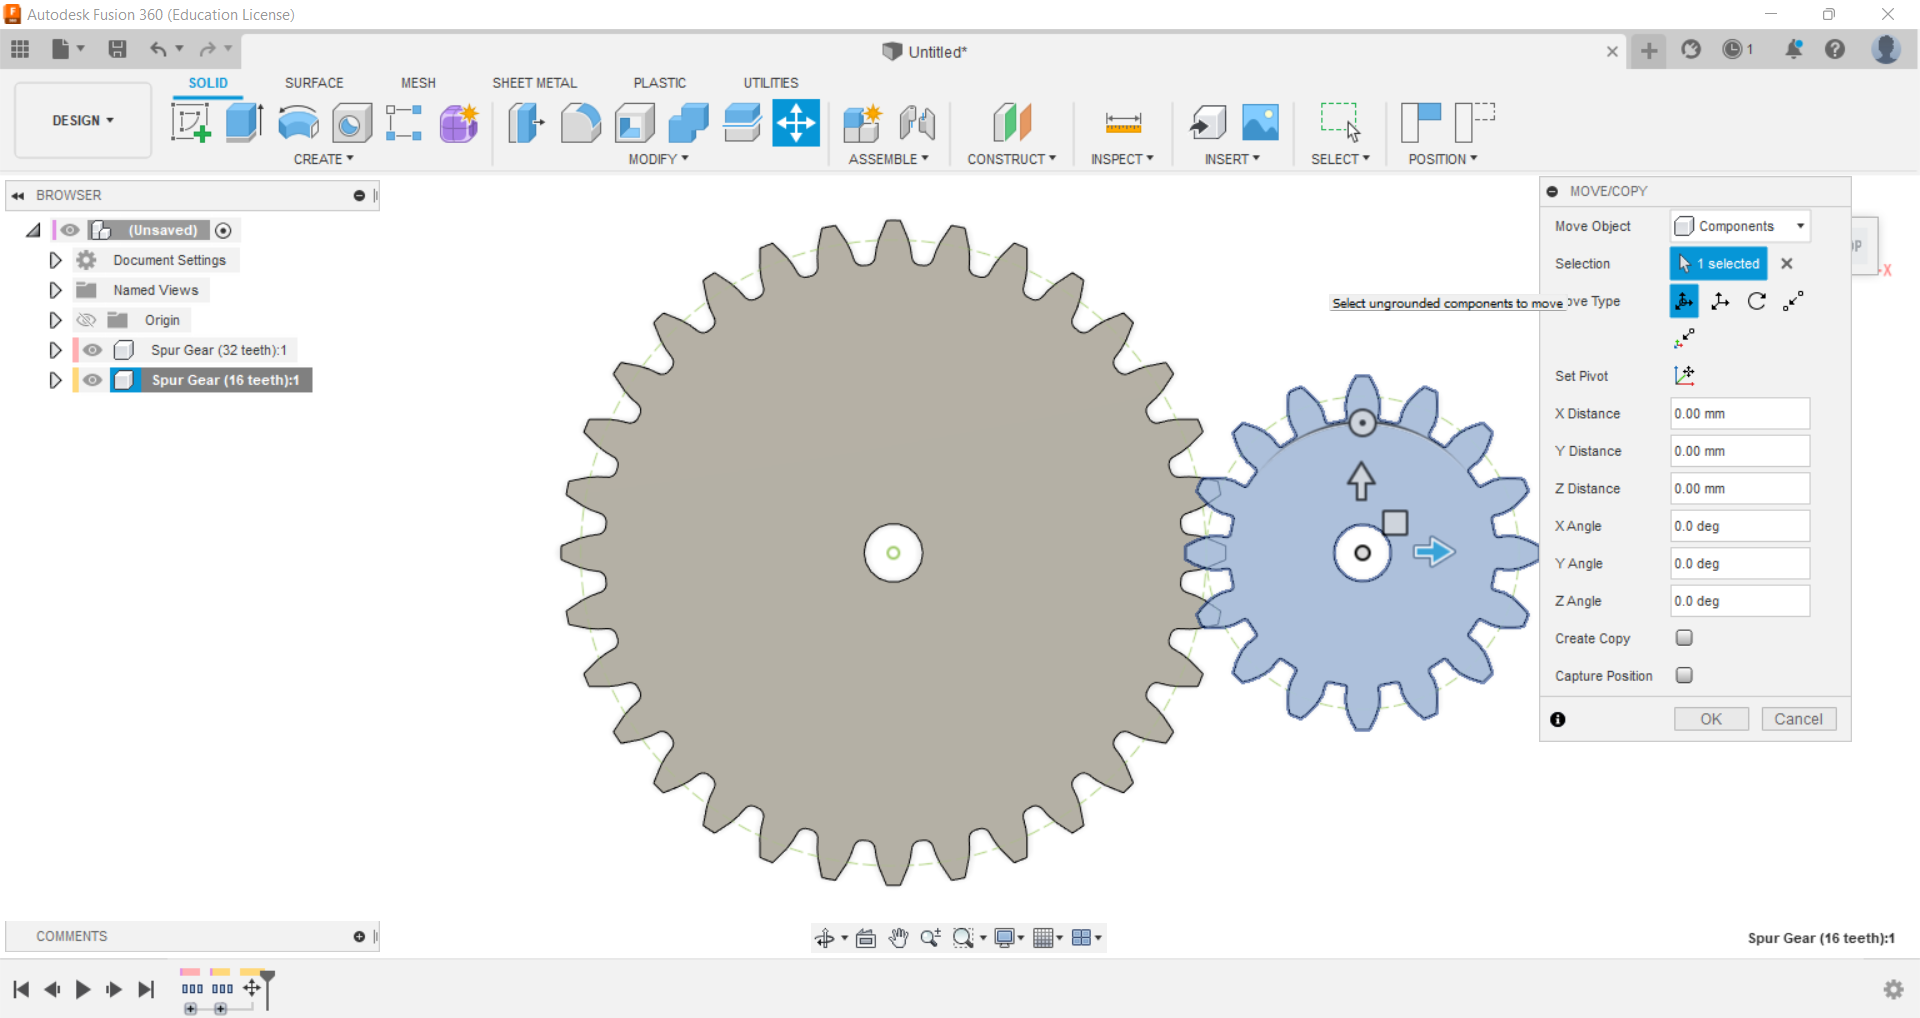
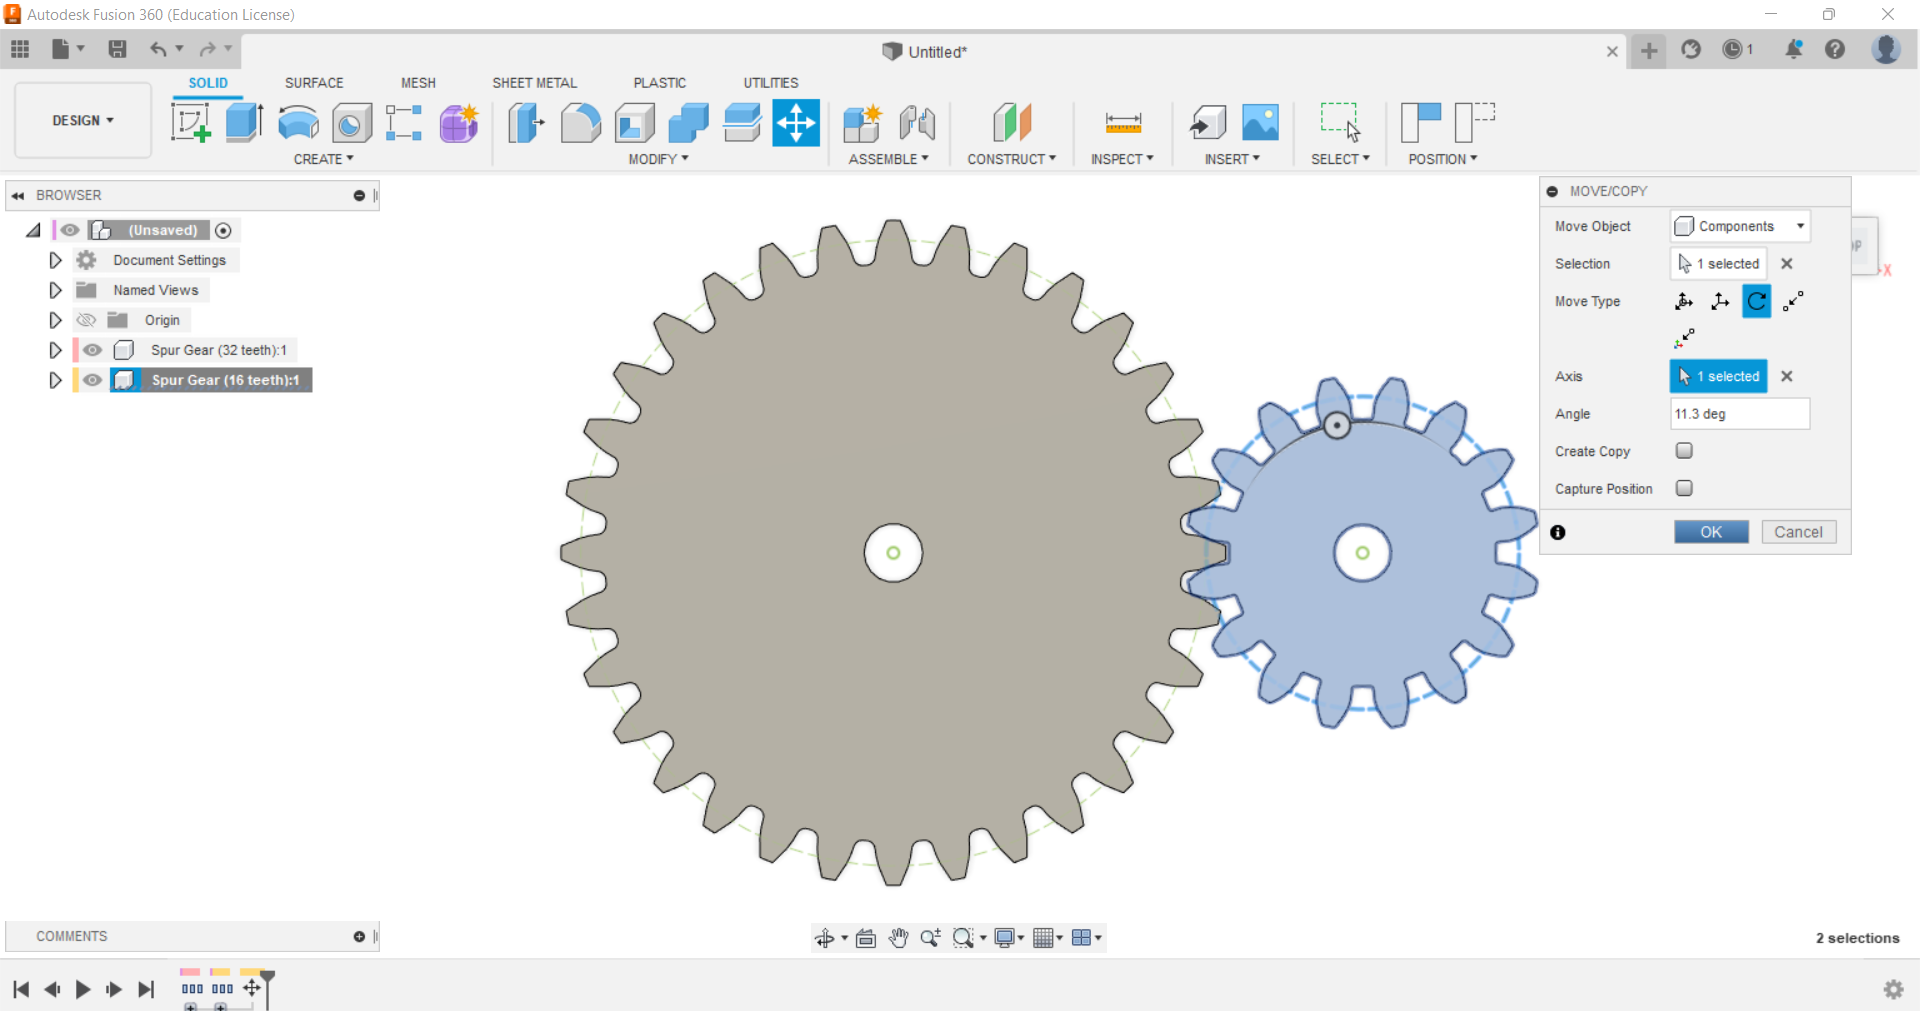
I created two and the smaller one was taken apart from the other. Then, I move the smaller to fit the bigger
-
For designing the base I created two circles and then I used the extrude command
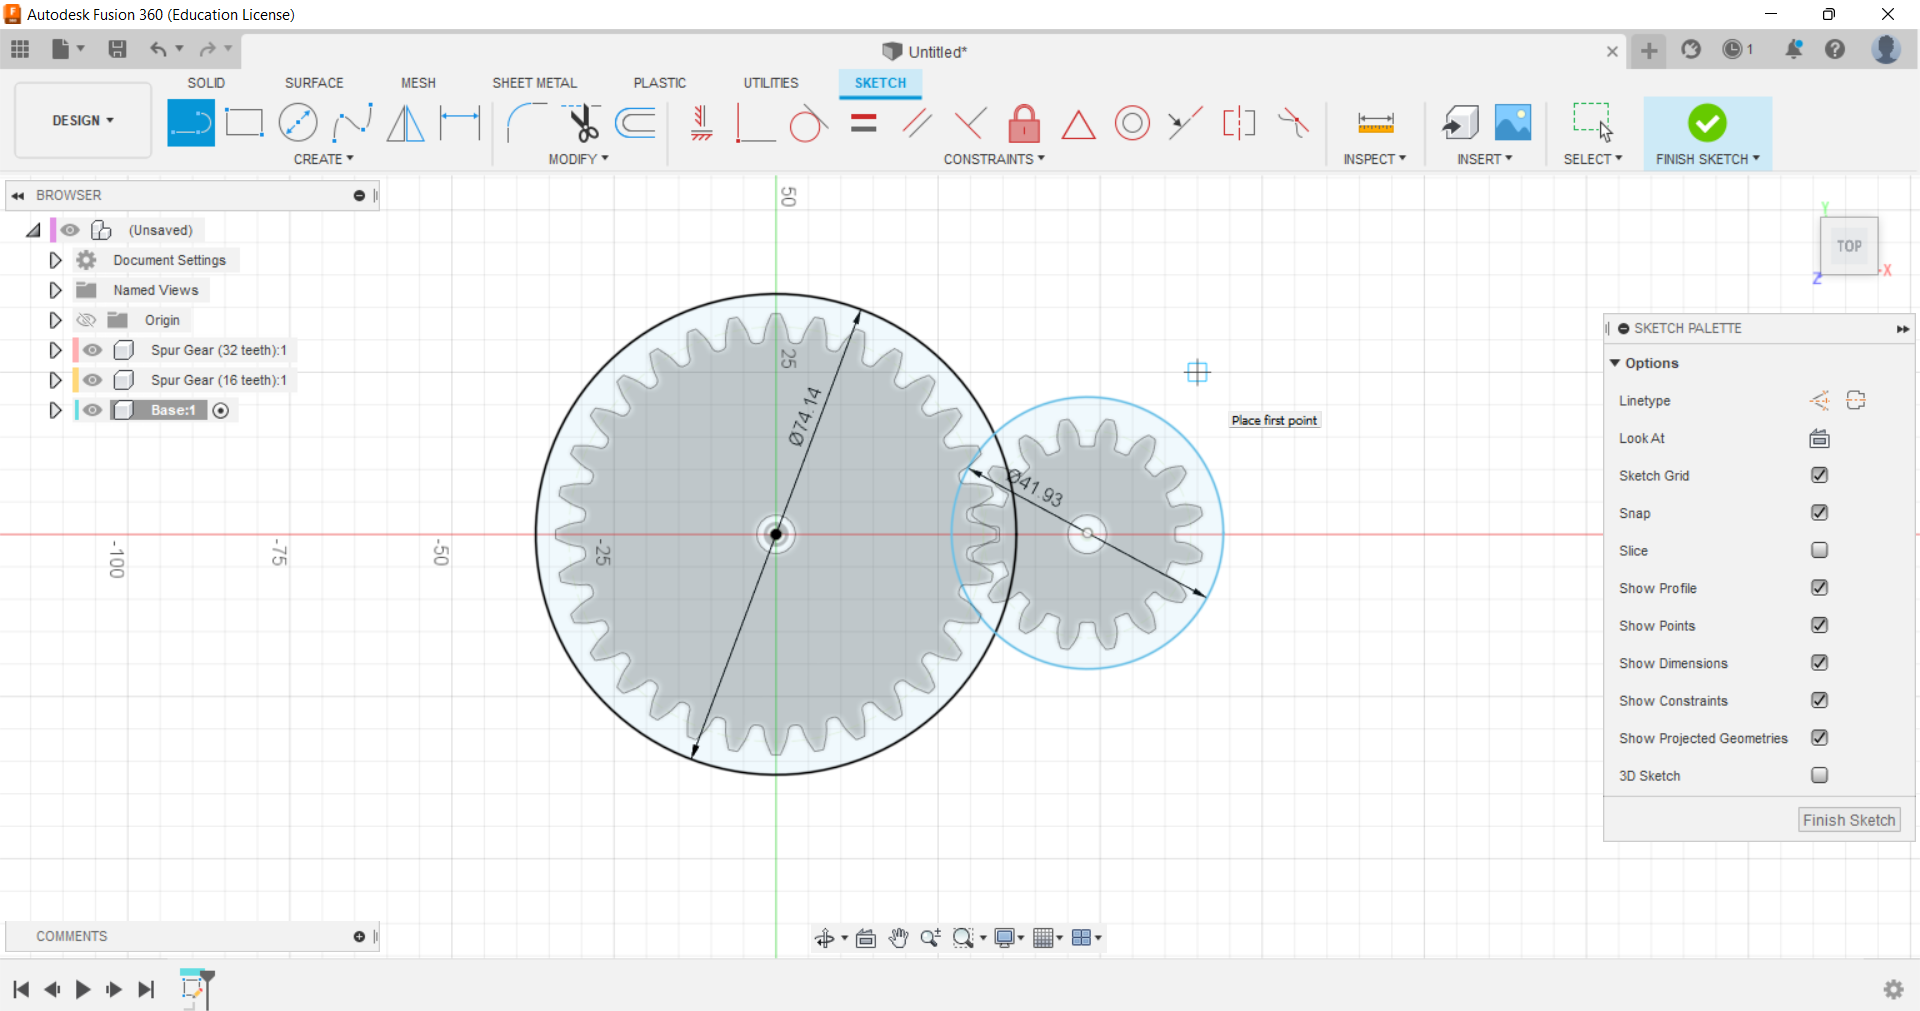
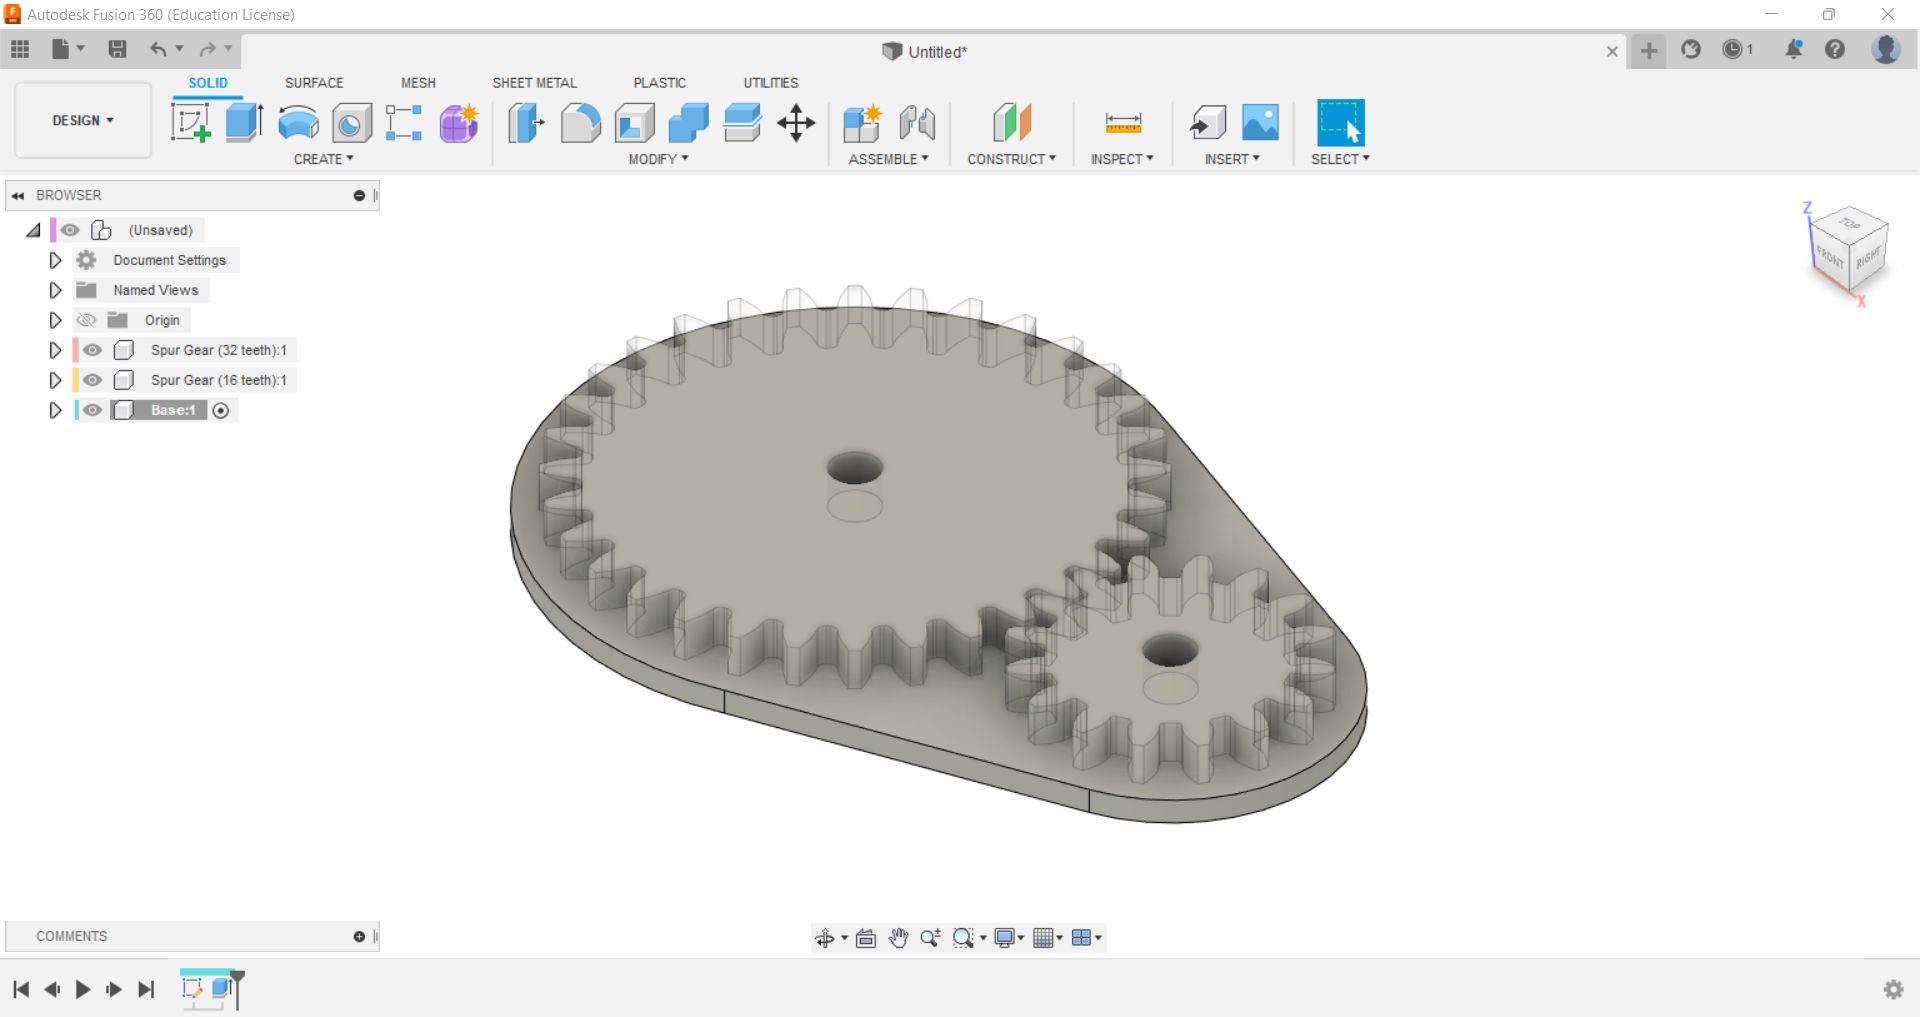
-
Afterwards, I created the drafts for both gears.
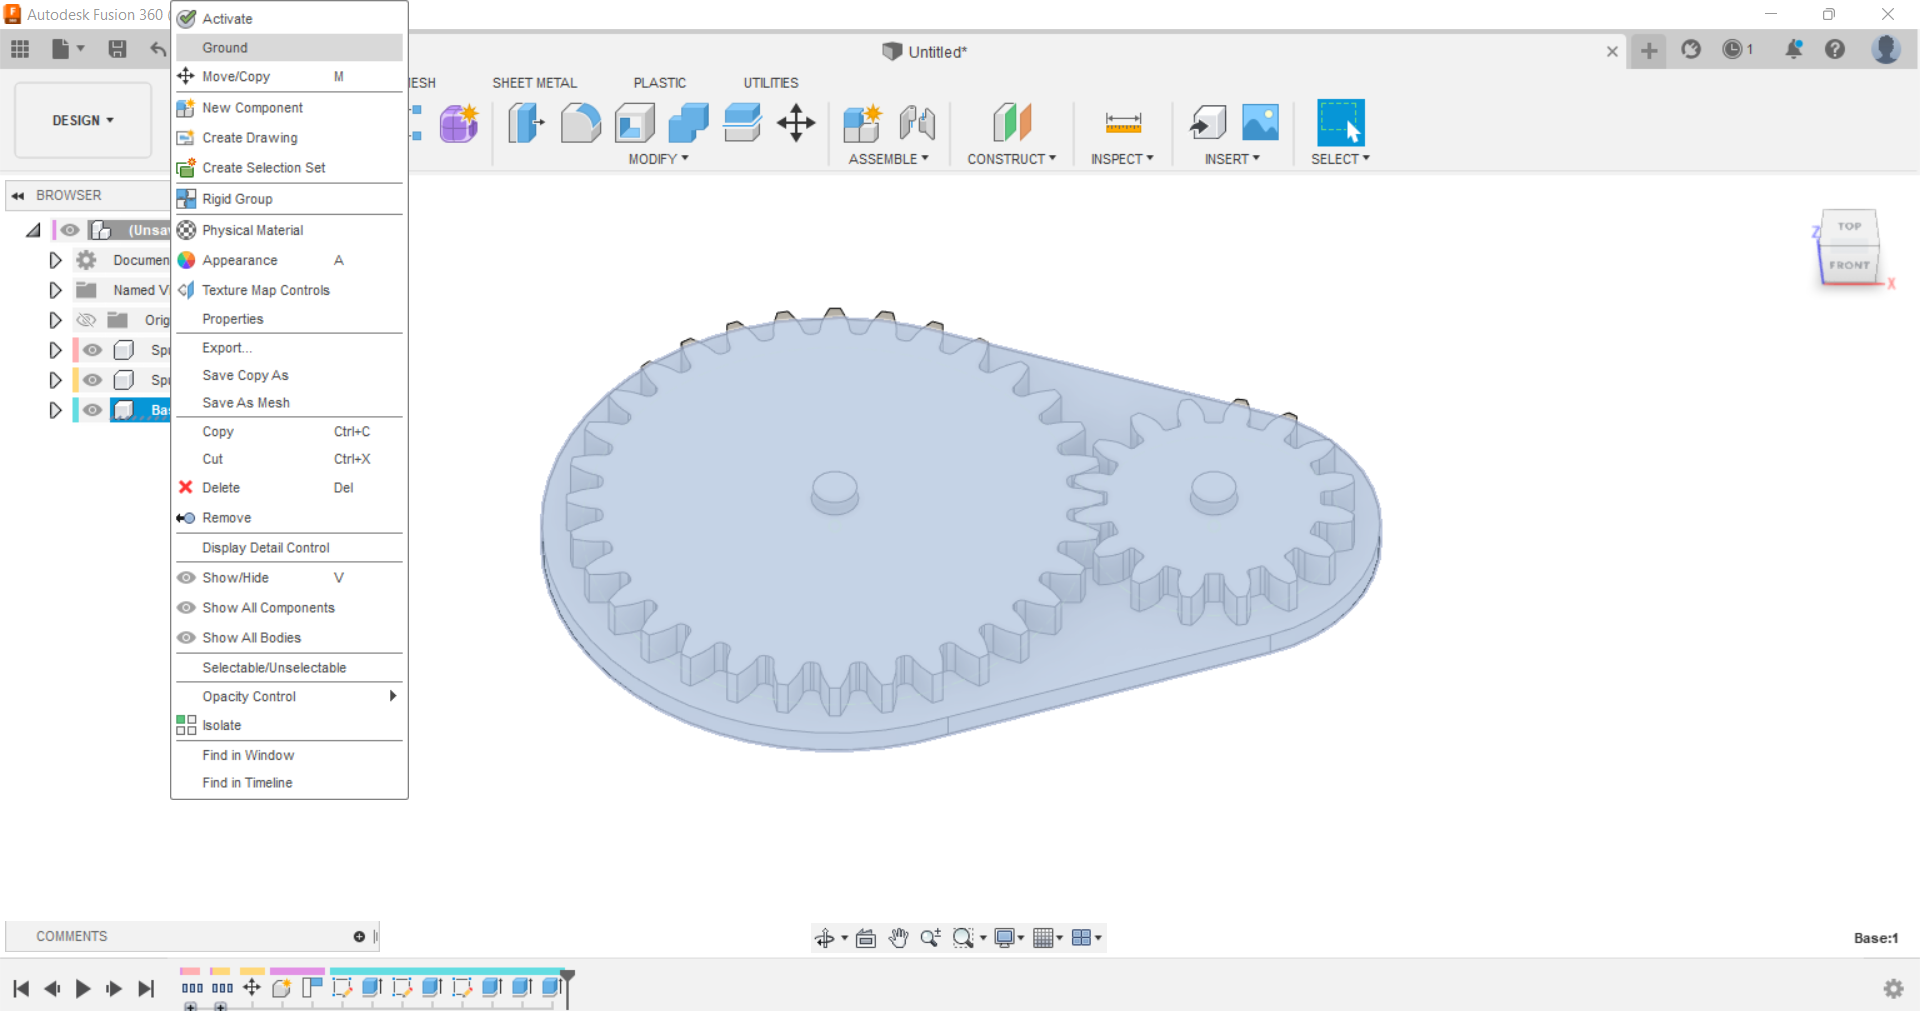
-
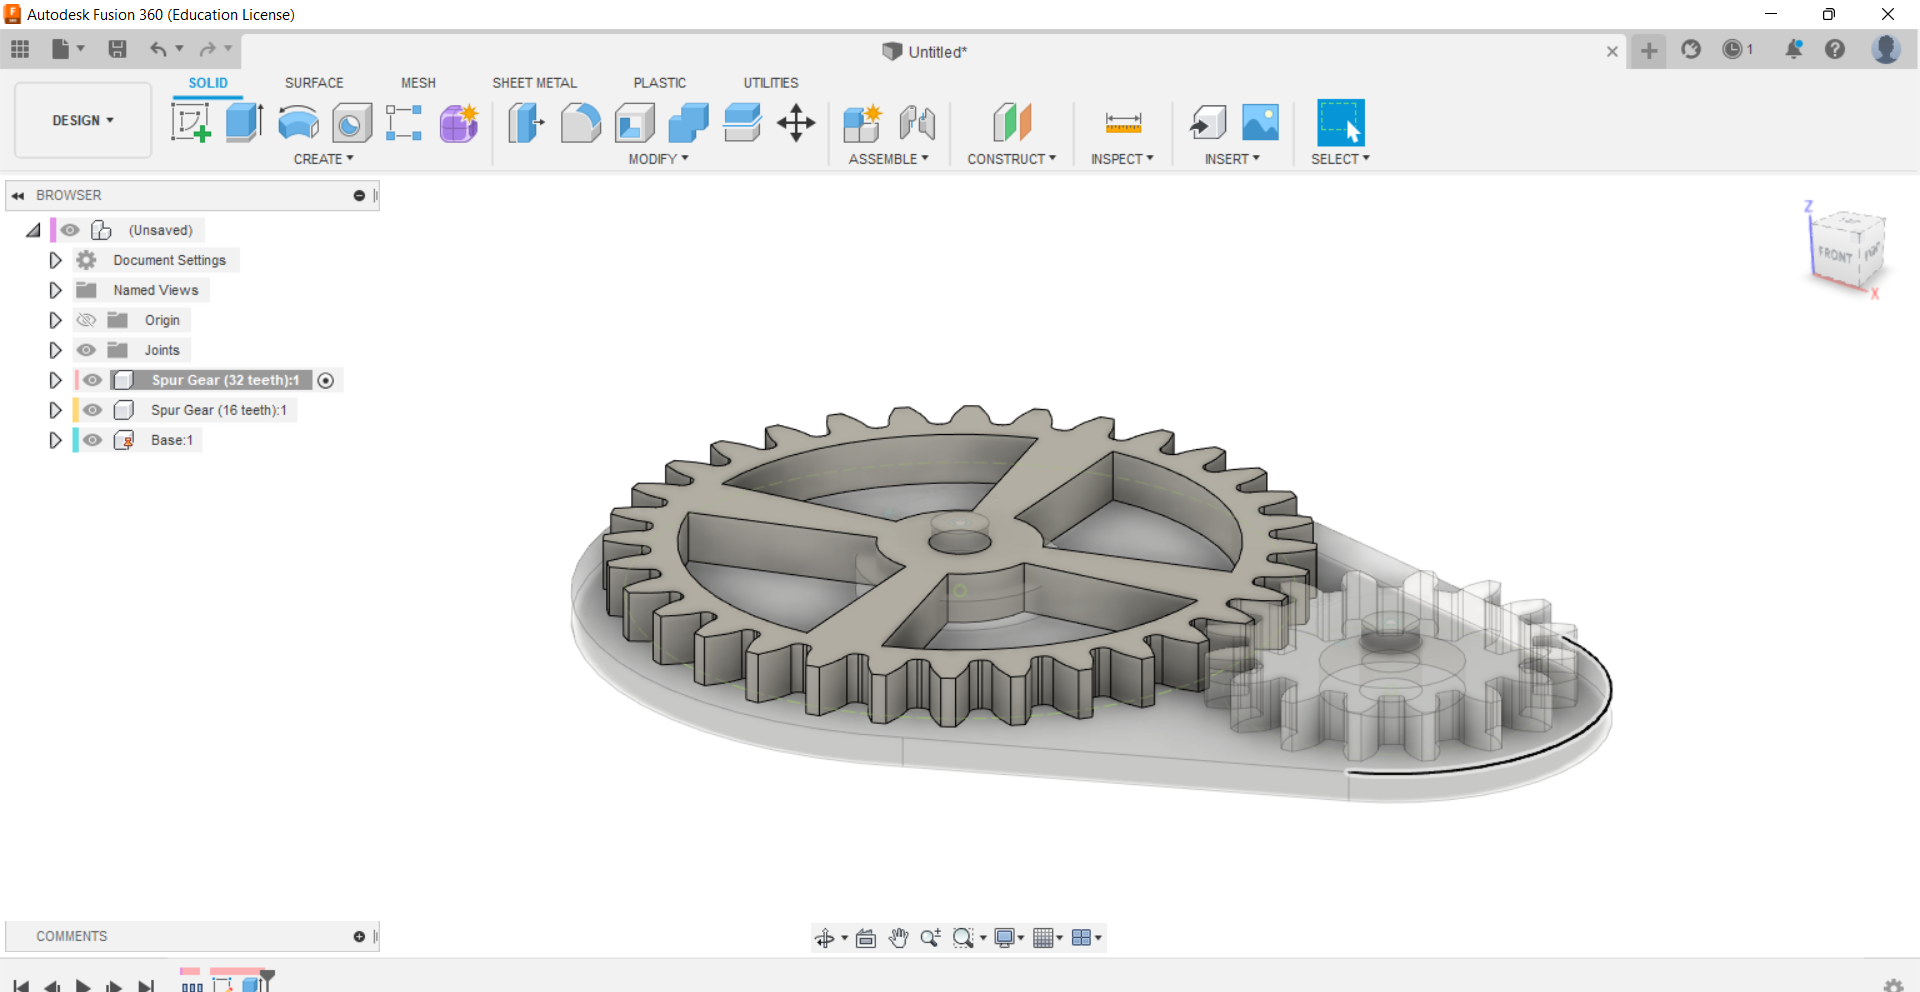
Using the As-built Joint and motion link commands to simulate the movement. Here you can see a video:
Gear from Angel Erazo on Vimeo.
- Finally, I used the extrude command for create a better big gear.
Something very important for printing we need to download the file as .STL
Slicing
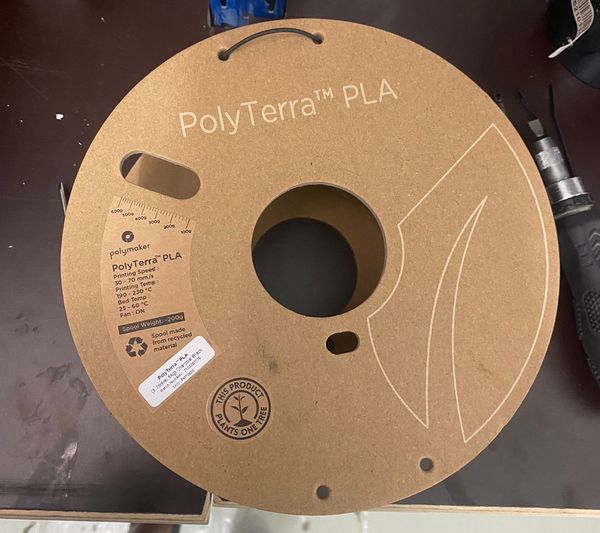
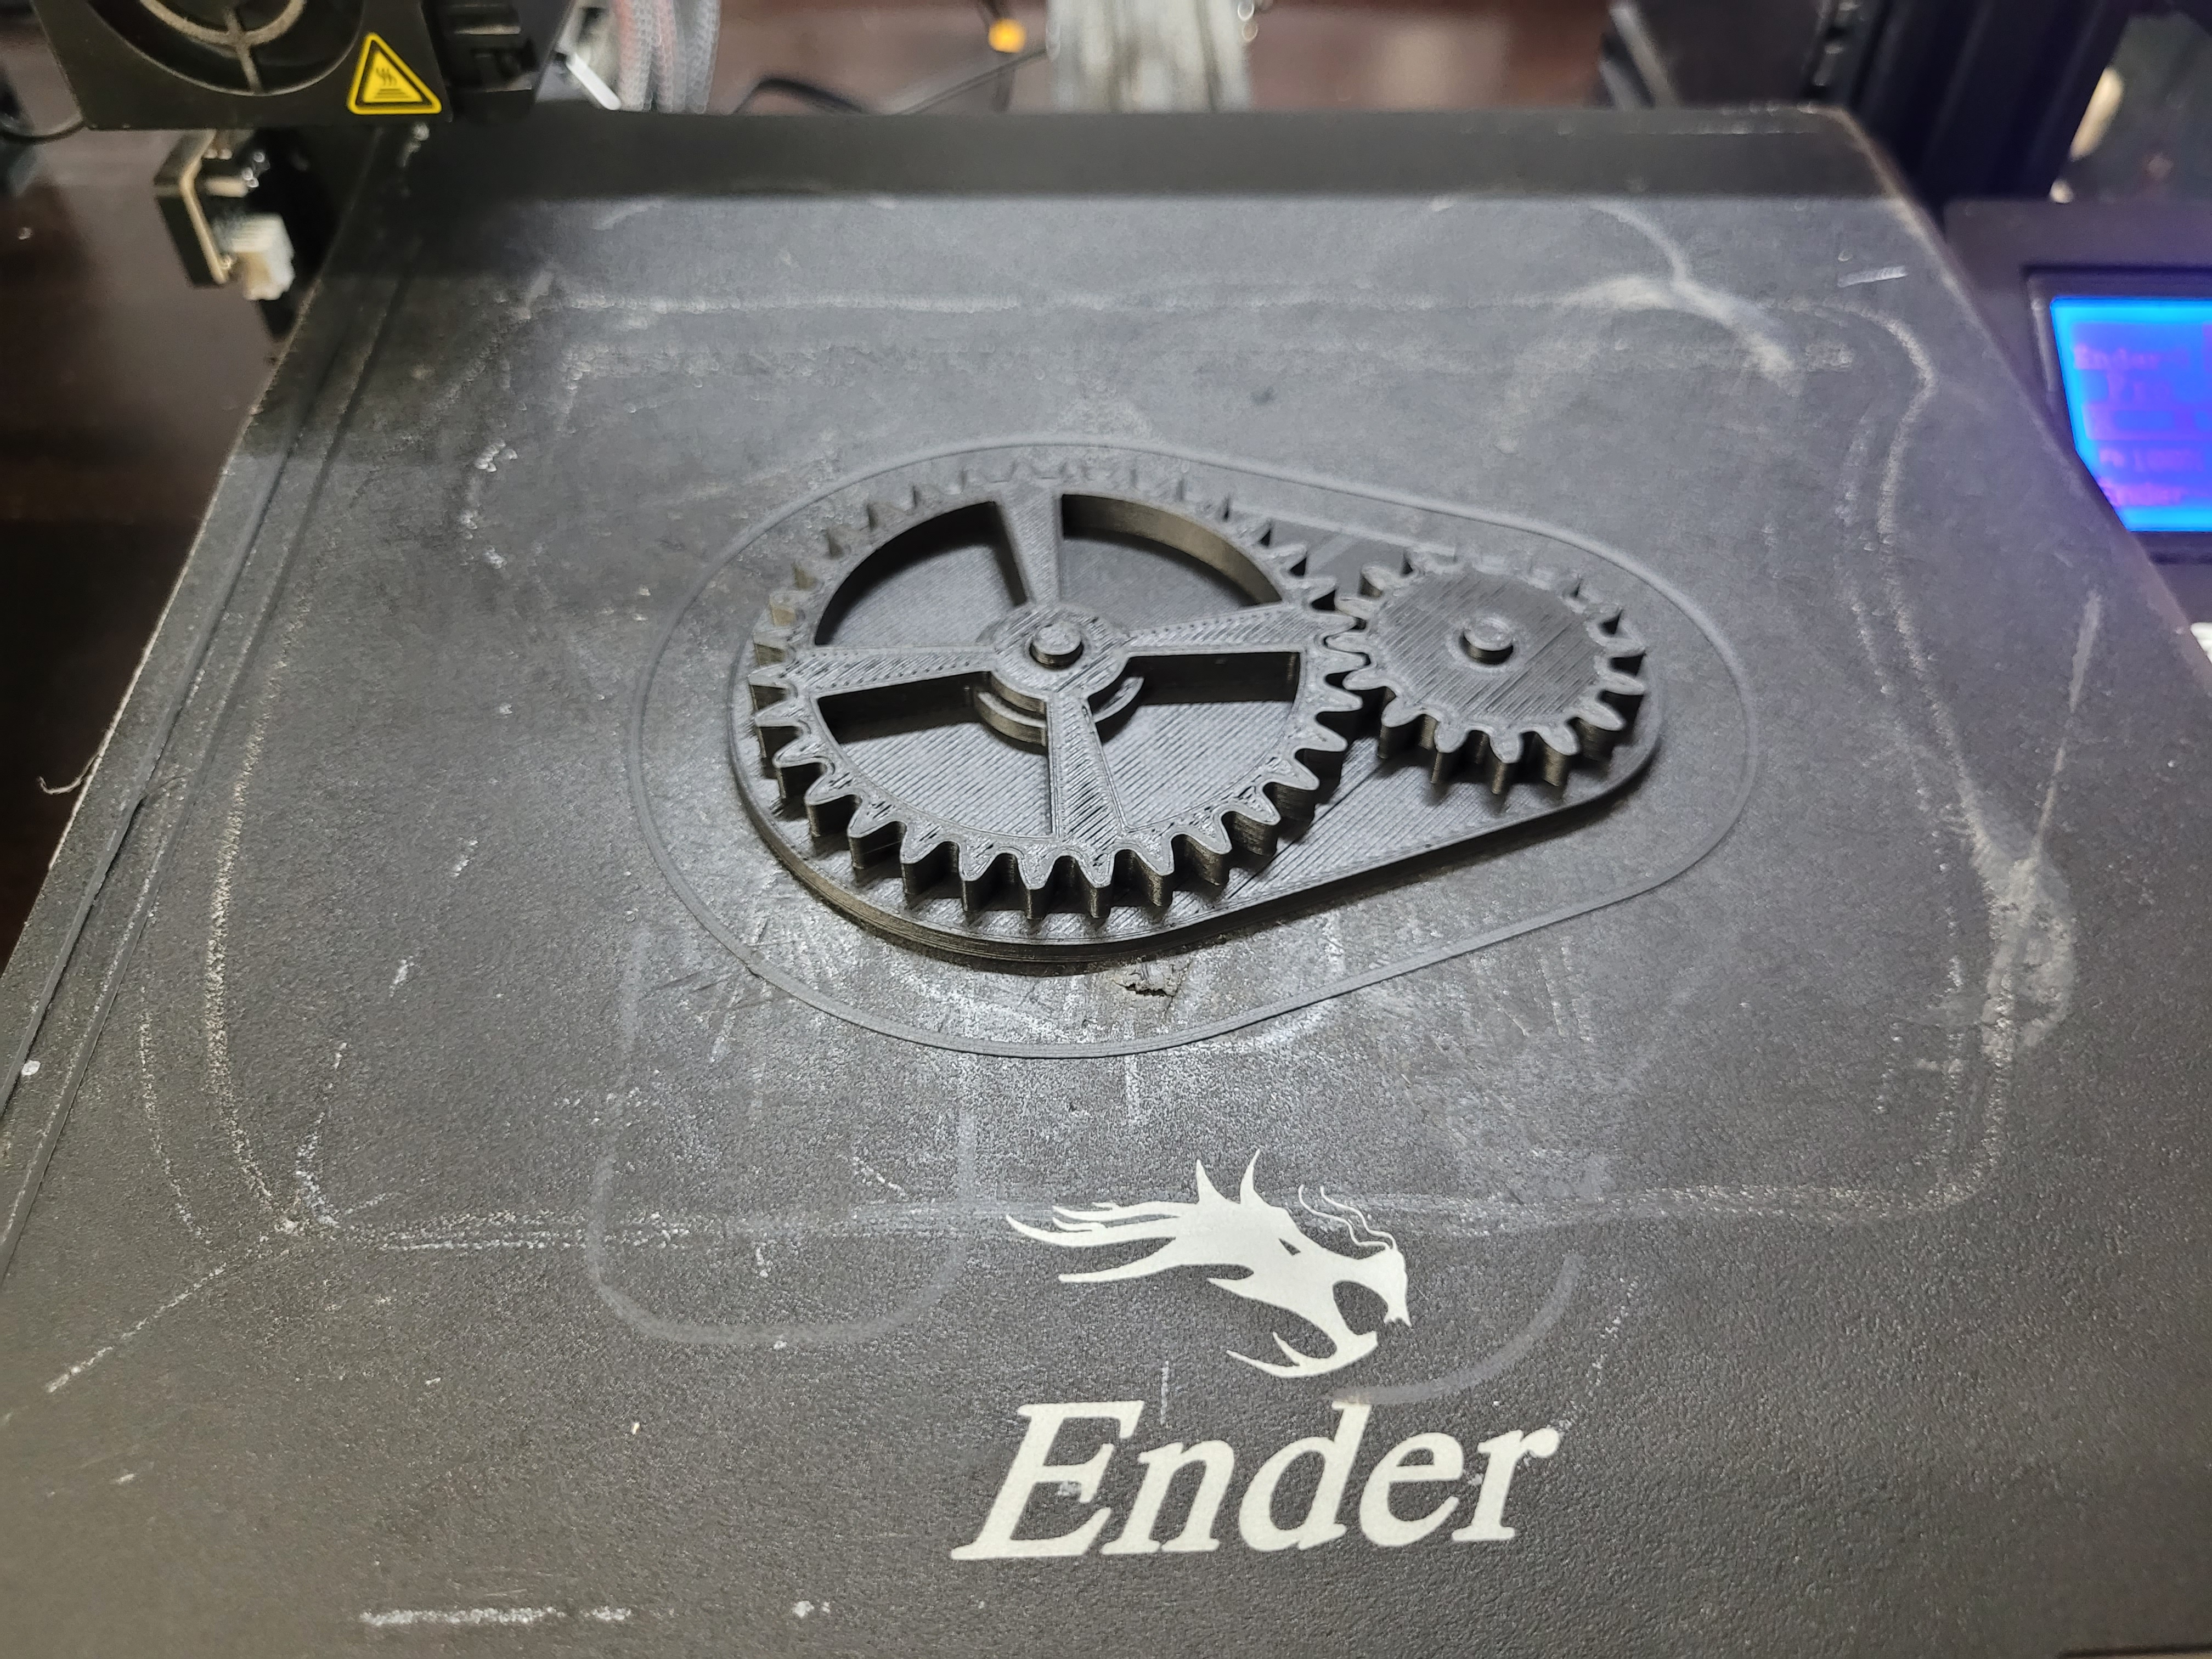
Time for printing, I used the 3D printer Ender. Besides, I used PLA as the material and I cut the filament at a 45 degree angle so it will easily go through the tube.
These are the steps: 1. Imported the model in .stl or .obj format. 2. Changed the orientation of the model, as it has an impact on the strength of the print. 3. I used the settings that we saw in the test. Slicing settings: - Resolution: 0.15mm - Infill: 30% - Nozzle Temp: 210 - Bed Temp: 60 4. It is important that the material requirements match with the bed and nozzle temperature. 5. Clicked on Slice and copy it on to the SD card from the printer you are going to be using.
This step translates the design into a layer by layer framework for the additive manufacturing machine to follow and it is impossible to do it in a subtractive way.
Printing
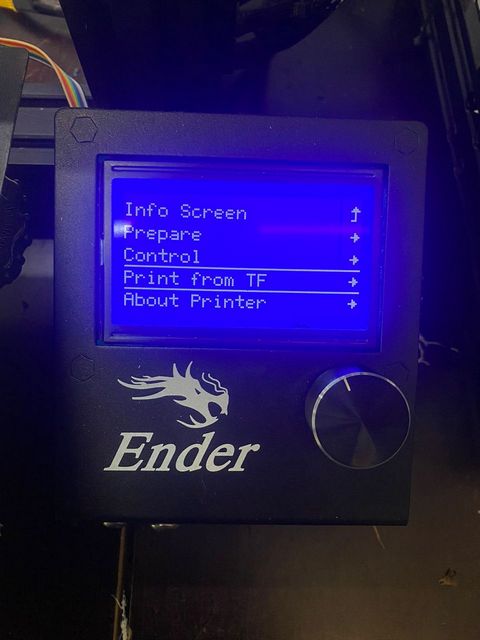
After loading the SD Card in the machine, we used glue/hairspray on the bed for creating good adhesion. On the printer screen, I choosed Print from TF on the menu.
Now we can start to print, here there is a picture of the printing process:
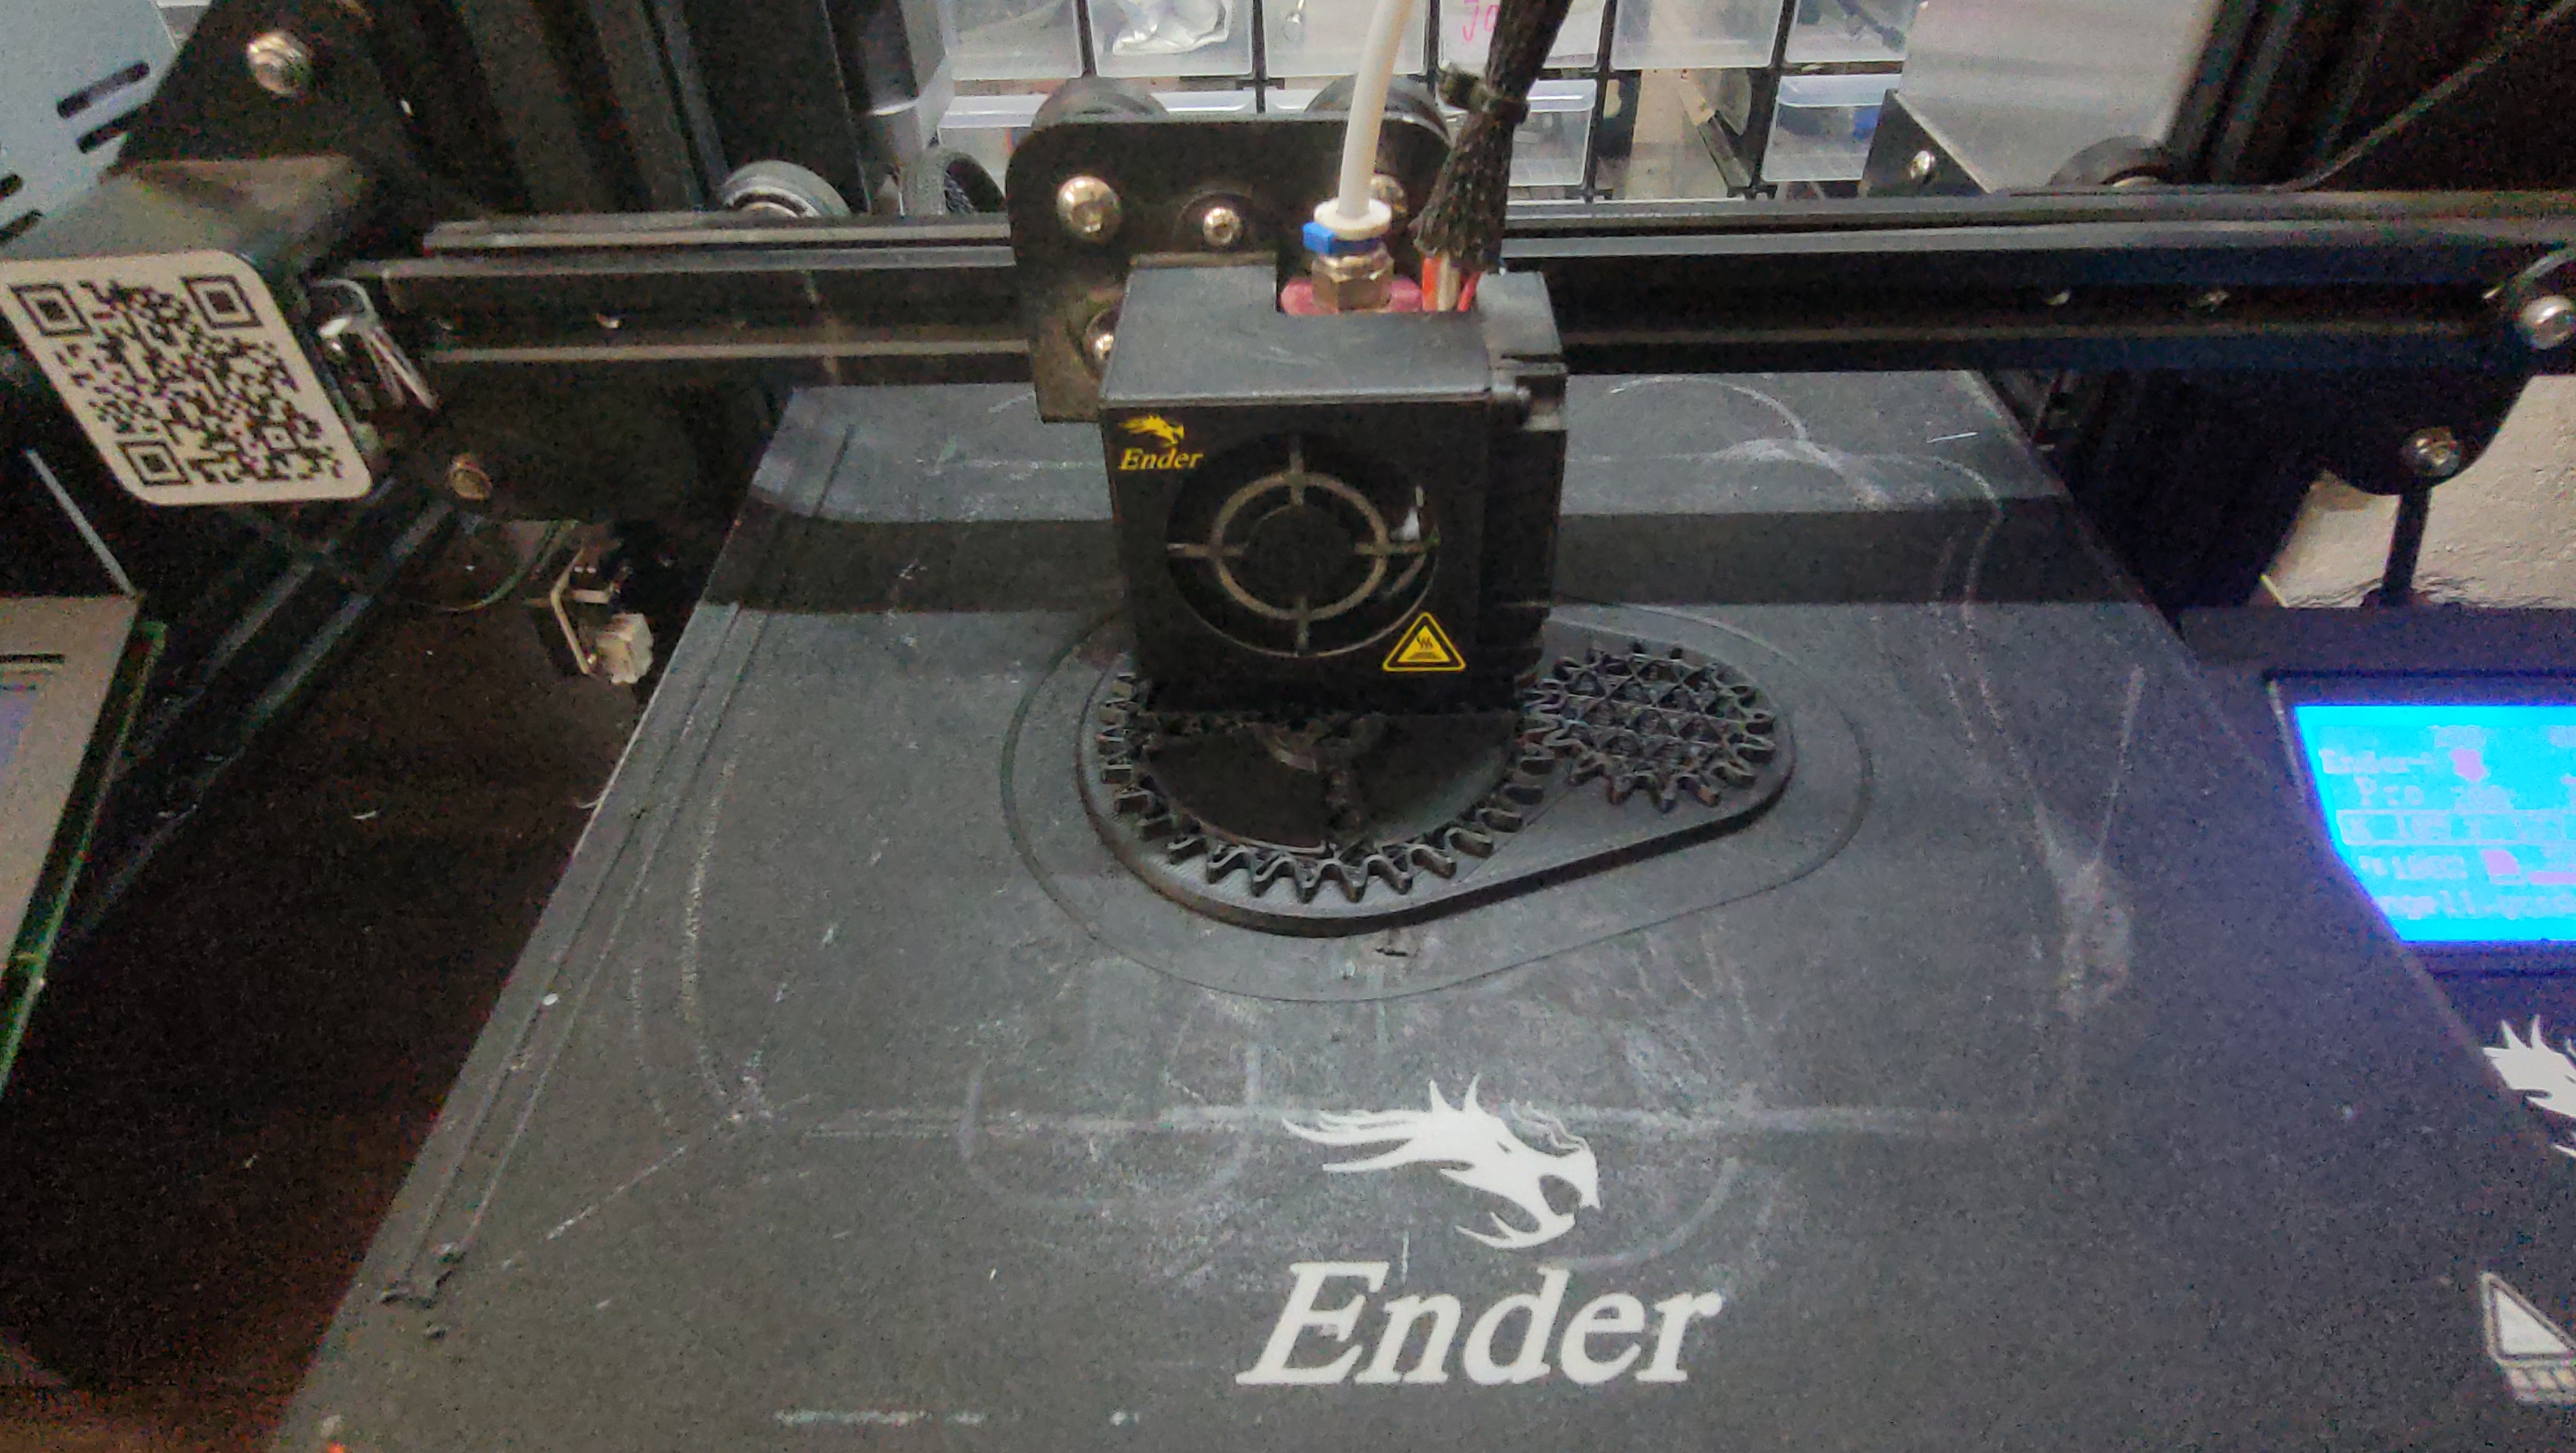
This is a video while the 3D printer was working.
Video-3DPrinting from Angel Erazo on Vimeo.
This is the final result. I wanted to mention that my gear is not moving because I wanted to practice all the workflow:
Improving the Gear
In order to get the gear rotates, I must account for:
- I am going to use the offset command in both gear holes to project these 2 circles -2mm, so the pins will have a tolerance, ensuring that I can slide the gears onto the pin after this is printed out.
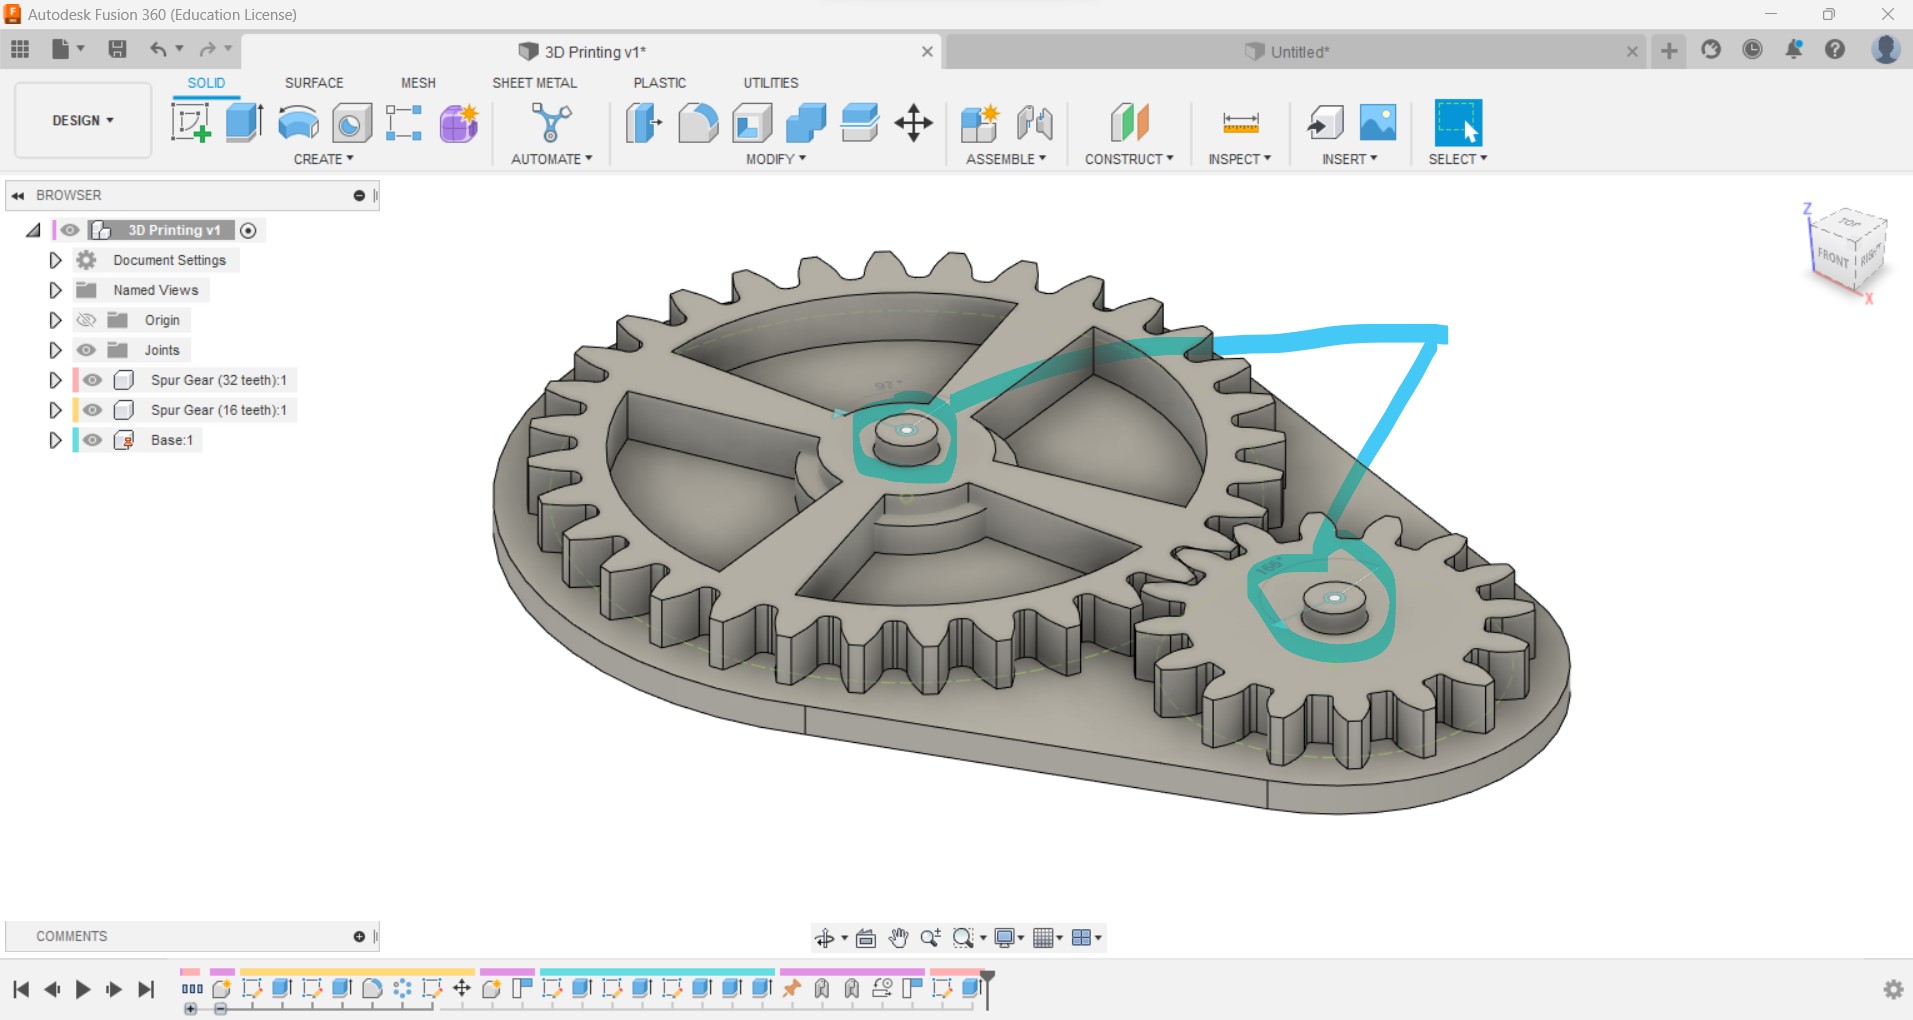 - When I will the extrude command to take off all these part from the top, the most important thing here is that I have to use the option “Extent type to object” and indicate the correct plane to give the perfect tolerance that allows me to slide the gears.
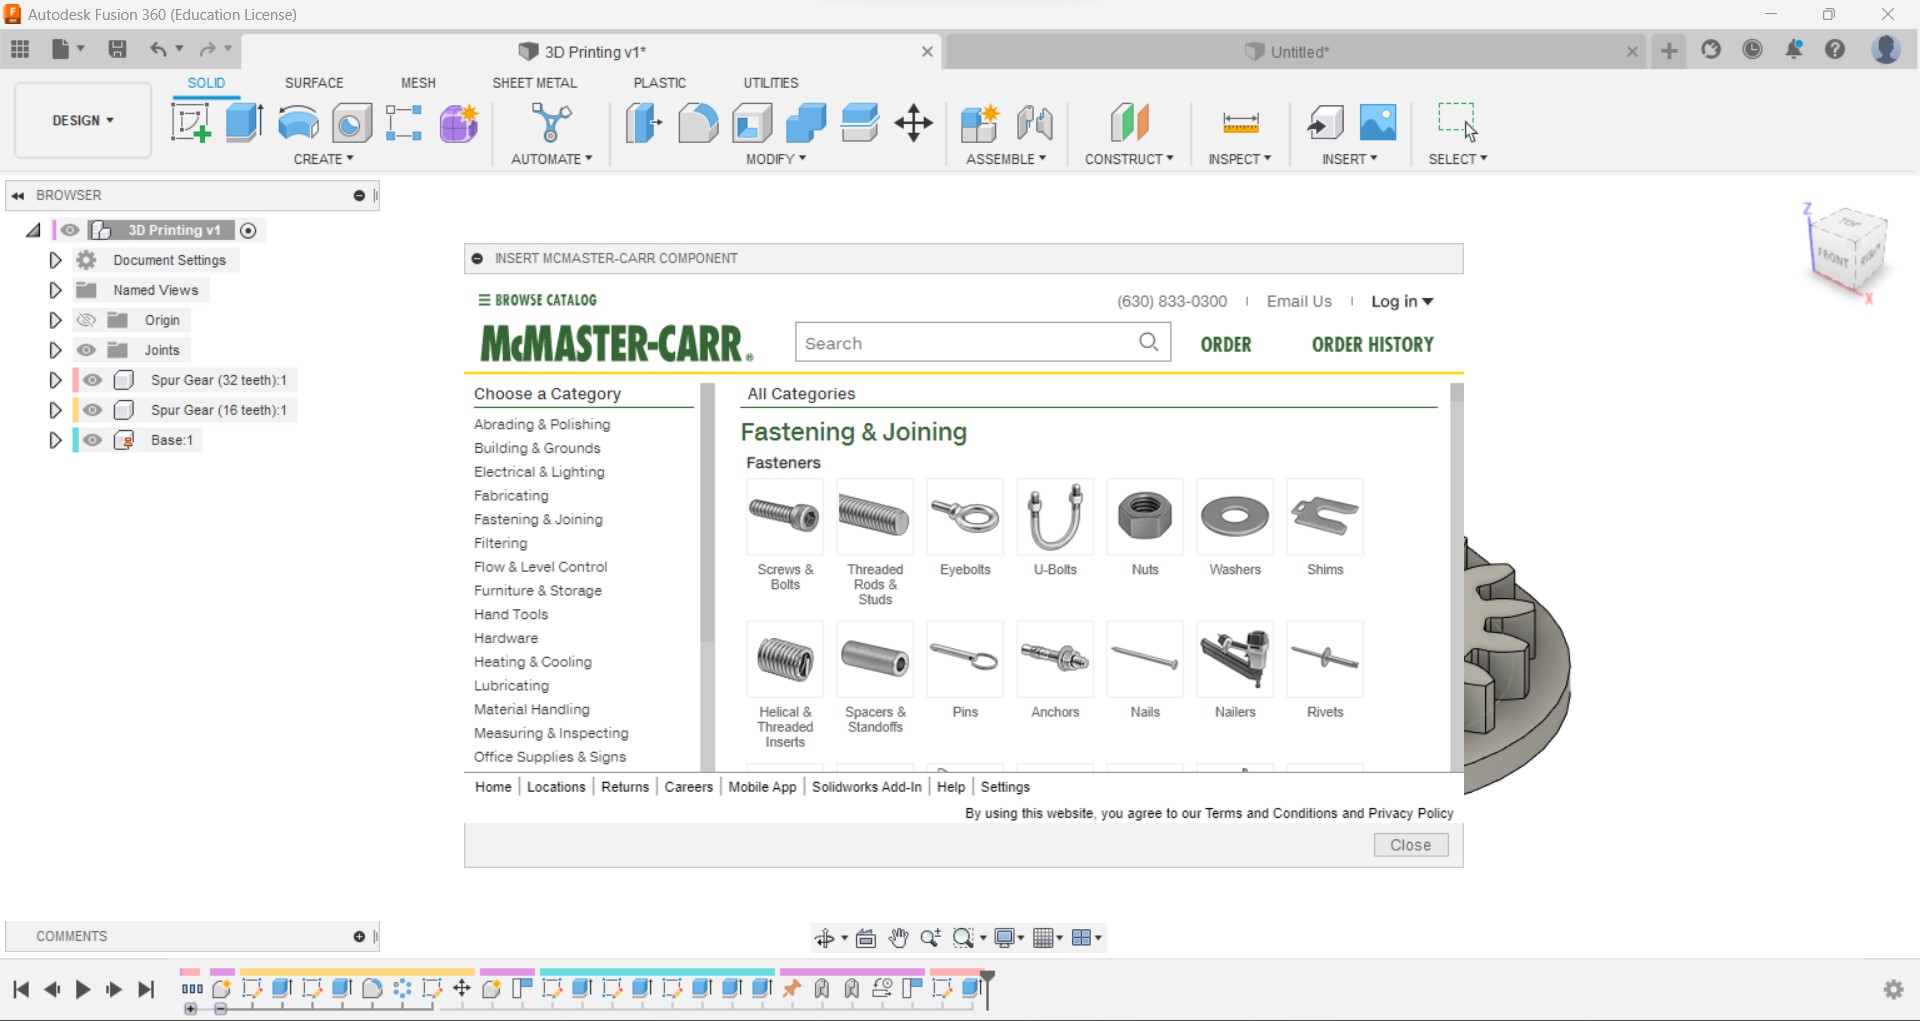
 - On fusion, we have the following command: In solid go to insert—> insert Mcmaster-Carr component. Then, there are hundreds of gear options. I will use the plastics gears and gears racks. I am going to looking for the optimal which fits with my design that I have made it. Finally, I set to “step-file” and save the file, which will place it in my design.
 - In the 3D printer, I have to adjust the perfect tolerance. Probably, I will make more than 2 tests.
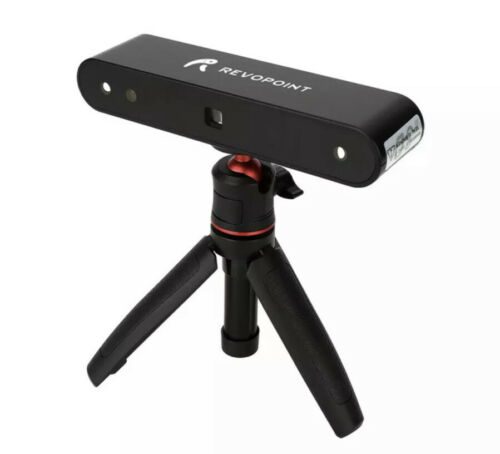
3D Scanning
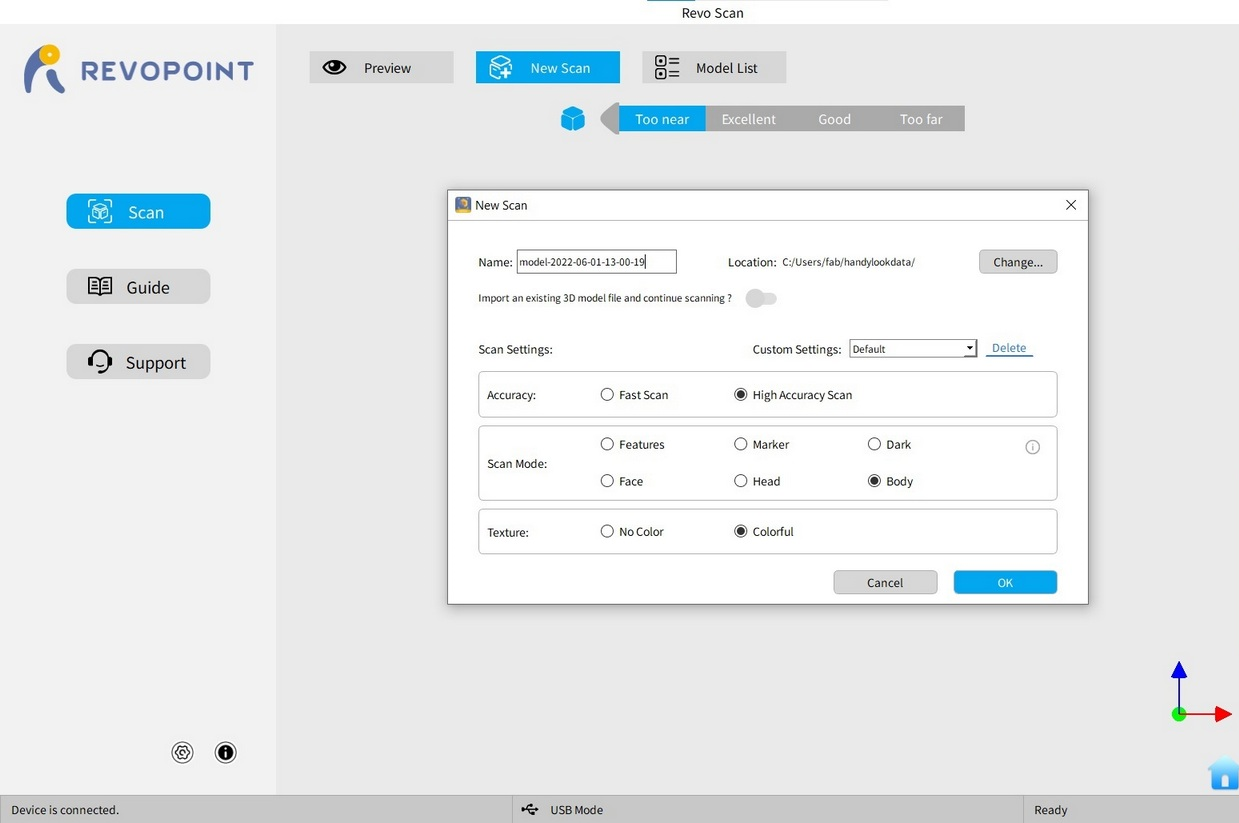
For the 3D Scanning part I used a new scan Revopoint. So, I decided to scan myself while I am sitting.
To start the scanning proces you must set up the parametes of the camera, light and focal distance, if you did it now is time to start. You can see in the screen how the software is guiding you if you are to close or to far from the the object. It is important moving the scanner around the object for describing a dome. It is not to easy I had to do it again many times however I could get a scan where my face can be seen.
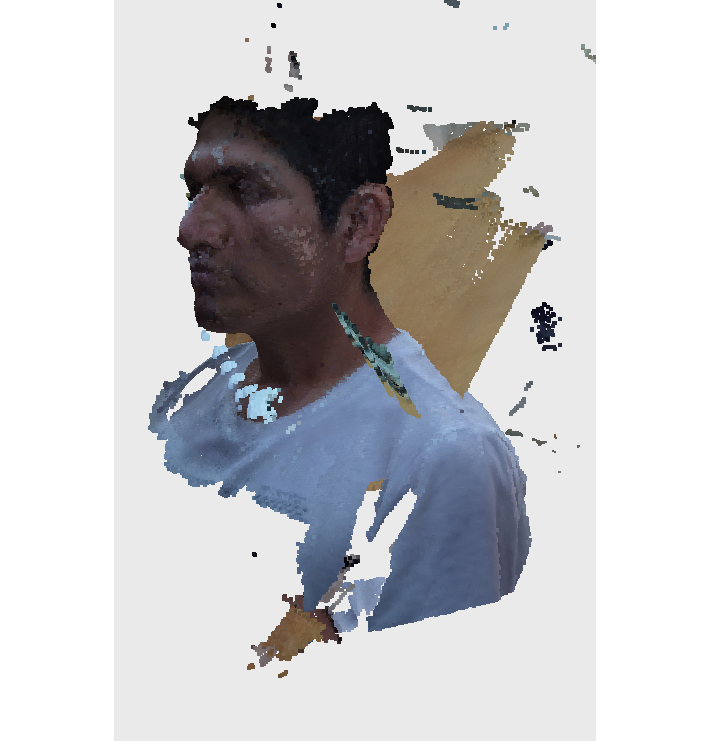
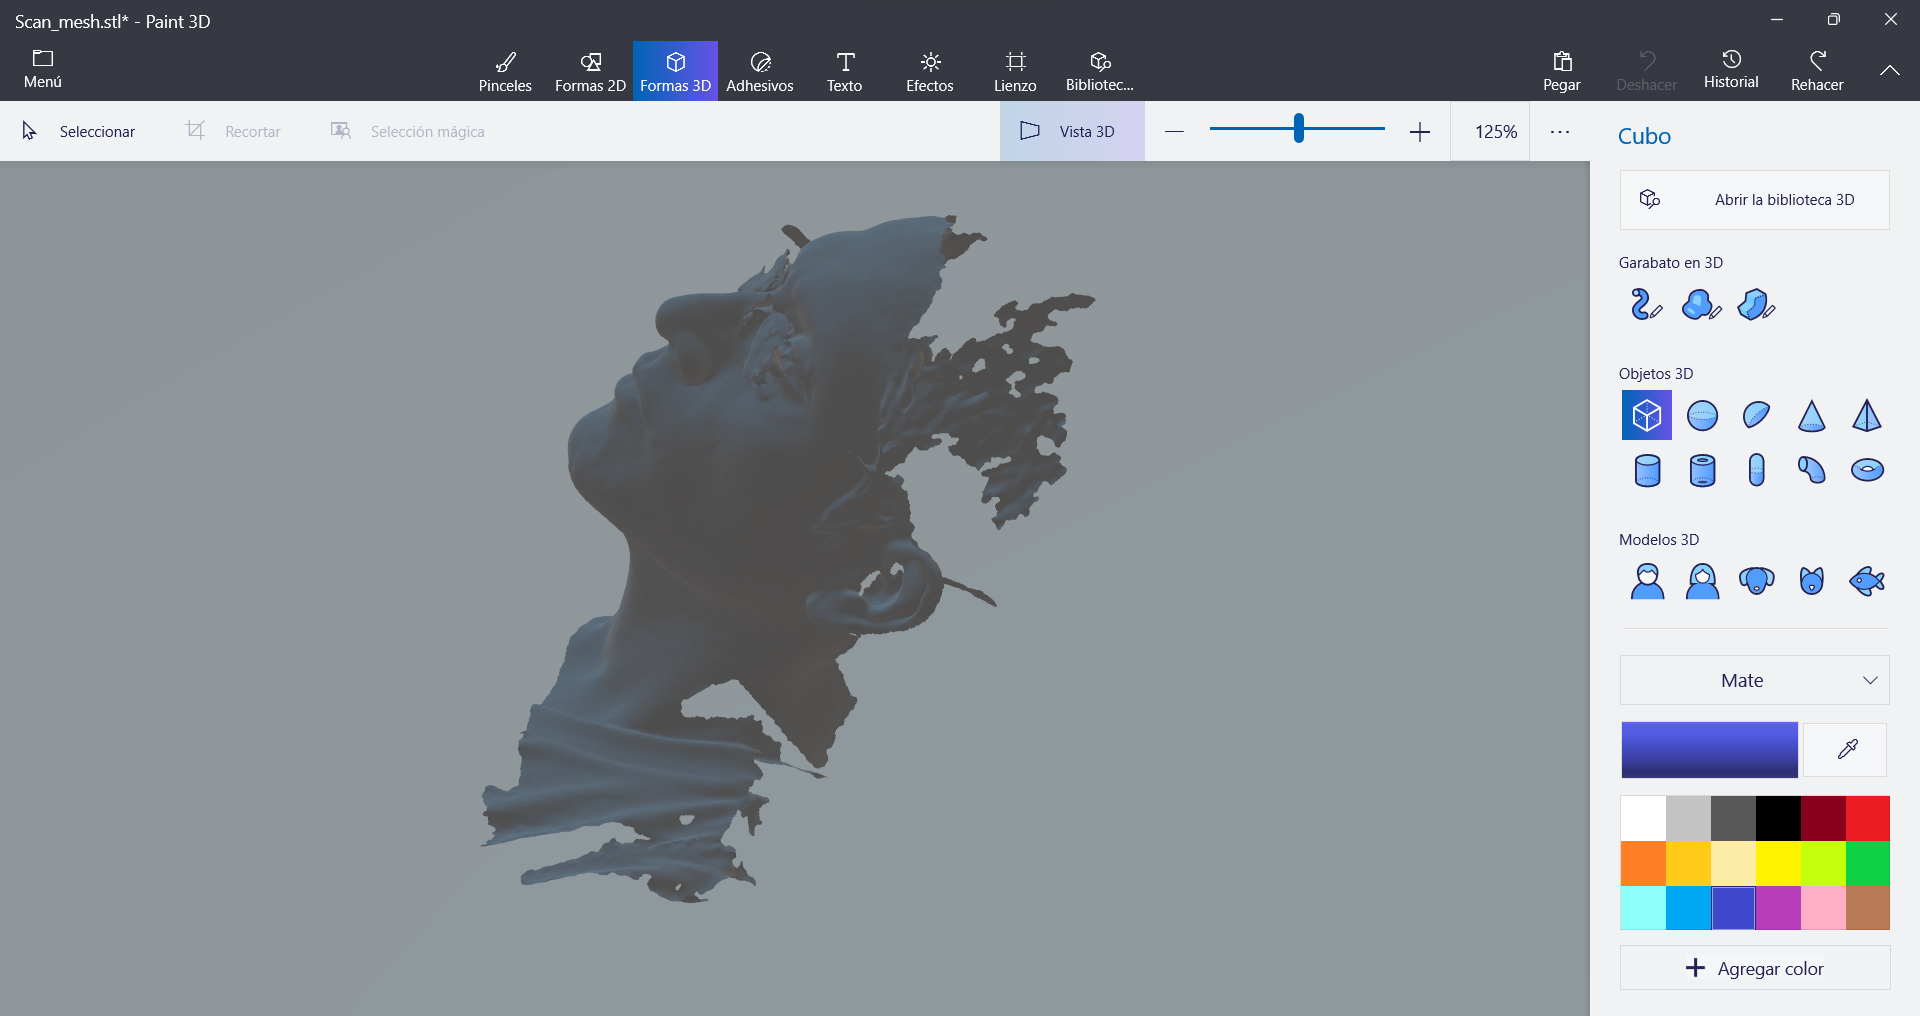
The software lets you transform the scan to a point cloud and then you can then export it as a.stl or .obj format and use another software to clean it up a bit.
This a screenshot of the final scan, you can see even my glasses.
Group Assignment
Here is the link.