LED Vest mk3.2
After a few months of use, I have found plenty of stuff to improve upon. Here are some
-
General durability & waterproofing Filled zones were a big improvement, but general durability is still an issue. For instance, there is an obvious weakpoint where the filled zones narrow to fit inside the lower button “claws”. Even worse, the lower button itself ends in this same area, creating a pinch. I’ve aldready seen a few bad connections due to this.
Furthermore, somehow, waterproofing turns out to be a concern when dealing with student bands…

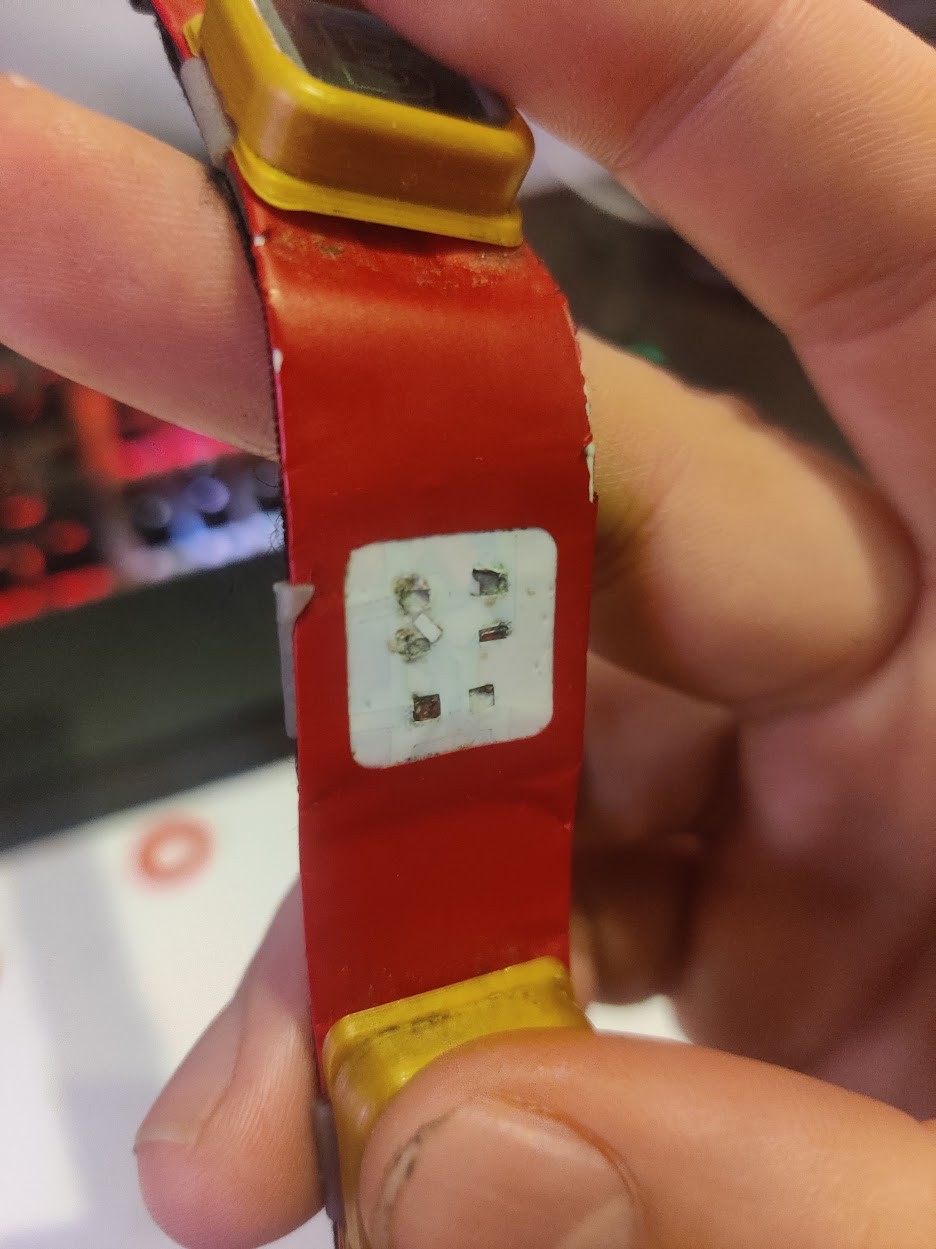
The old strip isn’t very well waterproofed, in fact, the copper actually has started oxidizing in places. not good.
-
Interface I’ve implemented a fair amount of operating modes, and the current interface with two pots and a button really aren’t ideal for operating them, let alone navigating quickly or changing multiple parameters. A phone controlled solution would be much better.
-
Battery life So the 3 triple-A batteries don’t hold as much charge as i thought. Also, the microcontroller is run on straight battery voltage, it turns out that the Neopixels accept lower voltage than the controller (perhaps due to its 3V3 regulator). When this happens, the running program freezes (the leds keep whichever state last ordered). In other words, while still lit, this isn’t ideal.
-
I2S hardware support pls. Bit bang botchjob programming is nice and all, but wouldn’t it be nice to have actual hardware I2S support?. Maybe with nice audio processing libraries. Swell.
Teensy LED driver
For an interim, but smaller LED driver I’ve been experimenting with the teensy family of microcontrollers. These are powerful, wuite easy to program, and best of all, Kris has a bunch of them around fablab.
Teensy LC
Teensy LC Is a small microcontroller you can buy for about 12$. It still has a relatively beefy 32 bit processor and other fun stuff.
For my purposes, the teensy is interesting, since it runs 3.3V logic, but has a single level shifted logic pin. This means that I can run an I2S mic off the 3V3 logic, and the Neopixels of 5V. Neat!

I won’t use nearly all pins for my simple control board.
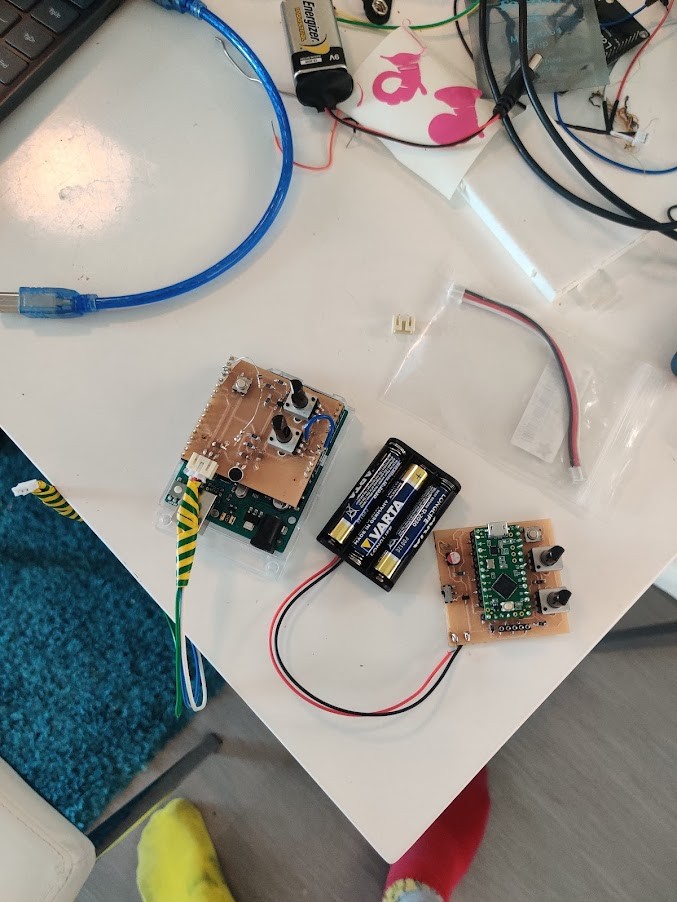
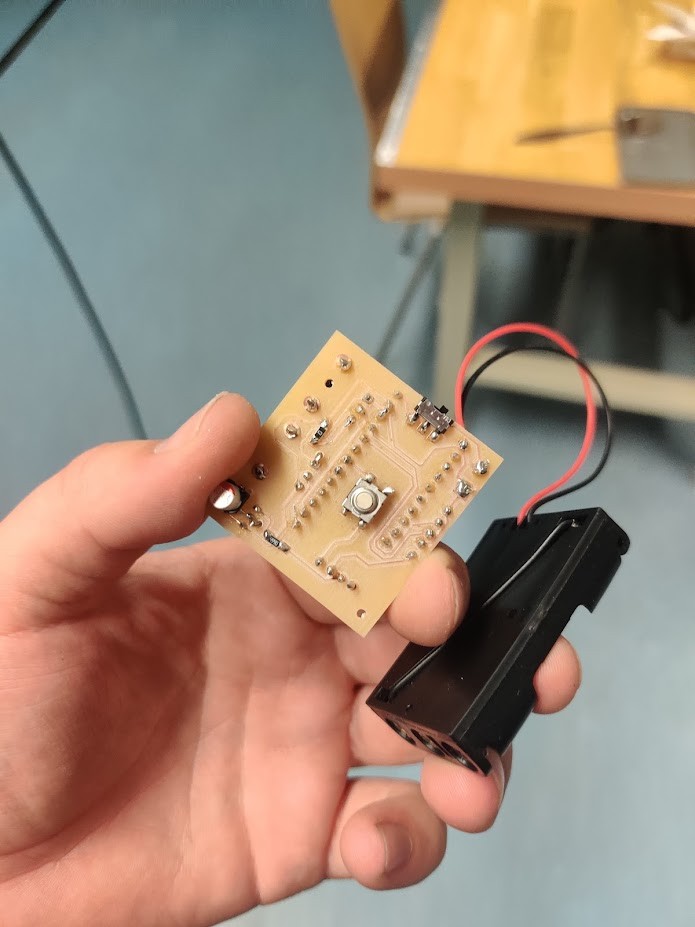
My first Teensy board (right) is definitely smaller than the old one. I did however forget some things.
First off. I laid out the board before realizing that I’d need to invert the THT components to make their connectors work! If I did that now, the connectors would be in the wrong places! Argh!
We had a potential solution at fablab. SMD header sockets. Unfortunately, these are almost impossible to insert anything in. So the board isn’t very well attached. Wont use those again.
Anyway, the board wasn’t useful for long. The JST connector ripped off 😥 Note to self. Do more THT parts.
Another interesting quirk I discovered. regulators will let current go in backwards, and they get quite hot inm the process… Will use a diode next time.
For my second try at a teensy board, I tried to learn from my mistakes
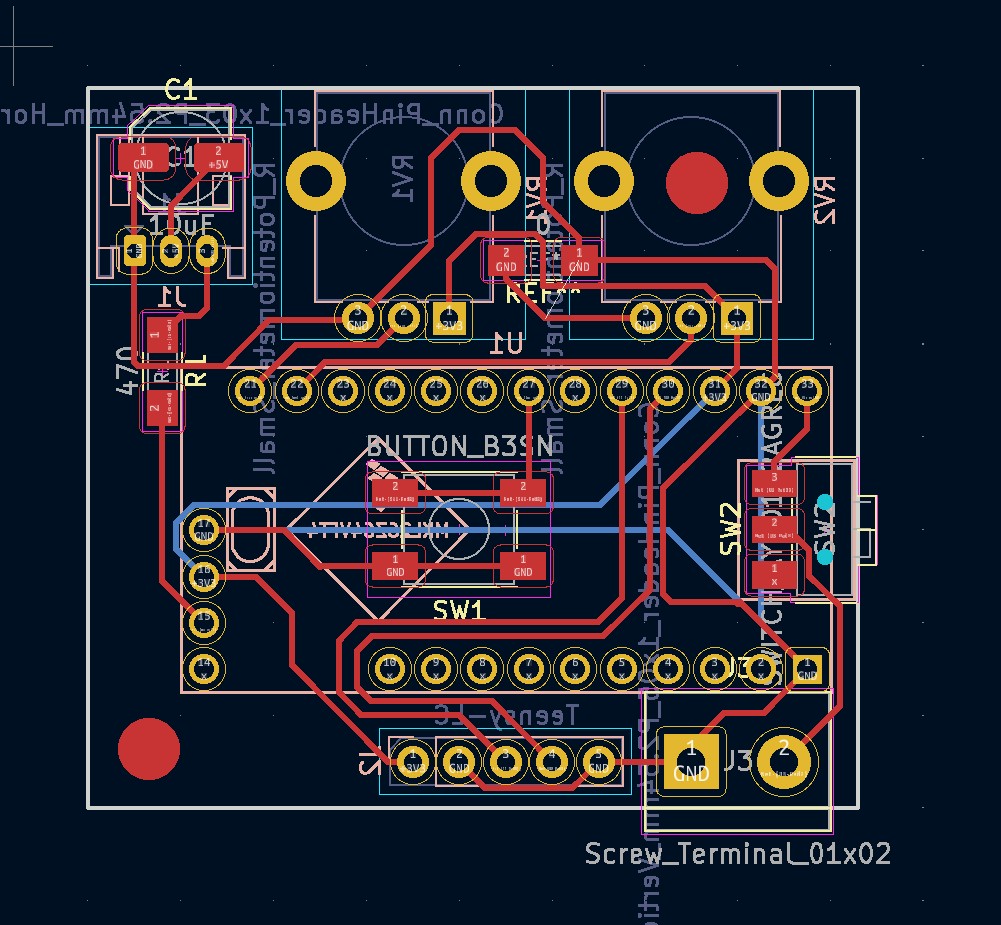
With many of the components on the backside, The board became really compact! I couldn’t even fit mounting holes! Actually those might be useful…
This board has some problems also.
All are here.
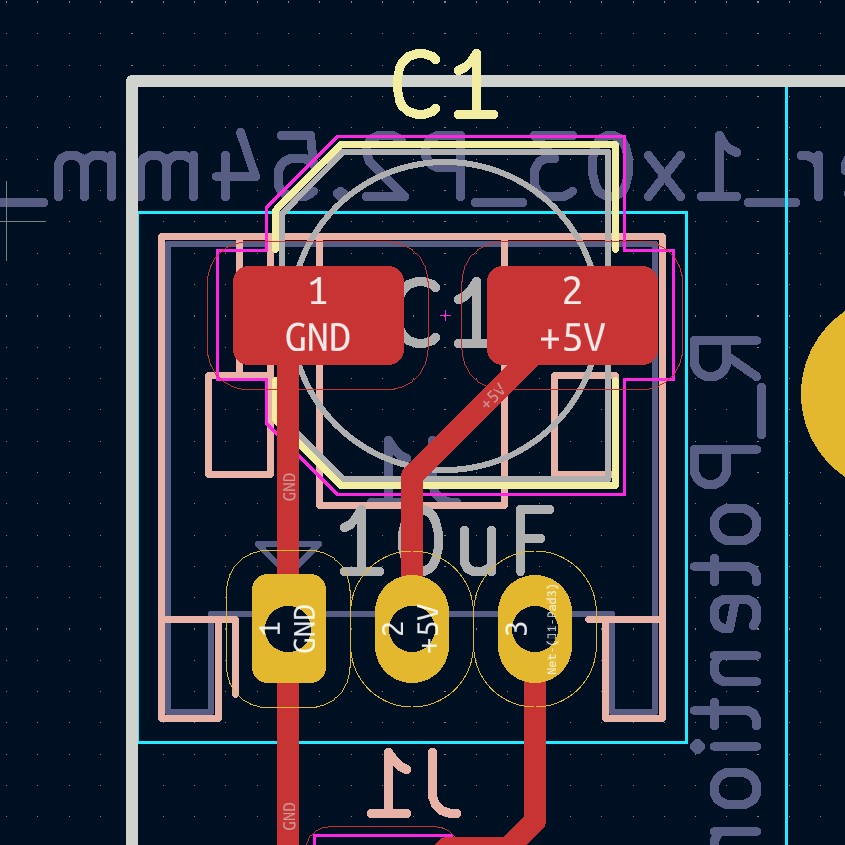
For some reason, the net has not alerted me about not connecting the connector to anything! Derp. I instead drilled and inserted my own ghetto jumper cable.
The other problem is weird. For some reason, the pins are in the wrong order!
I cant figure out why this is. Could be due to the connector being on the backside. EDIT i figured it out. Again it’s just me connecting stuff wrong in kicad. This seems to happen a lot....
Anyway, time to hack together another sus cable.
With an impressive list of newbie mistakes behind we’ll move forward… I shouldn’t do this when I’m tired.
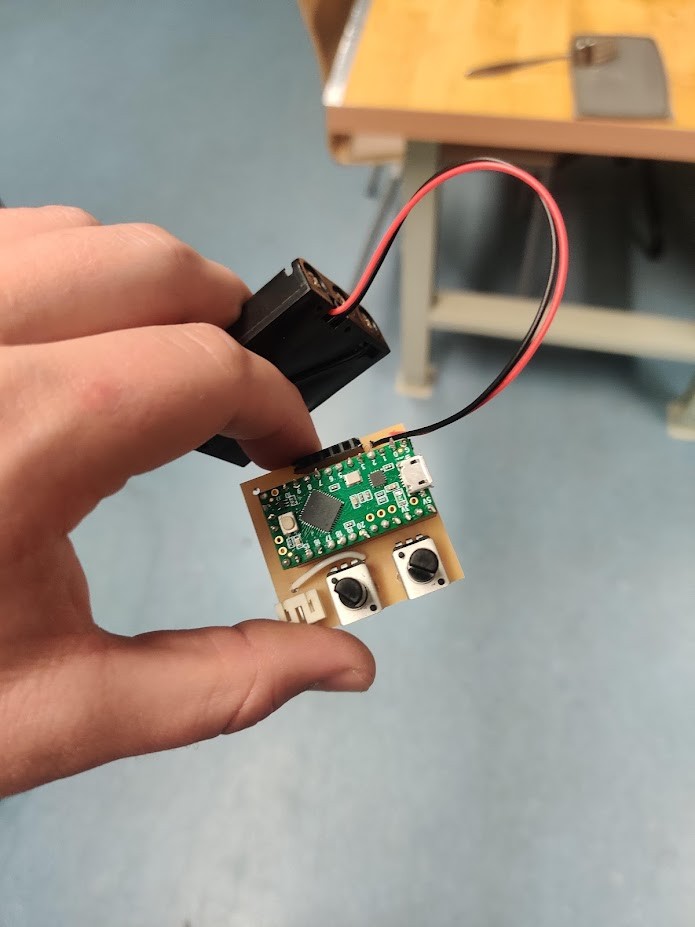
The good news is that, provided the fixes, the board does work quite well. The THT connections are also pretty strong.
Teensy 3.2
As it turns out, LC doesn’t have hardware I2S support. Or it might but I already said I want to avoid non sketchy solutions where I can!
The Teensy 3.2 is basically the ungimped version of the LC. With a beefier processor, and critically, I2S hardware support, hooray!
And I2S isn’t the only thing audio it can do. Oh boy.
PJRC has provided an entire audio design tool for creating advanced audio applications for their products. ALso, there are a bunch of functions, such as FFT which can run async from the arduino code. this could be useful
The 3.2 however lacks a 5V boosted port, unfortunately. I could go and build another MOSFET level shifter, but we all saw what a pain that was last time… Luckily, I can run the neopixels on 3V in this case, due to there being so few of them.
Bluetooth
For a better interface we can turn to our favourite Viking king who unified the tribes… And do it in the sketchiest way possible!
HC-05 is a very generic, but crucially, easy to use BT module. (I was going to say idiotproof but let’s not tempt fate.) When powered, it can connect to a device, and send and receive serial data at 9600 baud. EZ.
Breadboard test
I slapped everything on a breadboard!

For ports, the Teensy libraries recommend certain ports for neopixels. Furthermore, I2S only works on certain ports. Fortunately on breadboards messing around with the ports is easy. The Teensy supports 4 individual Serial channels, So I chose one for Bluetooth so that USB works independently if needed.
Production version should be easy too, with the correct ports, the PCB version should work first try too, right?
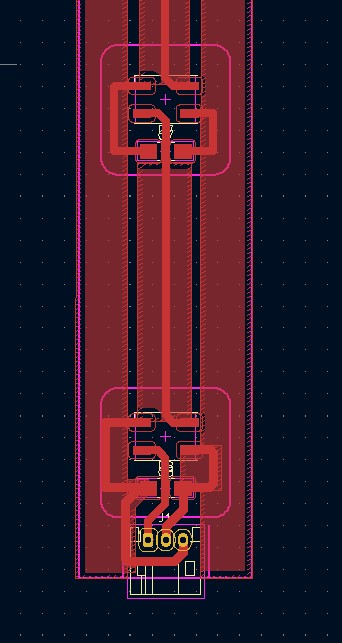
PCB version
It didn’t.
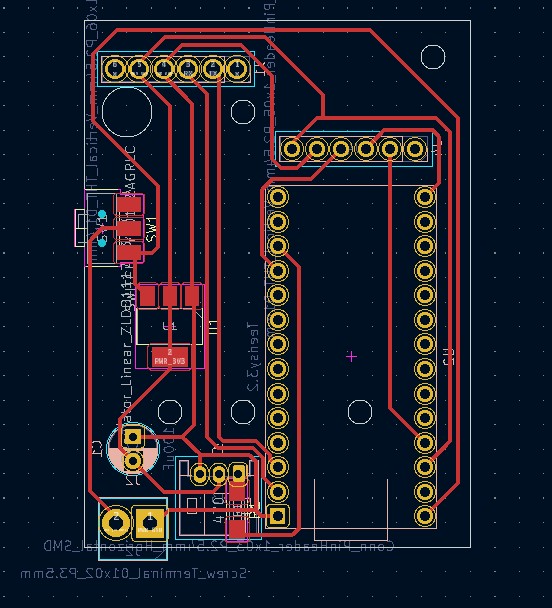
The PCB is simple enough (although the teensy is hilariously underpopulated!) but combined design and manufacturing problems went on for a week. Also, I decided against using headers to reduce the height of the board. Thus, mistakes were very tedious to fix…
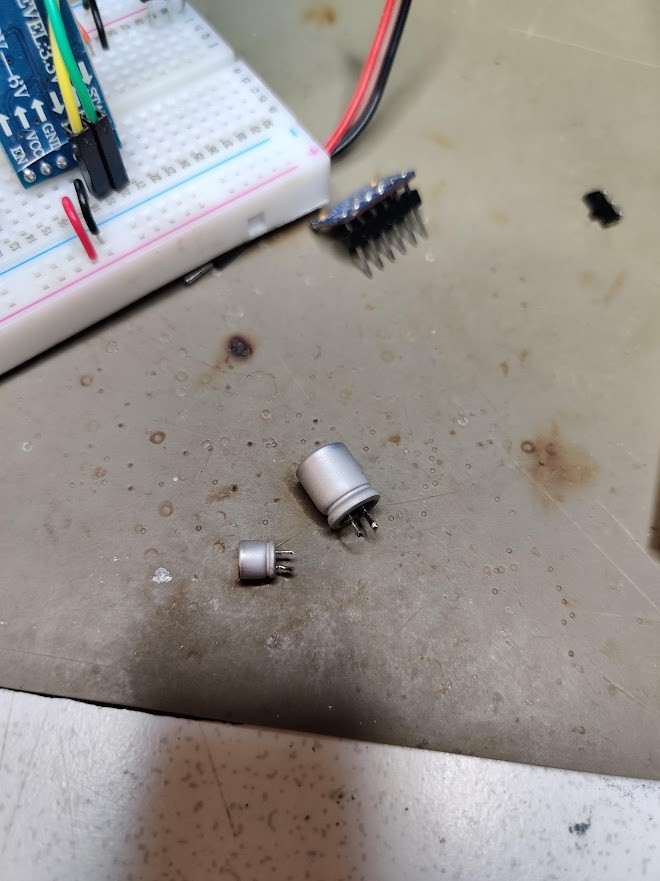
Fablab was lacking big THT caps, but i realized I can make my own by removing the plastic bottom of big SMD ones. The leads are a bit fragile, but do work
THe BT and I2S mic modules are represented by simple x6 headers. As a THT components, I can still have components on the other side.
Ready driver
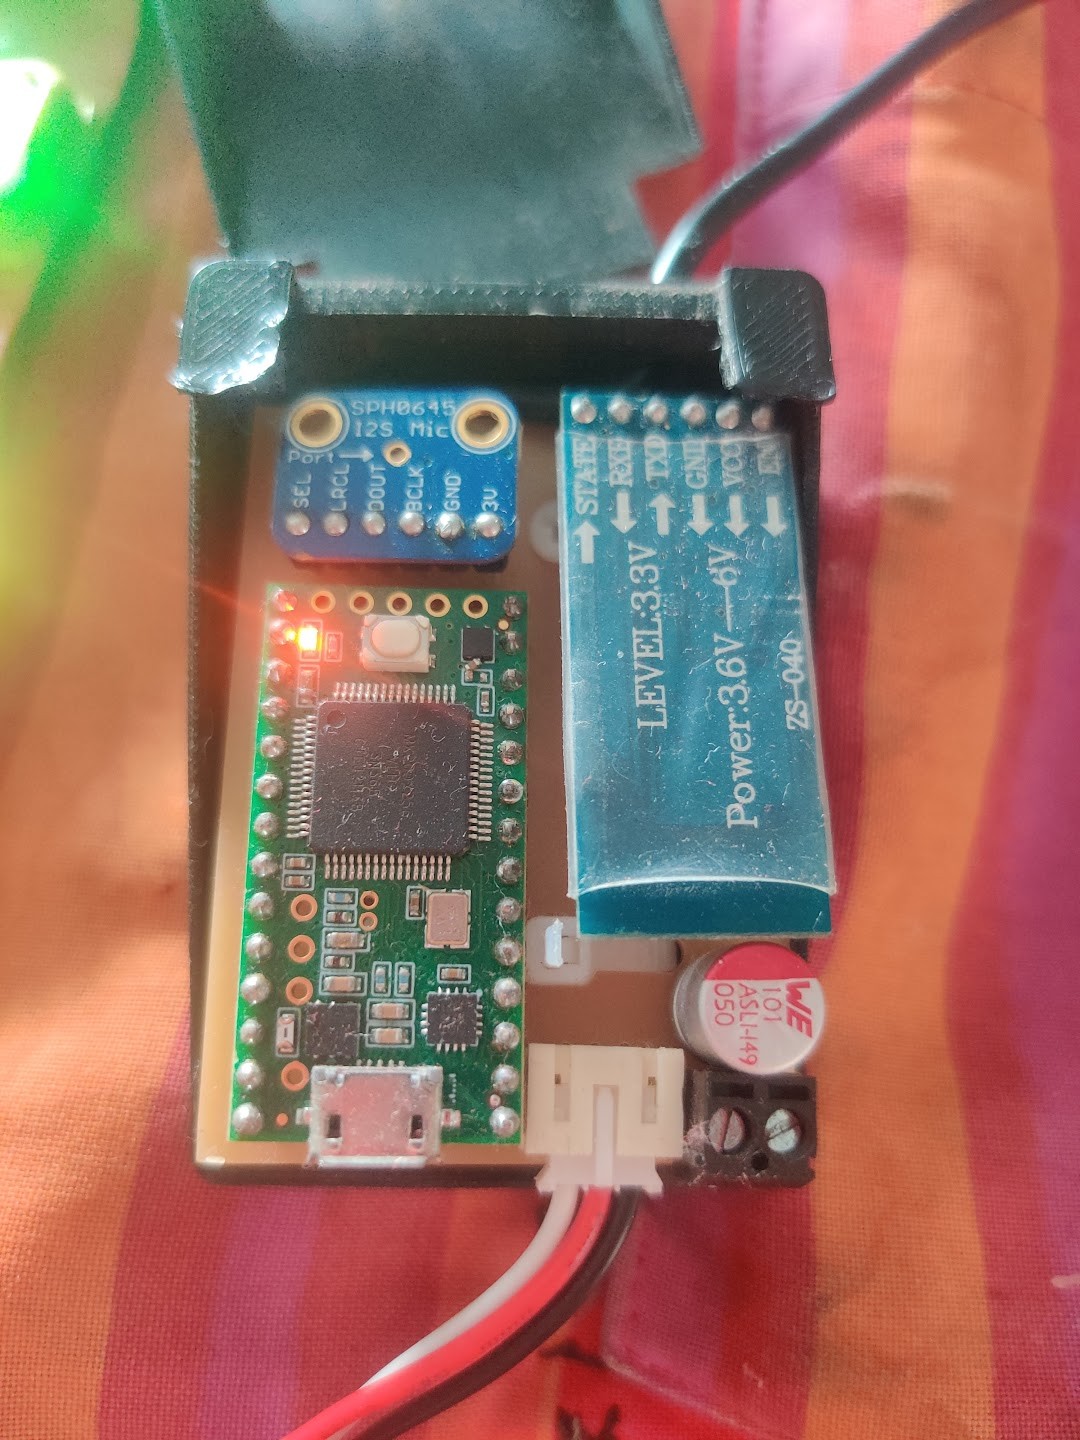
After much fiddling with design flaws and unlevelled PCB mills, the final board looks like this. I’m fairly happy with the compactness. Some components could of course be substituted, an ESP-32 with bluetooth comes to mind as a powerful microcontroller with built-in connectivity. Price wise I’m however pretty happy with all the looted components I’ve been able to use.
Flexstrip Mk 3.2
For the flexible strip I’m going with a monolithic design. The thick rails go the entire way through the strip. Except for when supported by the Button housings.
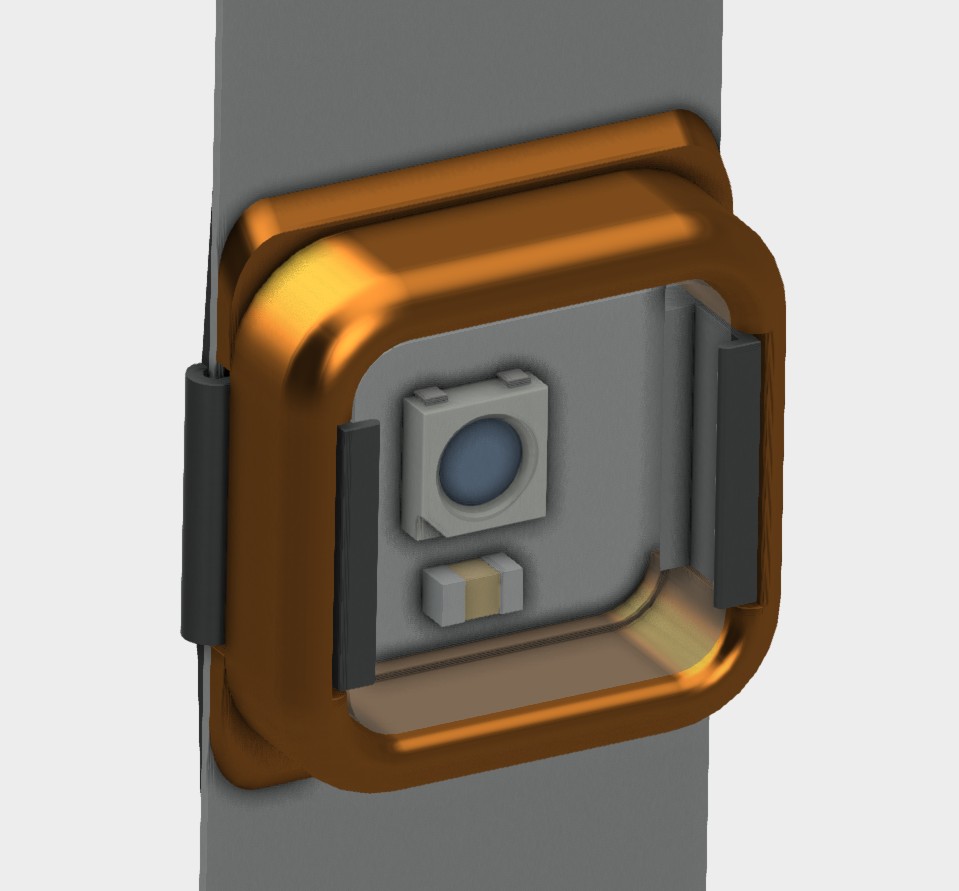
The button housings are redesigned as well. With flanges designed to provide a better seal against fluids.
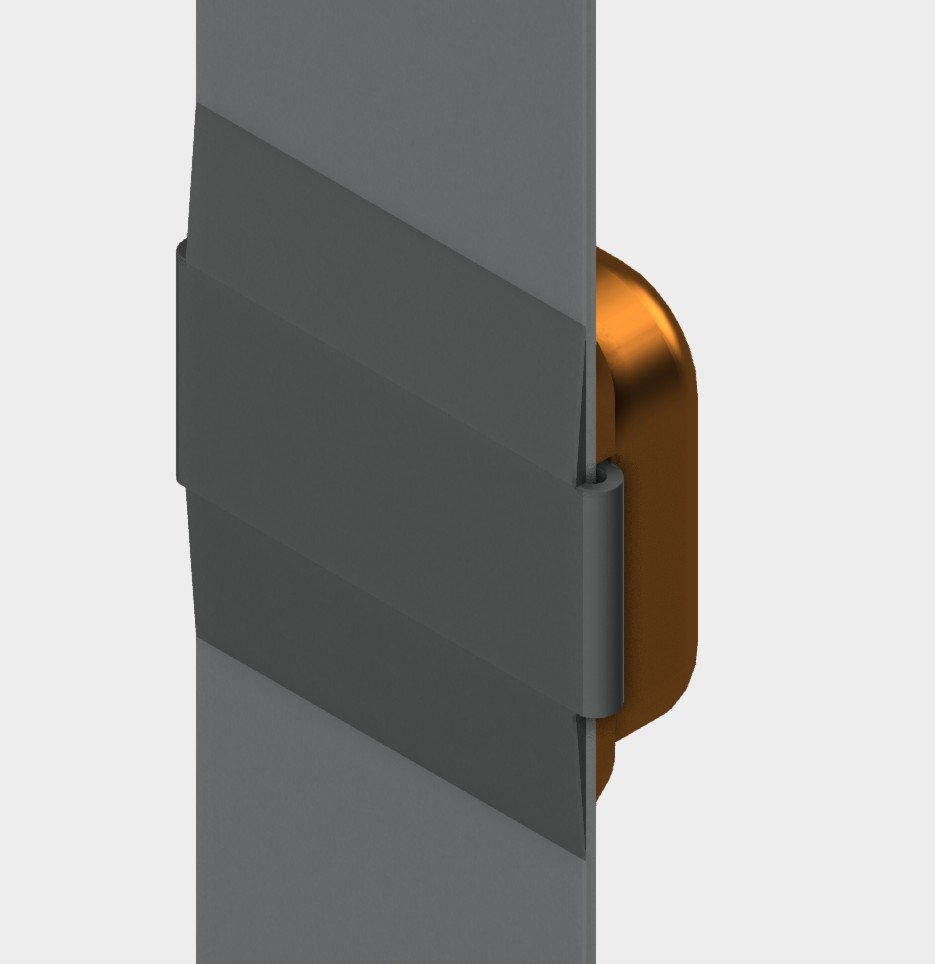
To account for the full width copper, the lower part actually now bends around the PCB. When experimenting with the lower housings I realized that Formlabs’ durable resin is quite flexible, especially in thin pieces. I thus designed integrated strain reliefs in the button lower housings by having them thin out at the ends.
User eperience Mk3.2
This version of the LEDs proved to have the longest life so far, lasting numerous gigs, and several (moist) trips to sweden. The new driver worked quite well and USB power lasted for days on end.
The bluetooth serial control scheme worked fairly well. Although the manual serial commands were a bit janky in use.
The I2S mic gave good data, although my VU program didn’t nearly use it to it’s full potential.
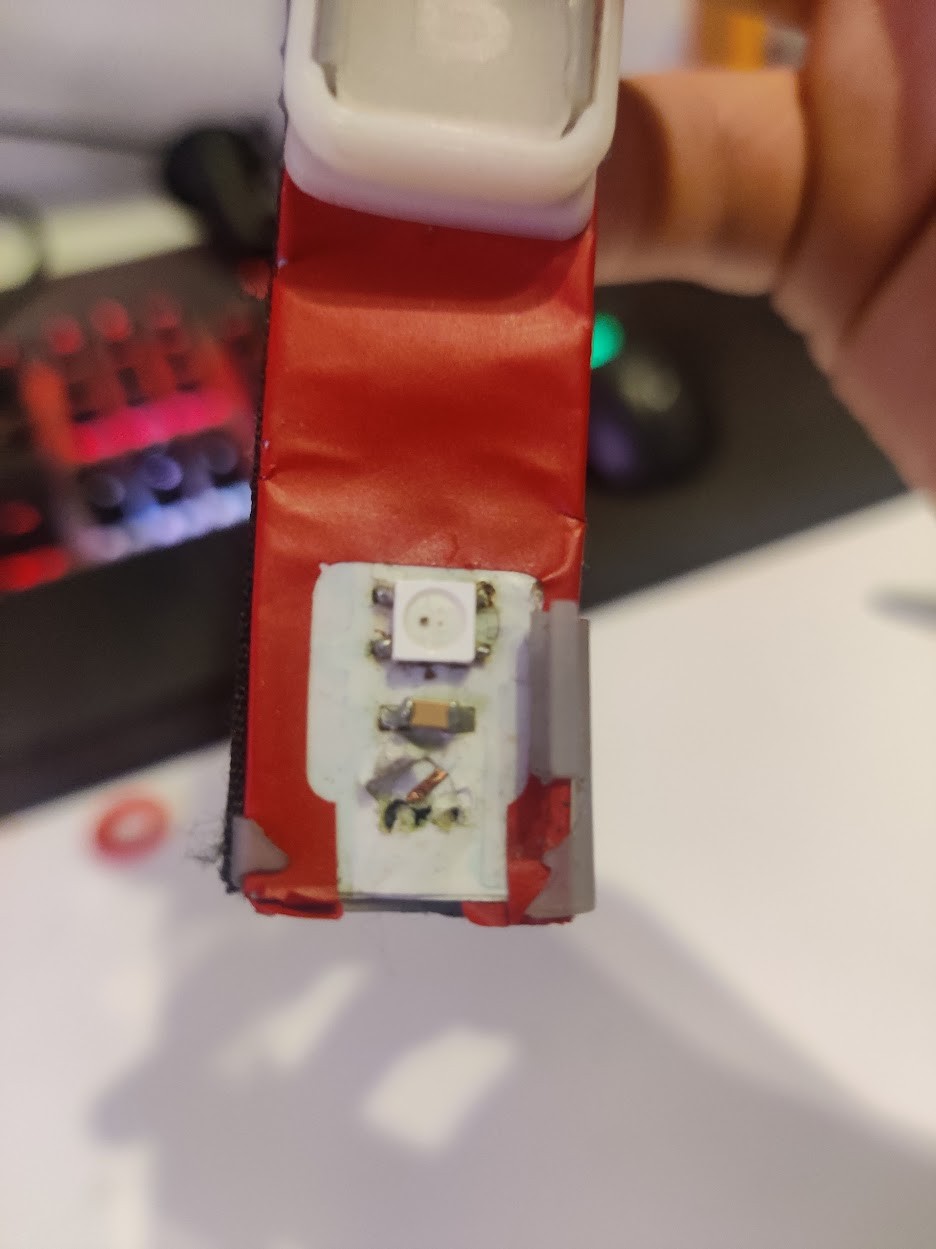
In the end, the housings themselves proved to be the weak link. The SLA printed claws holding the upper and lower shells together proved to be too weak, Resulting in the upper shell and window breaking off. This not only left the LED chip unprotected, but was especially critical on the lowest and highest button, where the upper shell directly supports the connector. When the shell broke off, the connector was very easy to break, which eventually happened.
In summary, this has definitely been the most successful version as of yet. I have also learned a lot, and I have a bunch of improvements in mind for For mk4.