3. Computer Aided design
This week was about evaluating and selecting 2D and 3D CAD software, to use during the course.
I have a fair amount of experience with both, so it was pretty clear from the get go what I should use. The list includes both old favorites, and some new
3D-CAD
As a mechanical engineer, I have plenty of experience with 3D CAD. Professionally I have used two CAD suites; FreeCAD and Autodesk Inventor.
Of these, FreeCAD is open source, which is nice. I’ve used FreeCAD for a fairly ambitious project So it is capable. FreeCAD however isn’t as refined as some paid options, so the workflow is occasionally quite tedious.
Autodesk Inventor on the other hand is a paid (and very expensive!) software.
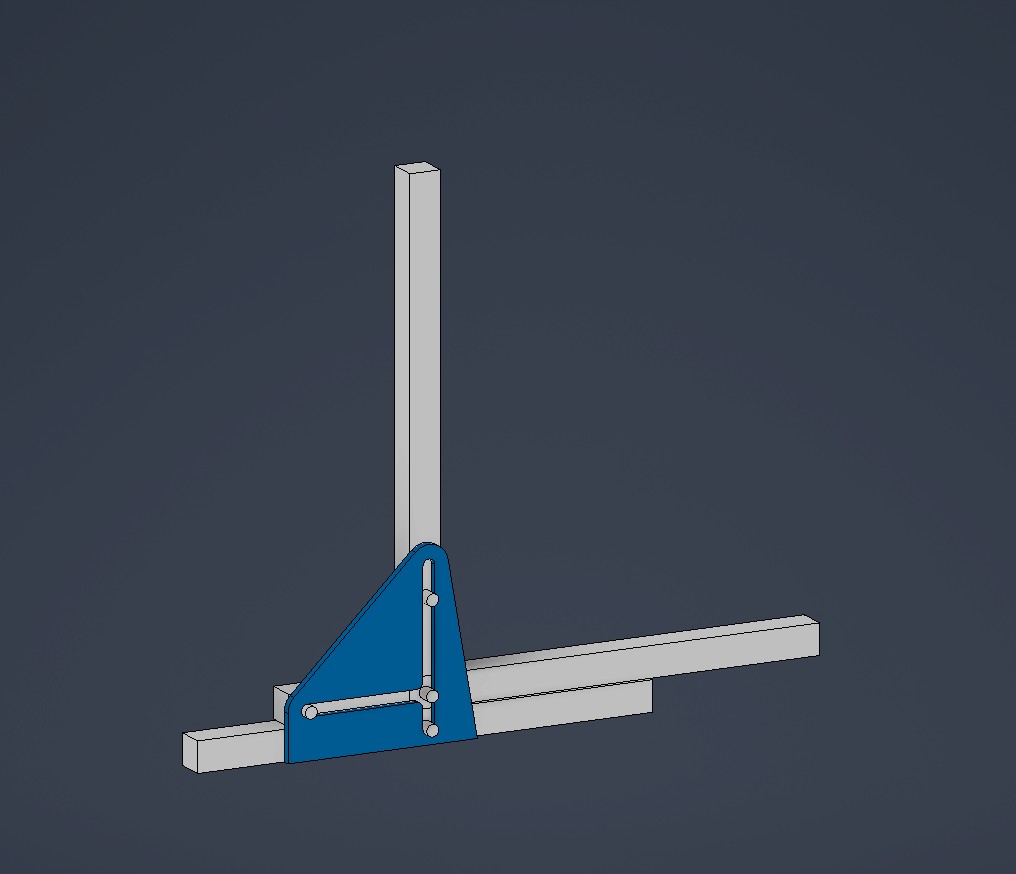
 (That is a toolstand, manufactured by lasercutting.)
I use Inventor professionally, so I have access to a pro license via work. Fab academy design is also a nice way to practice. Thus, it makes sense to me to use mostly inventor for 3D CAD
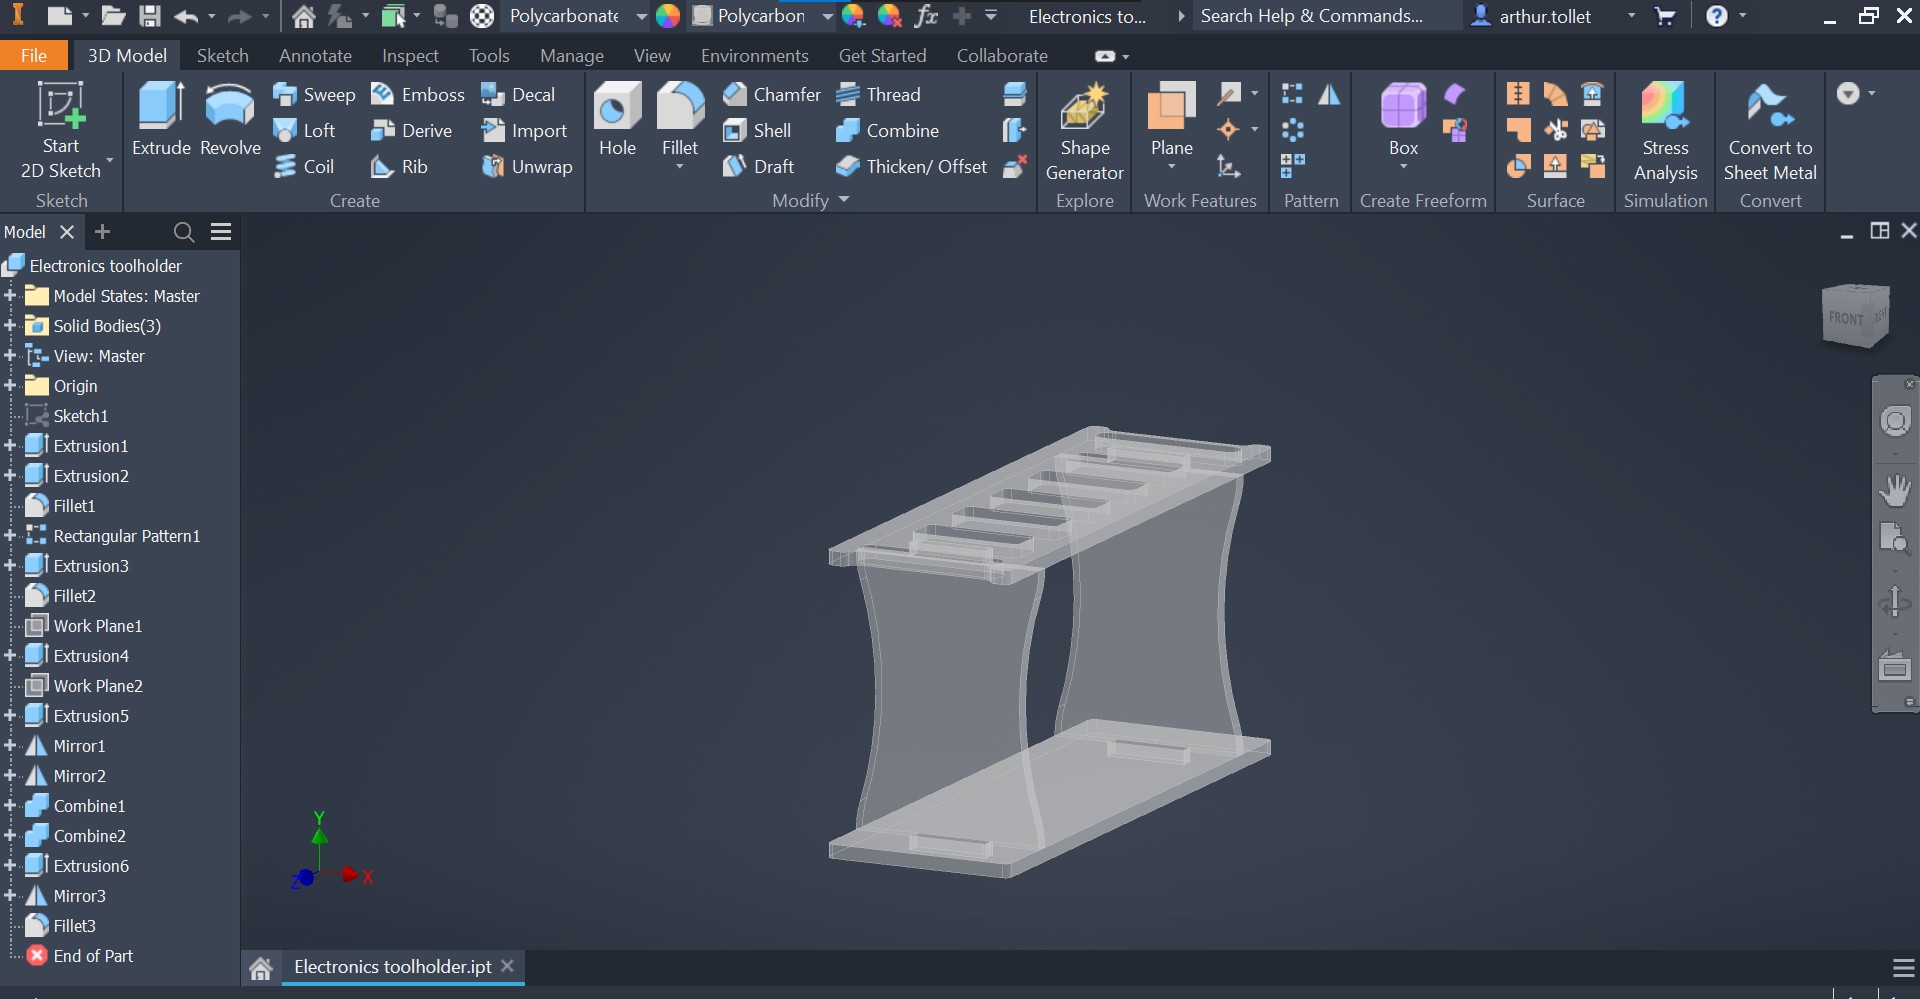
Inventor is quite feature rich, and can export meshes, vector surfaces, STEPs and so on*. It also has nice modules like CAM and a thread modeller.
*Although I’ve had weird issues with inventor DXF output being incompatible with illustrator. This can however be fixed by exporting DWG and converting to legacy format. Don’t ask why.
Inventor modelling process
Here’s me making a frame pivot test in Inventor
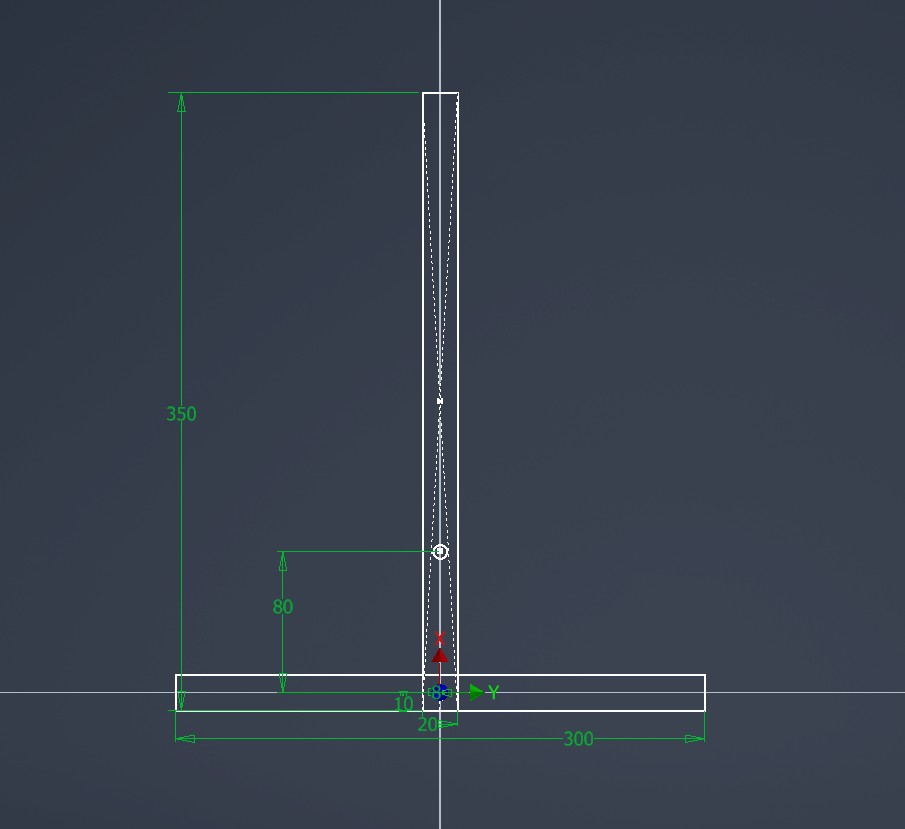
Like most 3D CAD, we start with a sketch, and assign dimensions.
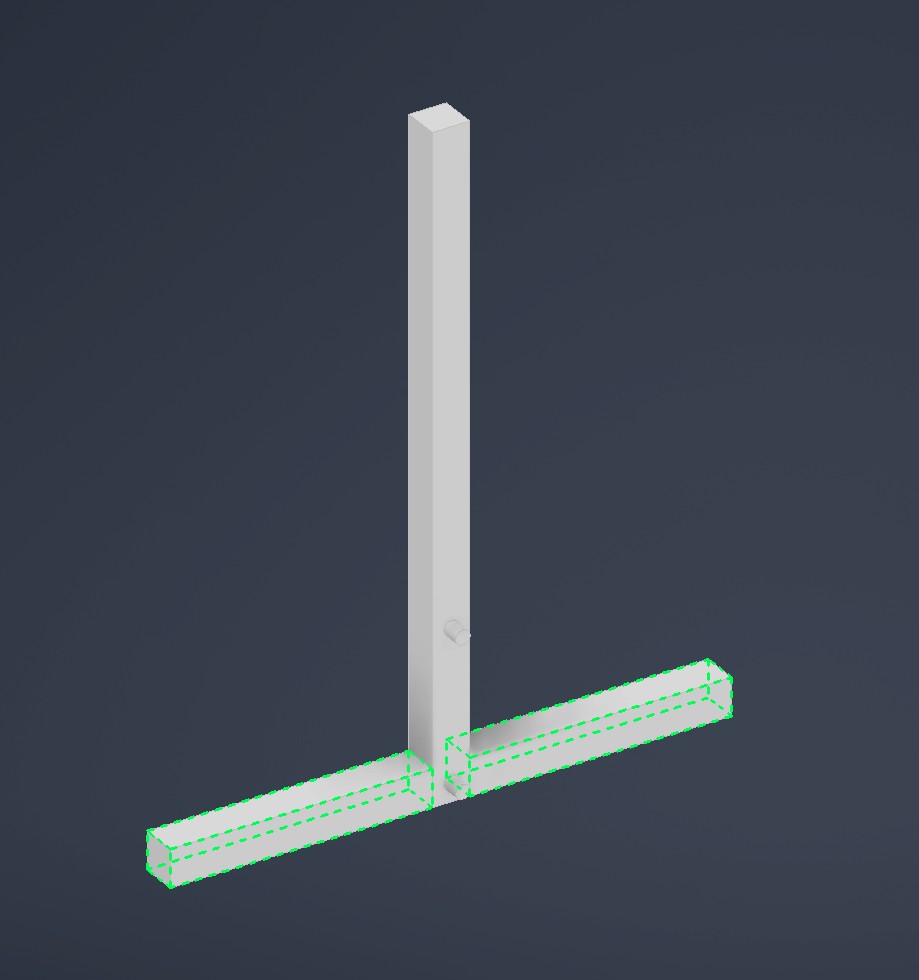
Inventor has a neat feature called share sketch, where one sketch can be used to create multiple extrusions. These can even be in separate parts!
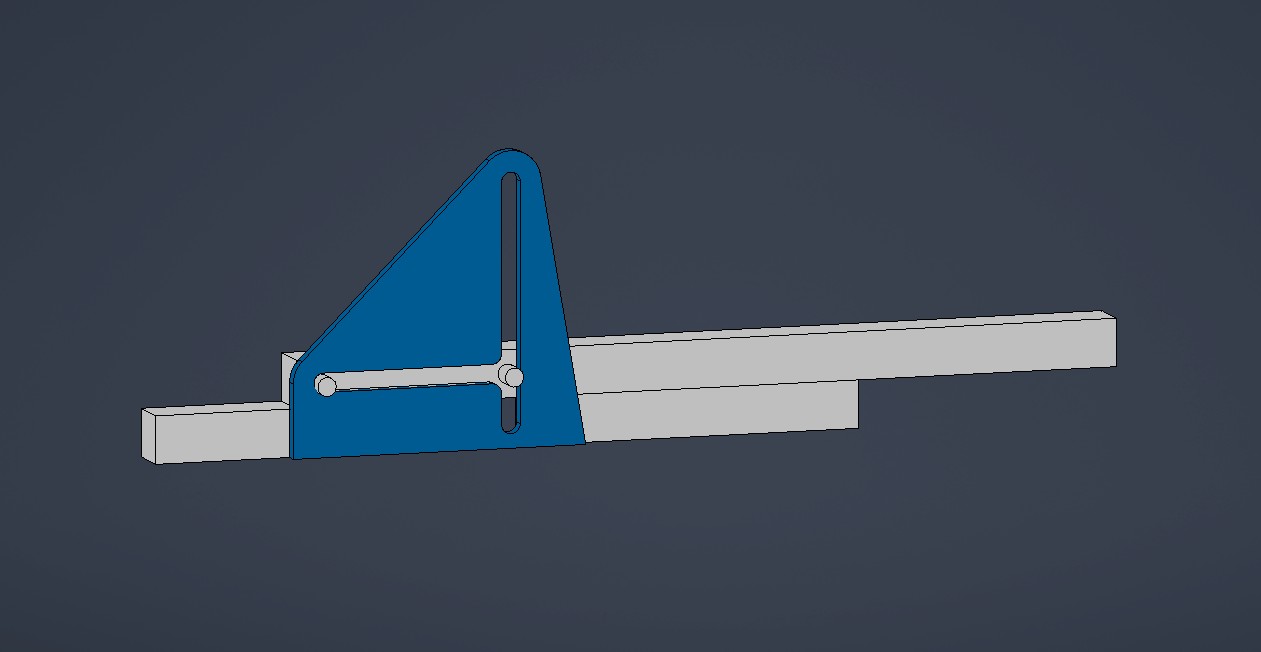
We can now copy the folding beam, and direct edit it into its stowed position

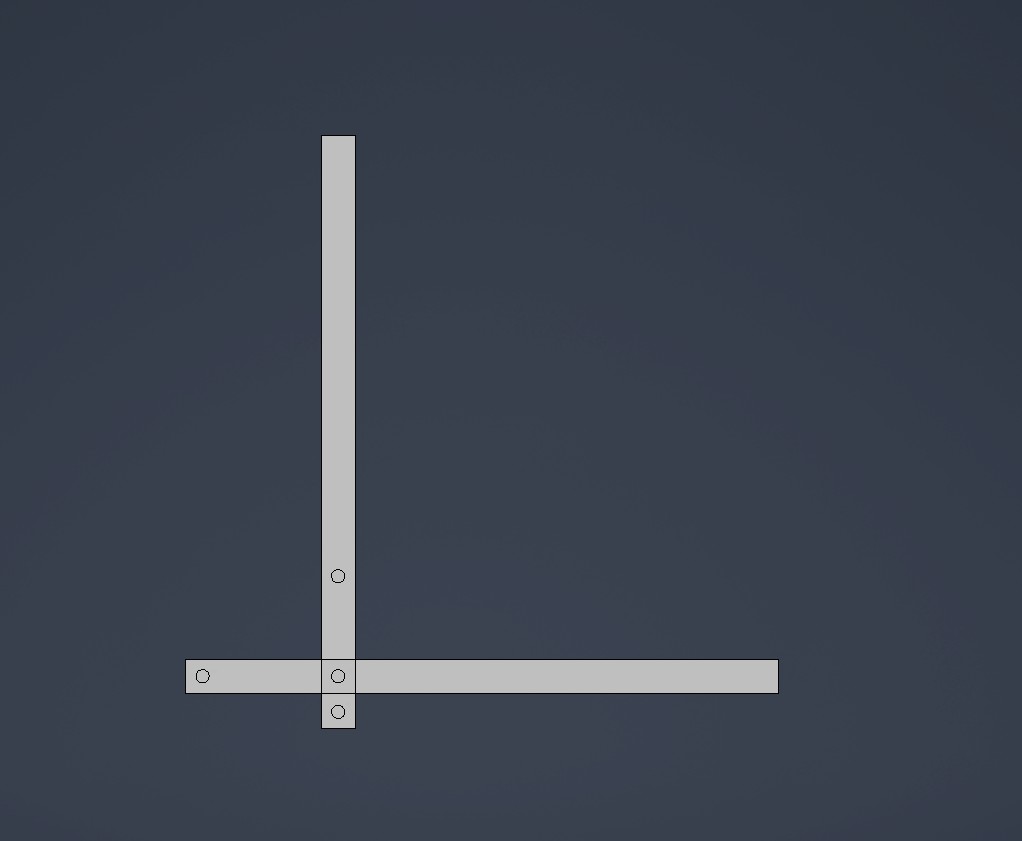
THen we use the pegs as references for their slots.
Finished part
We now have a multi-body part. We can change that to an assembly with the make assembly button

In the assembly we can do cool stuff like constrain the joints.
Another example of CAD design in inventor can be found on my final project page
2D-vector
My goto vector program is Adobe Illustrator. Illustrator is nominally a web and content design program, but I have never used it for it’s intended purpose.
The two Illustrator features I can’t live without are image trace and pathfinder. No other software i’ve tried has had anything close to the same functionality (I do hear that Inkscape might have improved recently, however.) Illustrator is also quite flexible with input formats (see above for exception.) THe software is of course paid, and a creative cloud subscription is a bit too pricey for me. Fortunately, Fablab has a subscription via Aalto university.
PROTIP: In addition, I Recently discovered that the Aalto subscription can be accessed remotely as well. Its a bit laggy over the remote connection but works!
2D-bitmap
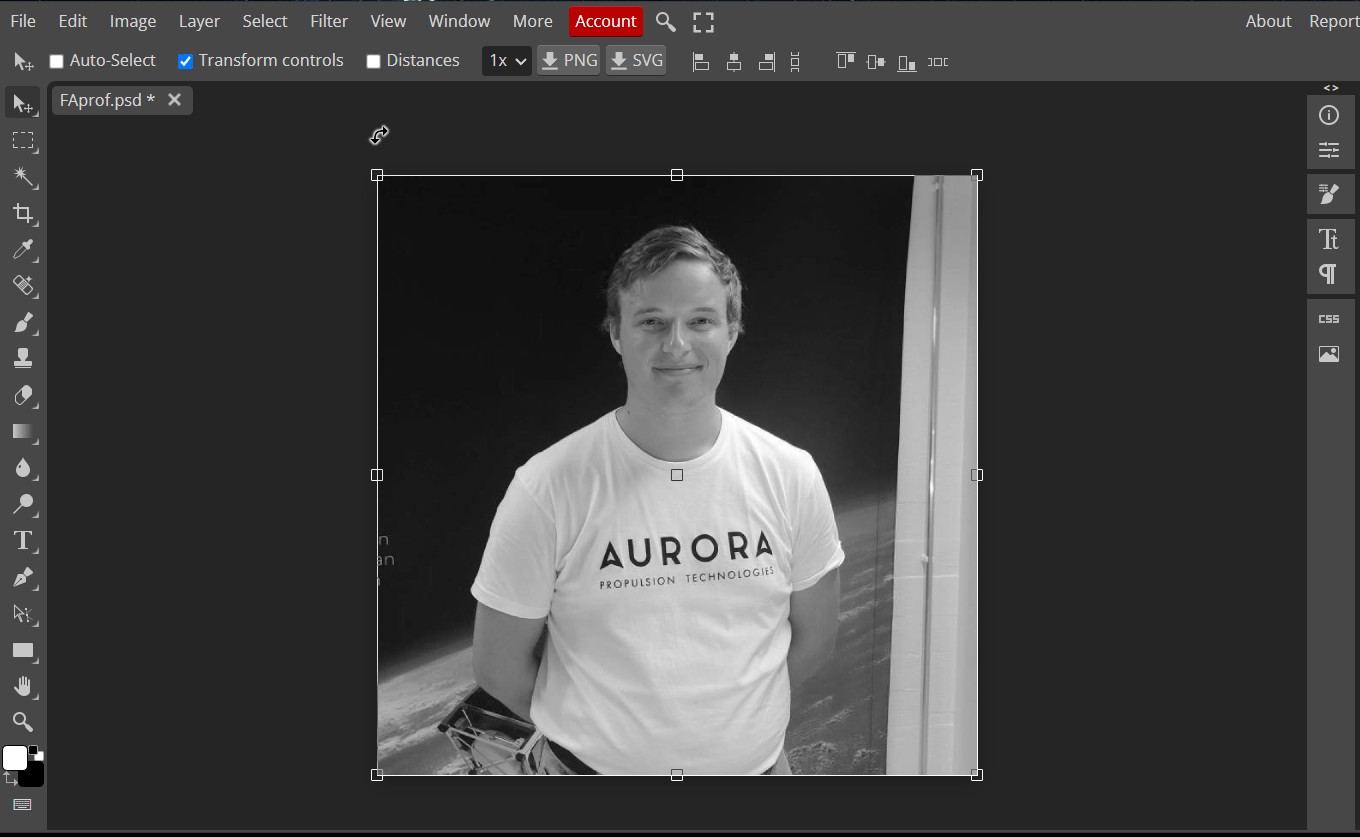
Adobe Photoshop is really nice, and can be accessed through the same hack as illustrator. However, in bitmap editing there are nice free options as well.
My weapon of choice is Photopea, a free online photoshop clone. I find that photopea does almost everything i need. The only downside is a slight laggyness when doing something complicated.
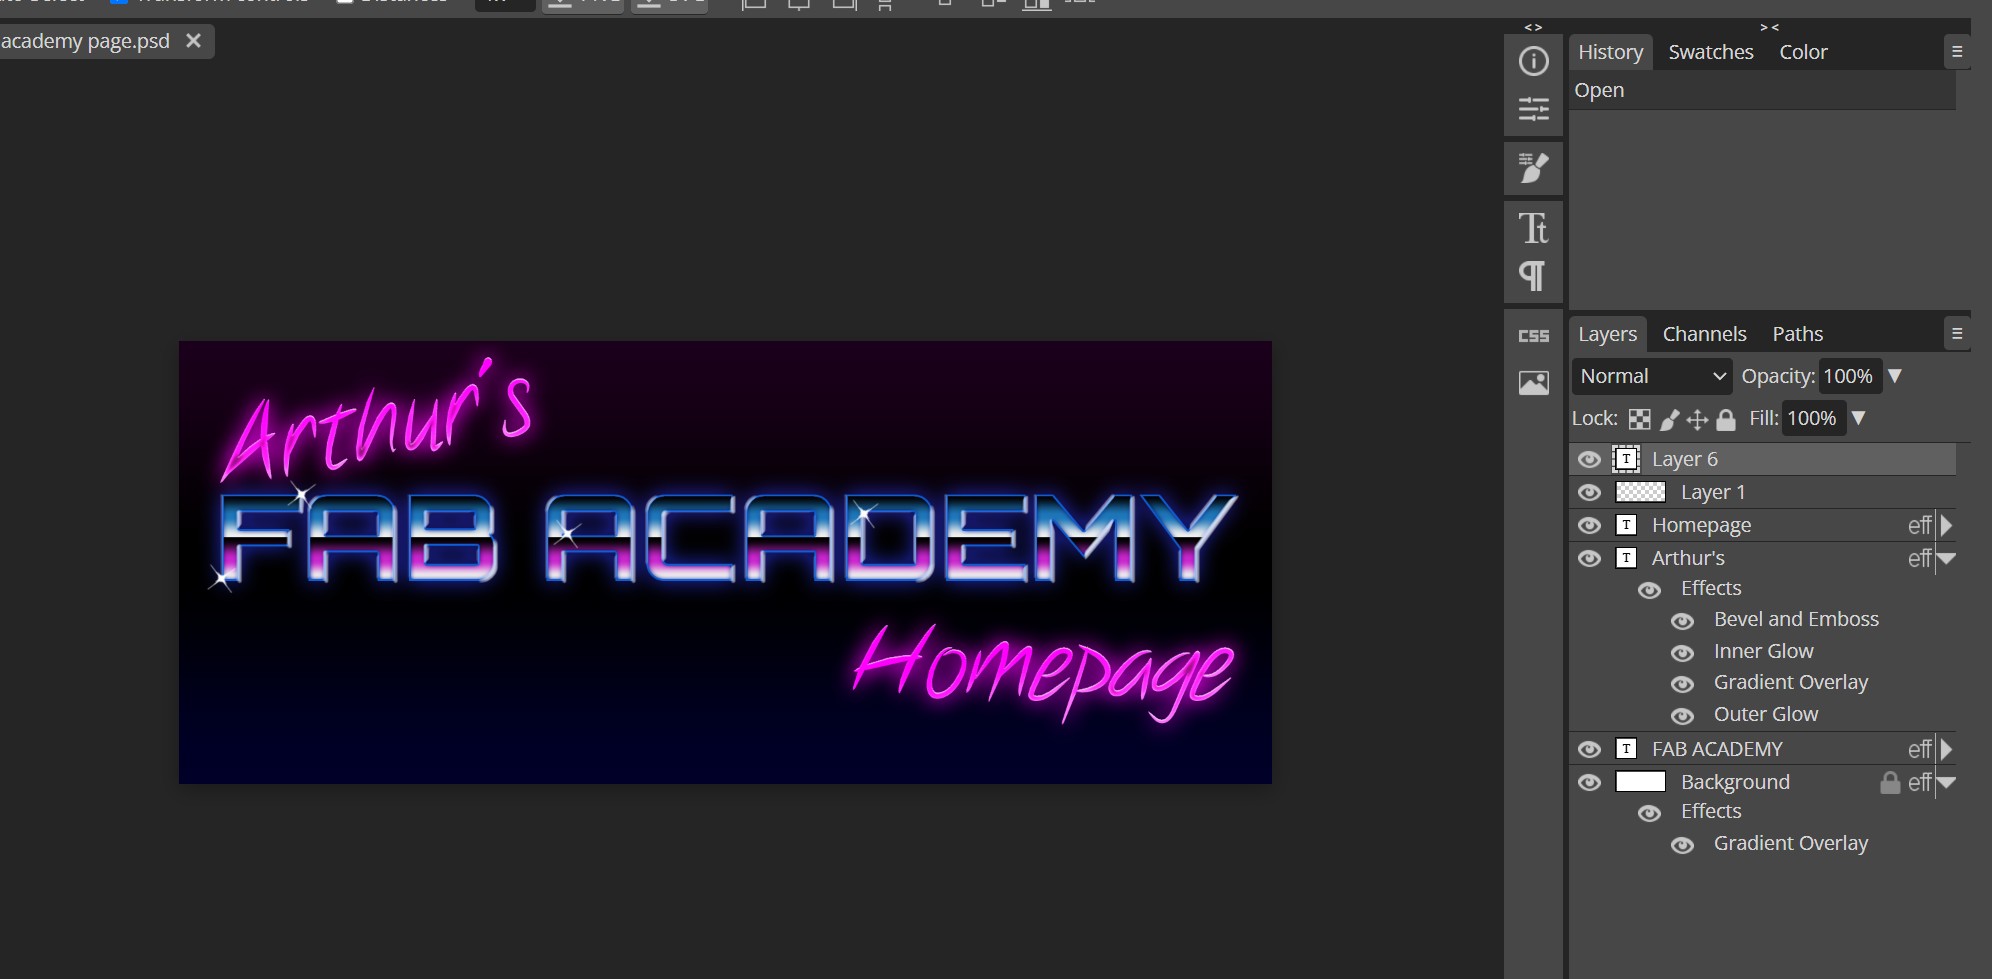
I will make a custom banner for the site. I really like the 80s airbrush-outrun style, so i’ll make something along those lines.
Aand there! I followed This tutorial, withs some tweaks. 95% of the work is done just with layer styles. Gradients are epic!
GIMP, in my opinion, falls into the same category as Inkscape. I’d rather use MS paint :D
Experimental
As an experiment I set out to learn a software called Meshmixer by Autodesk.
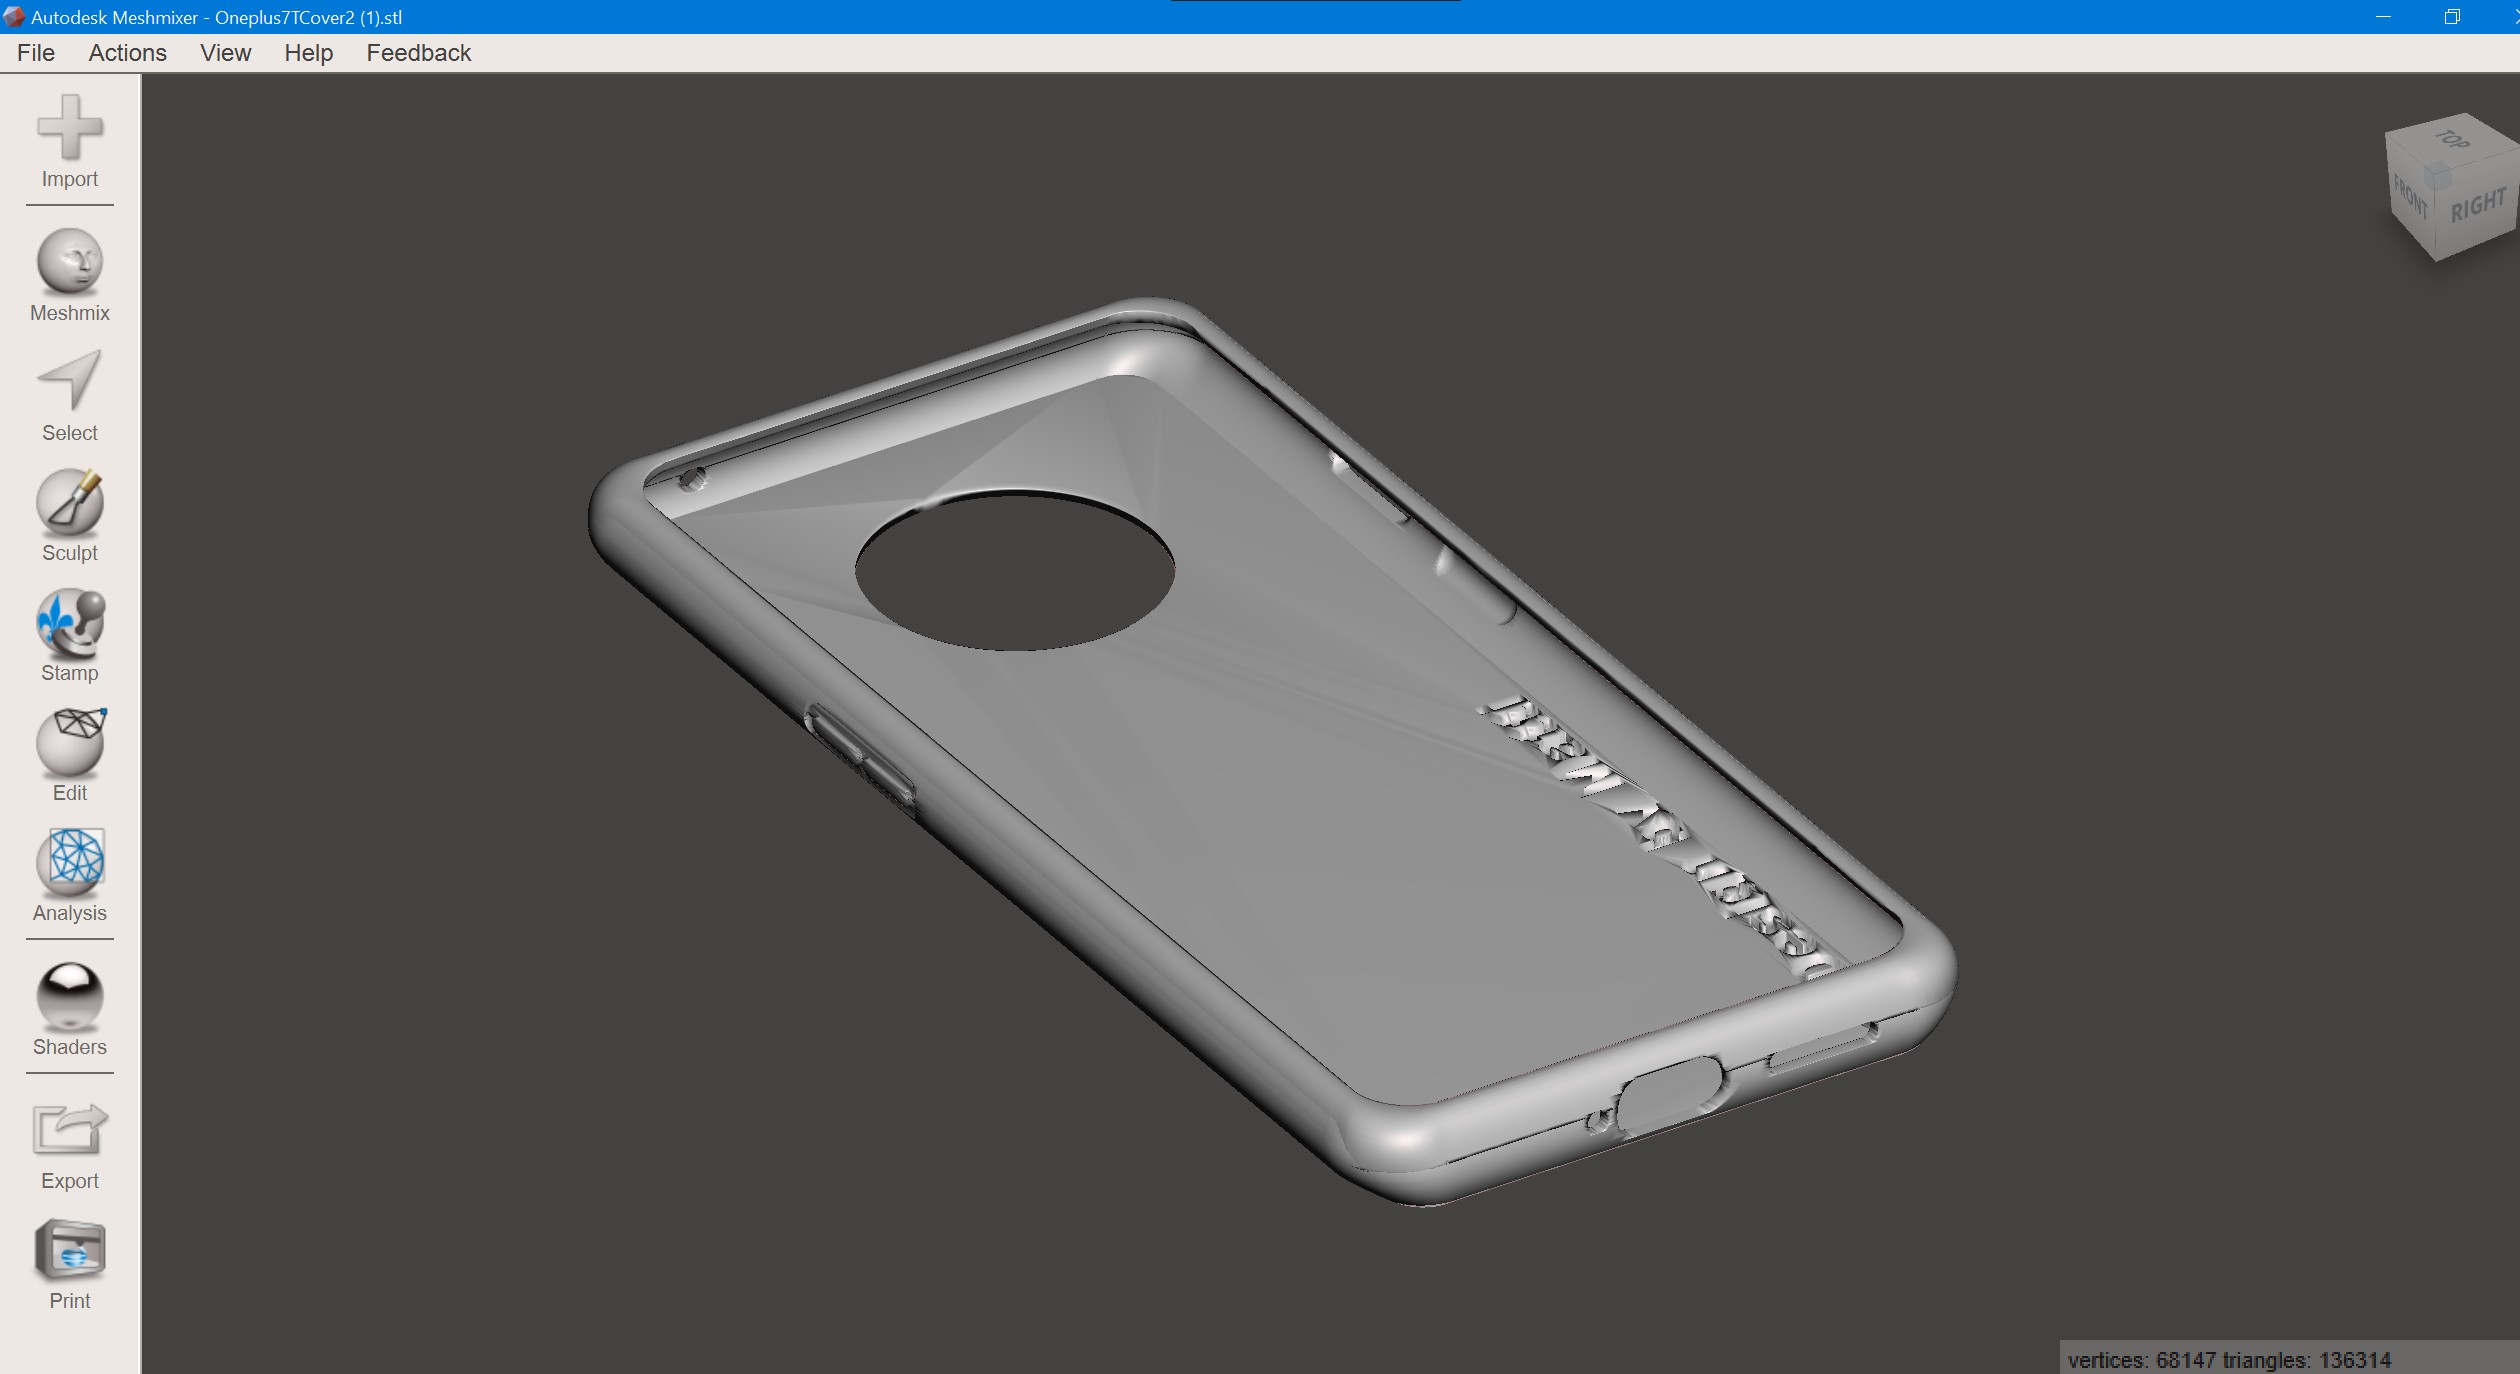
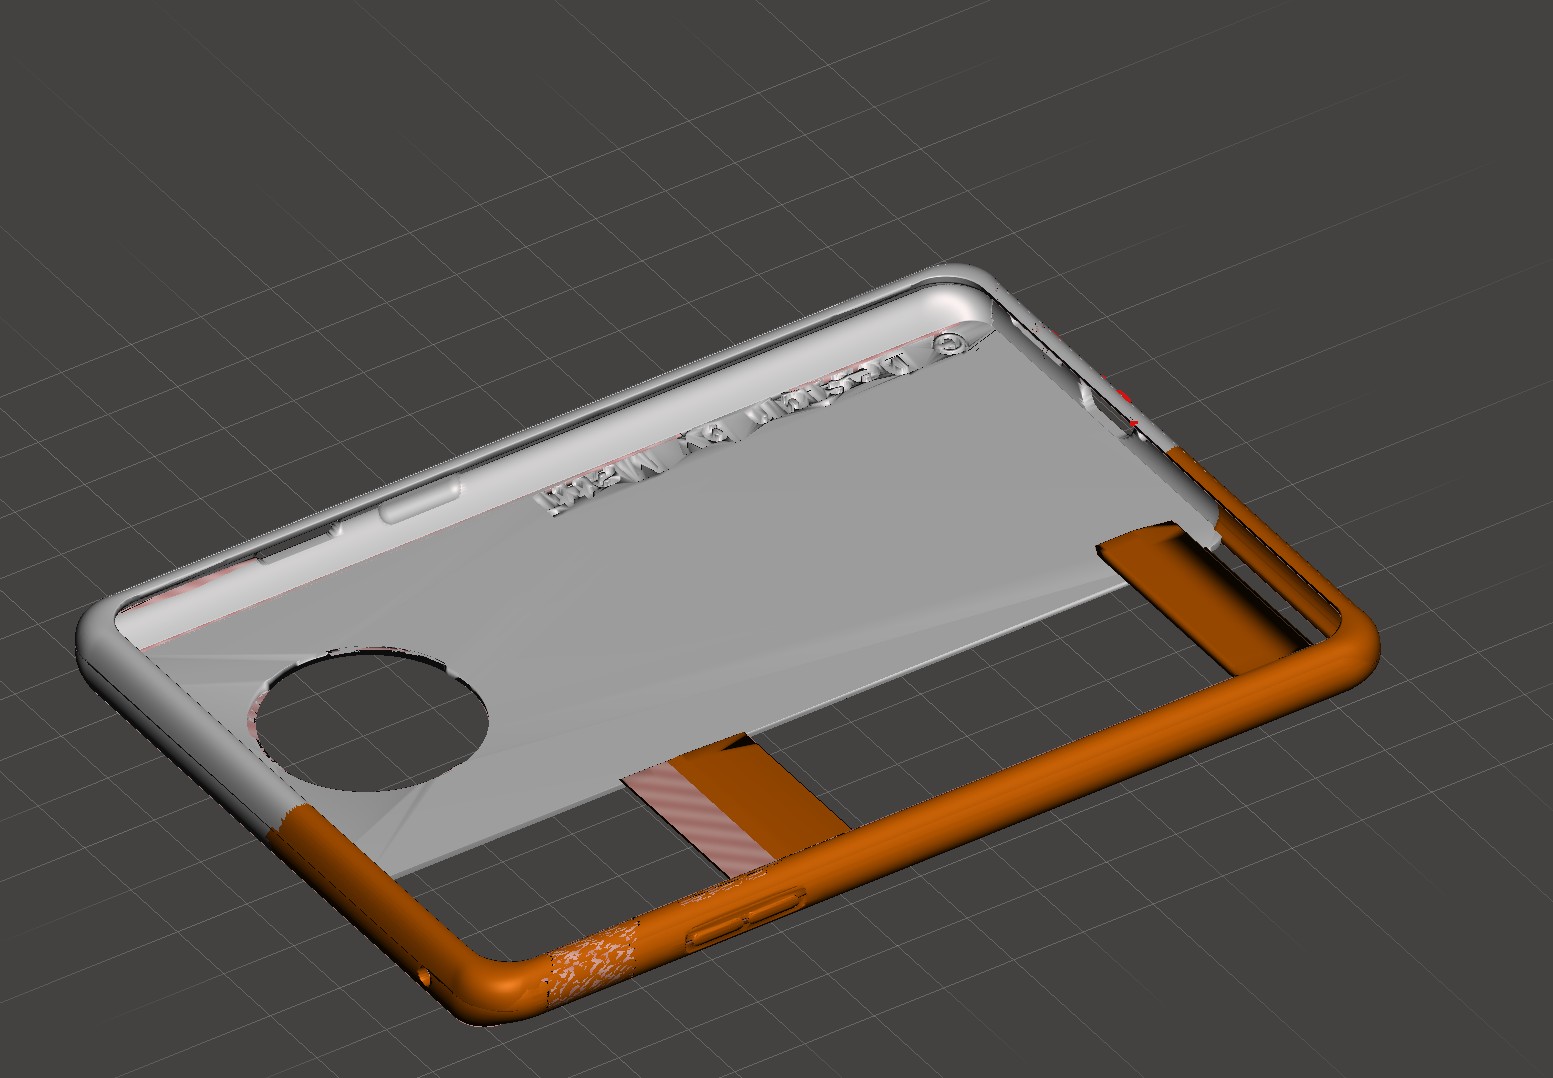
Meshmixer is a free mesh editing software. In this particular case. My problem is that i’d like to print a phonecase for my phone, a Oneplus 7T pro, but the closest ready model I’ve found online is for a non pro model. The solution? Direct mesh editing.
Okay there are some issues still
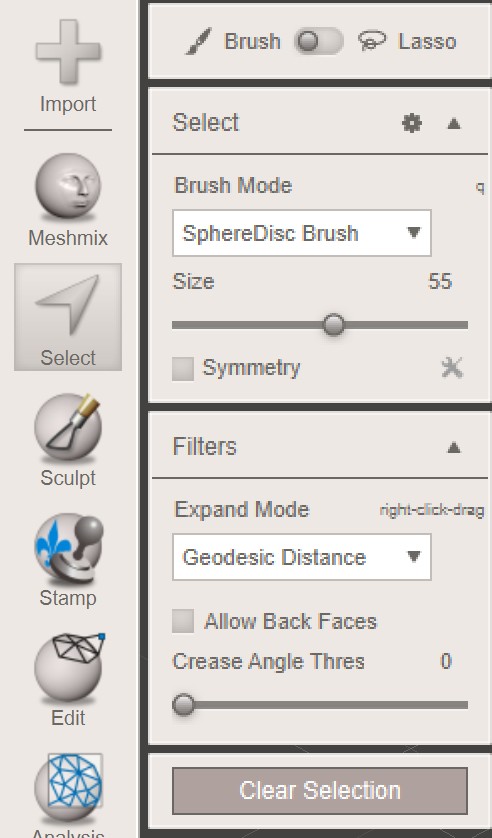
For instance, meshmixer can extrude selected parts of the mesh, Remesh etc.
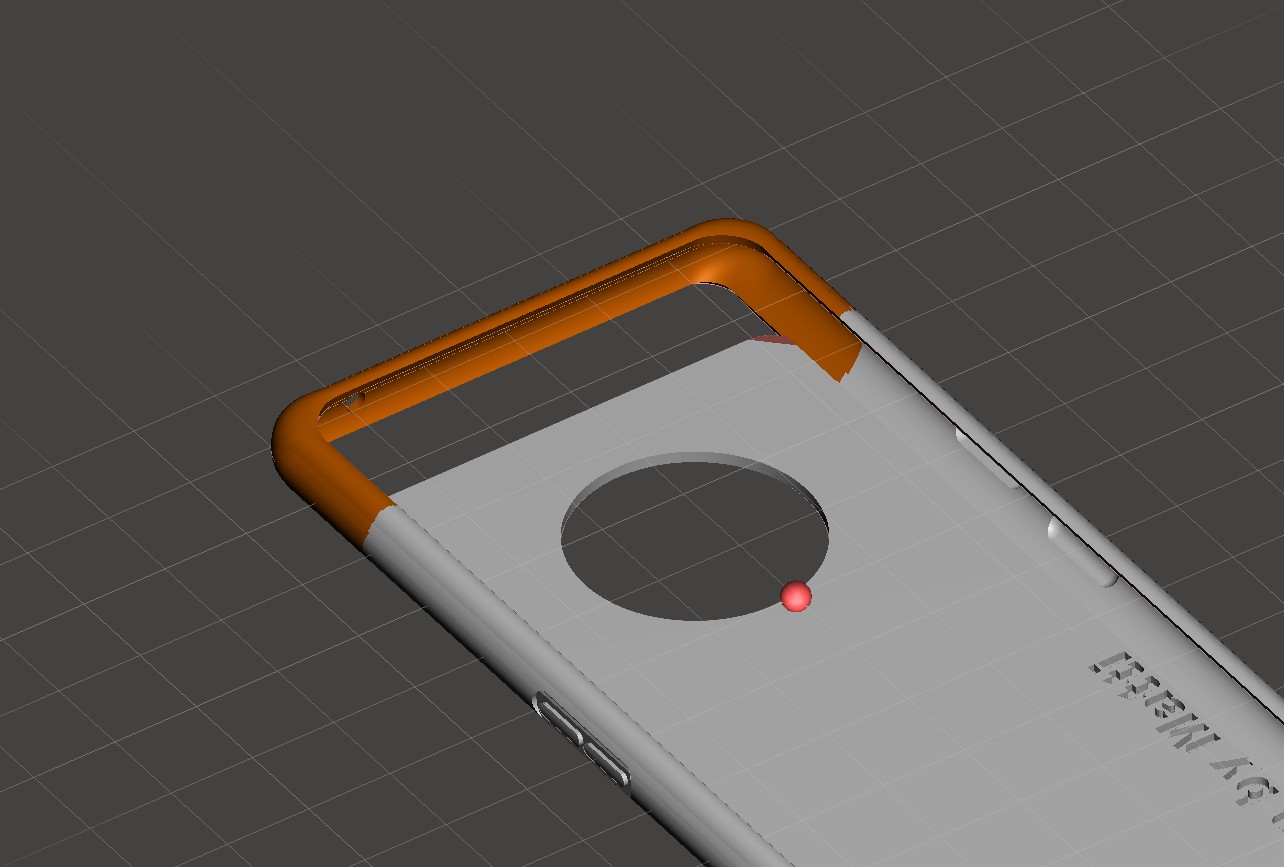
Here is an example of the extrude in use. First we use the select tool to select mesh vertices:
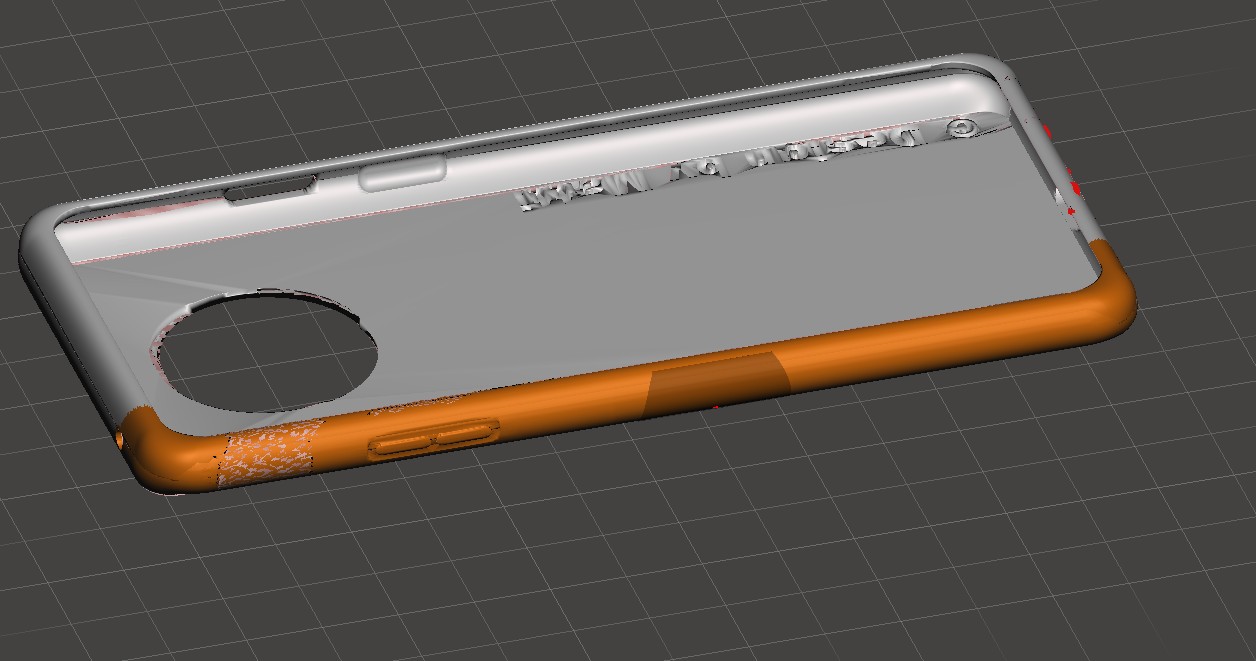
Then, by pressing D we get to the extrusion screen.
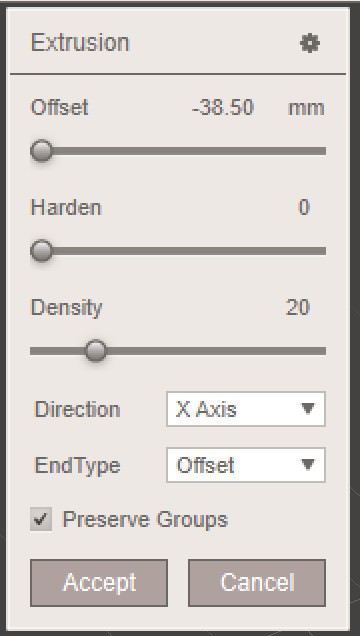
By selecting extrude in Z direction, we can pull thee side of the phonecase. The correct side is usually guessed by trial and error.¨
You can find the design files Here