16. Wildcard week
Assignment:
Design and produce something with a digital fabrication process (incorporating computer-aided design and manufacturing) not covered in another assignment, documenting the requirements that your assignment meets, and including everything necessary to reproduce it. Possibilities include but are not limited to wildcard week examples.
SOFT ROBOTICS
This week I decided to experiment with Soft Robotics. The first time I saw something similar was in the movie BIG HERO 6, what I didn’t know was that Neil Gershenfeld had been a scientific advisor for the movie. I find it very interesting the fact that you can create robots that are not made of metal, with organic movement and that can be applied to many disciplines.
I followed the steps of the example made by Adrian Torres - Soft Robotics and I made my own version with a lot of mistakes and learning, you can see it below:
1. DESIGN
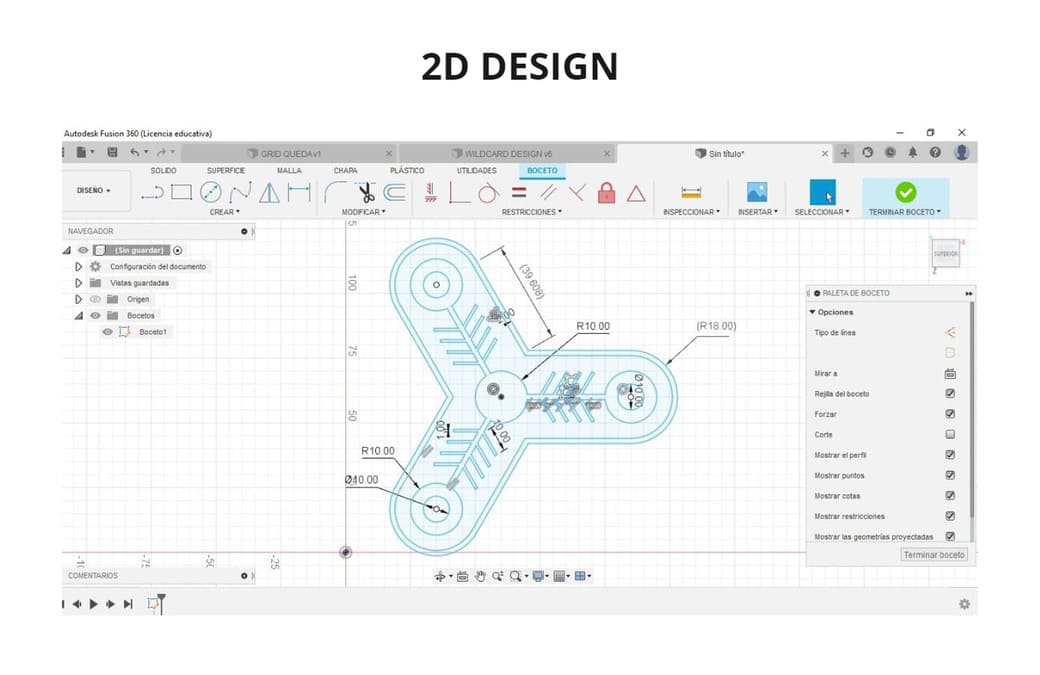
First, to make the design I was analyzing others already made, I based on the snowflakes and made changes such as using only 3 directions and incline to 60° the smaller branches and circumferences at the ends.
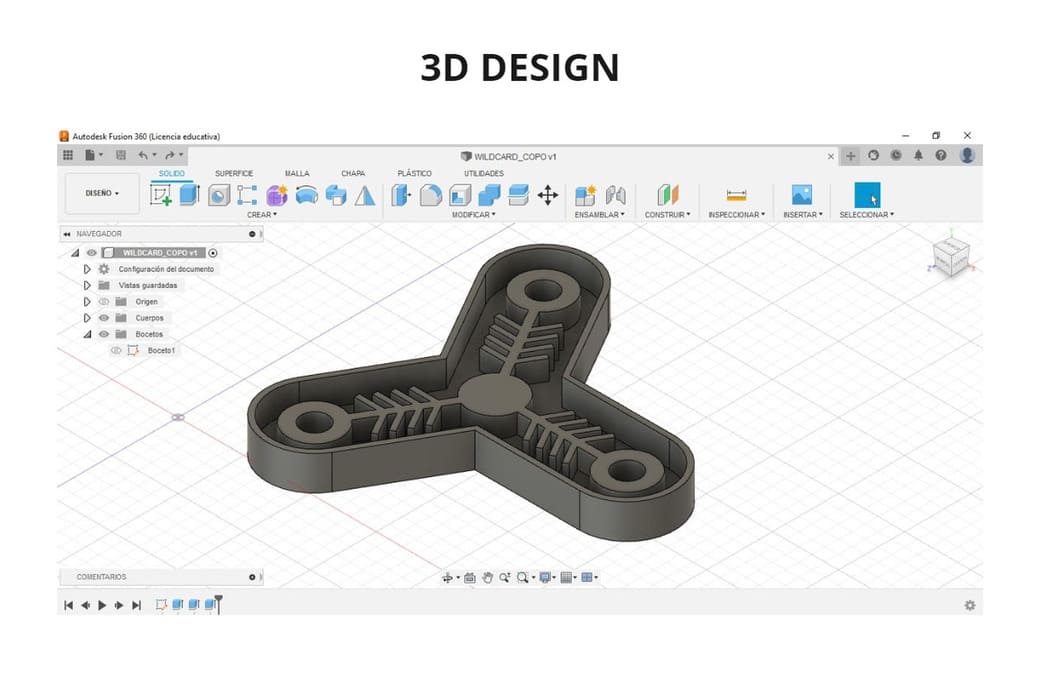
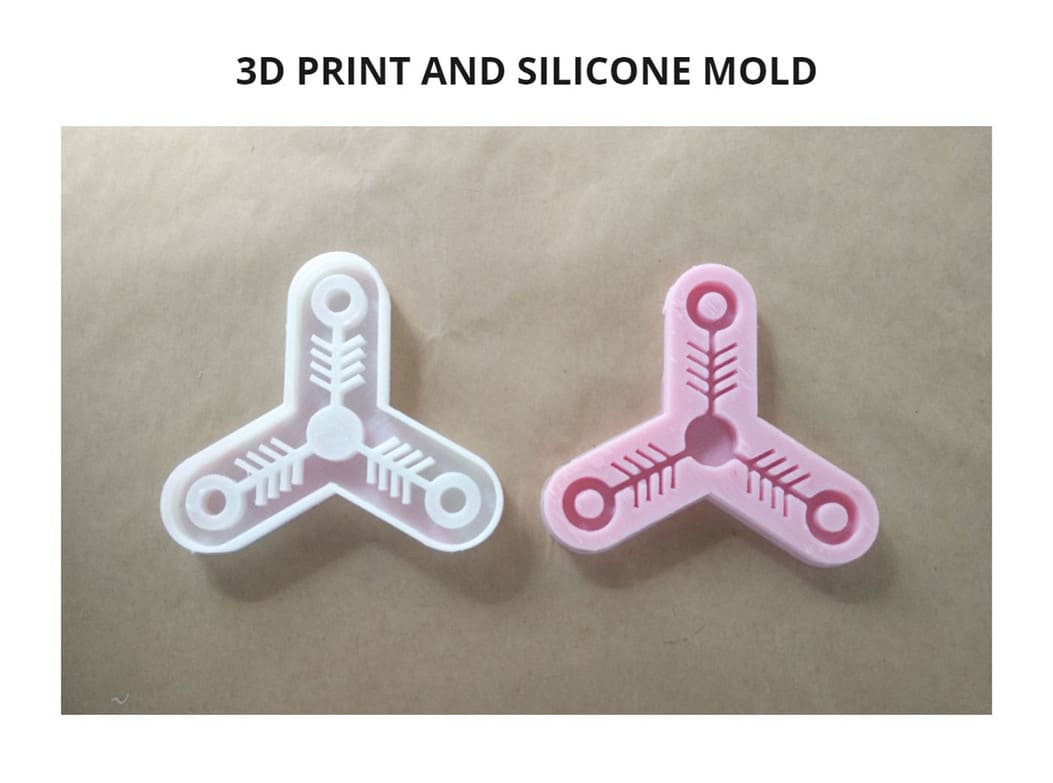
I made the design in FUSION 360, you can see the measures I used in the following image, due to printer parameters I had to change the branches from 1mm to 2mm, so that it can be printed without problems.
I then extruded 3mm for the base, 7.5mm for the inner shape and 10mm for the outer edges, this allows a thickness of 2.5mm to seal the whole design with silicone.
2. PRINTING
I used FLASHPRINT as slicing software to configure the printing parameters of my design, because the printer I used was FLASHFORGE GUIDER II.
The parameters I used were:
-
Material type: Flashforge-PLA 1.75mm
-
Cutting profile: Standard
-
Extruder temperature: 205°C
-
Platform temperature: 50°C
Supports: Disabled (this design does not need it) * Base: Enabled (this design does not need it)
- Base: Enabled
Then I clicked ‘START CUTTING’ and it gave me the estimated printing time of 3 Hours 36 minutes and the estimated material of 41.15g.
Finally I saved the file as ‘.GX’ so I could copy it to a USB and connect it to the 3D printer.
The result of the 3D printing had small imperfections, but I removed the residues. I also noticed that some threads that form the base, were slightly separated, creating porosity, the material that is poured over that will possibly leak through.
You can see the process and result in the following pictures:


3. MOLDING AND CASTING
I used the K-20 silicone with its catalyst in the same manner as I did in the assignment ofMolding and Casting.
This was the test:
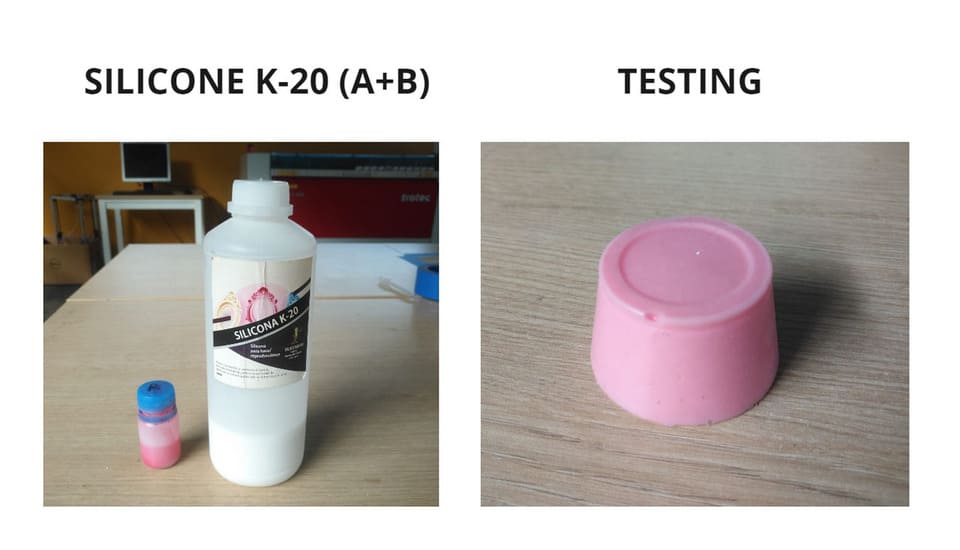
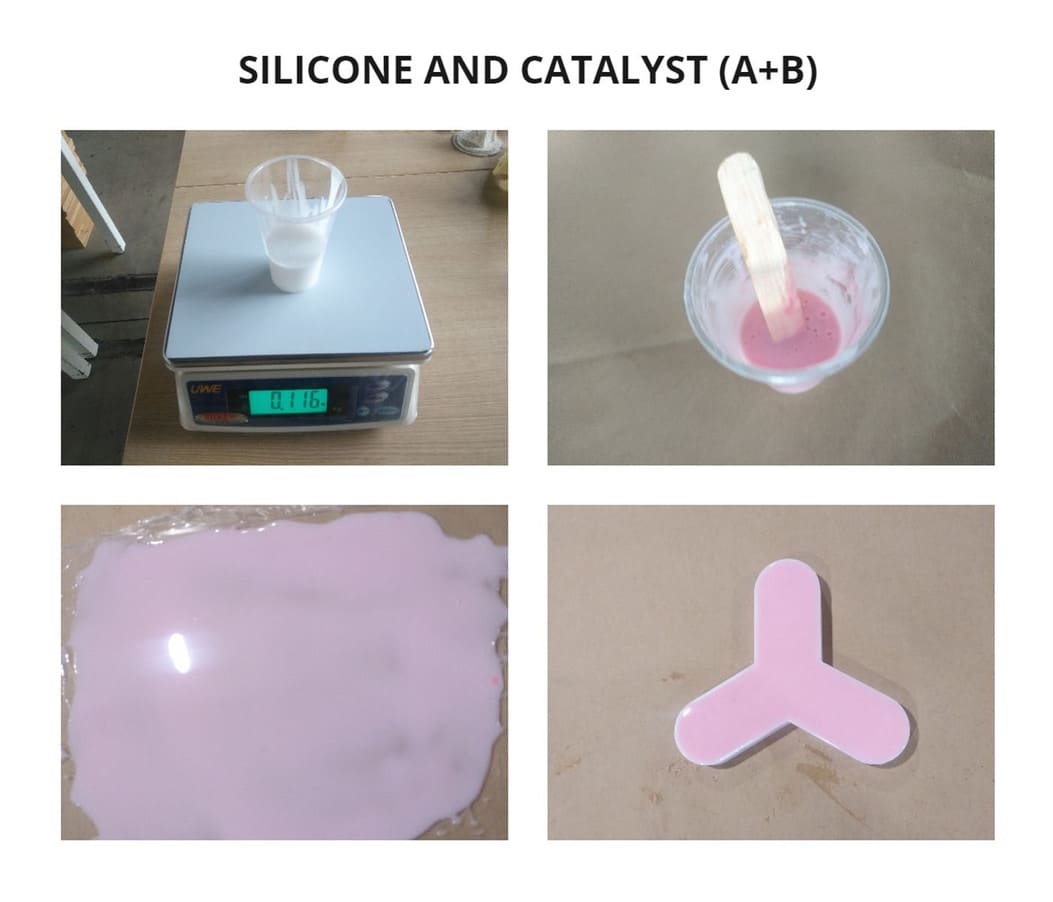
I mixed and poured the silicone over the 3D printed object. I also poured over an acrylic surface to create the counterpart to seal the mold.
I removed the silicone mold after it had cured and proceeded to place some of the mixture on top of the acrylic base that had silicone on it, so that both parts could be glued together.
The problem was I used too much catalyst because I wanted to see the results quickly, but there was too much material and it dried so fast that I didn’t have time to remove it.
Finally I peeled it off and saw that one side was thicker than the other, I cut the excess material and this was the result:

4. TESTING
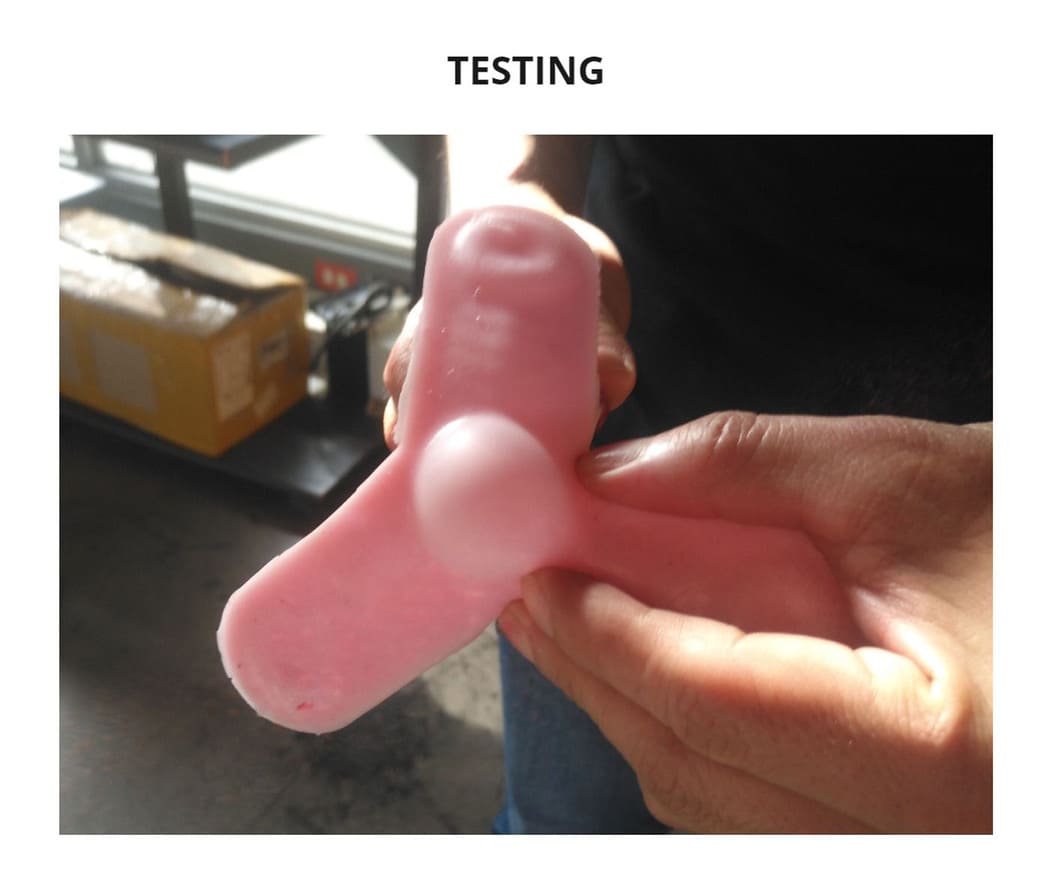
During testing I saw that one part inflated more than the others, it did not come out as I expected. This was due to several factors:
-
The central part was much larger than the rest of the parts and all the air was more concentrated there, it failed to inflate well in the rest of the design because there were small holes where air escapes.
-
As the air was not well retained, air escaped and caused a deafening high pitched sound, I screamed with fright because it was unexpected.
-
In the photo below you will see when the silicone was inflated, it looked very strange, it was not what I imagined, the central part looked like a big pimple, the ends looked like donuts and the middle part looked like fish bones 😂.
-
Another mistake was to make layers too thick to seal both sides, this did not allow the design to be more flexible when inflated.
-
I used too much catalyst, I should have used only 2% since it dried too fast, I didn’t manage to distribute the mixture well and bubbles came out, this caused porosity, which in turn caused the holes in the silicone mold.
VIDEO
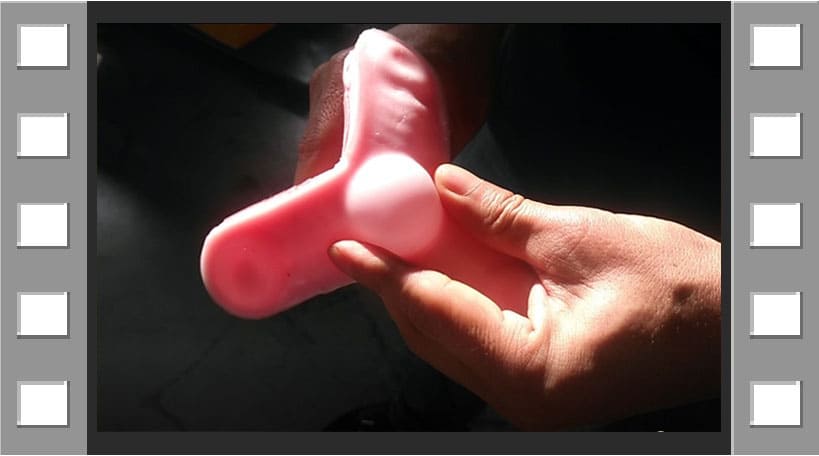
This is the video I recorded during the test, they helped me to hold the object while I was recording because it was impossible to hold the camera and grab the object at the same time due to the fact that I didn’t use tripod.
I had to mute the video because the high-pitched sounds were too loud and I screamed several times 😅
Below is the video:

5. CONCLUSIONS
-
For the design it is important not only to try to make your own version, the shape of the design and the size are also important, the right measurements will give you better results. You can look at other people’s examples to learn from them and take into account general parameters like thicknesses or spacing.
-
Also the air distribution should be thought before making your mold, because when you inflate it can come out very different from what you imagined.
-
Do not make very thick layers, this can reduce the flexibility at the time of testing.
-
Be patient, do not use too much catalyst so that it does not dry too soon, I was in a hurry because I wanted to finish quickly and that resulted in multiple errors. It will probably take more hours to dry, but the finish will be better.
-
To seal the counterpart of the mold, I recommend you to mix well and with little catalyst, then pour on a flat and smooth surface like acrylic, that will give better results. The order to follow: (1) Pour the silicone and unmold after the curing time, (2) Make the mixture again and pour on a flat surface, the mixture should be about 1mm thick, (3) Join both parts.
-
Remember that the first part is cured and then the second part is done to finish sealing the object.
-
Be careful with the porosity, eliminate well the bubbles when you are making the mixture to avoid holes in the final result.