12. Mechanical and machine design
MECHANICAL DESIGN(part 1 of 2)
Group assignment:
-
Design a machine that includes mechanism + actuation + automation
-
Build the mechanical parts and operate it manually.
-
Document the group project.
Individual assignment:
- Document your individual contribution.
MACHINE DESIGN(part 2 of 2)
Group assignment:
-
Actuate and automate your machine.
-
Document the group project
Individual assignment:
- Document your individual contribution.
1. GROUP ASSIGNMENT
Here you can see the Group Assignment
2. INDIVIDUAL ASSIGNMENT
To start the project, we divide the tasks as in the following picture:
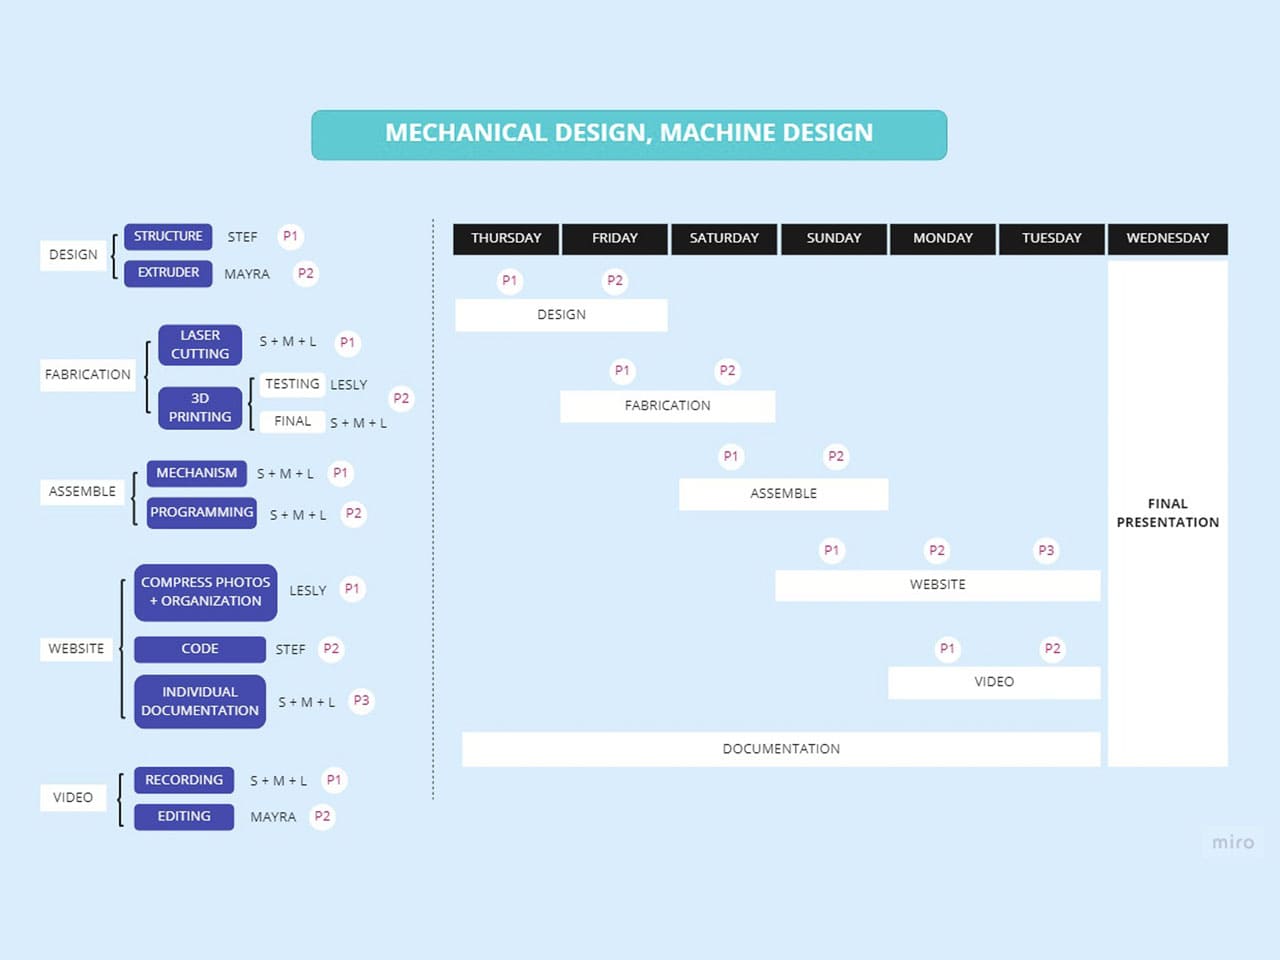
But in reality we were involved in more than one aspect than we were assigned, there was feedback to improve the project from the beginning.
Design: Initial planning.
Fabrication: Testing and final parts.
Assembly: Assemble the design.
Documentation: Documenting the project, organizing and compressing photos.
Video: Shooting and organizing the video, choosing the shots that will be in the video.
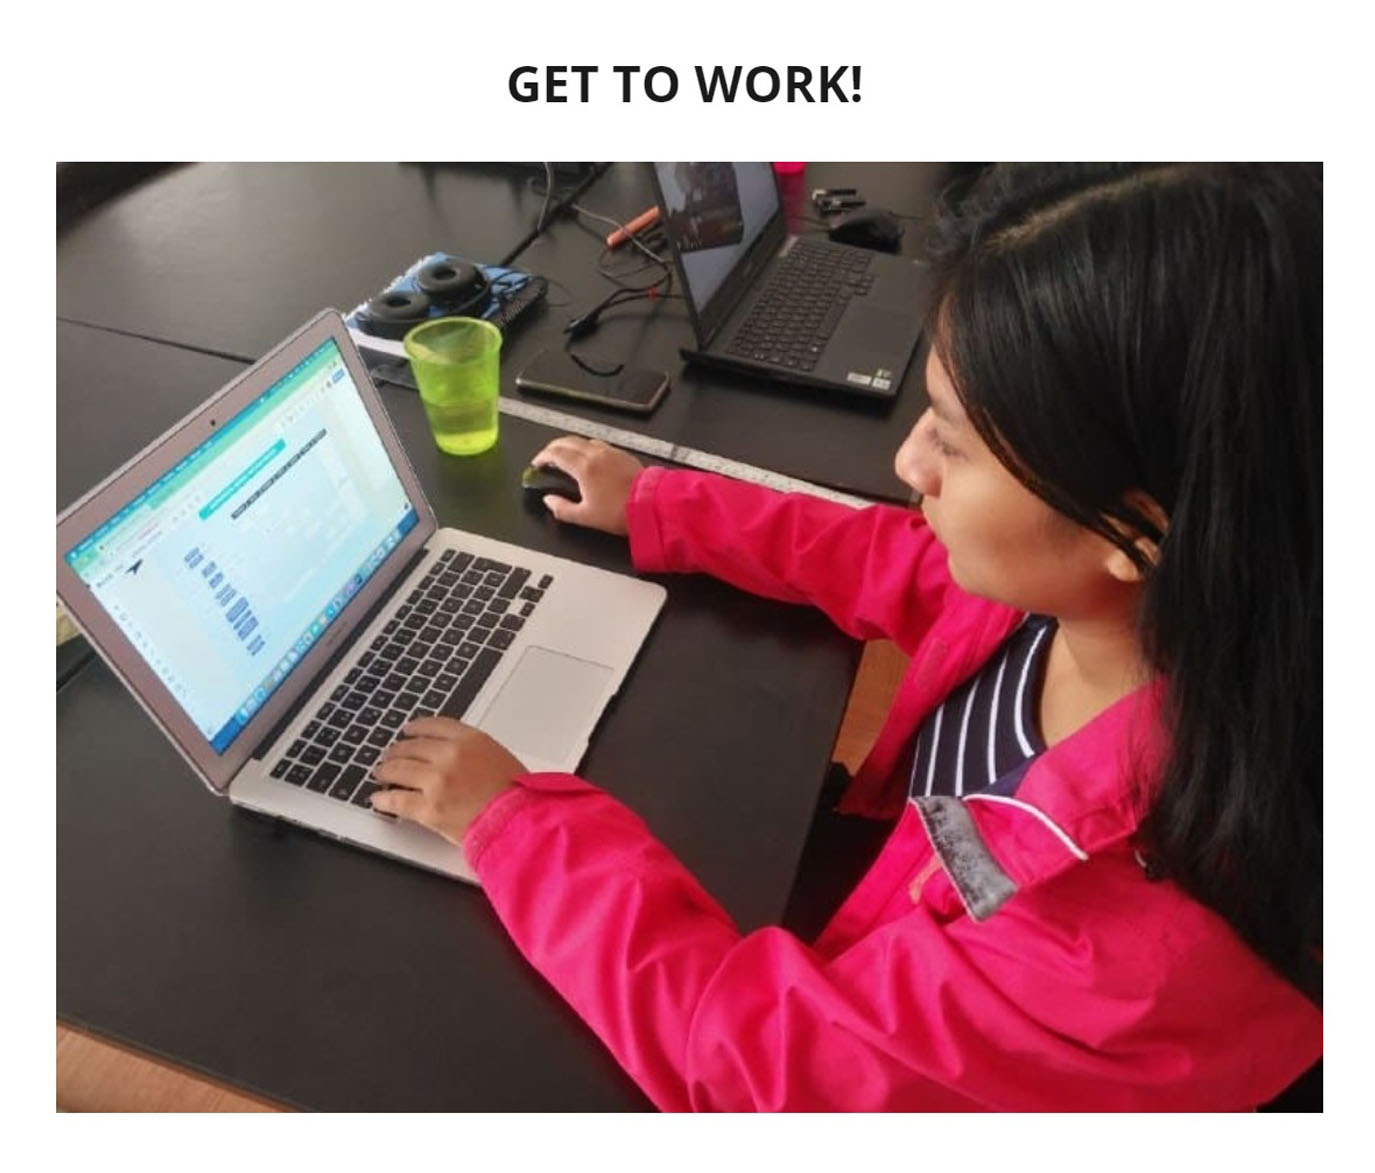
This was the process of what I did:
2.1 DESIGN
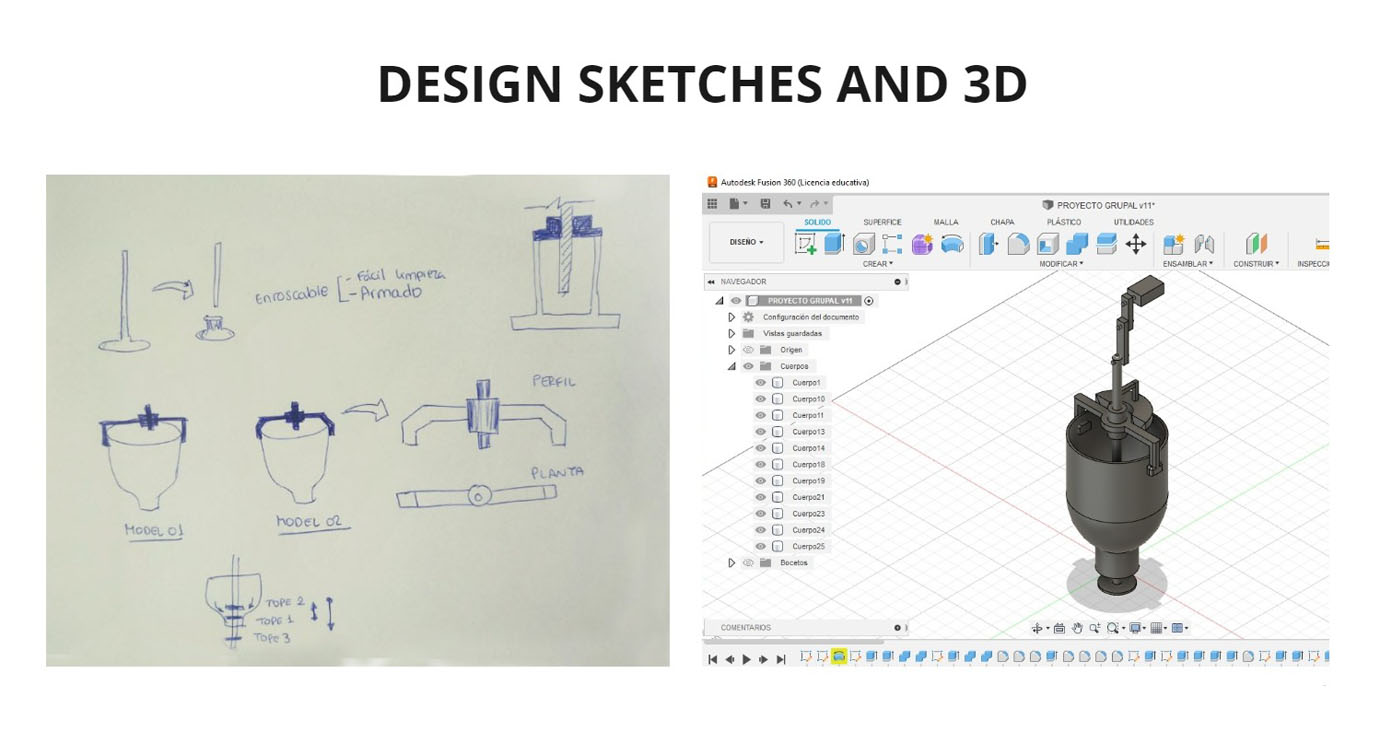
After organizing the activities, each member came up with a design.
I drew a sketch by hand and also made a 3D to show how it worked, this is based on the transformation of rectilinear motion to circular motion.
This was an initial approach but it was discarded since we would work with tools such as a worm gear, my colleagues analyzed this design and made a new approach.
In the following picture is my initial approach:
2.2 FABRICATION
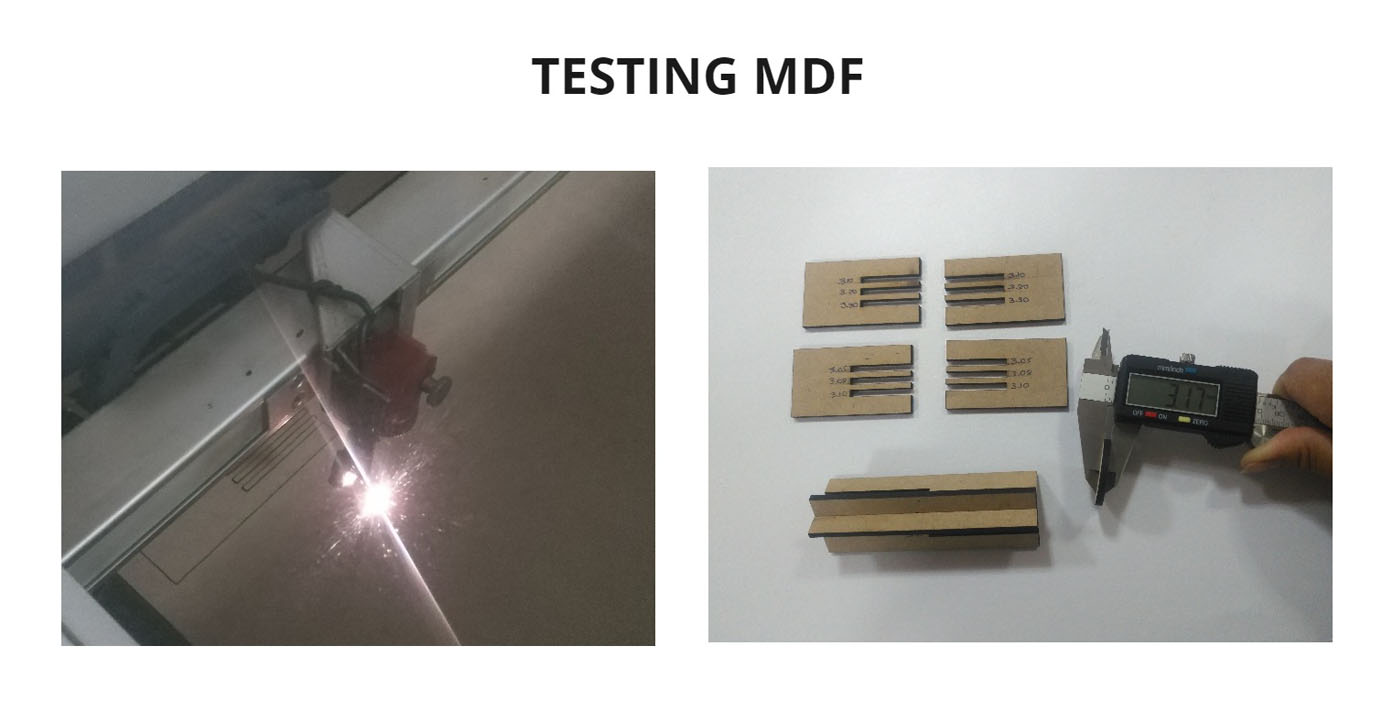
For the correct fabrication, previous tests were made to calculate the perfect fit of the parts sockets.
Many weeks passed after the laser cutting assignment, so my colleague Mayra helped me to review and I was able to send one of the cutting files, in this case we used MDF.
When we did the tests, we all determined that 3.05 mm was ideal, but later we realized that it was not, as it was too tight.
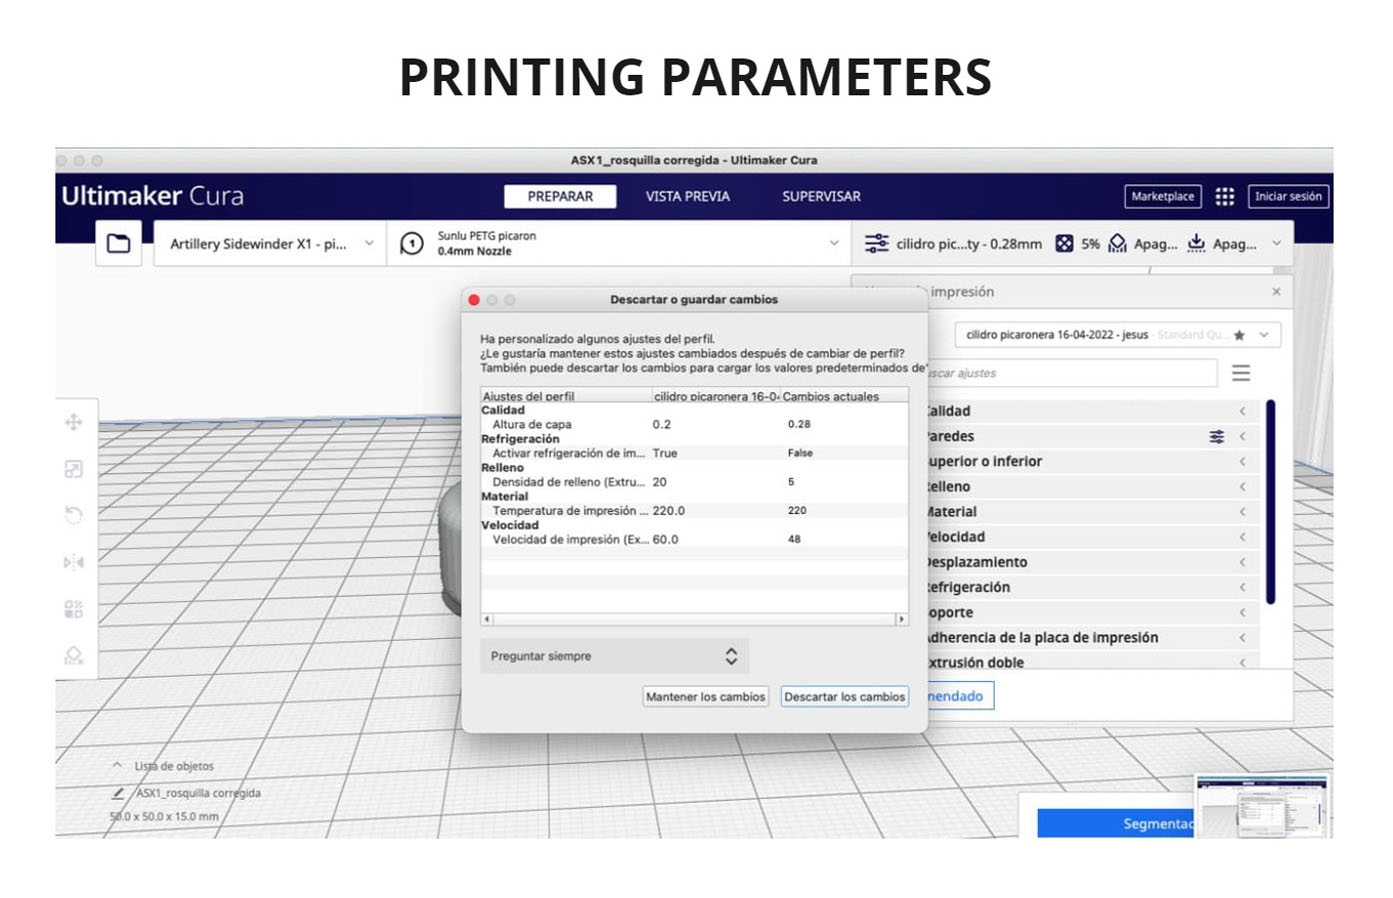
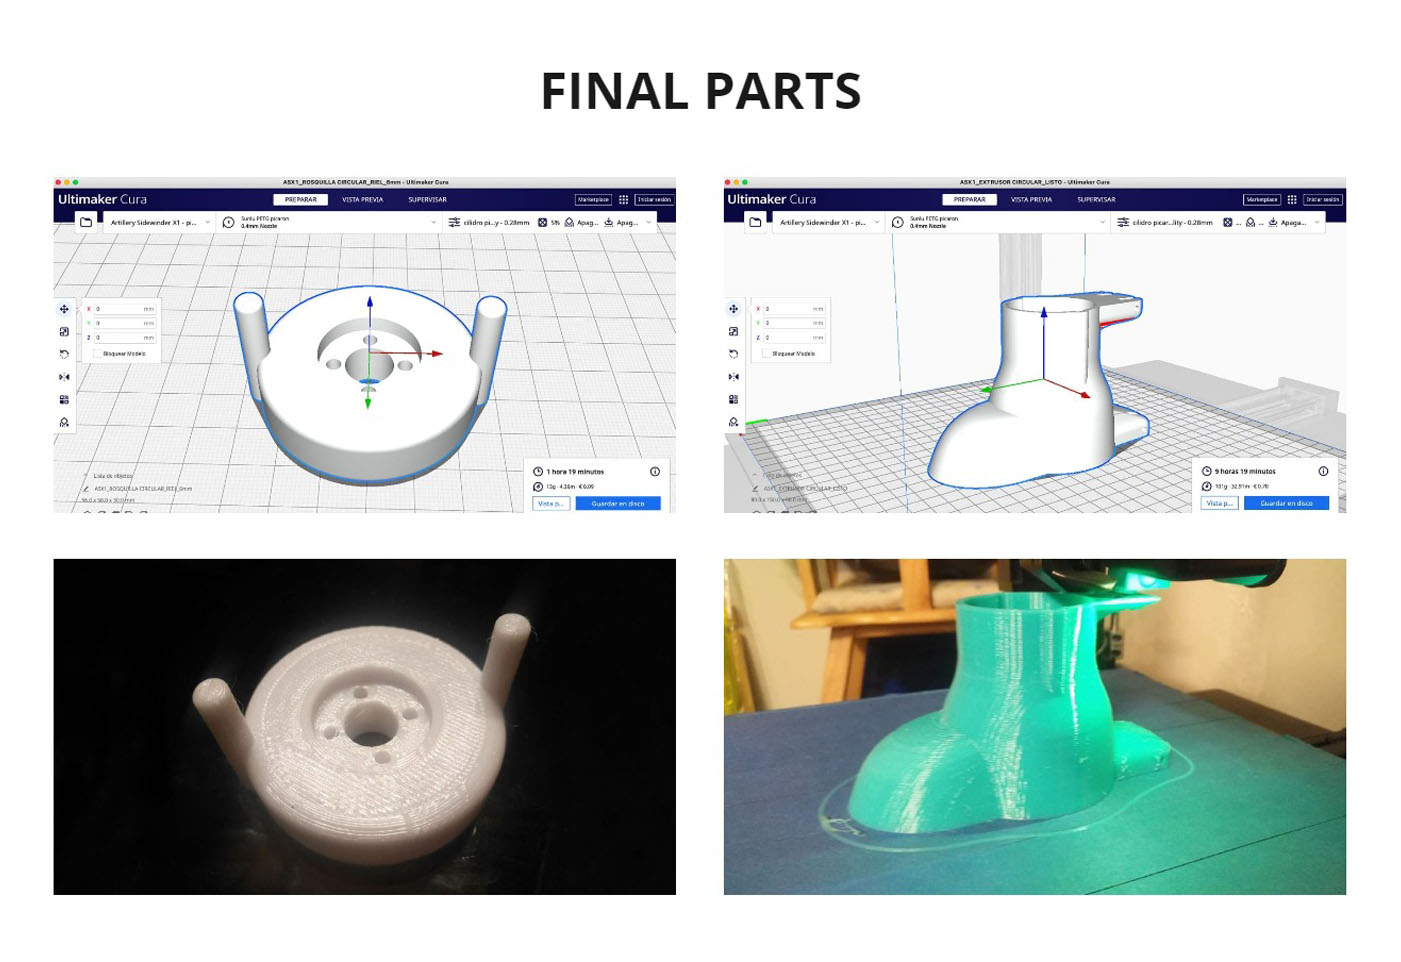
And I also took care of the 3D printing, the software I used was the Ultimaker Cura and the Artillery 3D printer.
First you import the file in .STL, and then you set it up with the printing parameters, which were as follows:
-
Layer height: 0.28
-
Cooling: disabled
-
Filling: 5%
-
Material temperature: 220
-
Speed: 48
Then the file is saved in .GCODE format, in this case I saved it in a USB and then I inserted it in the input of the 3d printer, I looked for the file thanks to its touch screen and I printed it.
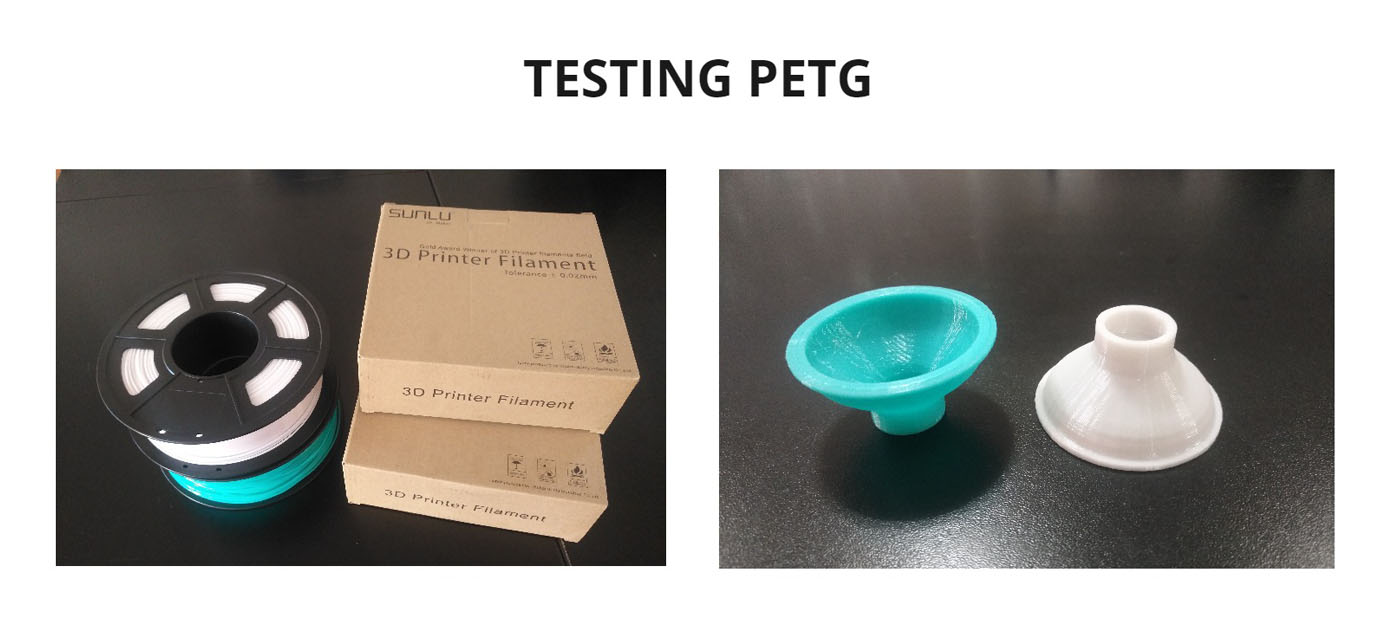
The first print that was made was one with funnel shape to be able to see the quality and if it could be printed that shape without supports, the results were satisfactory. You can see it in the following pictures:
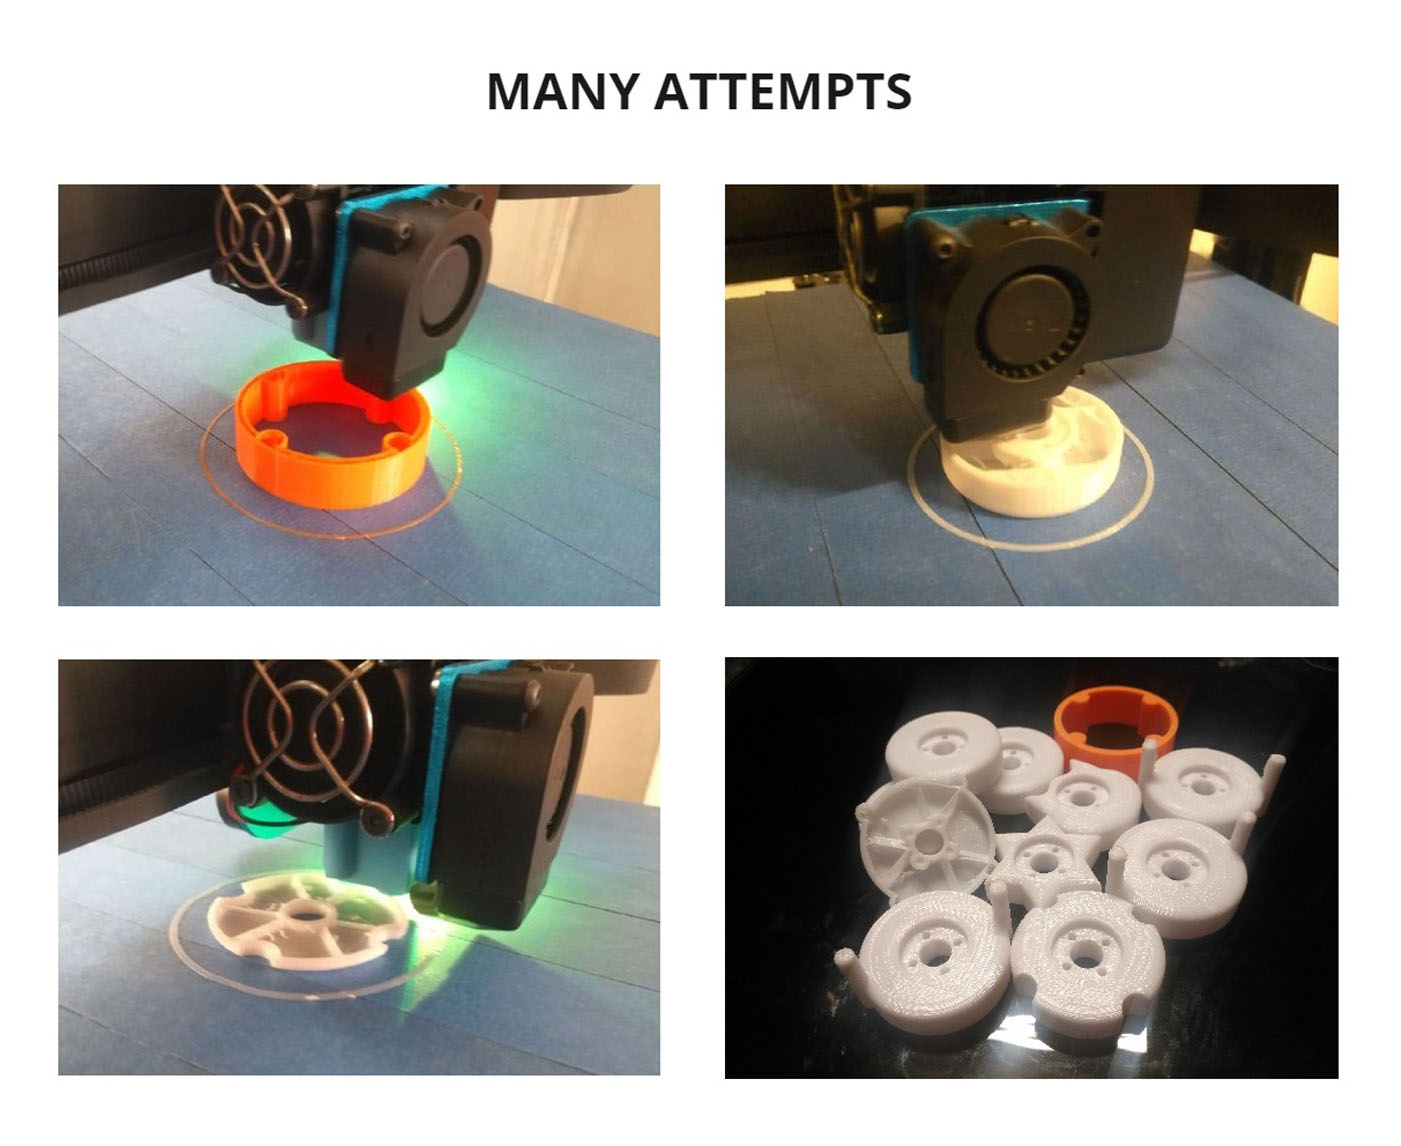
Then I had to prepare other files to print, this helped us to test the performance and correct measurements, the main part for extrusion was done over and over again, checking for errors. At the end we did a lot of tests and got the final part ready to use.
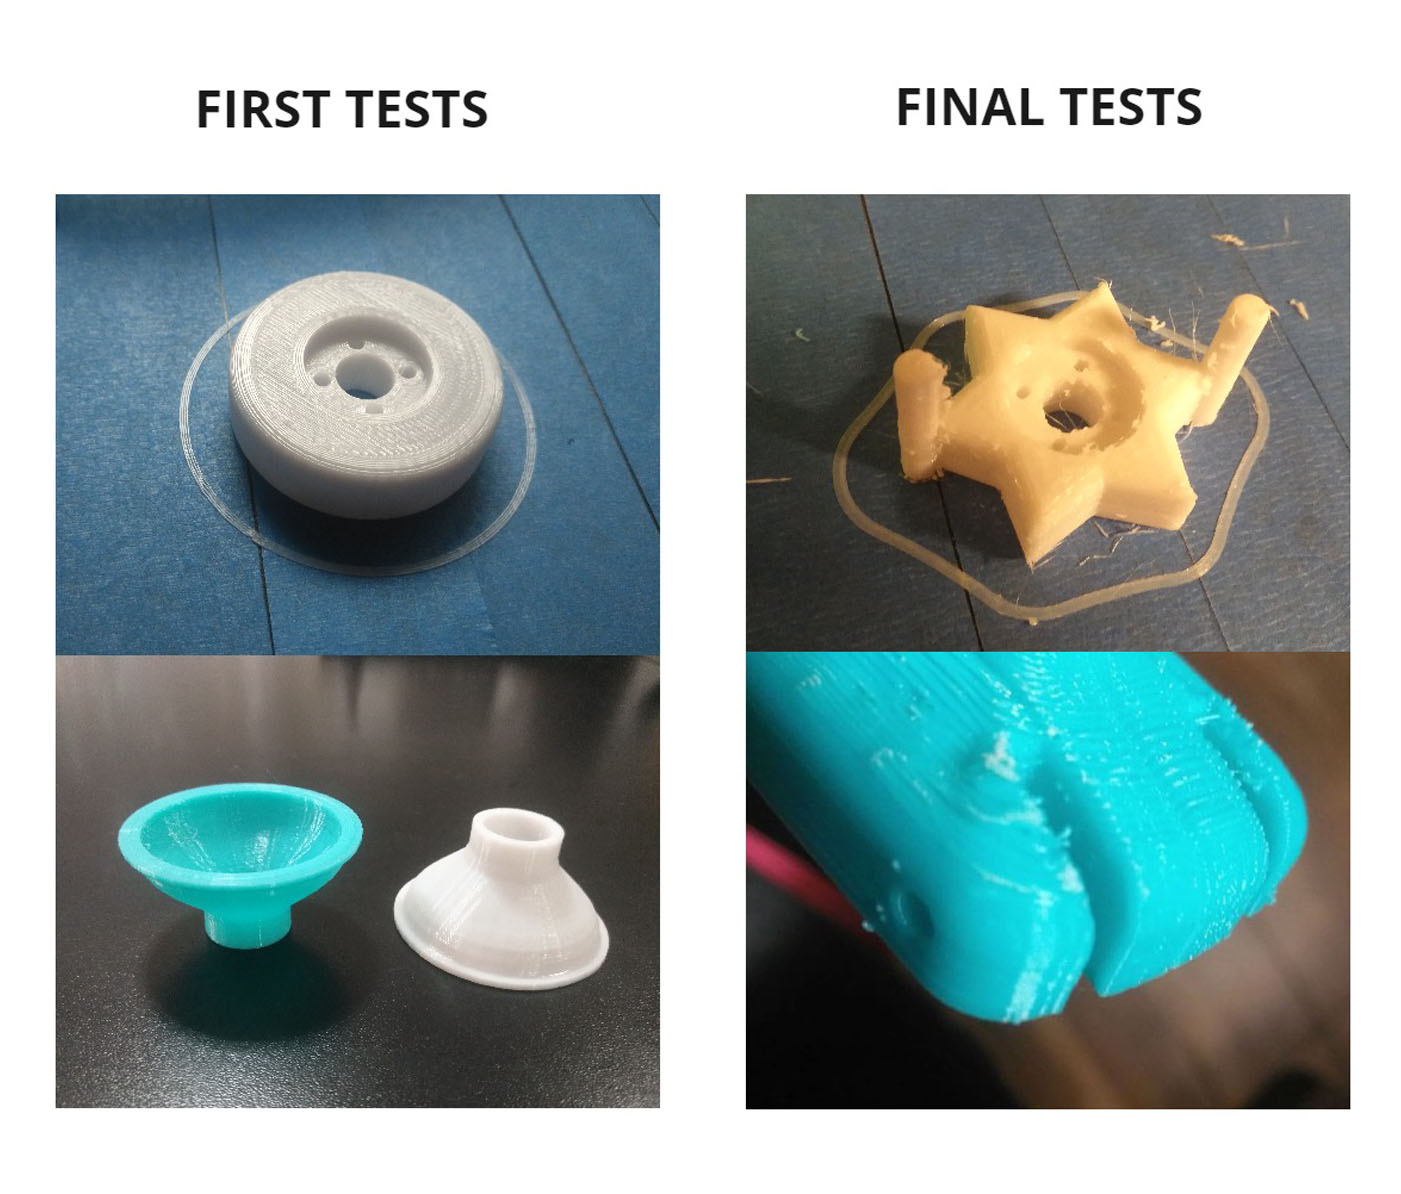
Something very noticeable was the changes that happened from the first piece to the last one.
The first one had a good finish and texture, while the last pieces had strands of web-like material. What happened? Some parameters were changed to have more speed, the filling was much thinner and what affected the most was being next to an open window, as the wind and temperature outside, directly affected the print quality. After we closed the window, we noticed a big change, as the quality improved a lot.
Remember to always take into account the weather during printing, as well as to store the material hermetically after use, especially if it is PETG.
Finally, these are the final pieces that I set up to print and I made sure that no accidents or mistakes happened before and during the printing process. One of the most difficult things was to remove the printed piece from the base of the printer, it had stuck a lot and even though I had taped it to the base to help peel it off, it was still difficult.
You should always be careful when peeling off a part, moving little by little until peeling off, avoiding causing damage to the printer bed which can be damaged or broken in the worst case.
The printing times were:
-
Doughnut: 1h 19min.
-
Extruder: 9h 19min.
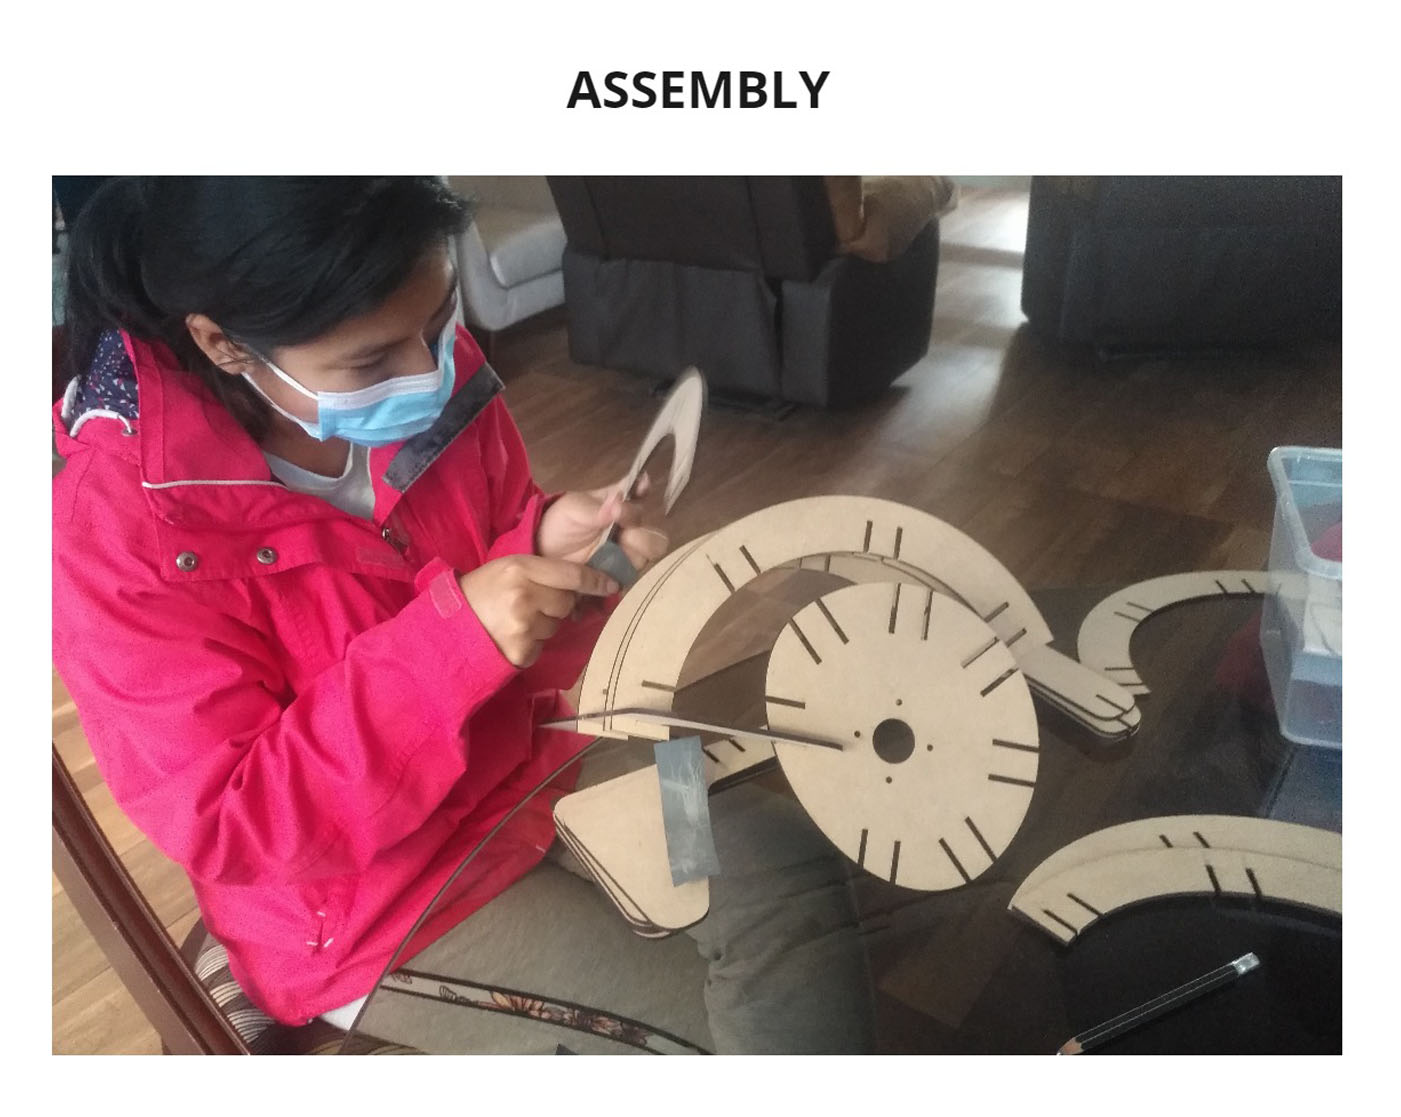
2.3 ASSEMBLY
As for the assembly, I helped assembling the first model that was designed, absolutely everything in MDF, that’s when we realized that the fit should be greater than 3.05mm, as the pieces did not fit completely, I tried to sand the joints, but it was not enough.
At this point it was decided to re-cut the pieces with a larger fit, since sanding was in vain, it was also decided to correct the design. When we assembled everything, there was a piece missing and there was no way to fit it (design flaw).
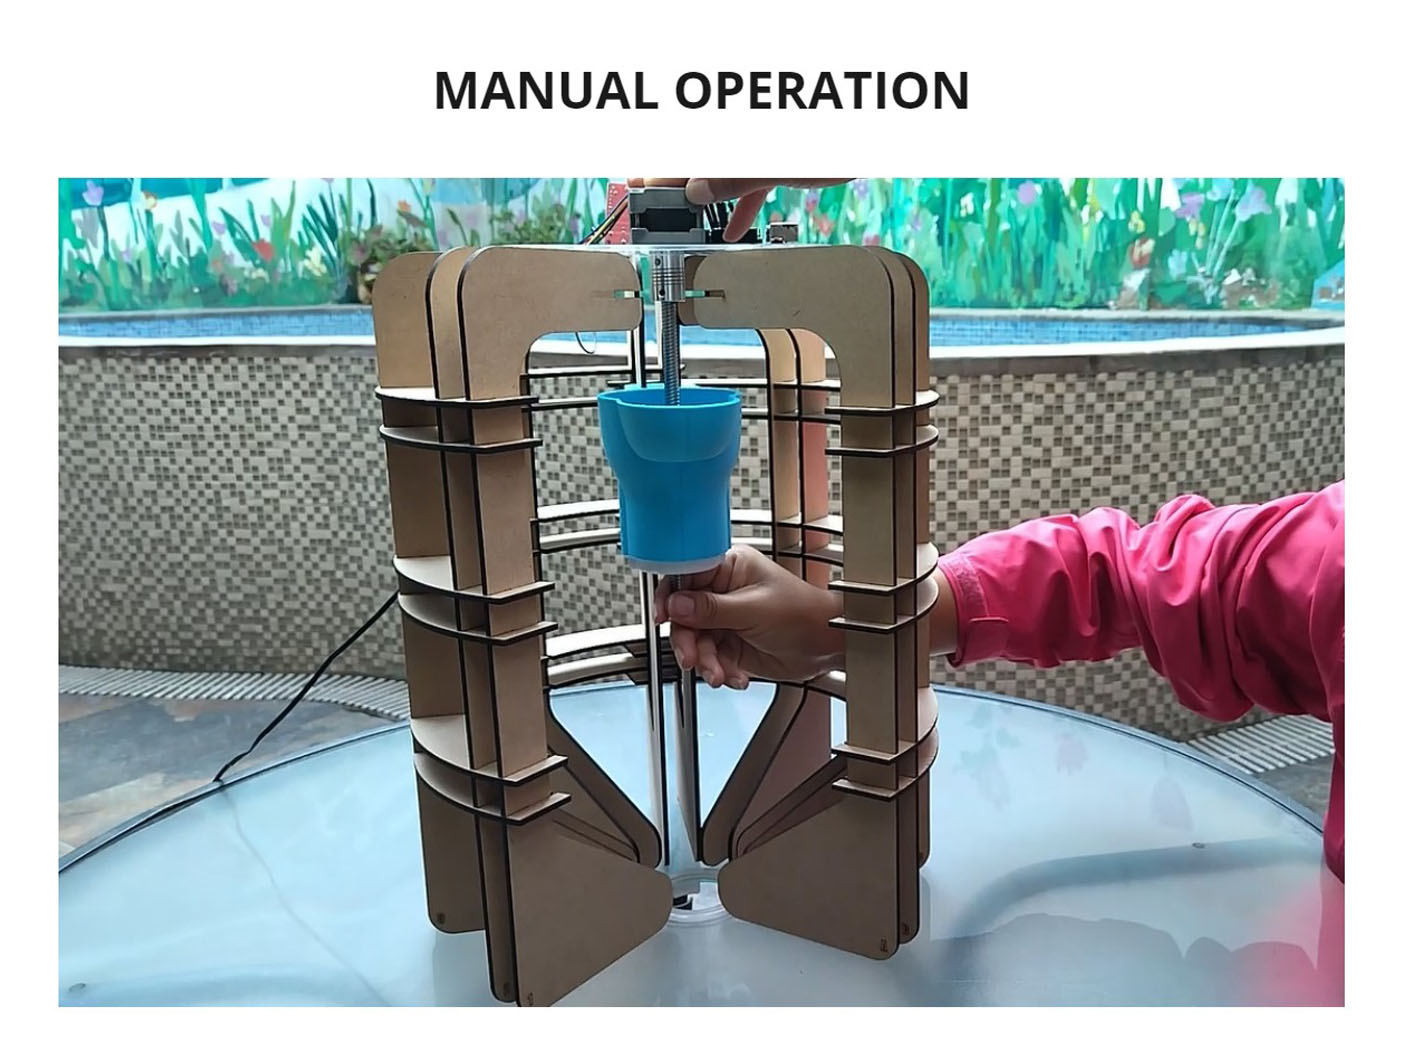
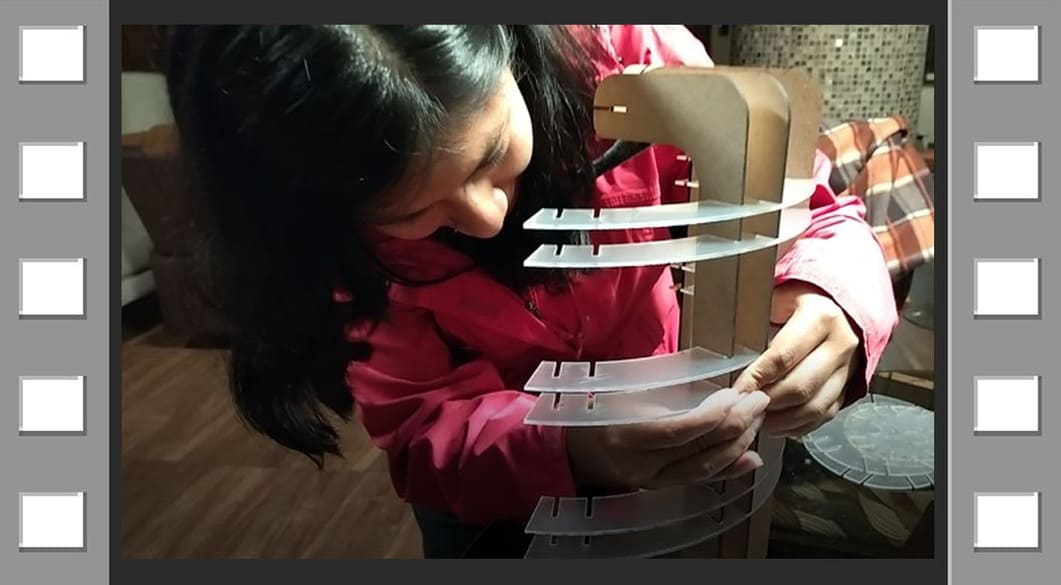
2.4 MANUAL OPERATION
The manual test was made by joining the MDF pieces, the 3D printed pieces and the endless screw, as a result the design worked. There were still things to correct in the external structure but the movement of the pieces worked, so it only remained to program the exact seconds that the motor should rotate and in the directions it would go.
You can see it in the photo and video below:

2.5 DOCUMENTATION AND TRANSLATION
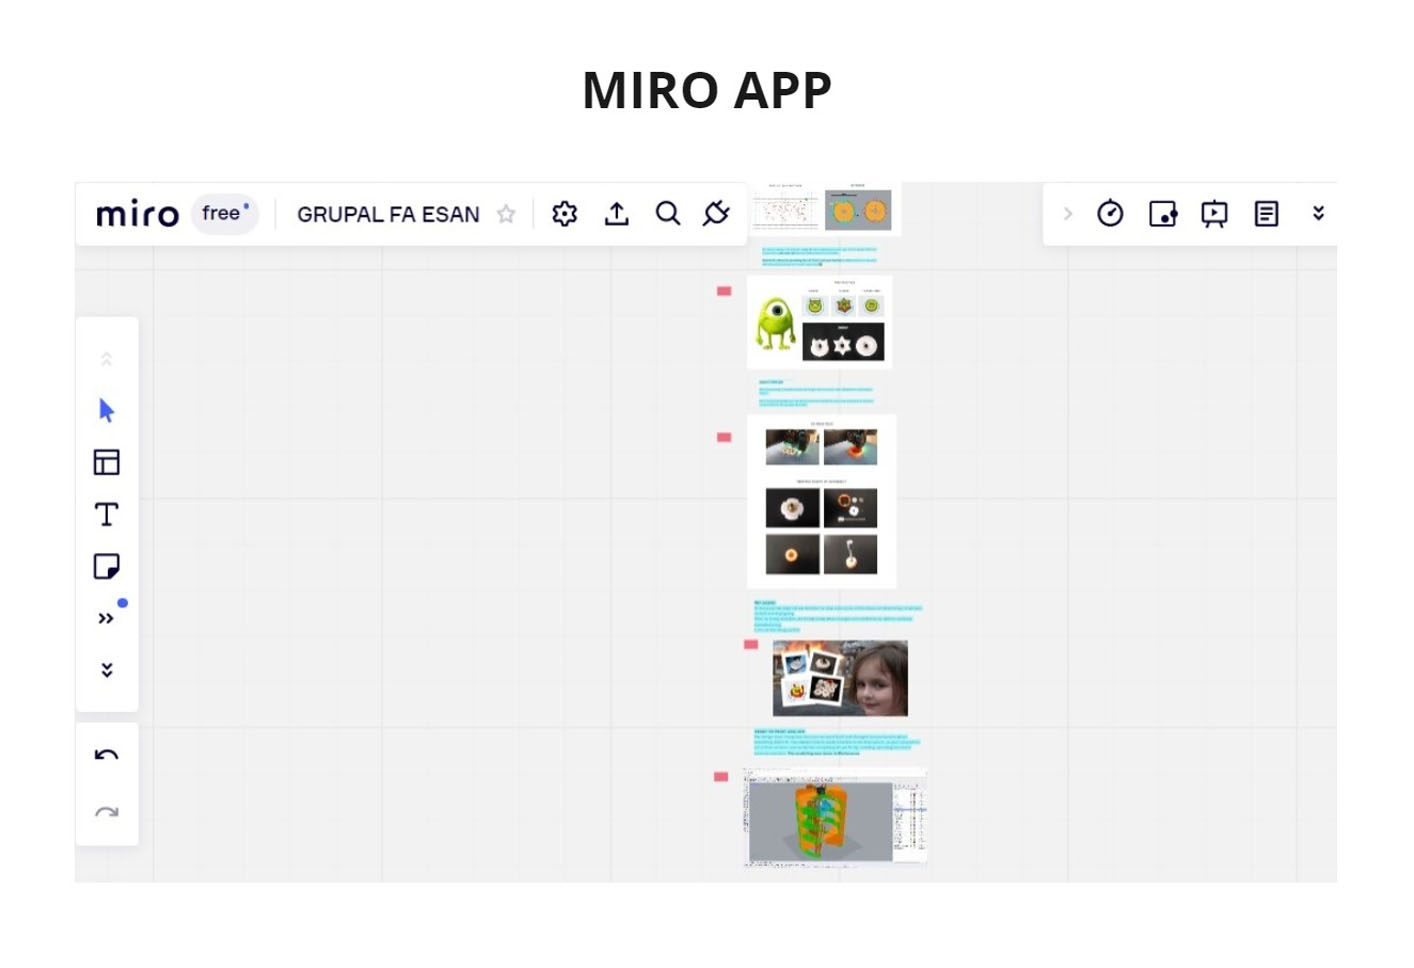
My main task was to document, so from the beginning I was documenting the progress, videos, photos of what we were doing and how it was developing, all of this I organized in the platform MIRO.
My colleagues also took photos and videos of the parts that were progressing, so I made sure that everything followed an order and made sense.
It was a lot of fun to document, I got to the point of adding memes to represent what I was feeling 😂 there were many attempts as well as failures and successes during the development process of this project, but they are part of the way, you learn from mistakes.
2.6 VIDEO AND IMAGES
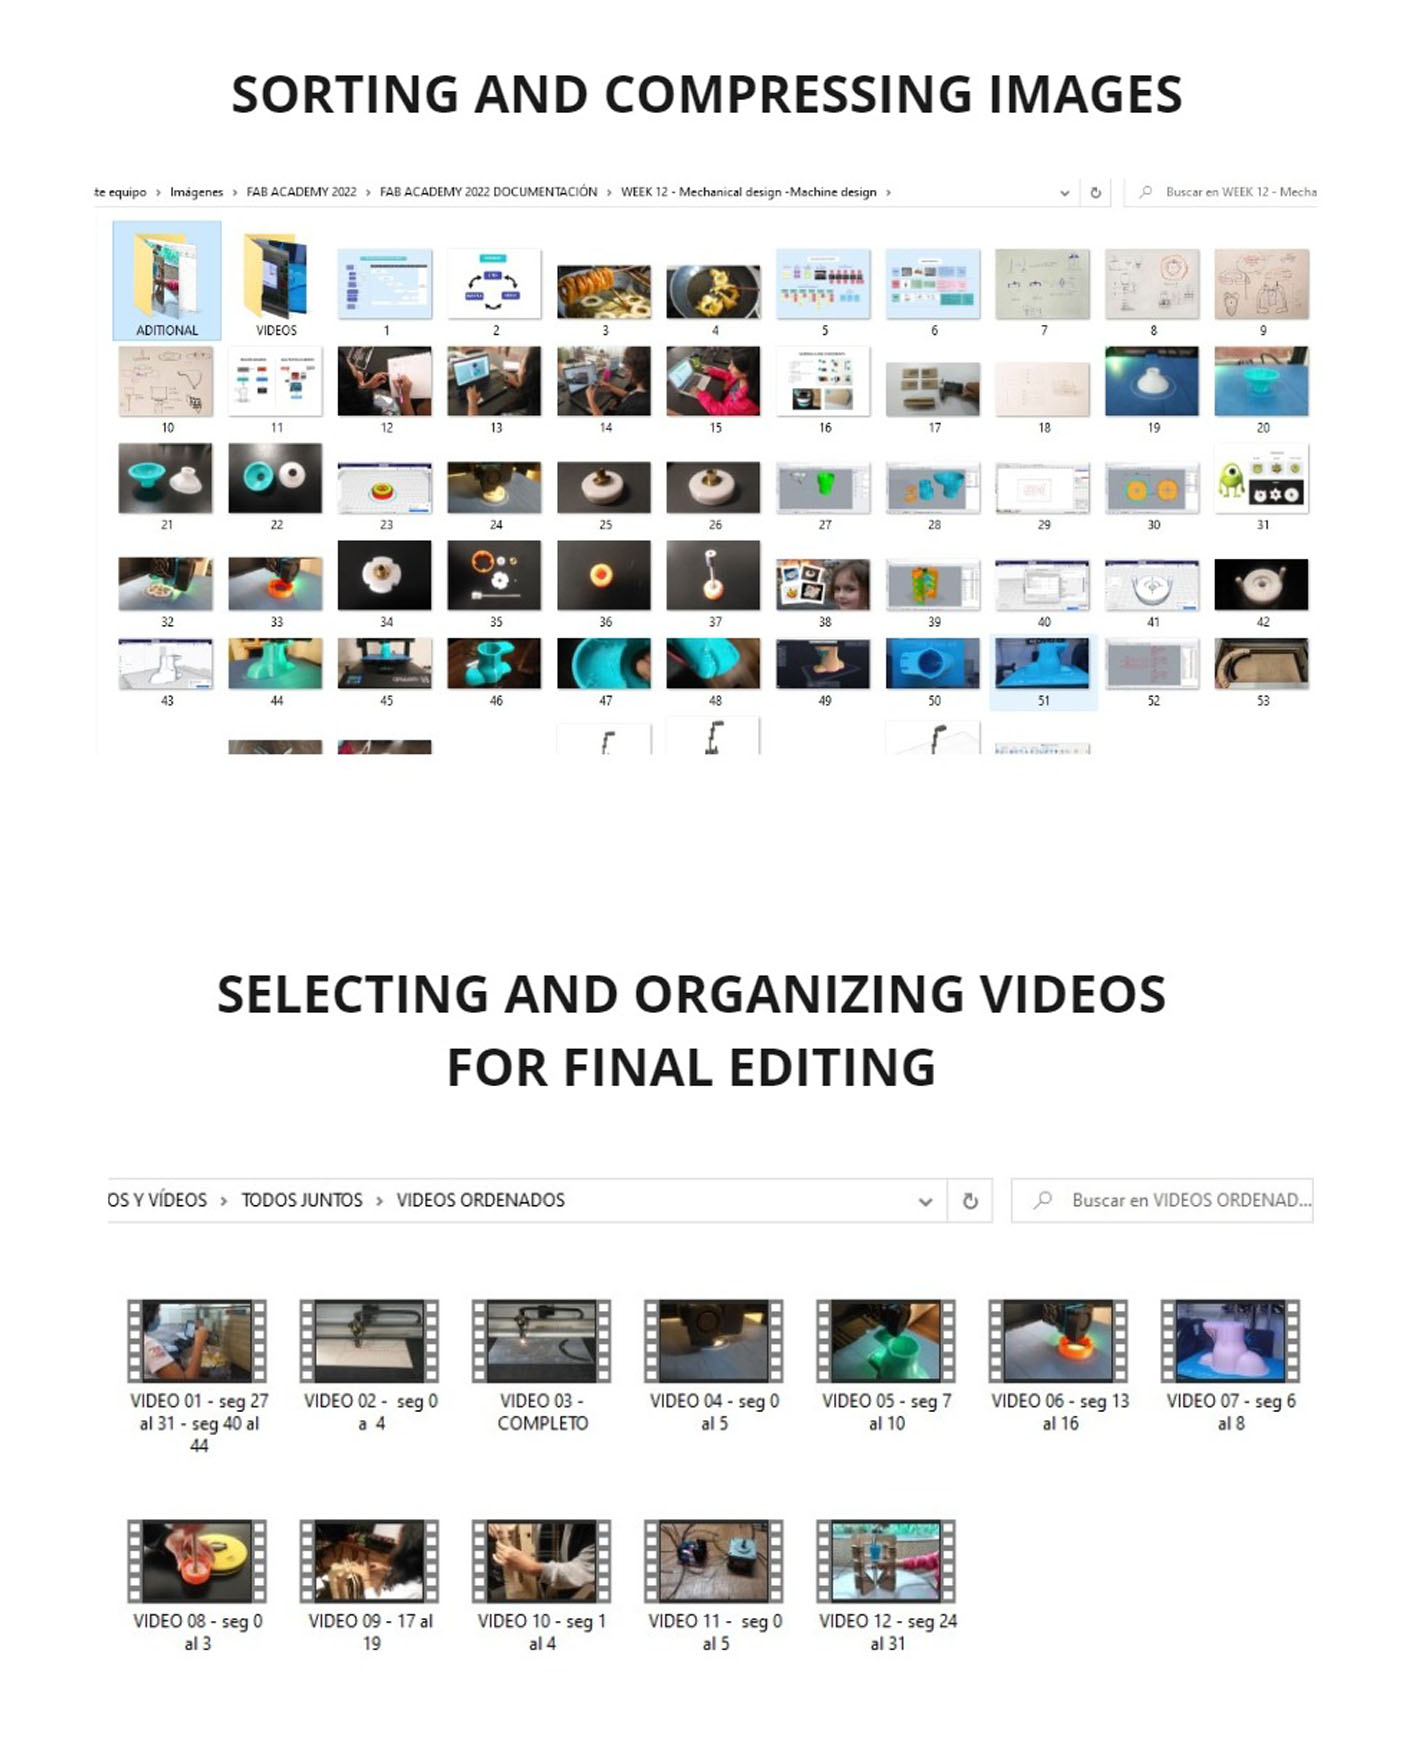
To finish, I also did the image compression, I chose the appropriate ones that were used in the documentation and used Photoshop in some cases just to adjust to the same size for the photos that were in a group, because otherwise, some images would look smaller and others bigger. For the compression of the images I used [ILOVEIMG] (https://www.iloveimg.com/es/comprimir-imagen), in which you can compress many images at the same time.
I also numbered the photos in a folder so that my partner would not have problems uploading each photo from the group assignment to her page.
Finally, I chose the parts of the videos that would be in our final video, indicating the exact seconds to use of each one and the order they should follow, since the one in charge of editing the video was my partner Mayra, but since I was documenting, I had to facilitate the process and reduce time, so I left everything ready for her to work easily.
All files can be found on the group assignment page.
Thank you very much for your attention! ☺️