16. Molding and casting
Download files:
3D model Download here
Gcodes Download here
ArtCam Download here
Assignment Objectives:
Individual assignment:
-
Design a mold around the stock and tooling that you’ll be using
-
Mill it (rough cut + (at least) three-axis finish cut)
-
Use it to cast parts
Group assignment:
Review the safety data sheets for each of your molding and casting materials, then make and compare test casts with each of them.
Group Assignment
In this part we read and reviewed the technical and safety datasheet of casting and molding material we have in the lab.
Molding and Casting Material
The image and table blow show the material we have in the labs.
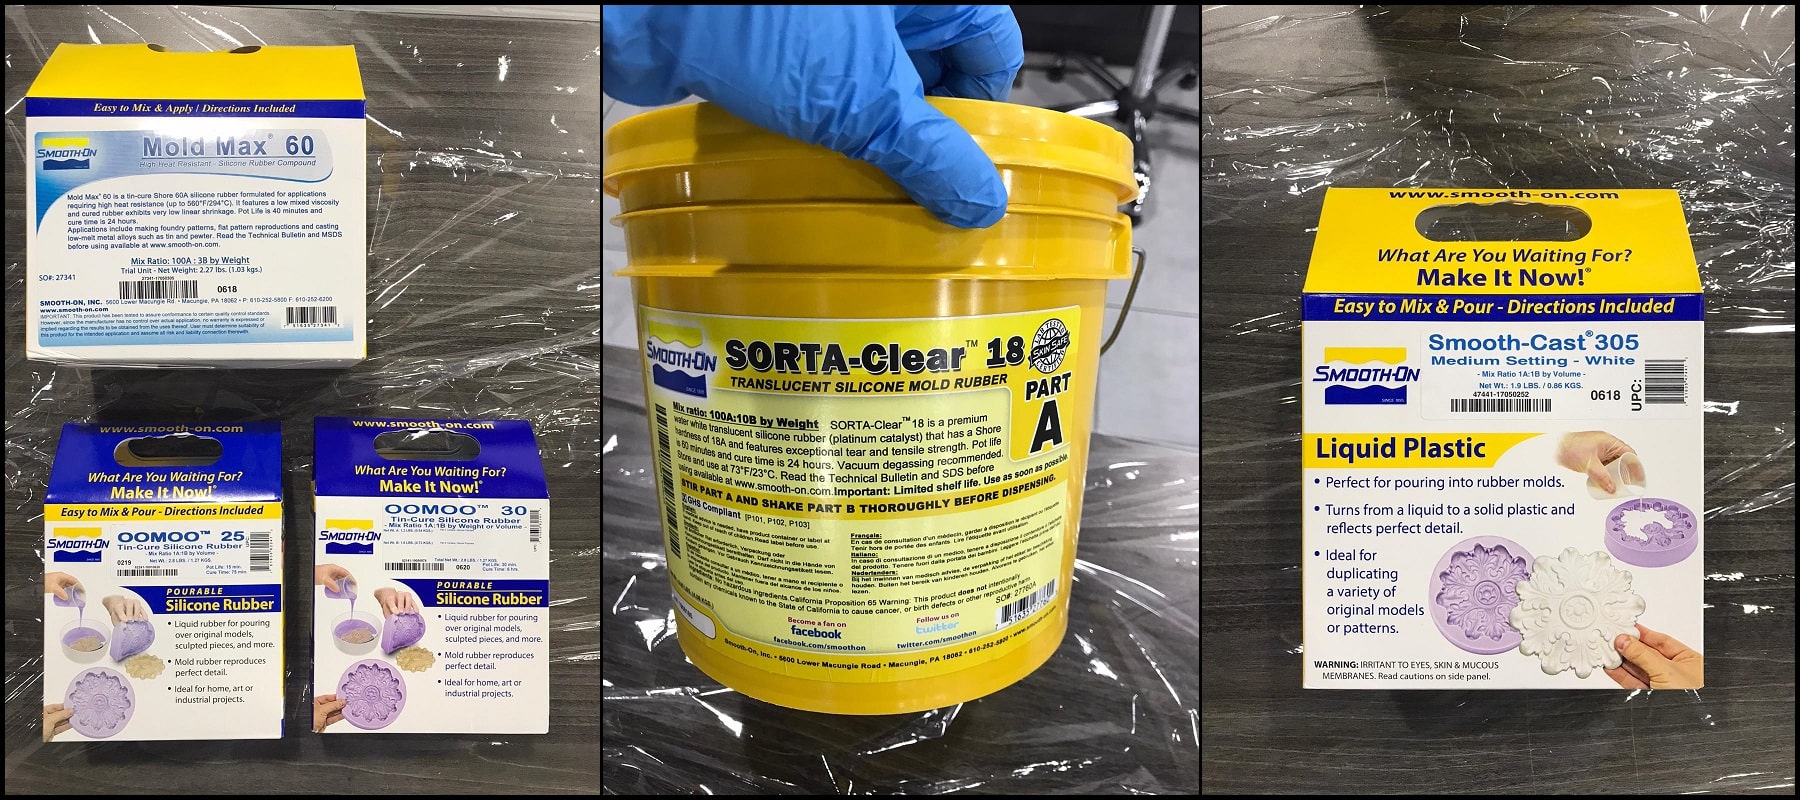
| Material | Category | Series | Supplier |
|---|---|---|---|
| OOMOO™ 30 | Silicone Rubber-Tin Cure | OOMOO™ | Smooth-on |
| OOMOO™ 25 | Silicone Rubber-Tin Cure | OOMOO™ | Smooth-on |
| Mold Max™ 60 | Silicone Rubber-Tin Cure | Mold Max™ | Smooth-on |
| SORTA-Clear™ 18 | Silicone Rubber-Tin Cure | SORTA-Clear™ | Smooth-on |
| Smooth-Cast® 305 | Urethane Resins | Smooth-Cast® | Smooth-on |
The first 4 material are liquid silicone rubber and the last one is liquid plastic. We compared the liquid silicone rubber material (the first 4)
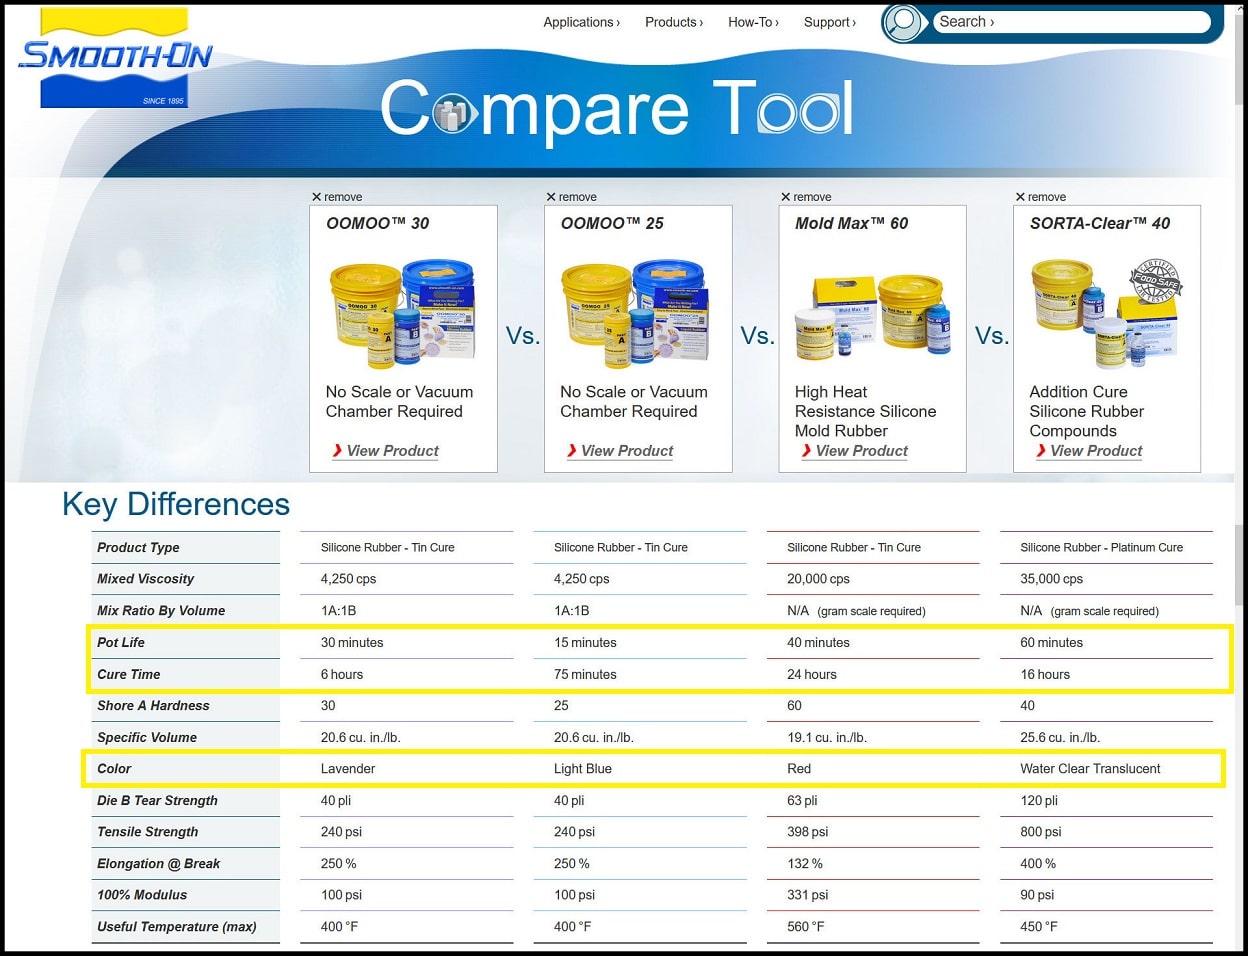
The image lists the key differences between the 4 liquid rubber materials. For example, there are operational differences like pot life and cure time, and there are finish differences like end product color.
Safety and Technical Datasheet
Technical and safety datasheets are linked for each material. The technical datasheet provides operational data like technical specs and processing recommendations. The safety datasheet describes different hazards associated to the material and risk levels. Note that SORTA-Clear™ 18 is the only safe food material.
OOMOO™ 30
Technical datasheet
Safety datasheet
OOMOO™ 25
Technical datasheet
Safety datasheet
Mold Max™ 60
Technical datasheet
Safety datasheet
SORTA-Clear™ 18
Technical datasheet
Safety datasheet
Food safety technical datasheet
Smooth-Cast® 305
Technical datasheet
Safety datasheet
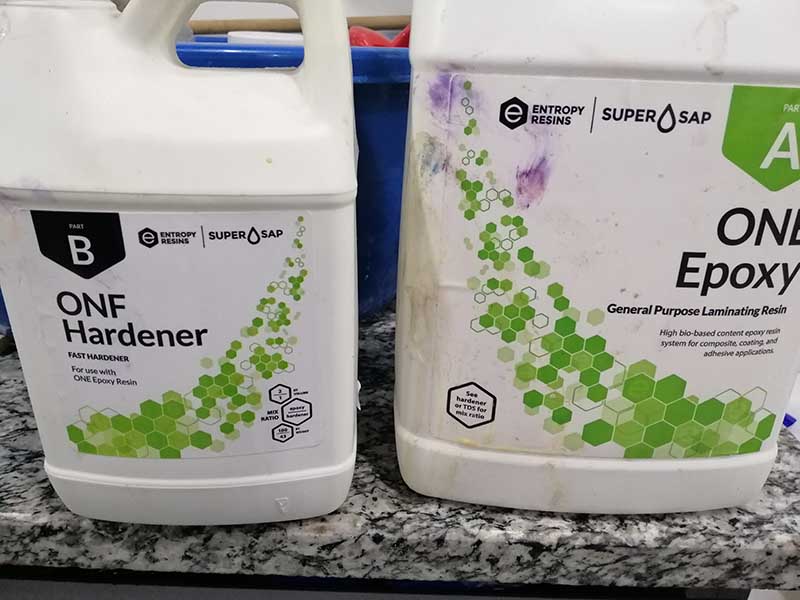
HIGH BIOBASED LAMINATING EPOXY
Technical datasheet
Resin Safety datasheet
Hardener datasheet
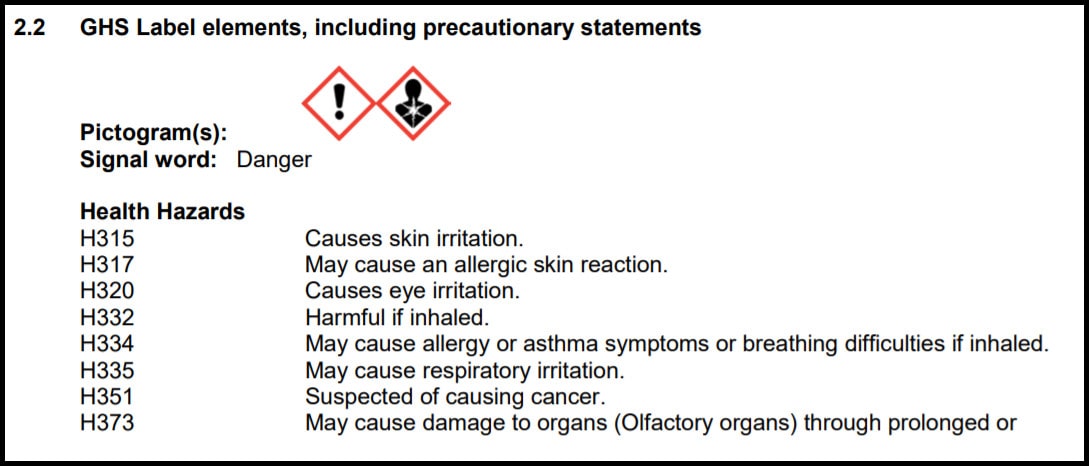
For example, the following risks are listed in the safety datasheet of Smooth-Cast® 305.
And also, the following first aid measures are listed in the safety datasheet for the same material.
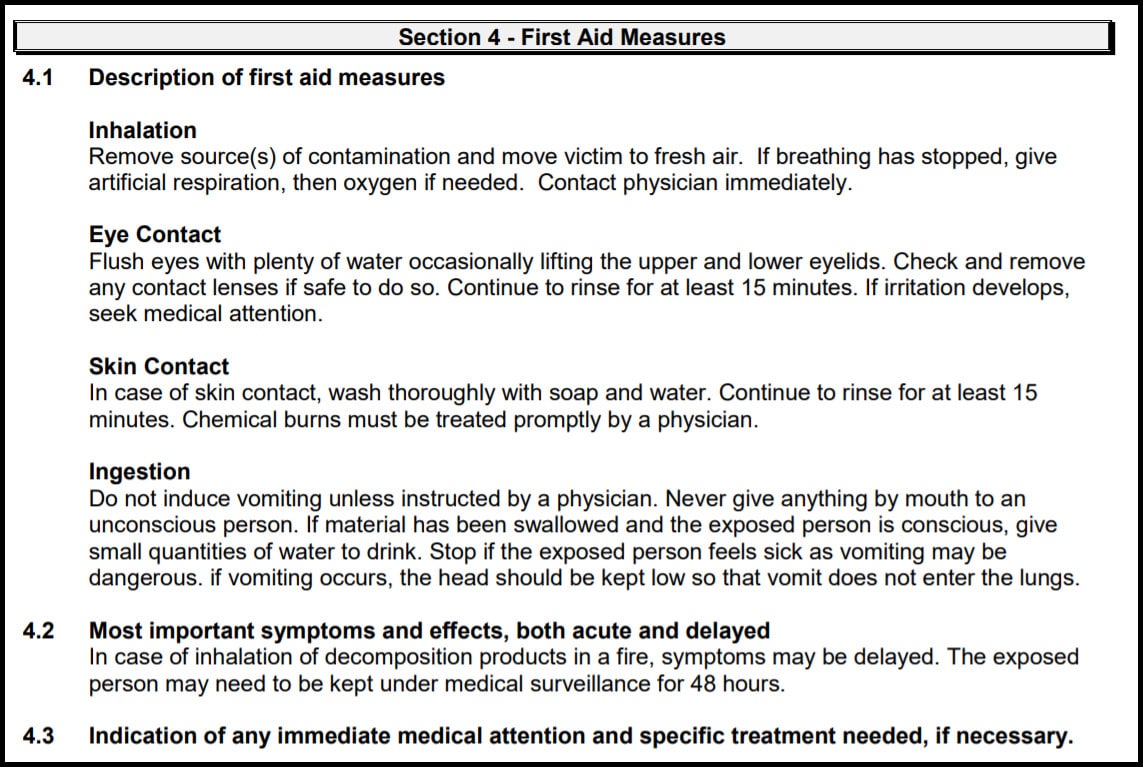
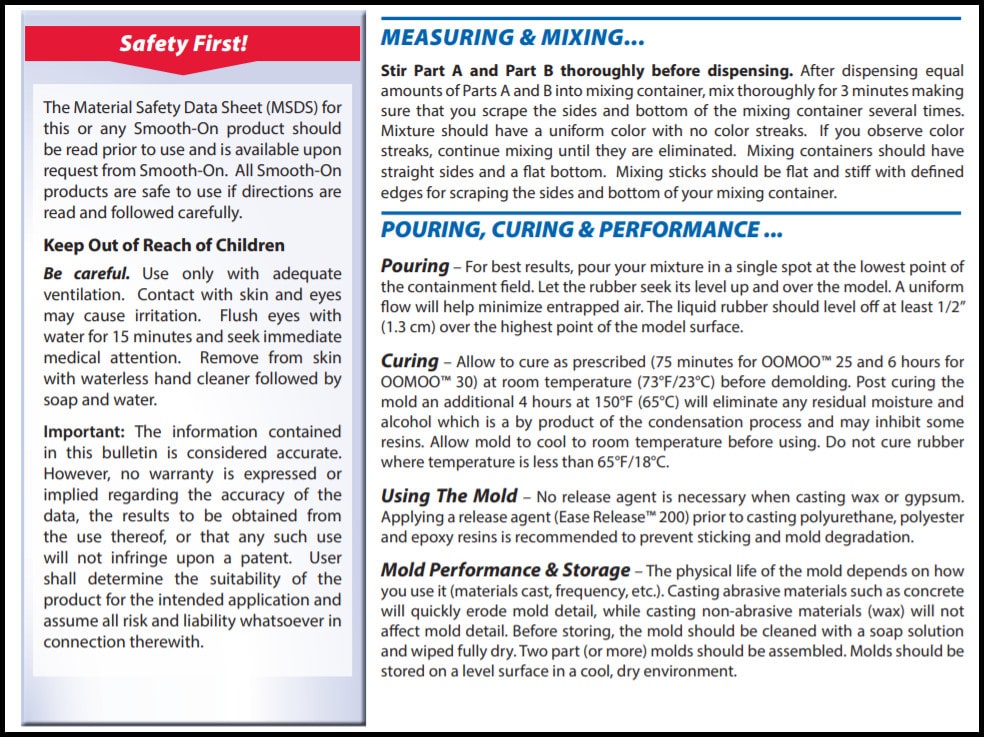
In the technical datasheet information about working on the material could be found. For example, for OOMOO™ 25 the following guidelines are listed (in addition to safety ticket!).
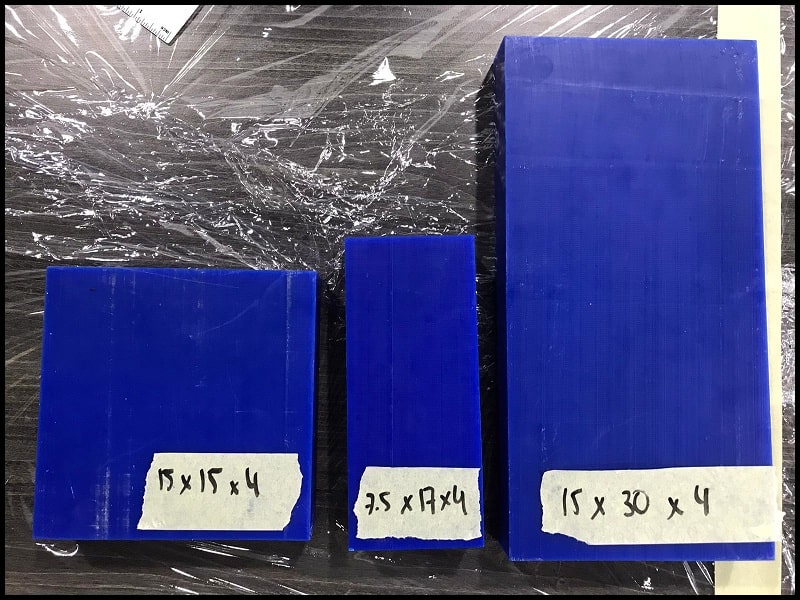
Machinable Wax
In the lab we have 3 sizes of machinable wax (dimensions in cm). This will be used to mill the positive mold of the final product.
Material Test Casts
We will complete this section when we have access to lab.
Individual Assignment
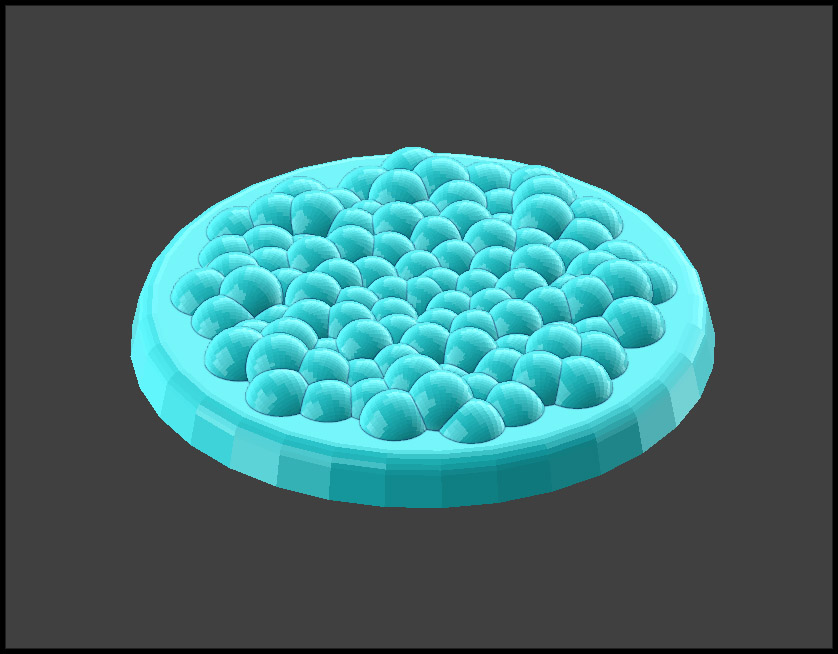
What will I will model and cast
I made a second a 3D parametric generator that generate a Fibonacci model for my final project, in a wax with 153x153x72 mm.
Molding
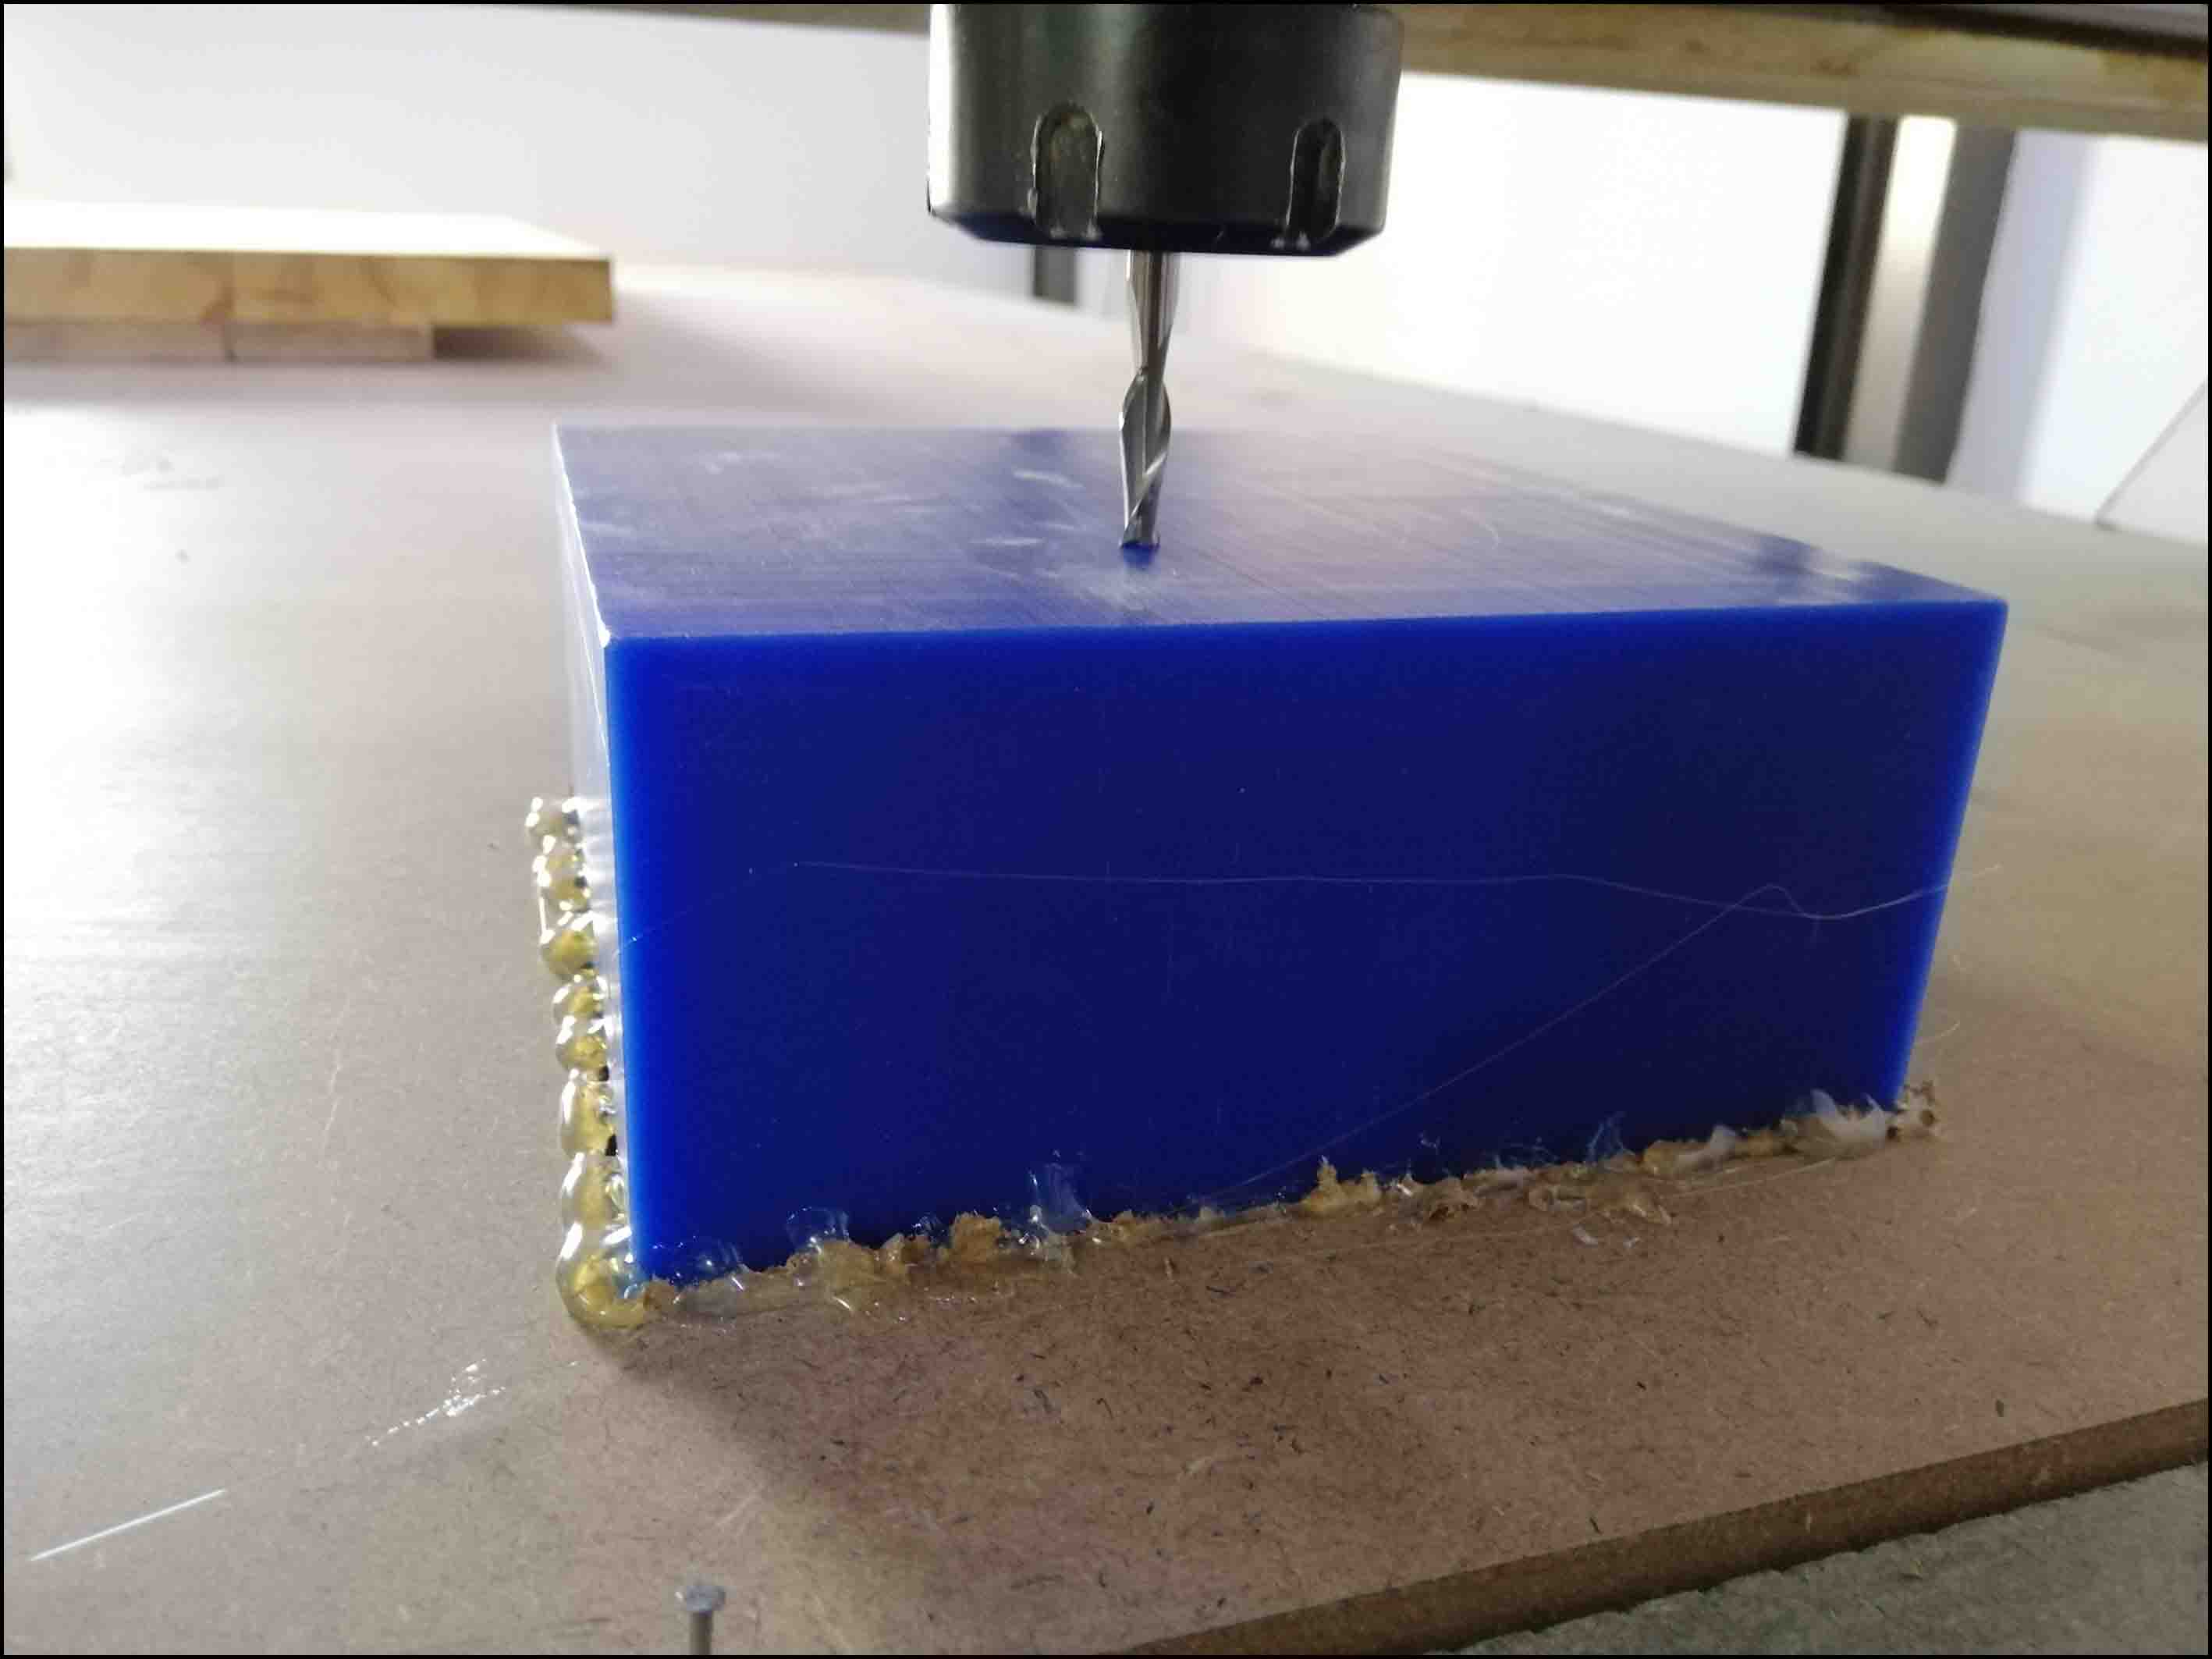
Prepare the CNC machine
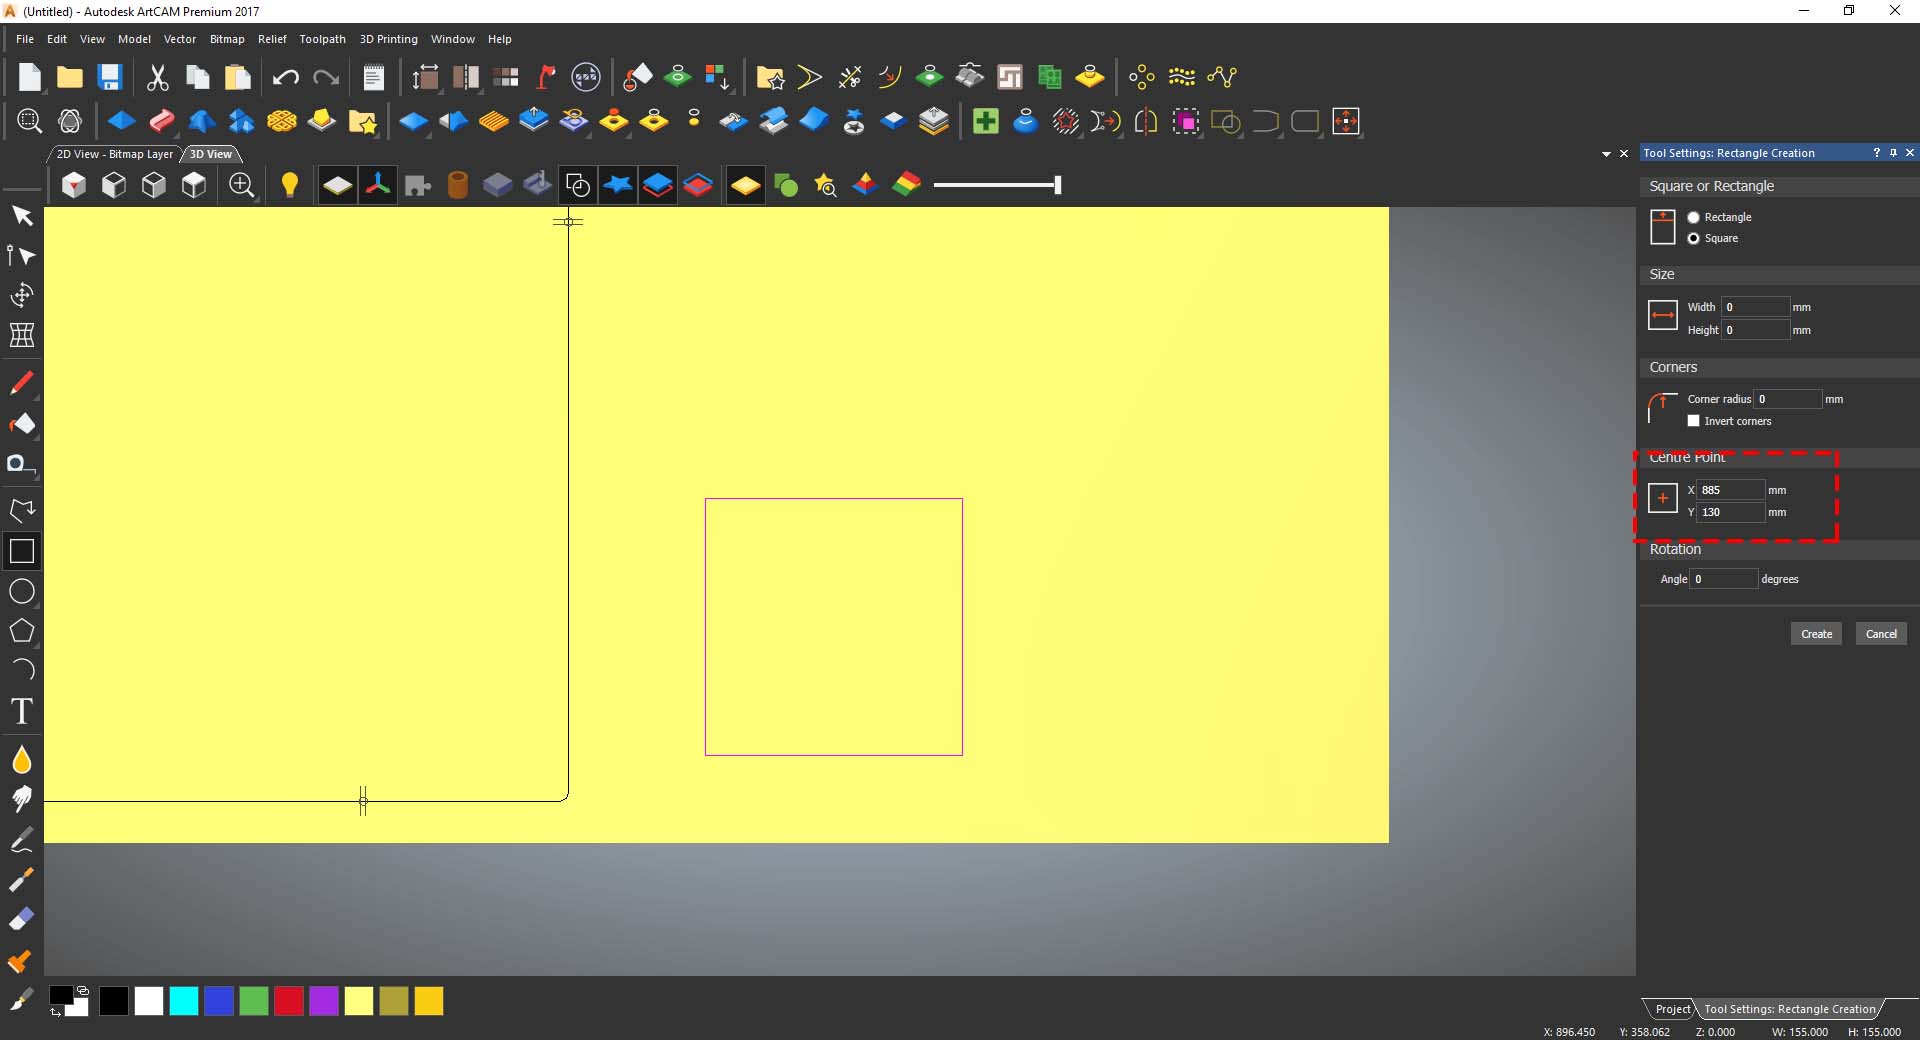
- Make a clear cut in a mdf board to fit the wax inside it, in artcam I create a box with size a little biger than the wax dimensions by
2mm, with center locations ofx=885mm andy=130mm.
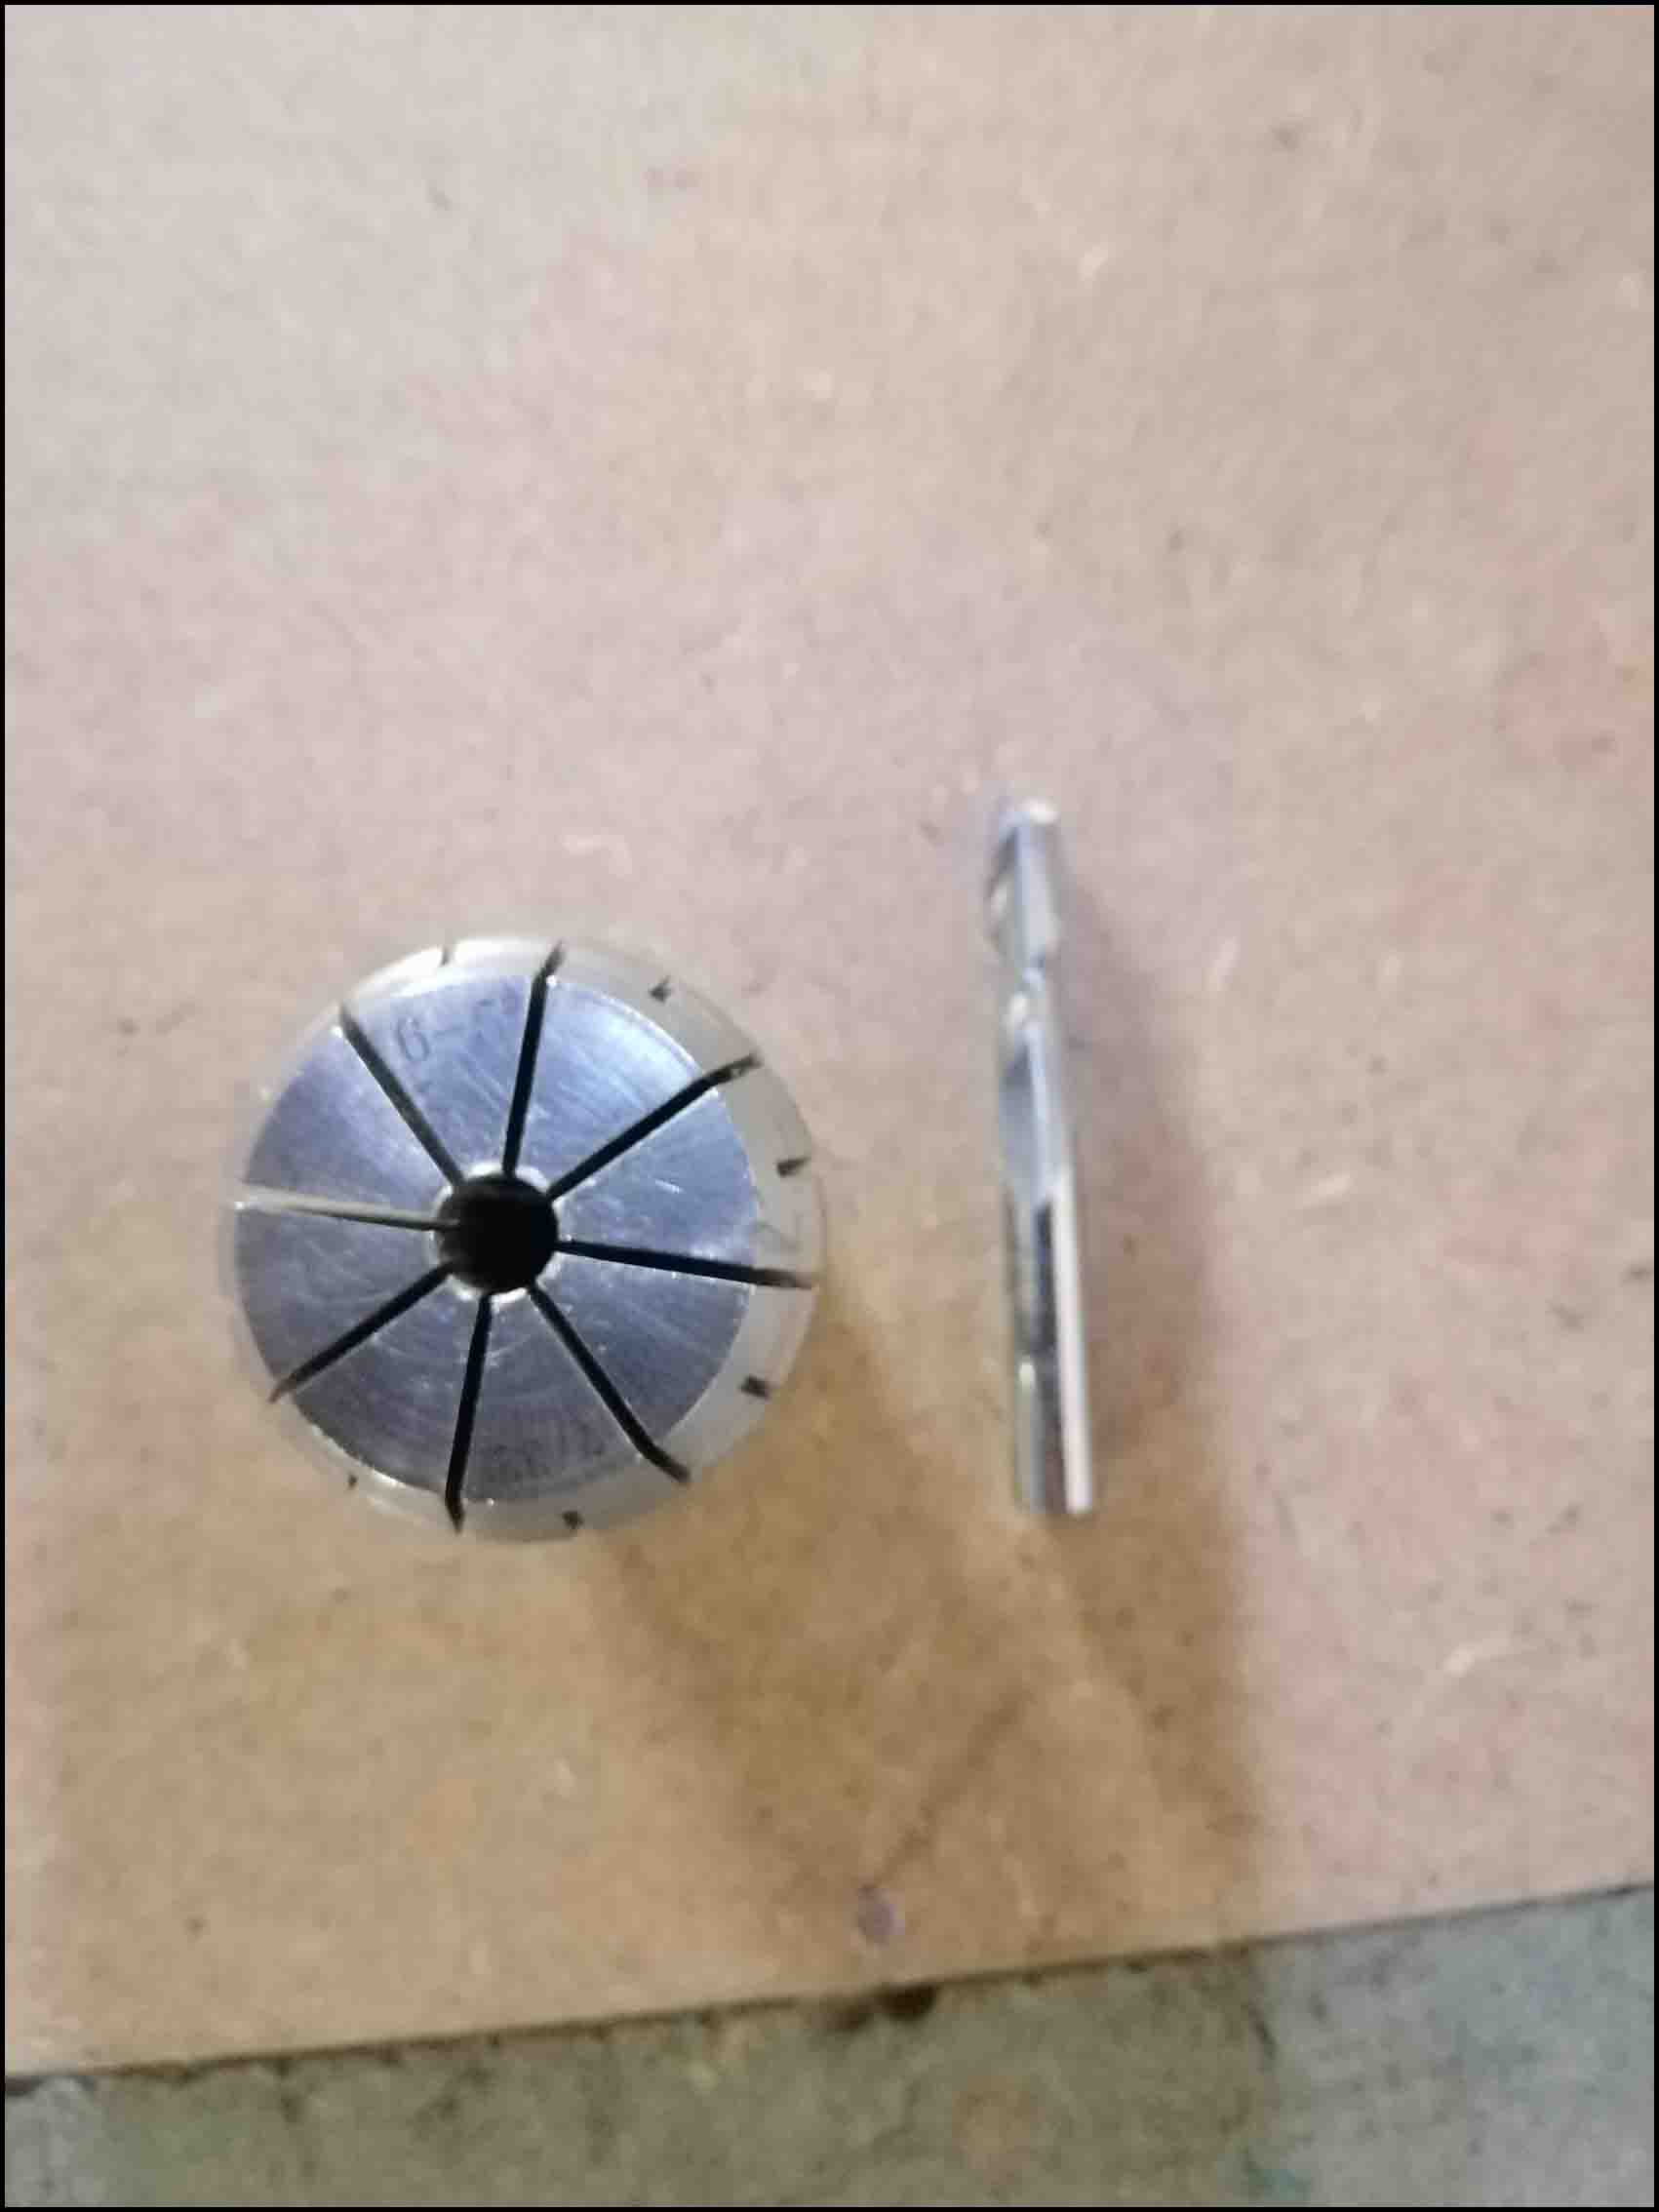
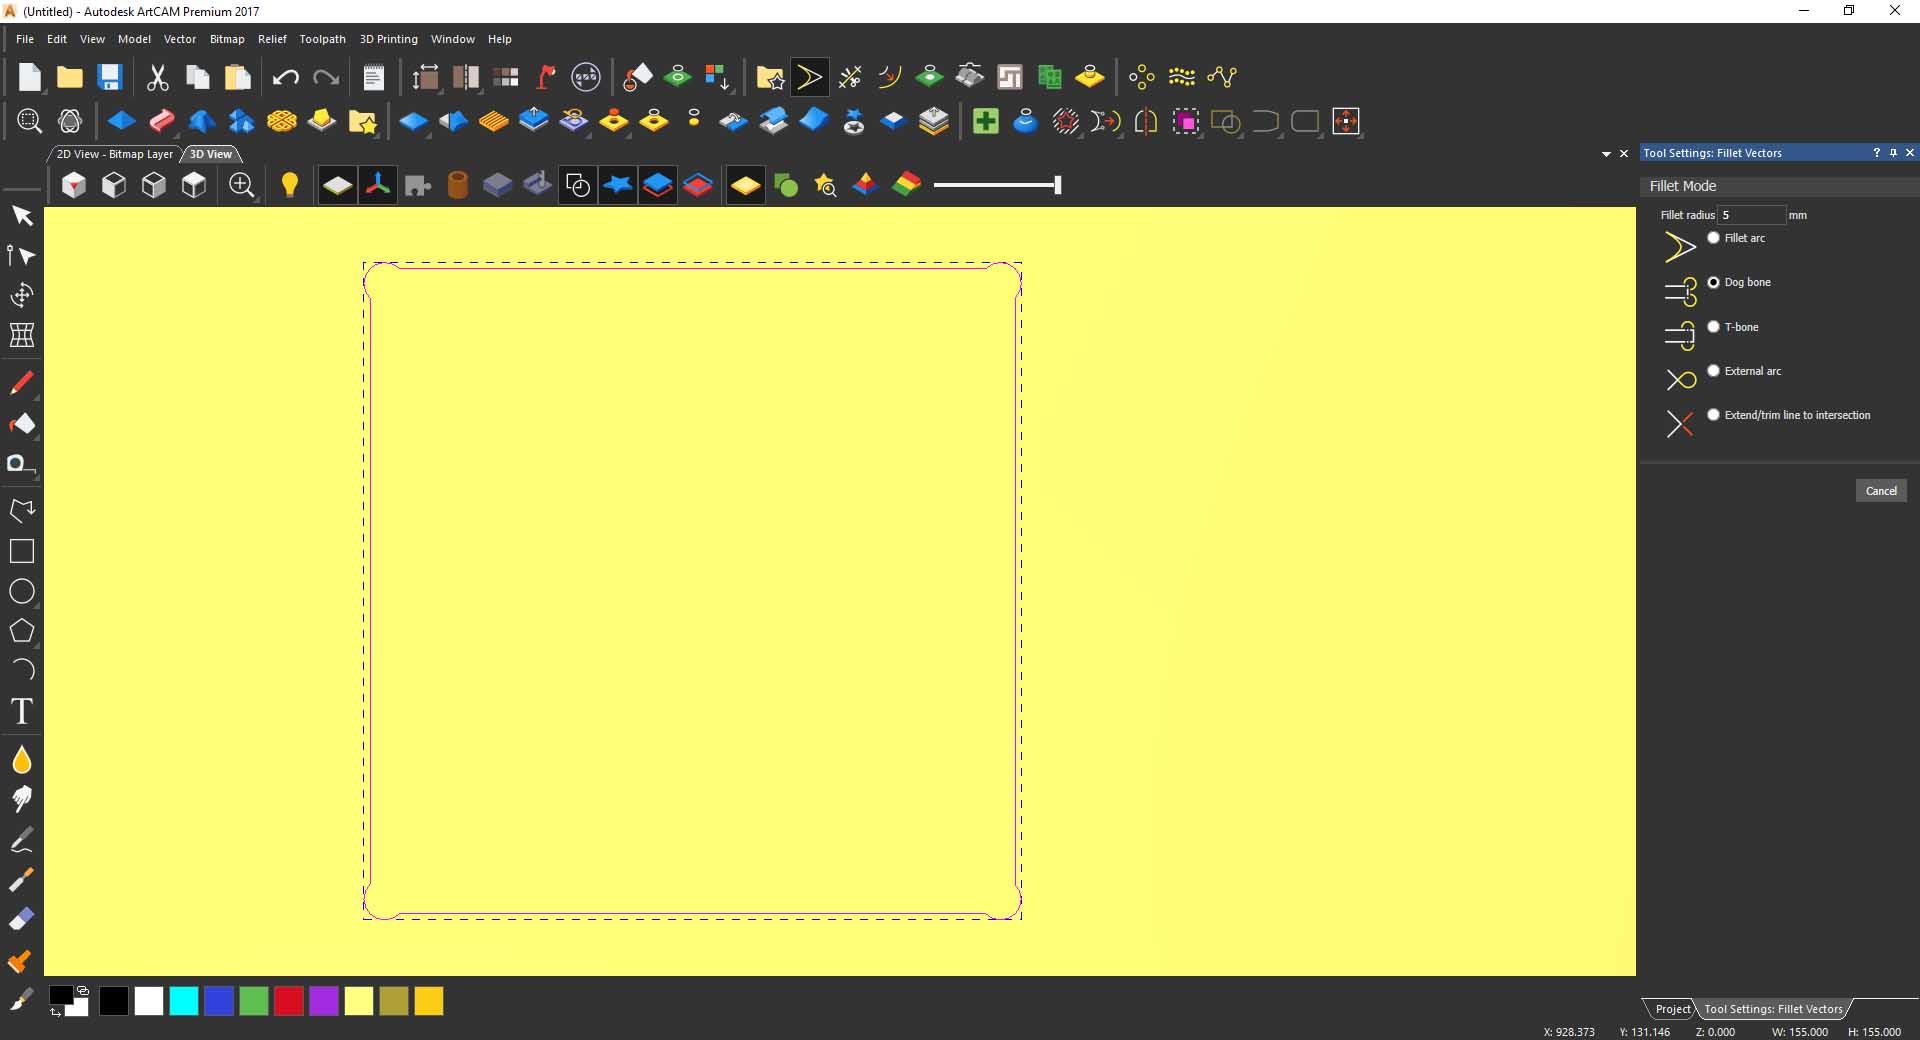
- Give the box dogbone filets around the corners to fit the wax, then cut using endmill
6mmwith6mmcollet.
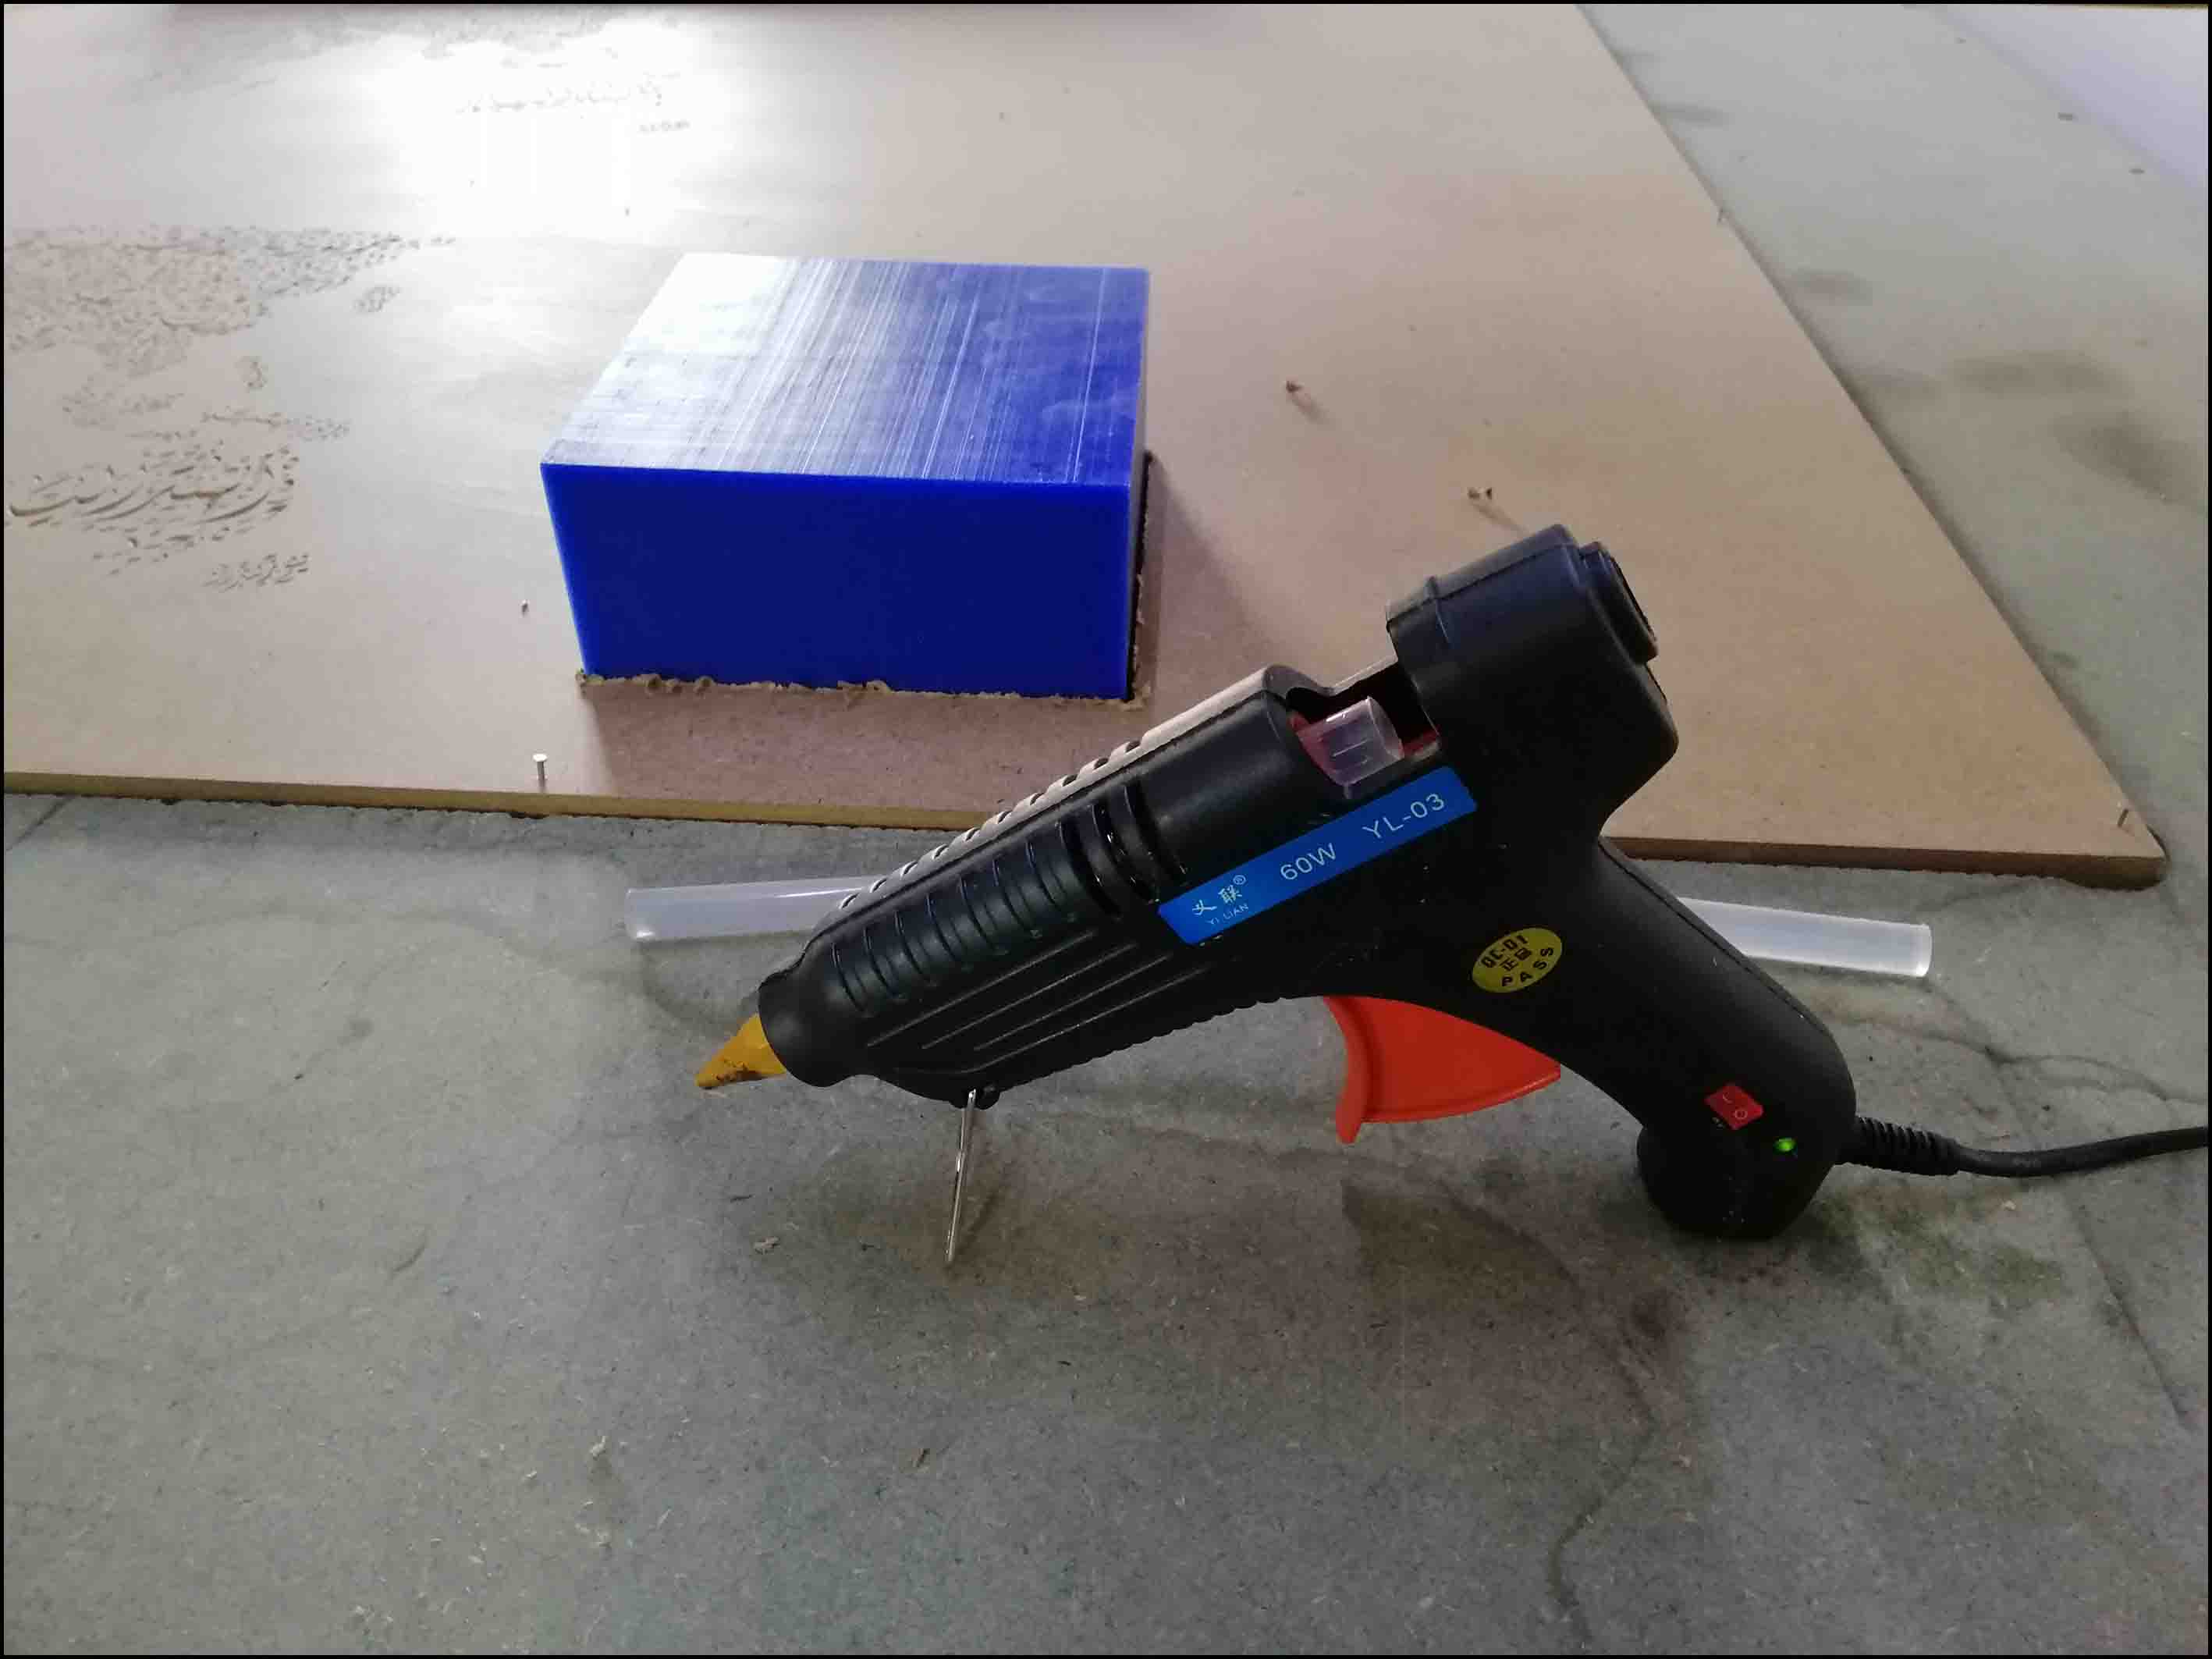
- I used a hot glue gun to fix the wax into the mdf board.
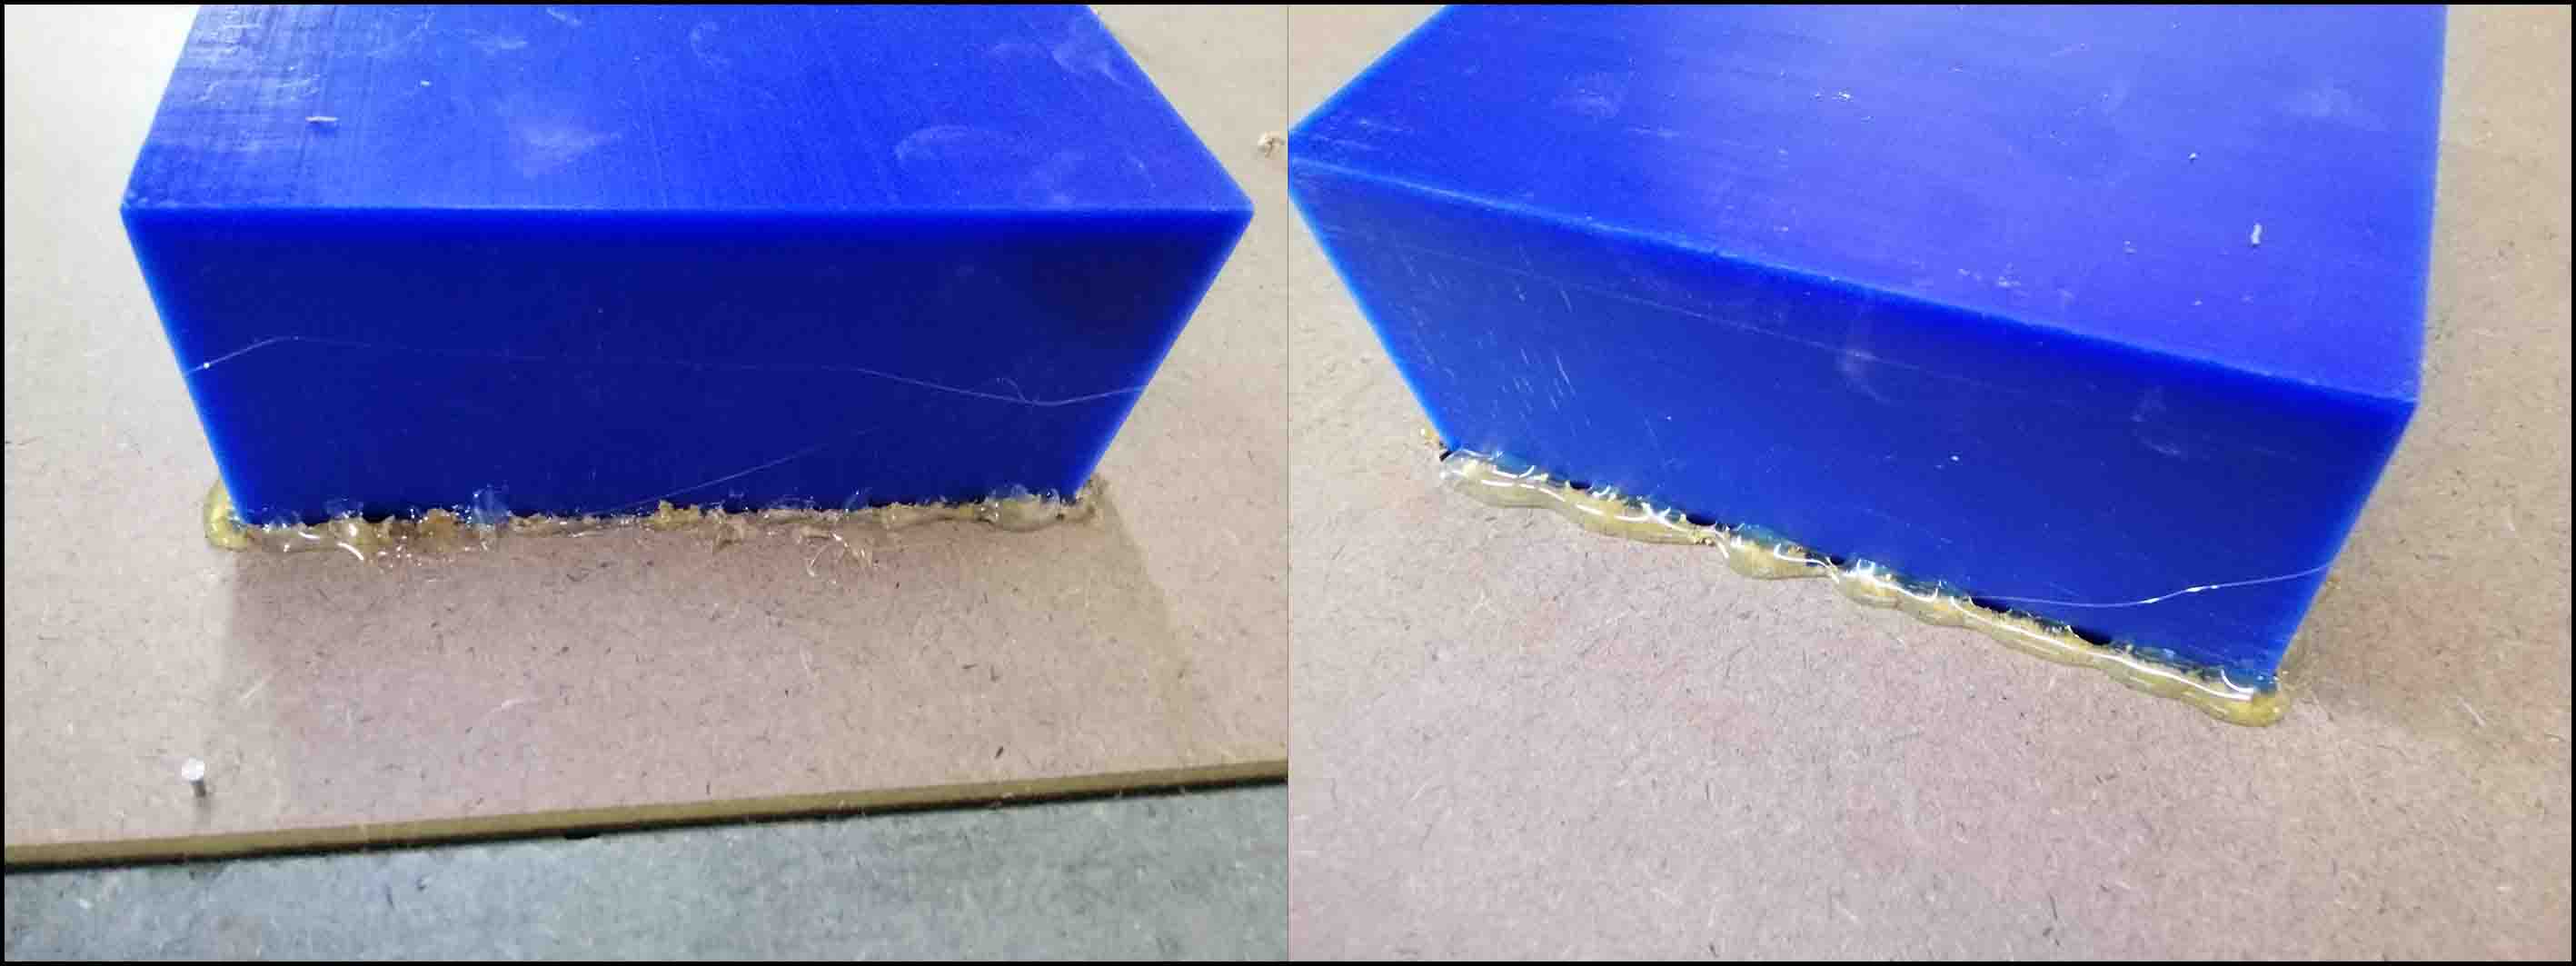
- Zero the
Z-axison the wax, there is no need to zero theX and Y axis.
Prepare the CNC gcode
- I imported the STL file into the artcam from
Relief, and put the center of the model in coordinationx=885mm andy=130mm, same as the box because there is no need to zero theX and Y axis.
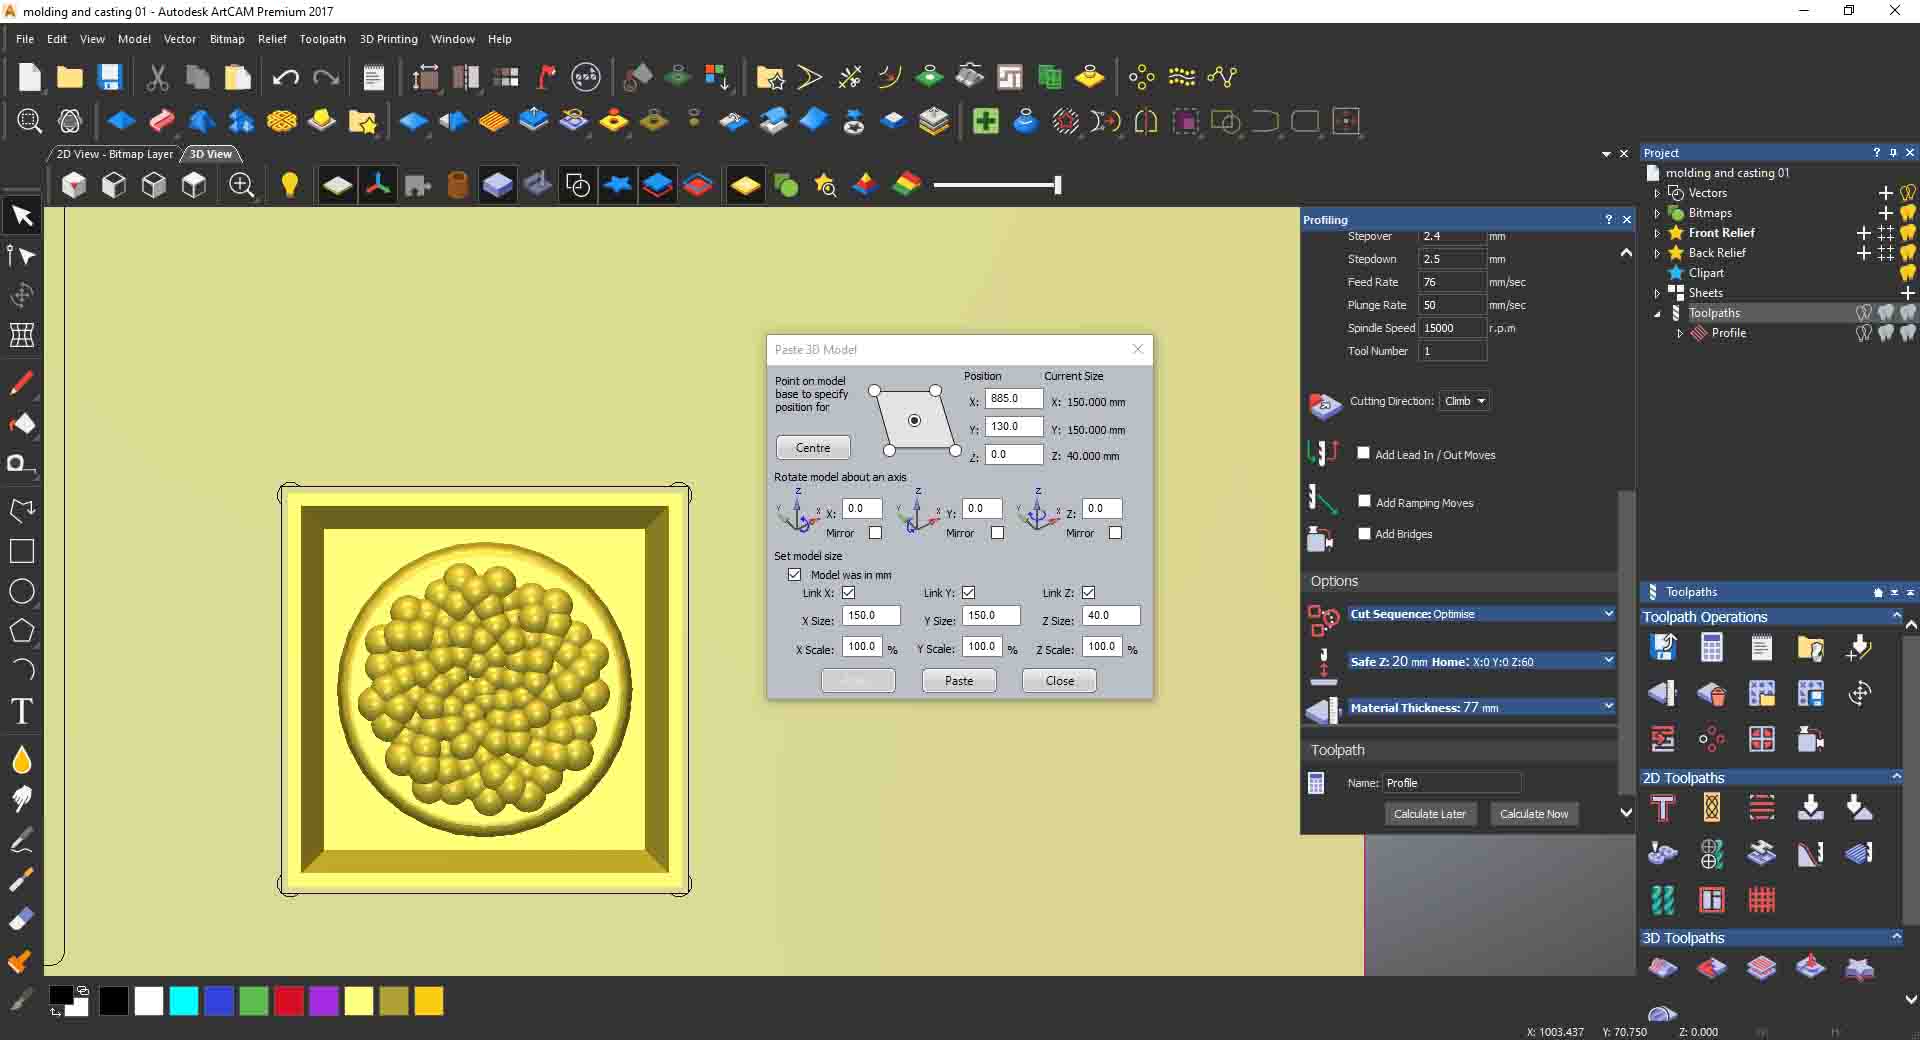
- Then Adjust the material height into
77mm.

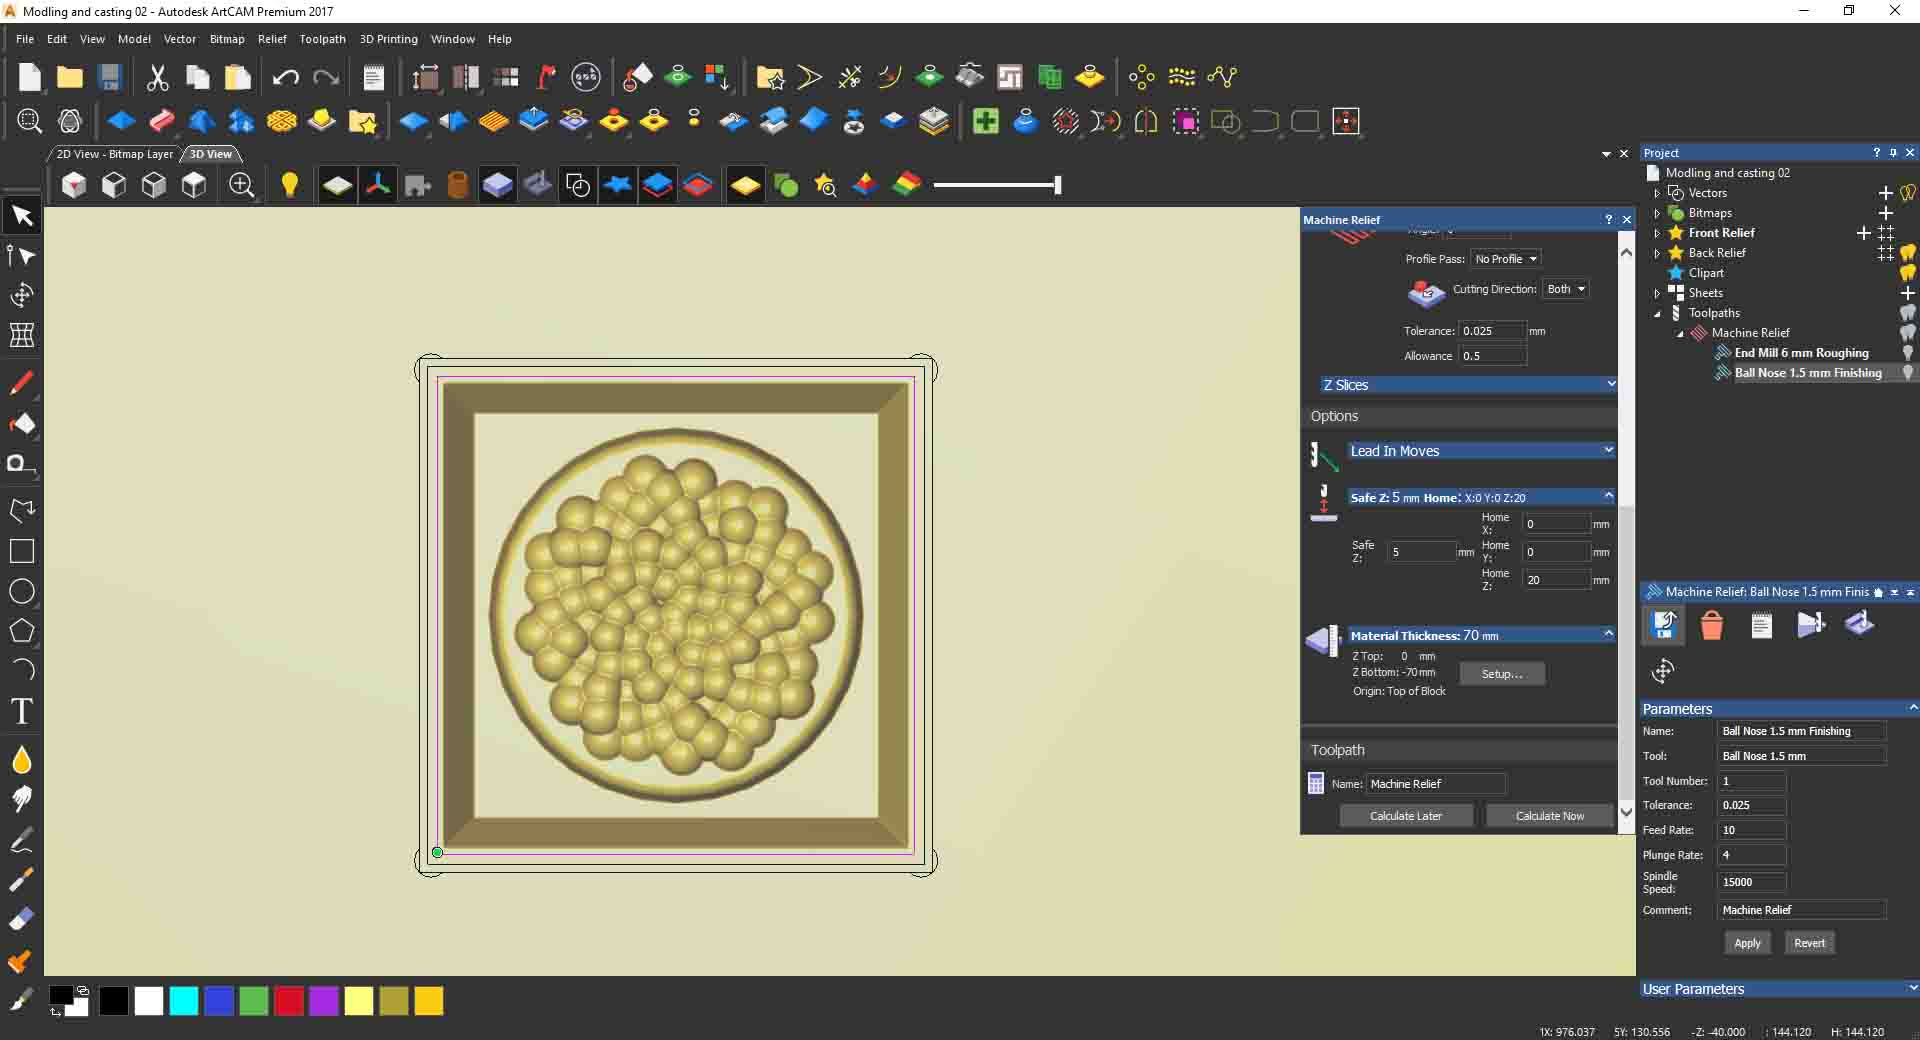
- I started it of to use the Tool clearance strategy
Spiral in Boxfor Finishing Option, but I check it on NC studio simulation to get the time and it was around3 hours, then I changed it back to raster.
And for the Roughing Options I usedOffset, because my 3D model shape is round, and is the better Tool clearance strategy for it, and machining time reduced to1.5 hour.
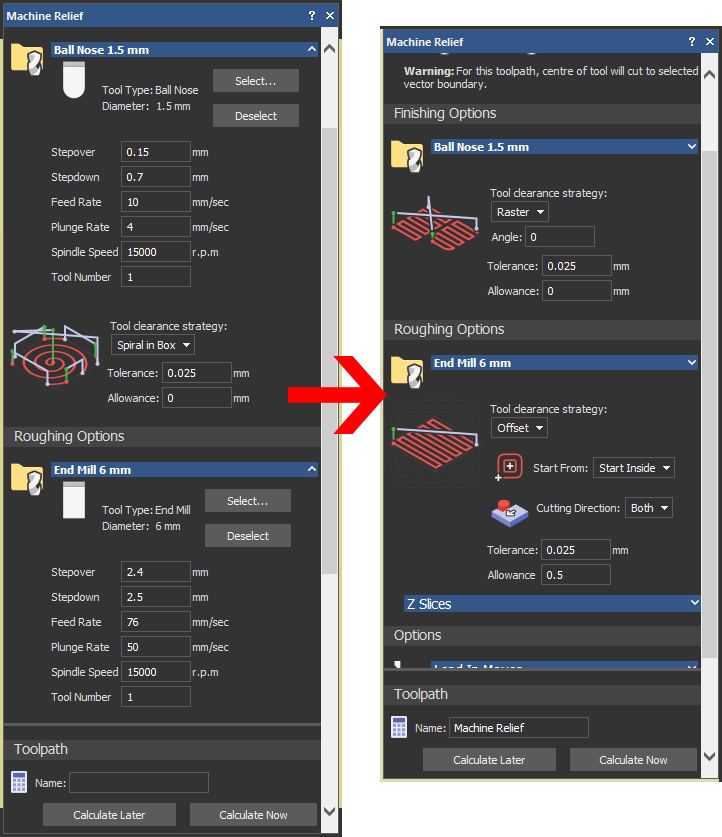
Roughing toolpath
Using the same endmill 6mm to rough the wax.
Finishing toolpath
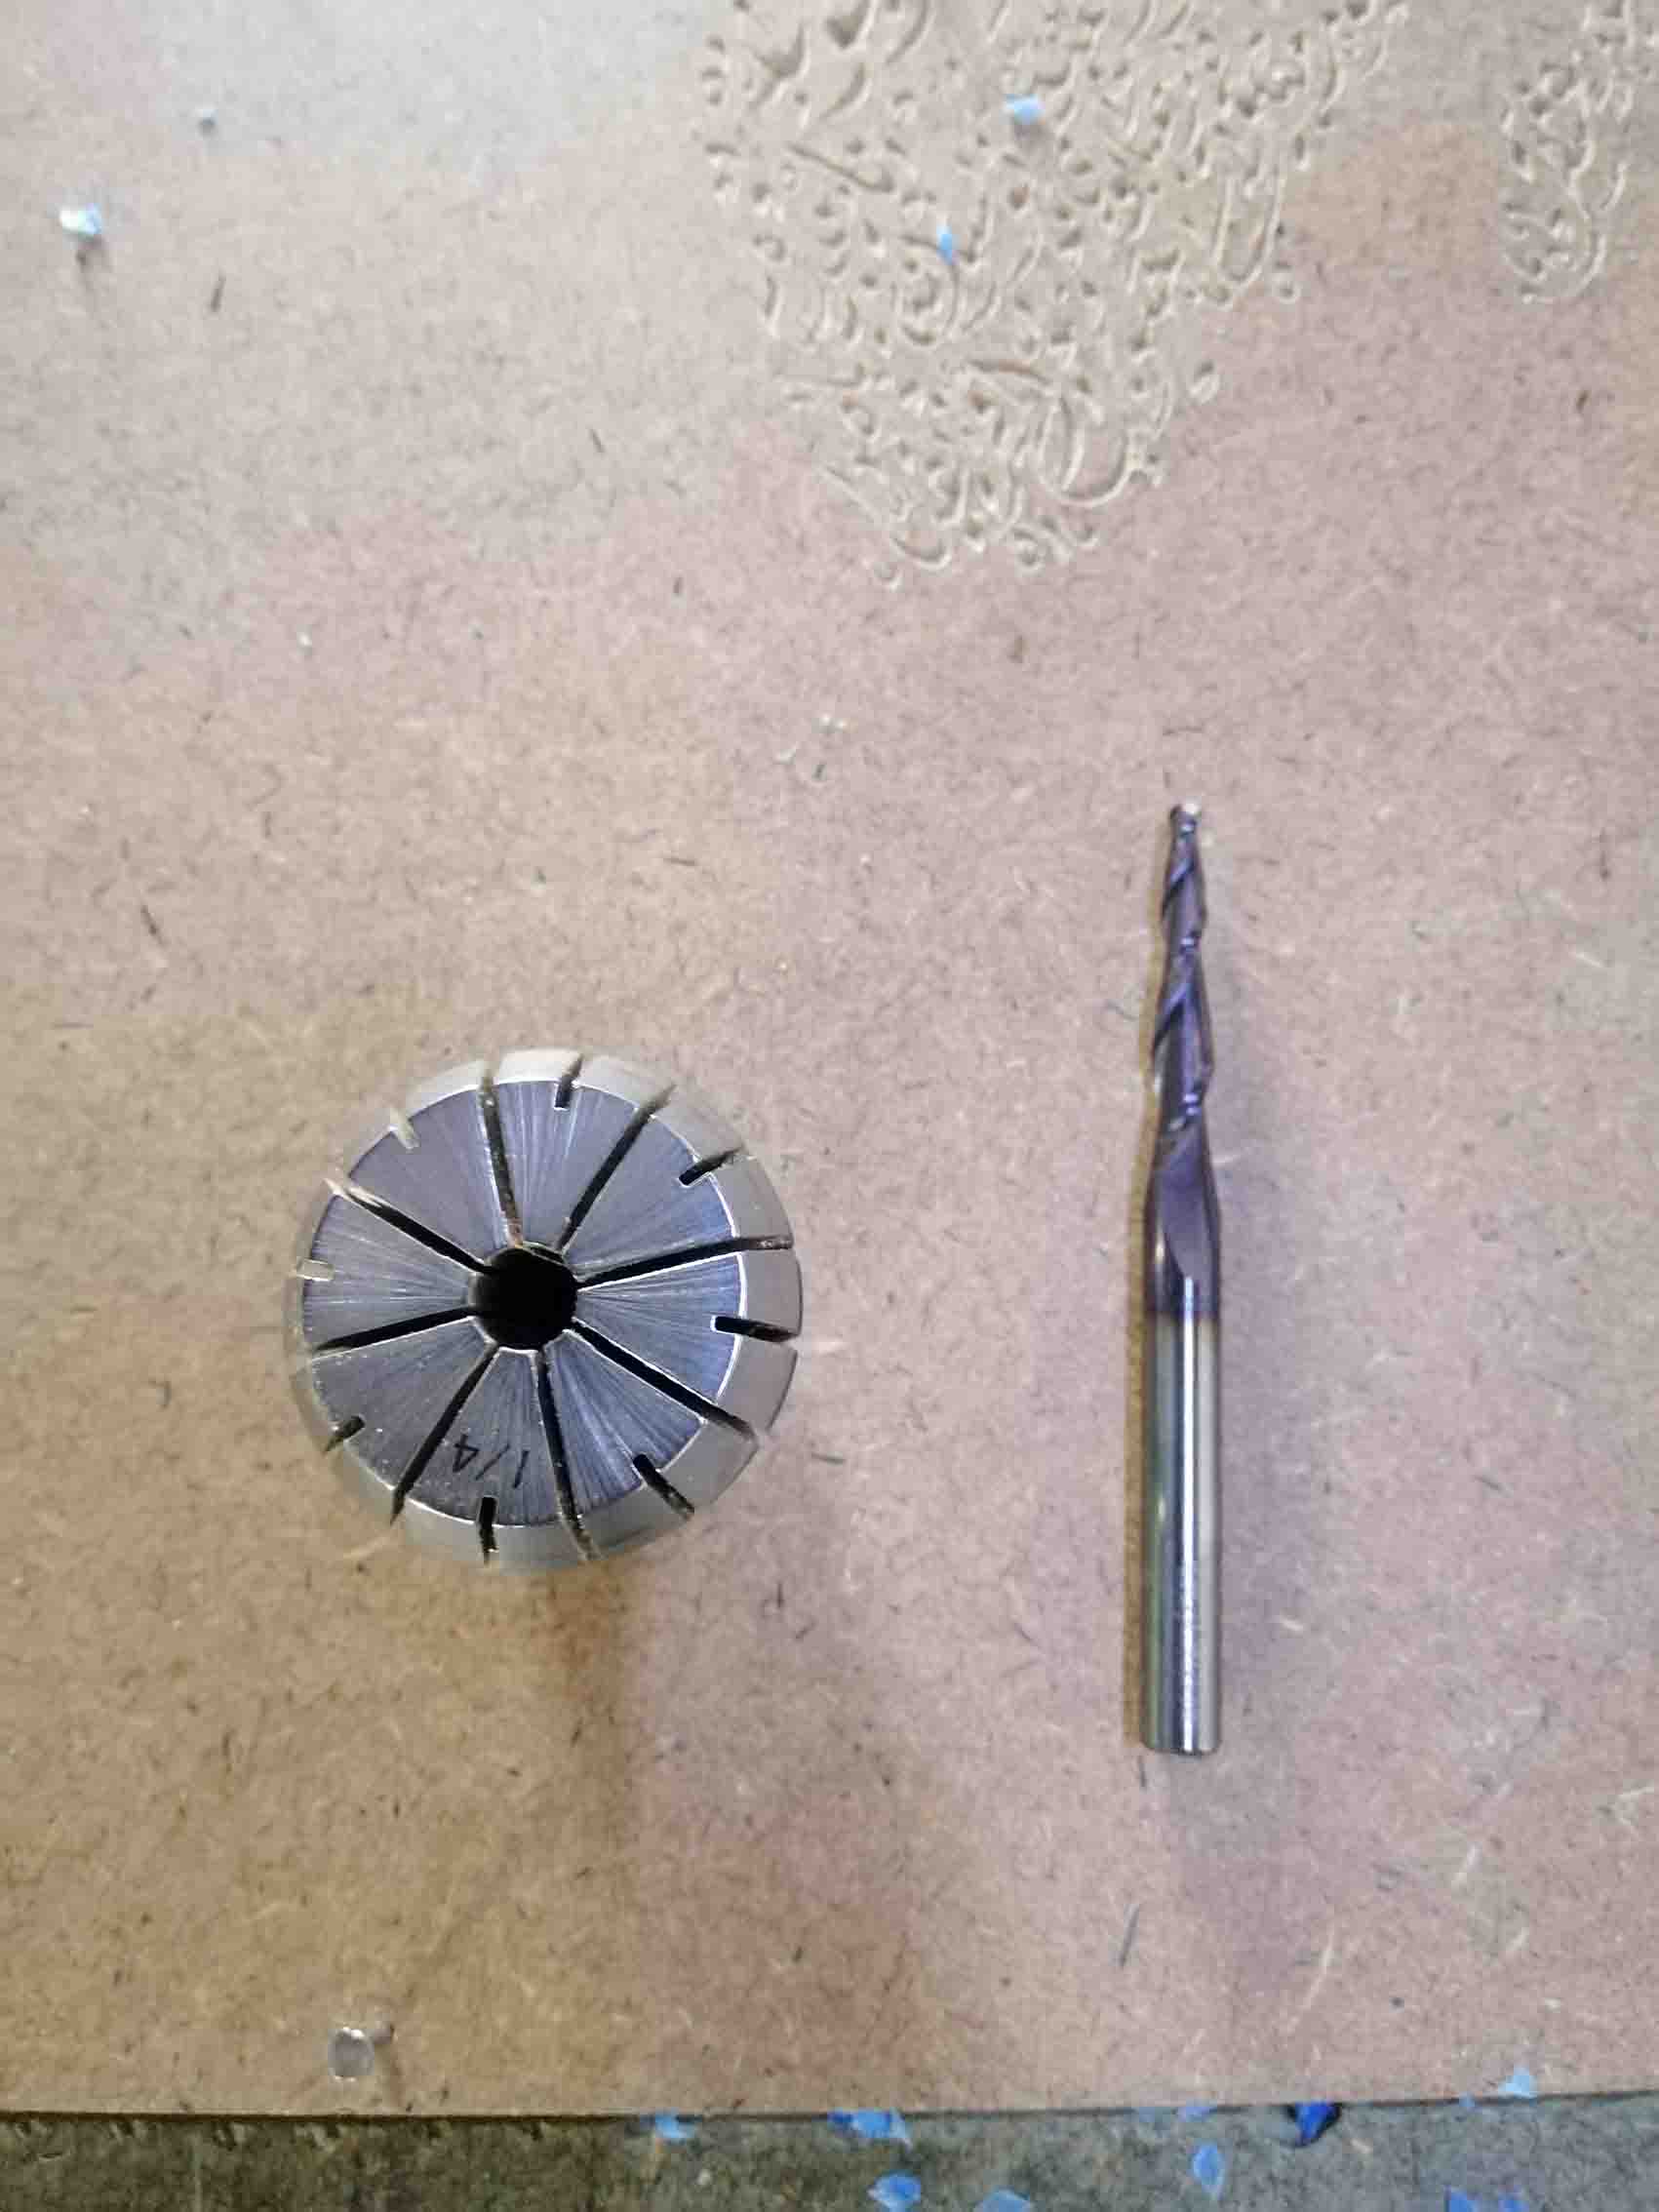
I used Tapered End Mill 1/4 inch Shank with 1.5mm Ball Nose for the finishing toolpath.
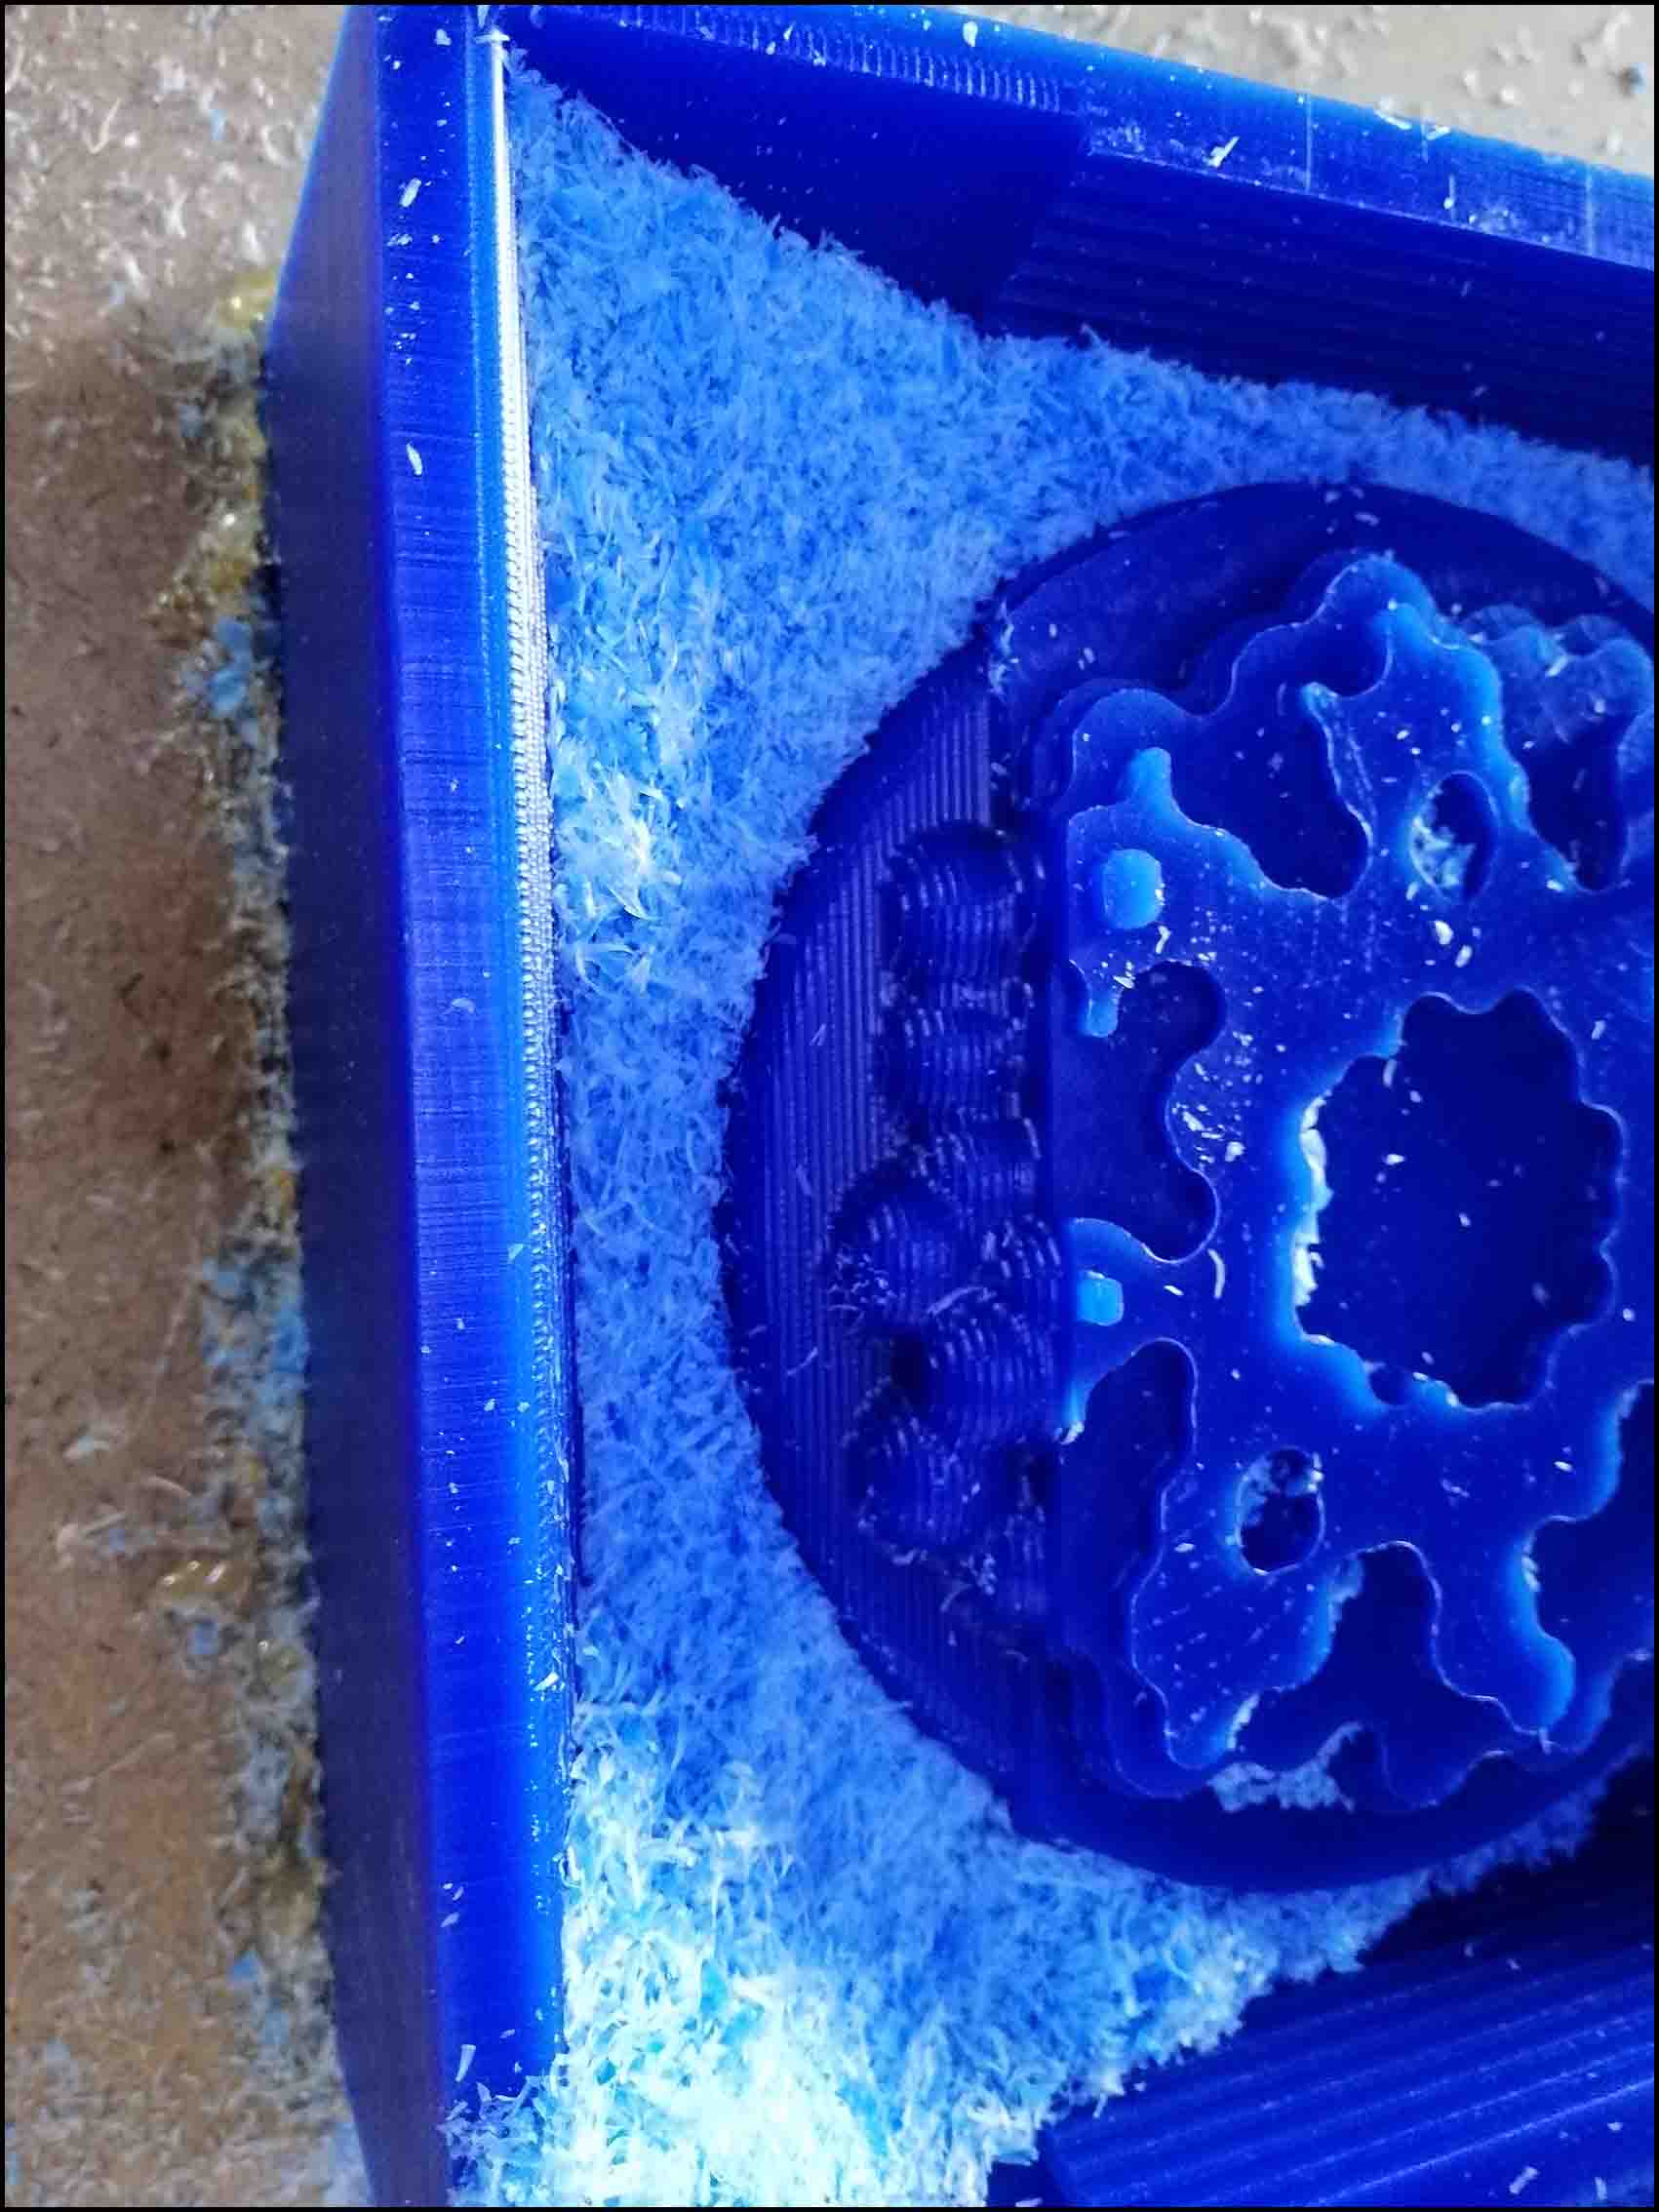
Unexpected problem
I had bad finishing, because the ArtCam file settings was using low resolution
I made a new Artcam file and increased the resolution
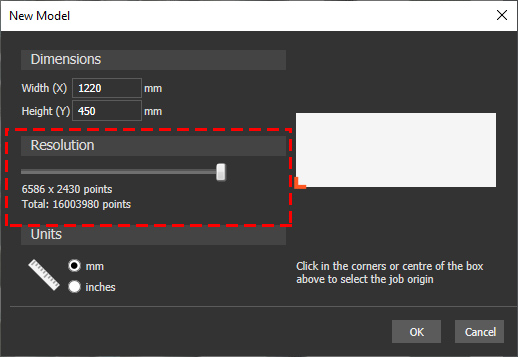
And with the same exact size and location of the mold.
And I continue with bad part to remind myself in the future to not the same mistake again.
Continue finishing the engrave
Then I decided to smooth the first part by going down with the Z-axis by 0.2mm to give smooth finish, but still showing.
Hero shoot mold!
Casting Silicone
Casting silicone will give the negative of the mold.
Casting Silicone OOMOO™ 25
I could not use OOMOO™ 25 because its self live has expired.
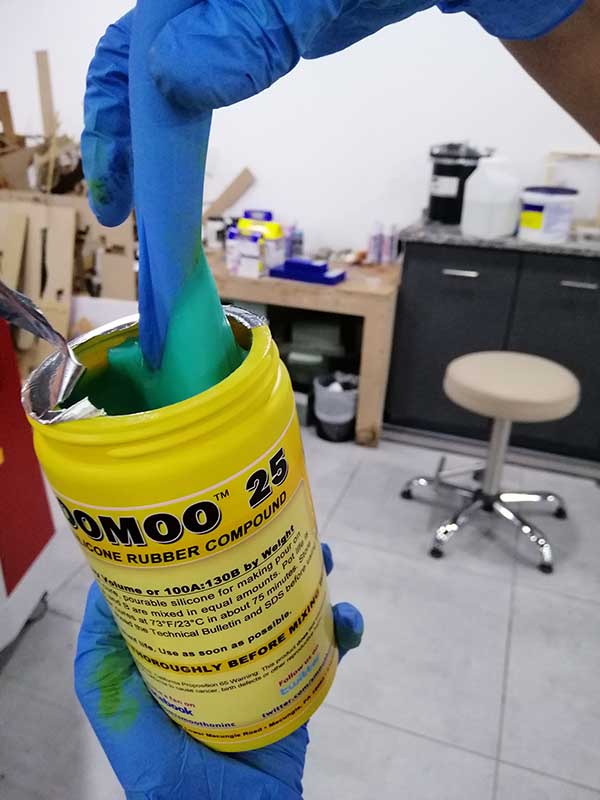
Casting Silicone OOMOO™ 30
I mixed the part by weight, from the OOMOO™ 30 page the mix ratio is:
Mix Ratio By Weight 100A:130B
I calculate the volume of the 3d model and the mold box using an addon in Blender called Mesh: 3D Print toolbox.
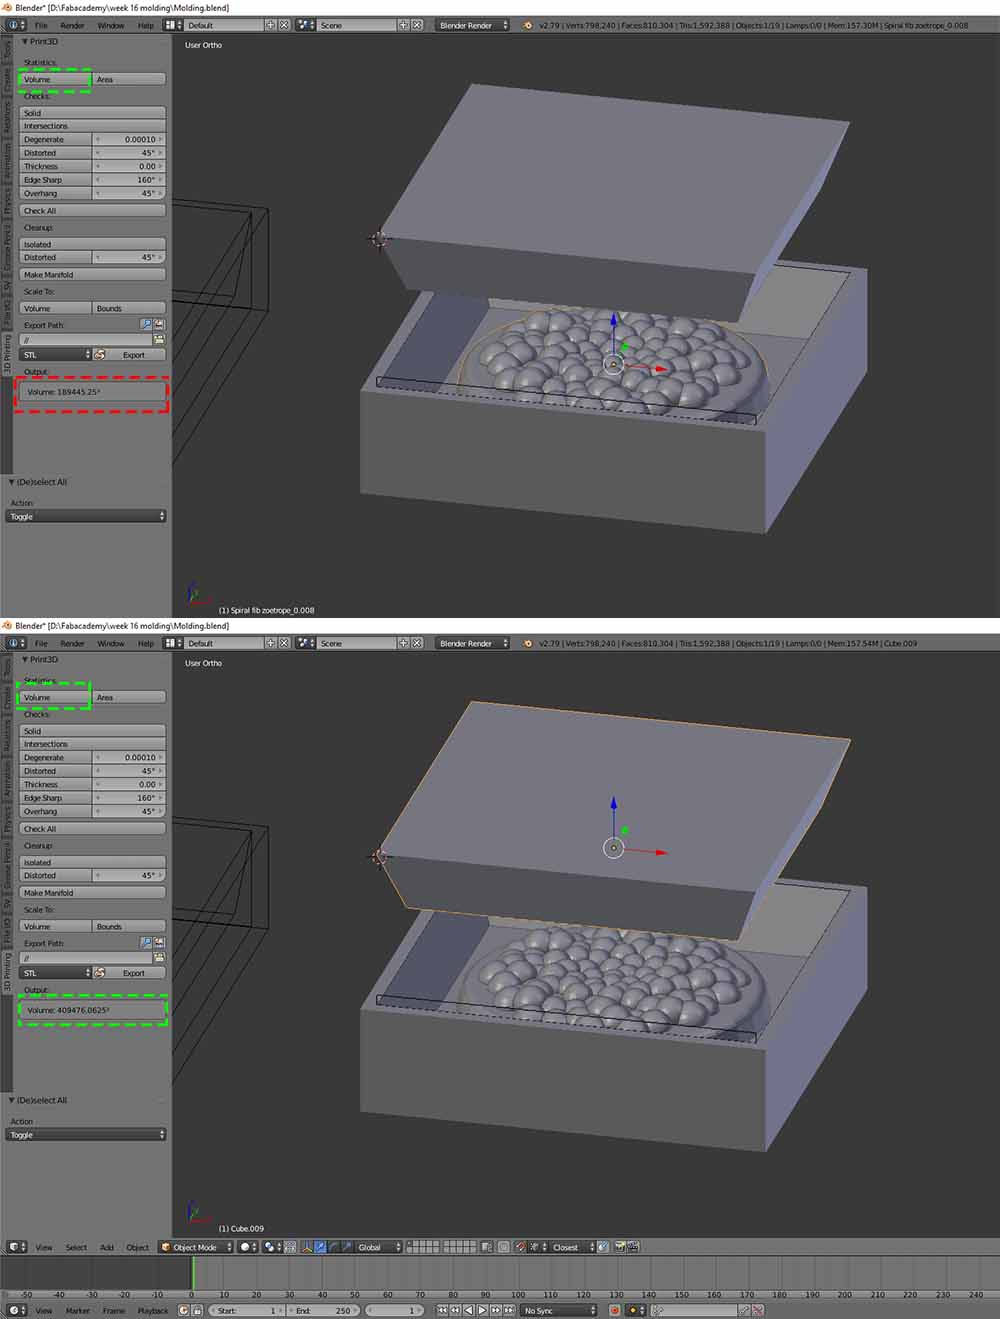
And we got the values in mm³, and we convert to cm³:
-
Volume of the model is
189.45 cm³. -
Volume of the mold box is
409.48 cm³
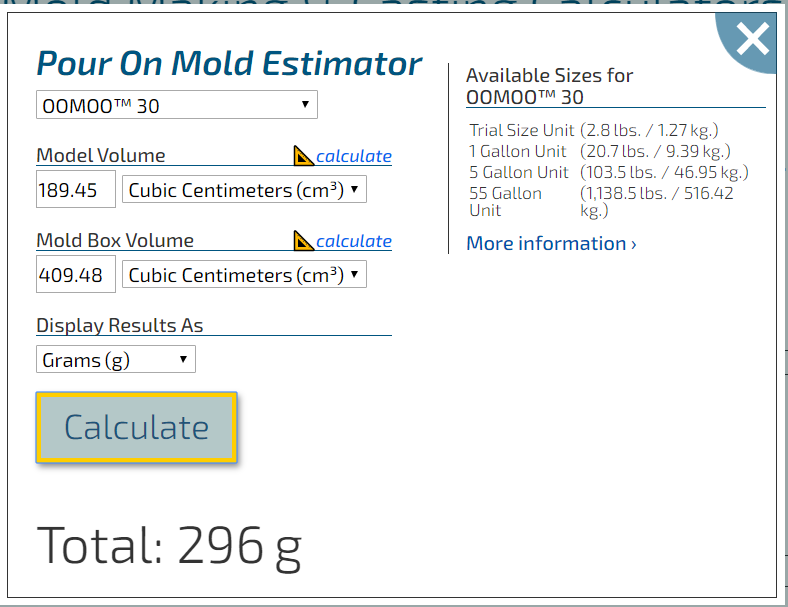
And we get the weight in grams 296g.
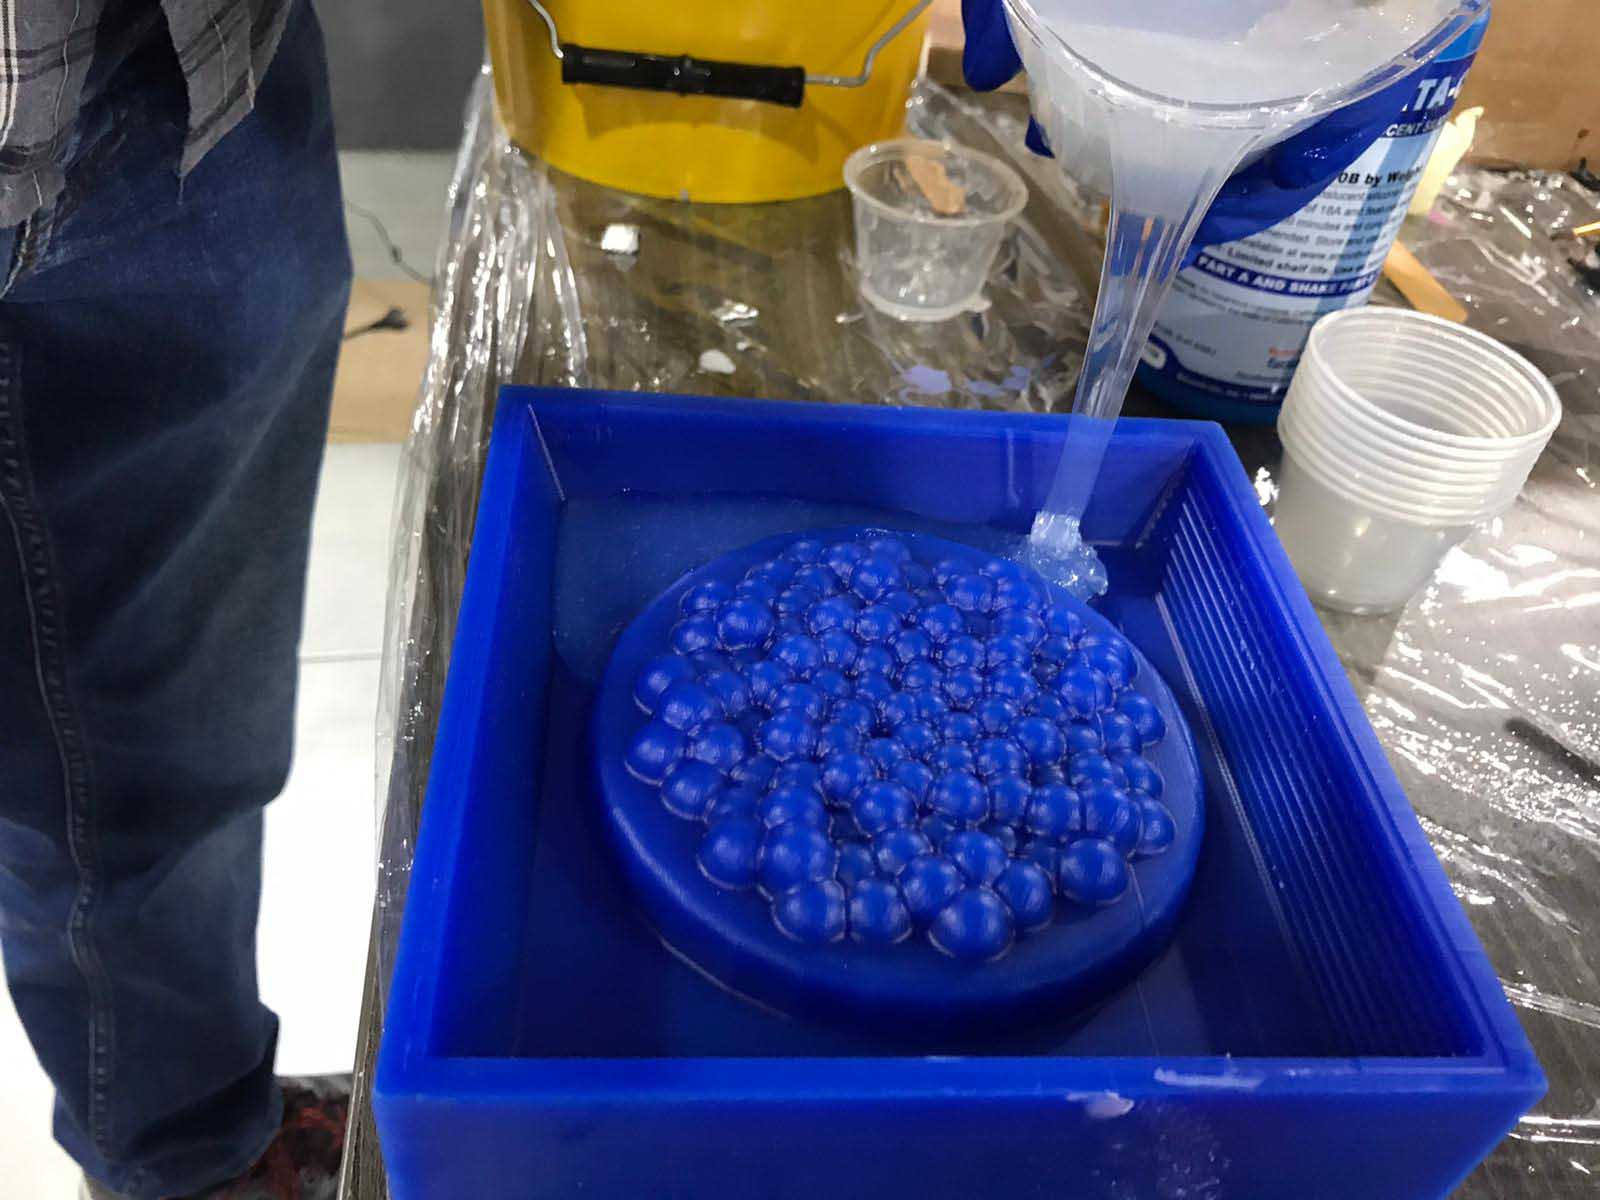
Steps
- Using a brush, I covered the model with release agent “grease”
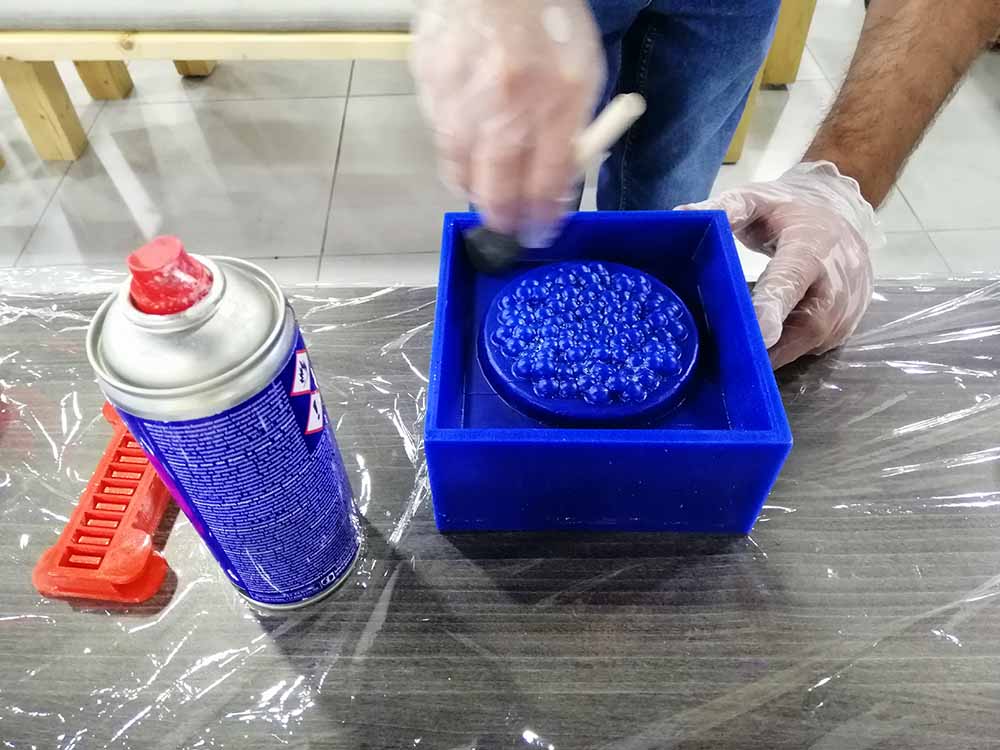
- Measuring the weight of A and B to the ratio mention before, the mixing them until the color changed to Light Blue.
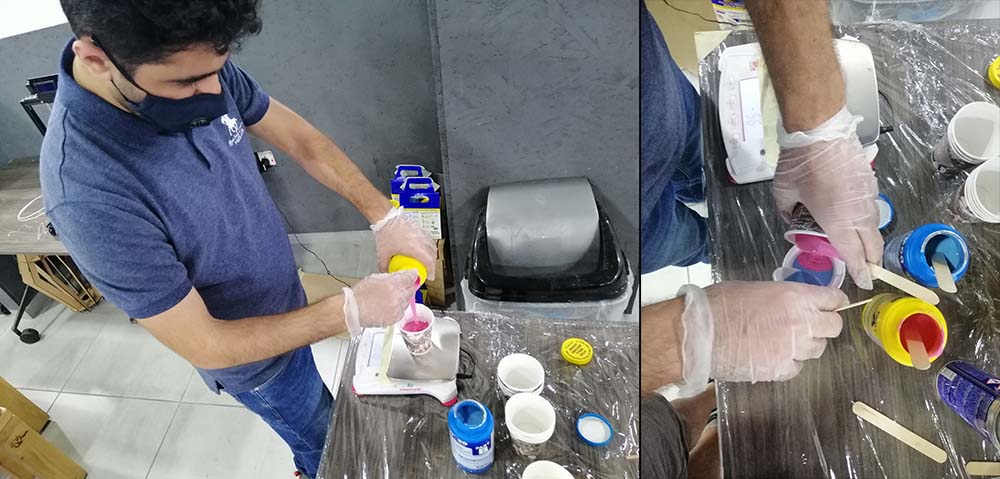
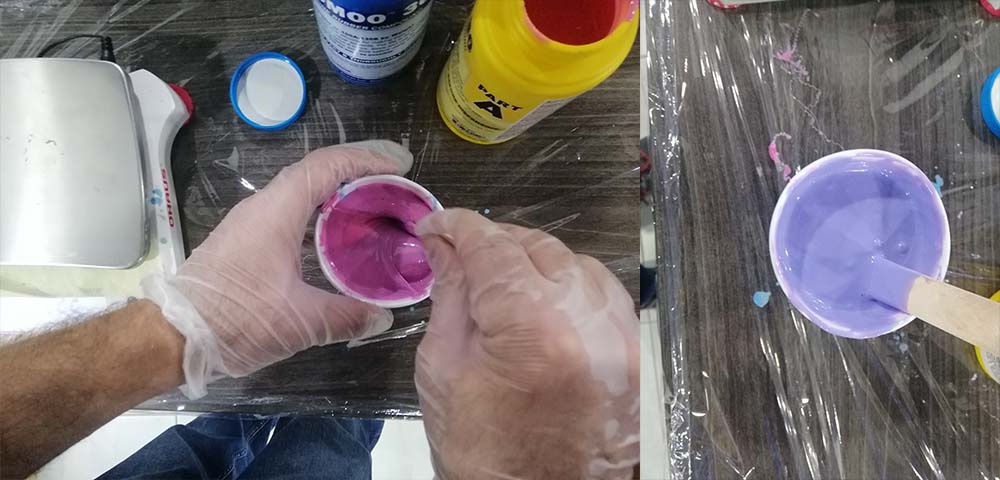
- Pour OOMOO 30 mix into the mold, I used a paper cup to mix, and it was hard to see the parts
A and Bare mixed properly, in the end of the cast I had un mixed parts, but it did not matter.
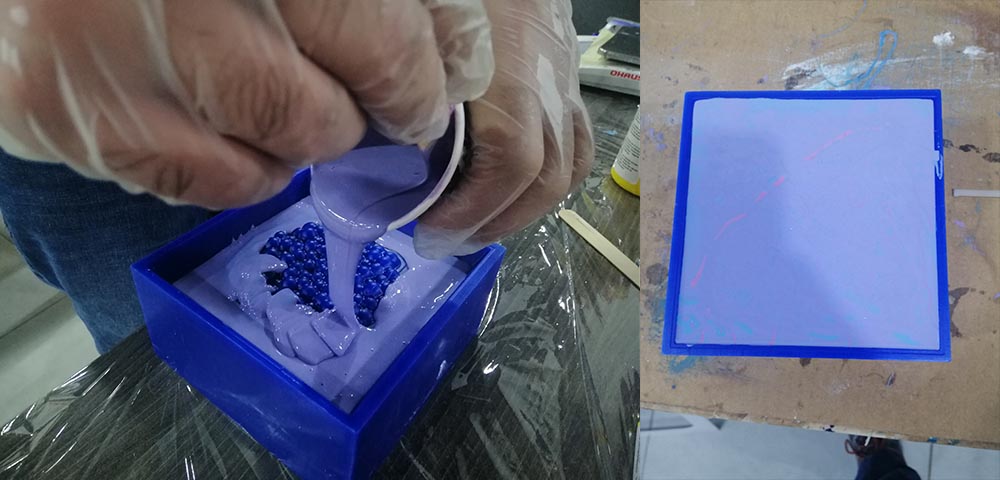
- Because we had a limited access to the lab, the cure time of the silicon is
6 hours, and I had to wait until the next day to see the finished cast.
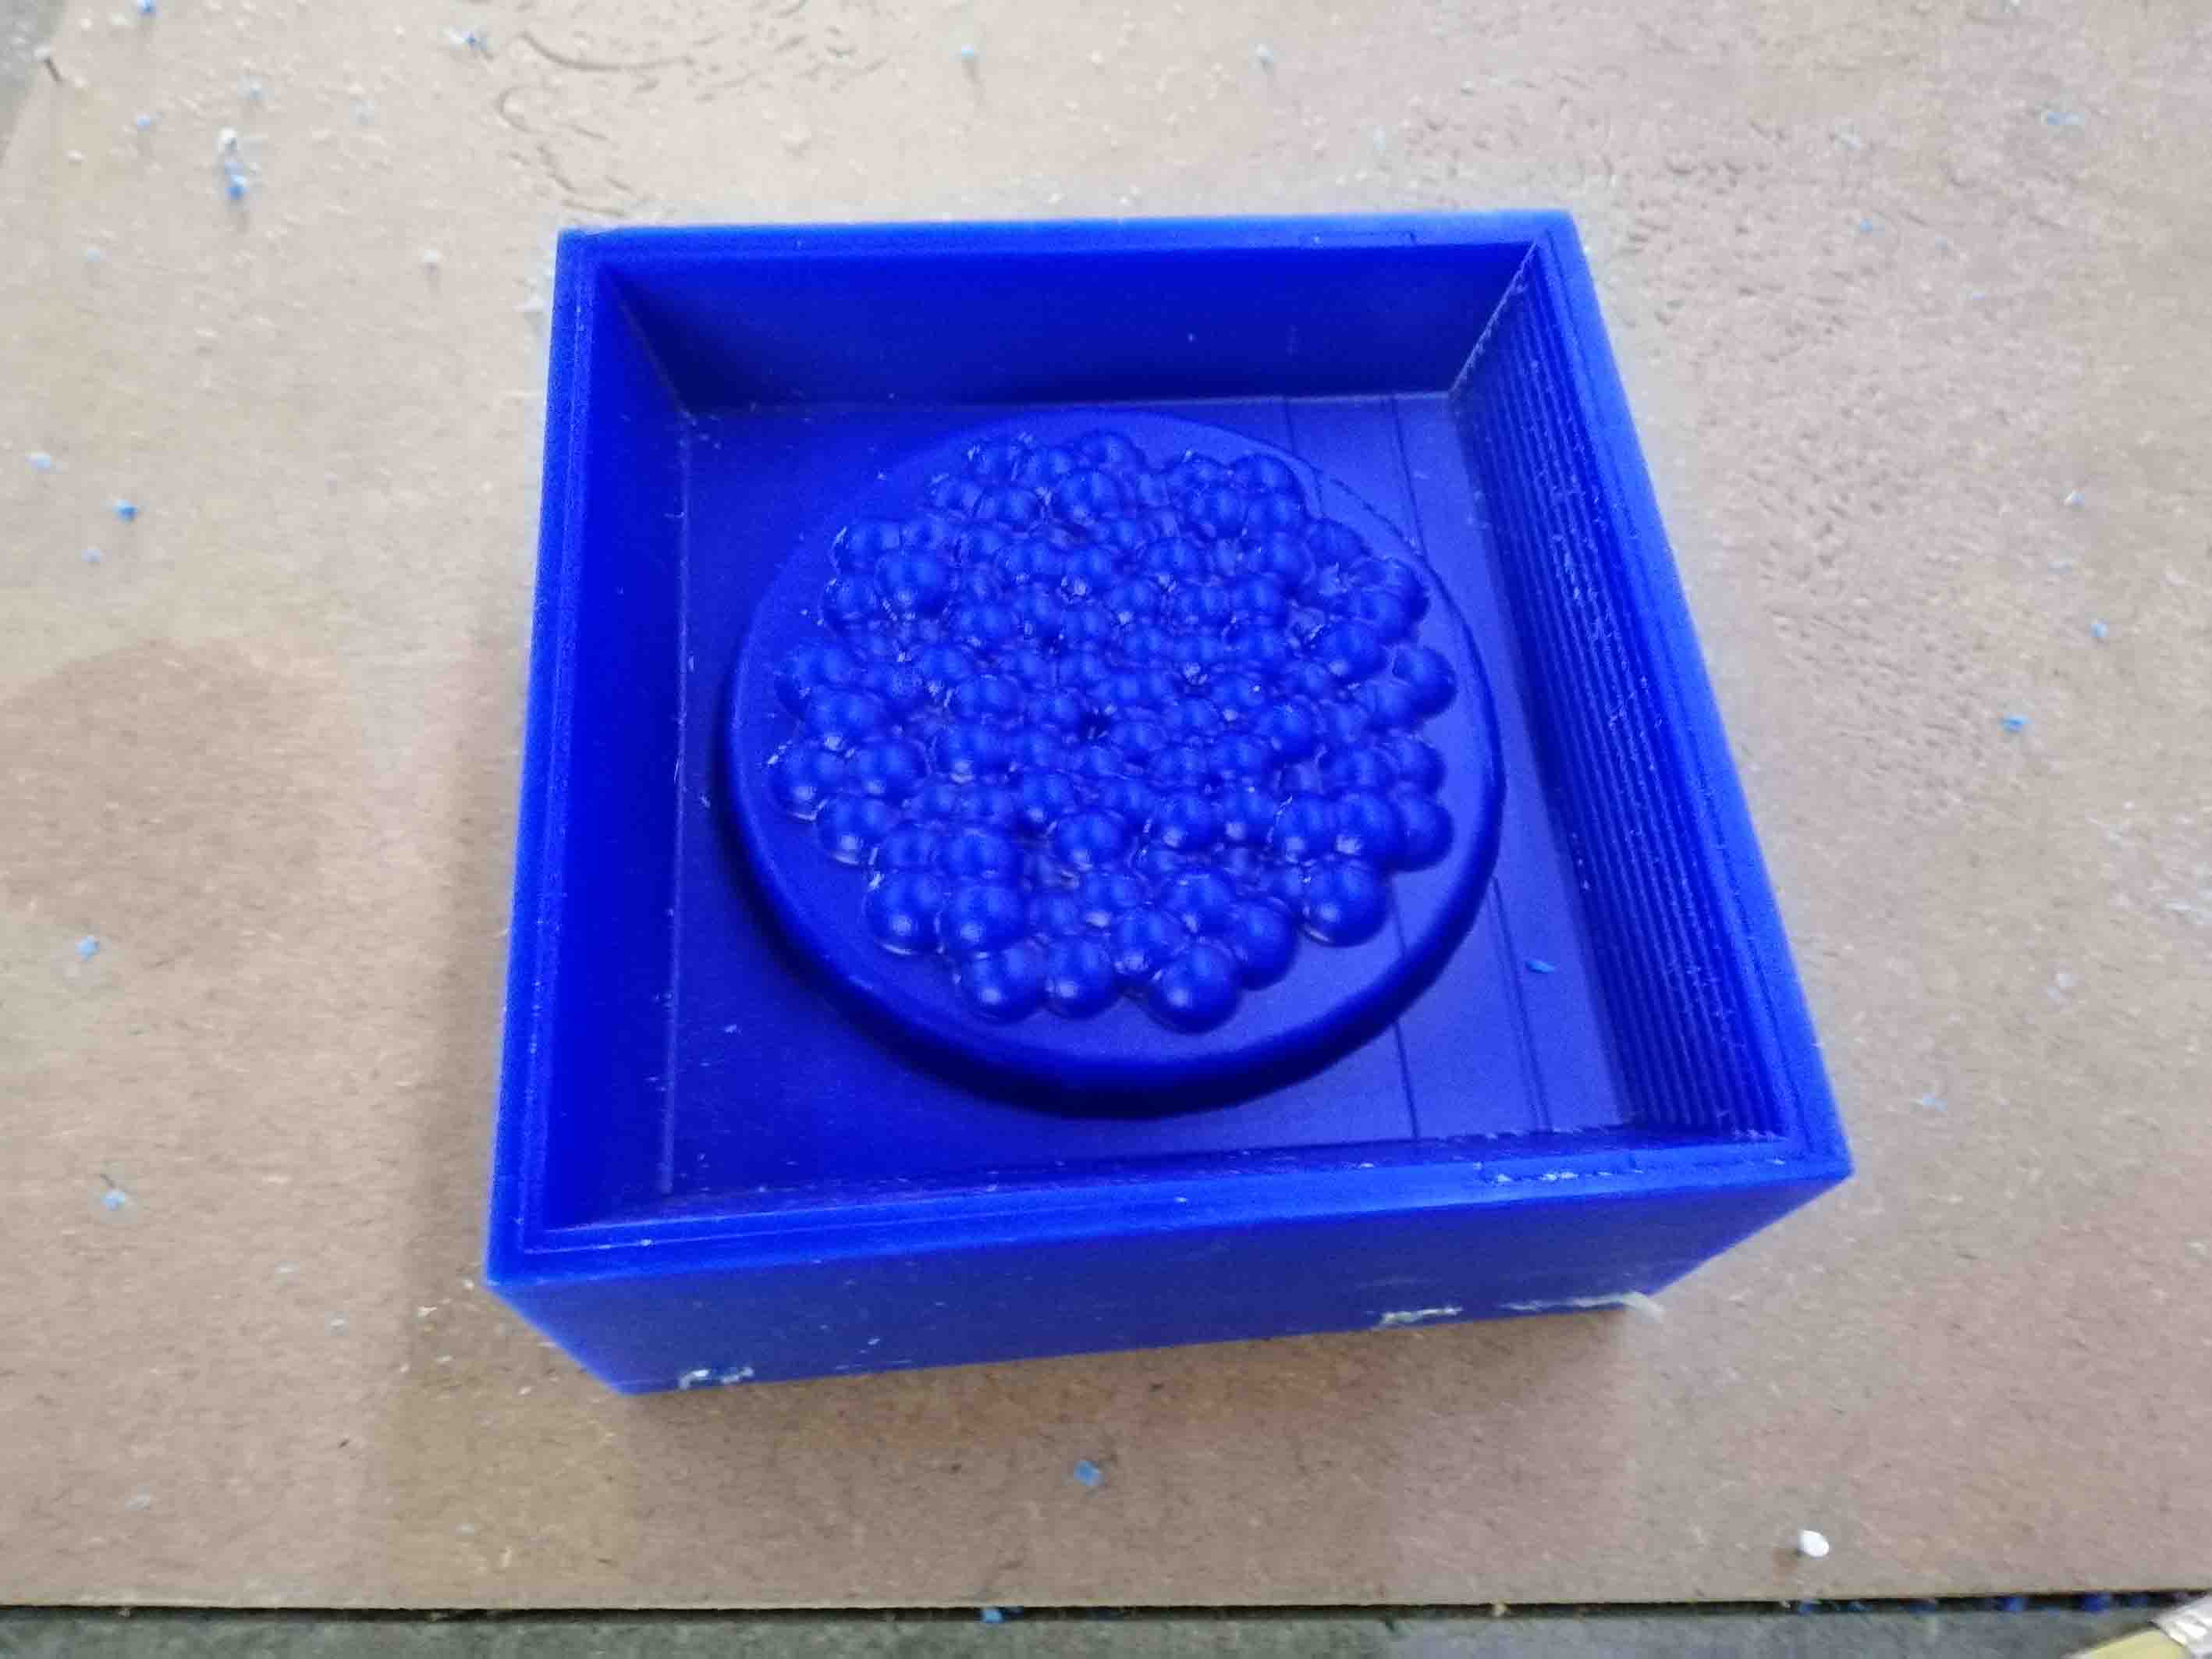
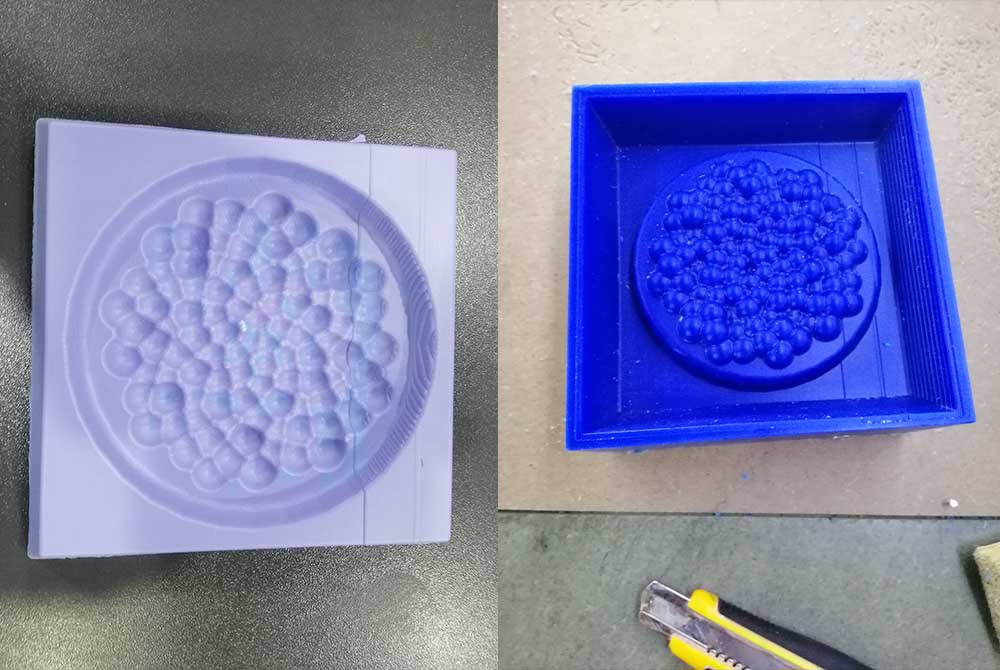
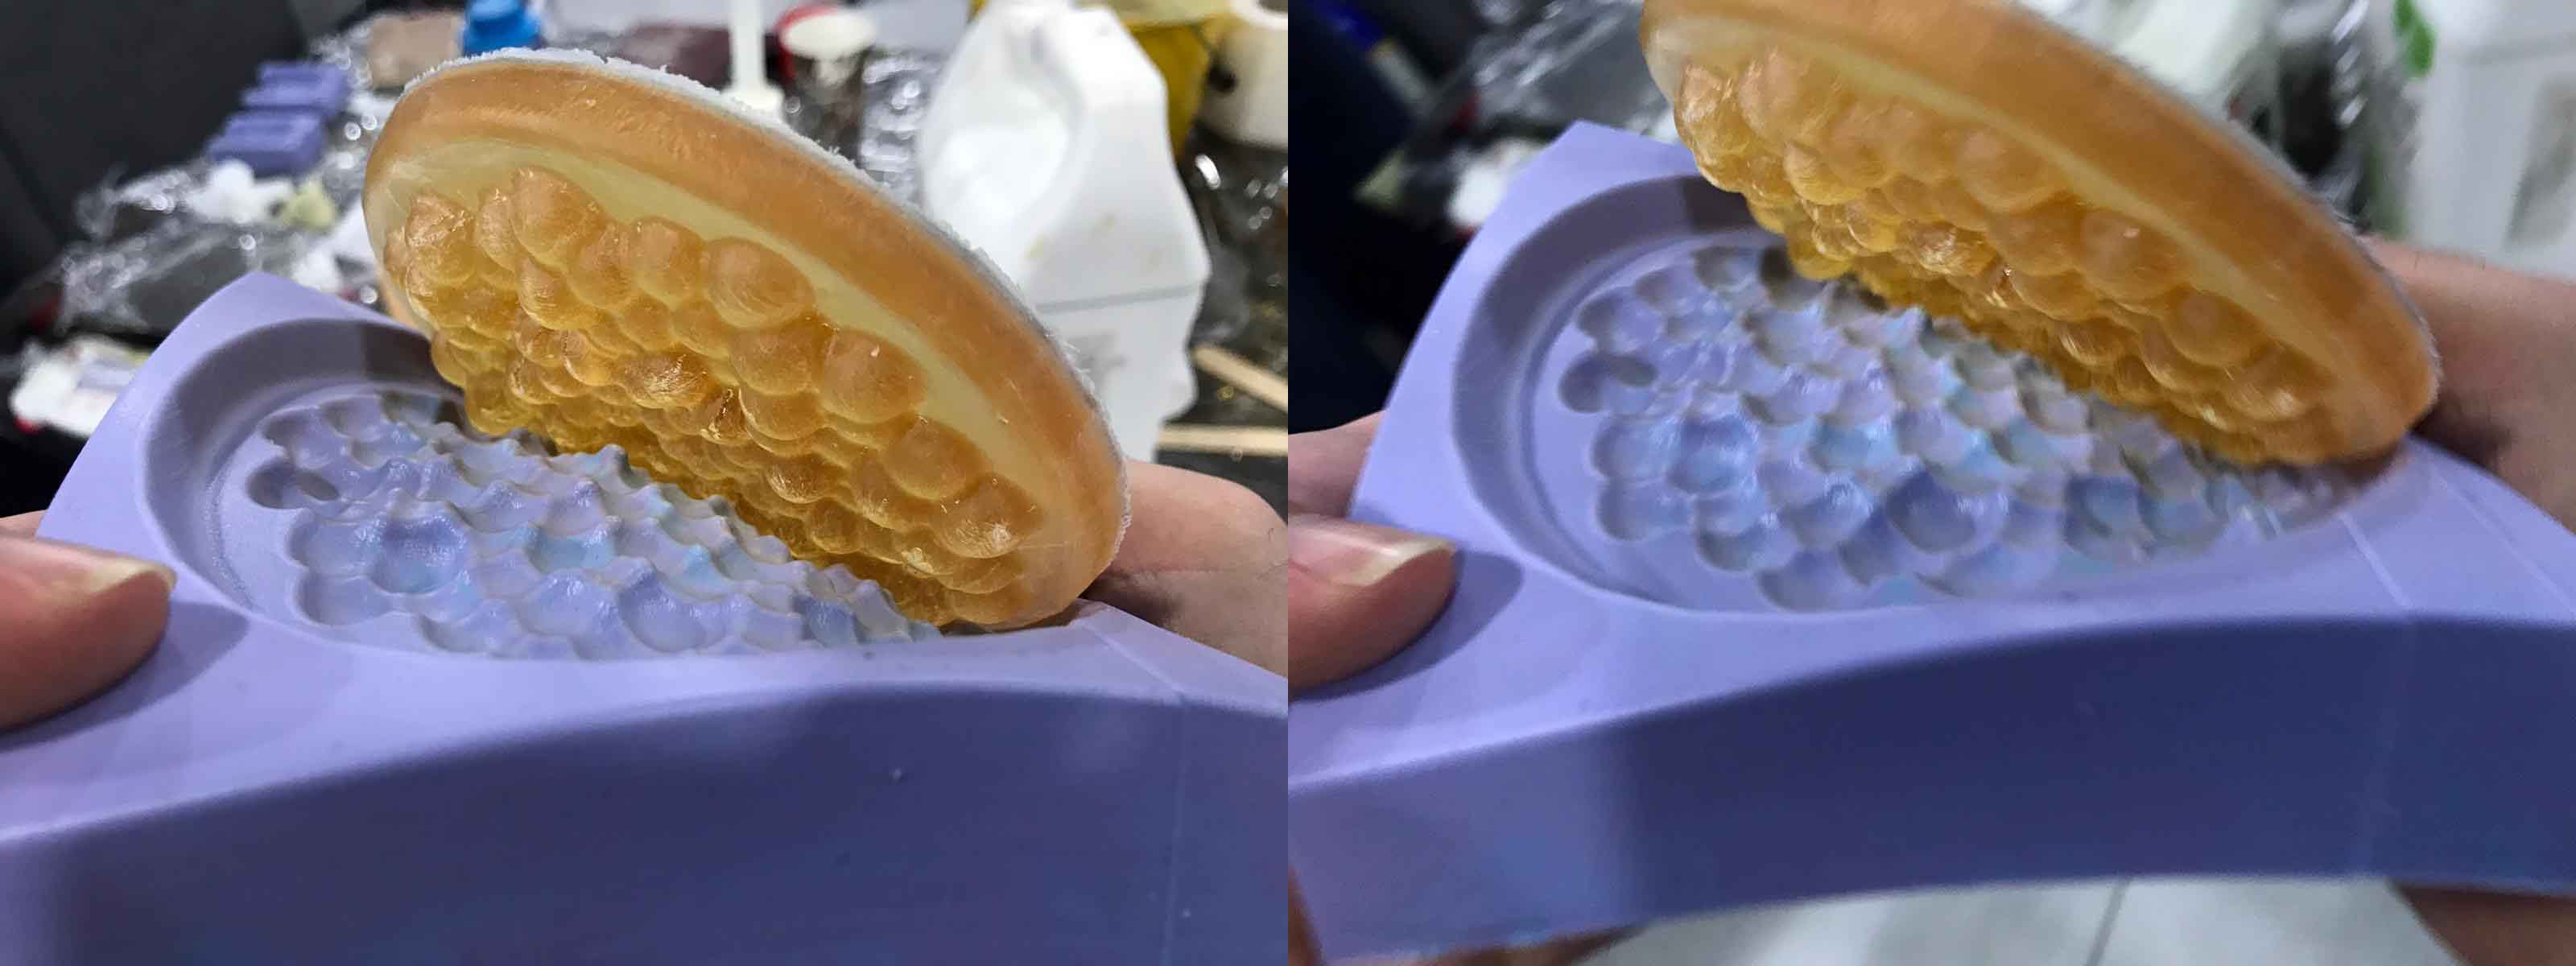
Hero shoot Silicone Cast!
Cast compare to the mold.
Casting SORTA-Clear™ 18
With the same steps of casting Silicone OOMOO™ 30, but the mix ratio is different
Mix Ratio By Weight 100A:10B
taken from SORTA-Clear™ 18
And it will take 24 hours to cure.
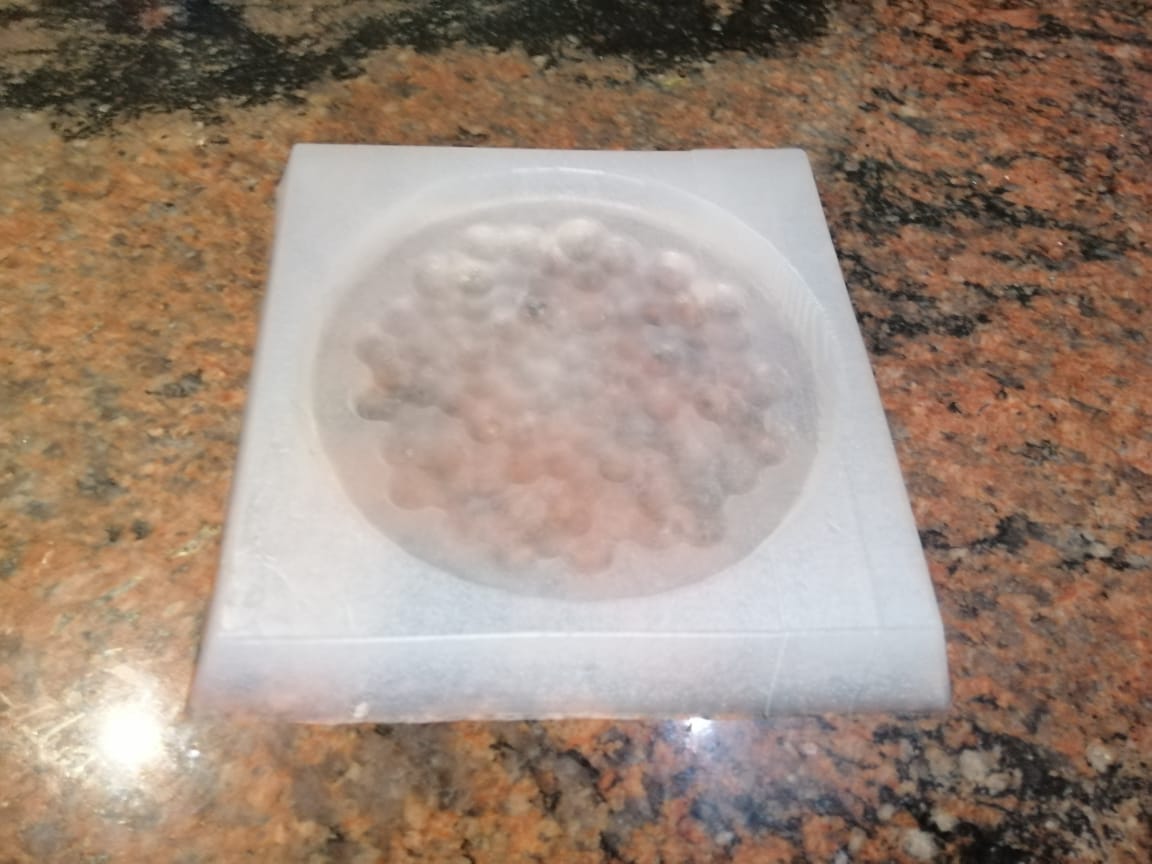
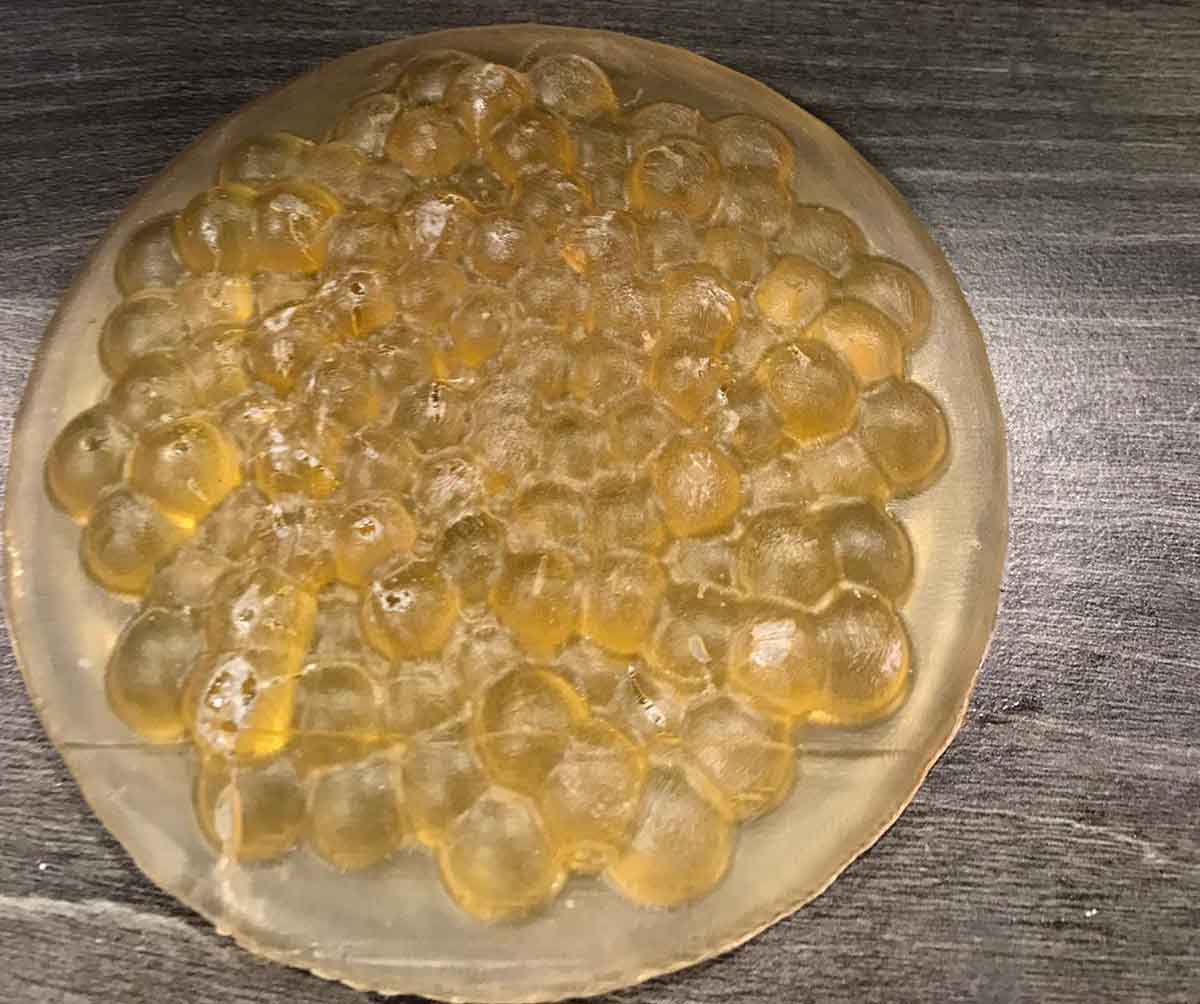
The result:
Casting Liquid Plastic and EPOXY
For these materials, we cast them into the silicone and they will give the positive of the mold.
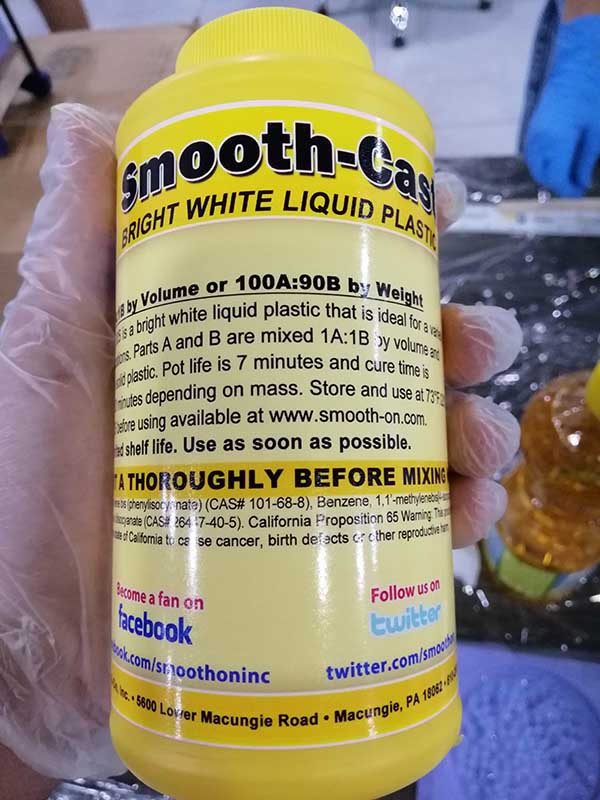
Casting Liquid Plastic Smooth-Cast® 305
As you can see the next image that the Smooth-Cast® 305 mixing ratio is 100A:90B.
And we do the same steps of casting silicone, but we cast the Liquid Plastic into the silicone.
You can see in the next pictures the curing of the Liquid Plastic, changing from clear liquid into white hard material.
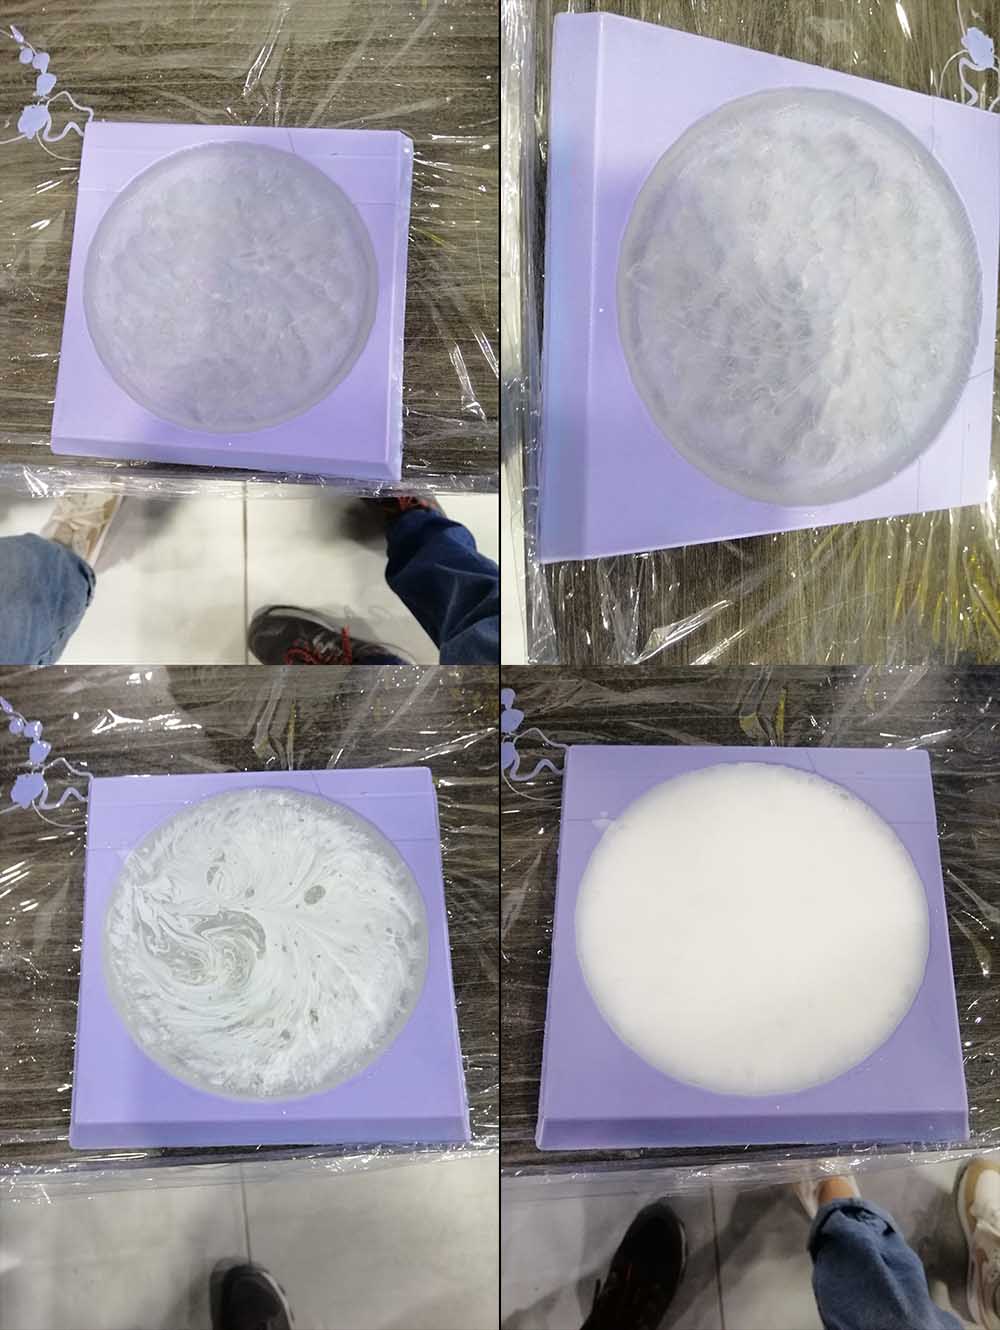
Hero shoot! Liquid Plastic

Casting EPOXY
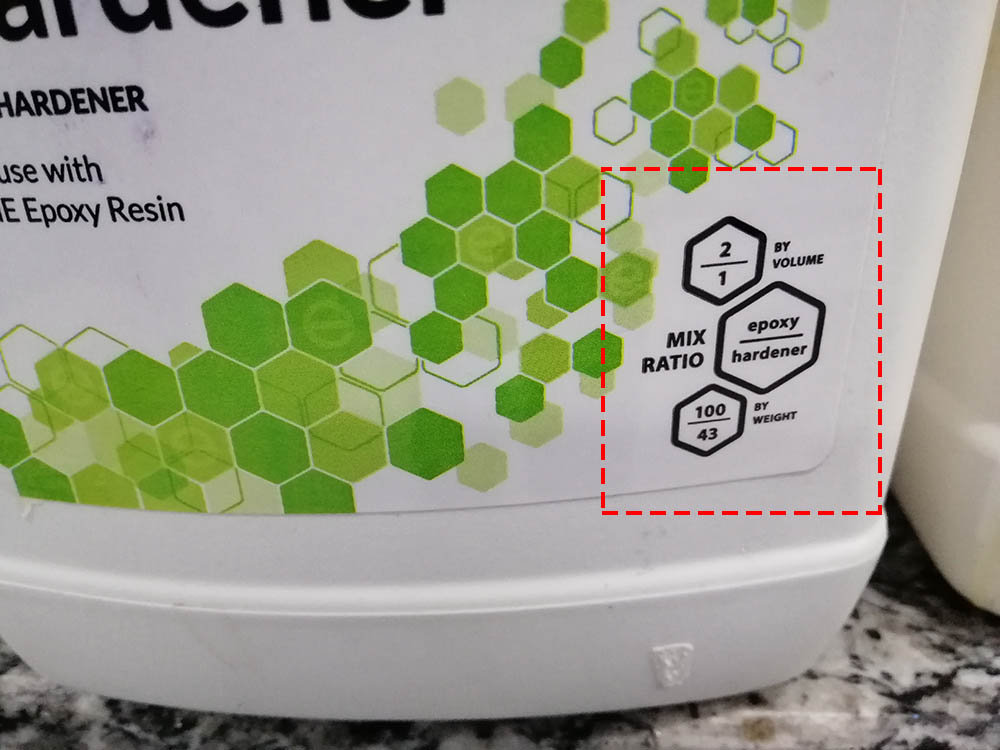
I mix the epoxy and the hardener by weight, ratio is 100 to 43
Pouring the epoxy in the silicon.
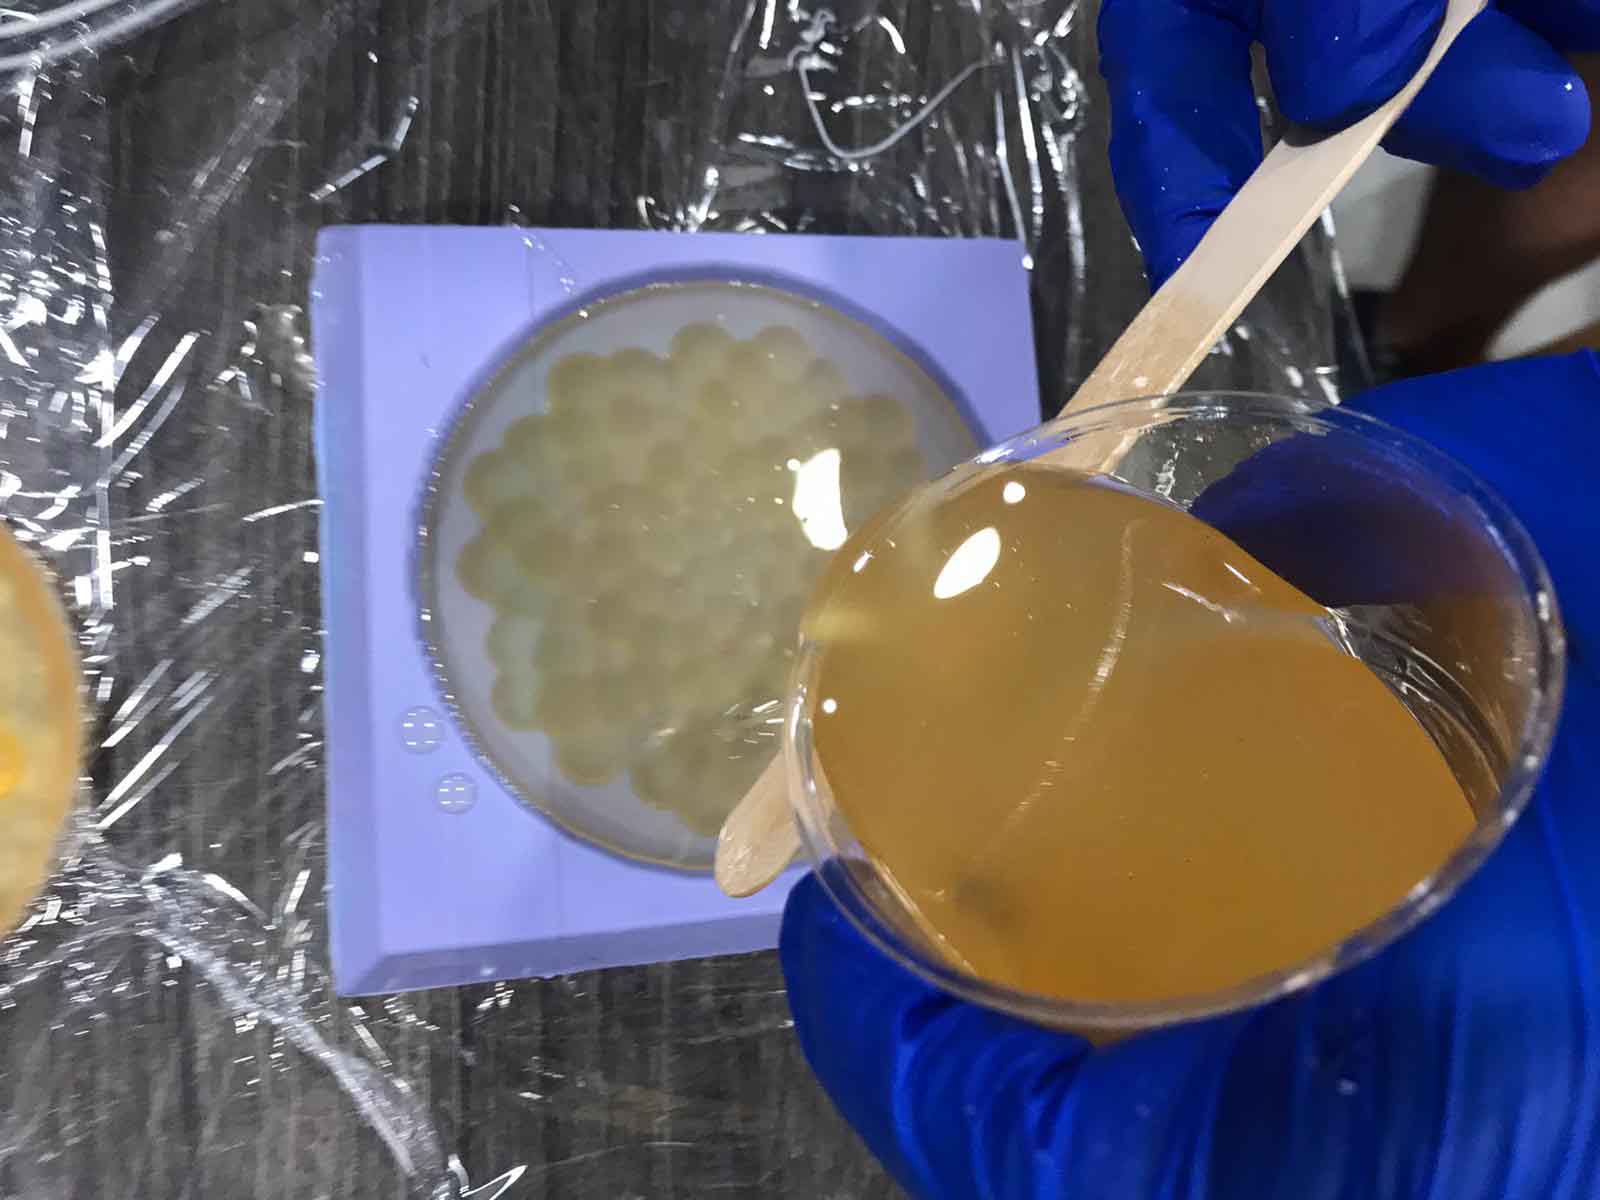
The chemical reaction between the epoxy and hardener causing a high temperature.
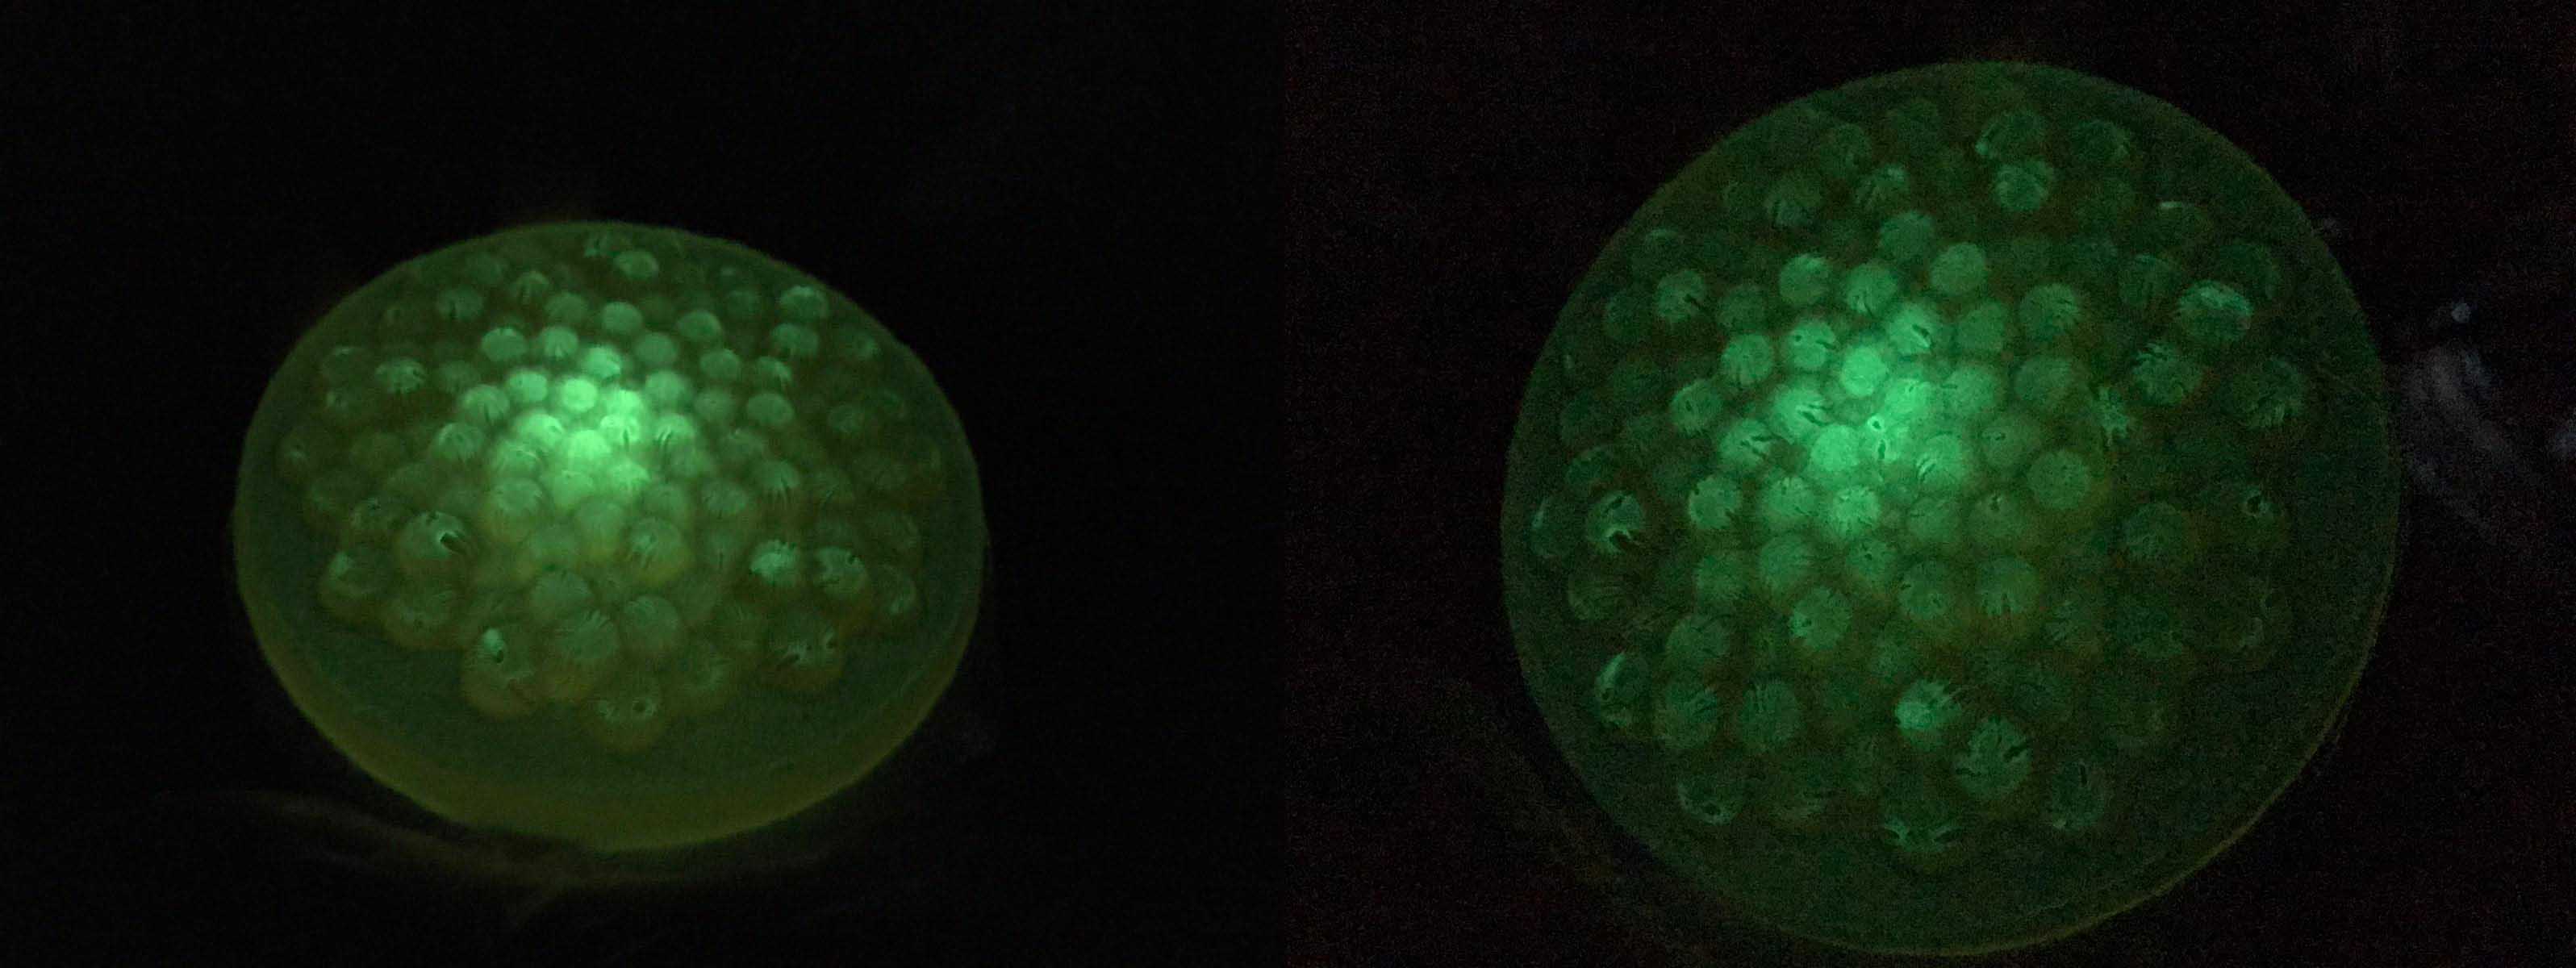
Also I have done the same steps but I added glow in the dark power to the epoxy resin.
Hero shoot! EPOXY
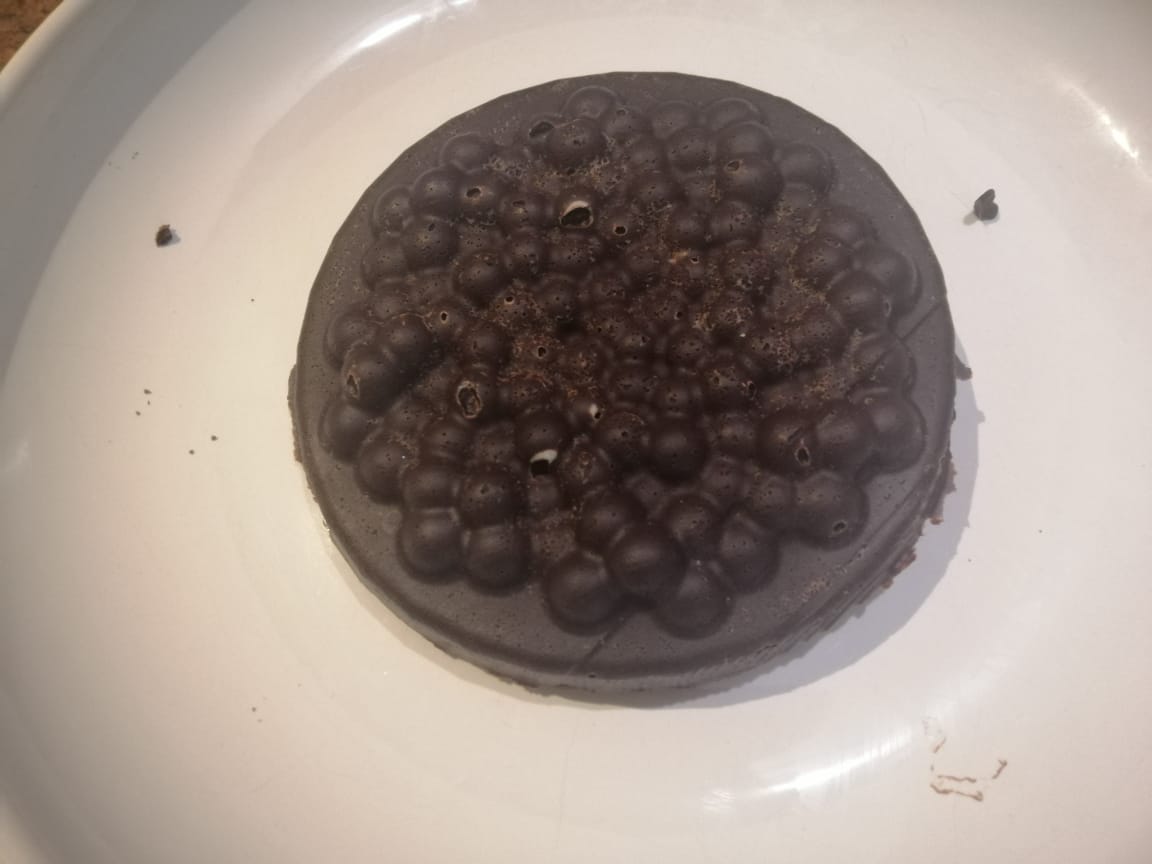
Casting Chocolate
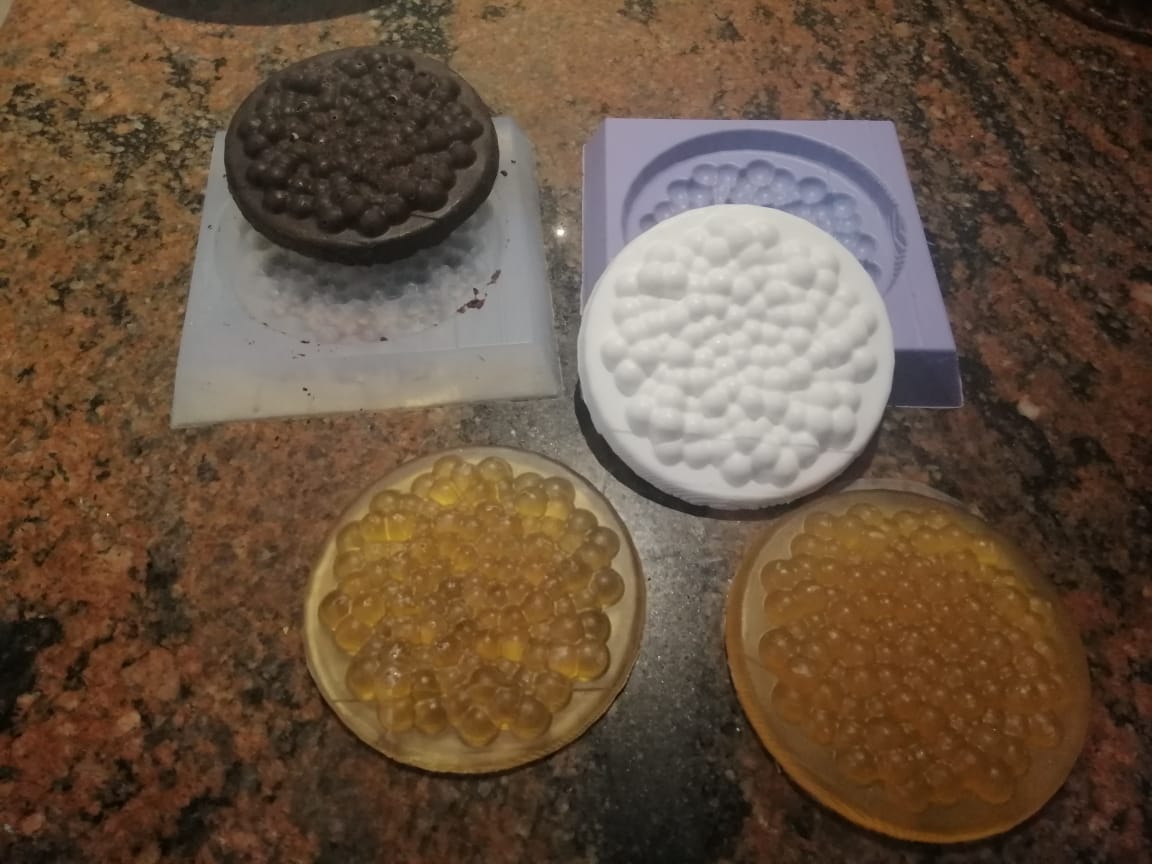
I have melted down a chocolate bar and put it on the SORTA-Clear silicon mold, then waited to cool down.
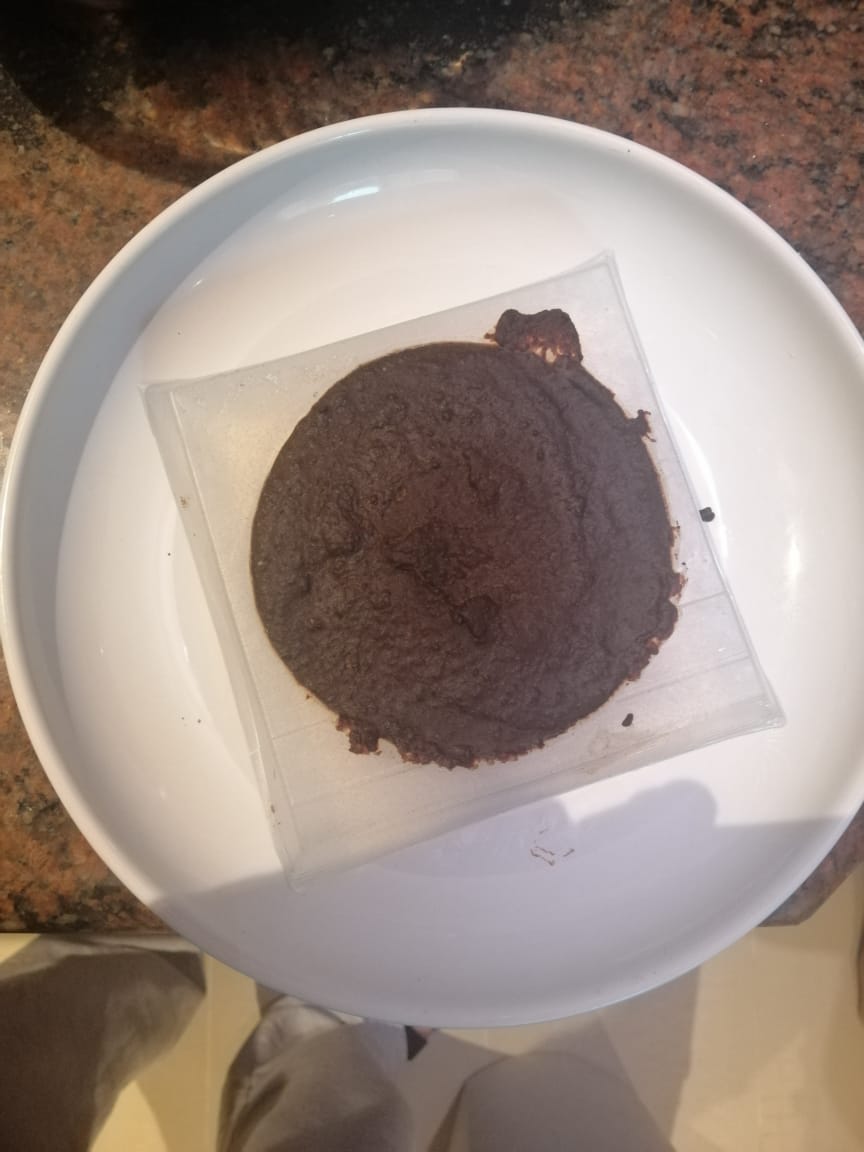
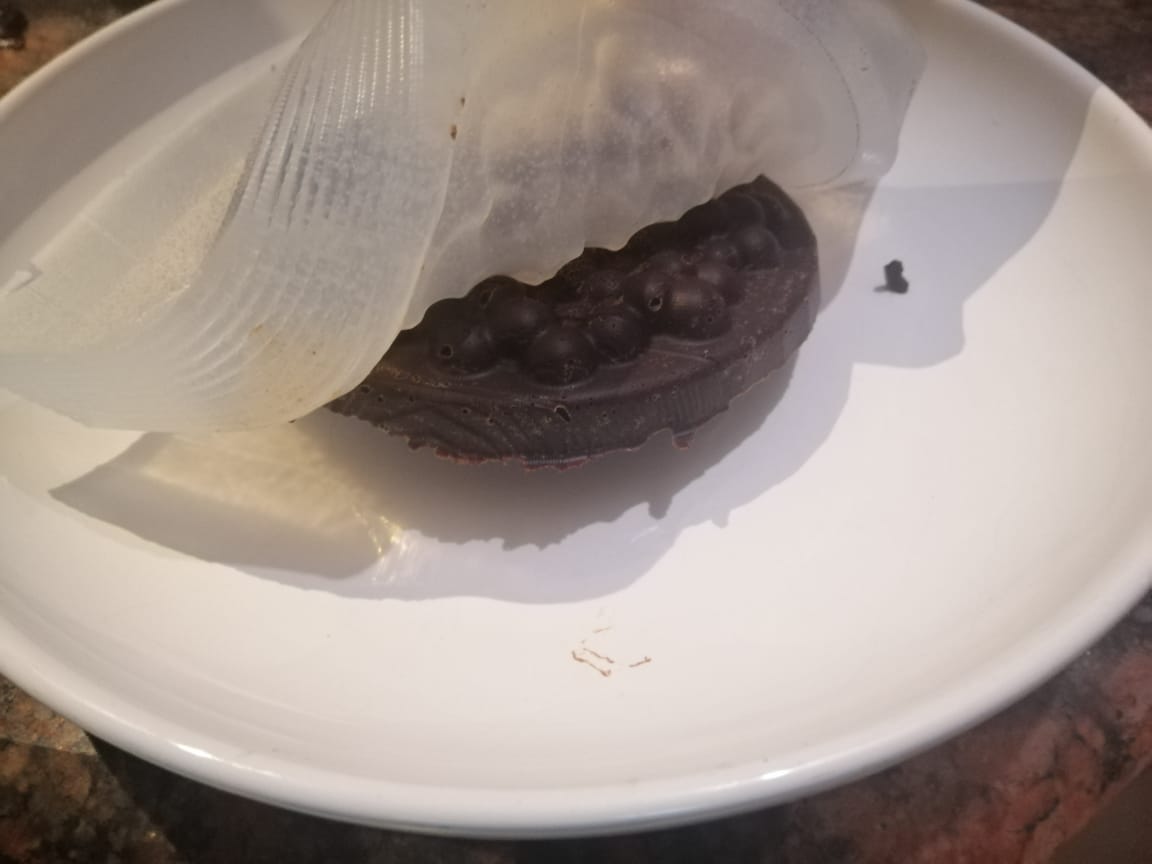
Hero shoot! Chocolate
Hero shoot!
The wax, then the negative molds, then final result of casting.
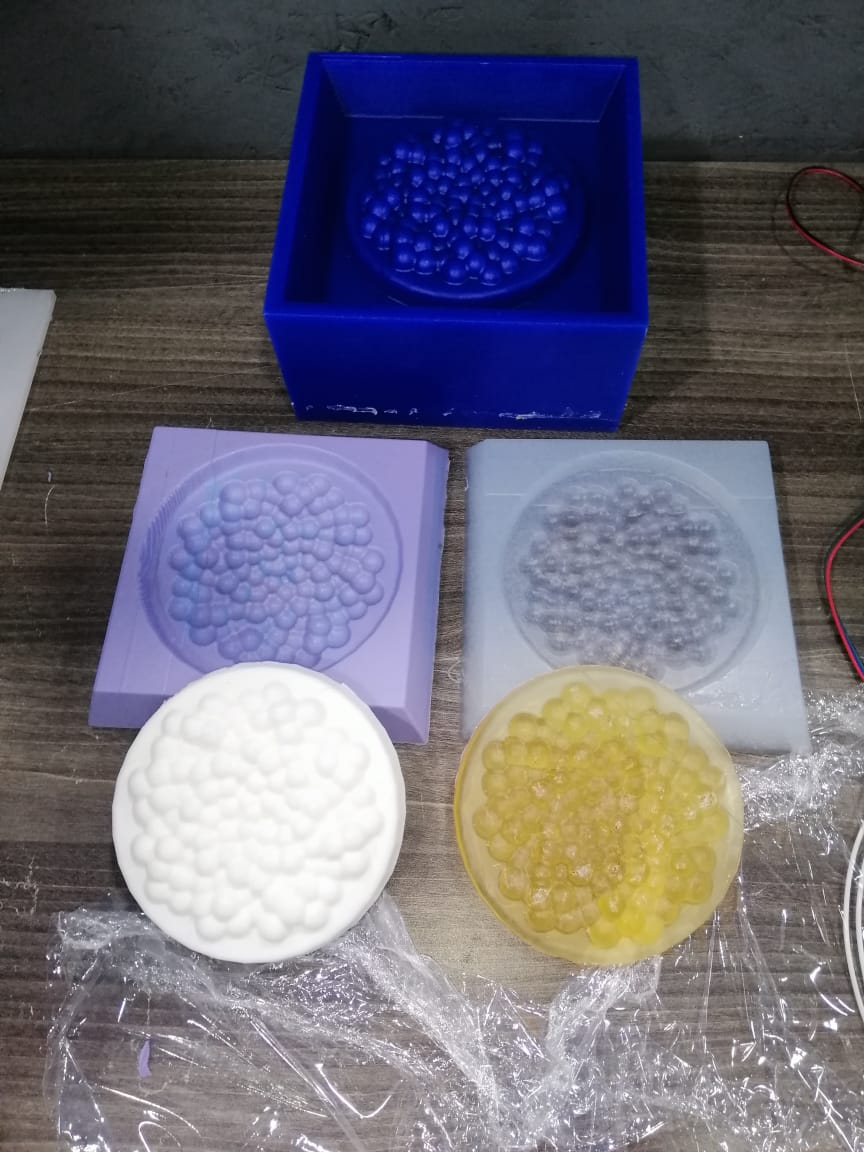
With Chocolate, and glow in the dark epoxy resin.