2. Project management
Assignments:
- Work through a git tutorial.
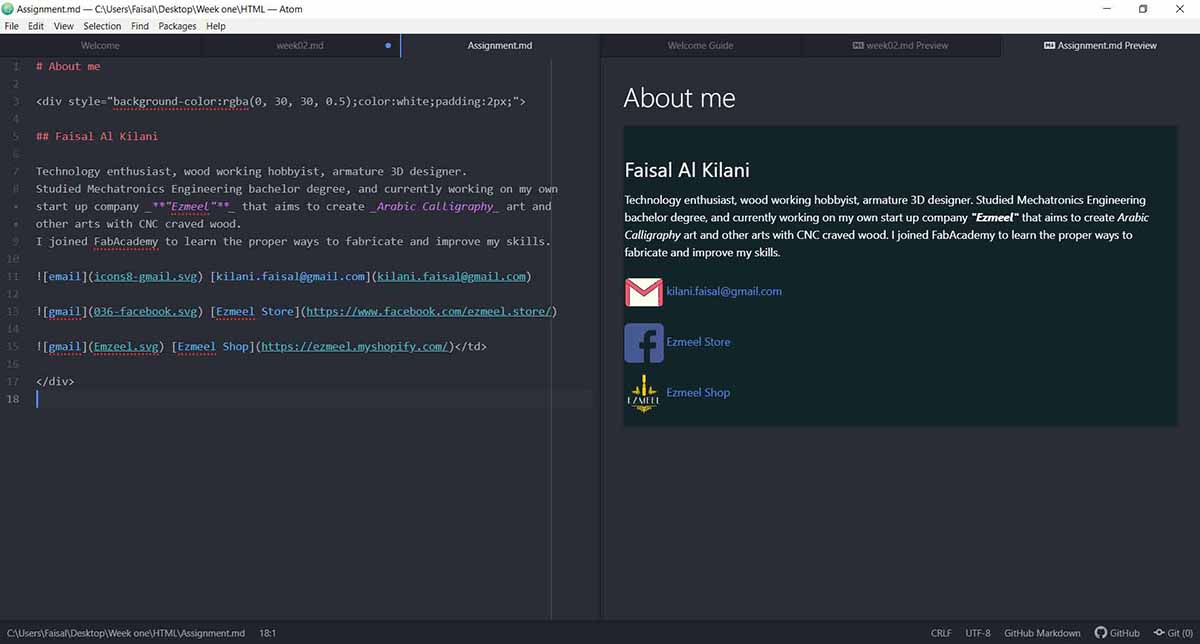
- Build a personal site in the class archive describing you and your final project.
Assignment one:
Work through a git tutorial:
From multiple sources fabacademy, gitlab docs and shared file from google drive, I got the following:
Part One:
Generate SSH key:
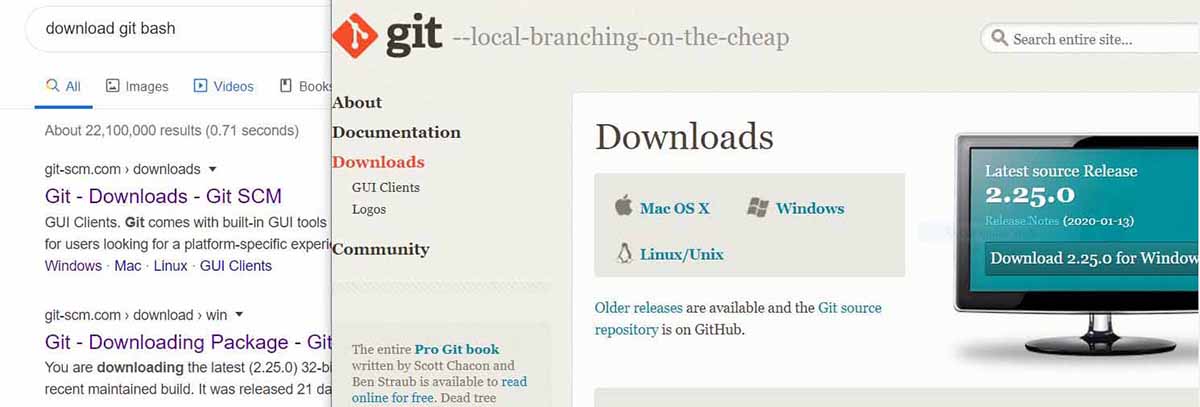
1- Download git bash from this link git bash.
2- Go to gitlab and reset the password and login.
3- Open git bash and Set up my username and my email address for uploading
git config --global user.name “faisal.alkilani”
git config --global user.email “kilani.faisal@gmail.com”
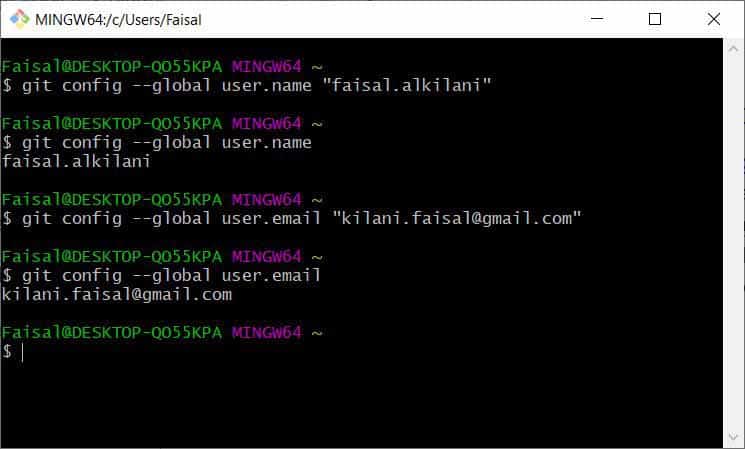
4- Check the username and the email are correct by typing; as shown in the image above.
git config --global user.name
git config --global user.email
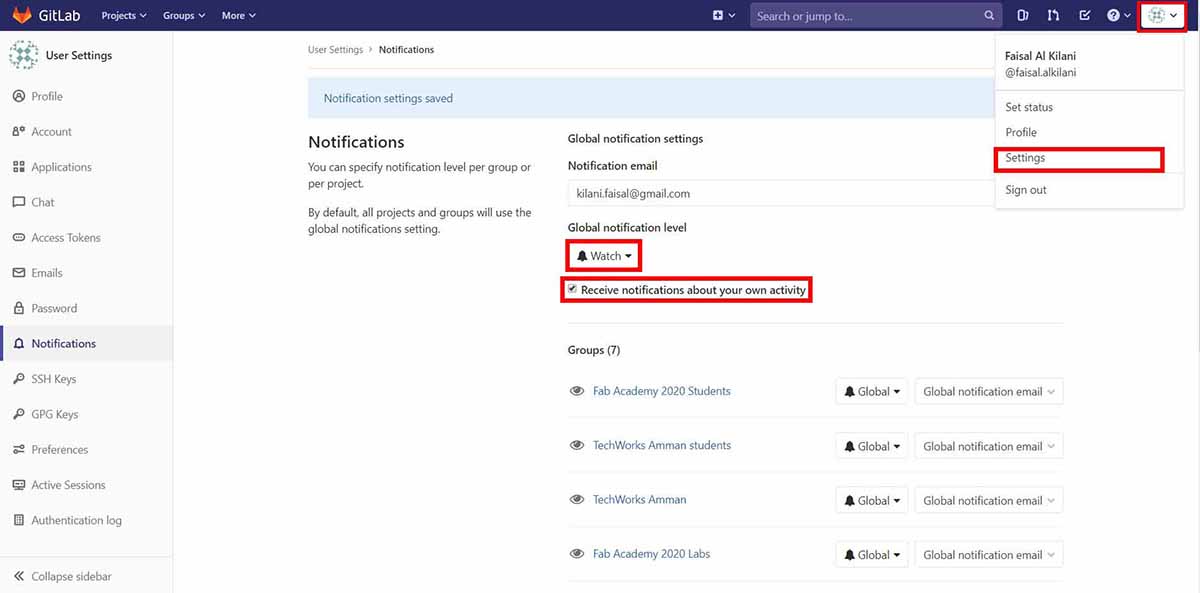
5- Return to gitlab and open Settings then click on Notifications and change Global notifications level to Watch, and also check Receive notifications about your own activity.
6- This step a little bit different and I had some problems and I searched for but I had no luck however from my personal experience if a program does not work right run the program as an Administrator and as I expected the git bash responded. * Type command
ssh-keygen -t rsa -b 4096 -C "kilani.faisal@gmail.com"
-
I have got the next message shown below just hit enter to auto generate the file.
Enter file in which to save the key (/c/Users/Faisal/.ssh/id_rsa): -
I got another two messages also just hit enter twice and leave them empty and it will generate the key.
  Enter passphrase (empty for no passphrase):
  Enter same passphrase again: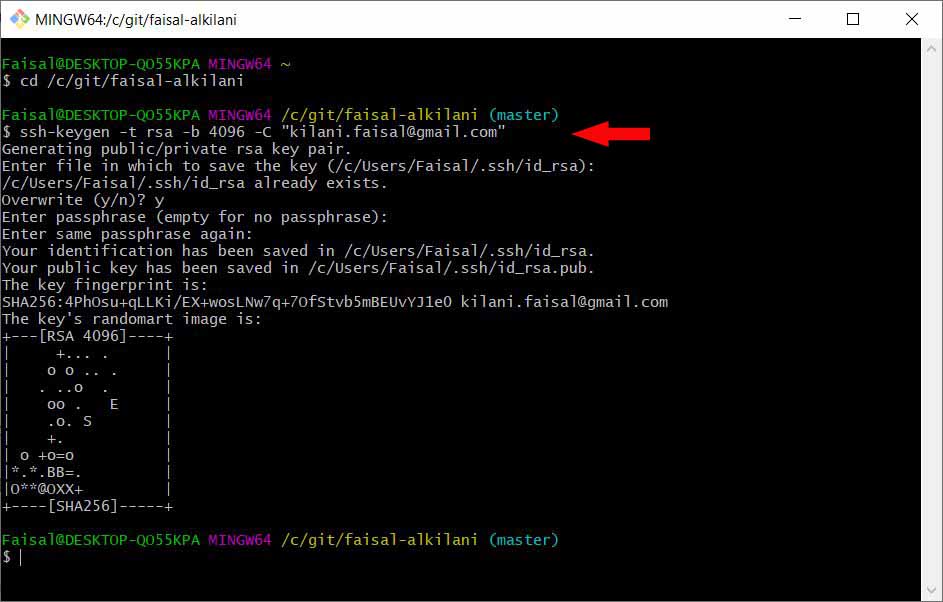
-
To open the generated key then I typed the next line then copy it.
cat ~/.ssh/id_rsa.pub
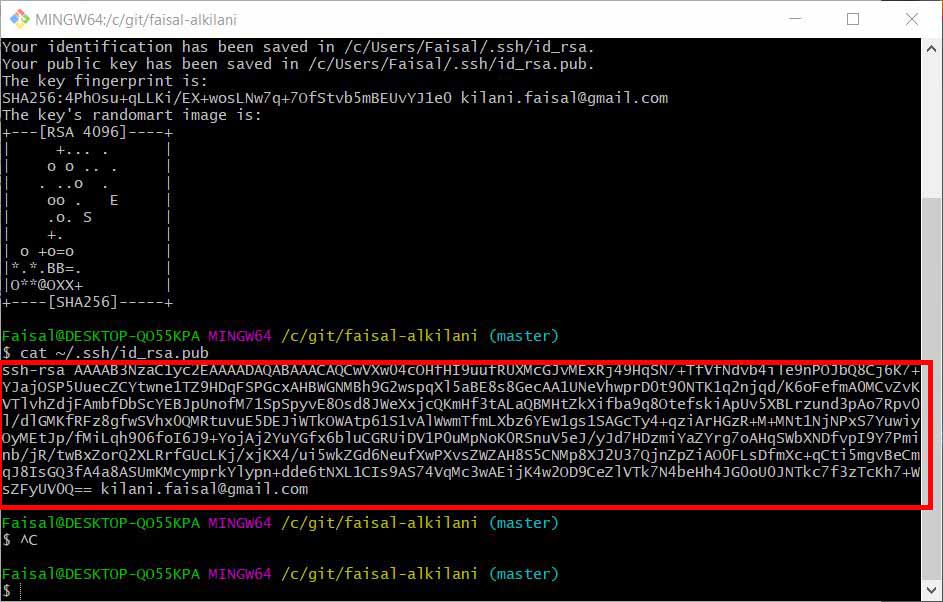
7- Return to gitlab and open Settings then click on SSH Keys and paste the key in the big box then hit add key.

Extra:
Fix for “cat /.ssh/id_rsa.pub no such file or directory” error that occurs on Windows Operation System; note I can not replicate the error after I fixed it, but here is the simple tutorial to fix it.
a- Open folder location of git bash.
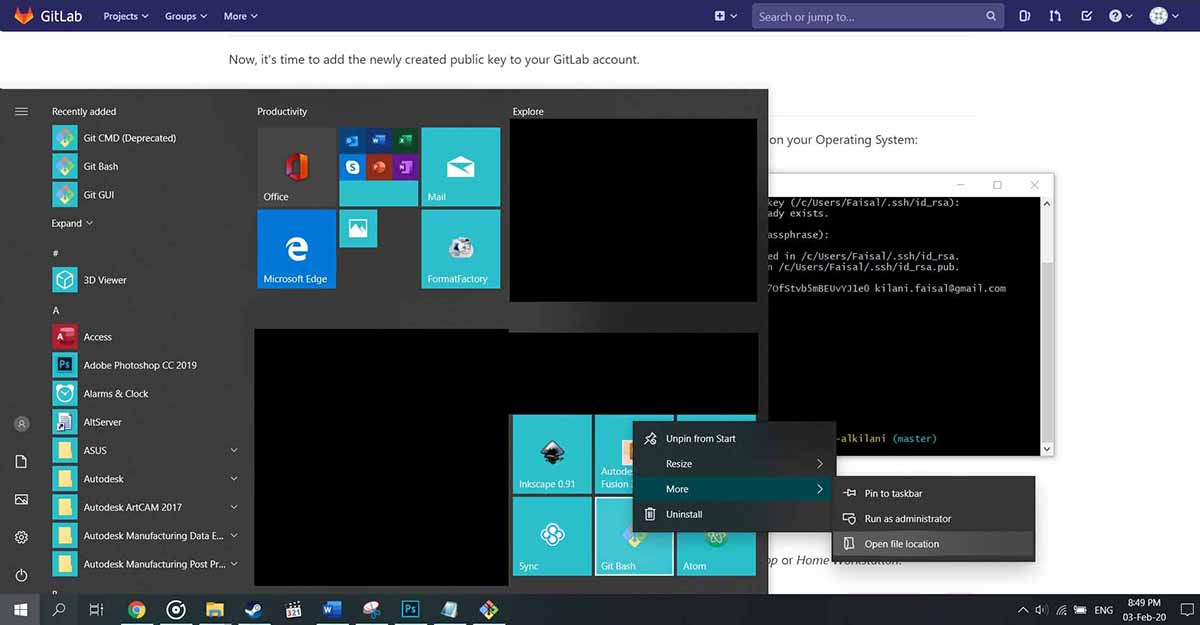
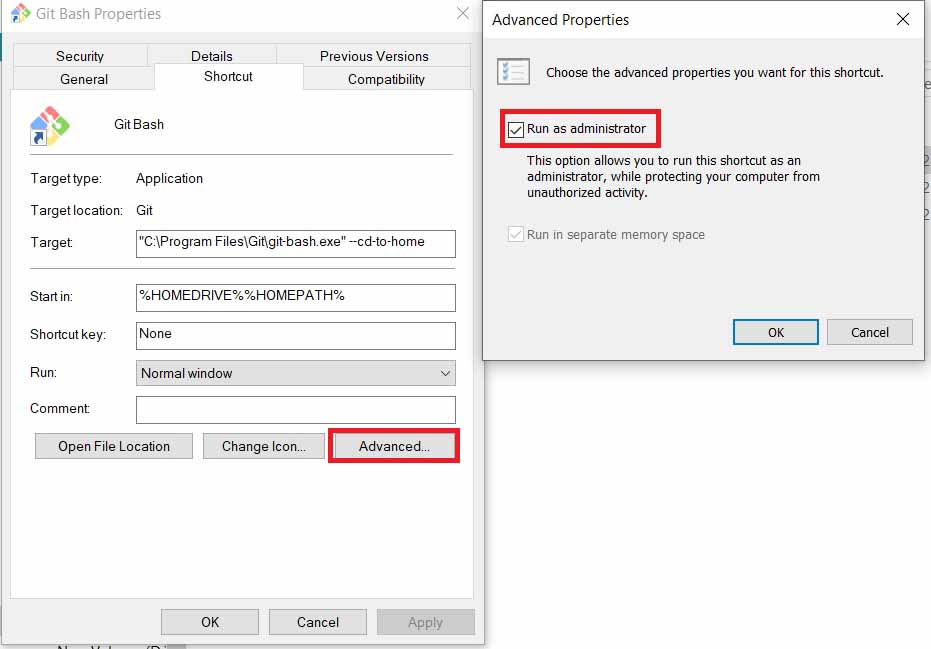
b- Click right on it and select “properties”.
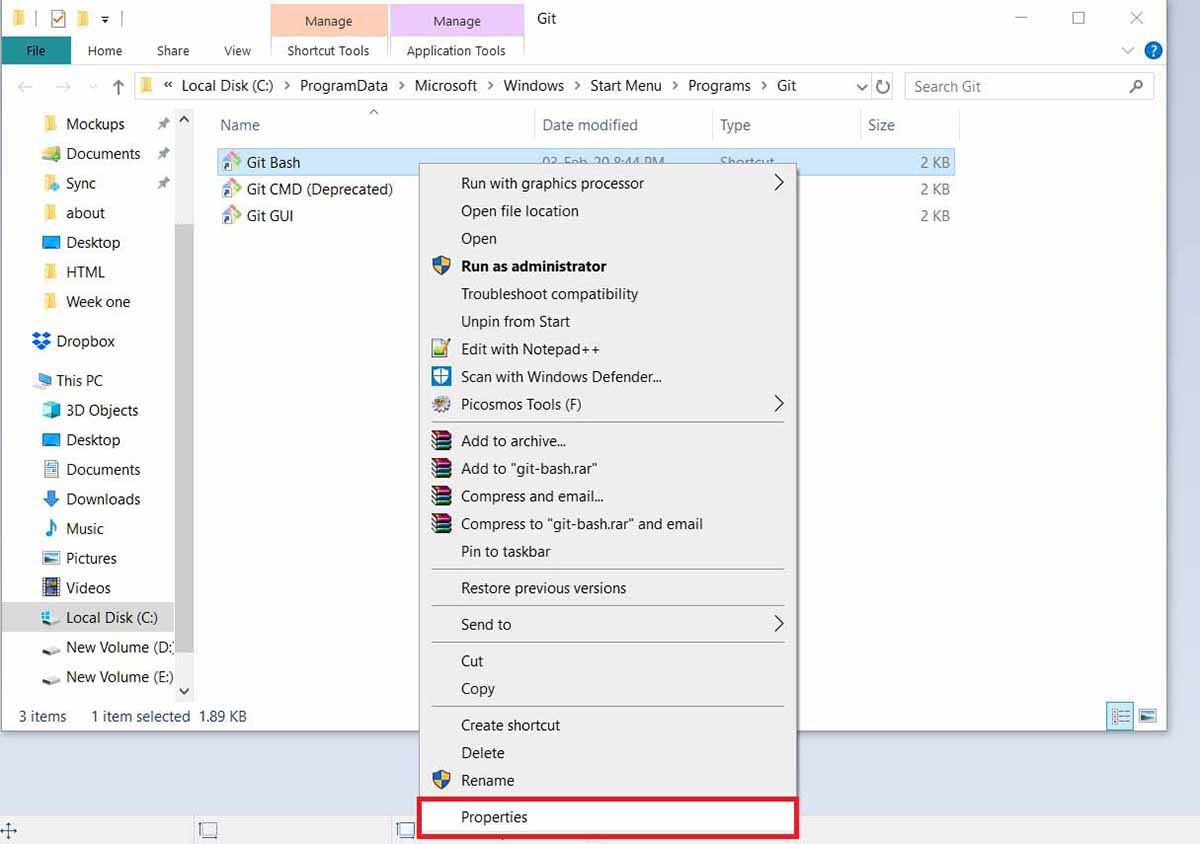
c- Click on “Advance …” and a new window will appear select “Run as administrator”.
Part Two:
Clone a repository:
Continuing from the previous steps we start with:
1- Login to gitlab then open the link with my name on it.
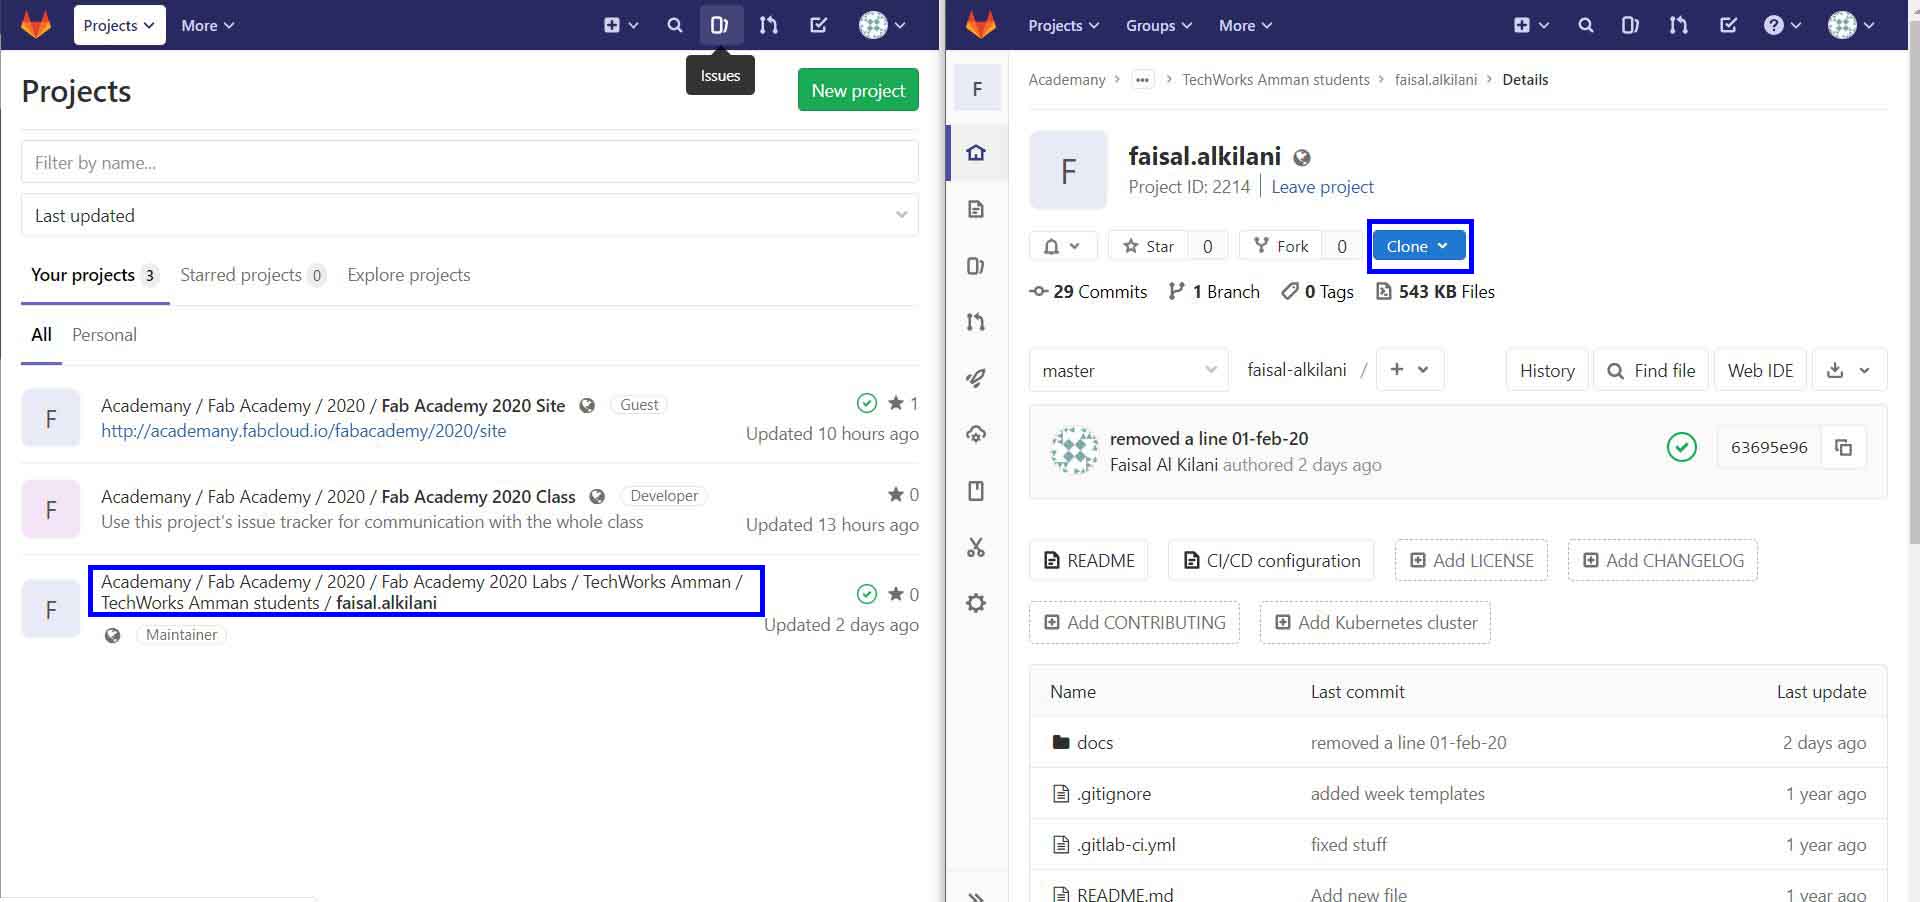
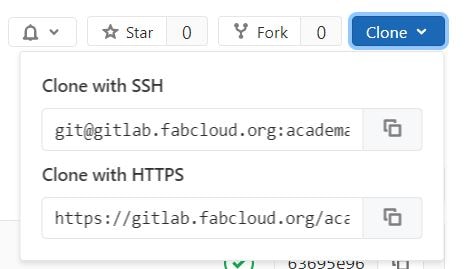
2- Click on clone and there are two options to choose from:
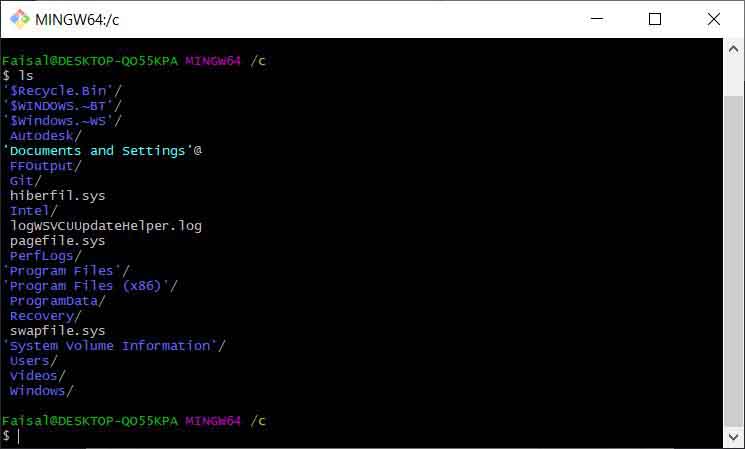
3- Open git bash and type cd “Change Directory” to go to C: disk:
cd /c
4- With command ls list file we can compare the files on C: Directory and the list from git bash.
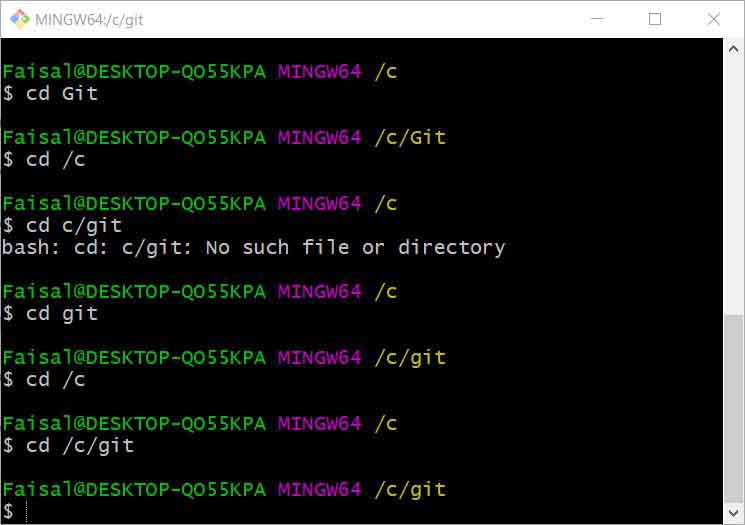
5- Create file call git on C: Directory then select the created file:
cd git
cd /c/git
6- From step two we could use of the next two commands to clone/ download repository inside git file:
git clone "followed by which one you copied in part 2"
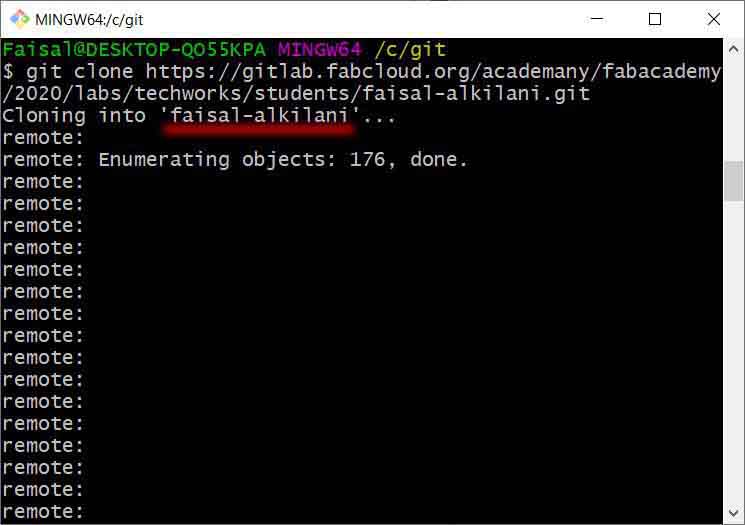
7- As we can see from the image above and we want to select directory of the new file.
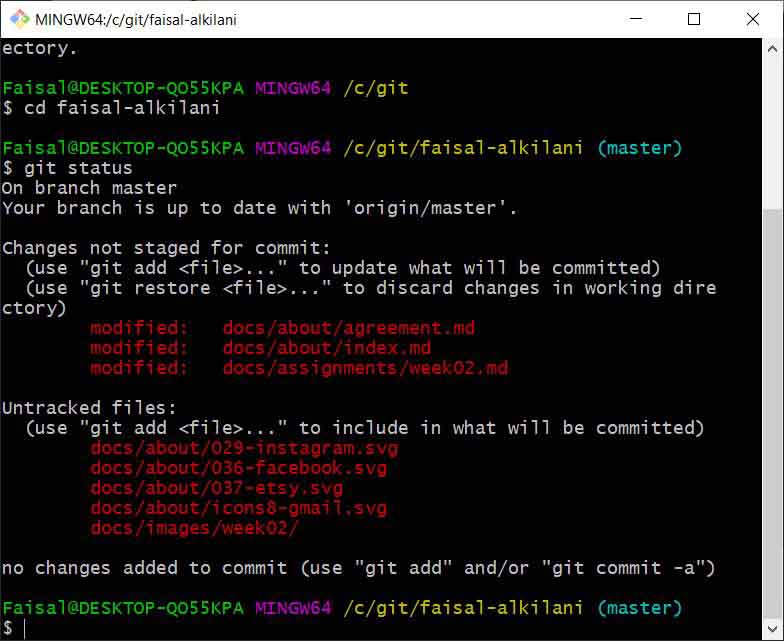
cd faisal-alkilani
8- By typing git status it will give me the information about adding or changing or deleting files/folders as shown in the image.
git status
9- To upload the files we type:
git add.                            /// To upload all files
git add <file-name OR folder-name>  /// To upload specific files
10- Then use git commit to commit (save) the staged files:
git commit -m "COMMENT TO DESCRIBE THE INTENTION OF THE COMMIT"
11- Use command git status to help what do next
git status
12- Finally use command git push to upload the changes back to the repository
git push
Part Three:
Download Atom:
I have decided to use Atom which is a is a free and open-source text and source code editor with support for plug-ins, and embedded Git Control, developed by GitHub.
Use HTML in Atom:
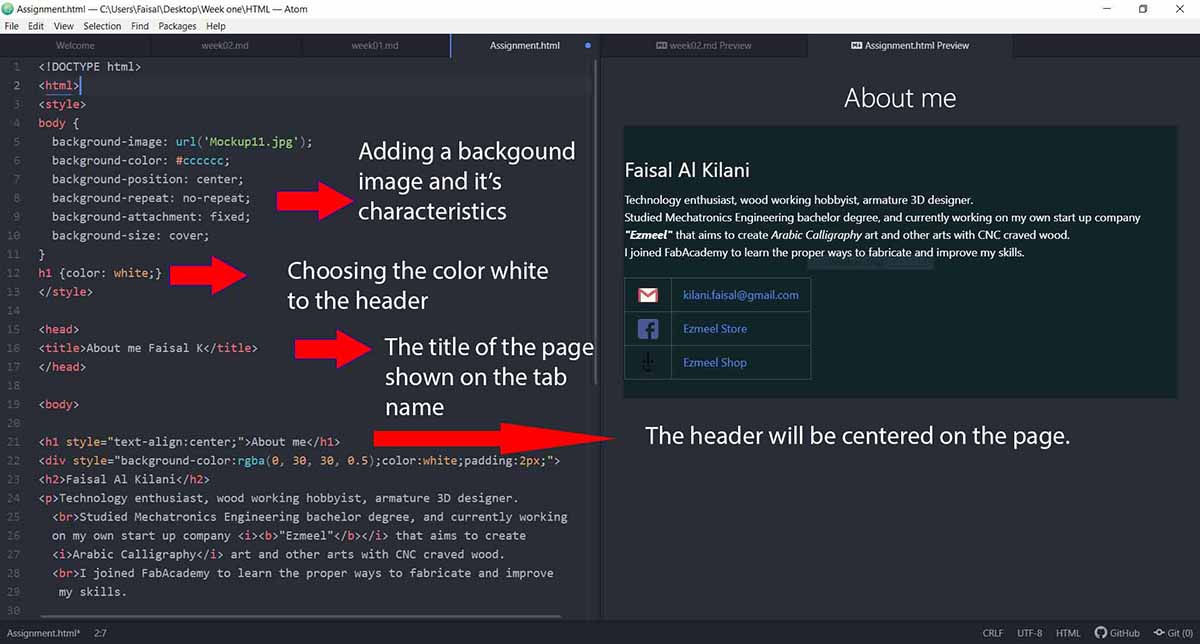
I read the HTML tutorials on w3schools site and I have build up About me page from it.
- Style: it specify how HTML elements should render in a browser.
- Background:
background-image: url('Mockup.jpg');    /// select local picture.
background-color: #cccccc;              /// select a color if the picture did not load.
background-position: center;            /// put the position of the picture
background-repeat: no-repeat;           /// to make sure there is no repeat to picture and it make it scale to the size of window of the page.
background-attachment: fixed;           /// It sets whether a background image scrolls with the rest of the page, or is fixed.
background-size: cover;                 /// It specifies the size of the background images, and cover Resize the background image to cover the entire shown page.
- Header color, define the header color:
h1 {color: white;}
- Head: as shown in the previous picture.
- Body:
- Header position as shown in the picture.
- is a container for other HTML elements to style them, which changes the background color of the font and font color to white, as well as adds a margin of 2 pixels.
- ‘h2’ : header two.
- p: Paragraph, and contain the next elements:
i: to make font italic. b: for bold. br: for inserts a single line break.- Table: I made a table with two columns and three rows, I inserted in the first column pictures, and in the second a links
I will upload a md version on the site
Use Markdown (md) in Atom:
- I convert it using html to markdown converter.
- I notice that md can use div like HTML, only on atom, but after I uploaded it in to the repo it did not work, I re-uploaded a md version of it.
- But it did not use the background.
Common shortcuts:
 // For Adding pictures. [Name of Link](link of the Link or location) // Link for url, or to a Local file in the repository. Just Typing 'code', it will give you shortcut for putting a code inside like this one # For headers, increase their number the more sub-headers you will get
Problems:
I had and have some problems uploading the files, and I have done some small changes to fix it:
-
Change the name of the image files.
-
Change the spacing and formatting of the md file.
-
Numbering and bullets issues.