17. Mechanical & Machine Design
2020
This was another abstract week. Since it was a group project, it was even harder to work virtually. After a few video calls, we were able to decide on a project and worked on some design files. We decided to work on a solar system ouerry that can be controlled virtually.
Brainstorm
The first thing we did was brainstorm what kind of machine we wanted to design and build for this assignment. These are some of the ideas that we came up with:
- Motion control for Spencer’s final project.
- Rube Goldberg like machine with each person working on the limited materials they have.
- Small scale version of Spencer’s final project with a sharpie.
- Motion control for Martina’s final project
- Automated vegetable chopper.
- Automated control of a music box.
- Solenoid for fan control. Virtual remote for a remote.
Motion Control for Martina’s final project got the most votes so we decided to work on that. Initially, I was really confused about what we were really going to make. However, once I saw some videos of what Martina had in mind for her project, it was easier to approach to project. This student’s final project is similar to what we were going for:
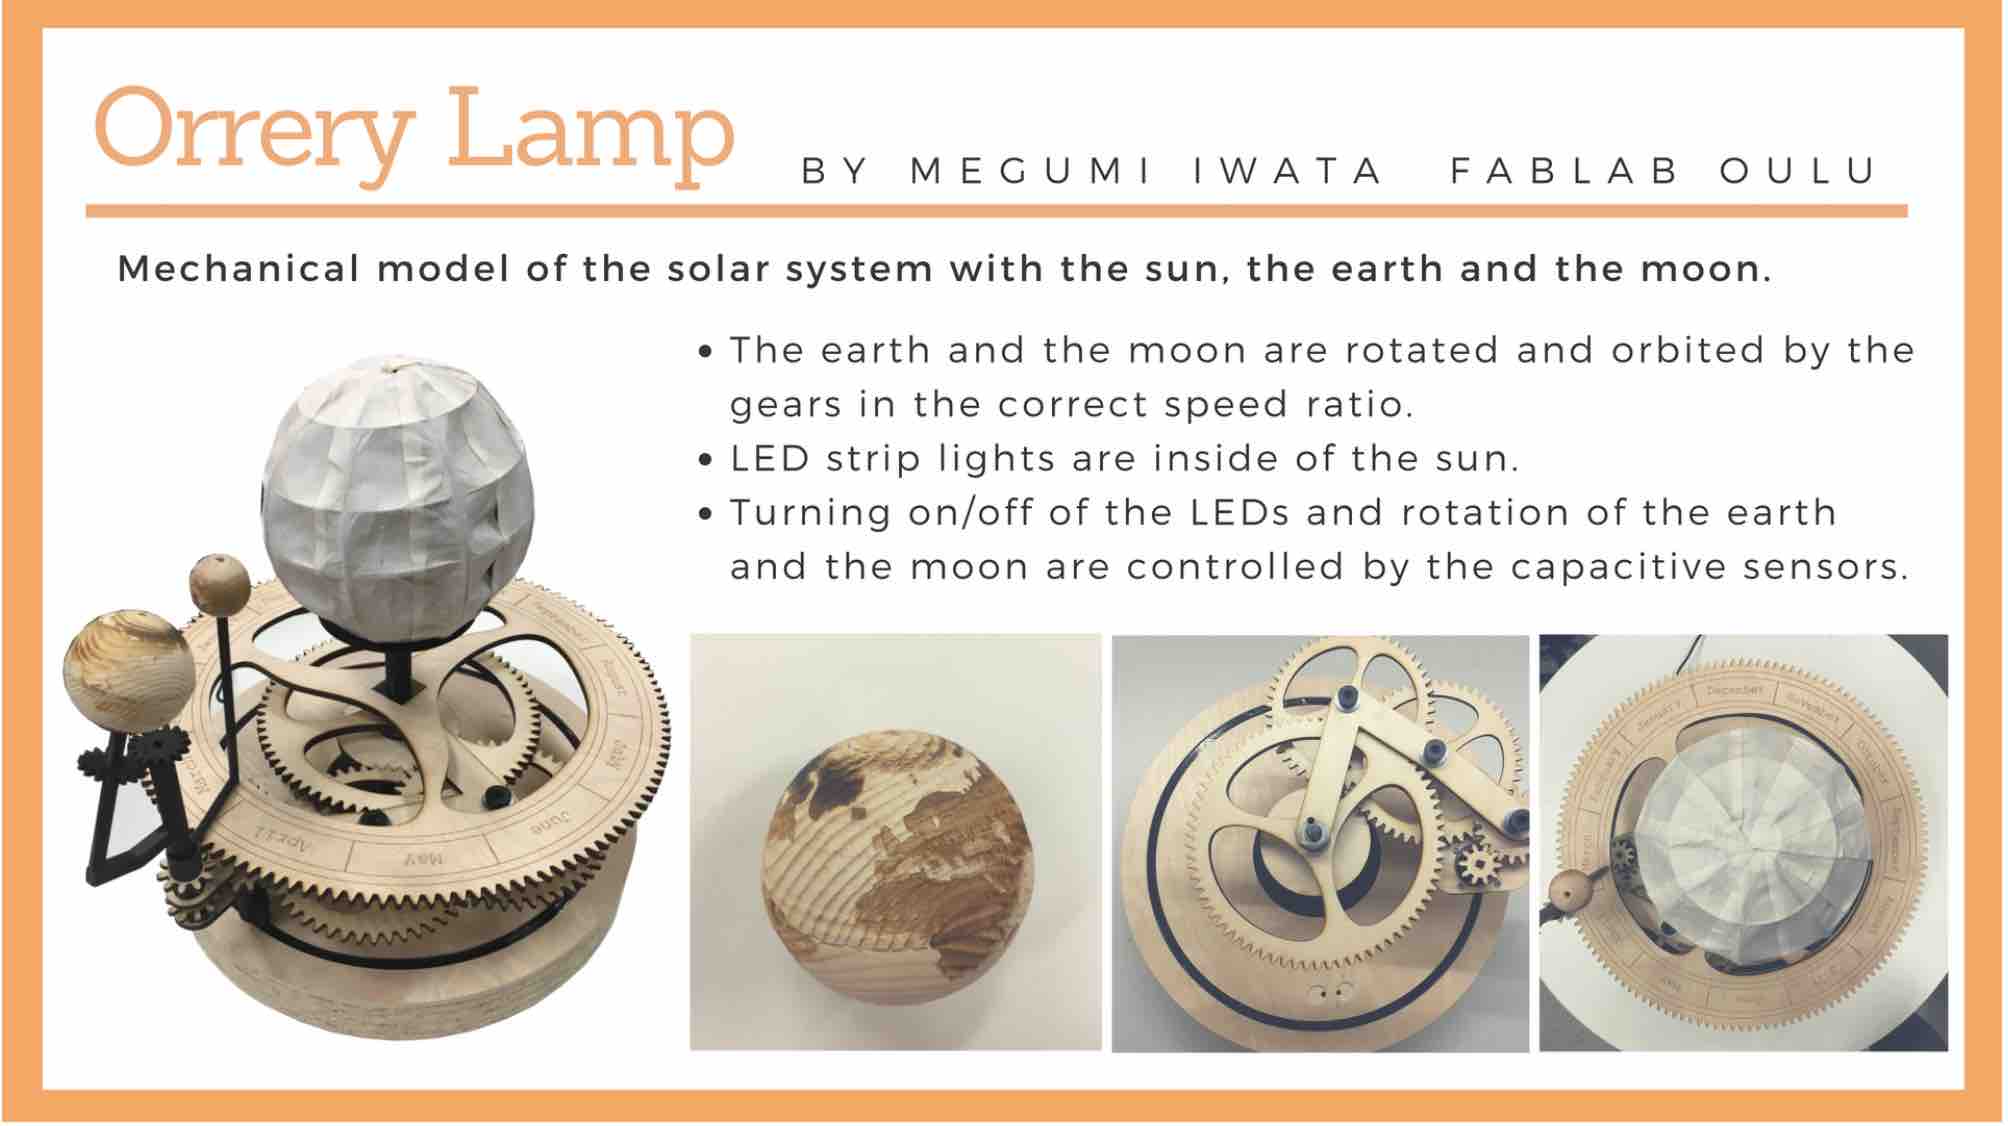
Her design inlcudes just the moon and the earth. Ours is to include the eight planets and have it revolve around the sun at the same ratio.
GUI design
Since I wasn’t really sure what to work on, I decided to work on a GUI for the system. I don’t have much experience with GUIs and serial connections besides what we did for networking week so this was a good time to learn. I designed this interface:
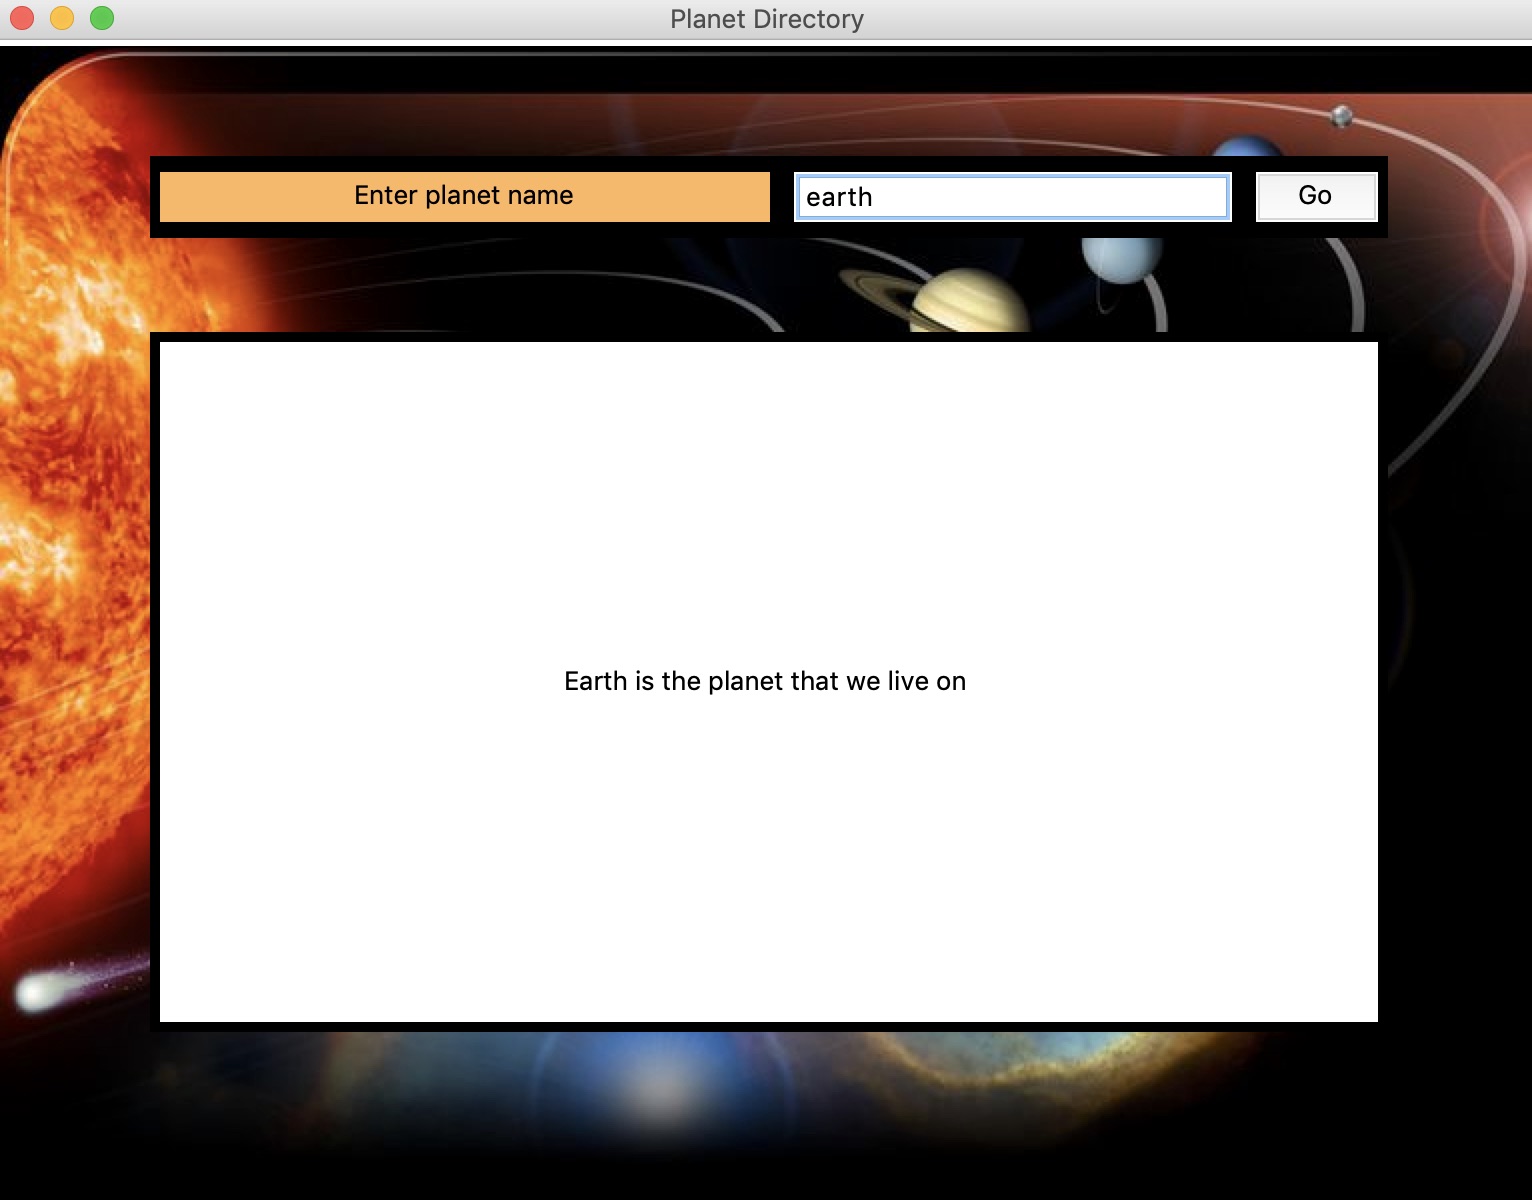
It has an entrybox to put in the name of a planet. You enter in the name and click the button. This brings up some infomation on the planet. The goal is to also make it control the stepper motors connected to the planets. I haven’t figured that out yet.
This is the python code:
import tkinter as tk
import serial
from tkinter import *

HEIGHT= 578
WIDTH = 768

root =tk.Tk()
root.title("Planet Directory")

canvas= tk.Canvas(root, height=HEIGHT, width=WIDTH)
canvas.pack()

background_image = tk.PhotoImage(file='./solarsystem.png')
background_label=tk.Label(root,image=background_image)
background_label.place(relwidth=1,relheight=1)

frame = tk.Frame(root, bg='#000000', bd=5)
frame.place(relx=0.5,rely=0.1,relwidth=0.8,relheight=0.07, anchor='n')

label=tk .Label(frame, text="Enter planet name", bg='#ffb75e', font=40)
label.place(rely=0.1, relwidth=0.5, relheight=0.8)

def myClick():
    if entry.get()=='earth':
        label_2=tk.Label(lower_frame, text="Earth is the planet that we live on ", bg='white', font=40)
        label_2.place( relwidth=1, relheight=1)
    elif entry.get() == "mars":
        label_2=tk.Label(lower_frame, text="Mars is the red planet ", bg='white', font=40)
        label_2.place( relwidth=1, relheight=1)
    elif entry.get() == "mercury":
        label_2=tk.Label(lower_frame, text="Mercury is the smallest and innermost planet in the Solar System", bg='white', font=40)
        label_2.place( relwidth=1, relheight=1)
    elif entry.get() == "venus":
        label_2=tk.Label(lower_frame, text="Venus is the second planet from the Sun. It is named after the Roman goddess of love and beauty.", bg='white', font=40)
        label_2.place( relwidth=1, relheight=1)
    elif entry.get() == "jupiter":
        label_2=tk.Label(lower_frame, text="Jupiter is the biggest planet", bg='white', font=40)
        label_2.place( relwidth=1, relheight=1)
    elif entry.get() == "saturn":
        label_2=tk.Label(lower_frame, text="saturn is the ring planet", bg='white', font=40)
        label_2.place( relwidth=1, relheight=1)
    elif entry.get() == "uranus":
        label_2=tk.Label(lower_frame, text="Uranus is the seventh planet from the Sun. It has the third-largest planetary radius and fourth-largest planetary mass in the Solar System.", bg='white', font=40)
        label_2.place( relwidth=1, relheight=1)
    elif entry.get() == "neptune":
        label_2=tk.Label(lower_frame, text="Neptune is the last planet in the solar system", bg='white', font=40)
        label_2.place( relwidth=1, relheight=1)
    else:
        label_2=tk.Label(lower_frame, text= entry.get()+" is not a planet", bg='white', font=40)
        label_2.place( relwidth=1, relheight=1)

entry=tk.Entry(frame, bg='white')
entry.place(relx=0.52, rely=0.1, relwidth=0.36, relheight=0.8)
entry.get()

button= tk.Button(frame ,text="Go",font=40, command=myClick)
button.place(relx=0.9, rely=0.1, relwidth=0.1, relheight=0.8)

lower_frame = tk.Frame(root, bg='#000000', bd=5)
lower_frame.place(relx=0.5,rely=0.25,relwidth=0.8,relheight=0.6, anchor='n')

root.mainloop()
3D design
Spencer’s page for this week has detailed information on the 3D design.
2022 PET bottle to Filament
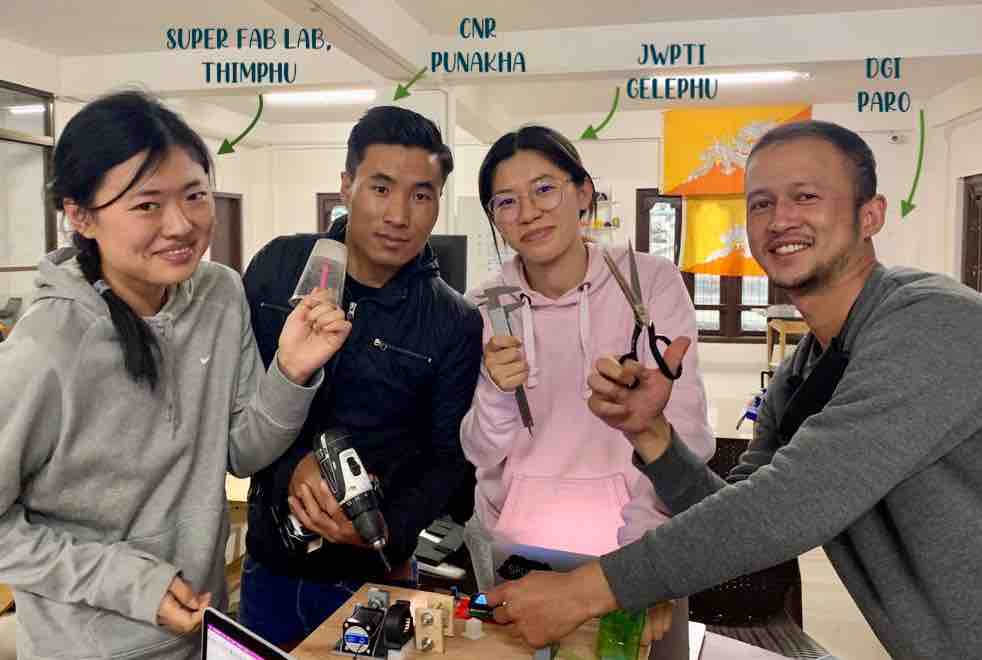
In the 2022 cycle, I am a member of group B from Fablab Bhutan. The group members are:
The group documentation and video are linked here:
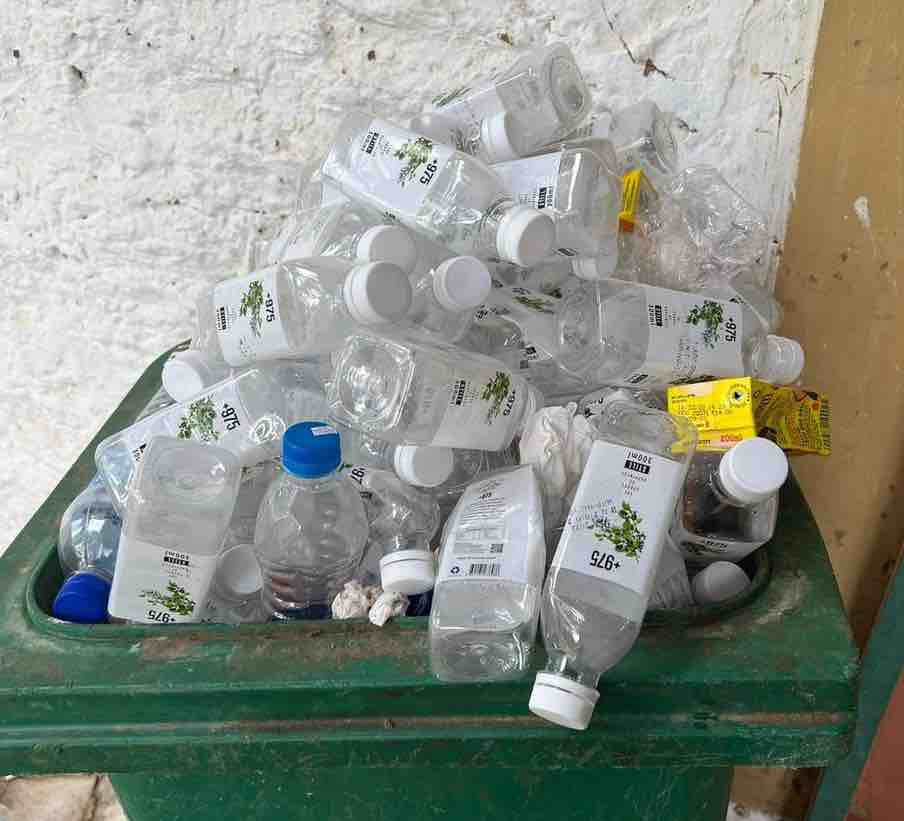
Currently in Bhutan, there is a big issue of PET bottle waste. Since there is no proper recycling facility, most of the PET bottles end up in the landfill. Therefore we decided to make a machine that will convert PET bottles into 3D printing filament.
The four group members are also currently invovled with setting up different Fablabs around the country. Therefore, we thought that creating our own filament for printing in our labs would be a great idea.
We tried looking for some past designs but couldnt find any. We found this Petbot machine from Precious Plastics that does something similar. Unfortuntely, it is not open source so we had to work from scratch.
First prototype
During our first team meeting, Fran challenged us to make a rough model of our machine from cardboard, tape and hot glue. Kencho and I made this:

The bottle will be cut by a cutting mechanism that contains a blade. The cut filament will go into a modified extruder with the help of a filament guide. When the filament comes out of the extruder, it will be cooled by a fan. The filment will be pulled by a motor that turns that the filament spool.
Our instrutors said that there has to be some actuation and more automation in the deisgn. Therefore, we decided to add a hall sensor mechanism in the machine. The sensor will be placed right as the filament comes out of the extruder. It will detect small changes in the diameter of the filament. We gave the filament a clearance of 10% from the 1.75mm. If it is too thick, it will signal the motor to speed up and if it is too thin, it will signal the motor to slow down.
Now that we have a clear understanding of the tasks to be done, we divided the work accordingly.

As the team lead of the group, I assigned tasks and set deadlines for them. I also started a google docs for members to add their work as it is being done.

However, One big challenge that we faced at the start of machine week is that all the members tested positive for covid. The good thing here is that ALL were positive so we could quarantine together and work while in quarantine. However, this also meant that none of us had access to the lab. Therfore, we had to delay our presentation by a week. This is also how our group name “Be Positive” was born. Group B from Bhutan all positive for covid. ;)
3D design
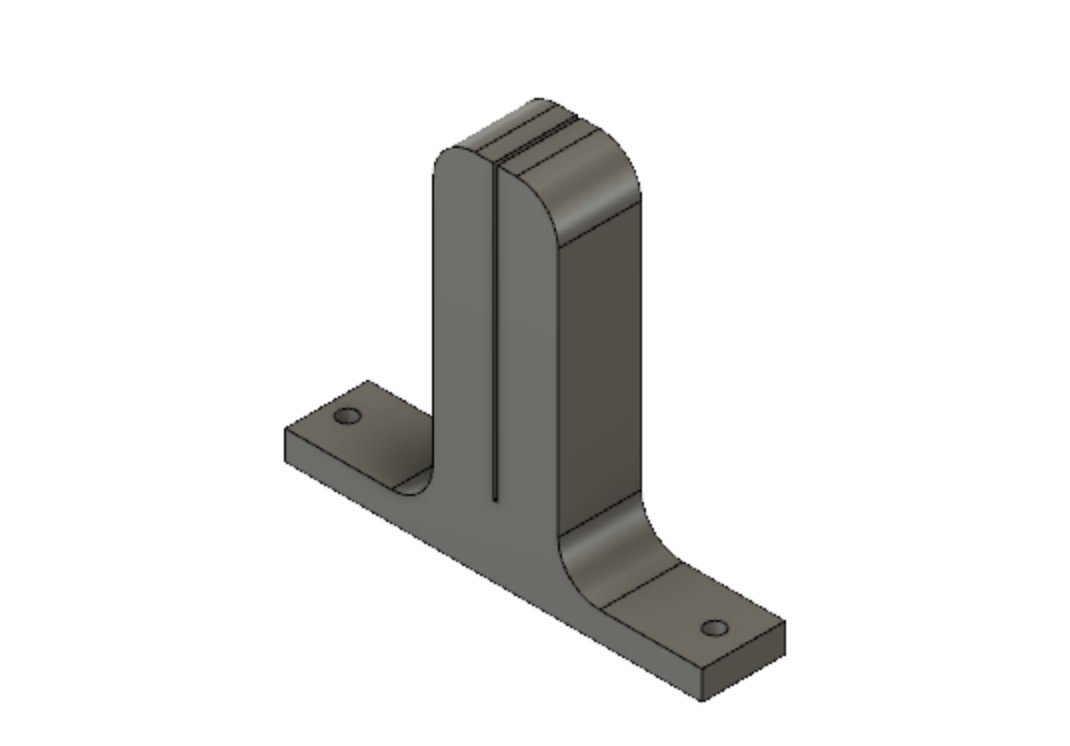
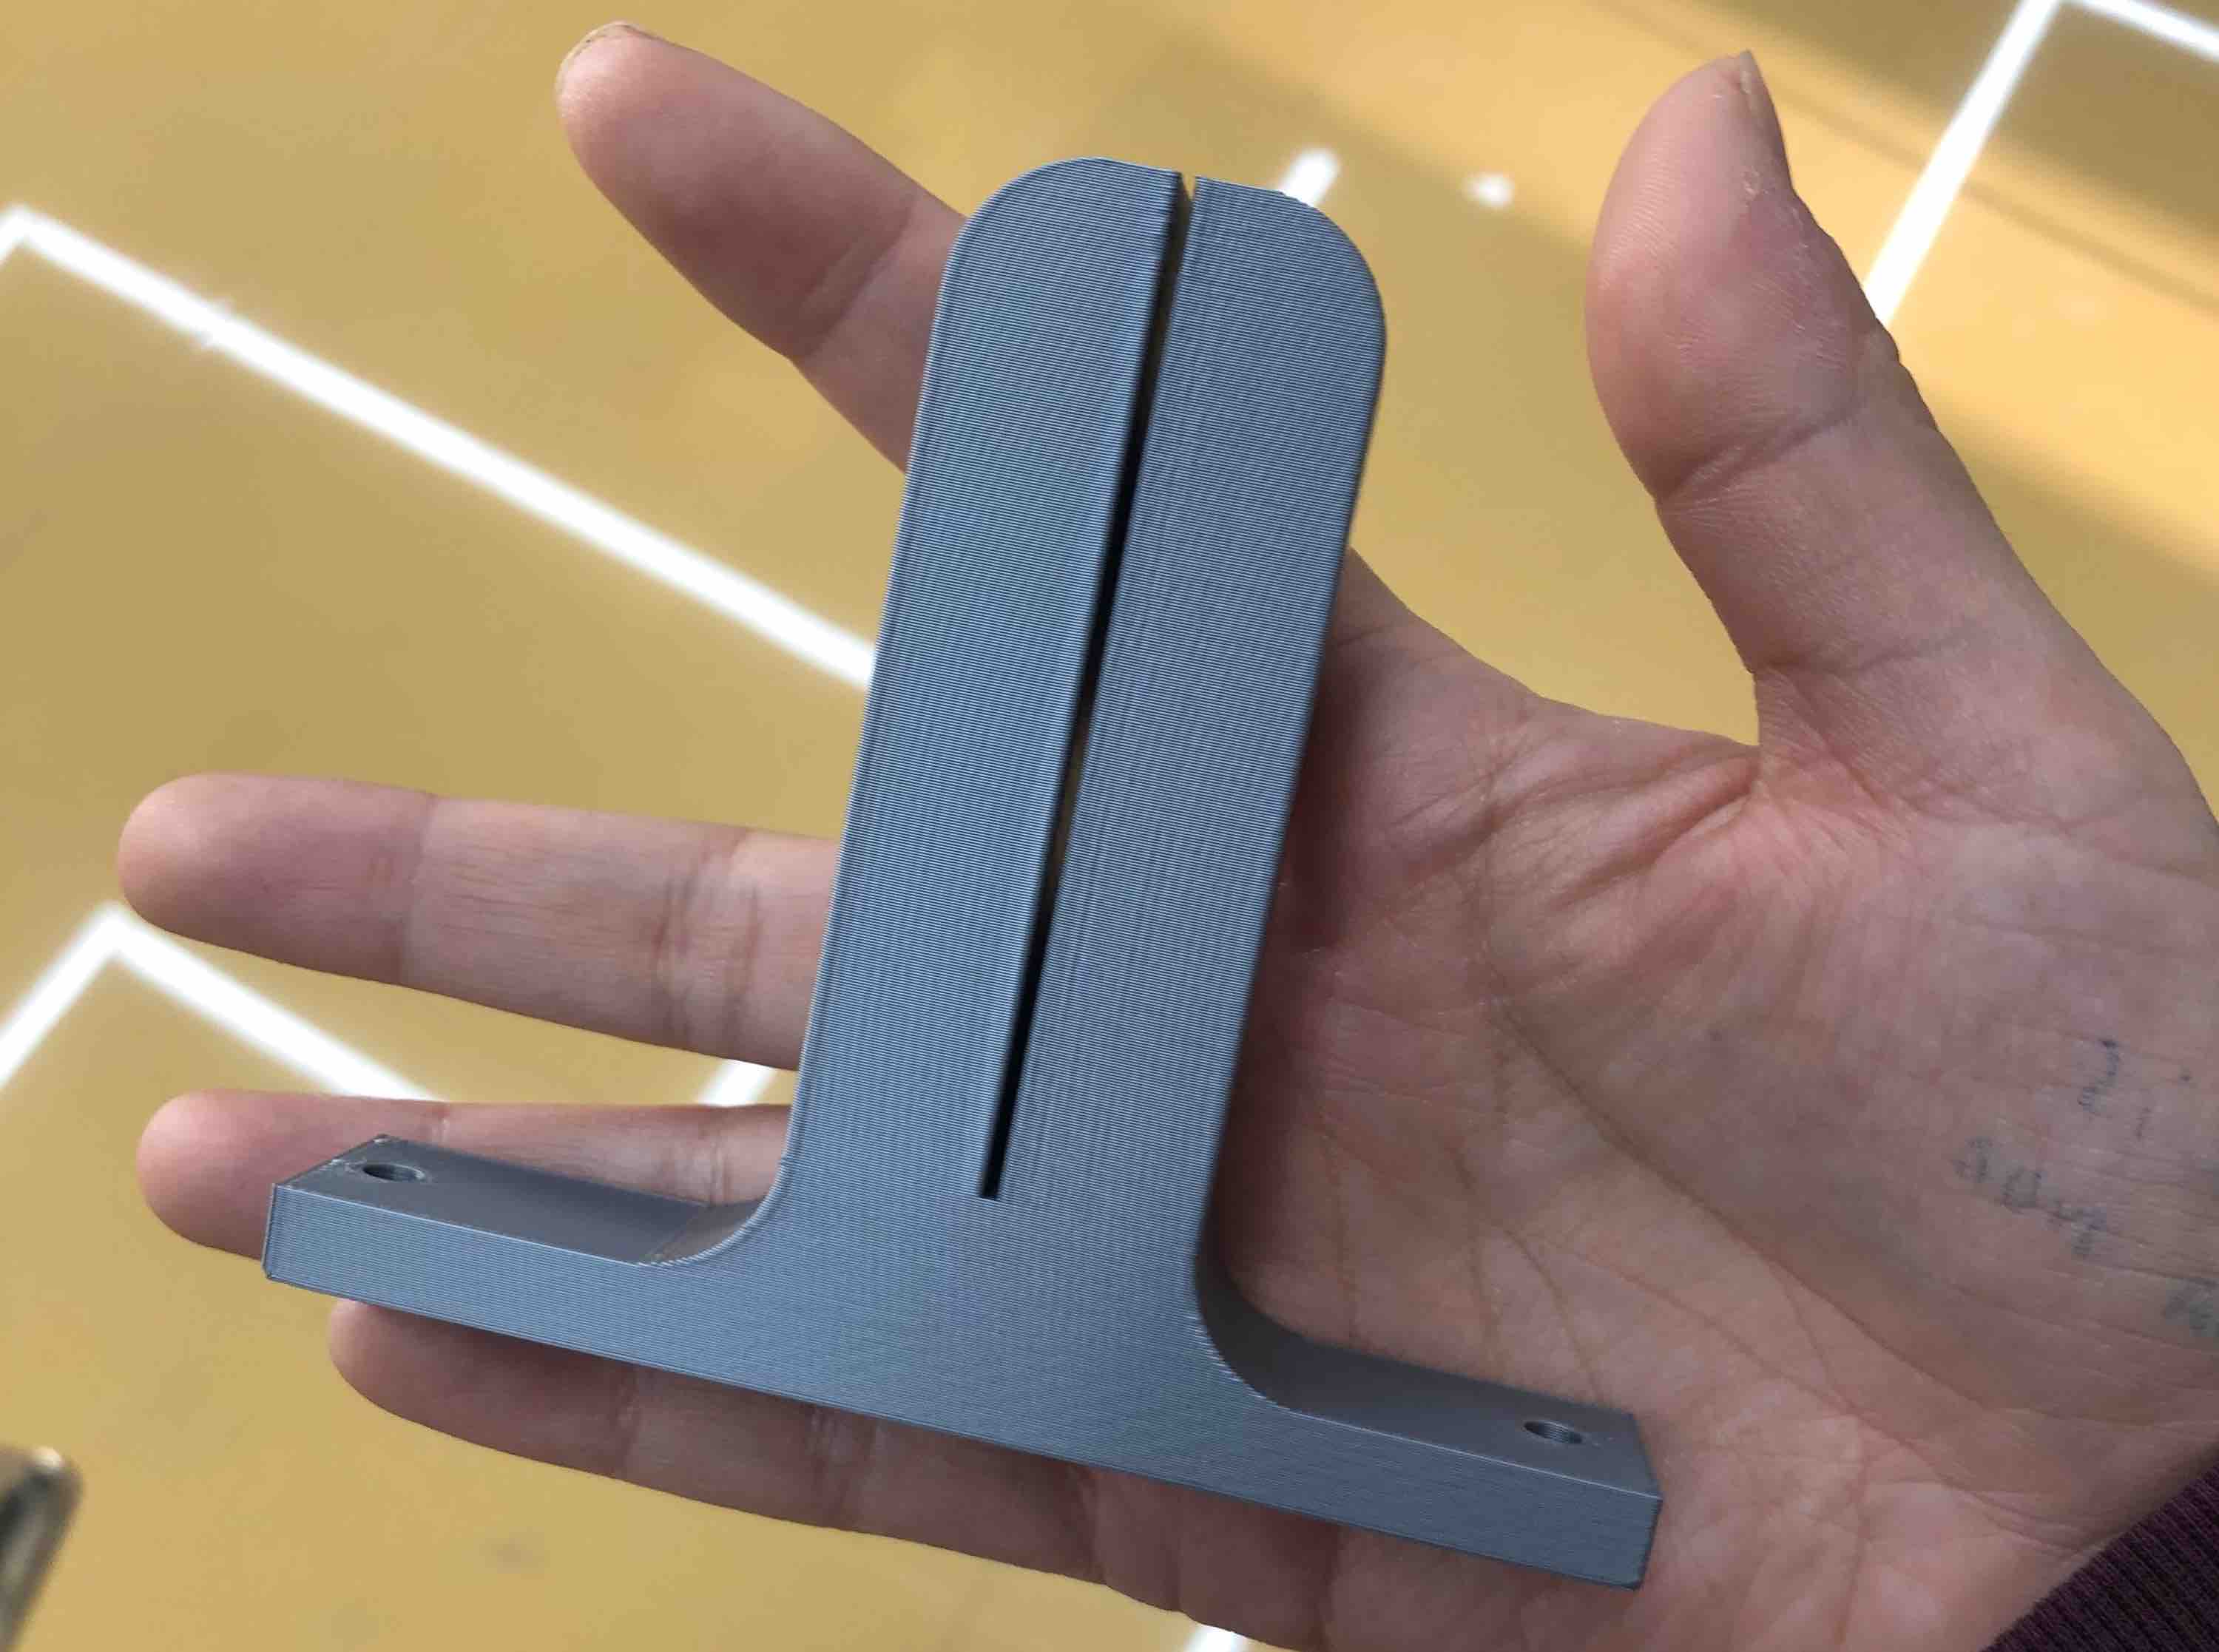
As the 3D designer in the group, I gathered what are the things that needed to be designed and printed. I started off by designing the legs and the filament guide.

I wanted the legs to be strong and sturdy to withstand the vibration of the motor. Here is it is being 3D printed:

Installed in the machine:

Next, I designed the filament guide. The gap in between for the filament to go thorough is 1mm since I wanted the cut strip to be as straight as possible when going through to the extrduer.
Printed:
The next task was to design a bottle cutter mechanism. This was my first design. I designed it to have two bearing that the cut strips roll out of. However, I wasnt sure how to design it to place a blade inside.
Sibu suggested that I look at thingiverse for some deisgns. I found one and tried it out. It works quite well.

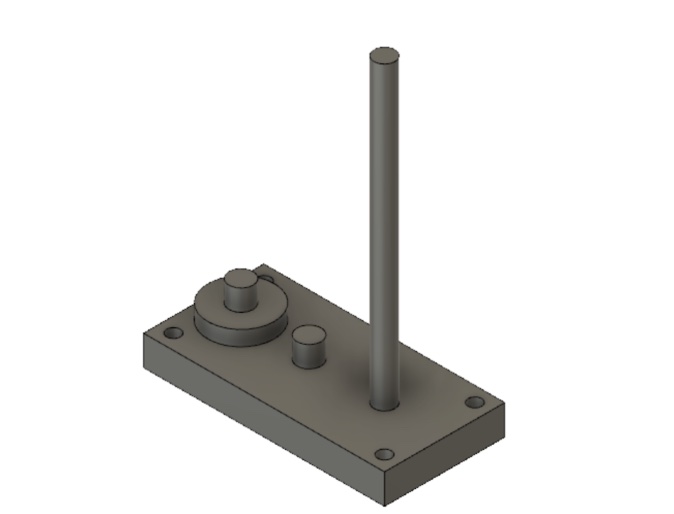
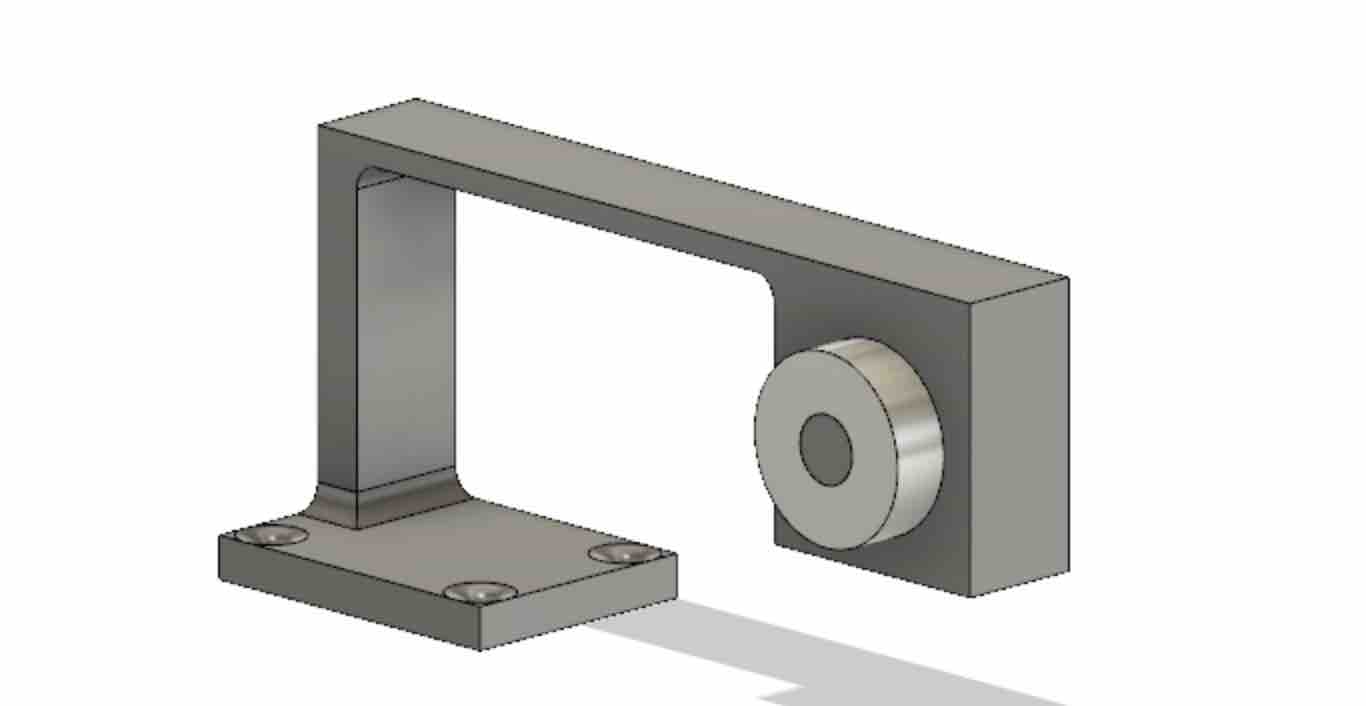
To pull the filament using the motor, I designed a bearing holder that would push dowh the filment on a filament guide that is on the nema Motor. I had to design the bearing holder to give some tension on the filament holder so that the force from the motor will pull the filament.

Assembly
I worked with Kencho on the assembly of the machine. For the base, we used some leftover wood from the Shopbot week. Kencho cut it using the planer wood cutting machine.

We drilled holes in the wood for all the wiring to make sure that all the wires are underneath the base to give the machine a clean look.

We drilled holes in the machine to make sure that all the wiring was done underneath the base to give the machine a clean look.
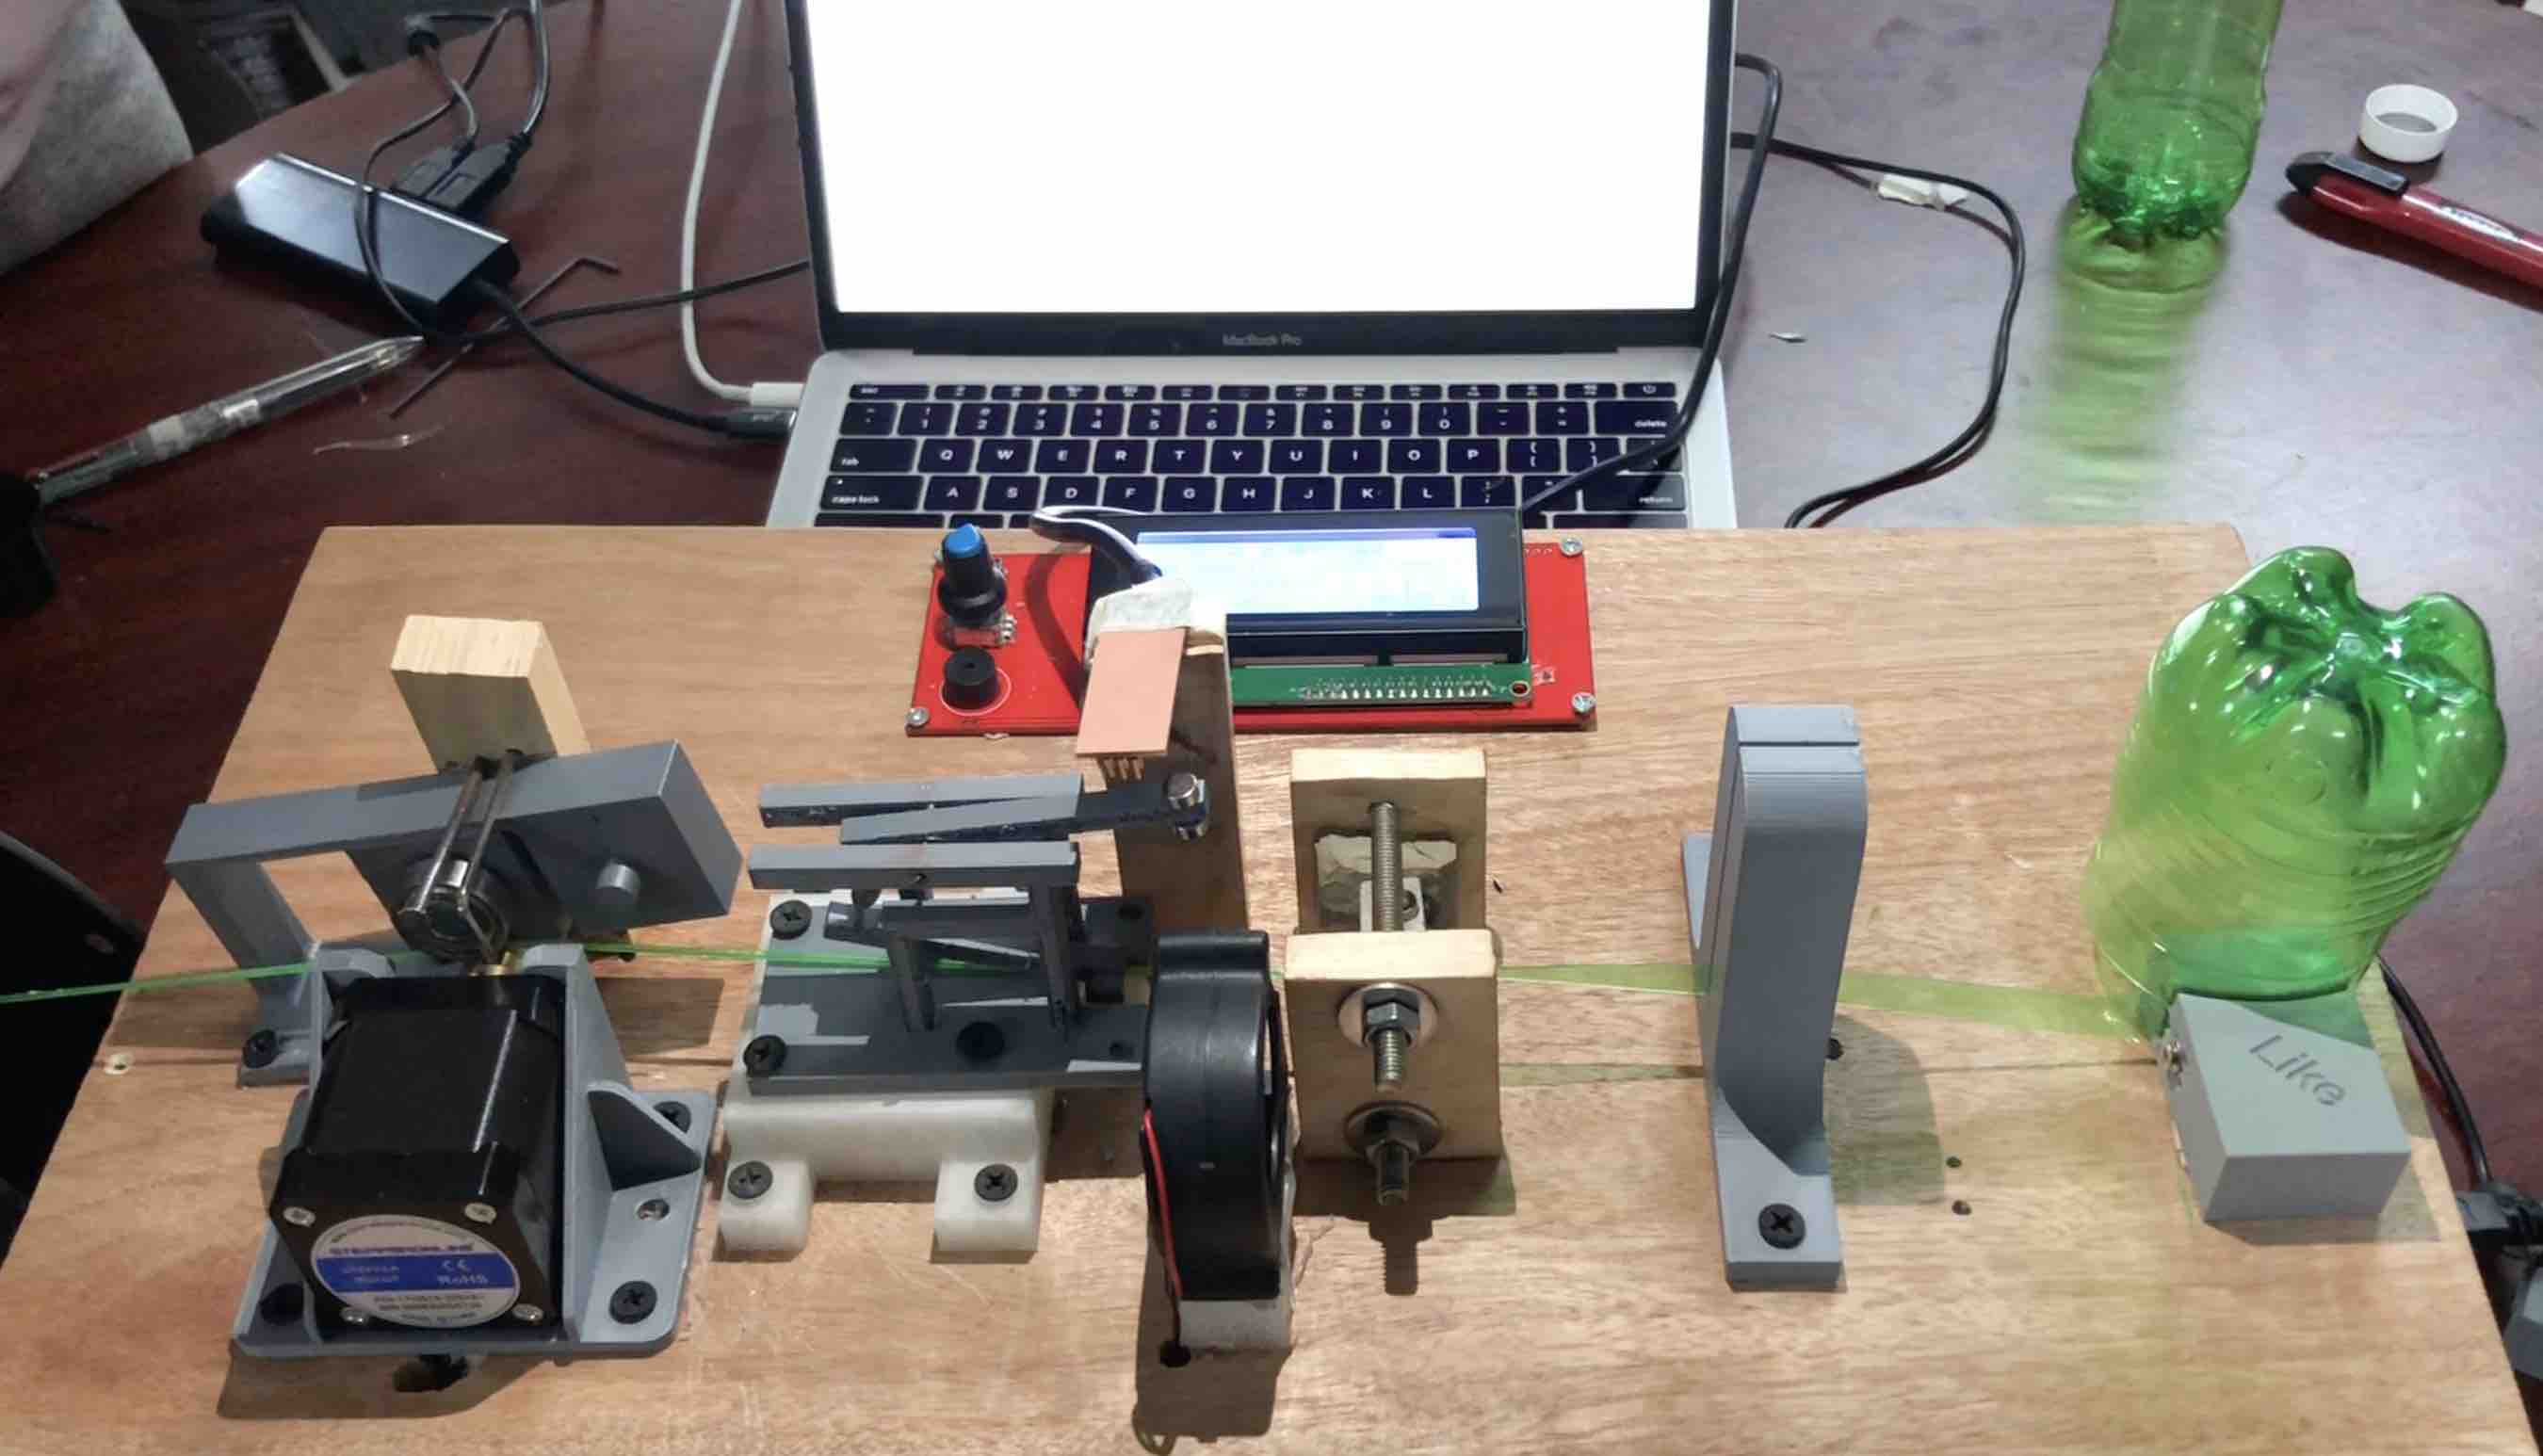
Final assembly of the machine:
After everything was done, I made the video for our group on iMovies.
Download Files
Assessment Guide
Part 1:
Group assignment:
Design a machine that includes mechanism + actuation + automation
Build the mechanical parts and operate it manually.
Document the group project
Individual assignment:
Document your individual contribution.
Part 2:
Group assignment:
Actuate and automate your machine.
Document the group project
Individual assignment:
Document your individual contribution.