1.5. Project management
This week, aside from introductions, going over practices and principles, and a briefing on our final projects, we were also introduced to the world of git. Therefore, I was pretty intimidated at the beginning of the week when I realised that I had to have my website up and running in addition to the other things. During the lecture, Neil had gone over the different softwares availible to us that might help get through the course. But honestly, I had no idea what to hang on to and what to just let go. Therefore, with no prior experience with Git, I found myself lost and not knowing where to start.
Tutorial Time!
The first thing I did when I got home after the lecture was google “Interactive git tutorial.” I attempted the first one that came up.

Although it was a pretty cool website to learn how git works and about the different commands, it didn’t do a very good job with explaining how I would be using this for the project. It said something about branches and merging and commits that was going all over my head.
The “section” debrief the following day was helpful in really understanding what Git actually is and how to use it. I did some tutorials from the fabacademy website and that was helpful with setting it up on my computer and getting my SSH key. Here is the tutorial:
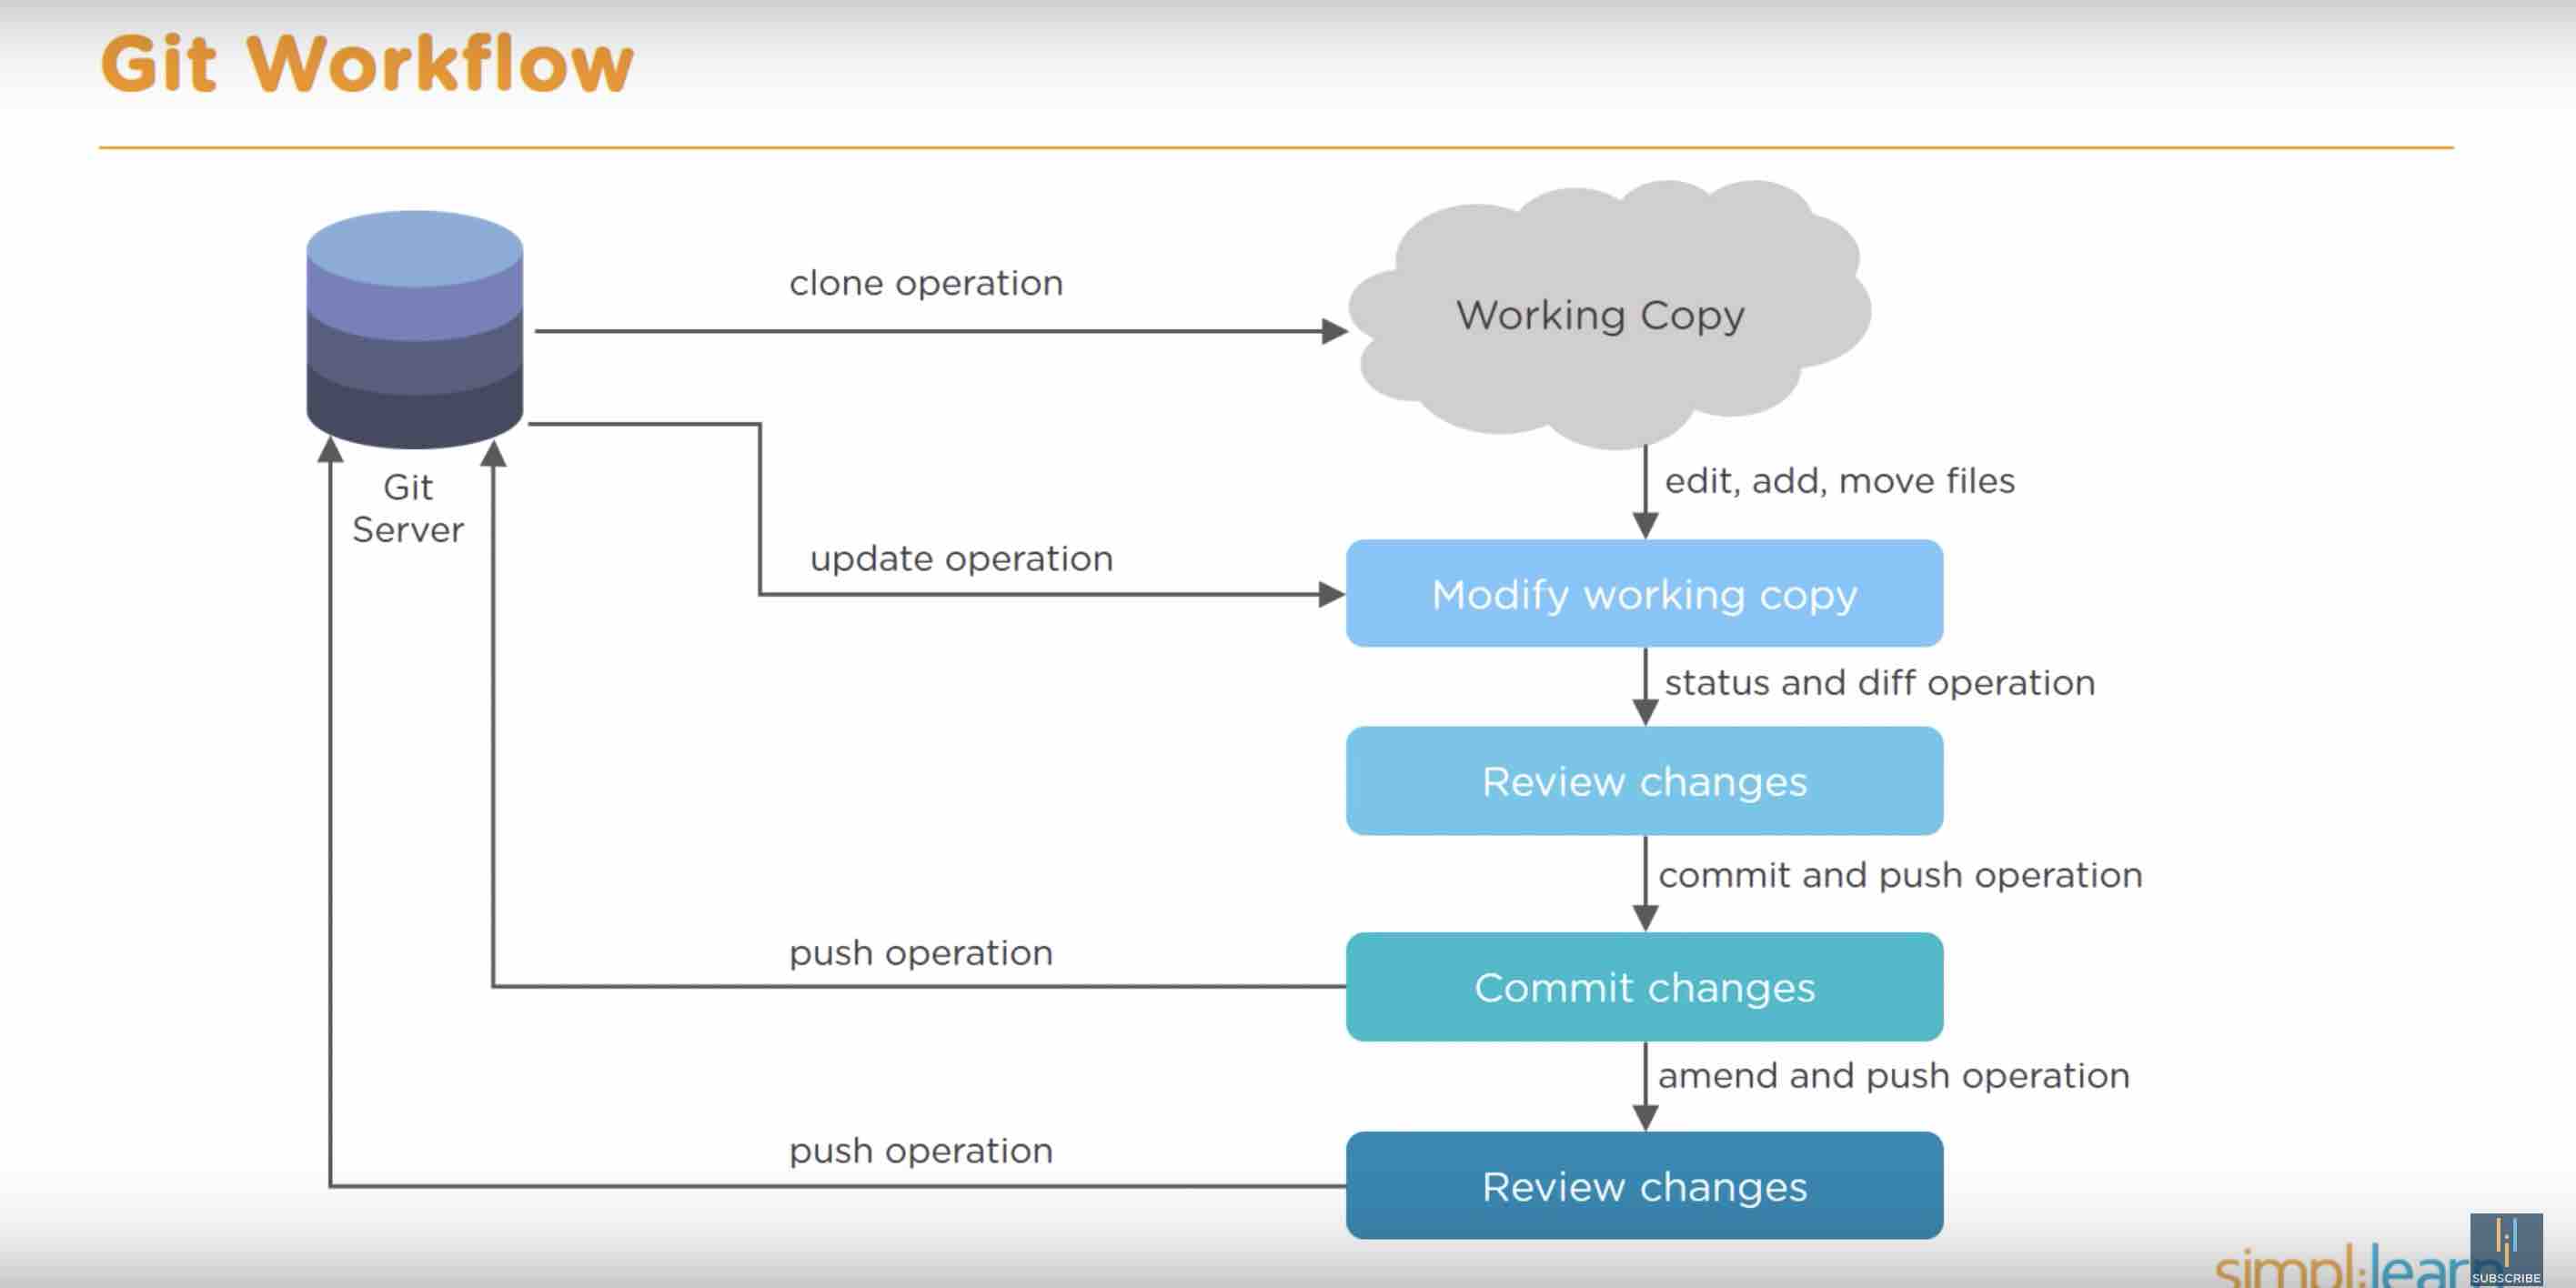
I attempted a few youtube tutorials and I thought that this chart that I came by might be useful:
Finally I found two youtube tutorials that were really helpful. Here they are:
I found the second one particularly helpful. Here is how I managed to clone my repository to my Desktop:

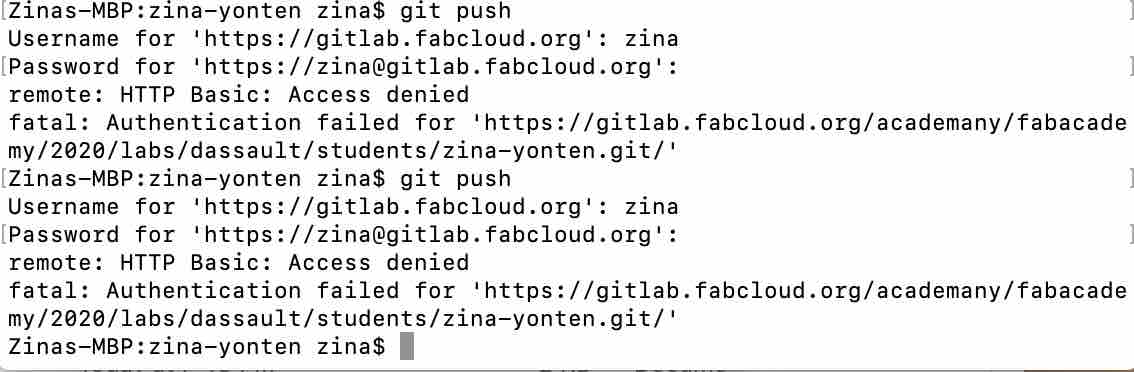
I was all excited to finally be able to make changes directly from my terminal. I tried to add a few images to the images folder and push the changes. However, it asked for my password then denied access. I went back to the GitLab wesbite to check if I was using the right password. Once I confirmed that I was, I tried to push the images again. It still didn’t work.
I decided to tackle the problem on another day.
Website Design
Since website design is a totally new concept to me, I decided to stick to the default fabacademy website and use markdown. The Fabacademy tutorial for setting up Mkdocs was really helpful. The first thing you need to do to make your website live is to make an edit to the mkdocs.yml file in the root of your gitlab account. It is linked from the readme file.

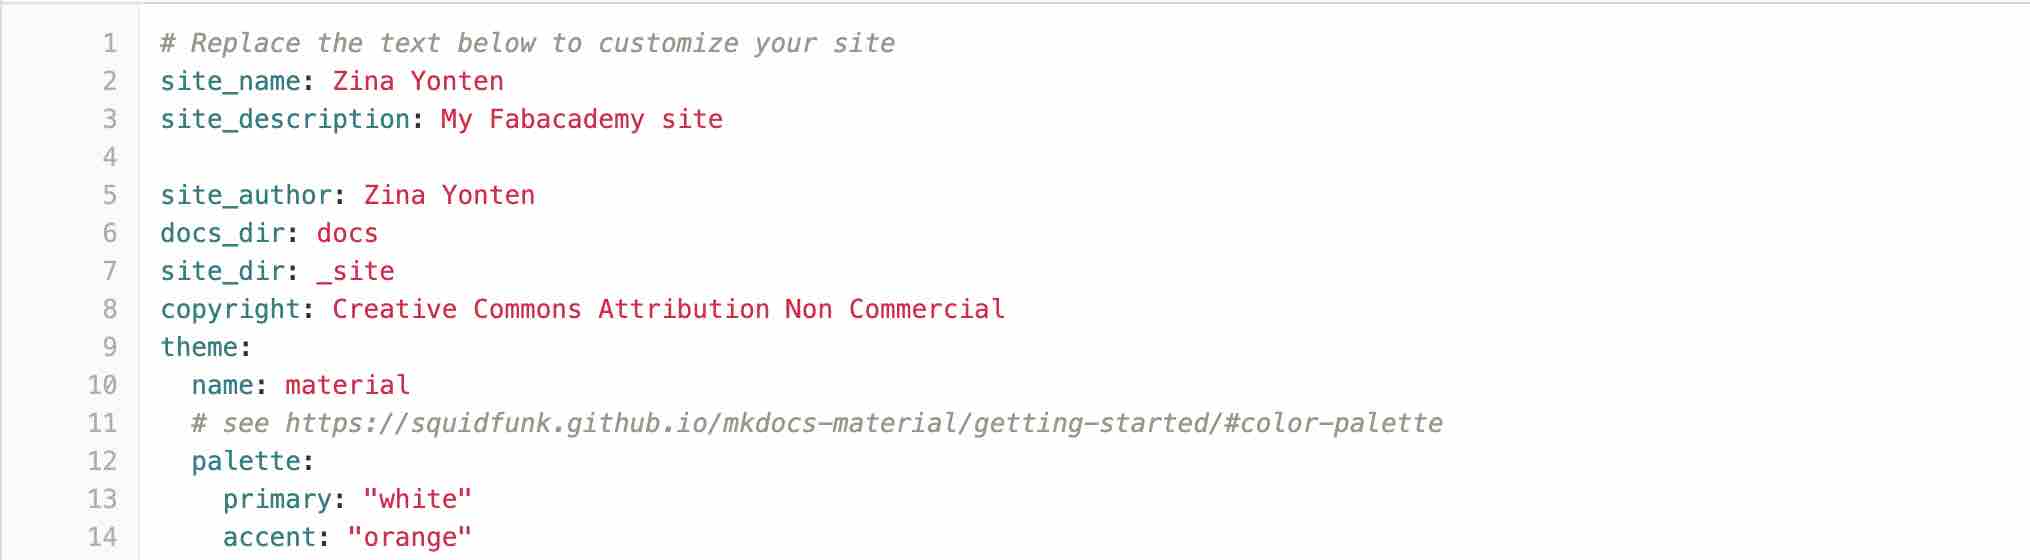
I changed the site name and site description and saved it. This activated my website and the link now works. Next I played around with the palette colors. I like white as the primary color and orange as the accent. This gave my website a very clean and simple look.
My edited website look:

This markdown guide was super helpful as well.
End of week 1 Conclusion
I am not proud to say that I put my documentation up for the week using the gitlab website. Although it is slower, I was able to get it done and get some sort of idea about the coding. The tutorials helped a lot and my collegues Martina and Spencer helped out with answering some questions I had. The two mentors were also very helpful with pointing me towards the right direction and guiding me through some of the processes so thank you! I hope to get a better grasp of this by next week.
Following week success!
My first priority after the lecture on CAD ended was to figure Git out completely and have it up and running. From the above paragraph you will see that I was able to get my website up on time by editing everything on the Gitlab website. So my first goal for this week was to be able to push and pull remotely. I asked around my class and it seems that most of them use Visual Studio Code as the content editor. So I downloaded it and watched some youtube tutorials. I found this one particularly helpful.
Once you write out everything for the website, you save the changes made and then push it to the repository. Just saving just saves the changes locally on Visual Studio Code not on the website.

However, when I tried to push changes into the repository, I ran into the same problem that I had earlier, which was my access being denied. I figured out that this was because I was entering in my Gitlab password in the password column when I actually had to generate a personal access token as the password. So I did, and voila! it worked!

Here is how I now work on Visual Studio Code:
2022 Update
The first thing I did when I got back access to my repository was to try to push and pull from VScode. I was aware that I probably needed to generate a new access token. However, VScode did not repsond to changes. It didnt ask for a new code either. It was just unresponsive. I crossed checked to ensure that my ssh key was set up.

Comparing it to the ssh on Gitlab:
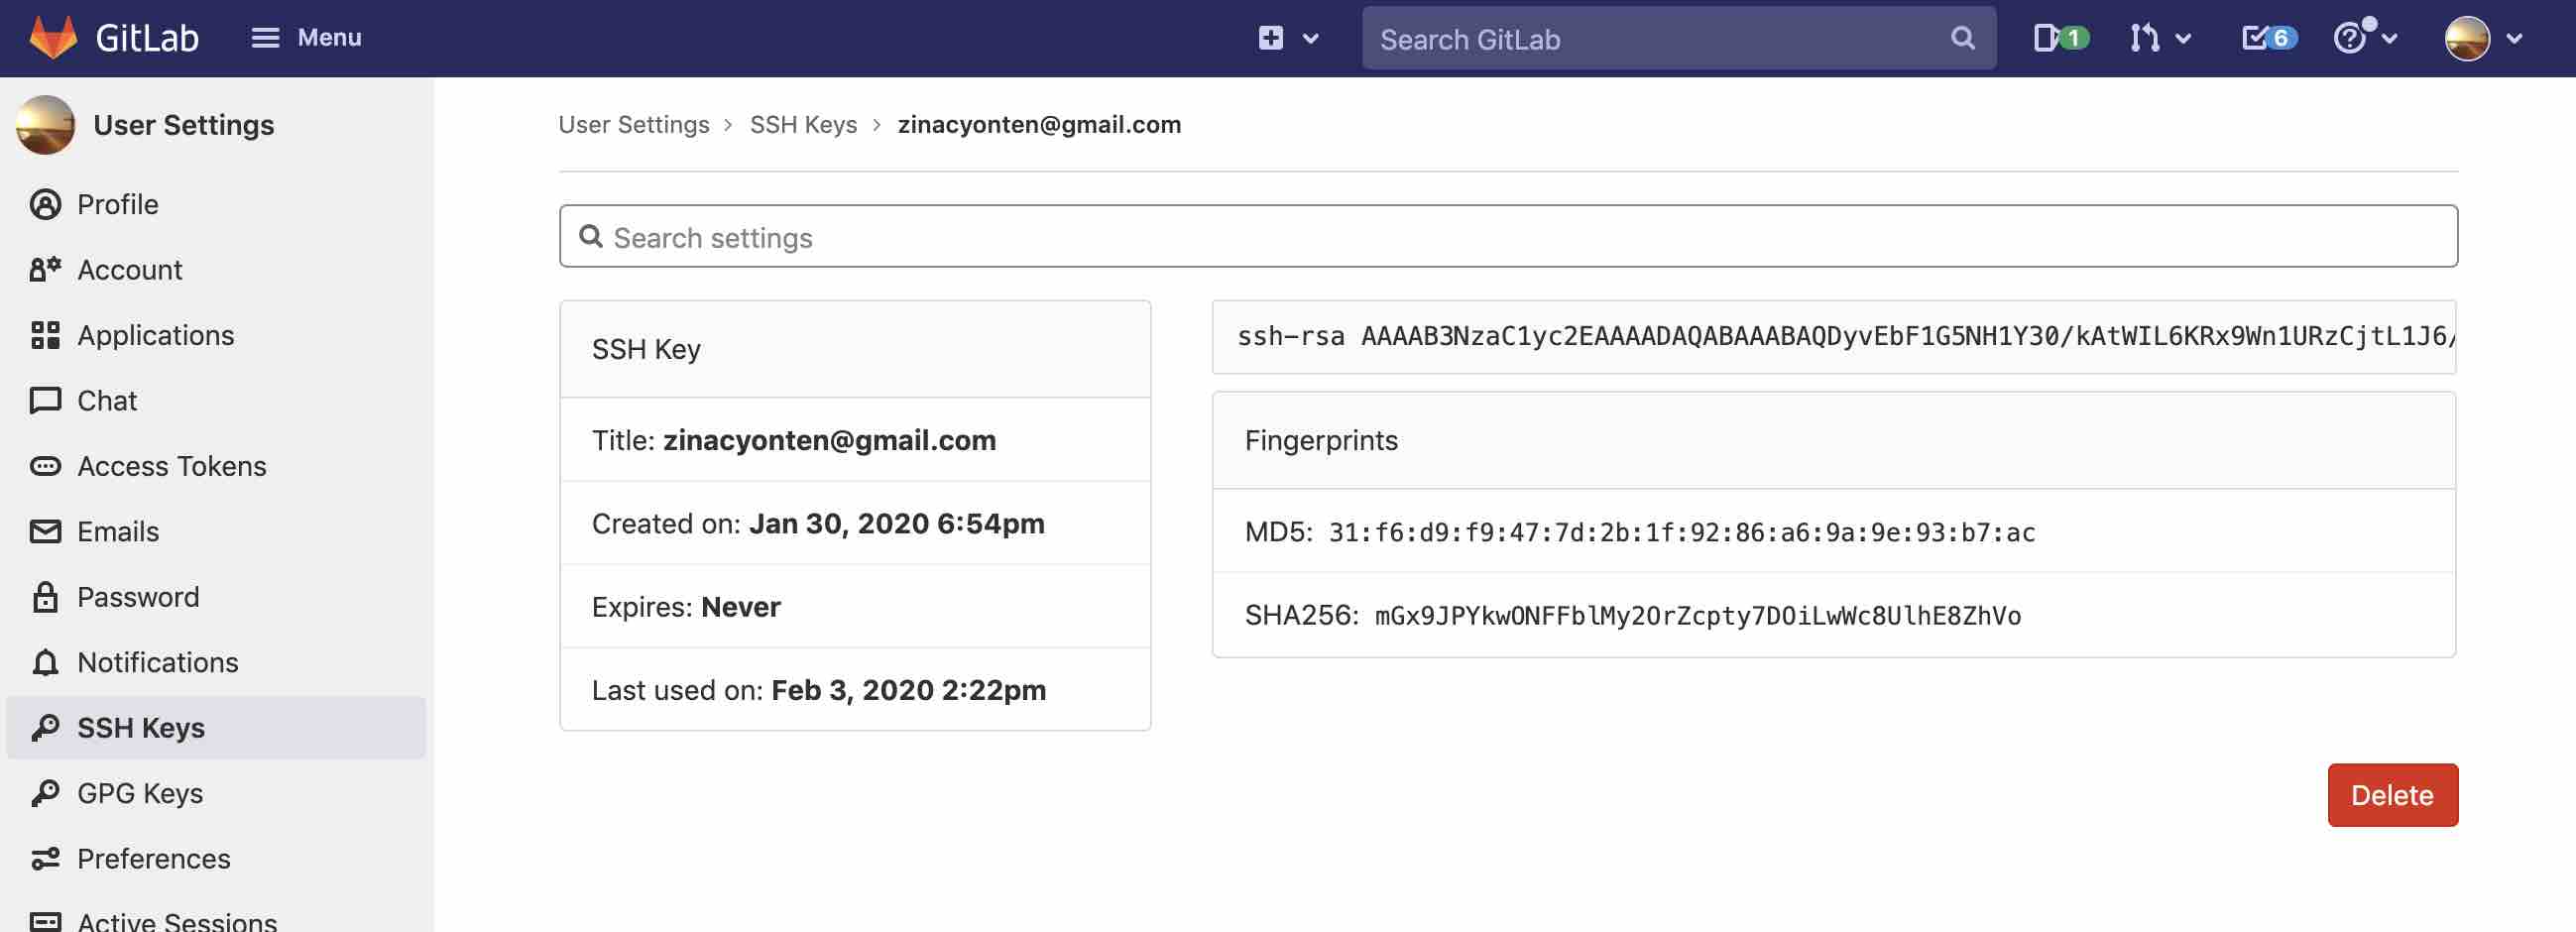
The two ssh keys were the same so it was set up. The next thing I did to tackle this problem was to delete the entire local folder from my laptop. Next, I cloned my repo from Gitlab using VScode. This method worked! It asked me for a password. I remembered from 2020 that I had to generate a personal access toek so I did that again:


Putting the code in VScode:

Pushing and pulling worked! However, for some reason, VScode couldnt push images to my repo. I had to to do this from my terminal:

Later i figured out that there was an extra step in VScode to stage files to be pushed. I followed this and it worked.
Assessment Guide
Made a website and described how you did it
Created a section about yourself on that website.
Added a page with a sketch and description of your final project idea(s)
Documented steps for creating your Git repository and adding files to it
Pushed to the class GitLab
Signed and uploaded Student Agreement