13. Invention, intellectual property and income
This was a pretty interesting week. We went over the different kinds of licenses that we can register our project under. The weekly assignment was to decide how we wanted to disseminate our final project. The Non-Commercial Creative Commons License seems to be the best fit for the current state of my project. I might change it with future developments.
Invention
An invention is a unique or novel device, method, composition or process. The invention process is a process within an overall engineering and product development process. It may be an improvement upon a machine or product or a new process for creating an object or a result. An invention that achieves a completely unique function or result may be a radical breakthrough. Such works are novel and not obvious to others skilled in the same field.
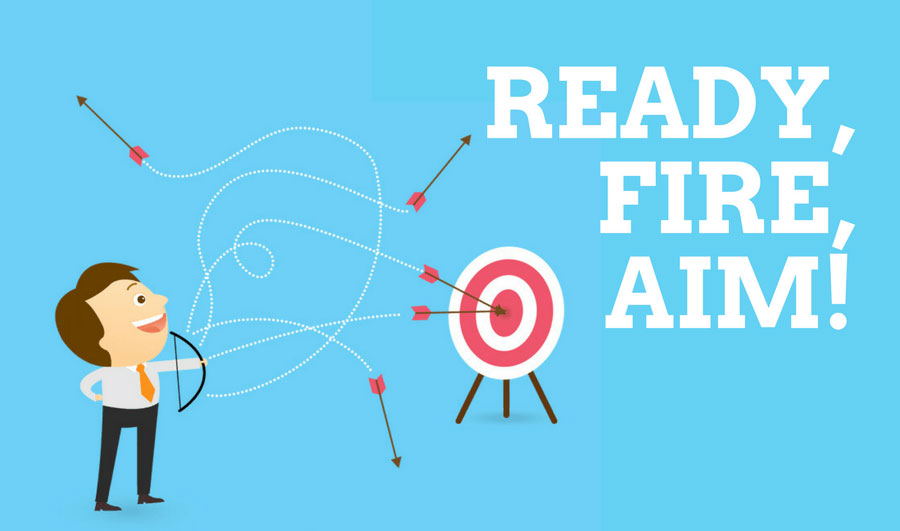
Neil talked about the concept of Ready, Fire, Aim during this part of lecture. This is the idea that first and foremost, you ready yourself, i.e, you prepare to the best of your capability. Then you fire into the market. Finally, you aim at what your invention/ product actually hit. You never know how and why your invention will be used in the world. Google never aimed at being an ad site but that is how they make their revenue now, Same with McDonalds and real estate. So, READY, FIRE, AIM.
Intellectual Property
Patent
Some inventions can be patented. A patent legally protects the intellectual property rights of the inventor and legally recognizes that a claimed invention is actually an invention. The rules and requirements for patenting an invention vary by country and the process of obtaining a patent is often expensive.
Copyright
I decided that I wanted to my work to be a type of copyright so I go into depth on this. This website has some helpful information.
What is Copyright?
There are different types of copyright depending on the type of artwork in question and local laws. Copyright in general is a legal right granting the creator of an original work exclusive rights to their intellectual property (IP). Rights can include but are not limited to distribution and modification.
What can be copyrighted?
Any original work; but not the idea itself. Basically any type of creative or artistic work can be copyrighted, but the exact rules differ by countries. Poems and other literary works, films and videos, musical compositions, choreography, sculptures, paintings and computer software can all be subject to copyright.
Types of Copyrights
In lecture we went over several types of copyrights:
- Creative Commons
- GPL (General Public License) and LGPL (Lesser General Public License)
- BSD
- MIT/X11
- Apache
- fab
Creative Commons is the one that I decided to go with for my project. Creative Common licenses are a way to grant varying degrees of permission to copyrighted work. CC gives the original creator control and ownership in how they would like their work to be used while protecting those using their work from possible copyright violations, given that the user appropriately follows the licensing conditions set out by the author.
There are 6 licensing types under Creative Commons:
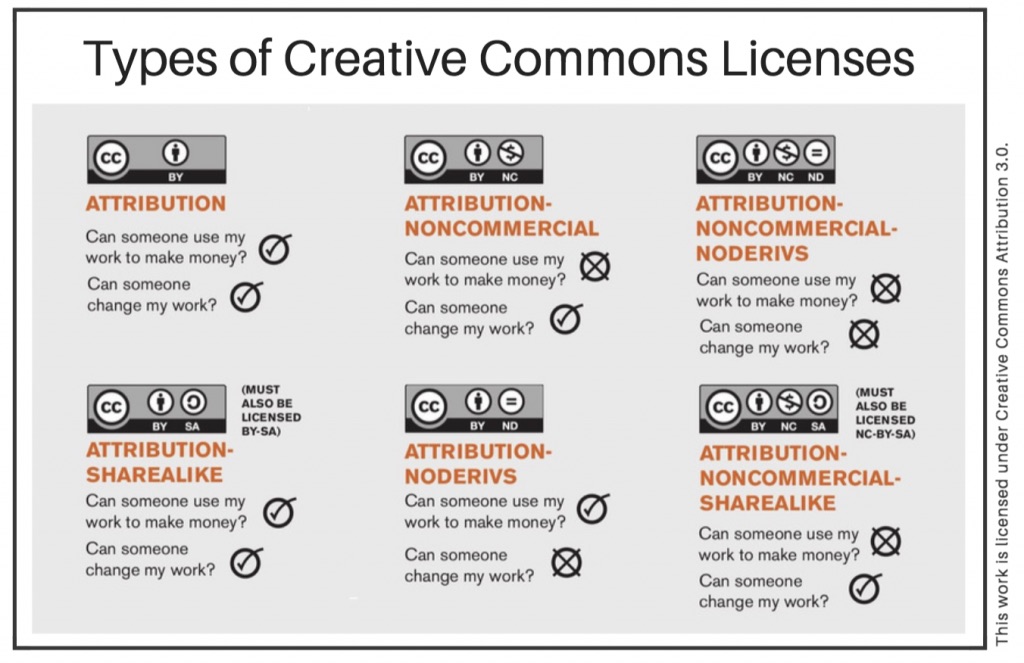
I decided to go with the Non-Commercial Creative Commons license. The Creative Commons’ website details the following:
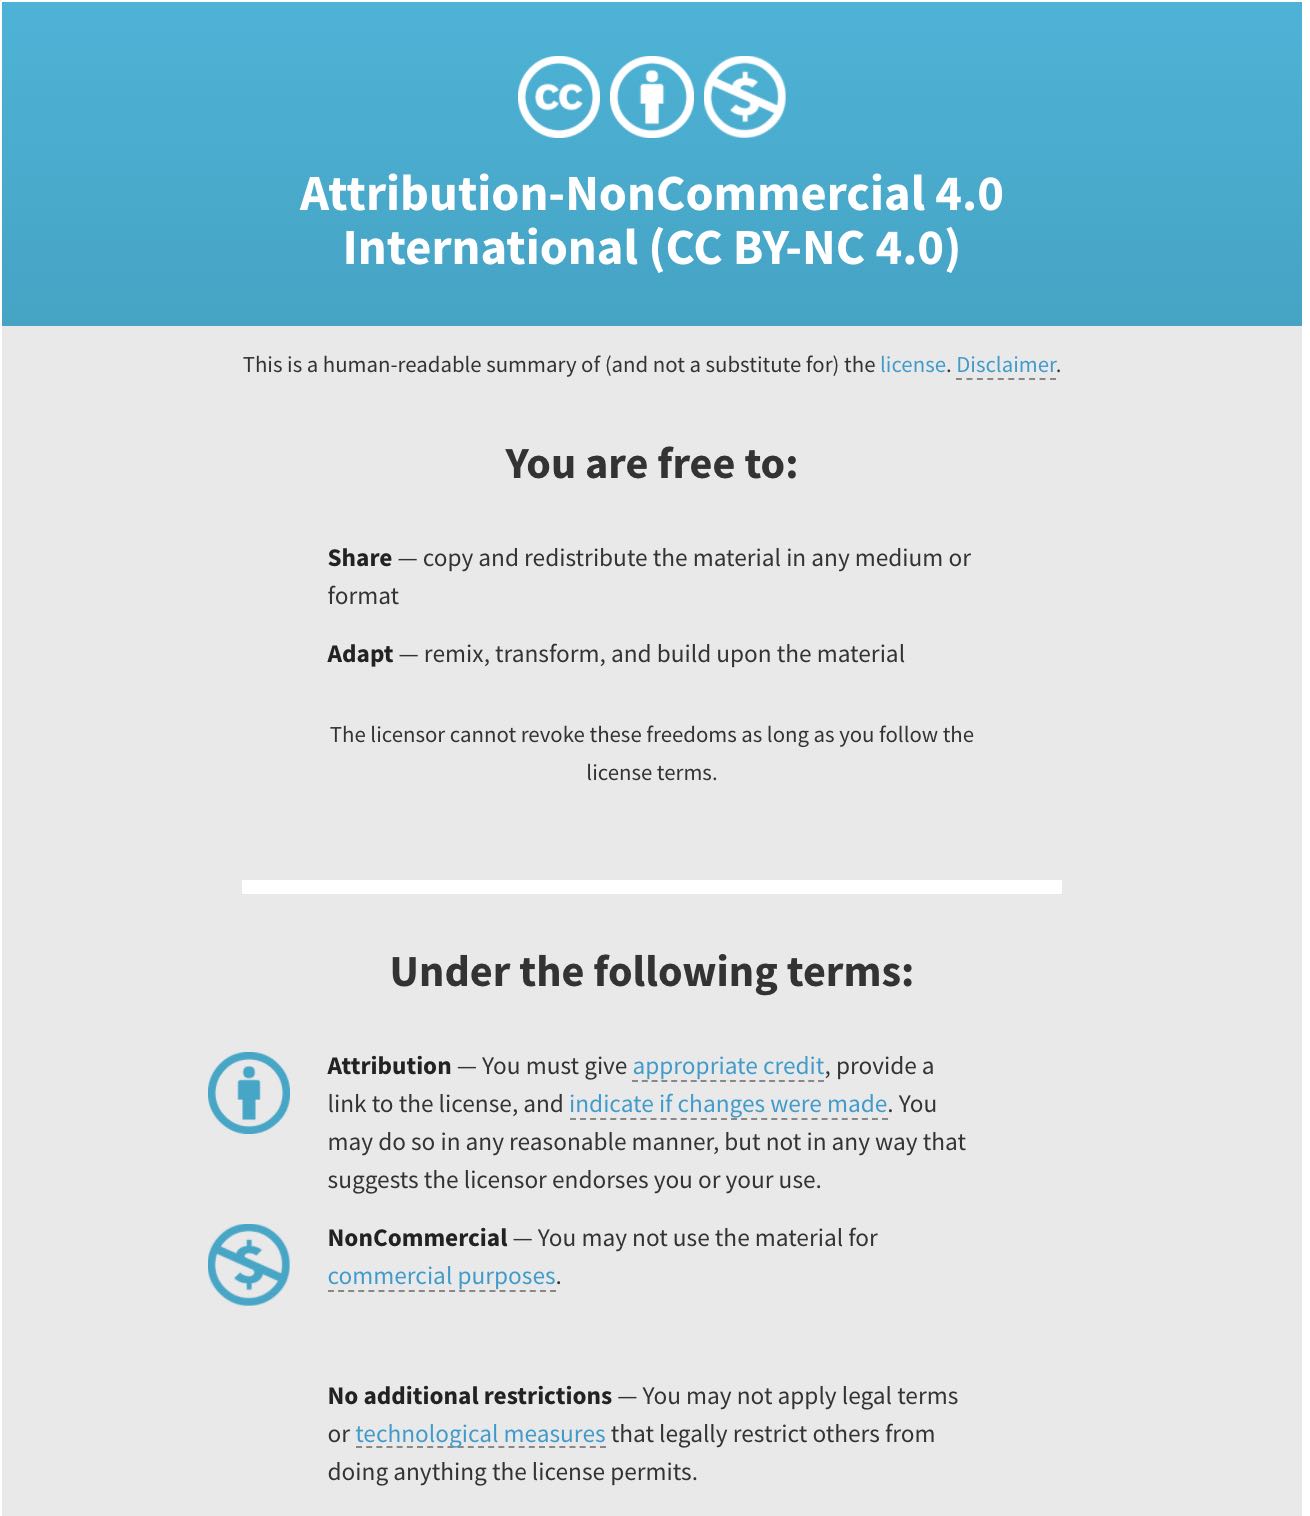
Therefore, using this license allows others to share and build on my work. They do need to give me credit (attribution), not use it commercially, and if they were to build on it, they have to publish their contribution using the same license.
License
This project is licensed under Creative Commons Attribution-NonCommercial-ShareAlike 4.0 International License.
This means you are free to:
- Share — copy and redistribute the material in any medium or format;
- Adapt — remix, transform, and build upon the material.
Under the following terms:
- Attribution — You must give appropriate credit, provide a link to the license, and indicate if changes were made. You may do so in any reasonable manner, but not in any way that suggests the licensor endorses you or your use;
- NonCommercial — You may not use the material for commercial purposes; ShareAlike — If you remix, transform, or build upon the material, you must distribute your contributions under the same license as the original.
Income
My project will be non-commerical so there will be no income generated. Unless, there is a significant demand for it later, it will remain under this license.
Neil’s lecture for this portion was pretty interesting though. He said that getting rich should not the base of business. Instead, you need to think about how you want to spend your time. This reminded me of a book by Mark Manson that I am currently reading. It says that you need to pursue how you do not mind struggling. Your business should be about how you want to work and how you want to change the world.
Project Disemmination
Since I decided to go with the creative commons license, my product will not be commercialised unless there is a huge demand for it.
Since I will be working in the super fab lab in bhutan, we will atttract people from all walks of life. I plan on keeping my project there on display and telling people about how it was created using the different machines in a fablab. The file to recreate it will be available on the super fab lab website as well as on my final project page.
Additionally I cna create a page on instructibles and thingiverse to reach a wider audience.
Individual Assignment
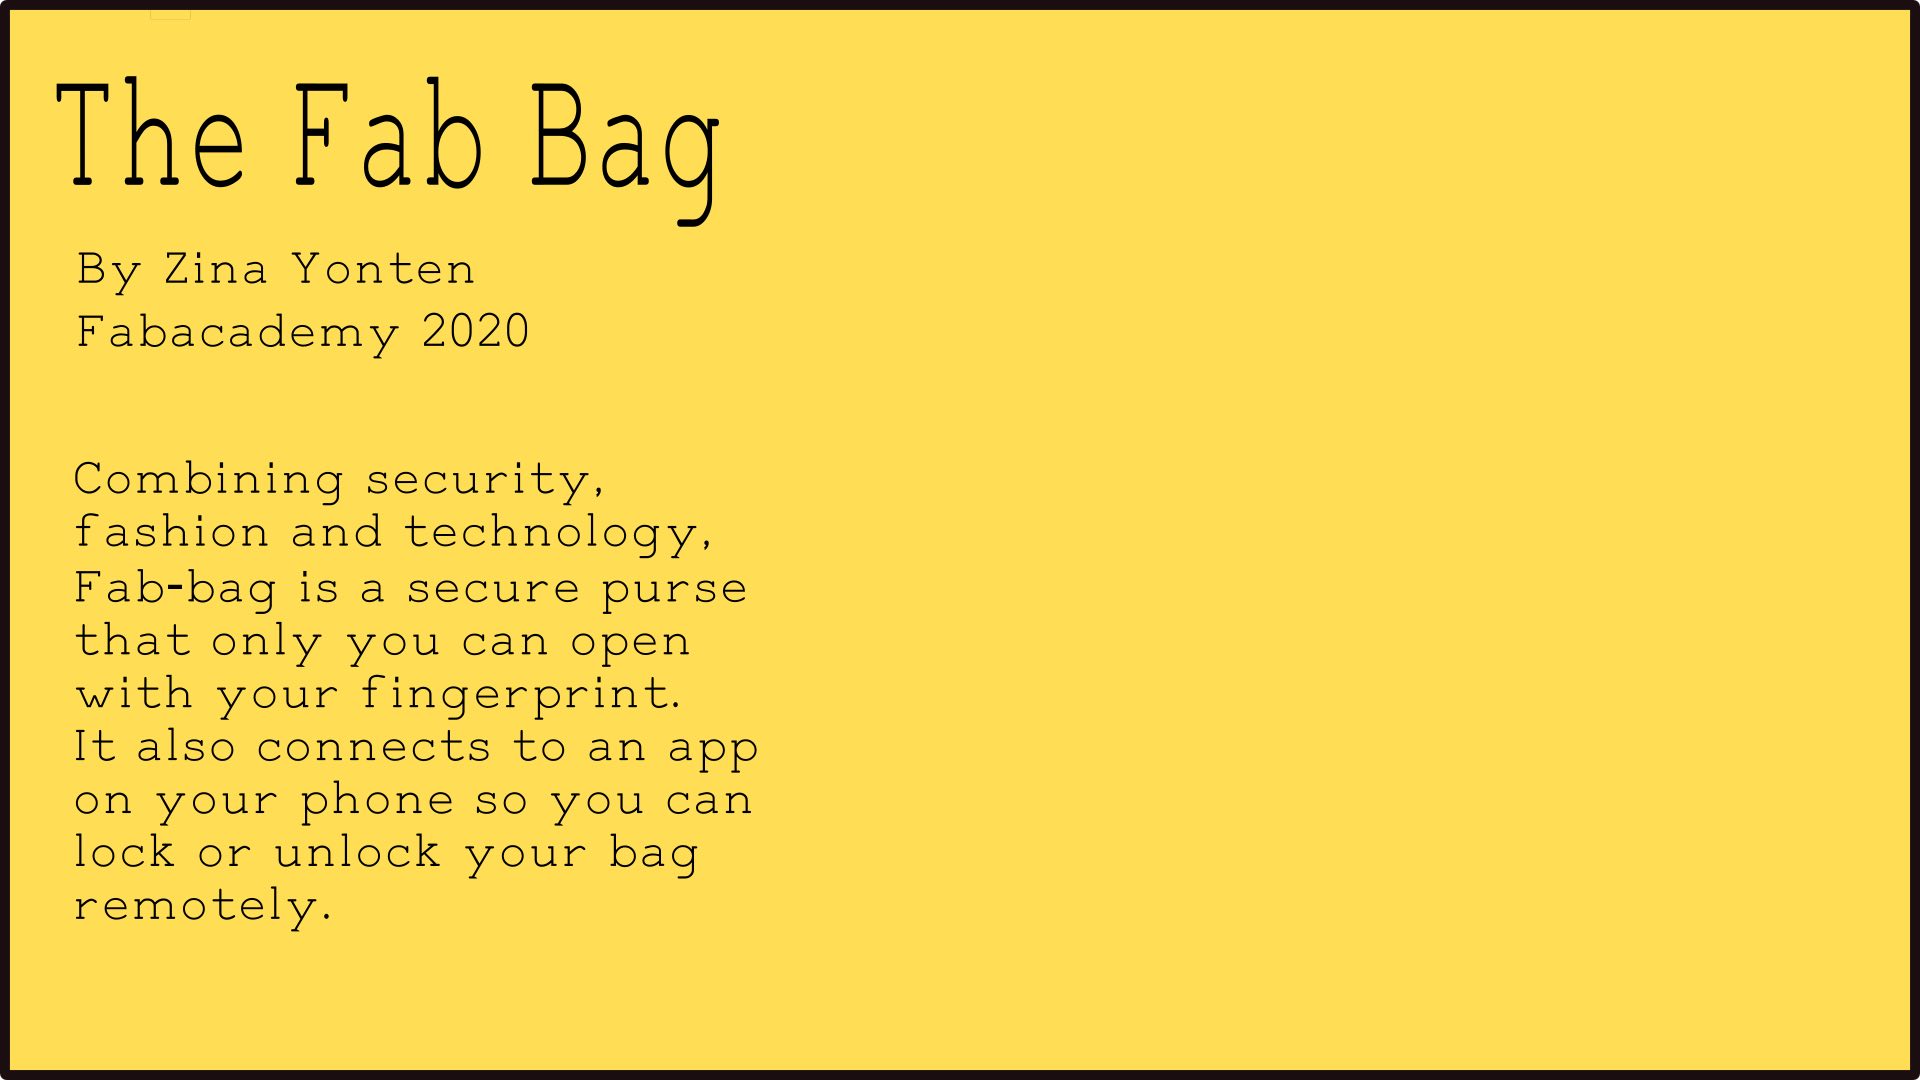
Here is a draft of my final project slide that I have put in my root directory:
Unfortunately, I did not have enough content to make a video. Once I am back in the lab, I plan on recording short clips of the design and production phase.
2022
Test Video
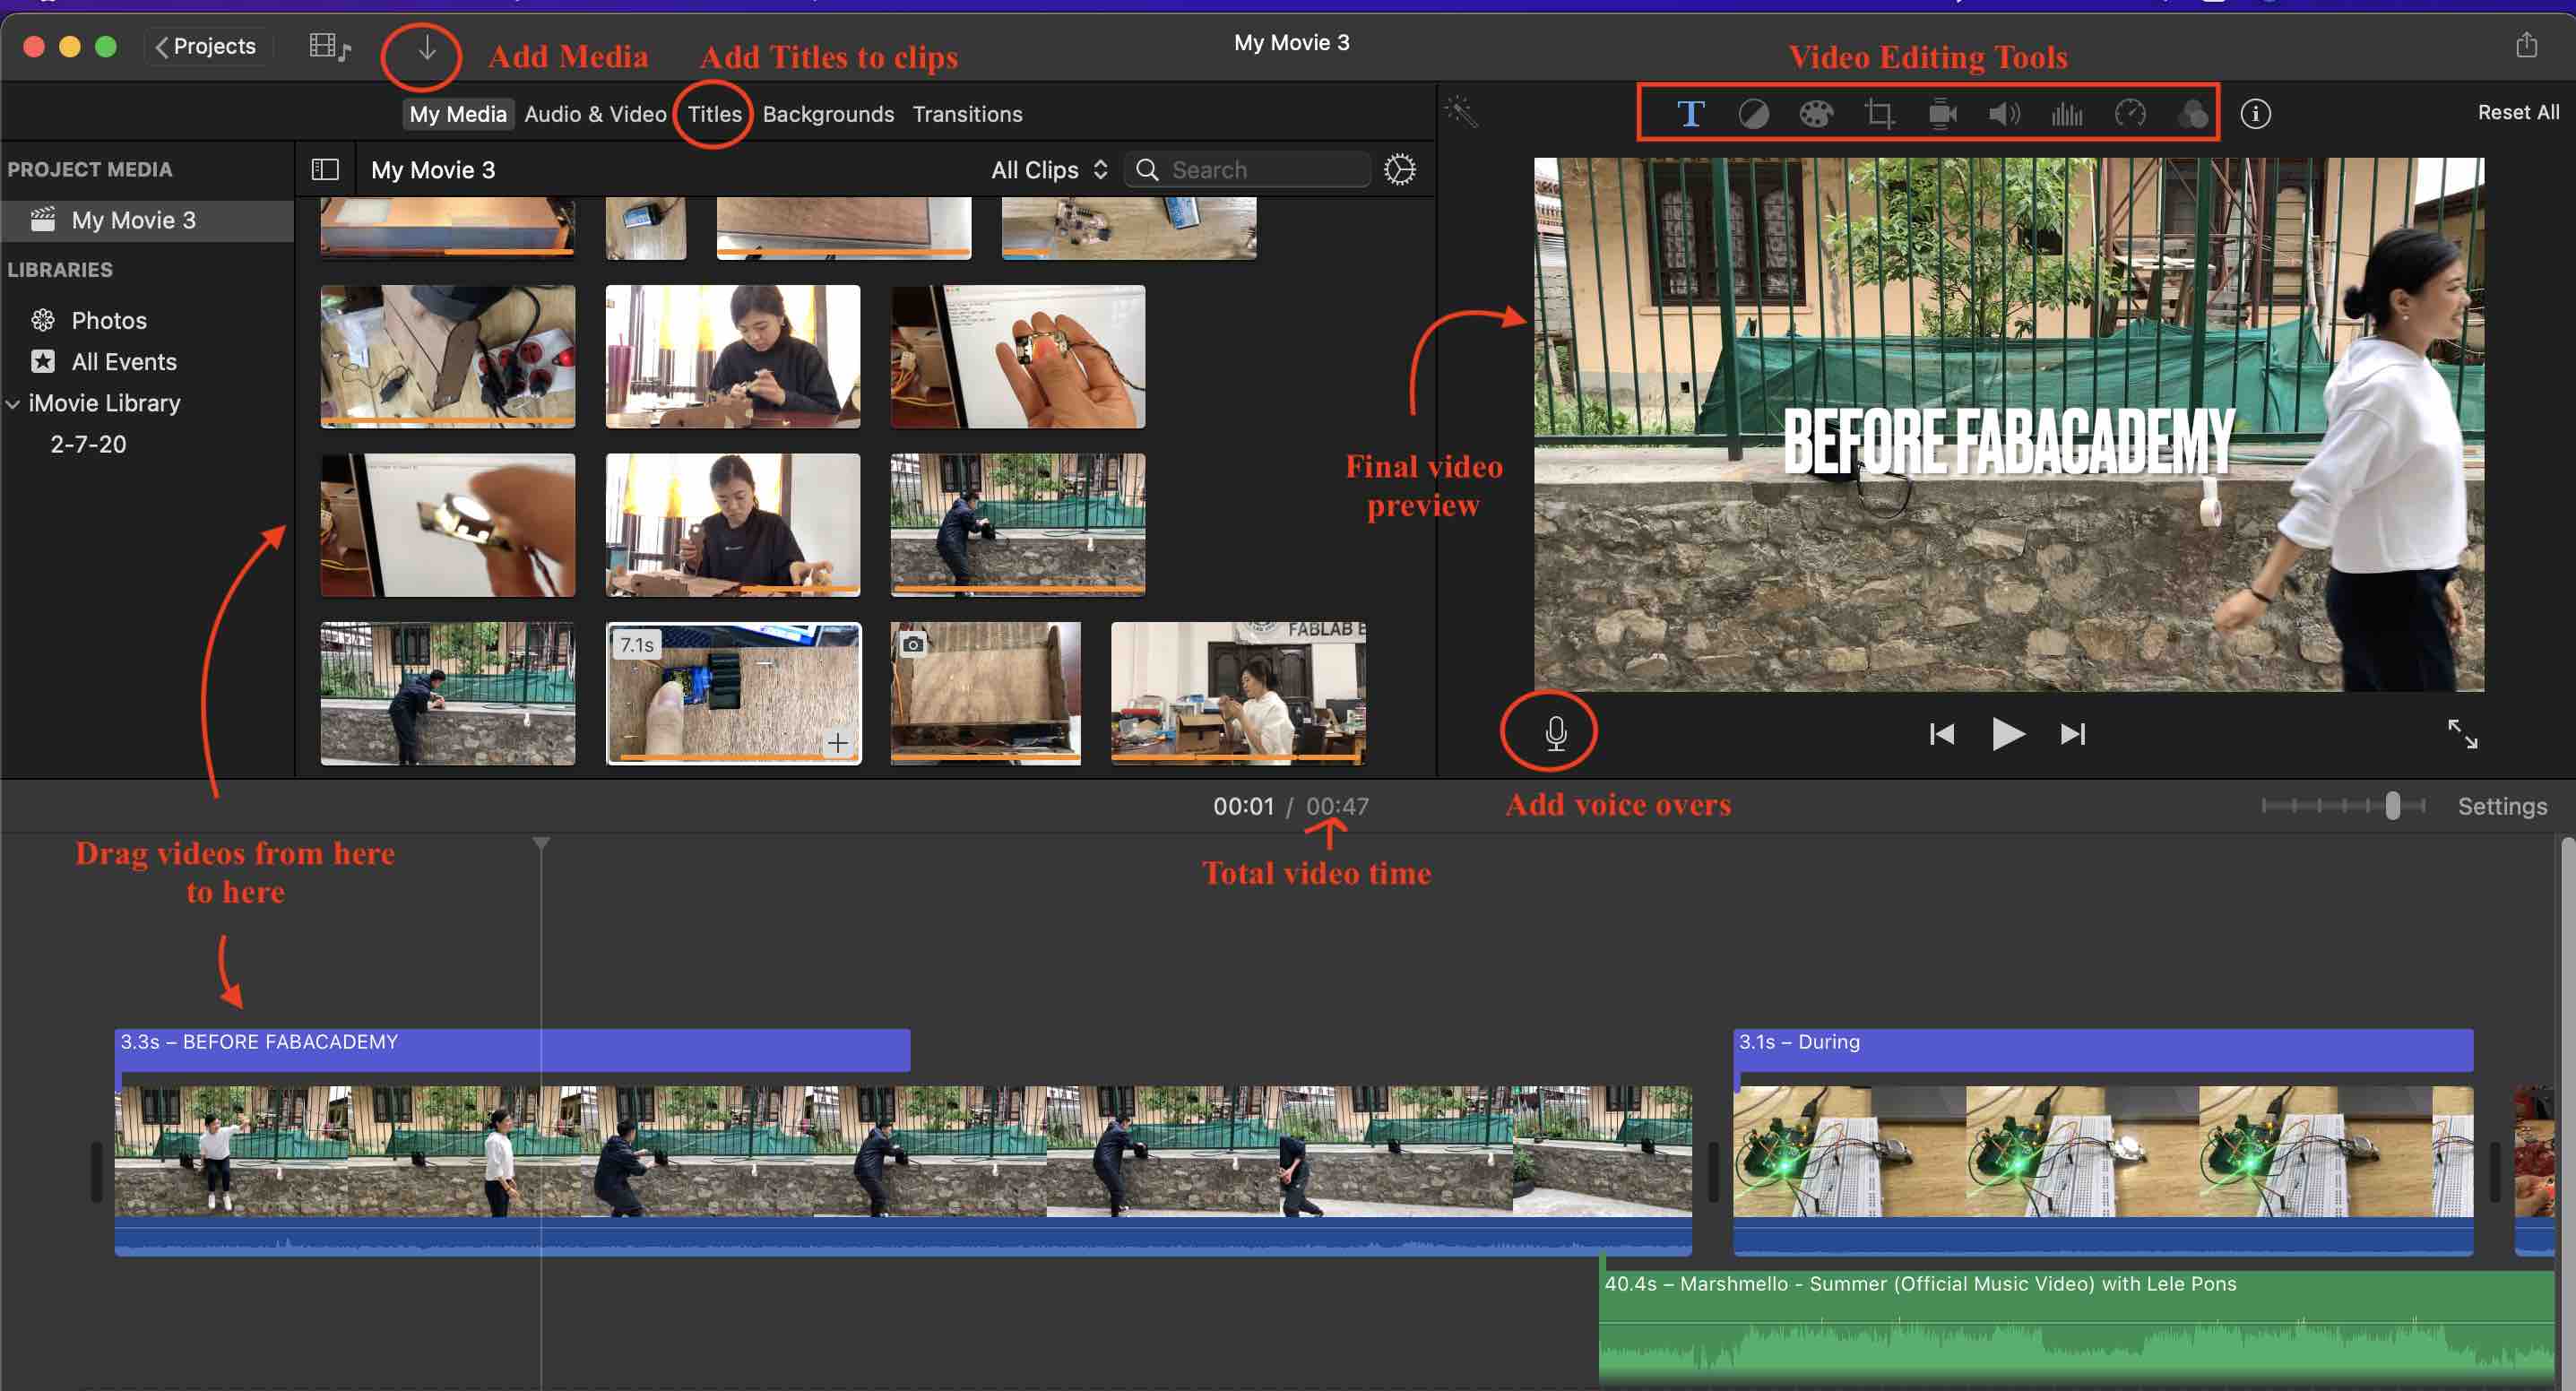
I made a test video of my project on imovie. I did this by first shooting small clips of the process and then uploading it on imovie as a new project. Imovie is really easy to use and the interface is quite simple to understand. Here is a breakdown of it:
Each video clip can either be sped up or slowed down by right clicking on the desired clip and then clicking show speed editor:
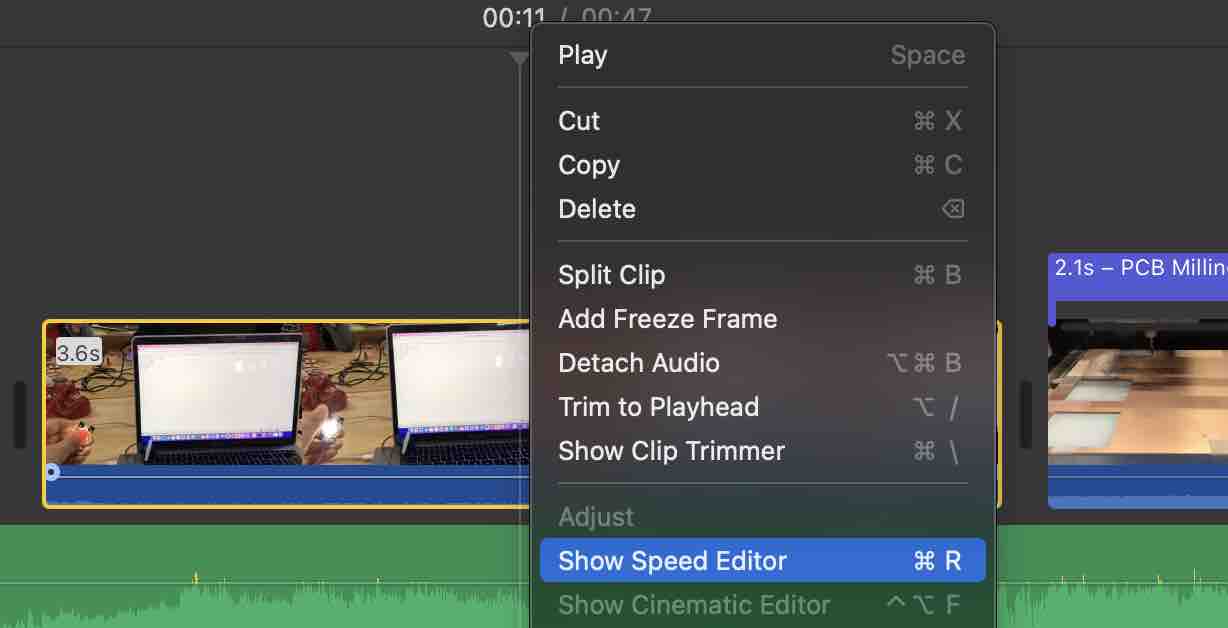
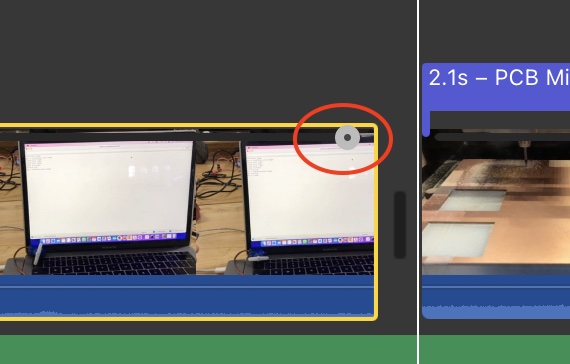
This brings up a small knob on the top right side of the clip. you can hold and drag the clip to either speed it up (by making it take less time) or slow it down (by making it take up more time)
There is even an option to split clips into mulitples parts os you can add different effects or speeds to the same clip. This is done by moving the yellow line to the desired place where you want to split the clip and then right clicking and selecting “split clip”.
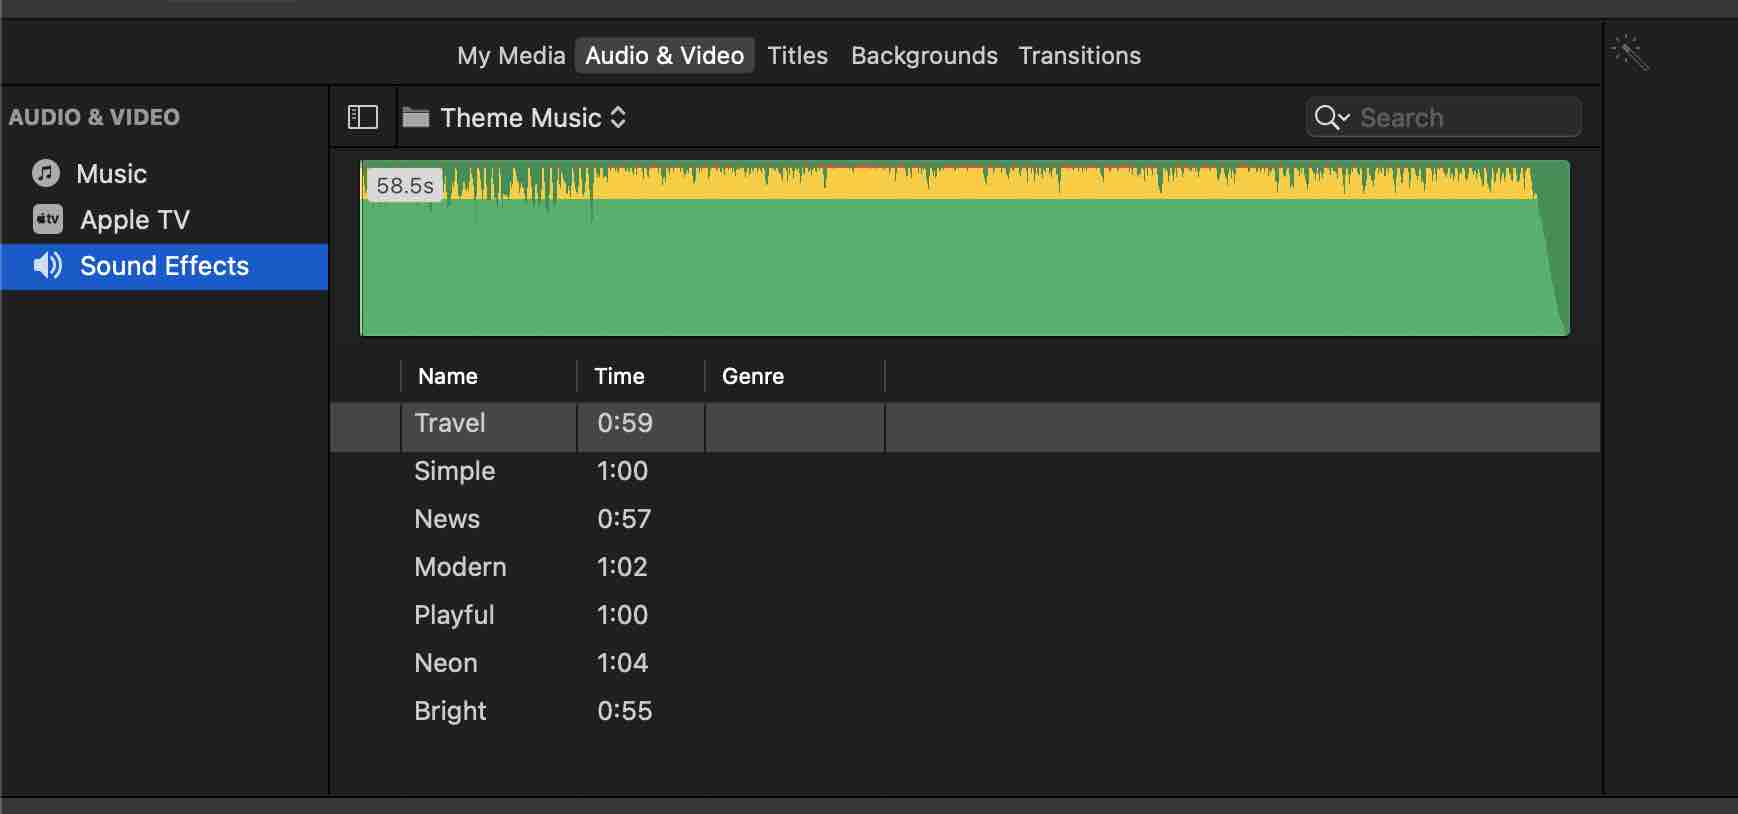
Finally you cna add music from a default folder or from your music library and drag it down to the clip:
This is a rough video that I put together. I still need to add some more clips and processes and bring the video to 1 minute.
To compress the video, Rico helped me with ffmpeg. I already had it downloaded but he said that to compress it without losing much quality, use this code
ffmpeg -i input.mp4 -c:v libx264 -crf 24 -preset slow output.mp4
CRF is the quality, lower means better quality, 15-25 is usually good preset.
The range of the CRF scale is 0–51, where 0 is lossless, 23 is the default, and 51 is worst quality possible. A lower value generally leads to higher quality, and a subjectively sane range is 17–28. Consider 17 or 18 to be visually lossless or nearly so; it should look the same or nearly the same as the input but it isn’t technically lossless. The range is exponential, so increasing the CRF value +6 results in roughly half the bitrate / file size, while -6 leads to roughly twice the bitrate. Choose the highest CRF value that still provides an acceptable quality. If the output looks good, then try a higher value. If it looks bad, choose a lower value.
A preset is a collection of options that will provide a certain encoding speed to compression ratio. A slower preset will provide better compression (compression is quality per filesize). This means that, for example, if you target a certain file size or constant bit rate, you will achieve better quality with a slower preset. Similarly, for constant quality encoding, you will simply save bitrate by choosing a slower preset.
Using this code I was able to get the video below 10MB.
Test Slide
To make the test slide, the first thing I did is check the size requirement. The fabacademy website says that it has to be 1920 by 1080 pixels. Therefore, I resized the page to this specific size on inkscape:

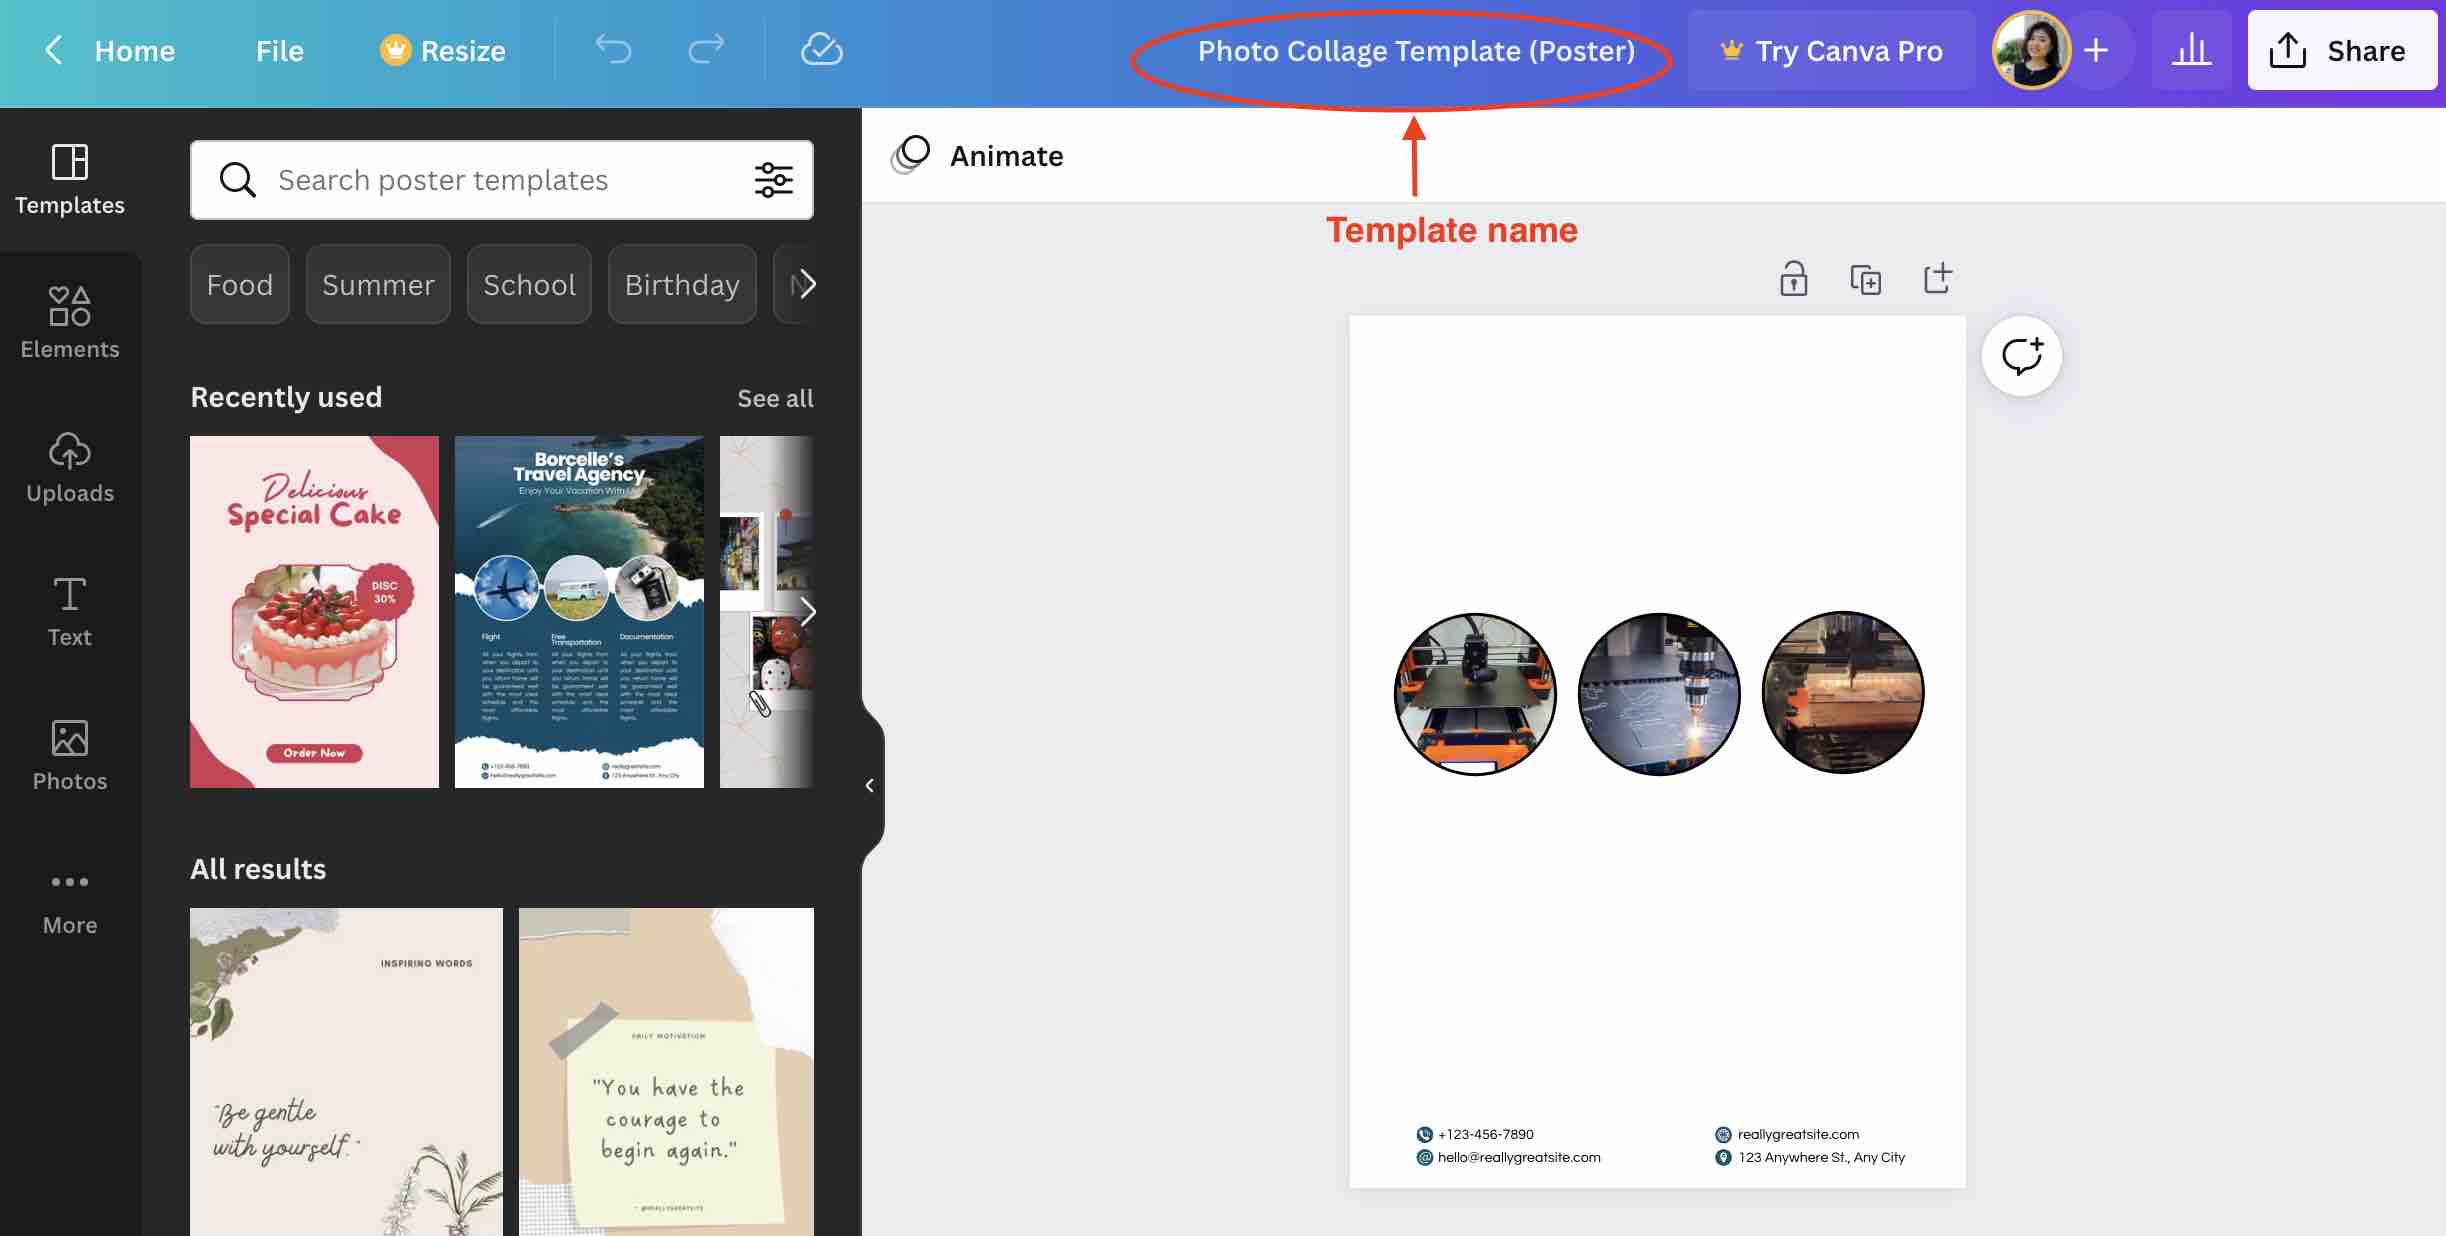
Now I know how much space I have to work with, I started filling out the page. I looked up some collage templates on canva and found one that had three circular pictures. I replaced the dummy pictures with what I wanted in and screenshot the collage. I added the screenshot to the inkscape page:
Finally I added in the text and the other images and I had my slide ready:

Future Scope
To improve on the project I want to do the following:
- Make an app and connect it to the bag via bluetooth so that users can add and remove fingerprint scans through the app. The app will also show the battery level and bag location.
- Make it chargeable.
- Improve the lock mechanism.
- Add a display on the bag.