5. 3D Scanning and Printing
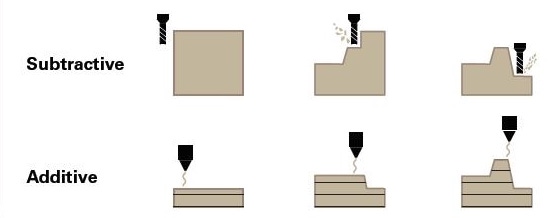
The goal for this week was to introduce us to the world of 3D printing and to learn its strengths and weaknesses. 3D printing is an additive manufacturing process where objects are made by adding material layer by layer. This is often compared to subtractive manufacturing methods such as milling where objects are made by removing material. The big difference between additive and subtractive manufacturing is that in subtractive manufacturing, the tool has to get into the workpiece. In additive manufacturing, since we are building up, we have access to the inside and the outside; so we can have things like axles, nested parts and overhangs.
I have listed some advatanges and disadvantages of 3D printing here:
Advantages: One of the motivations to 3D print is complexity. It takes the machine the same amount of work to print a solid, dense, simple solid as it would to print a complex object of about the same size. There is no cost difference between making something complex vs something simple. It also generates far less waste as compared to subtractive manufacturing.

Disadvantages: One of the main disadvantages of 3D printing is that there are a range of ways that the print can fail, wasting time and material. There are also limits on the resolution depending on the type of printing. Printing is usually slow and it takes hours to print something compared to minutes with subtractive methods. It can also be expensive depending on the material that you are using.
However, one of the biggest limitations of 3D printing is it’s design rules. How thin a wall can be before it falls apart? How close can a gap be before it fuses? What is the maximum angle of overhang? Models must be designed around knowing these design rules of the 3D printers we are using.
Therefore, our group assignment was to test the design rules for the 3D printers in the lab.
Group Project
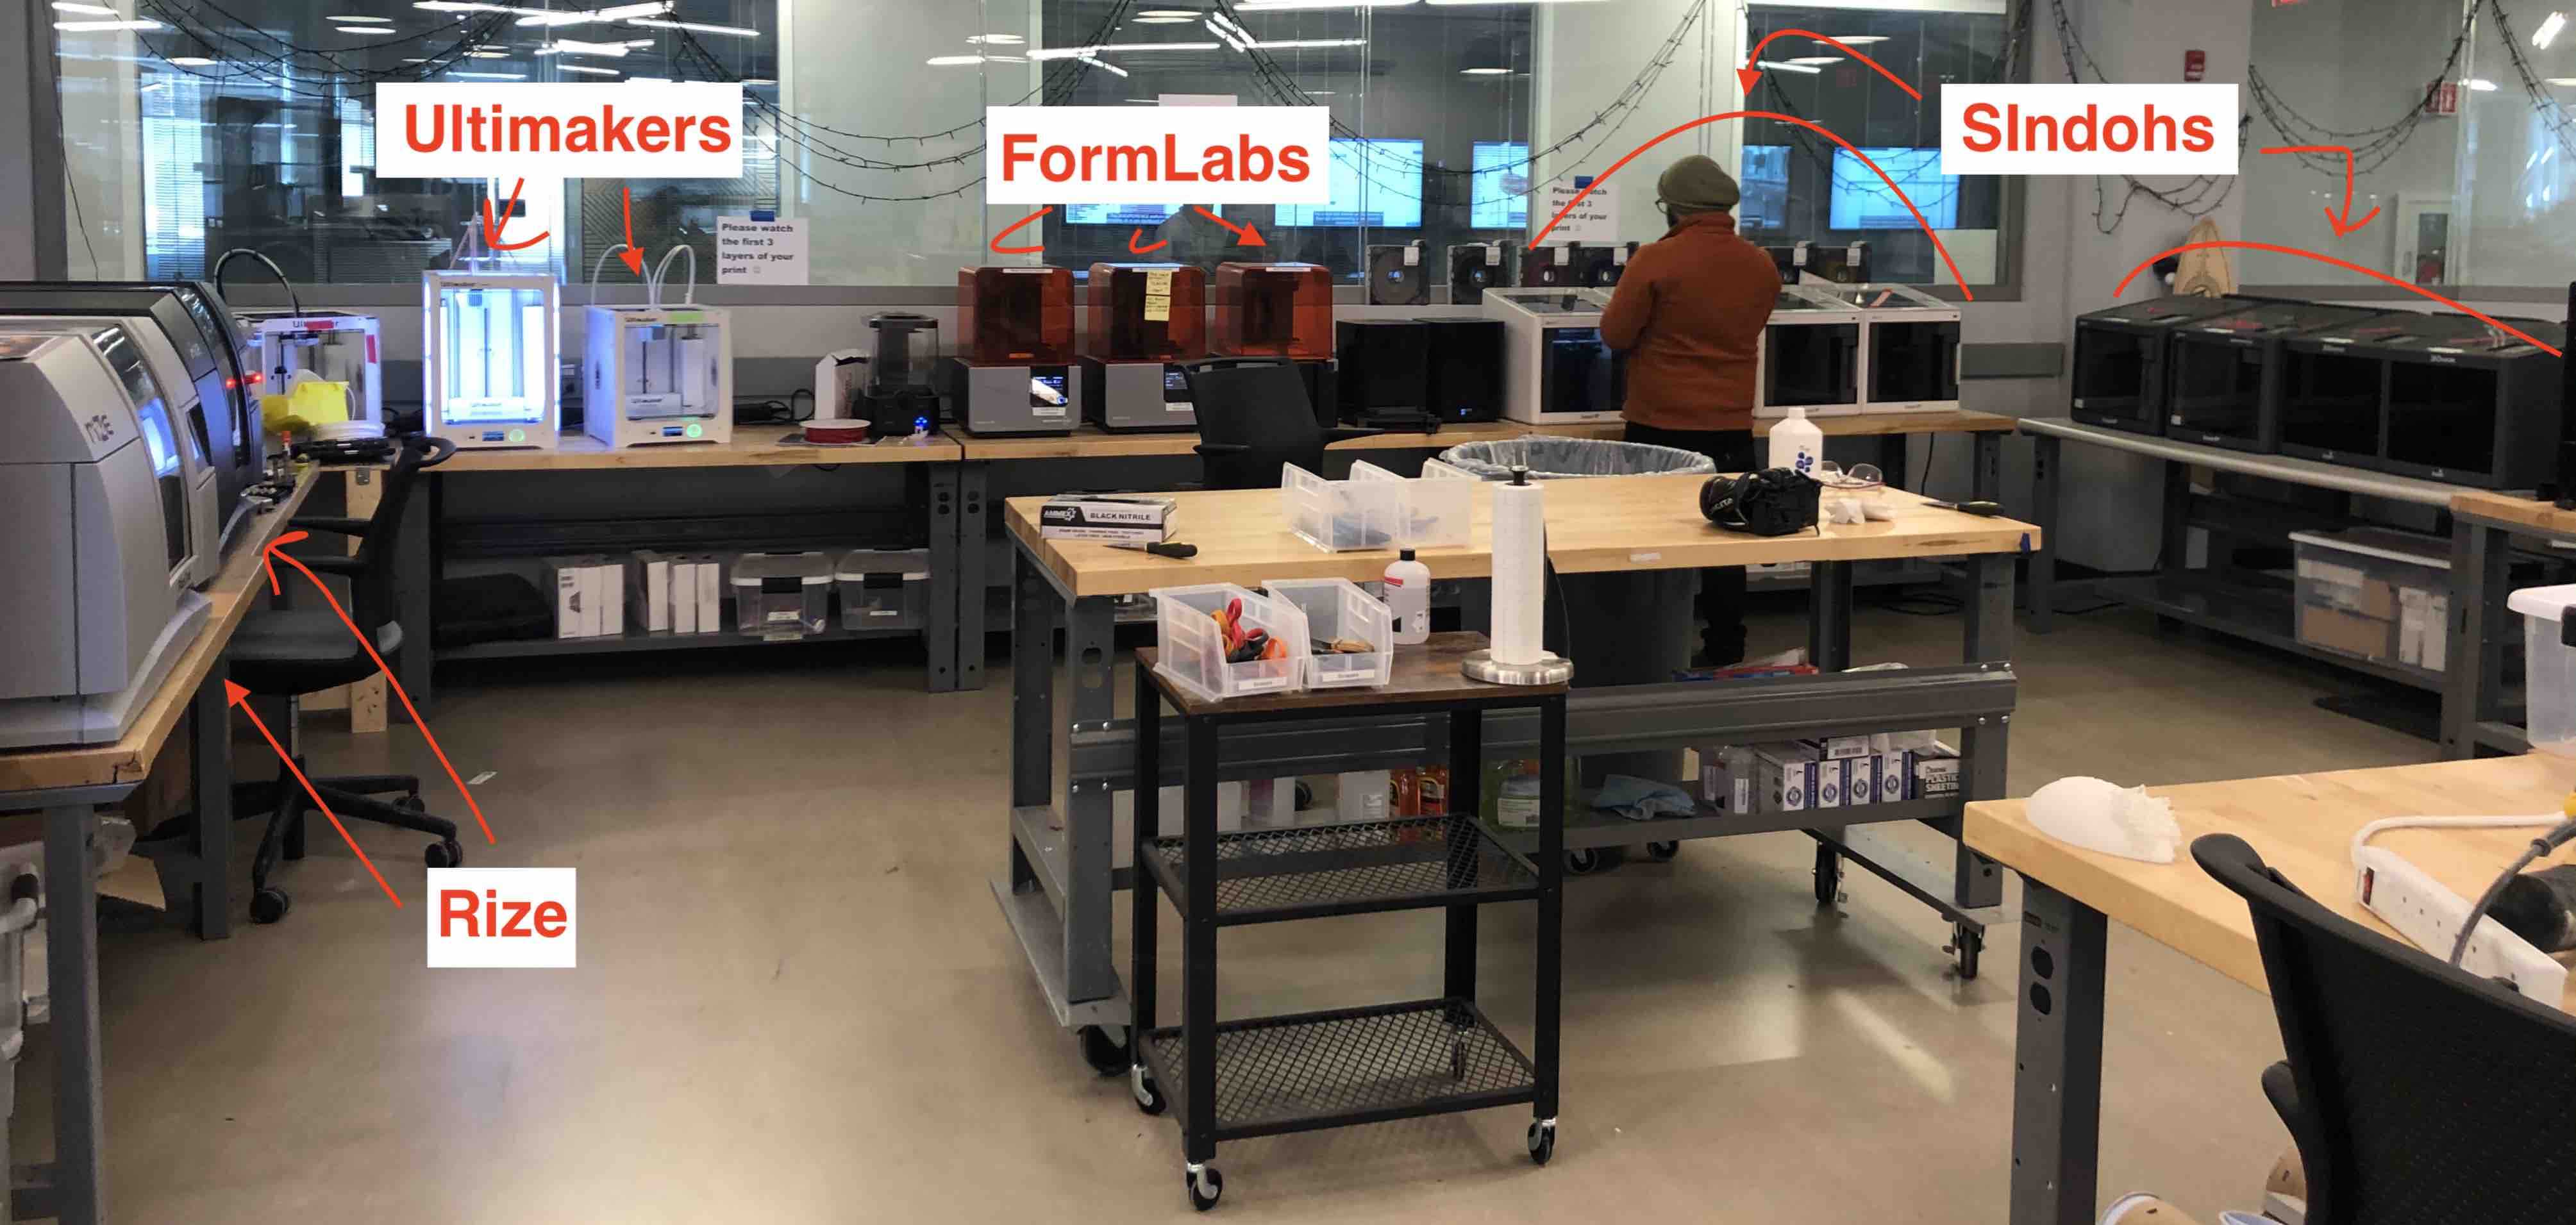
At the Dassault Systemes lab, we have a variety of 3D printers. The Formlabs prints with resin, curing it with a laser light layer by layer. The Ultimakers and the Sindohs are FDM printers (Fused Deposition Molding)
For the group project, we decided to test the Sindohs and the Ultimakers since we figured that those printers were going to be the workhorses for the course. It was interesting to compare prints from the two printers. Here is the bridge test from the two printers. For this constraint, the Sindoh worked better. The Ultimaker started making loose filaments past the 14mm length:

For the overhang test, both printers produced the same quality. It started failing after extending past 5mm.

For the surface test, both printers produced similar results. The Ultimaker model was printed with transparent filament while the Sindoh one was printed with white filament.

We were unable to finish the rest of the tests on the Ultimaker so we just have the Sindoh models. The model started making loose filaments past the 30 degree angle.

For the wall thickness test, we discovered that the thinnest wall that the Sindoh prints is 0.5mm and the smallest gap it can leave is 0.3mm.

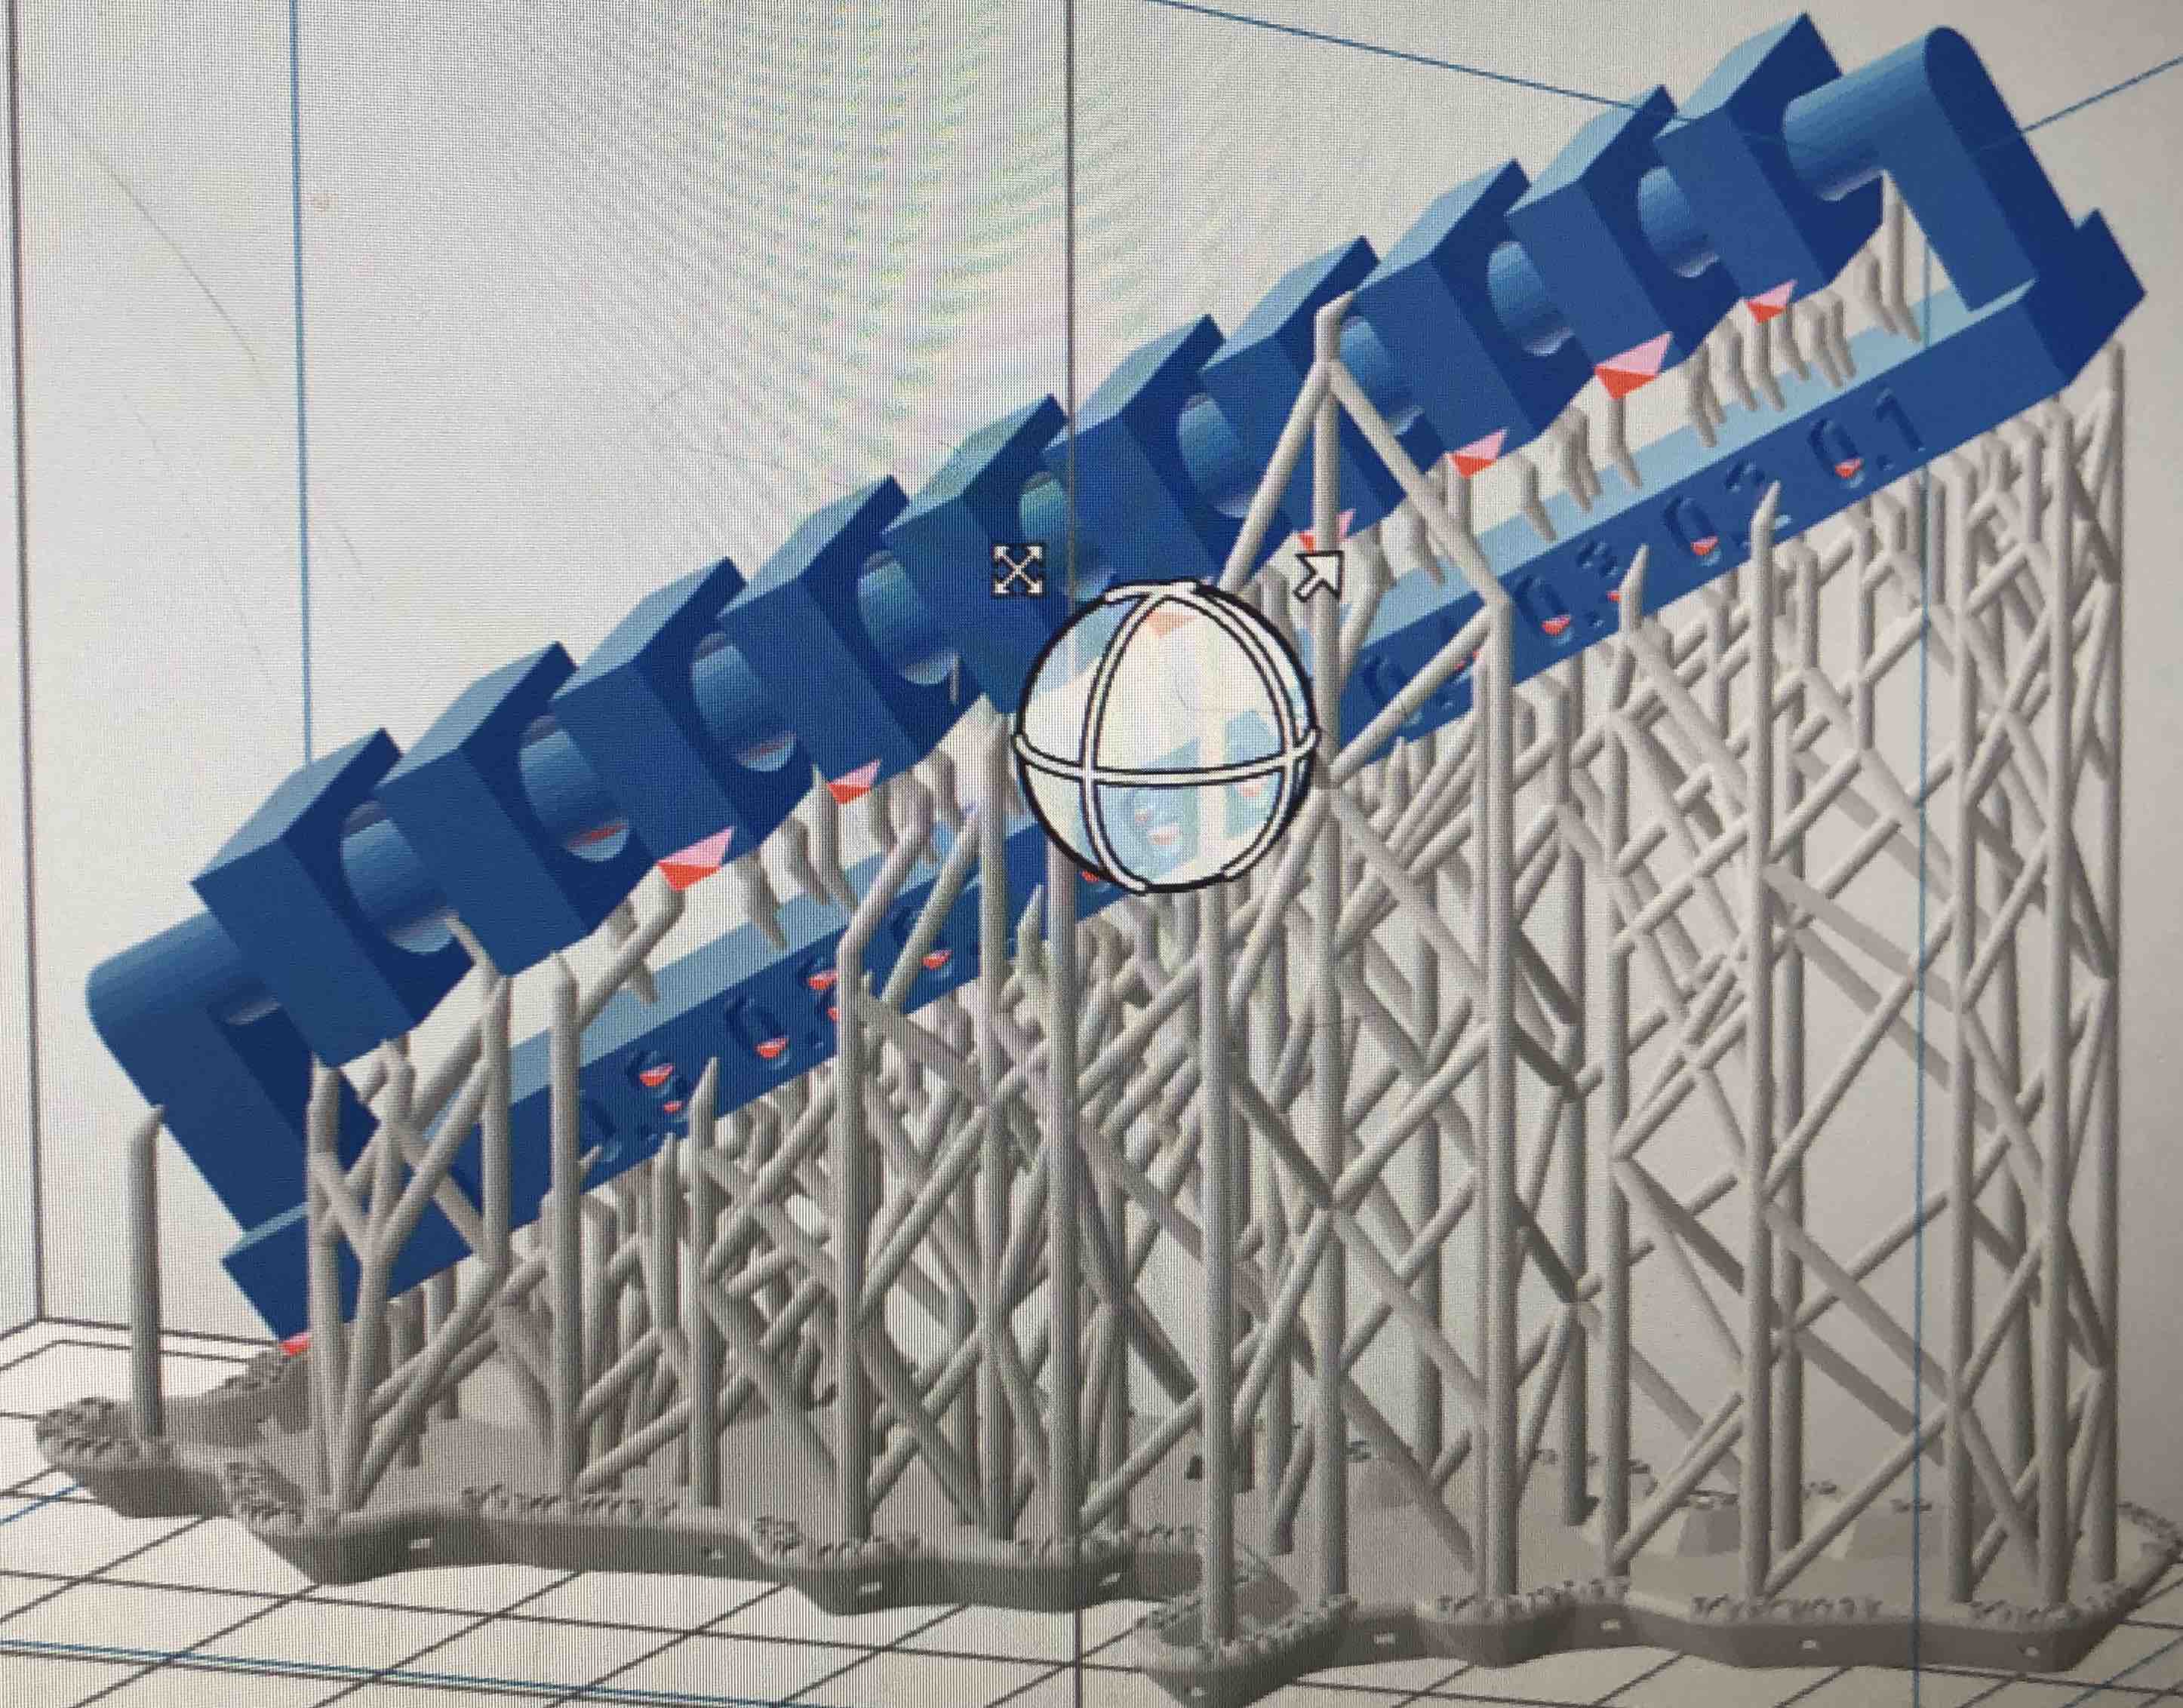
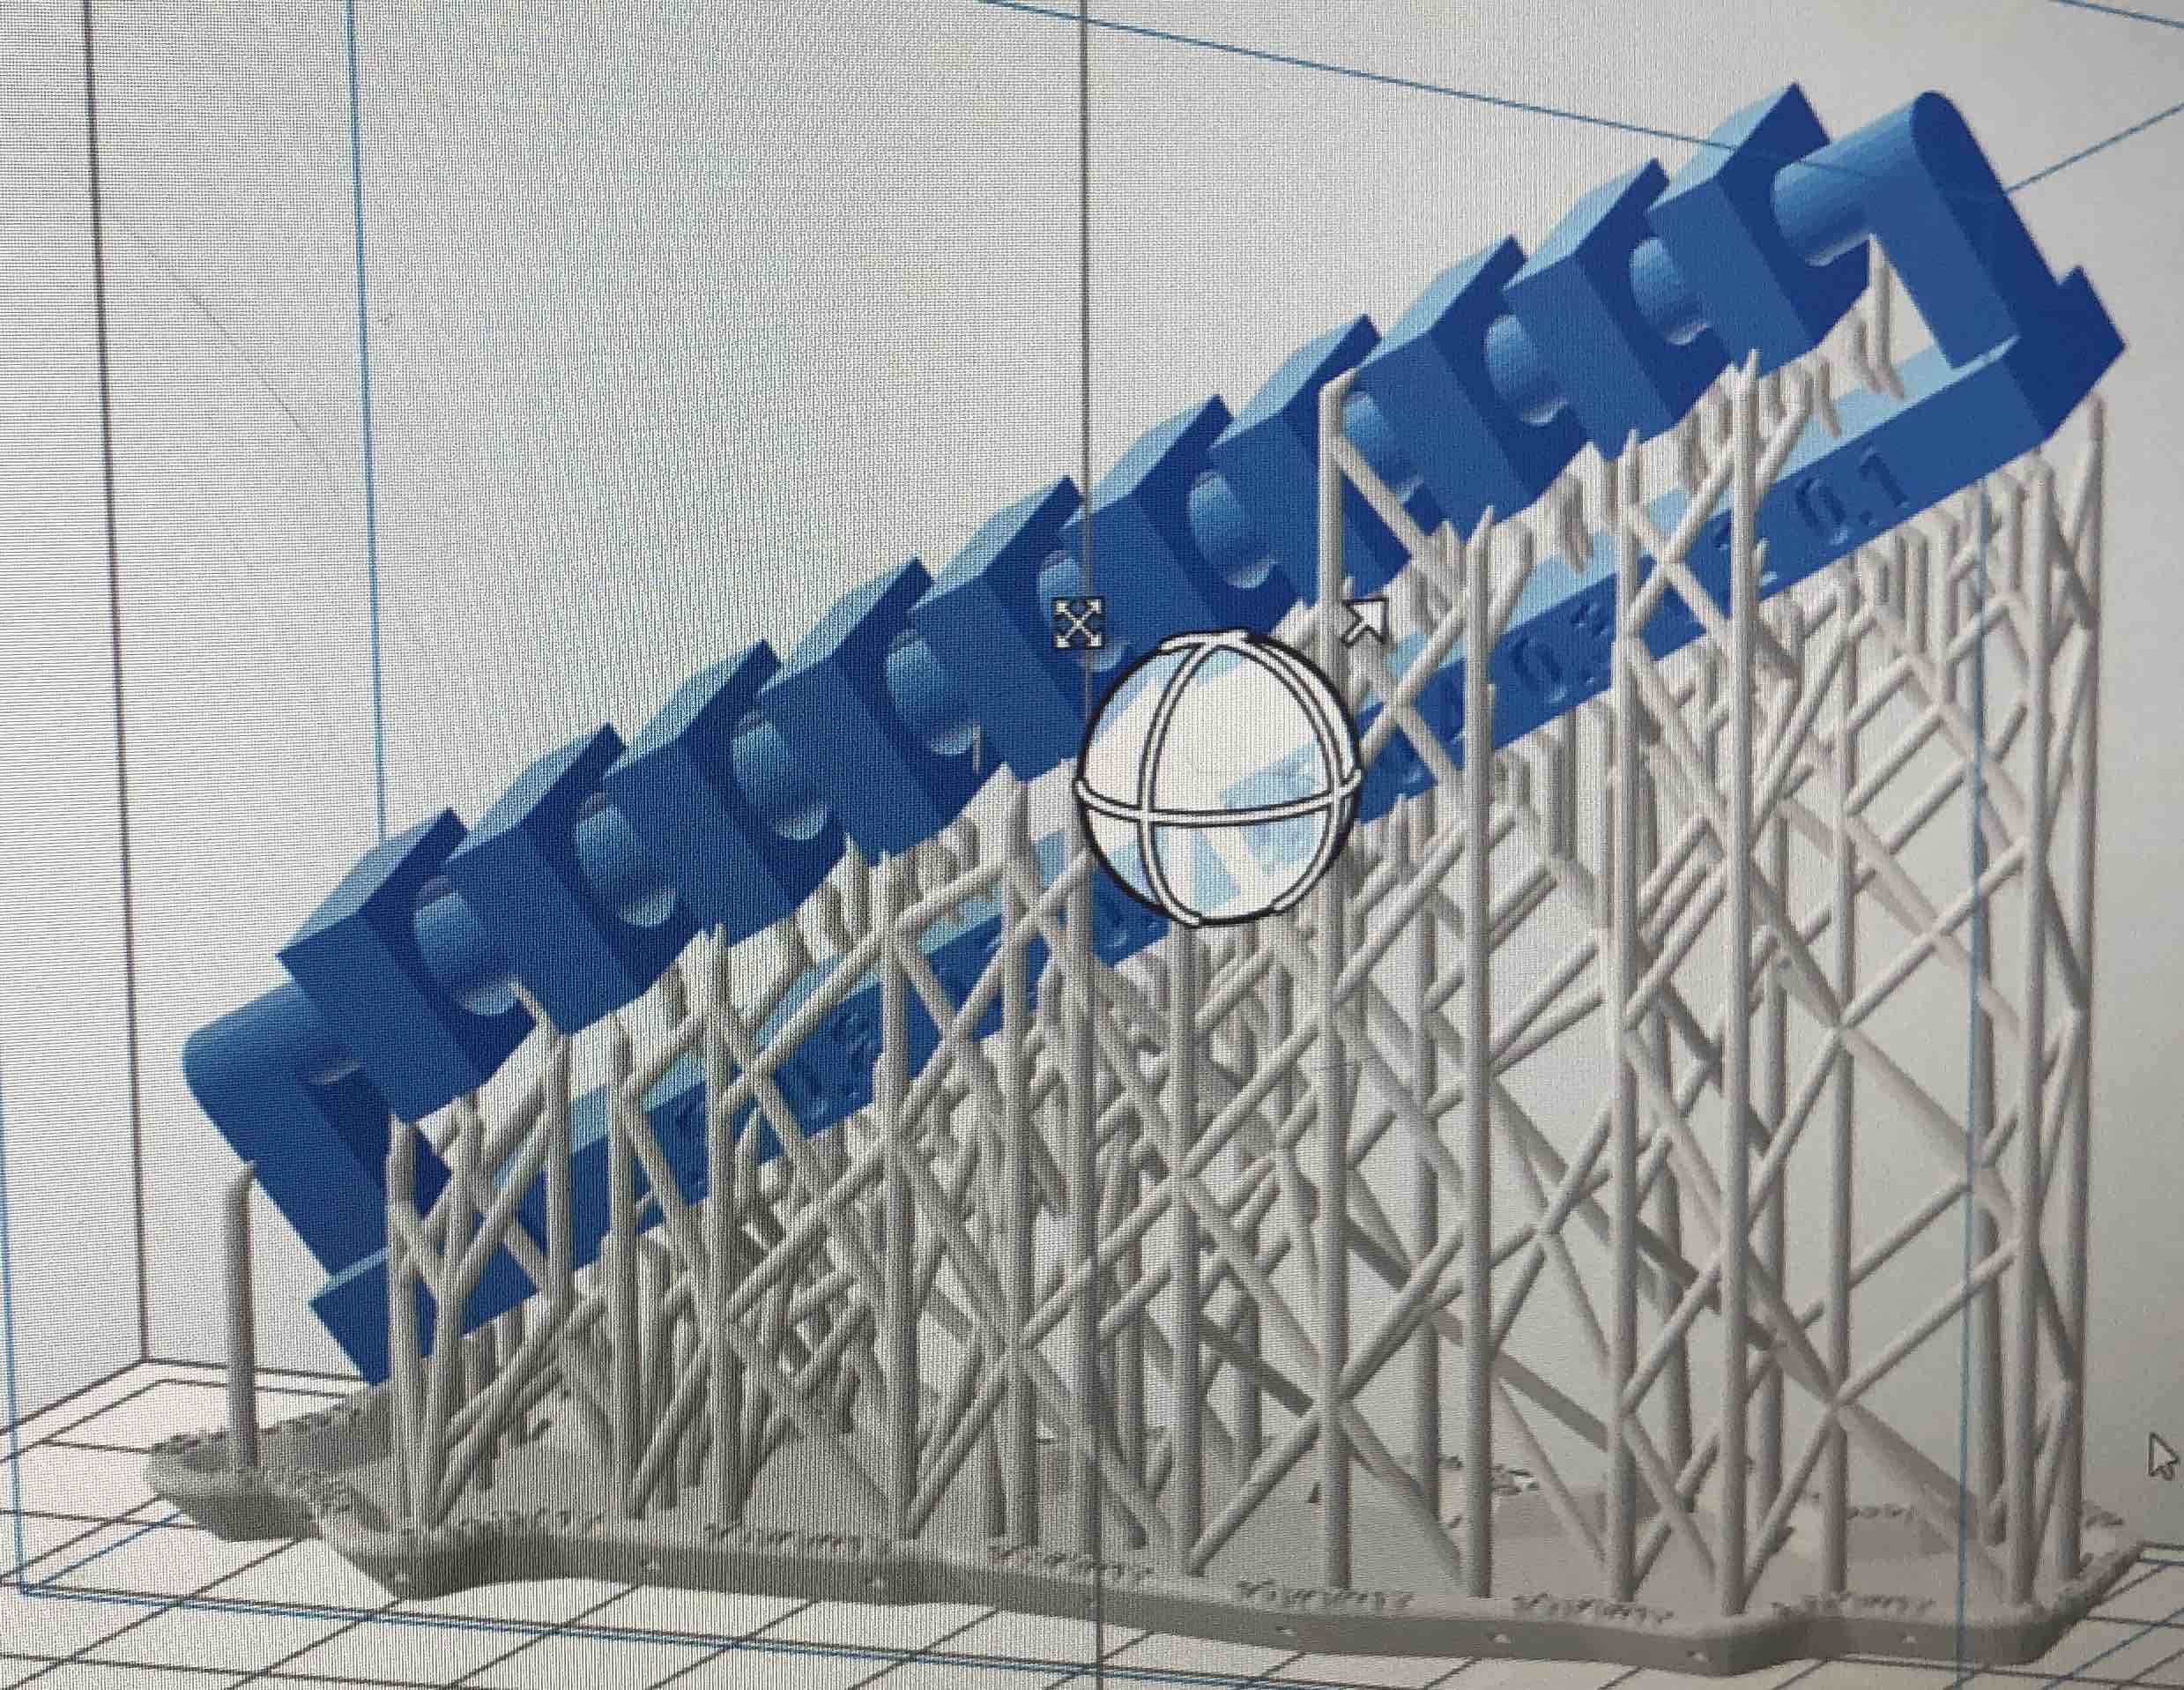
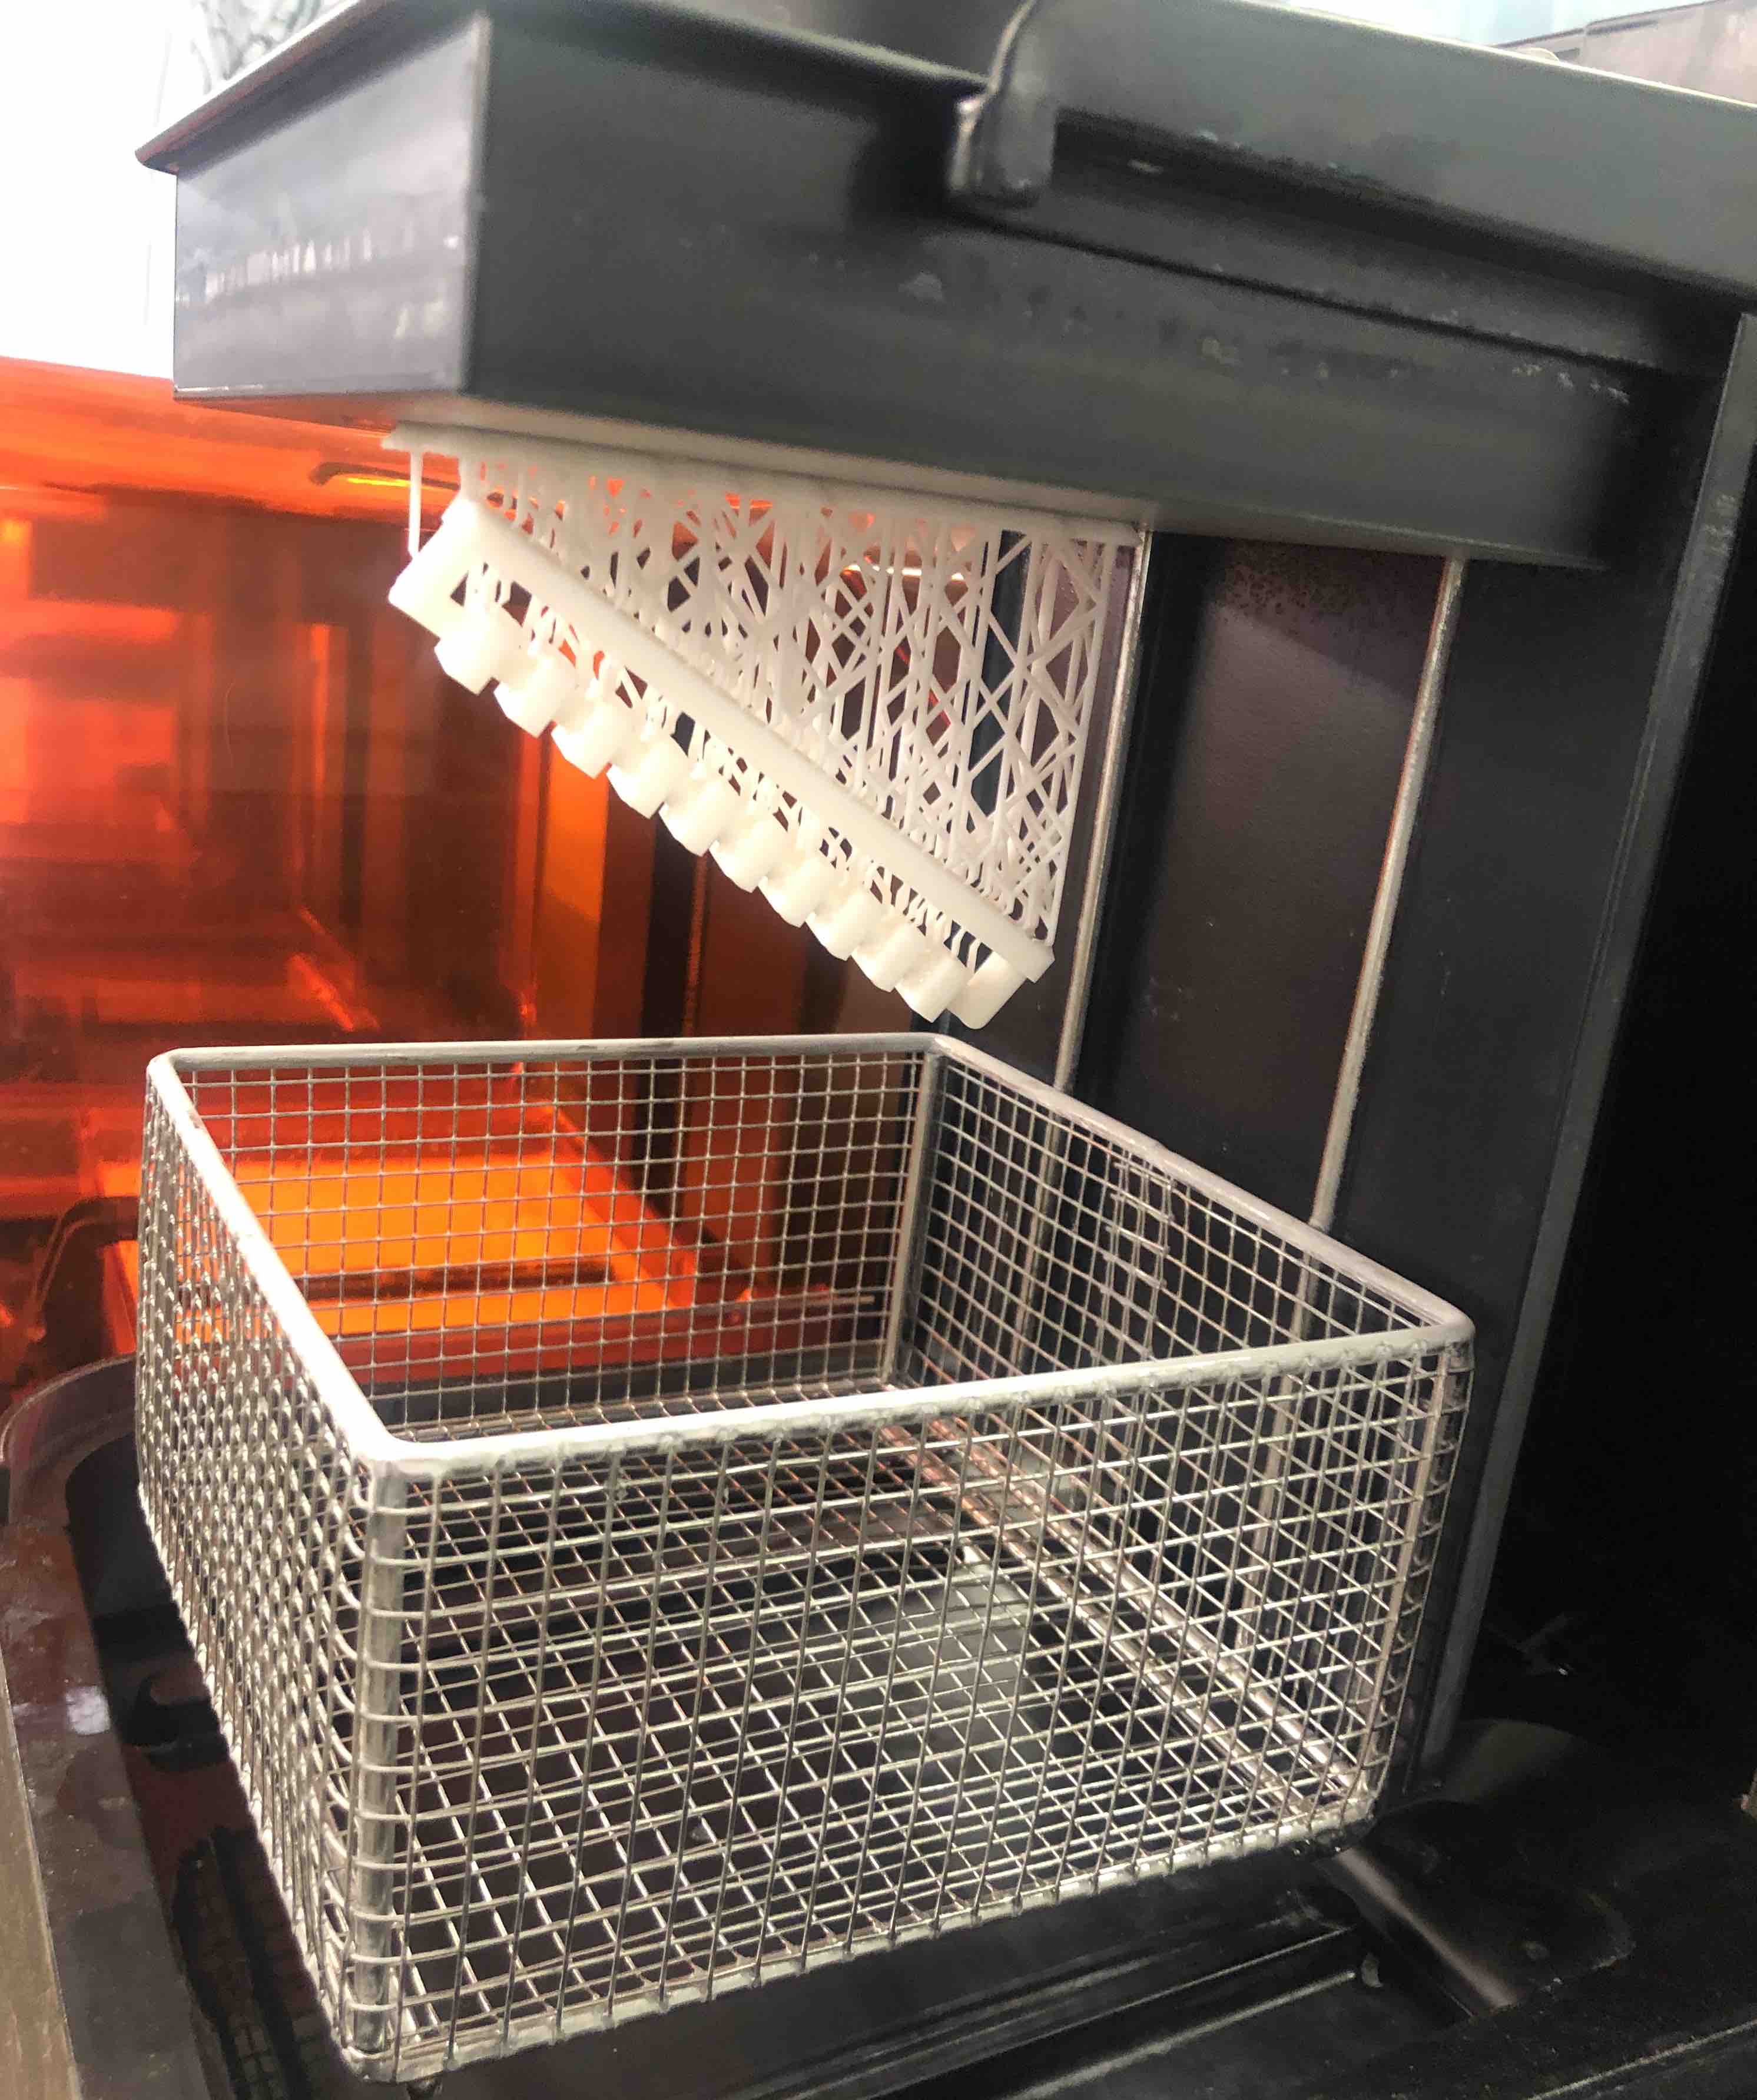
We decided to do the clearance test using the Formlab. The slicing sofware for Formlab is Preform. This software automatically orients the model to the best position with the best support and least cupping (situation in which resin might get left behind in cupped designs). It also marks points with not enough support in red. We can add and delete support points. Here is a before and after shot of adding extra supports:
|
|
The finished print looks really good and is currently curing. Here is a picture right before it went into the IPA bath:
3D printing
For our individual assignment, we had to 3D print something that could not be made subtractively. I decided to do a chain link since interlocked parts cannot be made with subtractive methods. I hope to edit this design in the future to add a connectable part on the ends of the links. Finally, I want to be able to attach the chain link onto my laser cut bag.
3D Design
To model the chain link, I used Fusion360. I created one link first and then patterned it.
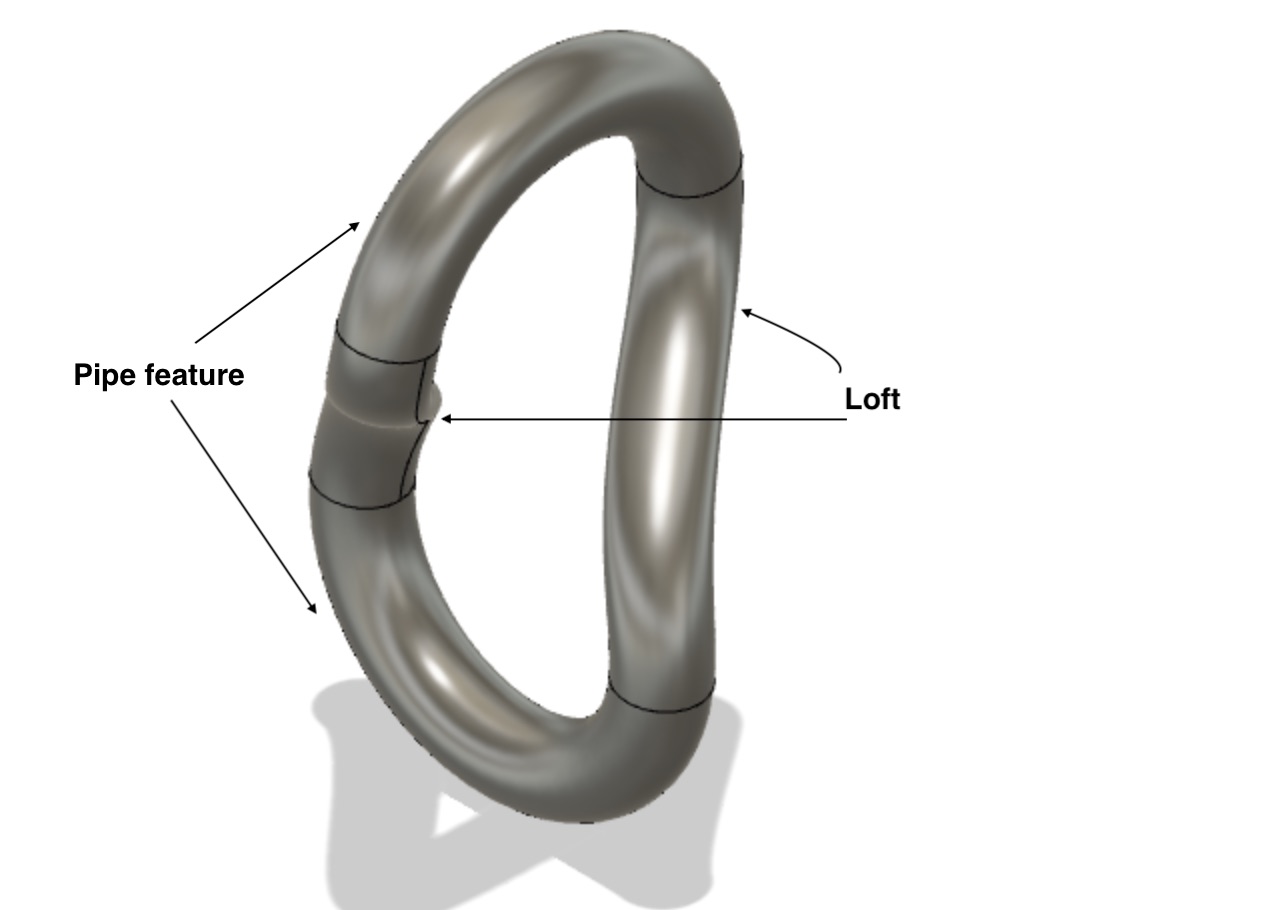
Here is the final model:

Printing
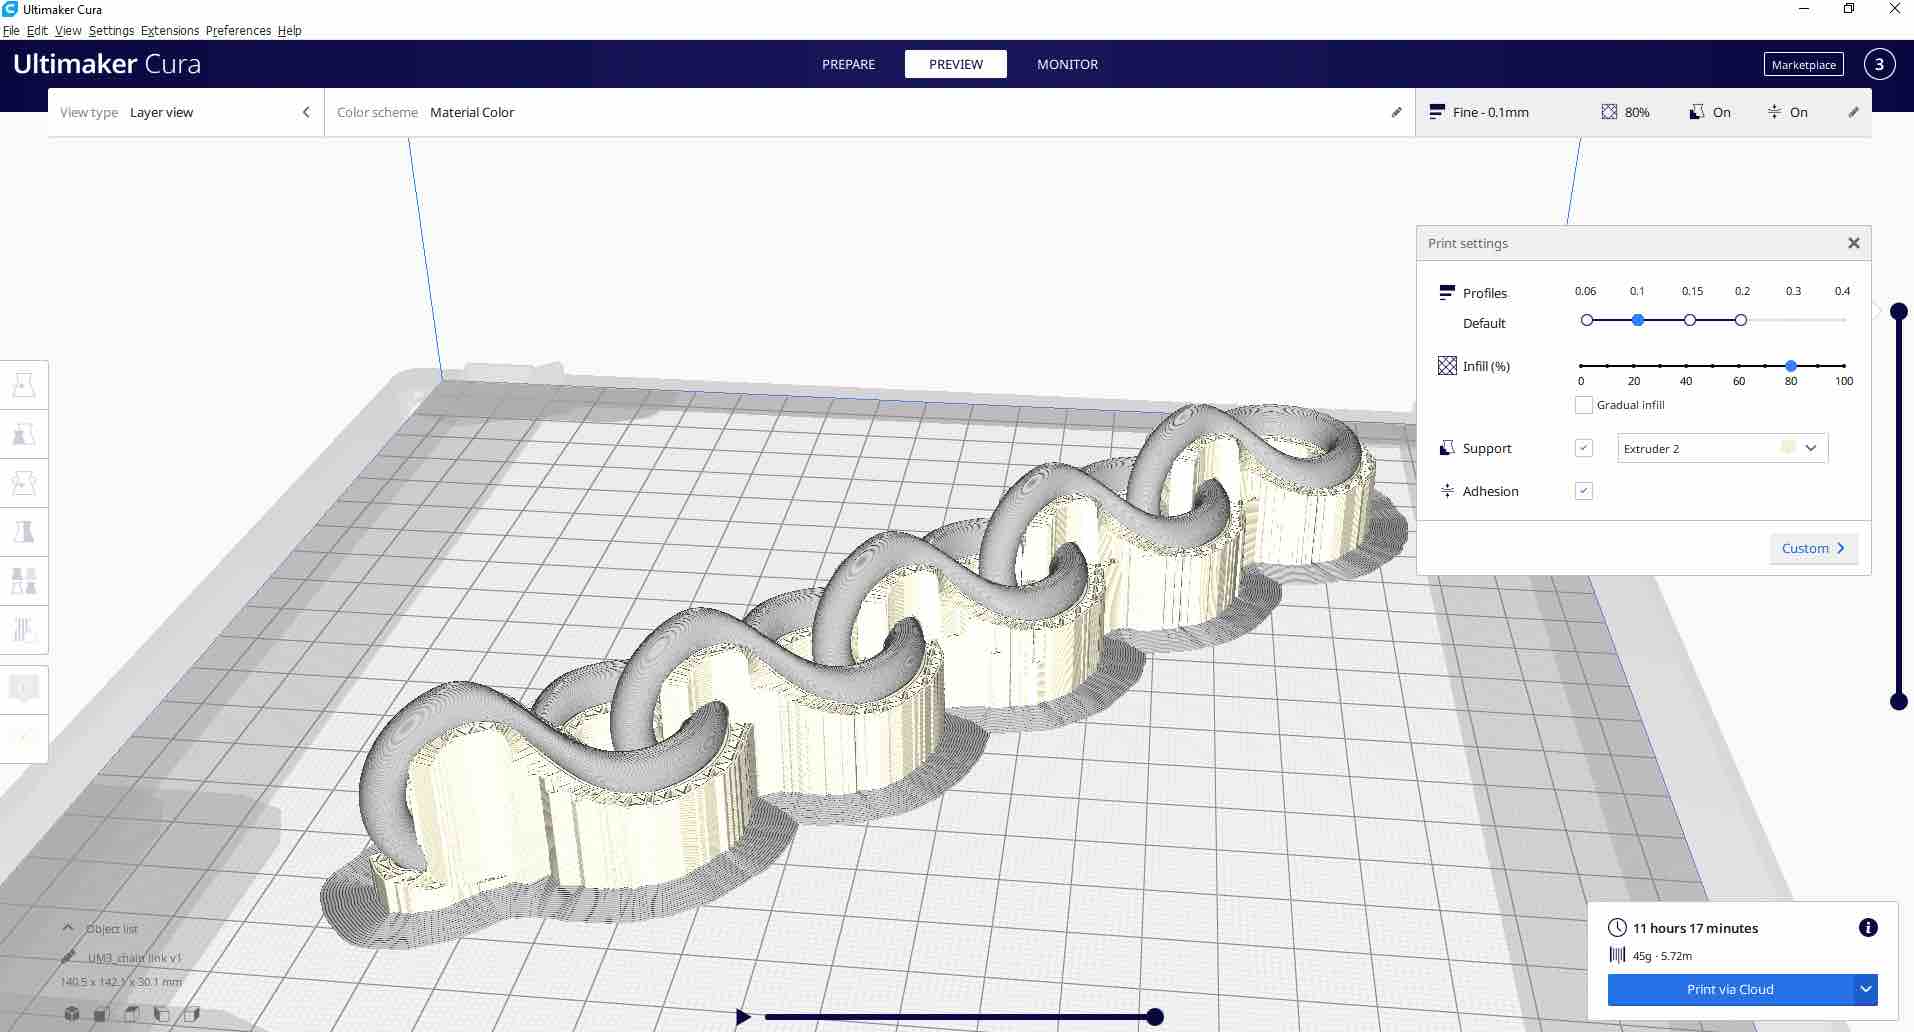
To print the model I decided to use the Ultimakers since I have the most experience with them. There was some dissolvable support filament in the lab so I decided to try those out. Here are my settings on Cura:
Here is the finished printed model:

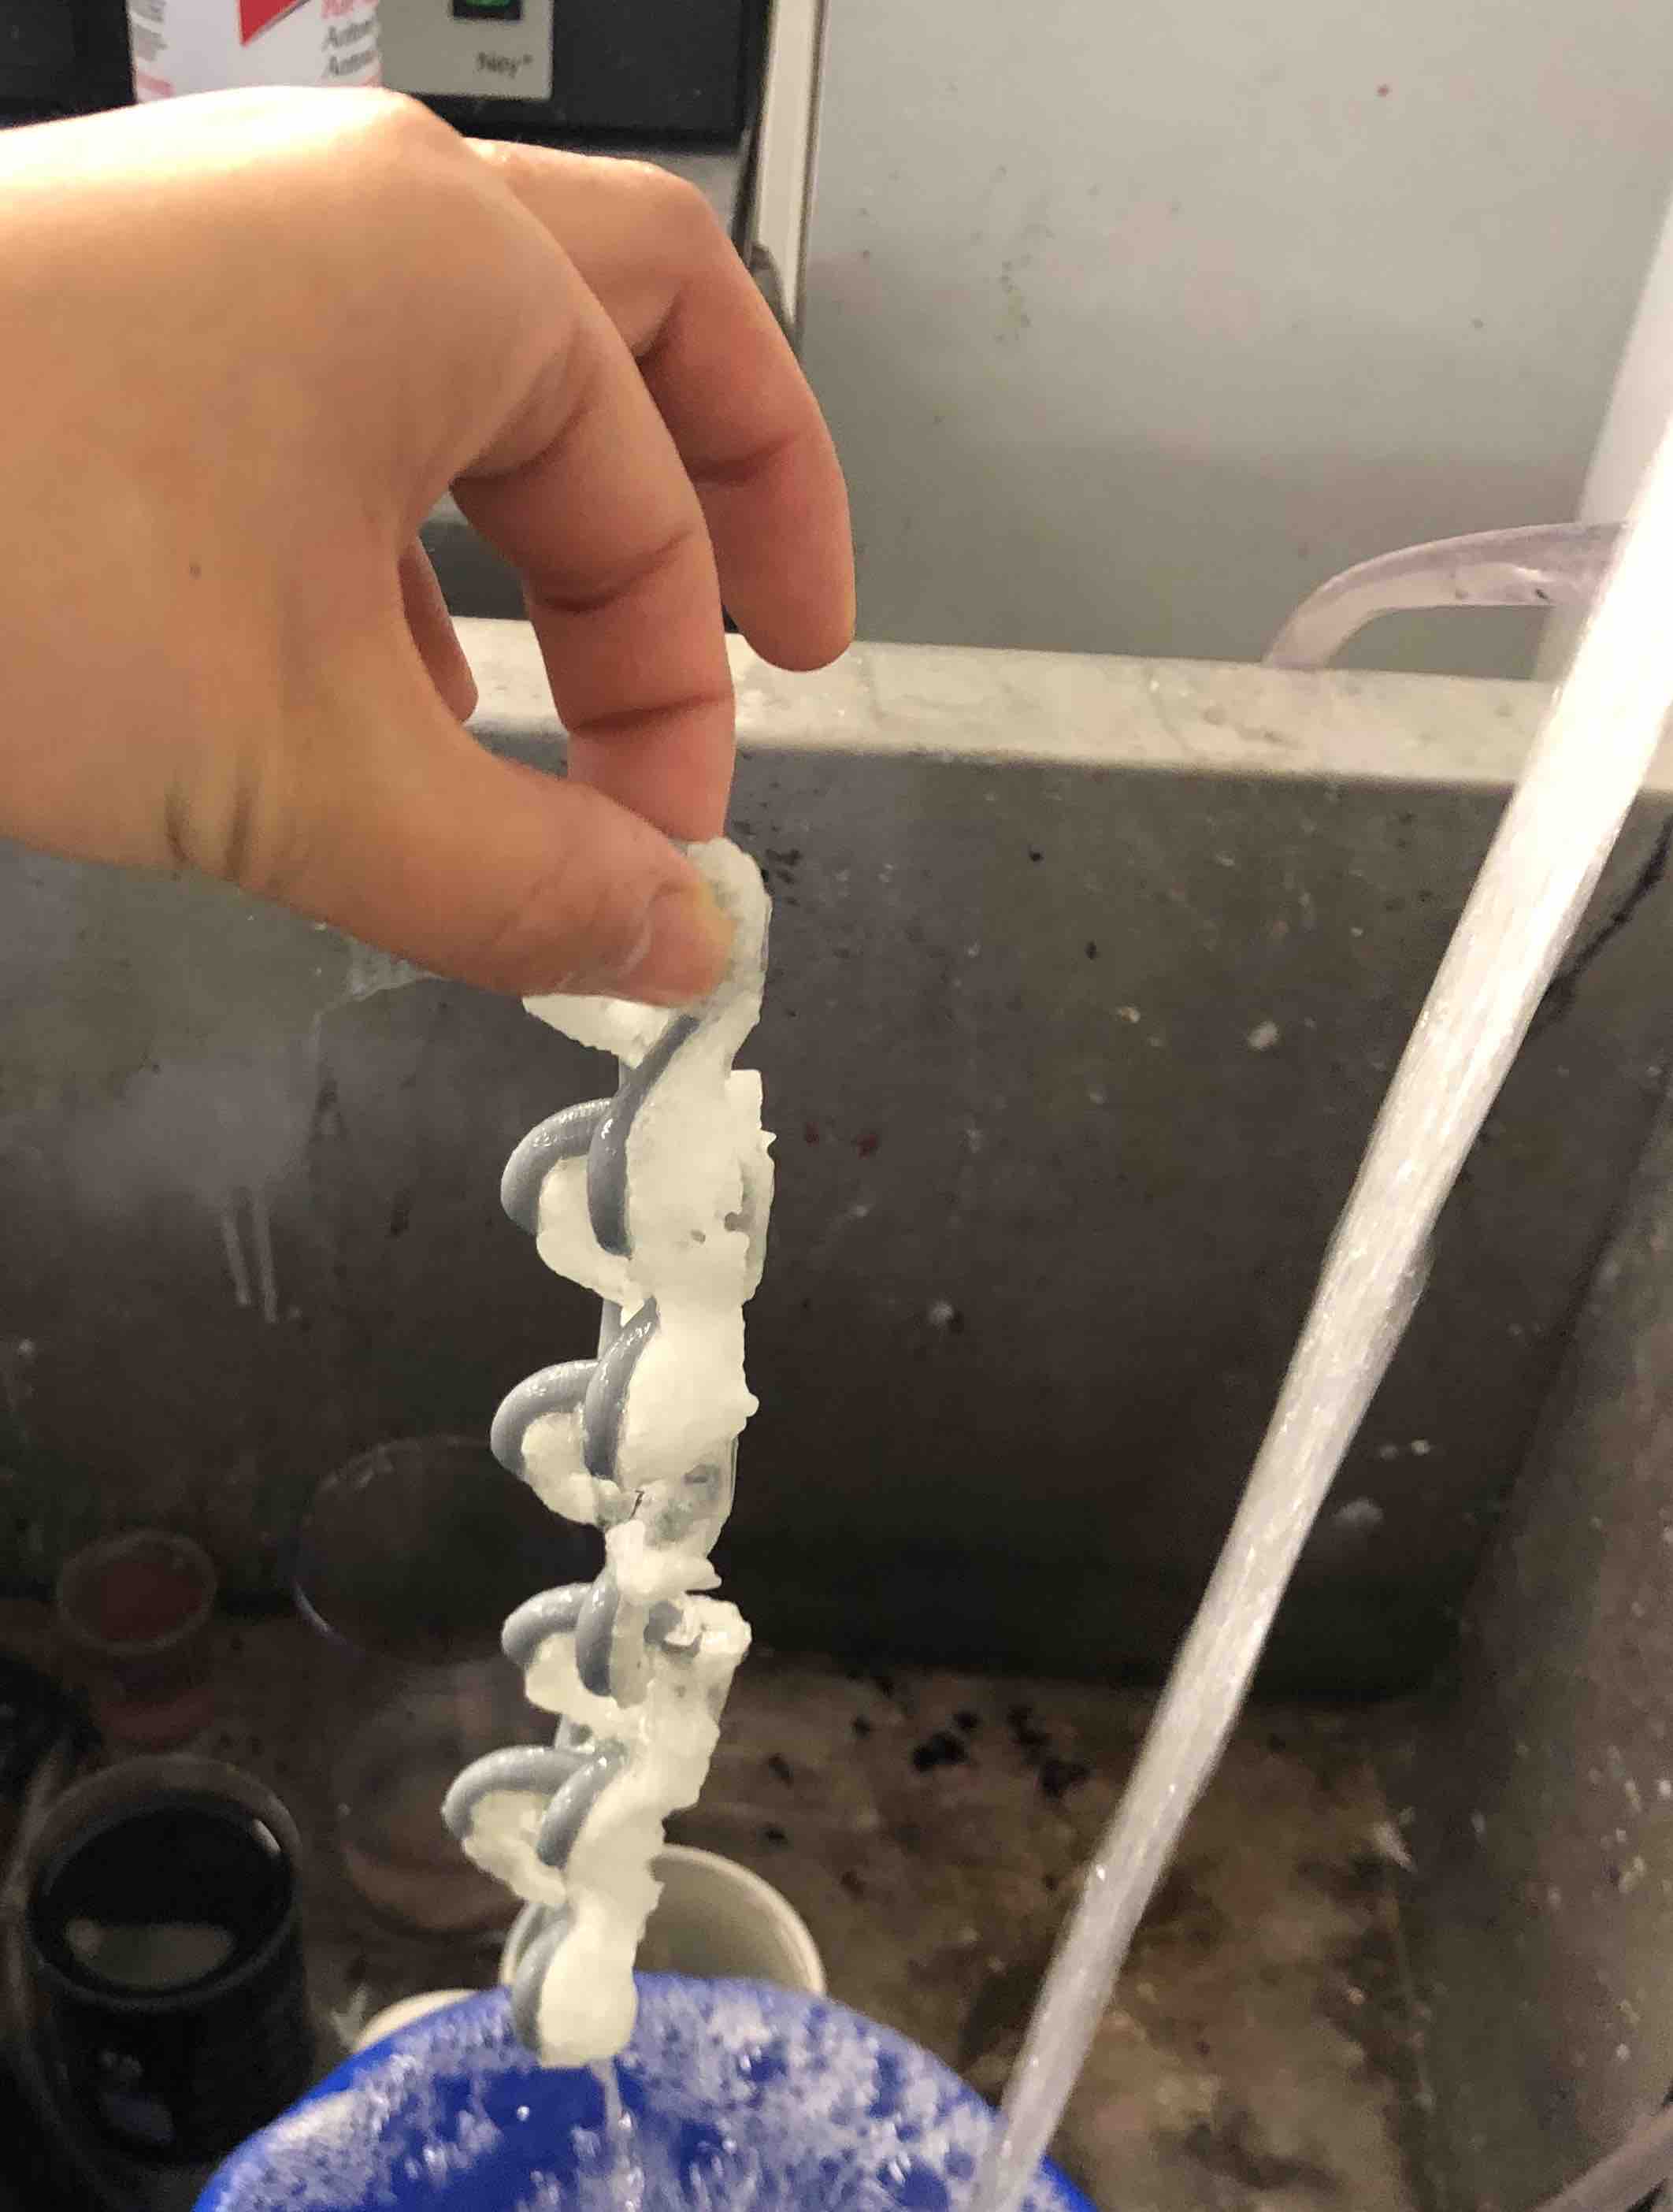
To dissolve the support, I was advised to run the model under running water for about 30 minutes. I put the model in a bucket with some soap and ran it under the tap in the lab. This was a huge waste of water and I will probably not use the dissolvable support filament again unless I absolutely have to. If I do, I will be sure to try just leaving it in still water and see how that goes.

|
|
From the second picture above, you can see how the support starts dissolving. It has a very sticky consistency. It dissolved fully after about 30 minutes leaving the final model:
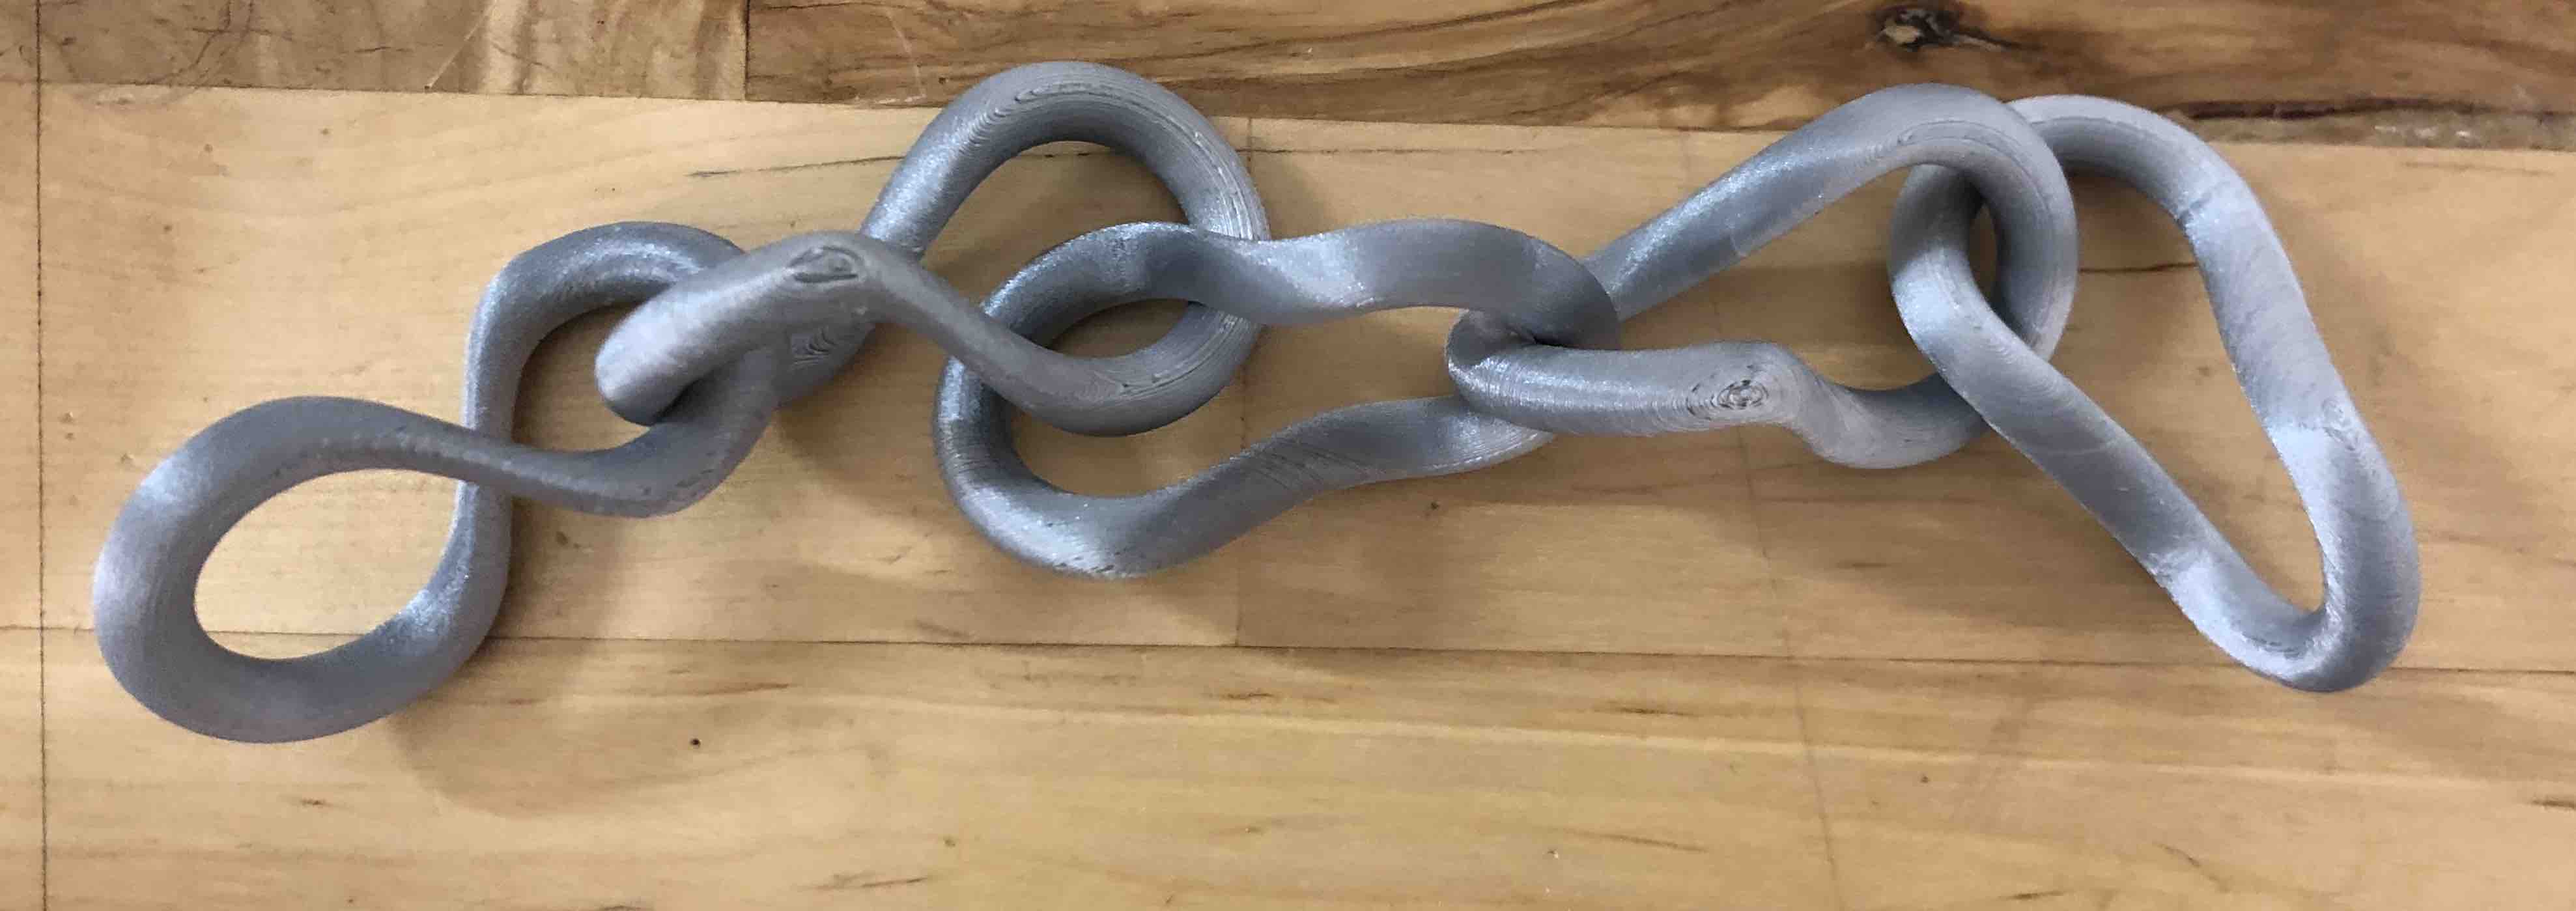
The finish was much cleaner than standard supports. There were no bumps that supports usually leave behind. The chain turned out to be a little bigger than I had expected so I will scale them down for my final project.

3D Scanning
3D scanning was the most challenging part of the week. At the Dassault Systemes Lab we actually have some high value 3D scanner like the Capture and Creoform. However, we were unable to find someone to help us with them so we used the good ol Sense 3D scanner. I hope to explore using the other scanners in the future.
Luciano, our Fab guru, showed us how to use the Sense scanner:

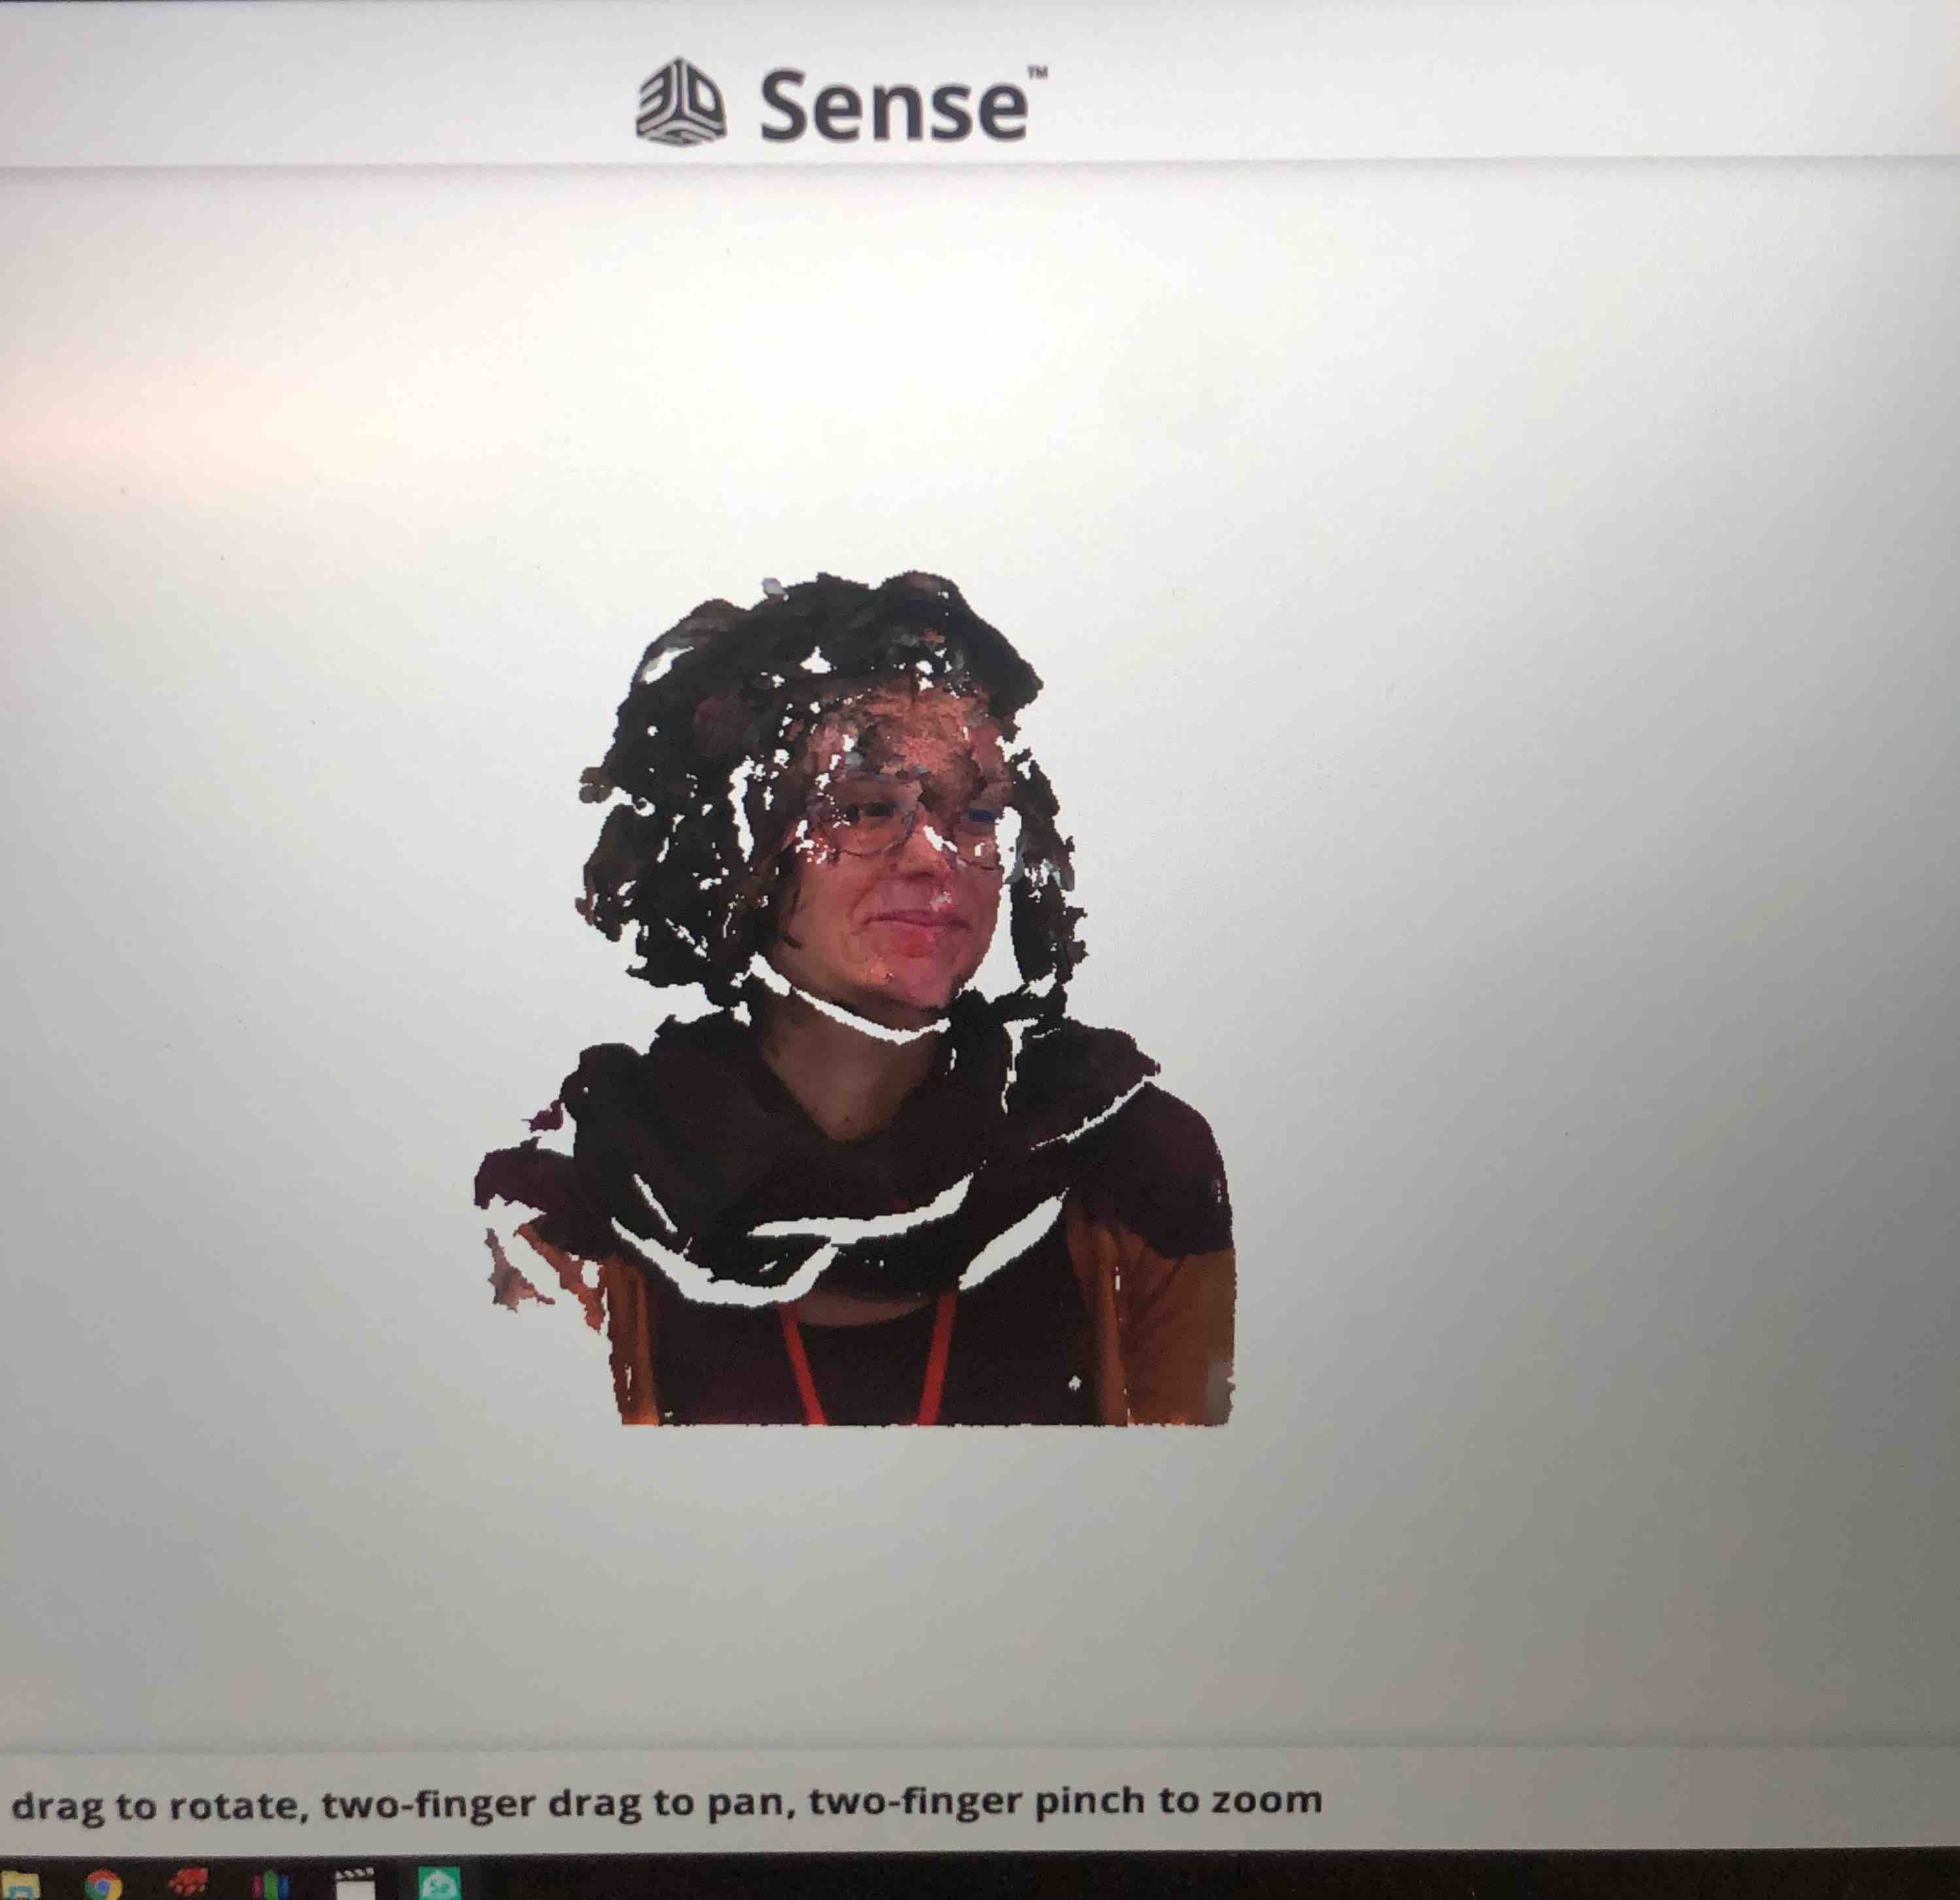
The Sense Scanner was not very accurate and usually only scans objects that are about human-sized. Martina and I tried to each other to no avail. I maybe a little offended at how my scan turned out:

|
|
We thought that the scan failed since due to slight human movement so we decided to scan an object instead. There was a bucket lying nearby that we tried scanning to no avail:

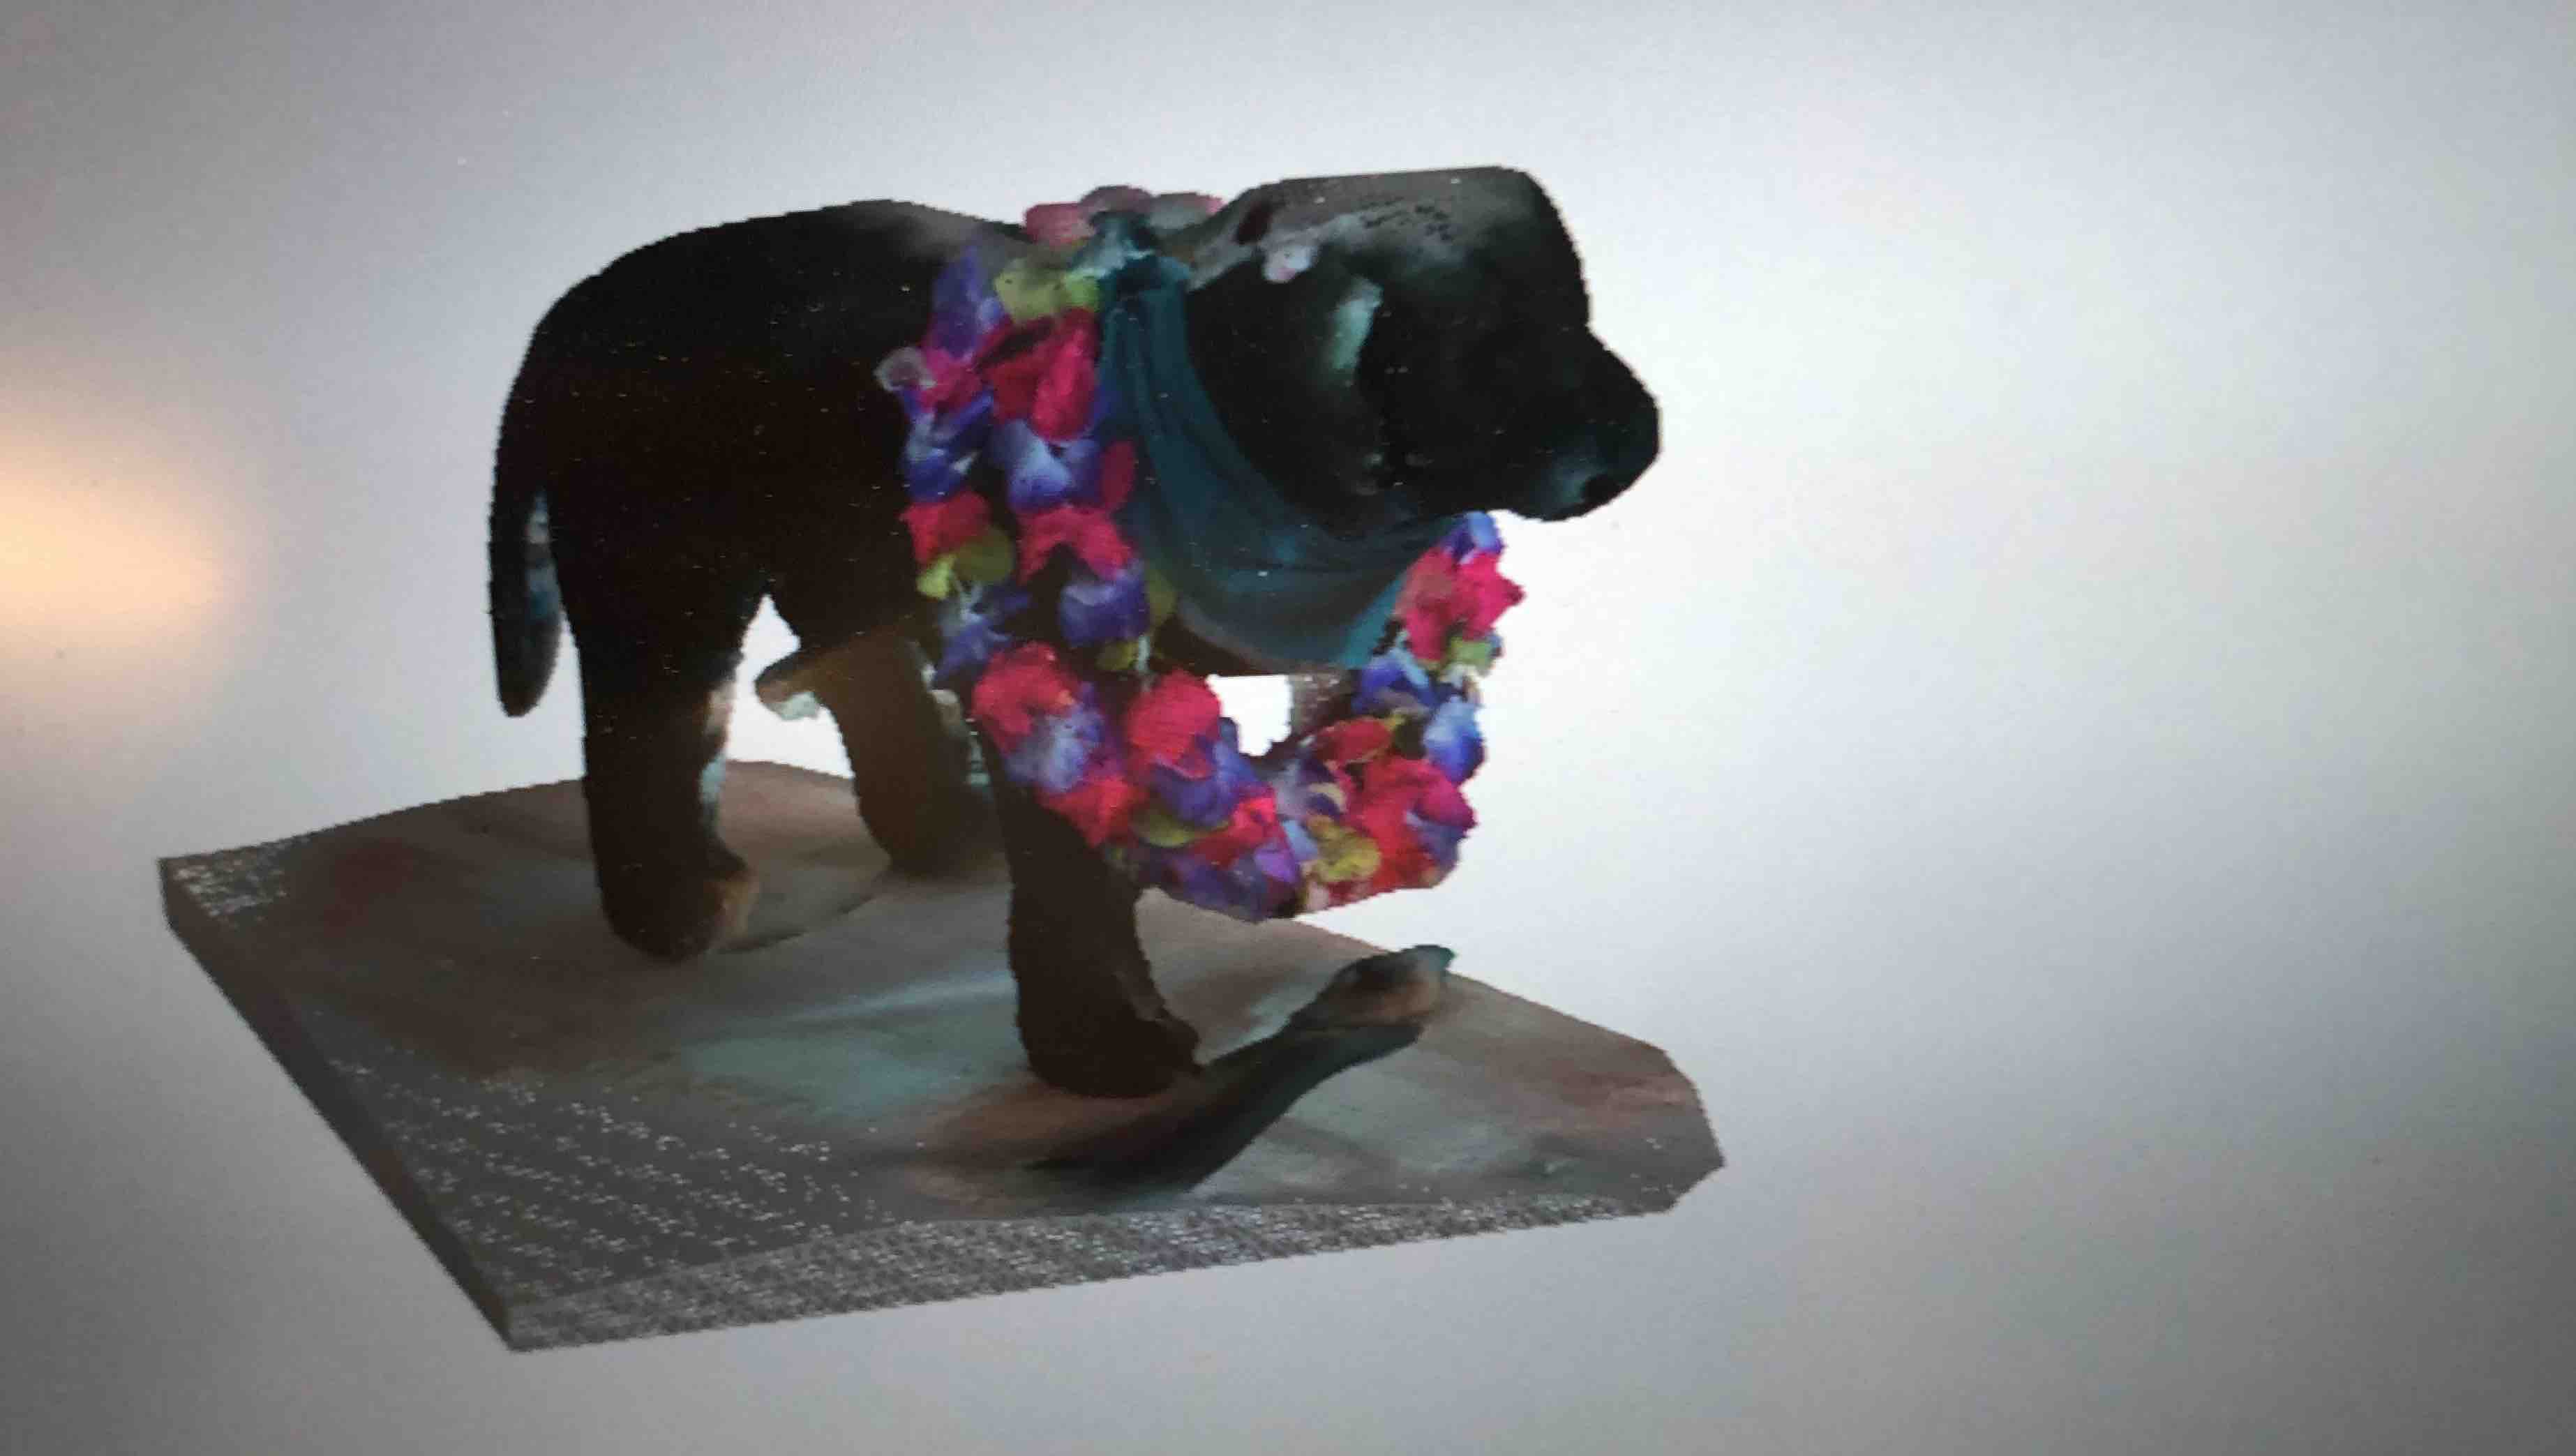
Finally, we decided to scan Lucas, the stuffed dog with a 3D printed leg that we have in the lab. It was somewhat of a success:

The scan did not pickup the 3D printed leg. This is probably because the leg is slightly repflective. The sense software has a “sokidify” button that completes the model and makes it ready to 3D print.
We sent the file over to one of the Sindoh printers to print and here are the results:


The results were pretty good. The tail did break off though.
Conclusion
This week was interesting experimenting with the different 3D printers and testing their constraints. The Ultimakers are faster while the Sindohs have better bridge constraints. The formlabs are really messy and require a lot of post processing work but the quality is excellent. The highest resolution you can get with the FDM printers is the lowest resolution on the SLA printers.
The sense scanner is something that I don’t see myself using in the future. The quality of the scan was bad. I hope to explore using the other scanners soon.
Download Files
Assessment Guide
Linked to the group assignment page (Done on this page)
Explained what you learned from testing the 3D printers
Documented how you designed and made your object and explained why it could not be easily made subtractively
Documented how you scanned and prepared an object (for 3D printing)
Included your hero shots
Included your original design files for 3D printing (both CAD and common format for 3D printing)