What I Ended Up Doing for Our Team
So for machine week, our group decided to build a 5-axis robotic arm. While my teammates worked on the mechanical design and assembly

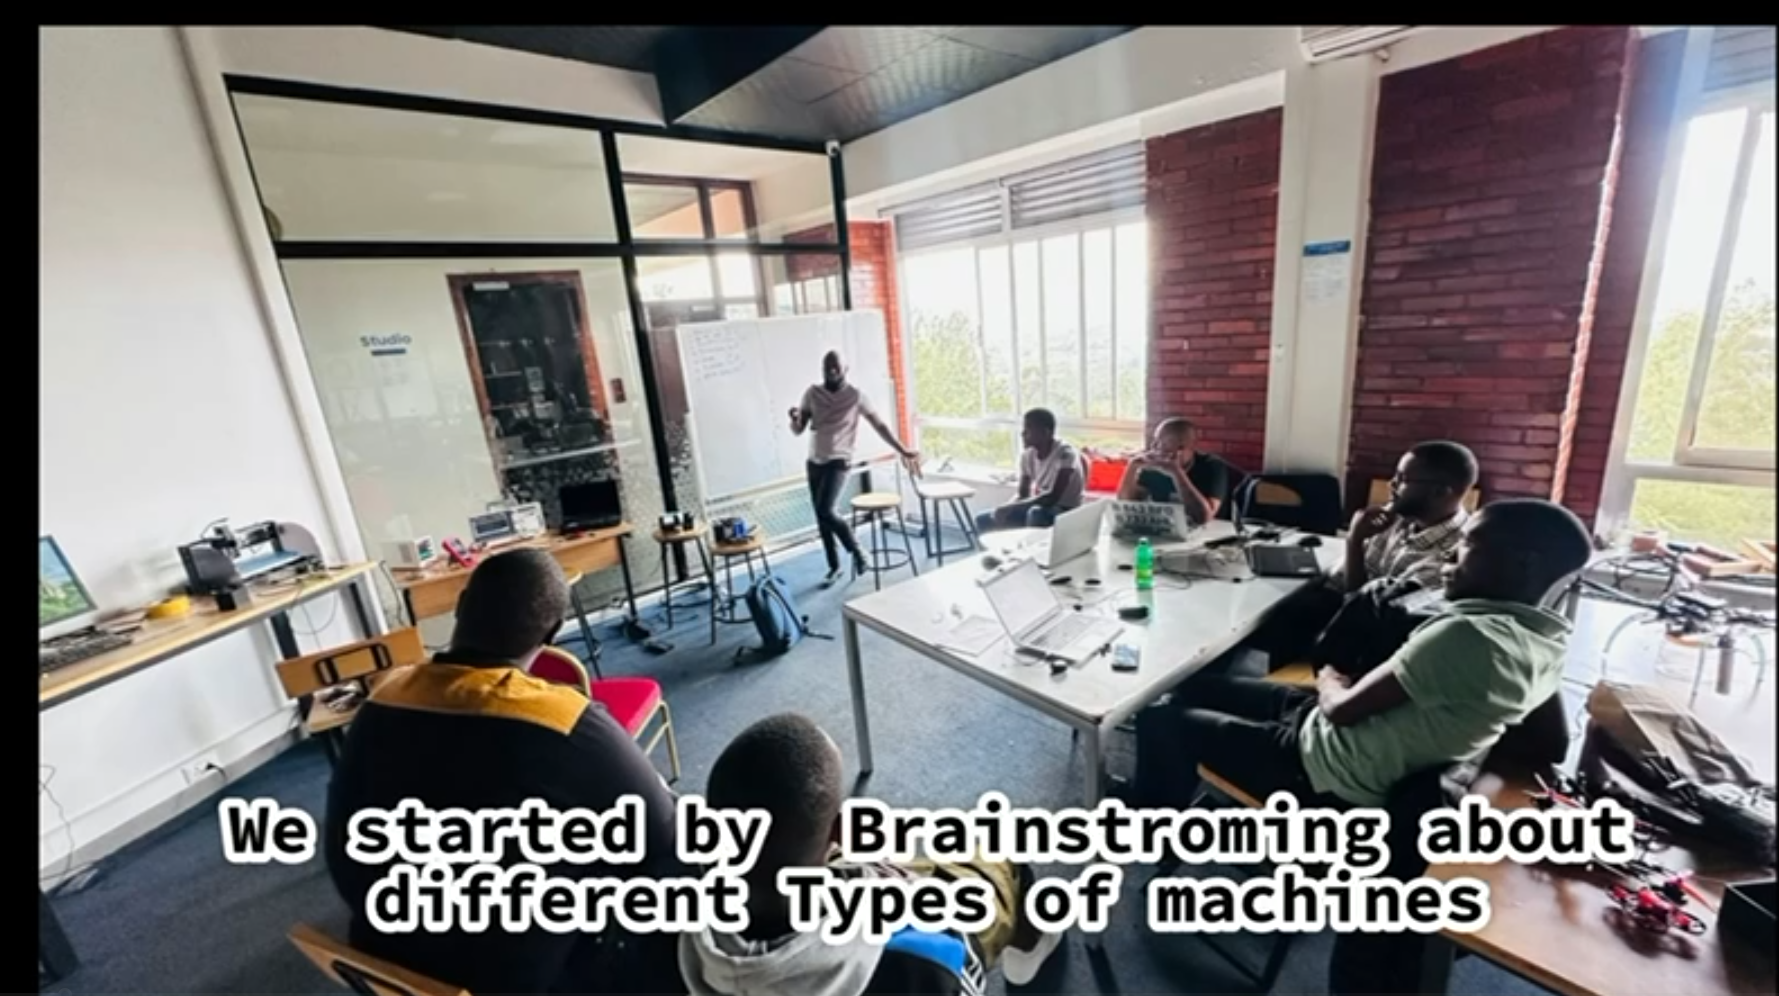
we decide to make 3 groups
- Group 1: Desing and Assembly
- Group 2: PCB Desing and Manufacturing
- Group 3: Firmware and Interfacing
I was in group 3, It was both exciting and nerve-wracking because everyone was depending on our code to make our machine actually work during the demo!
Writing the Arduino Firmware
we started by figuring out how to control 5 stepper motors at the same time. Turns out it's way more complicated than controlling just one motor - you have to coordinate their movements and keep track of where each one is.
The Core Features I Built
- Individual motor control - Each motor can move to any angle with adjustable speed
- Position memory - Save up to 10 different positions and replay them
- Serial and Bluetooth communication - Works with USB cable or wireless
- Safety checks - Won't move if commands don't make sense
- Test mode - For debugging when things inevitably break
The Command System I Designed
// Move motor 1 to 90 degrees: "1,90"
// Set motor speed: "1,SPD:800"
// Save current position: "S"
// Play back positions: "P"
// Loop playback: "LoopON"
I kept the commands really simple because I knew we'd need to debug things quickly during testing, and complex syntax would just cause more problems.
The Hardest Parts to Figure Out
- Coordinated movement - Making all motors move smoothly together instead of jerky robot movements
- Position tracking - Arduino forgets everything when powered off, so had to track positions in memory
- Communication reliability - Serial commands sometimes get corrupted or lost
- Step calculations - Converting degrees to motor steps took several attempts to get right
Building the Web Interface
Writing firmware was only half the job. I also needed to create something that would let people control our machine without typing cryptic commands. I decided to build a web interface using the Web Serial API since it seemed like the most flexible option.
What the Interface Can Do
Motor Control Panel
- Sliders for each motor - Drag to set angles from 0-360 degrees
- Speed controls - Adjust how fast each motor moves
- Live feedback - See values update as you move sliders
- Move all button - Send all motors to their positions at once
- ORGINAL Final Code we used final code
Position Recording System
- Save positions - Capture current motor positions with one click
- Visual position grid - See all saved positions displayed clearly
- Playback controls - Play through the sequence you recorded
- Loop mode - Repeat the sequence continuously for demos
Preset Positions I Added
- Home position - Safe starting point (all motors at 90°)
- Extended reach - Full arm extension for demos
- Folded compact - Tucked position for storage
Demo testing
Why I Went with a Web Interface
I chose web-based instead of a desktop app because:
- Works everywhere - Any laptop, tablet, or phone can control it
- No installation hassles - Just open the HTML file and go
- Easy to modify - Anyone on our team can tweak the interface
- Modern Web Serial API - Direct connection to Arduino without extra software
Challenges I Didn't Expect
- Browser compatibility - Web Serial only works in Chrome/Edge, not Firefox or Safari
- Connection handling - What happens when USB cable gets unplugged during demo?
- State synchronization - Keeping interface in sync with actual machine position
- User experience - Making it intuitive enough that anyone could use it
Integration Day - Making It All Work Together
The scariest part was when we finally connected my software to the actual machine hardware. Would my step calculations be right? Would the timing work? Would anything actually move the way it was supposed to?
Things That Worked Great
- Command structure - Simple text commands made debugging really easy
- Position recording - Being able to save and replay movements was super useful
- Speed adjustment - Could tune for smooth motion vs fast positioning
- Safety features - Machine refused to do dangerous things
Things I Had to Fix Quickly
- Timing problems - Motors weren't moving smoothly together at first
- Step math errors - Took a few tries to get angle conversion right
- Connection drops - Added better error handling for lost connections
- User confusion - Made status messages clearer
- ORGINAL Final Code we used for the interface final html js code
My Contribution to the Team
While my teammates focused on the mechanical design, frame assembly, and motor mounting, I took responsibility for making all of that hardware actually controllable. The software I developed became the primary way people interacted with our machine.
This division of labor worked really well - everyone could focus on their strengths while contributing to a complete working machine. It was incredibly satisfying to see people using my interface to control our team's robot and being amazed by what we built together.
The best part was during the final presentation when our instructor used my web interface to demonstrate the machine to the whole class. Seeing our robotic arm smoothly move through the preset positions I programmed, while people controlled it through the interface I designed - that made all the debugging and late-night coding sessions totally worth it!
Building something that people can actually use and enjoy is way more rewarding than just making code that works in isolation.